


Everybody insulates slightly different to the next person.
Thought I would add myworth.
First I will explain why we need to insulate, then how it is done properly.
Just like when you take a can of drink out of the fridge and introduce it to atmospheric temperature and humidity, condensation will form on the outside of the can. This happens because vaporized water in the air condenses into liquid water on the cold surface.
Here is a chart that shows when moisture will condense at a given temperature and humidity.
We have to protect our gear from the worst case humidity scenario. Here in NZ we very rarely see 90-95% relative humidity, but in that situation you can see on the chart that condensation will form on a surface about 3°C less than the ambient air temperature. Therefore I recommend anybody planning on going Sub ambient cooling will need to insulate their beloved hardware.
The secret to a condensation free insulation job, is to have a completely air tight seal over every piece that will get cold. If air can get in, then so can moisture. Under the freezing point condensation will freeze and not be a problem, it is when that frost thaws and turns into water that it will possibly short something out.
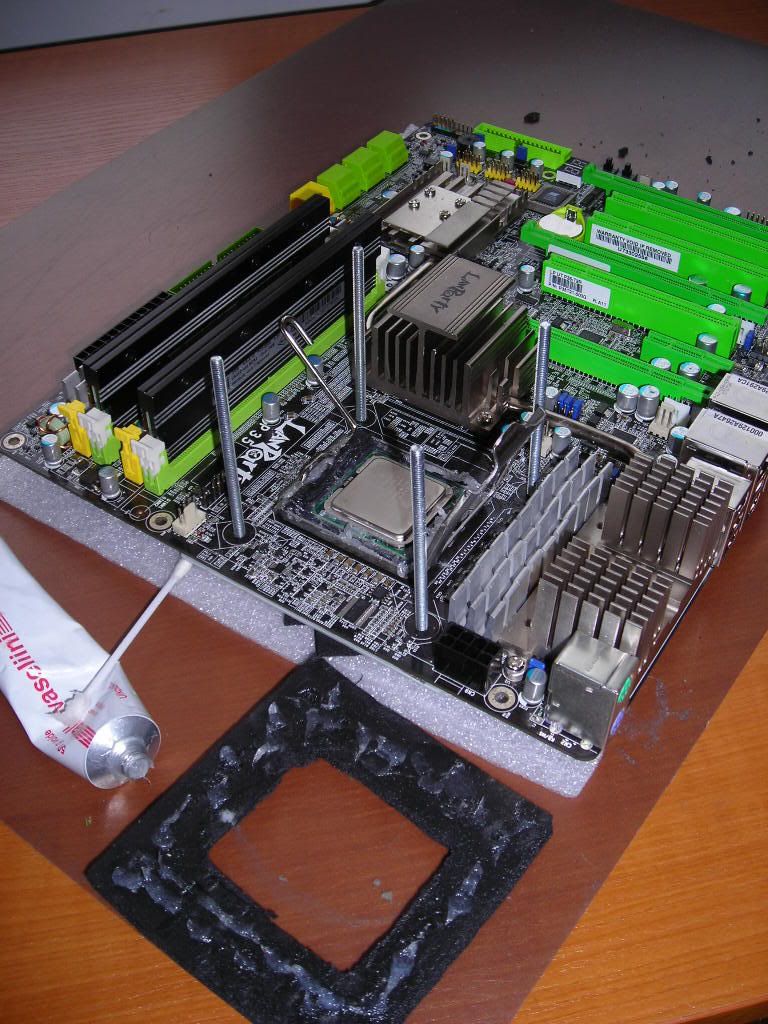
Tools we are going to need are as follows:
Sharp Knife.
Small flat head screwdriver.
Cutting board.
Pen.
And materials:
Closed cell insulation in varies sizes.
Liquid electrical tape or nail polish.
Thermal compound (preferably Arctic Céramique).
Dielectric grease.
Piece of paper.
Toothpicks.
Now there are several steps involved in insulating, this is how I do it. Everybody does it slightly different though.
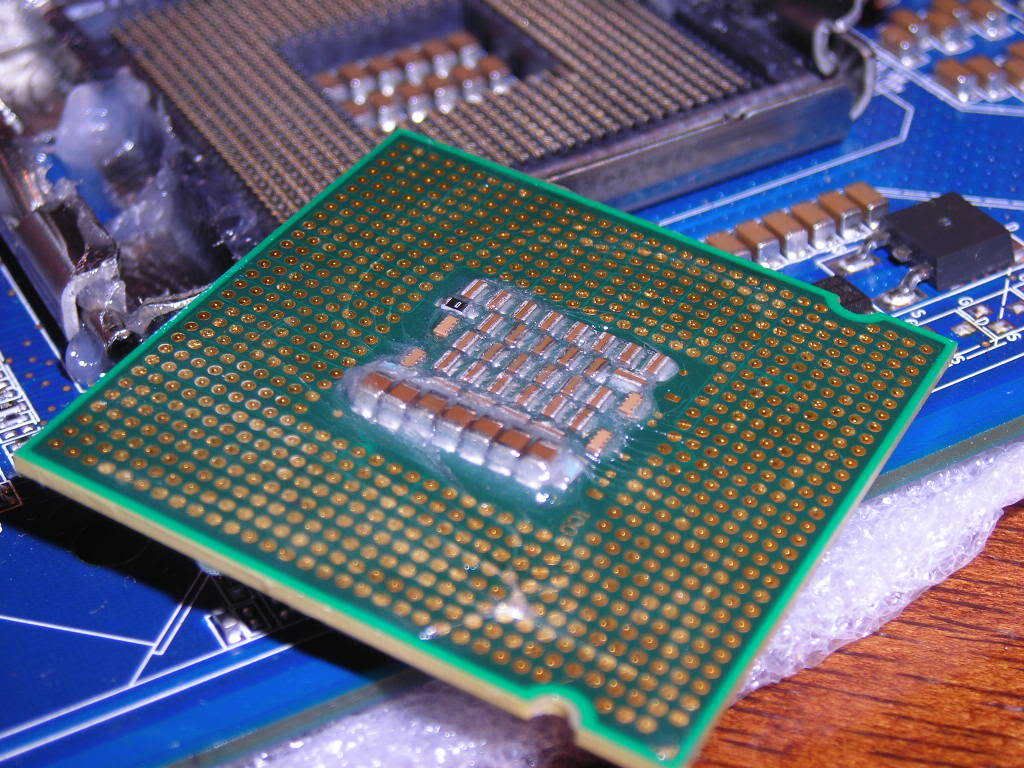
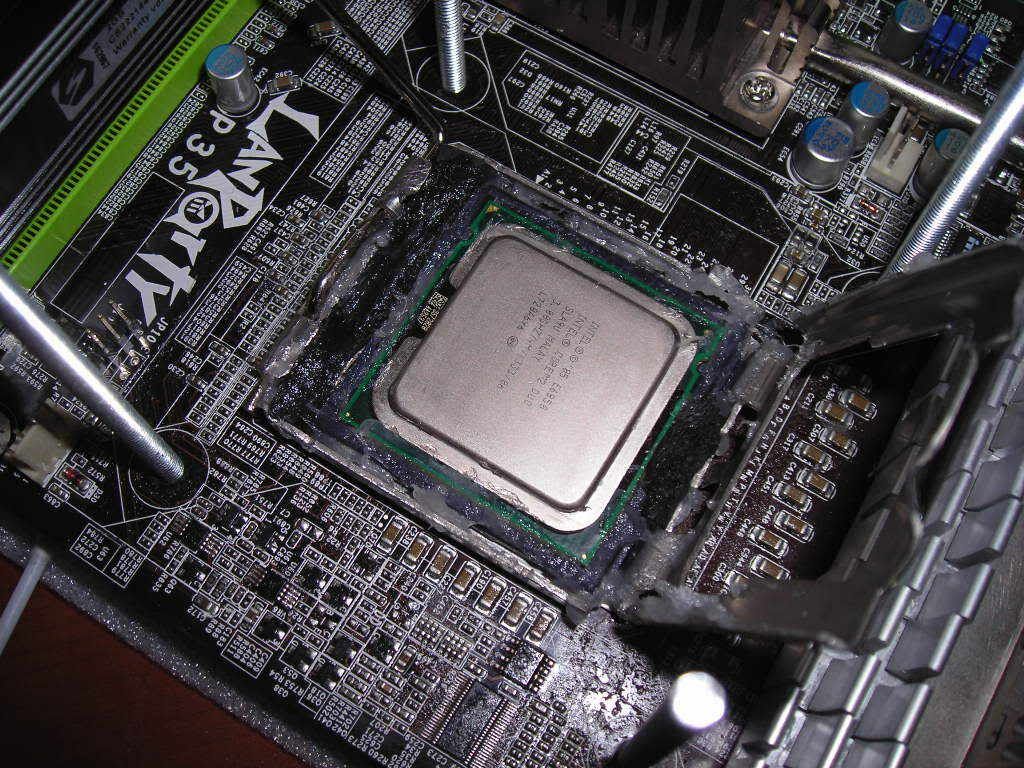
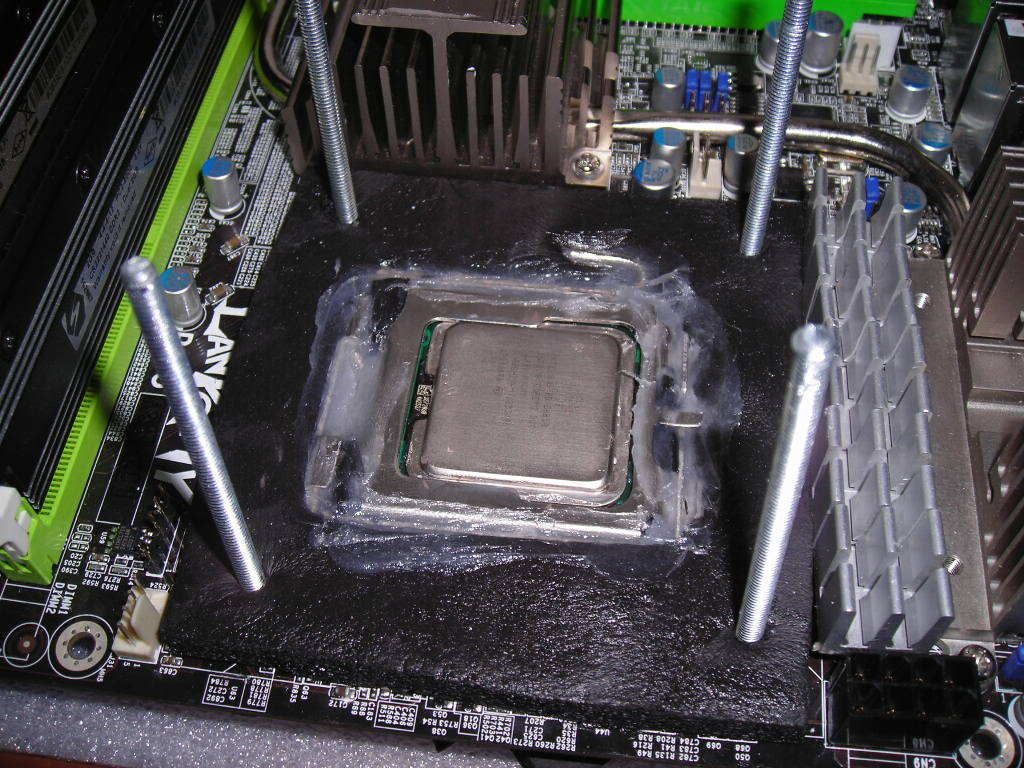
First of all we need to seal off the socket area so if we do end up with any condensation, we don't end up with water in direct contact with any electrical parts. Electricity and water do not go well together.
I do this by applying liquid electrical tape around the socket area.
I use liquid electrical tape because it is just as good at insulating as anything else and is very easy to remove. But it is more expensive than nail polish. 118ml tin from Jaycar for a little over $20.
Alternatively you can use nail polish or conformal coating.
With Liquid electrical tape or nail polish, be very careful not to drip anything in the socket itself, or else it is most likely going to be a dead motherboard. It is not a bad idea leaving the CPU or CPU cover in the socket.
If the brush is too big to get into those little gaps, use a toothpick to apply a couple of drops at a time.
Conformal coating is usually sprayed on so extra care is needed to mask up the socket and every other connecting on the board. I.e. rear plugs, header pins, bios battery, jumpers, power connections peripheral slots etc.
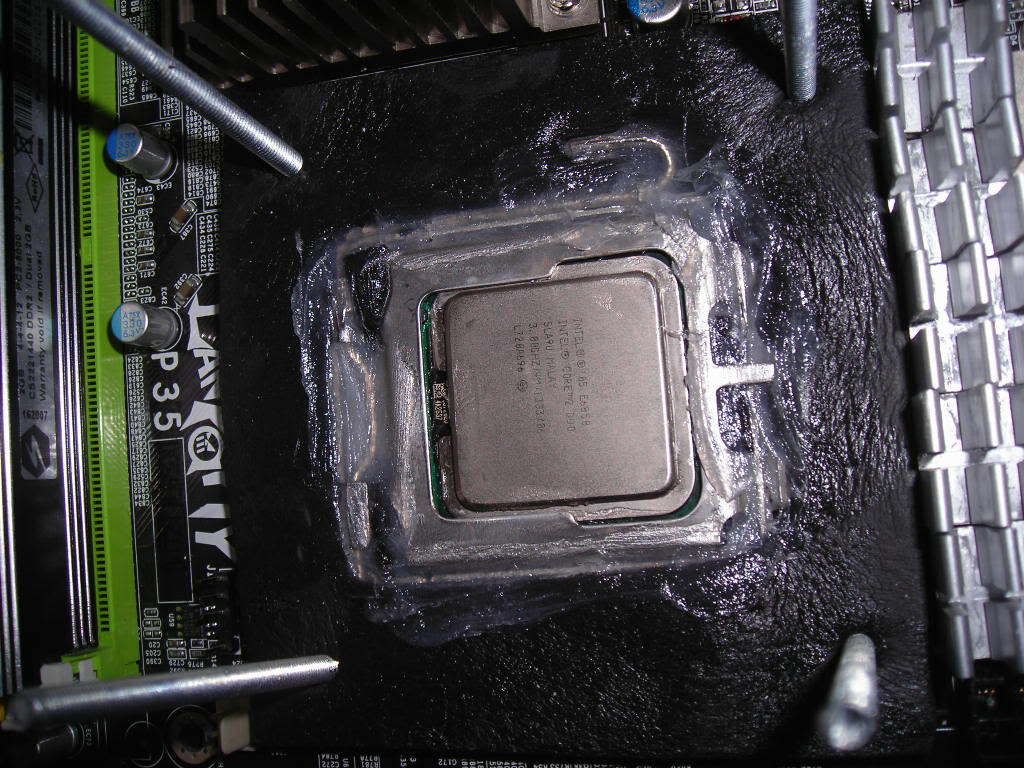
Several coats may be required to get a nice thick layer isolating everything around the socket. Leave approximately 10 minutes between coats, and a day after the final coat.
Also coat the back side of the board directly behind the socket like so.
Once dry we can start on cutting our closed cell insulation to fit snug.
Cut a rectangle piece of 6mm closed cell insulation to fit between all the major components around the socket. In this example the ram slots, Northbridge, PWM Heat sink and the top edge of the motherboard.
Trace that piece of insulation onto a piece of white paper, cut it out and place on the motherboard in position.
Holding the paper firmly in position, press down around all the components to make an impression on the paper of the bits that need cutting around.
Outline the impression with a pen.
The insulation has quite a bit of squish in it so we want to make our cut outs slightly smaller than the component.
Cut these bits out with a sharp knife and place over the socket to make sure it will fit.


 Reply With Quote


Bookmarks