


...maybe not that much of a beast but it tries...
1st Project log for 1st Water cooled system
ALL PARTS are pretty much listed in my sig!
Hey guys, for the past 4 months or so I've been planning this project. Hearing about new water blocks that were “just about to come out”, and the question whether it was worth the money just kept me from actually starting it. Slowly though parts started to come in, and with good timing I had everything for the start of my spring break. So about after 20 hours of work (fun work) this is what I got to show you guys. You guys basically taught me about water cooling so thanks to you, thanks to Quoc also (from petrastechshop), I probably called him 15 times in a manner of 2 days lol.
Pre project pics:
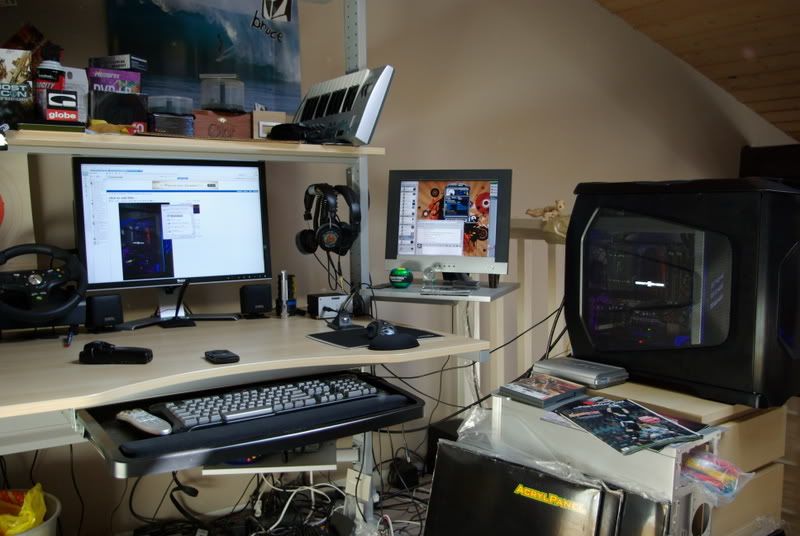
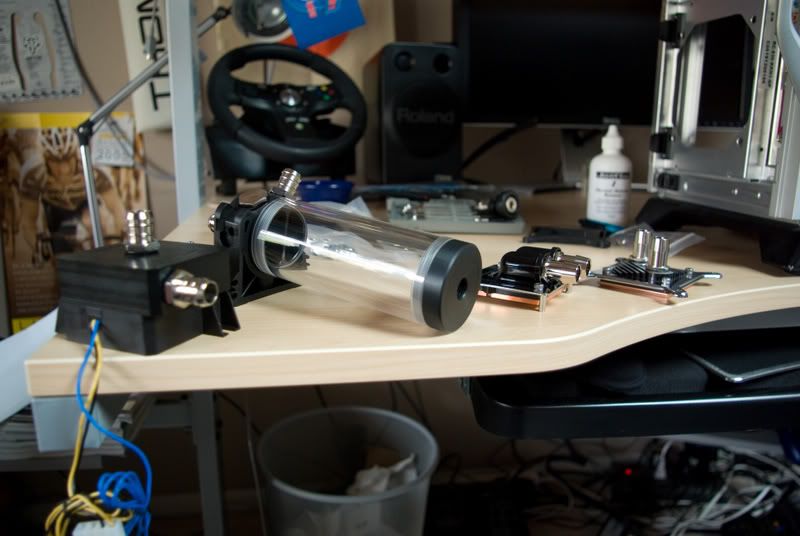
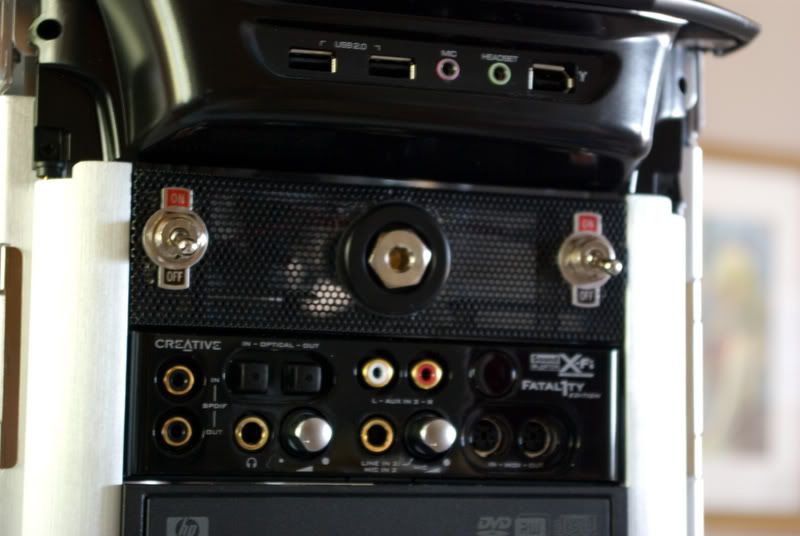
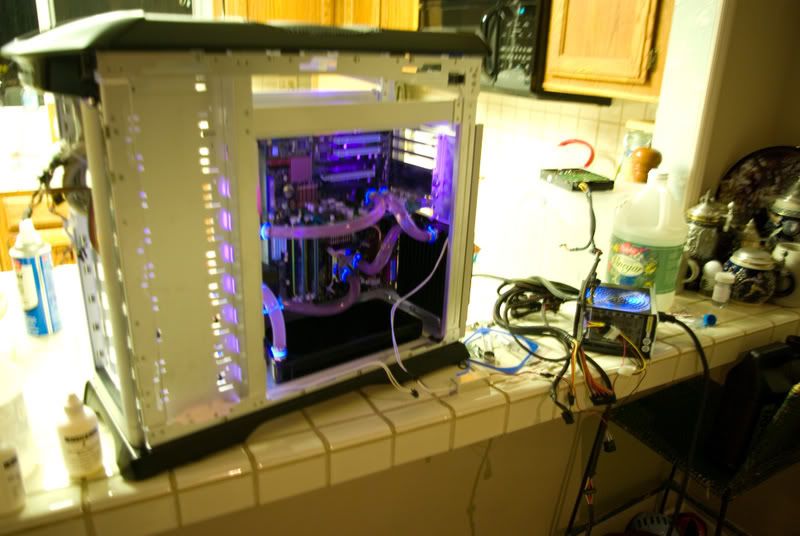
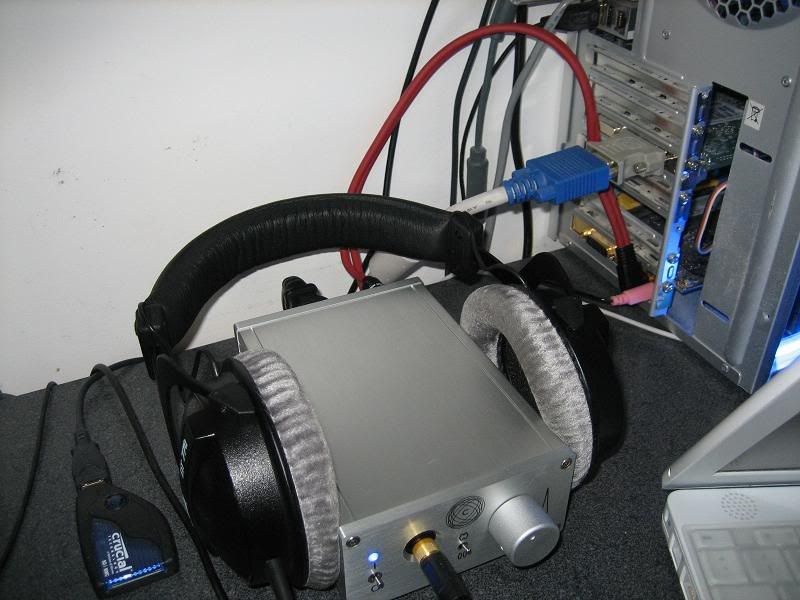
The whole command center
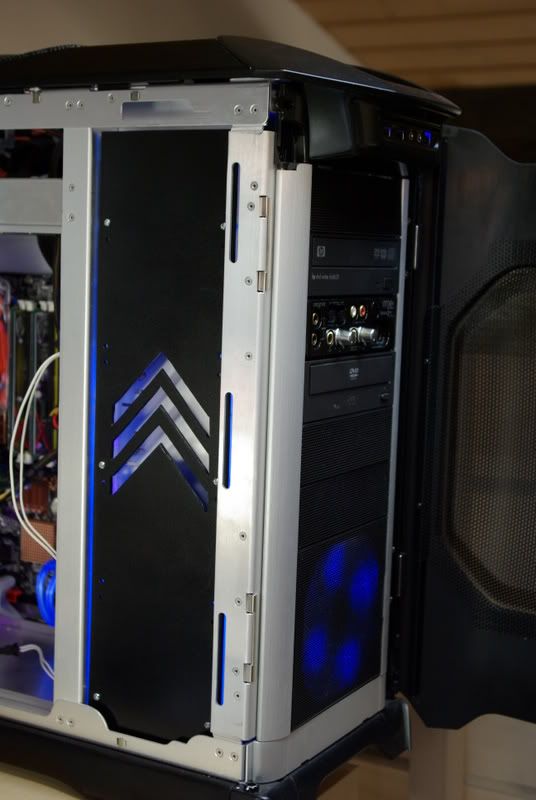
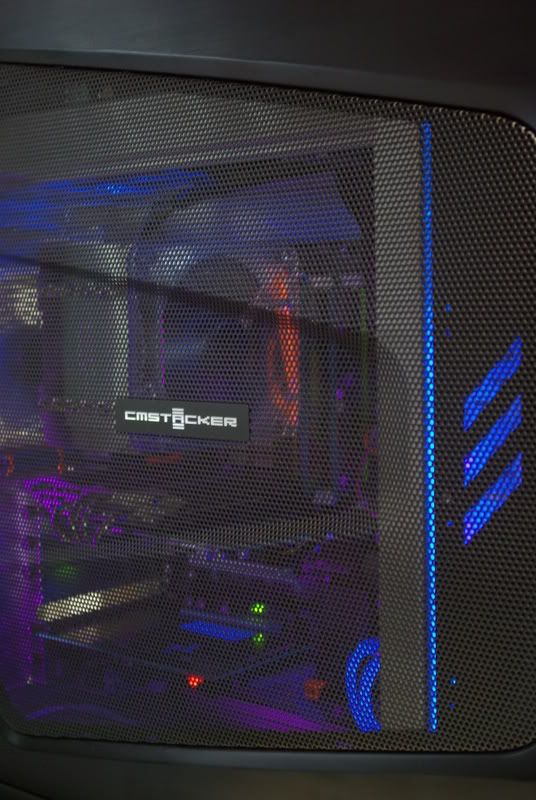
front of the case
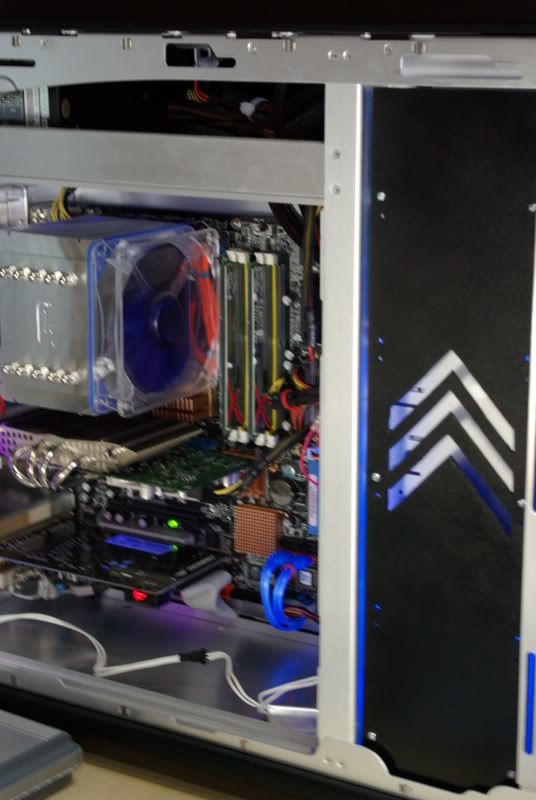
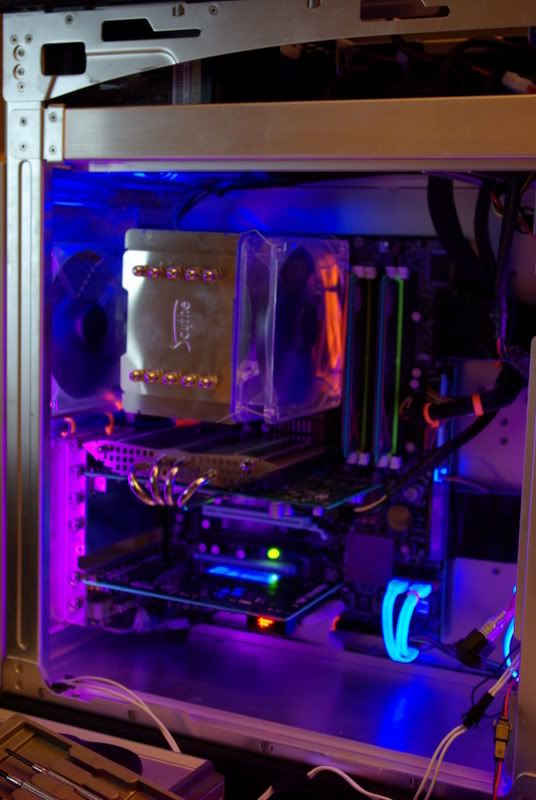
side views
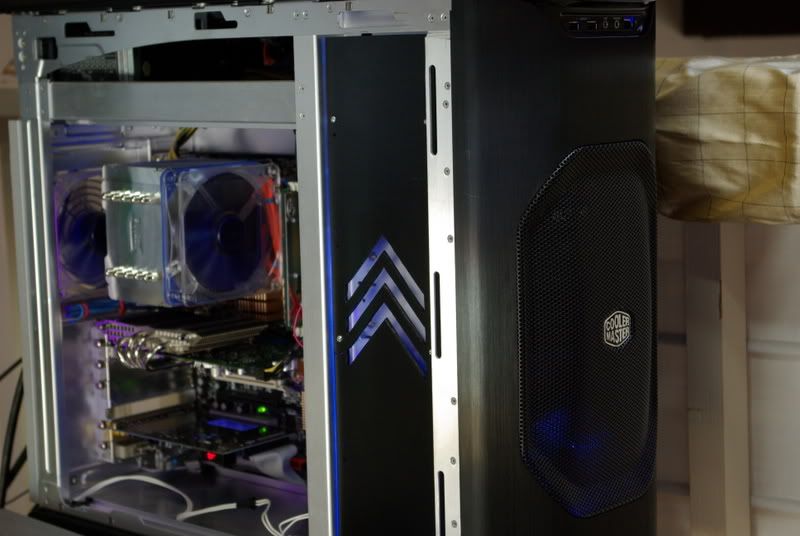
night side views
And now for the start of the project:
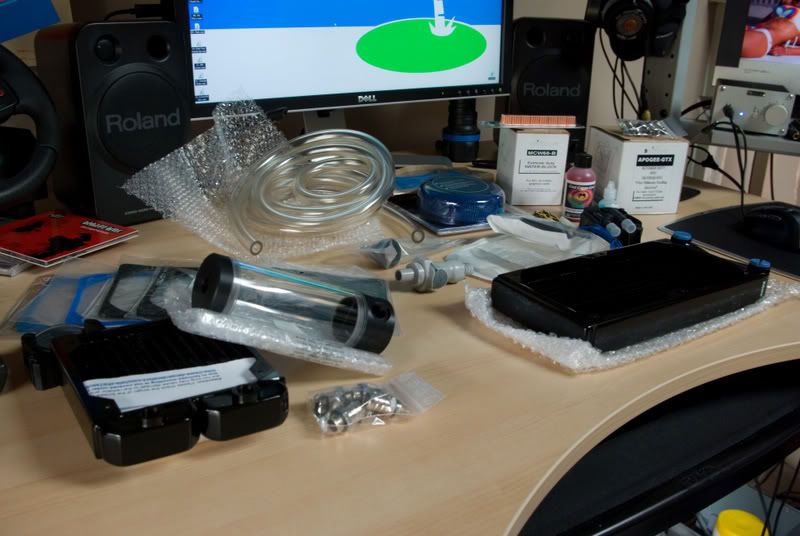
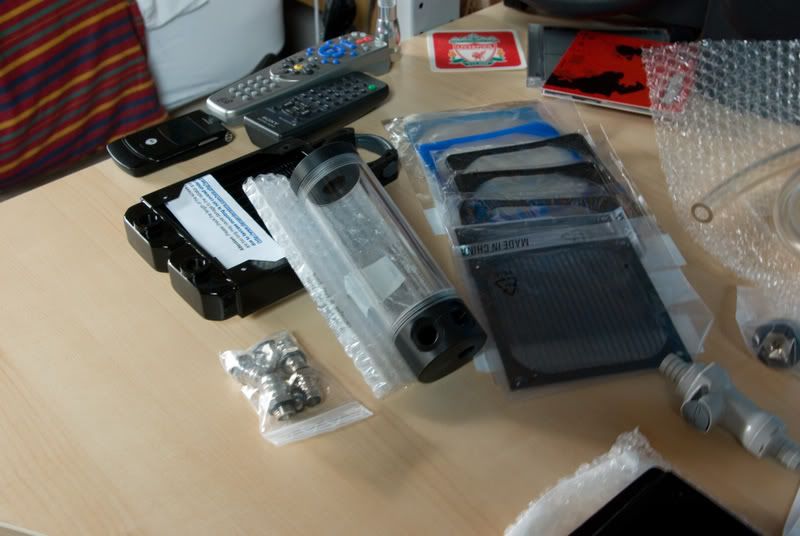
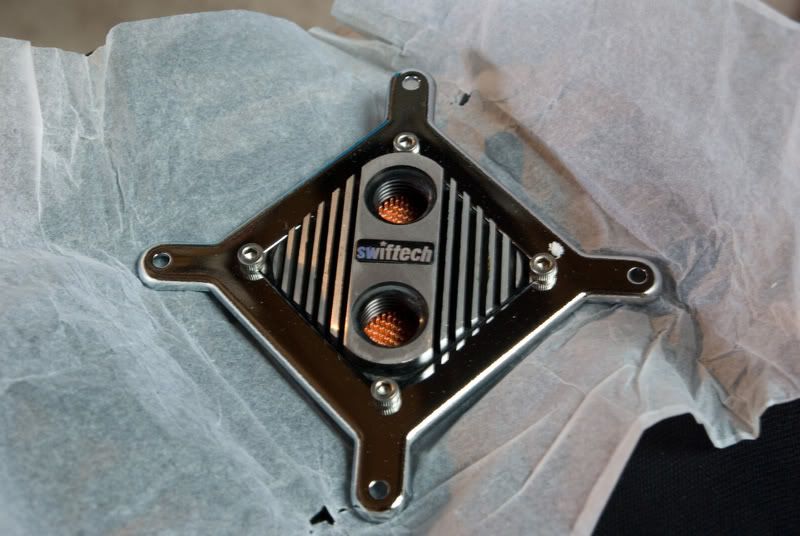
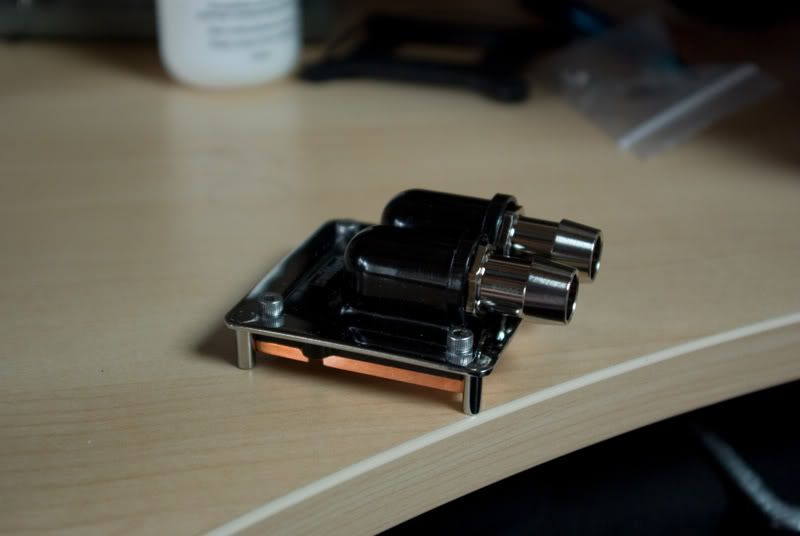
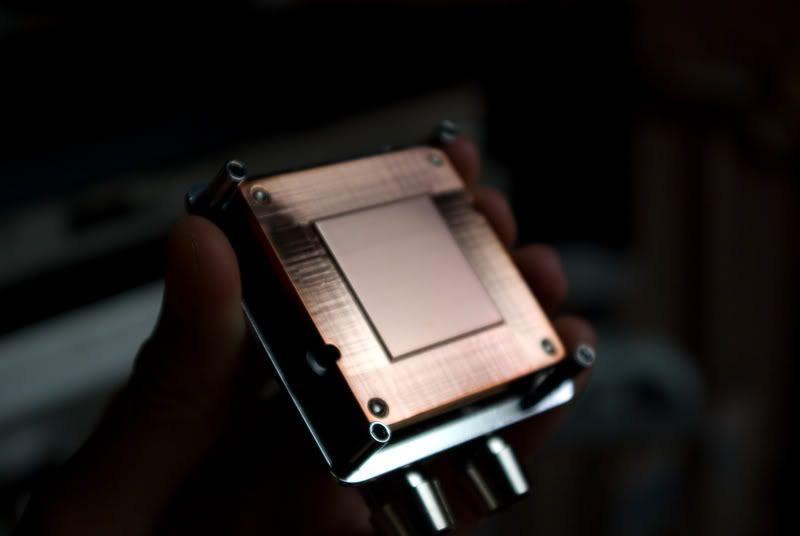
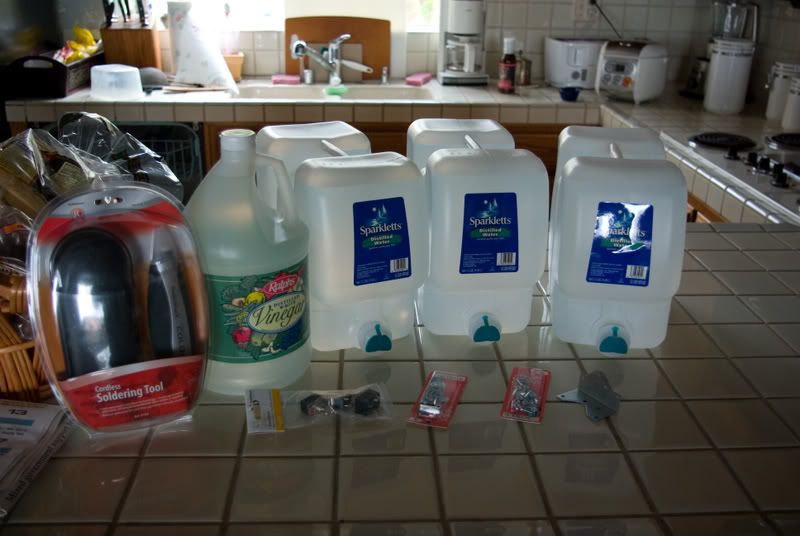
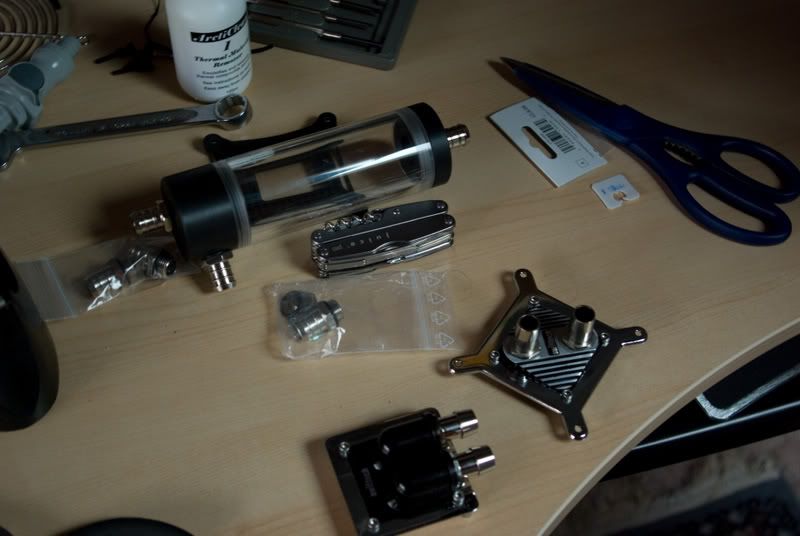
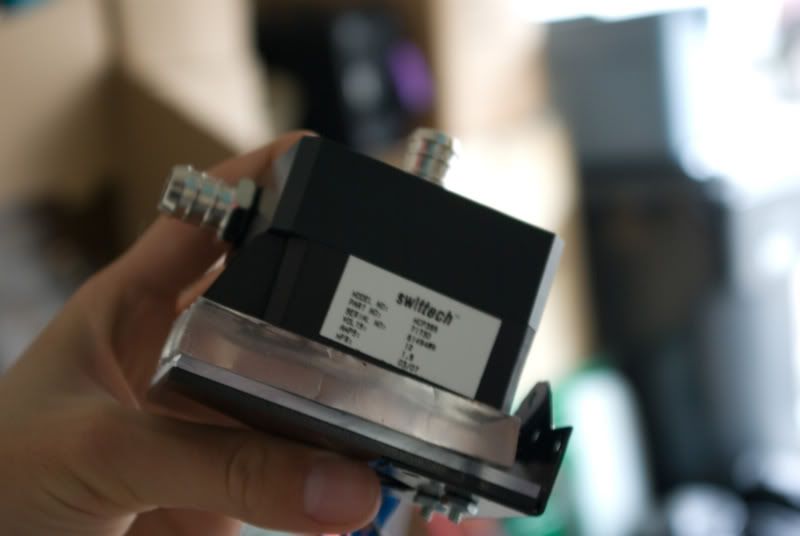
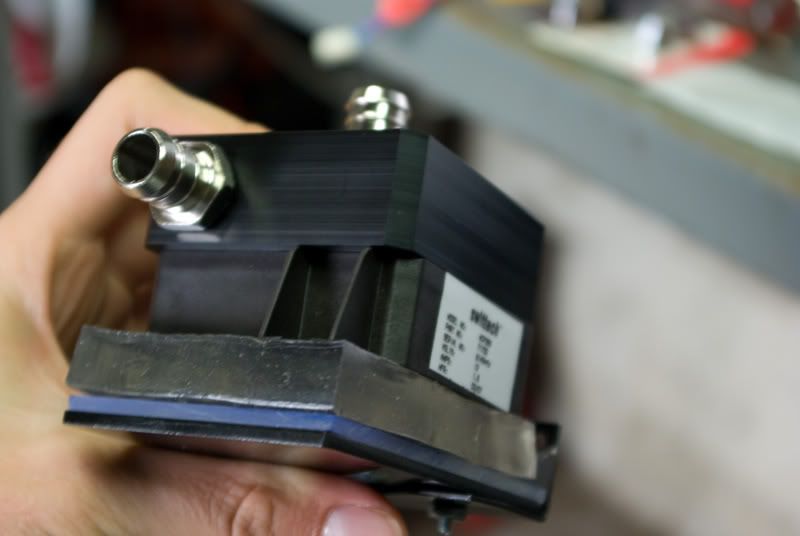
Parts
I will find out later that I forgot to install the O ring under Petras Top.....lol
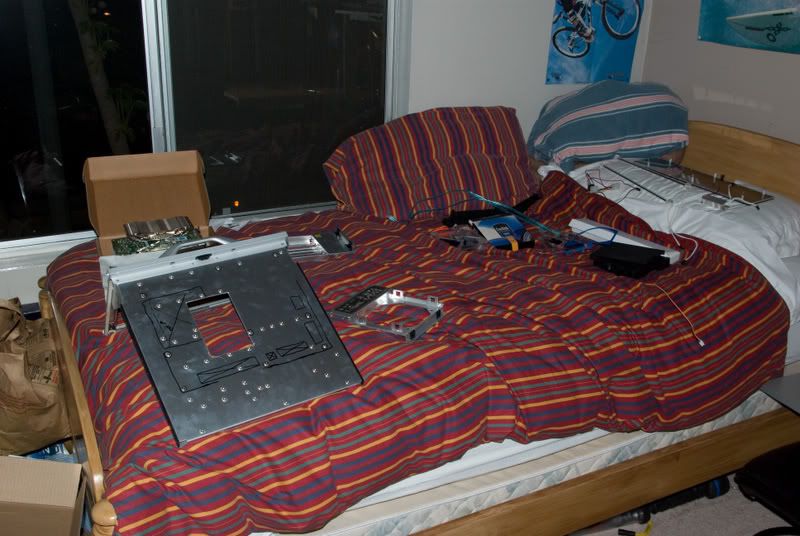
Here you can see some random stuff from the case and my mobo tray with marking for holes to be cut
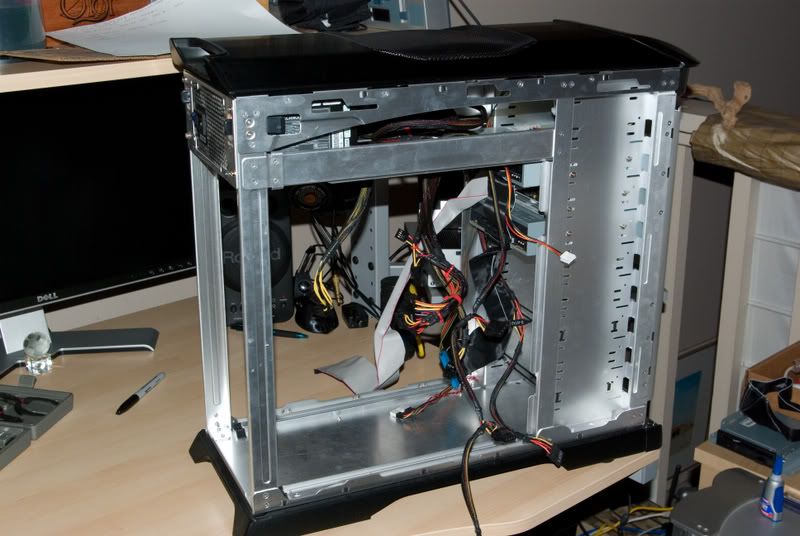
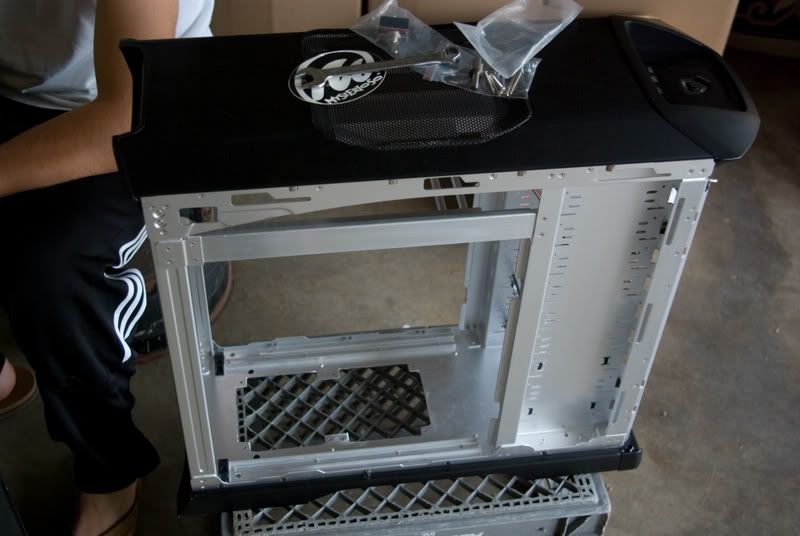
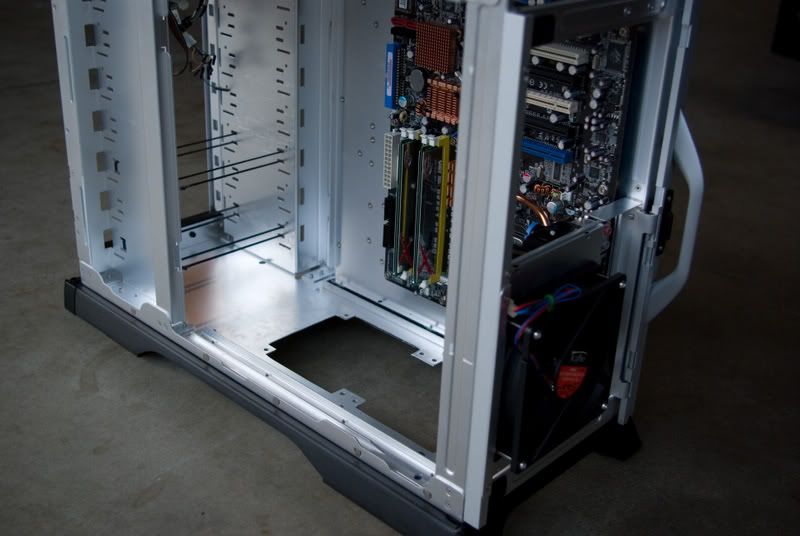
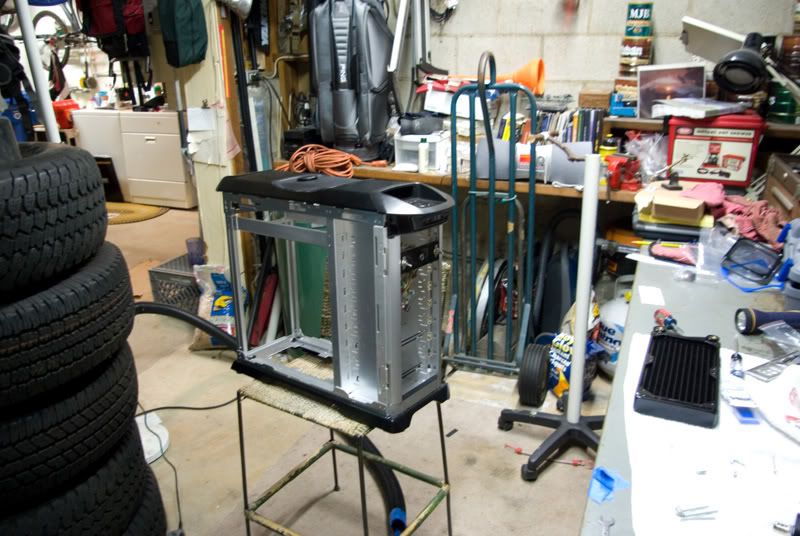
The case almost stripped completely
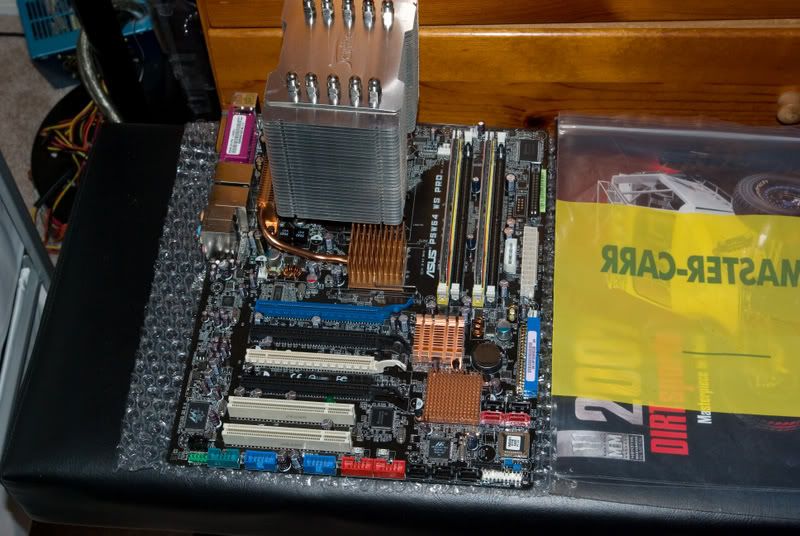
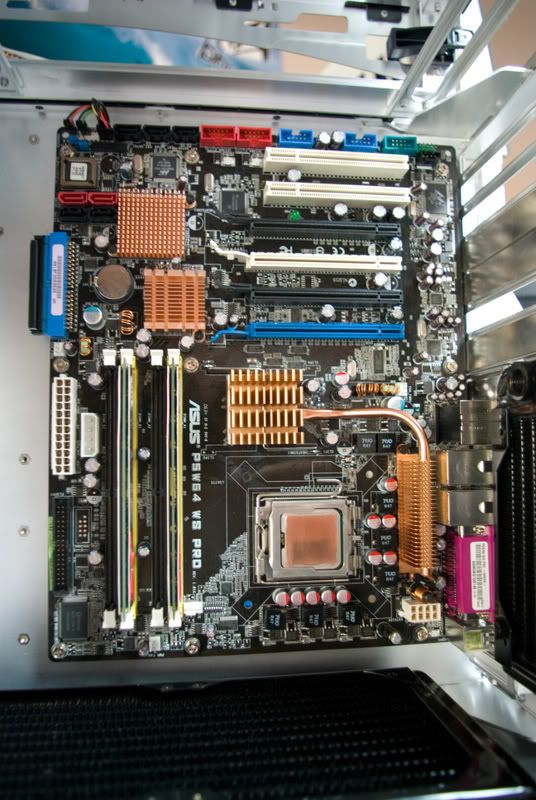
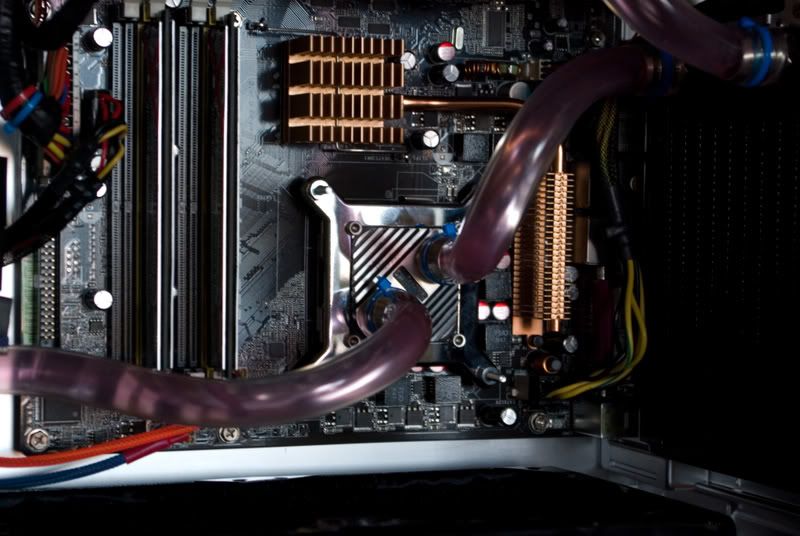
my motherboard chillin
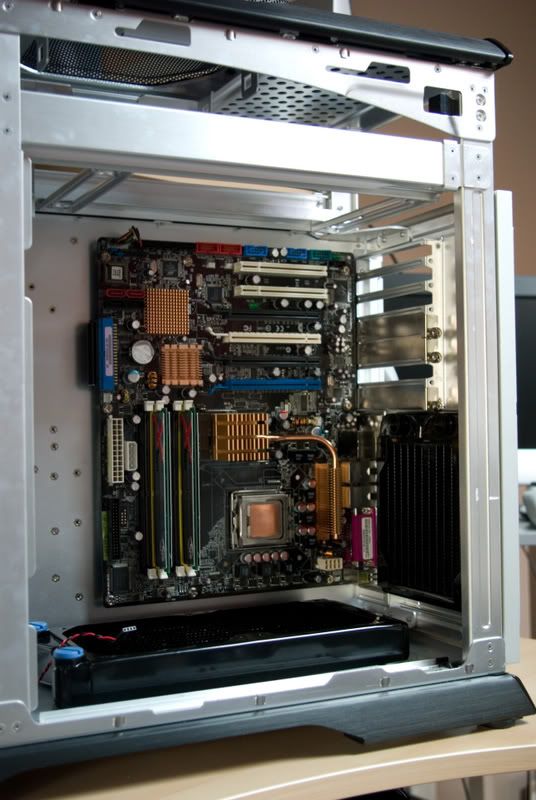
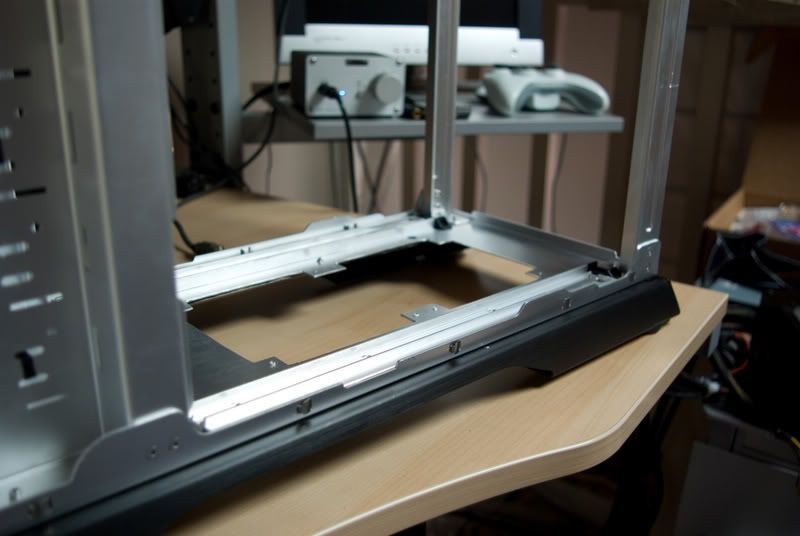
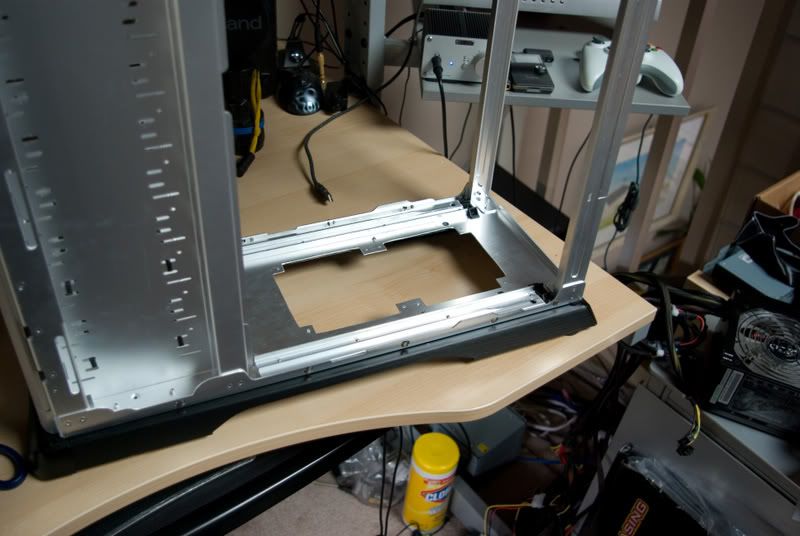
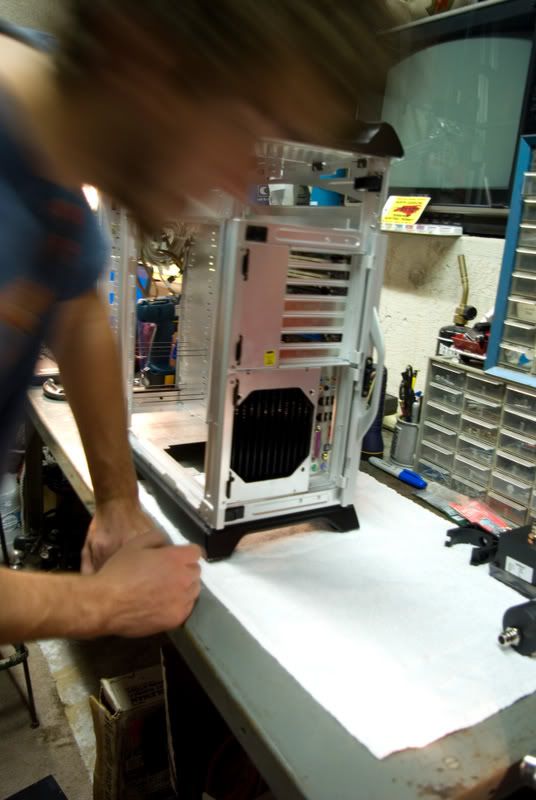
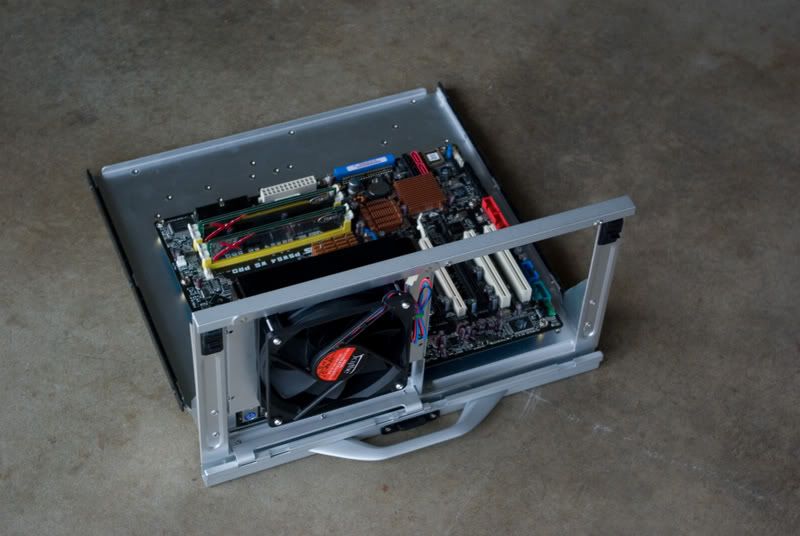
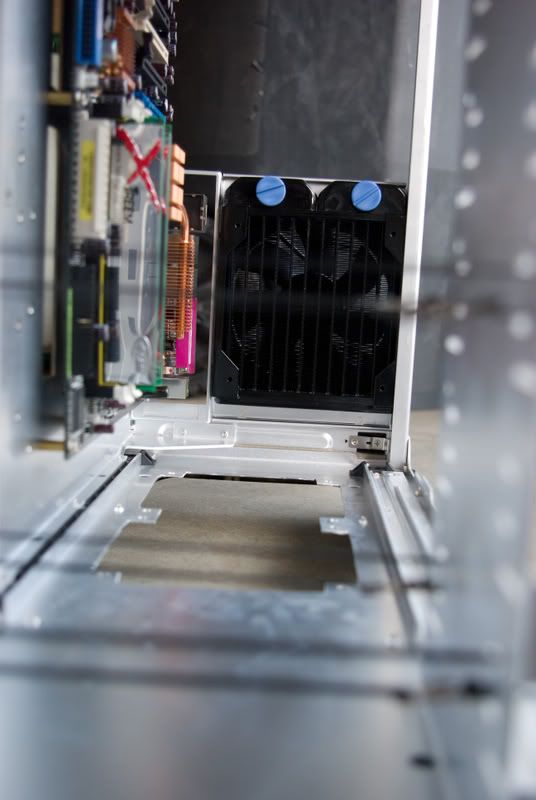
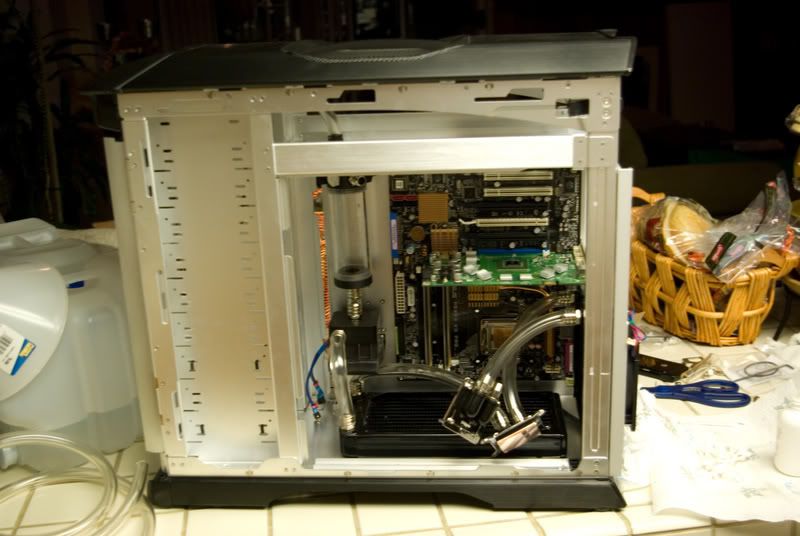
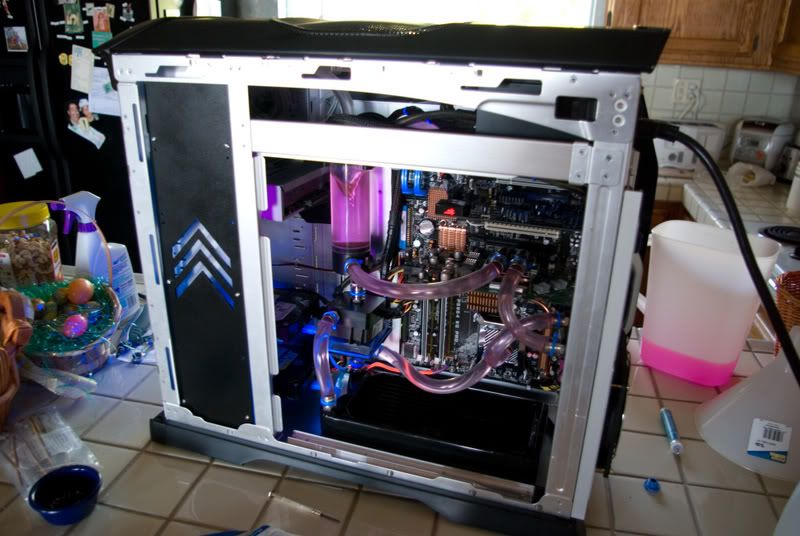
I inverted the case and layed rads in just get a feeling for how its going to look.
Reasons for the inversion: One, my mobo has only 2 regular pci slots, one being occupied by my x-fi. If i had left the case in its normal orientation the airflow from the fans pushing through the rad into my case would almost be 50% blocked by the sound card. It was only a half an inch or so above the rad, even in the higher of the 2 pci slots. So by inverting I now have the airflow coming in from my double rad blowing over the cpu area, mosfets, and even the northbridge. Later or I will purchase the thermalright mosfet coolers which will be in the direct path of the airflow, and an aftermarket nb cooler. Good stuff
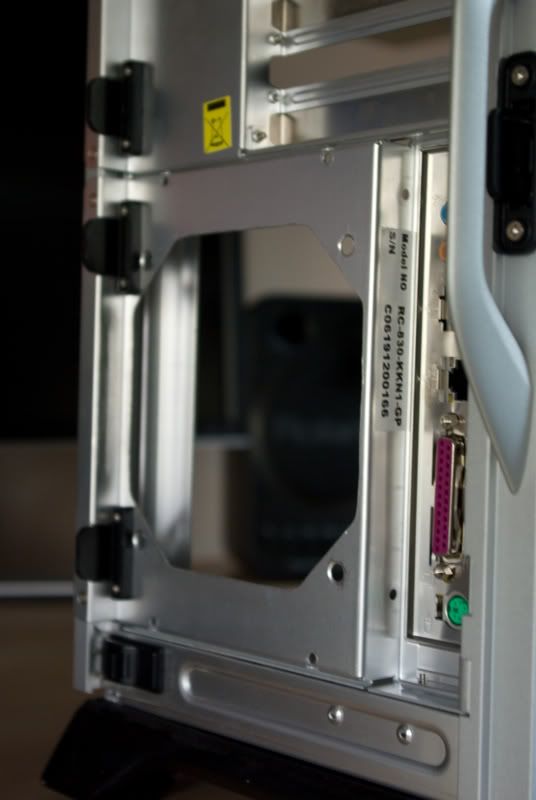
for the rear rad plus the fan to fit (rad is inside the case, fan attatched outside) I needed to remove these 4 metal brackets similar to the ones preventing lage psu's from being installed. They just are there to hold those black plastic fan holders that come on the side panel air flow crazy thing. So i just drilled out the rivets and was left with this
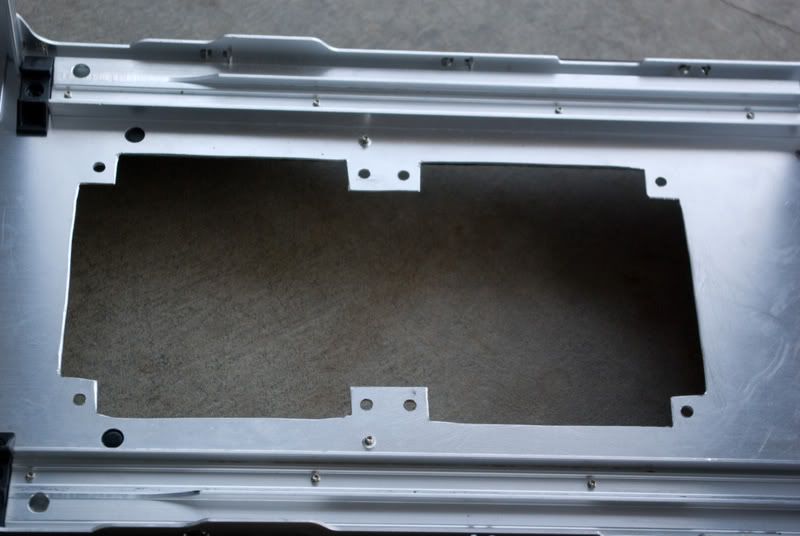
First off, I apologize to all children and women for my friends engraving skills, he's a sneaky one lol. Anywho, here you can see the holes cut out on the motherboard tray. Sides sanded with a handfile and sandpaper. All cuts are done with my dremel btw.
Taping a template for a Dual rad and using my handy dremel I got this
my holes where off my +/- a couple mm for each one so I had to widen the holes to accommodate
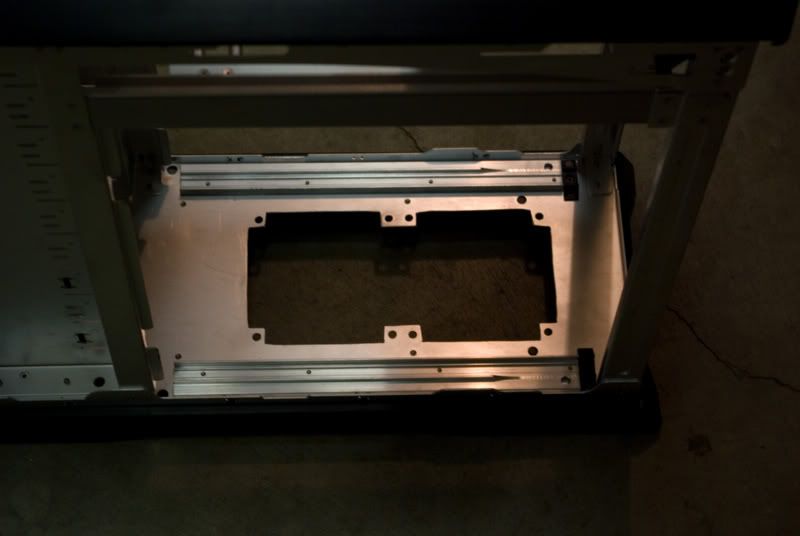
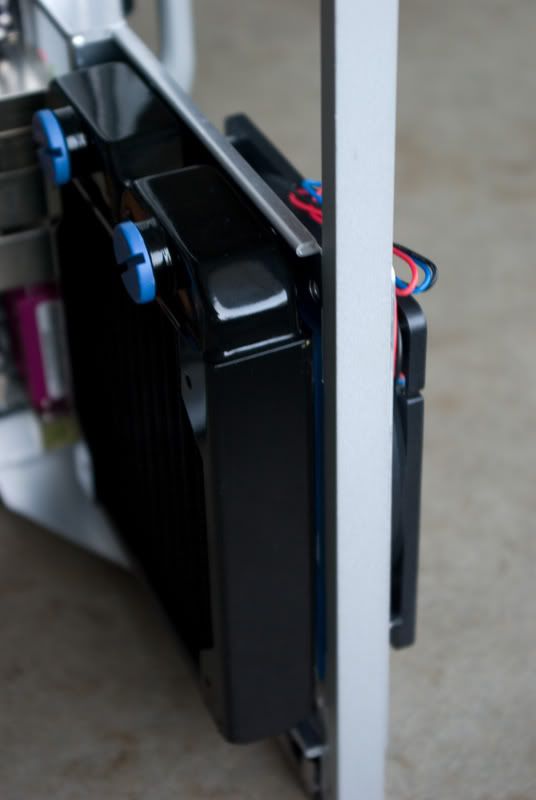
The Single rad fitted in with screws and a fan. I also put a uv blue gasket between the rad and case, and a black gasket between the case and fan. You can kinda see them in the pics. As simple as it looks it was kinda hard to get right. The rad holes were then off of the fan holes already predrilled in the case so me and my friend were stumped for awhile (hence the various confused pictures of us) but we got it done. Maybe it was the fact that it was 2 in the morning....
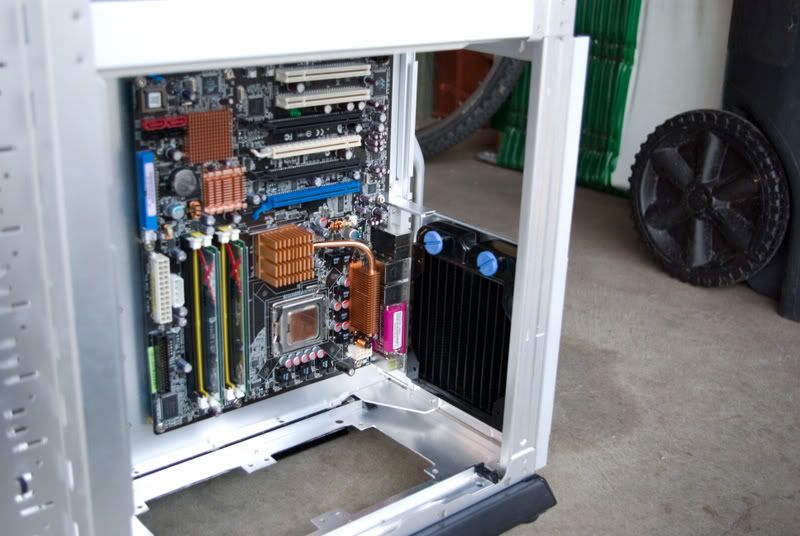
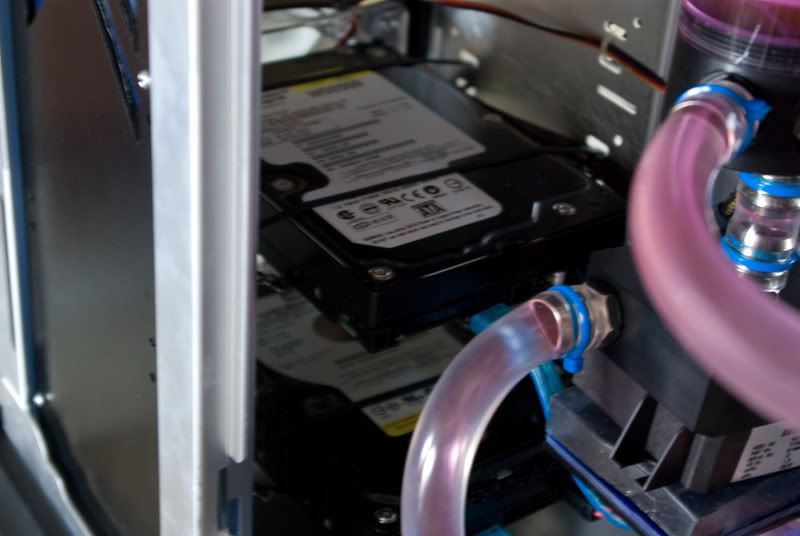
view through front and my method of hd suspension
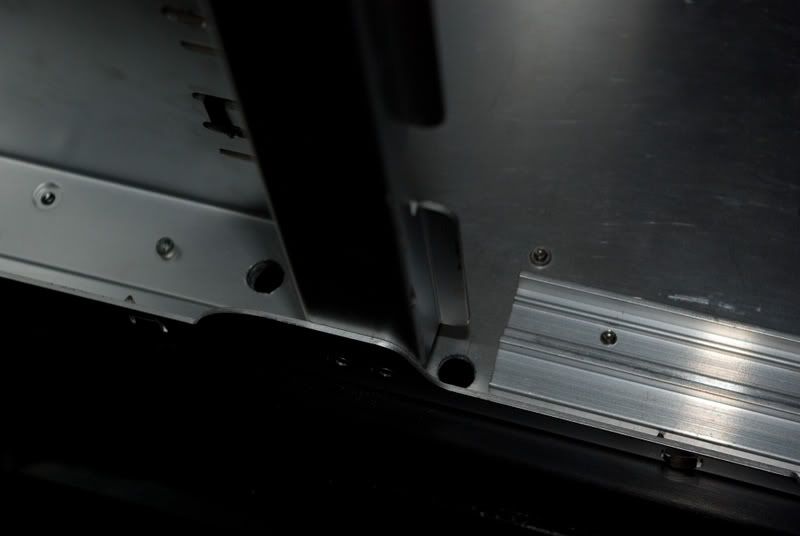
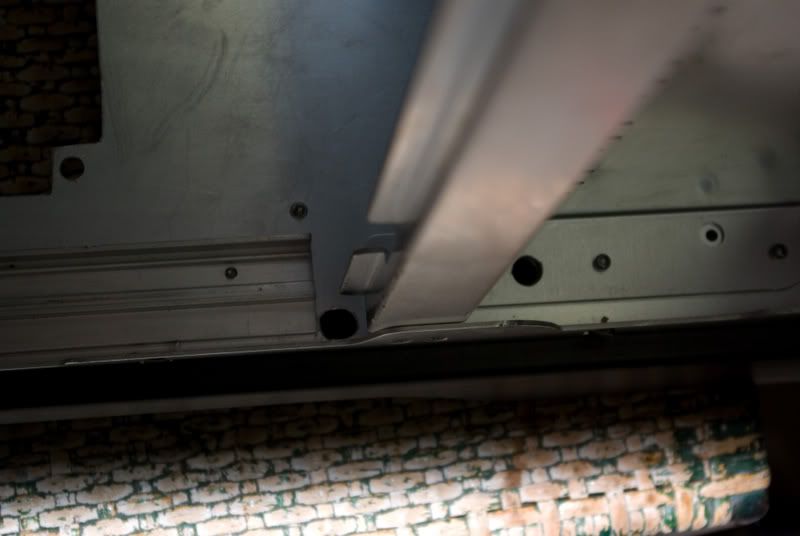
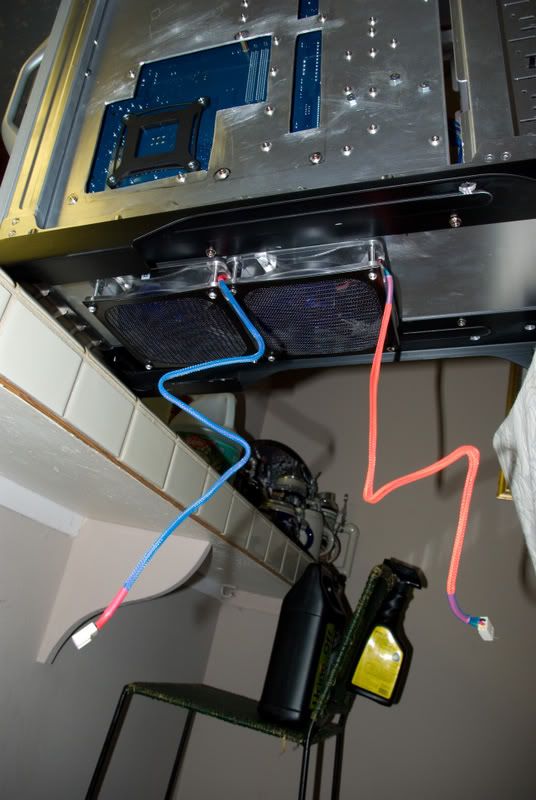
There needed to be a way for wires to go from beneath the case, where the fans are, up to the power supply, so on each side of the drive bays (in case I ever revert it back to a normal layout) I drilled holes big enough for 3 pin connectors to fit through. Its kinda hard to see but...
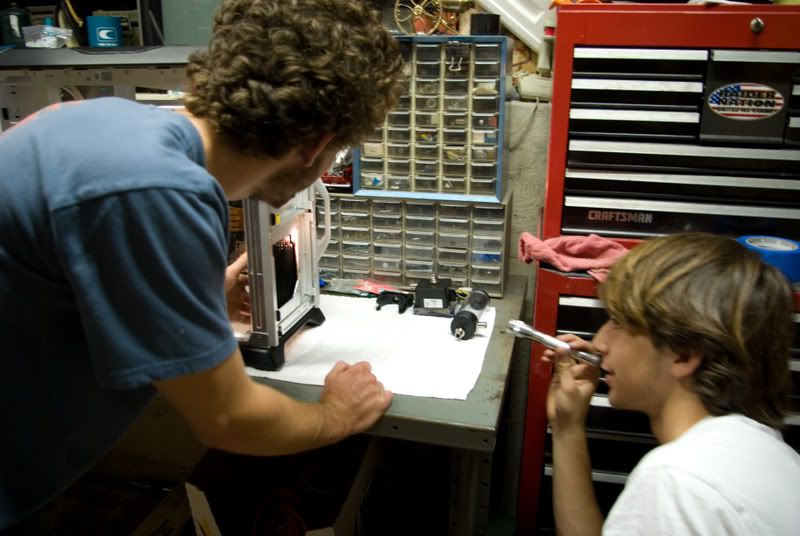
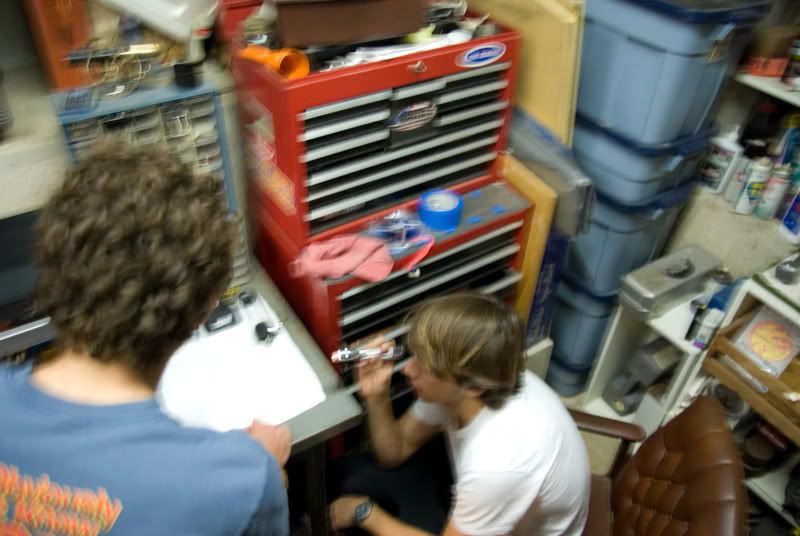
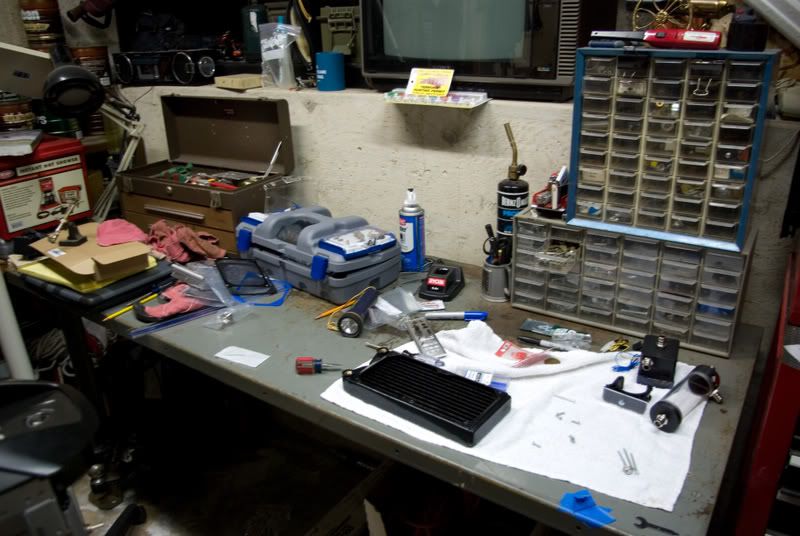
And here is the work area in the garage. Many hours of hypothesizing occurred in this concrete hobbit hole hahaha
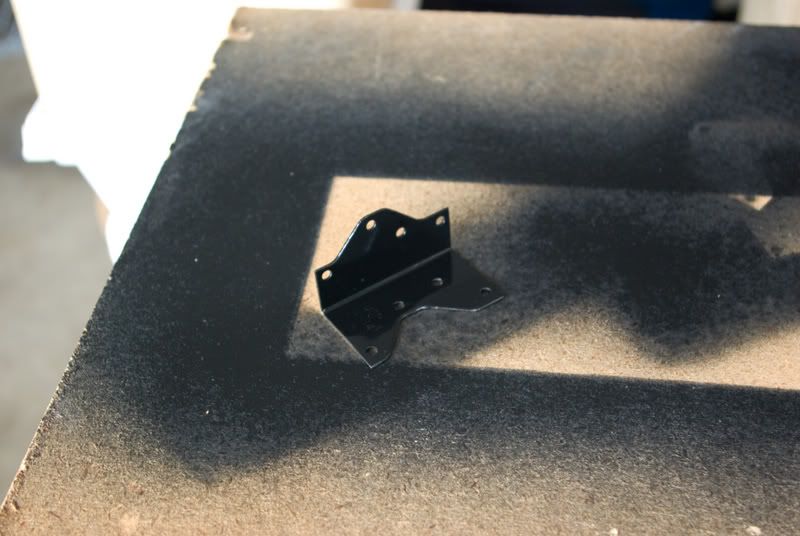
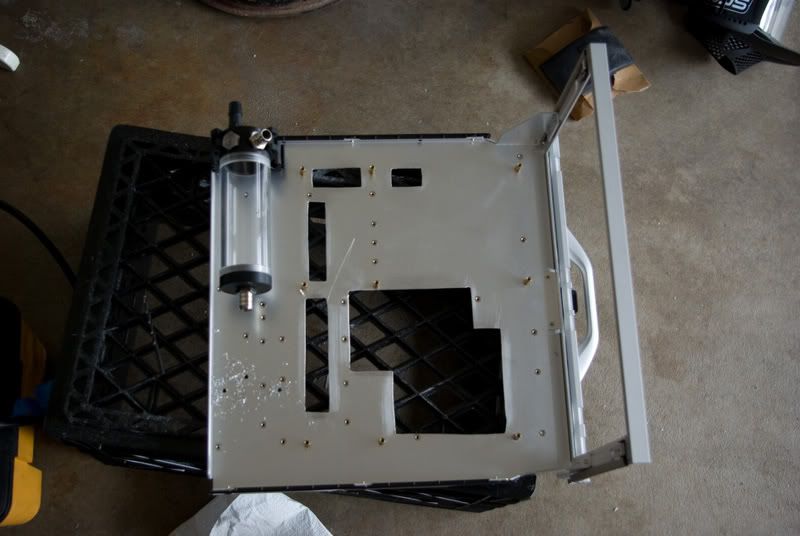
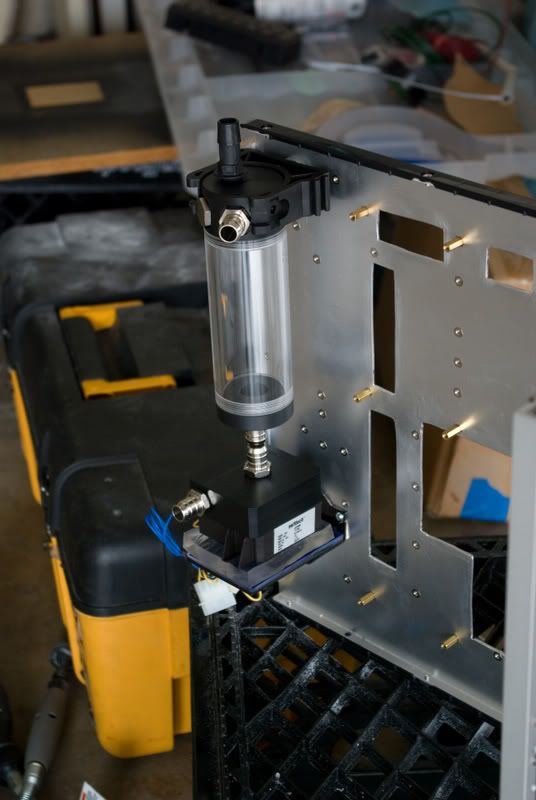
Now for the res and pump placement. First off for the pump. After going to a hardware store I found a perfect little bracket...
...that I spray painted black. Now that will mount to the motherboard tray with acrylic sitting on top to hold the pump. And on top of that would be some Petras gelllly stuff.
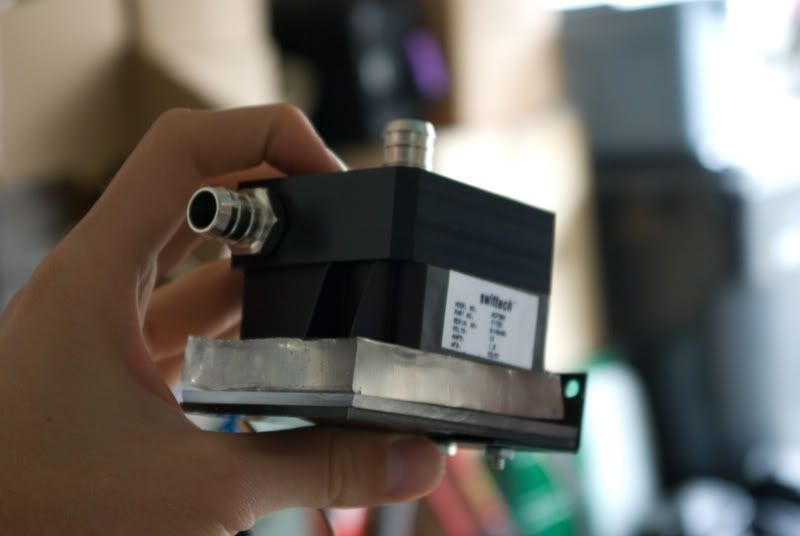
I cut out 2 pieces of acrylic the exact same size that would match the pumps width and depth. One piece was just clear acrylic, I painted it black and that was the bottom black layer you see above. One top of that is a piece of UV Blue acrylic. And on top of that is the Gelllly stuff. So my theory was that it would hold the pump and when light hit it the uv blue would glow and at the same time light up the Gellly stuff.
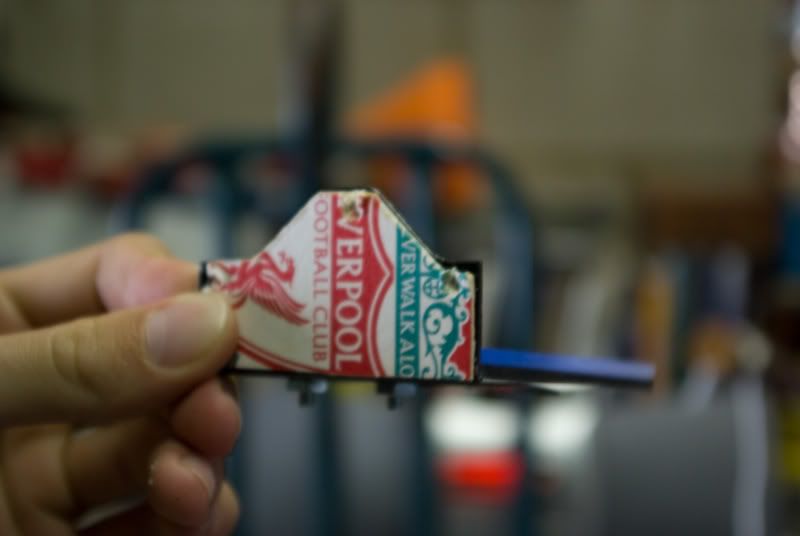
The pump bracket need a little padding though between it and the motherboard tray so what better way than salvaging a liverpool coaster! I needed a little liverpool somewhere in the case!
So with that done, I drilled the holes in the motherboard tray and also a hole for the clip of the EK multioption res to mount to. I am going to have the res feeding directly into the inlet of the pump so I had to make sure the bottom barb on the res was right above the pump. I achieved this by a complex washer setup lol. Turned out fine though
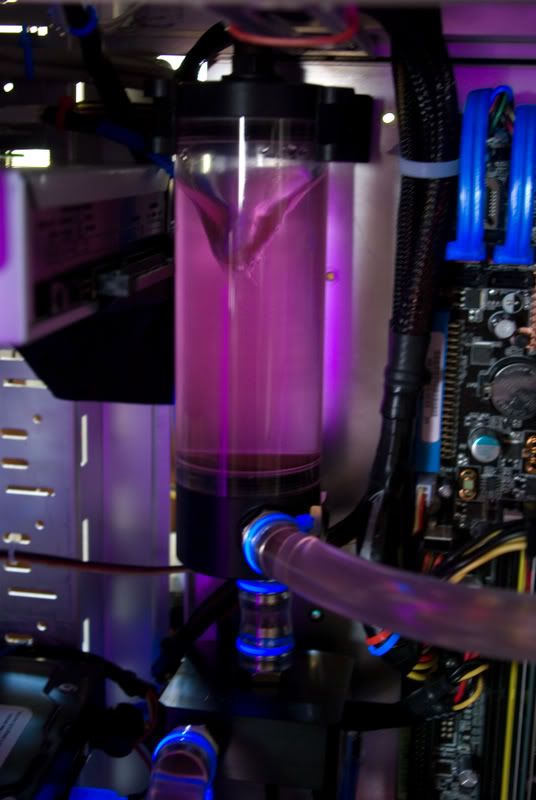
And yessss the res is upside down. Not thinking it would make that much of a difference, I installed it that was because it just fit in the case better. Soon though into my first leak test I realized that there shouldn't be a vortex of bubbles feeding into the pump, and the tubes shouldn't be white with bubbles as the pump ran. There are no pics of this because it was a dark time in the process of my build hahaha. Thanks Quoc for help with this issue!
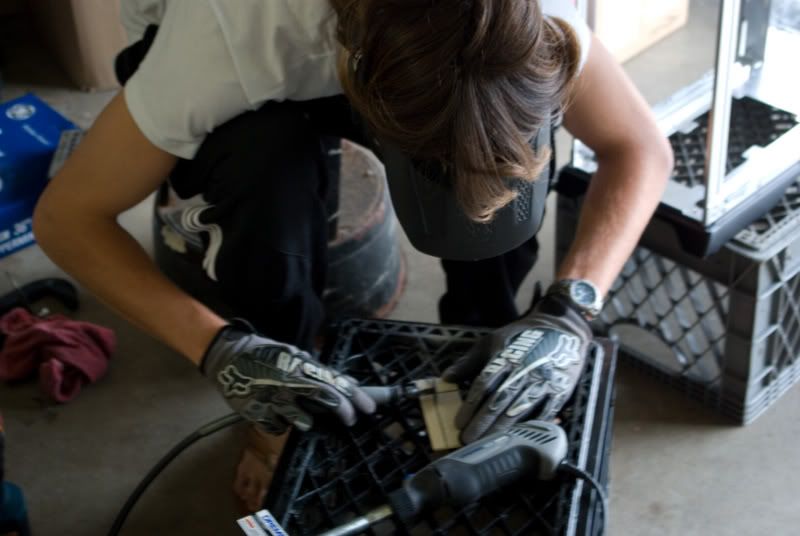
Pic of me cutting acrylic in my motorbike gloves with an Airsoft mask....
Many have told me that wielding a dremel wearing this attire is somewhat scary but I beg to differ.
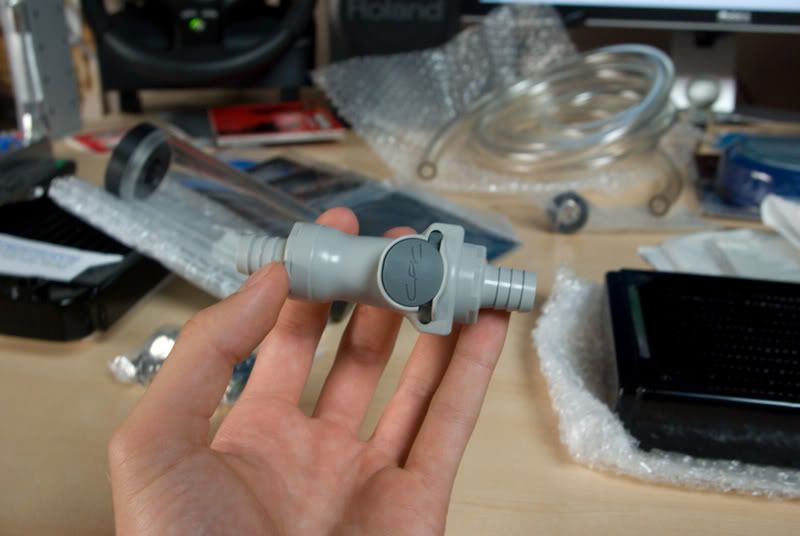
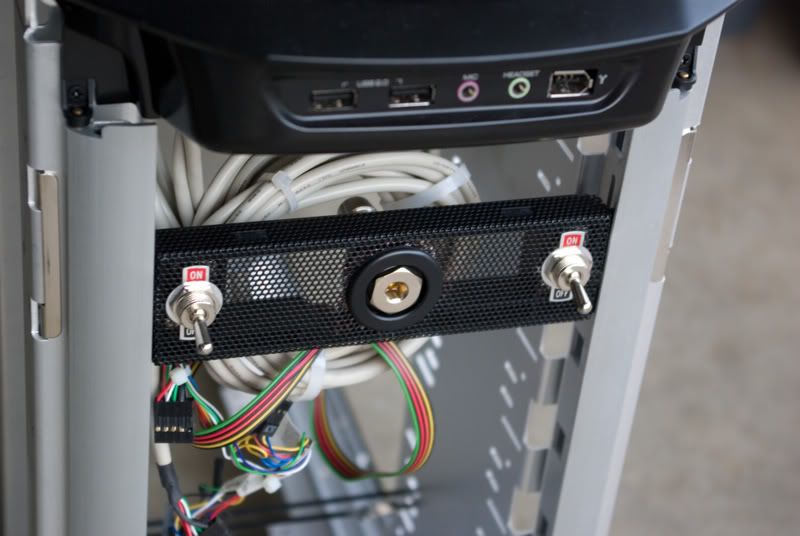
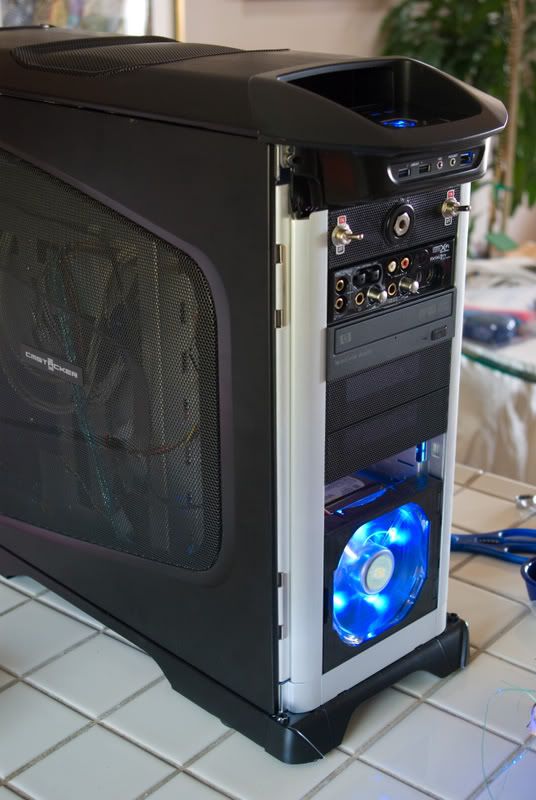
Me and my friend also had an Idea for the Fillport. Originally my plan was to put it just the top of the case somewhere with the quick disconnect inbetween the top of my res and the fillport, that way I could take out the whole loop without undoing tubing or anything. However my friend thought that I should just do it somewhere in the front. So I went with that and combined it with some switches I bought from Radio Shack that would control the lights....
Good stuff
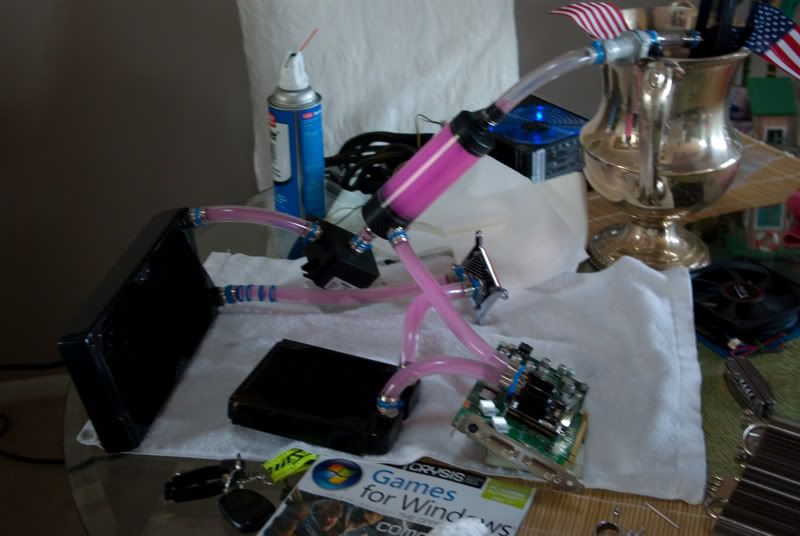
The next phase was migrating to the kitchen for tube fitting and leak testing.
Here is the tube fitting ordeal
It is about an hour after this that I attempted the first leak test. Problem number one was a leak from the pump. As I mentioned earlier somehow the O ring that goes in between the pump top and bottom was not put back in. And I was completely oblivious to this, so when I started seeing water coming from the center of the pump, not the barbs, I got that sinking feeling in the stomach that makes you want to wake up as if from a nightmare. Luckily though I somehow took it apart and saw a faint ring from something....and bam! O ring! So i ran upstairs to my room where i stashed the stock top and found the O ring stuck in its little groove. There we go! Just let the pump dry completely and more leak testing.
Then the res issue. Advice for any noobs out there. If there is a massive vortex of bubbles in your res feeding right into your pump, somethings wrong. If your tubes are white because of bubbles when your pump is running somethings wrong. If you spend 4 hours trying to but still cant Fu&#ing bleed the stupid freaking loop, somethings wrong. If your pump makes you say “wow this thing is much much louder.....wtf why is this so loud”, then somethings wrong. So with some hypothesizing with Quoc, I flipped the res right side up (Maybe Eddy actually made that little divider for a purpose...) and what do you know, its at least 8 times quieter, and bleeds in a manner of minutes.........it is true I did waste 5 hours of my life learning these lessons.
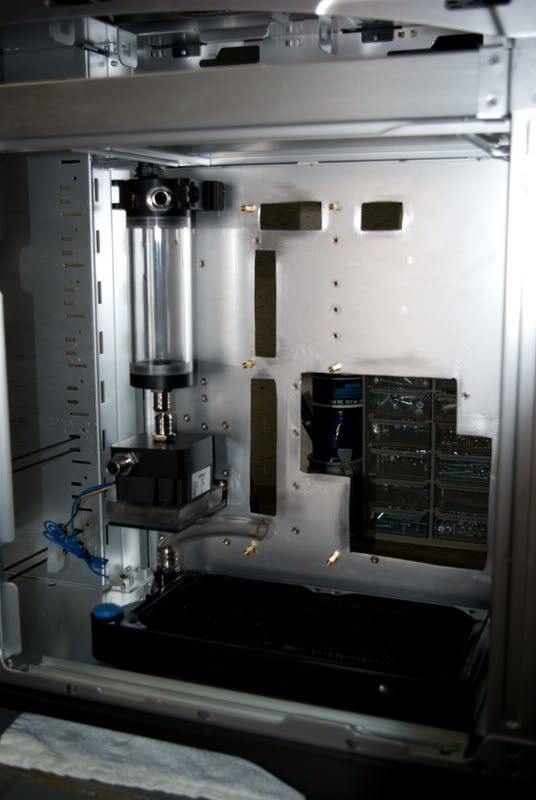
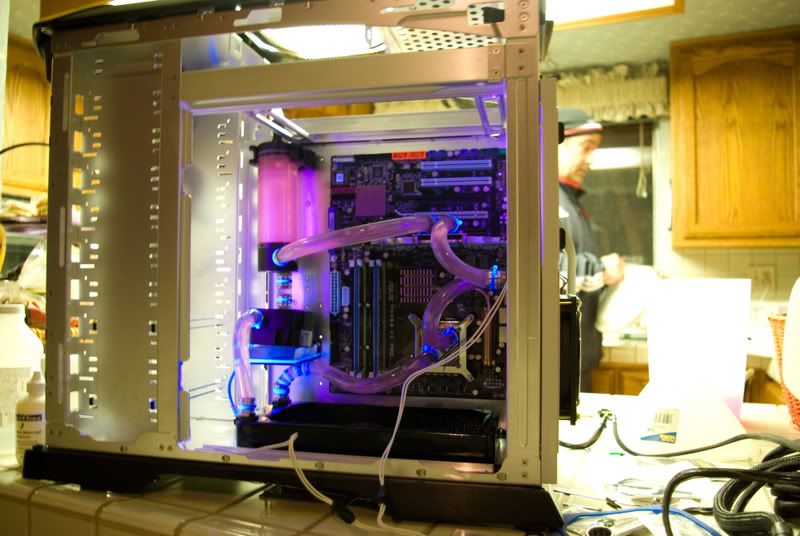
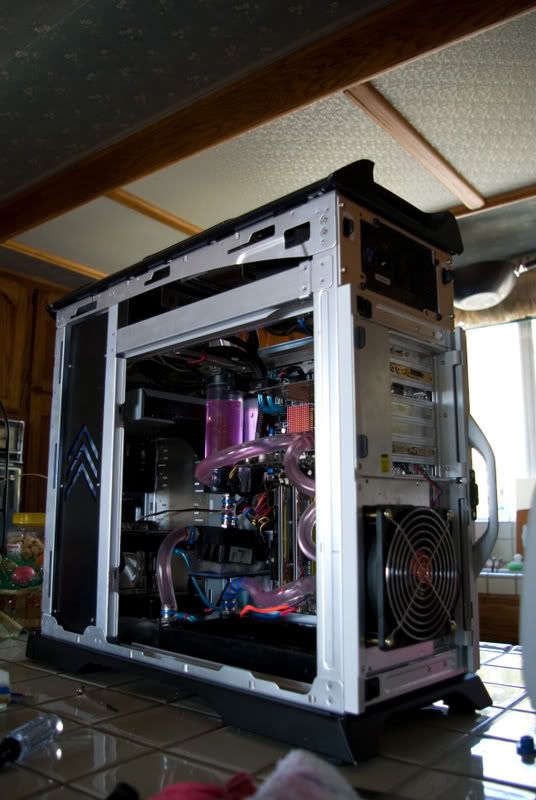
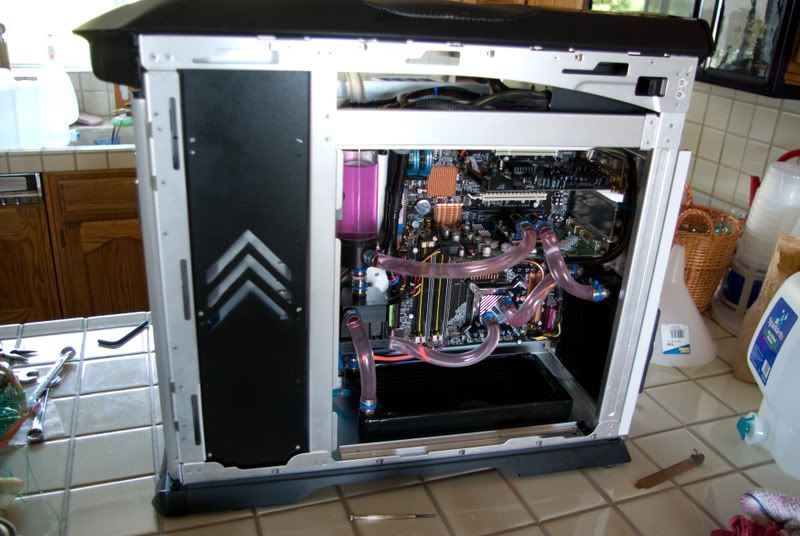
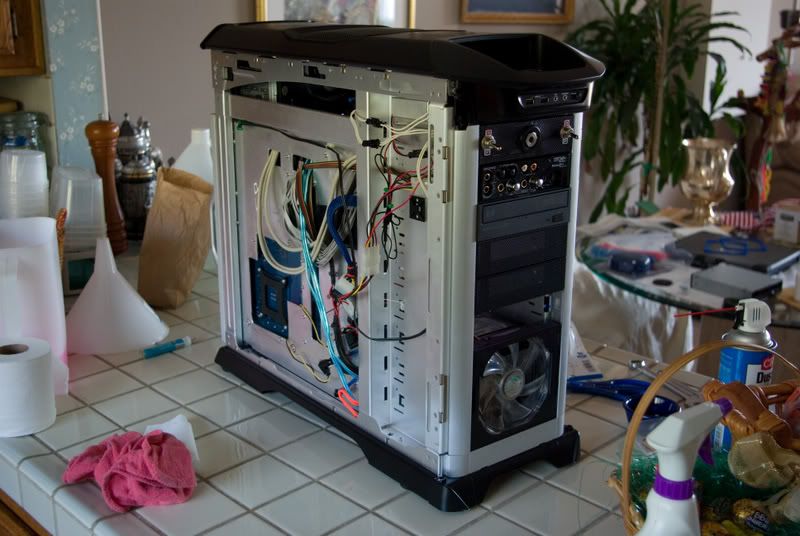
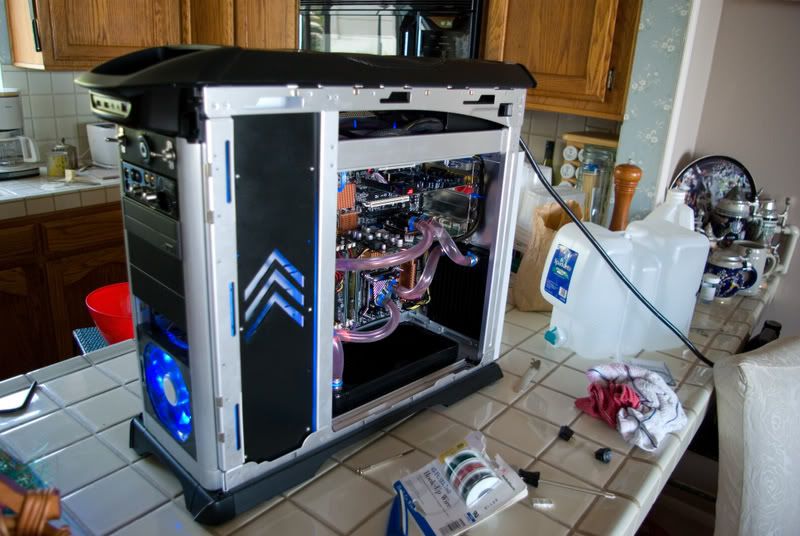
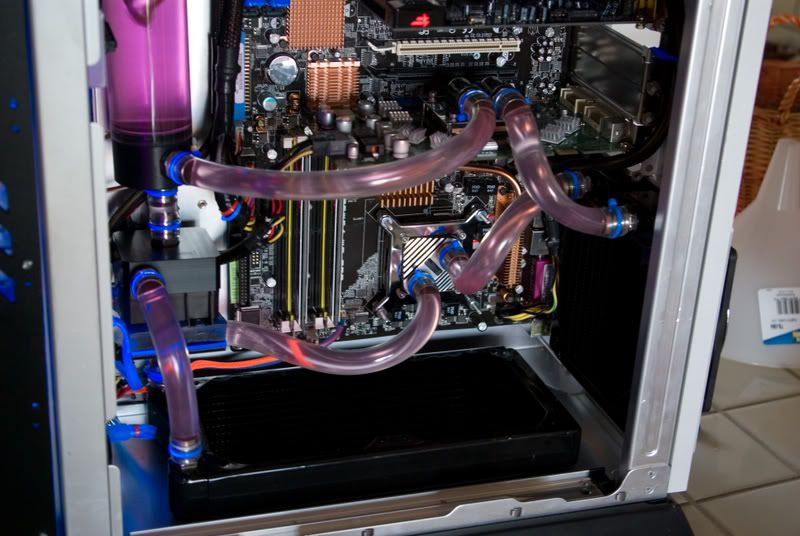
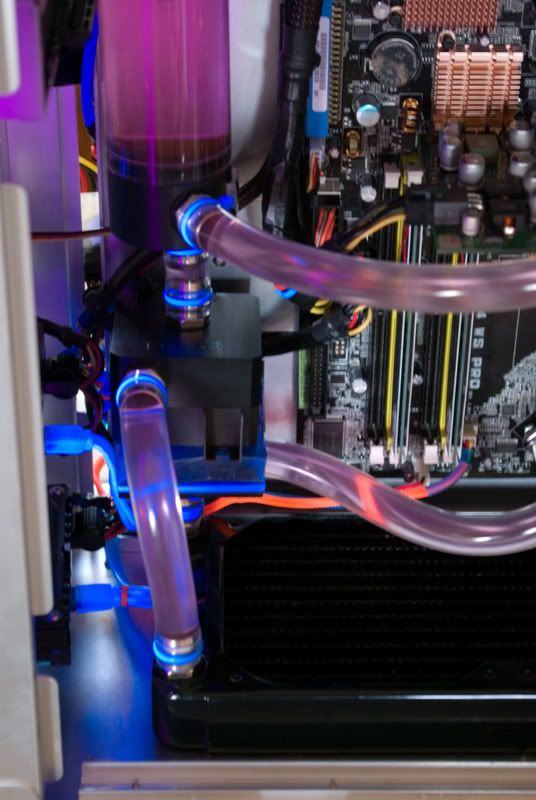
Well, leak testing is done and now time to install in the case
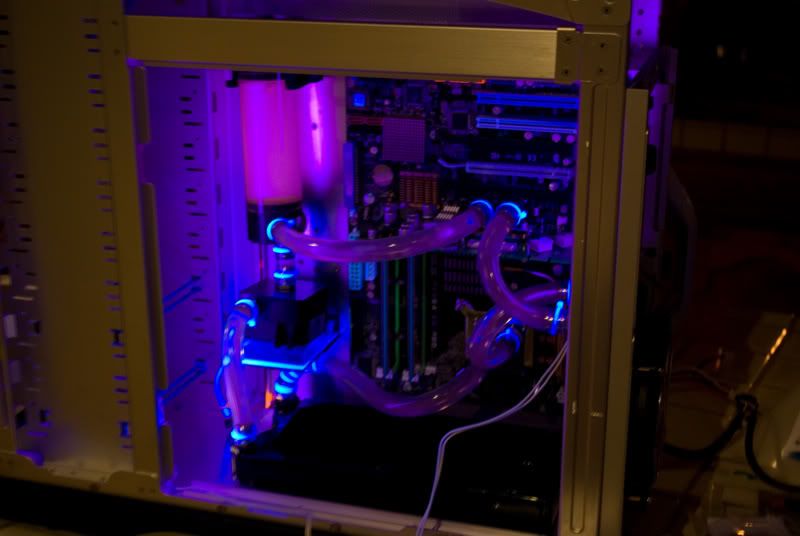
And I promise, the dye is much more orange in real life....I swear! Seriously though, its more orange, and the lighting in my case isn't so purple.
Notice how the bend under the pump is rife with zip ties lol. It worked though, no kinks
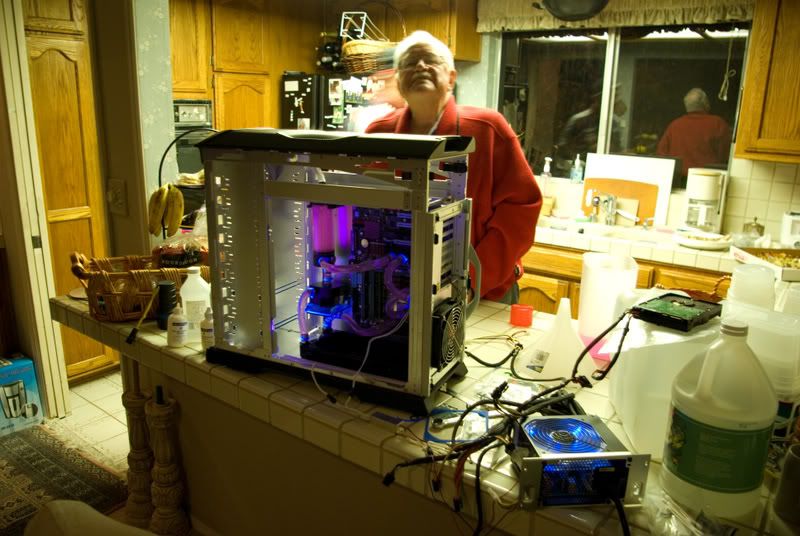
My grandpa posing for the pic lol
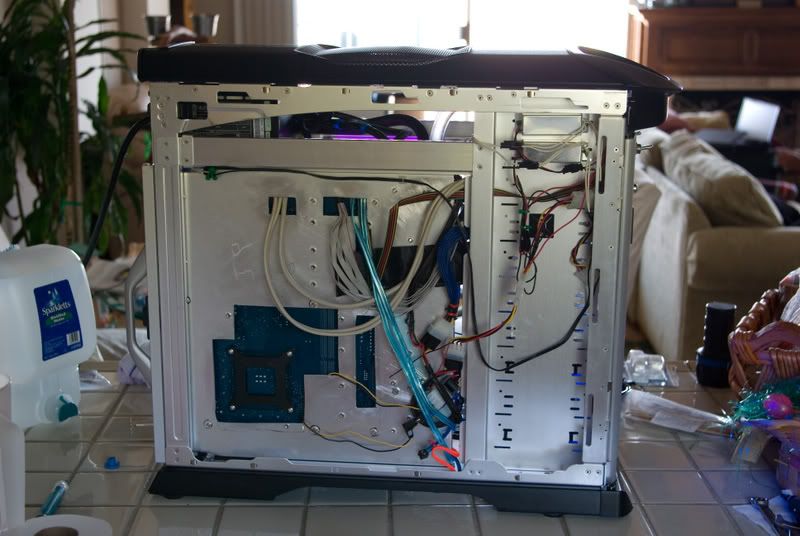
Phase 3........wiring the whole system up
K this is where I get obsessive. I like organizing so I do my best to nip and tuck wires everywhere I can. I stayed up till 5 in the morning doing all the wiring....im crazy i know....and my fingers absolutely despised me after.
All wired up
Fans on the bottom
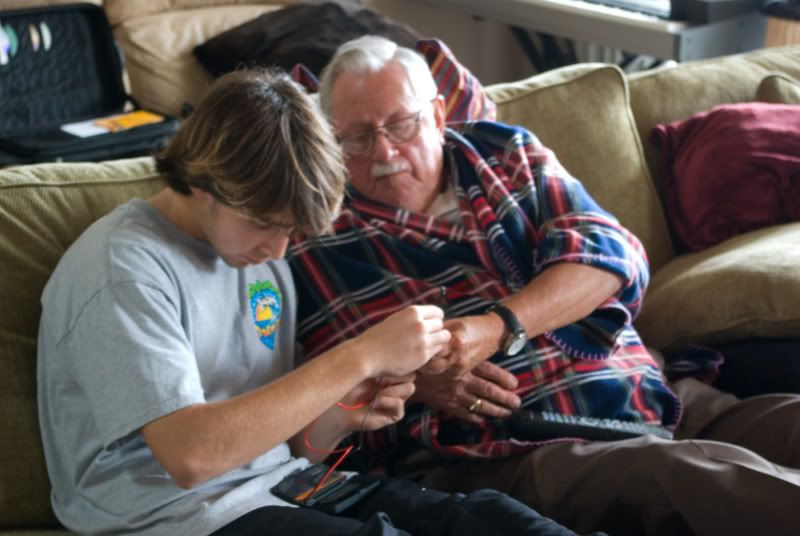
Grandpa helping with a multimeter question
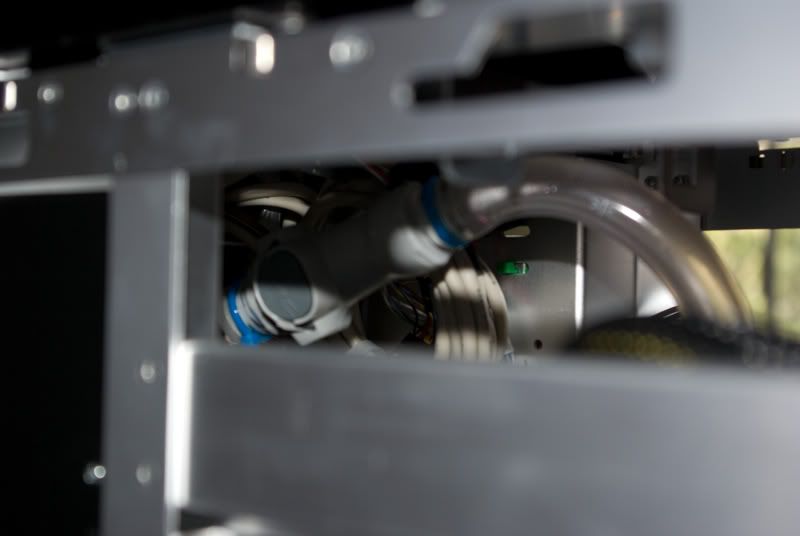
This is where the quick disconnect goes, still inbetween the top of the res and the fillport, but the fillport remember is in the front. Kinda hard to see I know
The mess on the other side.........ewwww
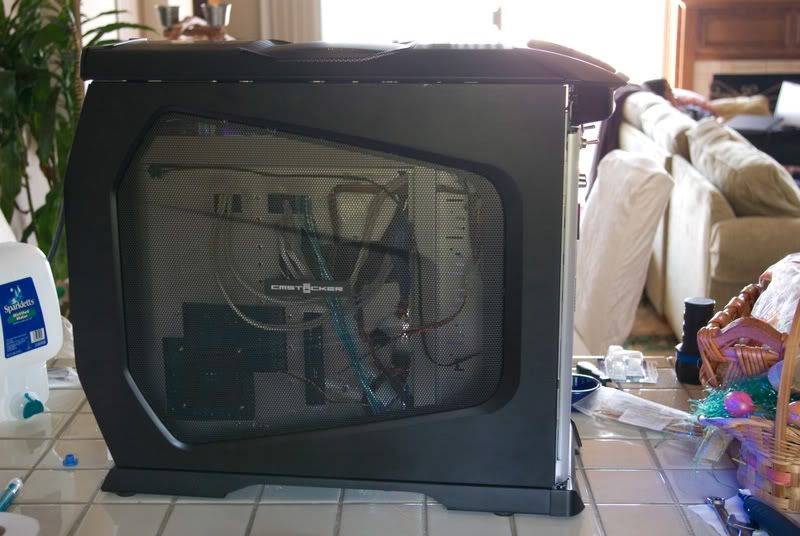
still fits
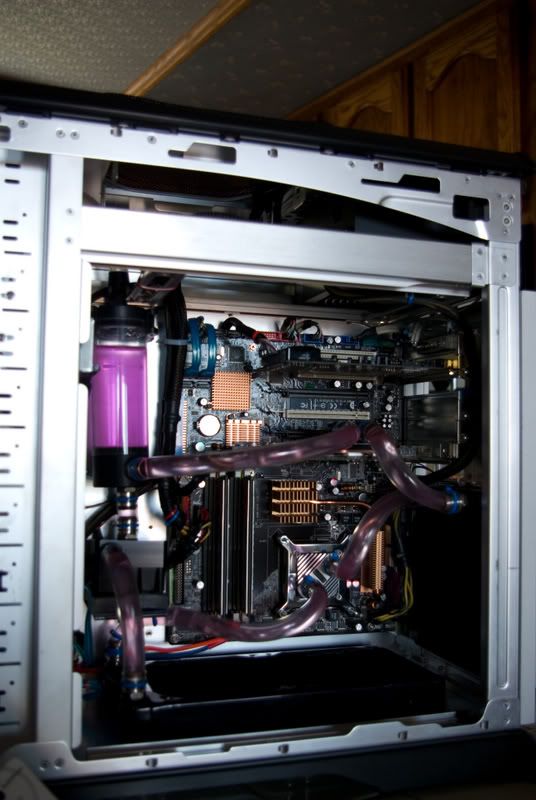
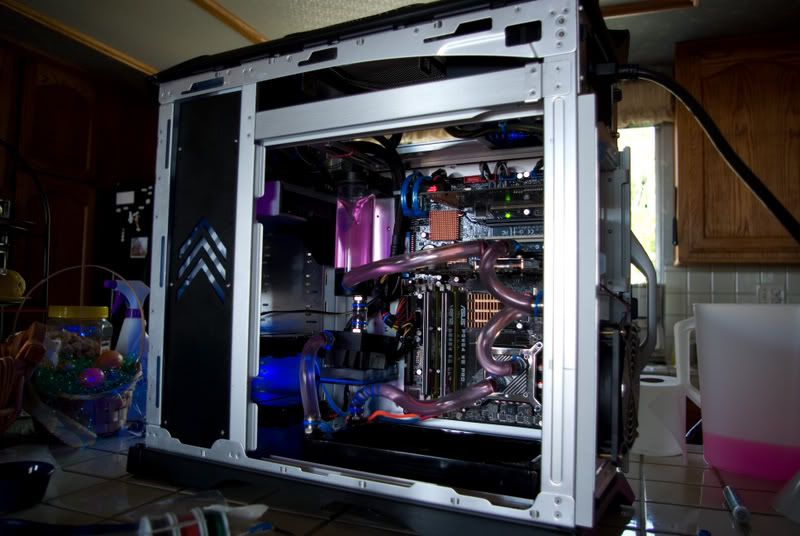
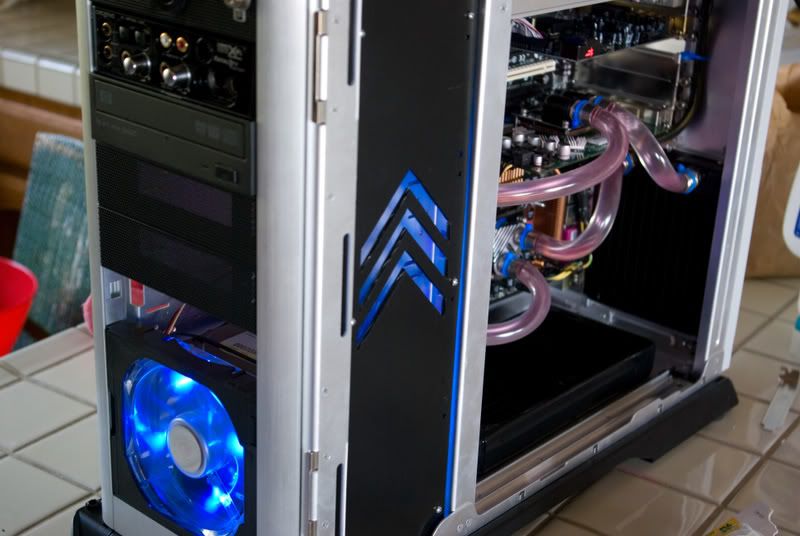
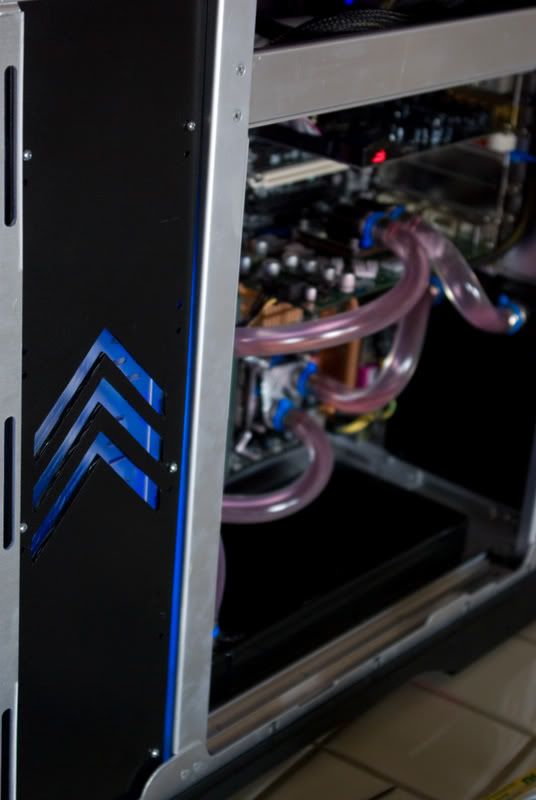
Some Glory shots
Thanks to this forum and everybody in it for advice and again thanks Quoc lol. Hope you guys liked it! Stay tuned for some pics of it back in my room and some good night shots.
BTW: Temps are pretty good I think. Hardmounting the GTX with a backplate off of an zalman 9500 im getting about 38-40 idle on both cores with 1.44 vcore and 53-56 load. My gpu doesnt even really change temps while gaming lol, it idles at 33. While playing Fear for an hour or so my cpu temps went up 2 degrees from idle and my graphics card when up 1 degree lol. I guess its time to voltmod my 7900GT.
peace


 Reply With Quote


Bookmarks