-
 Rooster; the work log.
This build was completed in November 2009. If you would like to skip to the end photos, click here.

Hi folks,
This is a work log for the rig hereby known as "Rooster". Work began on Rooster last Friday, 9-18-2009.
There are several design goals with this machine.
- Must be small (tiny?)
- Must be water cooled
- Must accommodate full length video cards
- Should be LAN ready and extremely mobile
- Cooling should be comparable in quality to a great air cooler (such as a TRUE)
- All work must be performed by me; (eg: no CNC shops, sponsors, or outside help)
- The color theme is black and red, think: Rooster

- Strive for work quality that is on a level with MDPC
Hardware Build out:
- Intel i7 860 golden batch (original build had a retail Intel Core i5 750)
- Asus Maximus III GENE (uATX)
- 2x2 (4GB) Corsair Dominator DDR3 1600 7-7-7-20 @ 1.65v
- Kingston/Intel X25-Mainstream, 80GB
- Koolance 340 WB, (currently the only low profile socket 1156 WB)
- Danger Den GTS 240 radiator (red)
- XSPC Bay Res Pump Combo
- 3x Delta 60mm fans
- 1x Vantec 92mm "Tornado" fan
- 2x 120mm Scythe "Slipstream" 110cfm (for rad)
- PC Power & Cooling Turbo Cool 1200w (existing equipment)
- Thermaltake LANbox uATX case
- Sunbeam Rheobus Extreme (don't want to go deaf w/ those deltas)
I choose a combination of parts that would get me closest to my design goals. The most obvious challenge for me was the cooling. How could I attain high end cooling with about 3.5 inches of clearance? I had to find a low profile block which is why I ended up with the 340 by Koolance. I know that some people despise Koolance, just know that I would have slapped my EK supreme in there if it would fit. Luckily the innards of this block is not ALU so no worries there folks 
The next major problem was my non modular PSU. I've got some creative ideas about that; so without further delay I'll post some pictures of the progress I made over the weekend in a little bit. Thanks for reading! 
First things first, here's the parts that have arrived so far:


Poor vanilla case... time to dismantle


Looking a little tight... for now


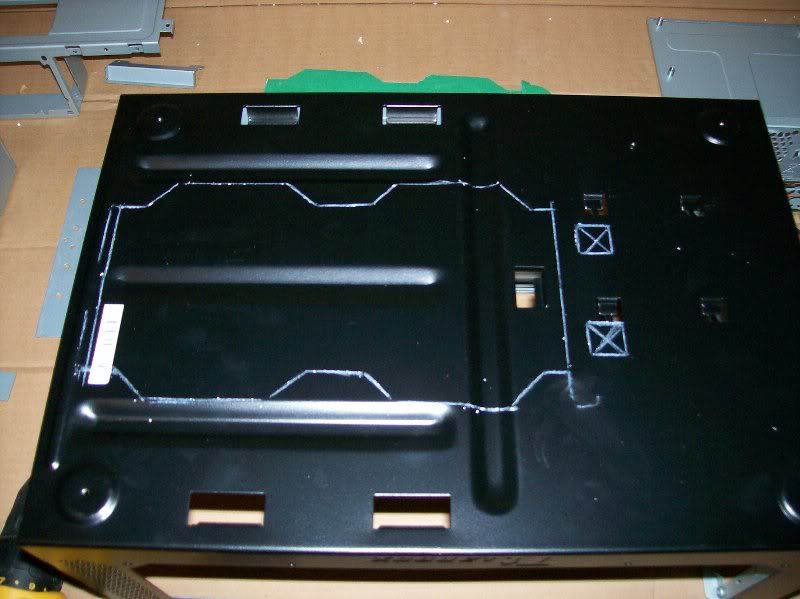
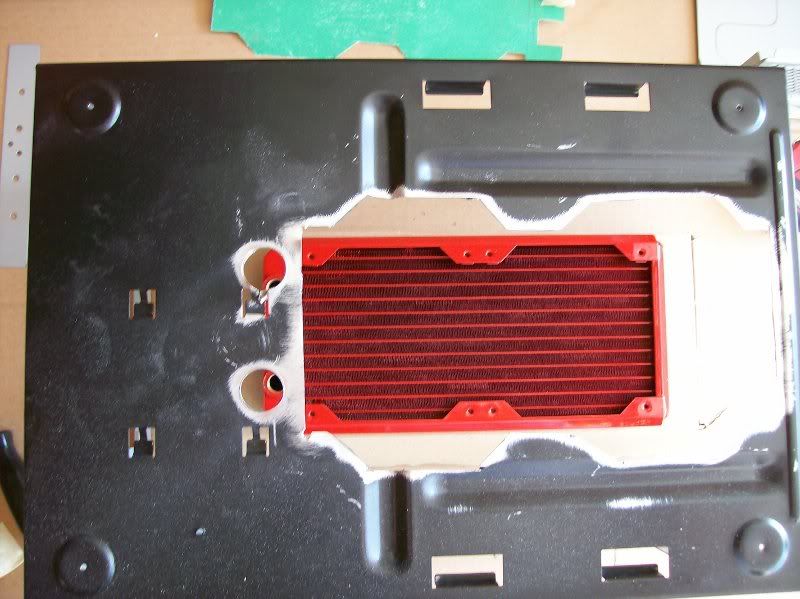
About Radiator placement... The rad will be mounted under the mainboard. There is roughly a 1/4" clearance for air to escape up from around the MB. This is really why I needed the 110 cfm slipstream fans so that they can "cram" as much cooling as possible into the rad.
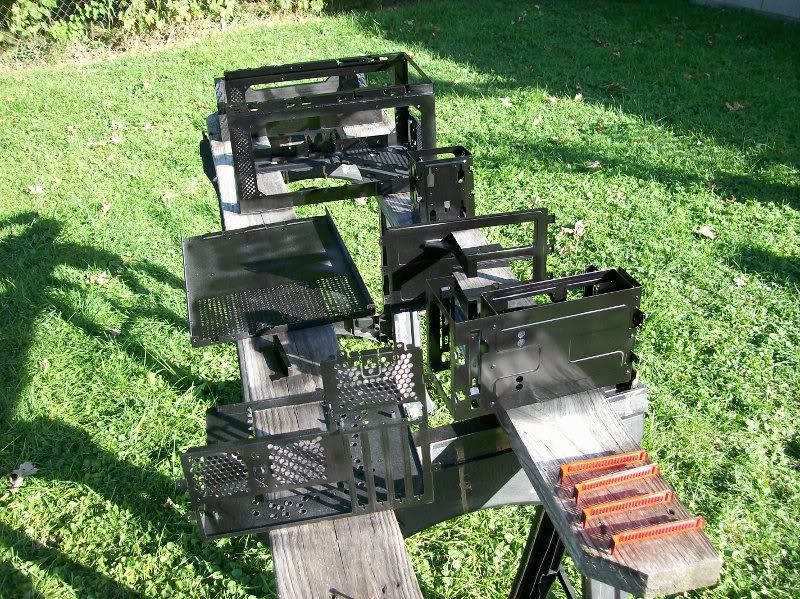
Applying some paint...
I've realized I'm not a very good painter. There are a few spots where the spray ran so I'll have to sand it and fix.  That's what I get for rushing...
The MB tray isn't looking too good. yet. I'll take another photo once it's closer to being finished. (need to cut more and clean up the rough edges. I experimented with the holes but I don't like them at all)

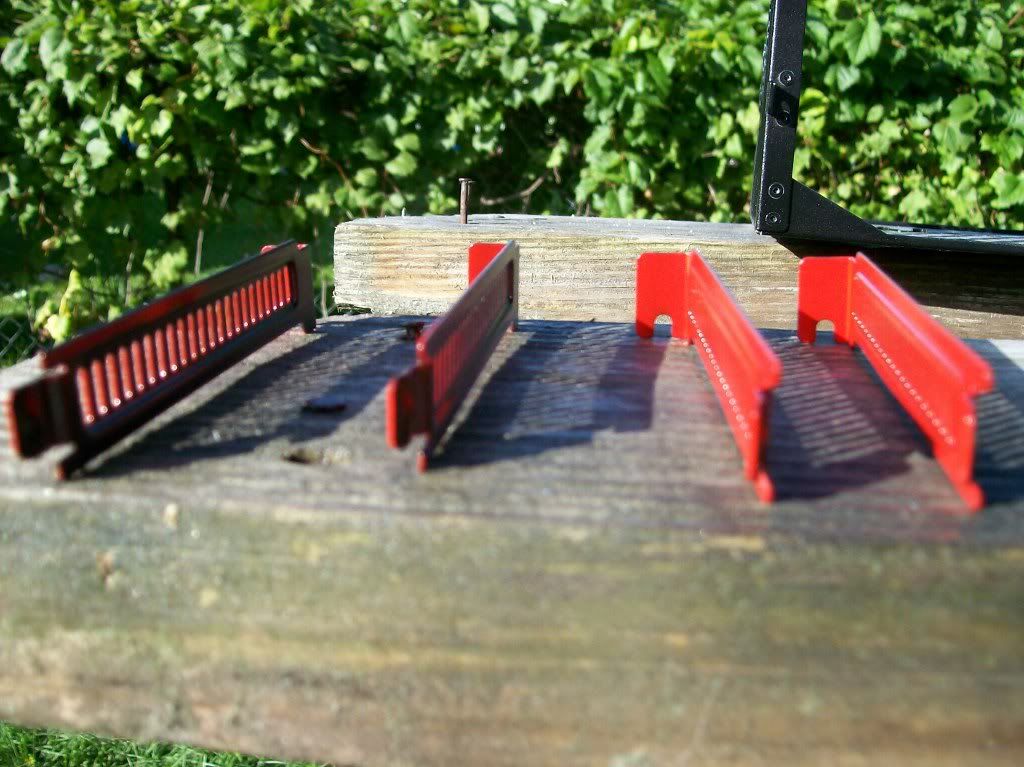
PCI blanks (red on the inside and black on the outside)
finally a sneak preview of Rooster with the air/electrical box attached:

Last edited by Vinas; 12-01-2009 at 06:04 AM.
Reason: added pics
 Posting Permissions
- You may not post new threads
- You may not post replies
- You may not post attachments
- You may not edit your posts
-
Forum Rules


 Reply With Quote
Bookmarks