-
Liquid Mango Project (lots of pictures)
Thanks to all the advice off this forum I was able to go from not knowing a thing about water cooling to building my first rig. The Wizard project on here really caught my eye while doing research.
It gave me a lot of ideas on what I wanted to build and what to choose for parts. I hope by posting a few of my on photo's it might help someone else out as Rincewinds helped me out a lot.
I still need some more lights, a fan controler and wiring work but I need to add some colored fans first but I just can't decide on the color, red, green or all blue.
This was my first try water cooling and if you can afford it, do it!
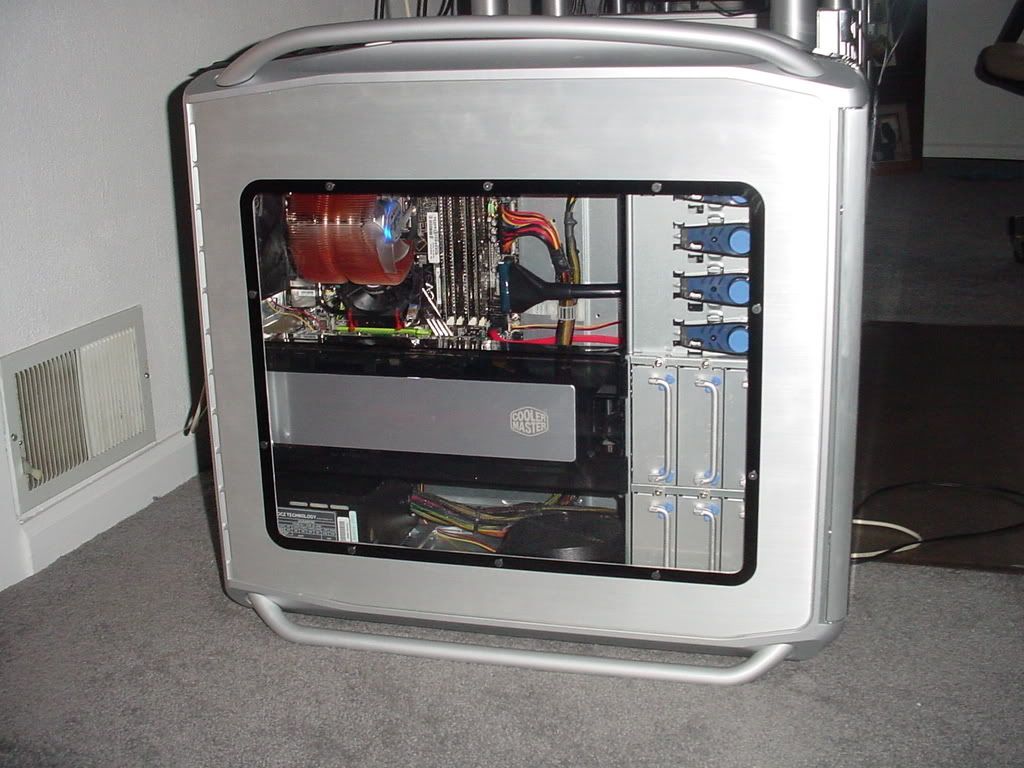
I built this system after months of picking out the right parts. Believe it or not the case is the hardest thing to choose. There are so many good cases but I saw this one and I just love the design
and those hardrive bays are just plain cool.
Anyway here is a breakdown of the computer, and the water cooling.
Liquid Mango
Cooler Master COSMOS 1000 CASE
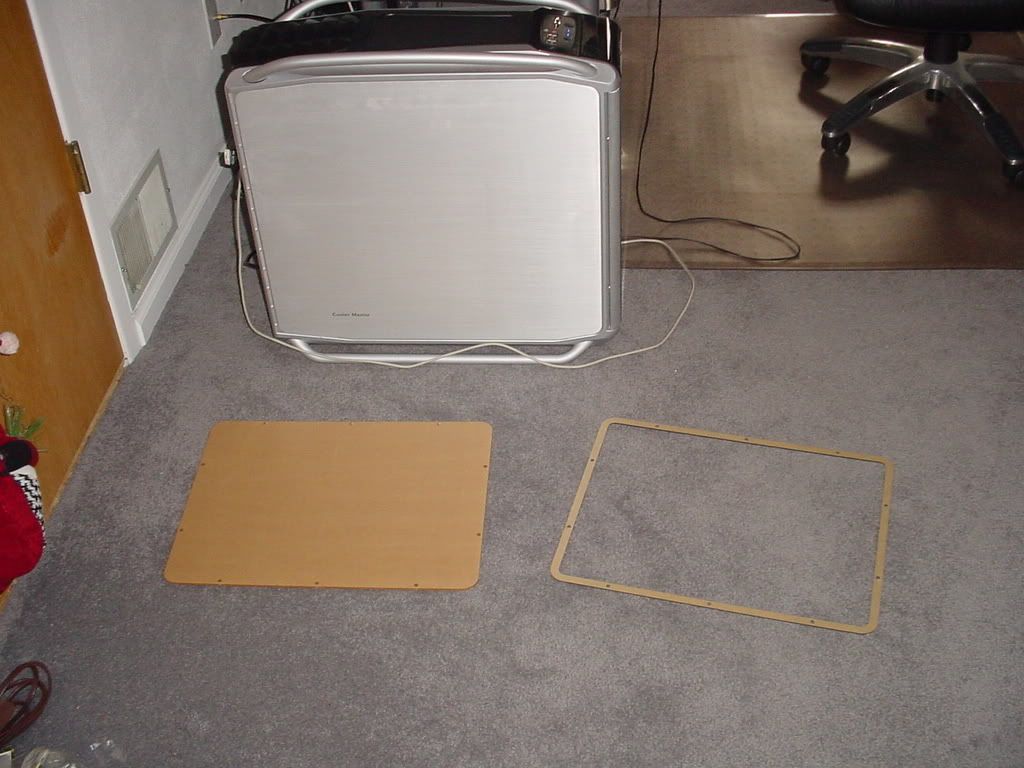
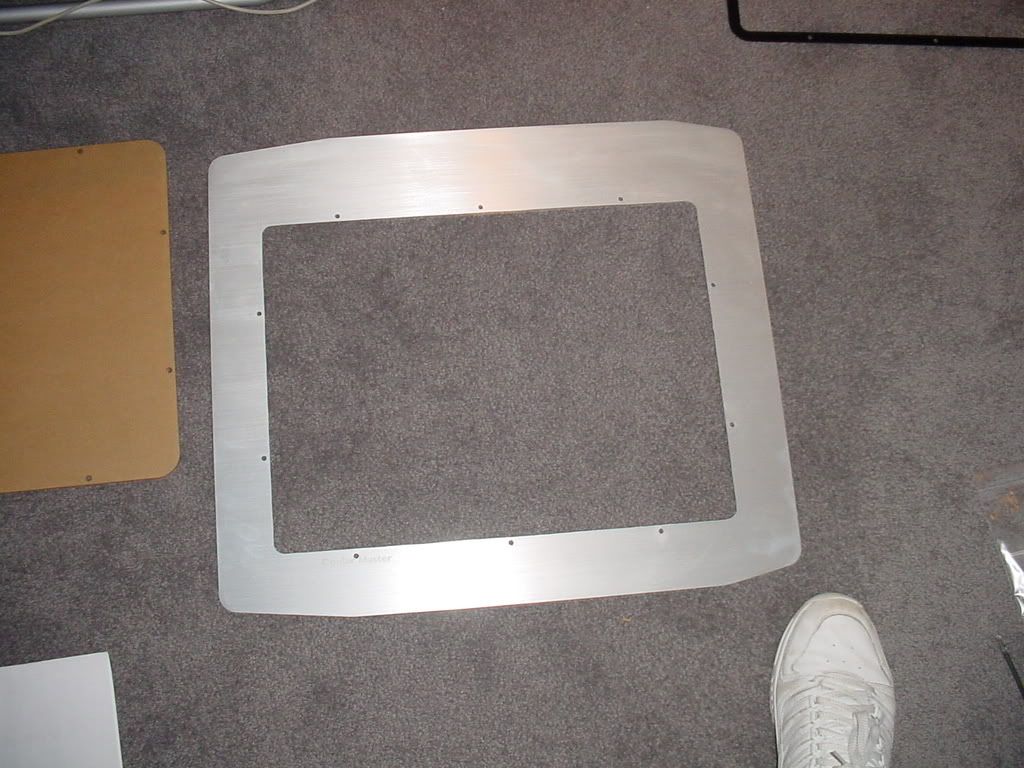
Cooler Master COSMOS 1000 Custom DIY Bolt-On Full Window Kit
5 X Scythe S-FLEX SFF21F 120mm Case Fans
CPU: Intel Core 2 Duo E8500 Processor 3.16GHz
MB: EVGA 780i
GPU: 8800GTS 512 x 2 SLI
RAM: 4GB OCZ 1066
OCZ OCZTXTCC Memory Cooler
PSU: OCZ 700W
HD: 2 X WD 250 gig
OS: XP 32BIT
DRIVERS 175.16 BETA
Cooling
Flow path ...........Pump-220Rad-CPU-Chipset-120RAD-GPU-GPU-Reservoir
Swiftech MCR-120 "Quiet Power" Series Radiator
Swiftech MCR-220 "Quiet Power" Series Radiator
Swiftech MCP655 12 VDC Pump
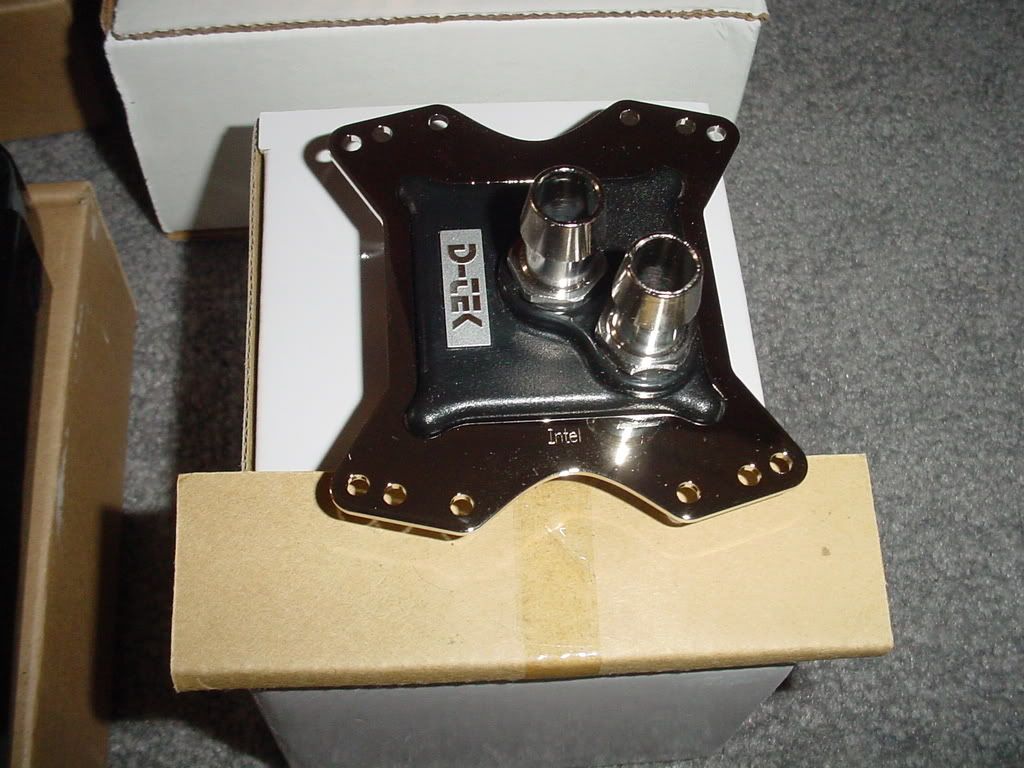
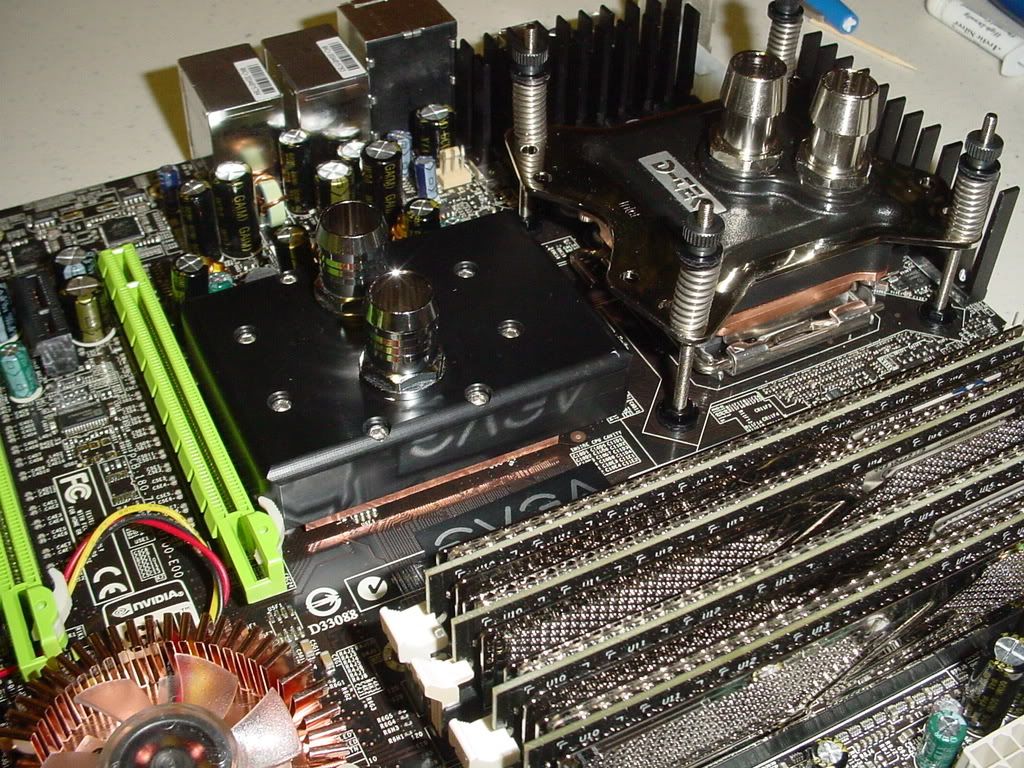
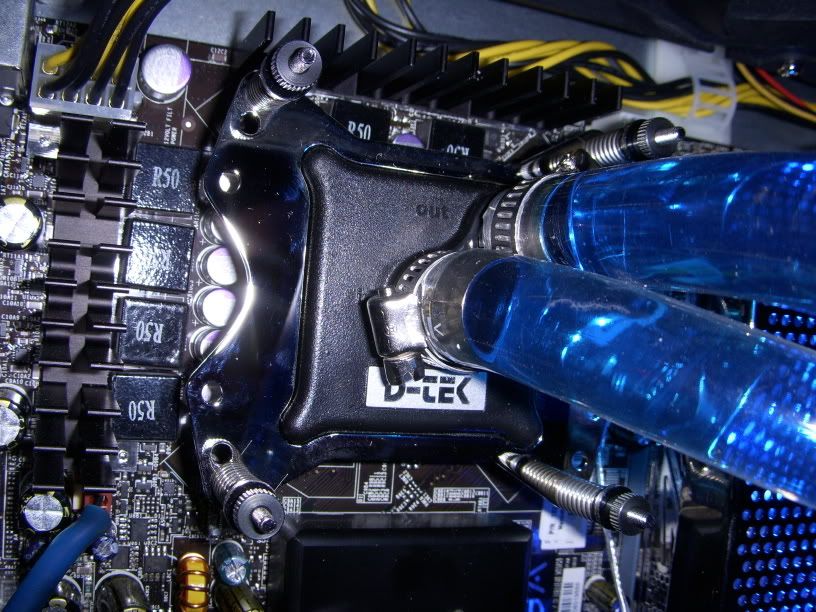
D-TEK FuZion Universal CPU Waterblock - 1/2"
D-Tek FuZion Accelerator Nozzle Kit
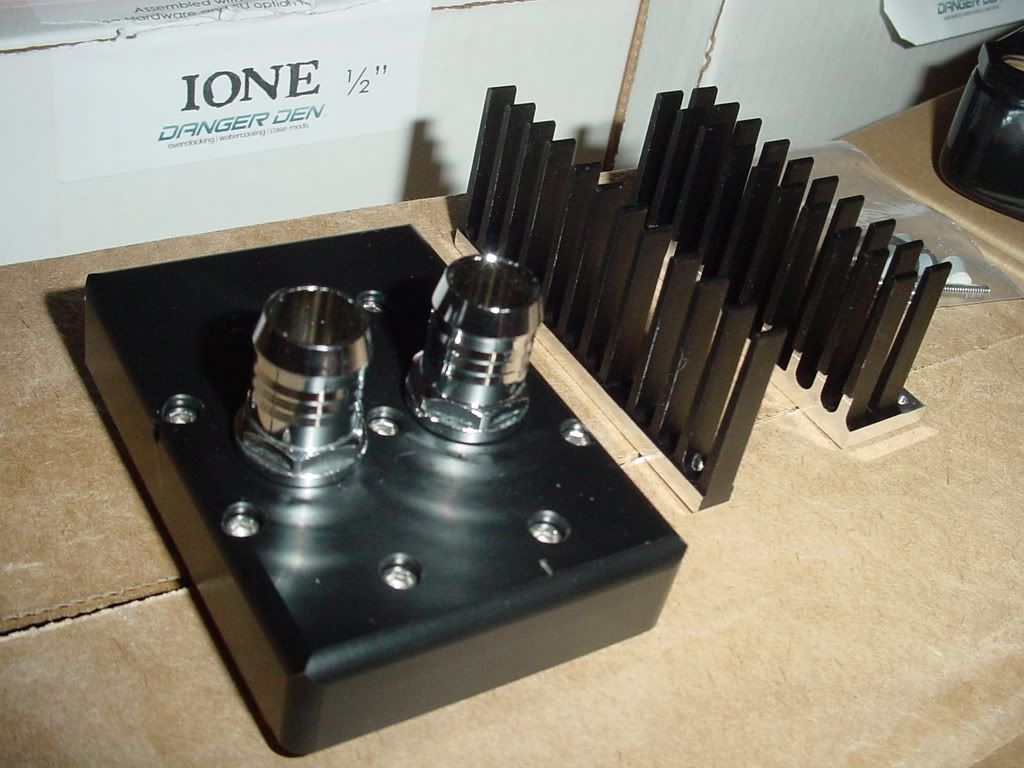
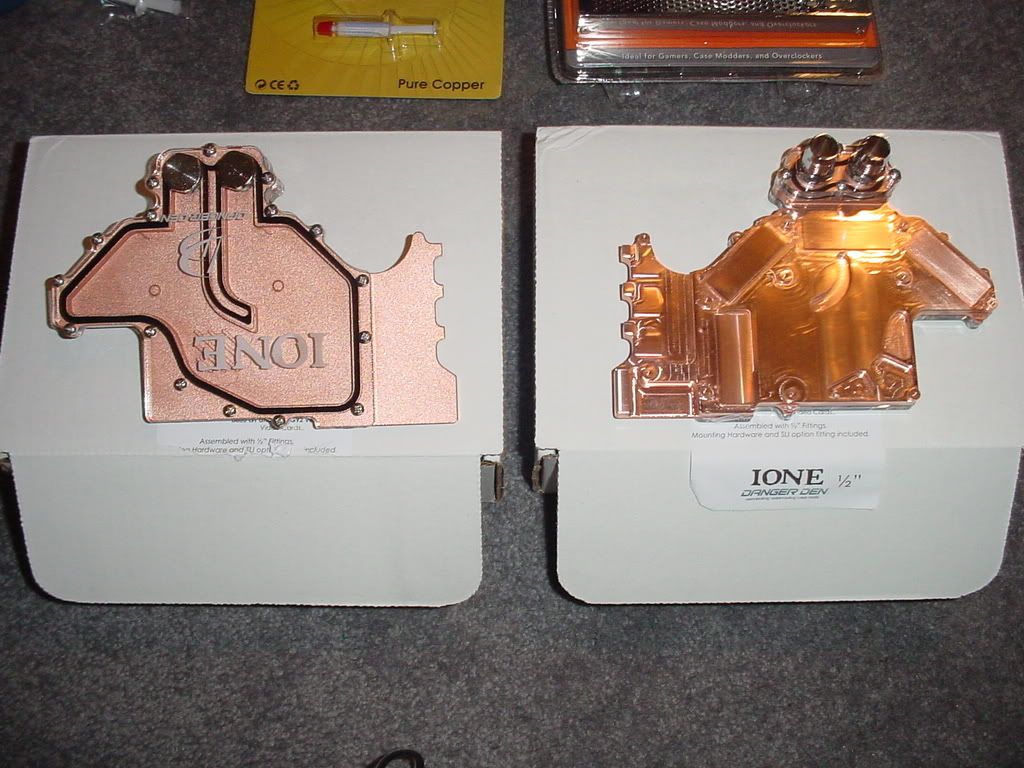
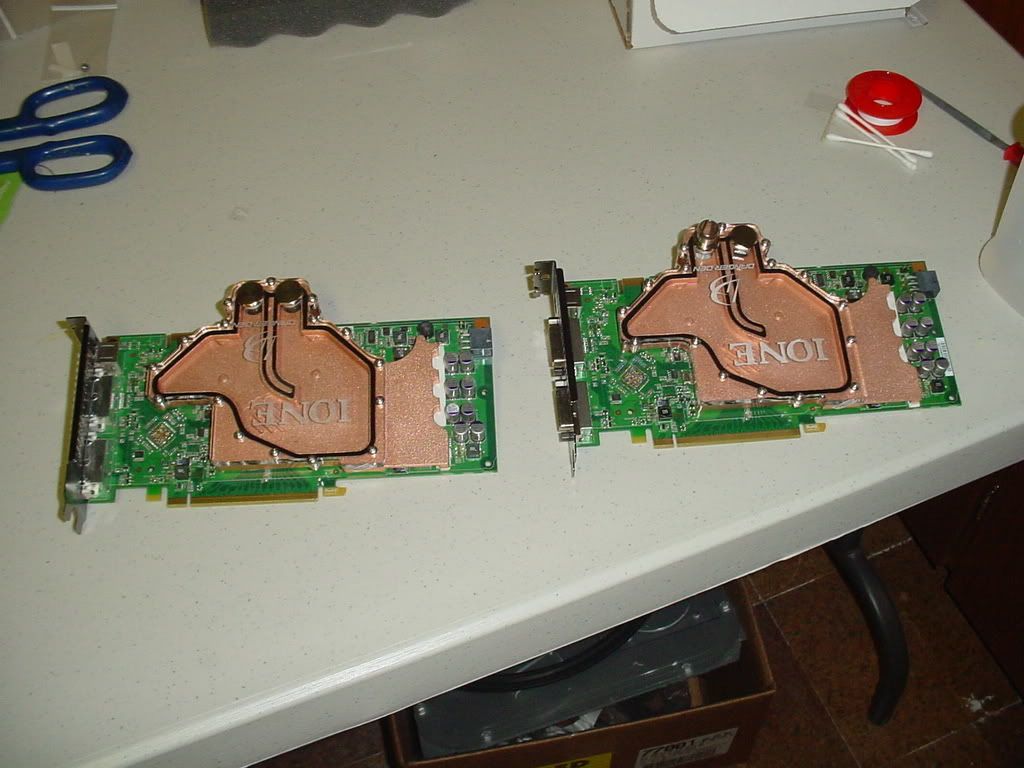
2 x Danger Den IONE Full Cover GPU Waterblock (For 8800GT and G92 GTS)
Viperjohn 780I SPP/NF200 Chipset Water Block & Vcore Mosfet Heat Sink Kits G1/4 Support
EVERCOOL EC-VC-RE Ball All In One Vga Cooler Kit
XSPC Dual Bay Reservoir 5.25" with Bubble Window - Clear
About 15' of 1/2" ID (3/4" OD) Tygon R-3603 Laboratory-Grade Tubing
Koolance Swiveling Angle Fittings
Feser One Non Conductive Cooling Fluid - 1000 ml - UV Blue
15 x Herbie Clip Nylon Hose Clamp Size H
Arctic Silver Ceramique Thermal Compound
Here is the old rig. Since EVGA was offering me a step up to 780i from the 680i and I really wanted one of those new E8500 cpu thats when it all started.
Bought a new case another gpu some more memory and a window kit.
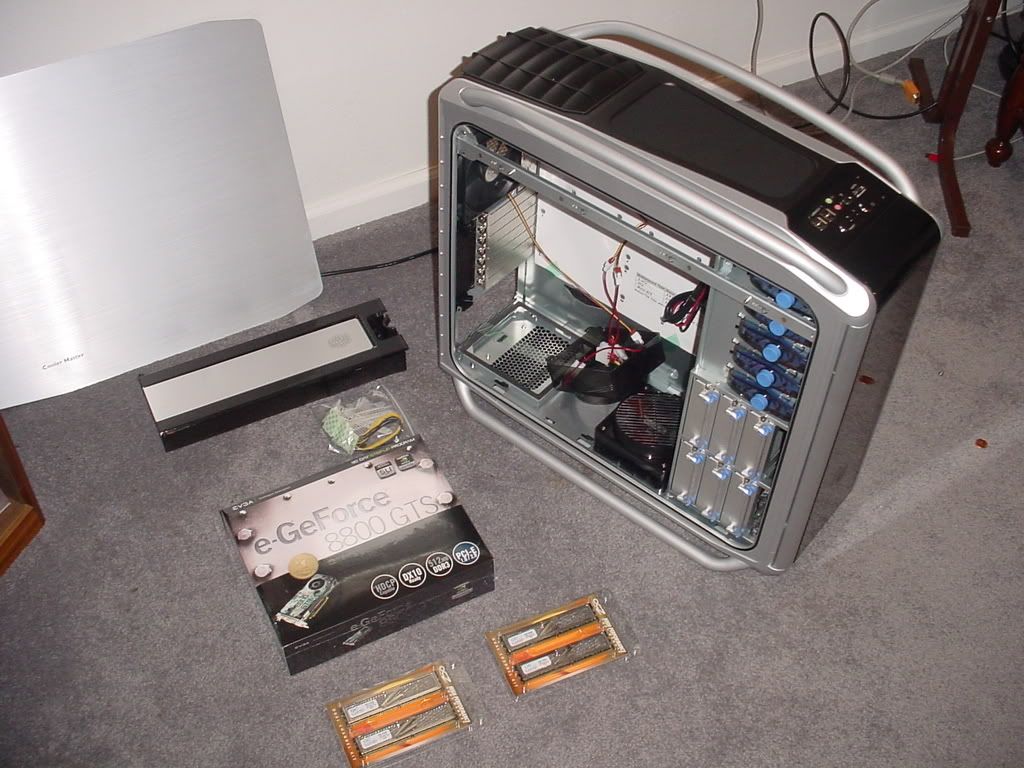
Transplant is complete
Just can't stop there

It's like Christmas

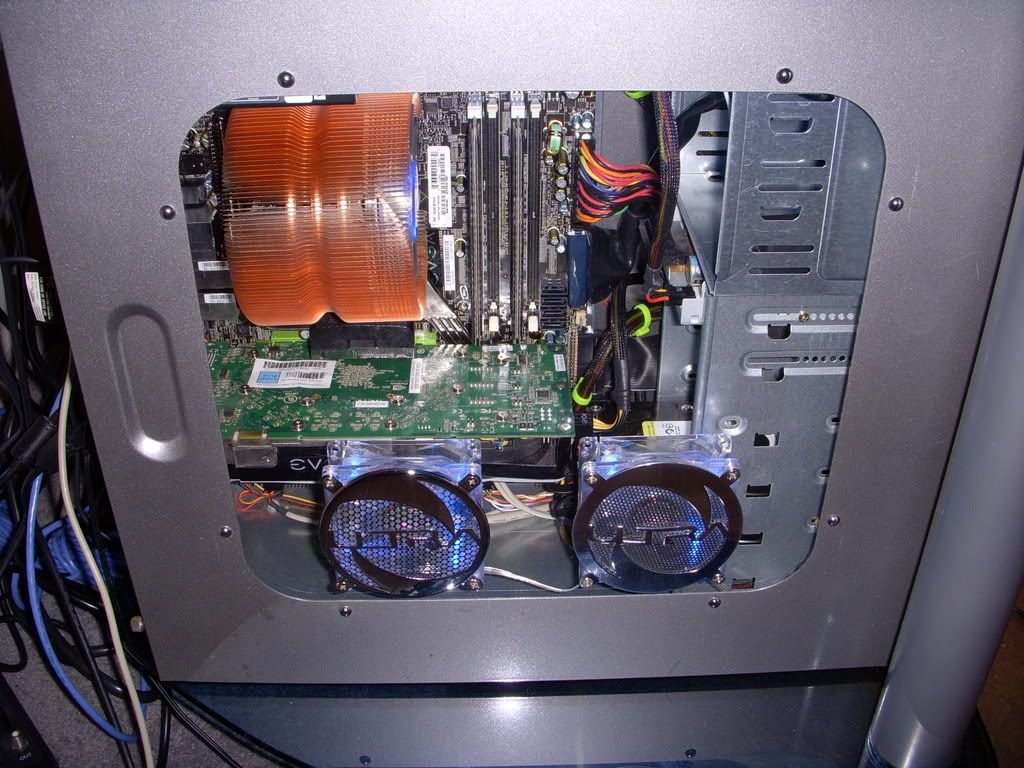
Now to put all of this inside the case.
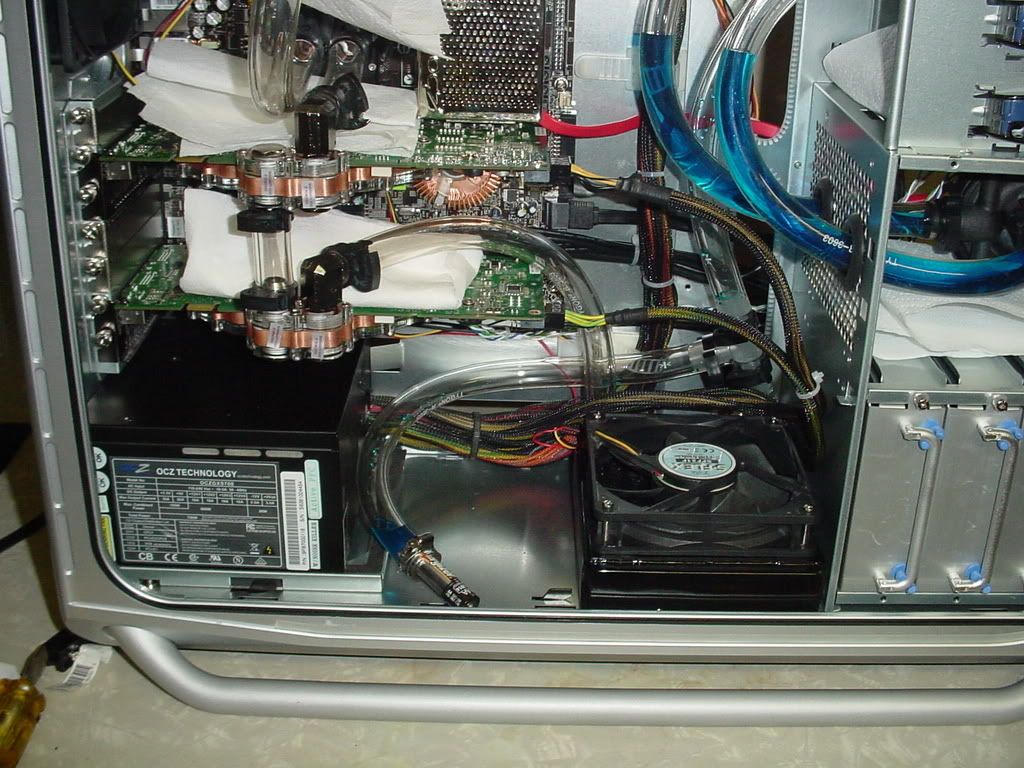
First I mounted the pump in the upper HD bays, its hidden and easy to access.

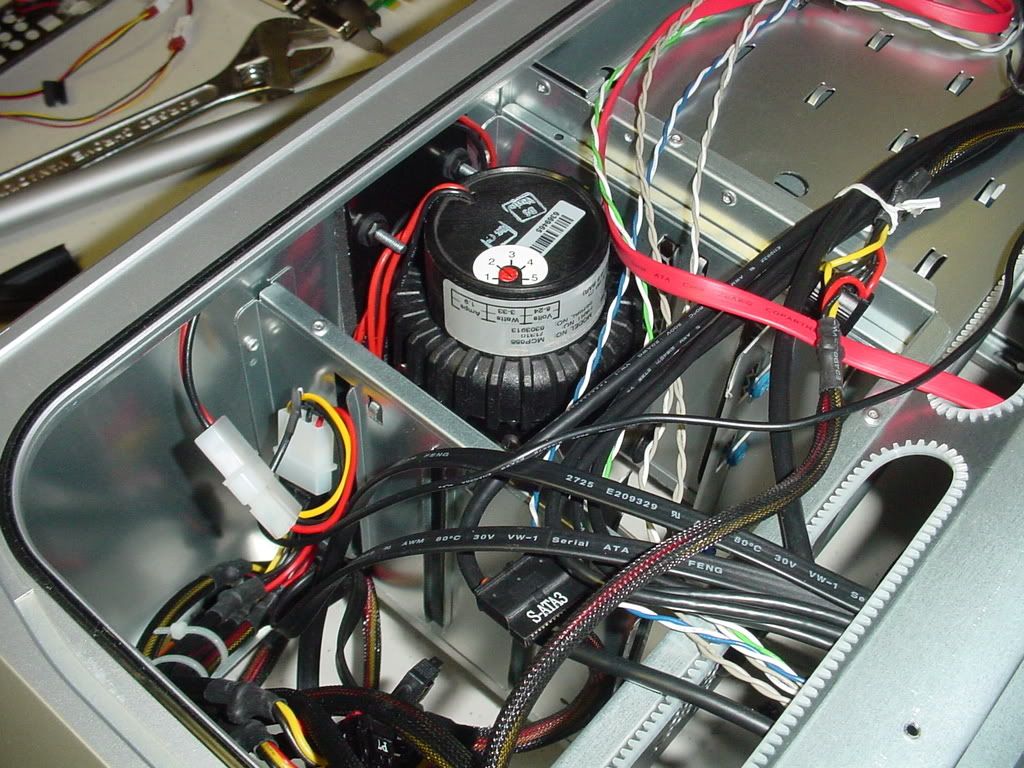
Had to cut two holes in the side of the bay to get the water in and out
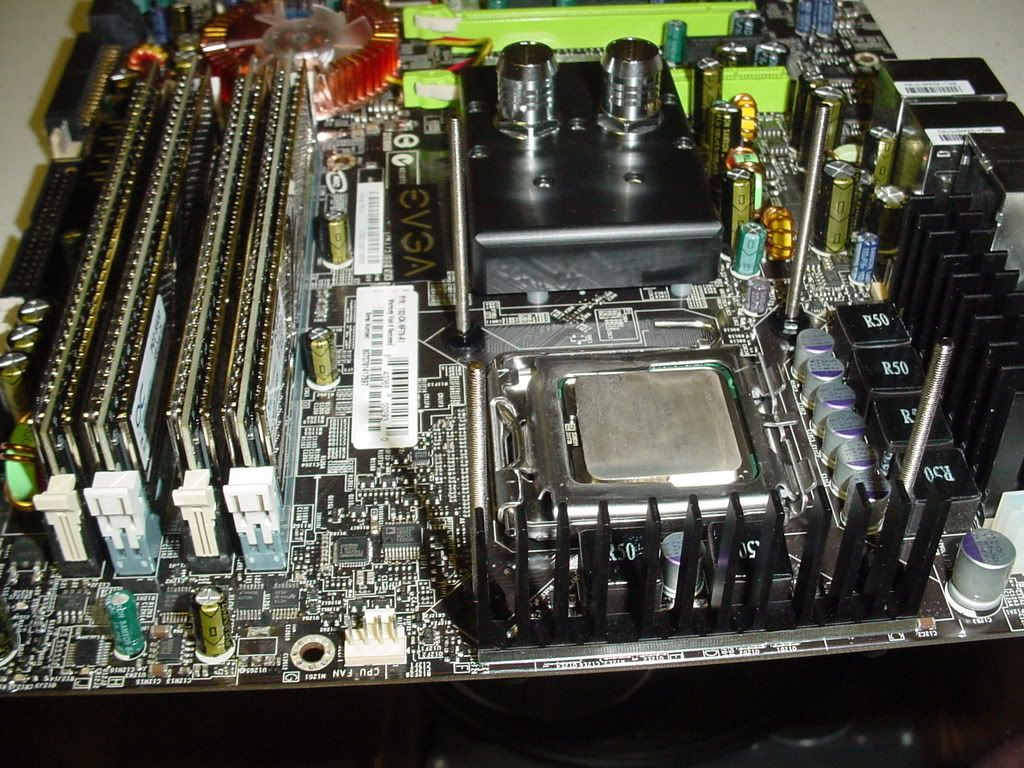
Next, setting up the MB, by the way the toothpick idea of lining up holes for heatsinks is priceless.
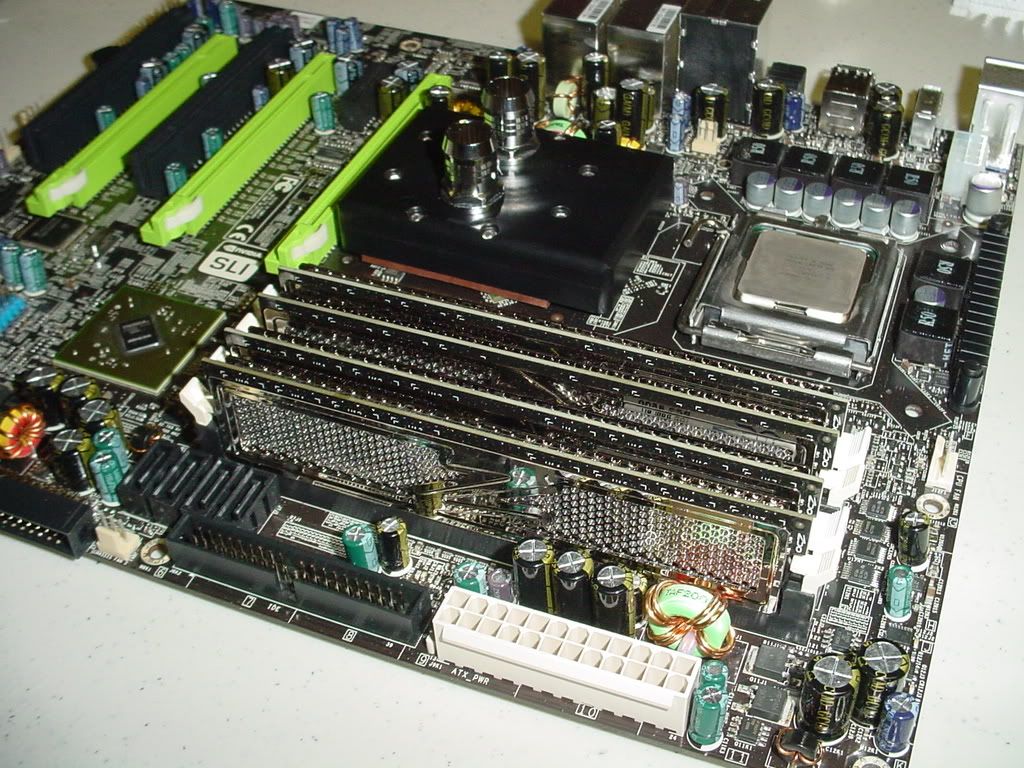
Mistake number 1, I put the cpu bracket on incorrectly, thought the intel should line up with the Dtek but I fixed that later.
Mistake number 2, Should have sleeved the Evercool cooler before putting this all together

Now the GPU's
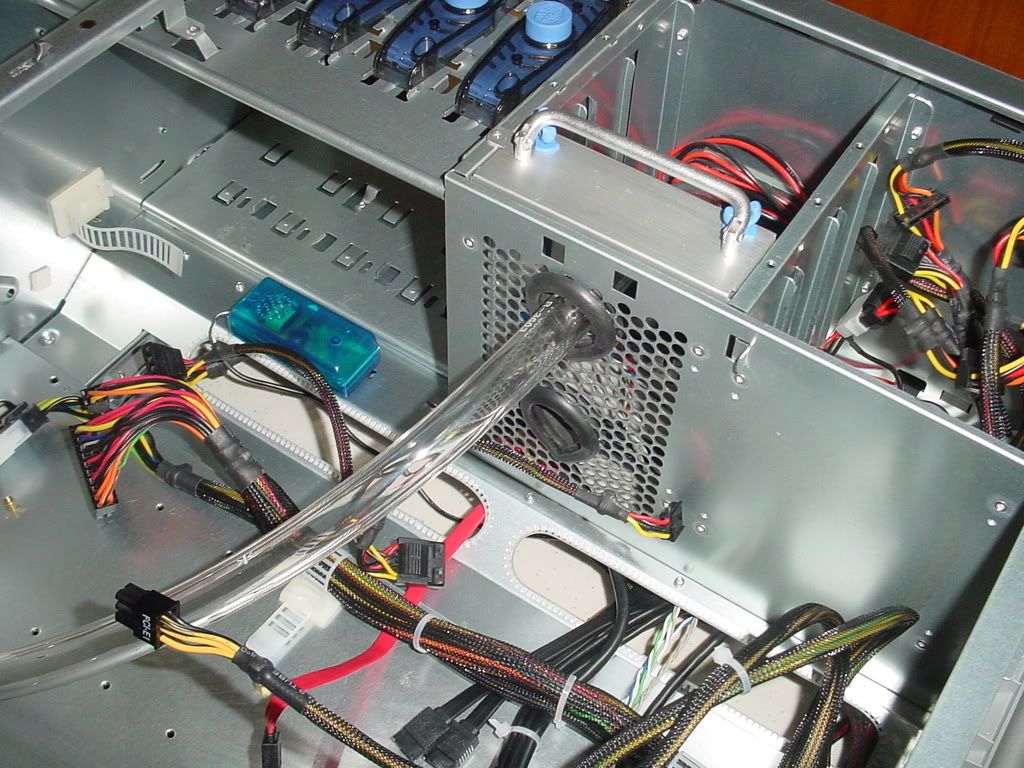
The 220 Rad was easy to mount, the 120 however would fit in the back but it interfered with the closing latch for the door no mater how I mounted it so I took this time to ponder where I could put the 120. I wanted to keep it inside the case. Hmmm

I decided to mount it in the bottom floor, no cutting required, until you try putting the bottom back on the case. Had to grid a bit of plastic off to clear the screw heads.
Note to self. Leave more slack in your lines just in case you have a problem
and don't use a battery as a plug just because your tired and want to see this puppy run. The fluid will leak thru the battery. Dumb idea I know.

So I used the wifes plastic bead container instead, lol.

Ok bleeding and leak test is complete, lets fire it up.
Not good! Booted into windows fine then crash BSOD, this is not what I was hoping for. All that work and she won't even turn over now. What did I do wrong it started up fine then died. After hours of checking and testing my new gpu had shorted out.
Not sure if it was something I did or the card just was bad. I did notice that when I removed the stock heatsink that one of the spings on the back and welded itself to the board so I concluded that the card had started to fry before I did anything.
So now it was time to drain everything and run with one gpu during the RMA process.

After waiting 2 more weeks to get the new gpu I decided I didn't like the layout and moved the 120 Rad to the back, using some 3/4 steel and 1/4 nylon spacers and some 2 1/2" 6/32 screws I made my own offset bracket
for the rad.


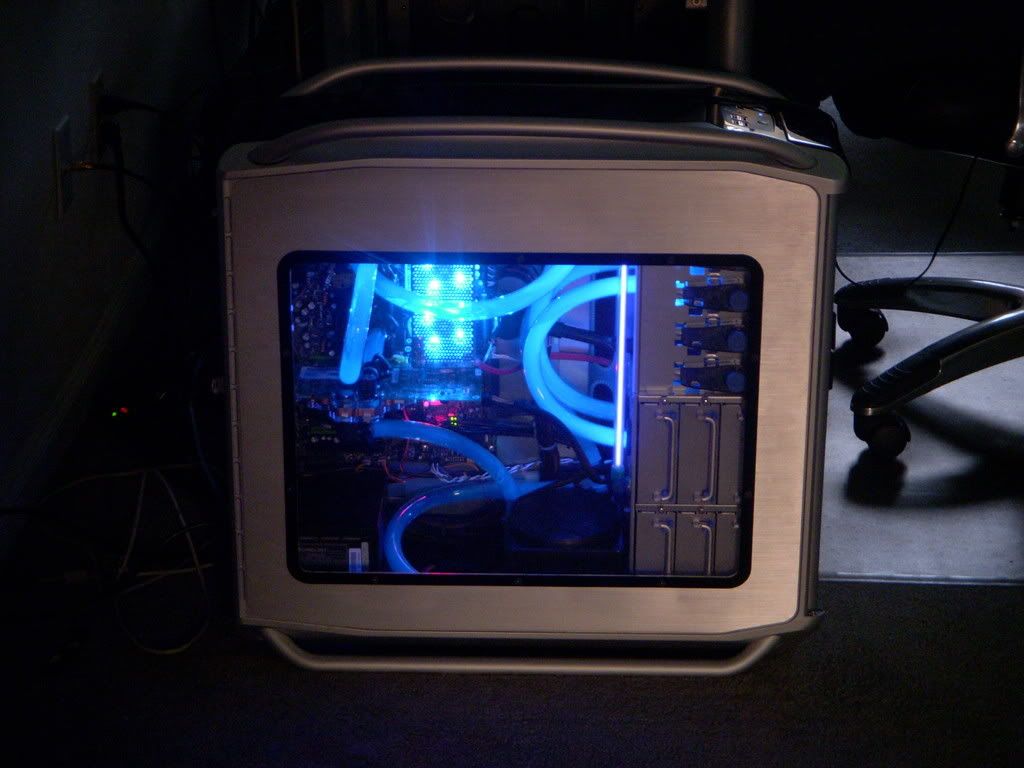
Now I'm done except for lighting, wiring and a fan controller.
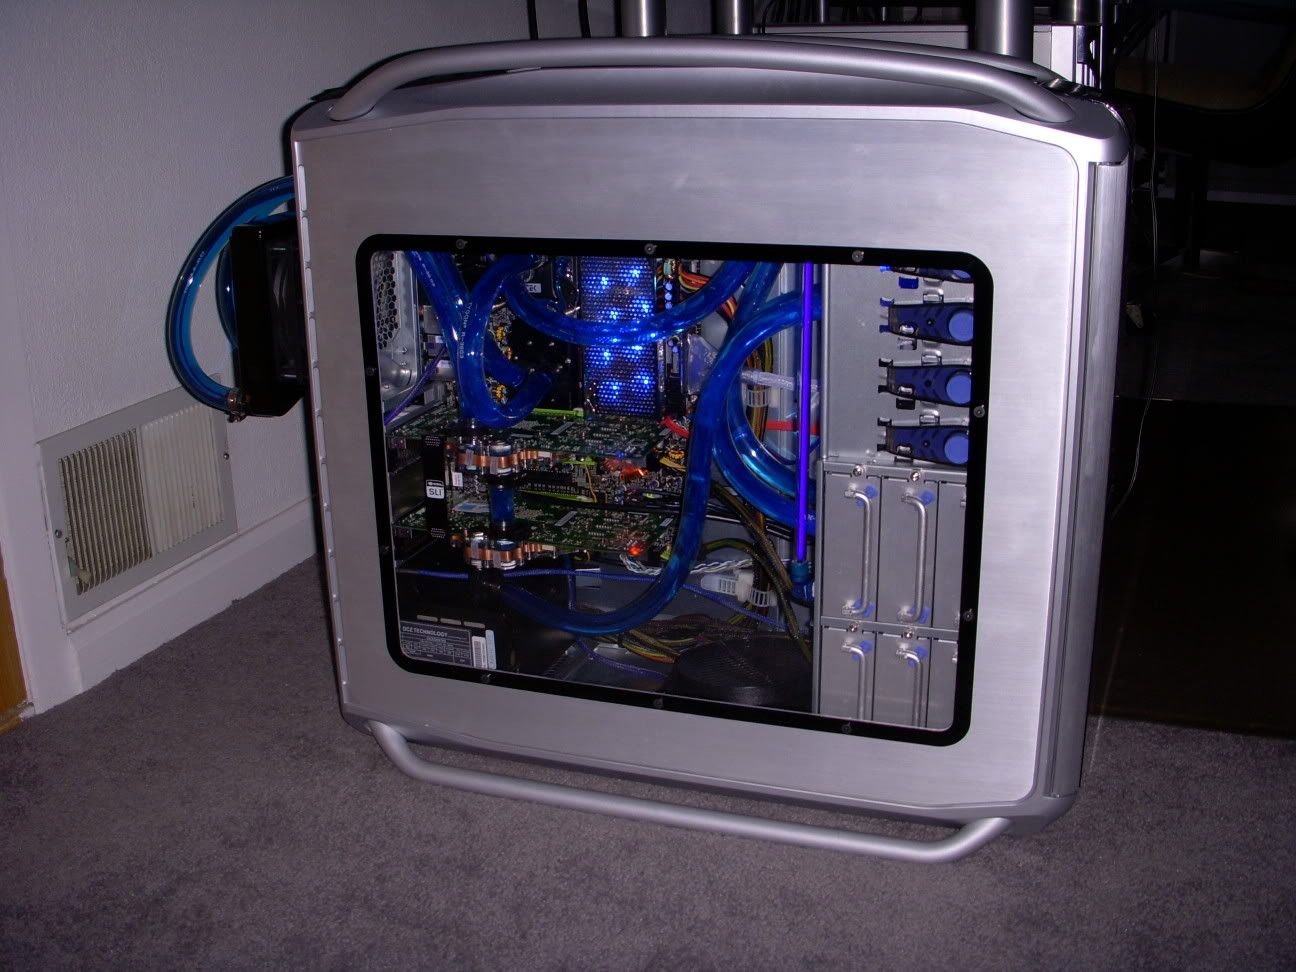


And the results speak for themselves

I can't seem to ge this cpu stable past 4.635Ghz even with 1.7vcore but hey I can't complain It was a lot of fun building this computer. Thanks again to all of those who post there info. I could not have done this without you guys.
 Posting Permissions
- You may not post new threads
- You may not post replies
- You may not post attachments
- You may not edit your posts
-
Forum Rules


 Reply With Quote
Bookmarks