


Hello Xtremesystems readers,
Introduction:
My name is Stef and my alias is Cygnitr0n. Cygnitr0n is a combination of Cygnus X, Nitro and Tron. And I'm from Holland. So already I will appologize in front if the Englisch is not correct.
Let me begin:
After a few moments of thoughts and seeing some of the builds here on Bit-Tech.net. I became inspirid and now I'm planning a new project. I don't want a normal case for my PC anymore. And after building the "Obsidian Carnage" , modding my HTPC and modding the Antec Darkfleet, I was getting more experienced with the modding. So, I wanted to leap forward and making myself a real case mod.
Inspiration:
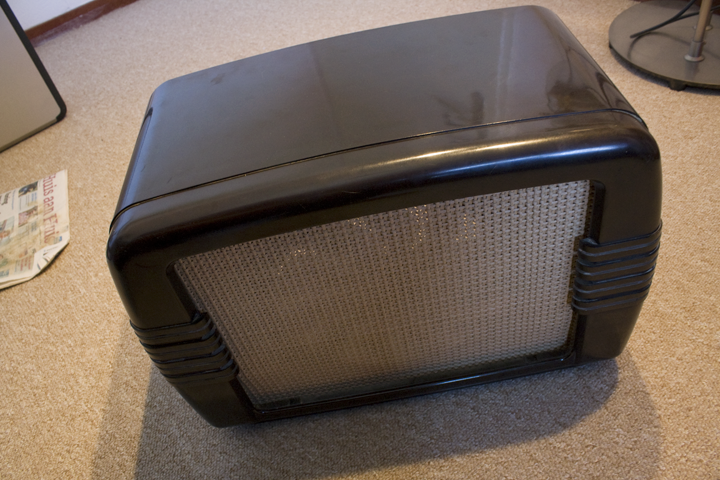
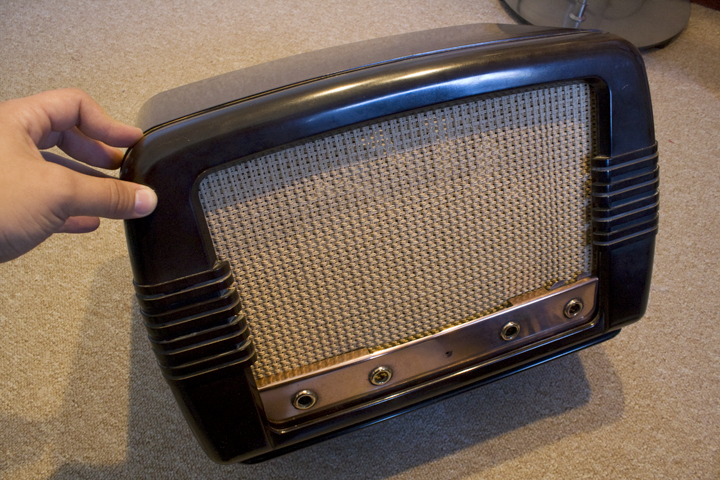
I've been inspired by the old retro look and I want to make the old, new again and bring it back in the future. But afterall in a whole new inside and purpose. It's will be a shame to let this old thing go to waste. Afterall it is a sort of legacy. I was searching for something old, nice, good looking and it must be big enough for a small PC. And I found it, a Philips BX480A.
Because I really like a nostalgic look, I will preserve it in this build. Afterall it's a MOD so I will make a few changes along the way. If it's necessary.
The Project:
It will not be a project that I would build in a short timeframe. Because this build is delicate and needs time. I want it to be perfect and restore it for a whole new purpose.
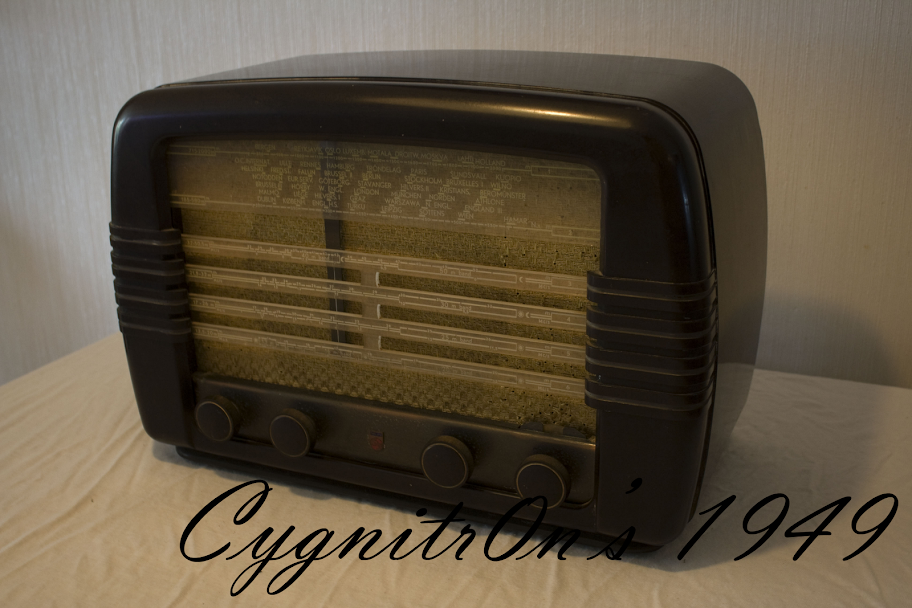
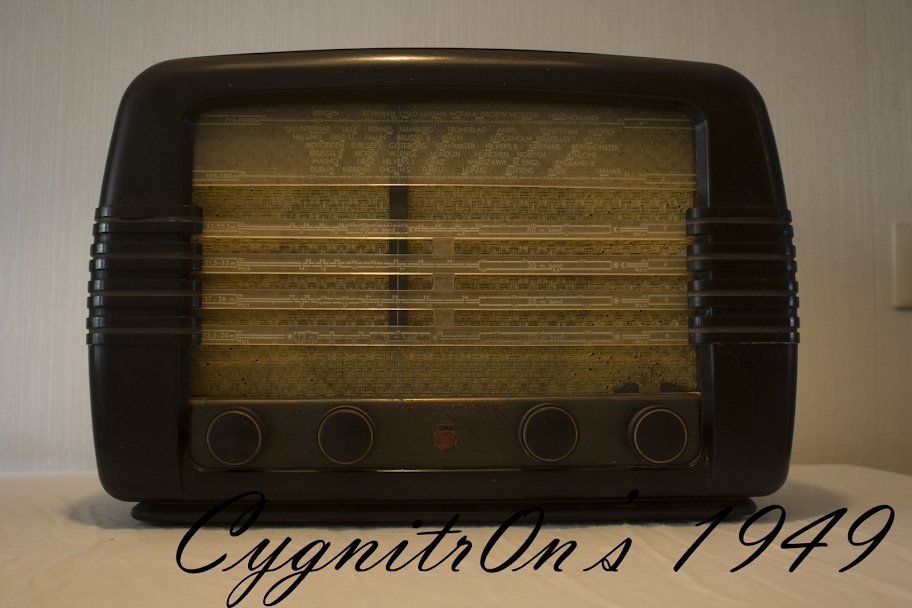
So I will give you an idea how it looks and what I'm going to Mod. This project is called "1949" and has no real name yet. The "1949" stands for the builddate from this old Radio.
Hardware:
It's gonna be an mITX build with HTPC/Media PC potentials. And I'm going to work with a lot of copper. So that was the story for my idea. Hopefully I will bring this old Radio back to life with his new purpose in the 21st Century.
And here is a picture from the old Philips BX480A.
I have taken the time to make a few nice pictures in his original state. The photo's are shot with a Canon 1000D. check it out.
Hopefully you think it's nice. It's now 63 Years old!
After a long movement of my house, a little vacation and cleaning the attic, I have found my enthousiasm back to do something about this build. Totday I have started this build again, first I will disassemble the radio. Ofcourse with pain in my heart, because it's a real old radio. But there was no way to bring it back alive. It's eating dust knowadays.
So let's disassable the radio!
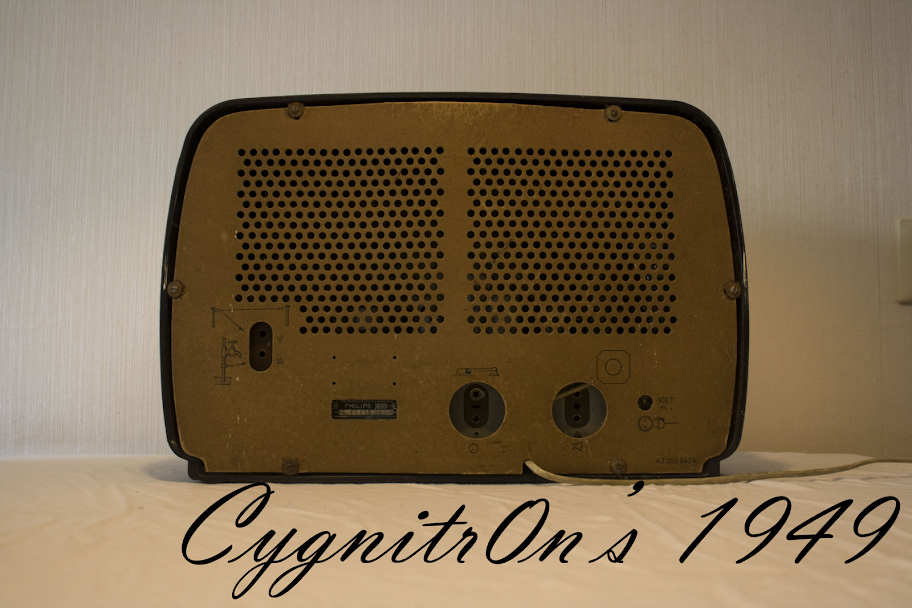
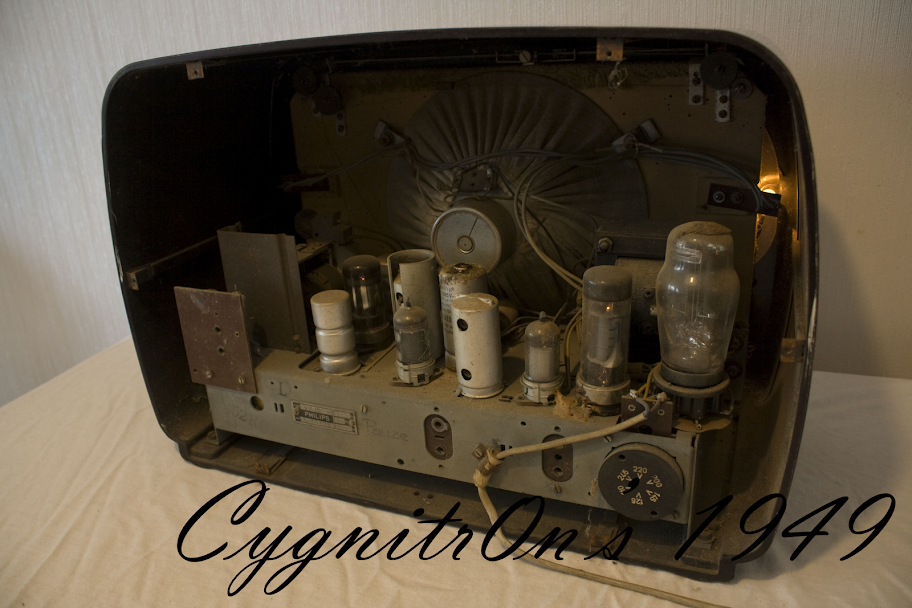
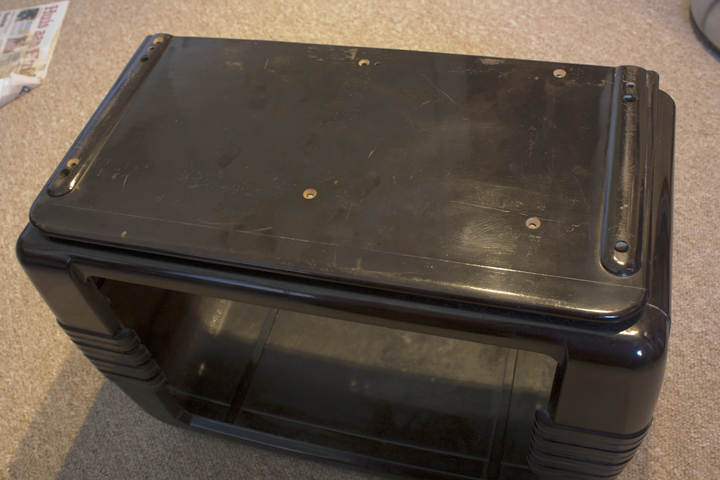
After 64 years a disassambling the radio. First the backpart.
It takes only 4 screws.
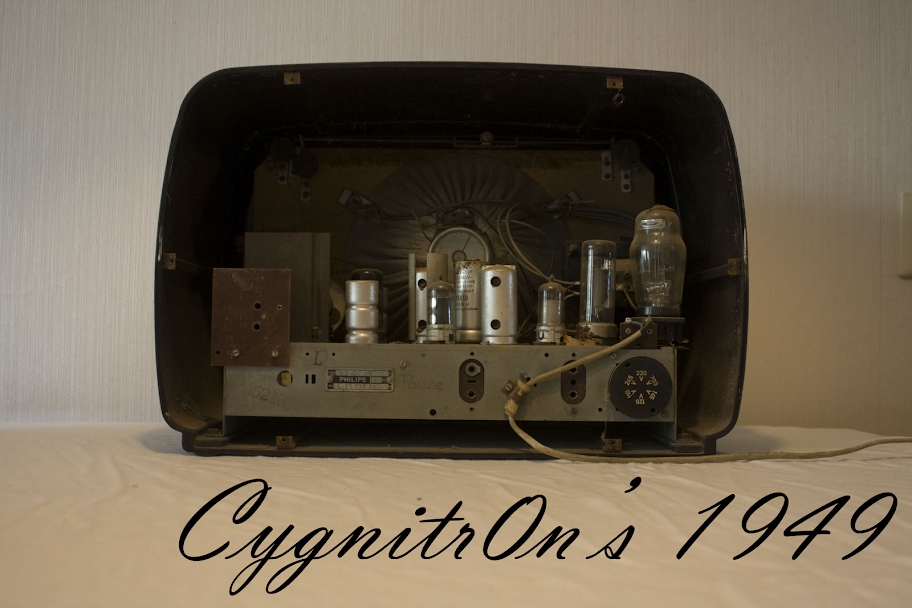
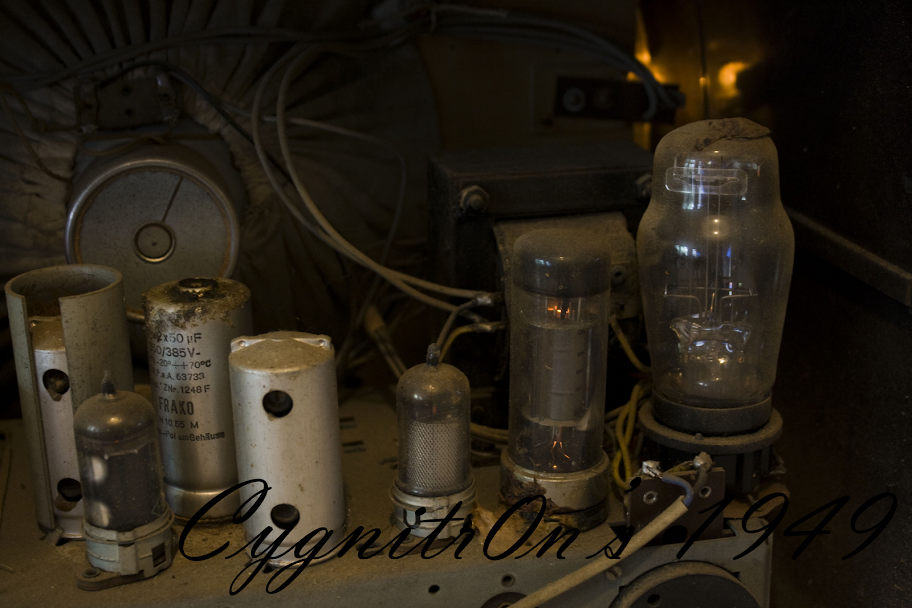
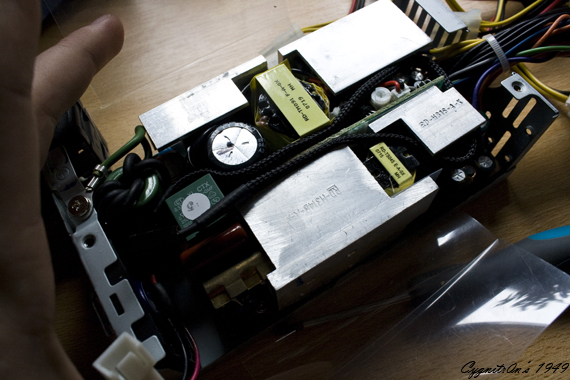
After pulling the internal from the case it sees sunlight! And what do we find... yes a dead spider.
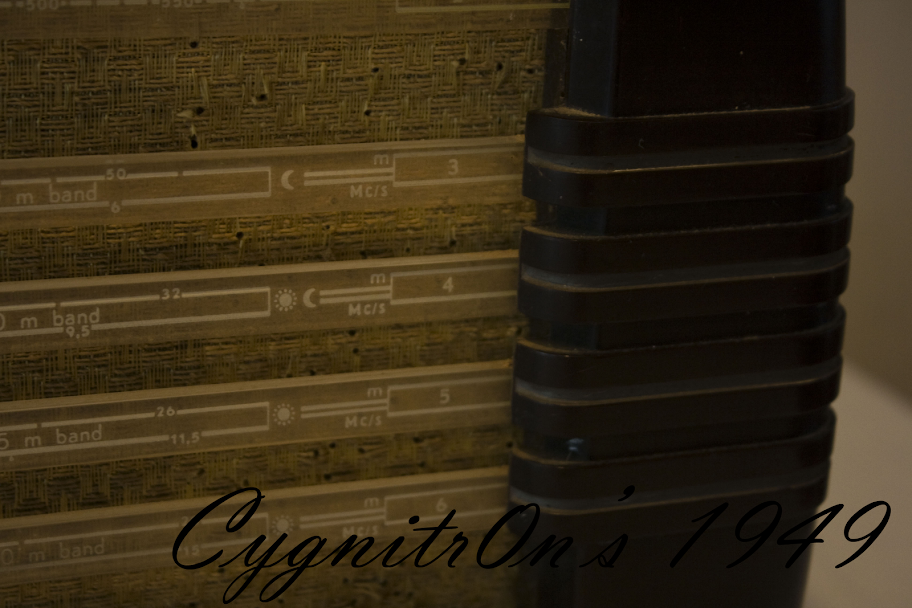
What a history is there in this radio. I like the glass tubes!
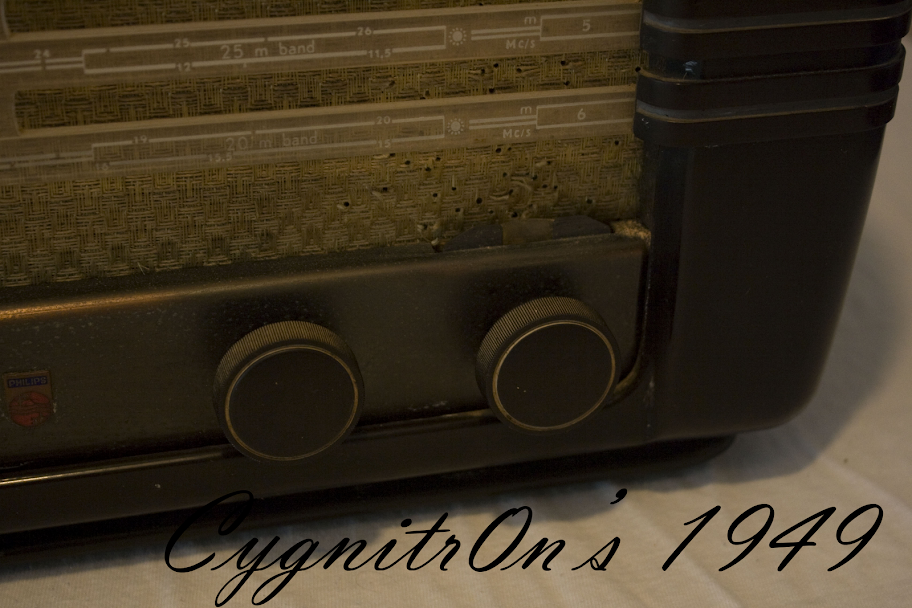
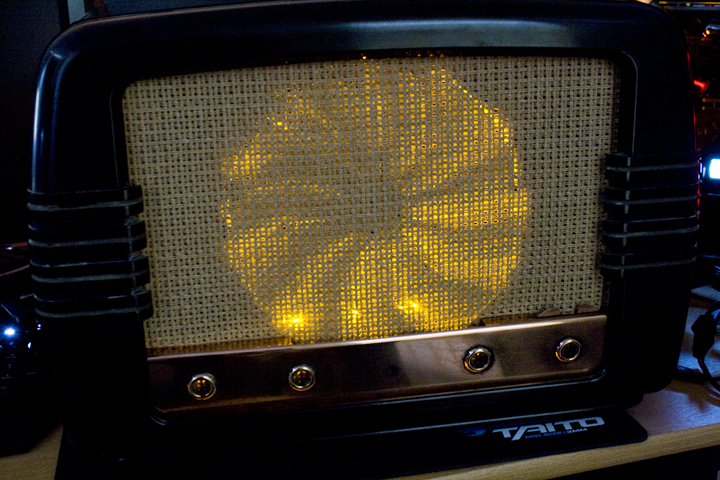
This is the front of the radio.
It was a real world reciever!
These buttons will come back on the build.
I removed the frontpanel. I don't think I want to clean it. The old look is fine.
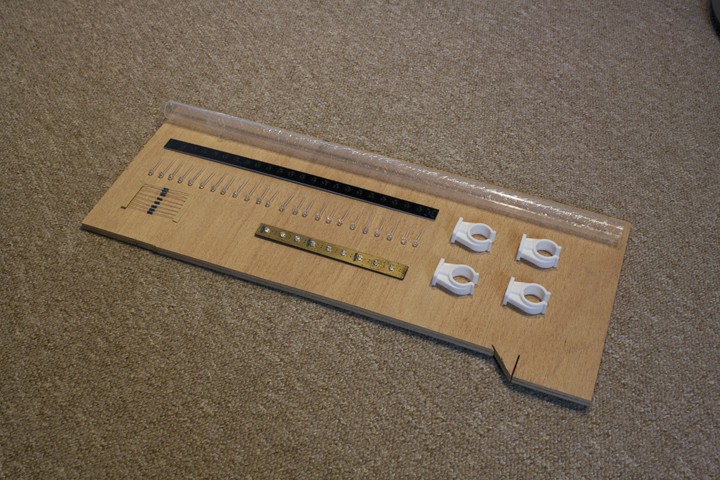
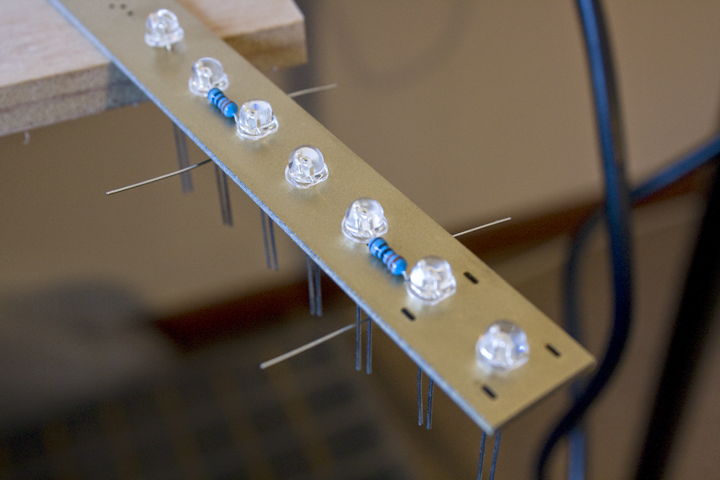
The lights for the plexiglass, nowadays we use LEDs.
De front is removed from the internal radio. Everything works with fine wires and little springs.
This was build to last indeed. Nevertheless it ends here.
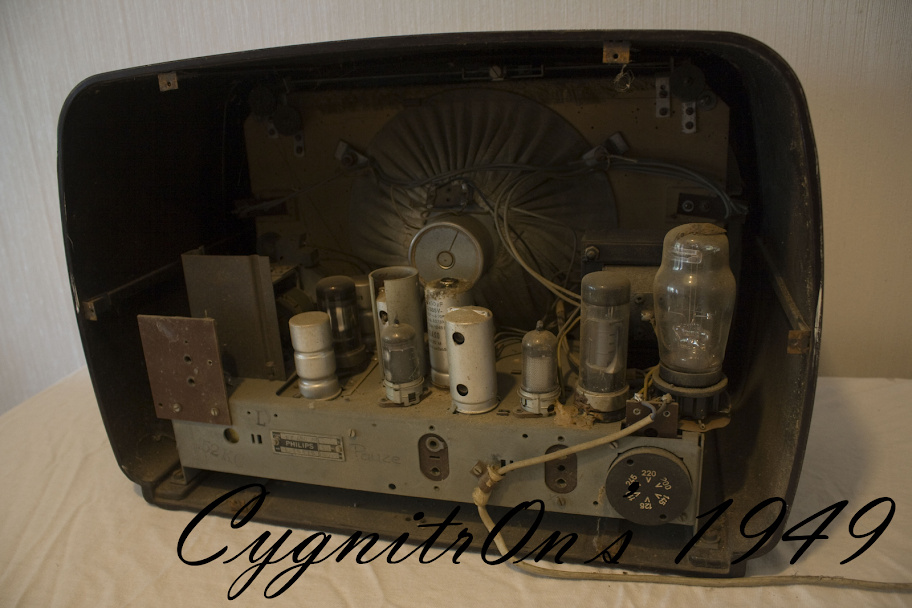
It's really old and everything works mechanical.
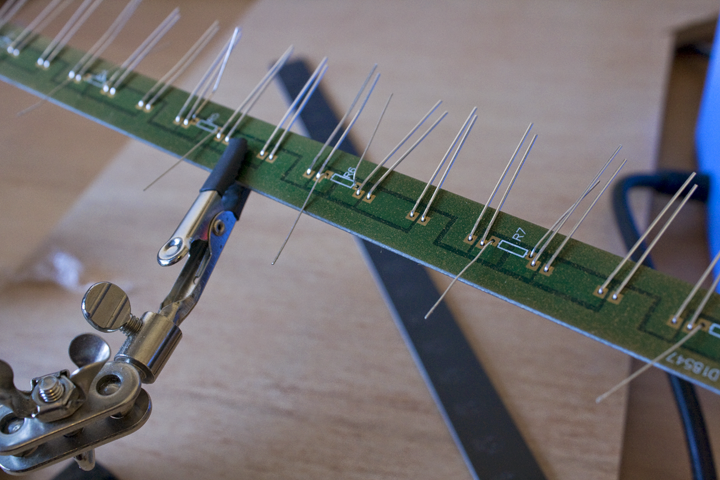
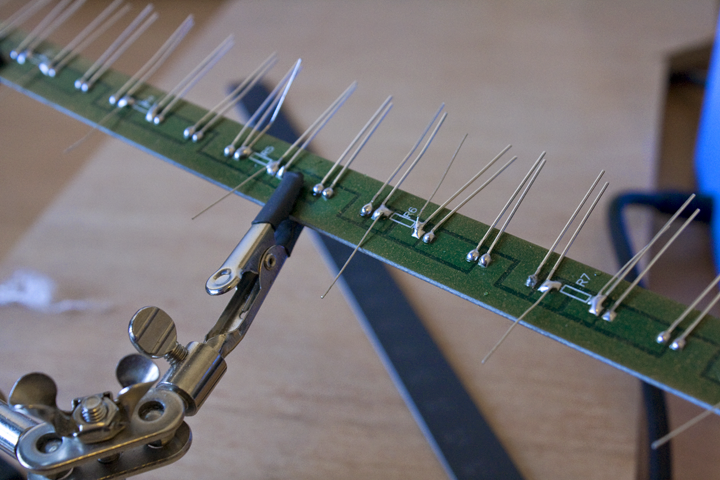
I was shocked because of what I found here. Wires, wires. Nowadays we have a little PCB for it.
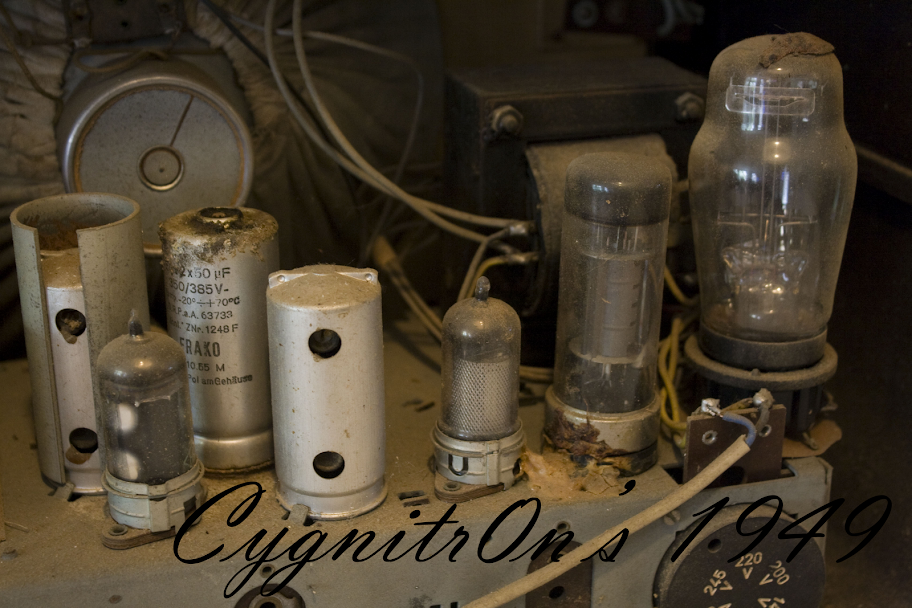
OMG I love these Tubes!
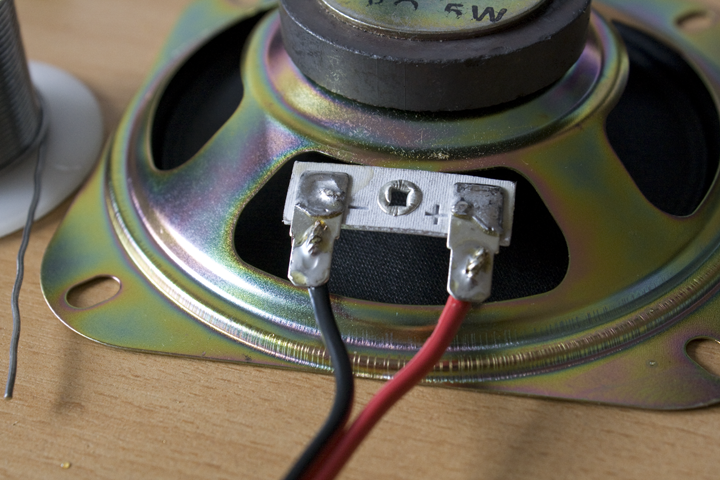
Now it's time to disassable the speaker.
I really wanted to see if the speaker is still intact. Indeed it was!
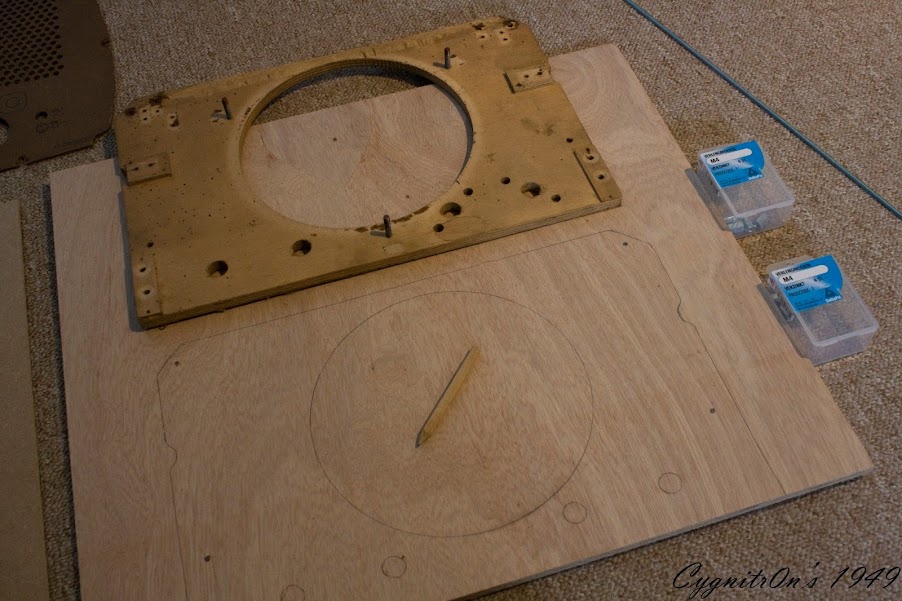
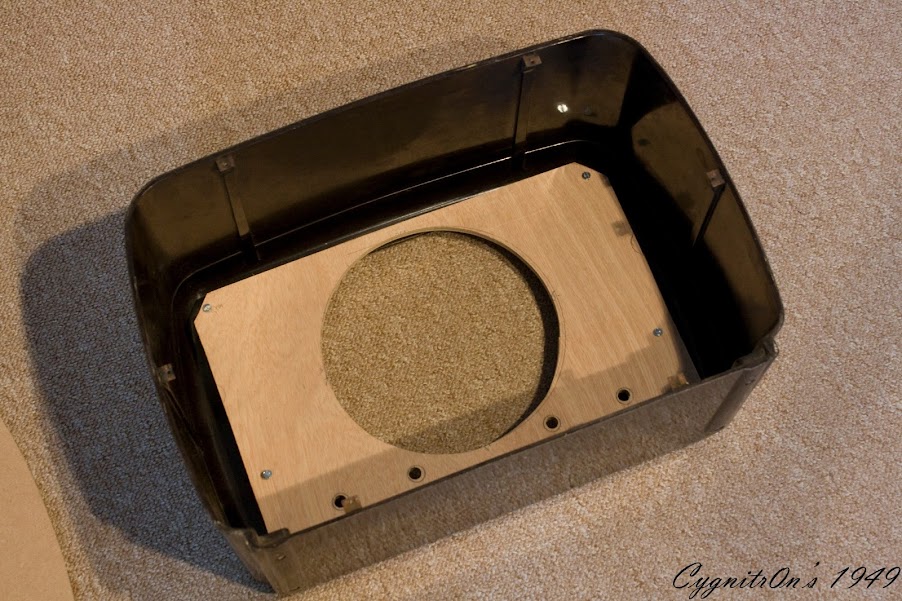
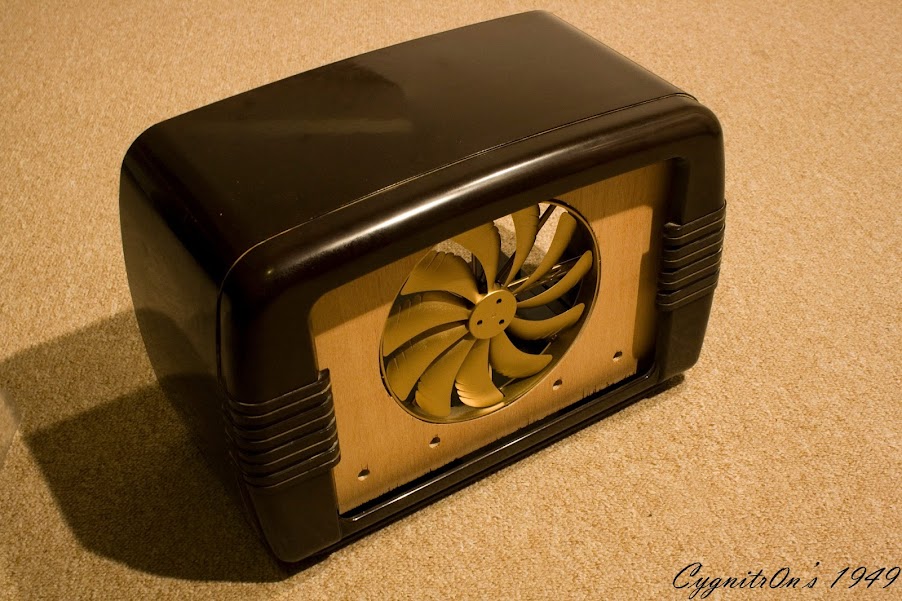
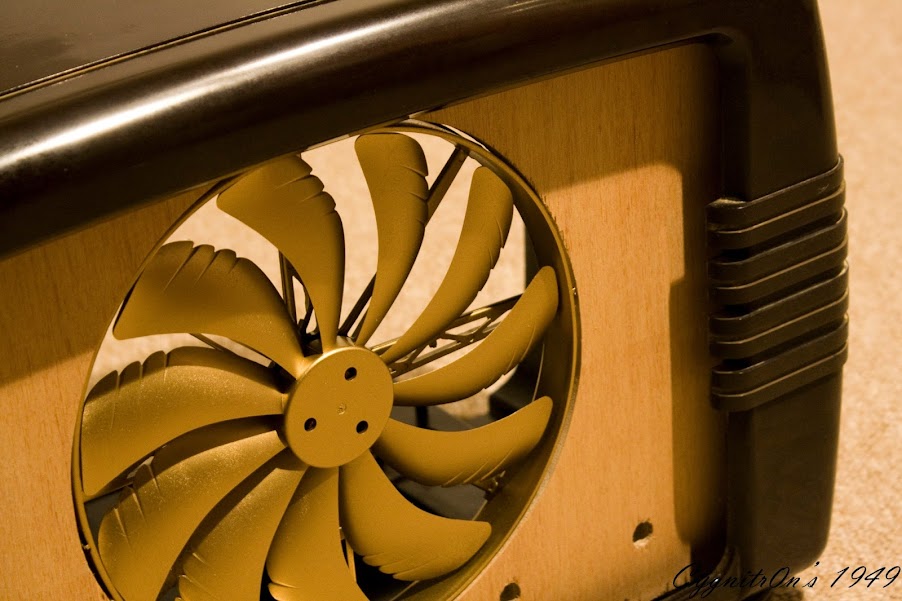
The speaker is gone, now the rest. This is gonna be the blueprint of the new front. So it's an important part.
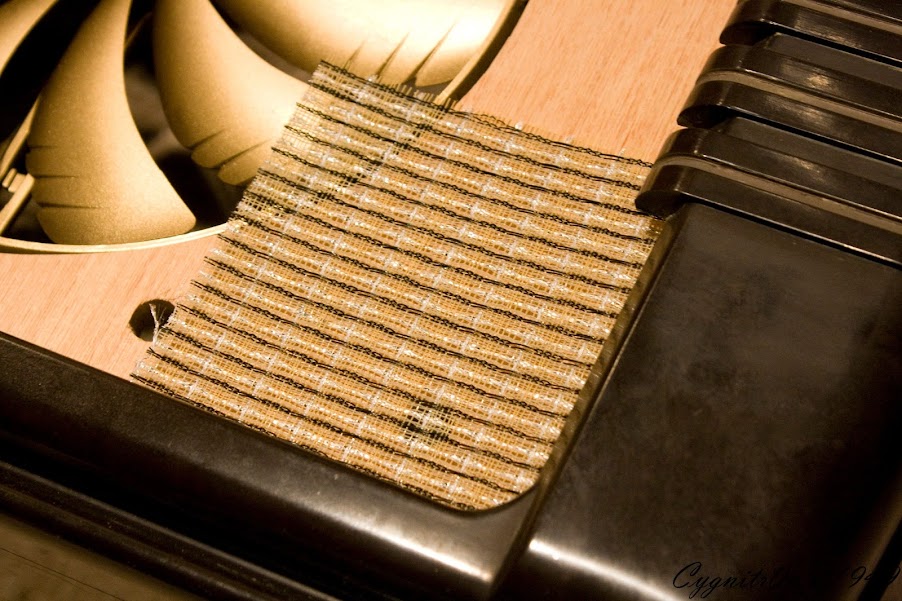
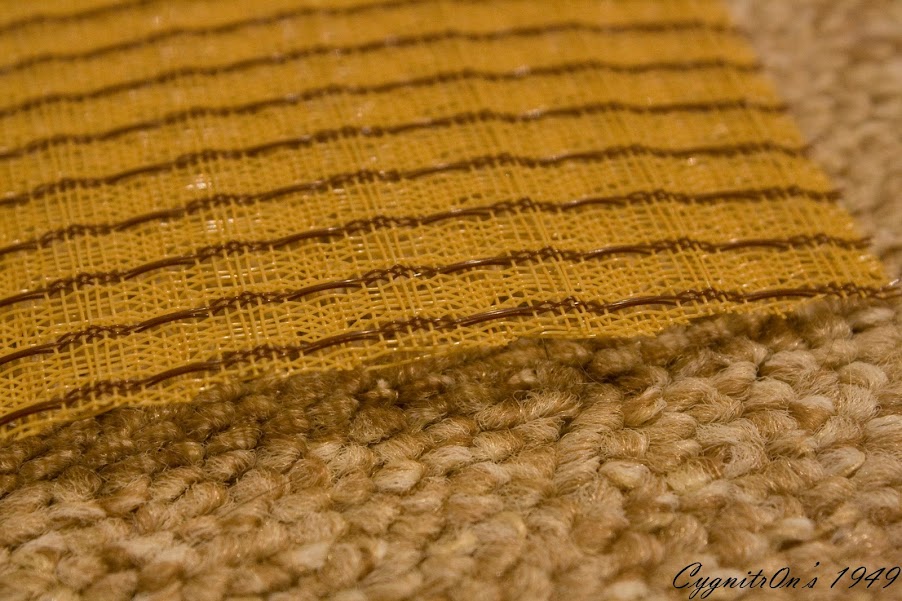
The fabric is gone. Just a waste.
Here are the important parts for the build. The back, front and plexi.
This I bought six months ago. It's the eyecatcher. It had a steampunk feeling to it.
Here an example how it's gonna look. Great!
And so only the case is left. Cleaned it with water and no chemicals.
Hello Readers!
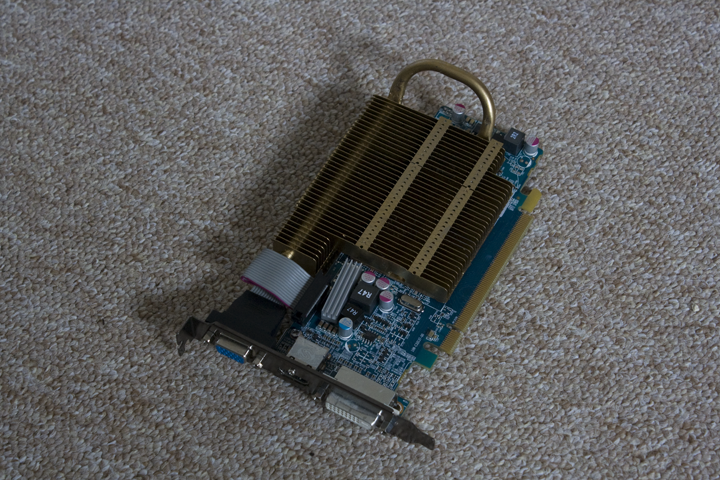
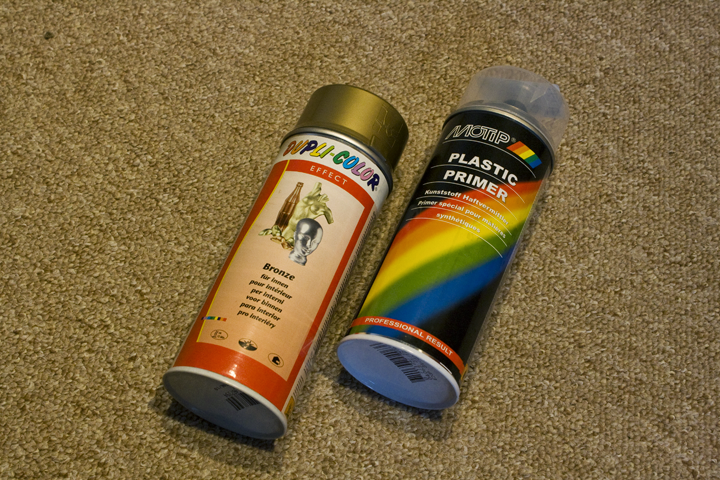
It is a lovely day here in the Netherlands! So glad that I have some spare time! Today was the time to change the color of the HD6570 Sapphire. I'll give it a brass colour.
Here are the pictures of today, the HD6570.
This is the brass colour that I want.
I have to pull the coolingblock from the PCB first.
There they are, the cleanupbros.
There isn't better cleanstuff then this.
And I had to tape the parts that shouldn't get paint on them.
Once freshly painted it looks like this. If it feels old, then my work is complete.
After a couple of hours, I began with cleaning the sticker.
And here is the coolblock back on it's PCB.
And I had to show the topside!
Then it was time for the lightbulbs.
Because the colour wasn't any good in my room. I had to take it outside for some good colour photo's
And a close-up. *what a lovely weather*
So this was the part for the graphic card. But there is more. oh? Yes ofcourse! Because in the time I had to wait for the Paint to dry. I had something else to do. Measuring the Philips.
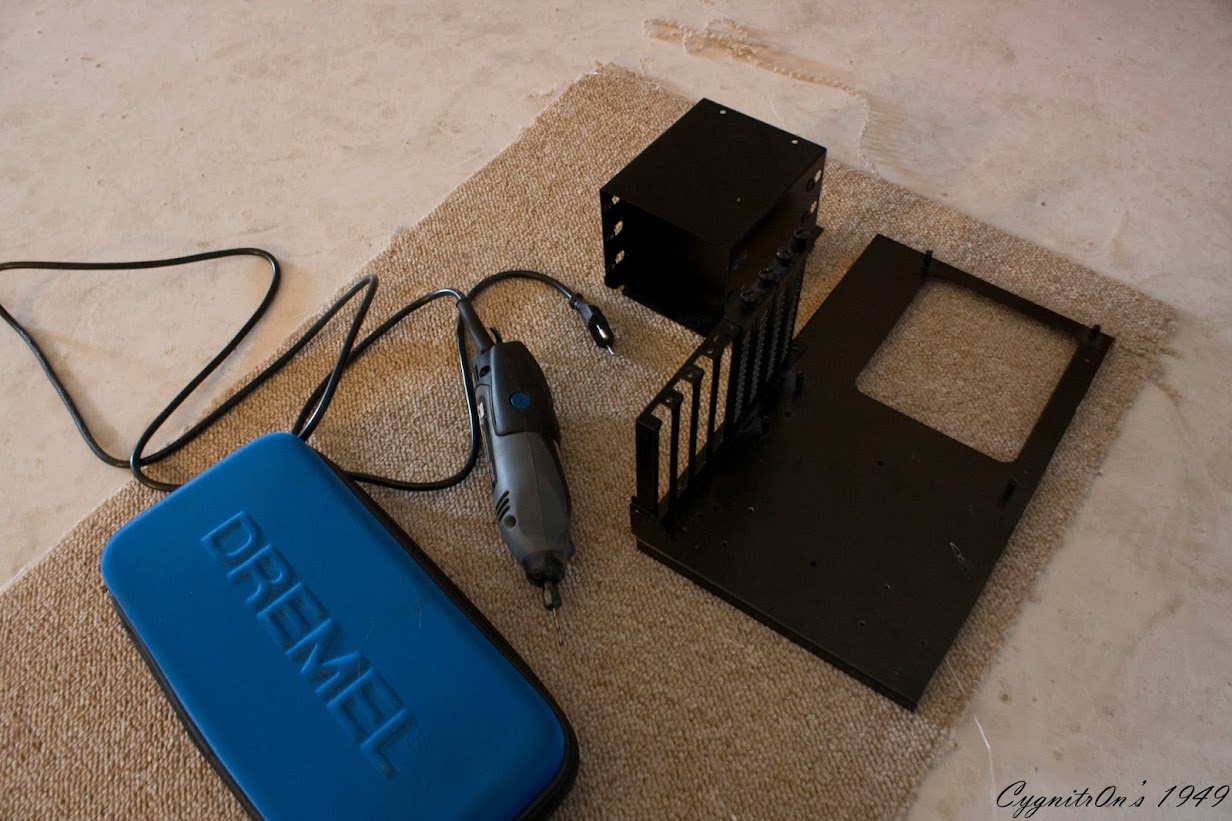
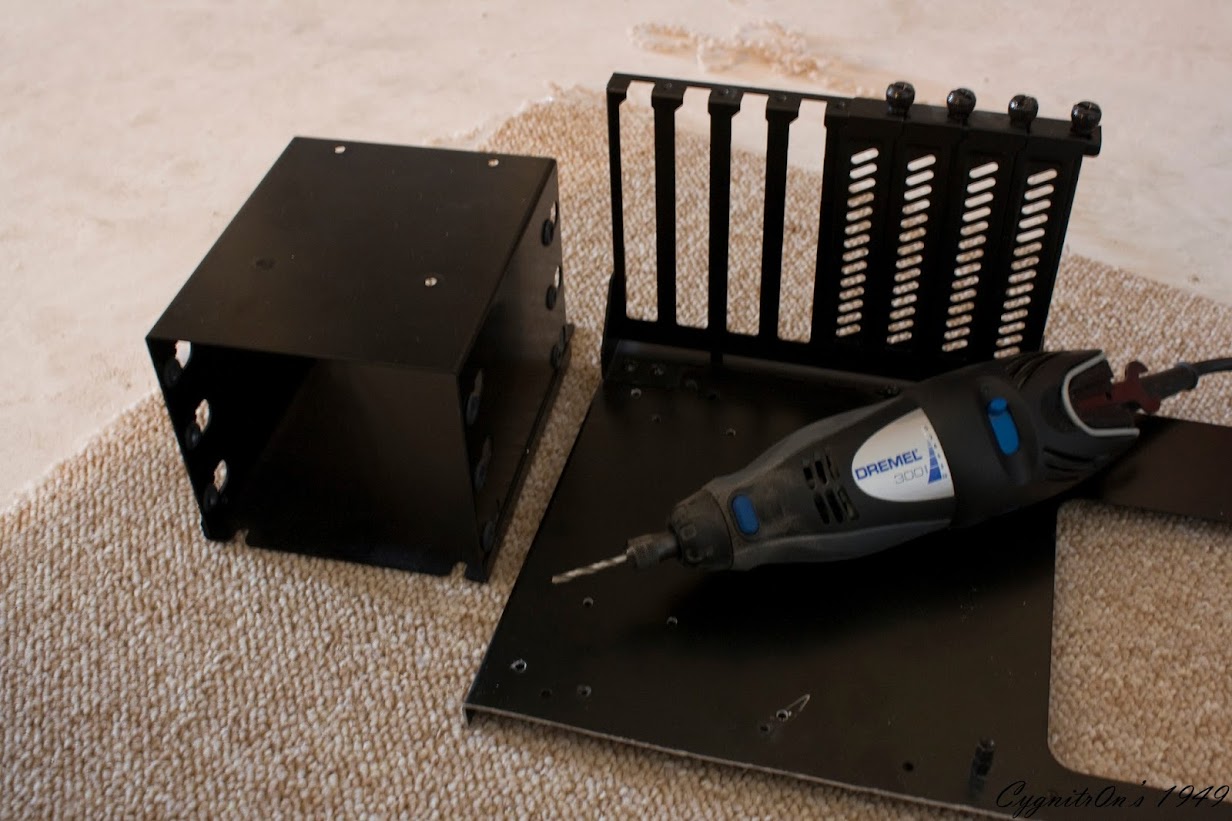
Gladly I have some PC parts, but I couldn't find the right one. So I offered the new Lian-Li benchtable. *With pain in my heart*
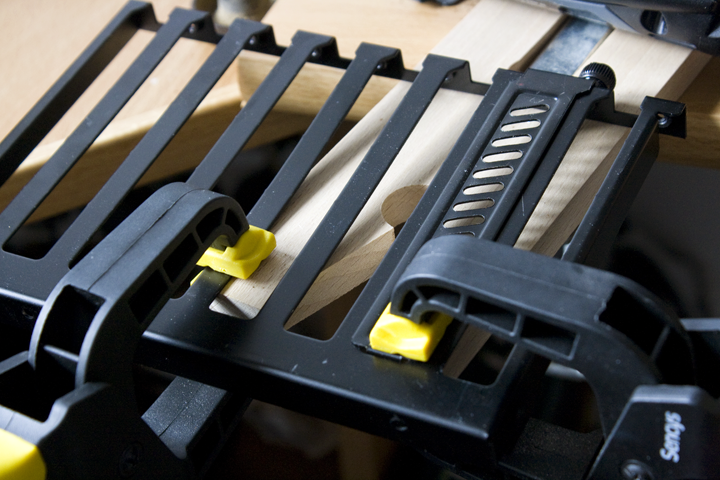
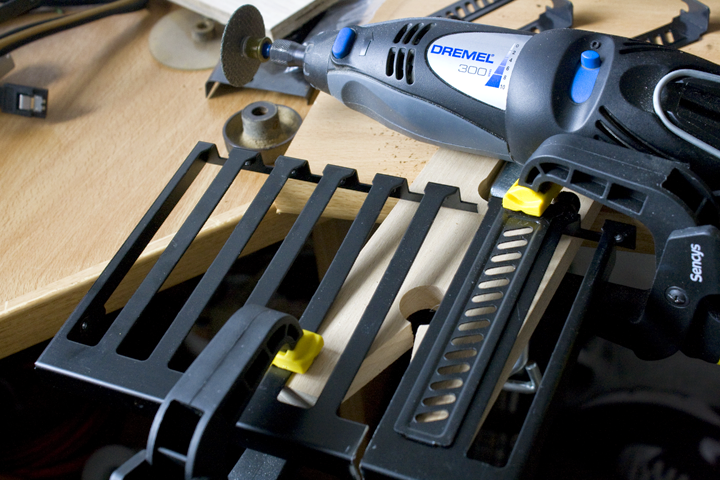
And there is is then. I drew the line for my Dremel.
Pada-bing pada-bong! And there's a tiny table left.
It has to fit ofcourse. And It was my lucky day!
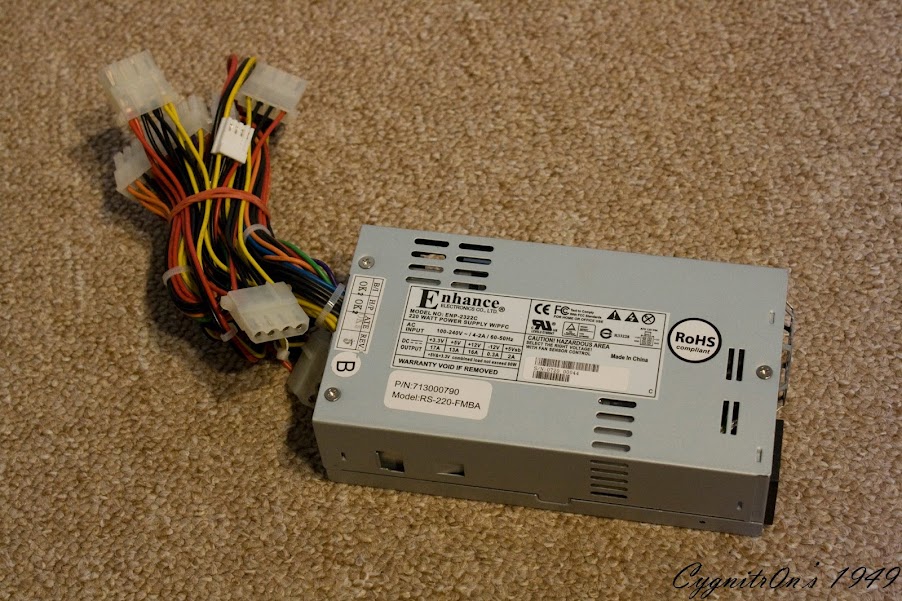
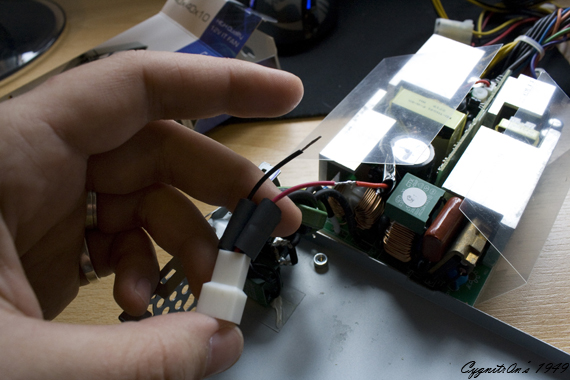
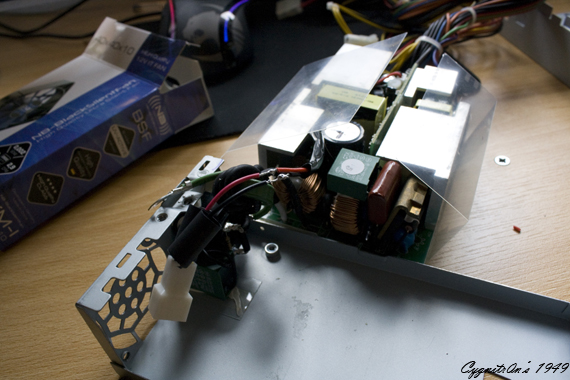
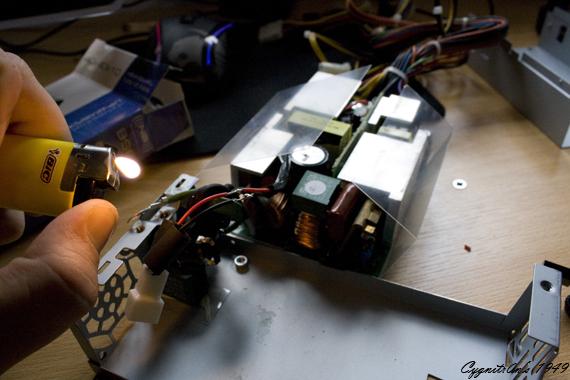
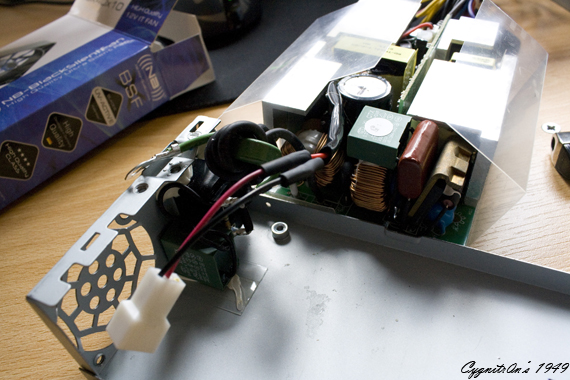
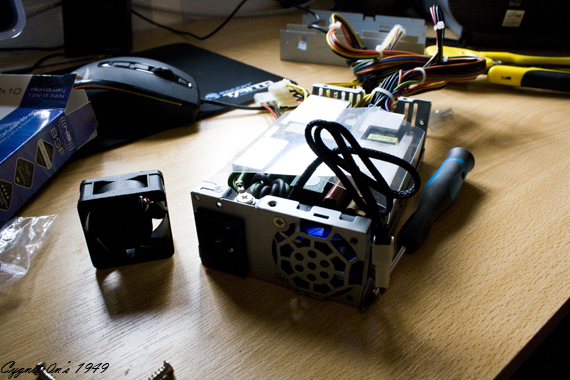
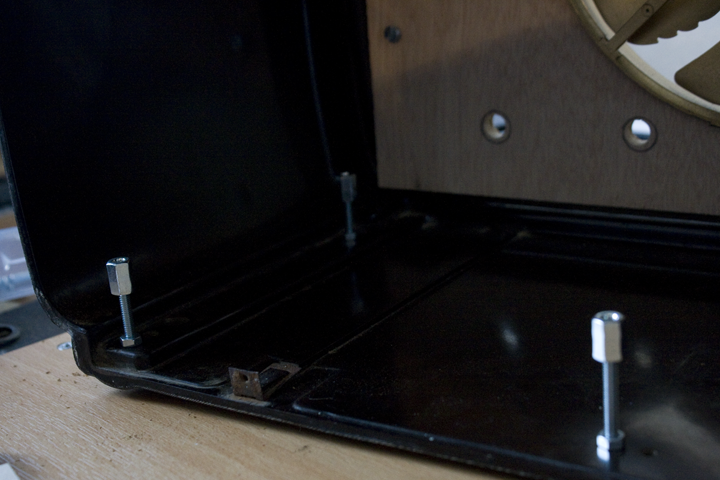
For verification I had to check of the powersupply will fit. And yes it does!
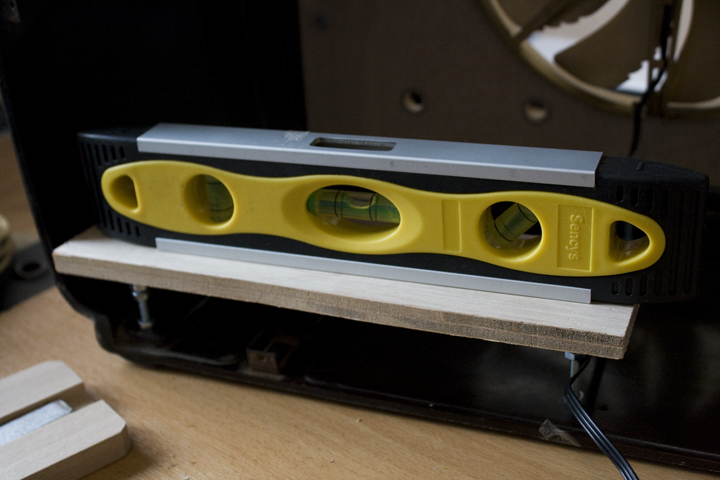
So and now with the frontpanel from Philips on. Just to check if it's the correct hight.
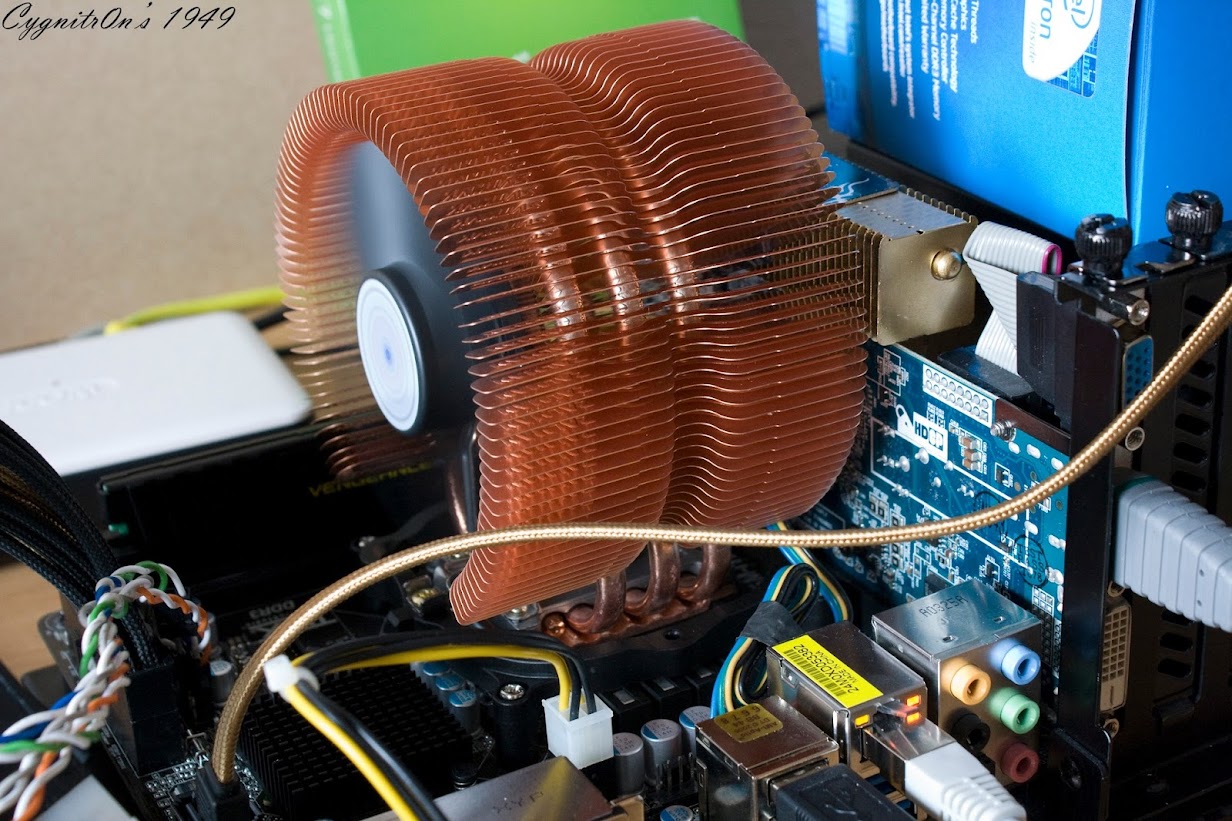
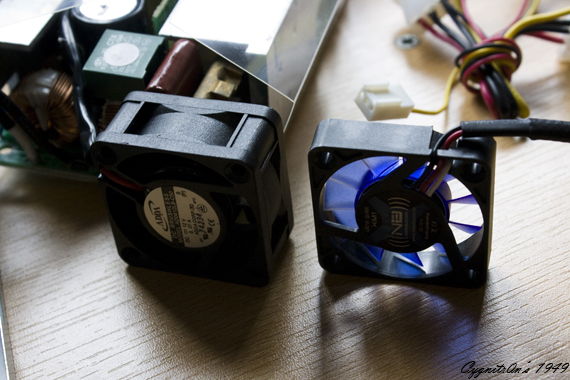
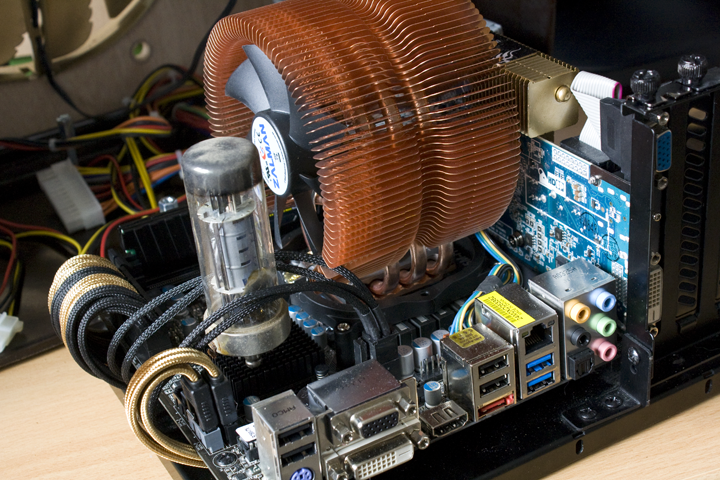
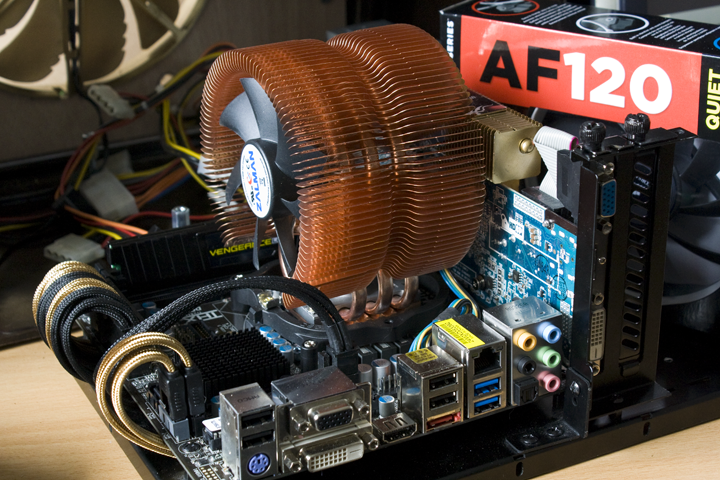
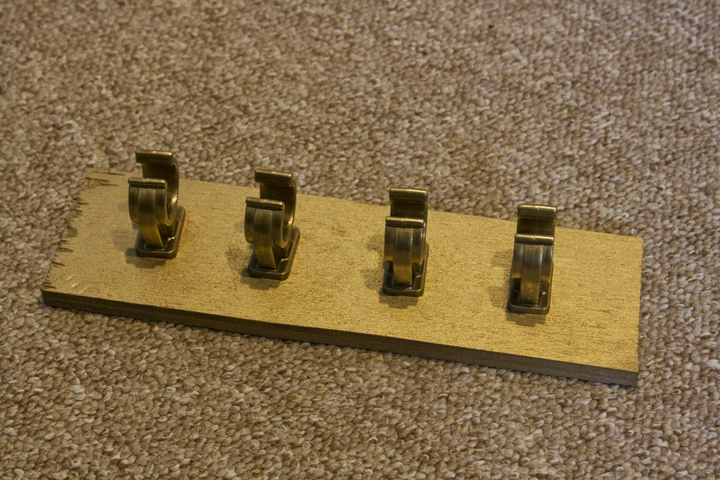
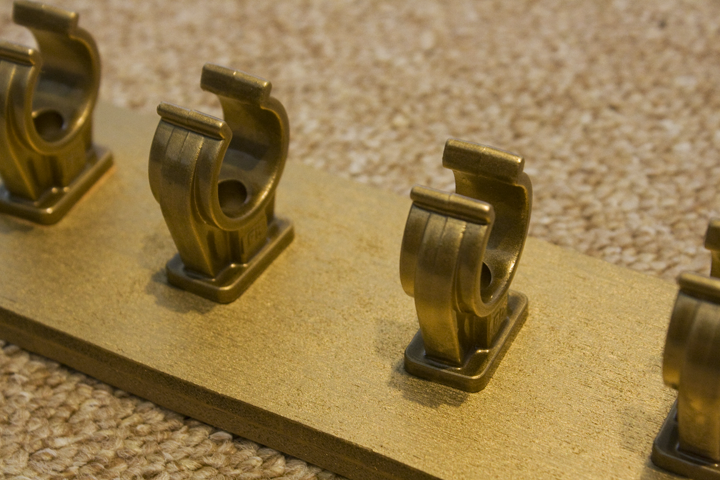
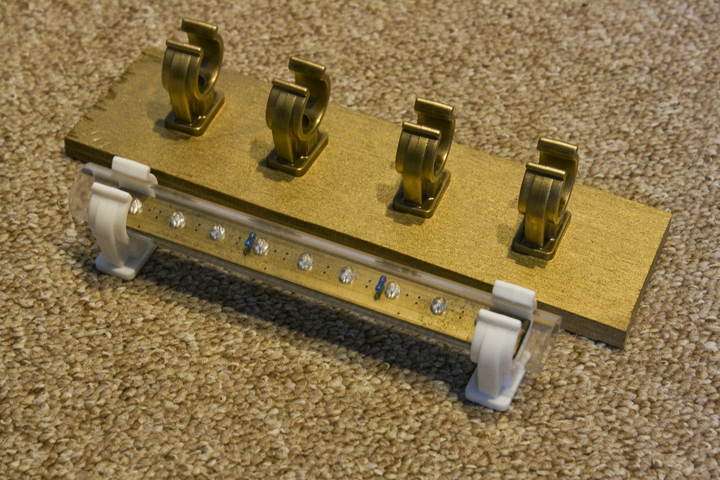
Enought cooling? Check! Therefore I have a XSPC mount bracket.
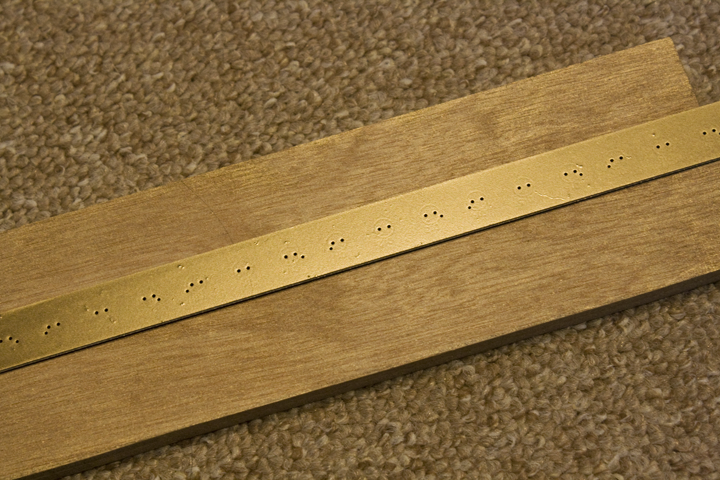
I'm going to replace all the woodwork. And there is going to be new fabric on the woodwork where the speaker normal sits behind. Also I'm gonna cut the plexi (Radio bar) with laser (Not my cup of tea so I let a proffesional do it.)
I'm tryin to make this build as original as possible, with here and there a touch from me. It's obvious that is not a radio anymore when I'm done. But hope the results are good for a 'radio' look.
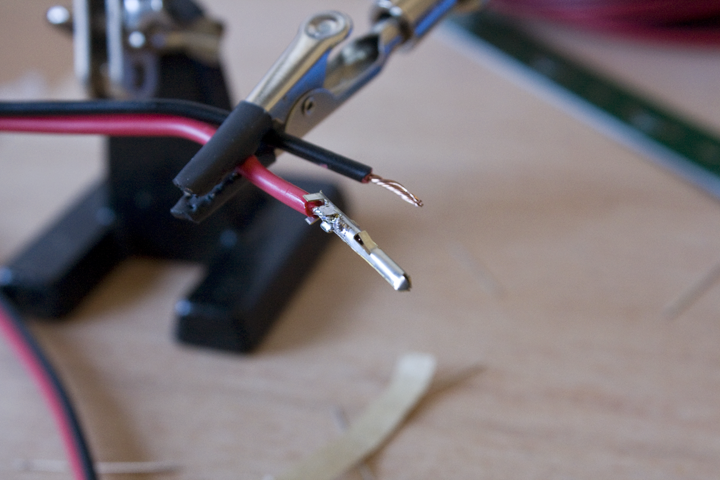
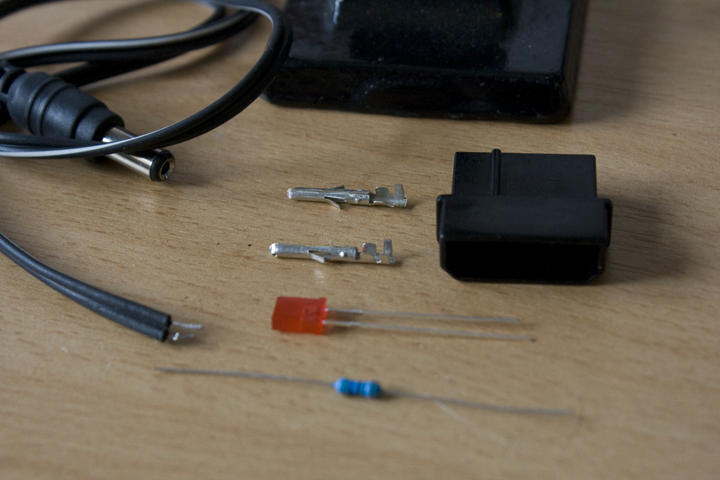
I love the bulbs like I said before, they are coming back in the build. But I need time to think what I want to do with them. I heared from a friend that I can power the working bulbs. Hope it will work. Otherwise I will light them with Leds.
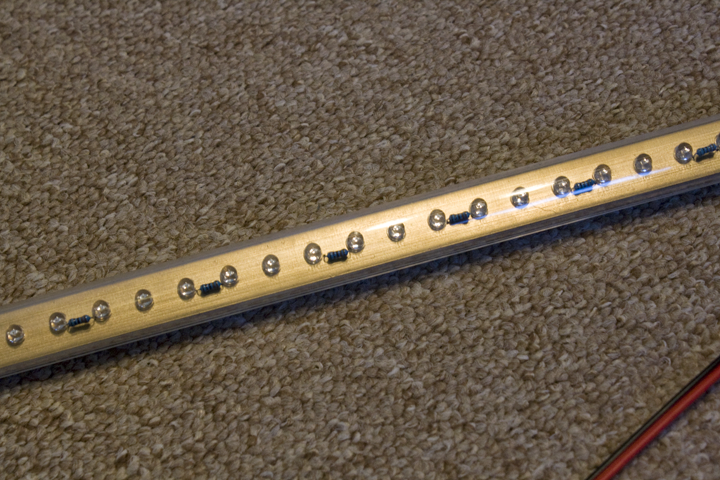
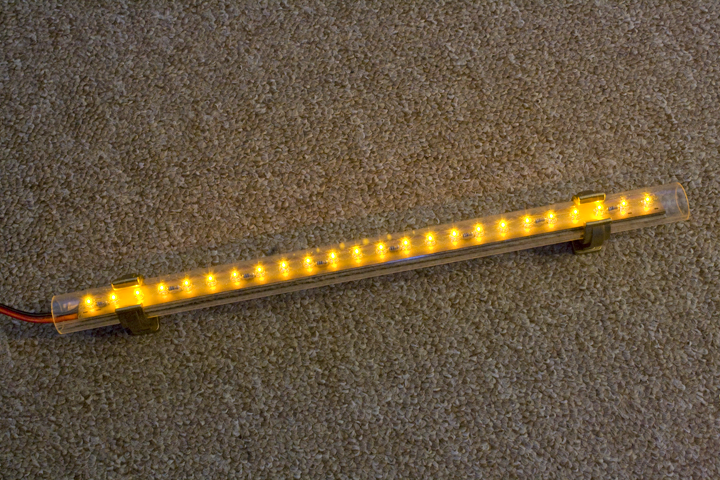
Also a good Idea has come up in another forum. The Leds that I'm making myself has a new feeling to it, but because it has to be old here is the idea: "Take an acrylic tube, paint the inside brass, putthe leds in and burn! It would look like a tube! Hope this works!
Before the snowfall here in the Netherlands, I tried to polish the outside of the radio. I wanted to know if I can do it succesfully. Because I don't want to damage the radio,
yet
So I tried at the underside of the radio. With succes, pfff. But I didn't clean the inside yet. This is now on my "todo-list". But when I polished the Radio, I saw that it's gonna be great, but also I saw that it's gonna be a looooong polish... and polish again and again. This definitely is the same as lapping a CPU. Hours of work!This was session 1
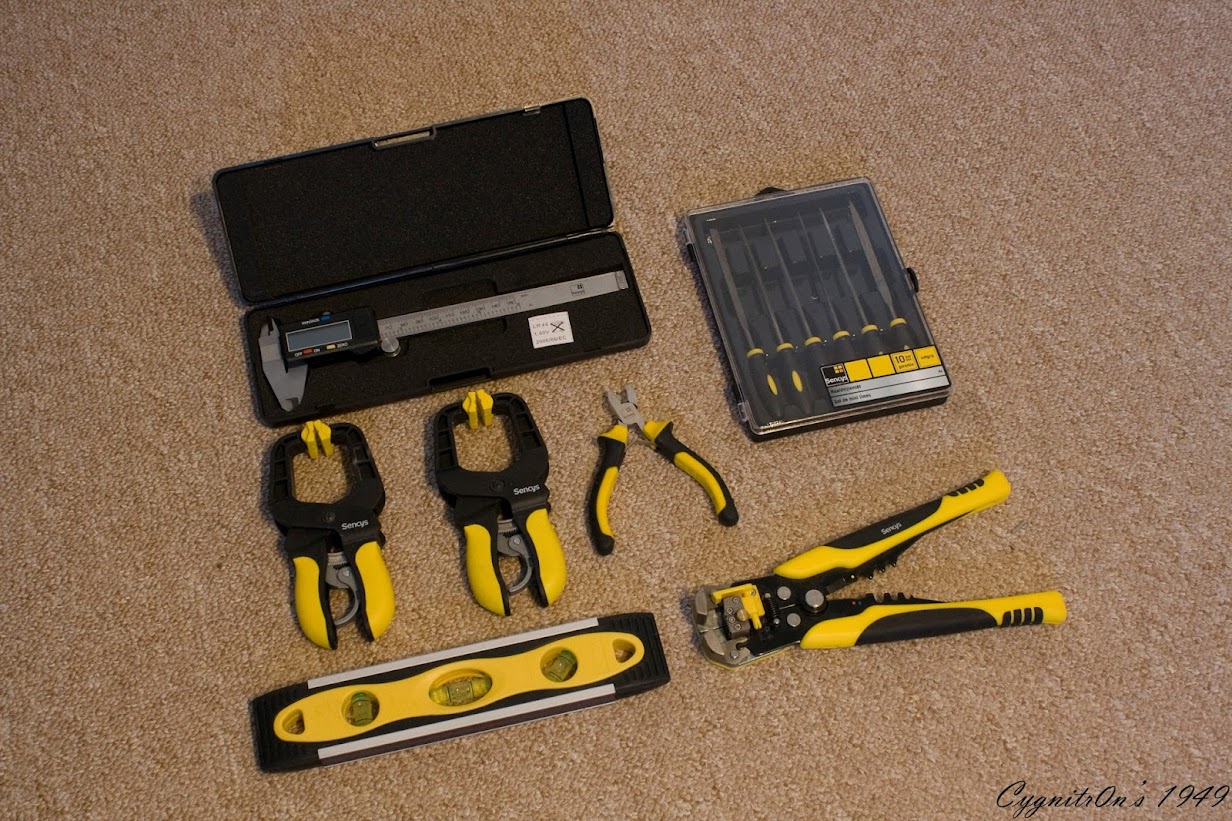
Stuff that I needed:
Sopje (Water en Soap)
Wasbenzine (Degreaser)
Commandant 4
Copper Polish
Sheepskin polisher
Clean polish fabric
Auto Glym (Car Polish)
The sun came out for a couple of minutes, so I made a picture. Here you see the polishwork I've already done. The reflection is there finally! I didn't clean the bottom, so you can see it as a reference.
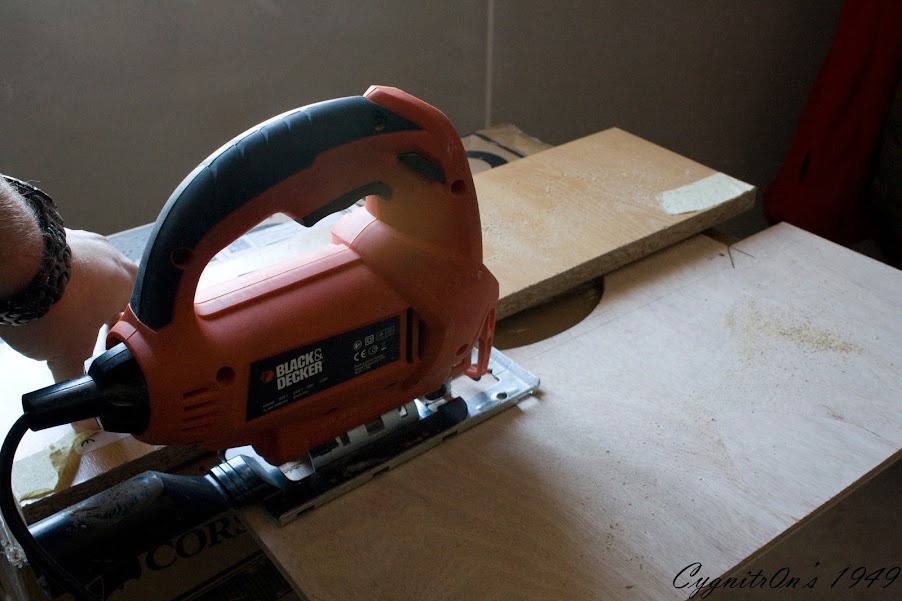
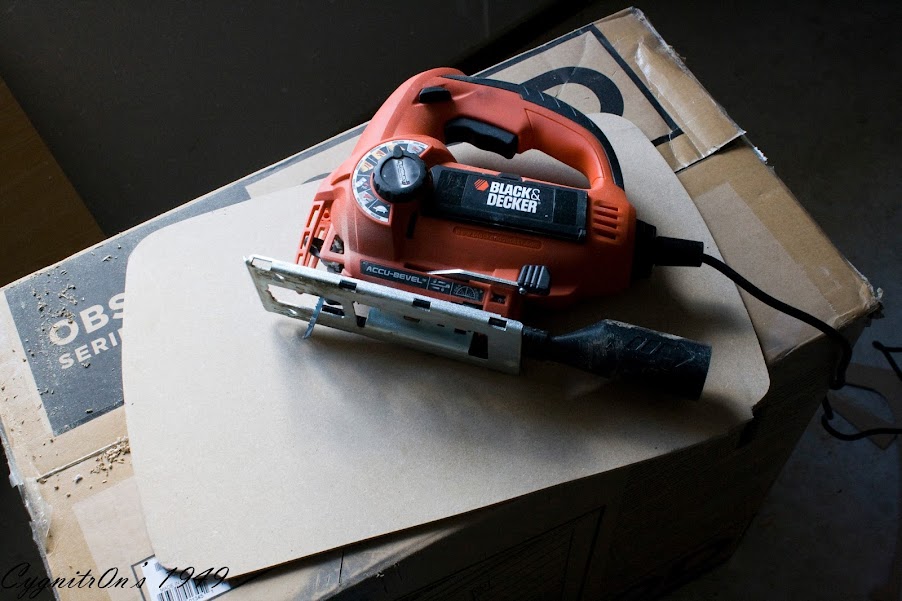
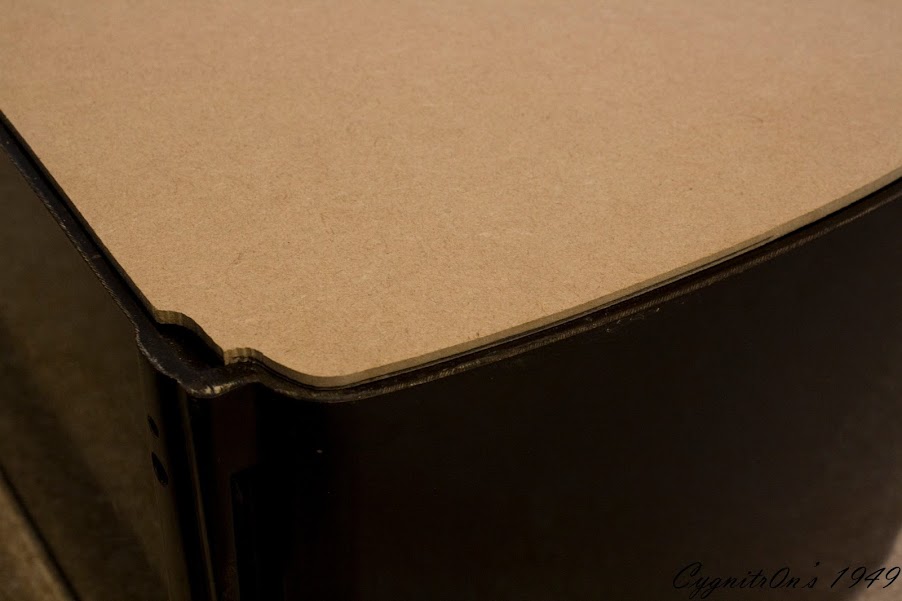
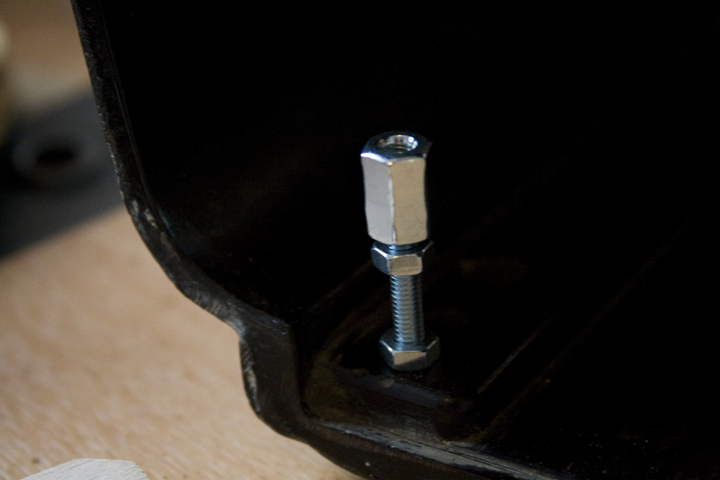
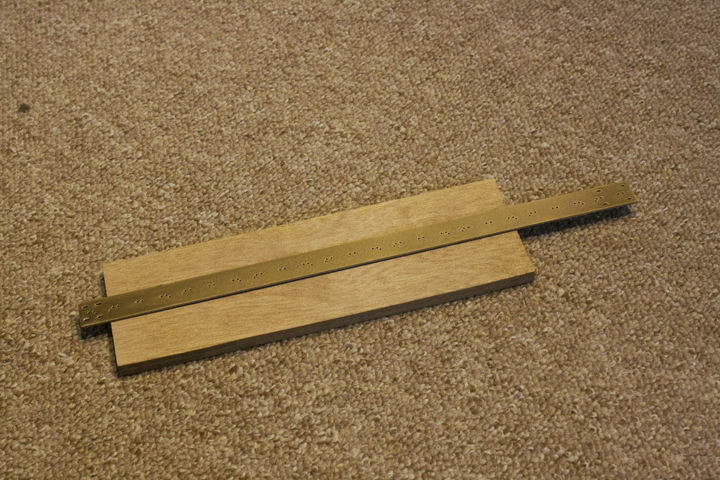
In the afternoon I had some spare time. A nice moment to visit the stores. The wood cost me a total of ?3,50. Not much at all! I've chosen for 2 materials. One piece is MDF and the oter is Multiplex (Plywood).The Multiplex(Plywood) is for the front and will be covererd with new radiofabric. The other one, MDF is for the backside. And I gave the mounting of the mobotray some thoughts. I've chosen for the best sollution. I'm gonna use M4 thread which I'm tapping into the radio. For attaching of the motherboardtray I'm going to use extension bolts. Where the original M4 screws can bolt in easely. Have 8 of them, that should be quite adequate to hold the tray, (to float).
I have not chosen just hardboard. For it is in fact the same color and it is thin. But bends too easily. Eventually my choice was MDF, this is some what harder and easier workable.
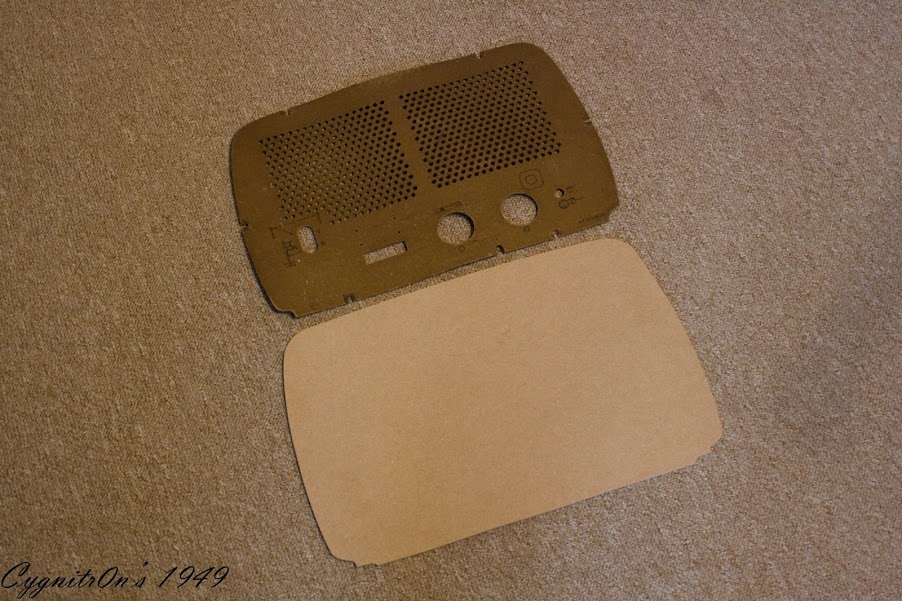
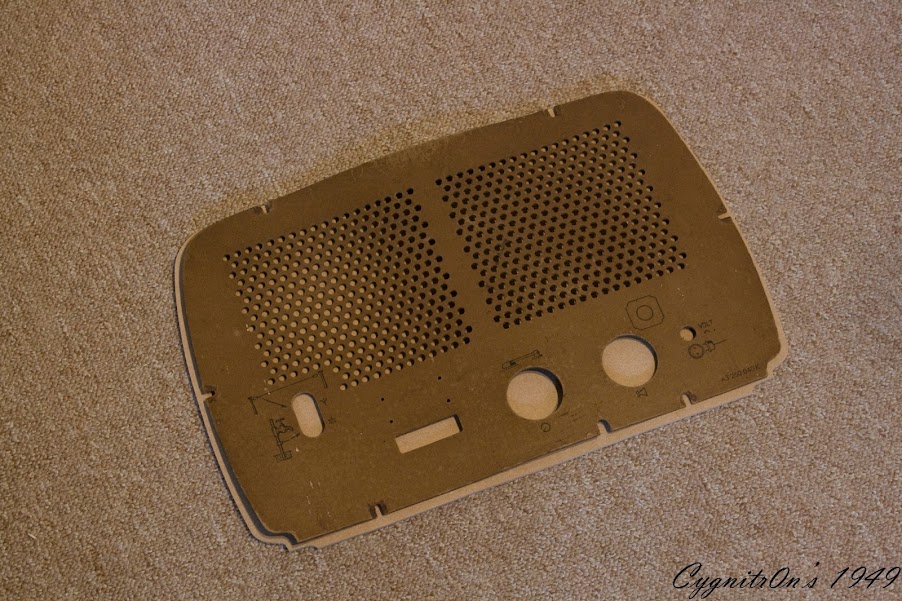
I'm gonna replace the old piece by a new piece of plywood, luckily I have the old ones. It is easy to trace. The old wood was also made
of Plywood, so no need to use a different type of wood.
Hopefully I can get some things done this weekend.
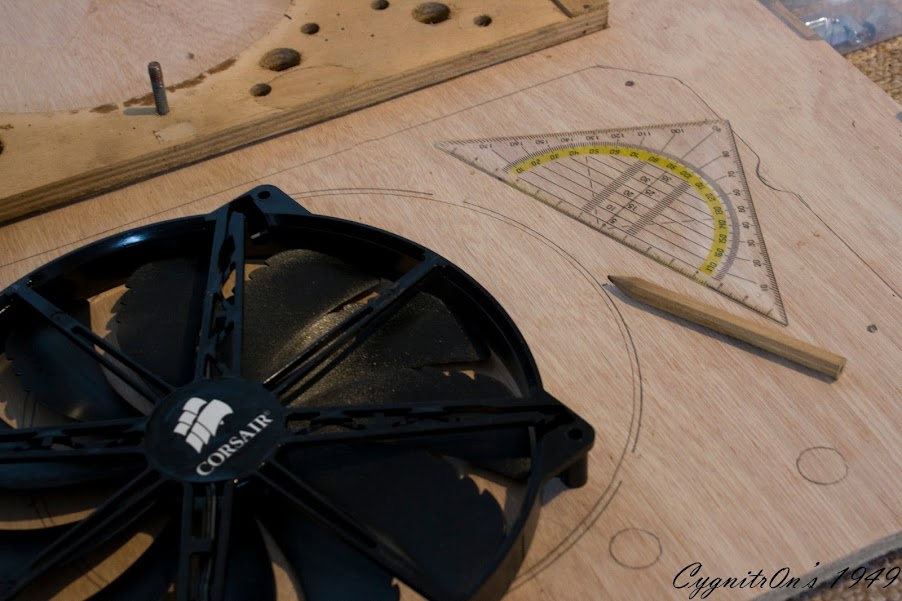
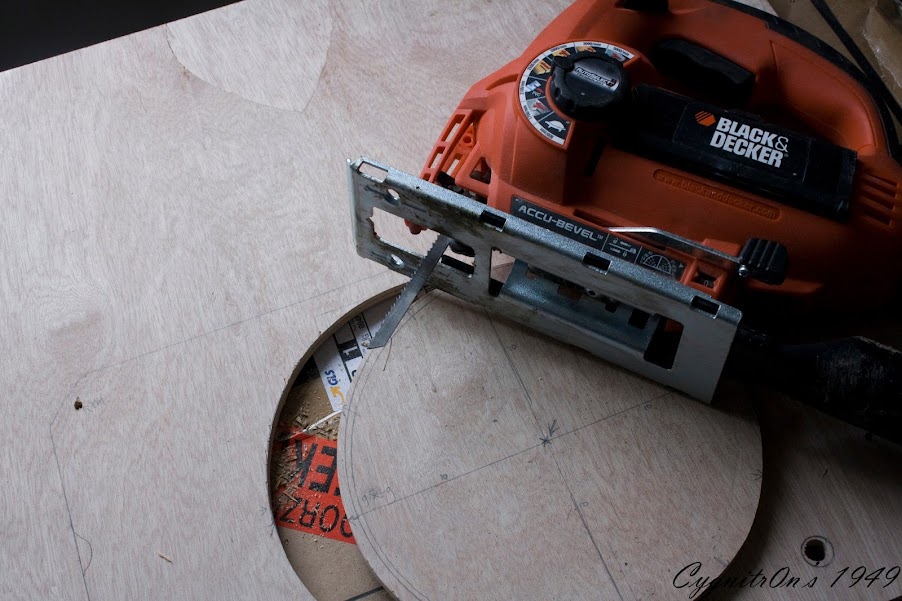
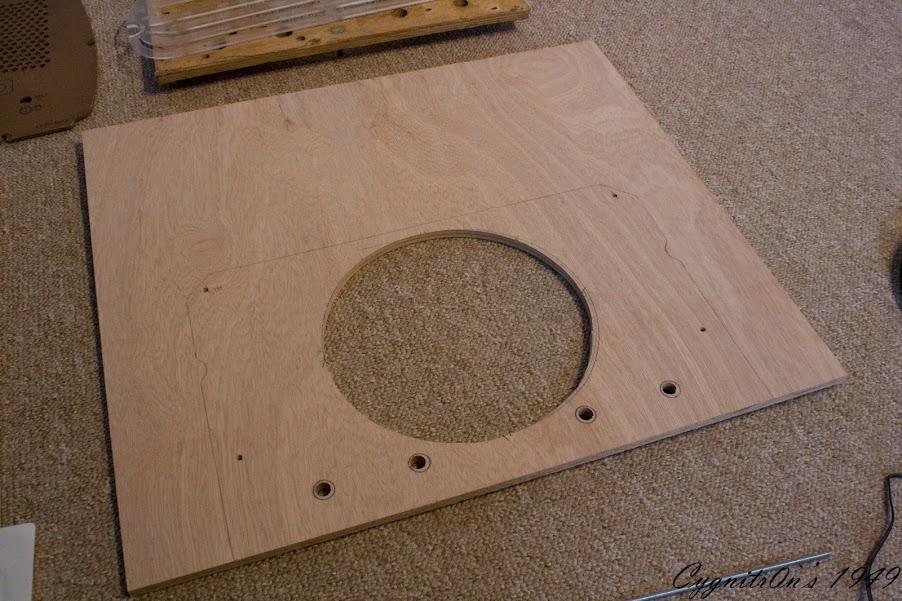
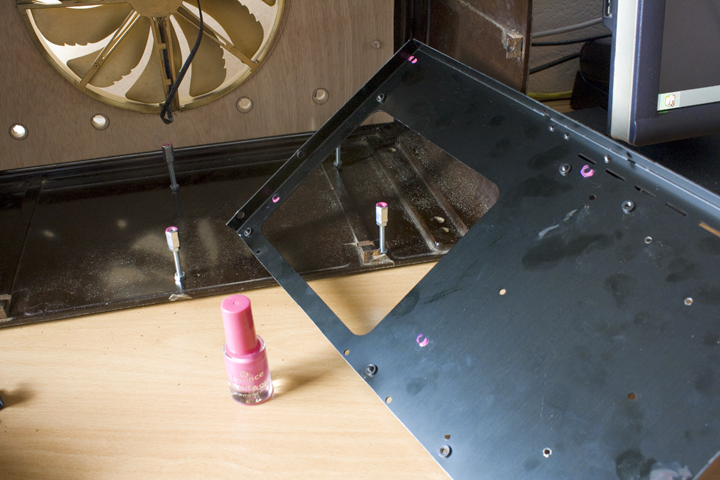
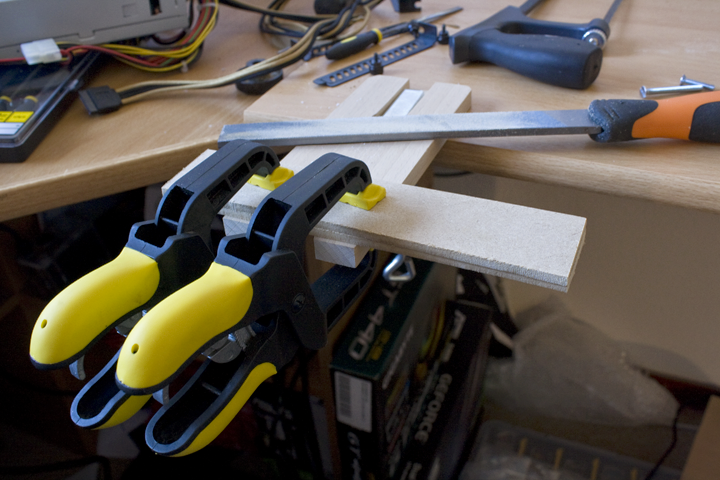
I have drawed the backside op the radio on the MDF. It needs to fit excactly.
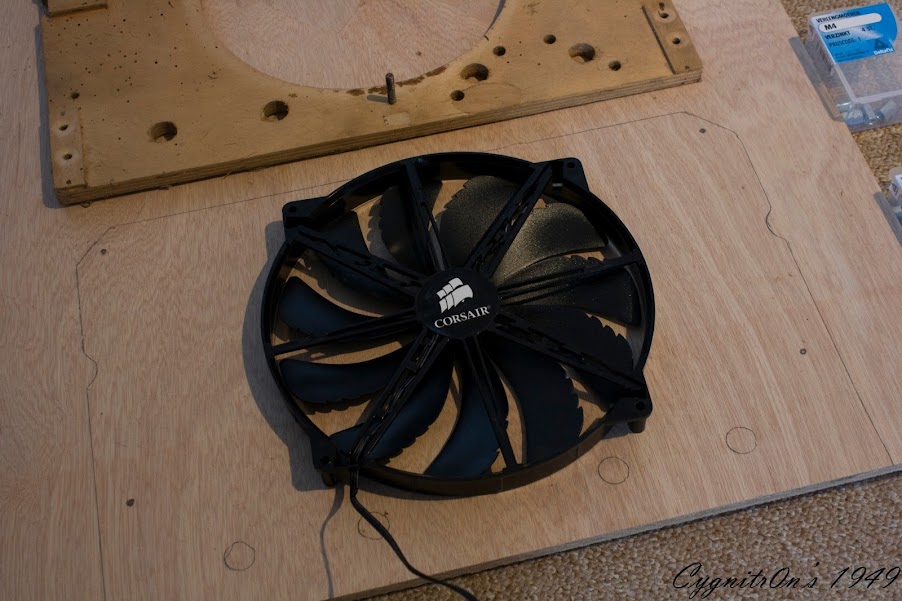
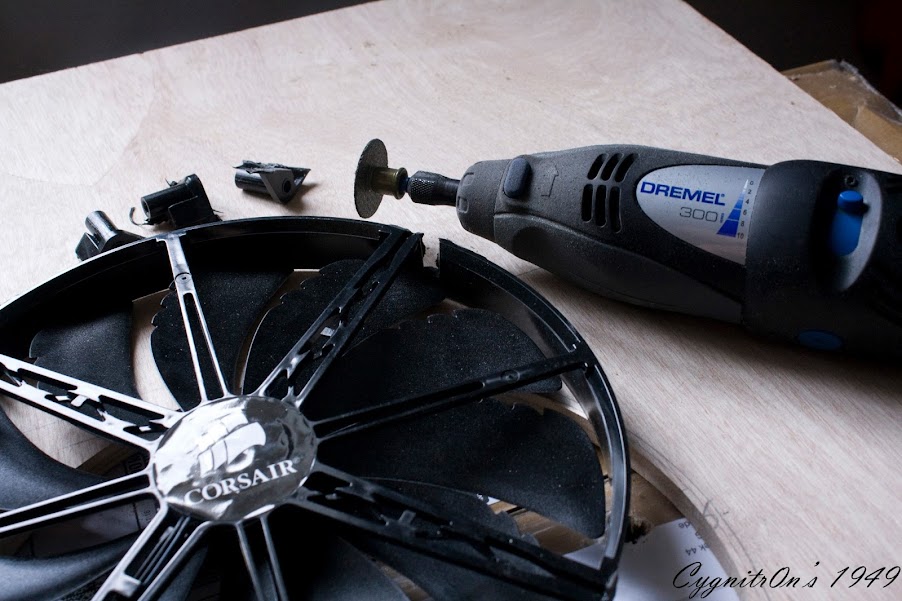
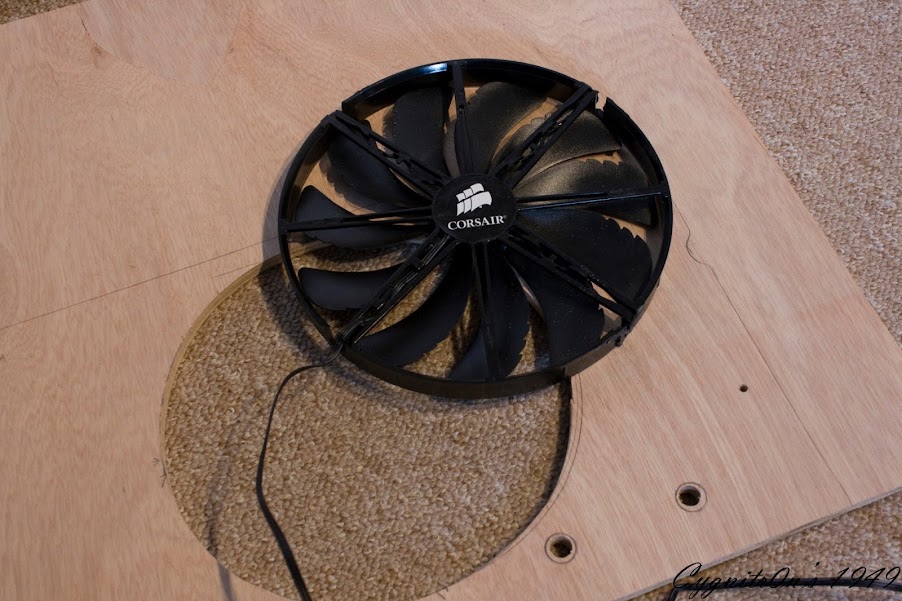
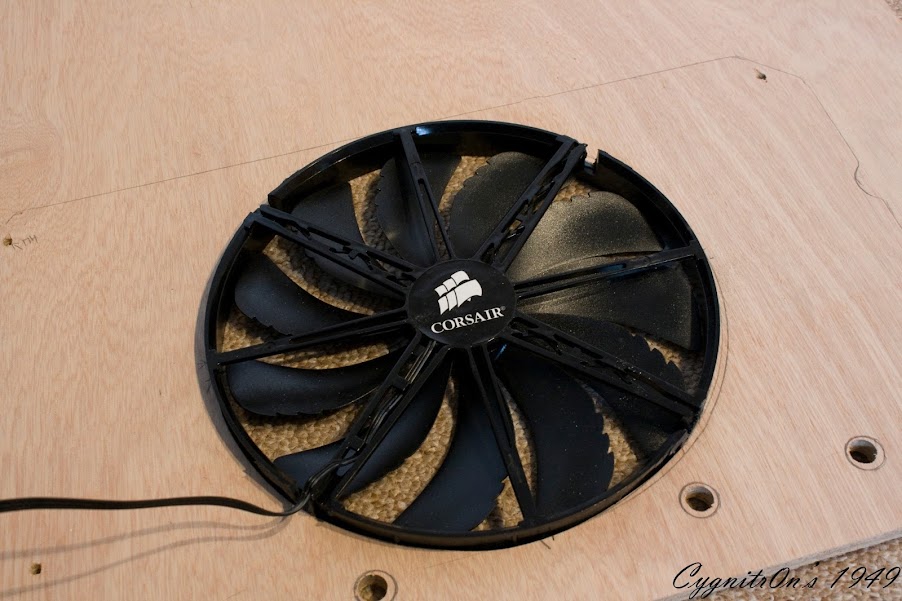
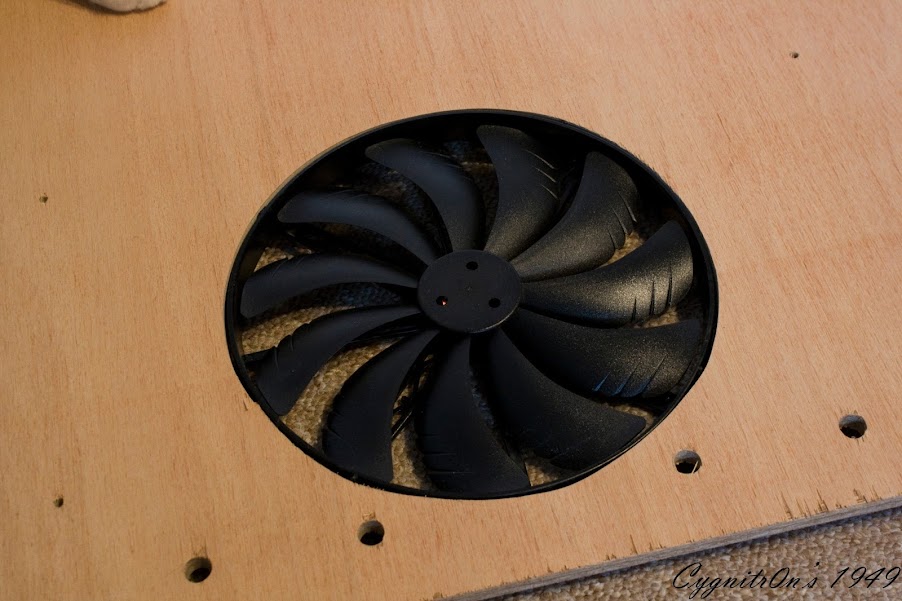
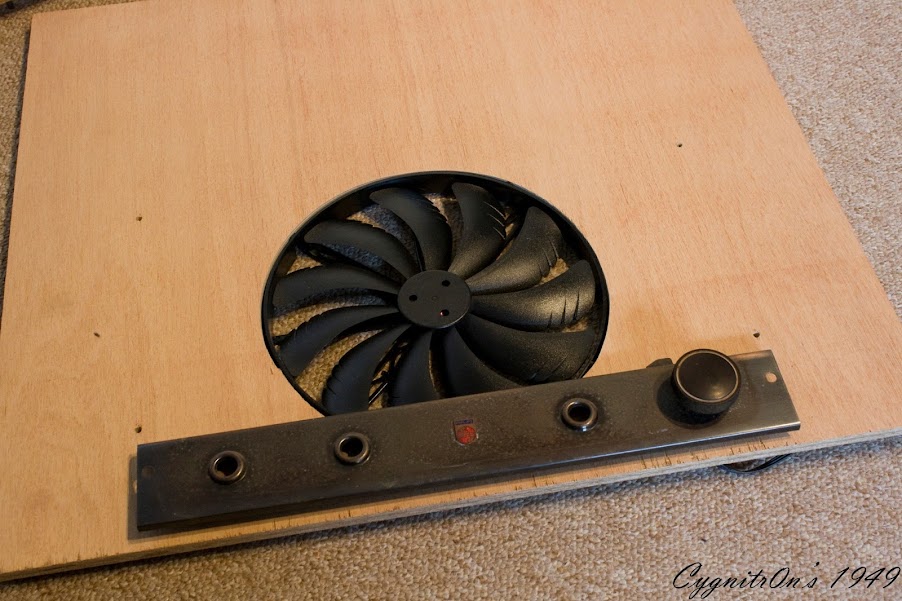
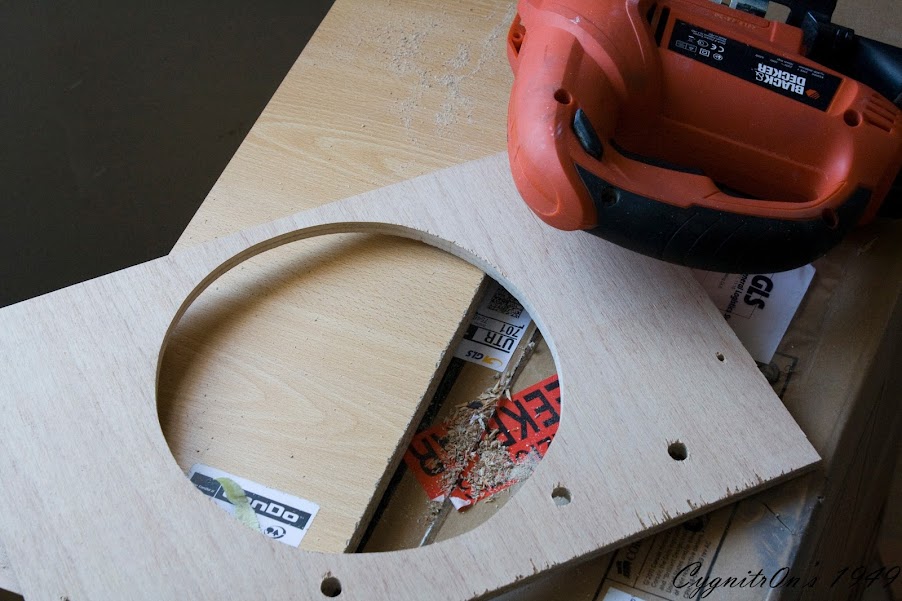
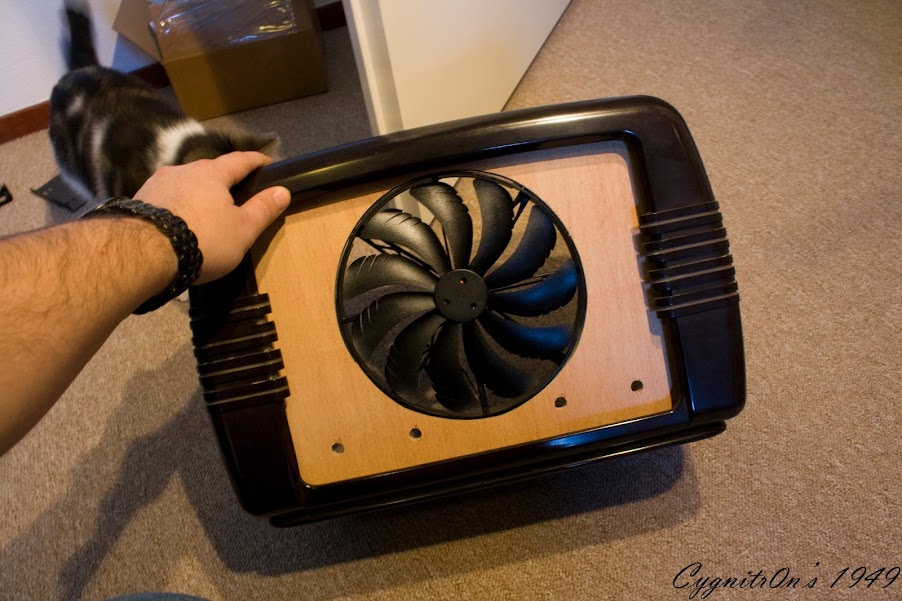
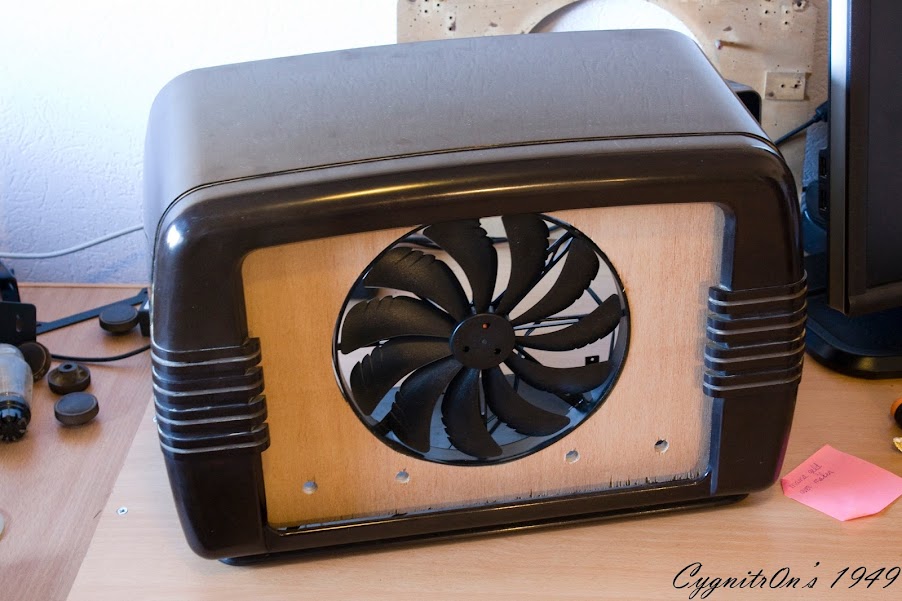
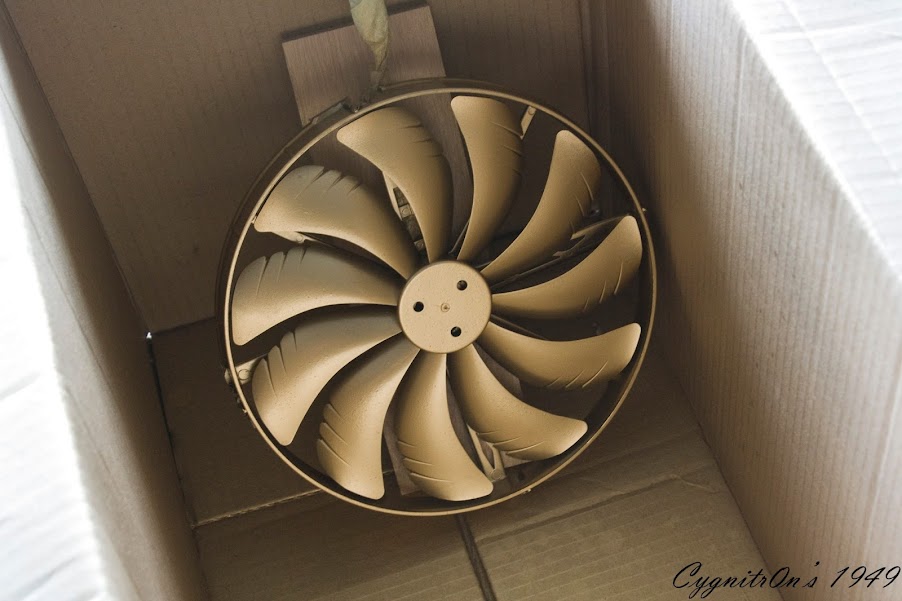
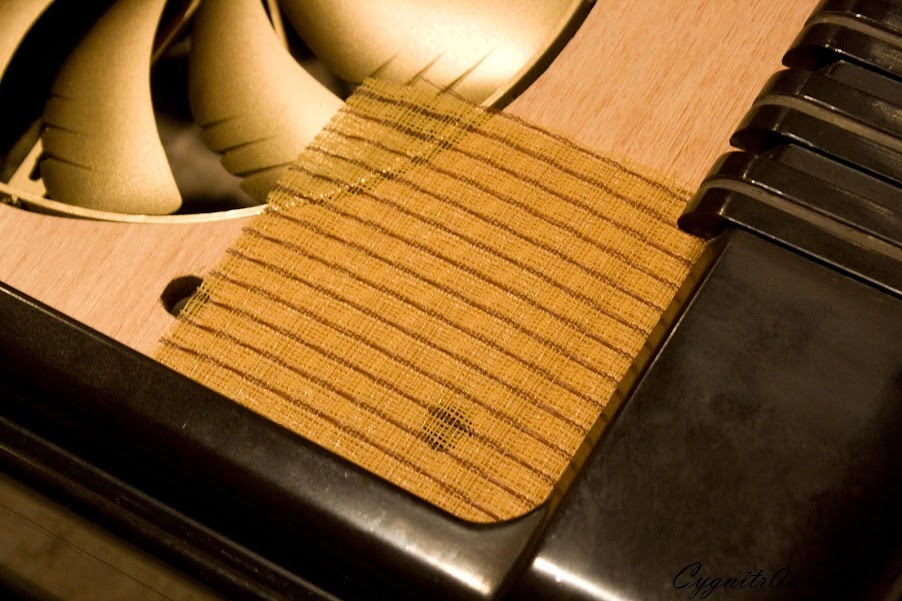
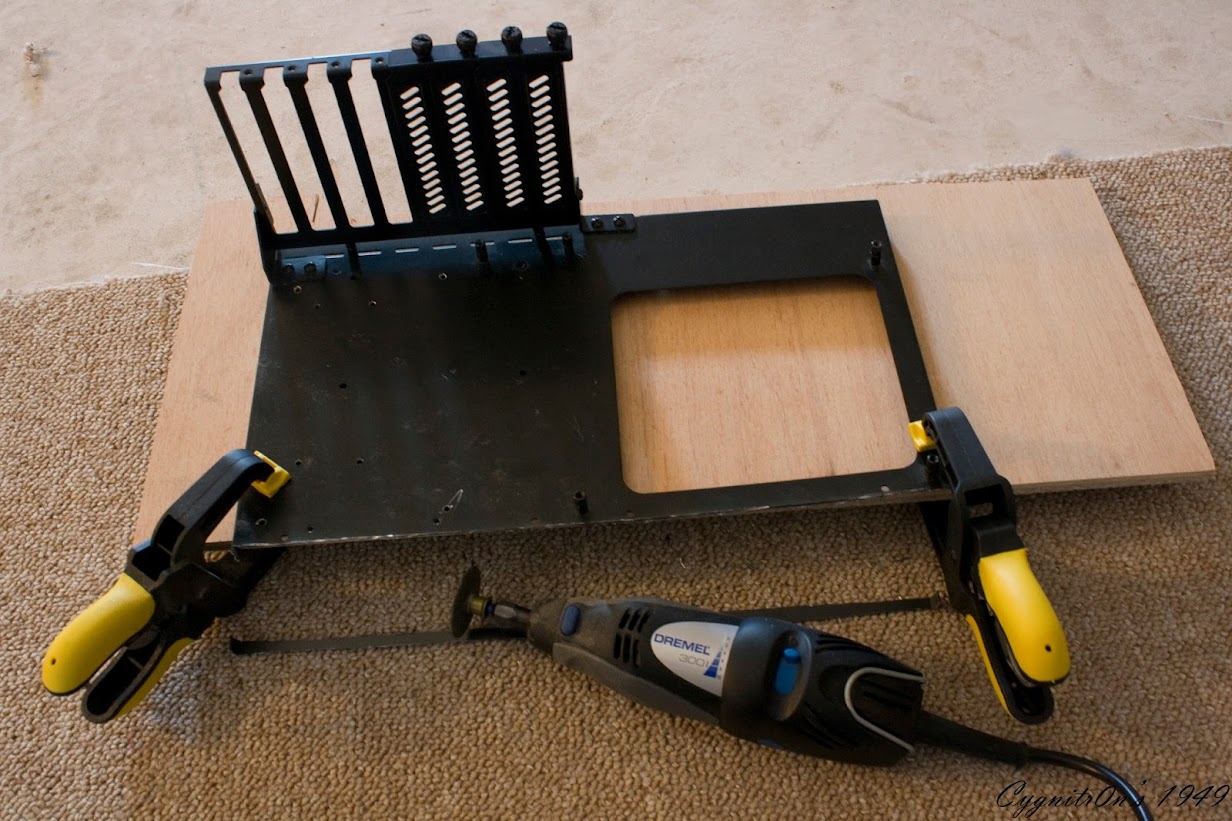
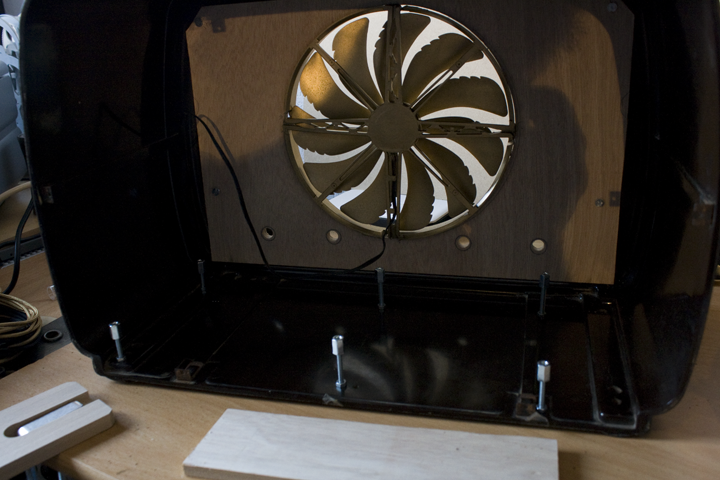
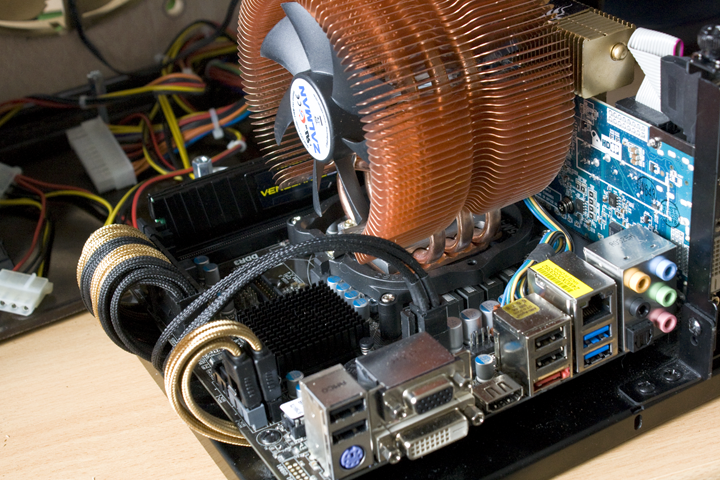
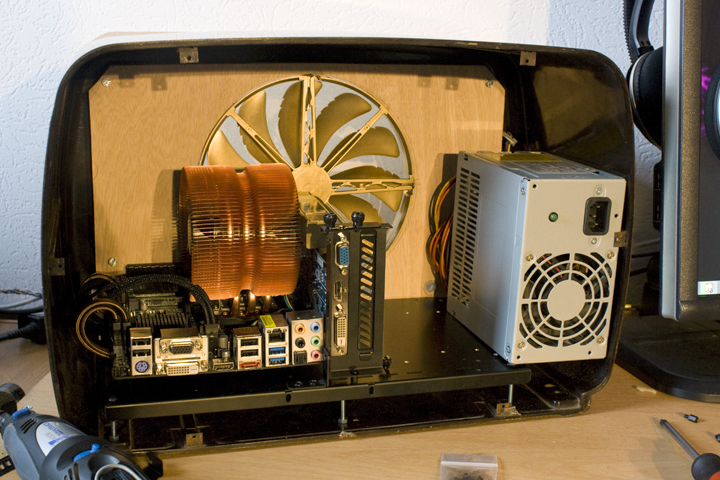
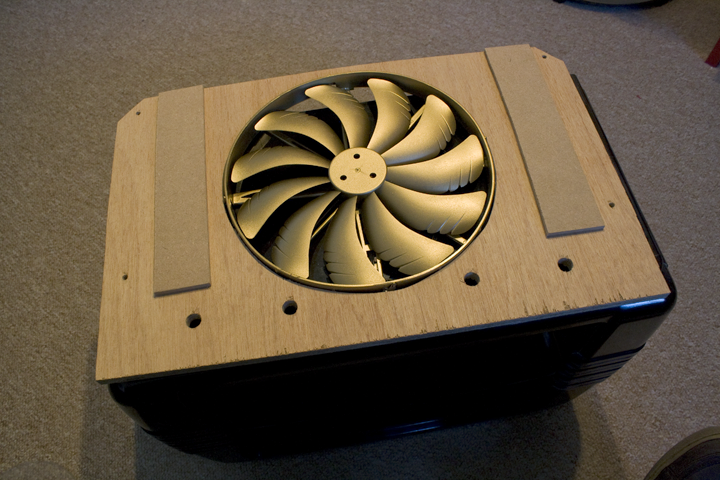
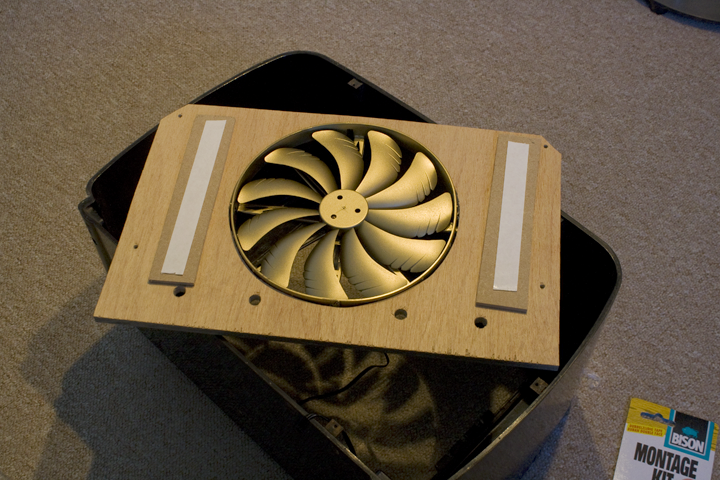
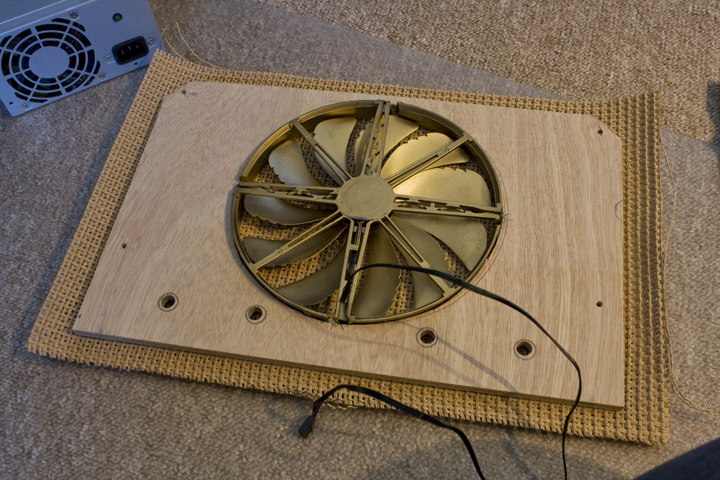
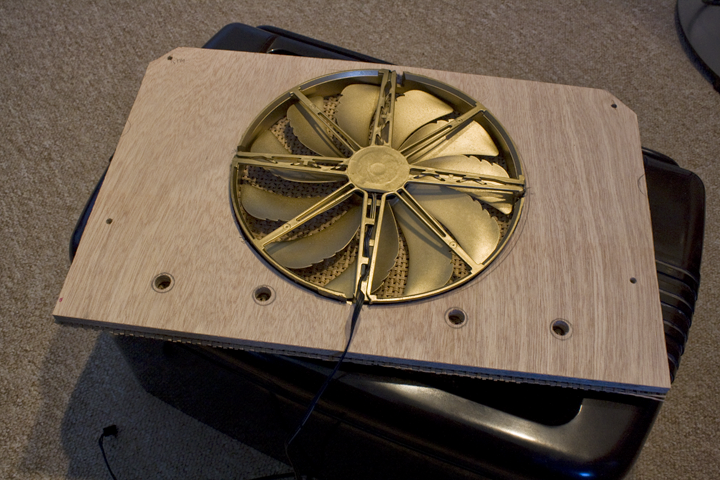
Here are the parts together. Motherboardtray and the Corsair 200mm FAN.
This is how I think about the frontside of the 1949. I don't have space left in the building to insert/install the Fan. But there is always a way. I think that I can make the fan in the wood. That would solve the spacing problems.
Till next!
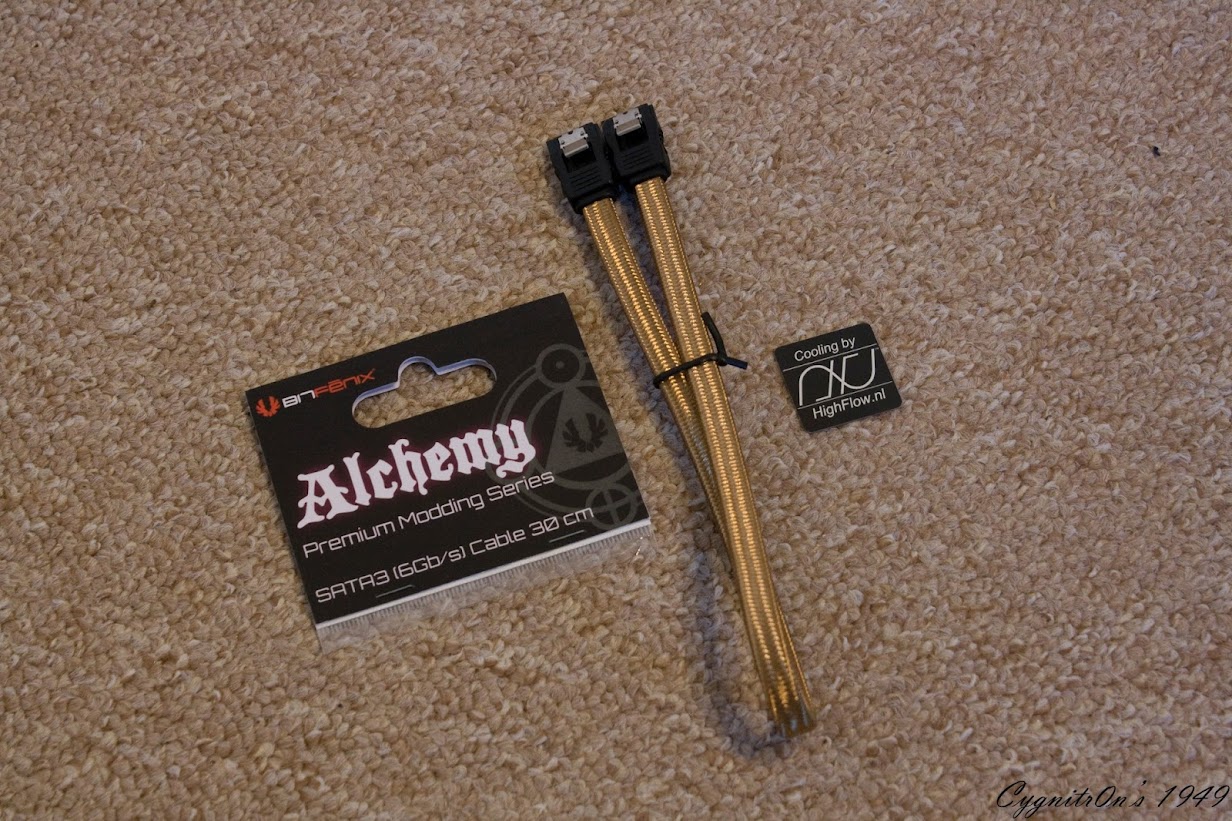
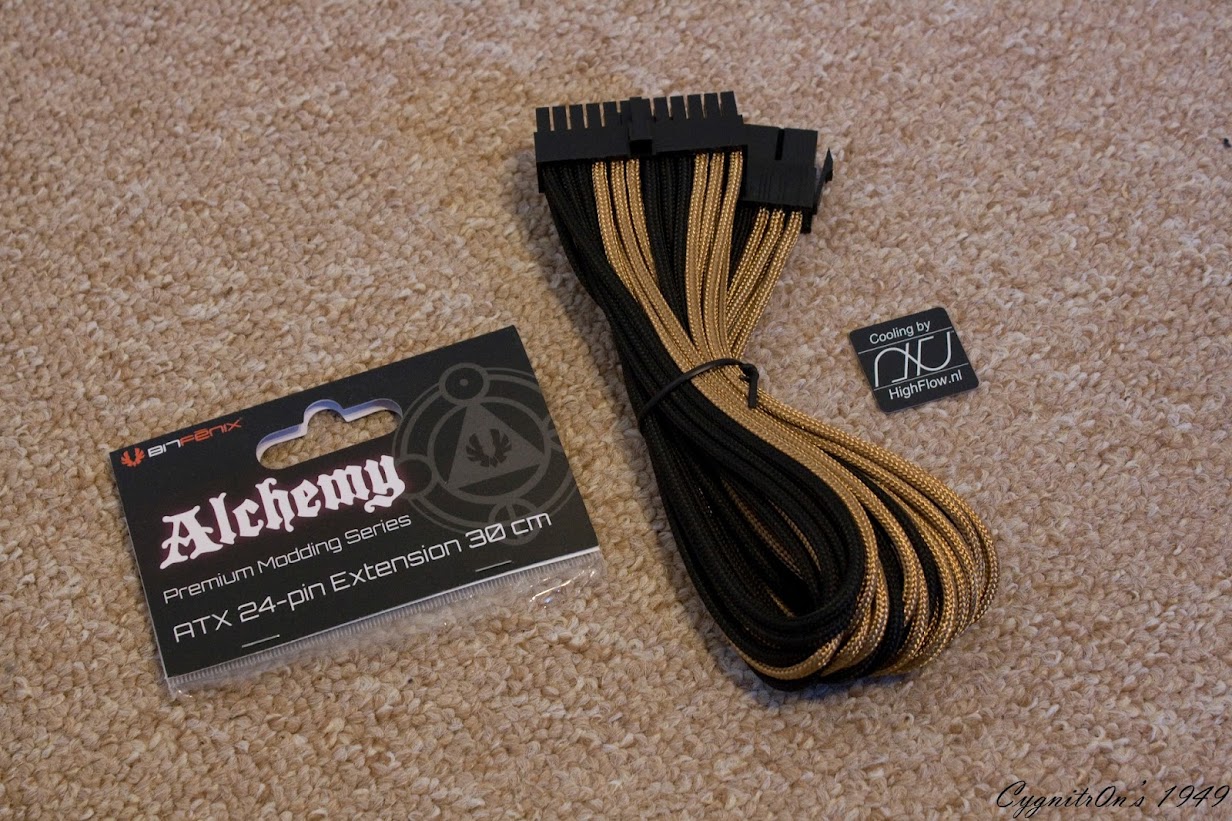
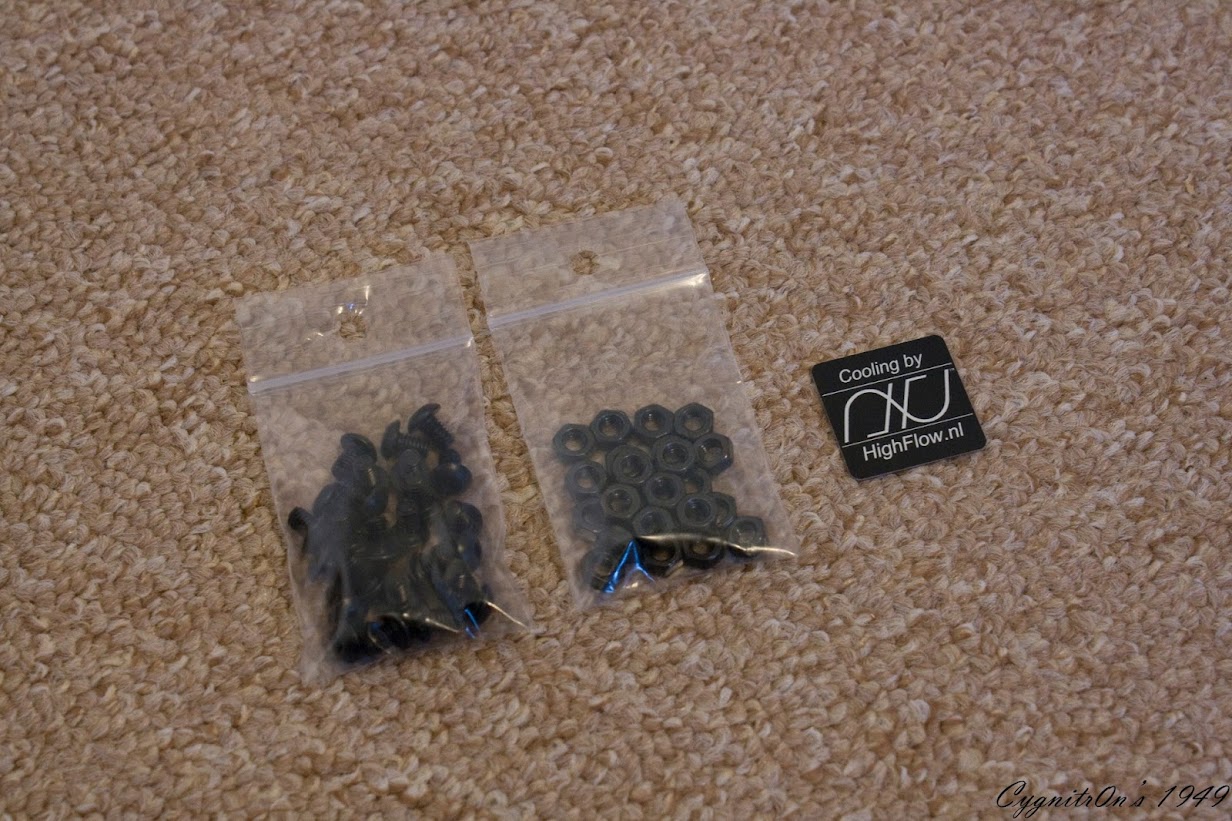
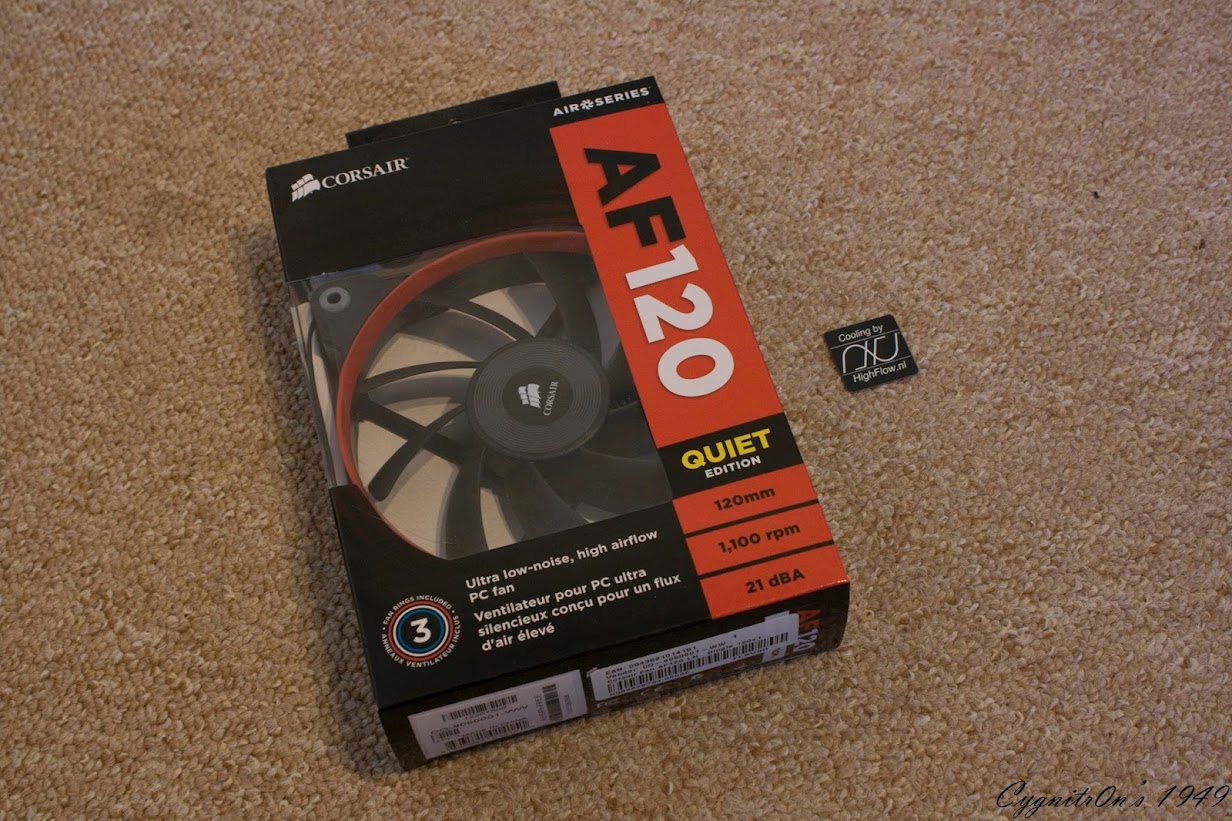
This project is sponsored by:


 Reply With Quote
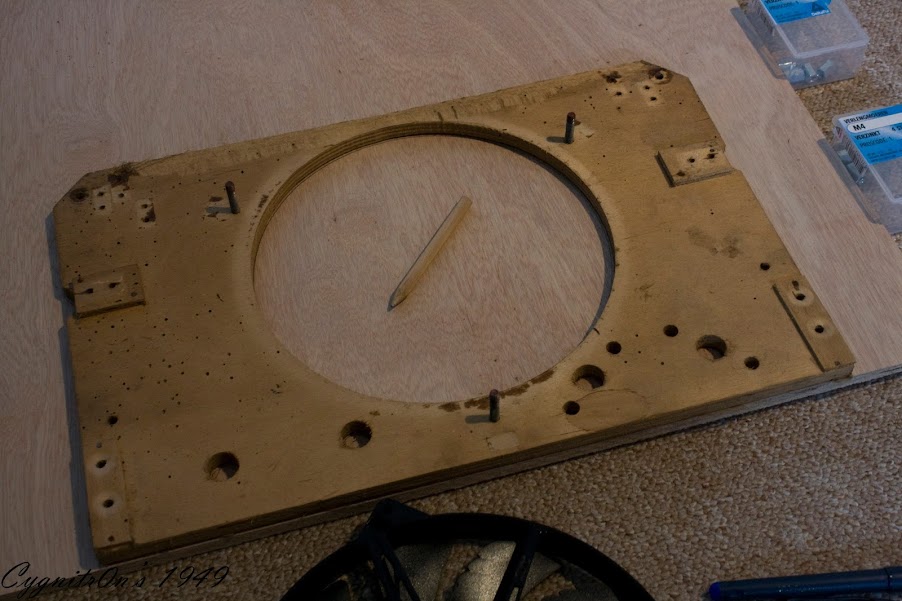


Bookmarks