

thank's for the suggestion wezly, but too late. i totally didn't think of masking it with the painter's tape, and i already started the internal dremeling. didn't turn out too bad, but there were some scratches left.


thank's for the suggestion wezly, but too late. i totally didn't think of masking it with the painter's tape, and i already started the internal dremeling. didn't turn out too bad, but there were some scratches left.

[SIGPIC][/SIGPIC]
Yeah, sorry, I looked at your problem earlier, but couldn't think of a way around it...Originally Posted by WhiteFireDragon

And then you were offline, but I had hopes...
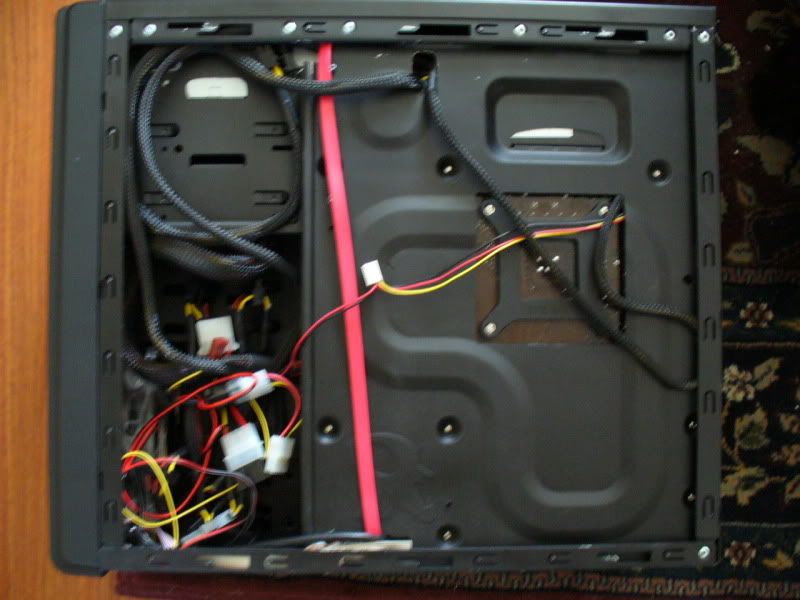
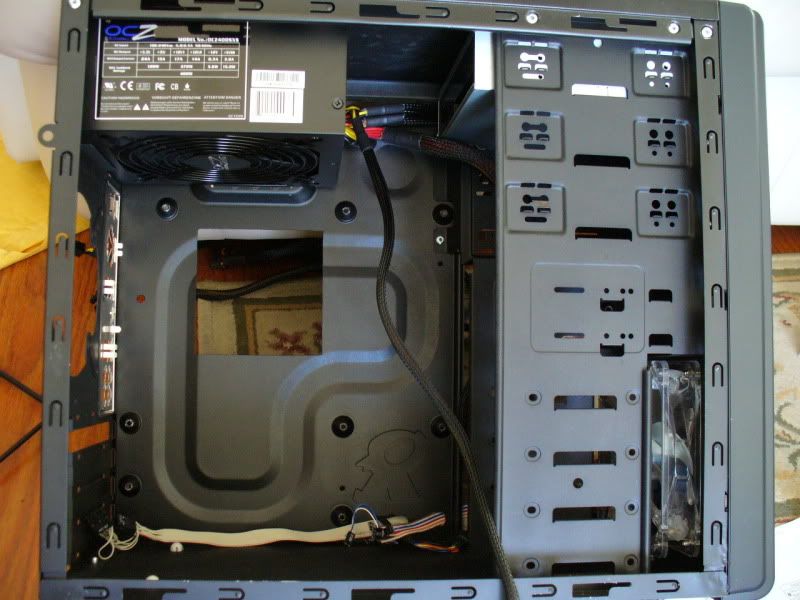
yea, i already dremeled it but with minimal damage to the surroundings. thanks though. i'm in the process of routing the wires, and numbered the areas in red:
(all the other holes dremeled turned to be useless and a waste of effort)1 - i enlarged this hole. the 6pin PCIe wire and 4pin EPS 12v will go through this hole, and the EPS wire will again go back through the mobo backplate hole
2 - this hole gave me the most trouble, and it had the most work redone to it. one molex/peripheral strand will go through here, and the only SATA strand will also go through here. the SATA data cable will also use this hole
3 - the second molex/peripheral strand will be hidden up here. there was hole cut out at the very inner front for the wires, but it doesn't look like that will be needed. there will be a molex-to-SATA adapter connected to this wire for the optical drive
4 - this was a large rectangle cut-out, but only the 24pin main cable will go through here.
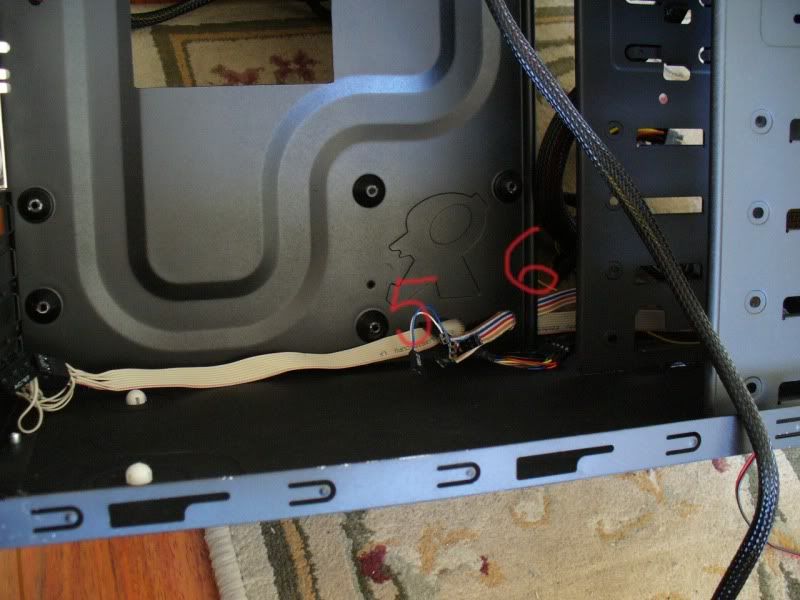
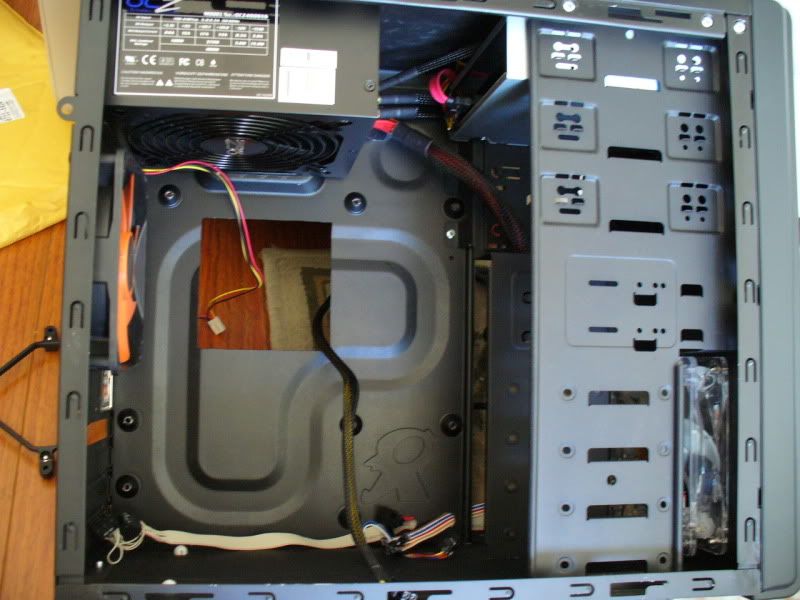
5 - this hole is for the front panel USB cable and audio/mic cable that will be connected to the mobo. the SATA data cable will also be used here
6 - this hole i just cut out also while the case was intact and already painted. the bundle of power/reset/HD LED/power LED goes through here since all the cables were too short to go through hole #5
shows holes 1-4
shows holes 5 and 6
before adding any adapters, installing fan wires, or major routing
connected the molex-to-SATA power and SATA data cable to the dvd burner
that peripheral cable (along with the adapter) was tucked up in area #3, the fan installed with wire going through the mobo backplate hole from the front to the back, and the 4pin EPS 12v cable routed through the mobo backplate hole from the back to the front
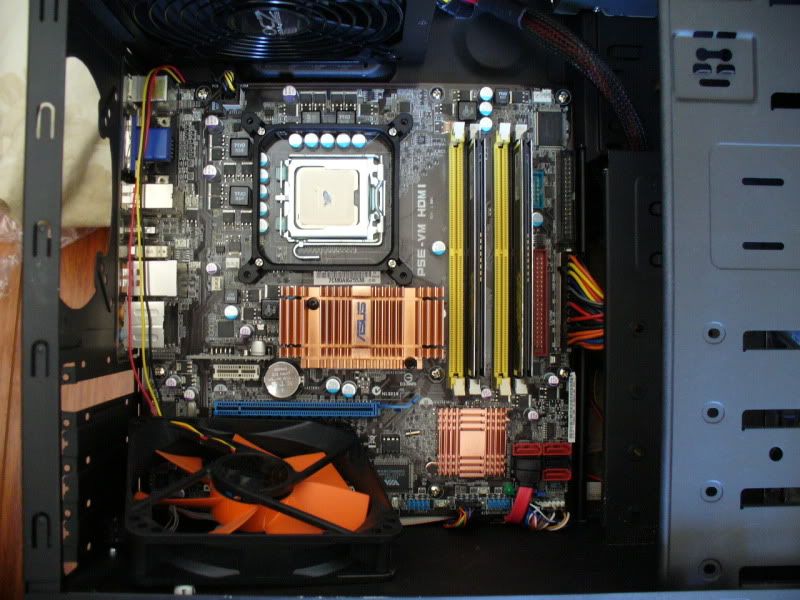
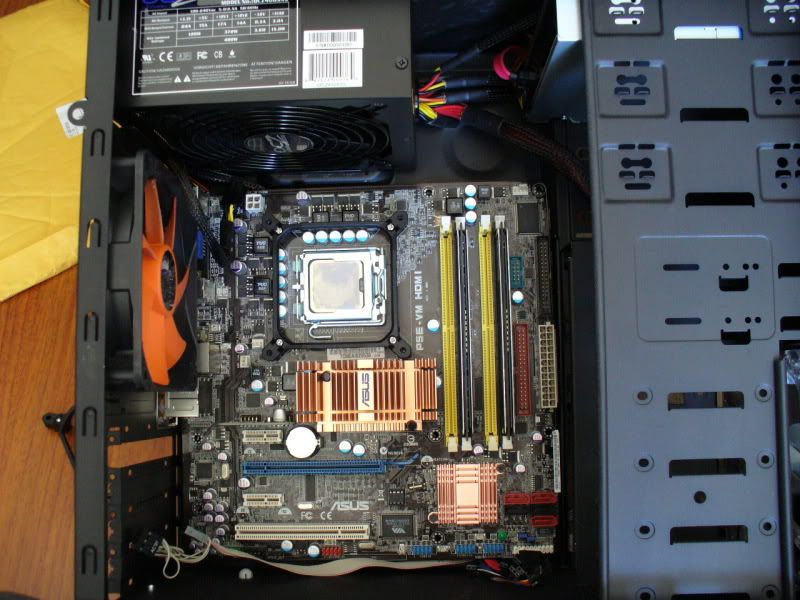
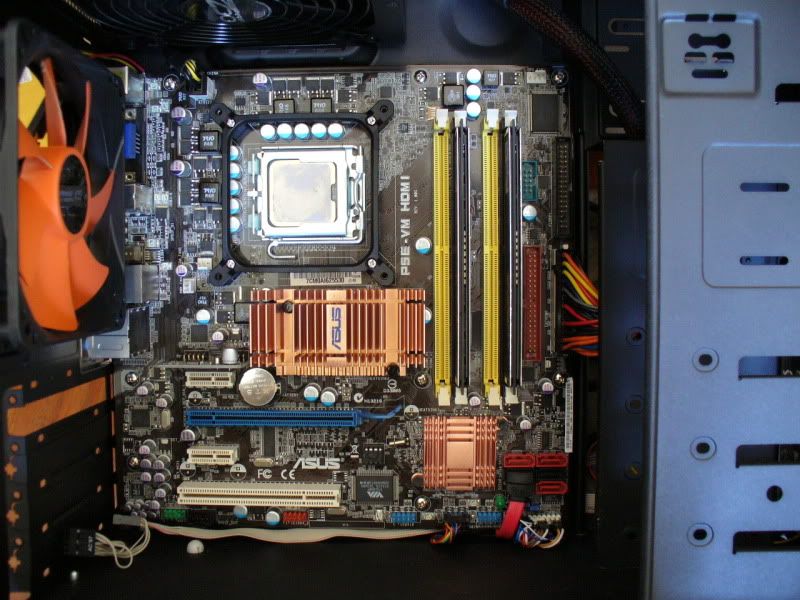
testing the mobo fit without plugging anything in the mobo yet
everything looked fine, so mobo screws were put on, and the 24pin main cable, 4pin 12v EPS, SATA data cable, USB mobo wire, power/reset, and LED cables were all plugged in. for the front panel audio cable, i left it unplugged for now. should i be plugging it in the AC97 or HD audio wire? there will be no dedicated GPU in this rig, so the 6pin pcie cable was tucked away in the back through the #1 hole.
the zalman HSF is huge, so it's nearly impossible to install the mounting and screws in such a small case without removing the fan i had put on early. i had to take off the fan to have room to screw in the spring-loaded screws.
Last edited by WhiteFireDragon; 11-08-2009 at 10:53 PM.
[SIGPIC][/SIGPIC]
alright, this next post might not be for the weak hearted. while installing the zalman CNPS9900LED, i left my screwdriver on the other side of the room, so i had to get up to get it. not knowing the HSF was behind me, i put my knuckles right on the edge of it and pushed down to push myself up. next thing you know, the sharp copper blades sliced right into my knuckles. it went pretty deep, felt like my bone stopped it from going in any further.
it kept spewing blood out like crazy. this first pic was taken only a few seconds after i had already wiped off the blood. that puddle formed pretty quick. i just realized the more i wipe, the more will come out, so i put ice in a bag, wrapped it with a bunch of napkins, and put a lot of pressure down on it. the cold and pressure helped a little. after like 45min, i took it off and gently blew at it to help the blood coagulate. the second pic was taken
i only showed the cleanest pics lol. the other few pics were pretty messy with blood everywhere. my one arm is pretty useless now, and i need it to put the rest of my computer together too

[SIGPIC][/SIGPIC]
while waiting to heal, i preped my HD and mountings for it. the actualy HD part of the 80gb velociraptor has a 2.5" form factor, so i took it out of the ice-pack 3.5" sink since it was not versatile in it's mounting. i put it on some brackets to flip the drive around, and move it slightly forward towards to front so it doesn't stick out as much, and so the cables can be hidden.
two layers of primer on the bare brackets
put some rubber gourmets where the HD will mount to the brackets to absorb most of the vibrations. the HD won't be touching any metal
you can see the drive flipped around and suspended on the brackets. don't pay attention to the original stock icepack, it's just to lift the bracket/drive for the pic

[SIGPIC][/SIGPIC]
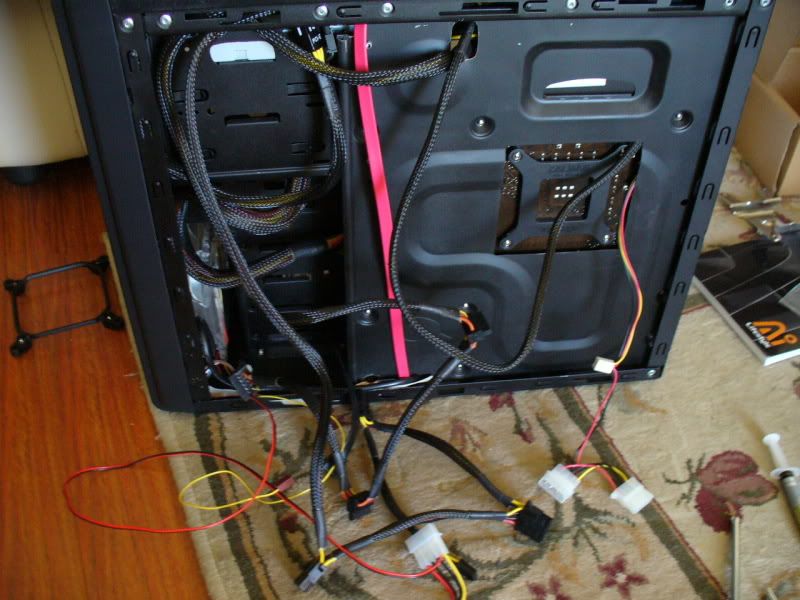
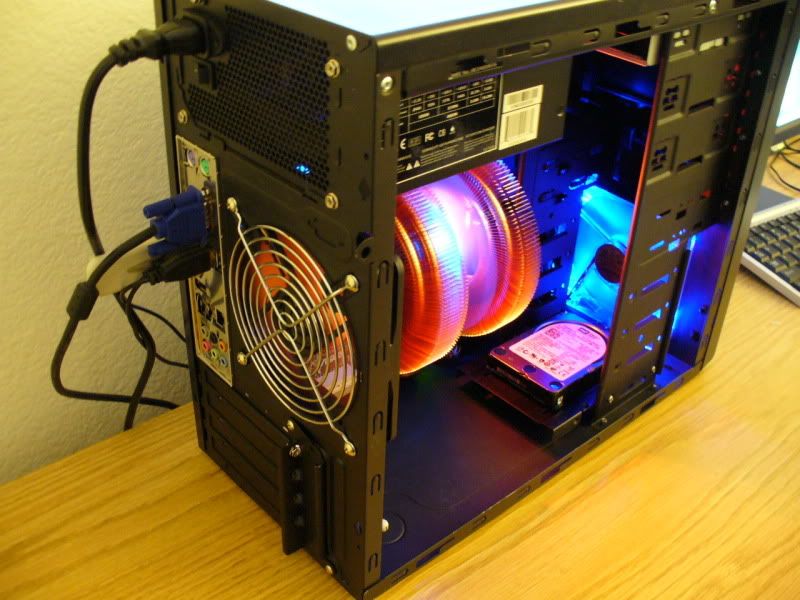
been a while since any updates, but it's almost done. i just have to route all the wires in the back and connect them.
here's what it looks like from the back with everything connected except the fans
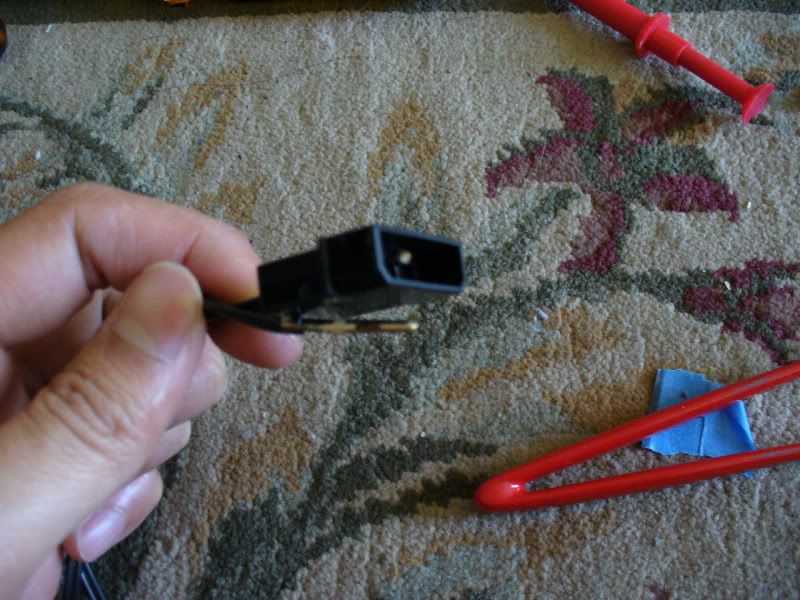
i made a little fan adapter to undervolt all 12v fans to run at only 5v. makes the desktop extremely silent.
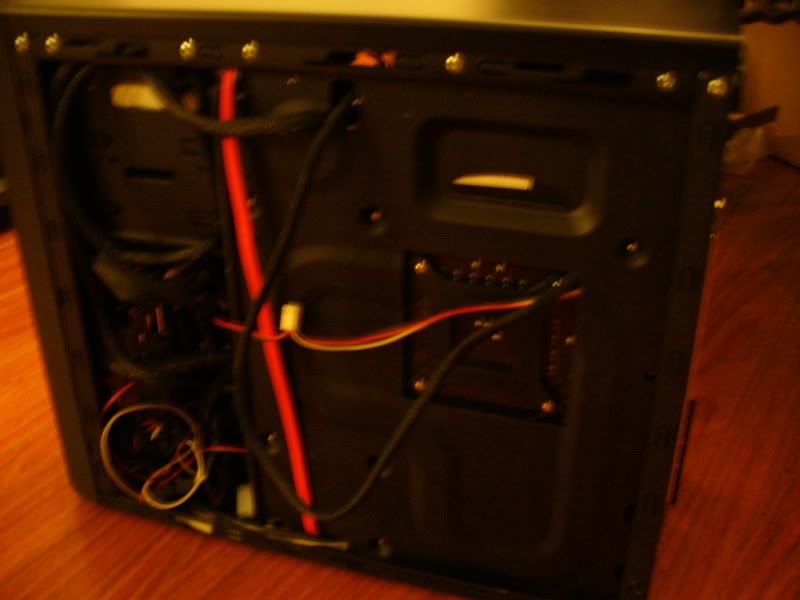
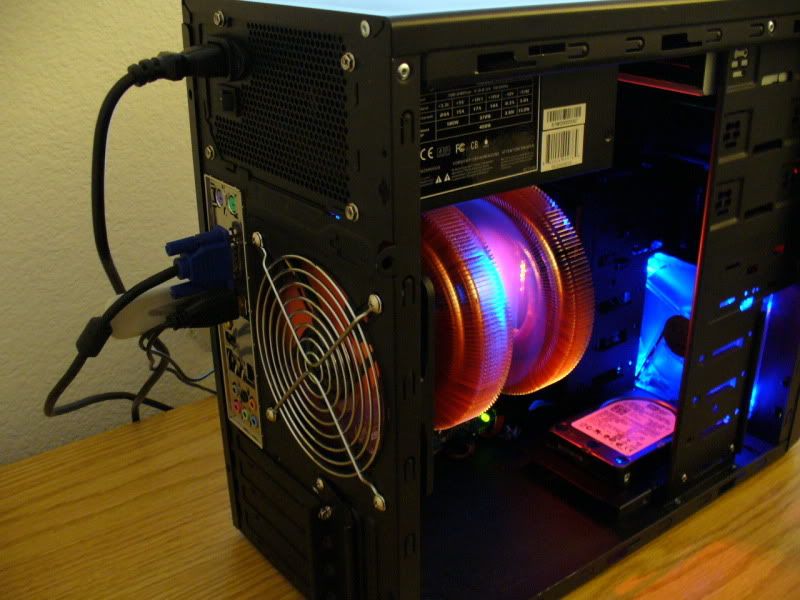
after all wires, fans, and adapters connected
last pic before i close up this mess on the back
[SIGPIC][/SIGPIC]
hey white fire, check out this guide i made to make a switch to change from 12v to 5v on the fly. i know the sell them commercially, but you can make it easily enough on your own.
i also have one for a 12v, 7v, 5 (need 2 switchs) or just a 12v 7v.
CPU: Core2Quad q6600 G0 3.5GHz@1.4v (highest so far 4.2GHz)
GPU: XFX 9800GTX @ 850/1230
Ram: Samsung 4GB (4x1GB) 700MHz PC5300
Mobo: EVGA-NF68-A1 680i (P32)
PSU: Enermax Galaxy 850Watt DxX
HDD:WD5001AALS, ST3250410AS, ST3500410AS, ST3500320AS - 1.75TB
DVD: LG H26N,LG GH20LS10 both sata
LCD: Samsung 32" LN32A450, Samsung 226BW 22" wide
Sound: Logtiech Z 5500/Razor Barracuda HP-1 / AC-1
CPU & GPU: 3x Swiftech MCR320, 2x MCP655, MCW60 R2, Dtek Fuzion V2, 18 high speed yates @ 5v
3Dmark06:17,814 AquaMark:190,865
Nice work there WhiteFireDragon, its good to see someone taking there time in applying lots of thin coats of paint, you will get heaps better results doing it like that.
Sorry to hear about the holes you cut not working out the way you would of liked.
Looks good
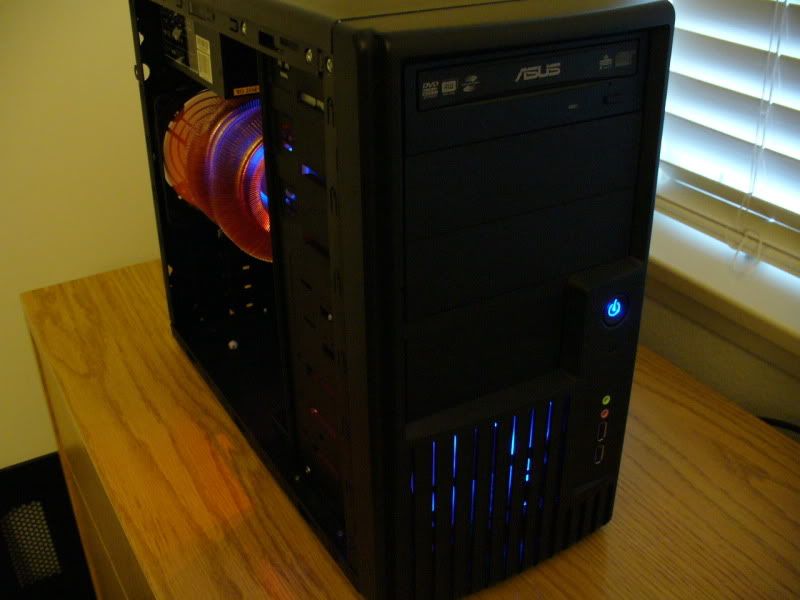
guinea pig project finished! adding pics right now, will post them in a few minutes

[SIGPIC][/SIGPIC]
overall, it was a good experience for a first case modding project. it wasn't perfect, so here are things i learned from it or didn't like about it: measure 3 times before cutting, painting, and putting everything together. i measured some of the cuts too small so had to go back in there and dremel more material away after it was put back together, and this proved extremely difficult and scratched the paint. and if i'd have to do this, then i should have put blue painters tape over the dremeled area. the painting was good, but if i looked really closely, there are some imperfections. lastly, the optical drive casing is still in gray metal color, so it sticks out like a sore thumb in all that black. this needs to be painted black also.
anyways, i'll let the pics do the rest of the explaining:
[SIGPIC][/SIGPIC]


looks good dude. Great work.
~ Little Slice of Heaven ~
Lian Li PC-A05NB w/ Gentle Typhoons
Core i7 860 @ 3gHz w/ Thor's Hammer
eVGA P55 SLI
8GB RAM
Gigabyte 7970
Corsair HX850
OZC Vertex3 SSD 240GB
~~~~~~~~~~~~
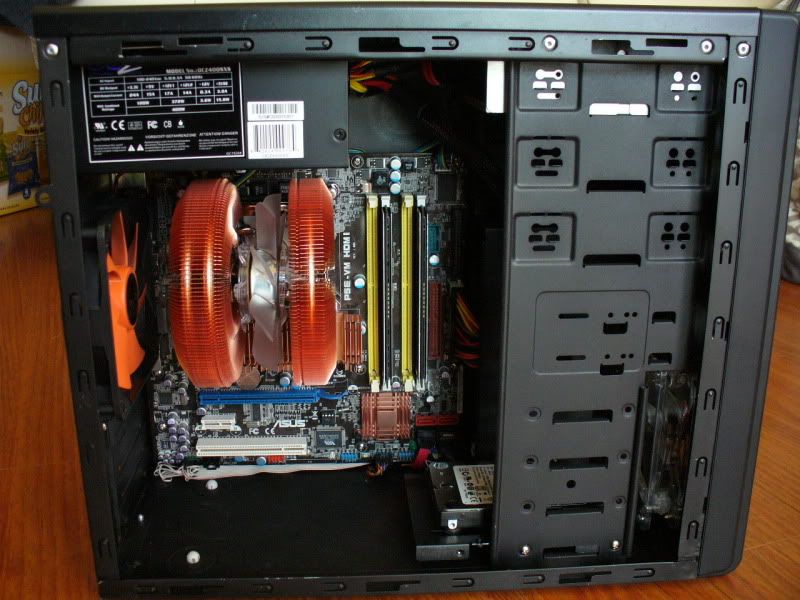
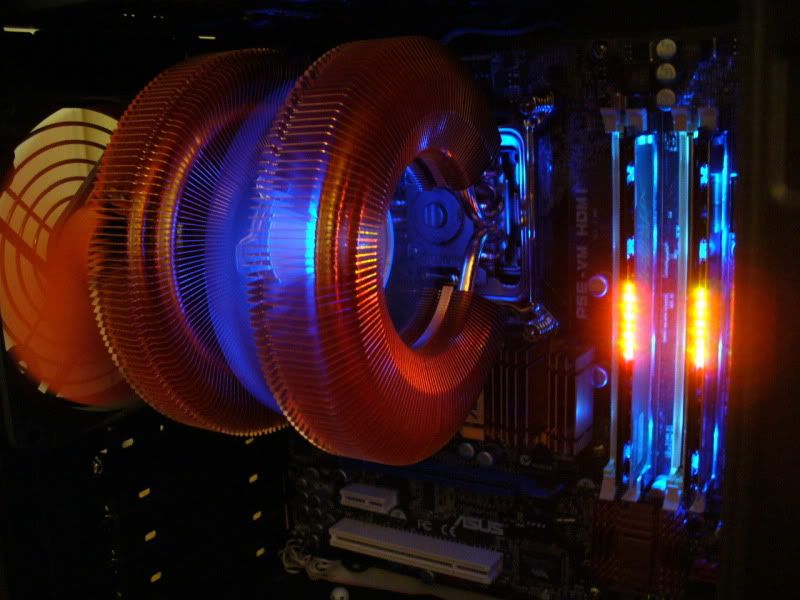
Congratulations on the finished build, I just can't take my eyes off the air cooler but.
Is the air cooler heavy?
Does it bend the MoBo at all, or is it suported with a brace somewhere.
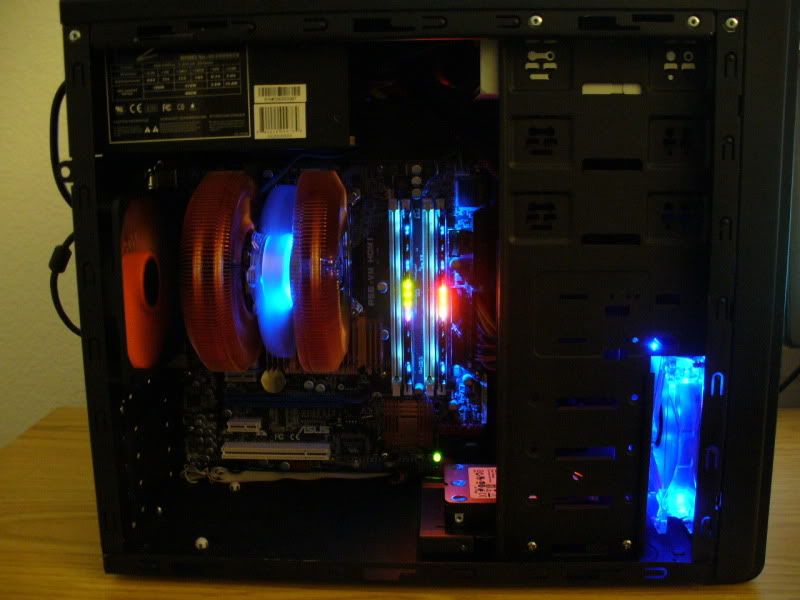
it looks so huge and heavy because it's in a small case, but it actually only has a 110mm fan on it. it's not that heavy (weighs just as much as any other 120mm fan cooler), which is why i picked it over the copper TRUE. no bending of the mobo, and it also has brackets and back plates on the front and back for reassurance. you can see the back plate through the square hole cut out
[SIGPIC][/SIGPIC]
 Posting Permissions


 Reply With Quote


Bookmarks