I started to mod my board getting it ready for phase and because I'm a perfectionist I really like to take my time on things, and I figured some people might be interested in the board and this heatsink, so here goes...
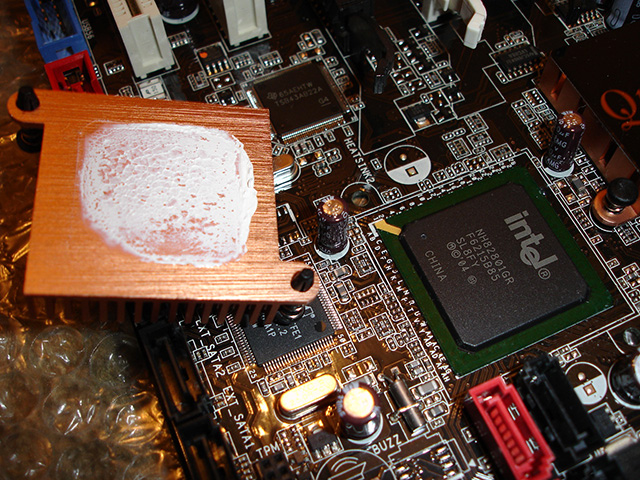
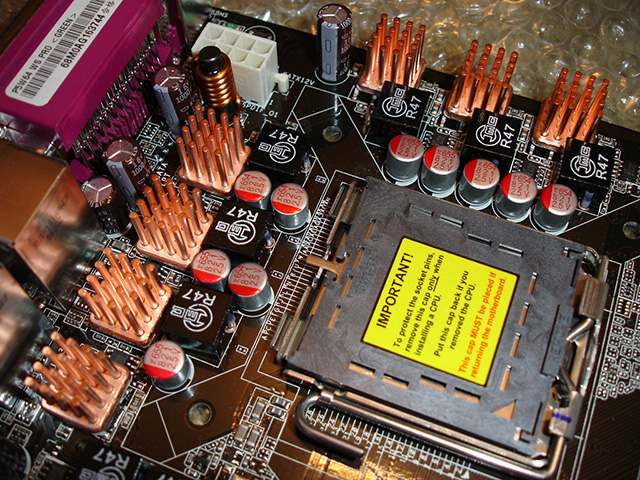
Removing the SB heatsink
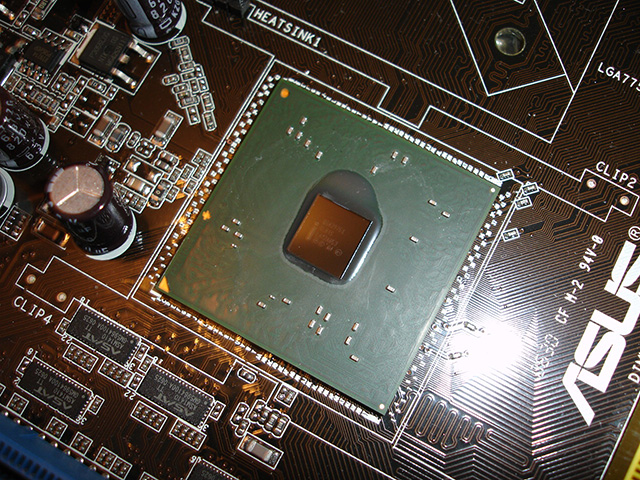
1st things first, I removed the SB heatsink. Straight away I noticed the thermal paste used is a much better quality and contact than my P5W-DH was, it completely covered the chip and was a more sticky substance. It just looked "better", more like Ceramique than generic crappy budget TIM you get on the P5W-DH.
It took only a couple of wipes with a tissue dipped in isopropyl to clean the chip, whereas on the P5W-DH you have to scrub away at it. You can see from the underside of the heatsink that a nice full contact was made.
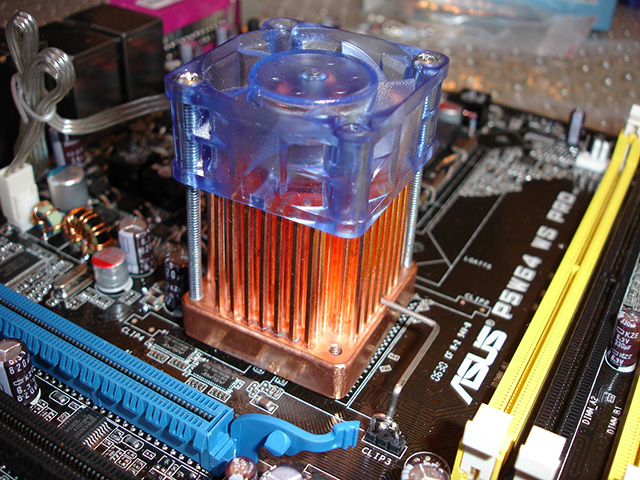
 Fitting the JingTing Forcetake cooler
I was surprised at the quality of this - it is pretty heavy and the bottom was already lapped to a highish standard considering its a mass produced item. I debated about lapping it a bit more but decided against it, as it would be quite a fiddly thing to work on.
The only mod I made to this was that instead of using the supplied grease to add as a thermal interface between heatpipe and copper plate (the bit that attaches to the motherboard) I used AS5 instead. I also fitted a 20mm fan in place of the standard 10mm that is supplied, just because I felt like it

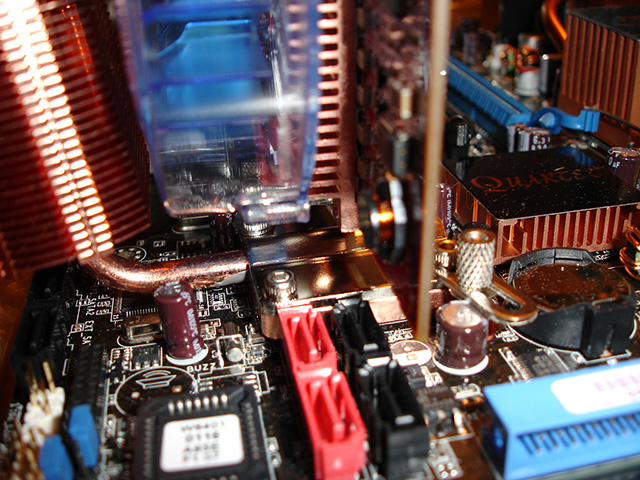
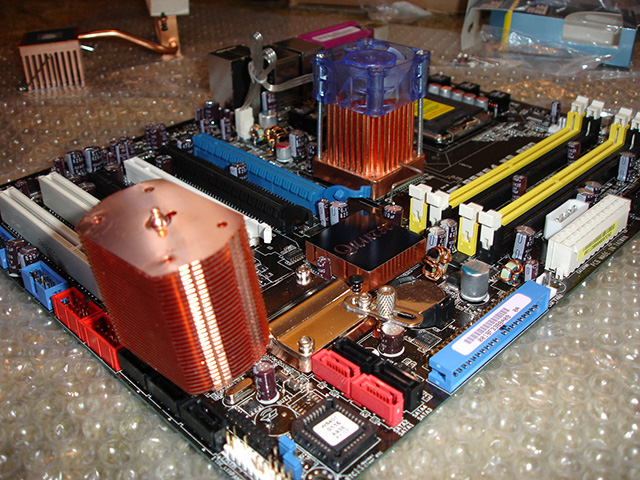
The only real issue I had fitting this was that I had to allow enough room by repositioning the heatpipe to fit my 2nd X1900, which I will come to in a minute.
The only problem I had with this - but I don't think it's going to be a problem - is that the bracket on the right sits on top of a capacitor, and screwing the heatsink down so its flat on the chip means the bracket is touching the top of it. I don't quite know if the capacitor is stopping me screwing it any further, or whether its dead flat on the chip. I'll find out soon enough when I power it on I guess

 Crossfire pains
Now we reach the principal reason I bought this cooler in the first place - X1900 Crossfire
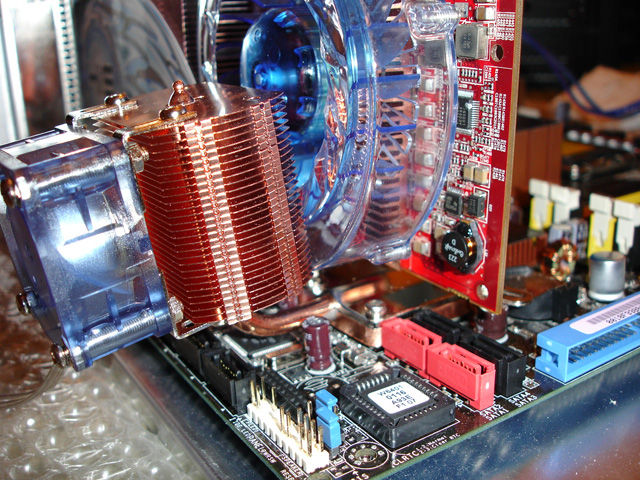
As you can see it is a very tight fit a with HIS IceQ3 card. The heatsink is not actually touching the fan, and there is enough room around the X1900 fan for air to get in. All in all I'm very happy with how it turned out!
The bad points:
The only real bad point I can think of is that having the heatpipe this extended means that to use the SATA ports at the bottom I would have to use right-angled connectors. This problem isn't the end of the World though because I'm going to be using the Intel ICH7R controller anyway, and am only connecting 3 drives..
Unfortunately for me using an X1900 in the 4th PCI-e slot on this motherboard also partially obstructs the Intel SATA ports, so I'm going to have to use right angled connectors regardless! Doh!
Next up: Fitting my Swiftech MCX-159-CU to the Northbridge 
If anyone has any questions I'll be happy to try and answer them.


 Reply With Quote
![Send a message via MSN to [XC] leviathan18](images/misc/im_msn.gif)


 Even with watercooling instead of the IceQ3 cooler the actual PCB would still be in the way.


Bookmarks