

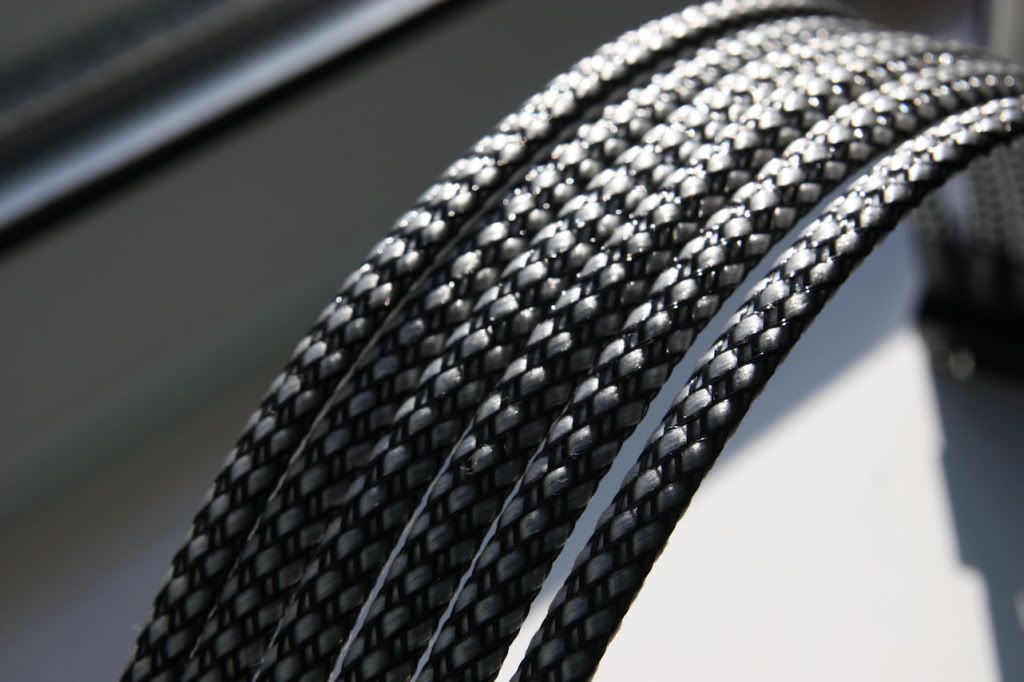
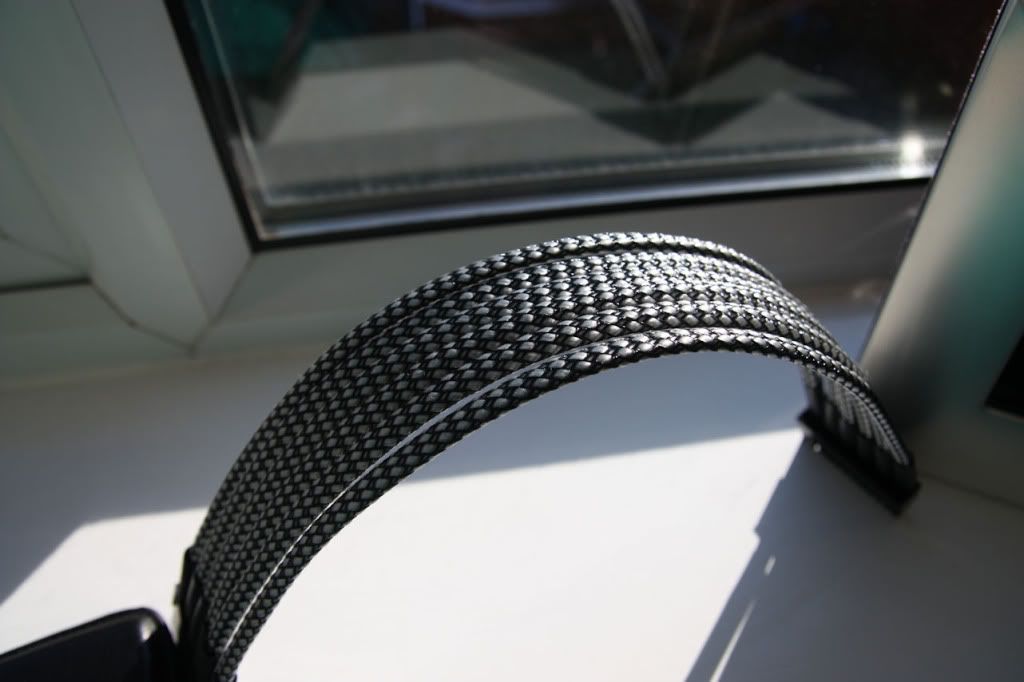
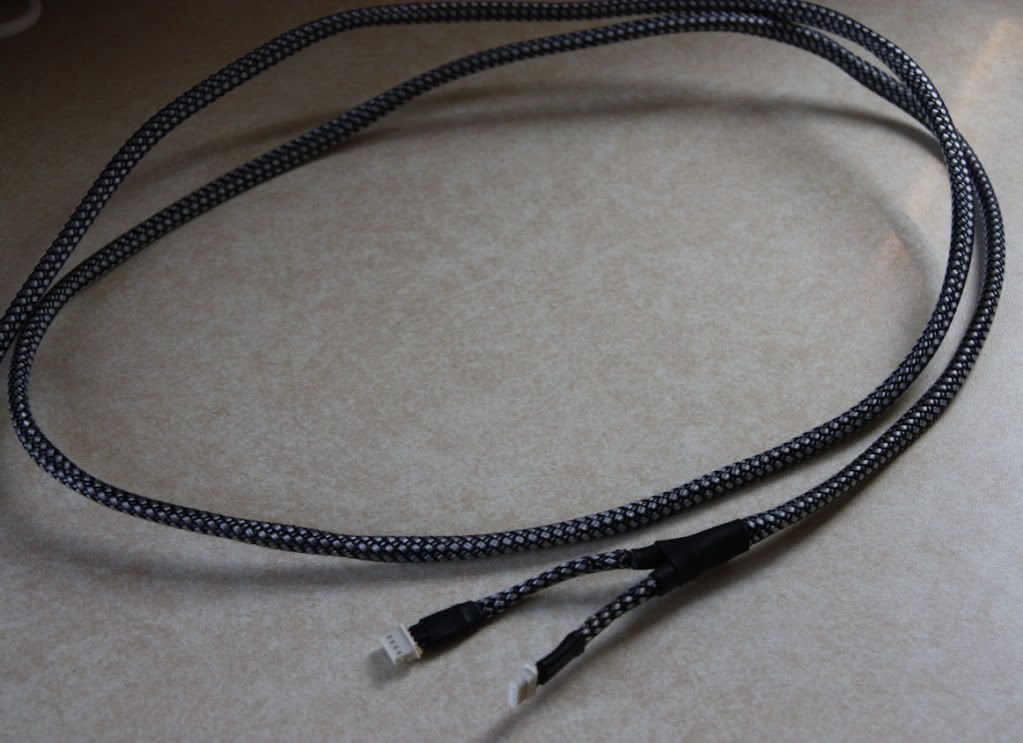
I have been playing around with the 'ribbon' braid again
I do think this stuff does look very sexy.


I have been playing around with the 'ribbon' braid again
I do think this stuff does look very sexy.
[SIGPIC][/SIGPIC]
EVGA SR-2 , 2X Intel Xeon 5620, 12X2GB Corsair Domminator 1600 MHZ CL7
3X GTX580, Corsair AX1200, Lian Li PC-Z70
3X Dell U2311H, Liliput 7" touchscreen monitor
Thankfully, photobucket is now working so I can do my next update.
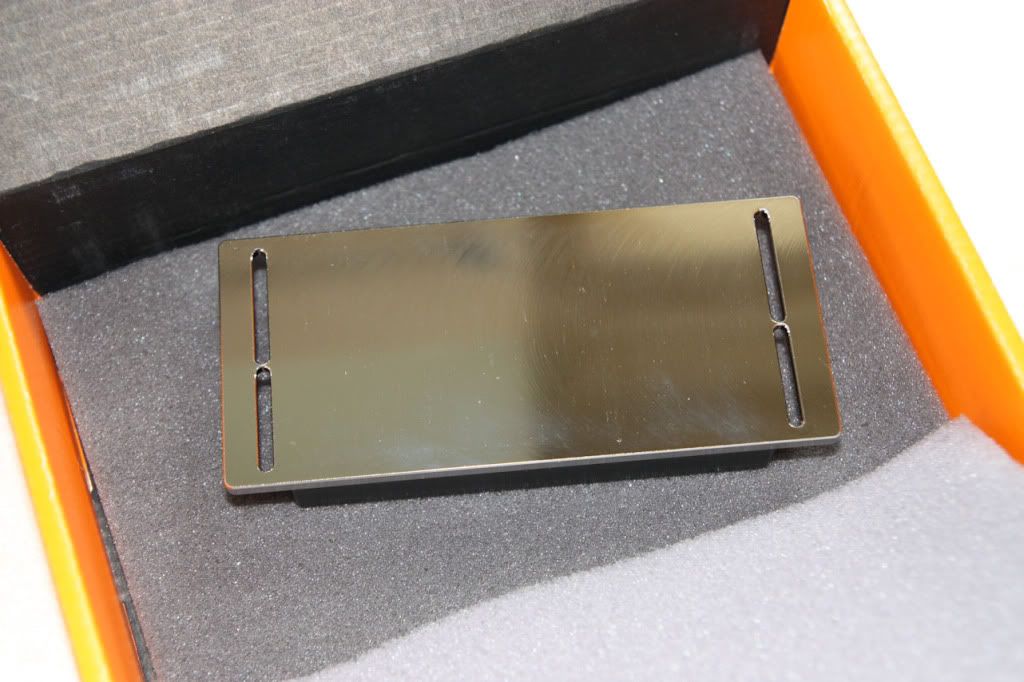
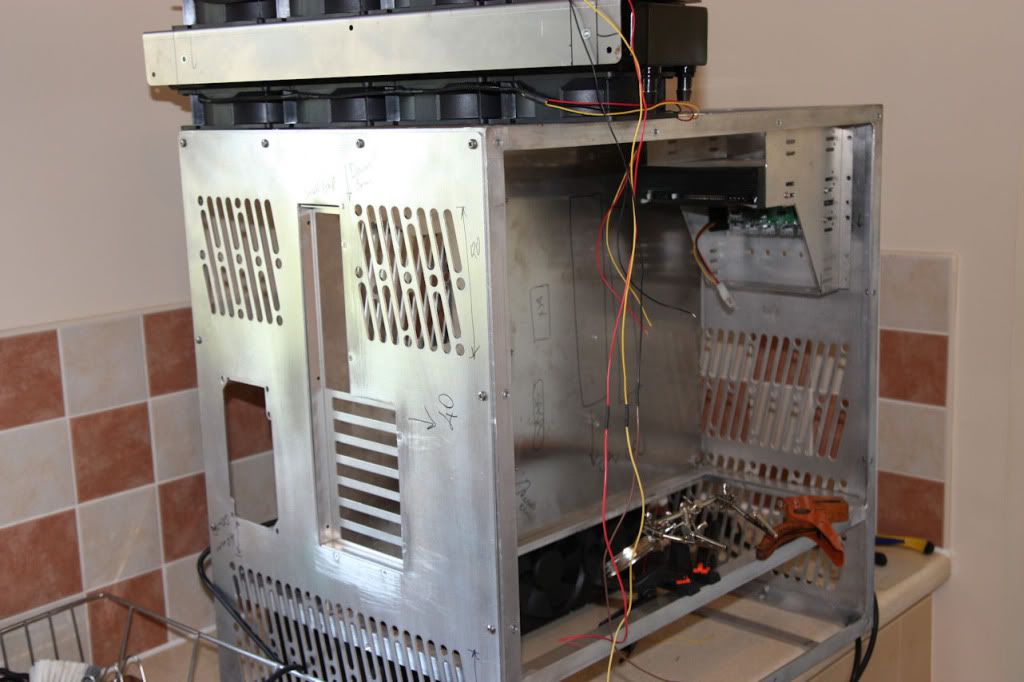
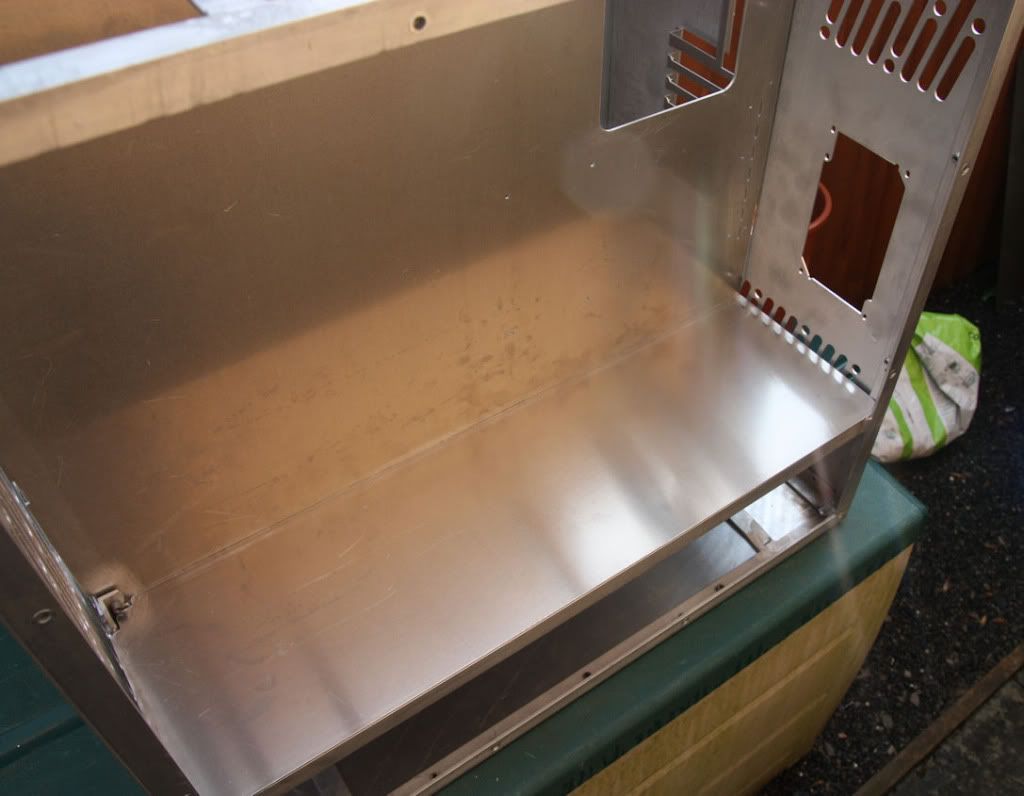
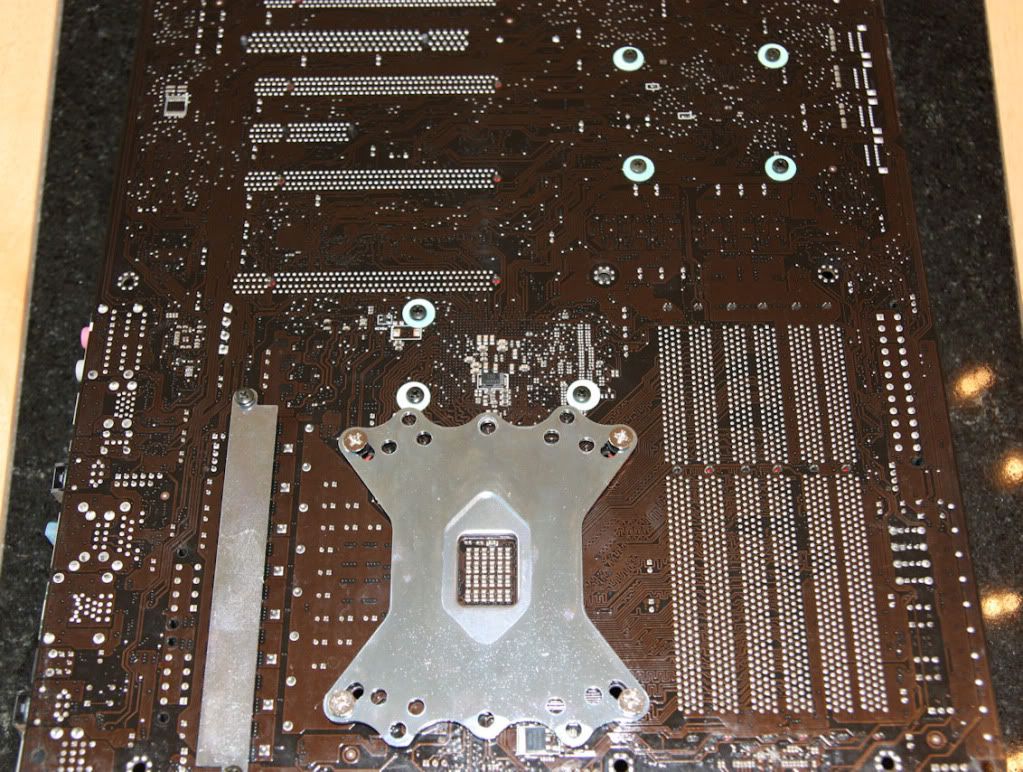
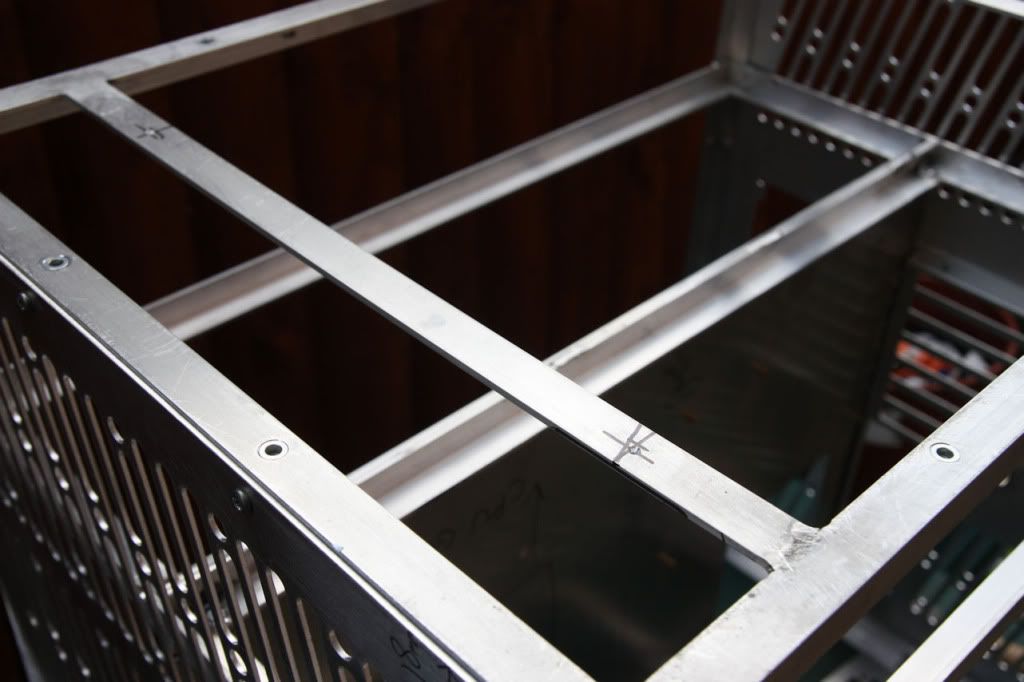
Motherboard back plate cut & fitted.
(Held in place by tags that have been welded onto frame)
A lot of further work required on this with regards cable management etc.
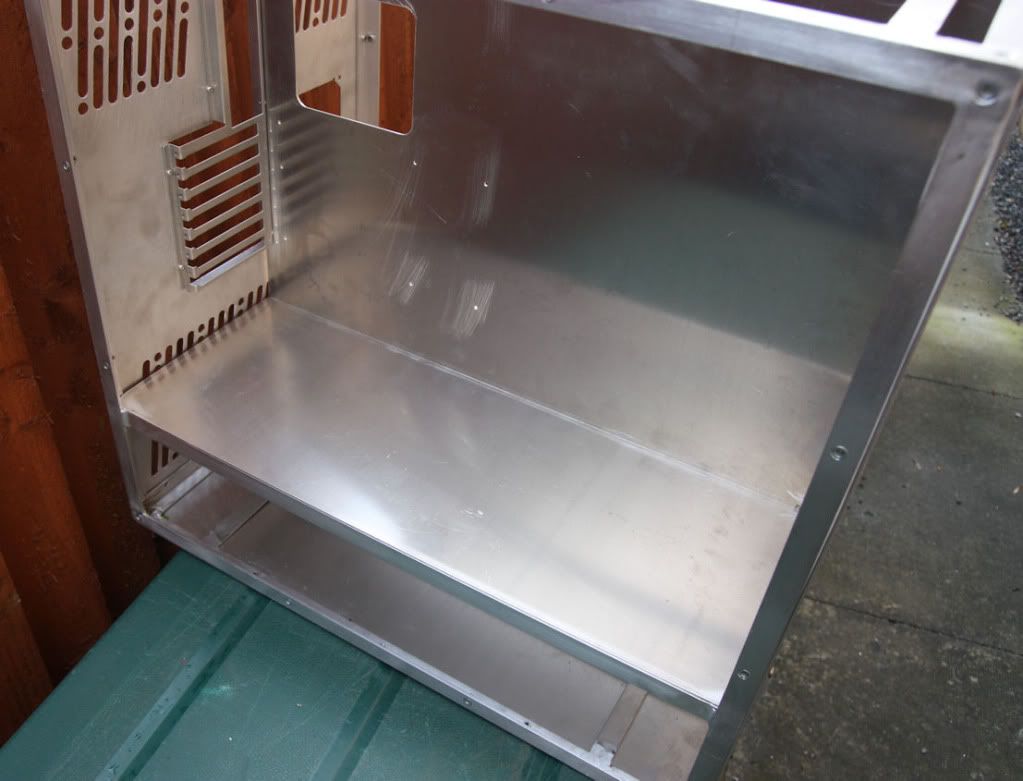
Cut & fitted bottom sectionalising panels for both sides.
Panels marked & drilled
Frame drilled & nut rivets used
Panel firmly attached to frame
Repeated on all four corners
Nice work!
Thanks Whiteroom
As I have previously owned a Mountain Mods case, I know how hard it is to do cable management correctly.
As this case is based on a MM design (very loosely) I realised that I had to put something in place to rectify this problem.
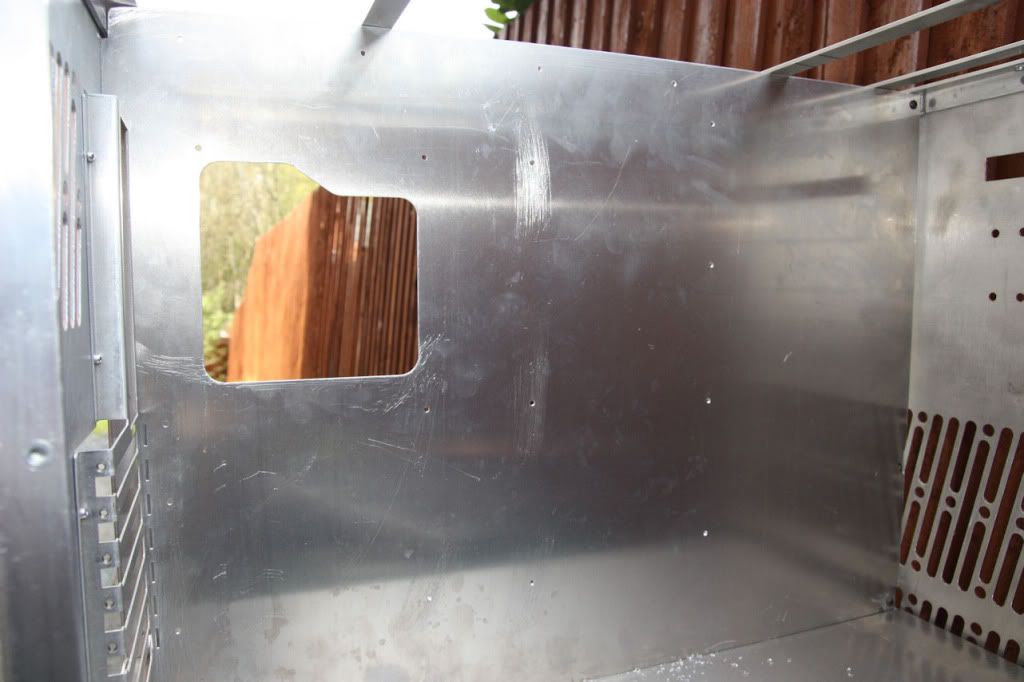
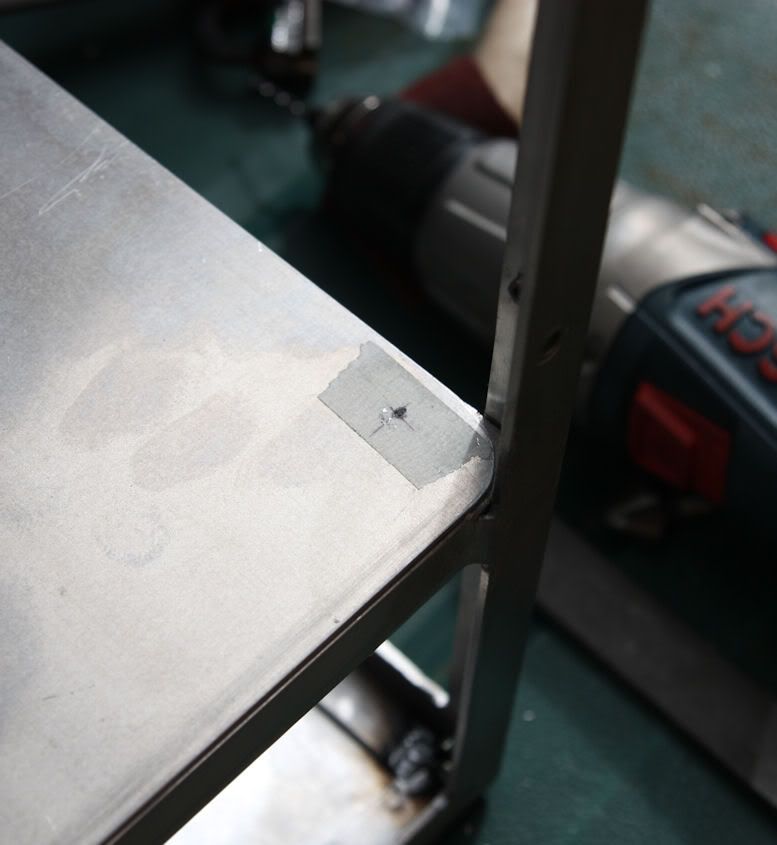
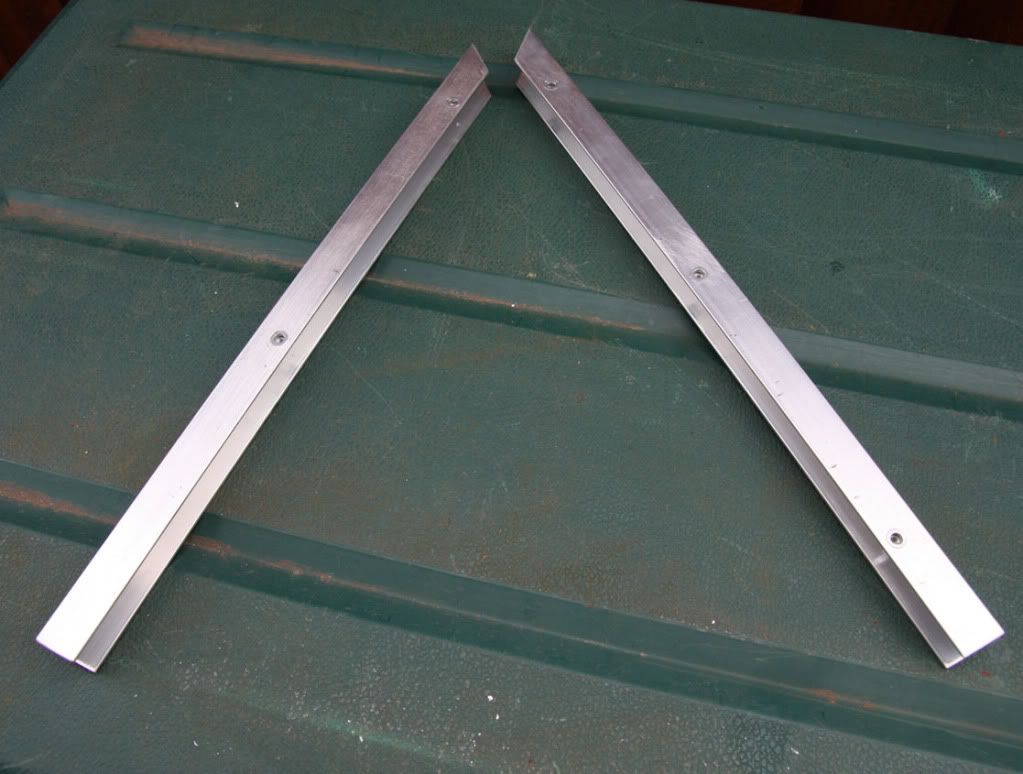
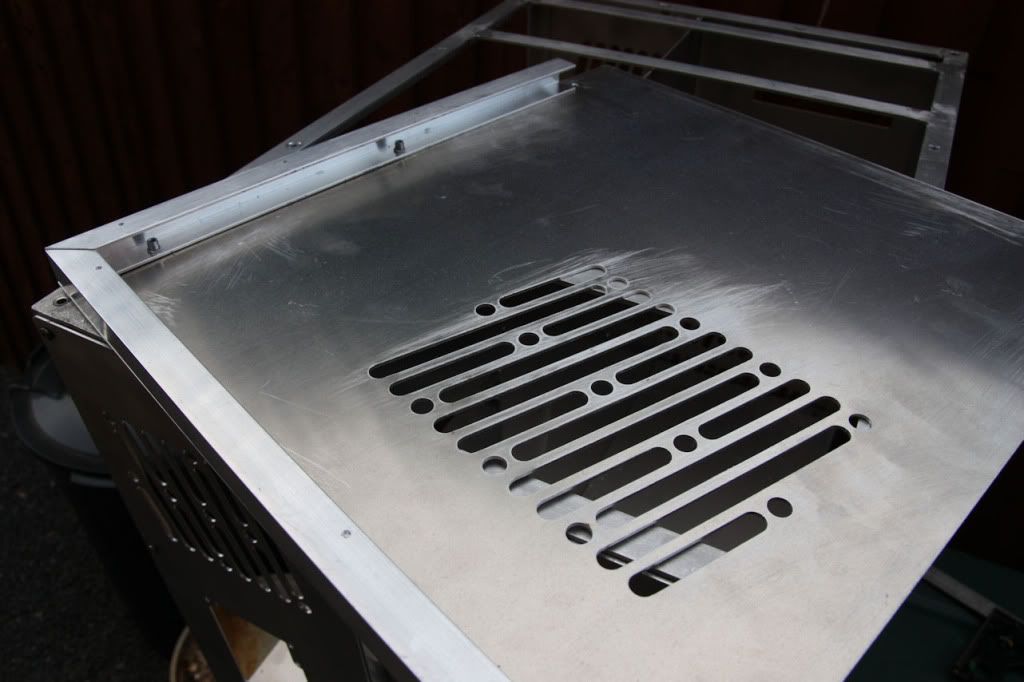
After some thought, I decided to put a false panel behind the motherboard tray.
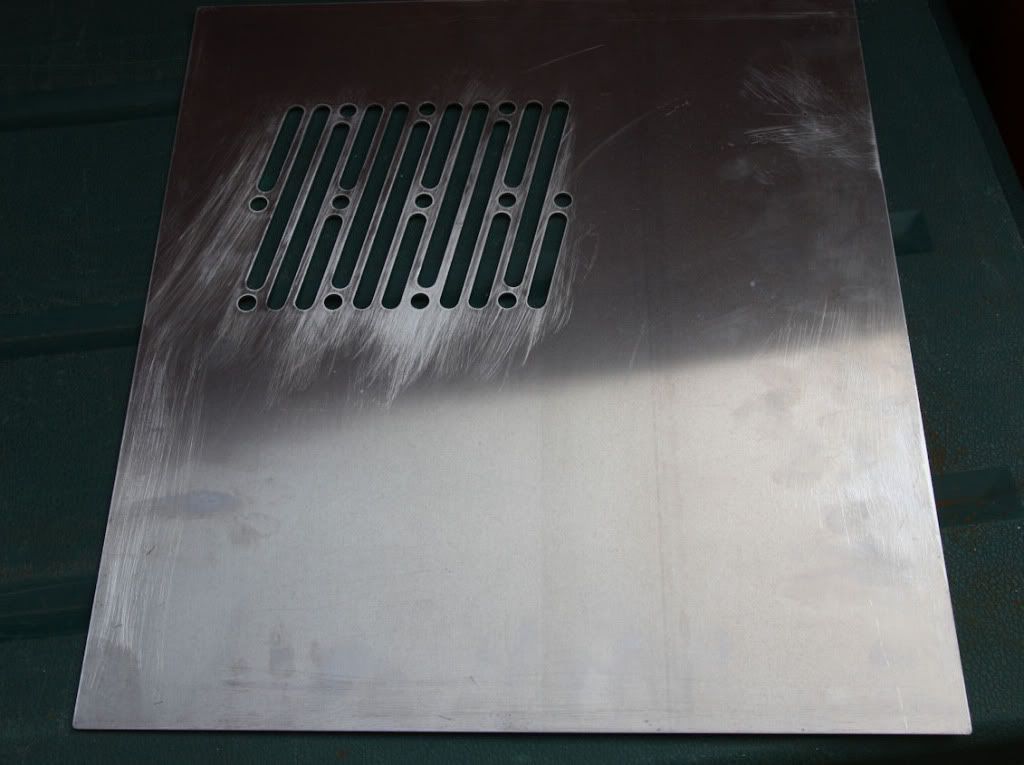
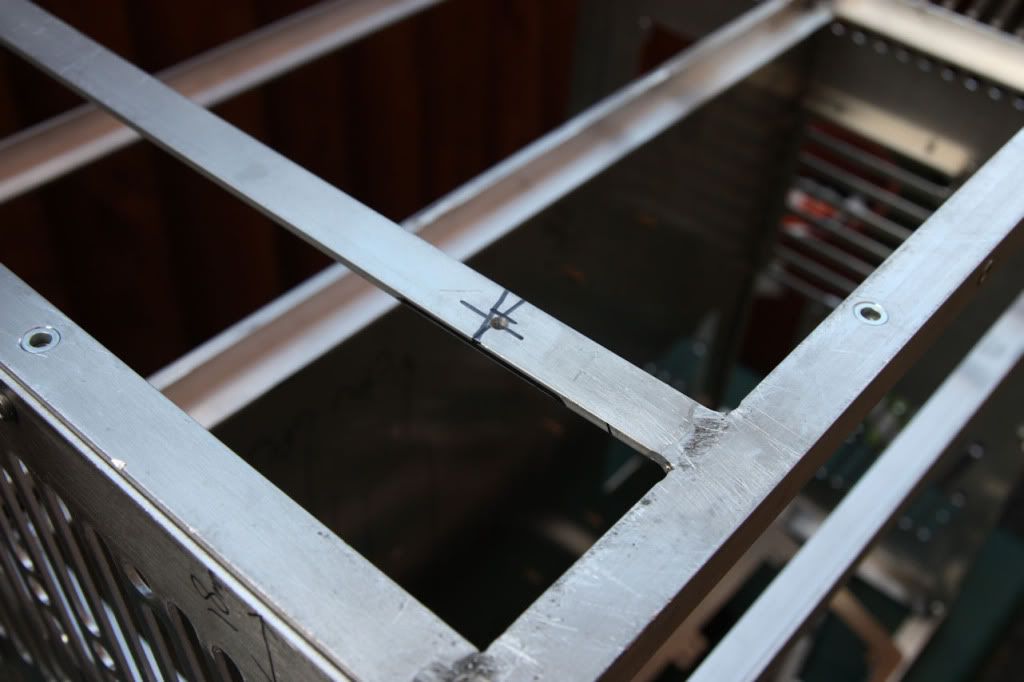
Panel cut to size with an area cut out, to keep the rear of the CPU cool
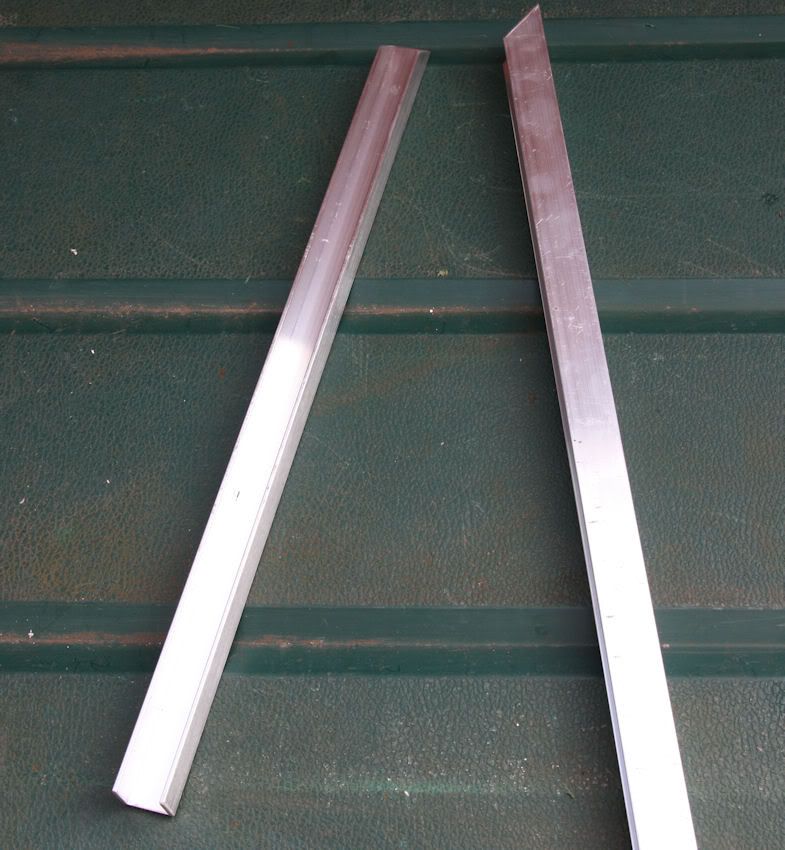
To hold it in position, I used some 20mm U section aluminium
U section drilled & fitted with the good old rivet nuts
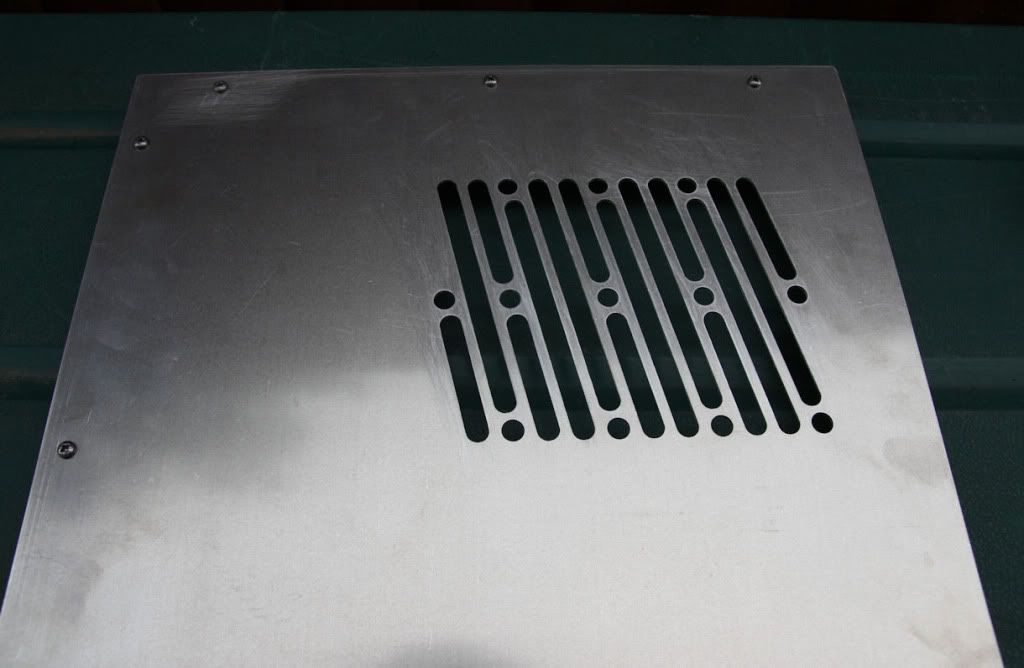
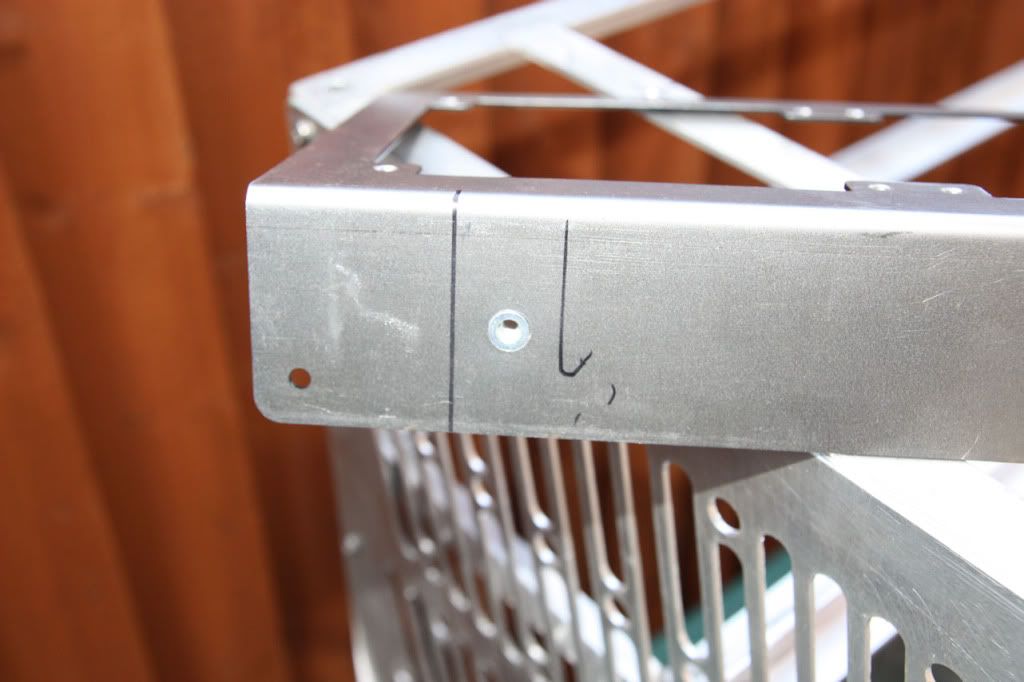
False panel marked out & drilled to match the U sections.
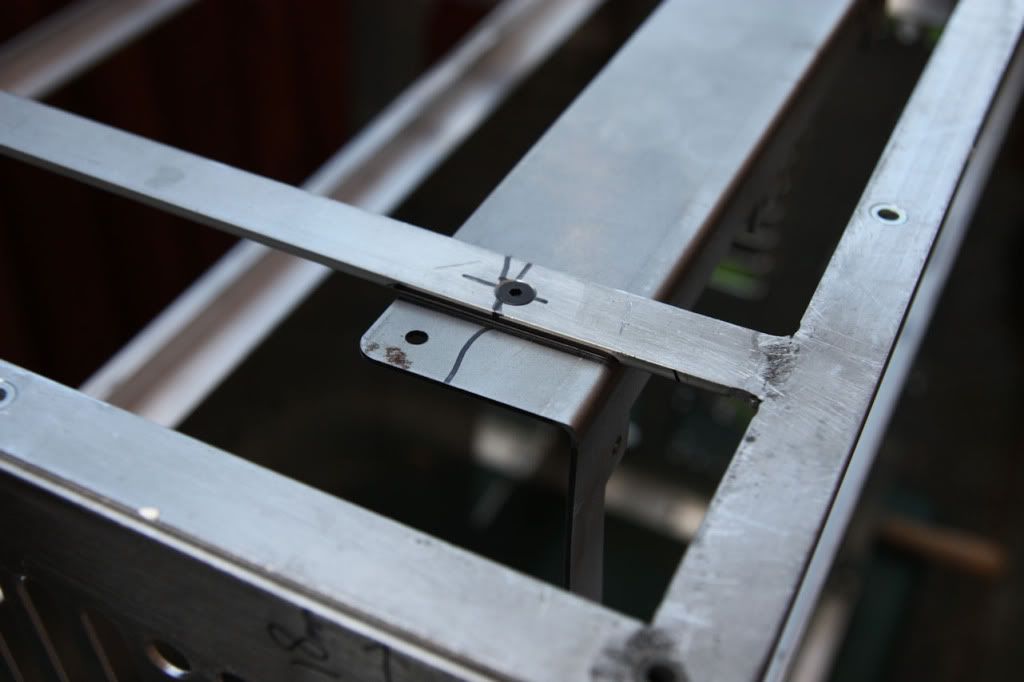
False panel bolted to U sections
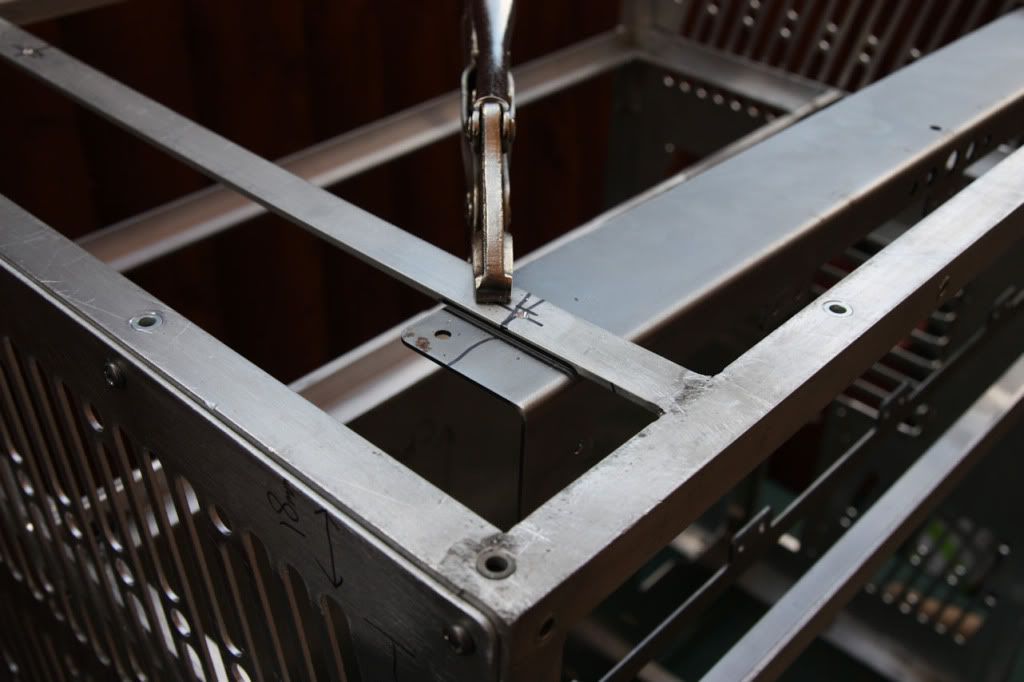
The rear of the U section was then marked out
U section drilled
Motherboard panel drilled to attach U sections
U sections attached to motherboard tray with countersunk pop rivets
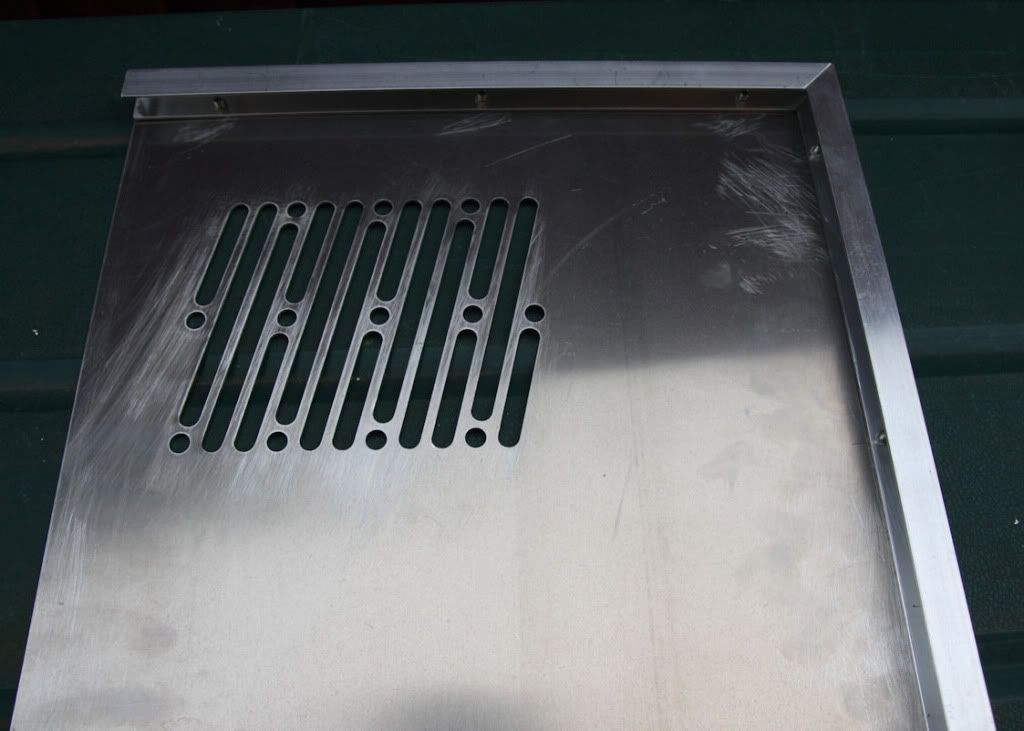
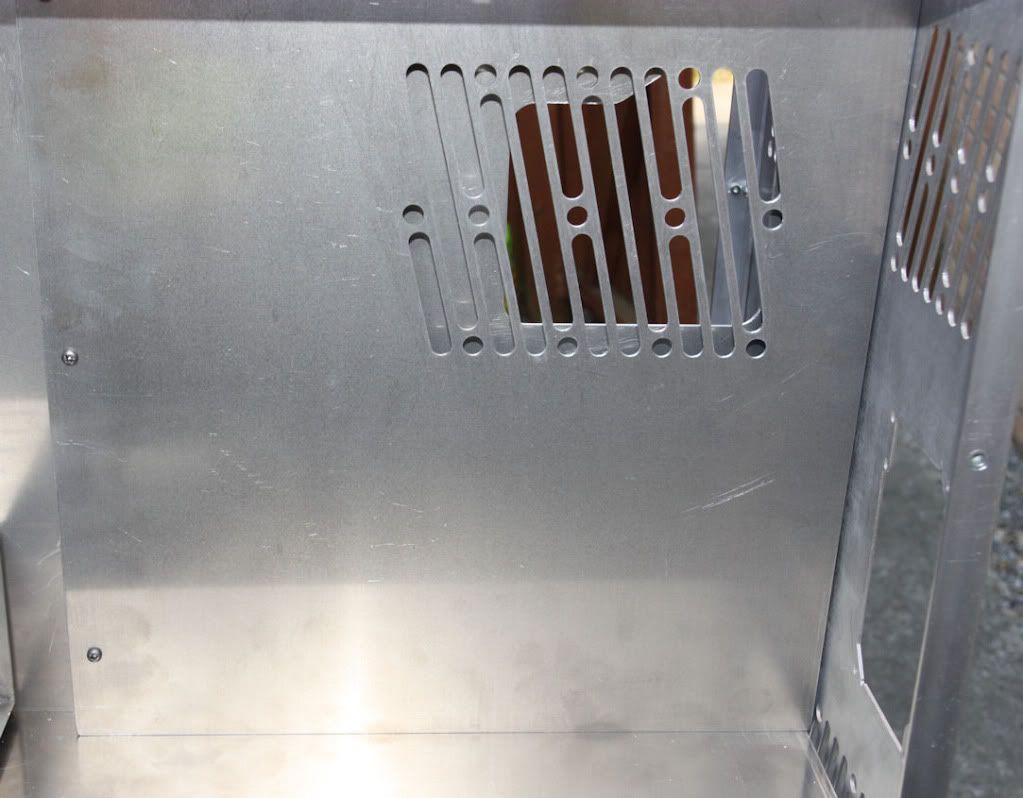
False panel fitted in place
Now I have a 25mm gap between the rear of the motherboard tray & the false panel to hide all my cables.
Excellent idea!
Victory May Be Fleeting, But Obscurity Lasts Forever!
Last Project http://www.xtremesystems.org/forums/...d.php?t=213829
Canceled Project http://www.xtremesystems.org/forums/...d.php?t=265292
New Project http://www.xtremesystems.org/forums/...d.php?t=269440
Thanks theseekerOriginally Posted by theseeker


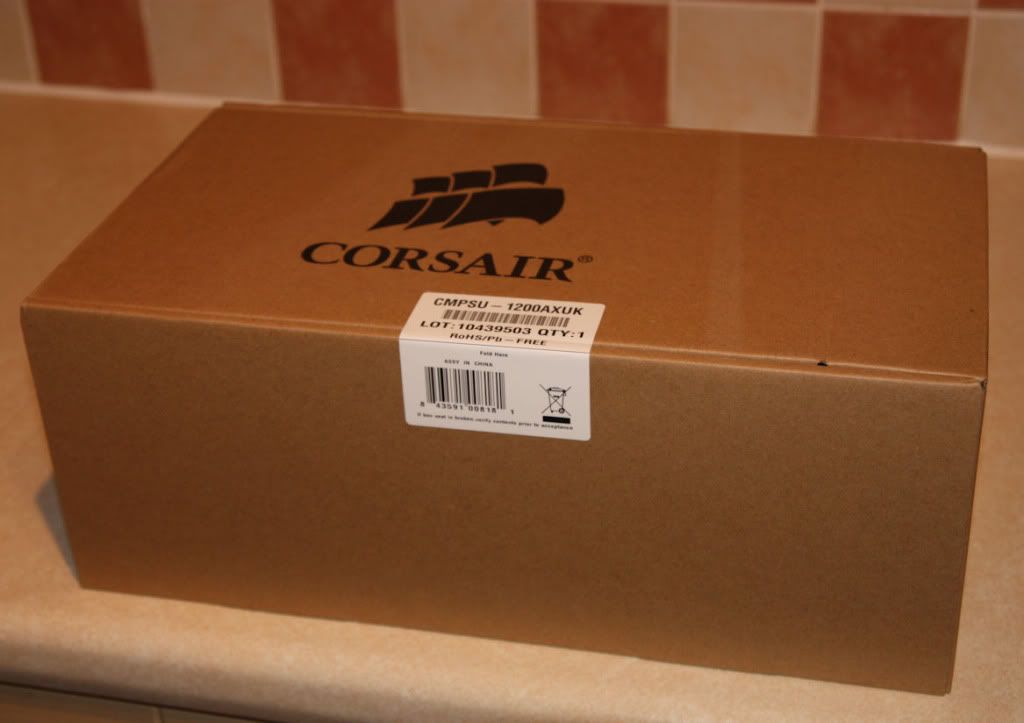
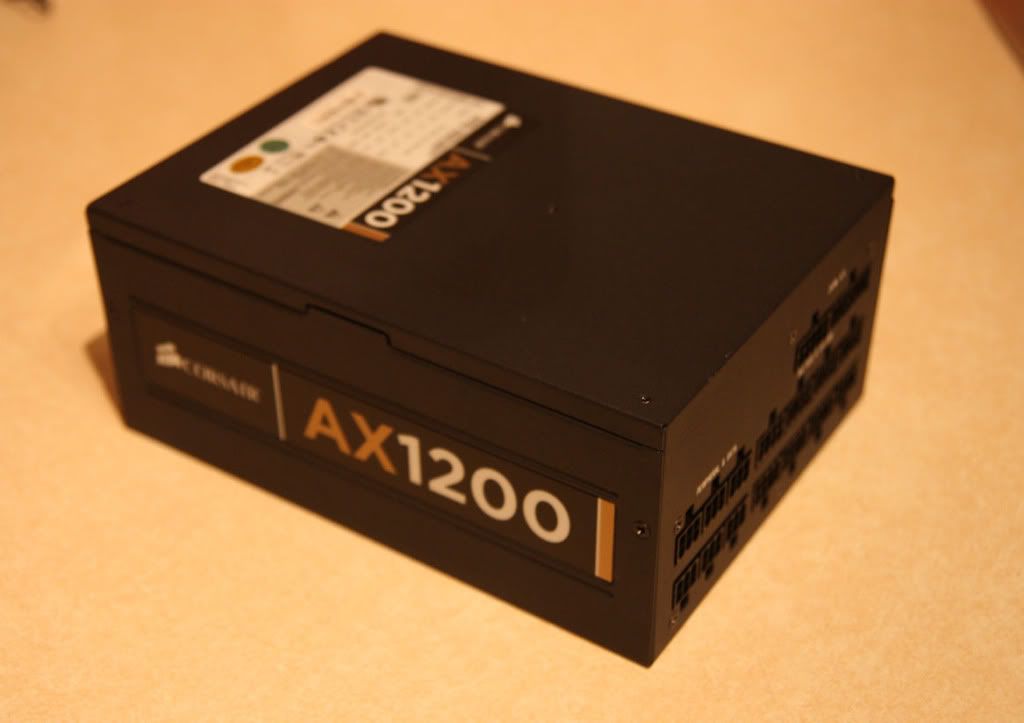
I have had to change direction recently due to aesthetic issues.
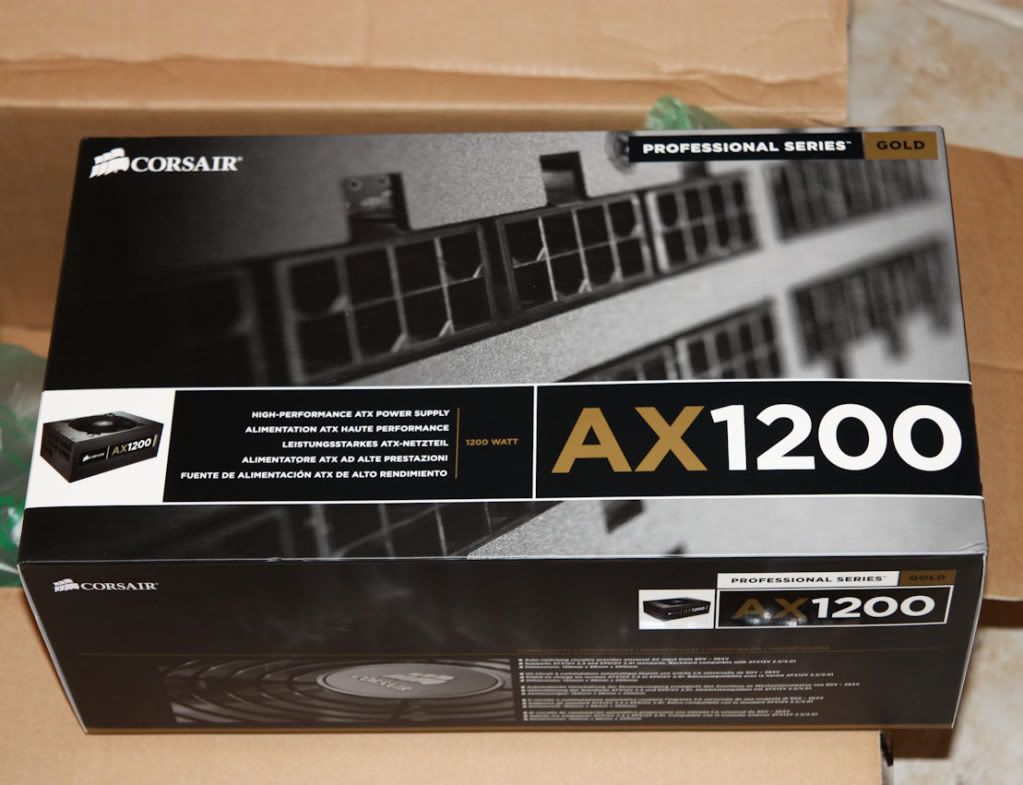
One of these changes was the power supply.
I decided to go with a fully modular version.
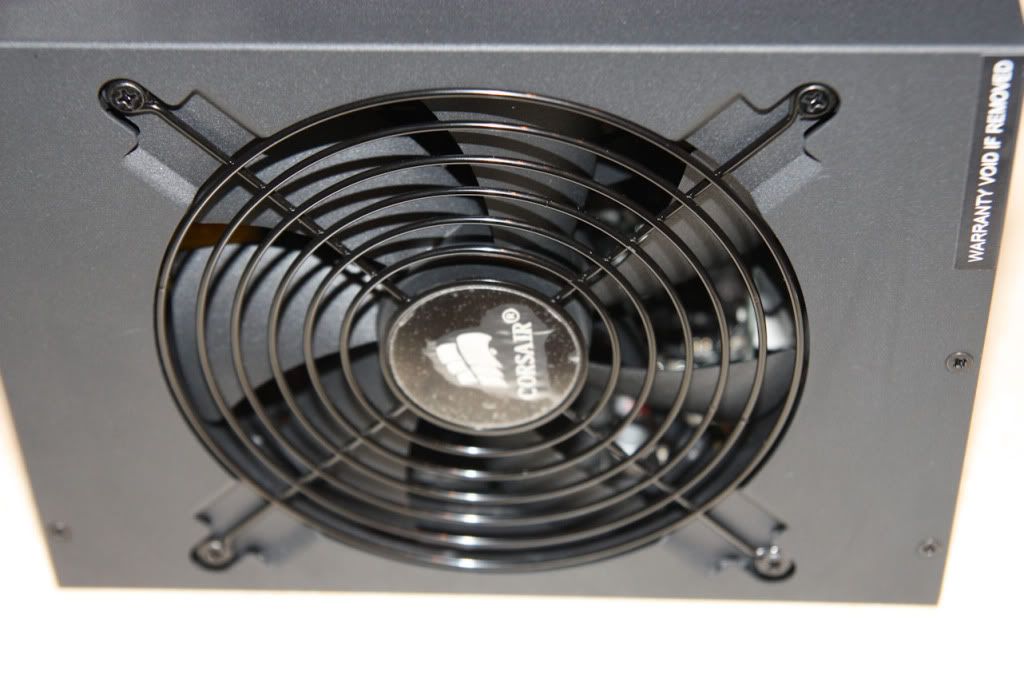
After much deliberating, I went with the Corsair
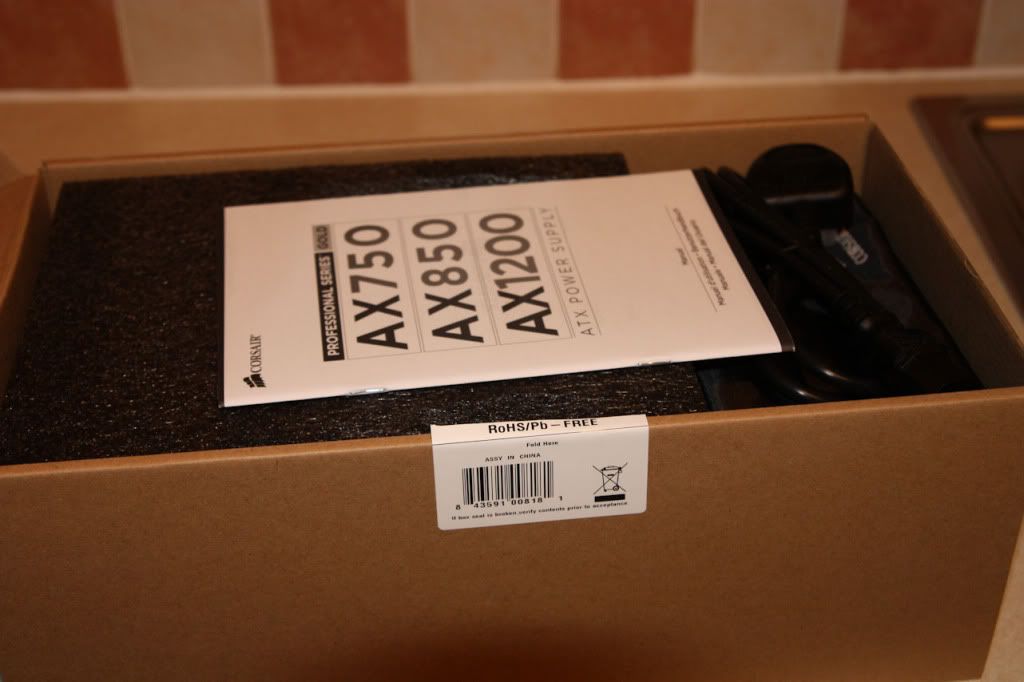
The usual high standard of packaging
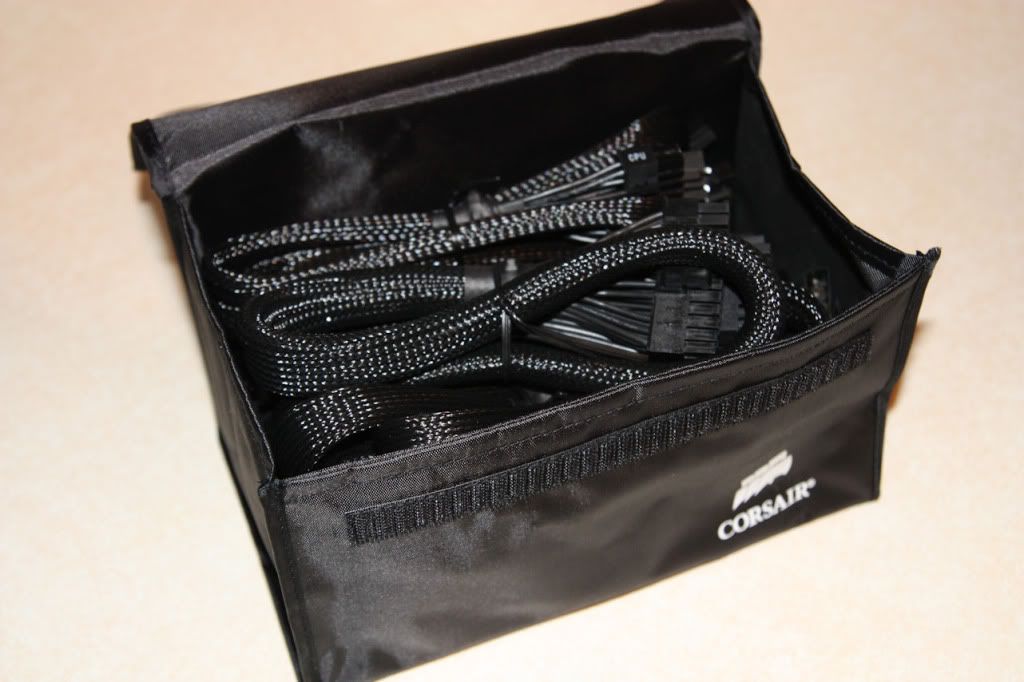
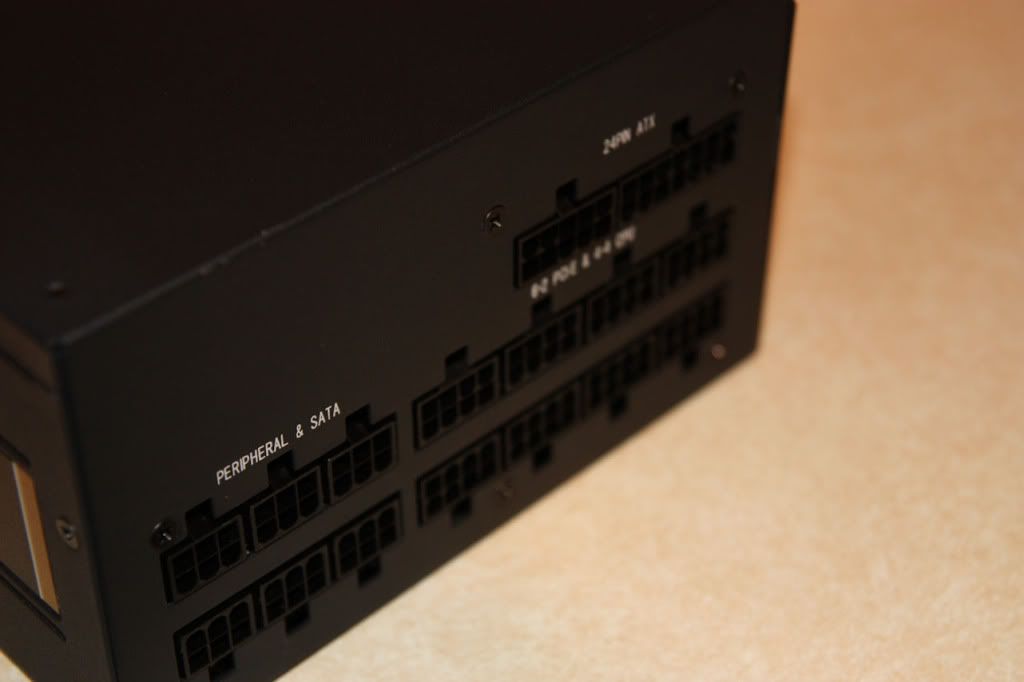
Nice little case to hold the cables
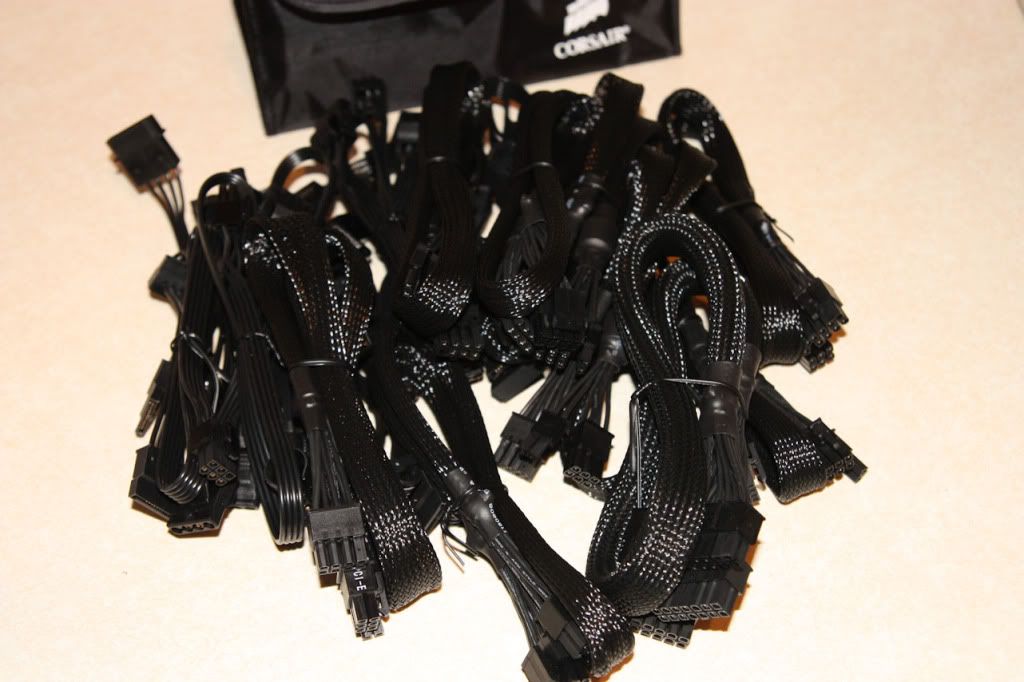
It holds LOTS of cables
Hopefully enough for the future
The PSU comes in a very nice velvet bag
The PSU is no larger than most standard units even though its rated @ 1200watts
A nice, simple modular design
Unit comes with a very quiet 140mm fan
AX1200 serial fan: Yate Loon D14BH-12 4pin PWM.
Quiet he is only in theory.
2800 max rpm/140 CFM/48, 5 dB
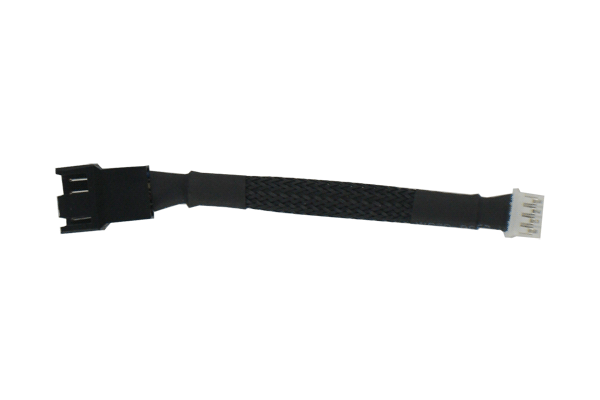
After a few days I had enough, installed a Phobya Nano G-14 Black Silent 1100 rpm PWM.
Slight modification was necessary (replacement of several pins) in the plug of the fan.
Plus this:Gelid 4pin->mini 4pin
It is quiet...now.
Last edited by Elder; 05-04-2011 at 02:28 PM.
A very nice little mod, thanks.
I will see how I get on with the PSU for the moment & if it begins to get a little loud. I will get the soldering iron out.
Great build, definitely going to follow this one
Little expense had been spared to create the impression that no expense had been spared. - Hitchhiker's GuideMondays:It's better to ask dumb questions now, than to look stupid later
Thank you, I am very happy that so many people are enjoying this build (on this forum & others).
Hopefully, I will have another update soon.


Amazing build...
Dont want to say this, because its amazing looking at.
But dont speend to much m8
It will just end up with you being forced to spend your time on something different
Thanks Nosfer@tu
I agree, the initial budget is a distant memory & the time scale
I no longer use a watch, just a calender.
I don't think I will every be allowed to do such things ever again as Mrs Piggin has to live like this.
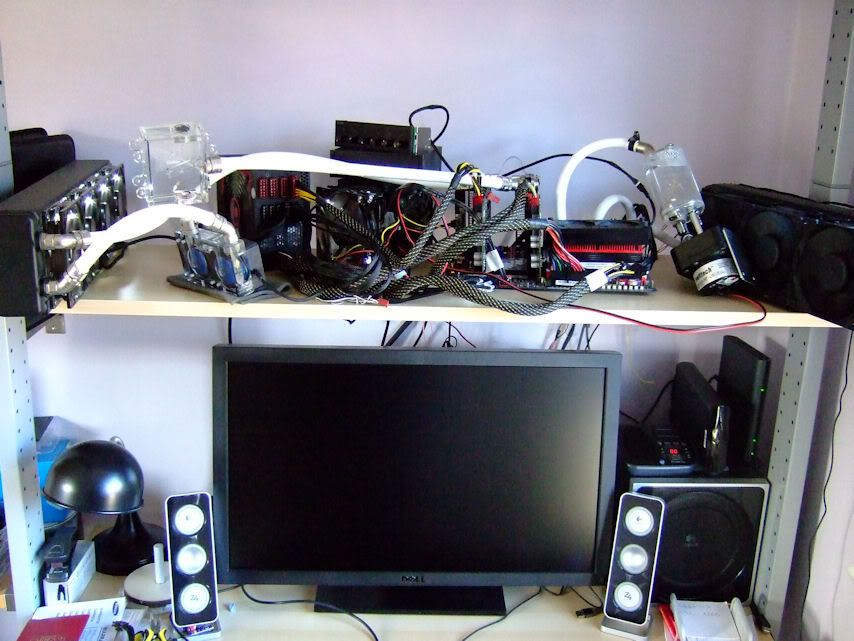
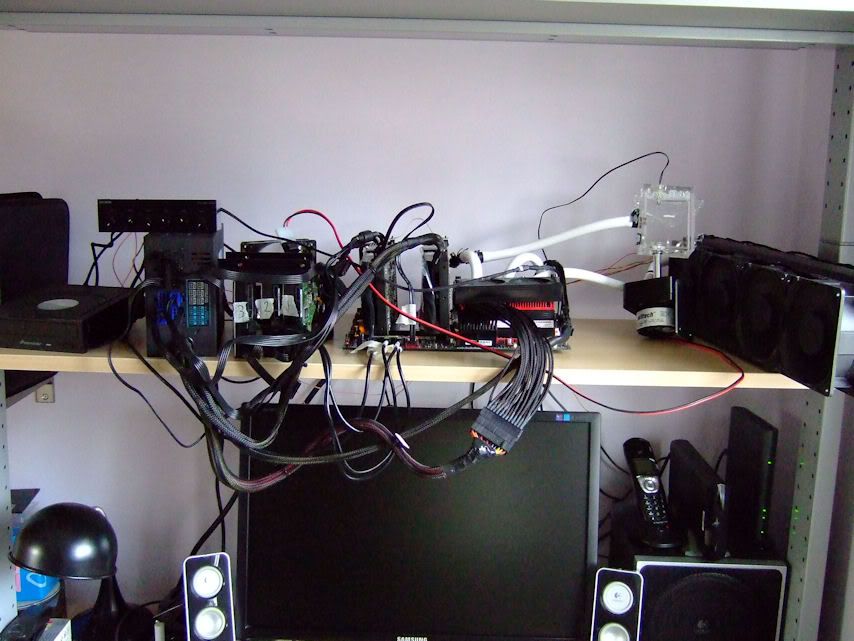
The 'Shelf' has gone through numerous changes itself (maybe I should have done another build log)
My wife would kill me if I tried to spread a PC like that over a shelf. When it comes to modding, my wife and I have the agreement that I can make whatever I want, as long as: 1)It fits in our desk area 2)It looks "pretty." So far I've been passing both tests so all is good.
I really like those CNC'd side panels. I wish I had access to that kind of work that wouldn't cost an arm and a leg.
Last edited by voigts; 05-08-2011 at 02:32 AM.
Latest Project Log: Project Quintessence
1935 Zenith Radio Scratch Build
Mrs Piggin has always been very amicable with my previous builds but she is not very happy with the 'Shelf'.
I was lucky enough to sell my old build quite quickly
http://forums.hexus.net/chassis-syst...sty-4-4-a.html
It was my intention to make this new case quite quickly but the design stage has taken for ever.
As I require a functioning PC, the 'Shelf' was born.
As for the panels, the price of cutting is not that expensive but the price of aluminium is increasing all the time.
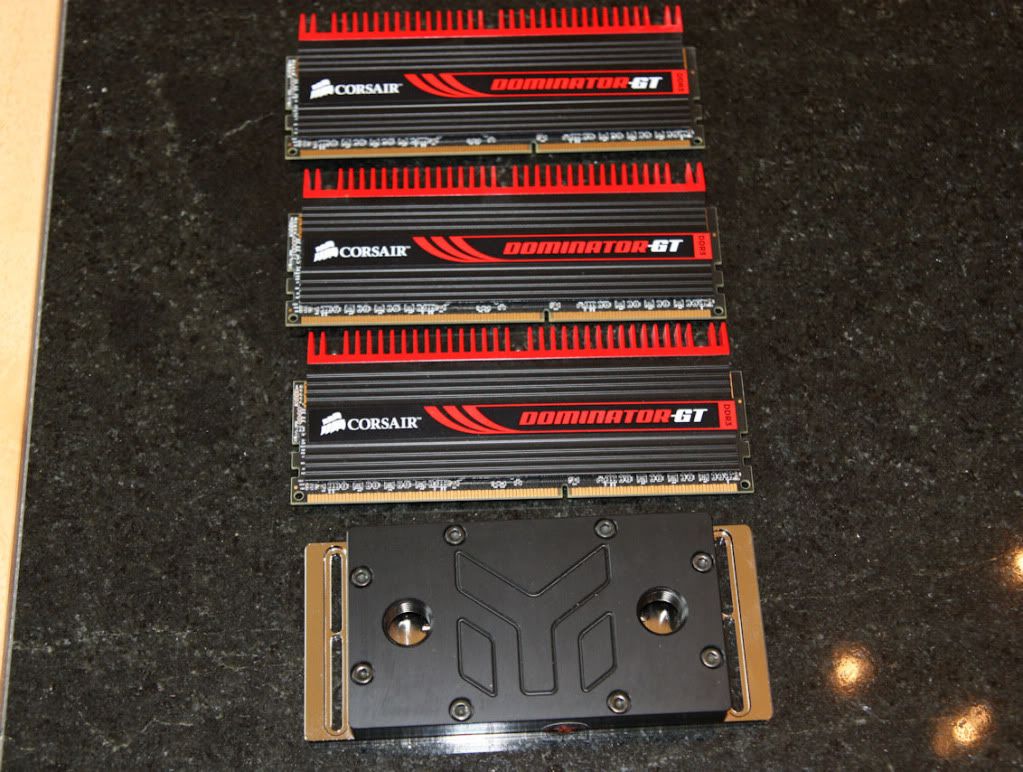
The people who have Corsair fans on their RAM know they are not very quiet.
I am no exception but I love my GT's so I thought I would treat them to something nice
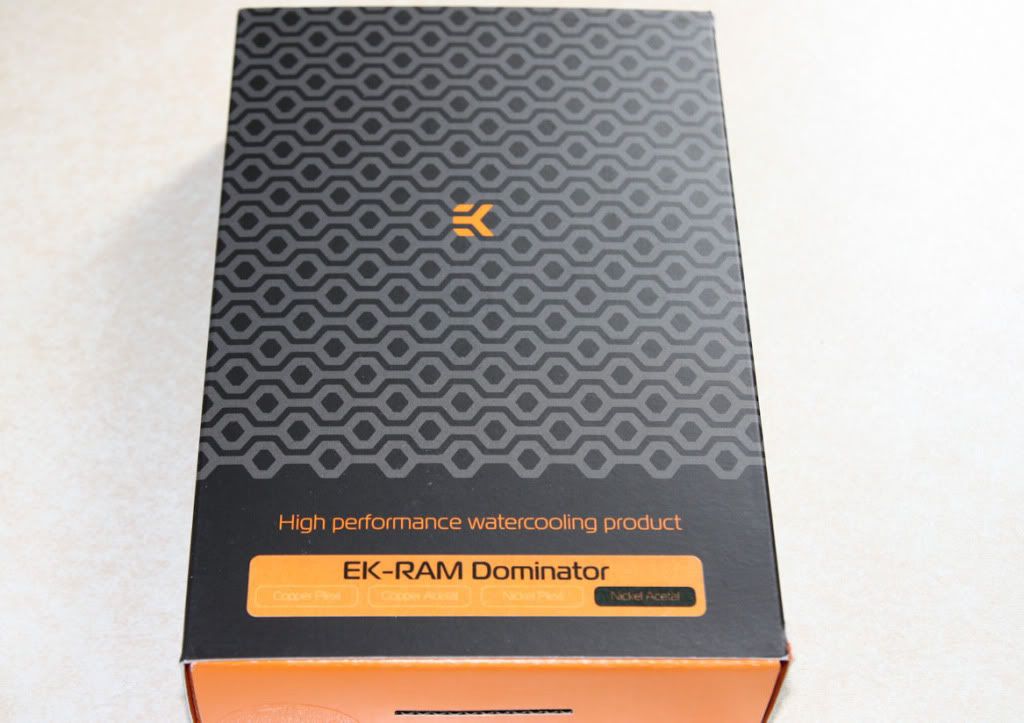
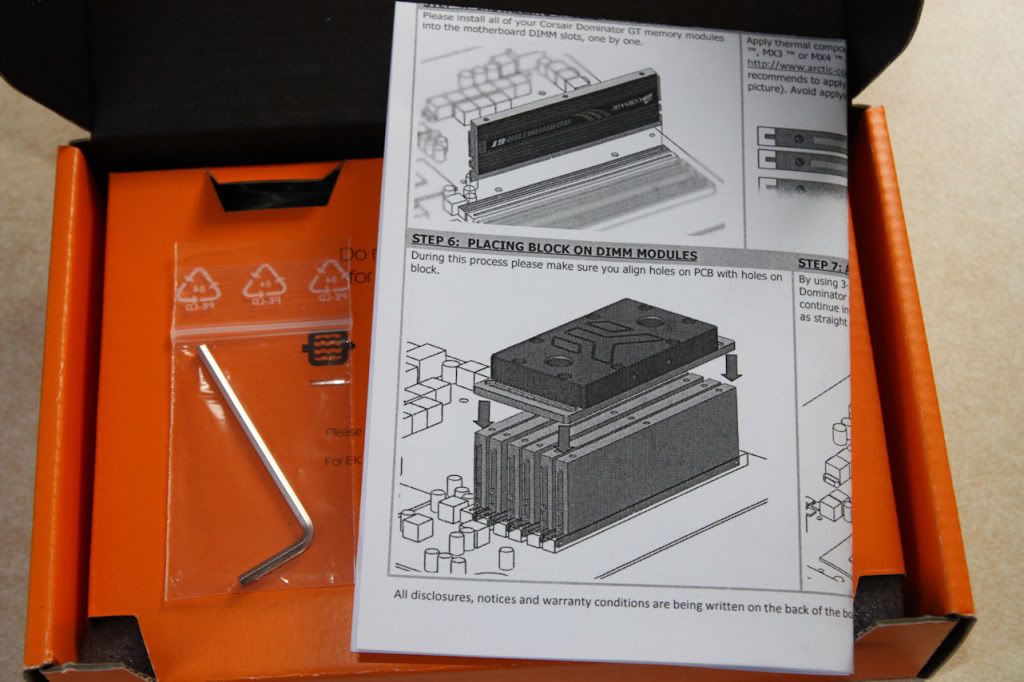
The regular EK packaging that you have now seen so often in my build (before you ask, I am not sponsored, I wish)
Not many extras in this box, only instructions & allen key
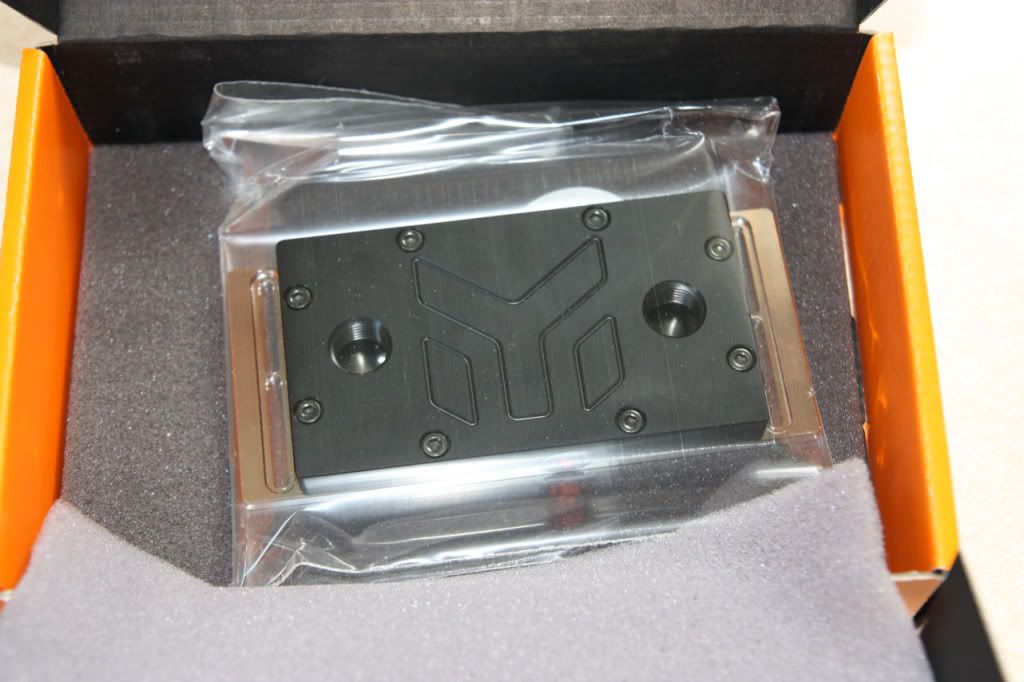
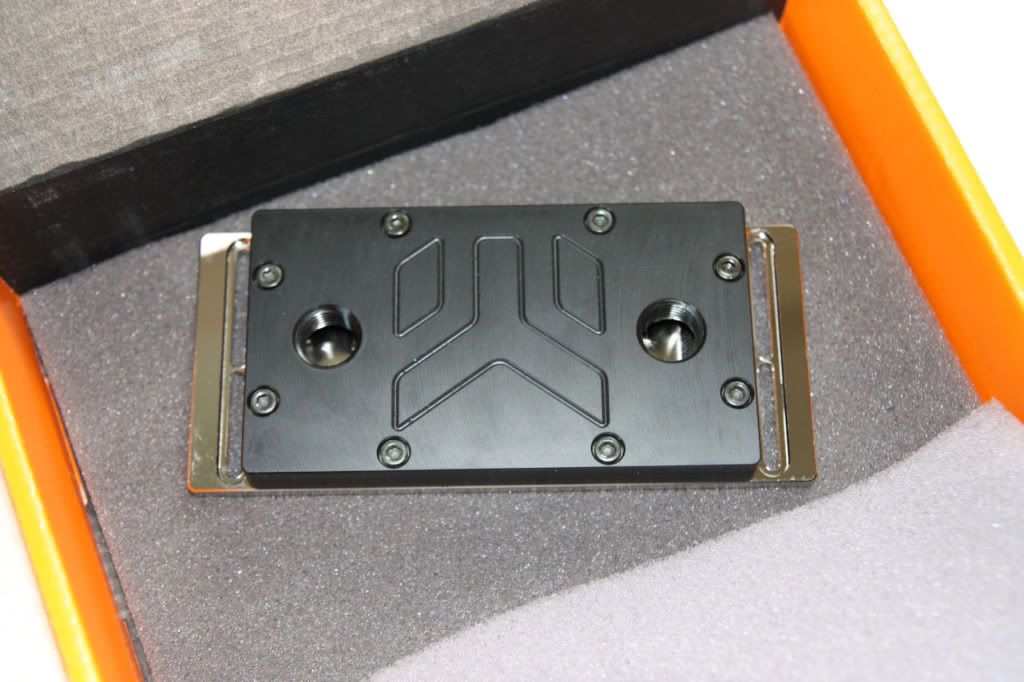
Oh & a water block
Went with Acetal & Nickel again
Oh so very shiny
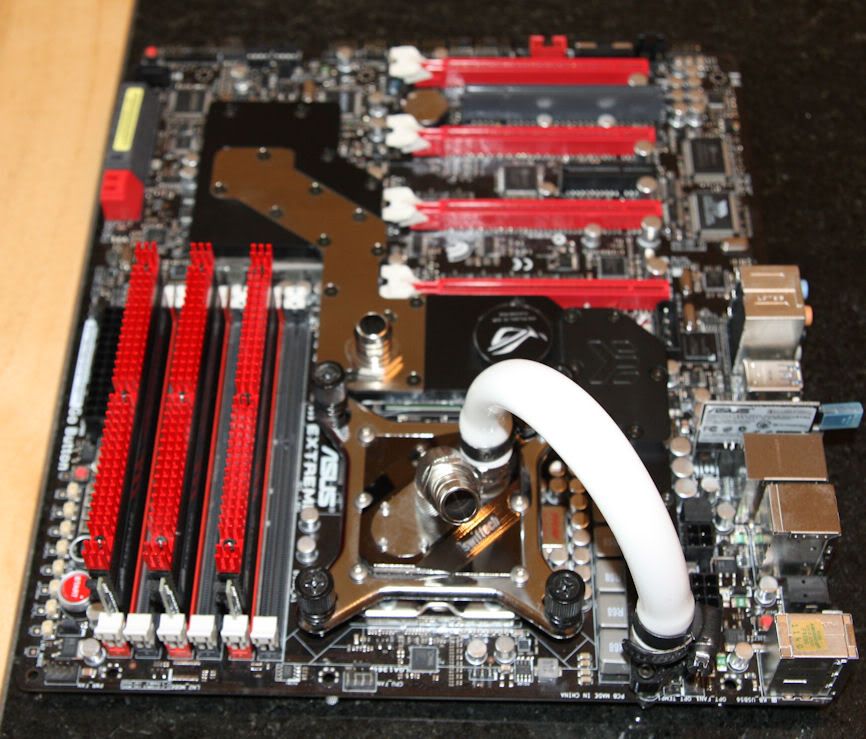
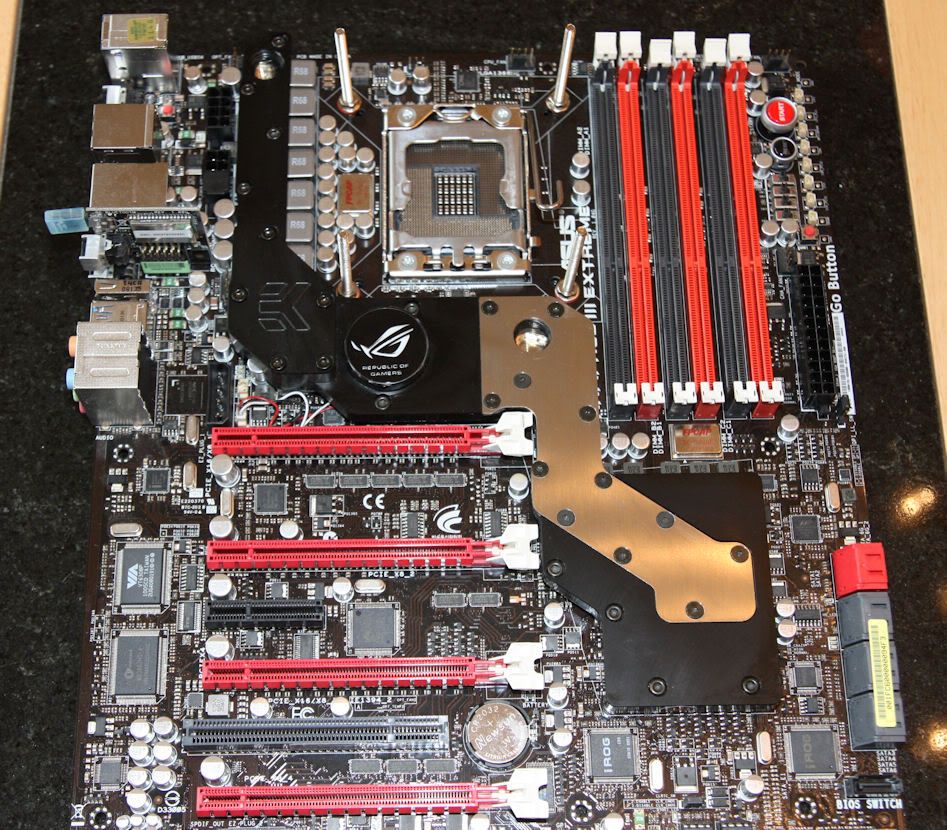
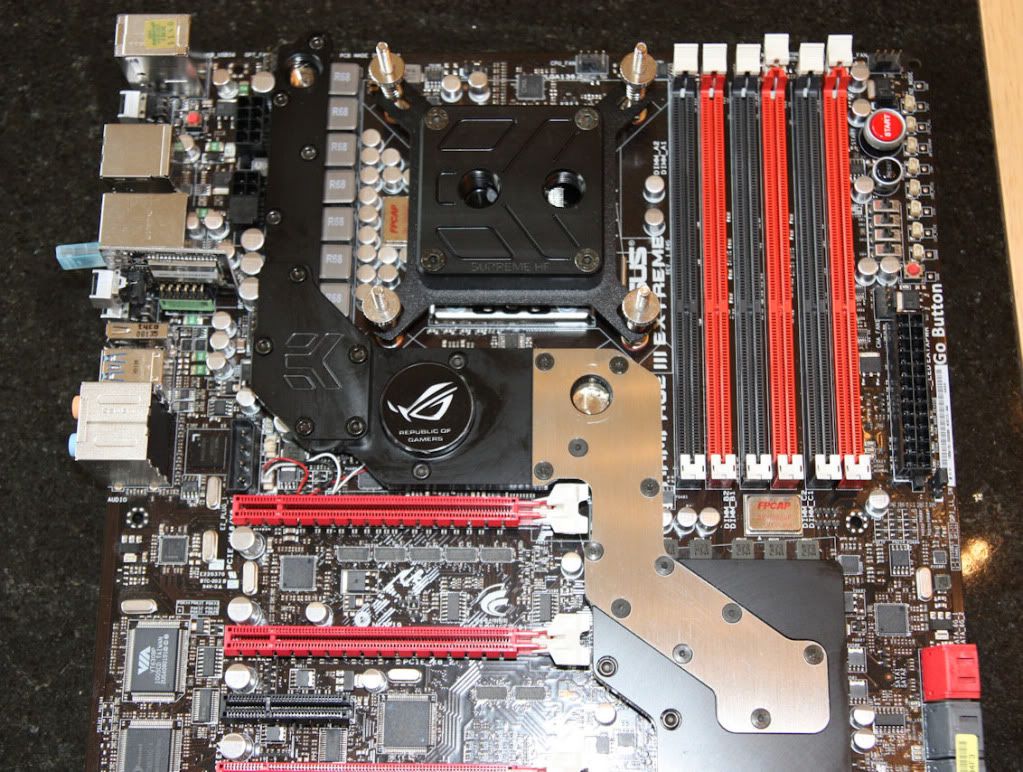
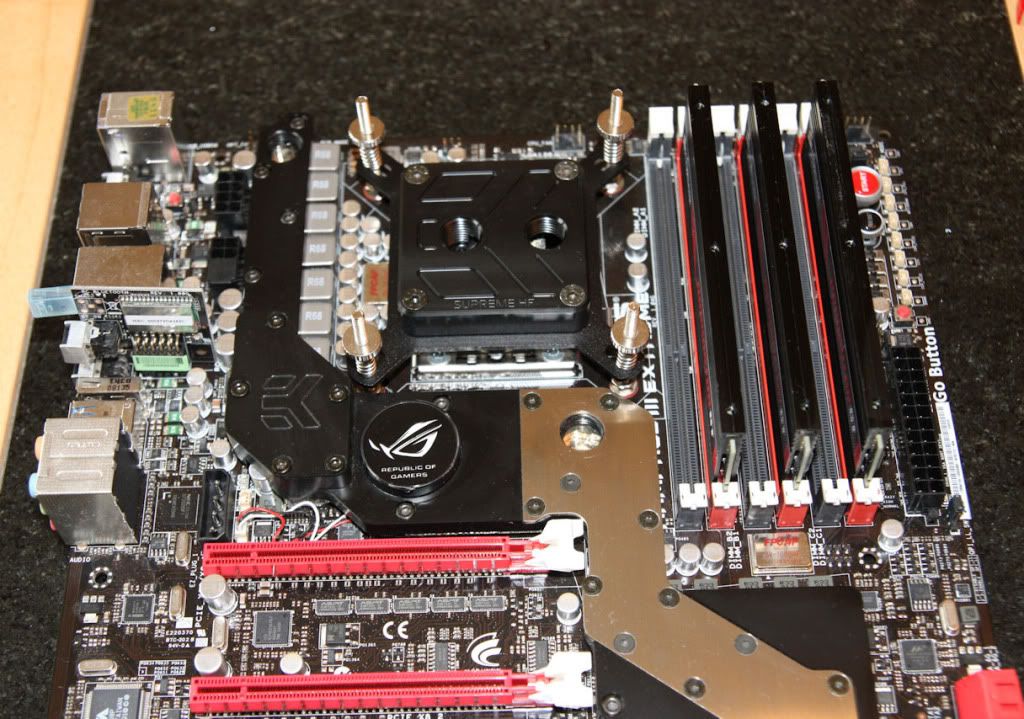
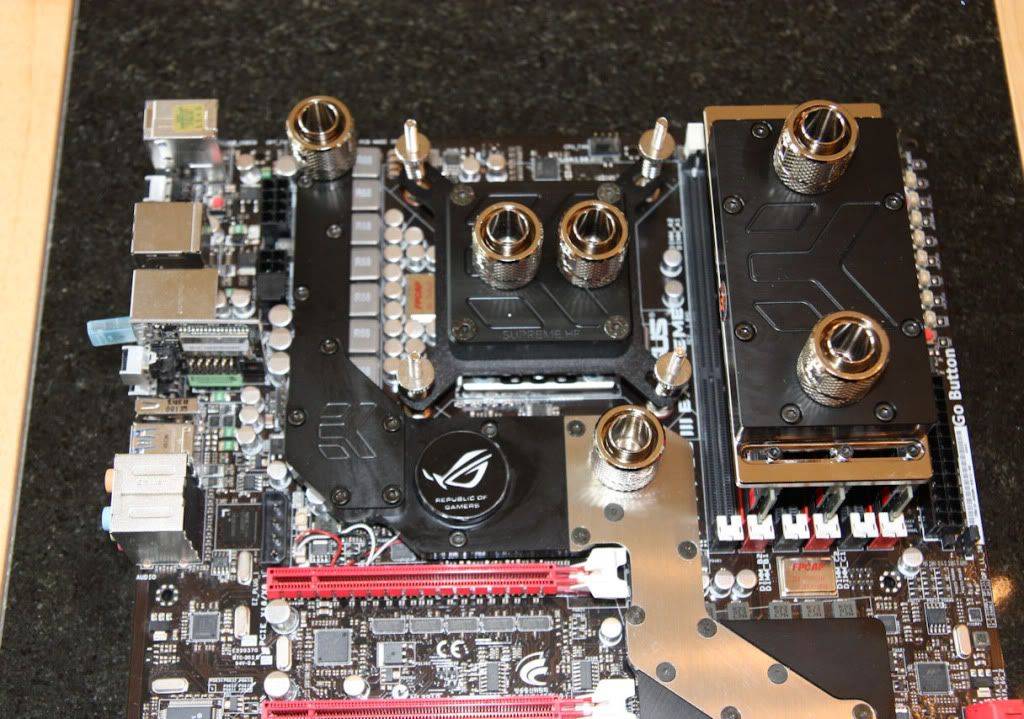
Started changing over the water blocks on the motherboard
Quick pick of how it has been on 'The Shelf' for some time with the Swiftech XT fitted
All the 'extras' stripped off the board
New EK water block fitted to the CPU
A quick rear view
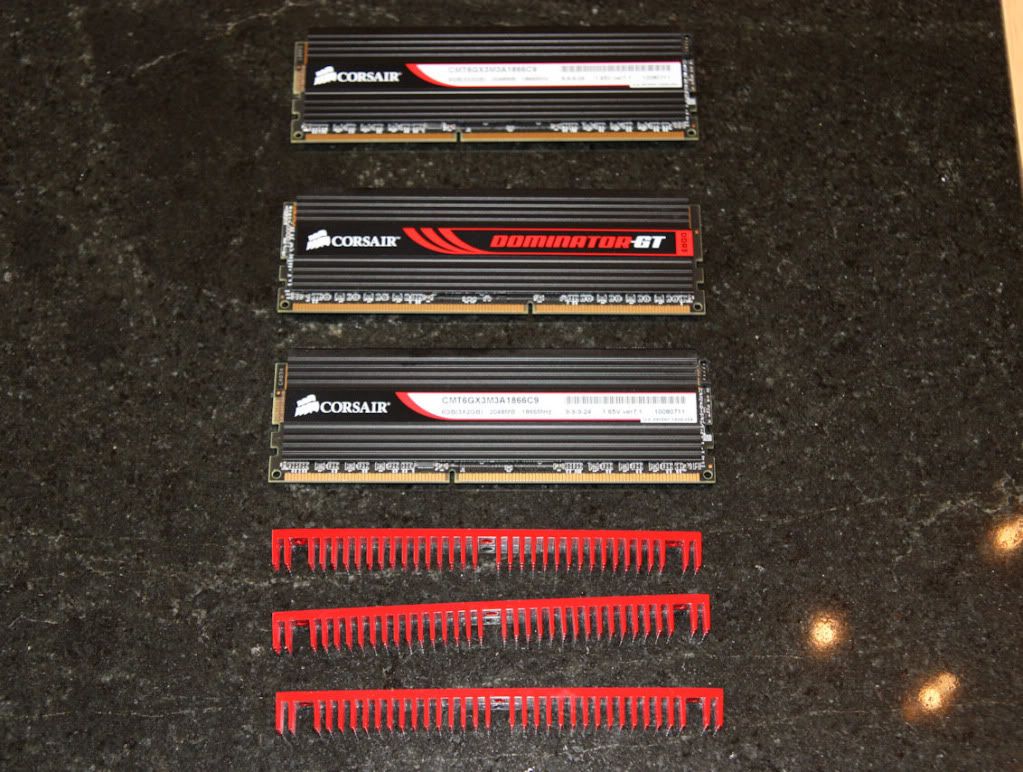
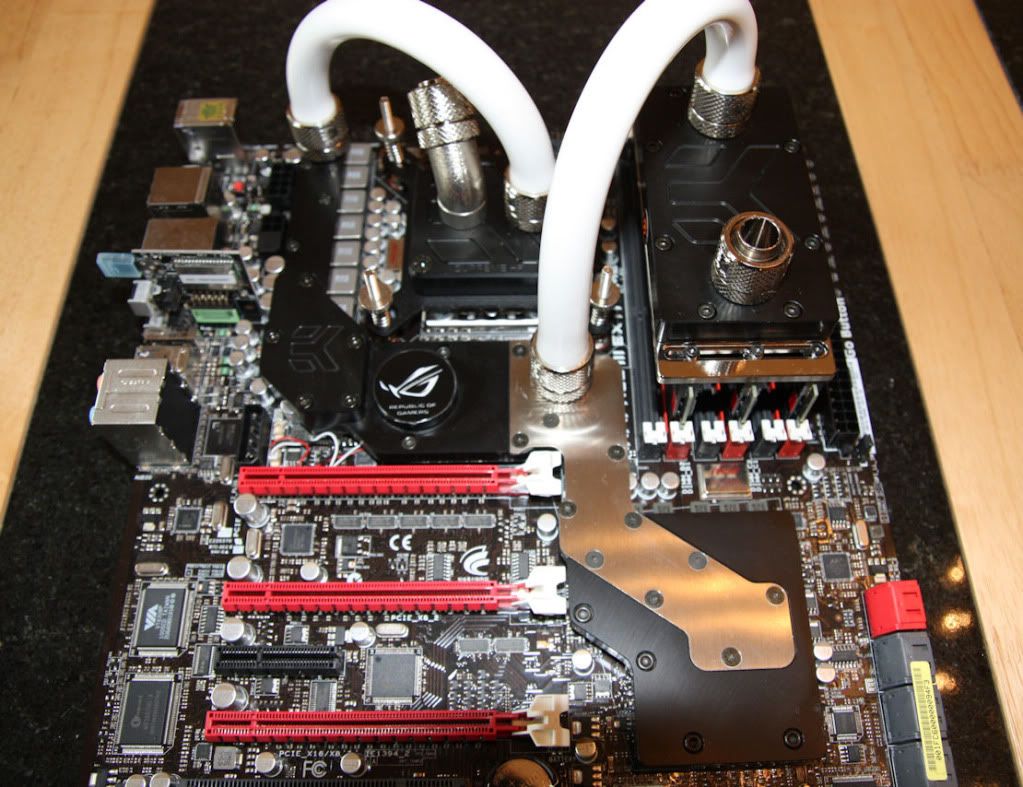
Also decided to do the RAM
RAM stripped down
RAM returned to motherboard to get the correct spacing
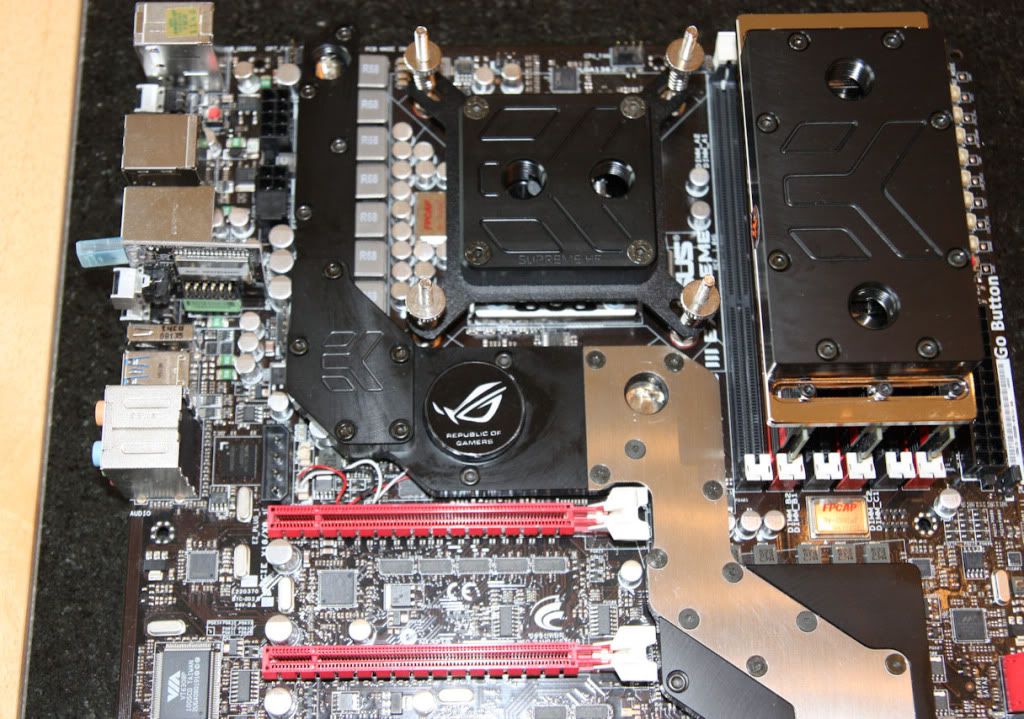
After applying same TIM, the block was fitted
Compression fittings put into place
Tubing run into place
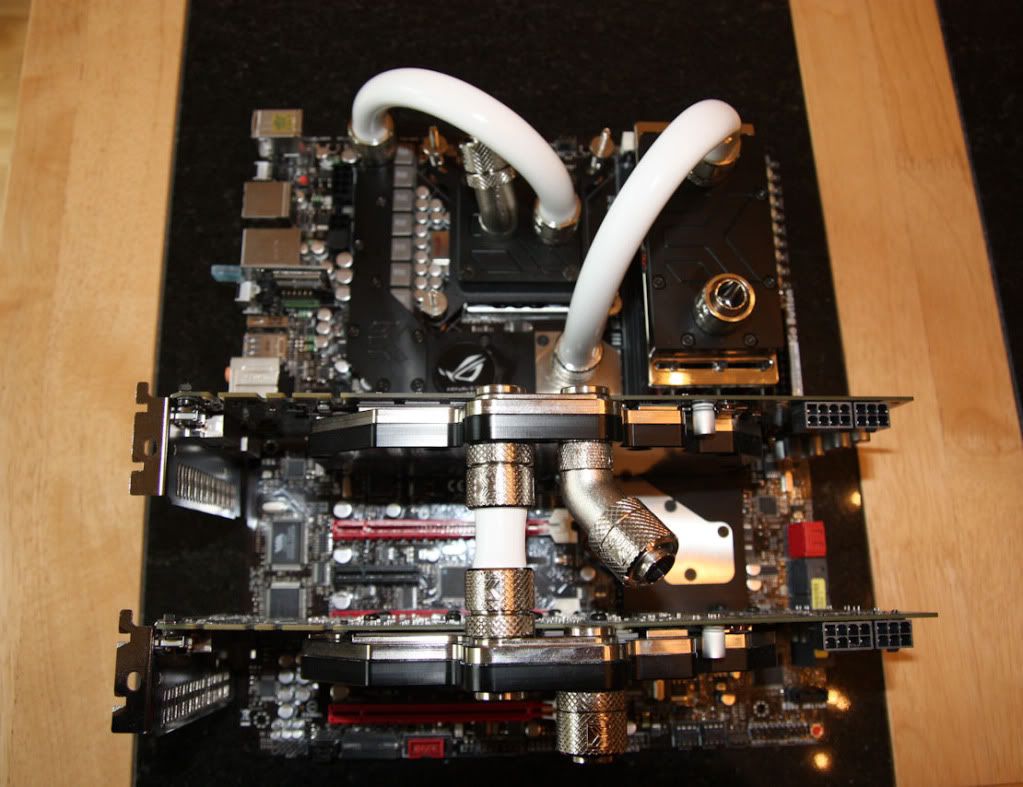
Graphics cards fitted back onto motherboard
'The Shelf' has never looked so 'shiny'
When I first started this project I wanted something simple that I could complete within a short period of time.
Obviously, from my build log this is no longer the case.
The remit for the project has now changed into making the best possible case I can.
This has meant that numerous changes have taken place within the life of the build.
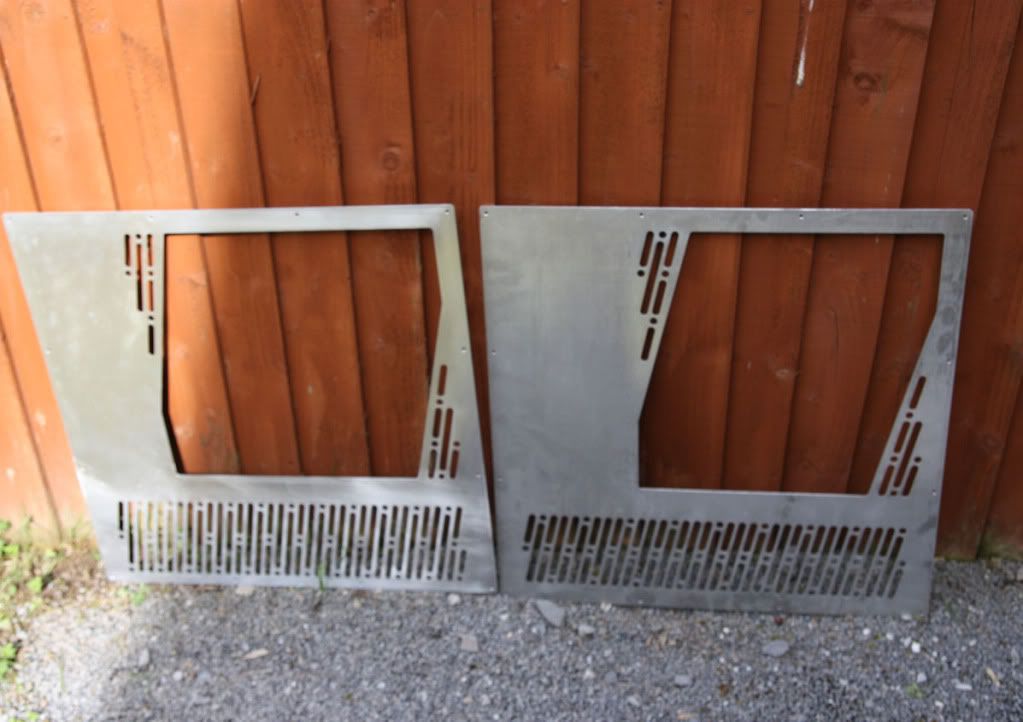
Recently, I decided I did not like the cut out design on the side panels of the case.
As each panel has this design, a complete case had to be manufactured to rectify this problem.
This also gave me the opportunity to make some very subtle changes to the design & layout of the finished case.
So basically I am now on 'The Left Handed Build' part 2.1
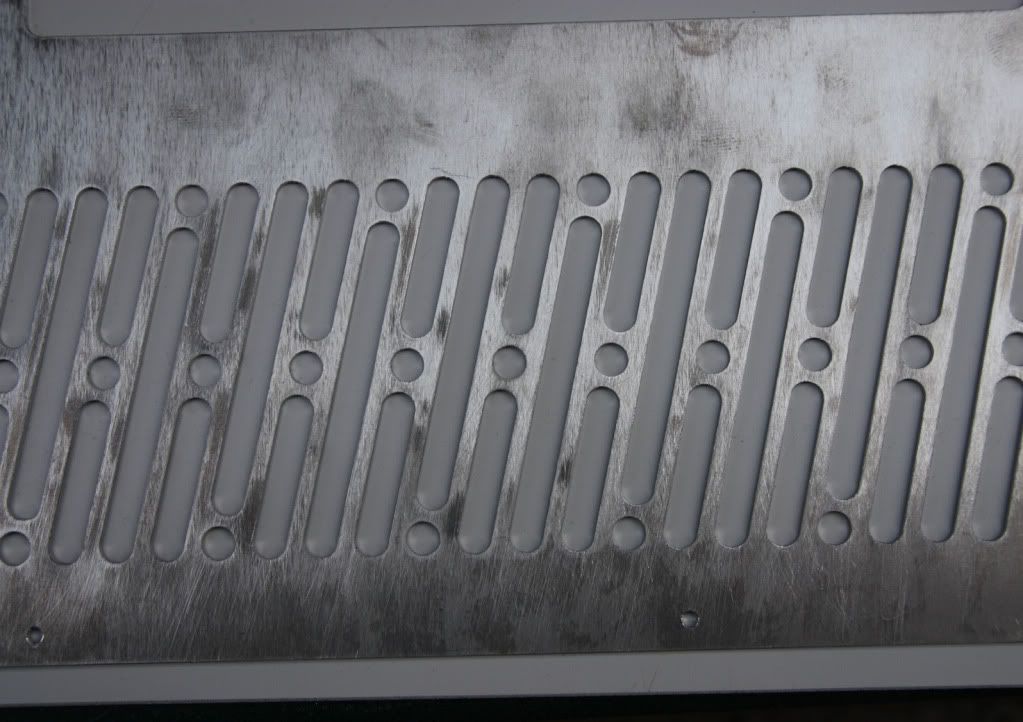
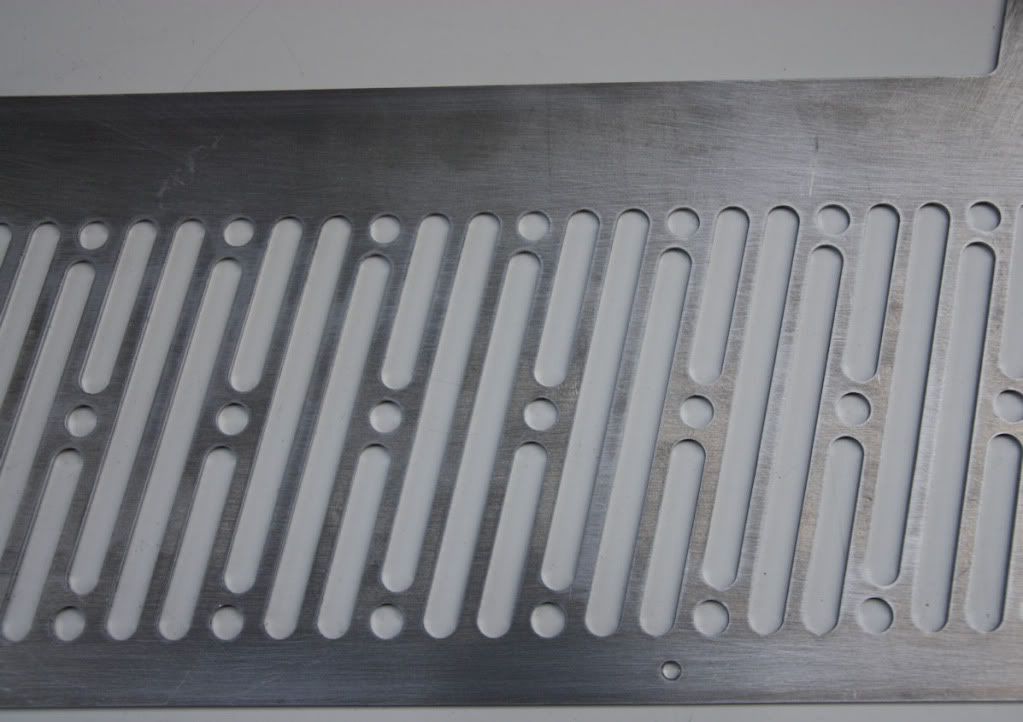
As you can see there is very little difference in the panels.
This is the old design
And this is the new
The design has not changed that much but I am now happy (until build part 2.2)
I have not had a lot of time to do any work on the case recently as we have had a few problems in work (had to call out the fire brigade & six tenders later we got things under control)
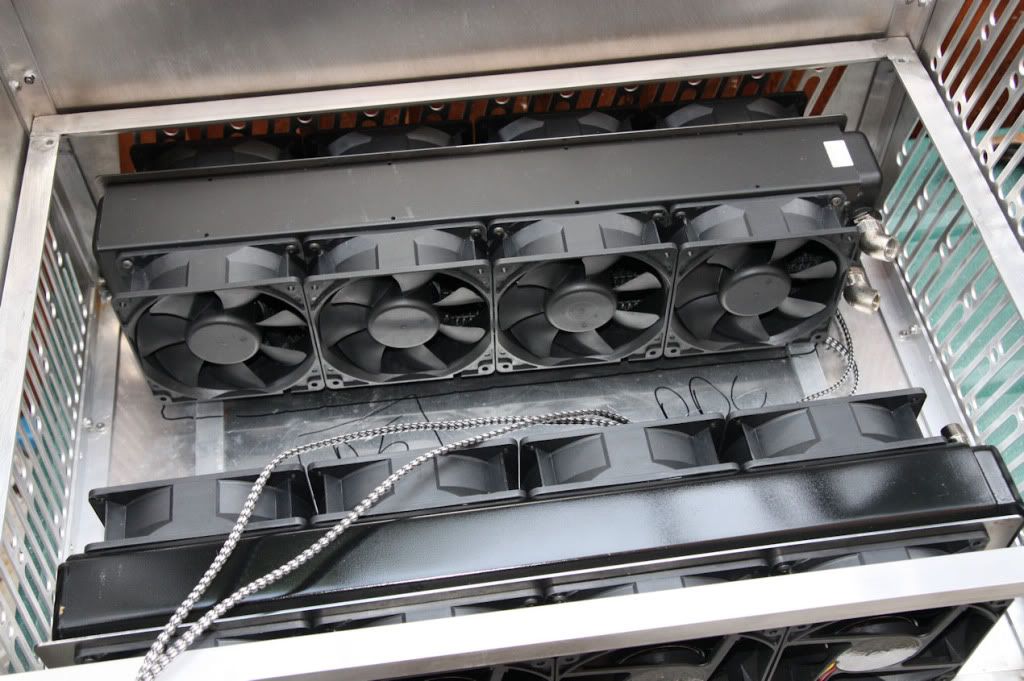
However, I have had a little time recently to do some rad fitting.
Test fitting of the rads
Final measurement to ensure correct fitting.
Case marked up for fixing bolts
Hole drilled
Rad bracket clamped into position
Drilled through with rivet nut fitted
Rad bracket fitted
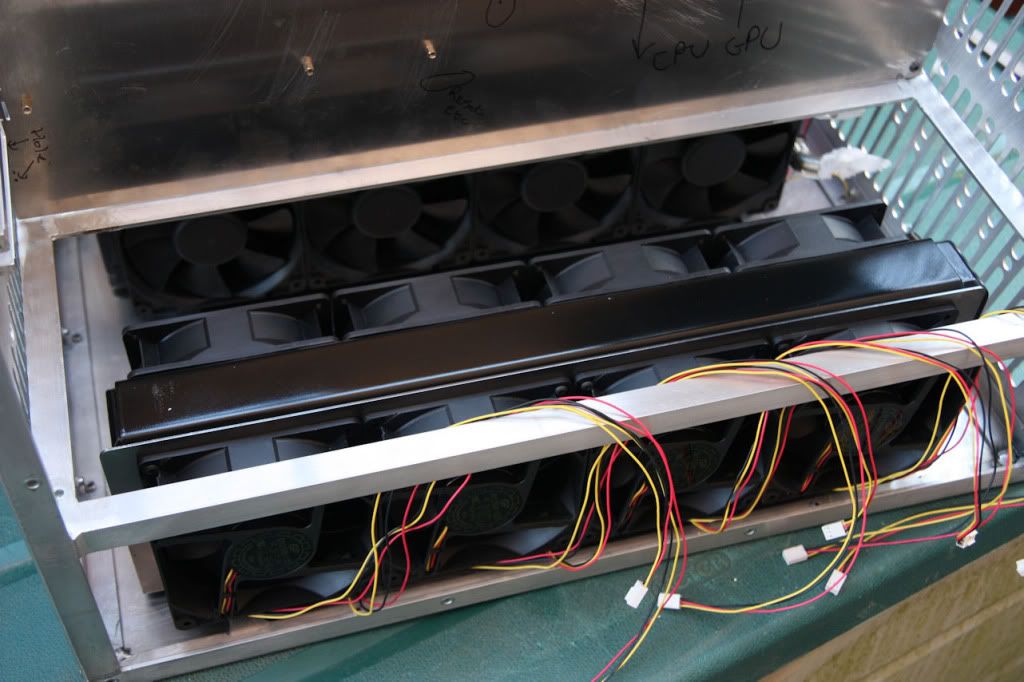
Rads fitted
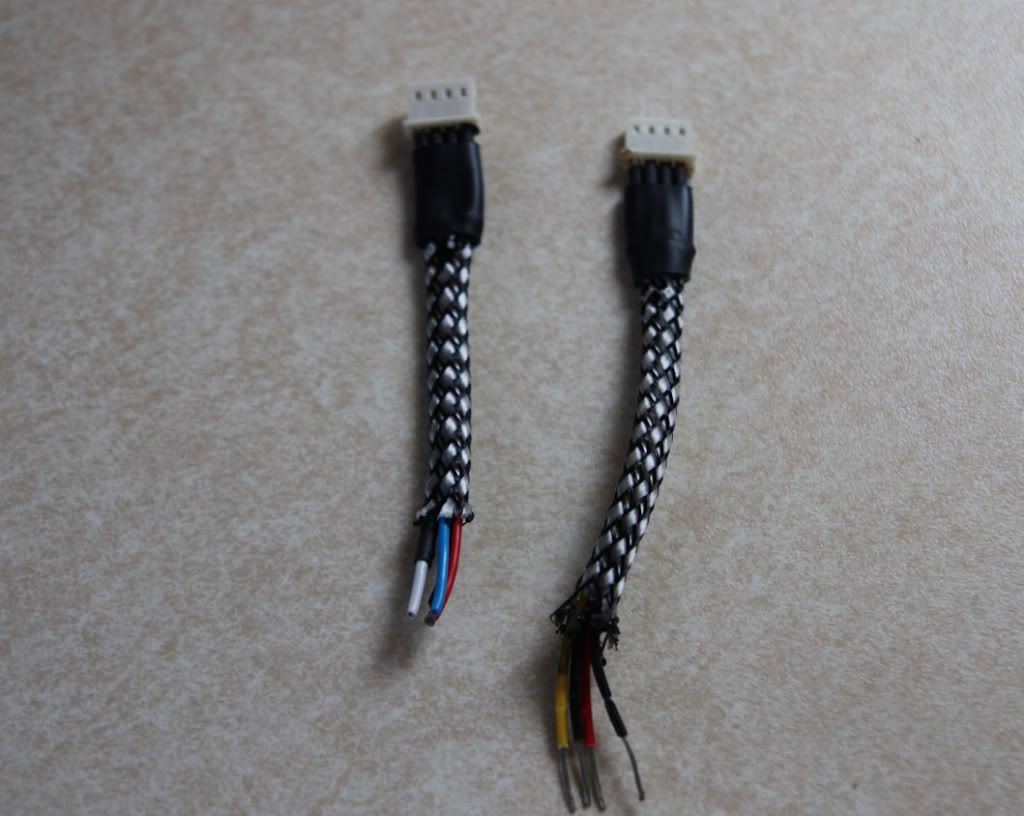
Fan cables cut to length ready for braiding later
You are enjoying your build! Passion is a great thing.
Keep it up and thanks for sharing.
Victory May Be Fleeting, But Obscurity Lasts Forever!
Last Project http://www.xtremesystems.org/forums/...d.php?t=213829
Canceled Project http://www.xtremesystems.org/forums/...d.php?t=265292
New Project http://www.xtremesystems.org/forums/...d.php?t=269440
very nice project! I've enjoyed looking through - keep up the good work dude
Thanks Gents, will continue to post updates even though they are not the quickest
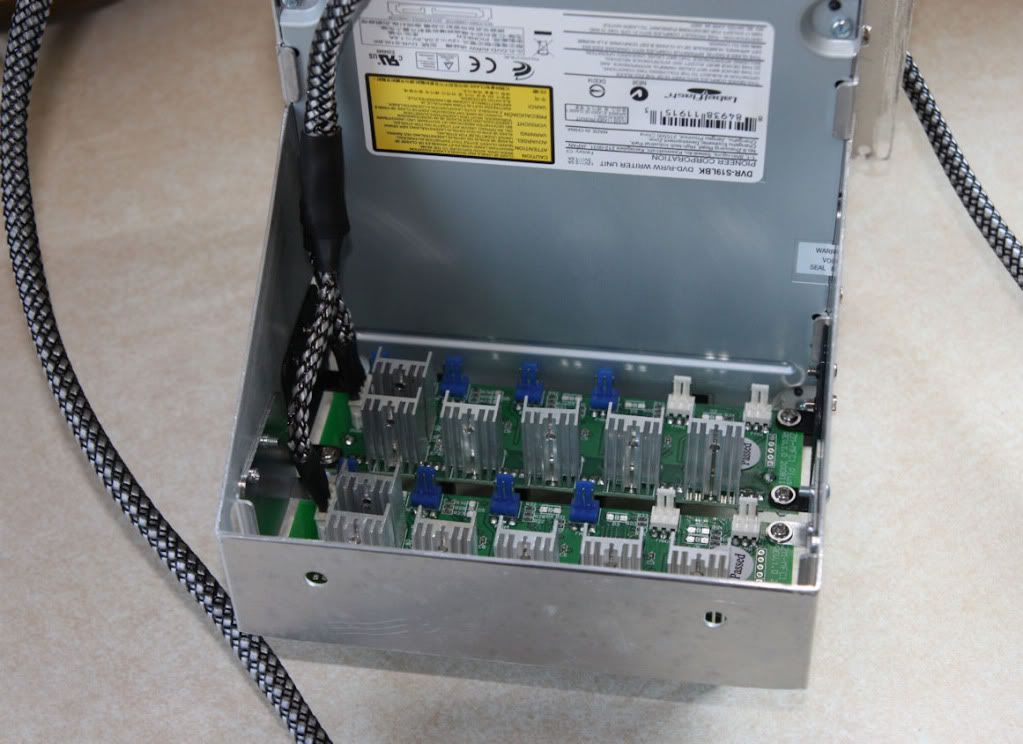
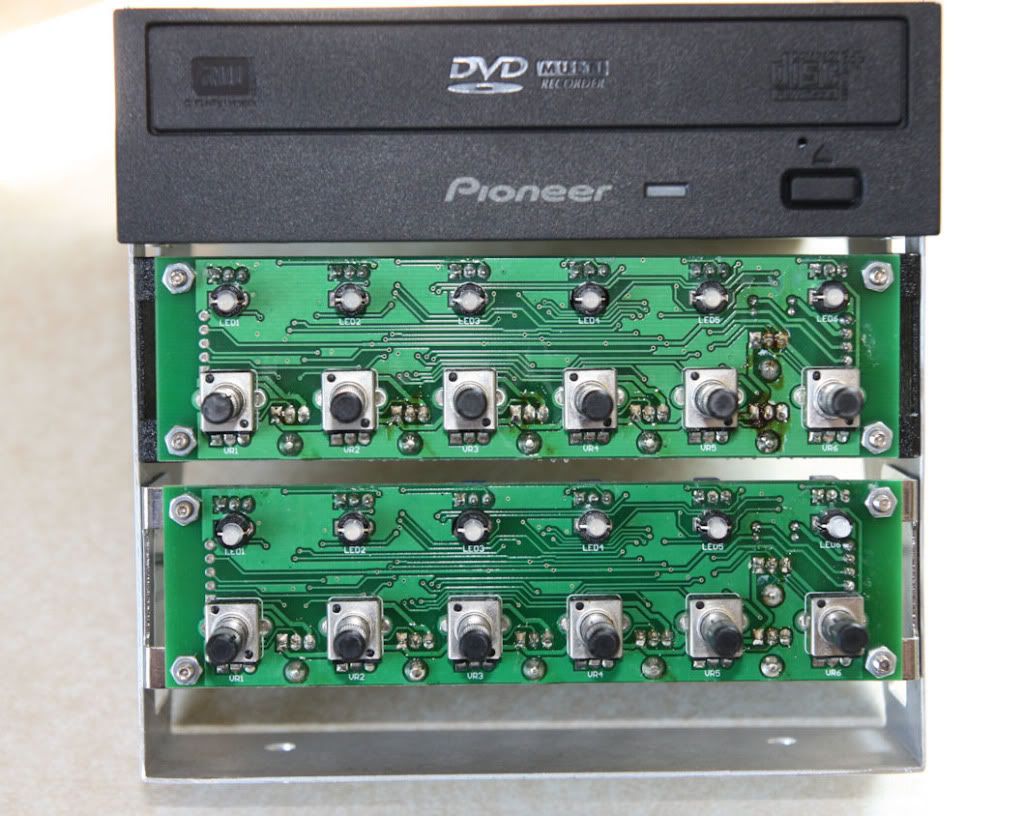
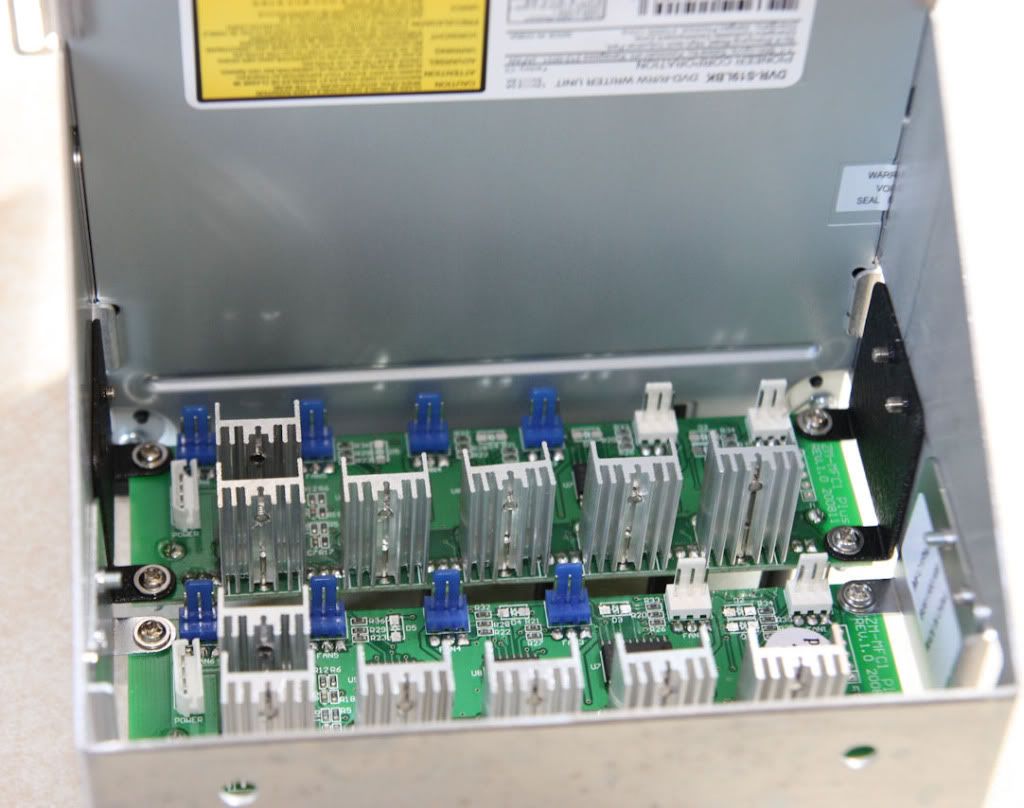
Due to the number of fans I will be running in this build. I will need more than one fan controller.
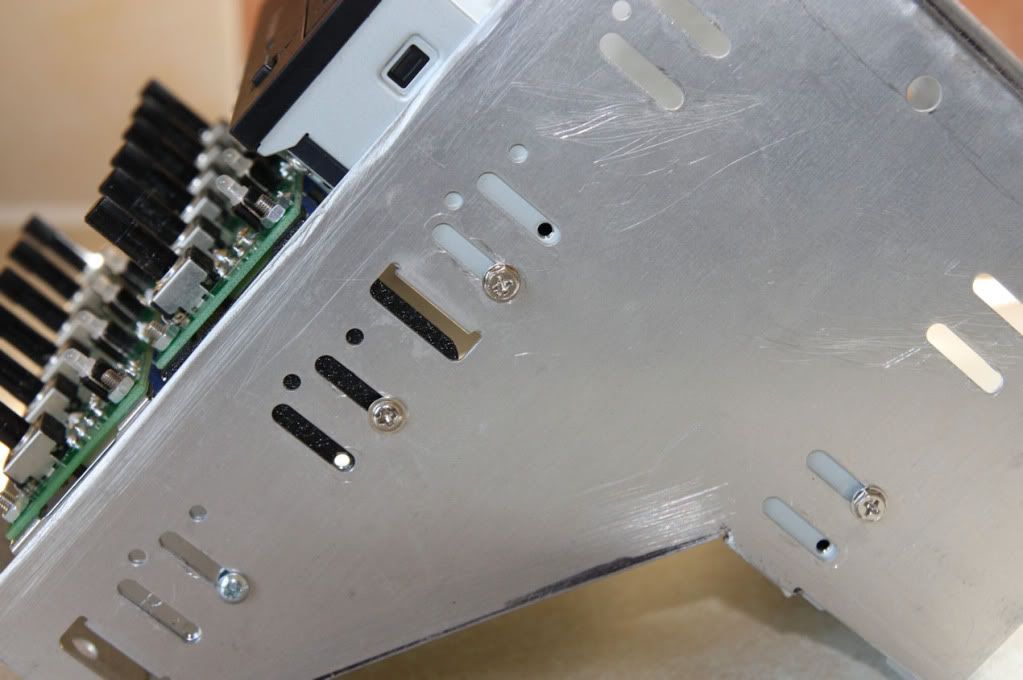
These controllers will be mounted in a frame bellow the DVD drive.
The fronts have been removed & the brackets refitted.
The controllers are then fitted into the adjustable slots.
The power supply cables were then cut to length
Then joined together & braided
Finally the cables fitted onto the controllers
 Posting Permissions


 Reply With Quote


Bookmarks