Page 2 of 5 FirstFirst 12345 LastLast
Results 26 to 50 of 102

Thread: The Left Handed Build

  1. #26
    Registered User
    Join Date
    Aug 2010
    Posts
    91
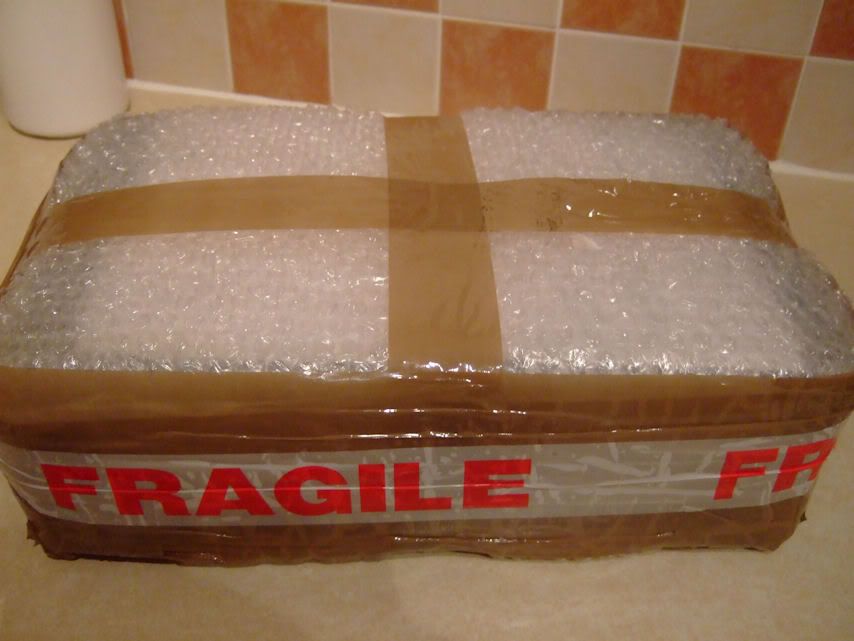
    Instead of invalidating the warranty on my PSU, I have purchased some extension cables from Tom.
    I purchased a few braided and non braided cabled. I decided to braid them all in Tom's Dense Weave braid.
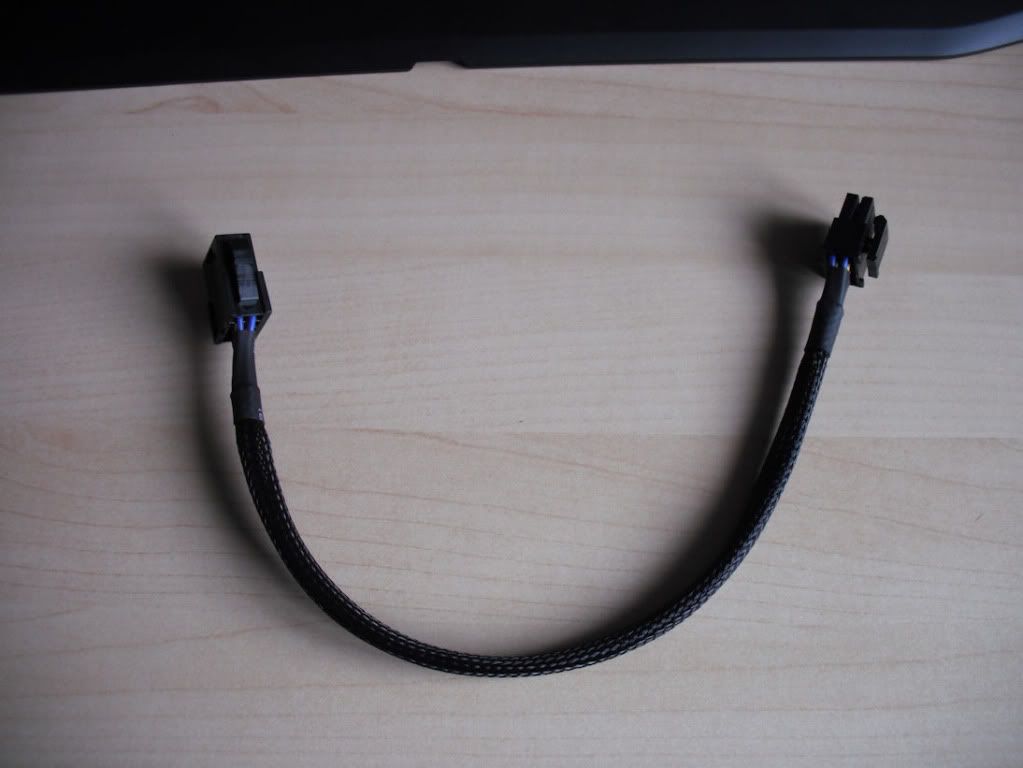
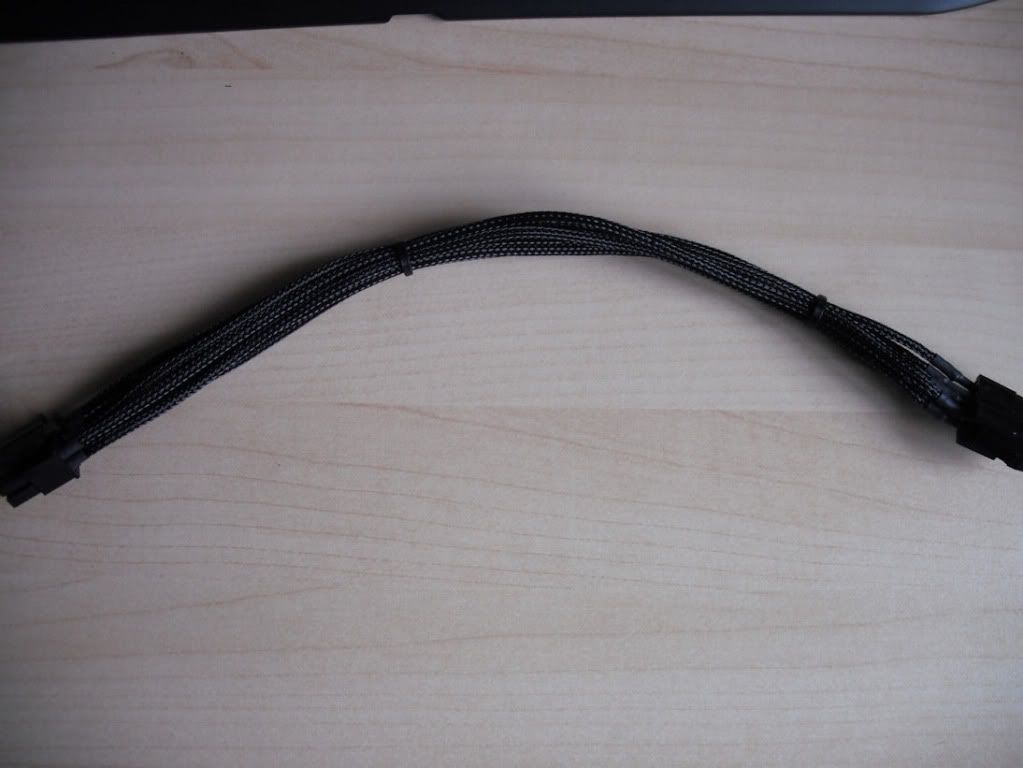
    First up the 8 pin ATX connection


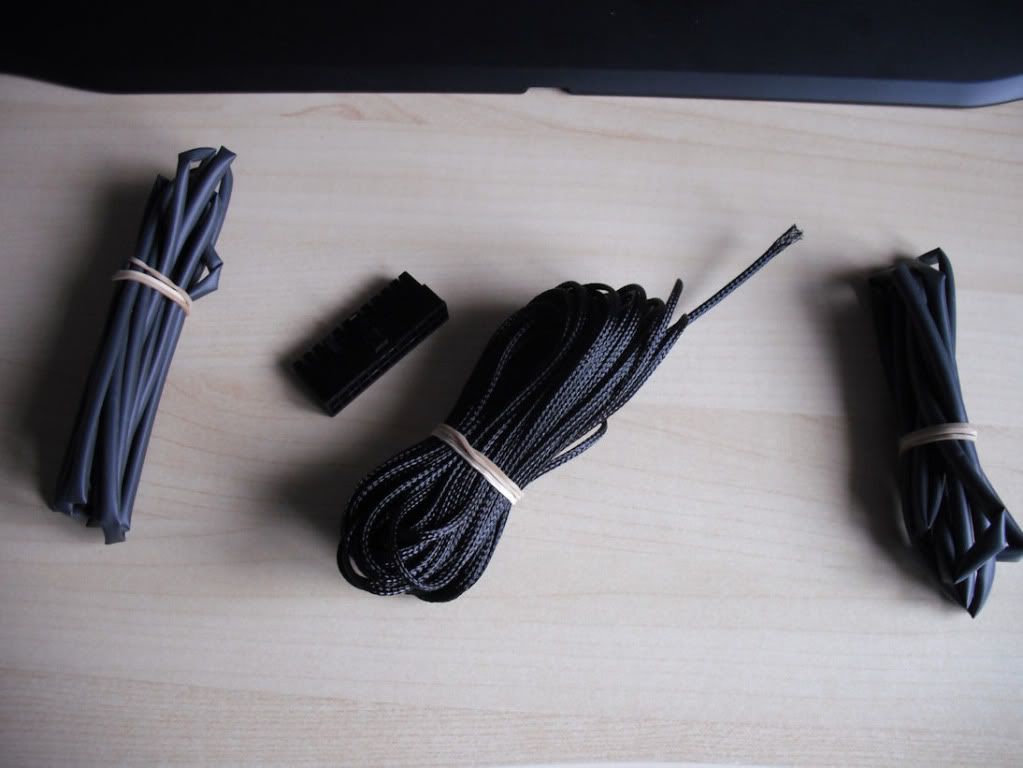
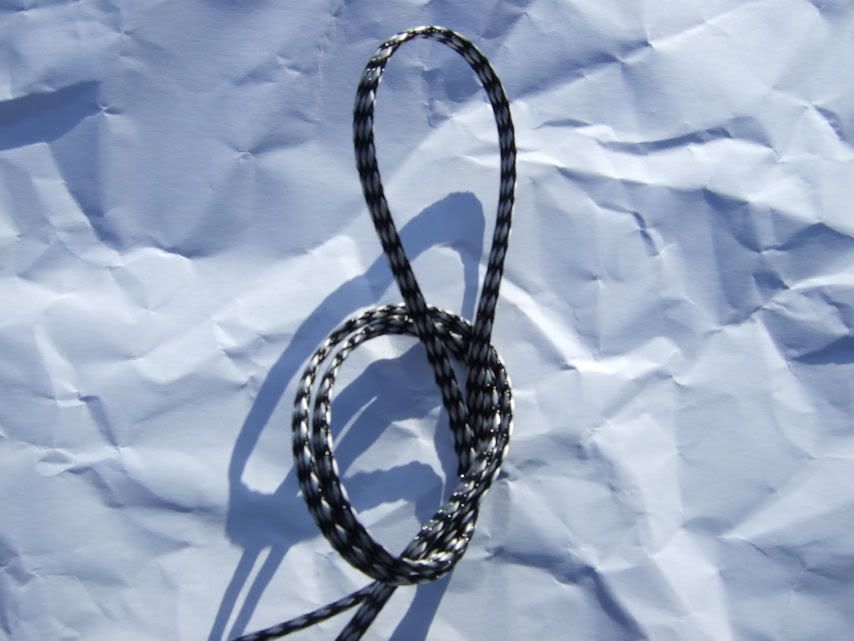
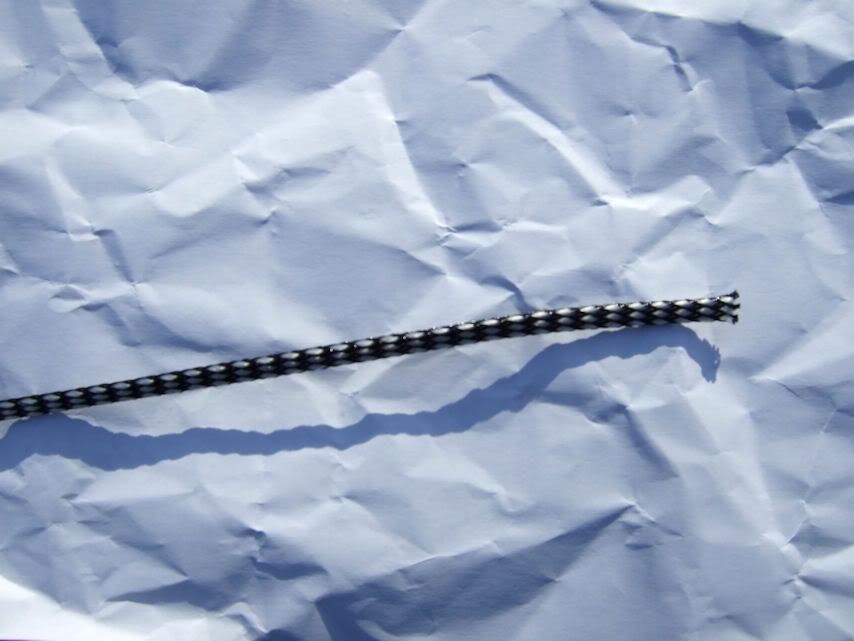
    Also purchased some 2.5mm Dense Weave cable braid & heat shrink.


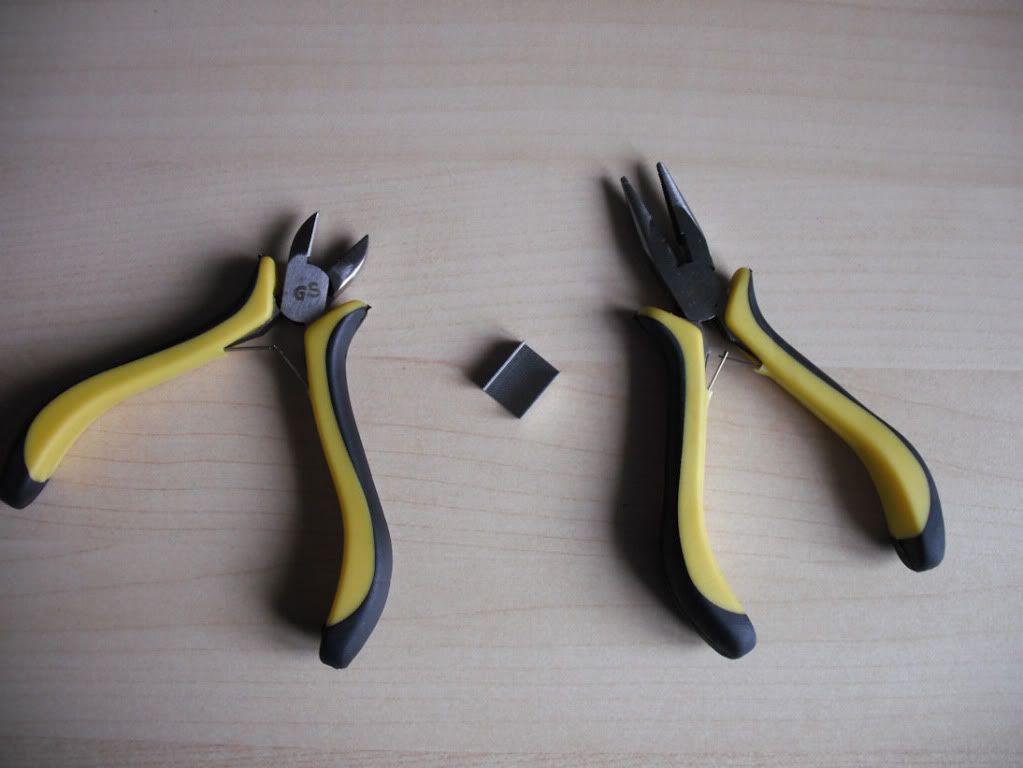
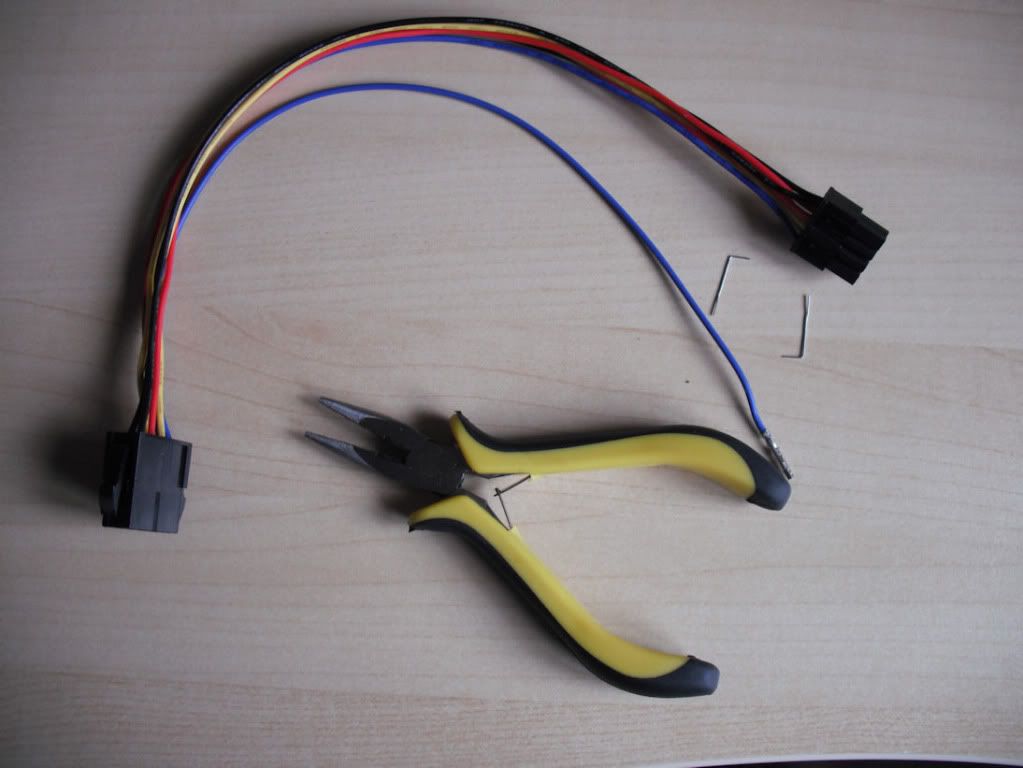
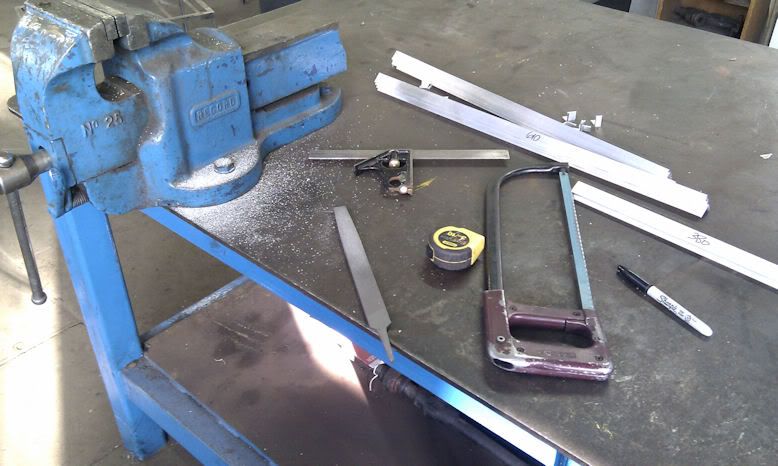
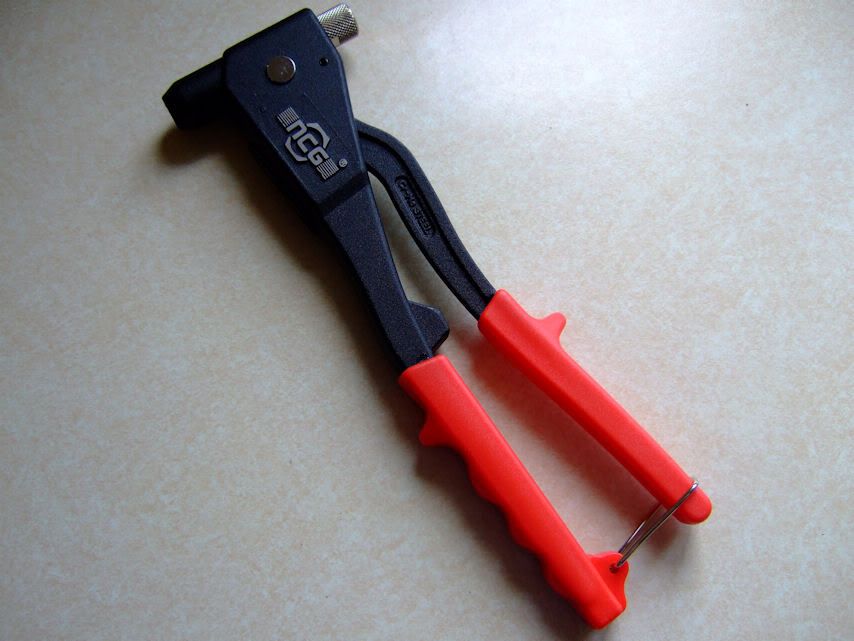
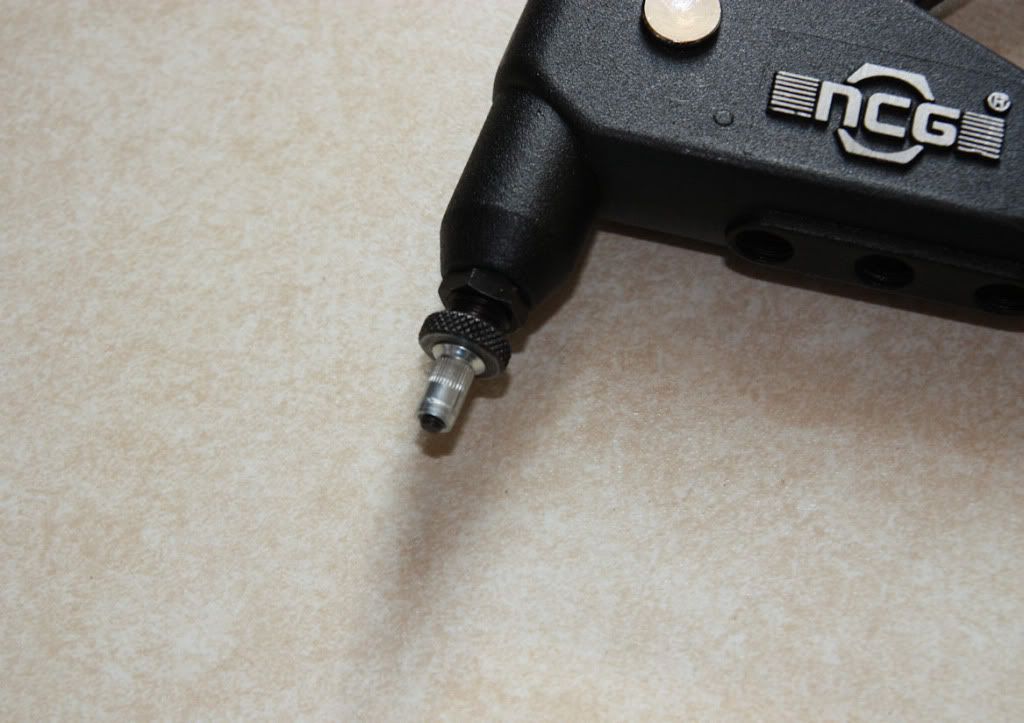
    Purchased a new pair of pliers and side cutters from the local pound shop (no expense spared)


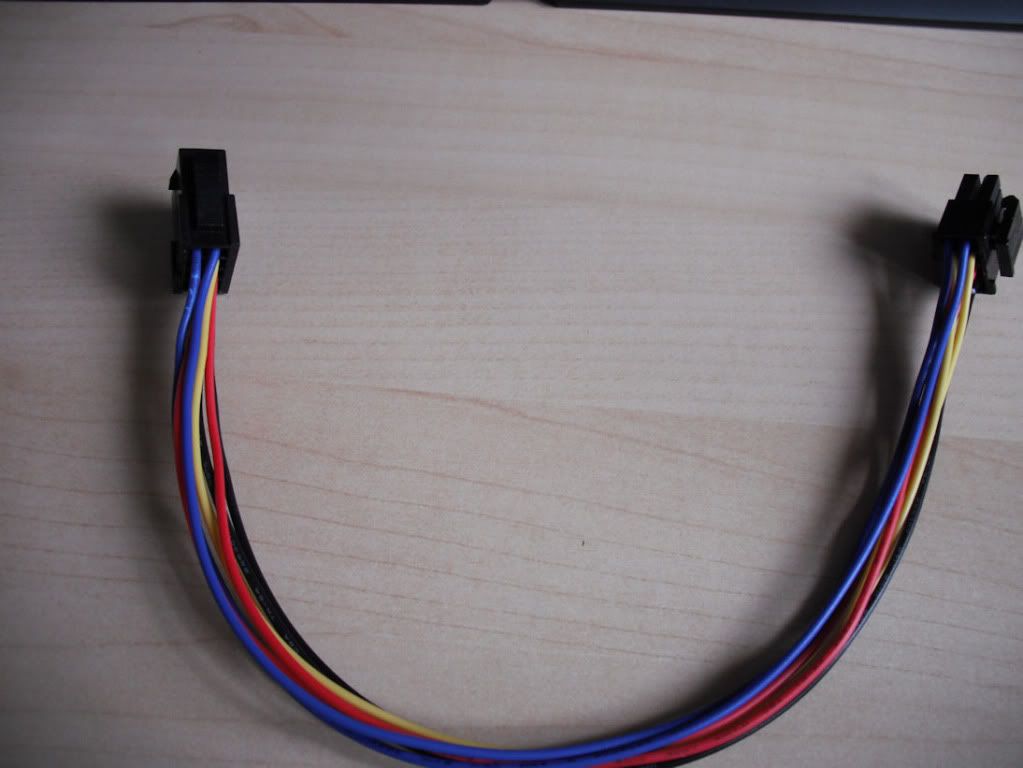
    Cut the original braiding off to expose the cable and connections.


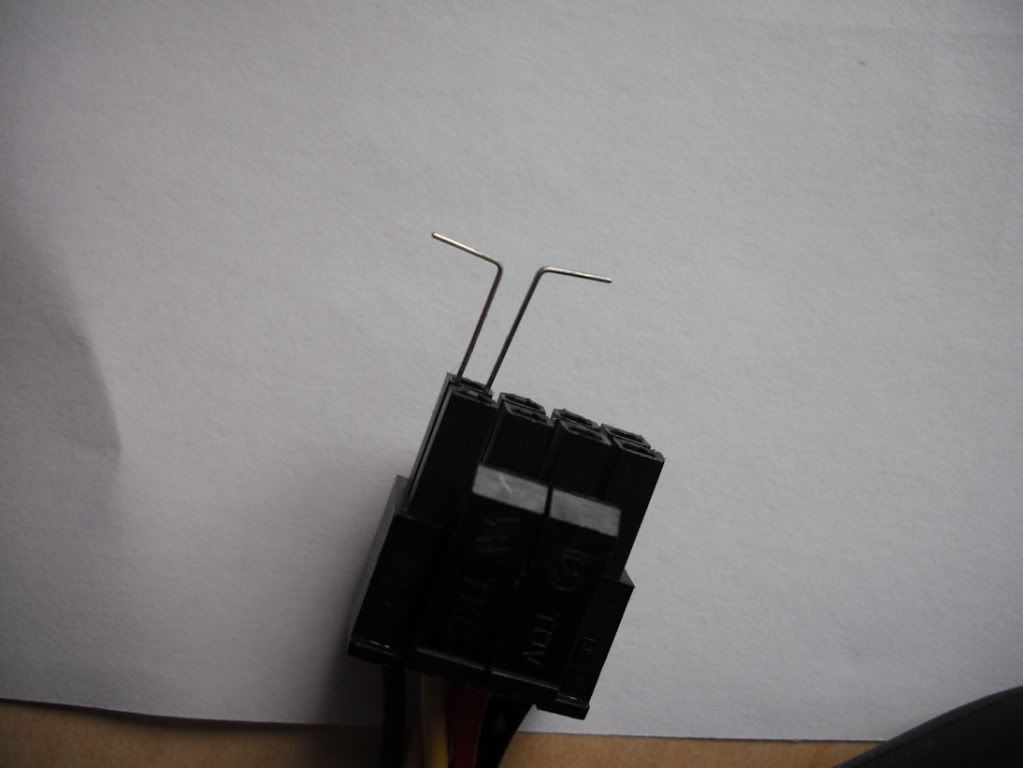
    Then used a few paper stables to release the pins


    As you can see, the clips are straightened and pushed down the side of the connector to release the pins.


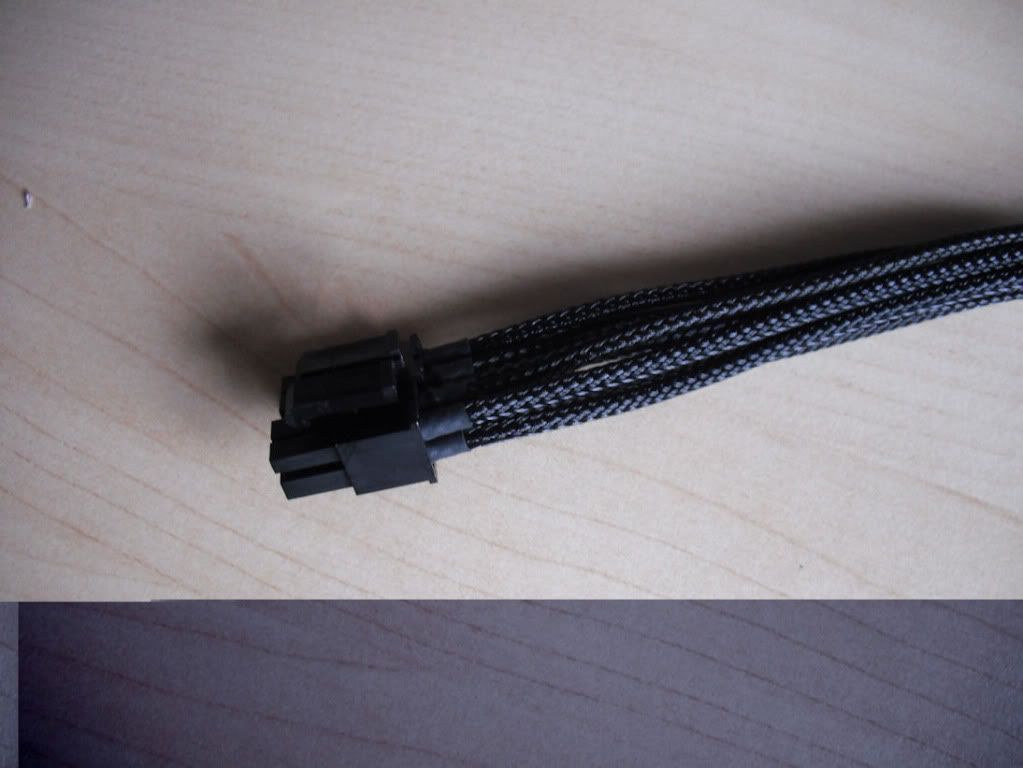
    After a little bit of time, finished


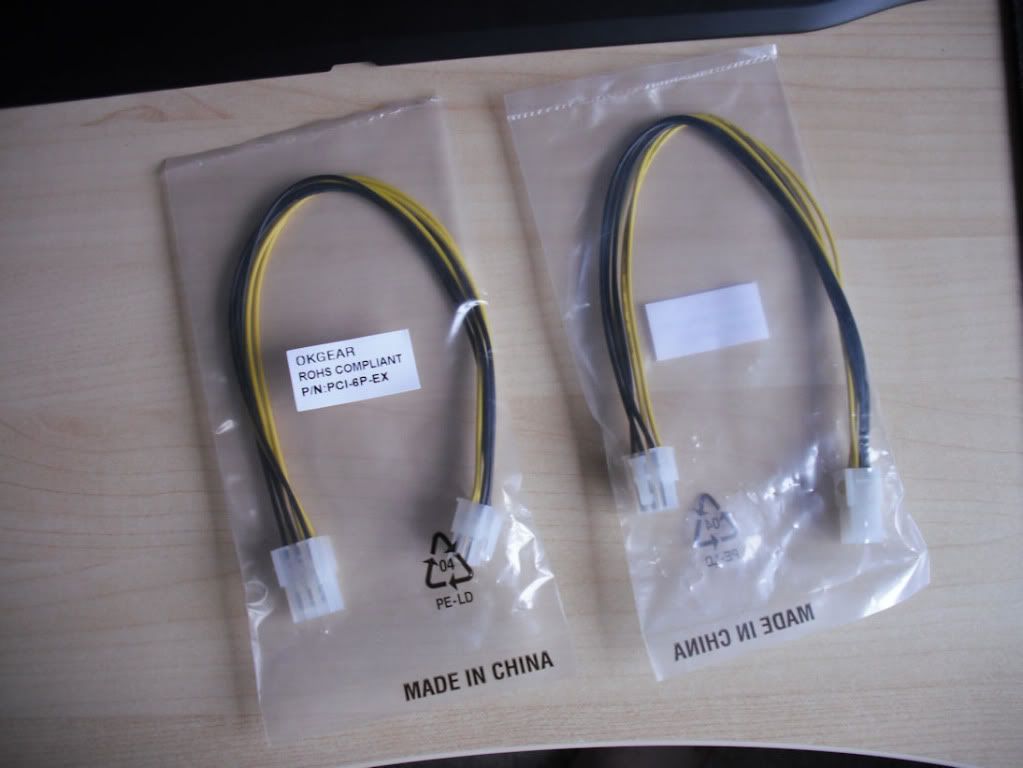
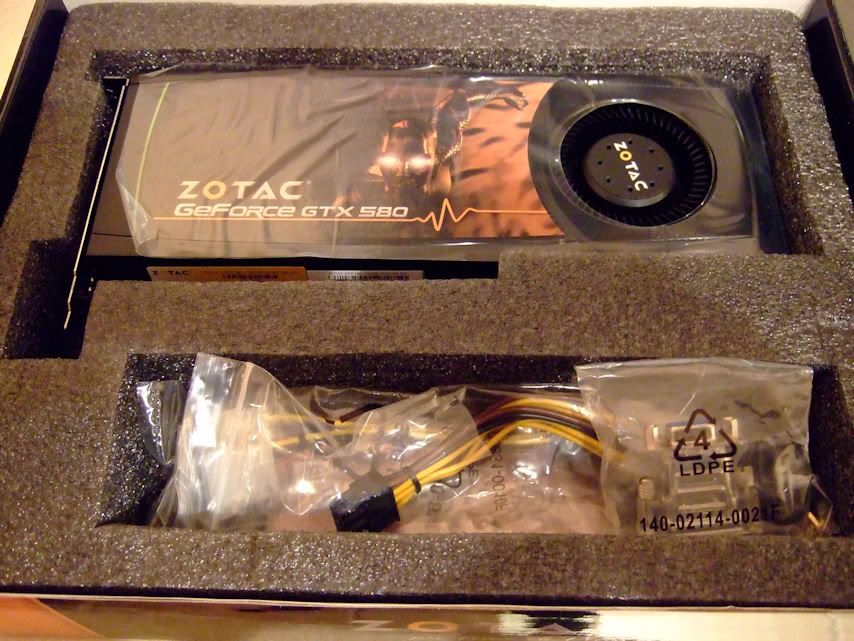
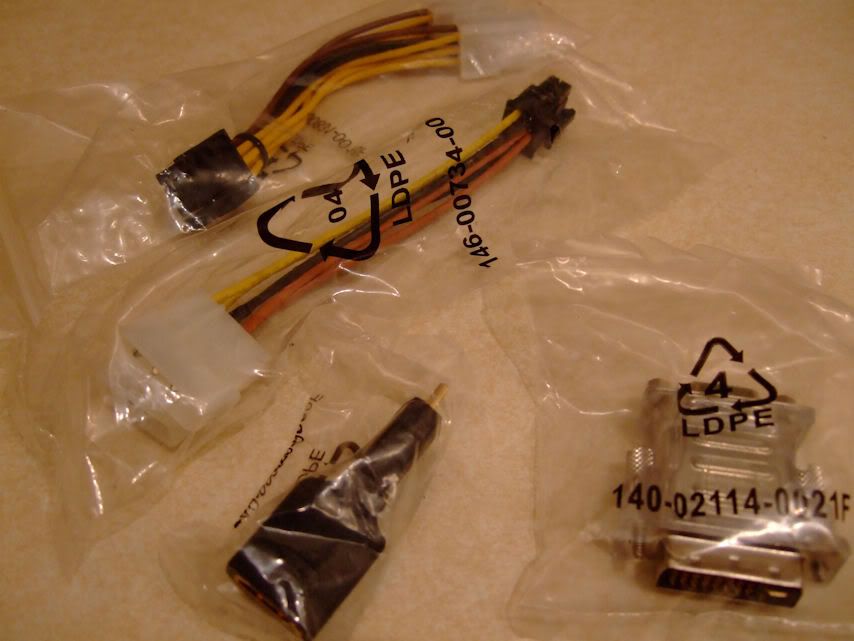
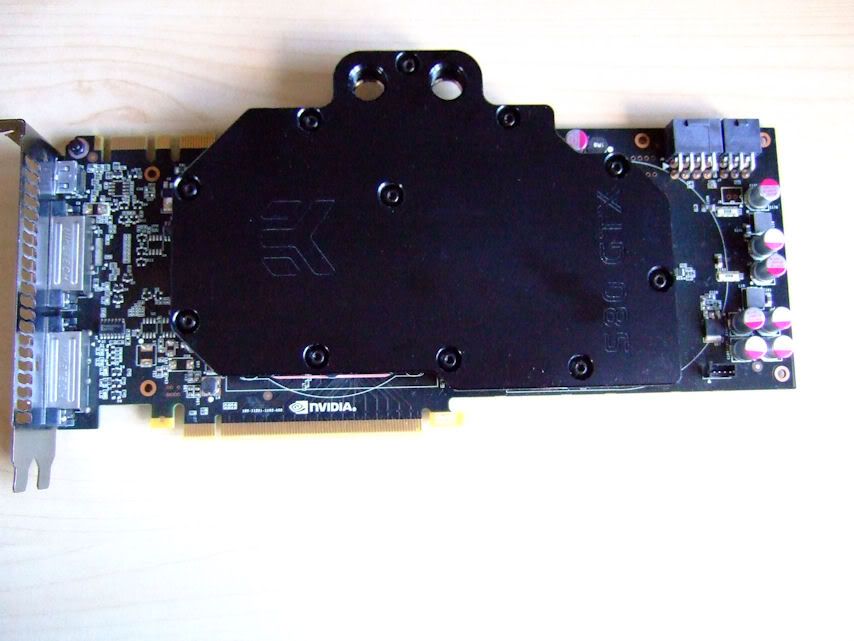
    I also purchased extensions for the graphics card.


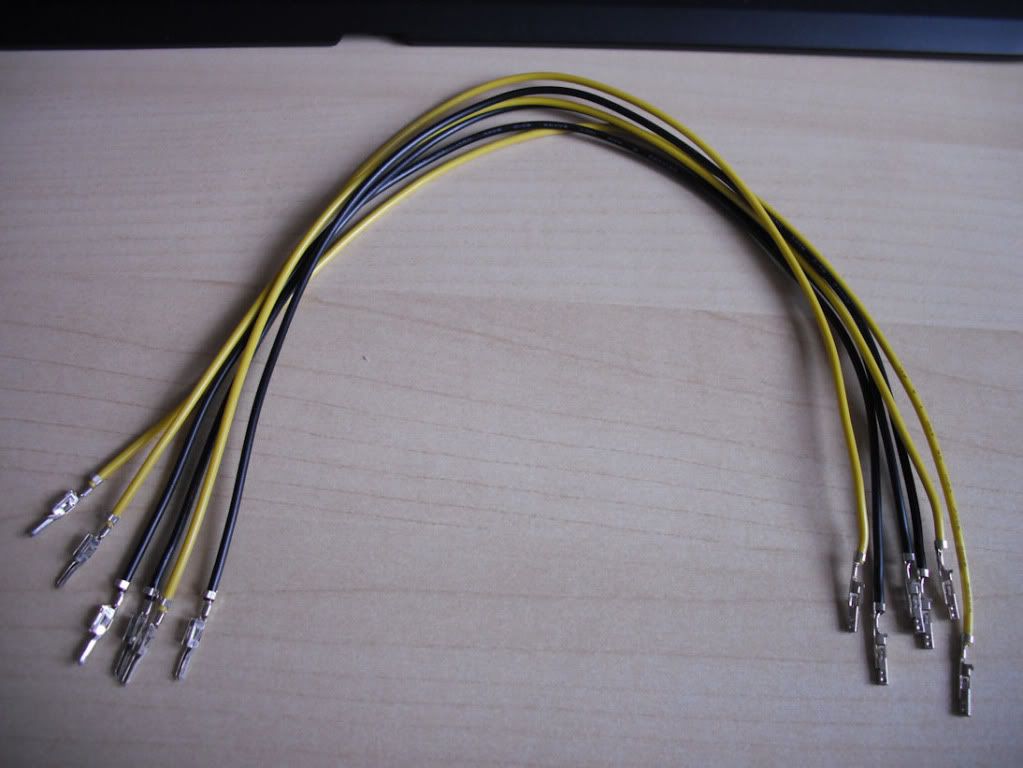
    Stripped them down as before
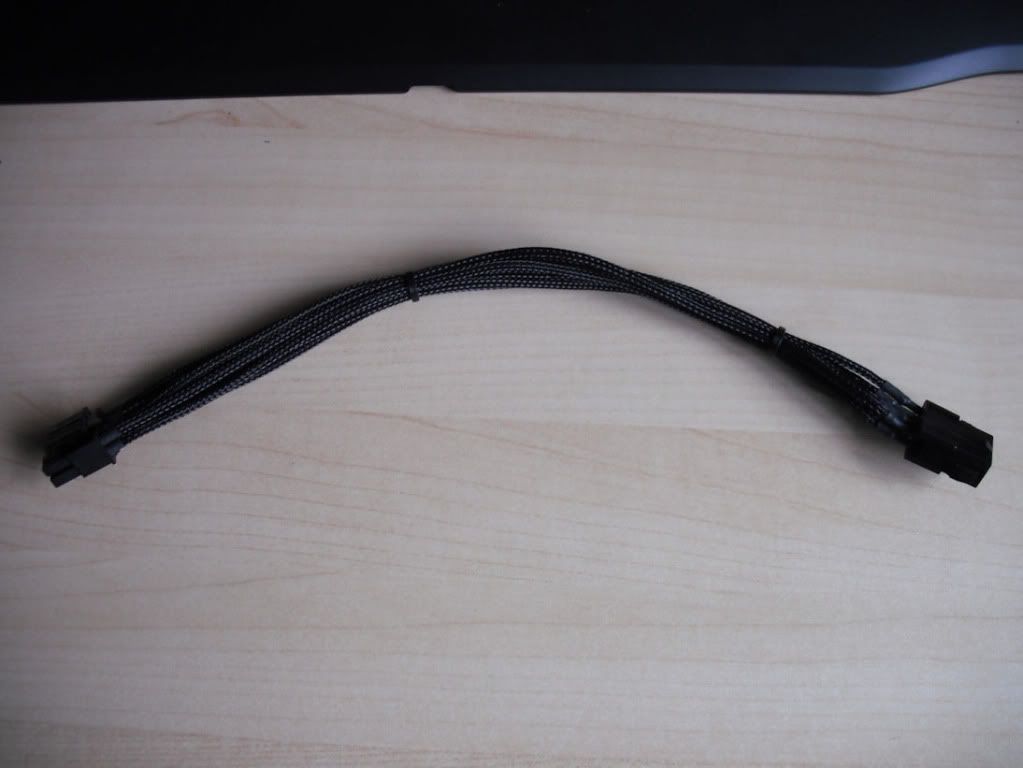
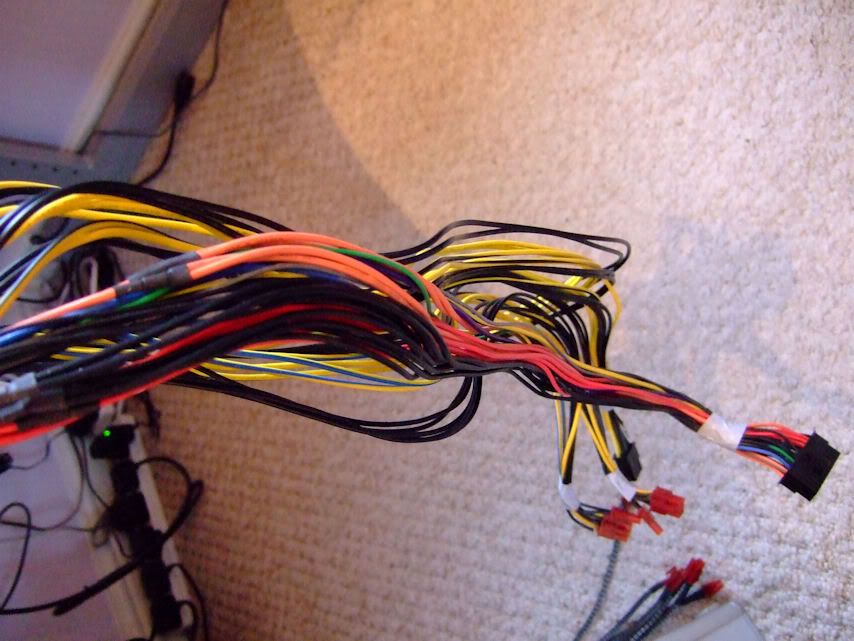
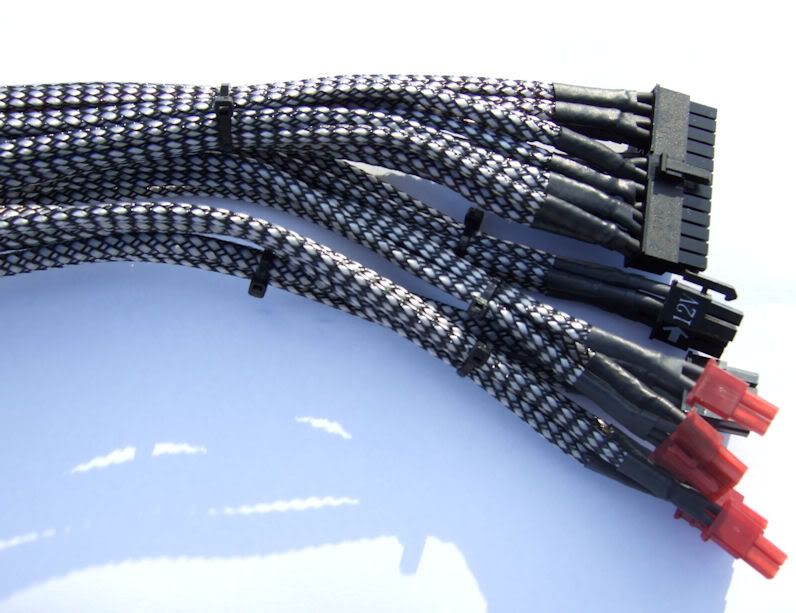


    The finished item


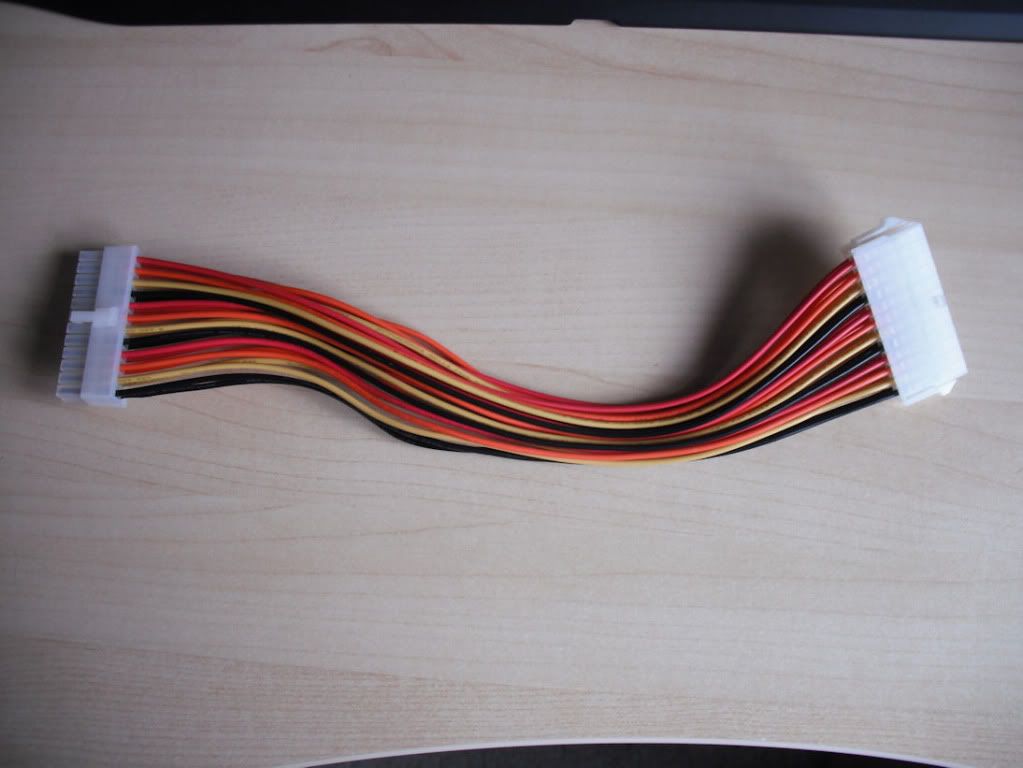
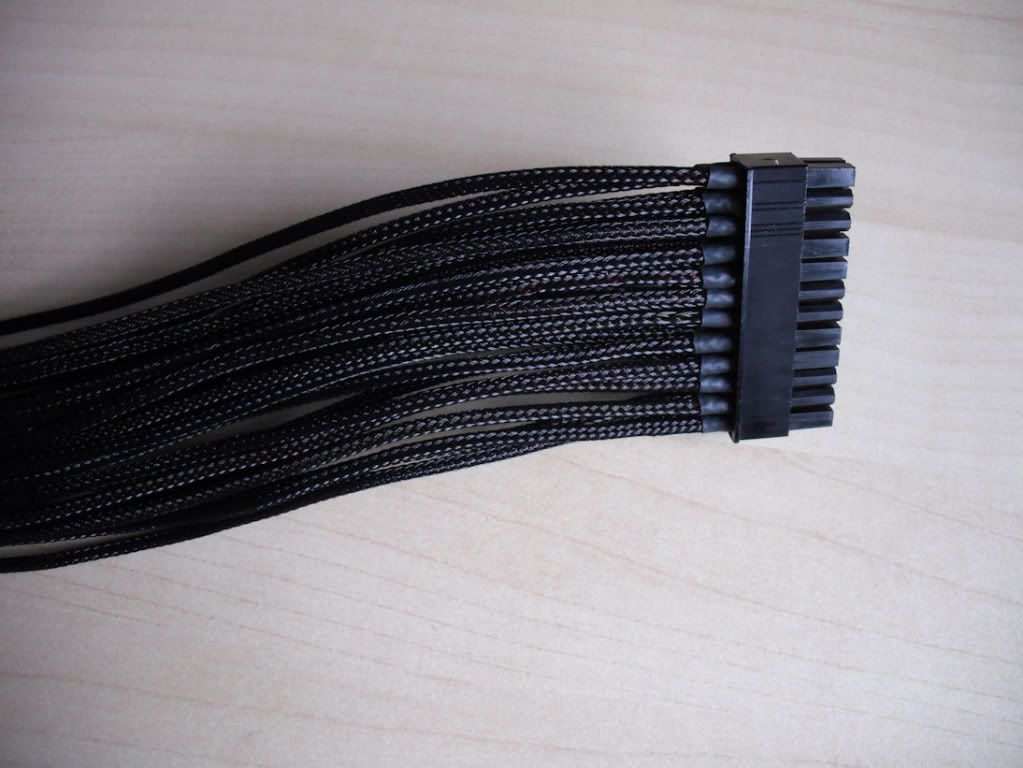
    Finally the 24pin motherboard cable
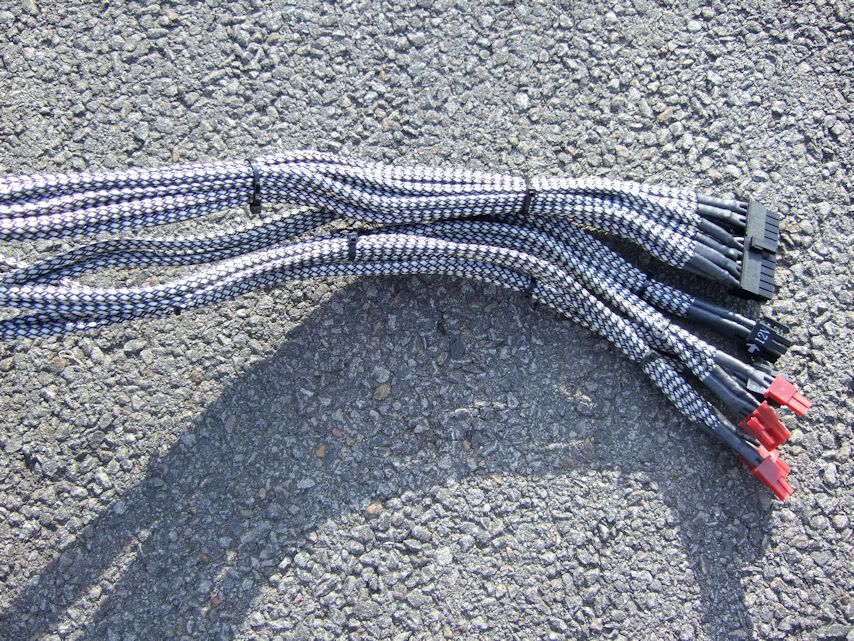


    The finished item


    I have to say, I am very pleased with the results (even better than I thought).
    Also have to say that the dense weave braid I perched from Tom is excellent and I will definitely be going back for more.
    Last edited by Piggin; 09-15-2010 at 04:32 AM.

  2. #27
    Xtreme Addict
    Join Date
    Feb 2010
    Location
    Wisconsin
    Posts
    1,634
    Nice! The 24pin is always the hardest to sleeve and you did real well.
    Signatures make my posts look huge... but I'm not humble enough to completely remove my signature, so I kept this note explaining it.

  3. #28
    Registered User
    Join Date
    Aug 2010
    Posts
    91
    Quote Originally Posted by ScottALot View Post
    Nice! The 24pin is always the hardest to sleeve and you did real well.
    Thanks ScottALot for the complement

  4. #29
    Registered User
    Join Date
    Mar 2010
    Location
    Prague
    Posts
    40
    I wonder why not to buy sleeved extention cables from NZXT or elsewhere when you still have to buy those black connectors?

  5. #30
    Registered User
    Join Date
    Aug 2010
    Posts
    91
    Quote Originally Posted by sewi View Post
    I wonder why not to buy sleeved extention cables from NZXT or elsewhere when you still have to buy those black connectors?
    I did purchase the NZXT extensions but preferred the quality of the braid I used.

  6. #31
    Registered User
    Join Date
    Aug 2010
    Posts
    91
    As you are aware there has been no updates on my build for some time.
    Hopefully I will not put anyone to sleep with my explanation, just trying to keep you all informed.
    This has been due to a number of things, the biggest being the steel frame that was going to be the main structure of “The Left Handed Build” was bent.
    When I purchased the 20mm angle iron it looked like any other material I had purchased in the past.
    Unfortunately this time the material I had was ‘special’, this stuff was slightly twisted along its length. (I have seen a lot of steel over the years but nothing like this).
    Due to the unusual nature of this manufacturing defect, I never noticed it until it was to late.
    When the case was being manufactured, all the sections were cut to the correct length & angles.
    The frame was the squared up, held in position & ‘tack’ welded together.


    Once the sides were ‘tacked’ the four pieces that gave it its length were added.


    The case was manufactured square but due to the twist, the case is not a cube.
    This only came to light when the side panels were cut & nothing fitted.
    (Tom laughed, I cried, it was very emotional)
    I then spent a lot of time cutting & rewelding sections but due to the nature of the twist it will not come true & nothing would fit.
    My next decision was to either scrap the “The Left Handed Build” or start again from scratch.

    Also at this time my ‘old case’ (pinnacle 24) was up for sale in a MM.
    I had decided to give it all up & move everything back into The STY when an offer came through for the case.
    That finalised my decision & the STY was going.
    A deal was struck but the case had to be white.
    This diverted my attentions from “The Left Handed Build” for a few weeks as turning a black case into a white one is not at all easy.

    Once the case was completed, shipped off & everyone was happy, my build could progress.

    I decided that the design of the case was sound but the material selection was not the best, as its very heavy in steel.
    I then decided to make another frame out of aluminium angle section.
    I had a quick look at Yell & after a few phone calls found a supplier that did not want to charge me the earth for the material.
    Jumped in the car, called into the suppliers & placed an order for 12mts of 20mm angle & 10mts of 20mm flat.
    You can imagine my surprise when I was presented with my order in three 7 meter lengths (I think the suppliers do this just for the reaction from the general public).
    Luckily I had a hacksaw in the car (only a junior with the world bluntest blade) as the car will only take just over 3mts.
    So after lots of cutting, I had the material back home.

    So enough story & more action.

    I used the old case for measurements (all that it is good for now)


    This time the material was cut by hand and filed to ensure each corner was perfectly square.


    As aluminium requires TIG welding, the frame was going to be welded by a professional. (Its good to have friends)


    ‘Dirty’ Den hard at work


    So now I have a nice new case, that’s square & new panels are being manufactured at this time.

  7. #32
    Registered User
    Join Date
    Aug 2010
    Posts
    91
    The ‘Left handed build’ is going very slowly at the moment but this has not stopped me spending monies.

    This was delivered on Monday


    Inside the box, there were more boxes. Four to be precise.


    Box one.


    Box two


    And finally what you have all been waiting for


    A quick look inside a box


    And finally the accessories


    So I am enjoying playing with my new toys at the moment.

  8. #33
    Registered User
    Join Date
    Aug 2010
    Posts
    91
    A few weeks ago, Mrs Piggin gave me some time off, so I could play with my toys.
    As you are all aware, I have been running a Sli set up with 580GTX's for a few months now.
    I prefer to run new hardware on air for a short period to ensure reliability before going under water.

    So ordered up some new EK blocks for the cards from Tom @ ChilledPc
    Loving the EK products & still have more to come


    A quick look inside the box


    I went for the acetal + nickel again


    and a very shiny front


    The block comes with a full fitting kit & instructions.


    So this is one of the cards sitting on my desk before the operation begins.


    These cards have torx screws to hold the cooler on & the dreaded 'thread lock'. Used a T6 bit to undo the screws.


    The cooler came off without any incidents


    As always there is residue from the thermal pads & TIM on the card


    So a good clean with Articlean & Mrs Piggins face pads + cotton buds


    Now the fiddly job of putting all the thermal pads in the correct places.


    Card all finished


    I then set about fitting the block to the second card.
    After a few hours, I had this


    Last edited by Piggin; 02-20-2011 at 09:34 AM.

  9. #34
    Registered User
    Join Date
    Aug 2010
    Posts
    91
    Even thought I have been incapacitated with a trapped nerve in my right arm, it has not stopped me spending money.


    The boxes keep on rolling in. (much to the displeasure of Mrs Piggin)


    I see something shiny


    Individually rapping is not what its cracked up to be


    A quick group shot (ChilledPc is now going to have to re-stock)


    Thought I would give EK compression fittings a go this time.


    Very good quality


    I don't know if I will go with white pipe again but thought I would try it out.


  10. #35
    Registered User
    Join Date
    Aug 2010
    Posts
    91
    I decided with all my new equipment, I would have to get a larger power supply


    I managed to get this from a very nice man on Overclockers MM


    A quick look in the box


    More cables than I will ever need (hopefully)


    Finally the PSU, an Enermax Revolution 1250


    I decided that this build will be special & deserved braided cables.

    Old braid stripped off


    PSU opened up


    Lots of dust inside


    The cables were braided with something special.

    This time it was dense weave 'ribbon' cable (silver/white ribbon with black braid) specially ordered in by Tom @ ChilledPc


    Cables braided & looking good


    Unit finished & ready to be fitted.


  11. #36
    Registered User
    Join Date
    Aug 2010
    Posts
    91
    This is the update that you all thought would never happen (including myself)

    To hold the panels onto the sides of the case I decided to use rivet nuts.


    Rivet nuts have pre formed threads inside them & are fitted like pop rivets


    To fit them properly, you have to have the proper rivet gun


    The frame was drilled, counter sunk & rivet nuts fitted


    After lots of drilling, we have


    Front view


    Side with window


    Front & side


    Back


    Back & side


  12. #37
    World Champion - IRONMODS
    Join Date
    Sep 2007
    Location
    Northern Japan
    Posts
    2,029
    Looks great
    Quote Originally Posted by Massman
    My definition of 'efficient' is 'it does not suck monkeyballs'. Yes, I set bars low.
    [CENTER]The post counter is not an intelligence meter!

    MAX11L - "It's like a console...with the suck turned down and the awesome turned up" -tet5uo
    Heat Team IRONMODS

  13. #38
    Xtreme Member
    Join Date
    Oct 2007
    Location
    denmark
    Posts
    118
    Yeah nice work on that case, love it, keep it comming :-)
    GIGABYTE G1.Sniper M5 / intel i7 4770K @ ????Mhz / EVGA GTX 780Ti SC ACX / HyperX Beast DDR3-2400 DC 16GB / Seasonic Platinum-860w / Corsair 350D / AOC G2460P.

    Cooled By H2o.

  14. #39
    Xtreme Enthusiast
    Join Date
    Jun 2007
    Location
    Long Beach, CA
    Posts
    972
    Thx for giving me step by step instruction on installing the 5970 card.. I have the same setup as well... Subscribed
    CPU: Intel Core i7-4770K 4.8GHz
    MOBO: GIGABYTE GA-G1.Sniper M5 MATX 1150
    MEMORY: G.SKILL Trident X 8GB 2400MHz 9-11-11-31 1T
    GPU: 2 x eVGA GTX 780 SC
    SOUND KRK Rokit 5 Limited Edition White Studio Monitors
    SSD: 4 x Samsung 128GB Pro's Raid 0
    PSU: SeaSonic Platinum 1000W
    COOLING: 2 x Alphacool NexXxoS UT60 Full Copper 420mm 6 x Swiftech Helix 140mm Fans
    CASE: Lian Li PC-C32B TECH STATION MOD build log coming soon
    MONITOR: ASUS VG278HE Black 27" 149Hz
    O.S: Windows 7 Pro x64

  15. #40
    Registered User
    Join Date
    Jul 2009
    Location
    Salt Lake City, Utah
    Posts
    51
    Looking good! Did you pull off the I/O / Expansion bracket off a pre-existing case?
    ///Adrian - Geekbox.com


  16. #41
    NooB MOD
    Join Date
    Jan 2006
    Location
    South Africa
    Posts
    5,799
    But but but... The box said 850w I can't believe I've missed this till now, I love it And the sleeving has an awesome carbon fiber look to it.
    Xtreme SUPERCOMPUTER
    Nov 1 - Nov 8 Join Now!


    Quote Originally Posted by Jowy Atreides View Post
    Intel is about to get athlon'd
    Athlon64 3700+ KACAE 0605APAW @ 3455MHz 314x11 1.92v/Vapochill || Core 2 Duo E8500 Q807 @ 6060MHz 638x9.5 1.95v LN2 @ -120'c || Athlon64 FX-55 CABCE 0516WPMW @ 3916MHz 261x15 1.802v/LN2 @ -40c || DFI LP UT CFX3200-DR || DFI LP UT NF4 SLI-DR || DFI LP UT NF4 Ultra D || Sapphire X1950XT || 2x256MB Kingston HyperX BH-5 @ 290MHz 2-2-2-5 3.94v || 2x256MB G.Skill TCCD @ 350MHz 3-4-4-8 3.1v || 2x256MB Kingston HyperX BH-5 @ 294MHz 2-2-2-5 3.94v

  17. #42
    Registered User
    Join Date
    Aug 2010
    Posts
    91
    Quote Originally Posted by miahallen View Post
    Looks great
    Thanks m8

    Quote Originally Posted by dMITIj View Post
    Yeah nice work on that case, love it, keep it comming :-)
    Thanks m8, will try my best

    Quote Originally Posted by Lu(ky View Post
    Thx for giving me step by step instruction on installing the 5970 card.. I have the same setup as well... Subscribed
    Happy to see I am actually helping people, thanks

    Quote Originally Posted by [XC] Oj101 View Post
    But but but... The box said 850w I can't believe I've missed this till now, I love it And the sleeving has an awesome carbon fiber look to it.
    The PSU was second hand (as I am beginning to run out of funds).
    The previous owner had throne the original box away
    As for the sleeving, its a new product that ChilledPc is importing.
    I know that I am the only one in the UK with this type of braid
    I am sure its going to be a big seller & more people on XS will have it soon

  18. #43
    Registered User
    Join Date
    Aug 2010
    Posts
    91
    Quote Originally Posted by sanctified View Post
    Looking good! Did you pull off the I/O / Expansion bracket off a pre-existing case?
    Thanks m8, the I/O bracket came from an old Lian Li case I had.
    There was no point in making another, as the costs would have been very high.
    Also its eco friendly

  19. #44
    Xtreme Guru
    Join Date
    Dec 2009
    Location
    Latvia, Riga
    Posts
    3,972
    Hmm, weave pattern sleeves by Tom @ ChilledPc, gotta note down that shop. Always wondered where it's possible to get such sleeving. Imho it can fit very well in some builds (especially some retro-ish ones). Loved how it looks for cougar PSUs too.

  20. #45
    Registered User
    Join Date
    Aug 2010
    Posts
    91
    churchy, Tom has recently been expanding his braid selection & this is a new 'ribbon' braid that he is beginning to stock. (I am the only one in the UK @ this time)
    He is now taking orders for different colours, styles etc.

  21. #46
    Xtreme Addict
    Join Date
    Aug 2006
    Location
    Canada
    Posts
    1,821
    Subscribed!
    • - Asus P8Z68-V PRO
    • - Intel I5 2500k @ 4.5Ghz (for now)
    • - Asus Geforce 580GTX DirectCUII Fermi
    • - 16GB Corsair Vengeance Low Profile
    • - Ultra X3 1000 Watt
    • - Asus Xonar DX 7.1 \ Klipsch Promedia 2.1 THX
    • - Corsair Vengeance 1300 Gaming Headset
    • - Crucial M4 SSD 128GB \ WD Caviar Black 1TB
    • - CoolerMaster 690II Advanced
    • - Dell UltraSharp 24''
    • - Noctua NH-D14

    January - SLI Rig Of The Month (2008)

  22. #47
    Registered User
    Join Date
    Aug 2010
    Posts
    91
    As I have been asked by a few people about the nut rivets I used. I thought I would give you all a more in-depth run down of what I have done to date:-

    Firstly I placed the panel on top of the frame in the correct place


    I then drilled a 4mm hole in the frame


    To stop the panel from moving, I pop riveted the panel in place. (I did this in a few places)


    I then drilled all the 4mm holes into the frame & drilled the heads of the pop rivets out.
    The nut rivets that I used were 4mm thread with a counter sunk head (to give a flush finish on the frame)
    I measured the outer diameter of the rivet to give me the correct size drill


    I then drilled all the holes on the frame with a 5.93mm drill


    To ensure the panels sit flush, a counter sinking tool was used


    All the holes were then counter sunk.


    If the counter sink is not deep enough, then the rivet sits high & not flush to the frame.


    More material has to be removed


    Now the rivet will sit flush


    Screw the rivet nut onto the end of the 4mm insert for the rivet nut gun.


    Put the rivet in the counter sunk hole & squeeze the handles together.


    The nut is deformed underneath & the thread is in perfect condition.


  23. #48
    I am Xtreme
    Join Date
    Mar 2007
    Location
    Sugar Land, TX
    Posts
    1,730


    Piggin, I just noticed that you did not cover the R125's. I did my cards last night and the instructions call for those to be covered with pads too.

  24. #49
    Registered User
    Join Date
    Aug 2010
    Posts
    91
    Thanks seeker for pointing that out.
    The R125 chips were not covered in the photo but when the block was fitted I put some on.
    Both blocks have all the TIM fitted as per EK instructions.
    Thank you again for your concern.

  25. #50
    I am Xtreme
    Join Date
    Mar 2007
    Location
    Sugar Land, TX
    Posts
    1,730
    Quote Originally Posted by Piggin View Post
    Thanks seeker for pointing that out.
    The R125 chips were not covered in the photo but when the block was fitted I put some on.
    Both blocks have all the TIM fitted as per EK instructions.
    Thank you again for your concern.
    Your welcome. I didn't want to see you have any problems.

Page 2 of 5 FirstFirst 12345 LastLast

Bookmarks

Bookmarks

Posting Permissions

  • You may not post new threads
  • You may not post replies
  • You may not post attachments
  • You may not edit your posts
  •