


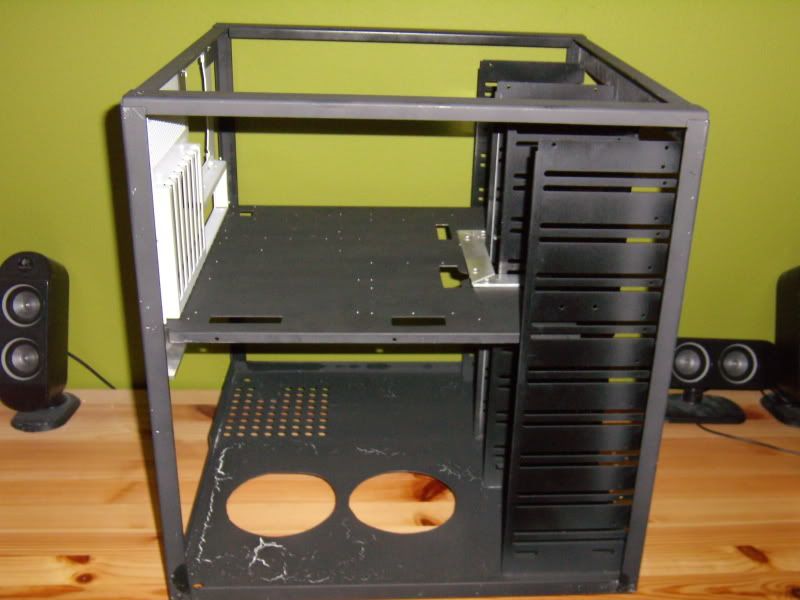
Ya I looked at those. The problem is that I don't have any open drive bays (see my CAD pictures) so I cannot do that. I think I'm just going to get a couple rheostats and find a clever place to put them on the back. I'm really trying to go for a super clean look with this case so I'm doing everything I can to eliminate ugly dials and such. The other problem w/ fan controllers is that each of the 3 AFB1212GHE's on the back uses up about 30w and I havent found a 100w fan controllerOriginally Posted by SparkyJJO


 Reply With Quote

 I didn't see it. I guess I'm used to gigantic boisterous sig's like mine

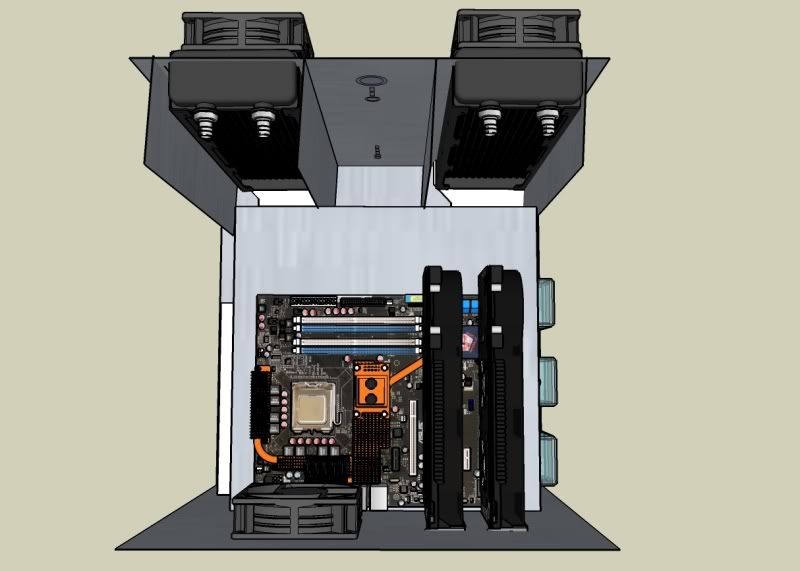
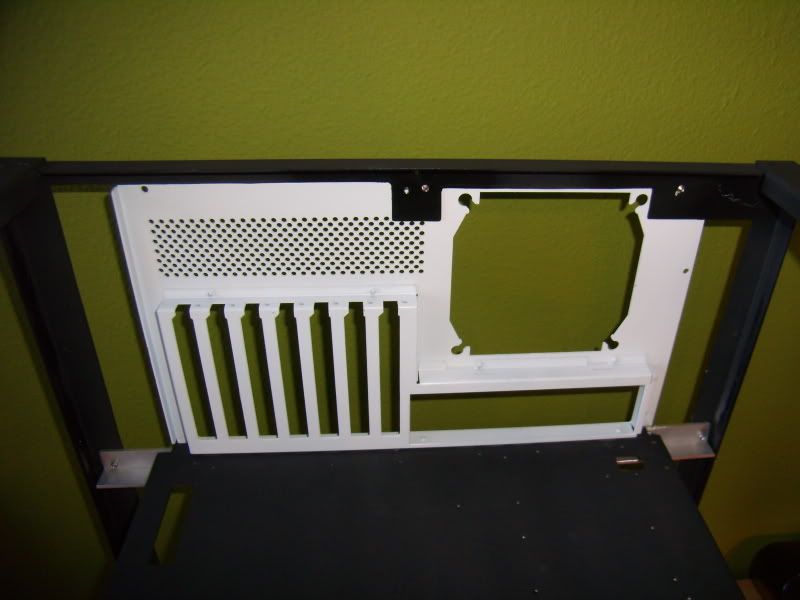
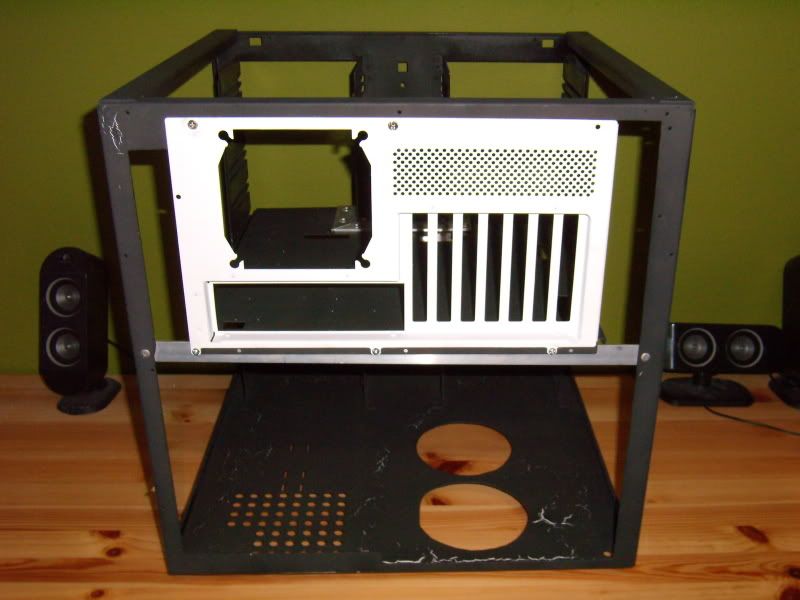
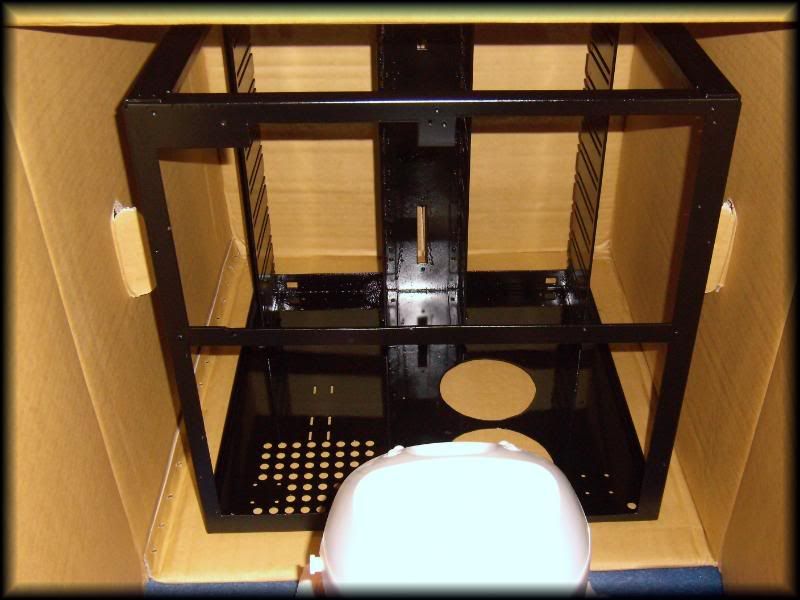
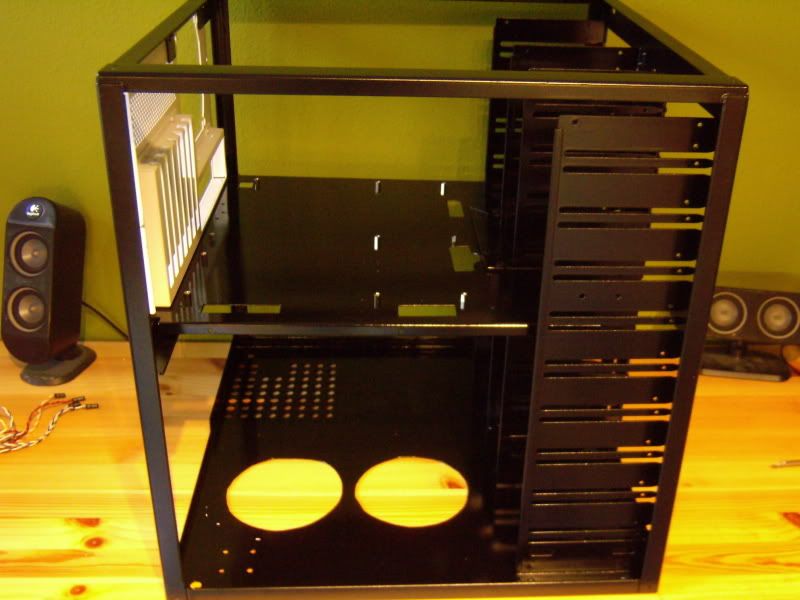
 I'm only 15 so technically I can't own a car..... YET! Just kidding; anyways i'm kinda stuck until tomorrow because I had to order another foot of aluminum angle to make the motherboard cable protector thing (i can't think of any other way to describe it; see attached image) which won't arrive till tomorrow. I've also got a massive Humanities essay on the book Frankenstein by Mary Shelley so this next week's going to go pretty slowly regarding this build. I'll still be able to answer questions and such but pictures will be limited. Sorry


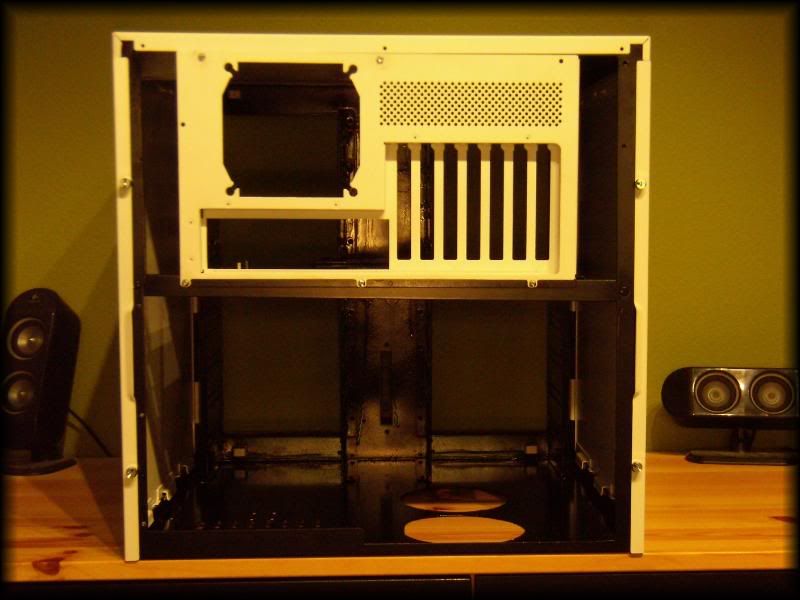
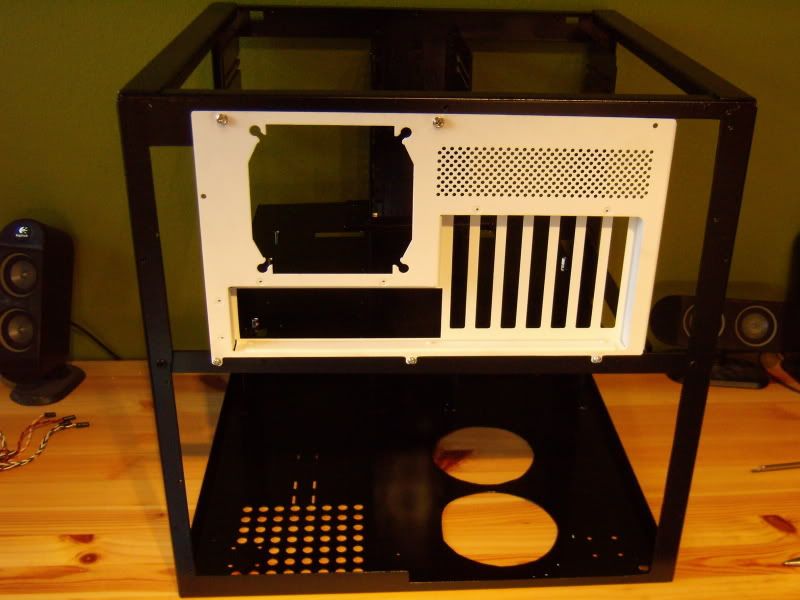
 ) compared to the white area, but they're really all very nice


Bookmarks