


Hello and Welcome fellow memory addicts to my 12th OCing Report!
--- Part1: Introduction. ---
Less than two weeks ago, I have received from Corsair a brand new 2x1GB DDR2 kit for evaluation. This time, it's the highest rated (and most expensive at the same time, hehe) representative of the new "DOMINATOR" line - TWIN2X2048-8888C4DF. There are at least two reasons this memory stands out, before even getting into testing it:
- whooping stock rating of DDR2-1111 12-4-4-4.0 @ 2.40v
- intriguing looks with an ingenious new cooling solution behind it called "Dual-path Heat Xchange (DHX)"
So, what's up with the new looks, you'd ask? Well, here's what Corsair engineers came up with. In short, heat generated by memory chips on a module is being dissipated through convection (by means of heatinks attached to the back of memory ICs) and conduction (through solder balls of BGA package, into copper traces and planes of PCB). So, Corsair engineers took their proven PCB design and modified it. They added a bit to its height, then extended above mentioned copper traces to that new area, finished them off with large copper pads on both sides of PCB and slapped a nickel-plated heatsink on those pads. After that, another aluminium heatsink equipped with fins at the top has covered memory ICs.
To aid in heat dissipation, Corsair wants to convince enthusiasts to throw away 80-120mm fans we've all being using so far, and added their own little cooler. It consists of three 40mm quiet fans and its housing is mounted on top of the modules with help of "tabs" on both sides of DIMM sockets. Pretty neat, eh?
I have borrowed some of the pictures from Corsair's website describing DOMINATOR's design and compiled them below. I think they explain the idea quite well.
--- Part2: Photo shoot. ---
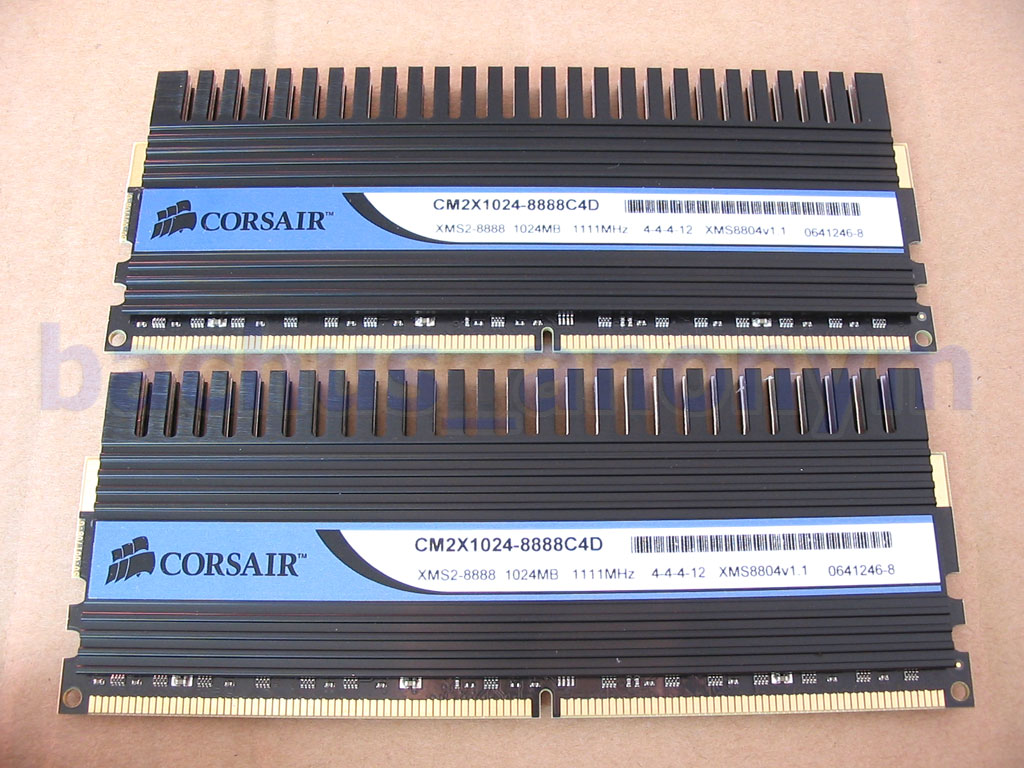
Memory came packaged in a white cardboard box. Both modules were tightly fitted in a foam mold and covered with another layer of foam. That makes for some good protection. Cooling unit was sitting in a separate small box, also secured with foam iside.


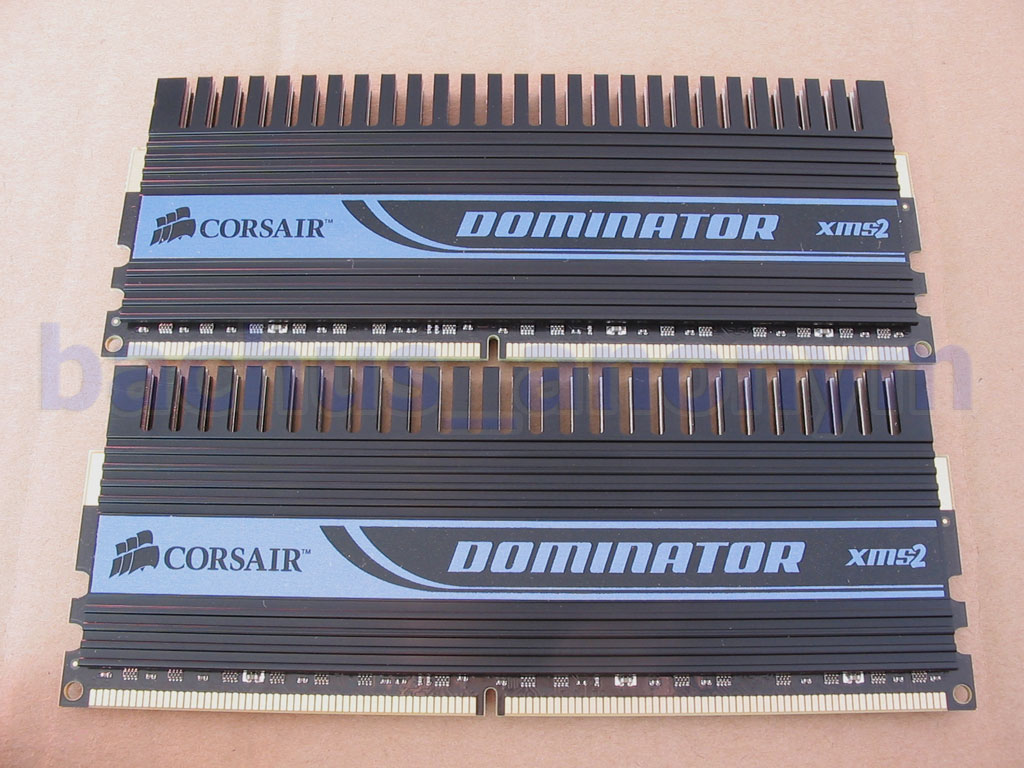
Heatsinks sport a large DOMINATOR logo, stretched across whole the length of the module. Those pictures also allow to take a closer look at the fins themselves, which increase surface area and help dissipate heat a bit more efficiently, compared to standard solution.

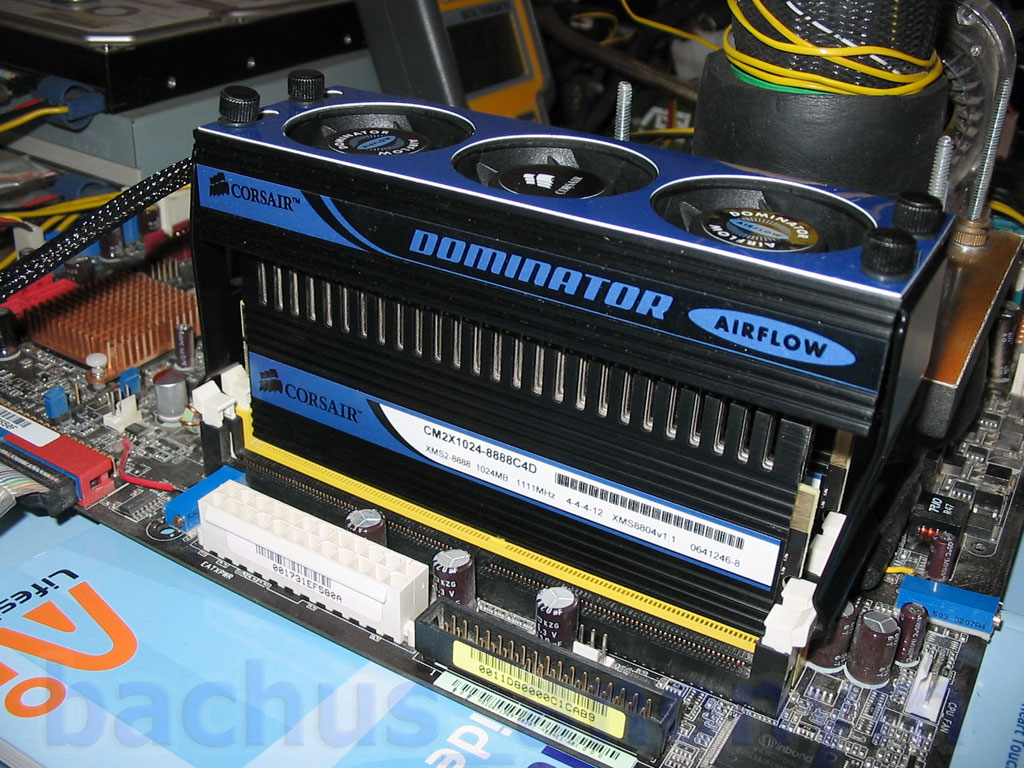
Finally, added airflow with help of a cooling unit, equipped with 3 small, quiet fans.

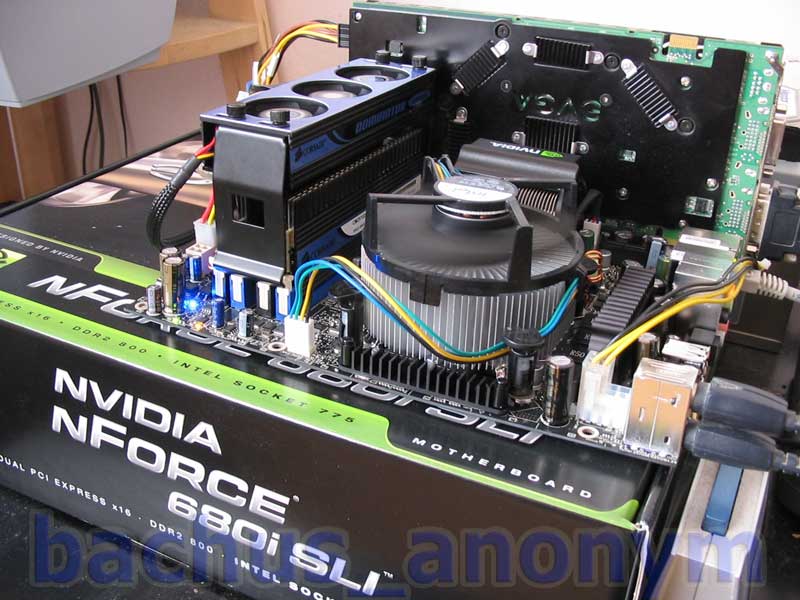
Regarding installation of air flow unit... I'd definetely advise to install it before putting your video card in. Just less headache and that way installation is a brisk. Just start from one side of DIMM sockets, strech it over and clip it on the other. Plug it in and voila! There are four thumbscrews on top of it used to tighten the clips to make a good fit (or so I think it's the purpose, hehe) but I seemed to have a small issue with one of them - it just wouldn't fit right, therefore preventing from going all the way in. Either I messed it up or it's a minor glitch. After installation, there is still some clearance between side of the cooler and a video card, although minimal.


I did not and I'm not really going to remove heatspreaders to see which of the Micron's ICs are these built with. But I'm leaning towards highly screened DDR2-667 CAS5 components, which would translate to D9GMH. Don't hold me on this, though. But from the severe shortage of Micron's highest bin we've been observing lately, it would make more sense to try to squeeze out the last drop out of it's more visible brother, D9GMH. Which, by the way, does not necessarily have to have less potential than D9GKX. Corsair says, chips that pass testing and later become 8888C4DF, account for less than 5% of the total and that is clearly visible at the checkout
--- Part3: Test setup and how I decided to test. ---
Testbed onfiguration
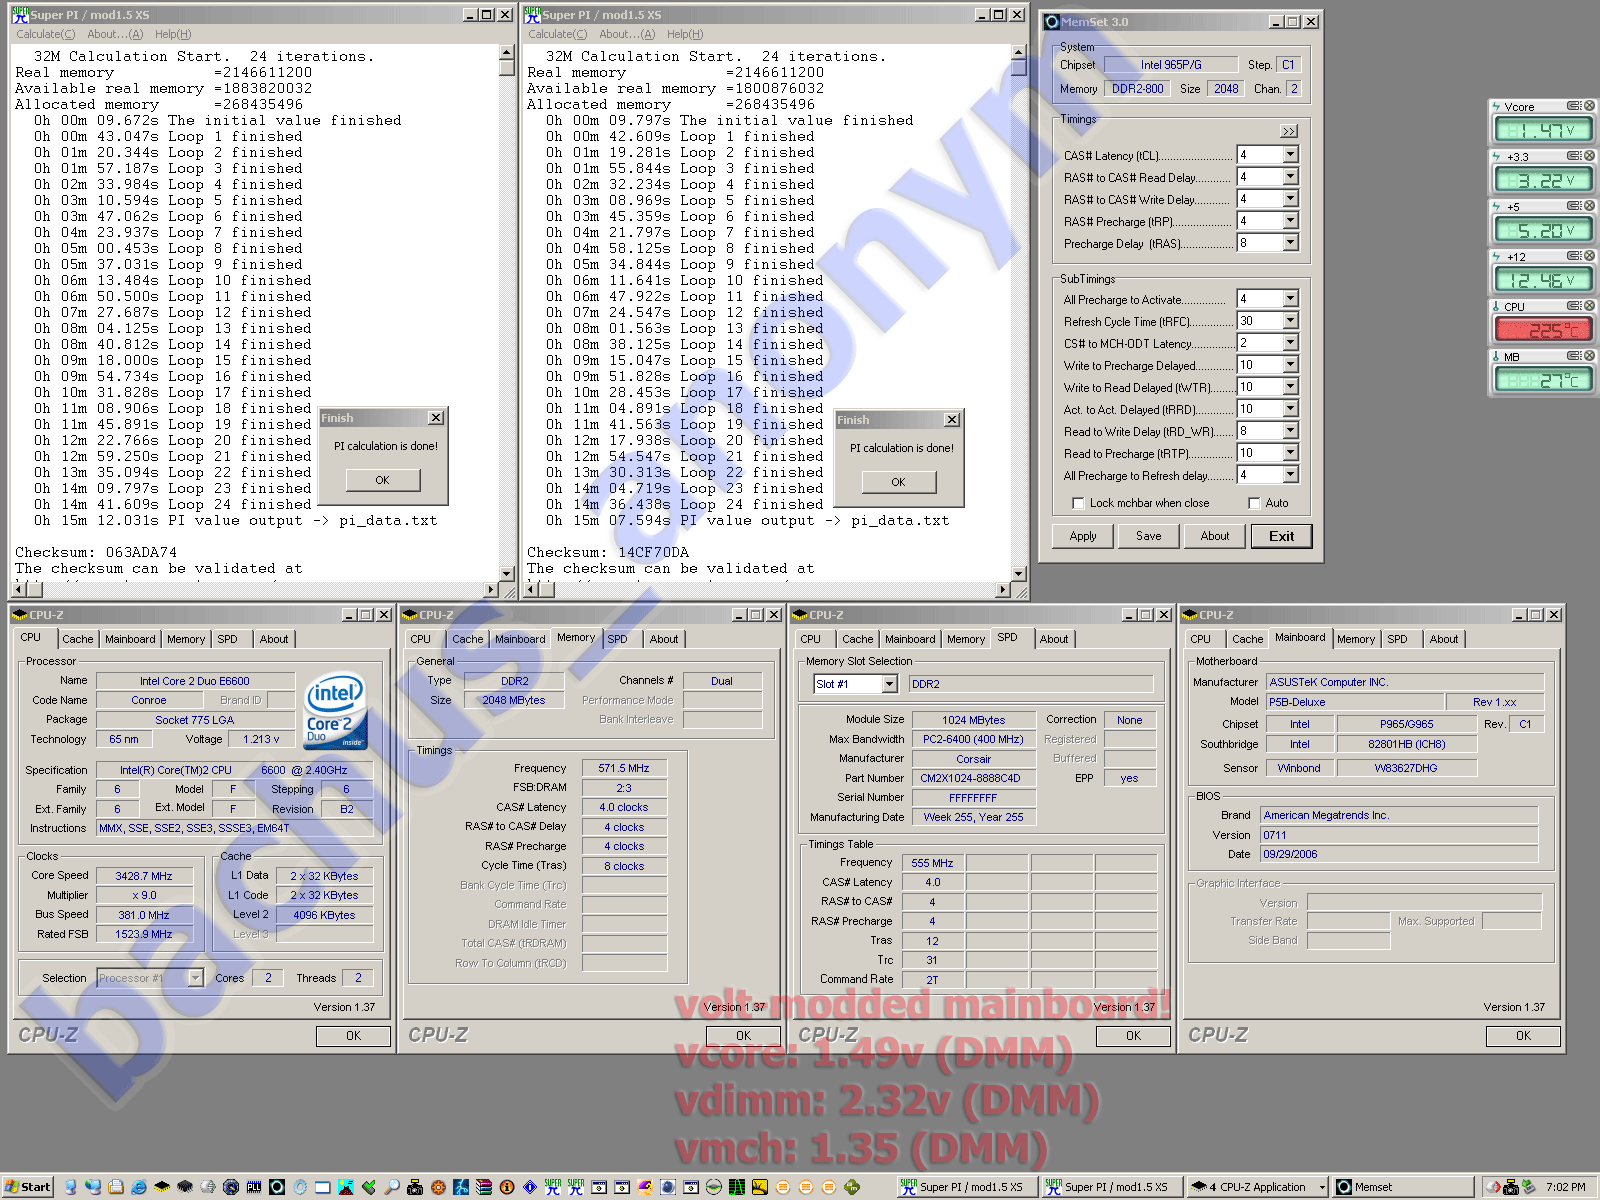
Intel Core 2 Duo E6600, cooled w/ "402XTREME" single stage phase cooler by Chilly1
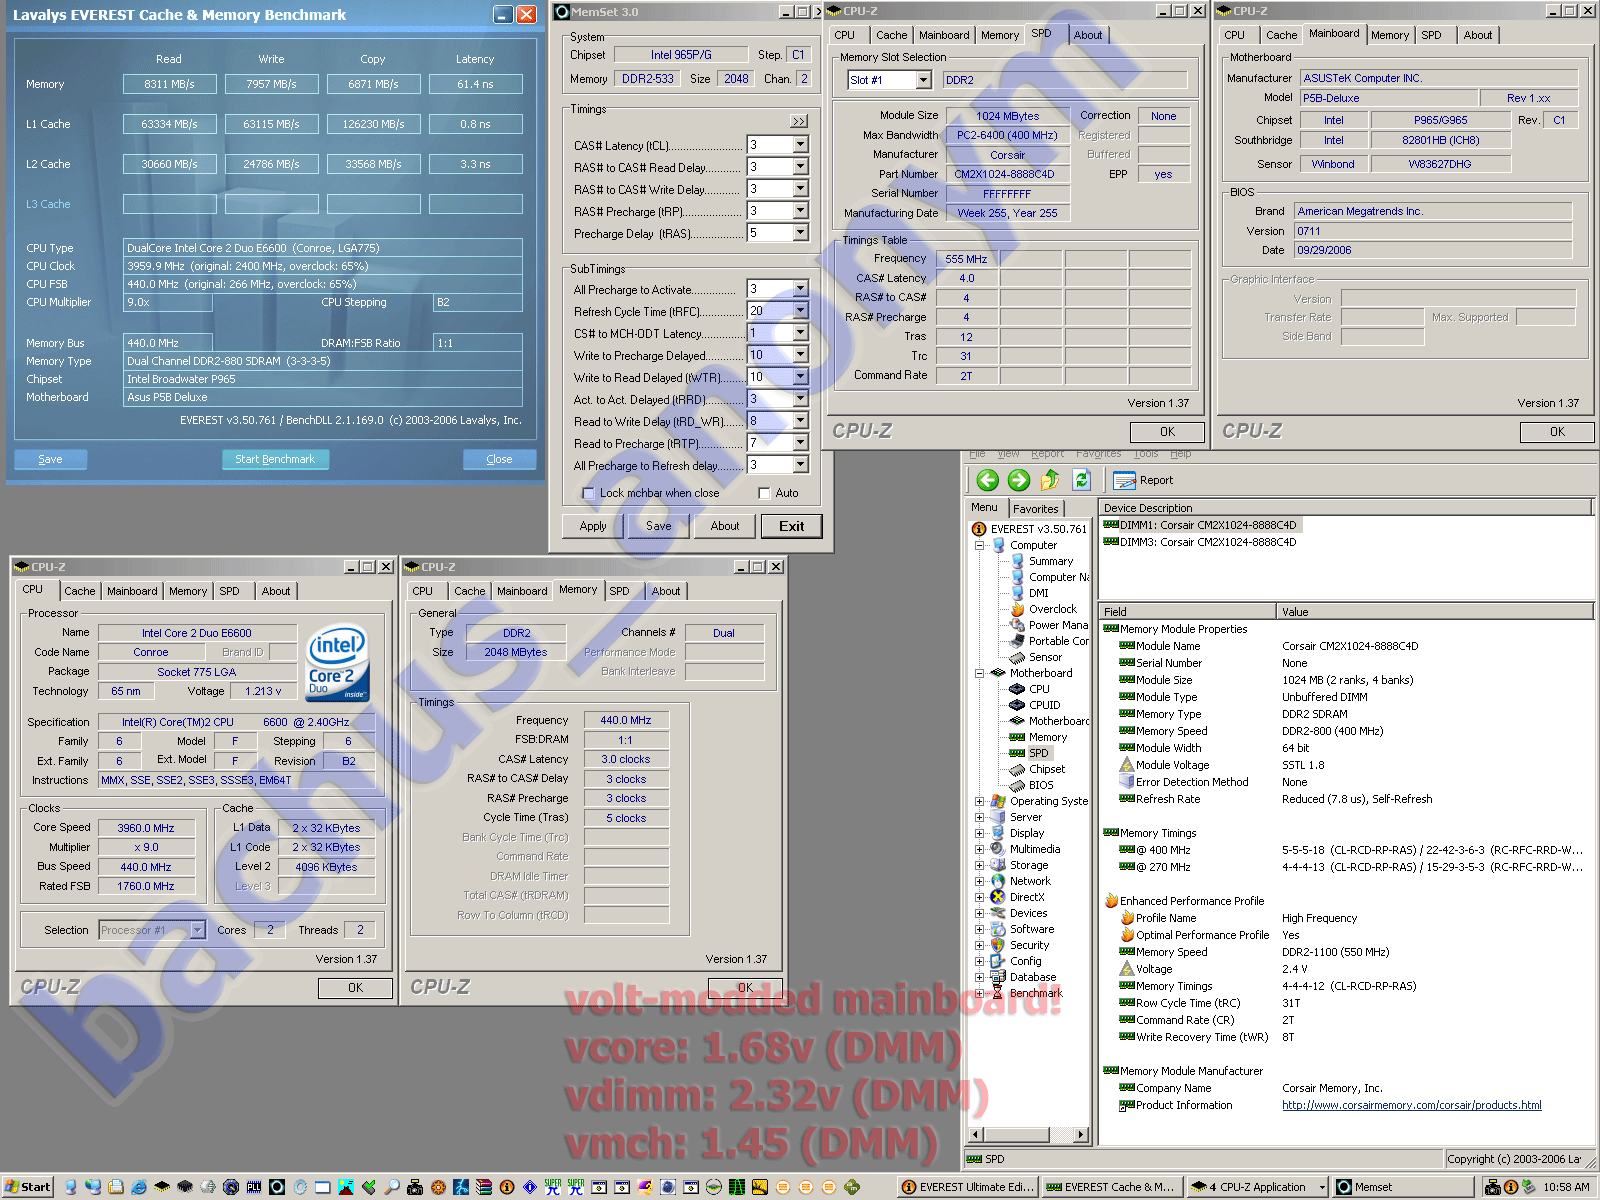
ASUS P5B Deluxe (Intel 965P), vcore/vdimm/vmch modded, BIOS 0711 official
Corsair TWIN2X2048-8888C4DF 2x1024MB
ATI Radeon PCI 7000 and EVGA 7800GTX KO @ 490+40/1390, ForceWare 84.21
Windows XP SP2 with all current updates.
My idea was, to test this RAM in two stages. First, provide it only with as much voltage as Corsair guarantees it for (2.40v + 5% = ~2.50v). After that, I'd go for "freestyle" but still within a reason - up to 2.80v. Each of those stages will be divided to incremental voltage steps starting at 2.22v. At this point, I have done most of the first stage testing and some of the second. I will be updating this OCing Report accordingly.
As all my OCing Reports, they dono't focus on scores but pure OCing potential and stability at OCed settings. That does not mean that I'm slacking on resulting times or scores, though, hehe. I will be running:
- mandatory and beloved SuperPi 1.5 XS 32M calculation, in a single and dual instance fashion,
- 2hrs of ORTHOS Large FFT at priority 9 with 1.40GB used,
- Everest Ultimate 3.50 Cache and Memory Benchmark (Read, Write, Latency),
- 3DMark2001, 3DMark03, 3DMark06 and Aquamark3.


 Reply With Quote


 , DFI Infinity 965P-S (testing)
  , E6750 es


Bookmarks