-
Dan's TT Armor build log
So this is my first watercooling experience, and I have to say, I've become a bit of an enthusiast. I'd be downright hardcore if I only had the money. Unfortunately students are meant to be poor .
.
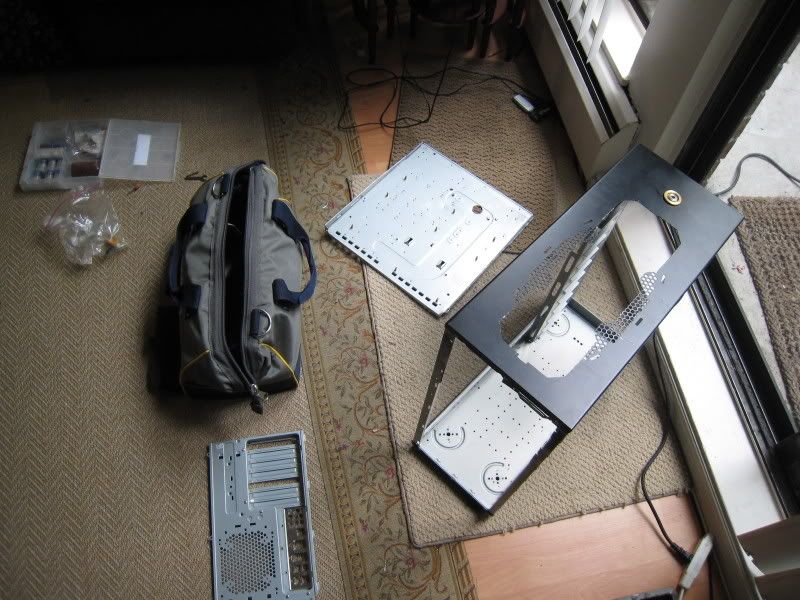
So for my first case I decided to go with the Thermaltake Armor. As soon as I bought it, I took the dremmel and cut out the top to make room for a 120.3 radiator. The second 120.3 radiator was to go in the front. I can only afford one at the moment, but my rationale is that in the future, I'll just slap it on, and it'll be ready to go.
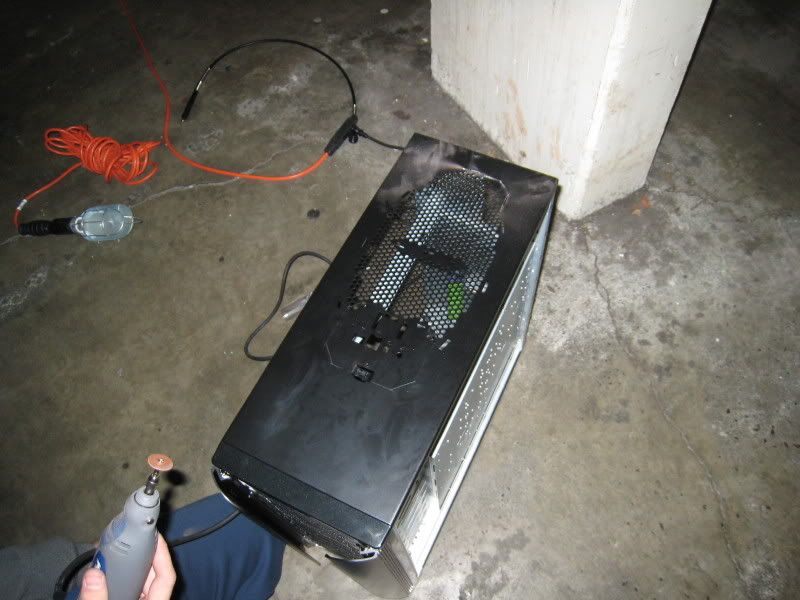
The top comming off, making room for the 120.3.
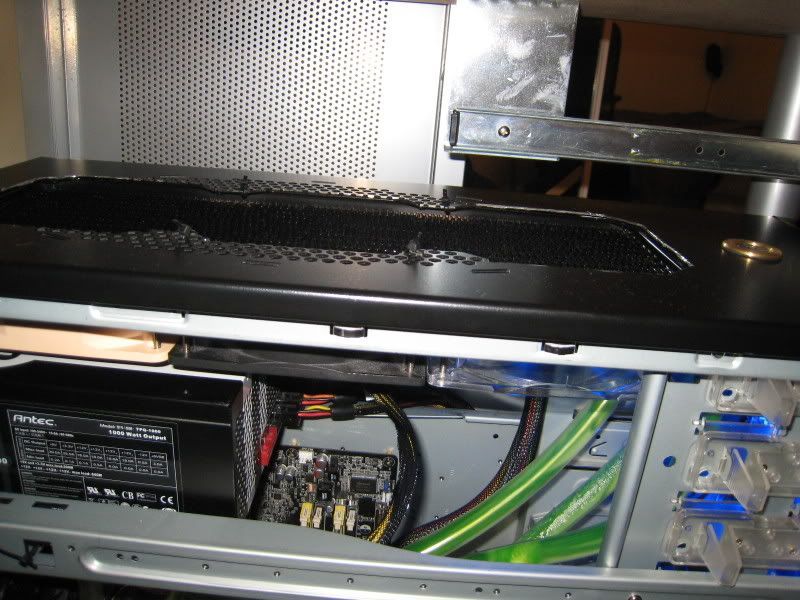
What I ended up with.
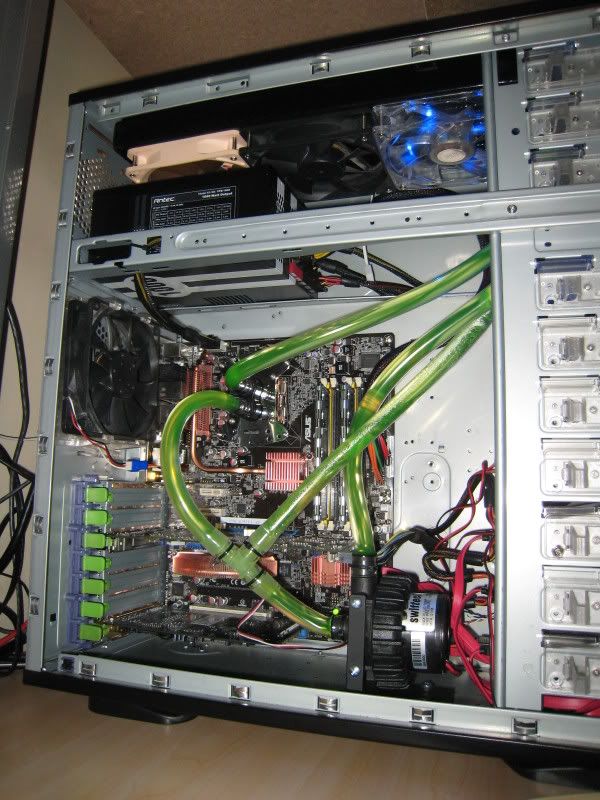
How my rig looked after the whole mod. Oh, and my PSU was dying because the way I had it positioned was killing off the airflow of the exhaust. It gave off a very high-pitched buzz.
Sufficed to say I was not happy. The PSU was held by sip ties as I had to cut the psu bay completely out, the pump was hitting everything, and it was all crammed. So today, I decided I'd do something new.
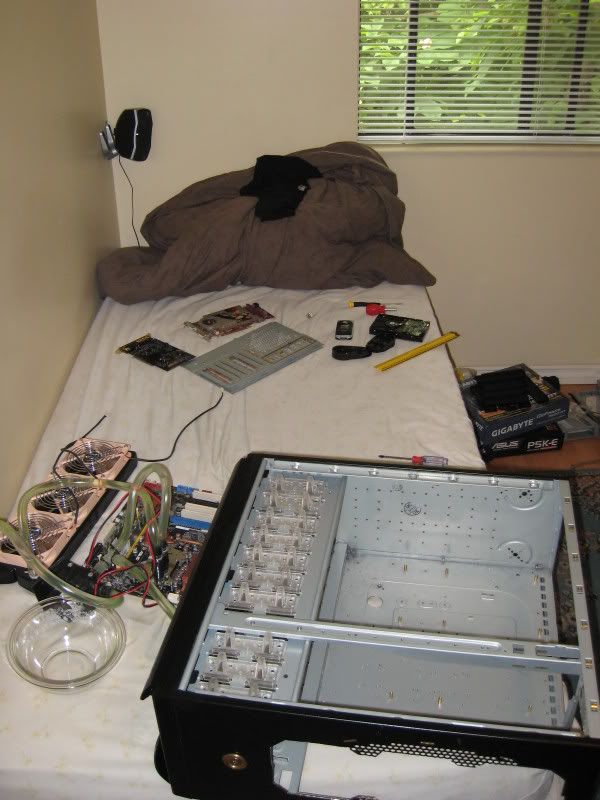
Welcome to my room haha.
After some cutting the back and mobo tray both came off... NICE!
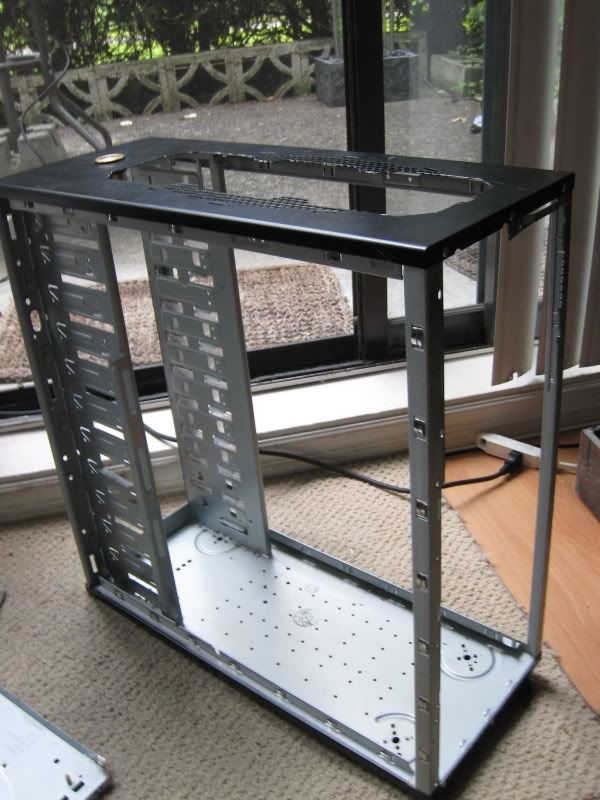
Bare nakid.
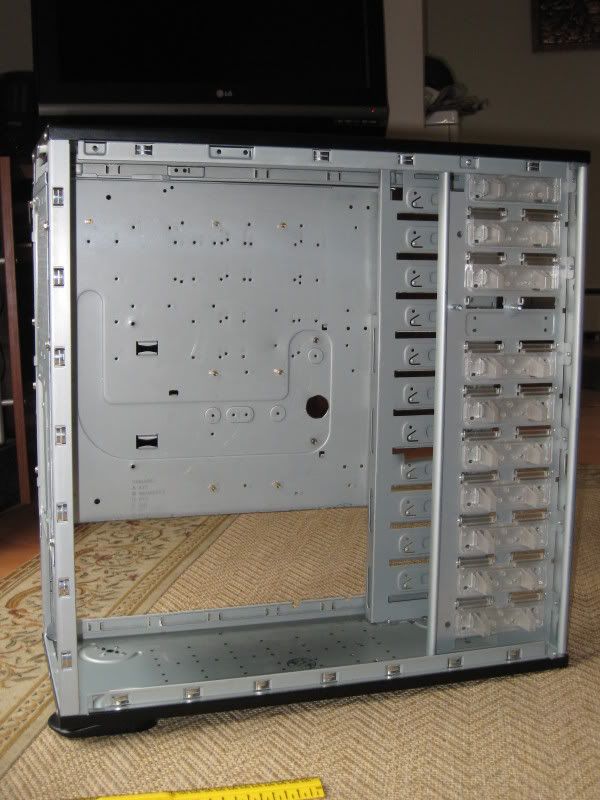
The mobo tray was surprisingly easy to drill back on, and it's sturdy as ever. I'm surprised ThermalTake used rivets, as screws are much better, and now the mobo tray is removable. That said, it was such a chore to modd the mobo tray to fit in there properly. Now I can move it up or down however much I please. I love it .
.
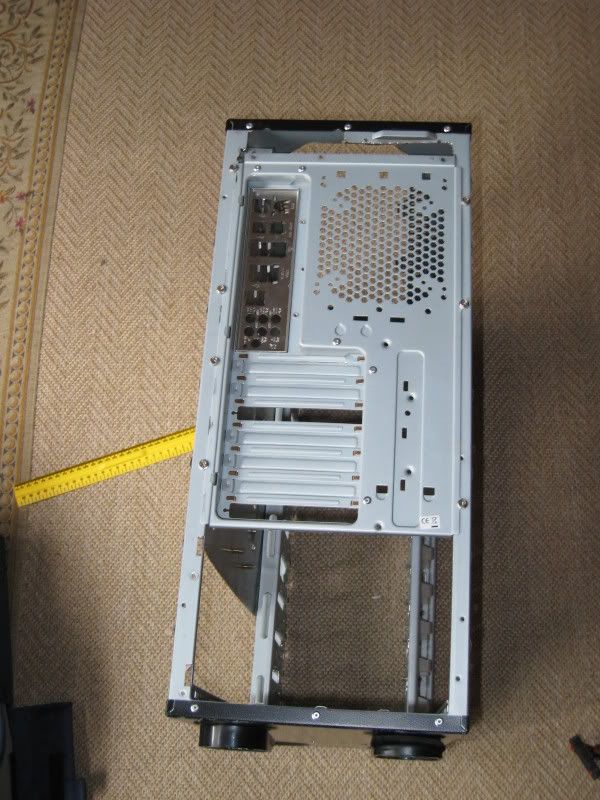
With the back in place.
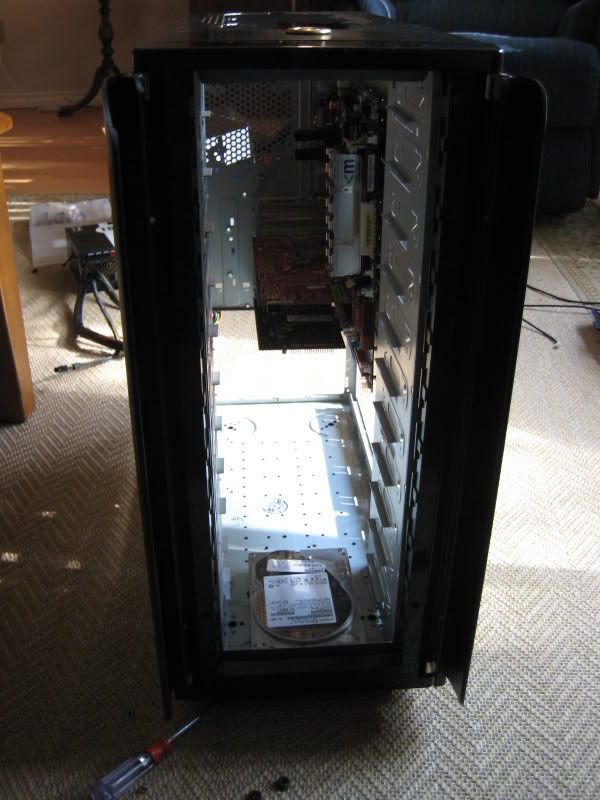
Re-assembly. I did not have enough room anymore to put my hard drives, so I decided to screw my second HDD to the bottom of the case underneath my cd bay. It works great. I can only have the Power/Reset bay which also holds an HDD, and my DVD drive. Sucks, but at least I get a 120.3 rad up front.
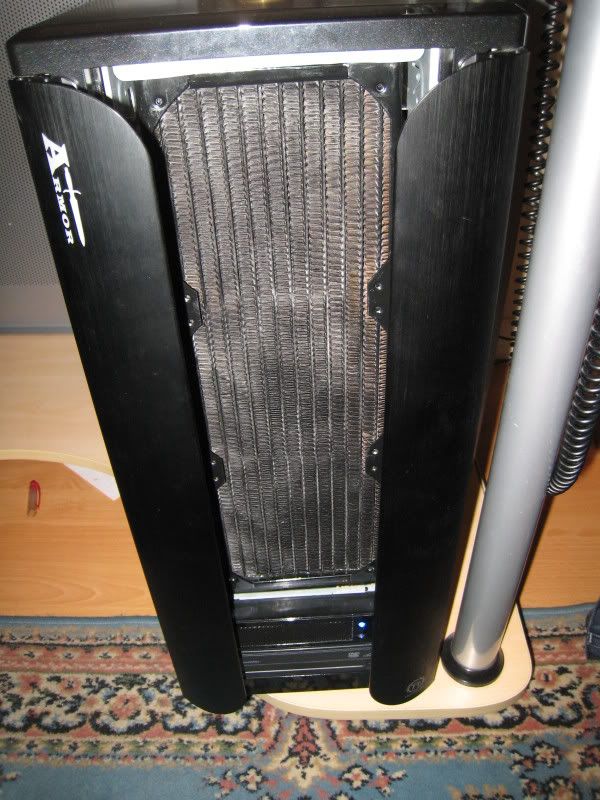
My radiator up front. To be replaced with a Thermochill 120.3 radiator.... one day..... probably in a year or two..

The setup. I'm not really happy with it. I'll say why once I'm done with the pics.
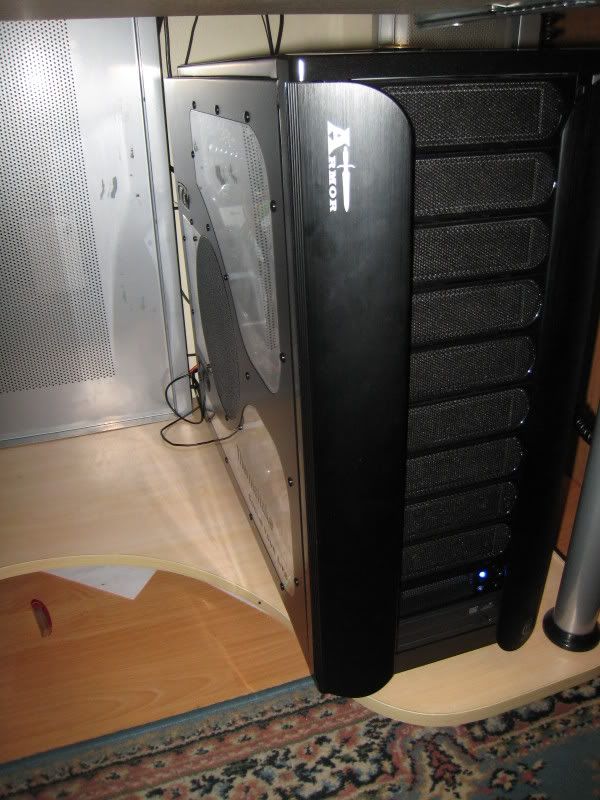
Done... For now.
Okay. Now for my problems. If you look at the picture second from the bottom, you will see that my pump tee acrylic thing is hitting my PSU. This is VERY bad as i plan on eventually adding another D5 for a second loop. This D5 is supposed to go beside my other one, and that will for sure not fit as its T-acrylic thing will not work with the PSU. Is there a way around this? I would appreciate the imput.
The other thing is that stupid mobo 8-pin connector. I forgot about it. Next time I modd, I'll have to make a hole on top of the mobo so I can run it behind so I don't get a line sticking out.
Thanks for watching. ANY criticism/advice is VERY welcome. I want to make this better, and obviously don't mind a little modding .
.
And... I am amazed by this.... The PSU whining noise has gone away. It would have been a shame as it's an expensive PSU and I love it to death. I even modded it with an 80mm noctua, so now my pc is VERY quiet.
Edit: Also, for the back, I need to find some wire mesh. Something strong enough that I could screw my PSU onto. Any advice?
Last edited by adpr_02; 06-02-2008 at 09:05 PM.
 Posting Permissions
- You may not post new threads
- You may not post replies
- You may not post attachments
- You may not edit your posts
-
Forum Rules


 Reply With Quote
Bookmarks