-
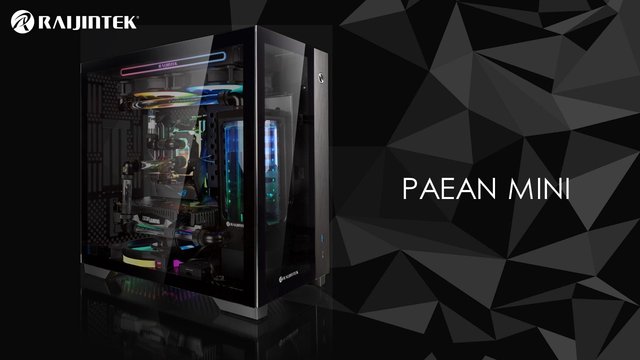
Raijintek Paean Mini
Introduction
Raijintek is one of the hottest chassis makes out there right now. Weve already seen a truly incredible range of new chassis products from them during past years. Originally, the Paean was an open frame case that could be used as a bench table. Then with the Premium version, Raijintek made a 180° turn by proposing a large tower case all closed everywhere. Now, the brand offers us a compact version, the Paean Mini! This mini-tower PC case is compatible with the Mini-ITX form factor. Paean Mini combines four materials tinted tempered glass, aluminum, steel and plastic.
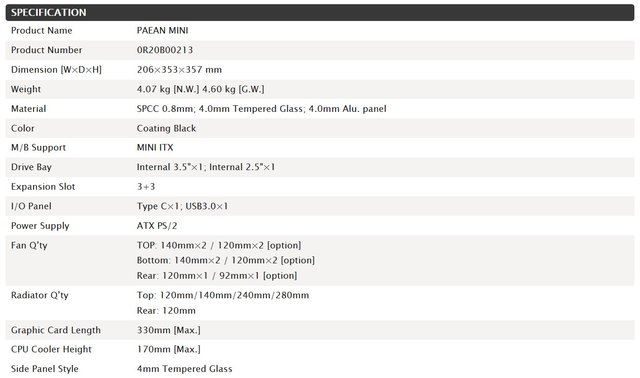
The Paean Mini has the following specifications:
Packaging & Contents
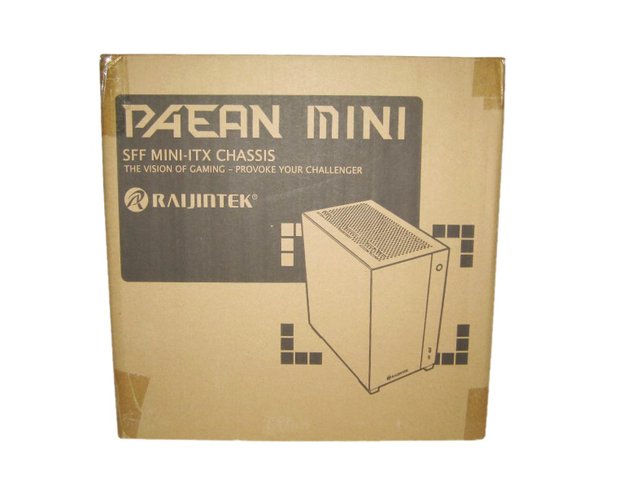
The packaging for the Paean Mini is simple and to the point. It comes in a brown box with black print and the front has a drawing of the case alongside its model name.
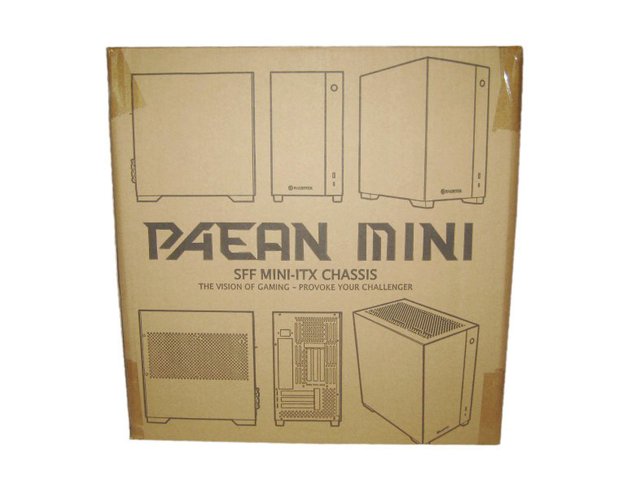
Turning the box around, there are six more images.
Raijintek placed it's branding on the right side.
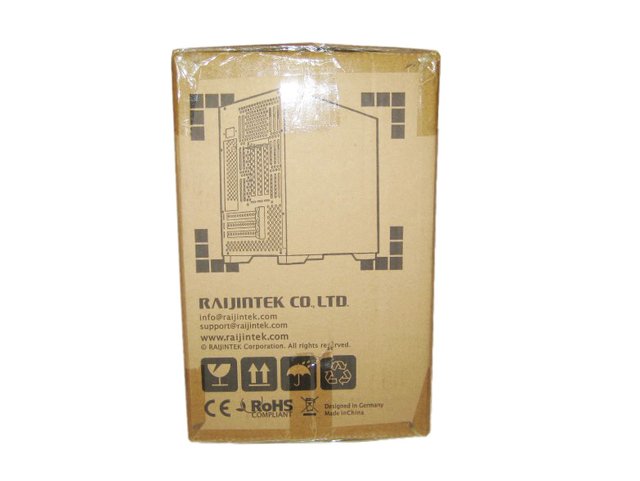
Raijintek placed the specifications of the enclosure on the left side.

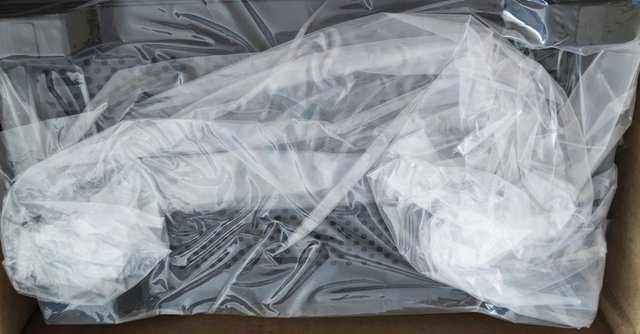
Inside of the box, you have the case wrapped up in plastic and then two foam panels that hold the case up away from all of the edges and absorb some shock from when the box gets tossed around.
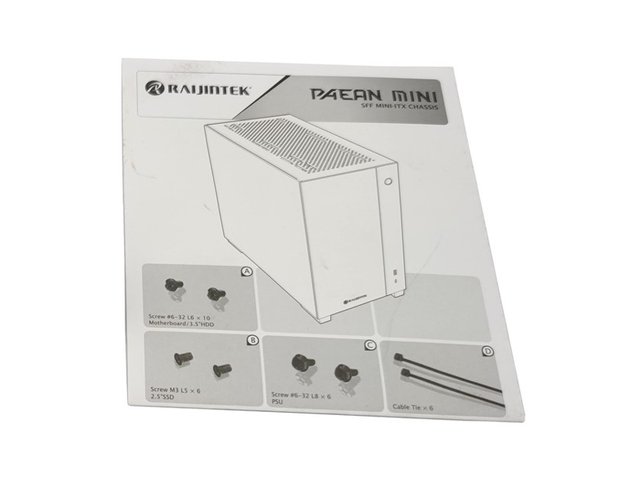
The installation guide will give the necessary explanations for assembly.
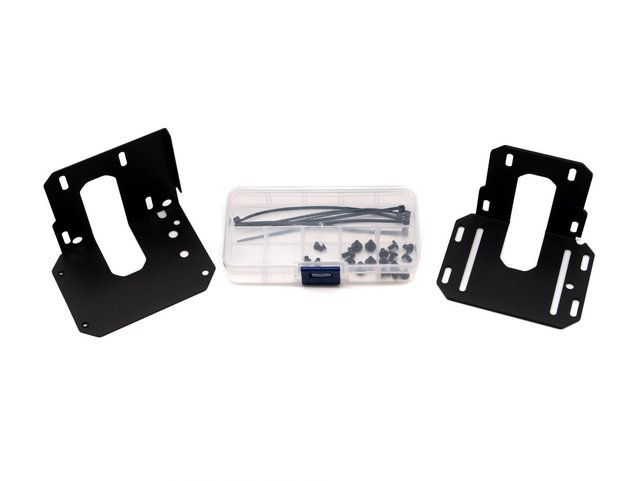
We find two different brackets for mounting an expansion tank along with a pump for water cooling and a box with various screws and cable ties.
A Closer Look Outside
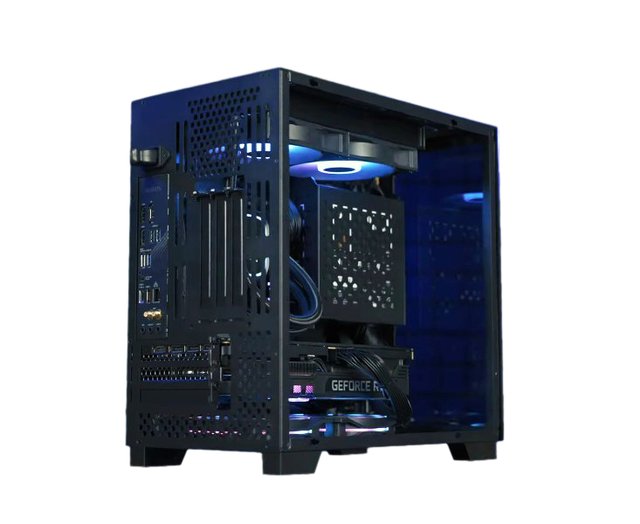
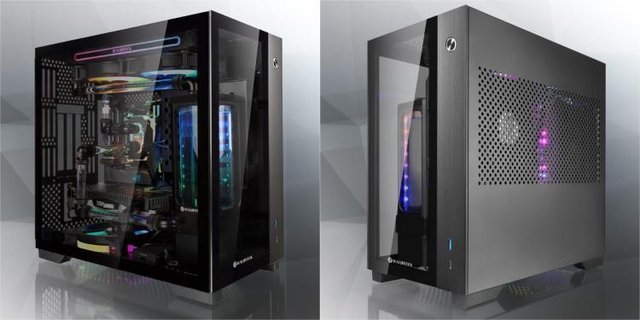
With this new reference, the brand offers us a case displaying 206 (W) x 353 (D) x 357 (H) mm. For the weight, we are facing a model of 4.07 kg on the scale. This weight is justified by the use of 0.8 mm steel, 4 mm tempered glass and 4 mm thick aluminum. On the left side, a completely glass side panel rests, which thus complements the interesting design of the case. The side panel, just like the front, is made of tinted tempered glass with a thickness of 4 millimeters. It is held by two hand screws on the rear of the case. The ventilation is done through the lower side, the upper side, the right side and the back of the case.
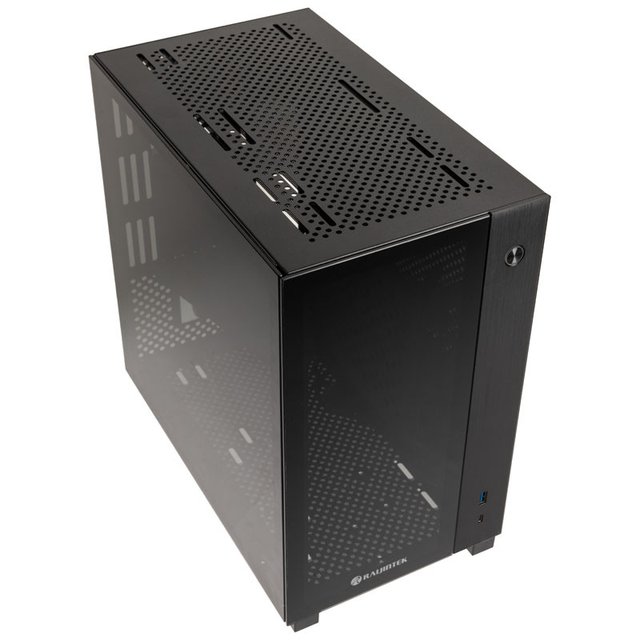
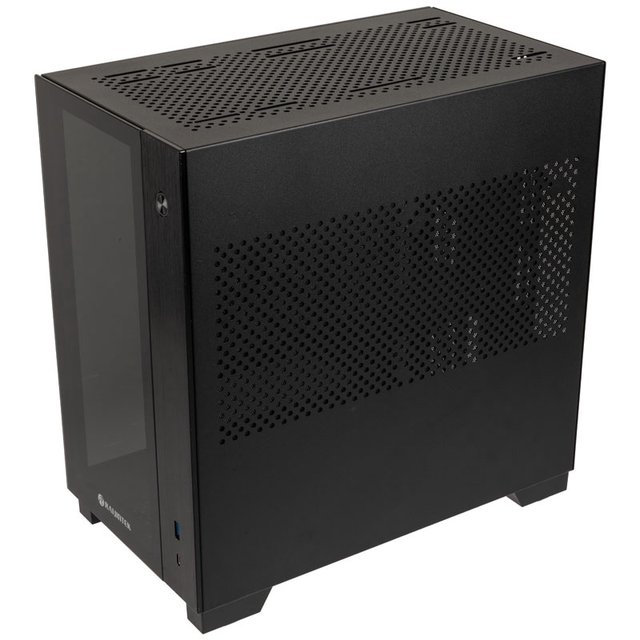
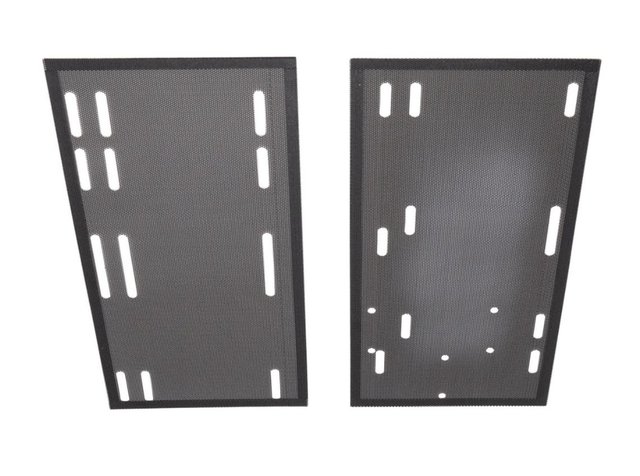
On the right side, there is a fixed 0.8mm SPCC steel, which has perforations for cooling.
The front is part glass and part aluminum and houses the front panel elements.
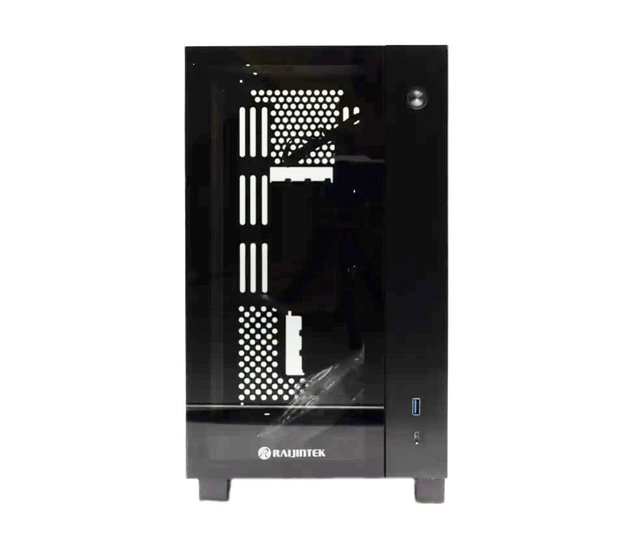
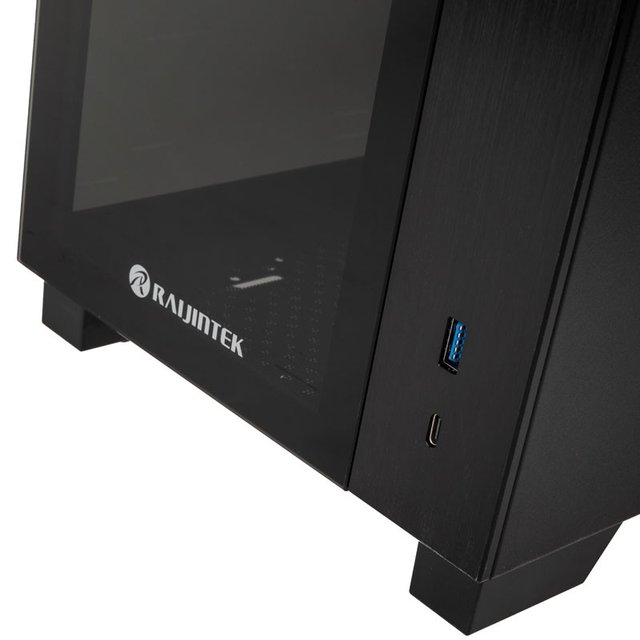
An aluminum strip running the entire height on the right side. Here we find the Power button, positioned at the top of the case. A USB 3 connector and a USB-C connector are positioned in the lower area of the case.
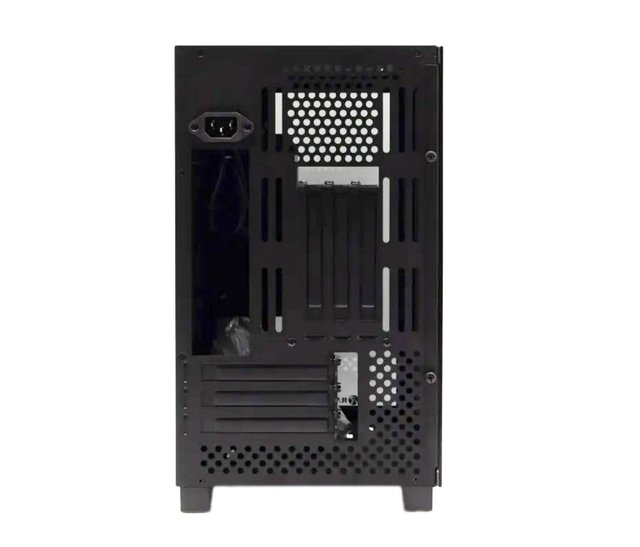
The back of the Paean Mini has an interesting design because here we find not only three horizontal but also two vertical slots for the graphics card. This means that even quite thick graphics cards should find their place here. Raijintek has equipped the housing with a perforated air outlet in the upper area. On the left is a large slot for the rear I/O panel of the motherboard. Above it is the connection for the power cable, from which the cable continues into the housing towards the power supply compartment.
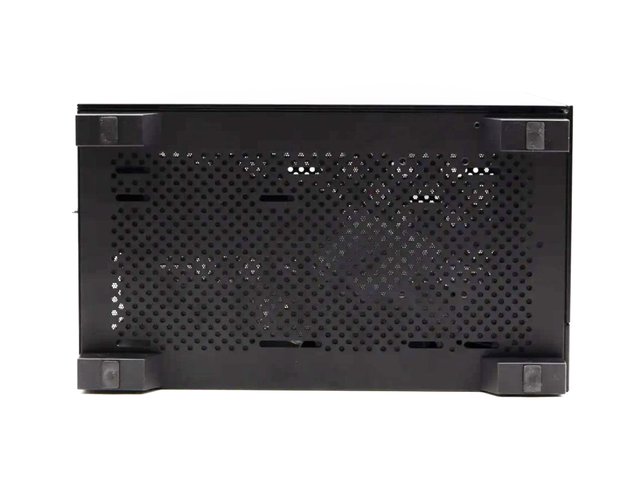
At the bottom of the case there are four plastic feet with rubber pads that keep the case raised from the base for more efficient cold air intake. There are also many openings for ventilation here and, like on the top, two 120 or 140 mm fans can be mounted here. A 240 or 280 mm radiator can also be installed here if the graphics card is not too thick.
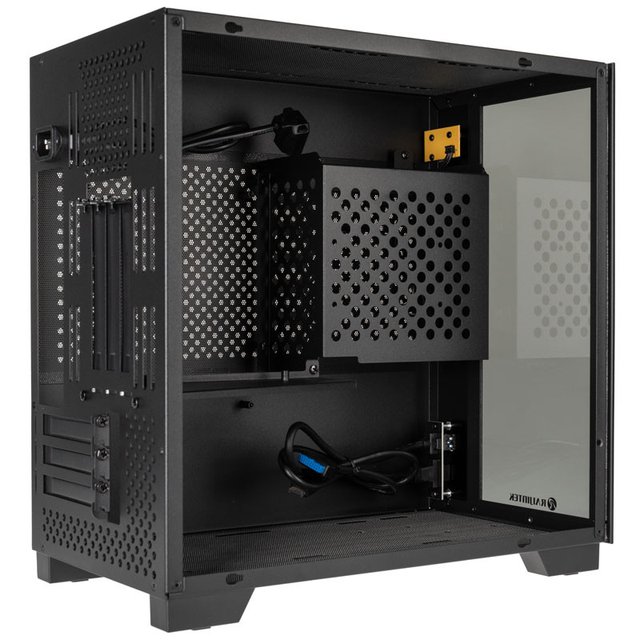
A Closer Look Inside
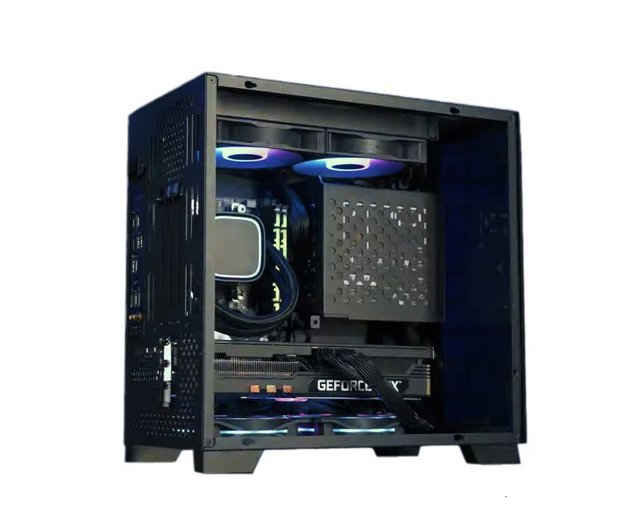
The place for motherboard is located at right side, while the PSU place is located in a dedicated mount, positioned towards the front of the case.
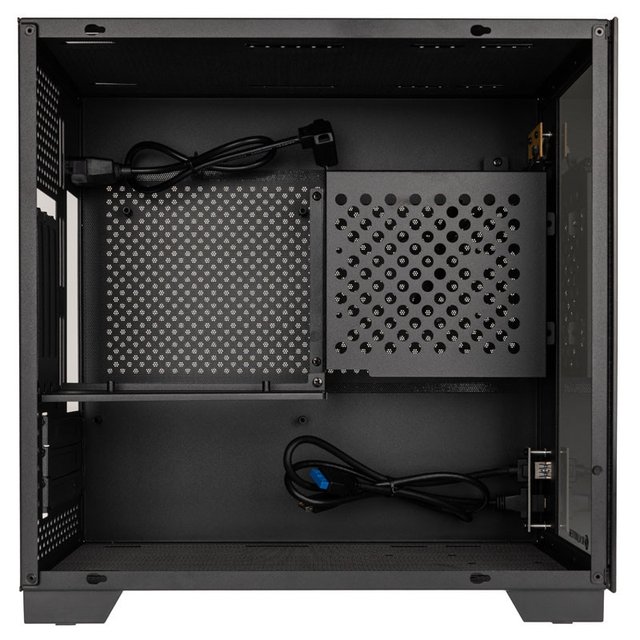
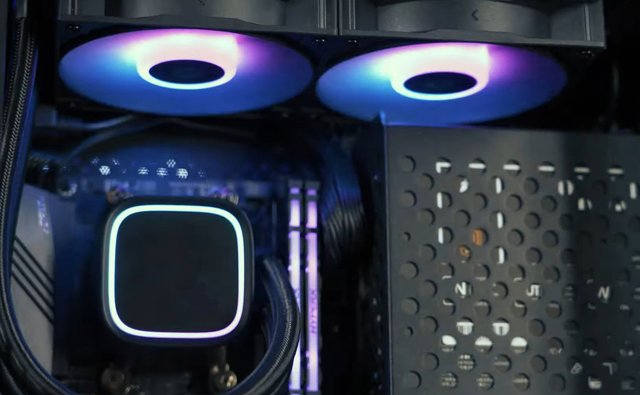
The case comes with a pre-installed vertical support for graphics cards and an ATX power supply cage. On the top panel it will be possible to install an AIO and/or fans. Raijintek offers slots for a width of 120 or 140. It is possible to position two fans and therefore AIOs of 240 or 280 mm.
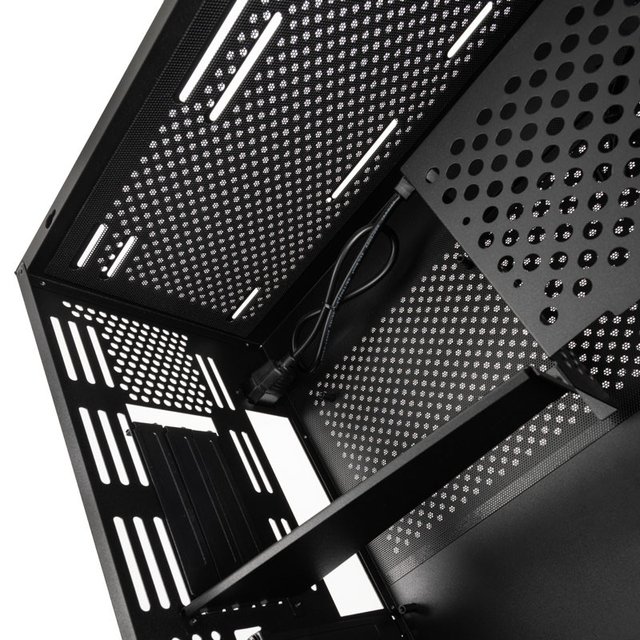
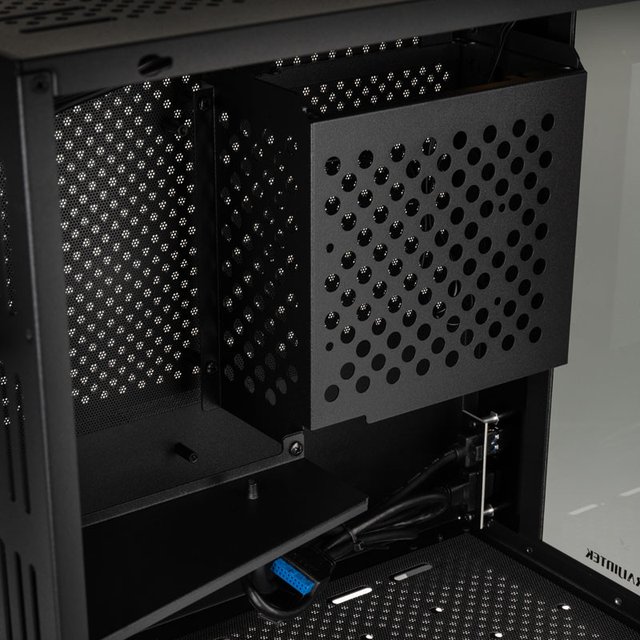
This metal cover is intended to support a vertically mounted graphics card and thus relieve the load on the inserted riser card. In order to make this possible in the easiest possible way, Raijintek has equipped the metal cover on the top with two mounting threads to which the inserted riser card can be attached. Unfortunately, the Paean Mini does not come with a suitable riser card. If you want to install your graphics card vertically, you have to use the optional riser card offered by Raijintek.

Thanks to the large air inlet, which has been incorporated into the right side wall, not only can the inserted power supply be supplied with sufficient fresh air, but the waste heat generated on the back of the inserted mainboard can also escape from the inside of the case.

If you take a closer look at the air inlet on the bottom of the housing, you will not only find the dust filter attached using a magnetic tape, but you can also see various mounting holes.
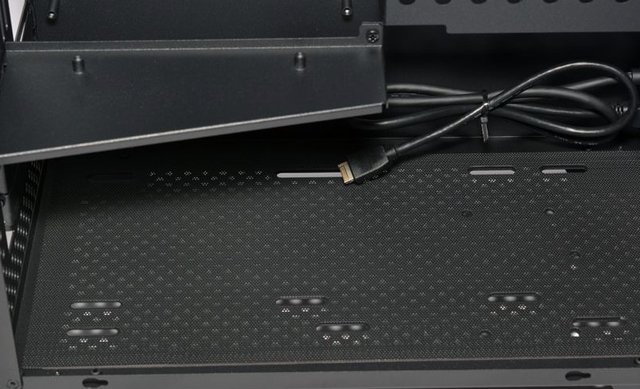
The lower side and the upper side, are equipped with removable magnetic dust filters.
Raijintek Paean Mini accepts a total of 5 fans, two of which can be mounted on the upper side, two on the lower side and one on the back side.
At the cage that accommodate an ATX power supply you can also place a 3.5" and a 2.5" drive. The 3.5" drive take's place on top of the PSU cage, while the 2.5" drive on the side.
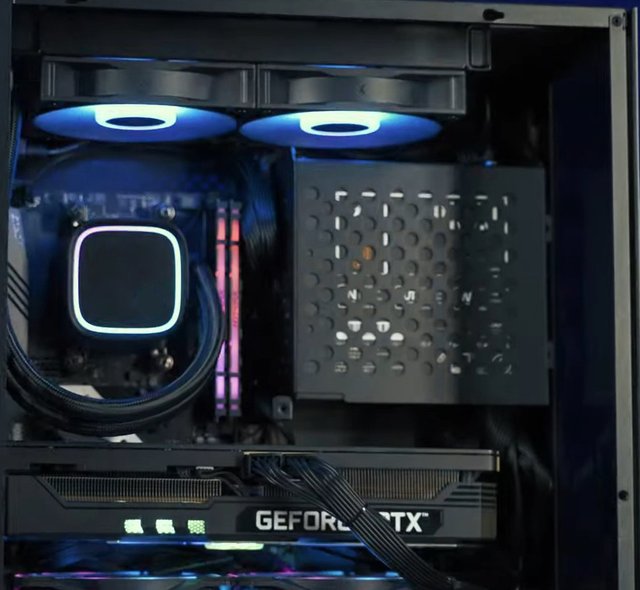
Installation Process and Finished looks
Installation of your hardware inside the Paean Mini should be pretty straight-forward, but you are going to want to make sure you do a few things since this is a mini-ITX build. The typical rule of thumb for mini-ITX builds is to make sure you connect everything to your motherboard before you go ahead and install it. Also run all of the cables you can. Luckily in this case many of the cables are run for you. Inside, you will find enough space to install a mini-ITX motherboard. With our motherboard installed go ahead and connect any other cables you couldnt connect with it out of the case. This will include your EPS connector at the top corner of the board.
When it comes to installing your graphics card Raijintek makes it quite easy. Now if you do have a longer graphics card you can actually remove the back section of the case and affix your graphics card to it, then easily reinstall the entire assembly. For us we did not need to do that, but I can see how it would be very helpful. The graphics card limit is 330 mm long and has 3+3 expansion slots. Thus, we can install it vertically, just in front of the motherboard.
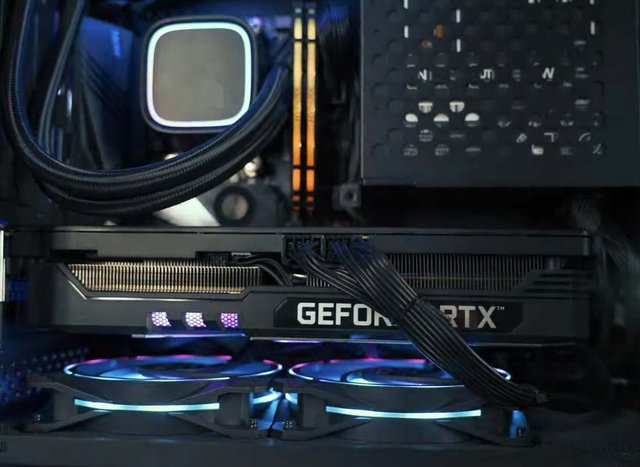
The clearance for the CPU fans is consequent: 170 mm high. Finally, concerning the power supply, it can be in ATX/PS2 format. You can see that there has been a lot of thought put into the design of the Paean Mini when you build the system. As well as the cable length, the AIO tubing is the exact length needed to route around the power supply and to the motherboard CPU socket.
For the storage part, it will be seen quickly since we have only two slots: 1x 3.5″, 1x 2.5″. Both are present at the power supply slot.
We finish with the cooling part of this Paean Mini. In the top, this case offers us to install a watercooling radiator in 240/280 mm. At the bottom, we have two slots in 120/140 mm for the fan against a last one in 120 mm at the back. Even with the system installed there are gaps and paths for airflow, cables neatly route around the PSU shroud to get to where they need to be. Cable length seems perfect for the EPS power, 24-pin and PCIe, the modular power supply allows any unused cables to be removed and you are not left with an excess of cable that needs to be bundled up or hidden away which is difficult when space is at a premium.
With everything installed all you have to do now is put all of the panels back on. The glass panel does look quite nice, and if you have any RGB inside your system you will be able to see it. I would say if you wanted to really like up the inside of the case get an RGB strip.
Test System and Methology
Out test configuration is as follows
CPU: Intel Core i5-12600K
CPU Cooling: InWin MR24
Motherboard: ASUS ROG Strix B660-I Gaming WiFi
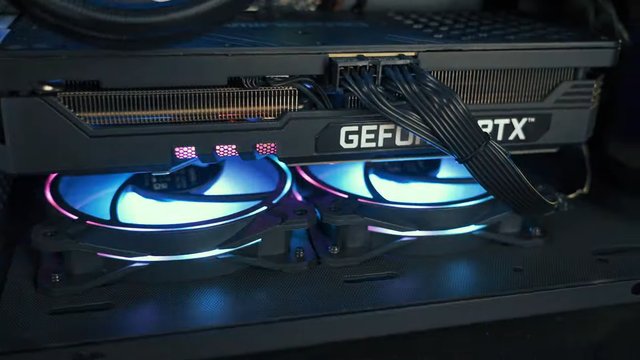
Graphics: EVGA NVIDIA GeForce RTX 3060 TI
Memory: Kingston FURY Renegade DDR5-6000 2x16GB
Storage: Patriot P400 1TB
Power: Included PSU (Cooler Master V850 SFX Gold 850W)
Operating System: Microsoft Windows 11 Pro

The computer remained in the same place and room for all tests. The ambient temperature of the room was roughly 21 degrees Celsius. The thermal paste applied to each cooler was stock respective to their manufacturers to rate its performance. Sufficient time between testing was applied for the paste to settle. The fans on all coolers, if applicable, were connected to the same motherboard's 4-pin connector. The test computer was turned on and idling for at least one hour for the idling tests. High CPU load results were obtained using the Prime95 in place large FFTs test with a maximum number of worker threads for a minimum of 15 minutes and recorded when the temperature was deemed stable. We will be using a RisePro Sound Level Meter to record sound levels. Sound levels are taken 5 inches from the side of the case as well as from the top of the case.
Performance
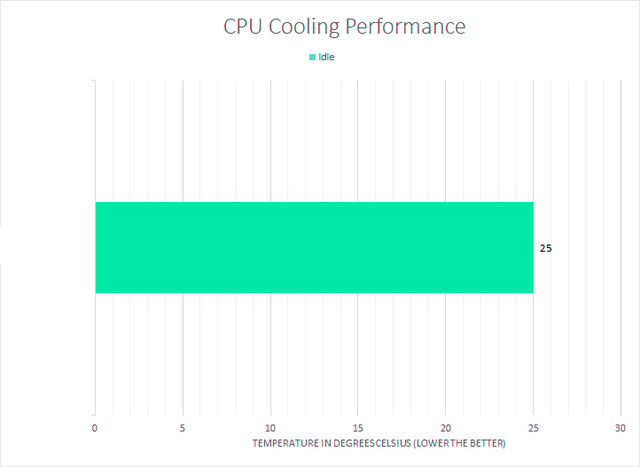
For the first test, I let my computer sit idle for a while. After about an hour, I shook my mouse to wake my computer up. We can see the liquid cooler maintained the Core i5-12600K at around 25 degrees Celsius, which is a pretty low temperature. While this is a good start, idle tests do not give a full representation of the cooling capabilities, thus leading us into our load tests.
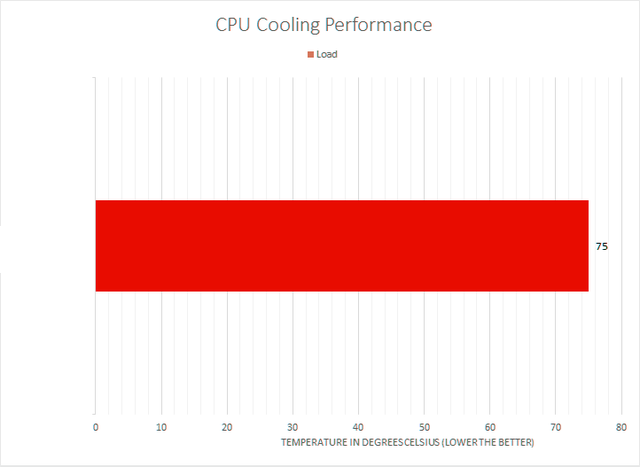
Starting Prime95 and giving the processor ample time to load up all the cores and threads, we can see how the cooler and chassis performs when the processor is under heavy stress. The InWin MR24 performed solidly here too, peaking at 75 degrees Celsius. This is a pretty good peak temperature as it did not exceed 80 degrees Celsius, which is something we have seen with other coolers on Intel chips. I observed the boost frequency throughout the test, which was 4.9 GHz across all cores. The liquid cooler performed very well in our tests.
Sound is often perceived differently by people, but we try to make our subjective audio tests as objective as possible. On a scale of 0 to 10, where 0 is silence and 10 is an EDM festival, I would rate this liquid cooler around 1.5/10 when idle and 3.0/10 when under full load. The fans emit a relatively low level of noise, even when under full load. Under day-to-day use, these fans are quieter, although still audible. One reality users will have to face when purchasing an AIO cooler is there will be more moving parts in the system, which makes for more sources of noise. The pump emitted a low humming sound at full speed, which was relatively quiet. At normal speed though, the pump is basically inaudible.
Final Thoughts
When we unboxed for our Raijintek Paean Mini Mini-ITX Case review, we immediately noticed its build and design. Paean Mini combines four materials tinted tempered glass, aluminum, steel and plastic. And although its sleek and simple, the case isnt boring at all. Included with the Paean Mini Mini-ITX case is a tempered glass panel which can help the case increase its aesthetics. This is especially true if theres an RGB-packing system thats installed. The casing is perforated on both the top and bottom and is ready to receive fans, so the cooling system of this casing is based on the principle of a chimney, where warm air rises. All of the panels feel extremely sturdy. We also appreciate the perfectly-applied paint on the case. Theres no texture to it which some may find boring, but its excellent for those who want a sleek setup. Raijintek Paean Mini accepts a total of 5 fans, two of which can be mounted on the upper side, two on the lower side and one on the back side. It is possible to install two 120/140 mm fans on the bottom as well as on the top. Alternatively, a 280-millimeter water cooling radiator fits on top of the case. It accepts graphics cards up to 330 millimeters long, CPU coolers up to 170 millimeters high, and ATX power supplies. In addition, the Paean Mini also fits a water tank with a pump for open loop water cooling. In terms of storage, we are dealing with a minimalist configuration, Raijintek Paean Mini being able to host a 3.5" unit or a 2.5" unit mounted on the floor of the case, but nowadays most likely the operating system will be installed anyway on a NVMe SSD, so this is not a problem, especially in the case of an ITX system. It really is a breeze installing a system in the Paean Mini, this build was by far the quickest small form factor build I have ever done and it was an enjoyable experience too. Usually, there are parts of a small form factor build that can be annoying like routing and managing cables, installing graphics cards and CPU coolers in the tight spaces etc, not with the Paean Mini. It is uncanny how there seems to be so much space inside such a small chassis. One thing that mars the overall picture is that Raijintek does not have any fans pre-installed and does not include a suitable riser card. Probably the worse thing is the dust filters which are magnetic and they are on the inside which is a really dumb idea as you cant remove them for quick cleaning. It should be noted that there is no space for a fan if the graphics card is installed vertically. Finally, if we want to place the graphics card vertically, there is not enough space for a 3.5 hard drive. All these drawbacks are things to keep in mind when planning the buy and are not deal breakers.
The Paean Mini is available now for a very reasonable 100. Thats a fair price. I think if you are thinking about building a mini-ITX system the Raijintek Paean Mini is an excellent choice. The Paean Mini is a great PC case with amazing features. Although compact, its a practical case that offers a lot of options for PC building. You can install a large graphics card, showcase your build with the glass panel, and enjoy superior cooling performance.

 Posting Permissions
- You may not post new threads
- You may not post replies
- You may not post attachments
- You may not edit your posts
-
Forum Rules


 Reply With Quote
Bookmarks