-
Qnap TS-462
Introduction
QNAP provides many optimal solutions for those who need them, producing new devices that keep up with the times. In fact, if you want a private iCloud storage that is vast but above all fast and that manages to point to multimedia, here is the new product for you, namely the QNAP TS-462. It is really a model for Home use and SOHO (Small Office Home Office). The features of the QNAP TS-462 sound impressive. It is powered by Intel Celeron N4505 dual-core processor and feature a 2.5GbE port and two M.2 PCIe slots for SSD caching, which enables faster transfer speeds and faster data access for optimizing various storage applications. A PCIe Gen 3 slot also allows NAS capabilities to be expanded with a range of corresponding PCIe cards. Multimedia data can thus be streamed and viewed via HDMI 2.1 output on appropriate devices such as TVs or monitors. By default, the QNAP TS-462 series ships directly with the latest QTE operating system, QTS 5.0, which brings a host of improvements and promises a faster and easier user experience. Let's see what the real thing is like.
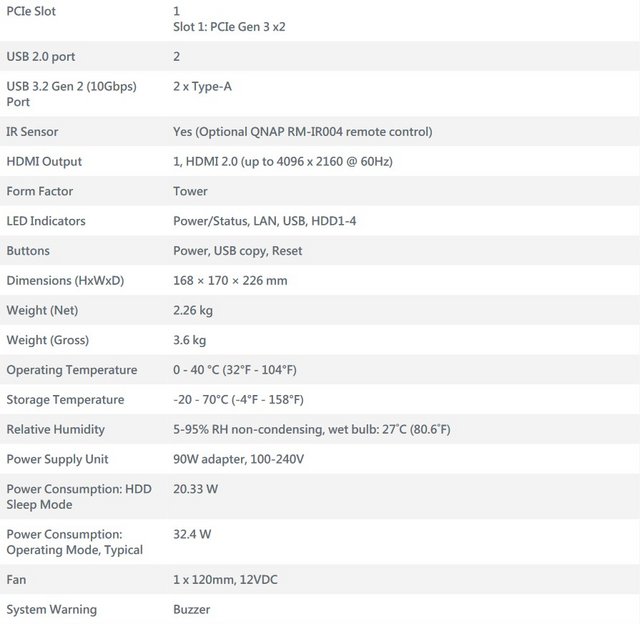
The company considers the TS-462 to be suitable for both home and office use, and based on the specifications in the table at the bottom of the page, we can say that it is a future-proof solution with strong hardware.


Packaging & Contents
The NAS shipped in a simple-looking cardboard box. QNAP kept it simple for the package, which only features the company branding. The box is large and looks to be sturdy enough to protect the NAS well. There is a large sticker at the front of the box that depicts the TS-462's features and technical details, along with its model number and amount of RAM. One side of the box has carriage icons on the top left and an HDD/SSD compatibility panel on the bottom. The other side just has a row of carriage and storage icons and marks of the various standards the NAS passes.

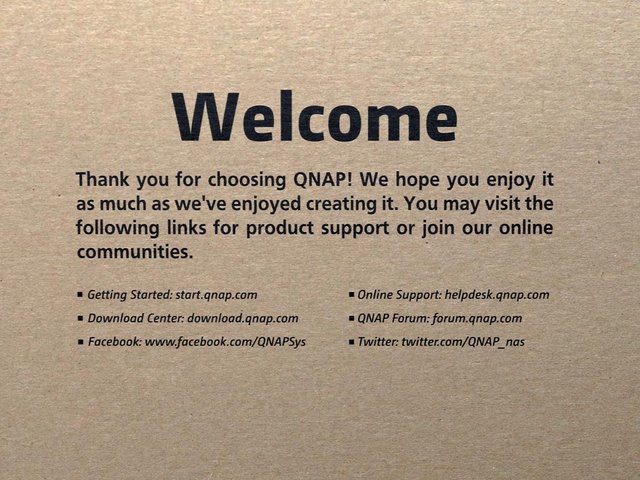
A welcome message will greet you once you open the top flap of the box. QNAP always tries to be as friendly and appreciative as possible towards its customers. There are multiple resources available to get you up and running in no time. Most of the helpful resources are listed on the internal flap of the shipping box.
The TS-462 NAS chassis itself arrives in quite an impressive surrounding of hard foam from all corners. Indeed, this foam takes up more than 40% of the retail box and will amply protect this unit virtually completely in it’s transit from Taiwan to..well.. everywhere.

Alongside the TS-462 unit itself, there is also a box of accessories in a separate kit carton.

A fairly standard collection of parts that are included in the retail kit. Clearly, the mains power cable is regional and changes depending on your country of purchase, but the rest is fairly standard. Ιt also includes a setup manual, information about the 3-year hardware warranty and the option to extend it to 5 years, screws for 2.5/3.5″ drives, a Cat 5e ethernet cable, and an external PSU. The lack of adhesive M.2 heatsink panels, is a drawback of the TS-462.

The Nas
The QNAP TS-462 is a compact, tower form factor NAS. It is small enough to sit on a desk without being too intrusive. It features a largely plastic material that covers an internal aluminium metal framework. I quite like the choice of a copper/rose-gold and white colour scheme. The front of the device has a shiny plastic cover with company branding that covers the drives bays. The body measures 170 mm wide, 226 mm deep, 168 mm high, and weighs 2.26 kg. A sticker on top of the NAS covers its hardware specs.
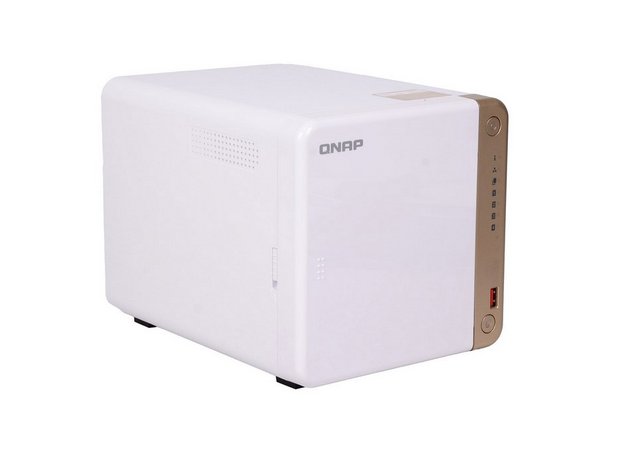
The TS-462 has vent spaces on the sides of the chassis.

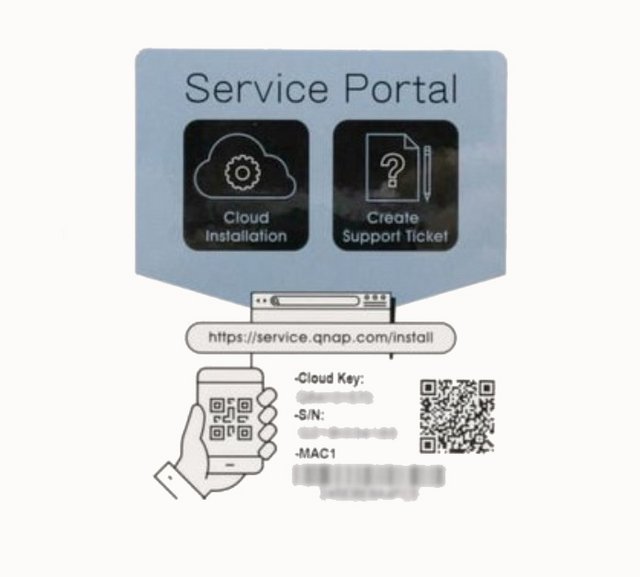
The large sticker on the server's side holds the cloud key and instructions on how to initialize the NAS.
Along the right side is the power button at the top, the indicator LEDs running down the side, a USB 3.0 port and a USB copy button.

The rear of the device is mainly taken up by the 120mm fan. You will find lots of I/O ports around the back. On the left side are the Kensington Security Slot, HDMI port, USB 3.2 Gen 2 port, two USB 2.0 ports, one 2.5 Gigabit Ethernet Port, and the power connection.
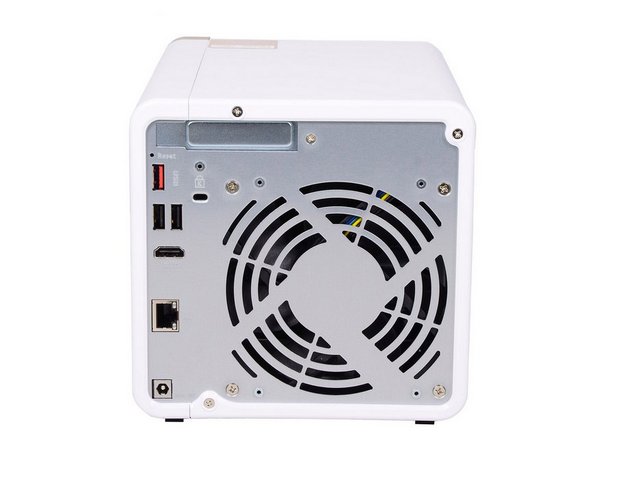
Above is a PCIe Gen 3×2 slot for 1 slot to add accessories such as a 10GbE network card to Extend bandwidth for connections, etc. This HDMI 2.1 port (so, up to 8-10K resolution at 120Hz) allows you to connect a monitor or TV and allow a completely parallel GUI to be accessible (not just mirroring the web browser GUI), as well as a range of 1st and 3rd party applications to be installed. This is made possible with the QNAP HD Station application.

The server sits on four rubber feet. On the base of the device, we find more ventilation to keep the internals cool. There are also two stickers, from which you can read the model number, serial number, and MAC1 ID in addition to the country of manufacture.

Installation
To remove the shield, there's a slide lock on the left side of the device that needs to be in the lower position before you're able to slide the plastic to the left in order to expose the drives. We removed all trays in order to install our disks.

Back in the day, there was something to talk about with the hardware installation section. It usually required unscrewing a front panel to access the drive bays, and then screwing the actual hard drives into the sleds before undoing the whole thing. Nowadays, pretty much every NAS device has easily accessilble hot-swappable drive bays and the sleds are tool-less, meaning you just snap them into place and slide them into the array. The QNAP TS-462 falls into the latter category, with the only wrinkle being the device has a plastic shield in front of the drive bays.

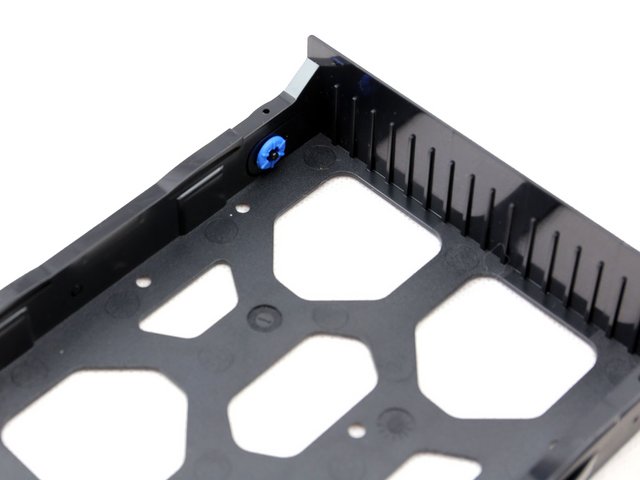
The drive trays are made of plastic and have grab handles moulded into them. The trays are held in place with small latches. Supporting both 3.5in and 2.5in drives, the larger drives are held in place by plastic strips that fit into grooves in the drive tray's sides, and each plastic strip has pins that fit through the tray and into the drive's side mounting holes.

These mounting holes in the tray sides have anti-vibration grommets fitted. If you want to make sure the drives are installed firmly, you can use the screws provided to fix the drive via holes in the tray base. 2.5in drives can only be fixed via these holes in the tray base.
The device supports Btrfs and EXT4 file systems and RAID levels 0, 1, 5, 6, 10, JBOD, and Single Disk. The NAS's storage capacity can also be increased quite significantly. At the time of writing this review the NAS supports 22TB drives giving it an overall capacity of 88TB, but should more be needed the unit supports a couple of QNAP's disk expansion enclosures. Both the UX-500P (5-bay) and UX-800P (8-bay) enclosures are supported which connect to the TS-462 via one of the rear USB ports, to give extra TB.
When the drives are in place, simply slide the cover back over the front - magnets help snap it in place - and then lift the slide lock up to keep it in place. It gives the TS-462 a cool look, even if it doesn't seem to offer any functional improvements, but note that it does seem to have a lot of static electricity that causes dust particles and pet dander to cling to it. After that, simply plug in the included Ethernet cable, connect the power, and turn it on.

Hardware
Taking apart this NAS wasn't that difficult. The chassis is made out of metal, which makes it pretty sturdy. As has already been mentioned, the casing is out of plastic.
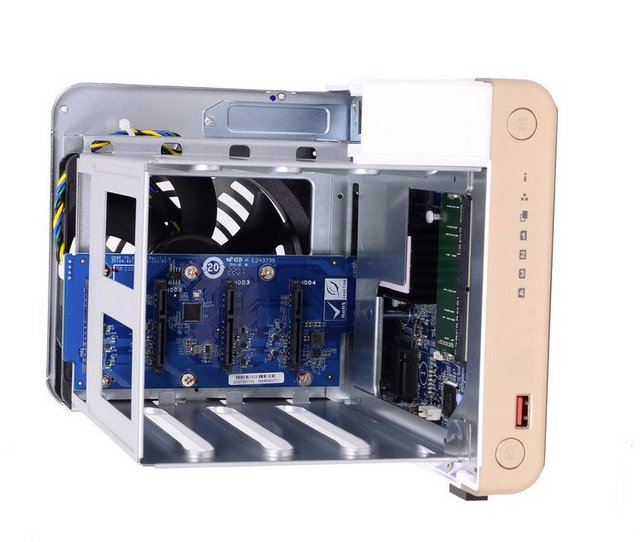
The QNAP TS-462 has the mighty Intel Celeron N4505 processor. It’s a dual-core processor with two threads, so no Hyperthreading, but manages to hit speeds of up to 2.9GHz. The processor has built-in Intel “AES-NI new generation encryption engine”, which can still provide good data access performance under the AES-NI encryption environment, enhance data security and maintain high-efficiency operation of the system. At the same time, the built-in Intel UHD Graphics display core provides H.264/265 hardware real-time conversion, with HDMI 2.0 interface, support [email protected] video output. Combined with rich application ecosystems, such as: QuMagie AI photo album, instant conversion and playback, Plex Server and Roon Server and other audio and video and streaming apps, it is easy to build a high-performance multimedia audio and video playback and streaming platform.
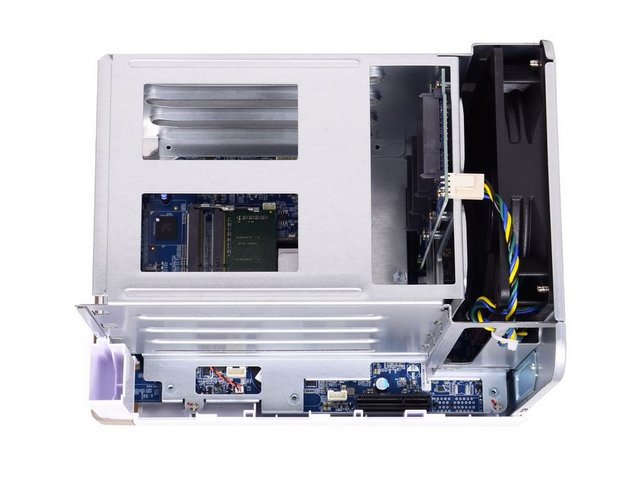
A single 2GB of DDR4 2666Mhz memory(non-ECC) is installed as standard, but both SODIMM slots are easily accessible and allow for up to 16GB if you’re going to be heavily invested in, say, virtualisation.

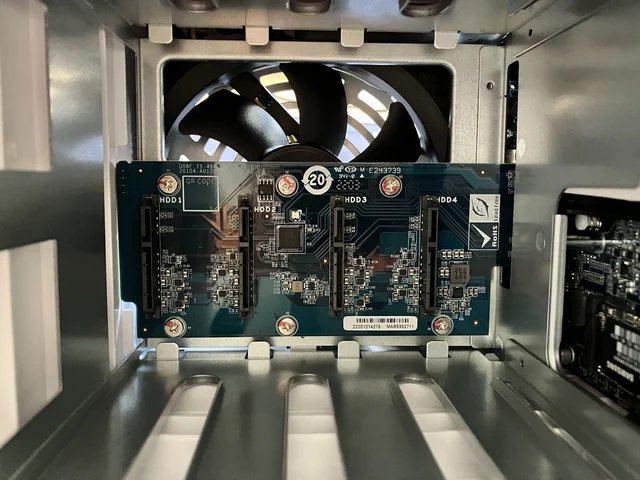
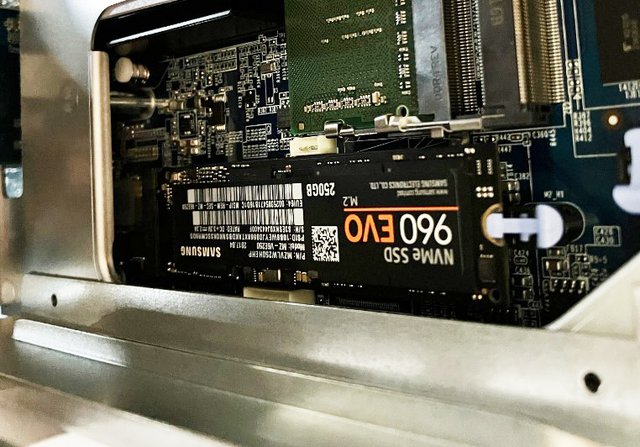
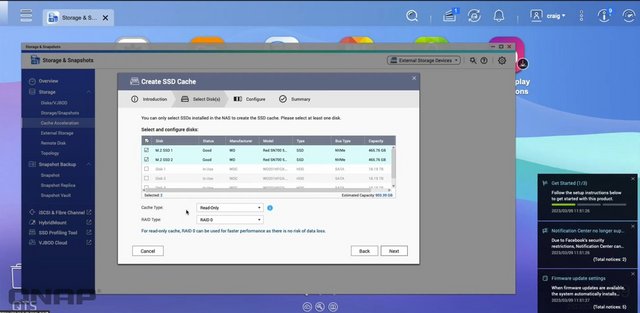
Internally the QNAP TS-462 NAS provides 2 x M.2 2280 PCIe Gen 3 x1 slots for NVMe SSD caching, or SSD storage pools.
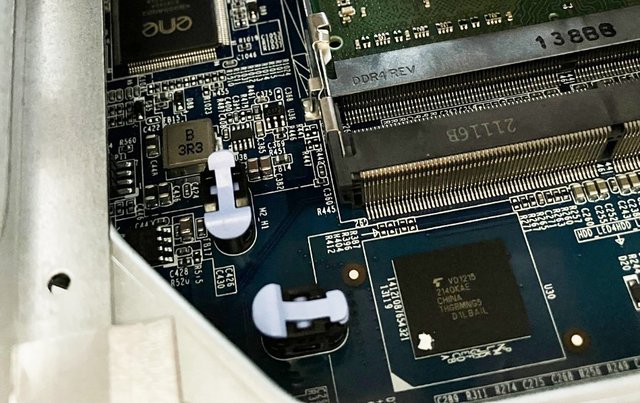
M.2 SSDs are also installed without tools with the help of a latch.
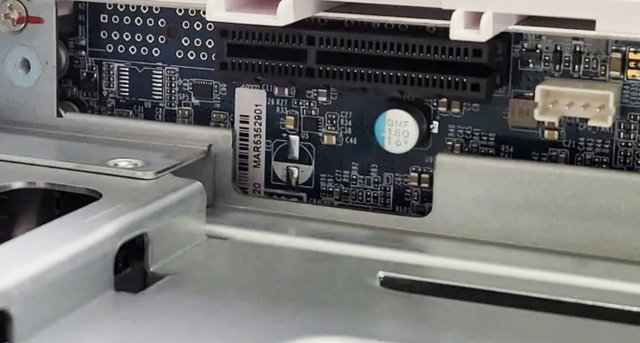
Additionally, the TS-462 has a PCIe Gen3 x2 slot which enables expansions with a 10GbE/5GbE network card, QM2 card, or a USB 3.2 Gen2 (10Gbps) card.
Initialization
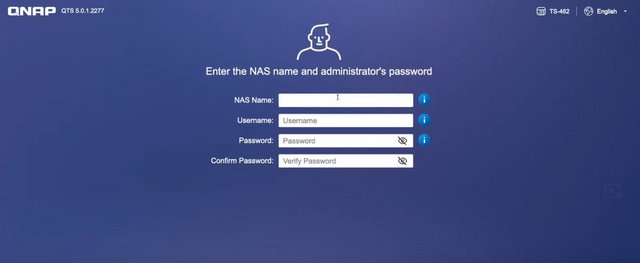
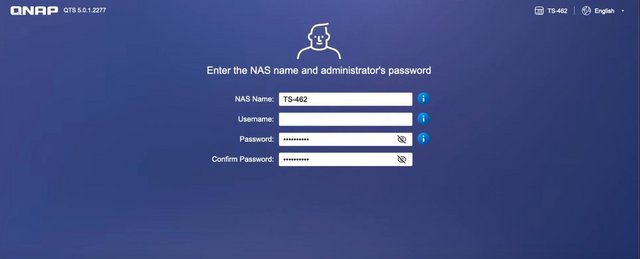
The software benefits start right when you jump in with how QNAP has simplified their initial setup. You can of course use their app along with the QR code on top of the NAS to find the NAS or look for it listed in your router. Once you are there you start with a one click start button. From there they run you through a few basic steps to get things configured.


This includes naming the NAS and setting up your admin password.
Then they have you set your time zone, configure your network settings, and turn on any of the basic services that you might need.
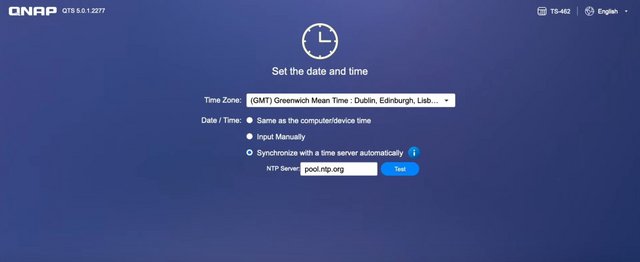
A good example of this is making sure apple filing protocol is turned on if you have a mac on your network or widows file services if you have Windows PCs.


From there they set everything up for you and give you a nice status bar to let you know when it gets close.


QTS
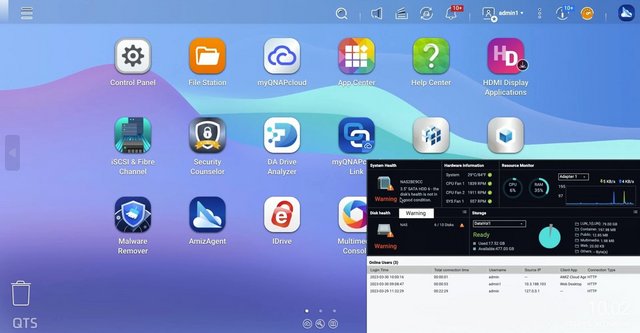
After logging in, the connection via the local IP address takes you to the “Home screen” by default.

Once loaded up you are greeted with the home page which QTS (QNAP's OS name) has laid out like a combination of a mobile OS and a PC. The desktop has installed apps and a few important links like the app store, storage& snapshots, and the control panel. Down at the bottom, there are dots that show what page you are on like a mobile OS. There are a few links at the far bottom that will take you to their myQNAPcloud website and their utilities. The bottom right has the date and time. Then up top on the right, you have status buttons to show if anything is active like a scan (the tower of papers icon), any logged warnings from the last time you logged in (the I with a circle around it), and any external devices. You can open up the resource center with the gauge like icon and the admin dropdown gets you quick access to logout, restart, and shutdown buttons as well as a locate my NAS button which might seem crazy but if you have multiple NAS or have a data center the beep and light on the front will help find it. When you click buttons, switch between applications, expand/collapse windows, all actions are much smoother. The search bar in the main menu also helps you quickly find the applications you want.

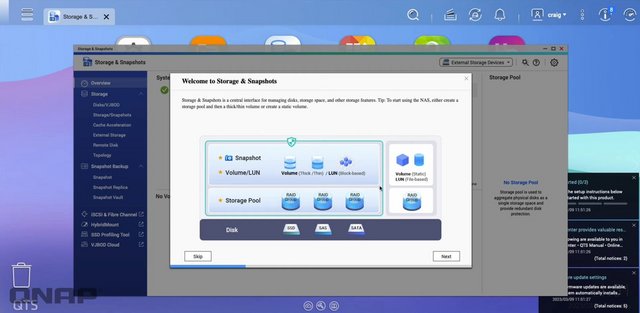
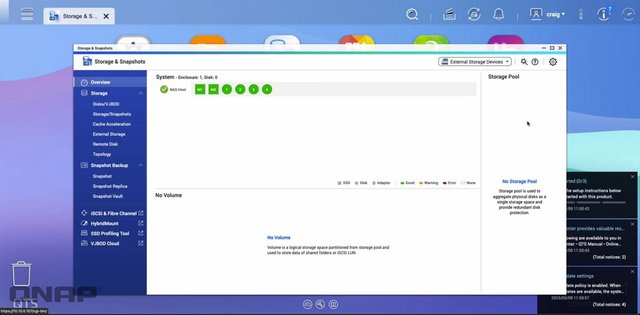
Before getting into the software more I did need to setup our SSDs, which means diving into the Storage and Snapshots section. QNAP makes this easy as when you get in you will see all four of your drives and you have the option on the right there to create a storage pool. You can also setup external raid devices, configure SSD overprovisioning, setup virtual JBOD, and my favorite Qtier all up on the top row. Qtier is interesting because this is QNAP's version of tiering your data which will categorize it in hot, warm, and cold sections and move the data between fast and slow storage options. With a 4 bay NAS, this isn’t the best option, but QNAP has multiple options that include M.2 drives or even dedicated 2.5 inch SSD slots in addition to normal hard drive bays. With the TS-462 you could take advantage of this by using an add-in card to add an M.2 drive. This will keep frequently accessed files on the fast storage and move untouched files to slower hard drives.
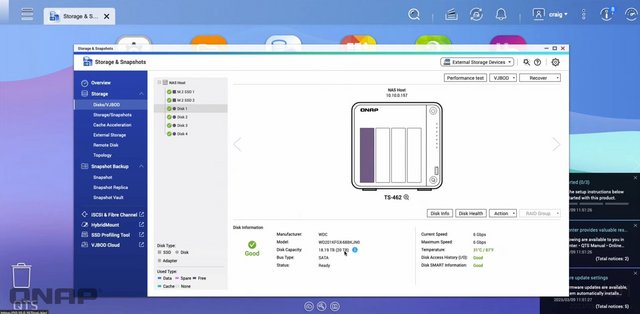
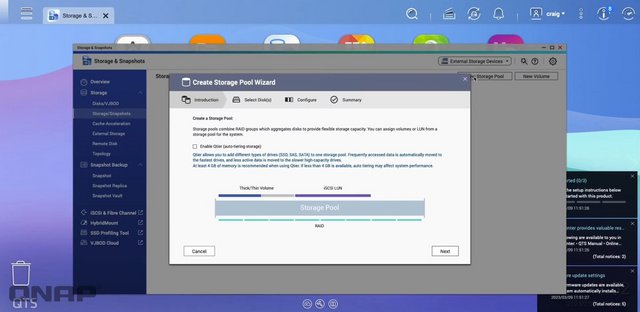
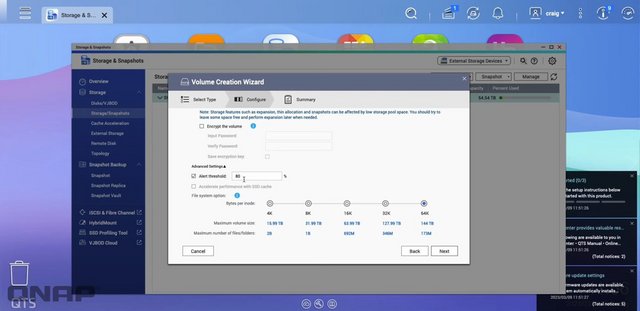
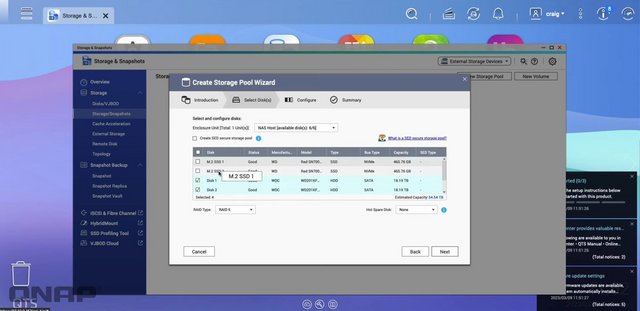
Once you click the create storage pool option they walk you through a wizard to set one up. This lets you pick which drives you want to use and setup the raid type. For my testing I played around with RAID0 but (spoiler) only needed a simple single disk to saturate the 2.5GbE network connection. So I wouldn’t recommend RAID0 here if you don’t need redundancy I would avoid the striping that could cause you to lose everything if a drive fails. But then again, why the hell aren’t you setting up redundancy. For my actual use of the TS-462, I have a RAID5 setup which means I can lose one of the four drives without any data loss. At least some insurance. Once setup you can also look at the individual drives and they even run a speed test per drive.
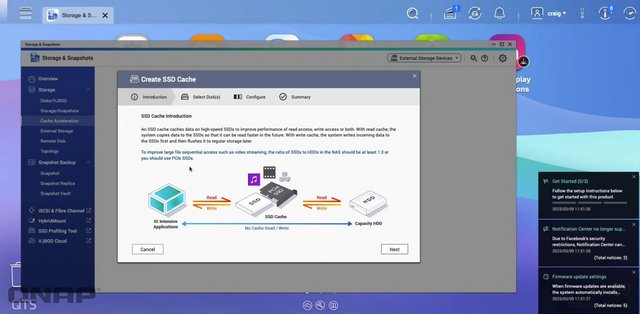
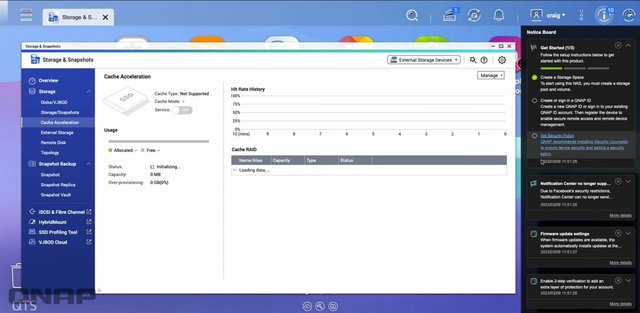
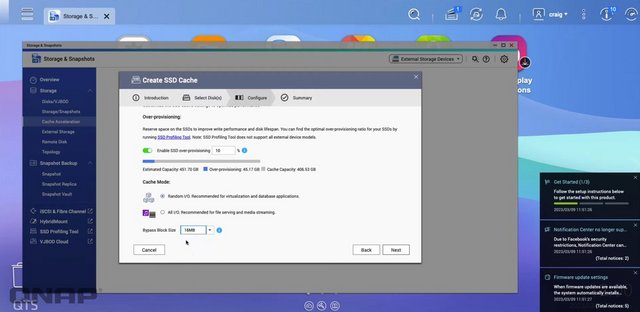
SSD cache is a way of obtaining faster storage, reduced latency, and improved all-round NAS performance and access speeds by storing frequently-accessed data on SSDs. It is greatly beneficial for IOPS-demanding applications such as databases (online transaction processing, email servers), virtual machines, and virtual desktop infrastructure (VDI).
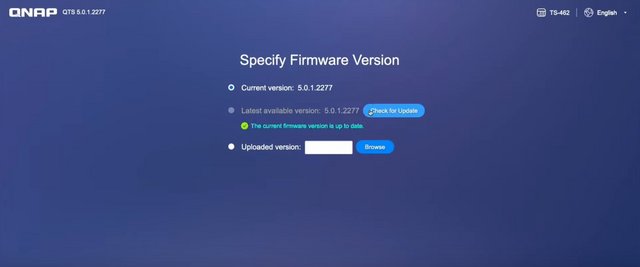
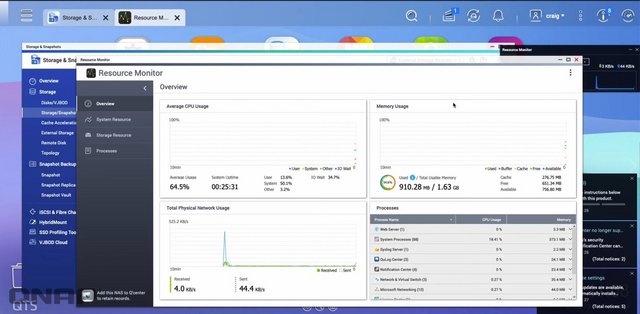
Here is a look at the resource center that the top right button opens up. It’s a quick way to see the status of your disks, your raid, uptime, fan speeds, temperatures, CPU and ram usage, and network traffic all in the top half. The bottom shows any tasks you have scheduled as well as anyone logged in currently. Then they have QNAP news which is listing off all of the firmware updates for all of their lineup.
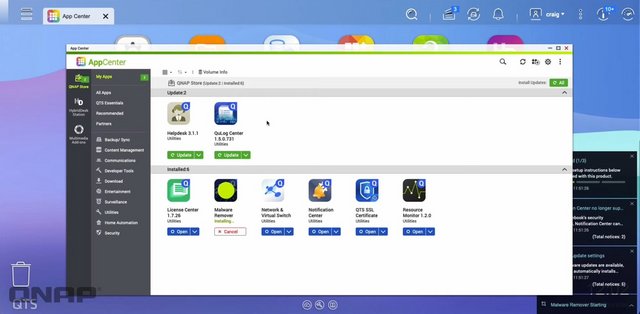
Applications
The App Center is a platform for third-party application providers to upload their applications to and users to download them from. Speaking of apps, it’s the app store in QTS that brings everything to life. Over the years the number of apps available has grown. Qnap themselves has done a majority of them, sometimes in partnership with other apps or software. They have the app store sorted first by what you already have installed. This is where you can check for updates and update everything. Below that, though you have options to look at all of the apps, look at QTS Essentials, recommended, or even partner apps. Then they break things down by category. You will see everything from content management options like Joomla to security camera software. In fact, for camera software, there are multiple options, even from Qnap themselves. They have free and paid options and given how perfect a NAS is as a QVR it's not a surprise. I would love to see BlueIris eventually make it as an option, that is what I currently run for our camera setup.
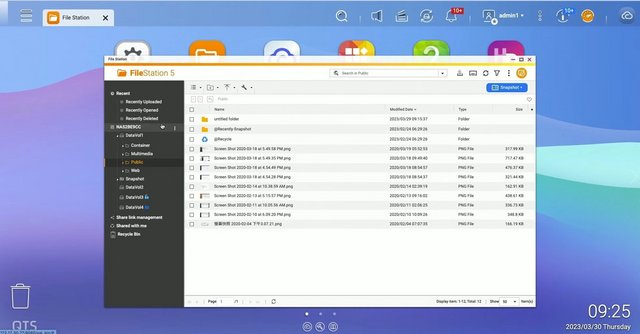
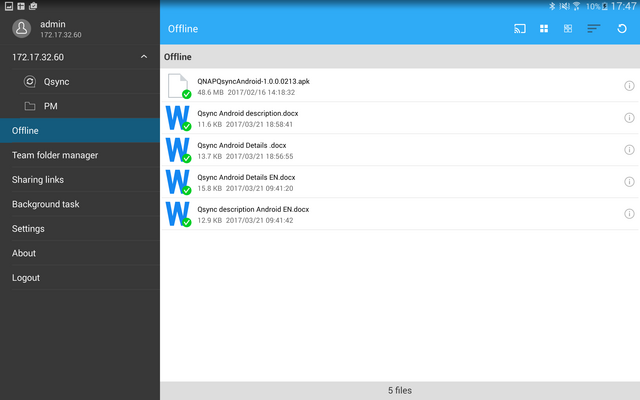
You do have the FileStation 5 which allows you to look through all of the files and folders on the NAS without doing it over the network. This is the best way to handle deleting large amounts of files. You can also create new folders, transfer files between different file shares, and also create snapshots. This is an option in the storage settings that allows for on-NAS backups that can save file changes. This keeps storage capacity lower than doing traditional backup because it doesn’t create clones. The most interesting thing here for me though is that small Chromecast-like icon up at the top. This works with another Qnap app called the media streaming app, the short version is that you can look through files and cast them directly to your Chromecast or Airplay device right from inside of the NAS.

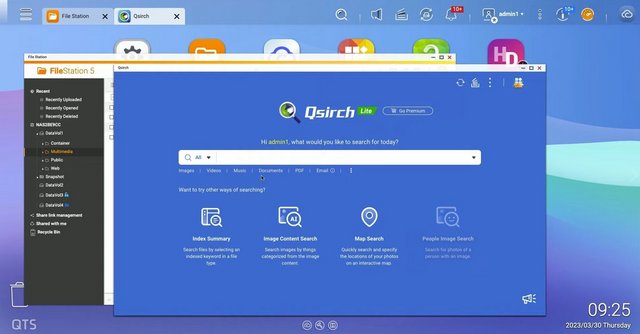
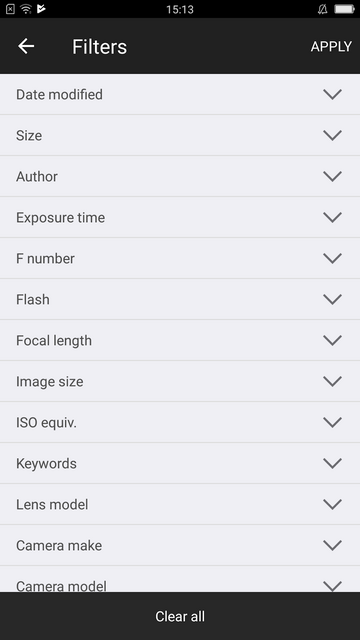
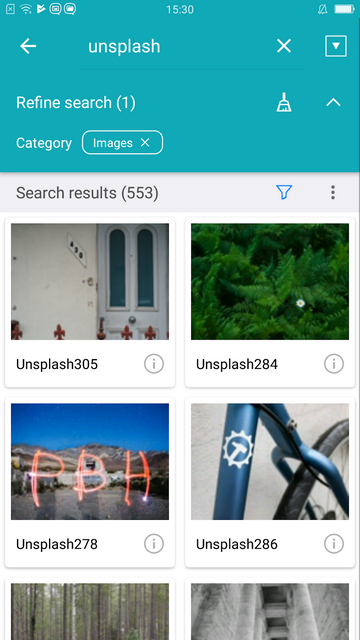
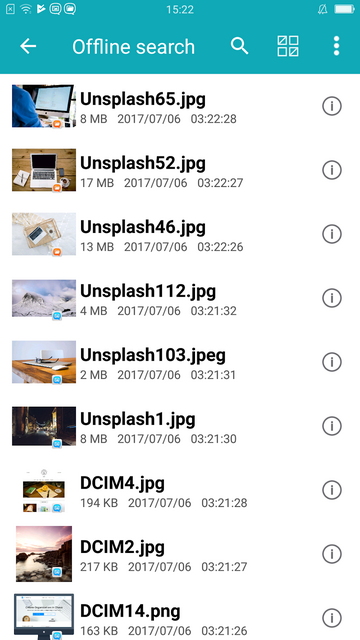
Qsirch is one of the best search algorithms available for NAS and it will find what you're looking for with speed and precision. It doesn't just search file names, it can also search meta tags and file content for you.
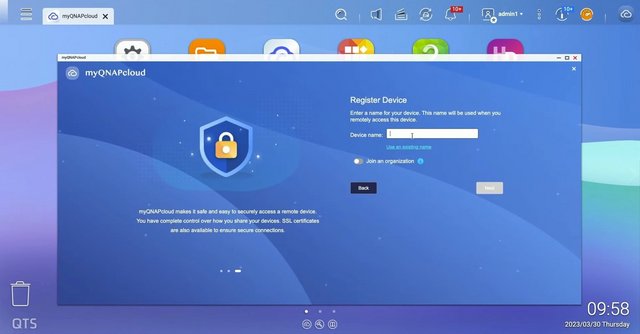
myQNAPcloud makes your files available wherever you are. Simply connect to myQNAPcloud website that links you to your QNAP NAS – as if you are carrying a NAS wherever you go.
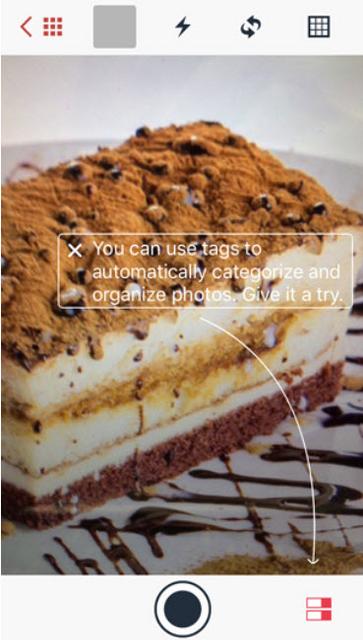
We would like to highlight two areas now. QNAP has always focused on data analysis using AI, or artificial intelligence, and the TS-462 can perform even faster-than-average operations with this type of M.2 socket for caching. This can be of great use to home users in areas such as analyzing images from security camera systems or automatically categorizing our own photos within the QuMagie photo management application. The QuMagie injects a little bit of artificial intelligence (AI) to help you organize your multimedia contents. The Photo Station is more like the File Explore style management for your digital media contents, the QuMagie tries to assist you organize the photos by using facial and object recognition algorithm to identify and group similar contents such as faces, objects, and events, locations, etc. While the QuMagie feels lacks some of the function that the Photo Station, it makes up with the object and facial recognition AI and the simpler and cleaner UI, which would make it easier to use and manage your digital contents. One drawback with the QuMagie is the amount of space it requires to run. Compare to the older Photo Station that is only takes up 18.93MB of space, the QuMagie requires installation of multiple dependent applications: Container (1.64GB) and the QuMagie Core (1.62GB).
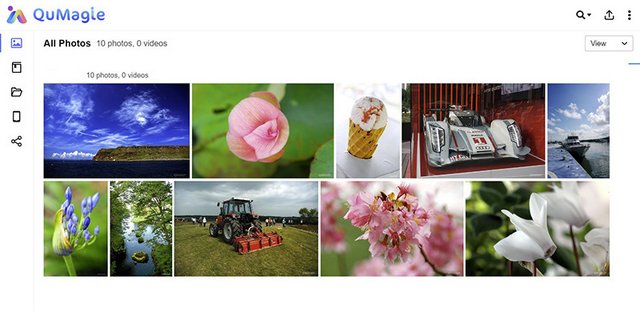
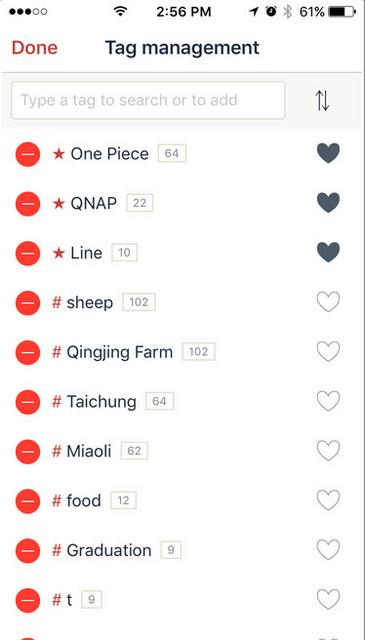
The app lists photos and videos in the timeline or the thumbnail view. We found the software UI has a little bit of learning curve to get used to it. This is due to lack of simple feature such as drag and drop and right click support, so editing photos requires multiple clicks. Once you familiarize with the UI, it is a handy tool to use in conjunction with the Photo Station to help sorting and organizing photos. The idea with QuMagie is that photos placed in the designated folder on the NAS gets automatically sorted by the software algorithm and placed in one of the three categories: “People”, “Things” and “Places”. Users are able to further organize photos using tags, create album, or a smart album that automatically sort photos met the given criteria in the appropriate album. Photos can be tagged with keyword, rating, and color. Smart album let us organize images with the metadata such as date, file size, location, as well as the tags created. The date taken option is a neat one where we can set a period and any pictures/video that are taken within the given dates would be put in the same album. This is a handy tool for quickly putting all of your vacation memories into one album. The option to sort by the camera brand could also be useful to organize contents taken from multiple devices though it would be more useful if we are able to further sort by the specific camera model.

The QuMagie’s facial recognition worked well. QuMagie provides us an option to group same person’s face. Furthermore, we also have the ability to create a list of people excluded from showing under People” page.
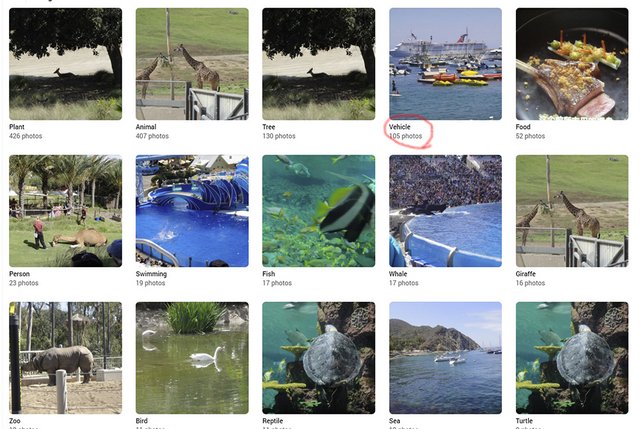
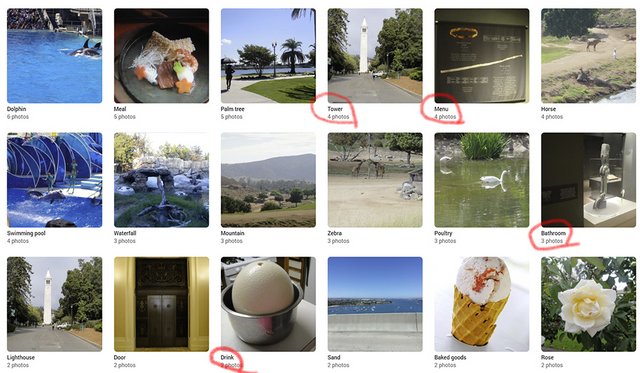
The “Things” album is where the software places objects it recognizes. Typical animals such as horse, elephant, and bear, etc get identified. There are also sports, plants, waterfall, and others. We really do not know what kind of object that the software is capable of identify but looking at the list, it seems to be a wide range of object, events, and scenary. Again, it is not perfect there are plenty of false positive as it identifies an ostrich egg as drink or a well lit statue as candle. While it is not perfect, you can use the app as a rough sorting that quickly places your photo collections into piles in order to organize your digital contents. We are able to creating albumin QuMagie. Though, the process is not the most intuitive where we have to first click the object, then the pictures you want to put in an album as the app will not let us just edit or rename the object’s name as an album. We do have the option to back up the albums (which includes smart albums) as a CSV file that can be restored later or on a difference NAS. We also have permissions control to whom to share the album with or set it as Public for anyone with the link to view the album. Further access control can be limited to just browsing or full access. There is a search option in the QuMagie. The options available mirrors to what we get in the Photo Station. It is not an universal search where we just enter a tag, keyword, face name in the search field and the app automatically find any related images; instead, we pre-define the criteria we want to search for before click on the search. Sadly, it does not appear that we could also use the object recognized as a keyword if we haven’t yet tag it.
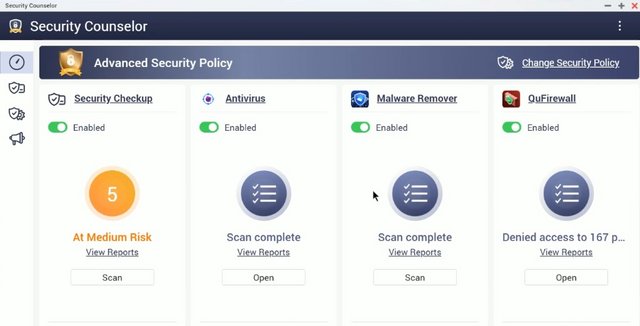
Security Counselor is a centralized security management suite for your QNAP NAS. Security Counselor integrates features such as a checkup of your device security, automatic adjustment of suggested settings, and a unified interface for QNAP’s powerful anti-virus and anti-malware tools.
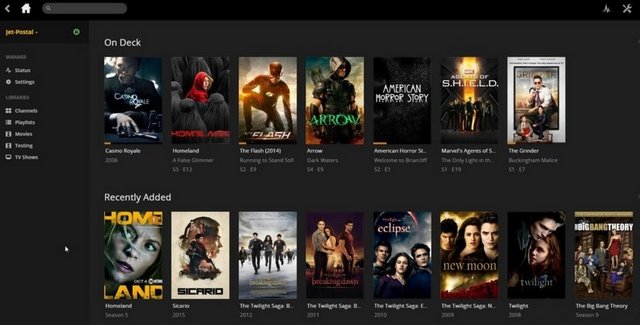
If you have Plex in mind for the TS-462, it can handle up to 4K transcoding reasonably well, so long as you're not hammering the NAS with multiple simultaneous connections. As an added bonus, you could even run Plex Media Server o the TS-462. It's not as good as Intel Core series processor-rocking NAS enclosures, but you will be able to transcode some 4K media. When it came time to access my files, I never felt like I was waiting (short of attempting to stream high-end 4K Plex files).
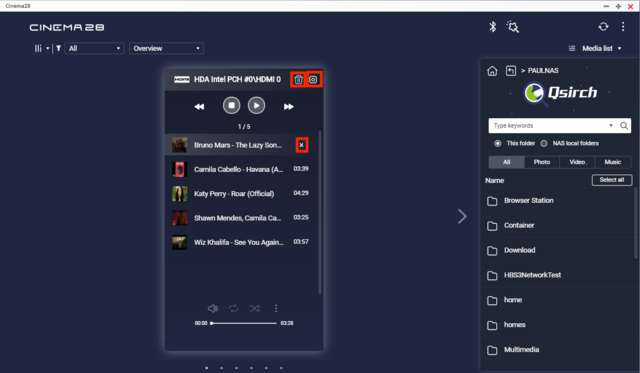
Cinema28 is a multi-zone streaming application designed to help you manage multiple media devices and improve your digital life. With Cinema28, not only can you play multimedia files, but you are also able to view detailed device information, including the current content, current users, now-playing lists, and the applications and devices being used. You can also monitor playback progress without having to switch between various media applications.
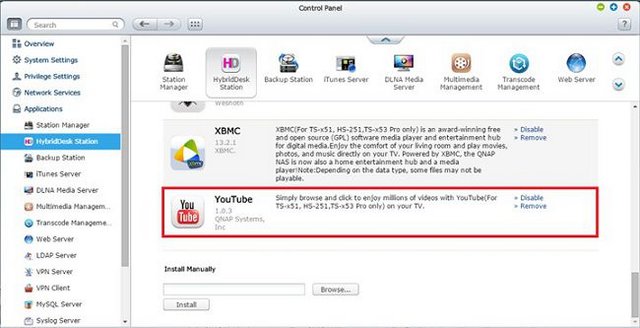
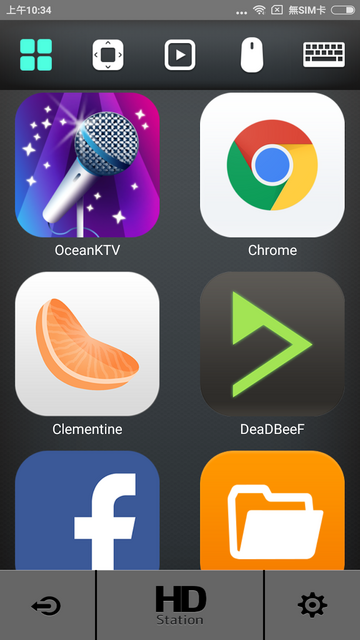
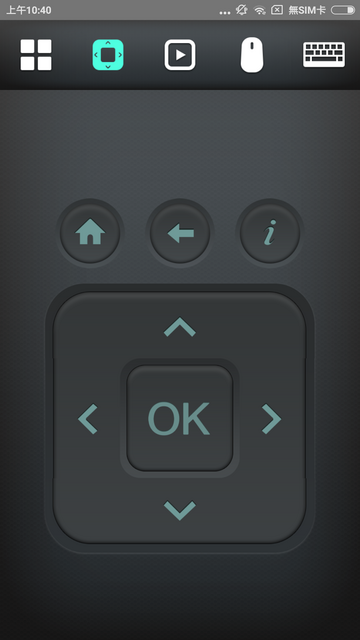
HybridDesk Station is a platform that connects a NAS to an HDMI-compatible TV or monitor enabling direct access to multimedia content and other applications. By installing HD Station and then connecting a USB keyboard and mouse together with an HDMI equipped display, the TS-462 can be used as a 4K output HTPC with the bonus of not needing a PC to use it.
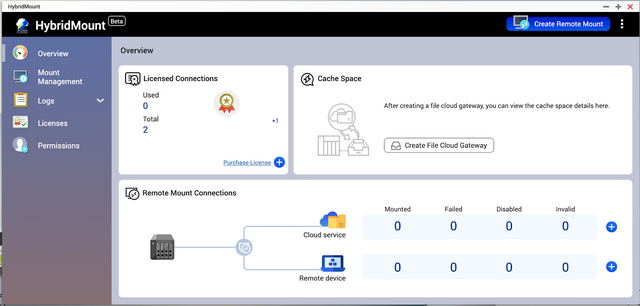
While more current is the HybridMount, a new APP that is capable of creating a gateway between the cloud spaces and the local disks, we will obviously have to dedicate some disk space for cache use but in this way the NAS will allow us to access the files and upload them to the cloud as if we had them locally. This APP does nothing but do what the various native applications of the various cloud spaces do, but it allows us to share access to multiple PCs on the network and back them up. For example, here is a good way to avoid having to switch to Dropbox Business which for some time now hasn't allowed us to have your application installed on more than two devices.
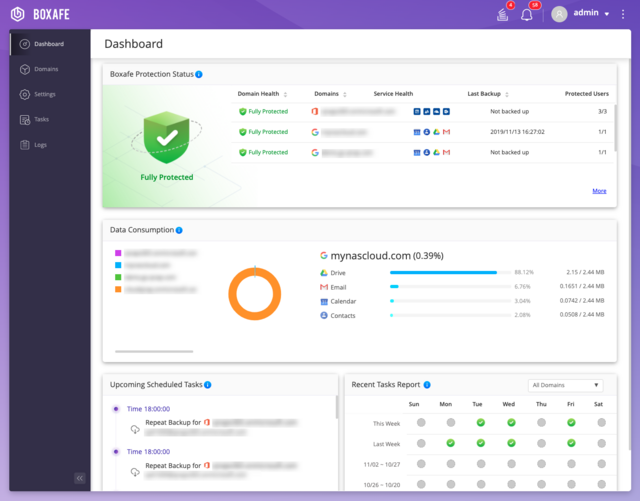
QNAP has also recently released Boxafe, another application that allows us to make backups of Google G Suite and Microsoft 365. Obviously, we are all certain of the safety of our data uploaded to these services of the two internet giants, but… have a copy locally it never hurts.
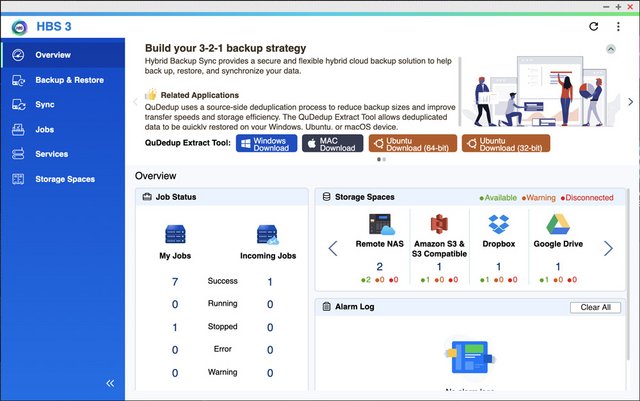
We also have the Hybrid Backup Sync 3, in short HBS 3. This APP is capable of managing scheduled backup copies on remote Cloud spaces, optimizing the bandwidth and space occupied through the use of deduplication algorithms. data in this way blocks of similar data are not transferred several times but rather will be correlated making the backup process more effective and faster and allowing us to save space and therefore money.
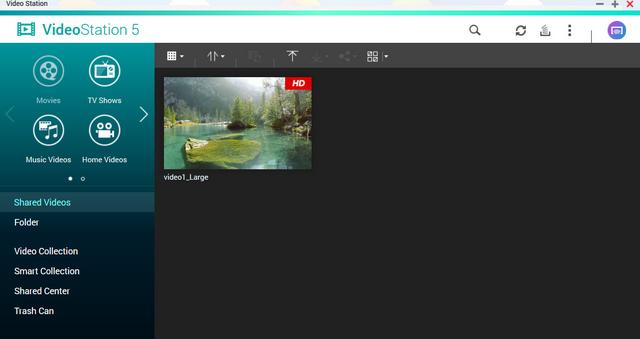
Video Station application is also revamped with the new revision and can playback most video content after it has been indexed.You can use the Video Station application to playback multimedia content, create a personal video website, or share videos on social networking sites. Video Station's performance was pretty good.
QNAP NAS supports streaming media players such as Amazon Fire TV, Roku and Apple TV (4th generation) which allow you to transforming your HDTV into a SmartTV. These particular media players grant you to access your multimedia files from your NAS as well.
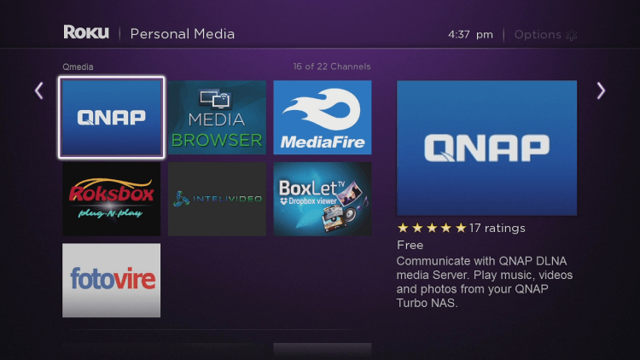
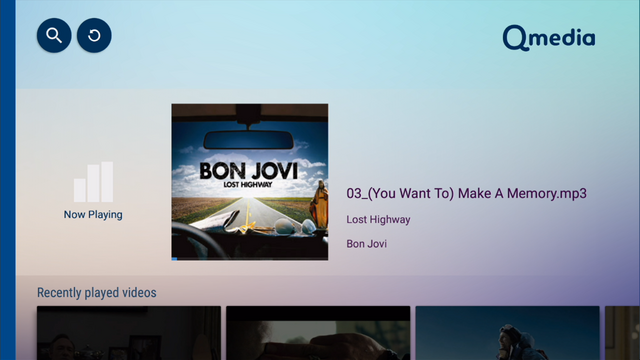
QNAP also has its own streaming app called QMedia which you can use via Roku or Apple TV.
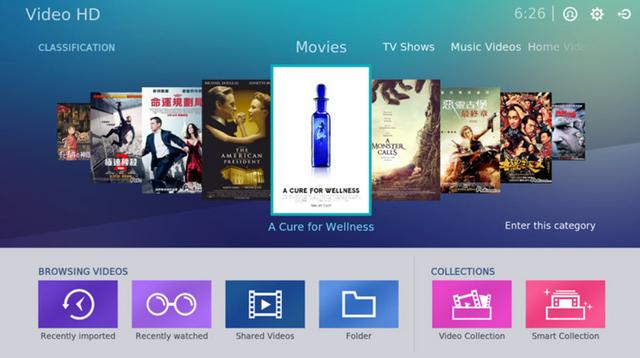
QNAP Video HD is a free KODI add-on that fully supports Video Station's features, including current play time, video type, online subtitle lookup and more. Coupled with KODI's streaming and video decoding capabilities, Video HD provides a high-quality viewing experience and greater choice for users.
QVHelper allows users to stream media files or music playlists from a QNAP NAS to VLC player.

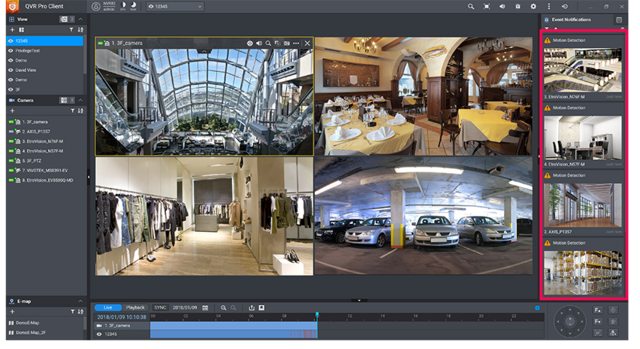
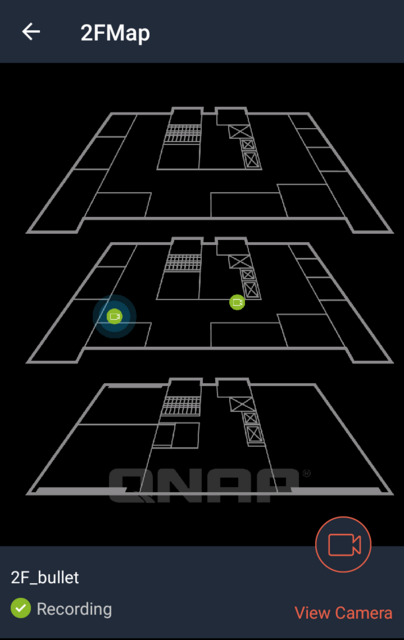
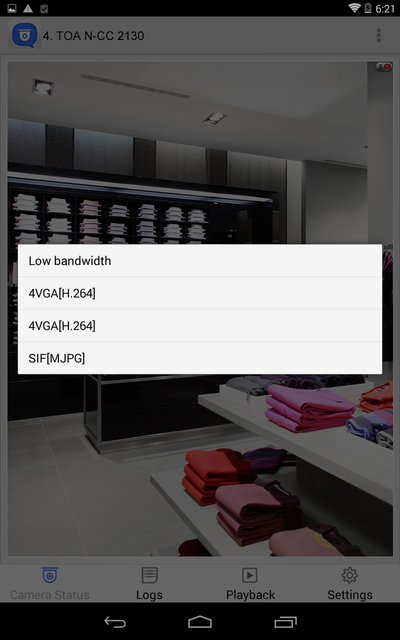
QVR Pro is a surveillance app that runs alongside the NAS OS as an independent operating environment. QVR Pro turns a QNAP NAS into a professional NVR solution with the advantages of NAS storage expandability and integration with a wide range of IoT devices for an enhanced surveillance experience.
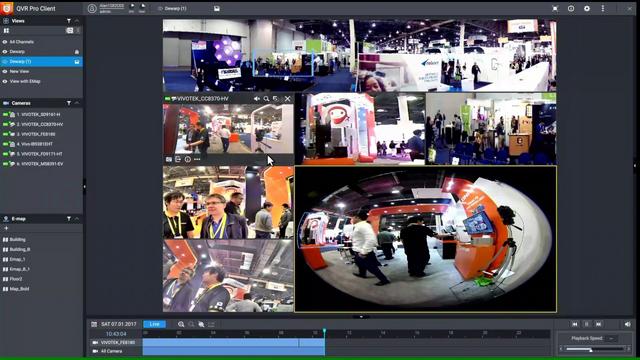
QVR Center offers a central management platform for multiple QVR Pros, while QVR Guard provides dependable redundancy for QVR Pro, ensuring uninterrupted surveillance recordings.
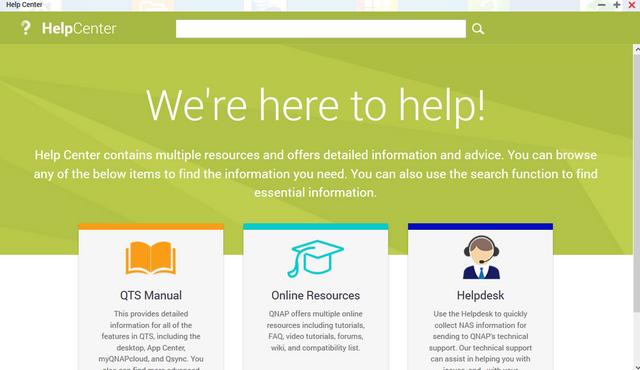
If you get stuck somewhere, Help Center will provide you with the necessary information to proceed.
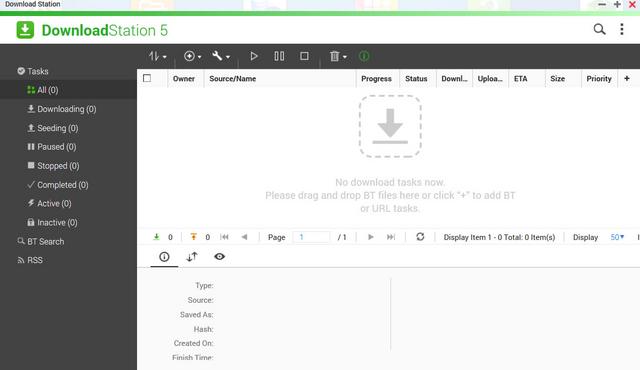
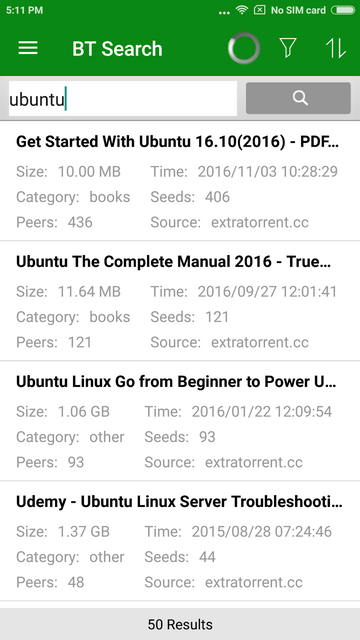
The Download Station is a web-based tool for users to subscribe to RSS feeds and download files from the Internet using BT, PT, Magnet Link, HTTP/HTTPS, FTP/FTPS, FlashGet, Thunder and QQDL. With the BT Search function, users can easily find BT files to download and make their QNAP NAS a 24/7 download center.
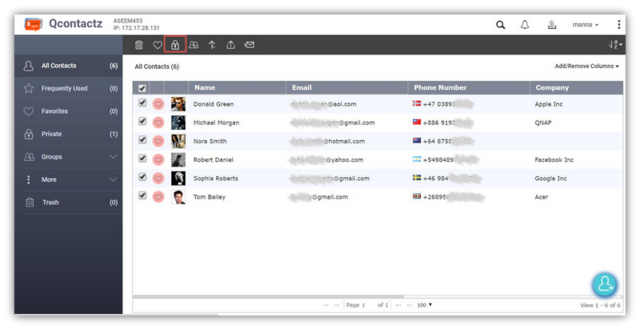
Qcontactz is the perfect way to centrally manage a growing number of contacts from different services.
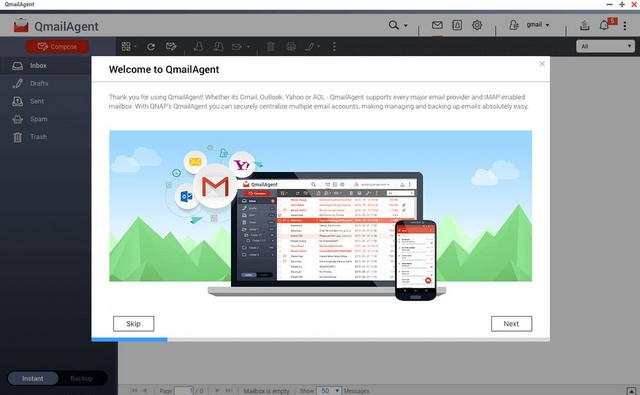
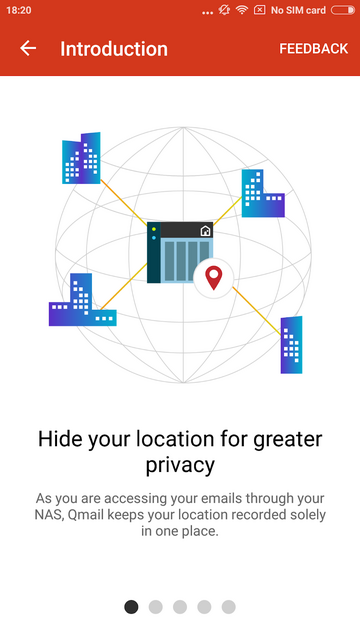
QmailAgent is an app for QNAP NAS that allows you to centralize all of your email accounts and to send/receive emails directly on your NAS.
Mobile Apps
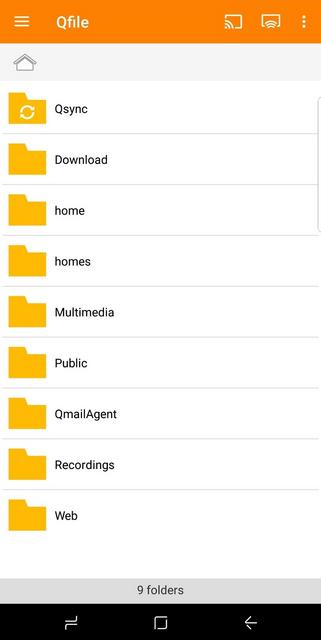
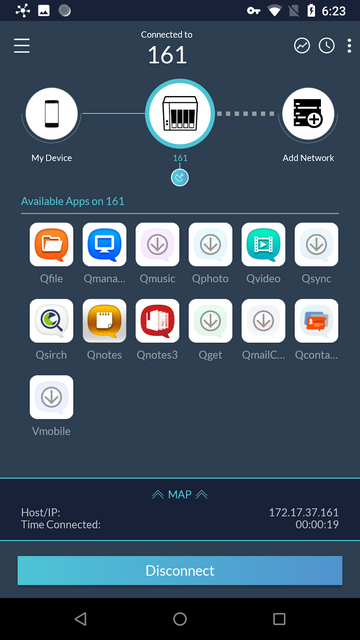
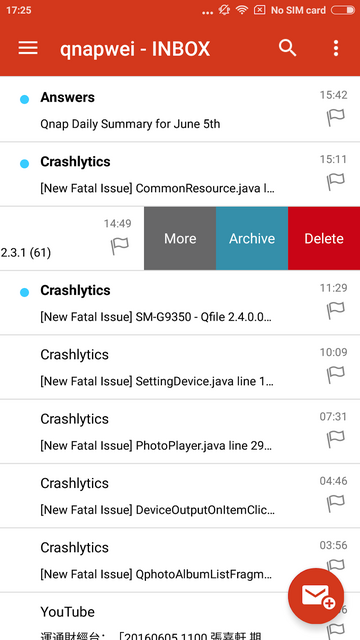
There are a number of mobile applications available to help you administer and even use the TS-462 on the go from any Android or iOS mobile device. You can find them in the Google Play store and Apple App Store, or you can download them directly from Qnap's app center. I have used a number of them to show friends content and images right on my smartphone while out and about. The speed of the apps is limited to your outbound bandwidth for quality of playback. You can browse and manage files stored on your QNAP NAS with Qfile.

Qmiix connects different apps, allowing you to create custom scenarios called “miixes”. Every miix has at least one trigger and one action.
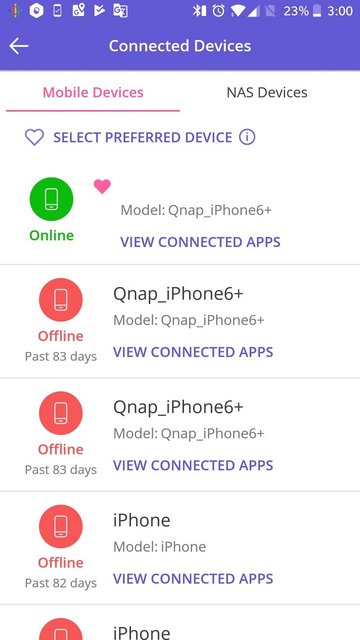
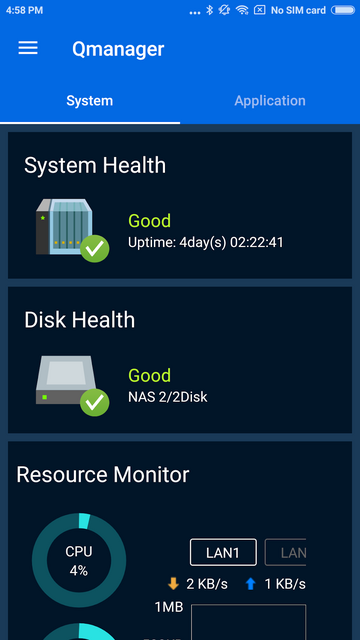
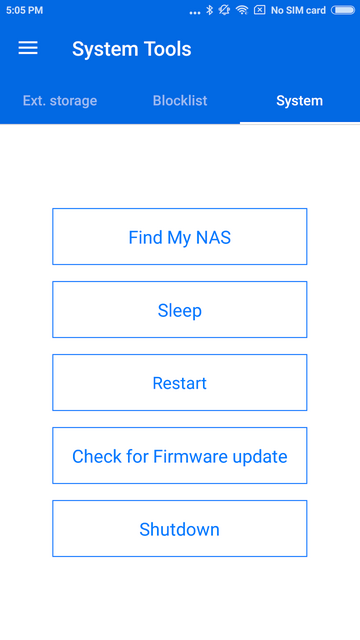
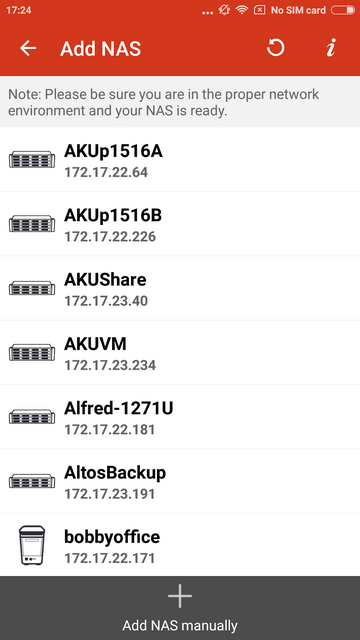
Qmanager allows you to monitor and manage your QNAP NAS. It is provided for free and is available on both iOS and Android devices.
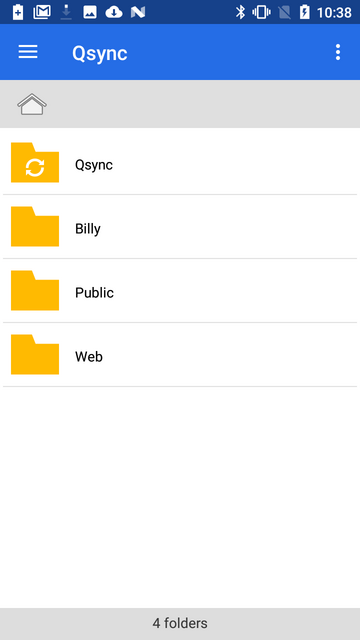
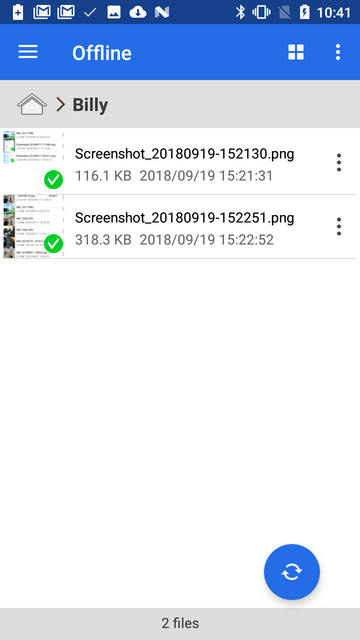
Qsync allows you to browse files on your NAS and connect to Qsync Central for convenient cross-device management.
Qsirch simplifies and quickens file searching on a QNAP NAS and helps users to find out specific files from a massive data pool by using content keywords.
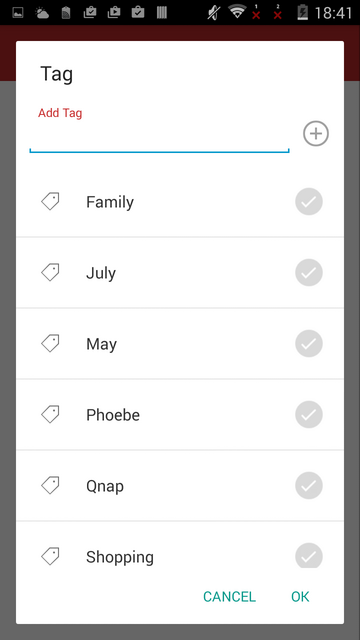
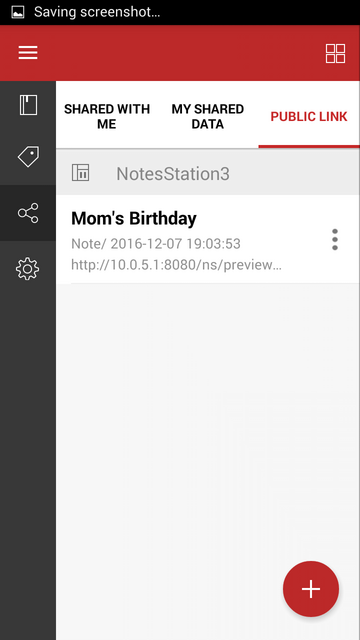
Qnotes is designed to work with Notes Station in a QNAP NAS. It is a convenient note-taking tool for collecting ideas and real-time collaboration with your friends on your android device. Add a note by writing, recording audio, taking photos, and attaching files.
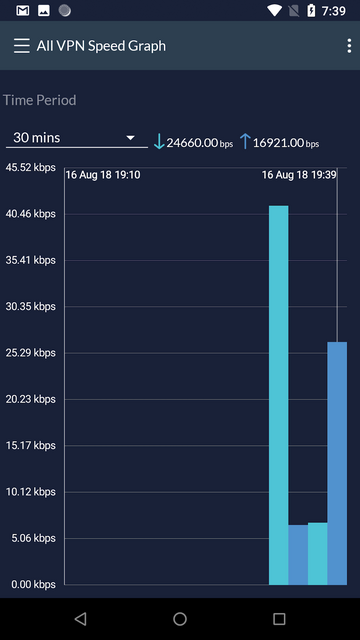
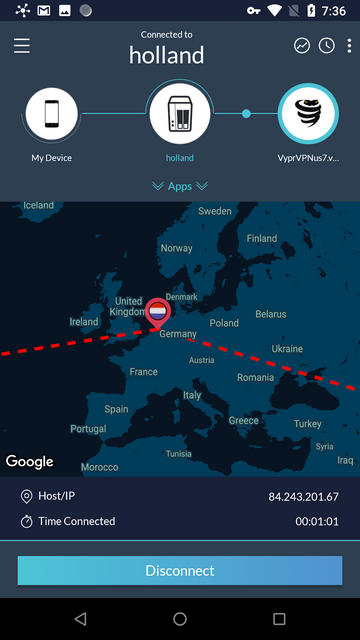
QVPN is a secure connect application that allows you to create the encrypted tunnel to your QNAP NAS.
Switch between multiple email accounts in QmailClient to check your latest emails, and quickly find desired emails using search criteria (such as sender, receiver or subject).
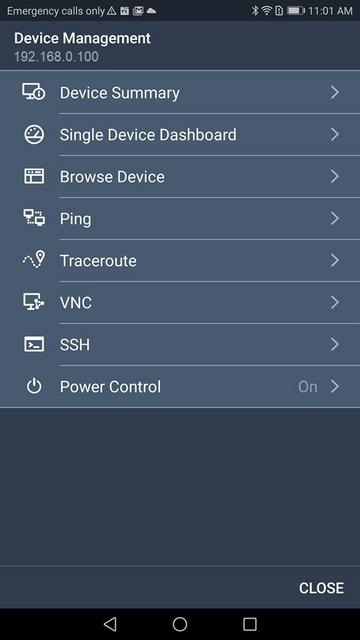
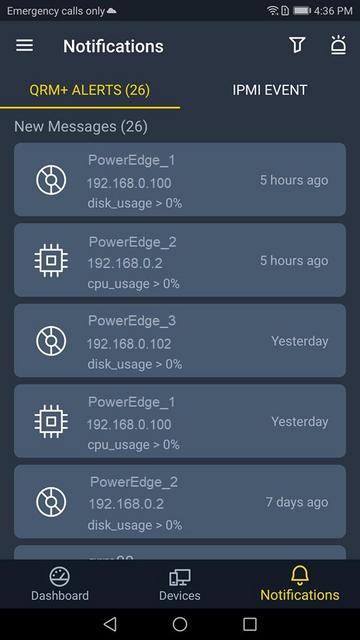
QRM+ provides IT staff with an intuitive single-interface solution for device management and monitoring. For IT staff facing challenging multi-device environments, QRM+ can greatly reduce the manpower and cost requirements of everyday tasks, routine maintenance, and performance analysis of networked devices.
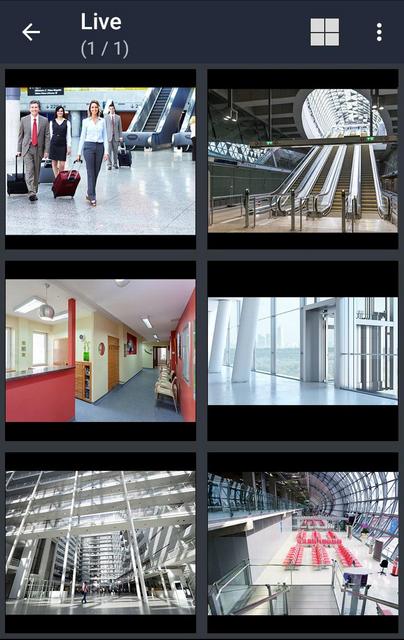
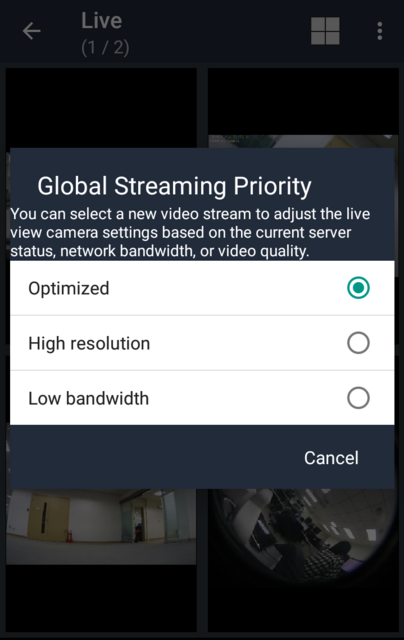
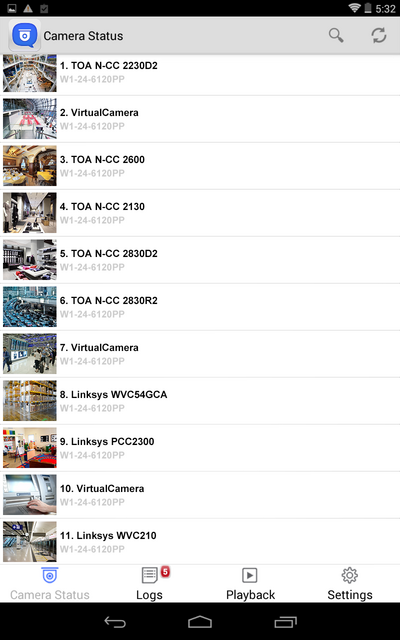
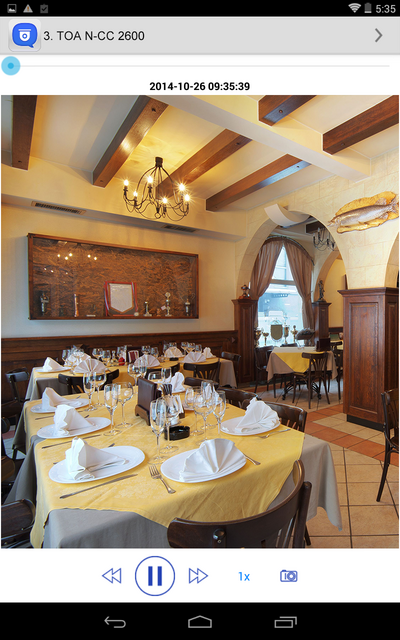
QVR Pro Client provides an intuitive interface for your QVR Pro server, helping you manage IP cameras, monitor live views, and play back previous recordings using your mobile devices.
VMobile is, according to QNAP, this application's creator, a, by connecting it to VioStor NVR, mobile video surveillance application for remotely and wirelessly monitoring IP cameras and their video playback on your Android or Apple phone or iPad. As long as you have network access, you can connect to and manage your video surveillance system at anytime and from anywhere.
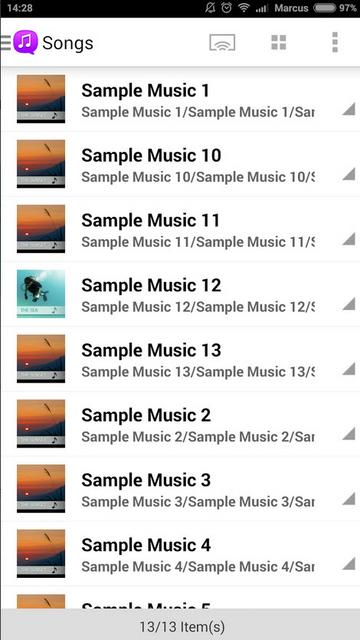
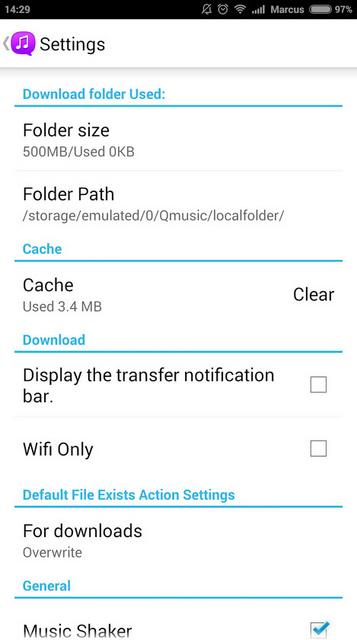
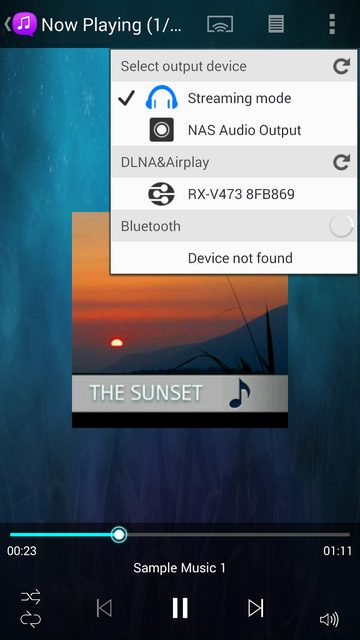
You can use Qmusic to enjoy your music collection on a Turbo NAS at anytime and from anywhere.
With Qphoto, you can now call upon your special moments on-the-go: photos are displayed in an orderly manner with a timeline and you can directly save photos to your device, upload them to a Turbo NAS from your camera and gallery, and share photos by email or social media.

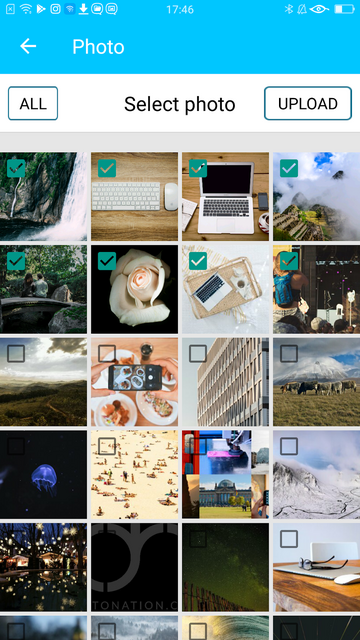
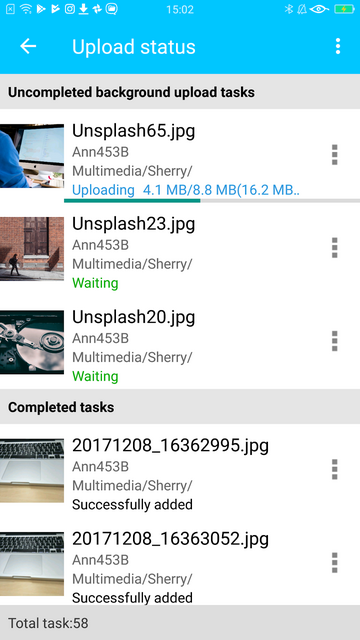
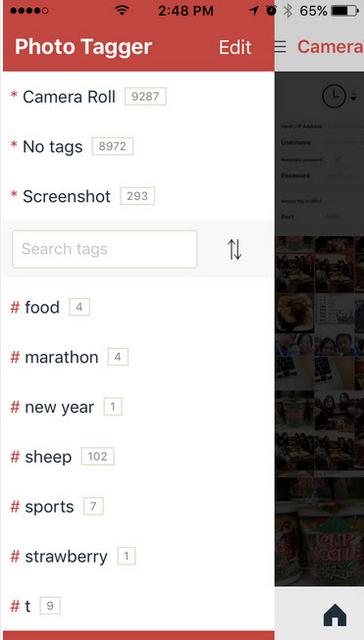
Photo Tagger provides a new solution for photo management. You can use tags to easily categorize, browse, and find your photos. With QNAP NAS, you can also back up photos from your iPhone to the NAS and keep all the tags and metadata.
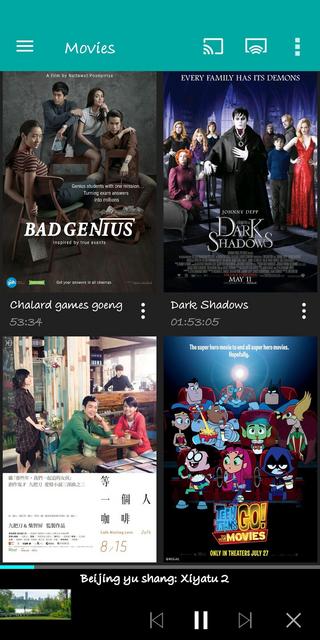
You can use Qvideo to watch videos stored on your Turbo NAS on your mobile device, at anytime and from anywhere. You can also share your movies by sending them to friends and family.


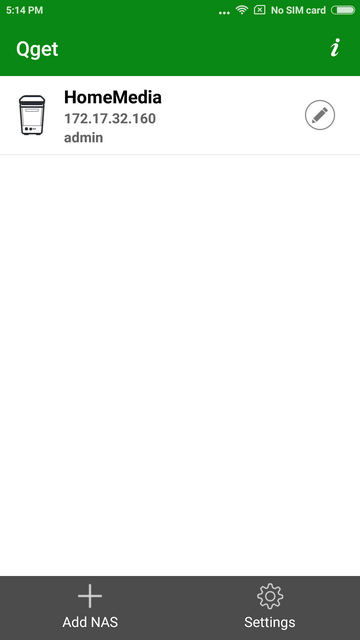
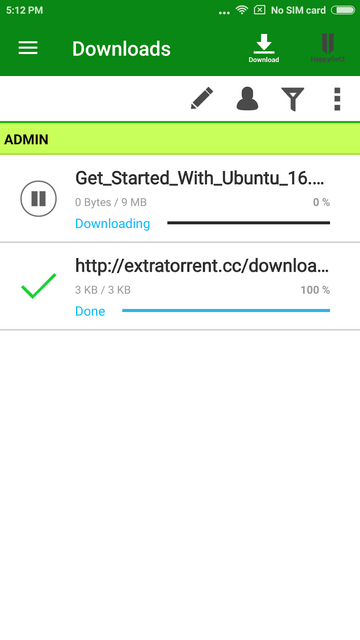
You can add download tasks to Download Station with Qget or back your personal videos up with HappyGet.
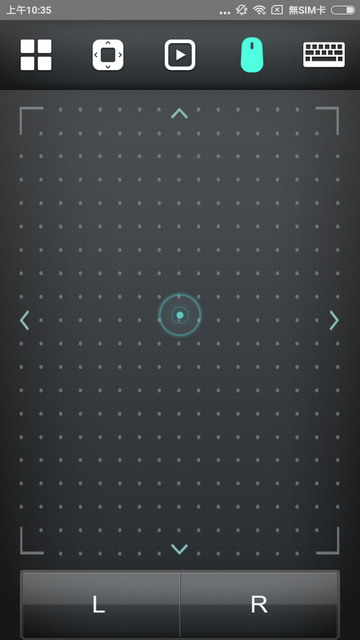
Your mobile app devices can be used to remotely control the Turbo NAS to play music, picture and Videos with Qremote. One mobile app to replace remote controller, keyboard and mouse.
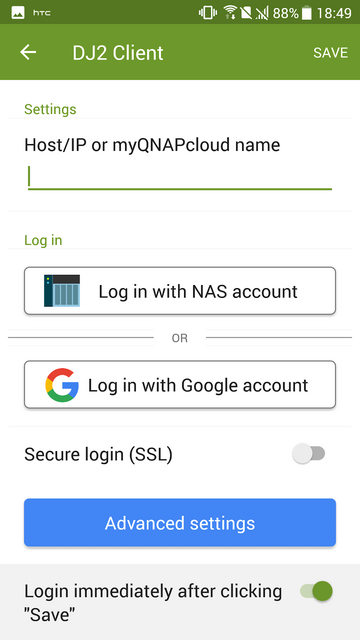
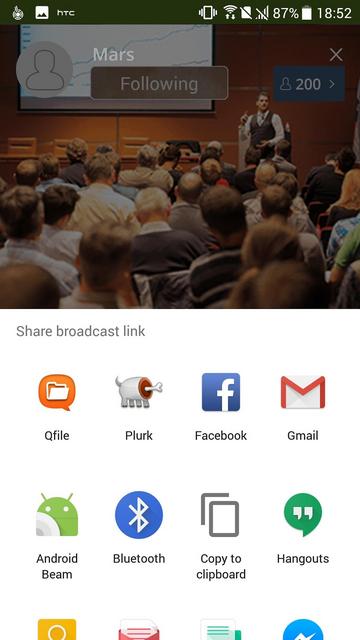
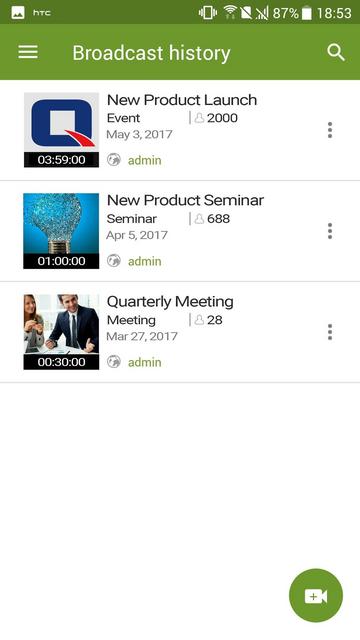
DJ2 Client Android app is the mobile app of QNAP private live video solution DJ2 Live. You can create live programs, view live programs, and playback the broadcast history video.
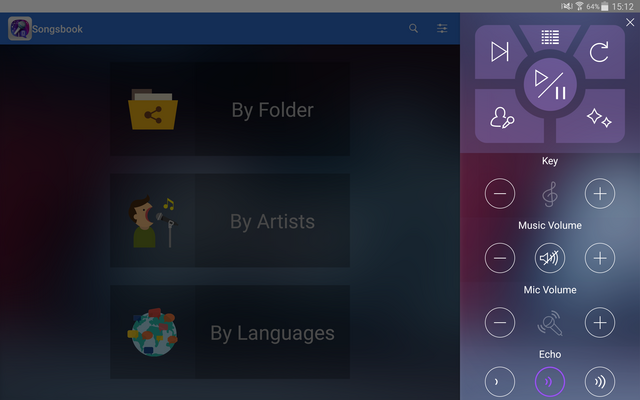
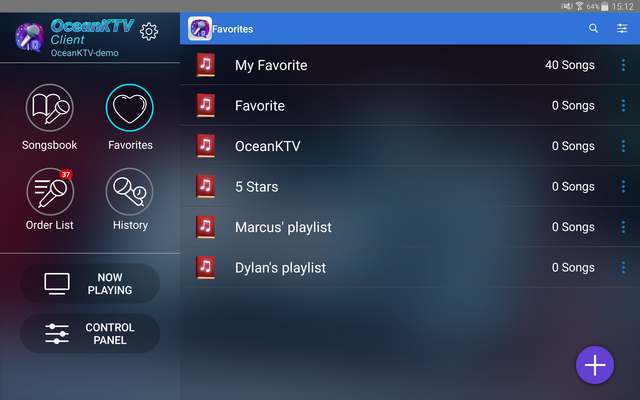
OceanKTV Client Android app allows you to control OceanKTV on a QNAP NAS. You can list songs, adjust the volume, add special effects and more.
Test System & Methology
I now begin the benchmark portion of this article, but first let me show you my test system:

Client is equipped with:
Motherboard: Fatal1ty X399 Professional Gaming (Built-in 10GbE RJ45 x1)
CPU: AMD Ryzen Threadripper 1950X
RAM: 64GB DDR4
Switch: QNAP QSW-1208-8C (MTU 1500), support 2.5GbE / 5GbE / 10GbE
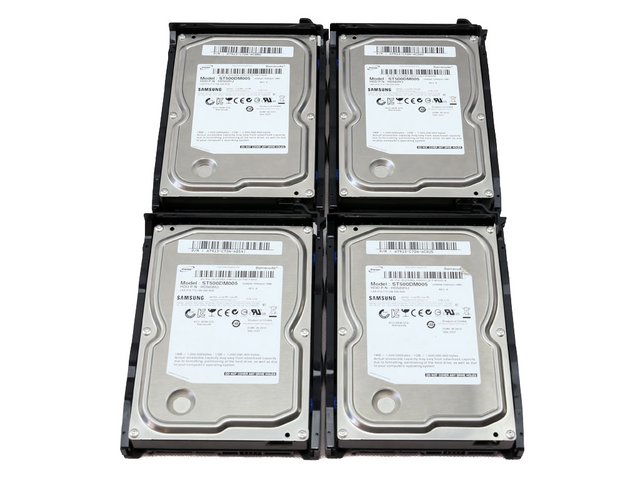
This performance test will test the performance of TS-462 in a 2.5GbE environment, respectively test the performance of HDD RAID 0 and RAID 5. This test uses 1-4 Seagate Ironwolf 6TB ST6000VN0033 NAS HDD hard drives and mounts the NAS storage space to Windows via SMB.
Performance
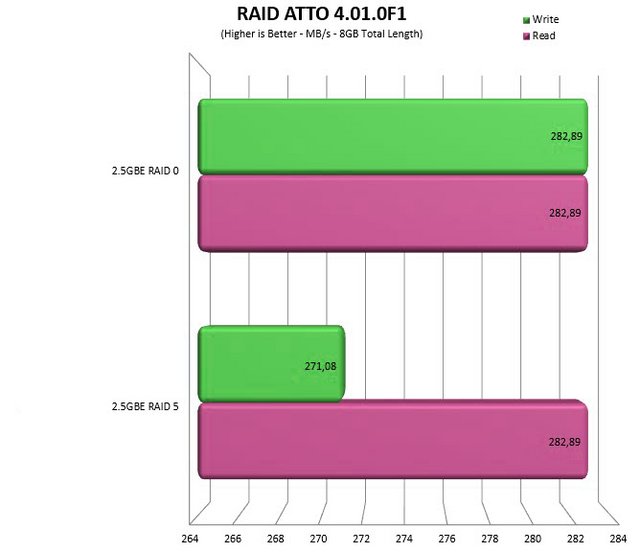
The ATTO Disk Benchmark performance measurement tool is compatible with Microsoft Windows. Measure your storage systems' performance with various transfer sizes and test lengths for reads and writes. Several options are available to customize your performance measurement including queue depth, overlapped I/O and even a comparison mode with the option to run continuously. Use ATTO Disk Benchmark to test any manufacturer's RAID controllers, storage controllers, host adapters, hard drives and SSD drives and notice that ATTO products will consistently provide the highest level of performance to your storage. In RAID 0 we saw a figure of 282 MB/s for both reads and writes while a RAID 5 array gave 282 MB/s for reads and 271 MB/s for writes.
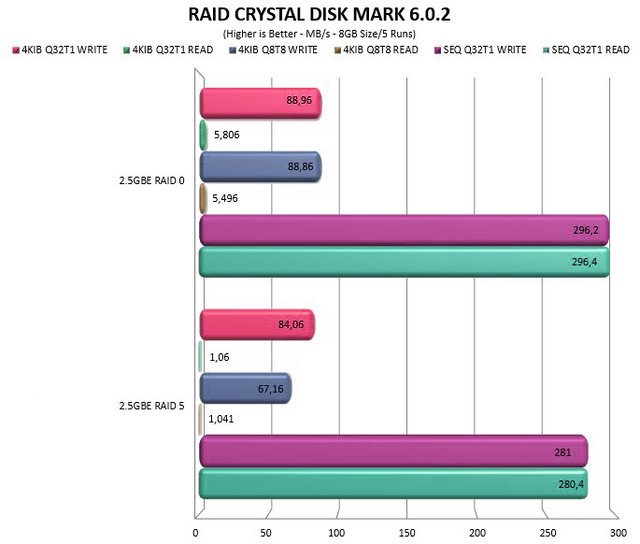
Our CrystalDiskMark testing validated QNAP’s claimed throughput. Those are the best numbers you can hope for, on a 2.5GbE port.
Similar to everything we’ve seen before, the File Transfer provide no Achilles heel for the TS-462.

Final Thoughts
The QNAP TS-462 is a robust piece of hardware that supports many advanced features. QNAP’s TS-462 may be deceptively small but this little 4-bay desktop NAS appliance is packed to the rafters with business-class features. Although it might look a compact, simple and somewhat stylish NAS, the TS-462 is a powerful tool for the office or home office. We like this new external design, which is elegant and more home-oriented. The server's dimensions are compact since an external power brick with a capacity of 90 W is used, which is easily enough. Cooling is handled by a single 120 mm fan QNAP says to only produce 18.8 dBA while spinning at its lowest speed setting. The cover slides off easily to access the toolless, hot-swap drives underneath. The PCIe slot, although it only operates at x2 speeds, gives the unit a good degree of future proofing in the shape of faster networking speeds and/or SSD caching capability. The included PCIe Gen 3×2 slot is located at the top of the chassis. This one doesn't have to tear anything out to insert a card. You just need to remove the back cover. Accessories that QNAP will recommend to use with this slot. It's a 2.5/5/10GbE LAN card to increase bandwidth for the NAS and a Wireless adapter card to add WiFi 6 capabilities to the QNAP TS-462. Bandwidth is better than 1GbE again (maximum speed is 2.4Gbps, close to 2.5GbE). The latest processor from Intel for network storage and mobile devices gives you a huge opportunity. With the built-in M.2 SSD slots, using SSD Cache technology, it allows anyone to boost system I/O and application performance. It would have been appreciated if the ports were PCIe 3.0 x 4 to take better advantage of high-performance SSDs, but the limitations of the format and hardware of the NAS itself must also be taken into account. The RAM of the TS-462 network storage device is two gigabytes. The TS-462 NAS can be expanded to 16GB of memory, which is twice the max memory available in the older model. Thankfully, upgrading the RAM is super easy - you don't have to remove any of the plastic casing's parts. You only need to take out the disk trays to access both RAM slots. When coupled with the two onboard M.2 NVMe slots, the TS-462 can be configured with SSDs storage upgrades to achieve faster performance without needing to add an upgrade card. Qtier technology can also be used to empower the TS-462 with auto tiering that helps continuously optimize storage efficiency across all installed storage devices. QNAP’s QTS is one of the better NAS OS around – it is quick and easy to install, graphically rich and updated on a regular basis. The new navigation style in QTS 5 denotes greater attention to detail. A smoother NAS experience, comfortable visual design, and faster search for your favorite applications. It is particularly good when it comes to walking you through setting up RAID arrays, storage pools and volumes. It also includes some very useful tools for the business environment. One aspect on which this product can focus is certainly its multimedia , which is made possible by the M.2 NVME SSDs for cache acceleration , but also by the presence of the 4K HDMI output and for image management. The software that with AI is able to recognize the images. In this case, in fact, the accelerated recognition of the images is allowed by a set of characteristics. The TS-462 features two M.2 PCIe Gen 3 slots that enable SSD caching or SSD storage pools for improved performance, or Edge TPU which is just right for AI image recognition. Always remaining in the Artificial Intelligence field, the TS-462 manages to accelerate all its AI image recognition processes without affecting other applications and services thanks to the integrated Intel OpenVINO AI engine. To be specified as QNPA AI Core works great and mainly with the QuMagie application. It is a simplified photo management solution that also integrates AI image recognition. Also included the classification of the latter in an intelligent way. It is therefore a product dedicated to all those who may be passionate about the world of photography but also to all professionals. Obviously, even if you are a movie buff, you will find the use of this QNAP TS-462 perfect, perhaps to have an archive at home.
Overall, the QNAP TS-462 proves to be a quite potent and well usable NAS system for home users or even small businesses in the test. The four drive bays allow for a lot of storage space and probably also sufficient reliability in this area. Users with demanding applications can also accelerate the NAS with a RAM upgrade or via SSD caching, or expand it via the PCIe slot. The TS-462 model is priced quite stiffly at €529. However, do take into account that you aren't just paying for the hardware, but the software and support QNAP provides along with this product. The TS-462 is backed by a 2-year warranty at no additional cost. You can also purchase a warranty extension that extends your warranty coverage up to 5 years.

Last edited by testman78; 06-16-2023 at 11:44 AM.
 Posting Permissions
- You may not post new threads
- You may not post replies
- You may not post attachments
- You may not edit your posts
-
Forum Rules


 Reply With Quote
Bookmarks