-
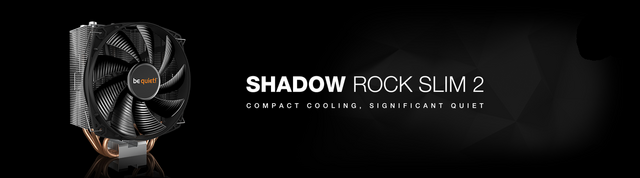
be quiet! Shadow Rock Slim 2
Introduction
be quiet! launched its original Shadow Rock Slim CPU tower cooler back in 2014 with an aim to provide an affordable cooling solution for low to mid-range mainstream desktop processors. The Shadow Rock Slim is now set to be replaced with this new model – the Shadow Rock Slim 2. The new model supersedes the original be quiet! Shadow Rock Slim, but it isn't a lot different, the most significant changes being the move to direct touch heatpipes and a mounting kit change. Nosing around for further inter generational changes spotted that be quiet has stopped referring to the provided 135mm fan as a 'Silent Wings' model, though everything seems to be the same spec wise, in this respect (size, PWM speeds, power usage, noise profile). Lastly, I spotted that the new cooler is 40g lighter than its predecessor at 690g.
Compatibility with sockets instead changes: if on the front AMD only the one with the platforms is insured AM3 (+) and AM4 saying goodbye to the older ones, for those Intel LGA 775 and 1366 sockets are missing, leaving only the most recent and popular ones LGA 115x, 1200, 2011 (-3) and 2066.
Packaging & Contents
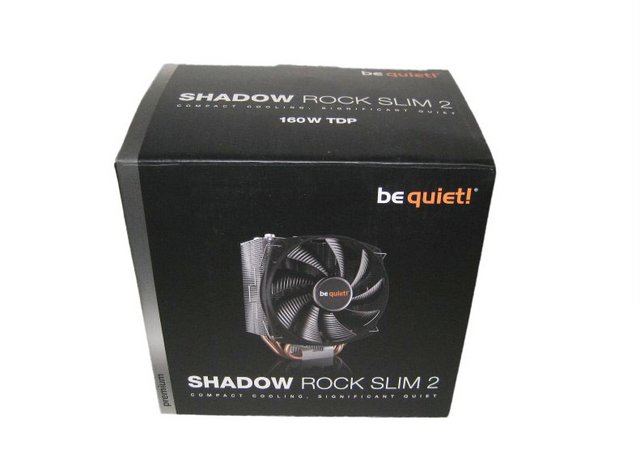
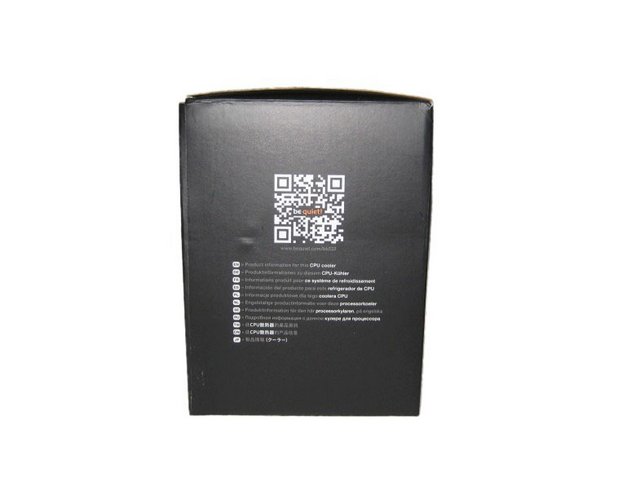
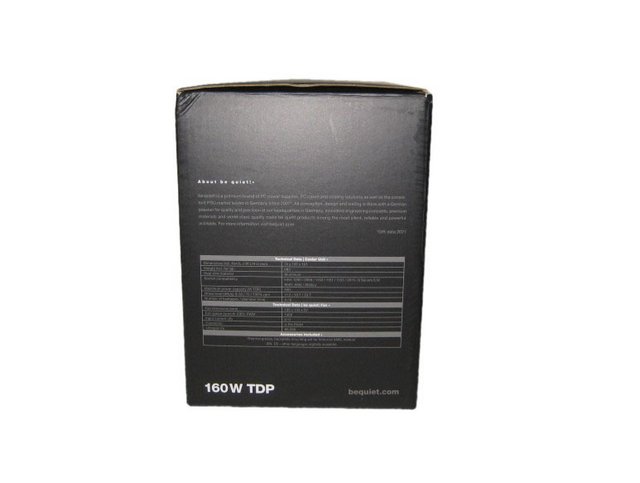
The box is, as typical for the manufacturer, designed in black and only the orange in the logo and the heatpipes form some contrast. The front of the box features the be quiet! Logo in the upper right hand corner. A large picture of the product in the middle with the Name of the Product Model. The top of the box just mentions the product name, and maximum TDP of 160W.
The back details the features. This is done using both images and a in depth description of the product.
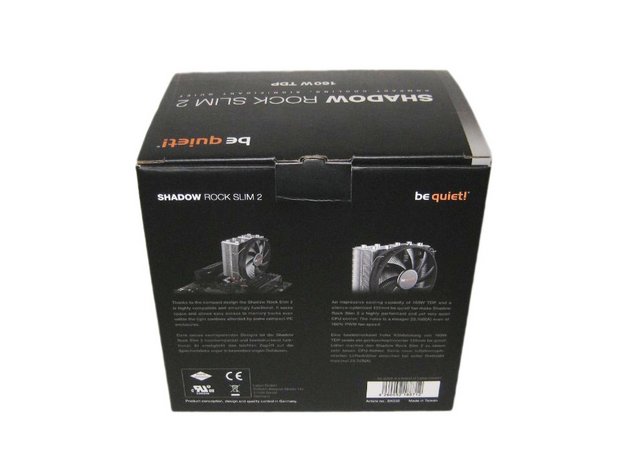
The left side has a QR code for quick access to product information.
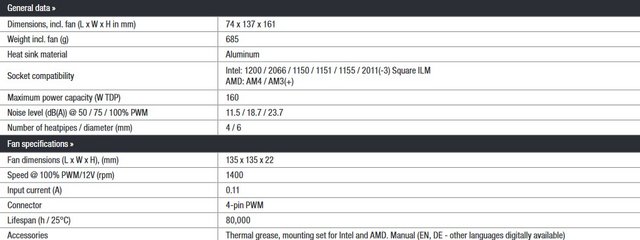
Turning to look at the right side of the box, we find a specifications table detailing most of the information buyers will find pertinent. This includes the cooler's weight, dimensions, fan RPM, and supported sockets.
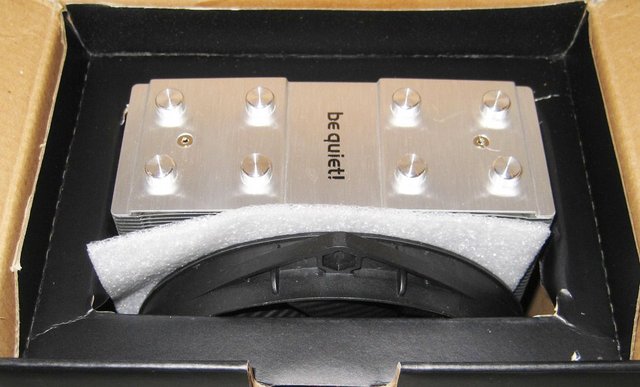
The packaging is mostly cardboard, but be quiet! did slip some foam in to protect the heatsink and fan, which is always nice to see. The mounting hardware is kept secure in a smaller box, while a flap on the top helps secure everything in smaller, separate compartments.
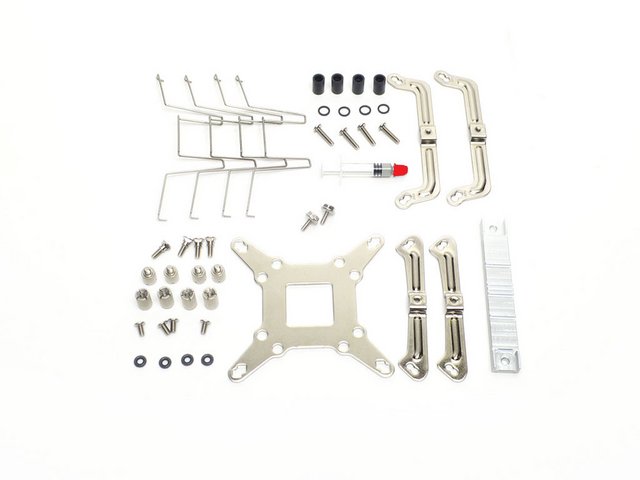
Contents of the packaging include a smaller brown box filled with accessories, and installation manual in various languages. Inside the smaller box is mounting hardware for all the compatible socket types and four fan retaining clips, enough to install two fans to the cooler. The mounting hardware is the same as with previous be quiet! coolers from this generation and should pose no real problems. It supports the majority of today's modern sockets, and while the smaller parts can be a bit of a pain, they do serve a proper purpose. I wish the crossbar or mounting bridge that secures the cooler to the socket were secured to the heatsink rather than free-floating, but that is a minor complaint I have with most of their coolers. At least it won't be as much of a challenge to work with here because of the cooler's smaller size.
The product comes with the following accessories:
– 1x Manual
– 1x Cooler mounting beam
– 1x Tube of thermal compound
– 1x Intel backplate
– 2x AMD mounting arms
– 2x Intel mounting arms
– 4x Intel backplate screws
– 4x AMD backplate screws
– 4x Rubber O-rings
– 4x AMD washers
– 4x Mounting bracket screws
– 4x AMD spacers
– 4x Intel 115x/1366 spacers
– 4x Intel spacers
– 4x Thumbscrews
– 4x Fan clips
– 2x Mounting beam screws
A Closer Look
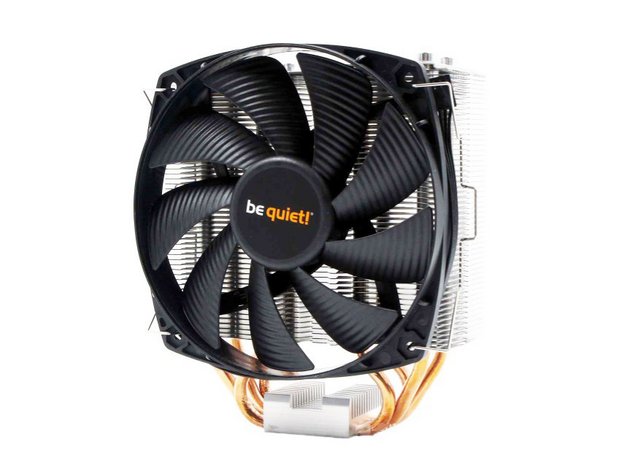
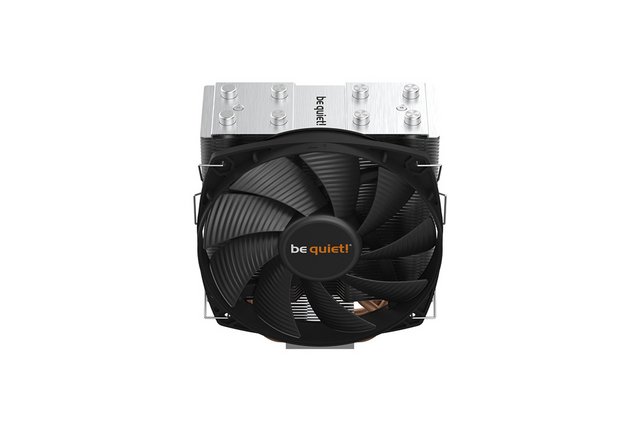
The Shadow Rock Slim 2 has a minimalist design which combines two colors, black and silver. The cooler has a single tower heatsink design and uses a single 135mm silence optimized be quiet! fan for the active cooling. The dimensions of the heatsink are: (L) 74mm x (W)137mm x (D)161mm. The total weight of the heatsink without the fan or mounting system installed is around 593g.
The materials used in the construction of the cooler are aluminum, copper and nickel-plated copper, in addition to the plastic of the fan.
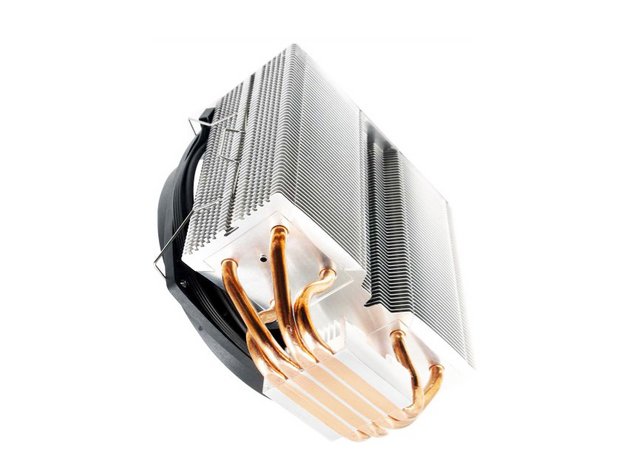
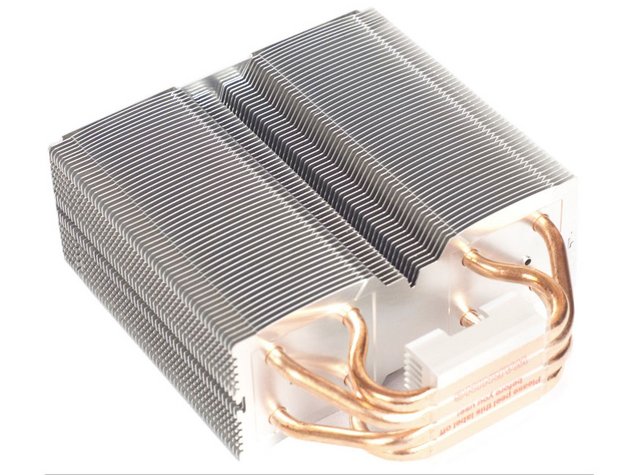
The heatsink has a symmetrical single tower design, with several key design elements installed. The cooling fins are made from aluminum and the heatsink has 53 fins installed.

The back side of the heatsink has a cutout in all the cooling fins. This is most likely done to optimize the airflow that exists the heatsink and allow easy access to the mounting system.

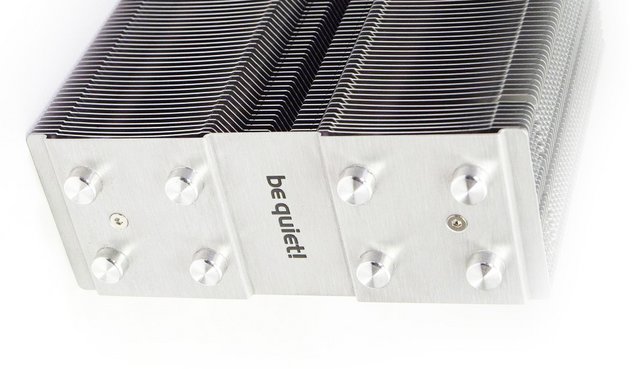
The endings of the heatpipes are covered by metallic caps, which have the same brushed texture as the rest of the top plate of the cooler. Covering the endings of the heatpipes is a nice touch, because most of the time the endings of the heatpipes are not symmetrical. The be quiet! logo etched into its surface.
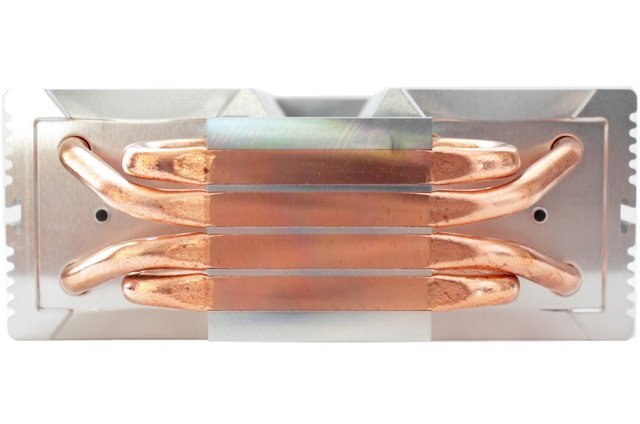
The heatpipe configuration has been tweaked since the first gen. The original model had the same spec – with four copper 6mm heatpipes threaded through the aluminium CPU clock. However, this time around, the block has been ground down so that the cooler offers a direct-touch (with your CPU IHS) heatpipe configuration.
The base of the Shadow Rock Slim 2 is made from nickel-plated copper and has a smooth surface with a mirror like reflection. In addition, there are subtle circular marks left from the manufacturing process.
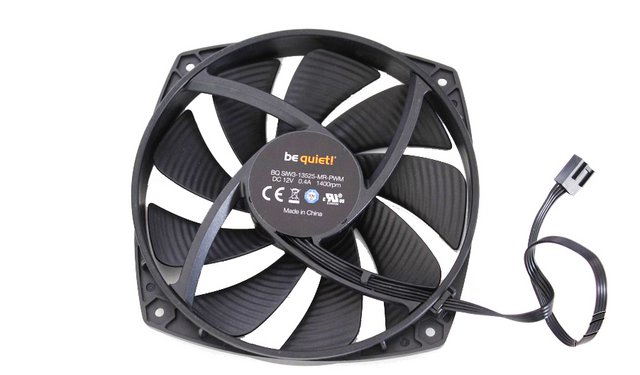
The Shadow Rock Slim 2 uses a single 135mm fan for the active cooling. This fan has the exact model number: BQ SIW3-13525-MR-PWM.
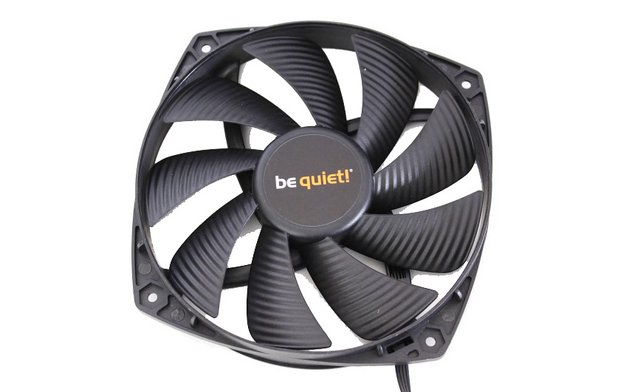
The fan has a maximum speed of 1400RPM and an estimated minimum speed of 300RPM. In addition, the fan uses a 6-POLE FAN MOTOR with a Rifle Bearing system.
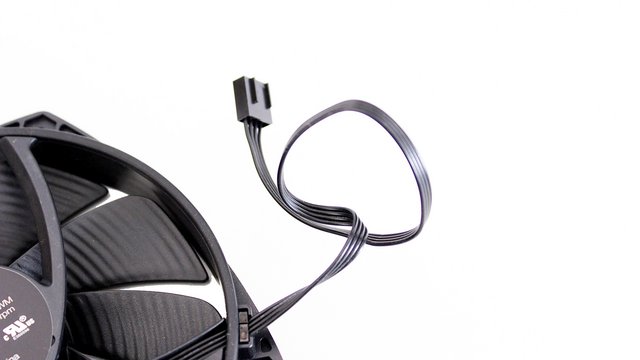
The cable of the fan is all black. The connector used for power is a standard 4 Pin.
Installation Process
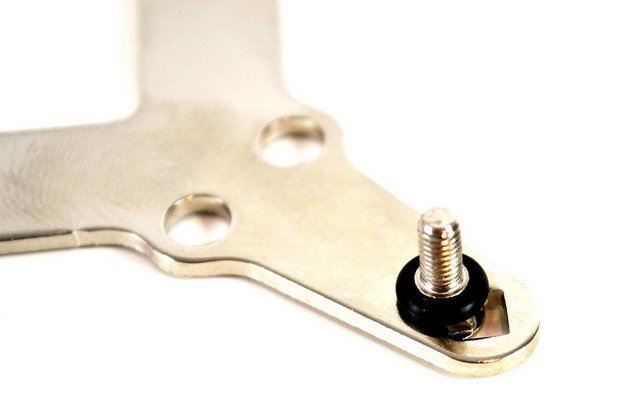
We will be following the relevant Intel 115X socket installation procedure. Since the Shadow Rock Slim 2 is quite a simple CPU cooler, installation on both Intel and AMD platforms shouldn’t be too time-consuming. Intel installation requires the fitting of a backplate to the rear of the motherboard. It’s a simple process that just requires pushing the stand offs through the relevant holes in the backplate and securing with the provided rubber O-rings.
Once all four stand offs are in place, we can lower the backplate into position on the motherboard aligned with the holes.
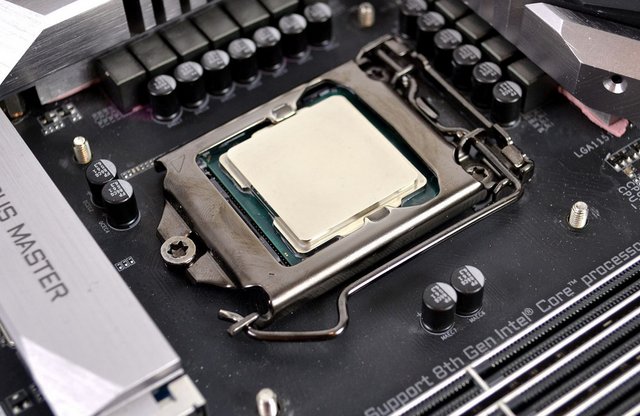
With the motherboard now turned the correct way up, we can see the thread of the stand offs poking through the holes around the CPU socket.
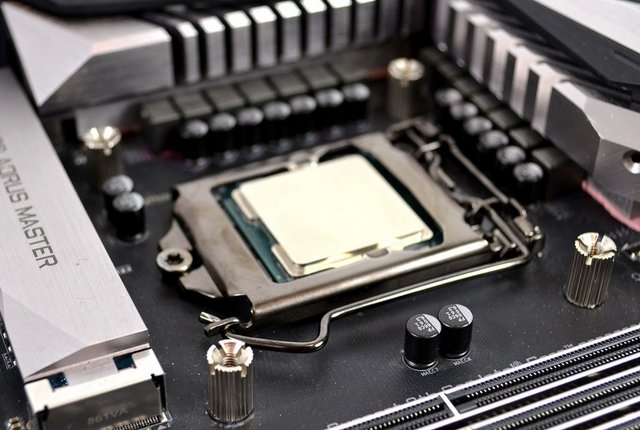
Next, we just need to tighten the stand off posts in position by hand until they are firmly fitted in place. Final tightening of the stand off posts can be achieved using a Philips screwdriver.
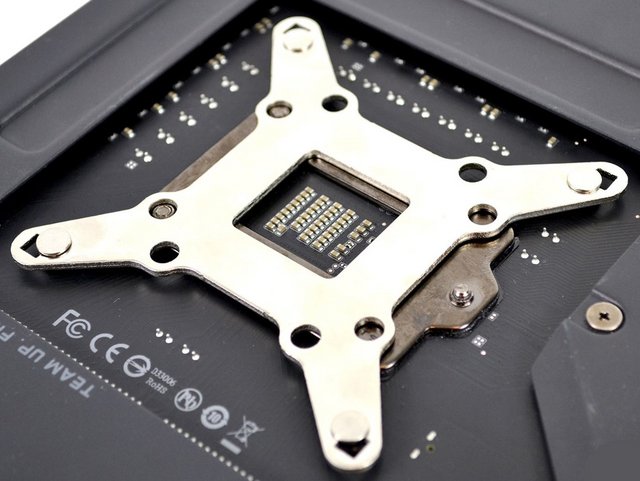
For the next part of motherboard preparation, place the upper mounting brackets in the correct orientation on top of the stand offs and align the holes that correspond to the motherboard socket type.
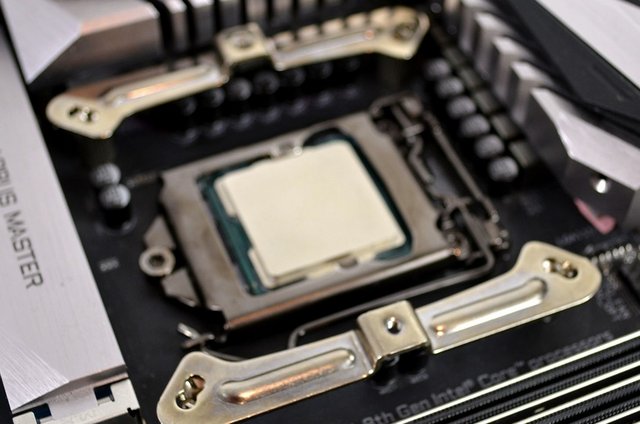
Using the four Philips head screws provided, tighten the brackets in position until they are secure.
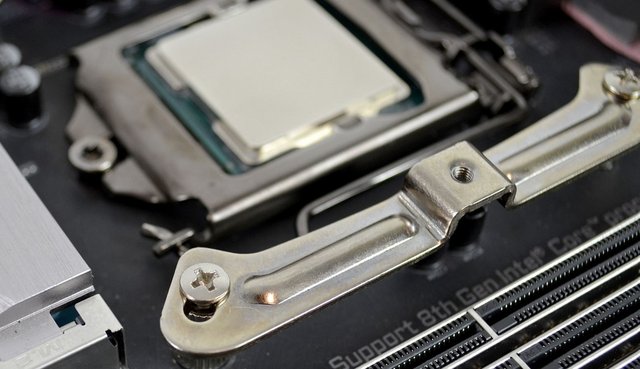
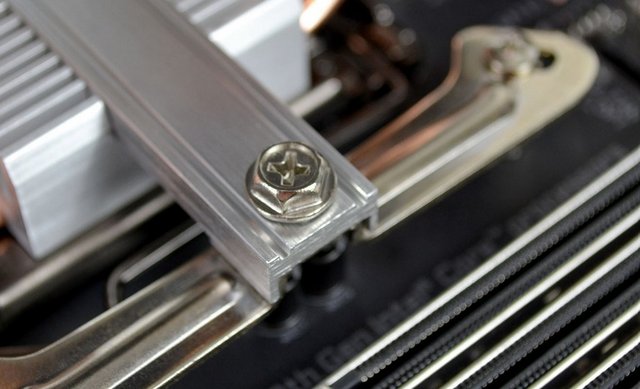
Place the aluminium upper mounting bar in position on top of the CPU block, apply your own thermal compound to the CPU IHS and then tighten the cooler in position using the screws provided. For optimal contact, tighten the screws progressively a little at a time.

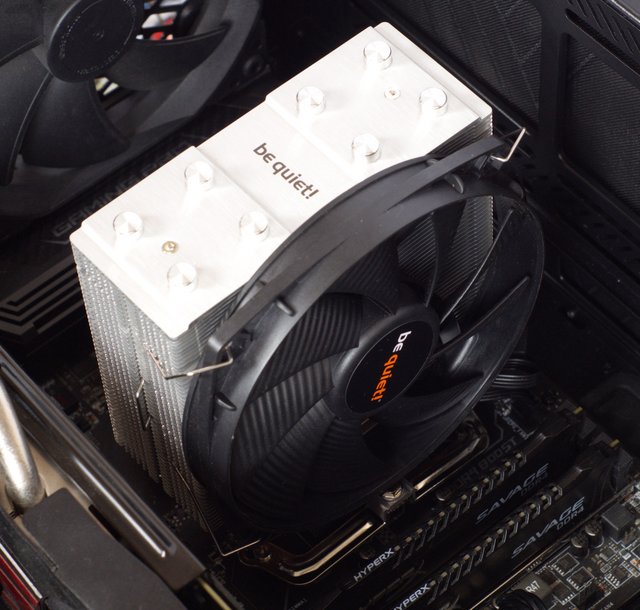
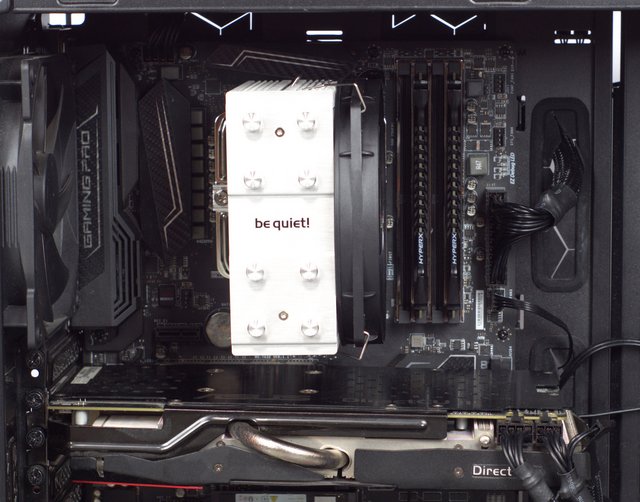
The final part of the installation process is to fit the fan. Hold the fan up to the heatsink in your desired direction of flow and use the two spring clips to secure it in place. All that is required now is to connect the 4-pin PWM cable to the motherboard CPU_FAN header as shown. The RAM clearance is very good, thanks to the dimensions of the heatsink. In fact, the be quiet! Shadow Rock Slim 2 does not even reach the RAM modules, let along interfere with them. The PCIe expansion slot clearance is also very good. This space is just enough to allow for decent access to the top mounted M.2 socket of the motherboard.
Overall, the installation process is really straightforward, a complete CPU cooler novice shouldn’t find the process difficult using the installation guide for assistance. The process takes approximately 10 minutes to complete on an Intel platform, we expect AMD installation to be even quicker since there is no additional backplate preparation required.
Test System & Methology
Test System:
Cpu:Intel Core i7-6700K@4.6 GHz.
Motherboard:Gigabyte G1.Sniper Z170
Memory:16Gb Corsair Vengeance LPX DDR4 2666Mhz
Graphics Card: EVGA GeForce GTX 1080 Ti 11GB SC2
Power Supply: EVGA SuperNova 1200 P2
Storage Drive: 3TB Seagate Barracuda
Boot Drive: SSD 850 PRO 2.5" SATA III 2TB
Chassis: Dimastech Bench Table Easy V2.5
Windows 10 64-bit

Software:
Speedfan
CPUID HW Monitor 1.23
CPUID CPU-Z 1.65
Prime 95
I am testing the performance as follows:
Ambient temperatures are kept at 23C throughout my tests.
The CPU Fan is set to 100% to eliminate inconsistencies as a result of PWM control.
Idle temperatures are obtained after booting the PC and idling on the desktop for 30 minutes.
Load temperatures are obtained after running Prime 95′s for 30 minutes.
Performance
True to my expectations and experience we don’t see a whole lot of variance at idle. When nothing is going on most coolers will be able to get the CPU to around the same temperature. Once the cooler was placed under typical loads, the be quiet! Shadow Rock Slim 2 began to show its be quiet! heritage. At 100% load temps in the non-overclocked mode, we saw the Shadow Rock Slim 2 keeping the CPU at 58 degrees Celsius, which is a great performance considering that this is not a liquid cooling solution.

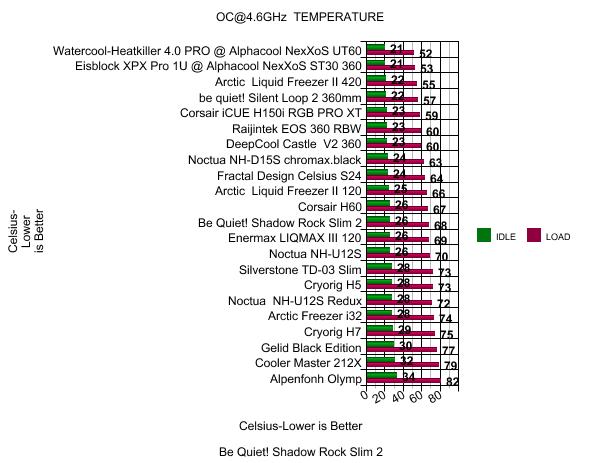
With our 6700K overclocked to 4.6GHz on all cores, temperatures for a single 135mm air cooler look really good at just under 68 degrees at full load, and idling at 26 degrees. Under heavy loads, the cooler manages to keep the CPU at a decent temperature that won’t break it. The temperature results look promising, but what about the noise levels?
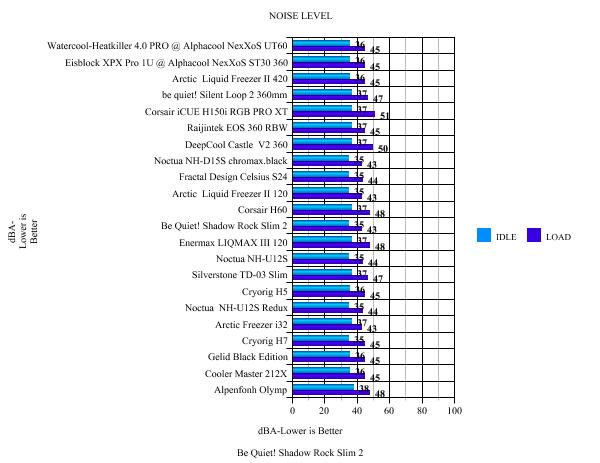
The be quiet! Shadow Rock Slim 2 simply blows me away when it comes to noise levels. At lower fan speeds, this cooler will be impossible to hear over other parts in the average user's case. This cooler is insanely quiet in its default single-fan setup. Users can, should they be able to justify the price of a second Noctua fan, look forward to great cooling at nearly silent noise levels.
Final Thoughts
When it comes to mid-tier coolers, the be quiet! Shadow Rock Slim 2 proves to be a solid all-around offering, especially for those wanting to keep noise levels to a minimum. During testing, noise output was so low it hit our noise floor below 50% PWM, which means the cooler was all but silent unless the fan was pushed to its maximum RPM, at which point it just hit 43 dBA. Taking noise levels into consideration, it is actually quite impressive to think that a CPU cooler priced under 45 Euros can keep the temperature of a high-end CPU, under control while still maintaining such low noise levels even when the CPU is overclocked aggressively and under full load. In addition, the cooling performance can be improved by the addition of a second 135mm be quiet! fan (be quiet! bundles in two additional fan mounting clips) for a push pull configuration. However, by adding another fan, the overall price of the CPU cooler is increased. Obviously, there are other more expencive CPU coolers available that do a much better job if you are looking for raw thermal performance. However, you will be hard-pressed to find one that does as well with thermal performance at these low noise levels and at this competitive price point. As usual with be quiet! products, the build quality is impressive and the materials used during manufacture are of a high standard, even though this is an extremely affordable cooler. We quite like the almost industrial looking appearance of the bare copper and aluminium colour scheme. When you consider be quiet!'s good build quality and graphics card and memory clearance, you end up with an all-around solid offering that gets the job done and minimizes problems users may potentially face in regards to compatibility. The installation process for the Shadow Rock Slim 2 is also very simple and straightforward, even the most novice PC builder should find it easy to install and the whole process will only take around 5-10 minutes for both intel and AMD platforms. The lack of RGB lighting may not suit everyone in this day and age, however, usually someone who is considering buying a be quiet! product will probably already realise that RGB is not the company’s style, so will probably be expecting an RGB-free product anyway.
In conclusion, the be quiet! Shadow Rock Slim 2 is a good and affordable air CPU cooler that offers a great cooling performance for its size. The clearance is also very good and the design will complement any system. If you are focused on building a low noise output system, you really can’t beat be quiet! in this area. It should make for years of quieting computing in just about any build you are planning.

Last edited by testman78; 08-10-2021 at 12:59 AM.
 Posting Permissions
- You may not post new threads
- You may not post replies
- You may not post attachments
- You may not edit your posts
-
Forum Rules


 Reply With Quote
Bookmarks