-
SaharaGaming C501
Introduction
When it comes to buying a new case, people usually fall into one of three groups: those that want pure performance, those solely interested in the look of the chassis, or consumers primarily interested in a low price. Enter SaharaGaming's latest gaming cases, the C501 with its chassis, which manages to (more or less) deliver everything a budget-conscious gaming enthusiast needs, including a low (GBP68.99) admission price. We are in front of a Mid-Tower that pretends to be a Full. The case supports Ε-ΑΤΧ, ATX, Micro-ATX and ITX motherboards. That being said, this is still a case that resides within the budget category. And like all budget PC cases, compromises have been made along the way.
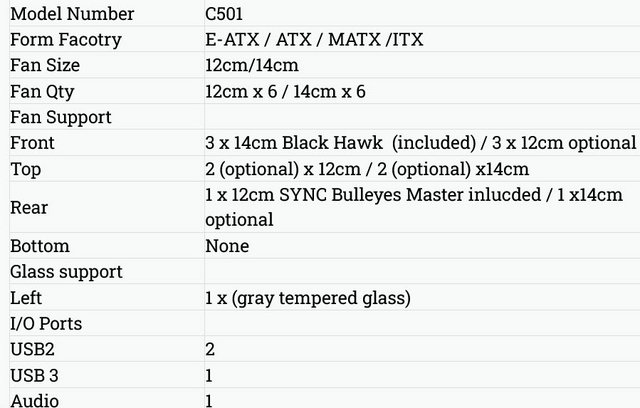
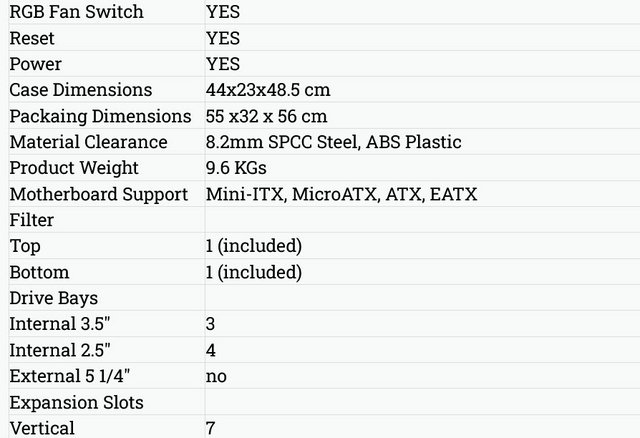
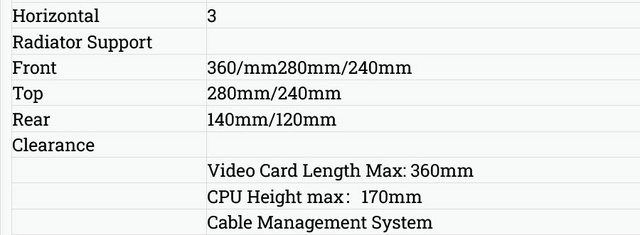
Specifications.
Packaging & Contents
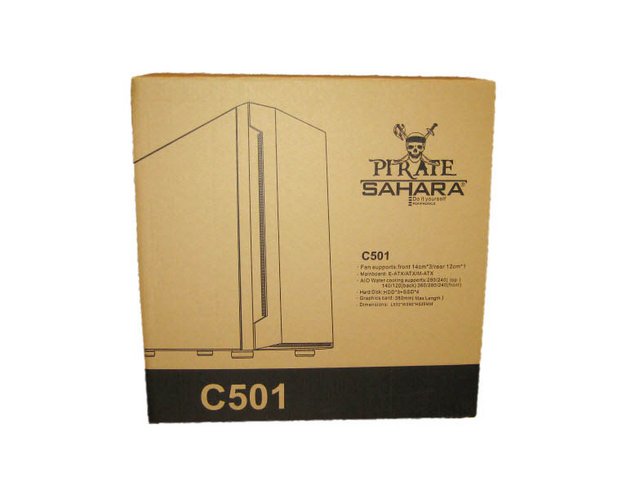
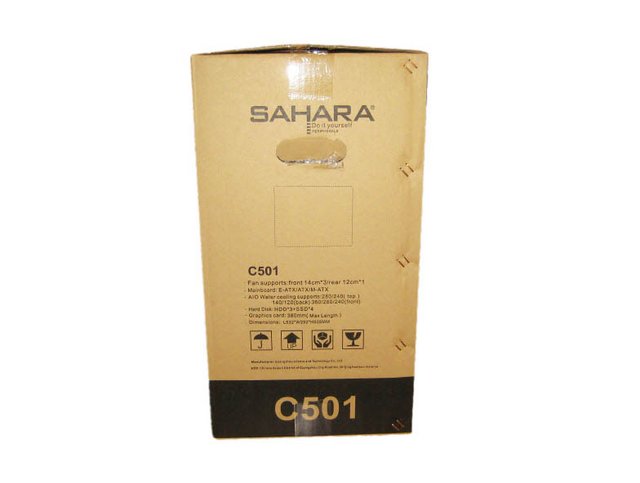
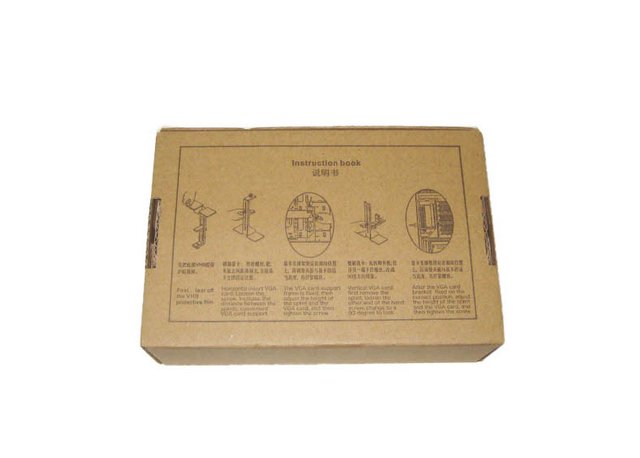
The case arrived in a fairly standard brown box with some simple artwork on the front and major features down the side. The outer box features an almost identical inner box to protect the case in transit.
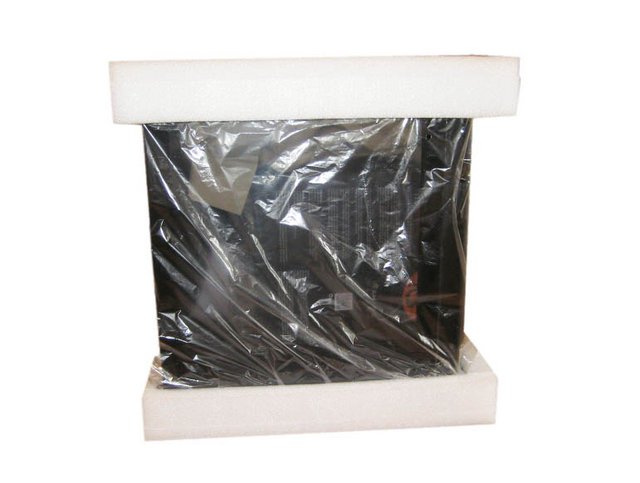
Like all cases, the C501 came housed in two fairly robust polystyrene safety protectors. Inside was the case, wrapped in plastic, with more protection found inside the case itself.
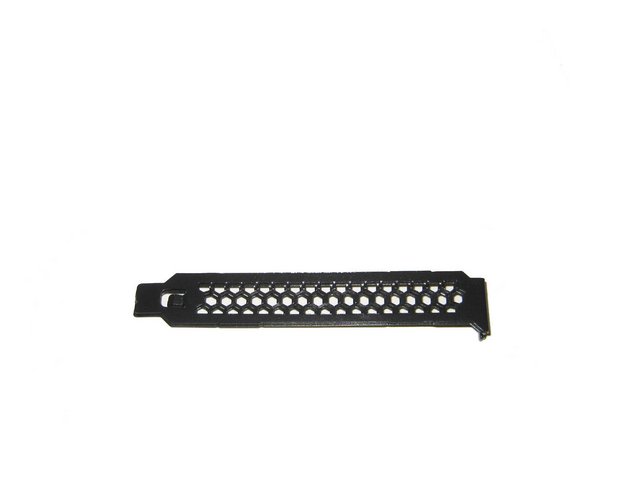
We also received a box of accessory which included screws, velcro ties, motherboard beeper speaker, plugs, and two extra pci covers.
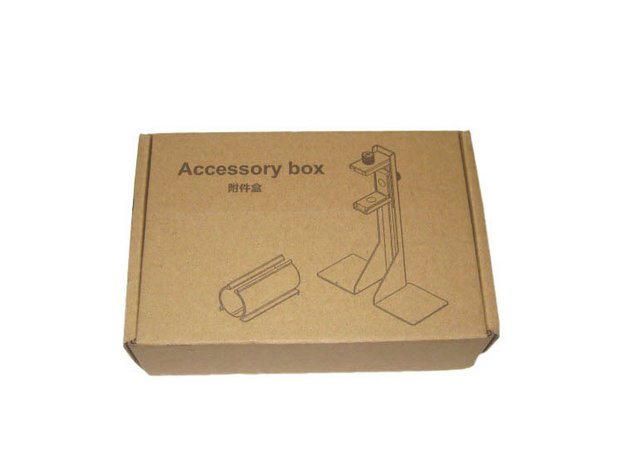
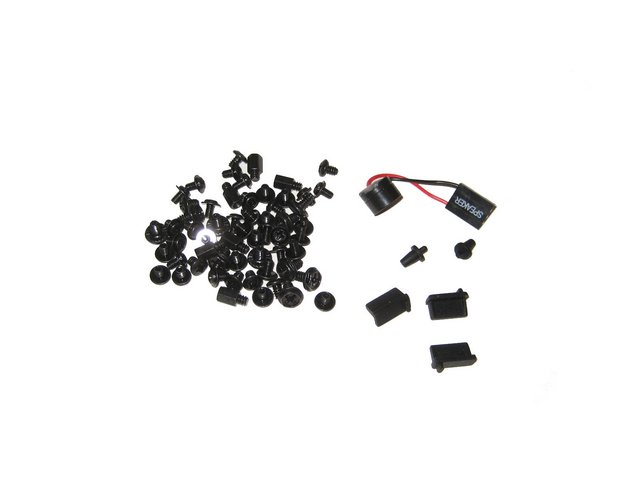
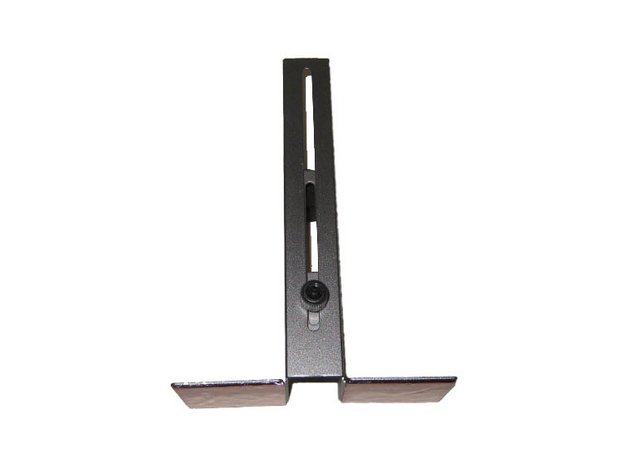
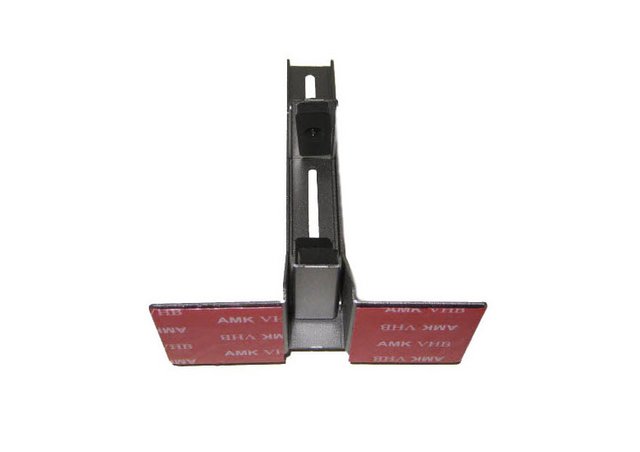
A GPU holder that you can glue on the shroud cover. The bracket can also be fixed on the frame thanks to two double-sided adhesive.

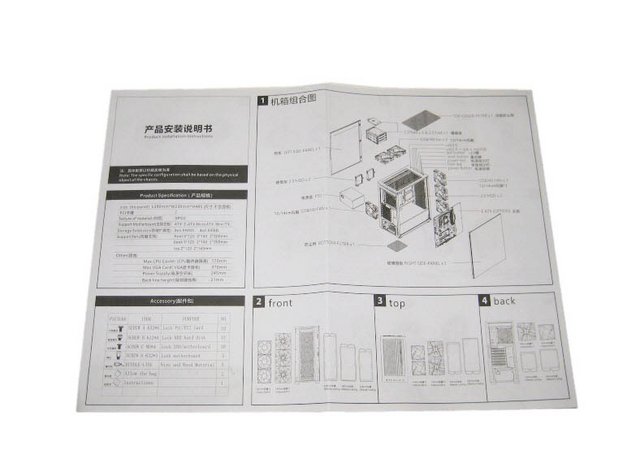
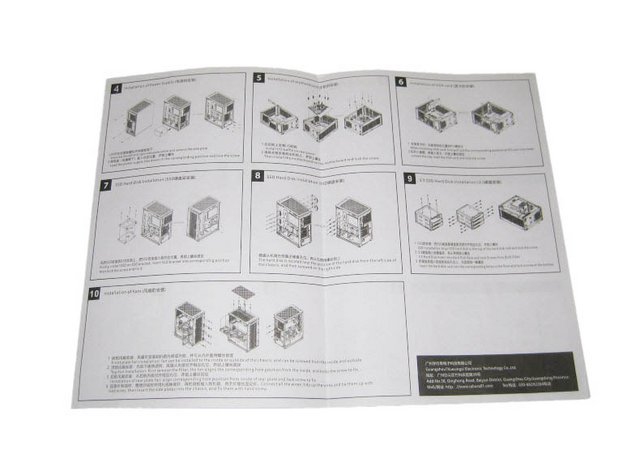
Also included is a case manual in Chinese and English.
A Closer Look- Outside
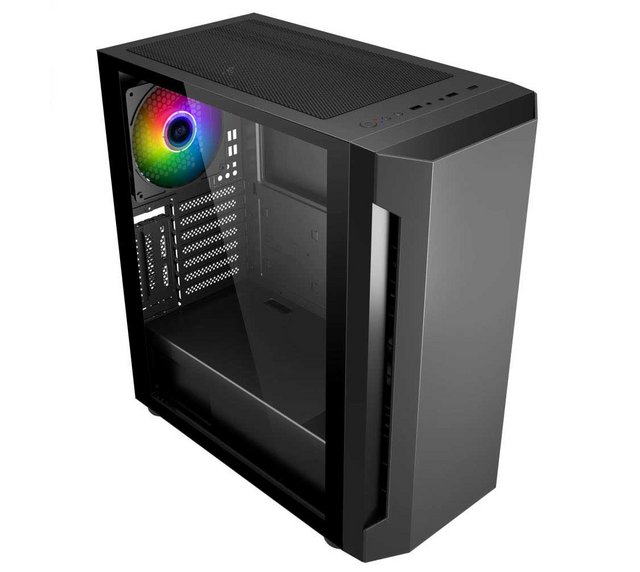
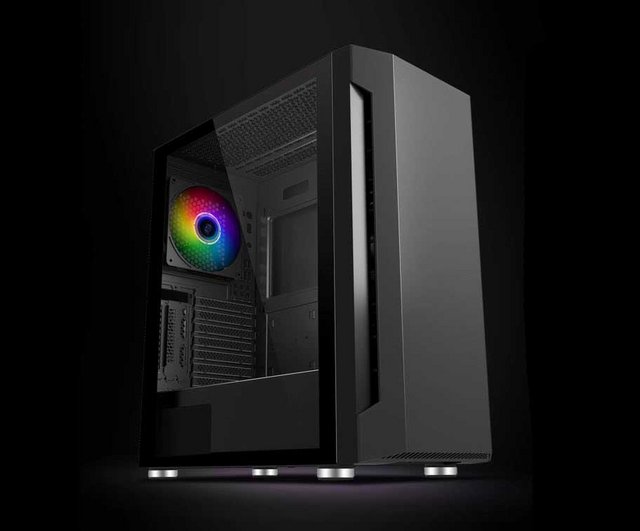
On first impressions, the C501 looks fairly decent. The chassis seems well built, making use of steel for the most part. Measuring 440x230x485mm, it isn't too large. It offers a side tempered glass panel which create a sleek and refined aesthetic - a huge plus for me straight off the bat. The panel is slightly tinted but RGB lighting will shine through with no issues. The I/O ports have been positioned on top of the case which gives the front a stylish final look.The glass is of decent quality and offers a more luxurious feel than the price tag would suggest. The side panels are held in place via two thumbscrews. I've appreciated the improving from the previous case by Sahara, the C500B, but as we'll see later this do not refers only to the panels mounting mechanism.

The right hand side of the case is unspoiled, with just a solid, smooth side panel, just how we like it.
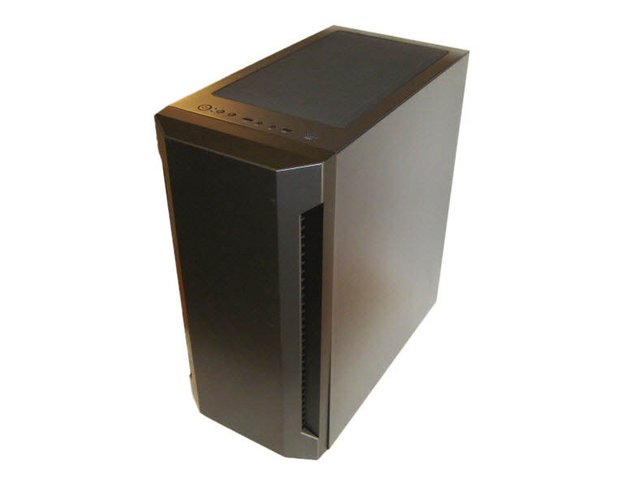
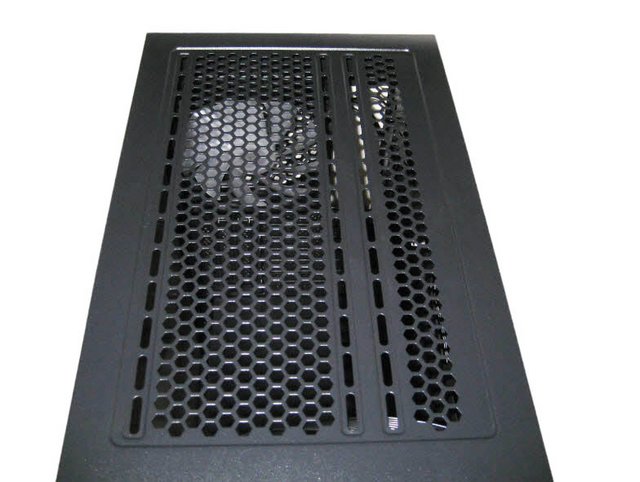
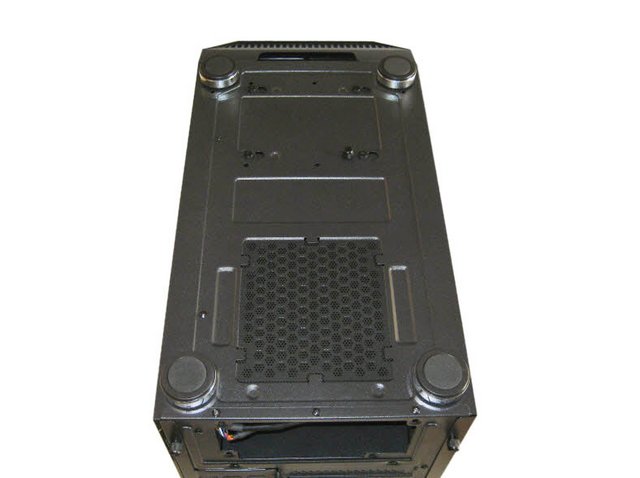
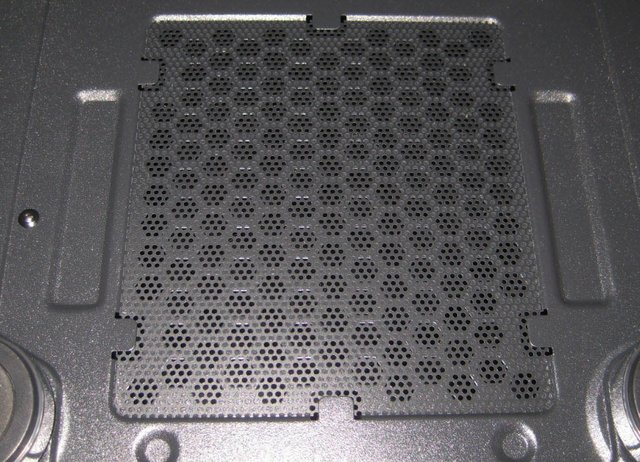
Without any optical bays in the chassis the front structure is minimal. The front panel is made of ABS. The top of the case is fairly well populated and comes with a magnetic filter for the top grille.
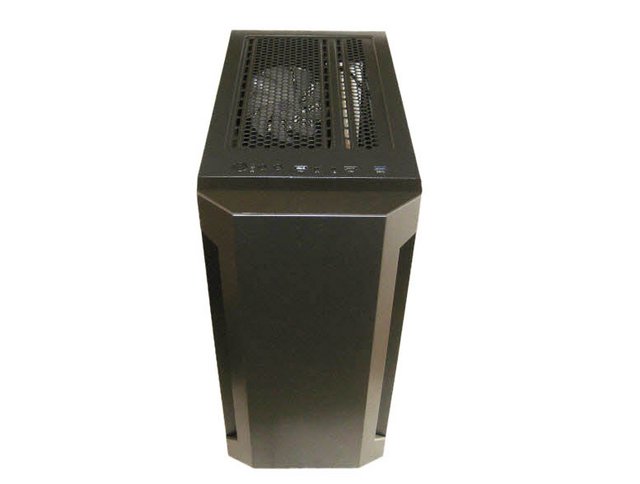
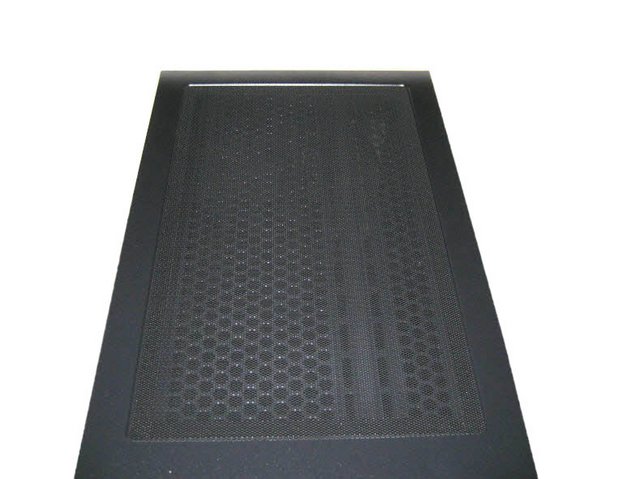
Sahara seems to have solved the dust issue adding a metal mesh at the top.
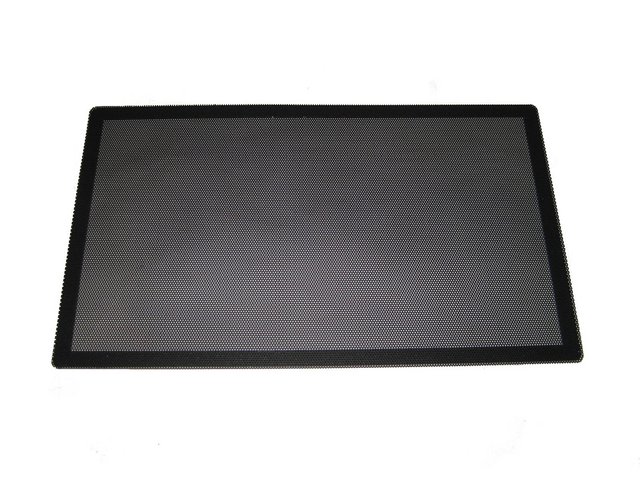
Not only does this allow for easy cleaning, it also allows for easy installation of any fans or radiators you may want to install in the top of the C501.
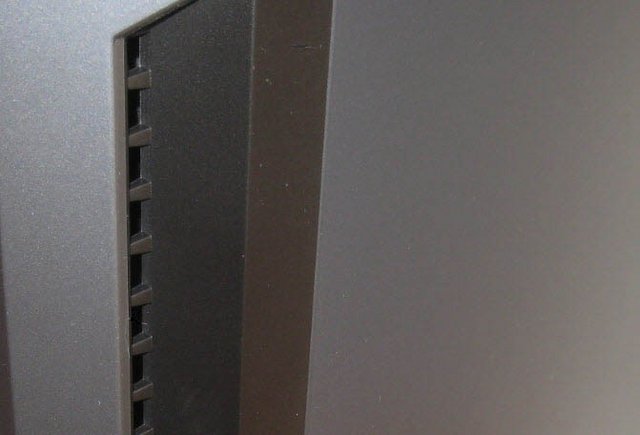
At the front there are air inlets on the sides for cooling. The strips at the right and left side are a brushed aluminium effect however they are plastic.
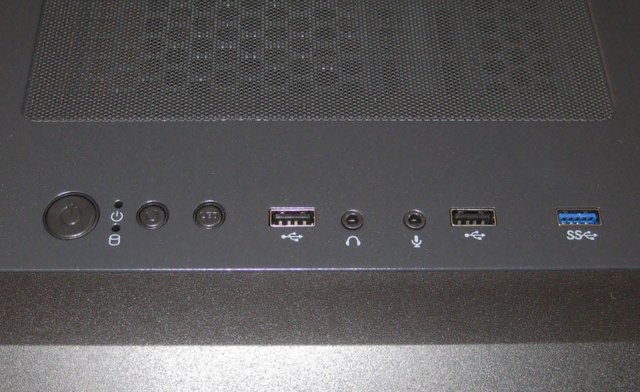
The I/O panel is located up the front and offers USB 3.0, USB 2.0, 3.5mm headphone jack, Microphone port, reset, power, and an LED button for RGB. The buttons all feel pretty solid and offer ease of use for the most part. The LED and reset buttons are on the small side.
On the rear, the layout looks pretty traditional. In the very top is a 140mm RGB fan in order to push air out the back.
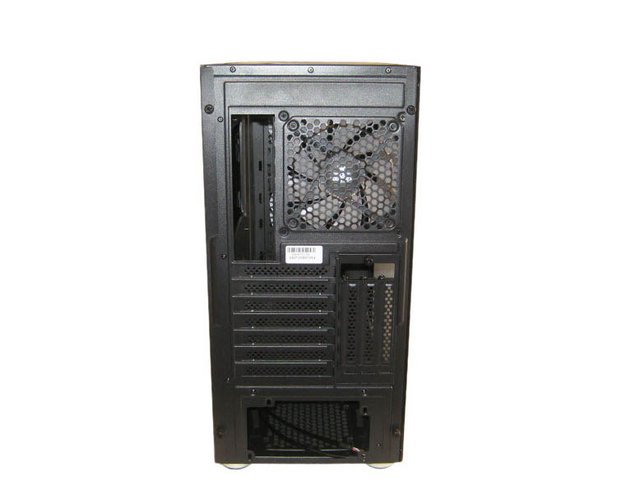
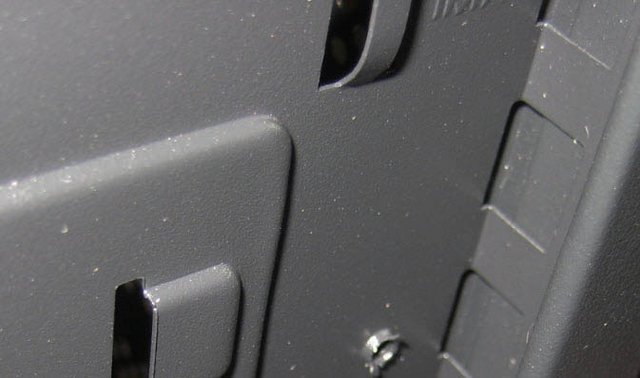
There are 7 PCI-E card slots. Sadly the PCI-E covers are the old twist and break ones, if you remove the wrong ones installing your GPU you'll be stuck with an open PCI-E slot on the back. You can mount the video card vertically. These three vertical slots can be removed by unscrewing a simple screw, by doing so you can mount the video card first and then secure this to the case.
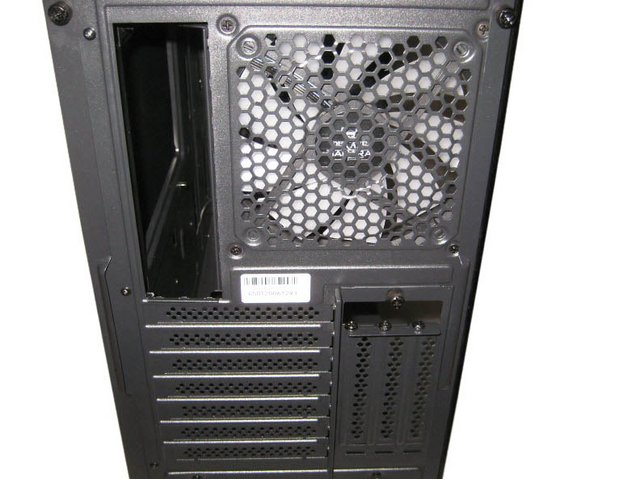
The bottom PSU bay comes with a dual set of mounting holes.
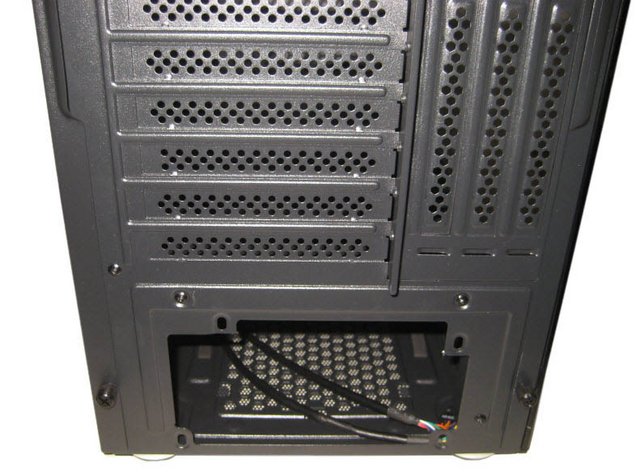
Typically I do not have a foot fetish, but that is the right stuff right there. These are rubber suspended case feet, crafted in the a classy "hi-fi" look.
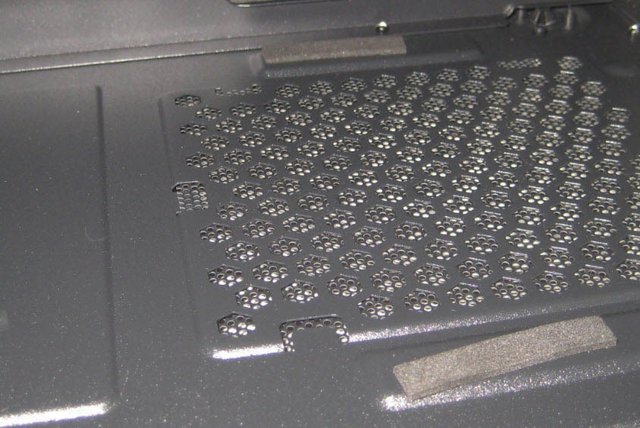
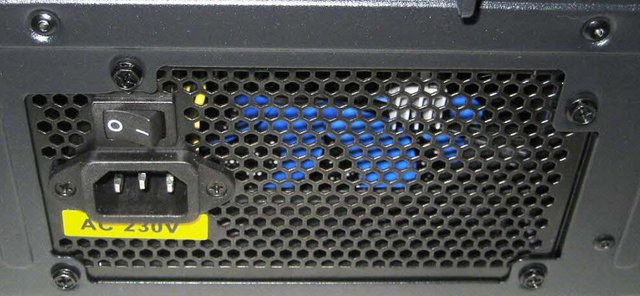
The power supply area has a basic removable filter over the grille. Be aware that this chassis must be turned completely on its side to access the removable power-supply filter for maintenance and cleaning.
We can also see the screws holding in the HDD cage.
A Closer Look Inside
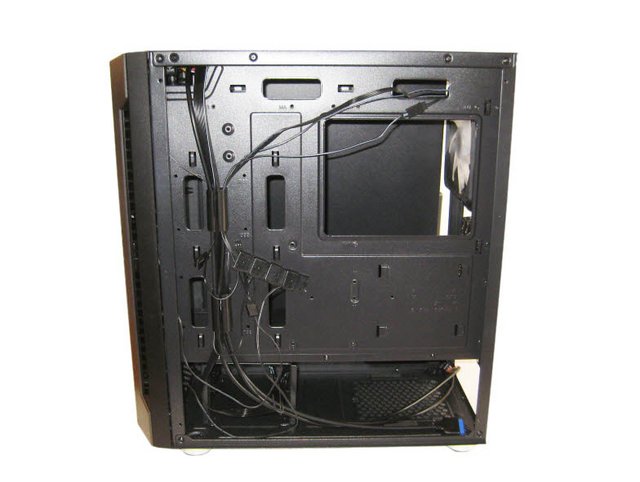
Time to have a bit of fun now and strip the C501 down and see just what it can accommodate. With the side panels removed we get a good look at the available cable management, drive bays and PSU mounting area.
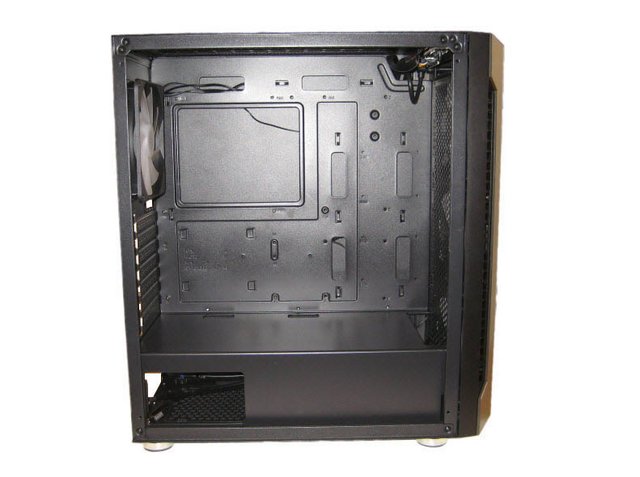
The not removable metal shroud comes with three openings to allow for the motherboard cables to be routed nicely.
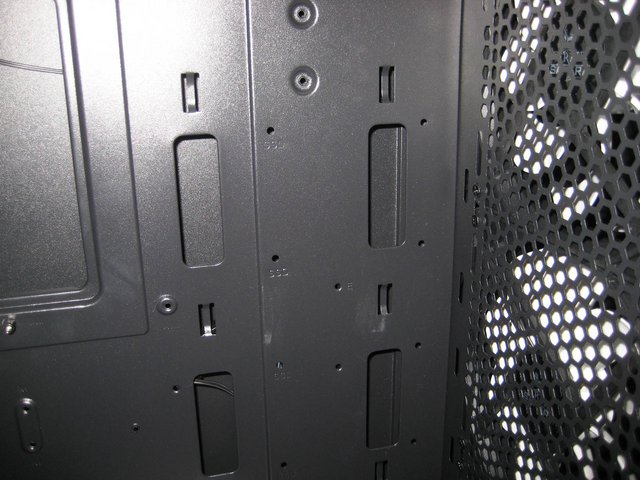
The motherboard tray is well designed with a big access cutout in the CPU area, and cable routing holes on top and on the side of the motherboard area.
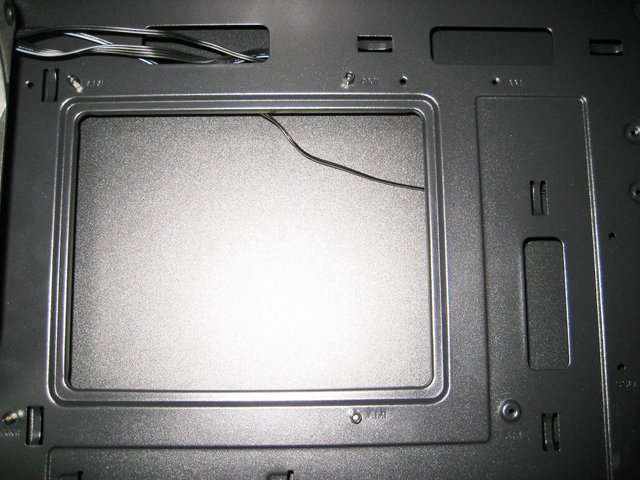
No cable grommets are included, but the cable management system is well organized and it's also essential with no unnecessary holes. Two 2.5-inch drives can be attached to the motherboard tray inside the main compartment. It should be noted that SSDs mounted in this location will prevent the installation of E-ATX motherboard.
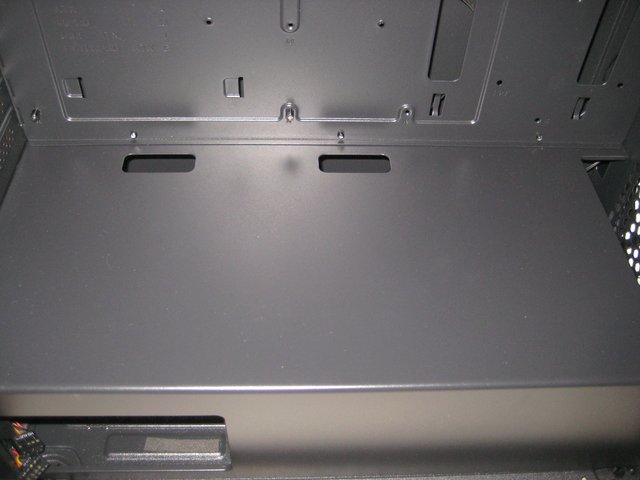
You do have the option to mount a radiator (up to 280mm), 2 x 140mm fans or 2 x 120mm fans in the roof of the case.

To remove the front panel you can simply pull it from the bottom with force. Despite its great look the front has an issue: there are no dust filters in this area and the space is fully opened. Now if you're like us and you clean your PC once a week that's not a big issue, otherwise you'll have to clean your pc more times than front filtered cases.
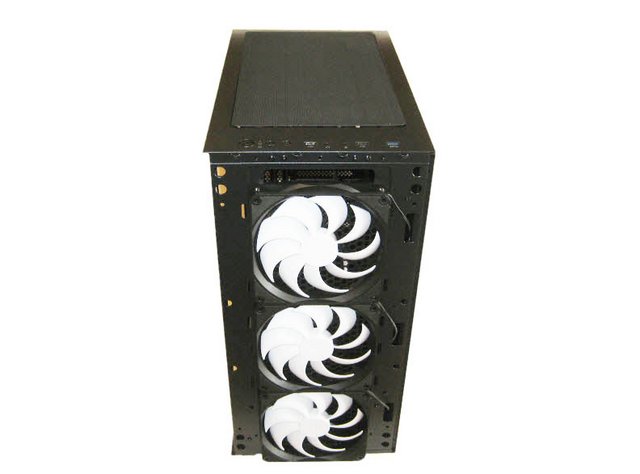
The fans themselves are not LED models. The intakes are complemented by three 140mm exhaust fans. SaharaGaming is using the positive pressure airflow design whereby air will be forced out through the grilles in the roof panel.
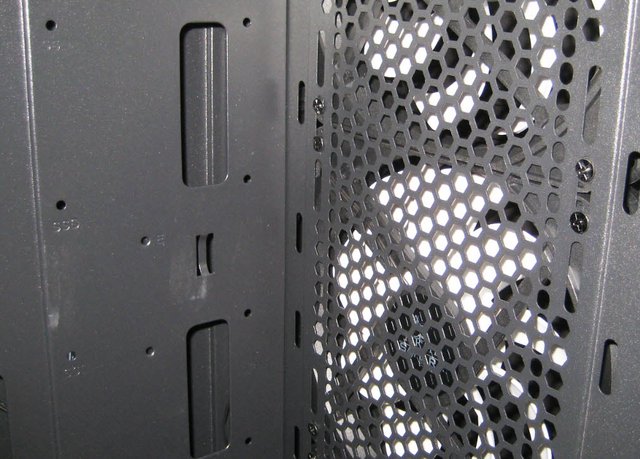
The chassis has mounting holes for up to two 2.5" drives towards the back of the chassis.
There is also an acceptable amount of clearance in the rear panel for cable routing with relative ease.
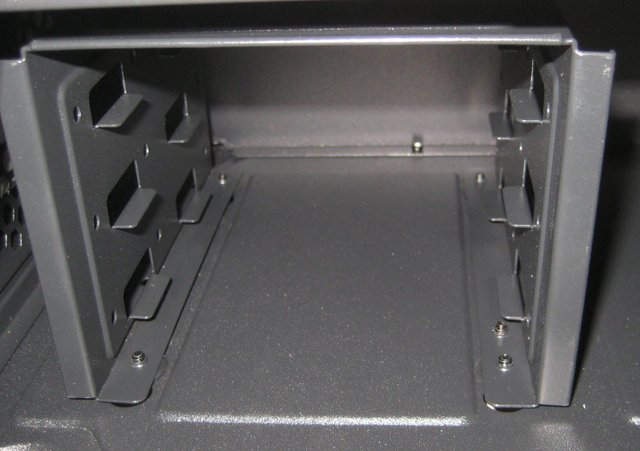
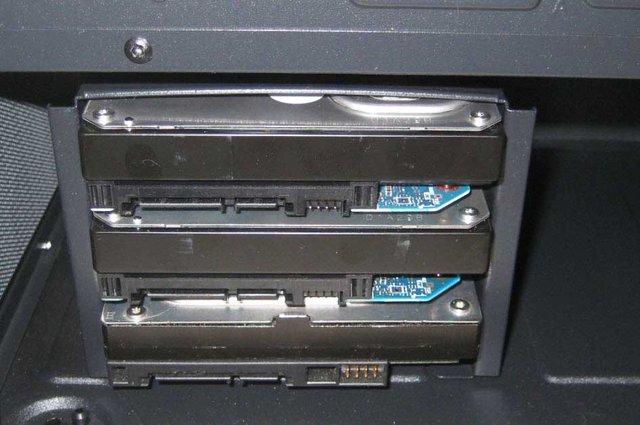
Underneath the shroud is one drive cage which may hold three 3.5" or 2.5" drives with traditional screws.
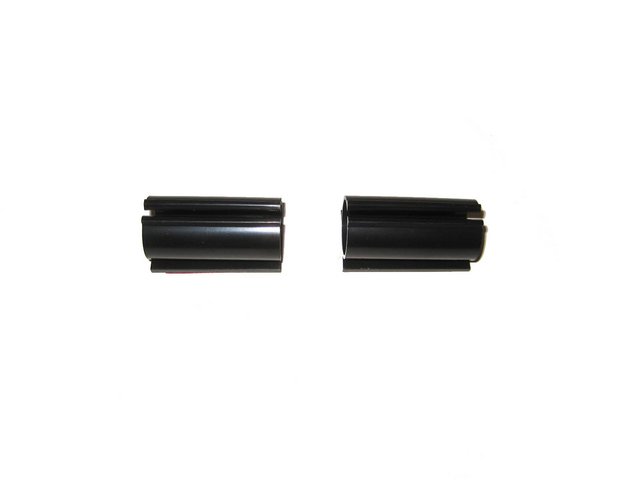
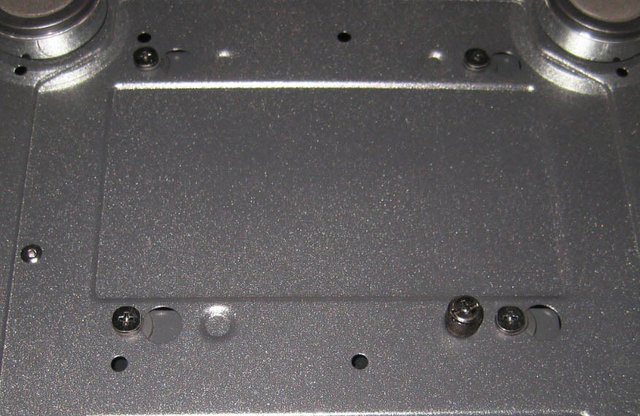
The PSU area support PSU up to 230cm in length, practically it support every ATX PSU in the market. With the front drive bay removed the chassis can take long power supplies reaching 380mm. This compatibility is limited in many cases these days so this is nice to see. Two long rubber standoffs keep the PSU level and eliminate any vibrations before they are passed onto the chassis frame.
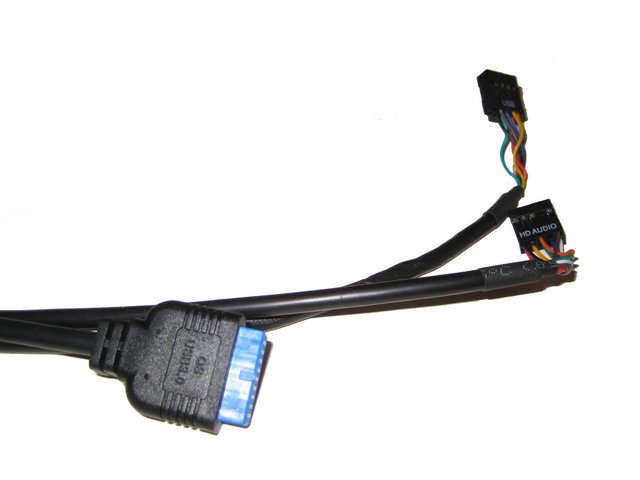
To go with the all-black interior, all the cables within the C501 are sleeved black except USB3.0.
Installation Process
With the SaharaGaming C501 disassembled, it's now time to start the building process. Installing the motherboard is done by traditional means, with the use of spacer and screws. There is plenty of space around the board, so you should have no issues reaching all the connectors. Thanks to the well-placed openings, the initial cable routing looks quite clean. Our case allows us to mount any type of motherboard up to E-ATX! E-ATX motherboards tend to make contact with any 2.5-inch drives.

Next, we installed our power supply. To install a power supply in the C501, you have to slide the power supply in from the back of the case. There is plenty of space for long PSU units.

The power supply is held in place by the traditional 4 x 6/32 screws.
Now that the core components are installed in our C501, it's time to install the storage.The steps to include three 3.5" HDD's are just take out the metal drive cage after removing the screws holding it in place. Underneath is where you go to remove the screws holding the drive cage in.
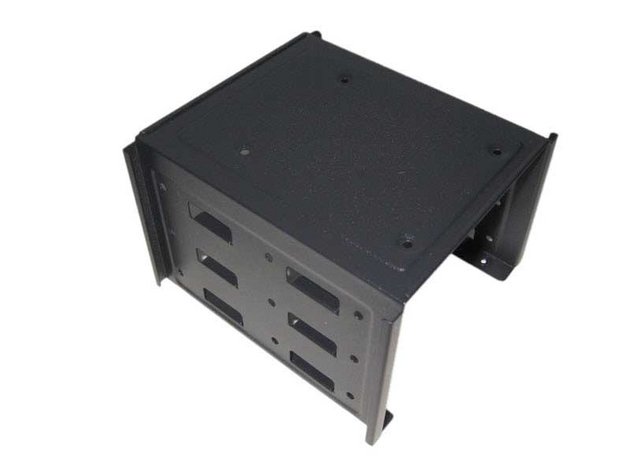
3.5" drives may be mounted with traditional screws.
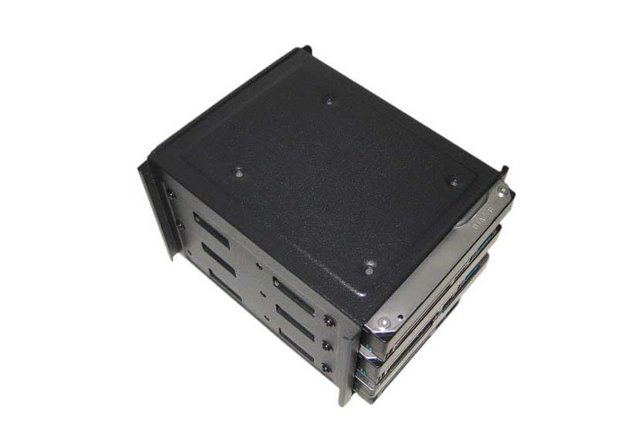
With that done, slide cage back into place and is held there by a single thumbscrew.
You may add two more SSD's by using the specific mounting locations.
With a maximum CPU cooler height of 170mm and a maximum graphics card length of 360mm, it supports most standard gaming and multimedia setups. We're almost done with the building process. All we have left is my favorite part, cable management. I was very happy with how the cable management came out in the C501. It's as neat and clean as I've personally ever been able to do without custom sleeved cables. SaharaGaming left plenty of room behind the motherboard tray to stuff cables. Generally, especially with more budget-oriented cases, I expect to have to use a little force to get the back panel on. However, this was not the case with the C501.


Performance
For the SaharaGaming C501 we decided to use an Intel-based system with the Core I5 10600k cooled by the Deepcool Castle 280EX 280 mm AIO cooler on the Gigabyte Z490 Aorus Master. To test temperatures in the C501, we record CPU and GPU temperatures at idle and under load. To record an idle temp, we simply boot the computer and record the idle temp after 30 to 45 minutes. As for load temps, both our 10600k and our Maxwell Titan X were left at their stock settings. The stock clock speed on the 10600k is 4.1 GHz, however, it usually boosts between 4.5 and 4.6 GHz. As for the Maxwell Titan X, its boost clock speed is 1531 MHz. To get a load on the CPU, we used the CPU Stability Test in Aida 64 and ran it for about 30 minutes for so. For the GPU, we ran Time Spy and used CPUID Hardware monitor to record the temperature.
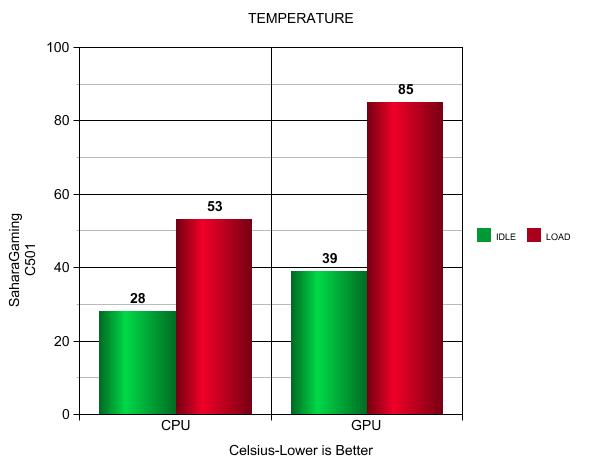
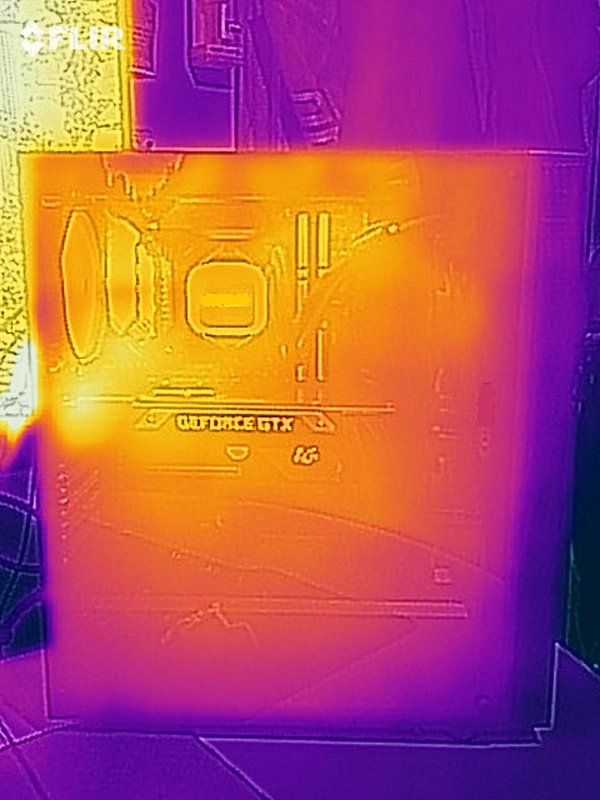
Our 10600k stated at an idle package temperature of 28c. After about 30 minutes of the Aida 64 CPU stability test, we hit a max temp of only 53c. Now, Maxwell cards ran very hot. In most cases, this exact card runs at about 88c under load. I was surprised to see that in the SaharaGaming C501, our Maxwell Titan X hit a max temp of only 85c. To modern cards, that sounds very high. But for a Maxwell Titan X, it's really not horrible. We also used our FLIR One thermal camera to take a picture of the case and where the hot spots are when the system is under load. This image was taken while running Time Spy, so the GPU was running hot. However, with its exceptional airflow, there really aren't any specific hot spots. The heat is relatively evenly dispersed.
Final Thoughts
Sahara have done a great job when it comes to designing their C501 case, especially given the price! Once you get your build all set in the case, you will be very happy with the outcome. The build quality is excellent with a good mix of metals, plastics and glass, especially considering the price. One of the main selling points of the C501 is the tempered glass side panel. This will allow users to show off their builds inside with ease so you will want to make sure your cable management is on point! I'm a fan of the choice of glass instead of acrylic, it adds to the aesthetic in a more premium manner. The layout inside is good. There are plenty of options for storage, many options for cooling, whether with fans or using water cooling. Everything fits as it should, the wiring is made simple, and with a bit of effort, the build will look as tidy as what you saw with our build. The PSU shroud not only covers and hides the PSU, but it also keeps those pesky 3.5″ hard drives hiding out of the way. The C501 definitely achieves excellent airflow. Looking at the thermal images we didn't notice anyone spot that gets excessively hot. Costs have had to be saved somewhere however, and SaharaGaming's choice of cutting out the PCI slots is one of those. Including 5 more PCI brackets would have been better as once removed you're left with 5 slots and nothing to fill them with. Dust filters were also absent on the front intakes behind the plastic panel. Speaking of filters on the top theres a magnetic one that simply snaps into place, while as noted earlier, the filter covering the opening for PSU still requires moving your entire system to access. I'd much rather see that USB 2.0 be a Type-C port.
The SaharaGaming C501 is a great option for anyone looking for a great mid-tower case that won't break the bank. With the SaharaGaming C501, you can still put together a great looking build using high-end hardware, and save some cash at the same time. Which you'll need if you can even find a new graphics card these days. Now there are some things I'd like to see done differently on the C501. But with that said the SaharaGaming C501 is a budget case so some corners must be cut.

Last edited by testman78; 02-22-2021 at 01:32 PM.
 Posting Permissions
- You may not post new threads
- You may not post replies
- You may not post attachments
- You may not edit your posts
-
Forum Rules


 Reply With Quote
Bookmarks