


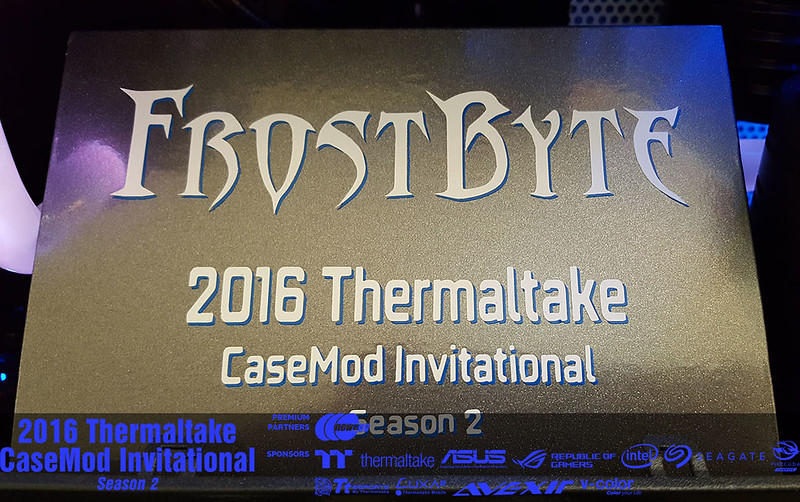
Lets get this build log started off. My name is Jon Hansz.
Alot of people know me as PennyWise.
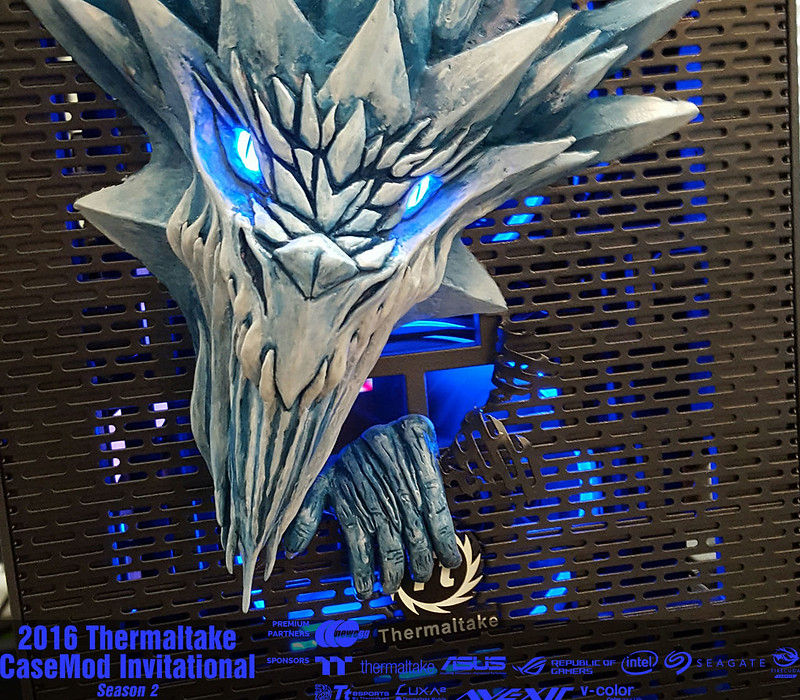
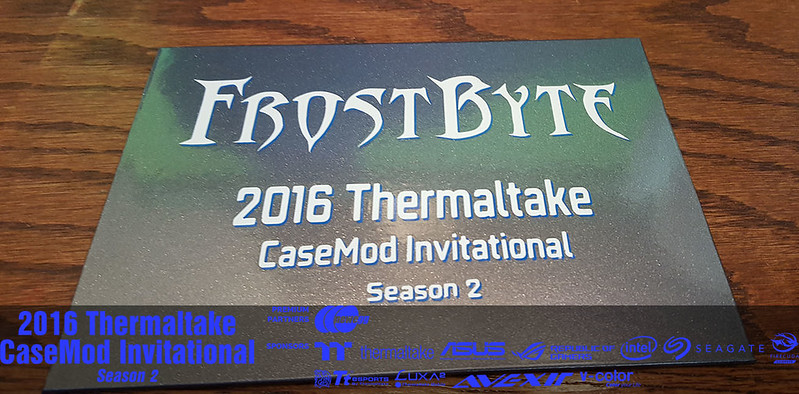
I am representing the USA in the 2016 Thermaltake Invitational mod contest.
It runs from now to December 15th.
There are 13 modders from around the world competing for $15,000 in prizes.
They are also doing various giveaways to the community for voting, so make sure to get on and vote.
There is a Pre Event Predictions vote as well.
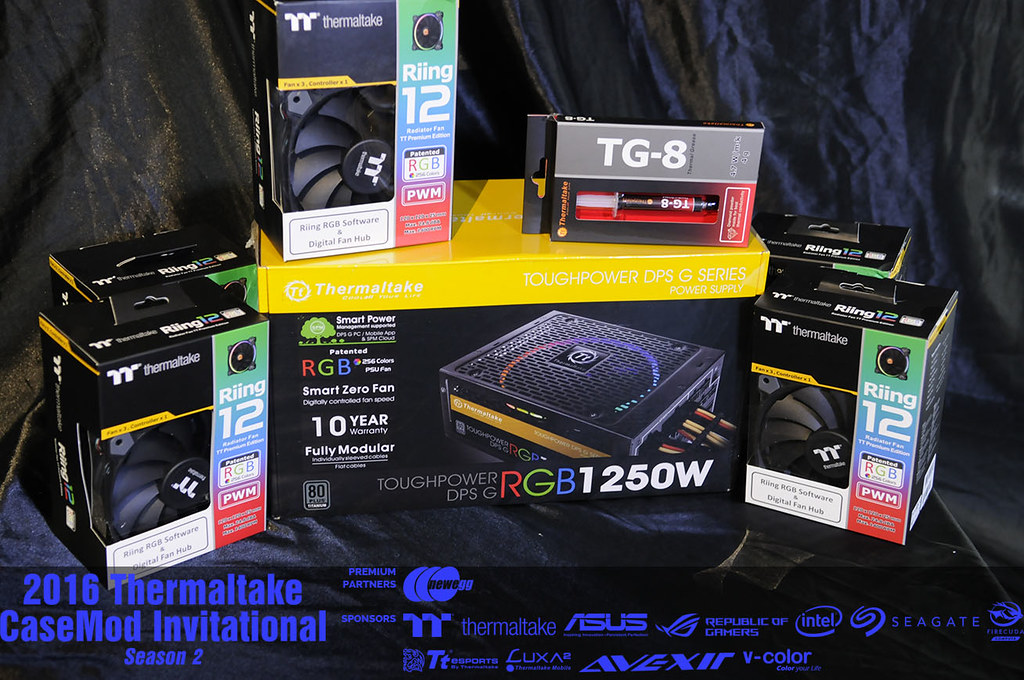
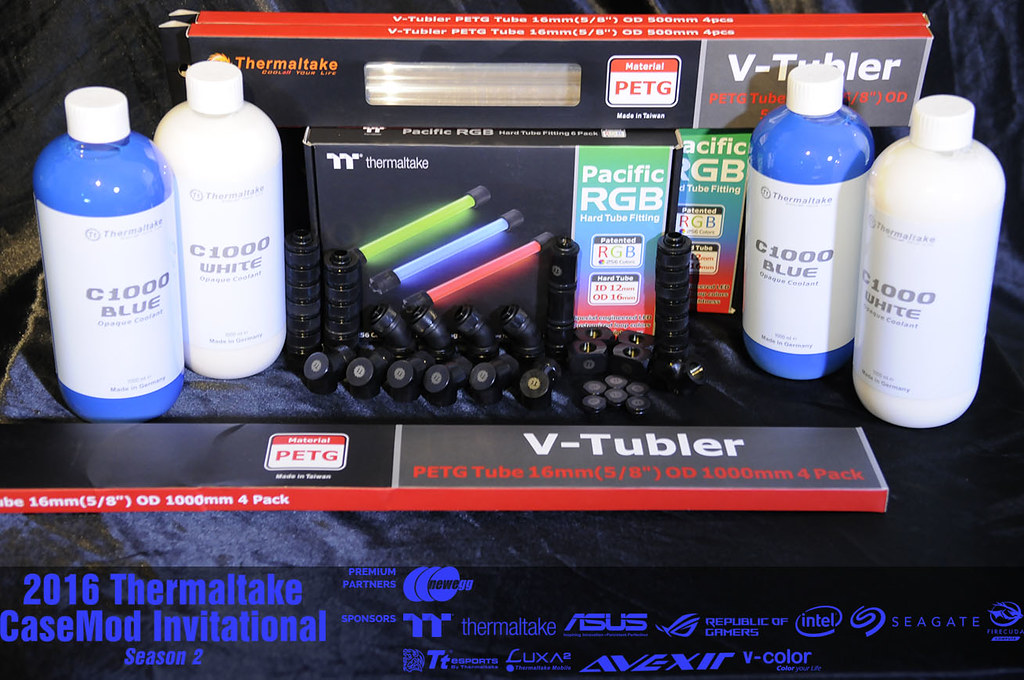
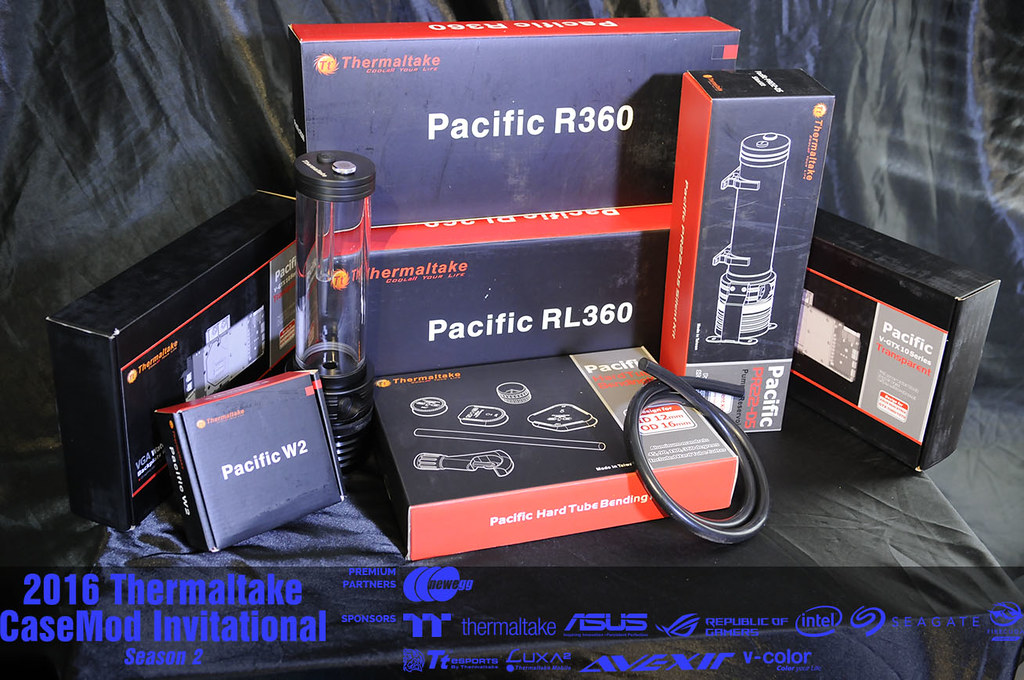
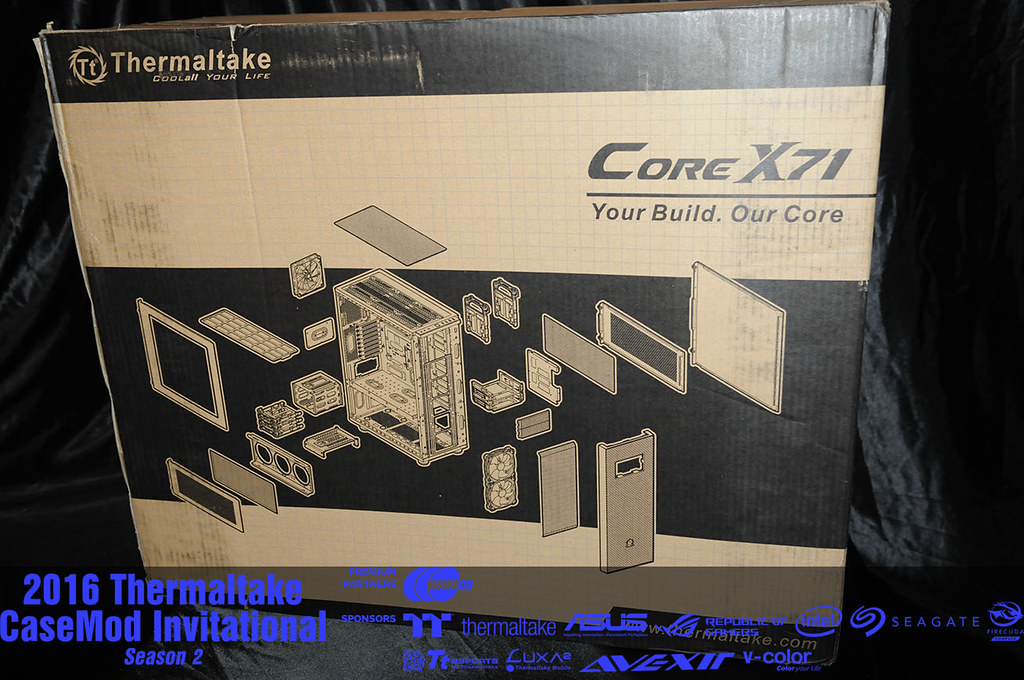
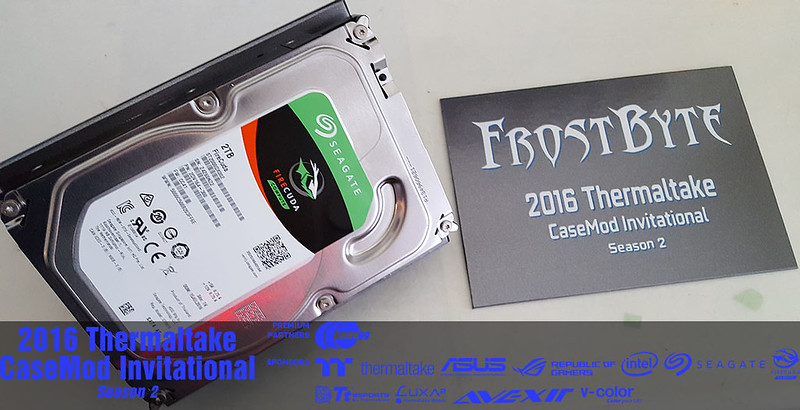
First off, I'd like to give a huge thanks to all the sponsors.
Without you, none of this would be possible.
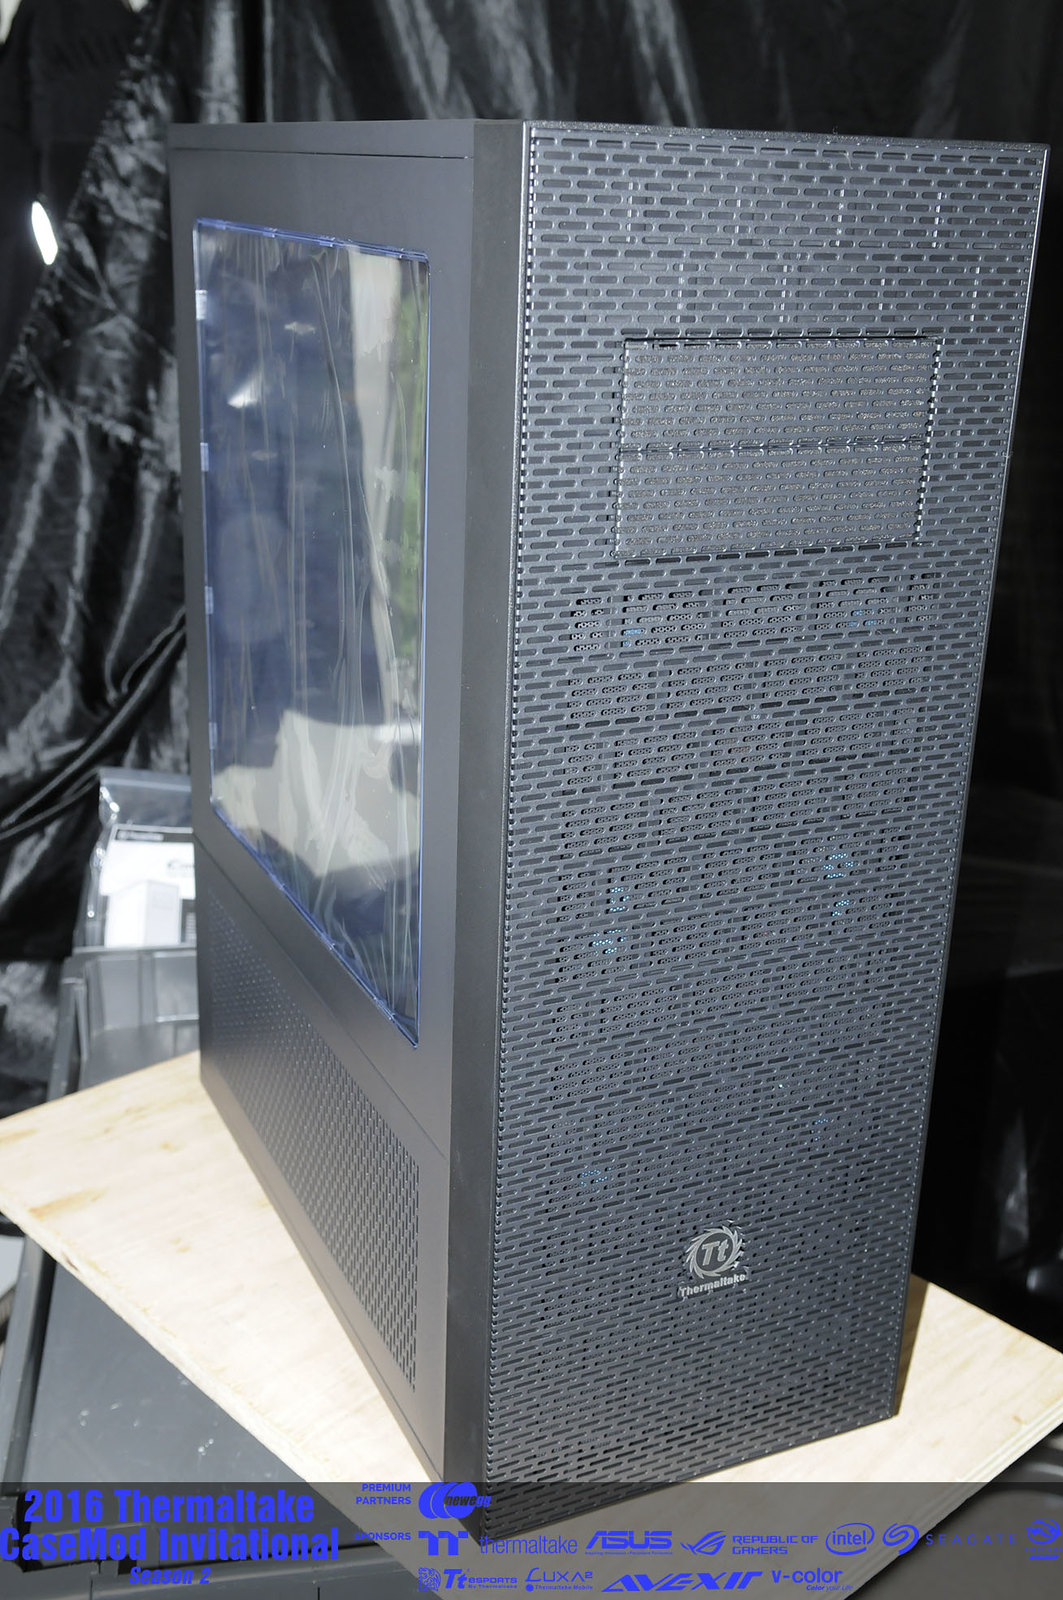
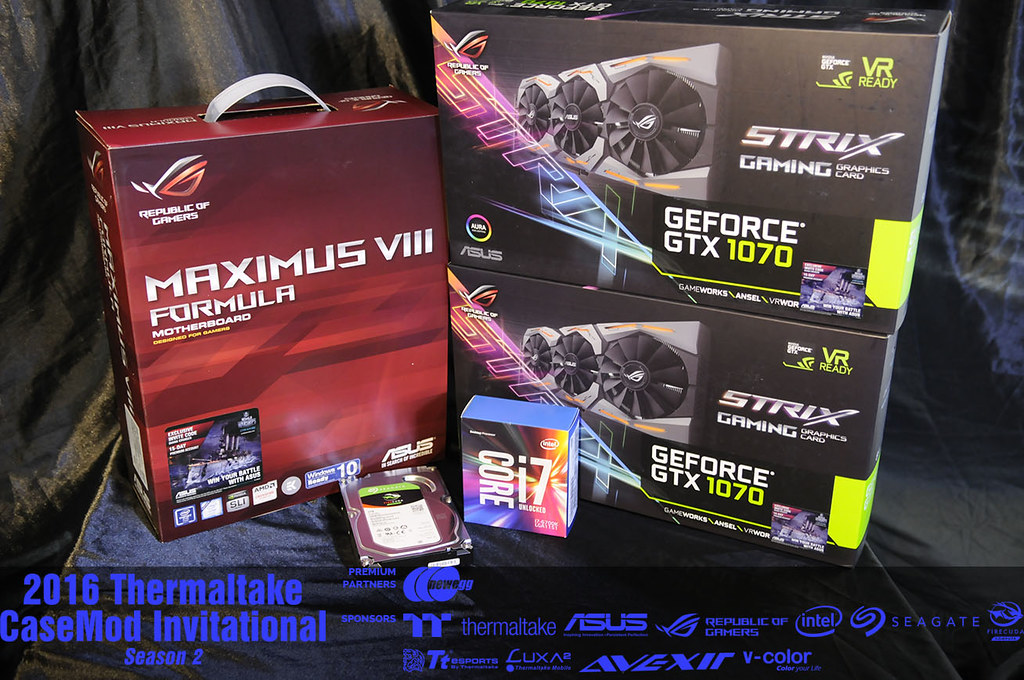
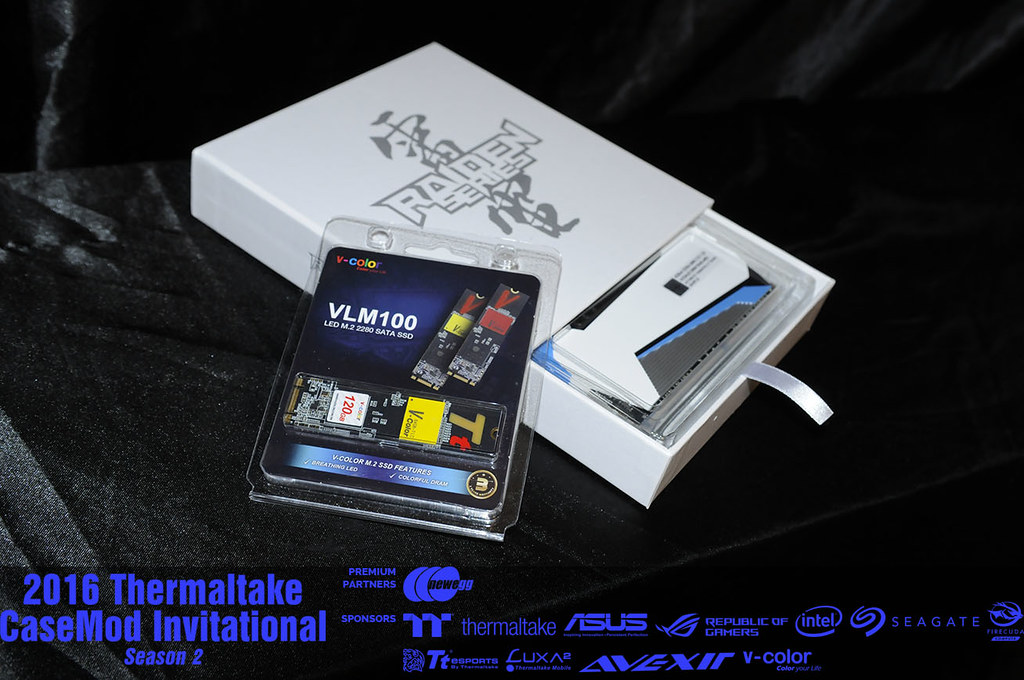
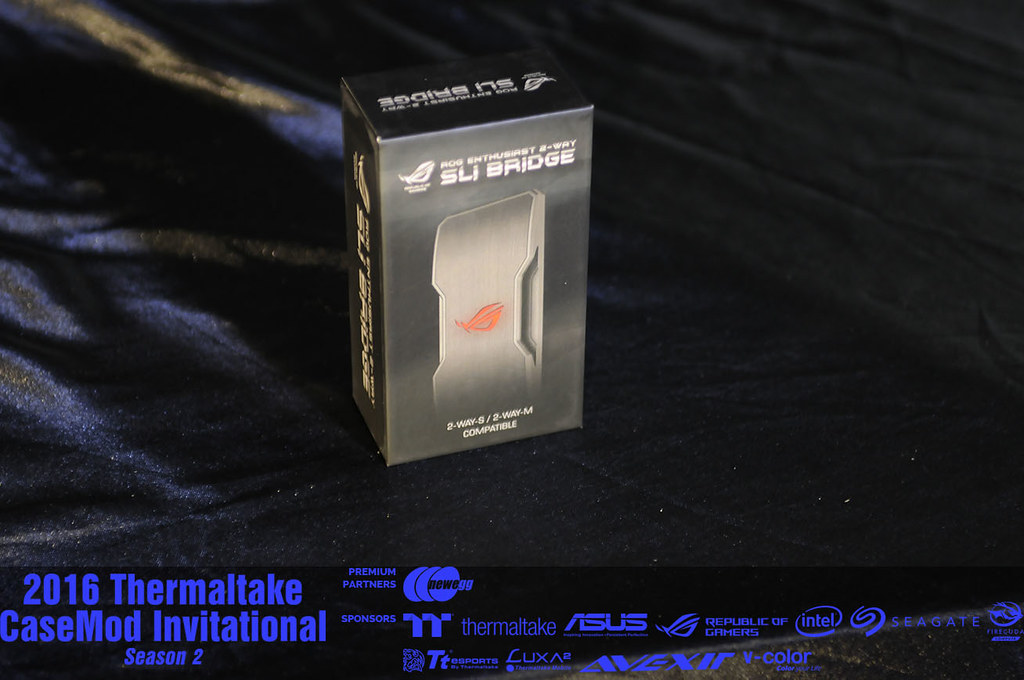
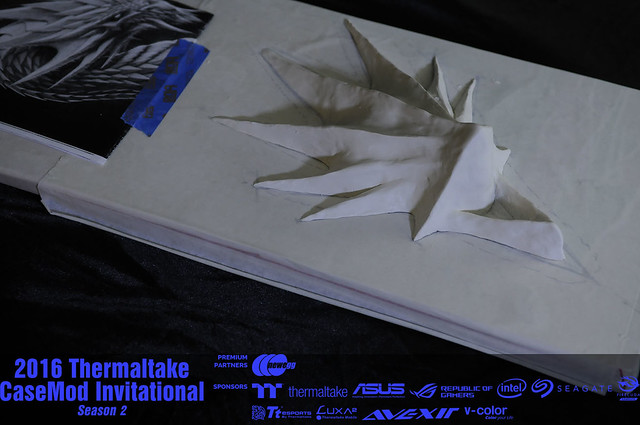
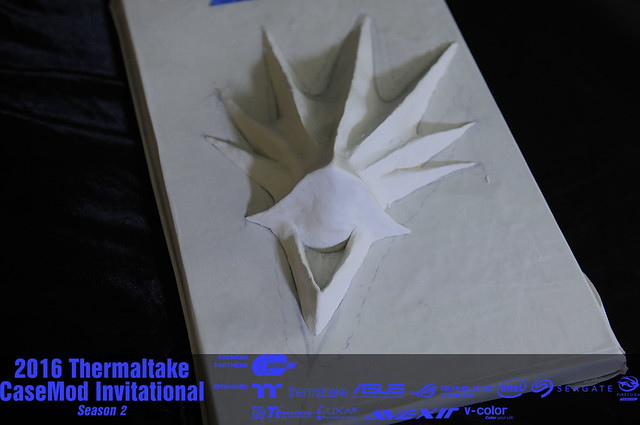
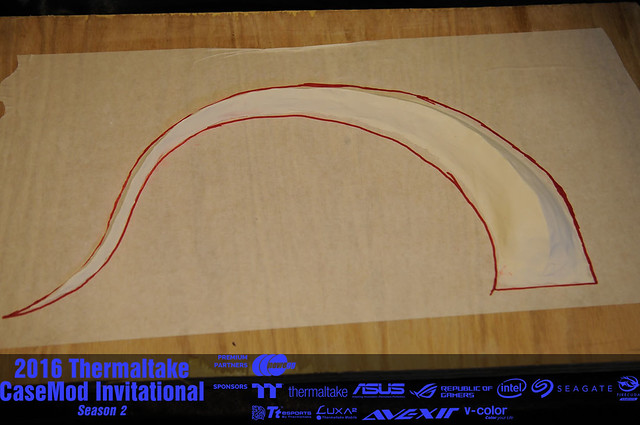
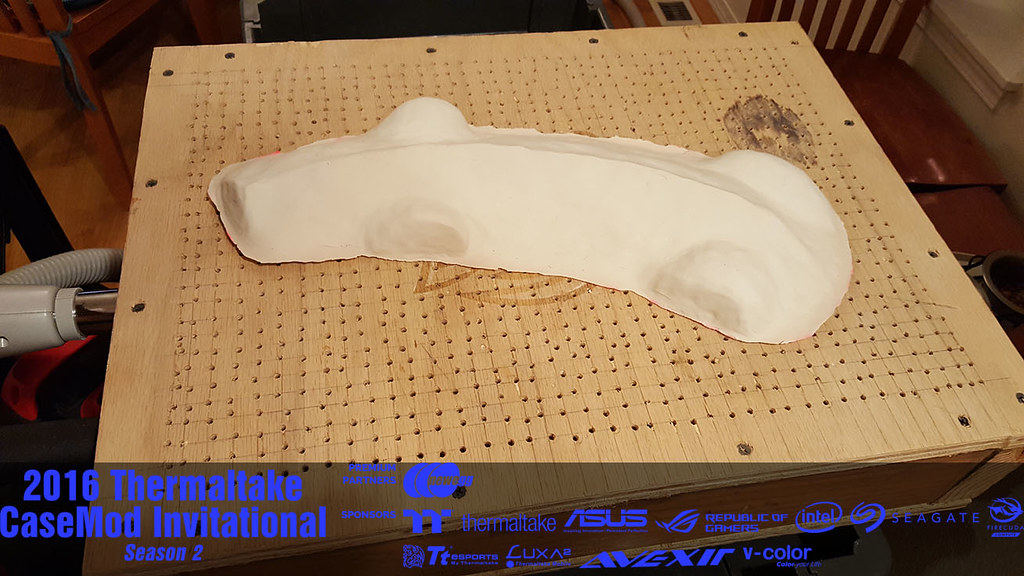
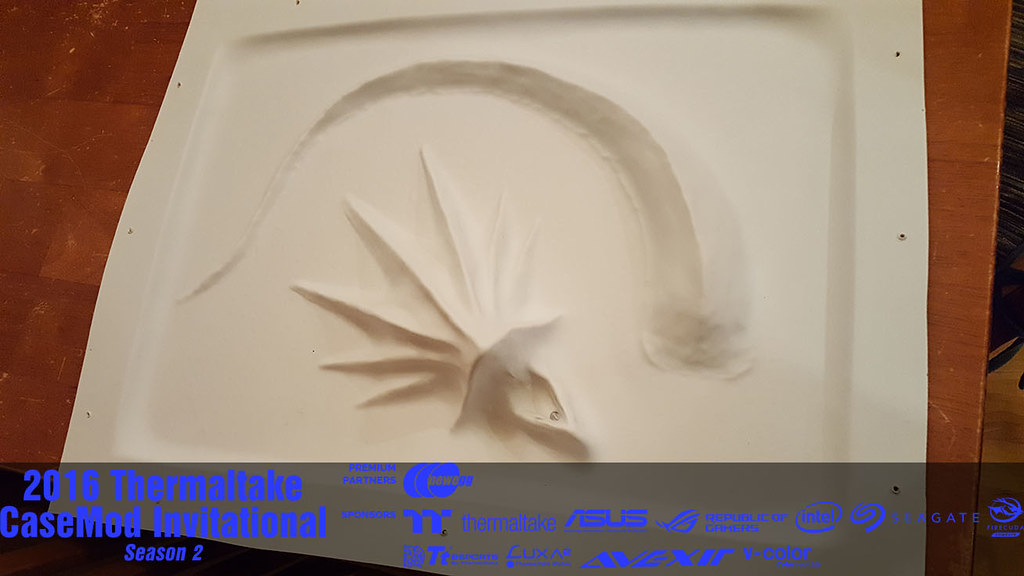
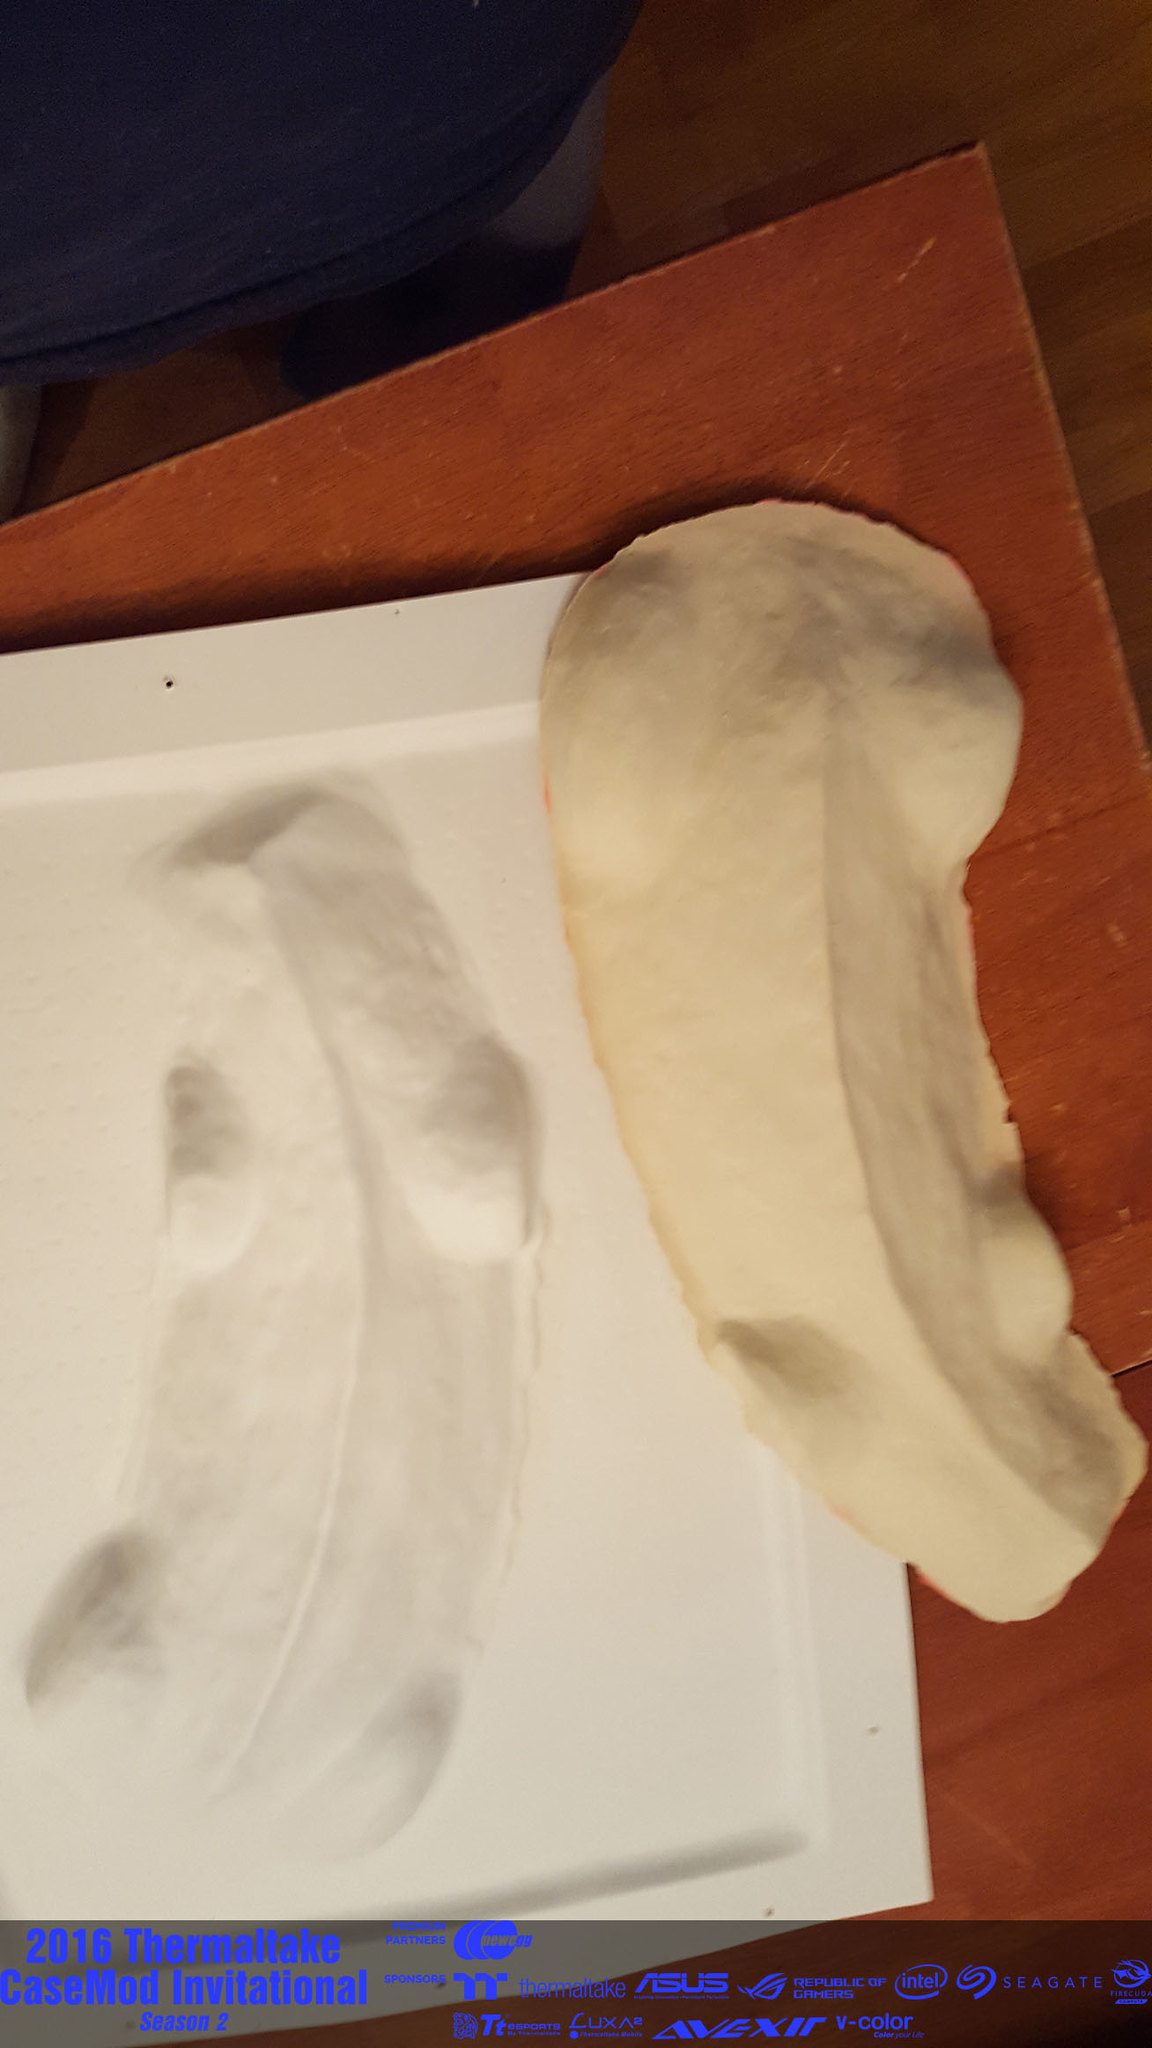
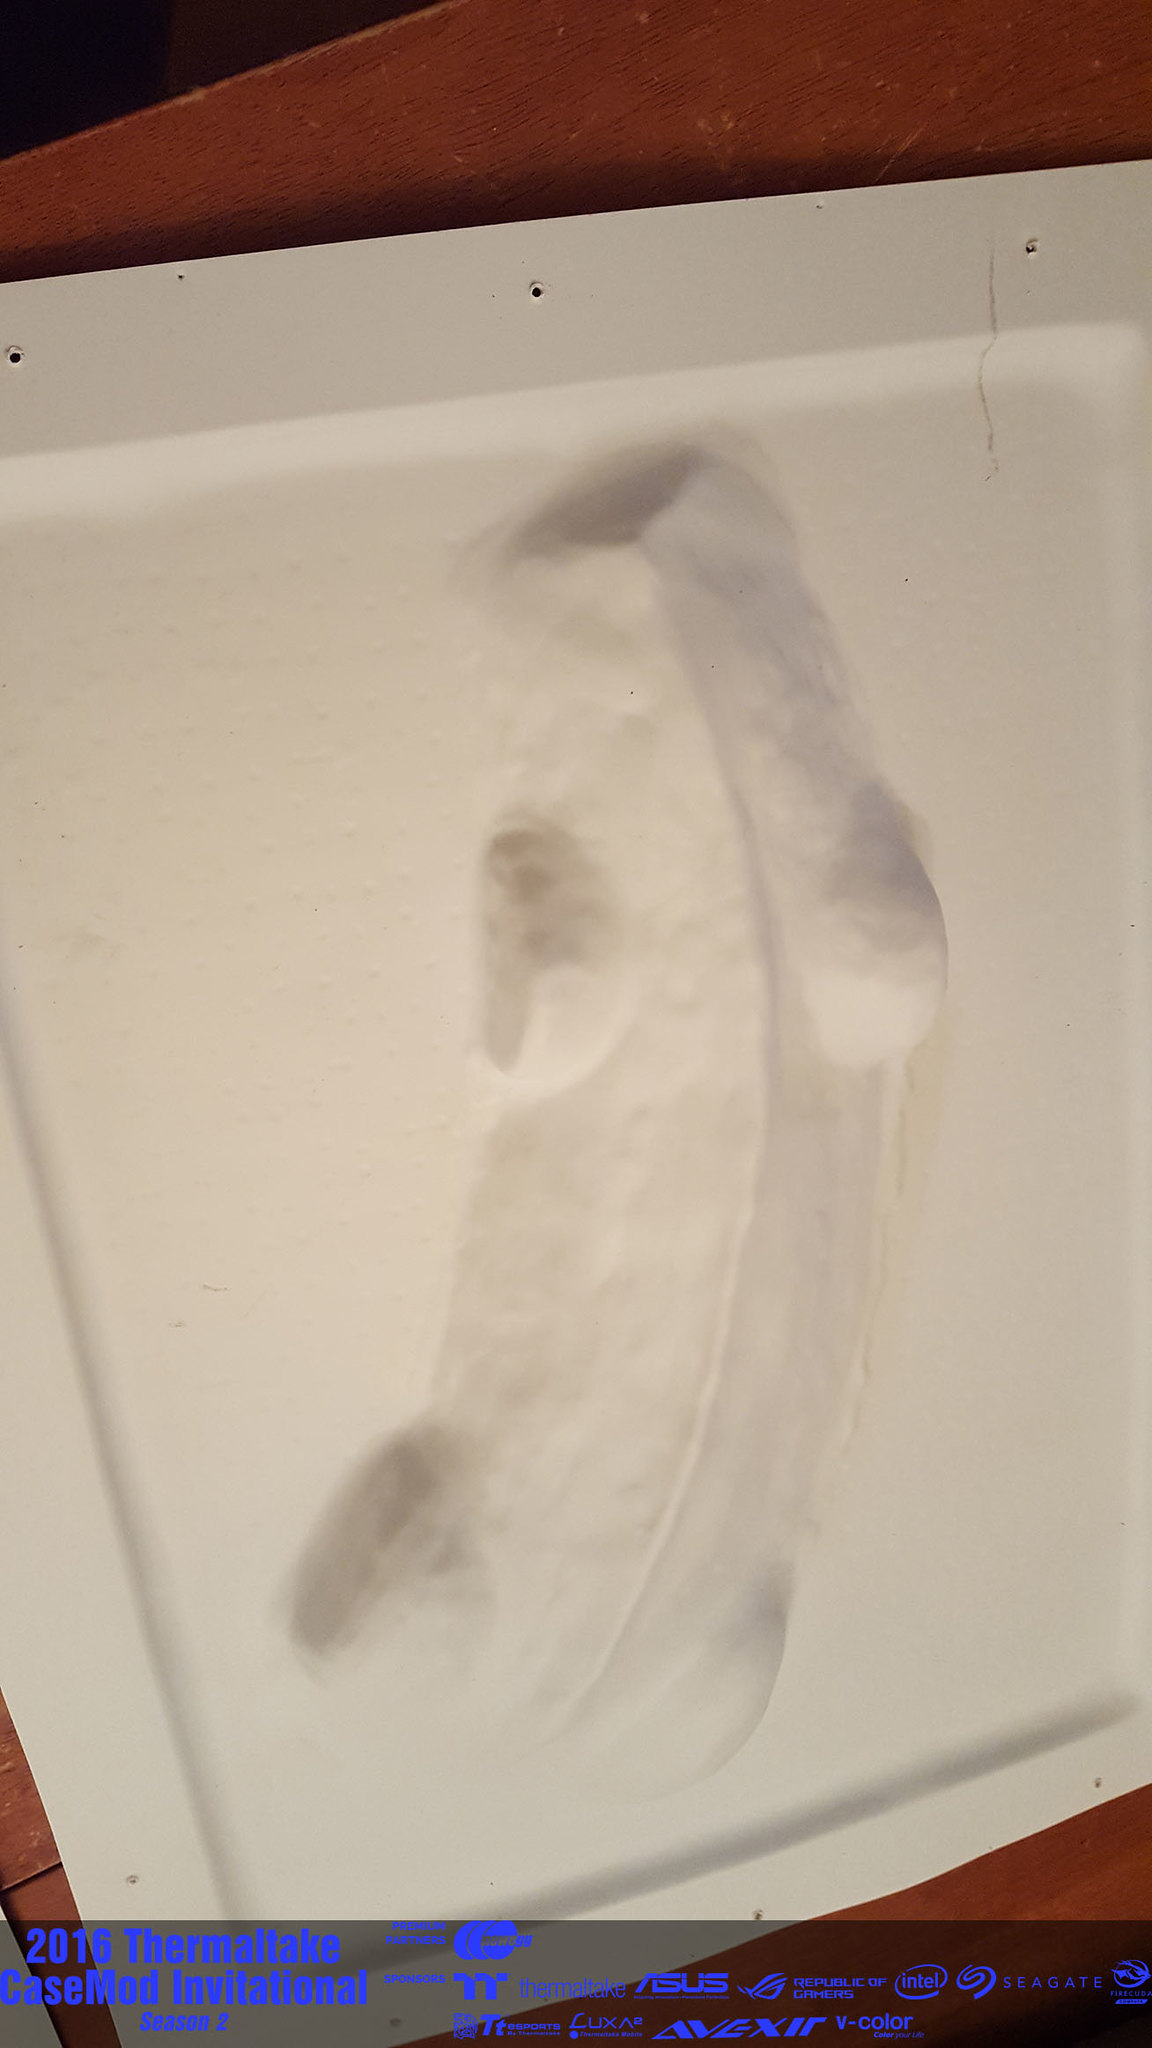
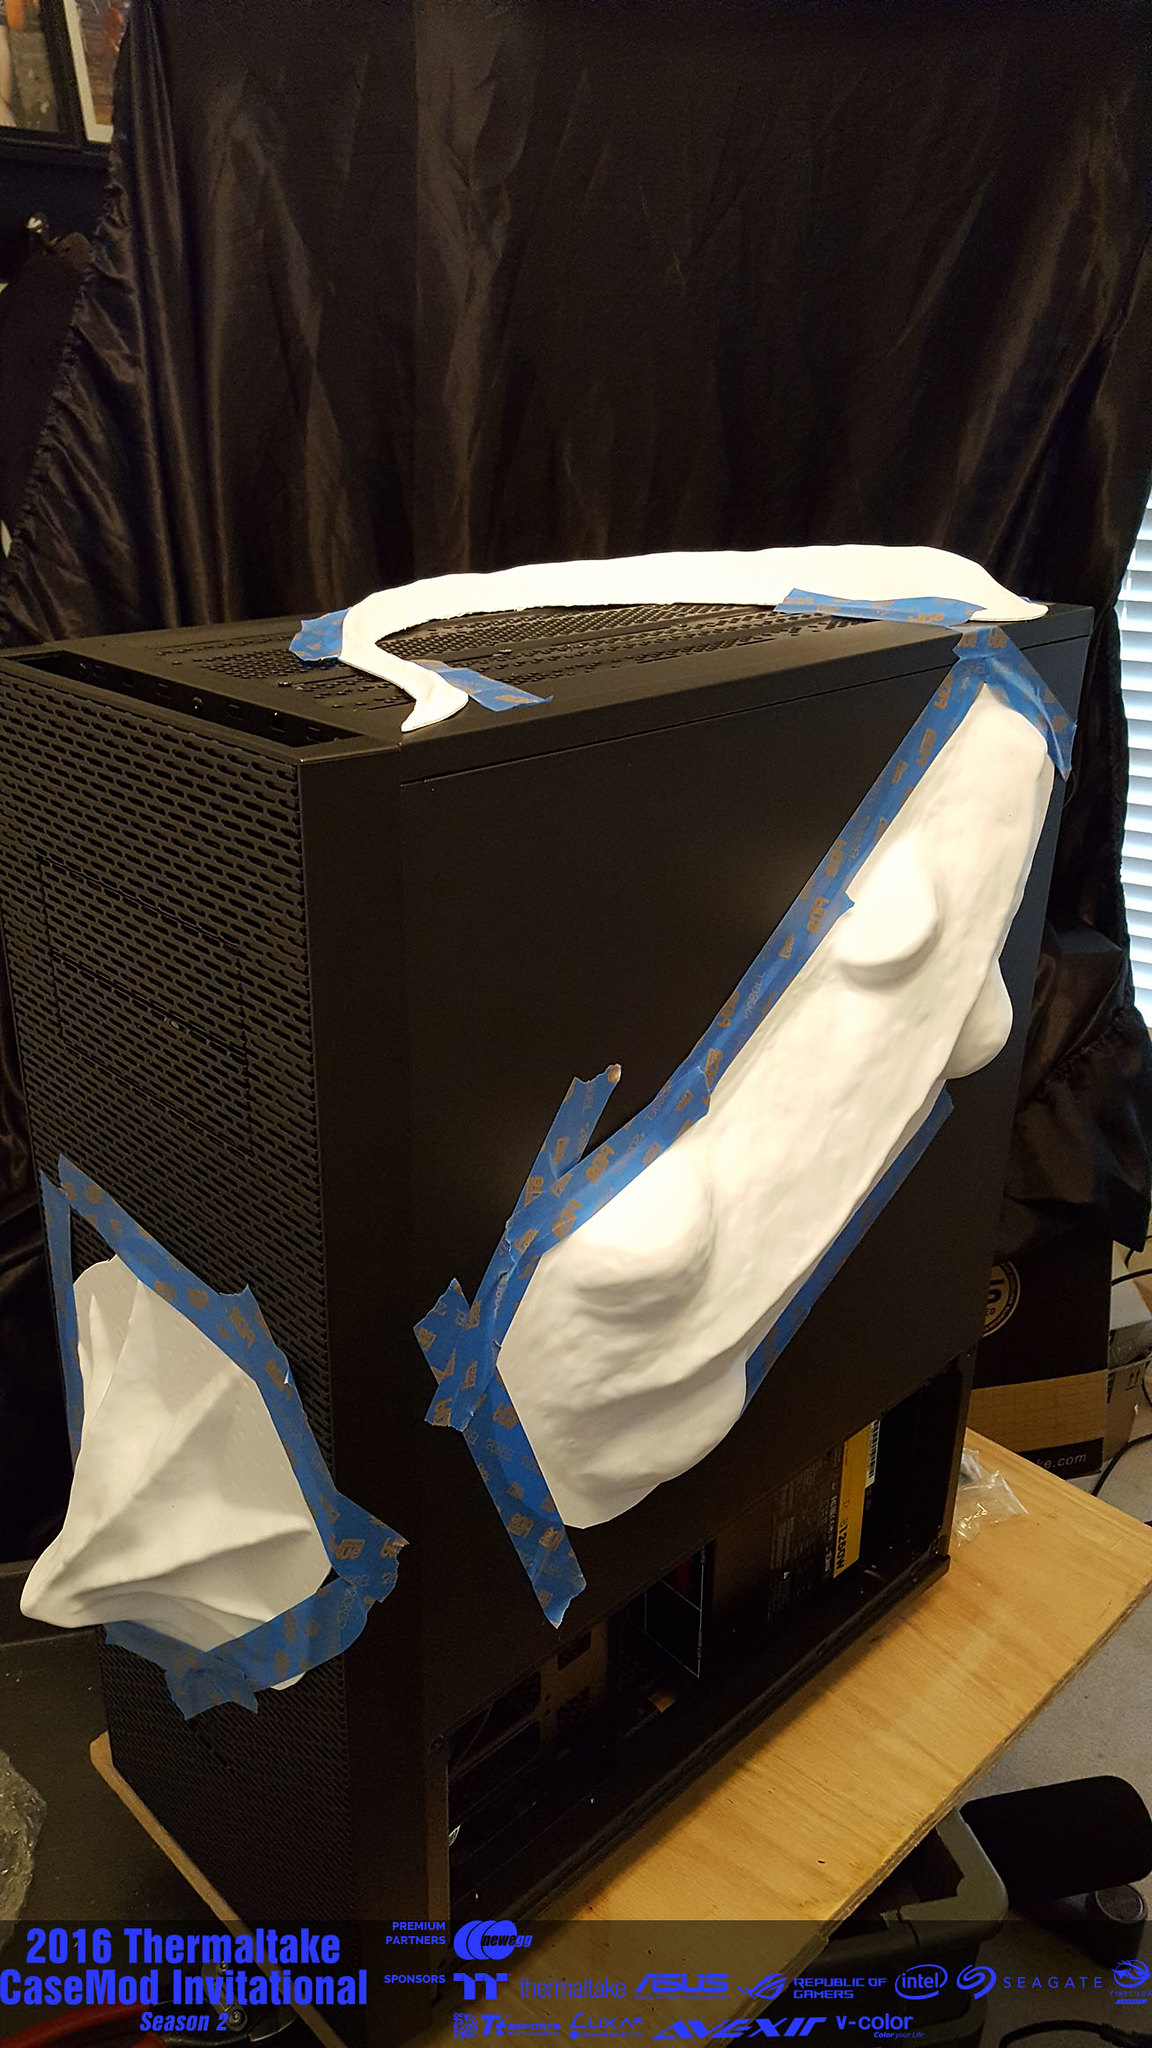
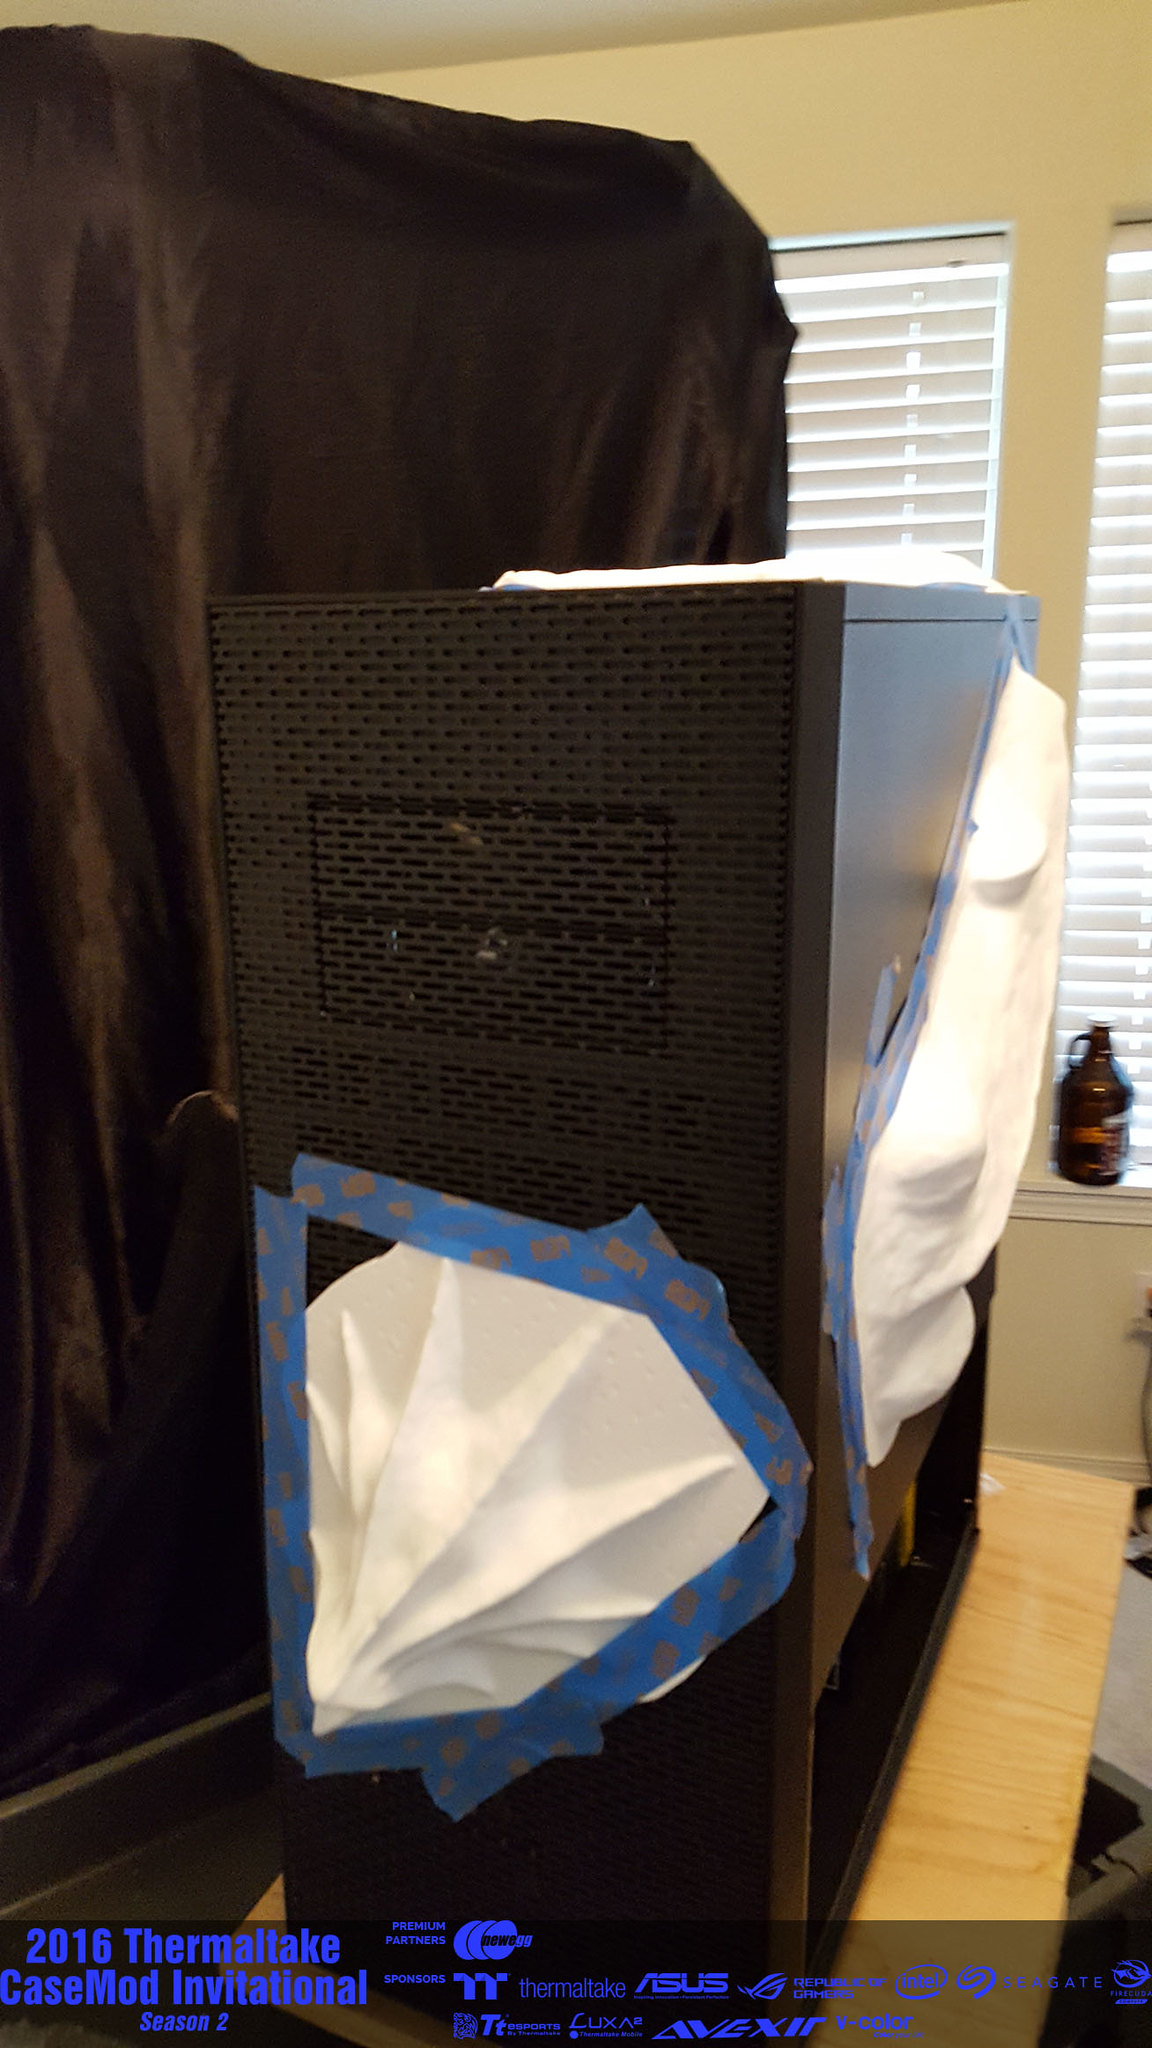
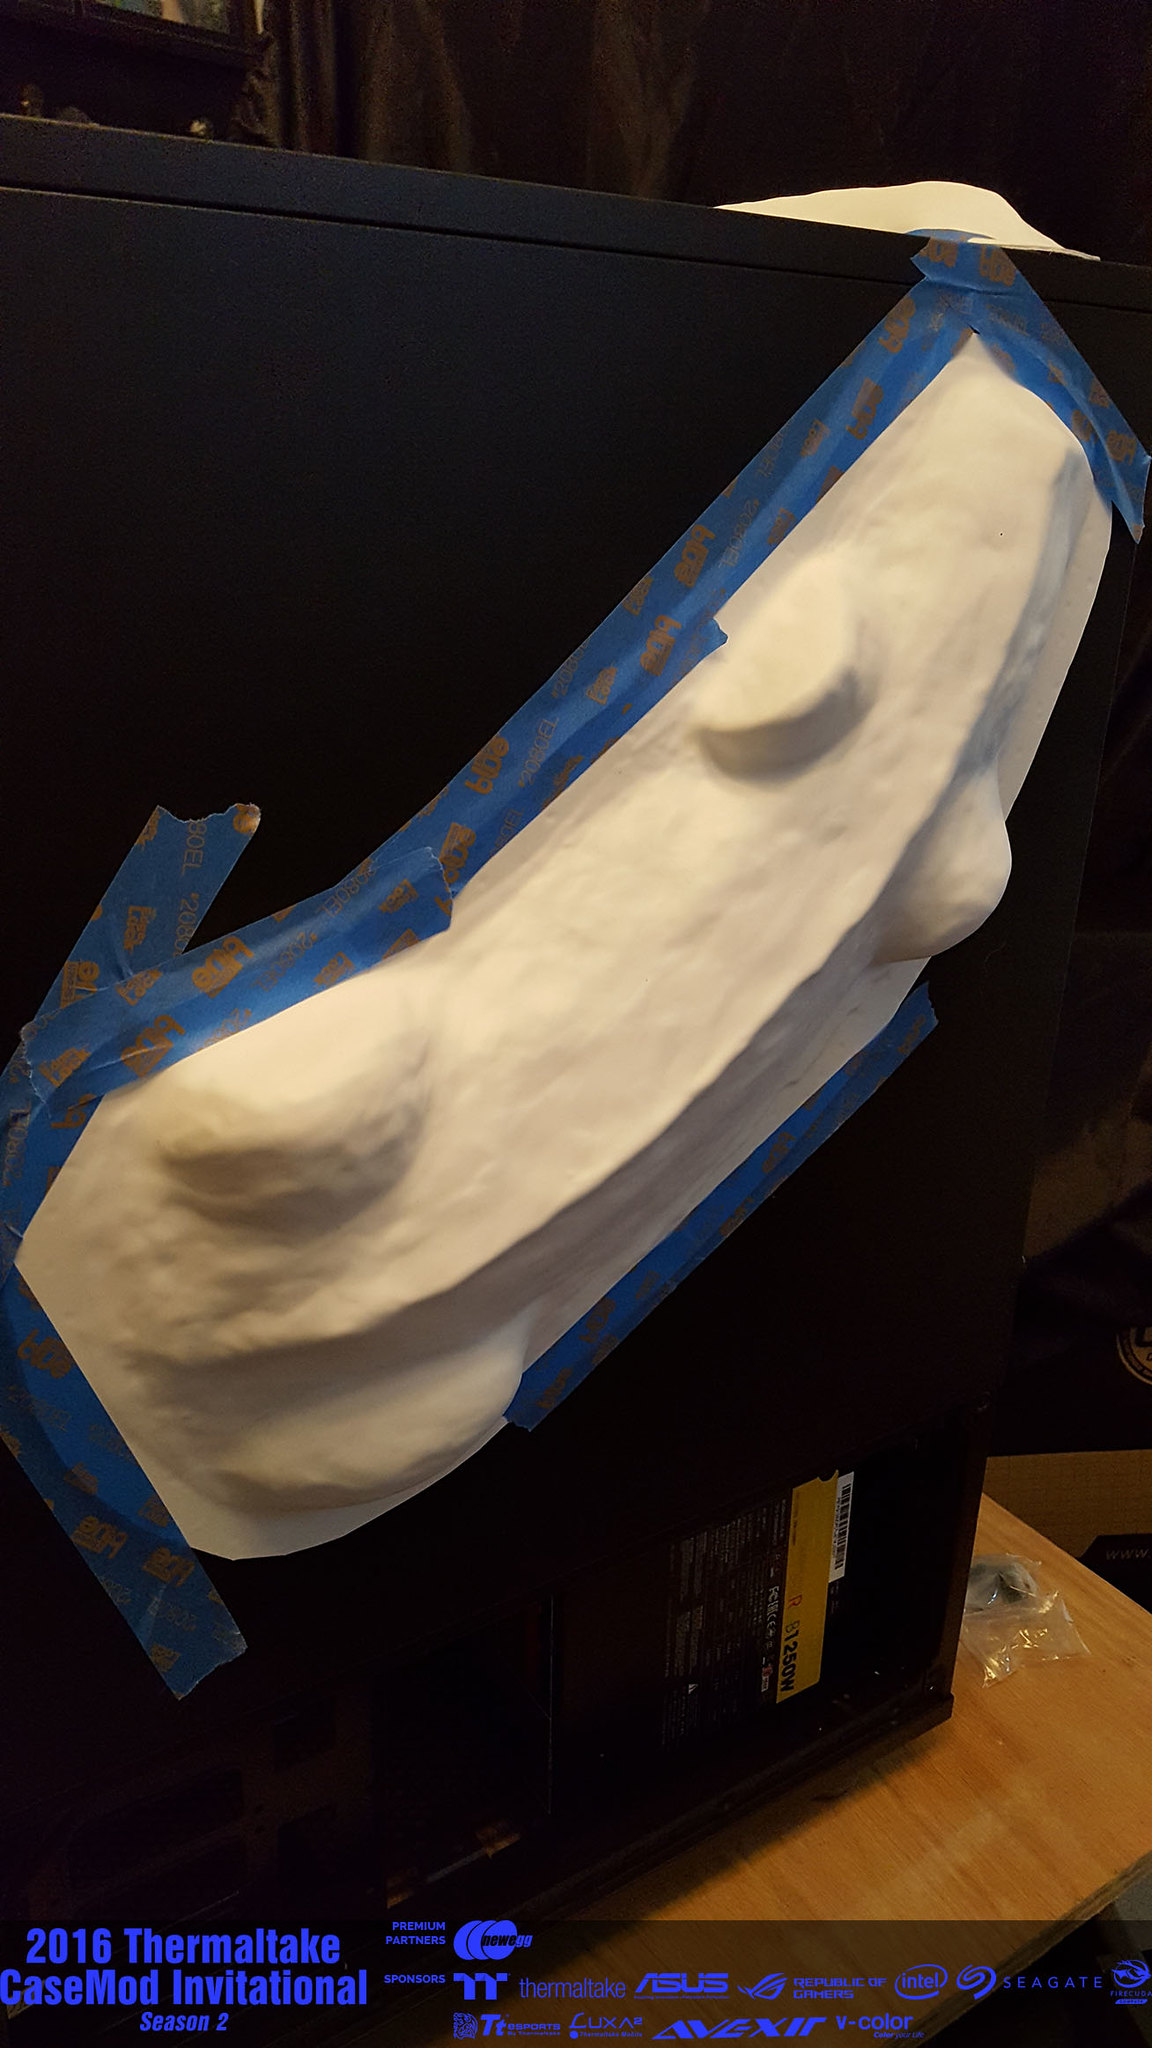
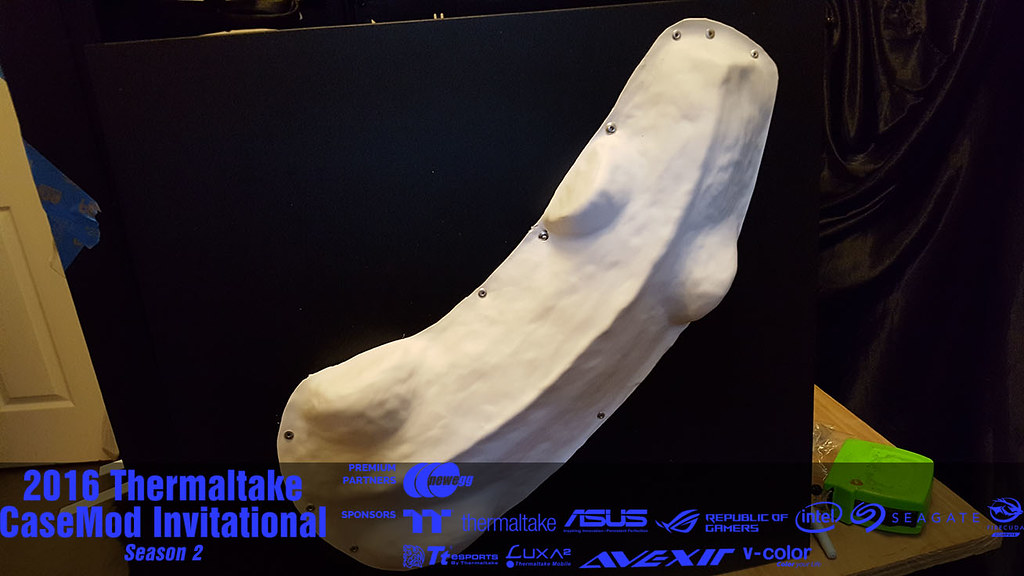
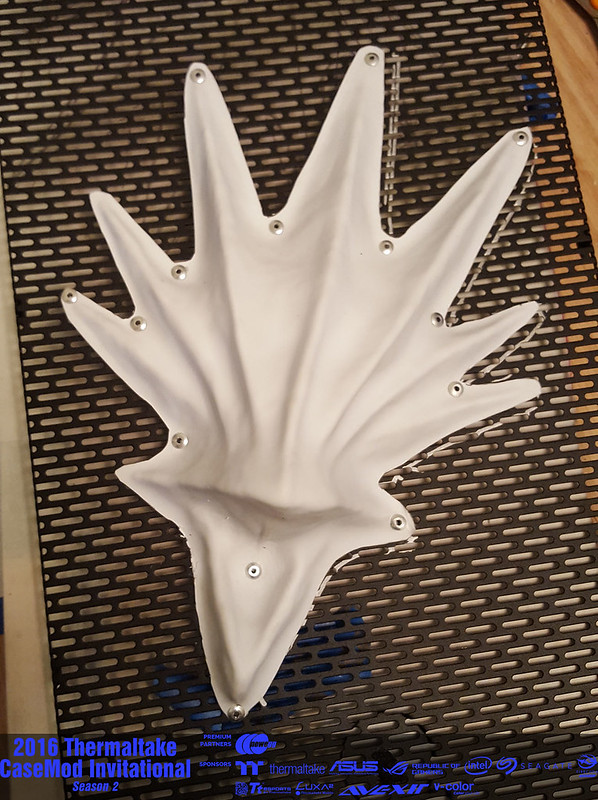
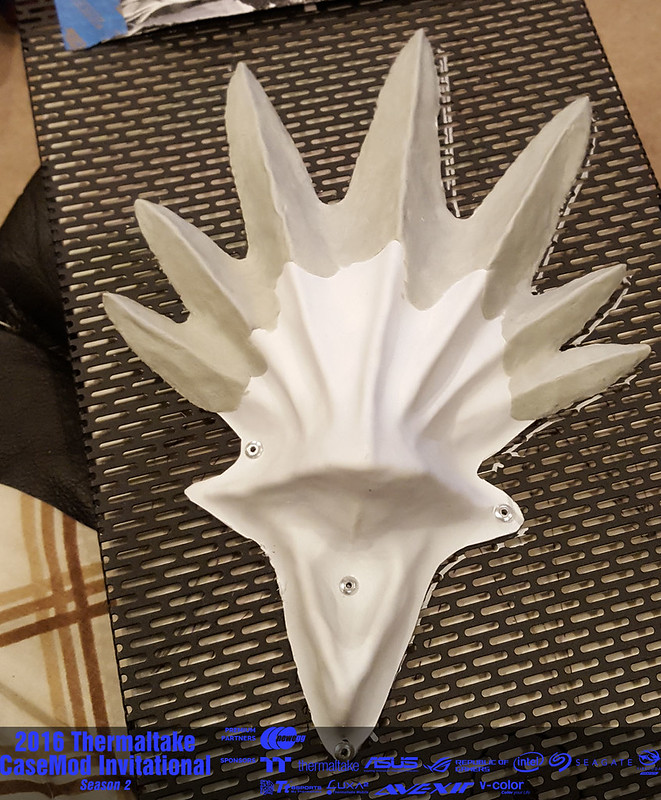
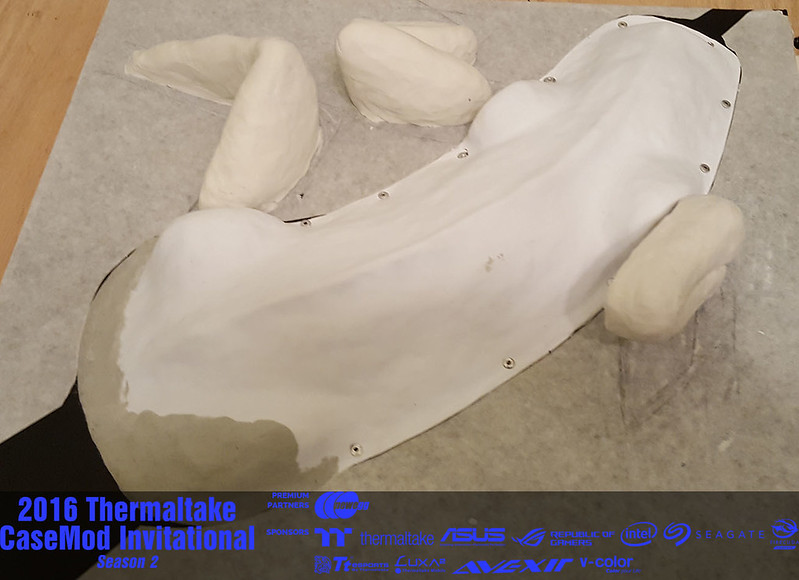
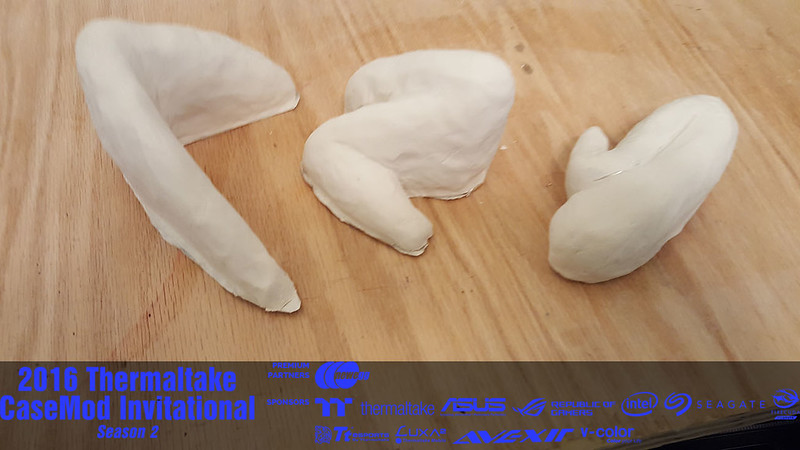
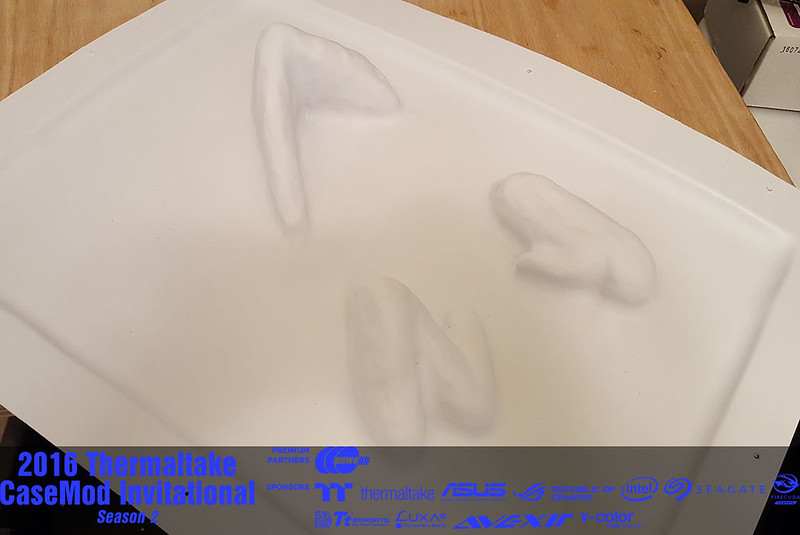
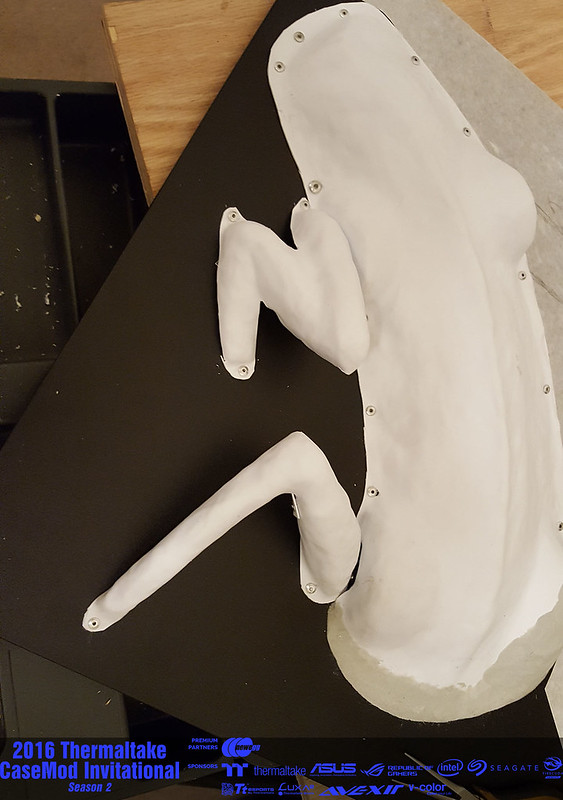
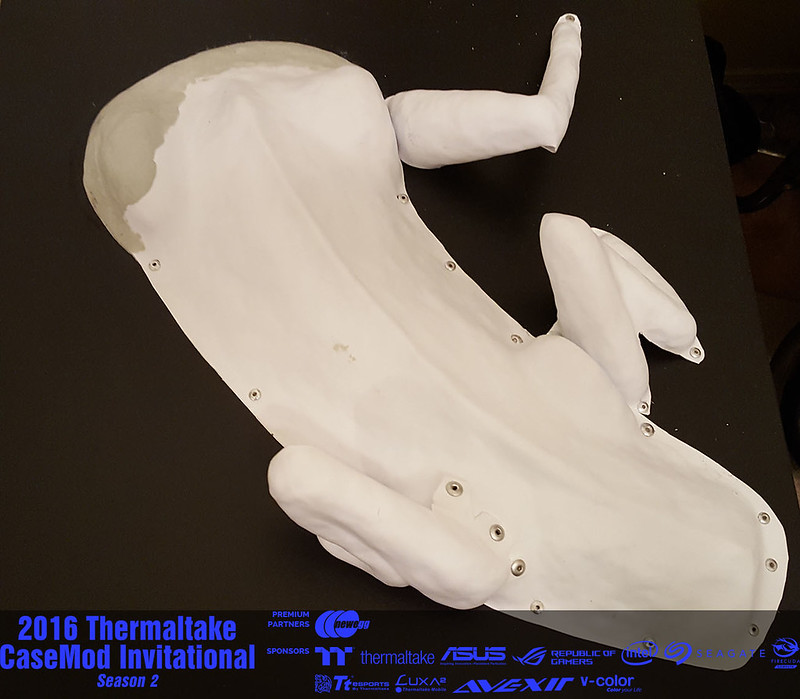
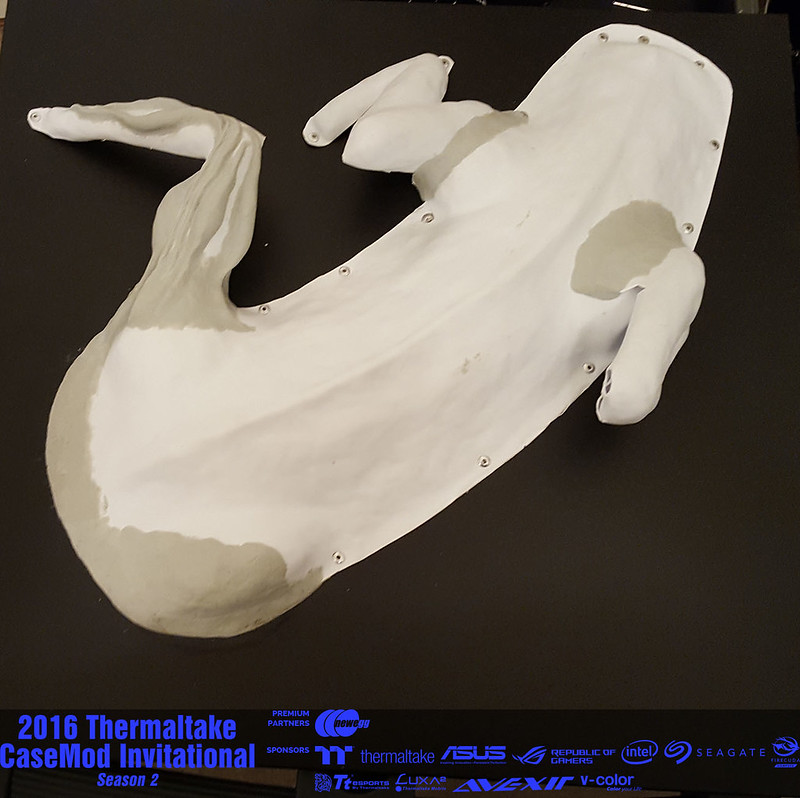
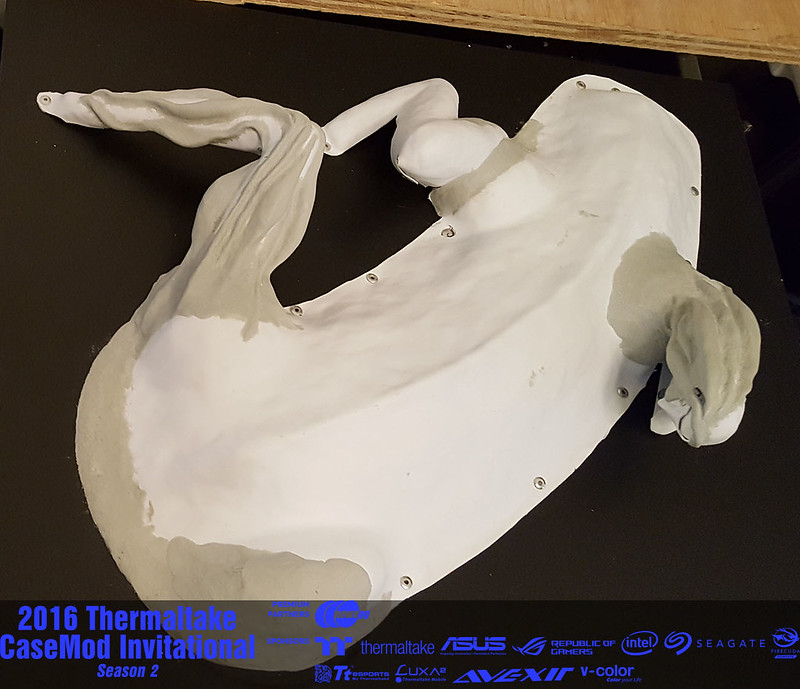
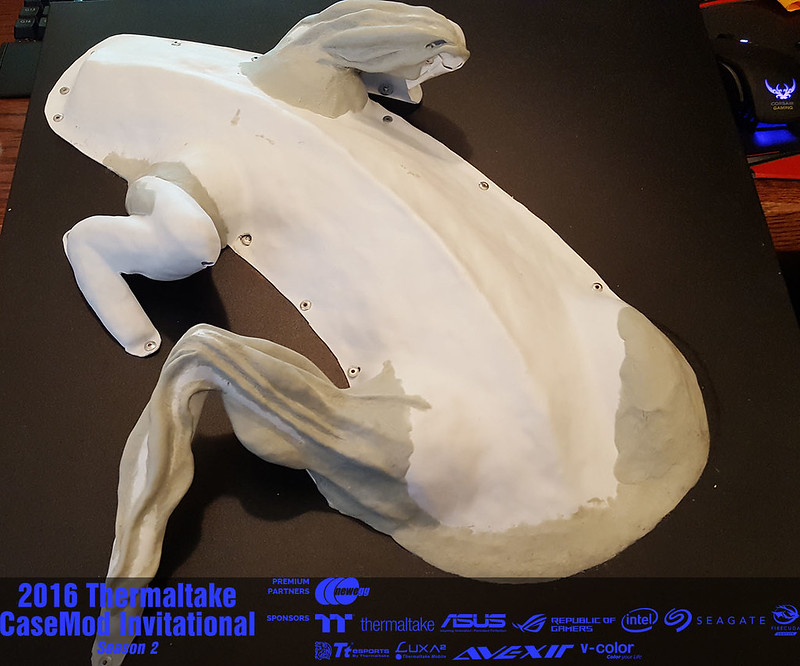
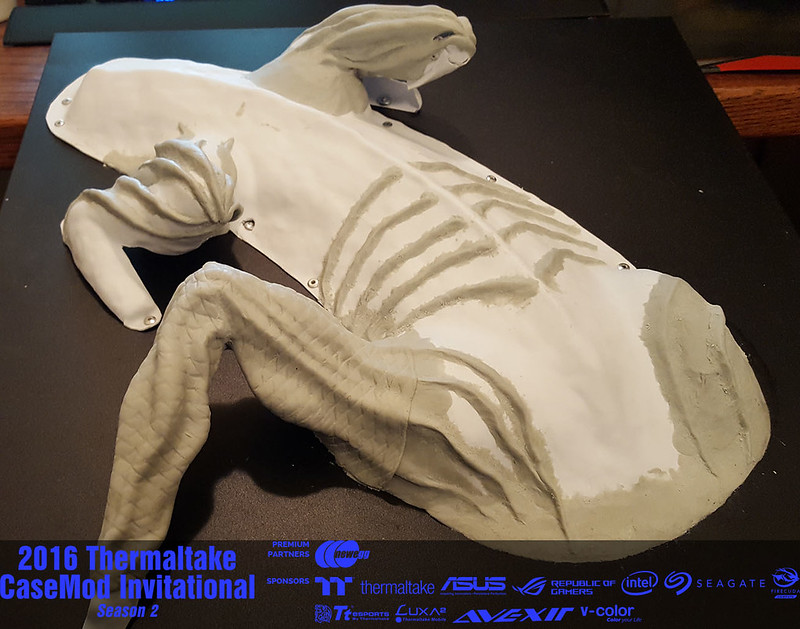
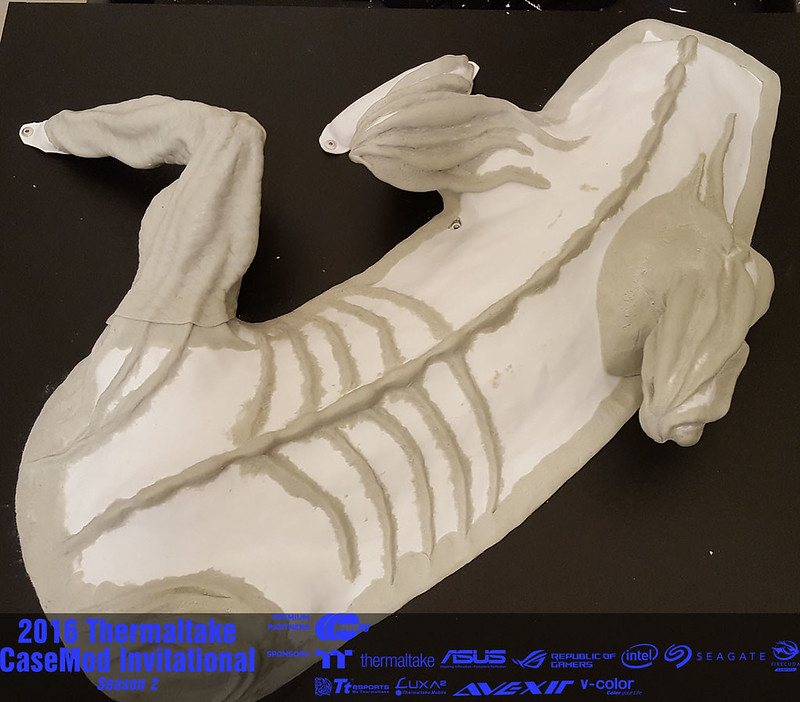
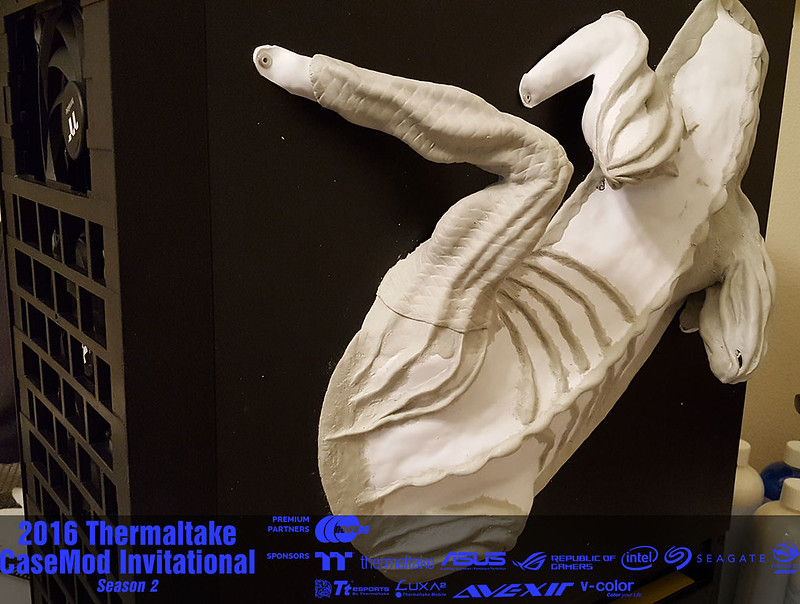
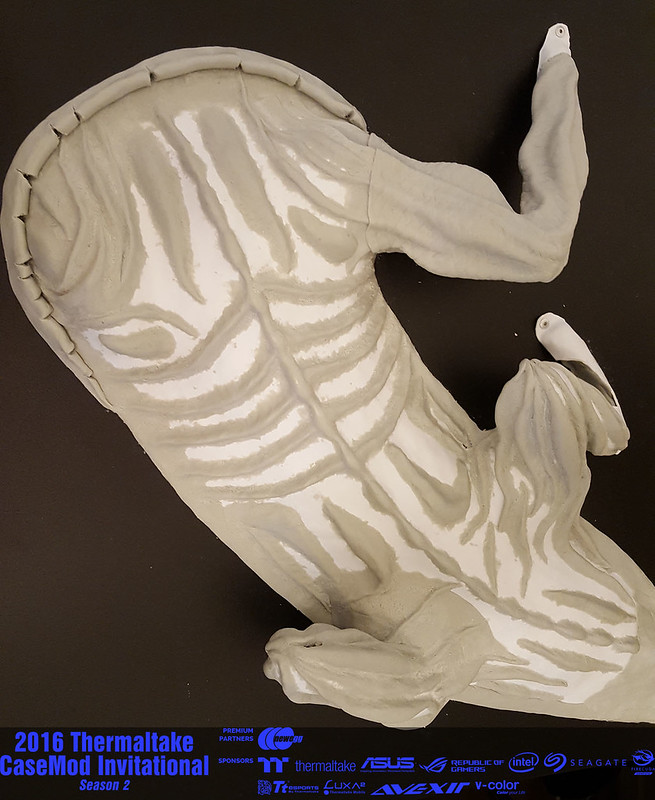
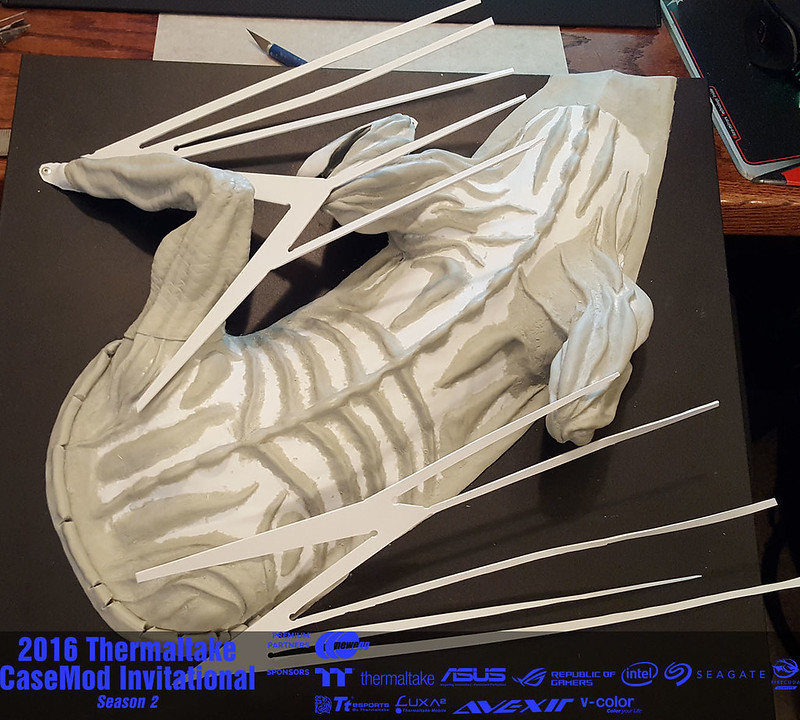
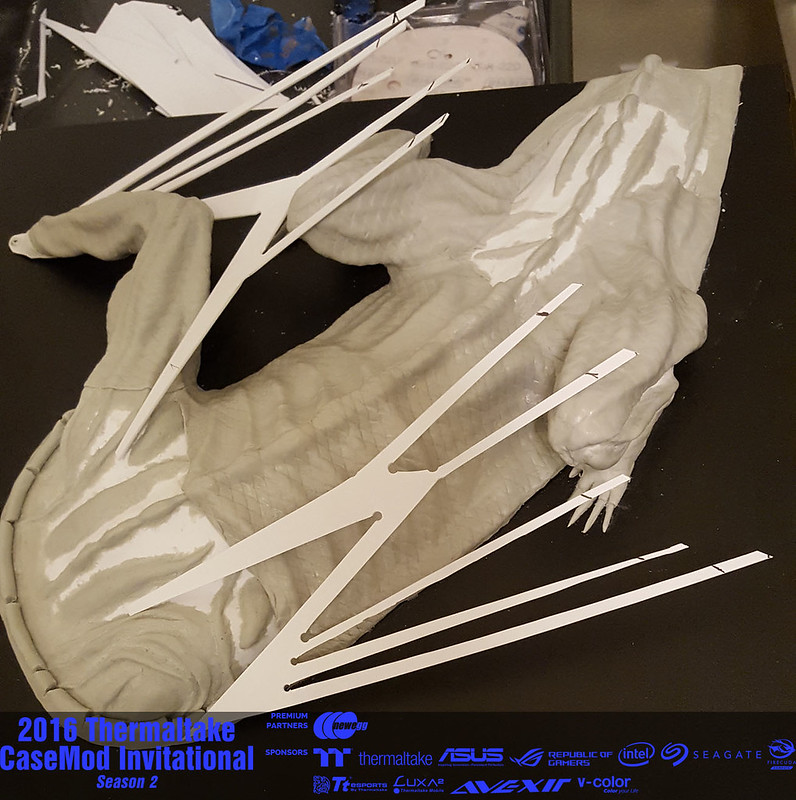
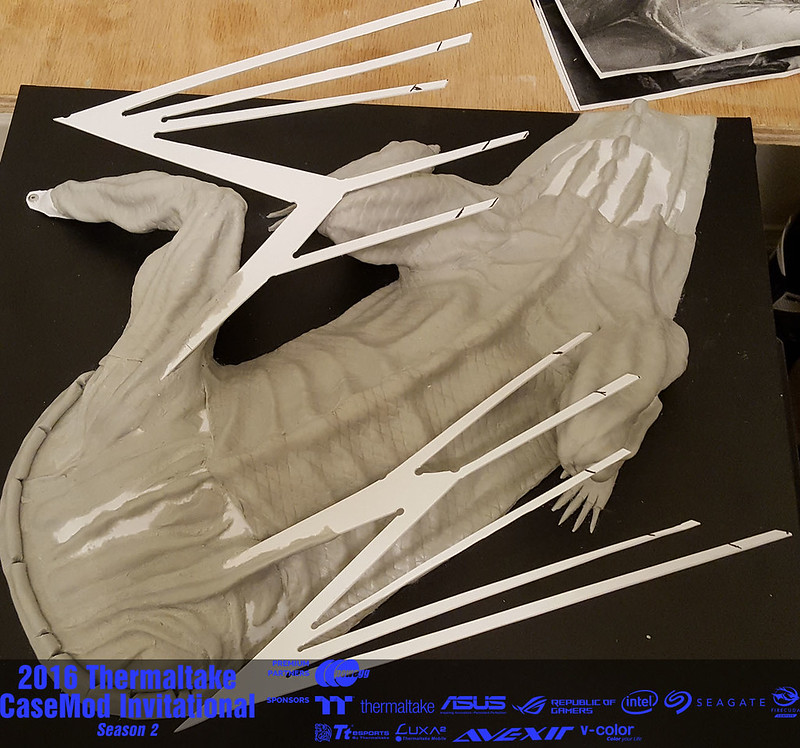
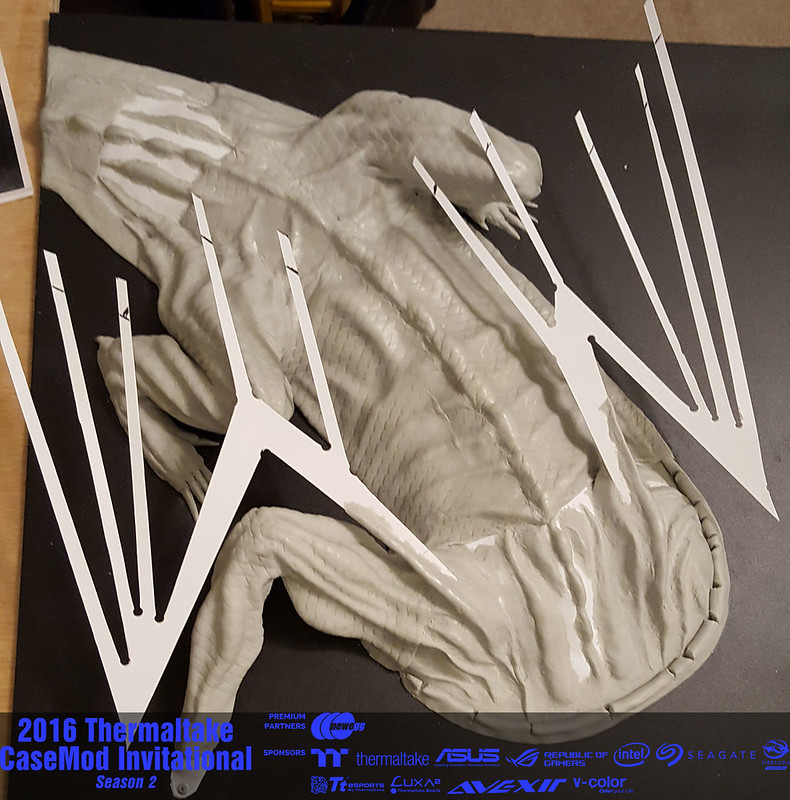
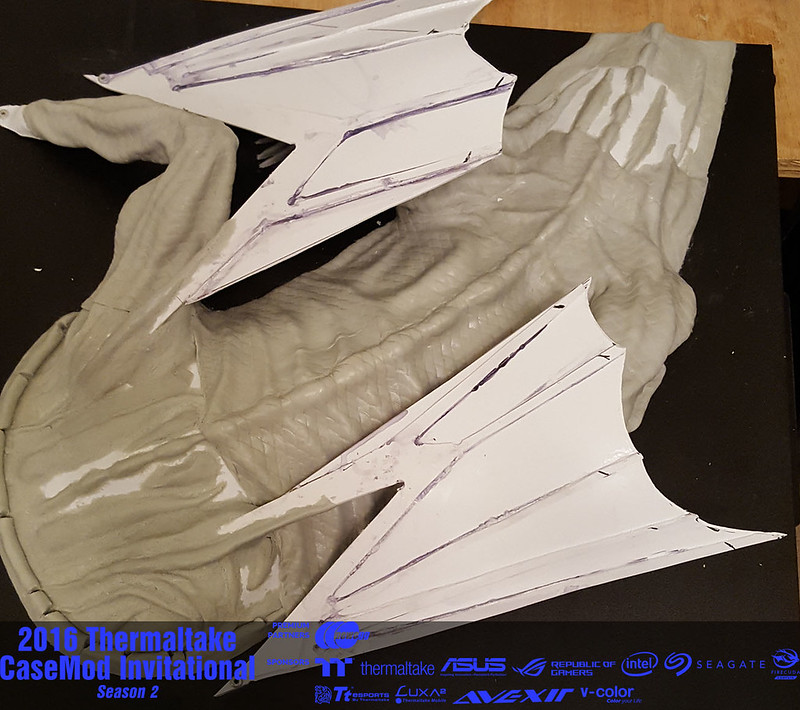
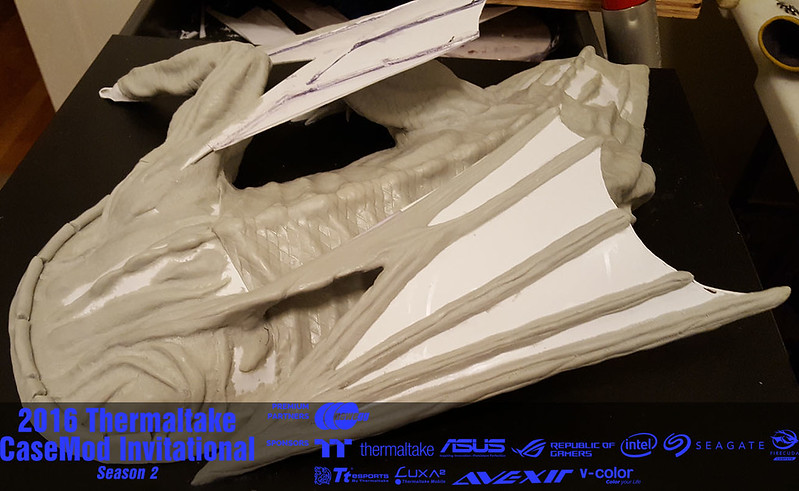
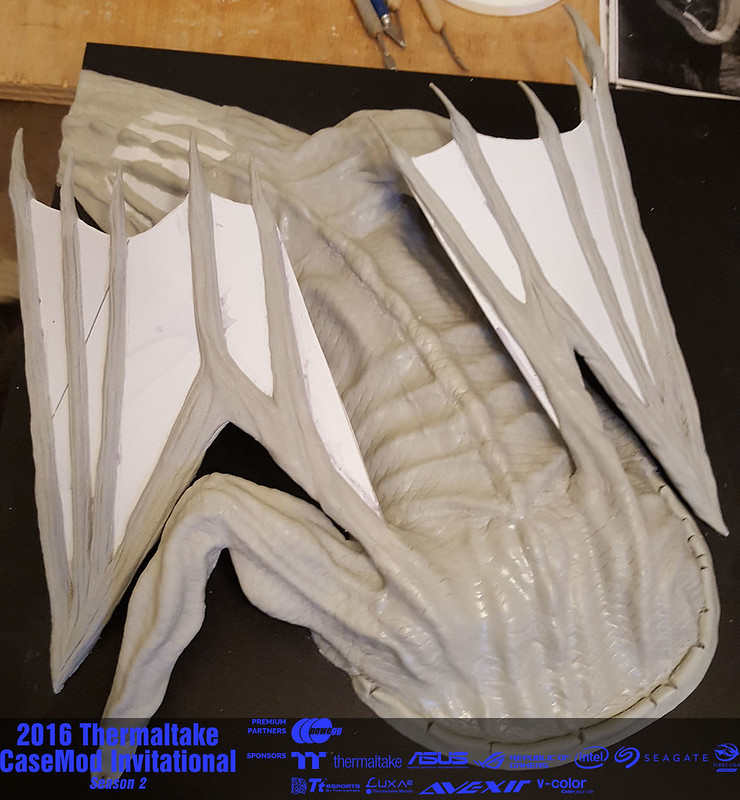
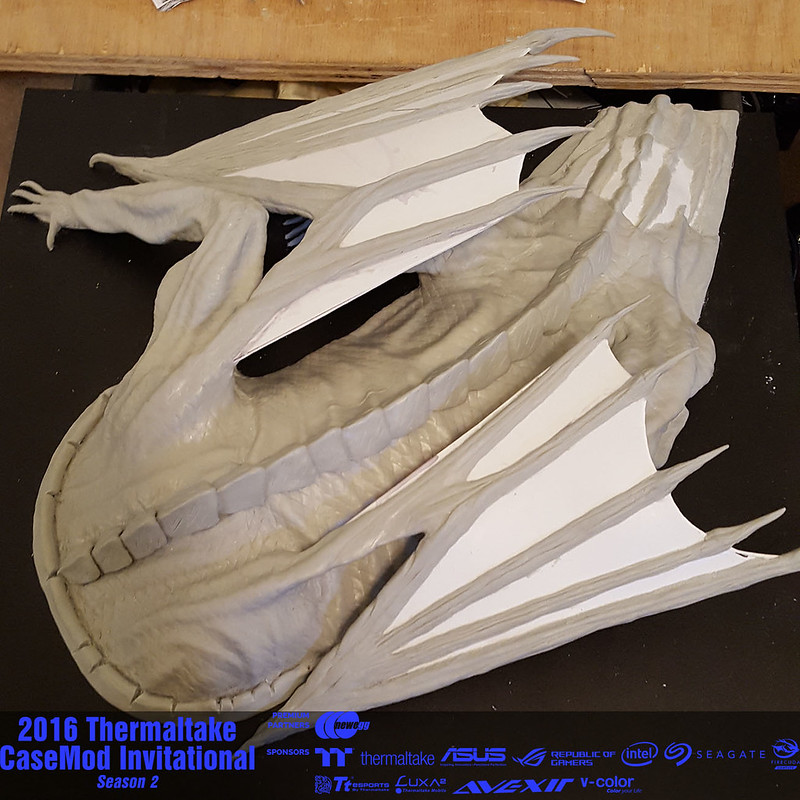
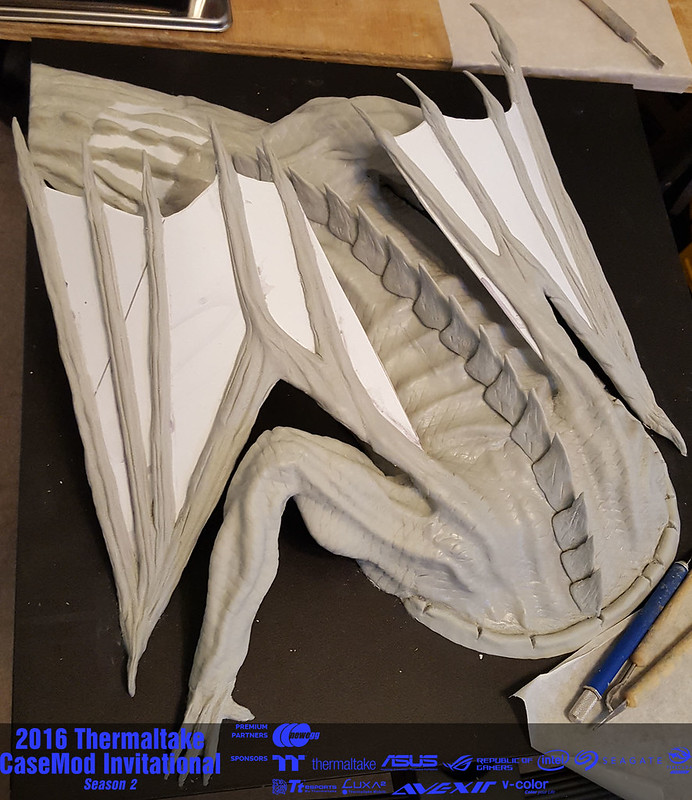
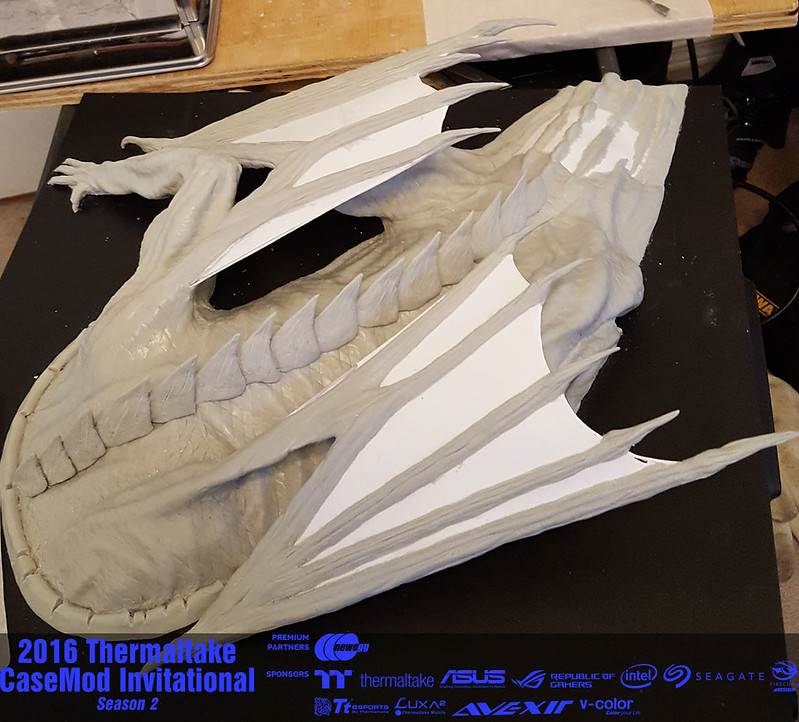
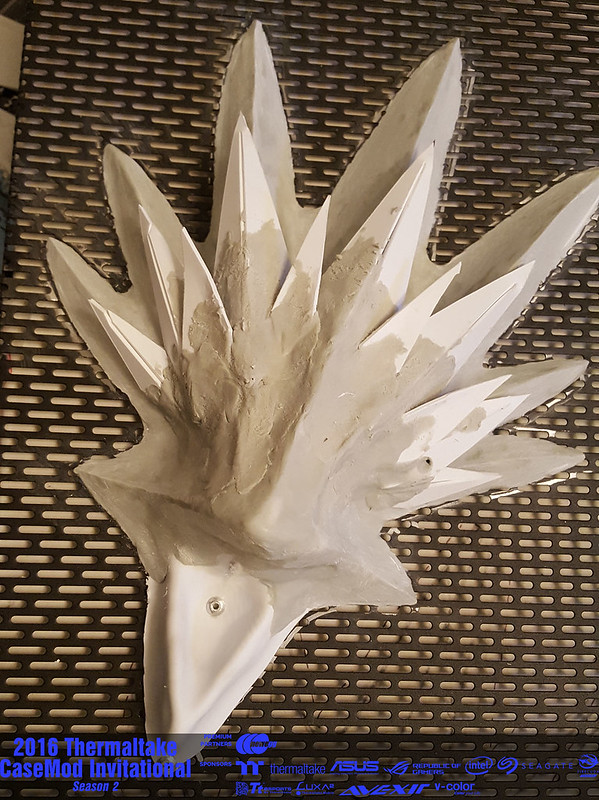
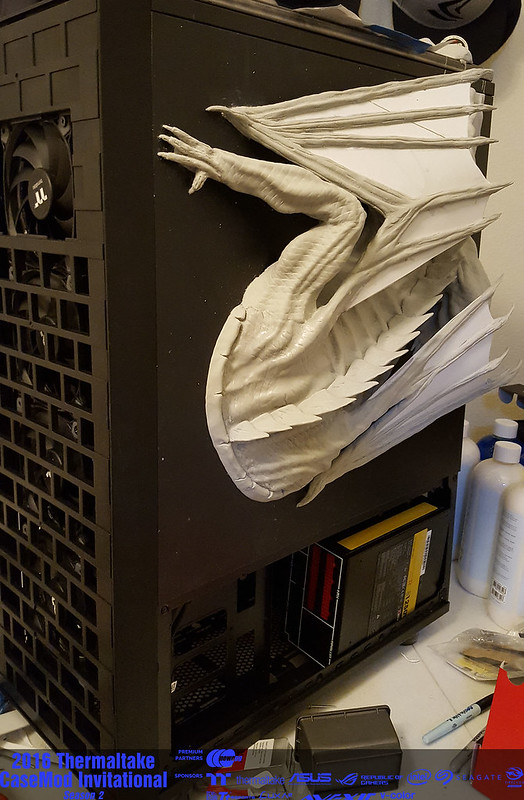
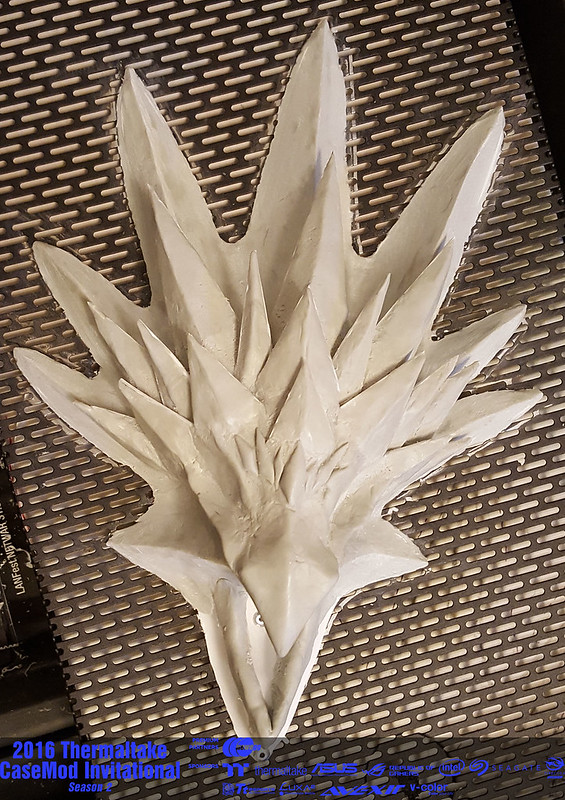
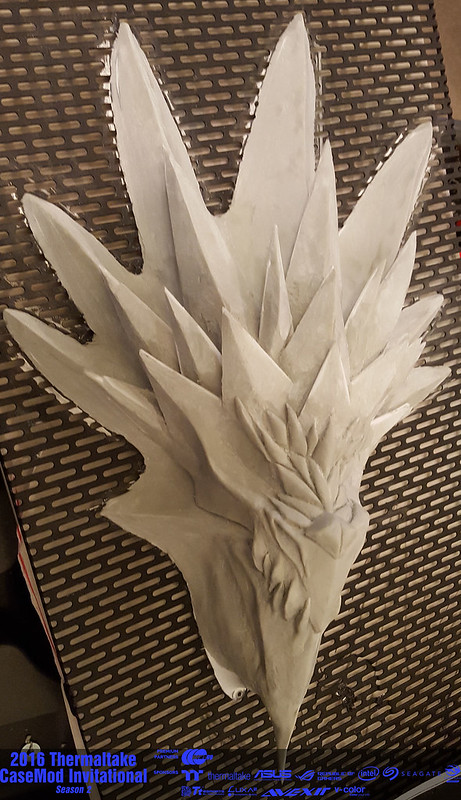
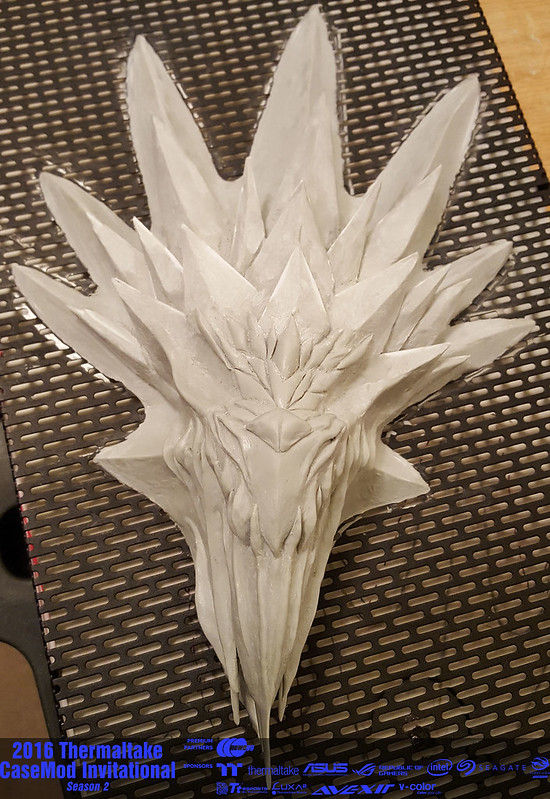
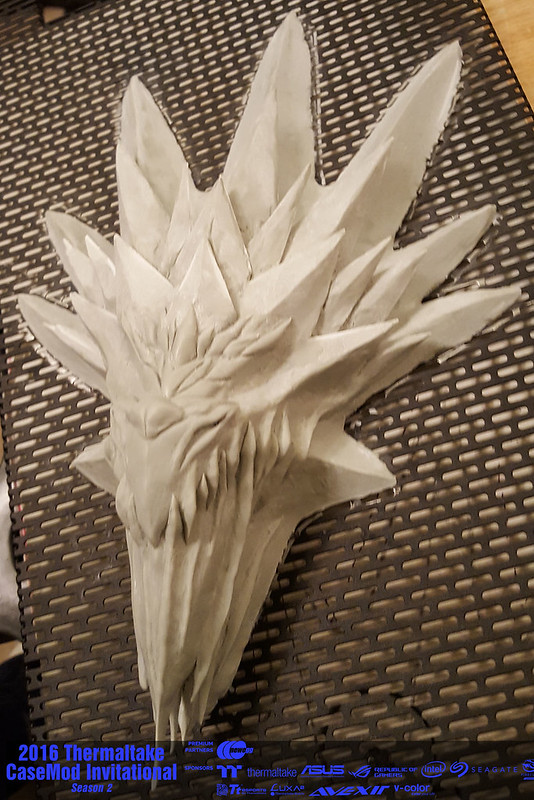
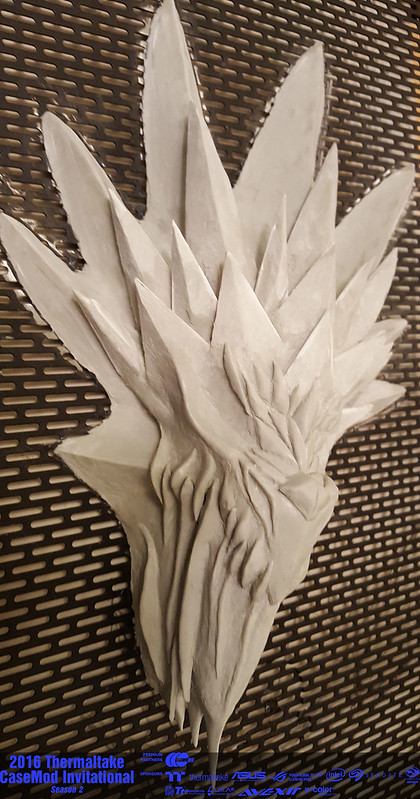
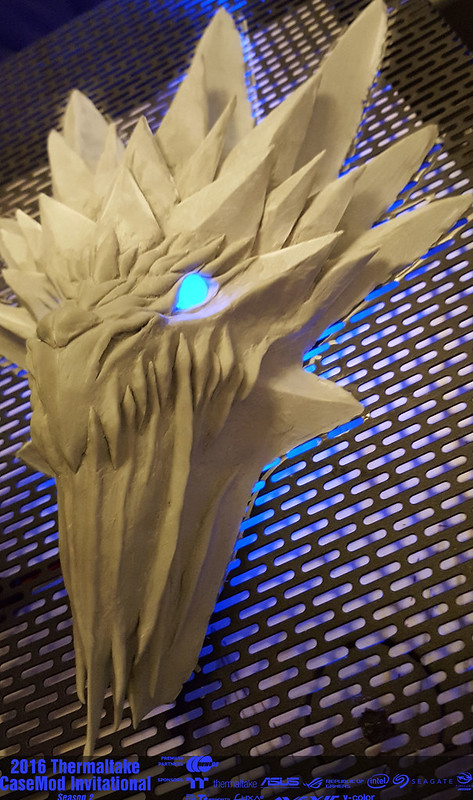
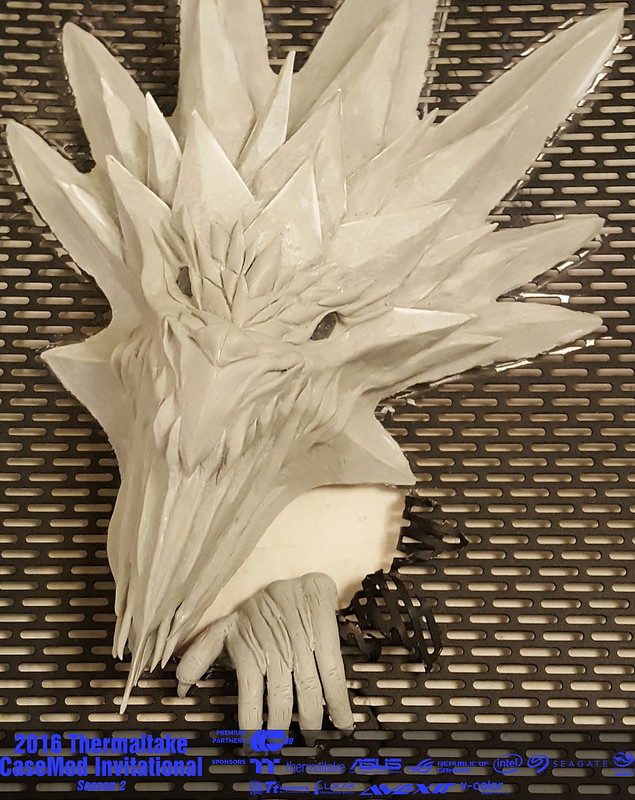
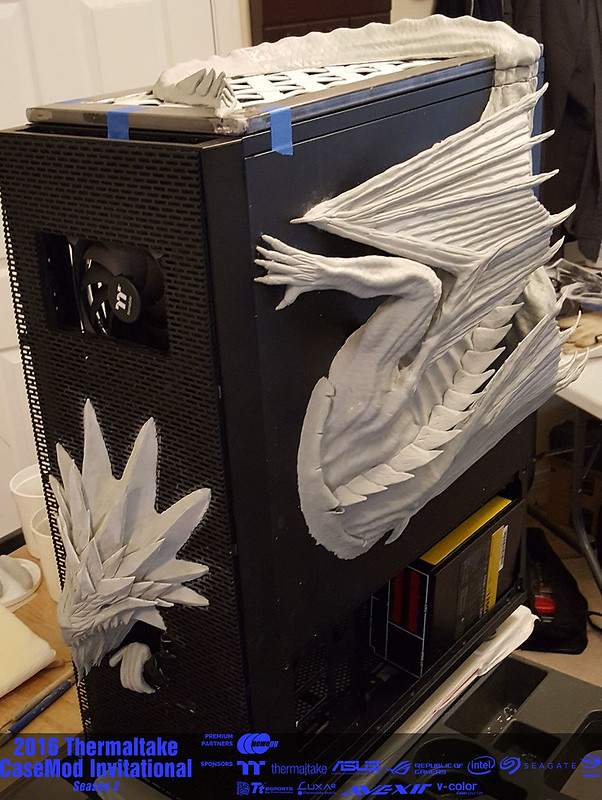
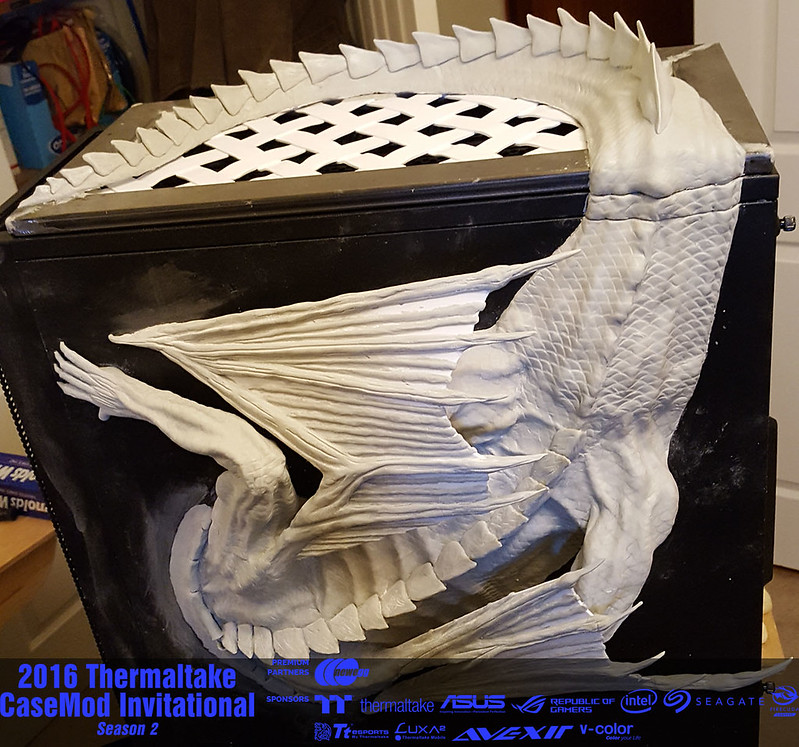
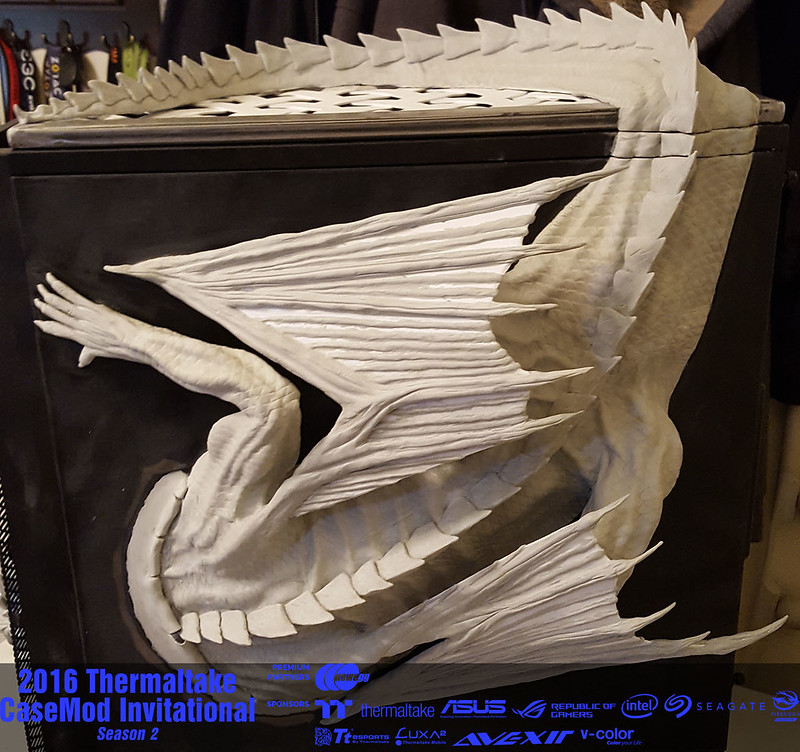
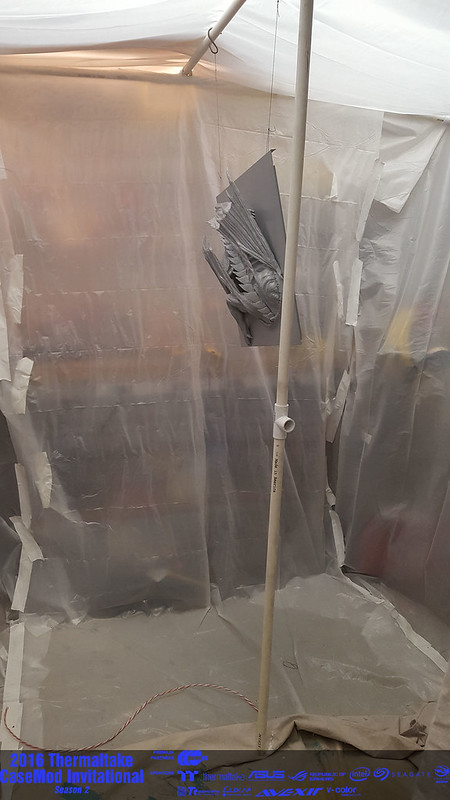
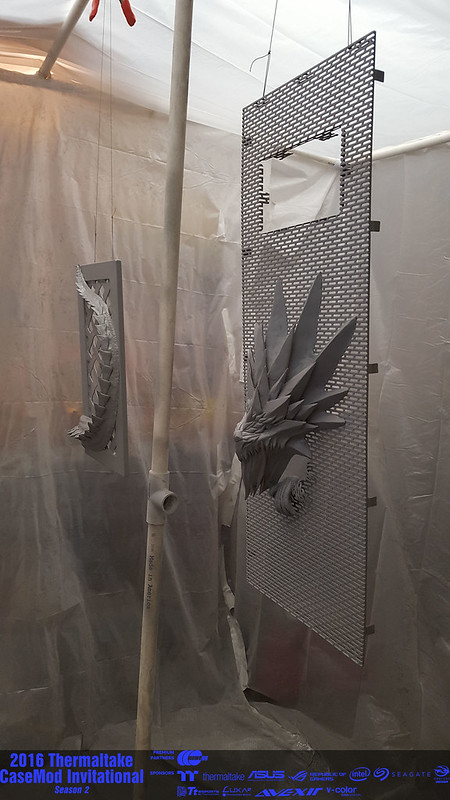
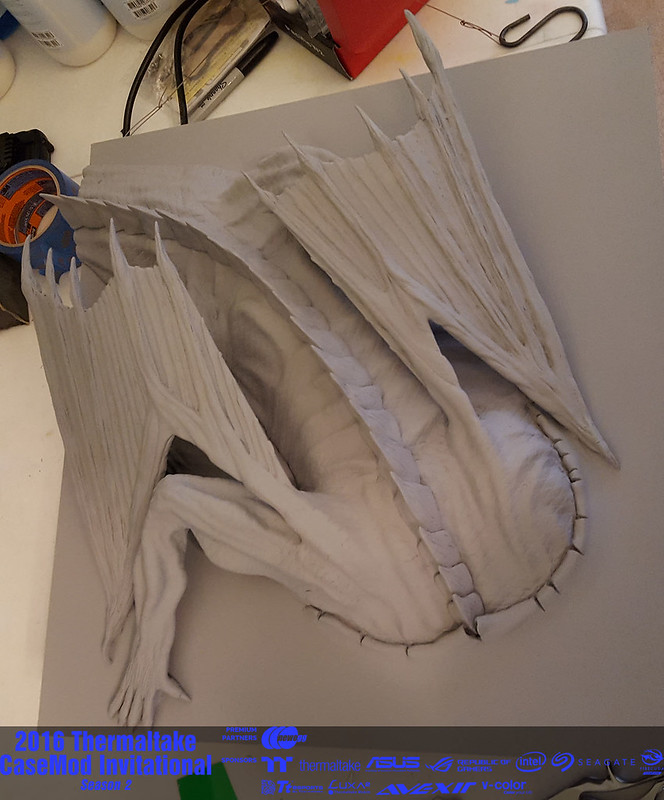
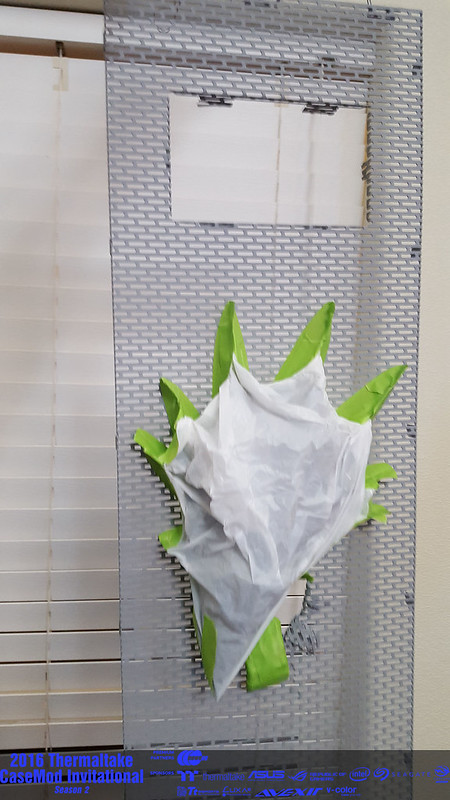
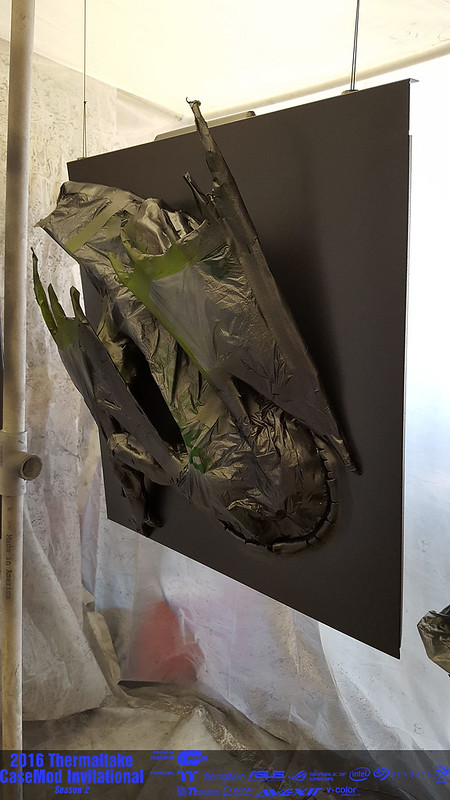
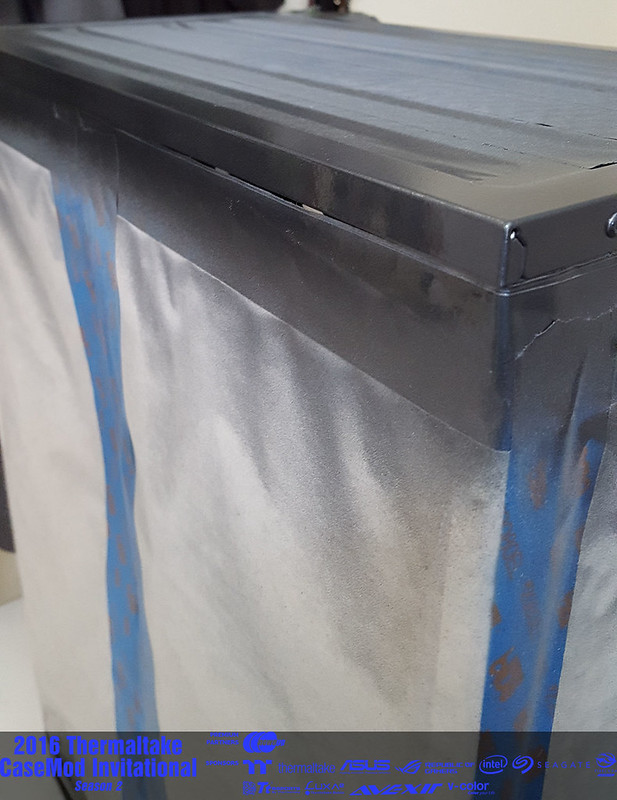
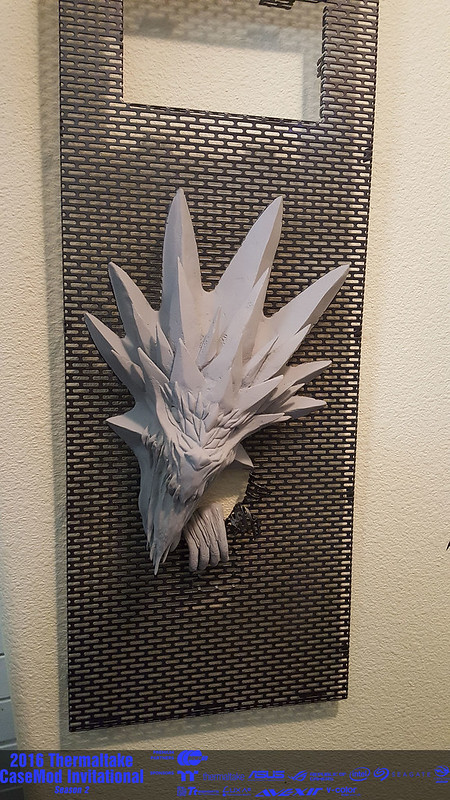
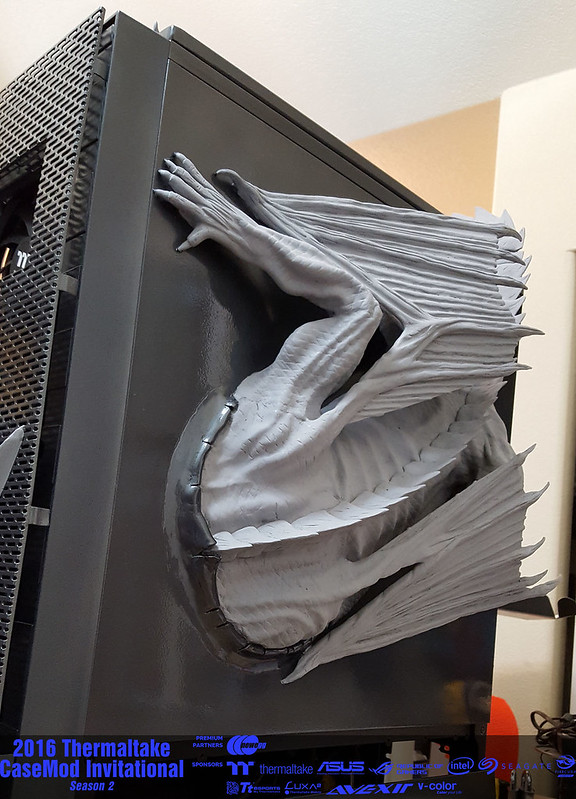
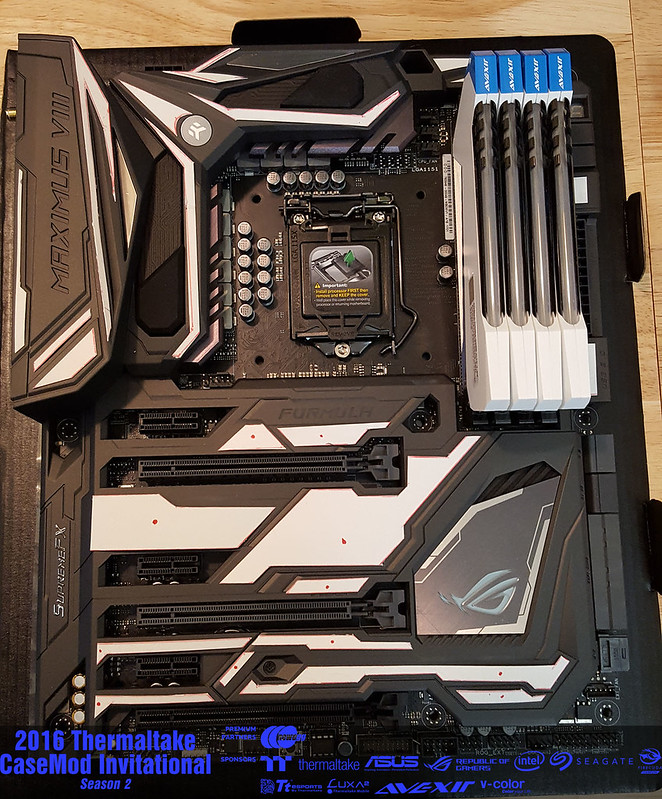
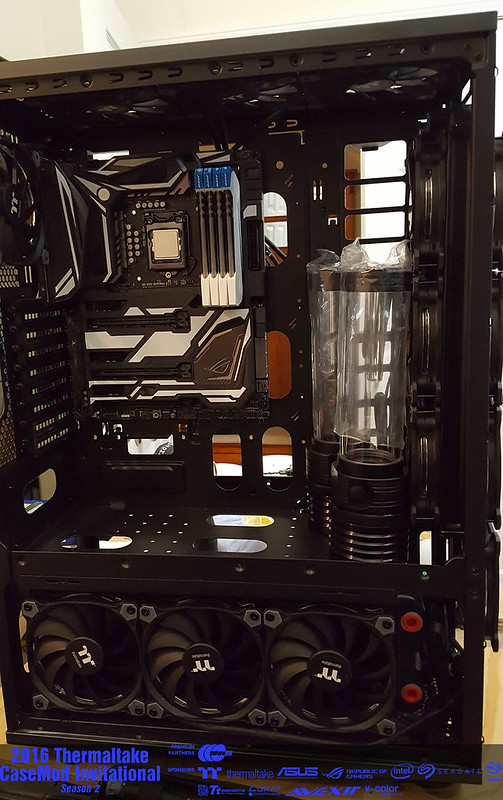
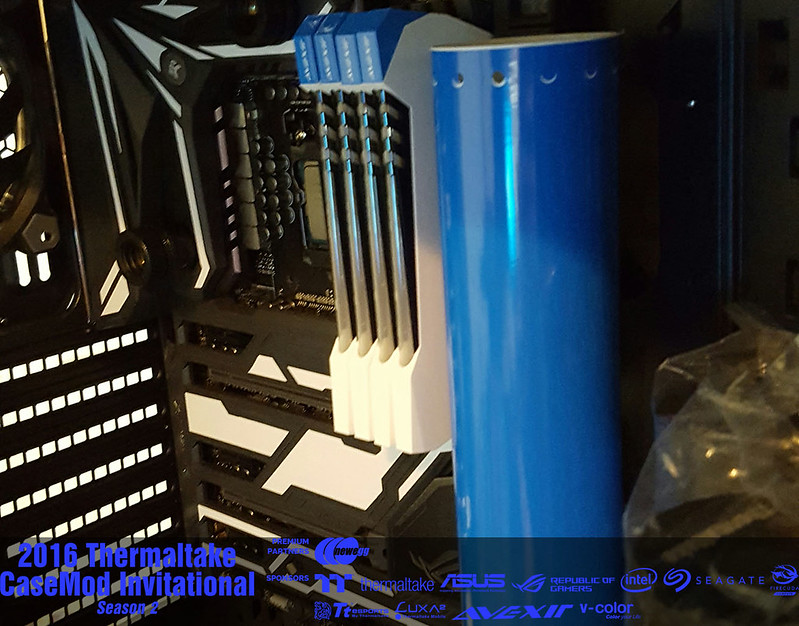
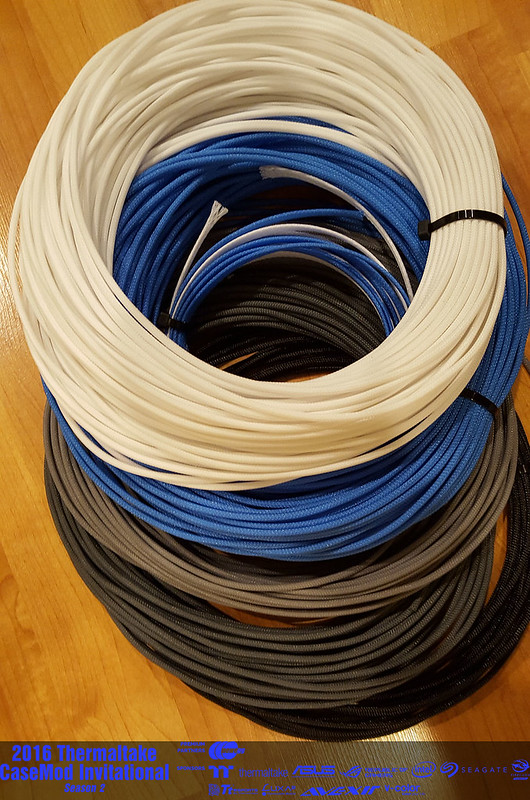
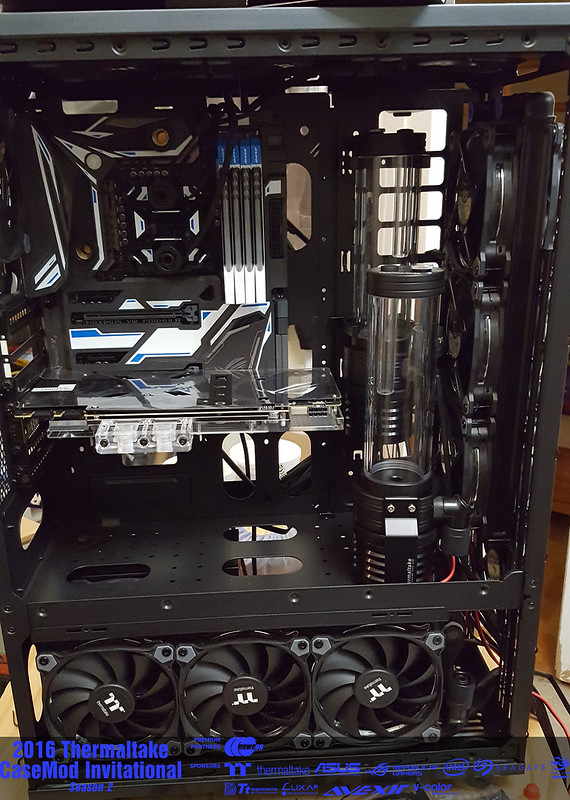
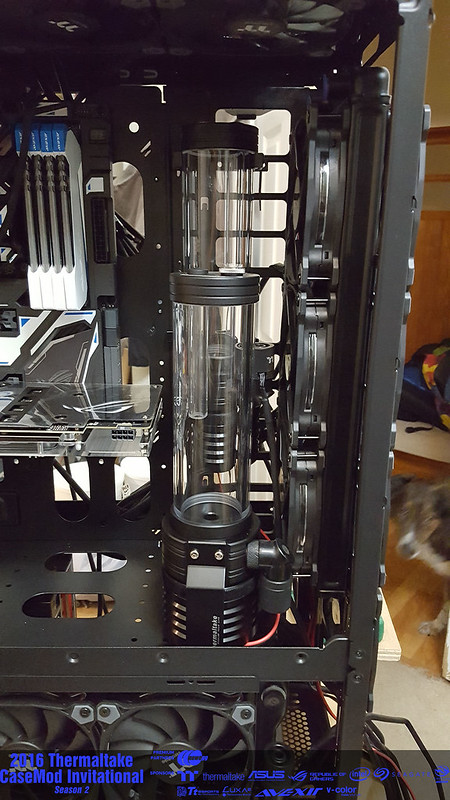
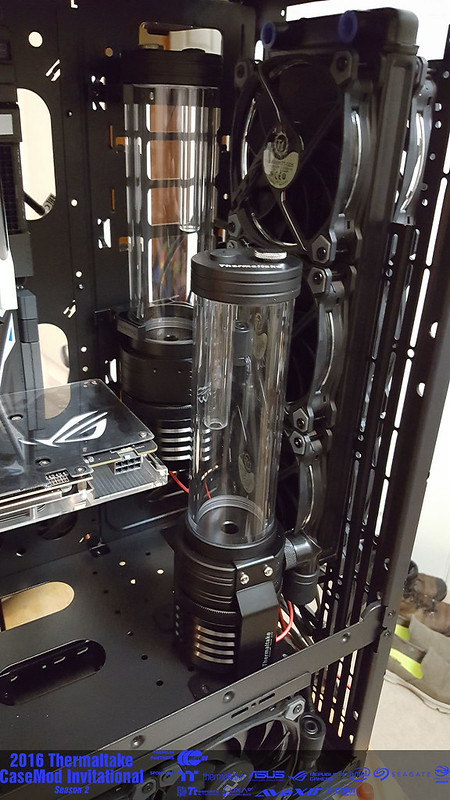
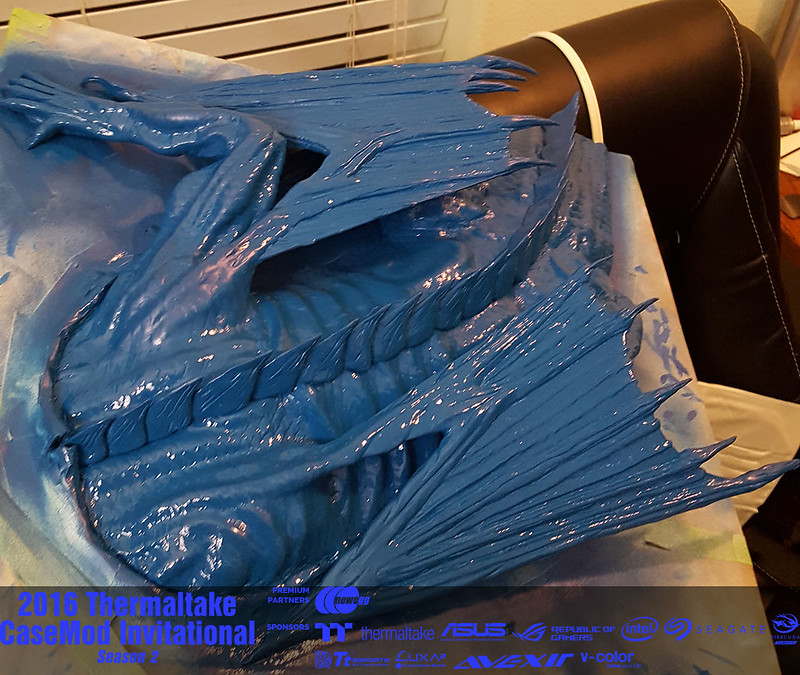
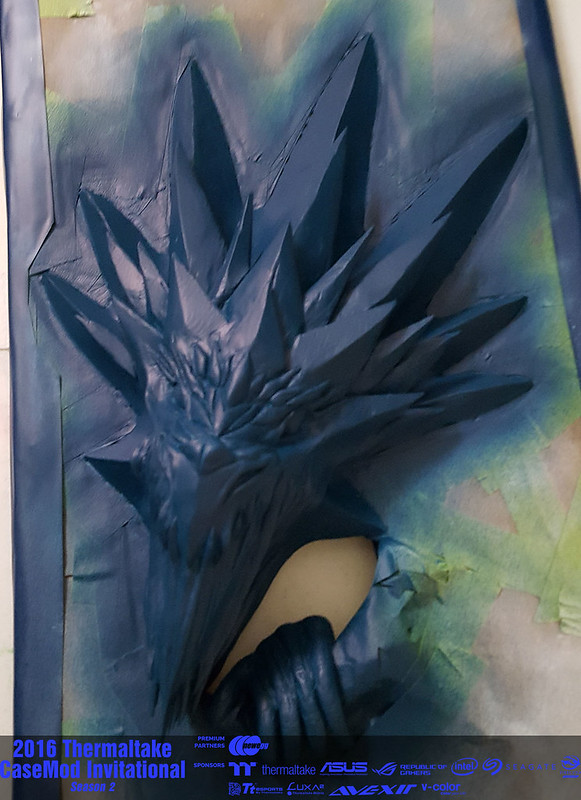
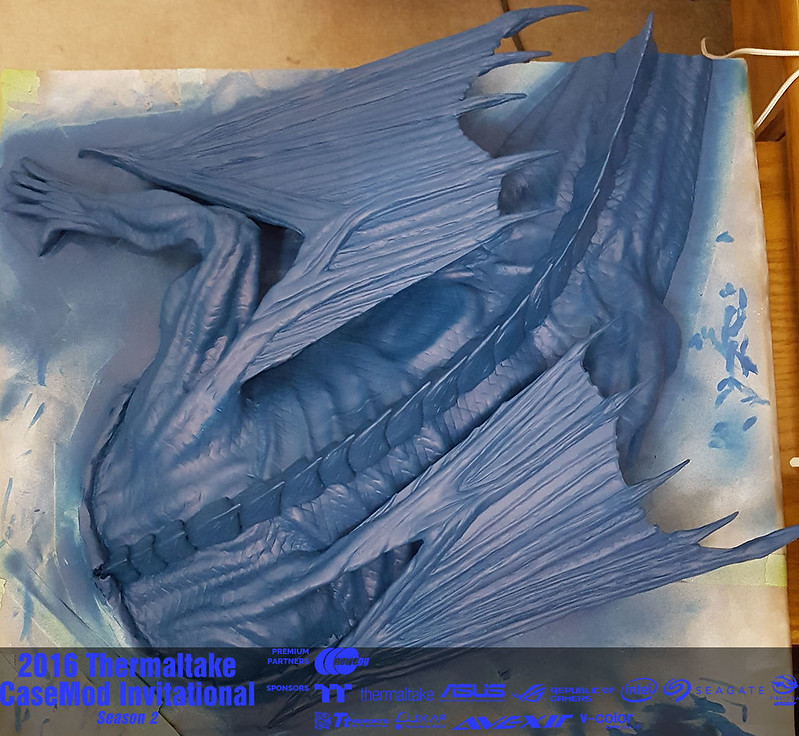
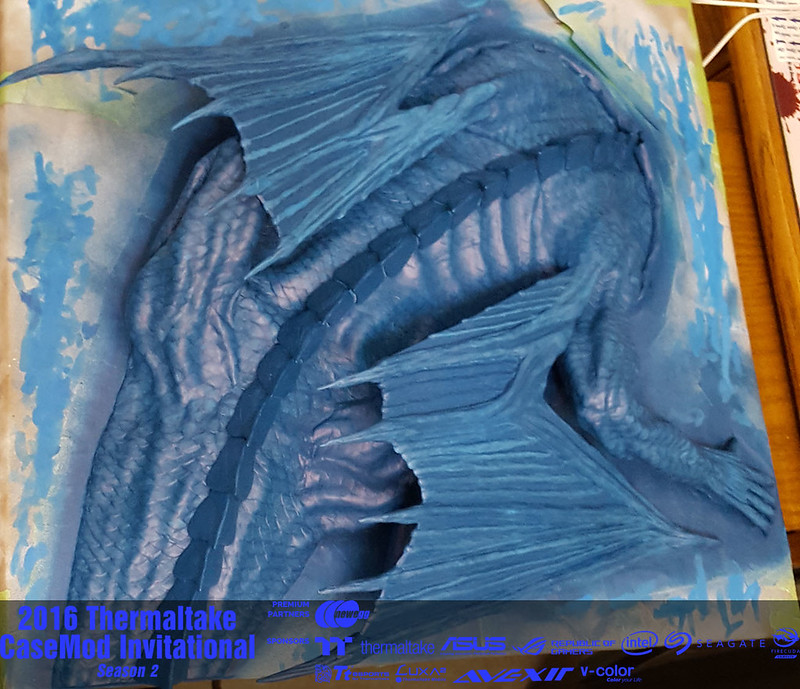
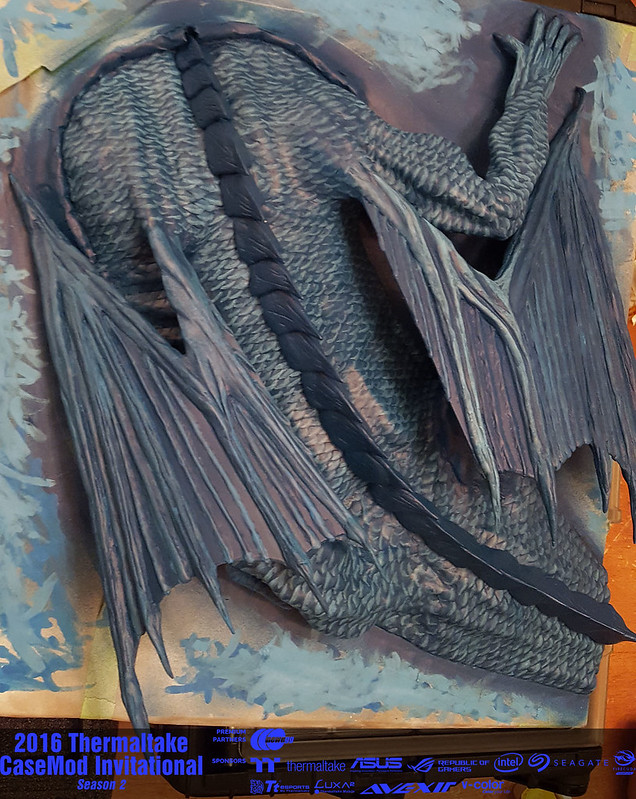
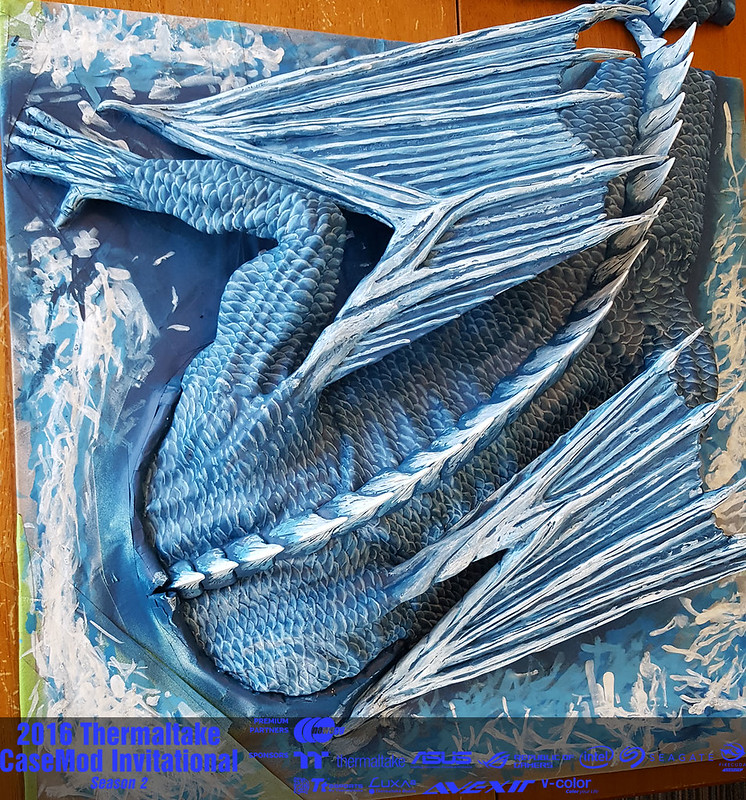
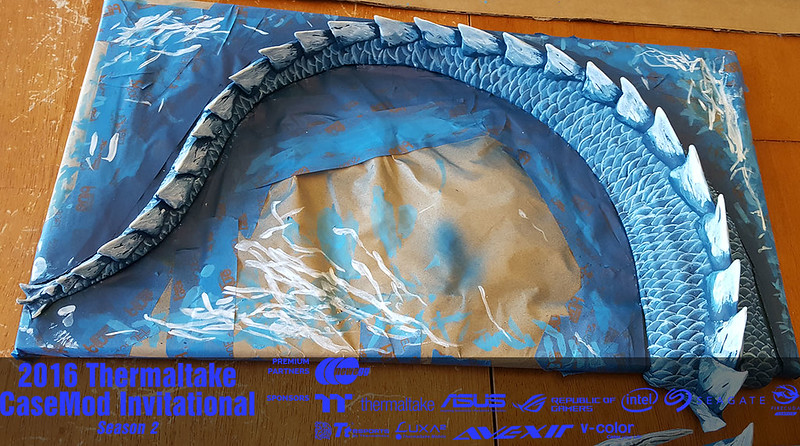
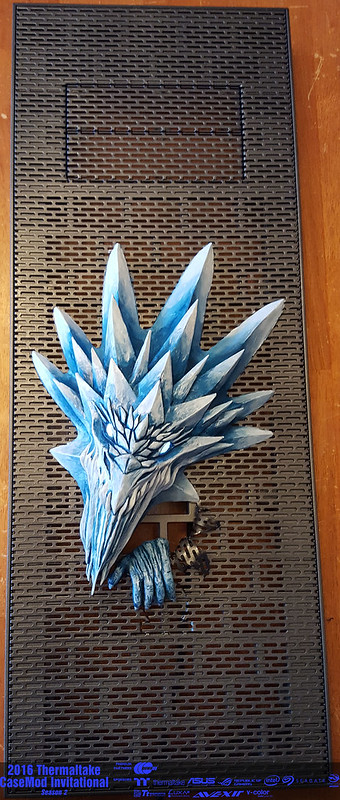
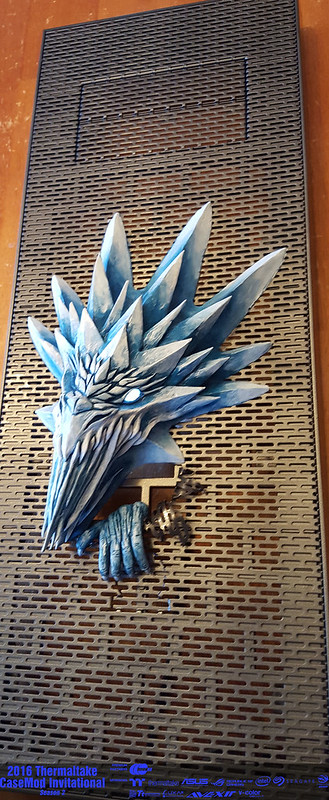
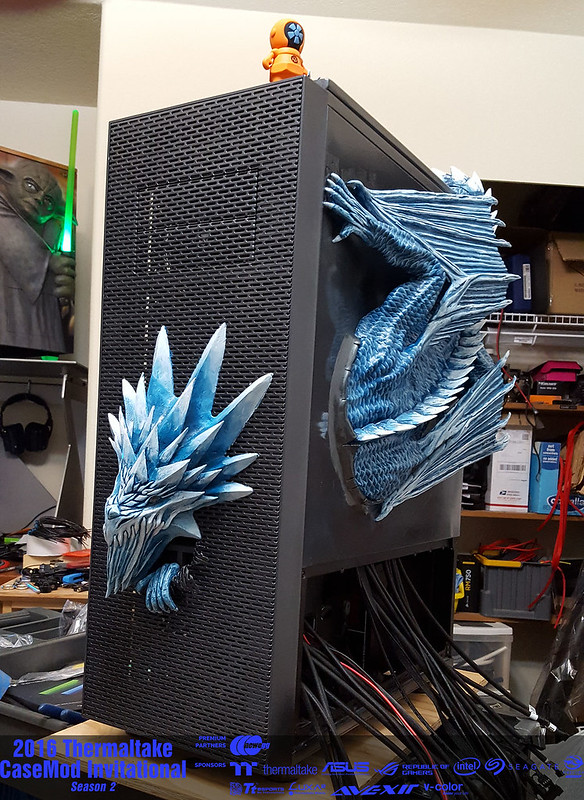
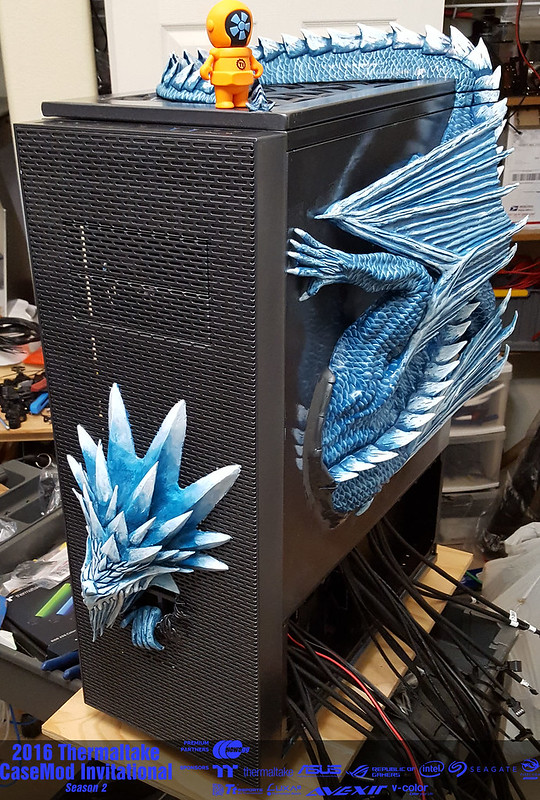
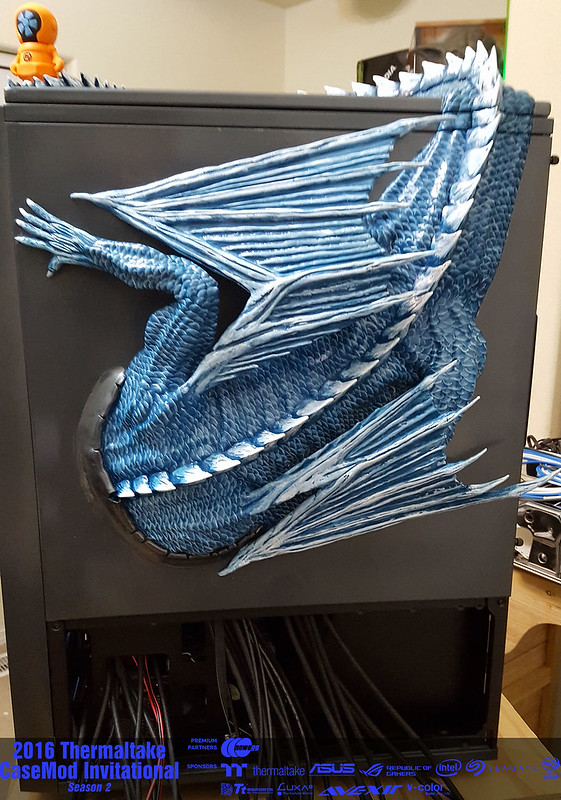
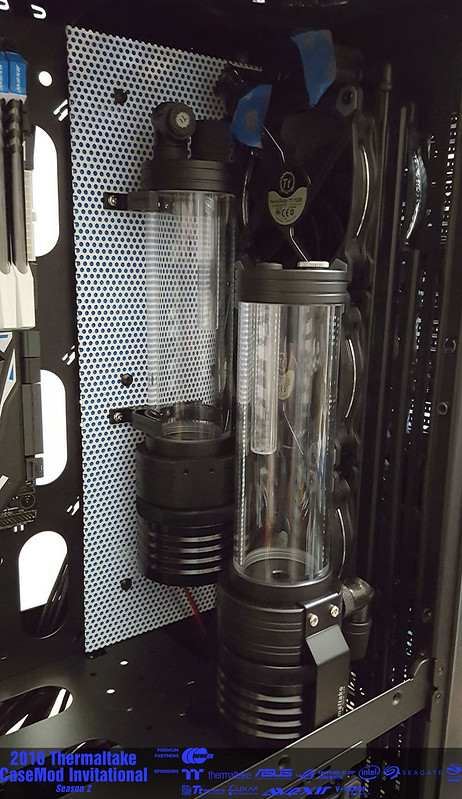
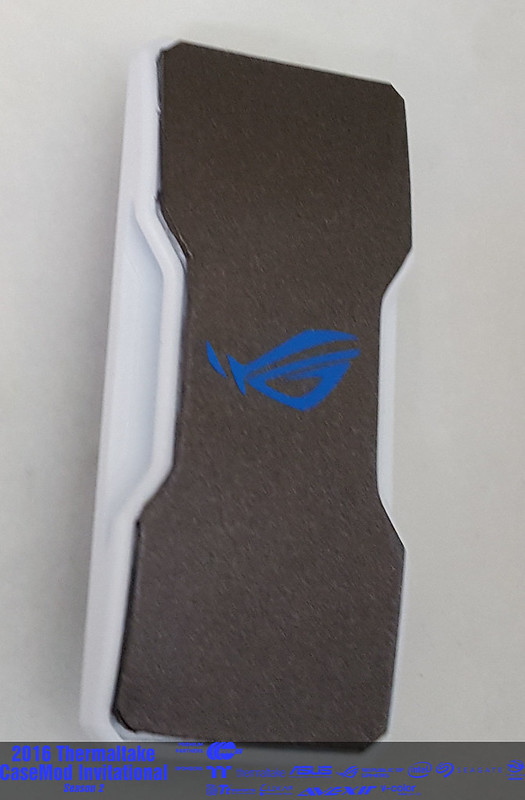
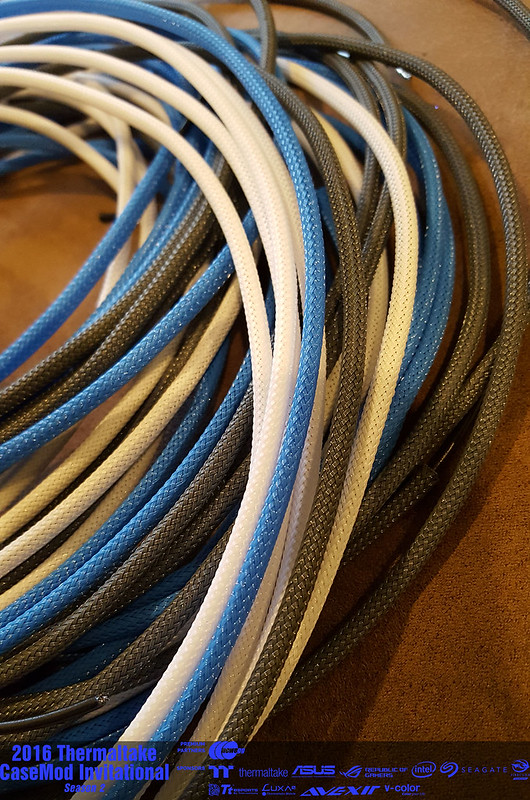
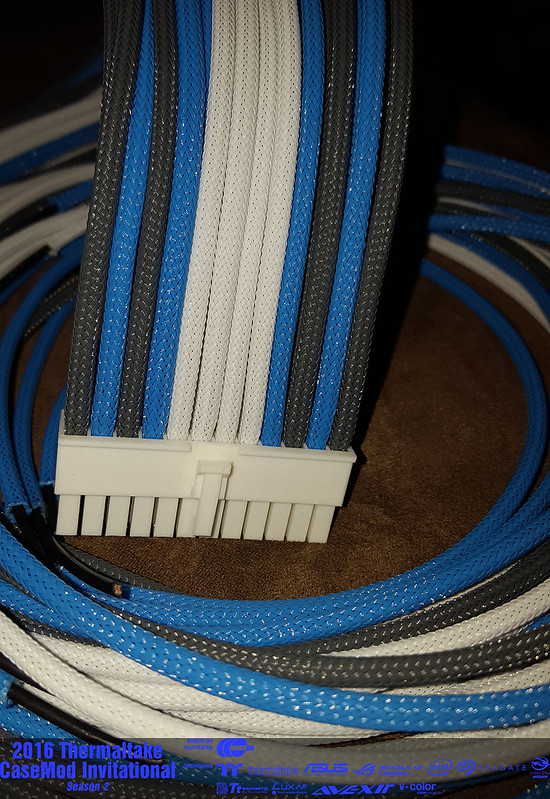
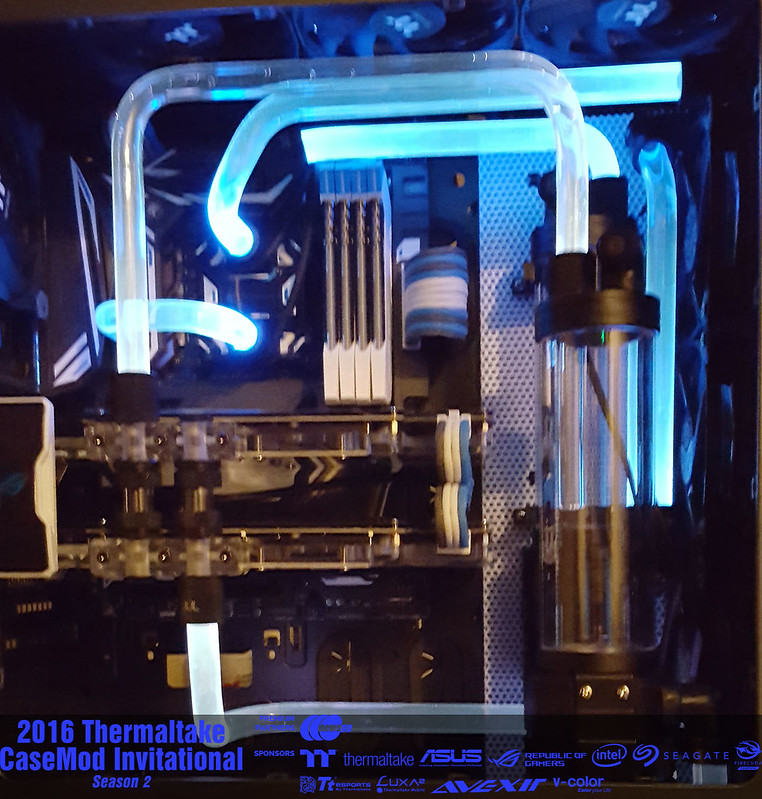
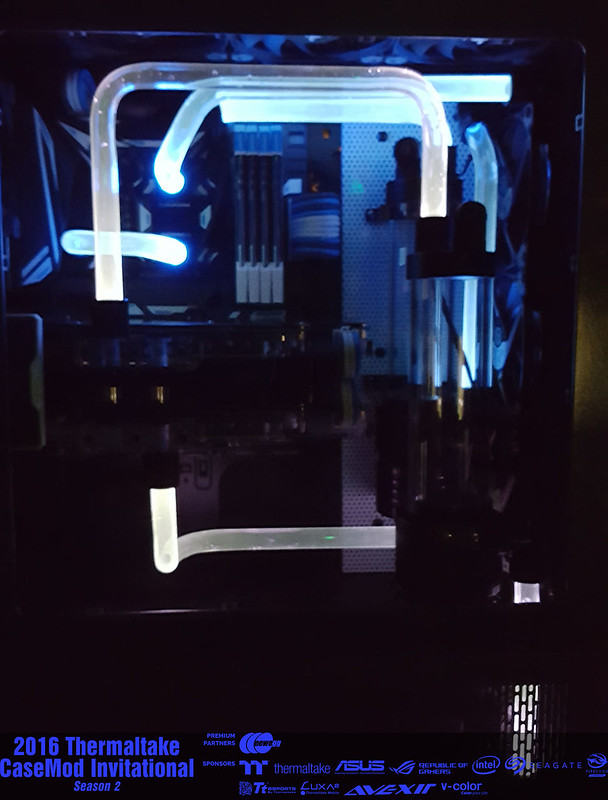
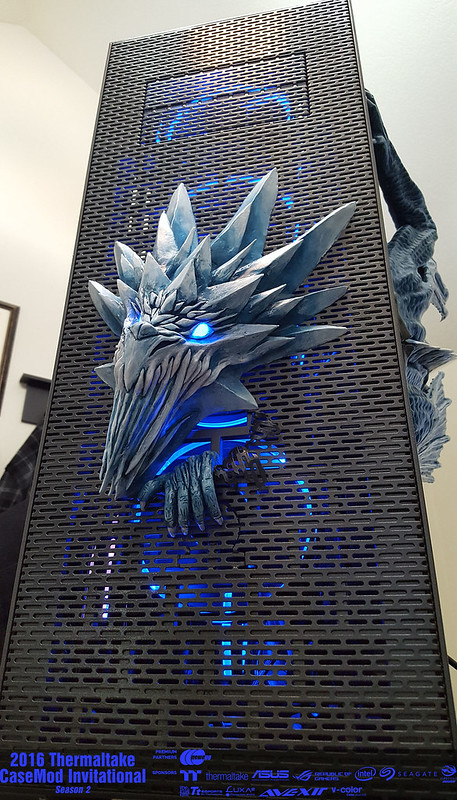
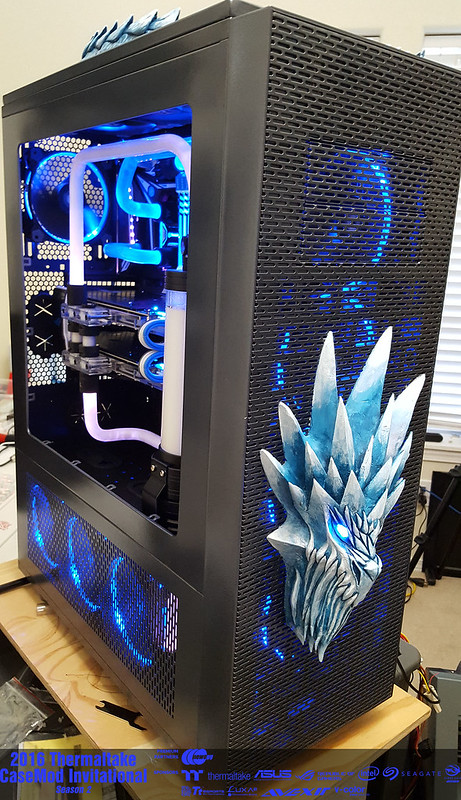
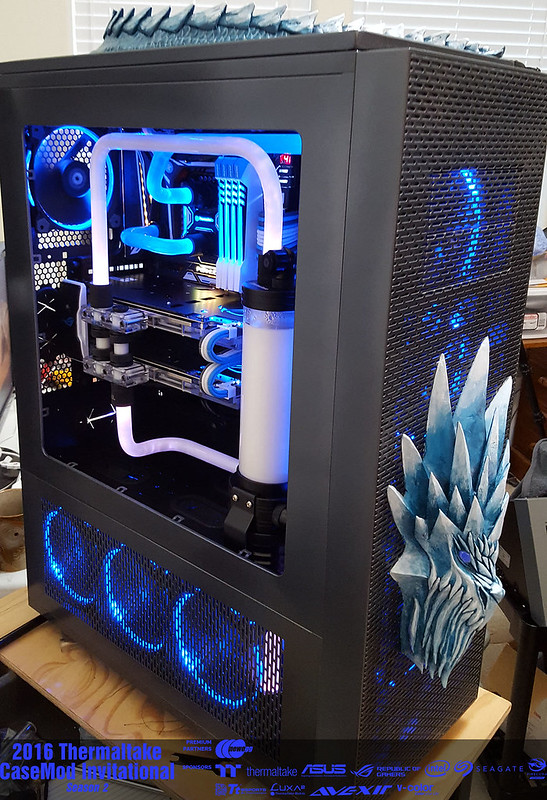
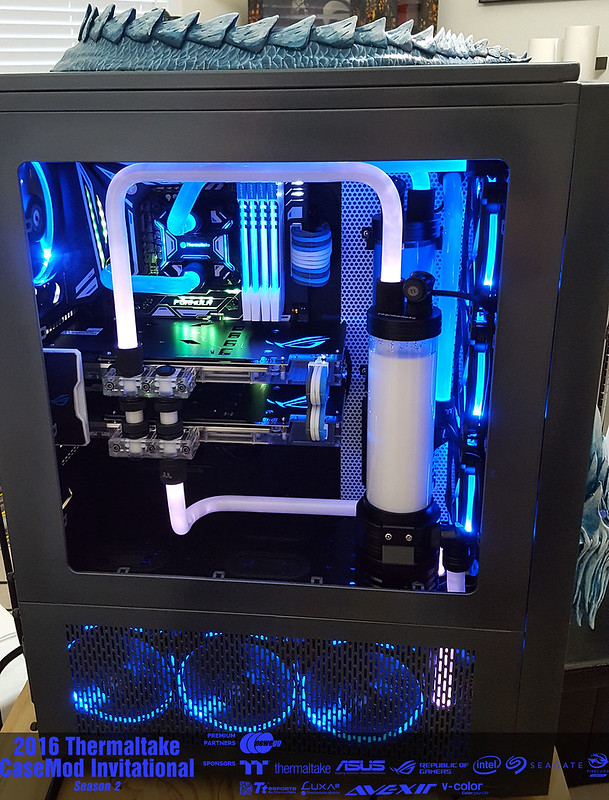
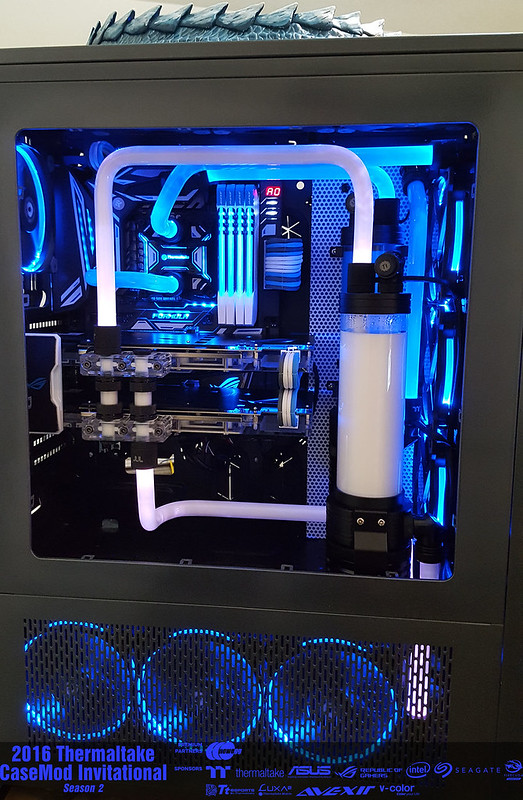
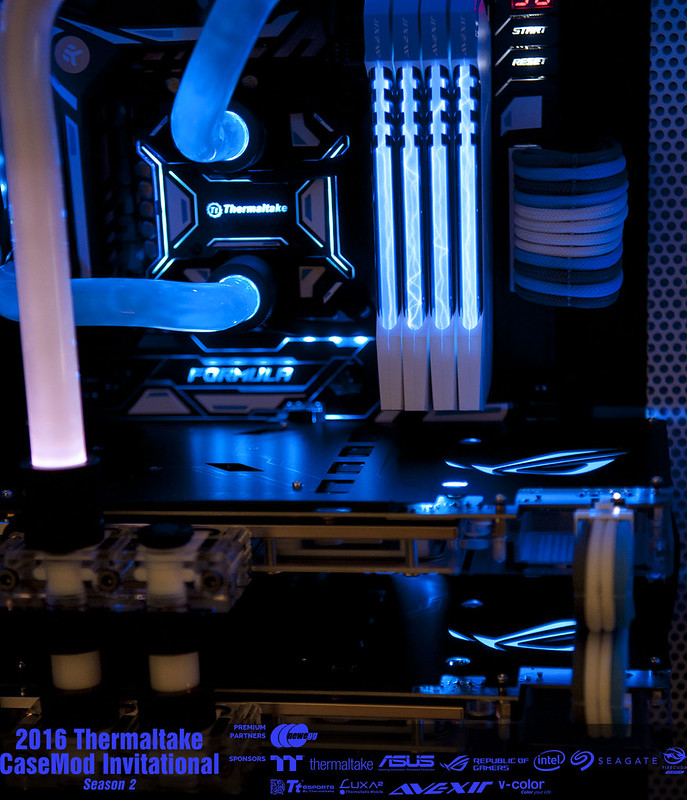
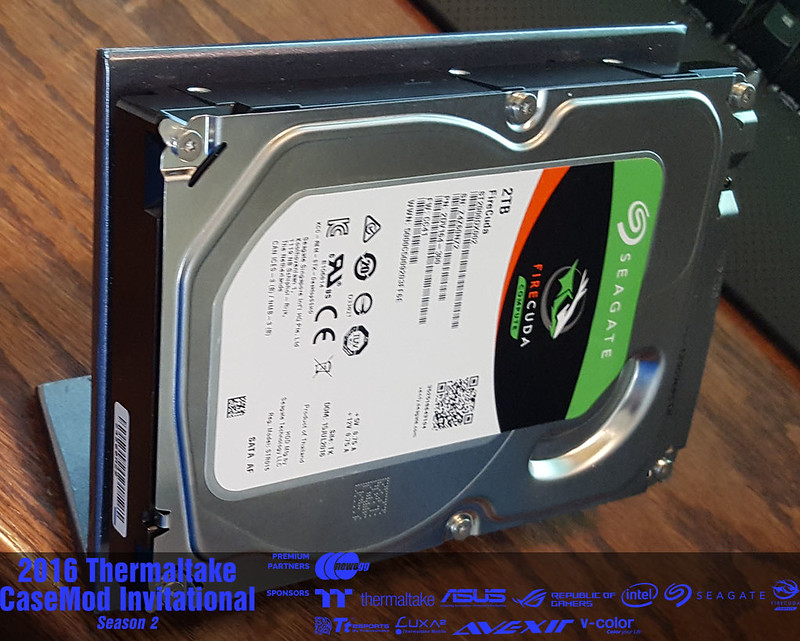
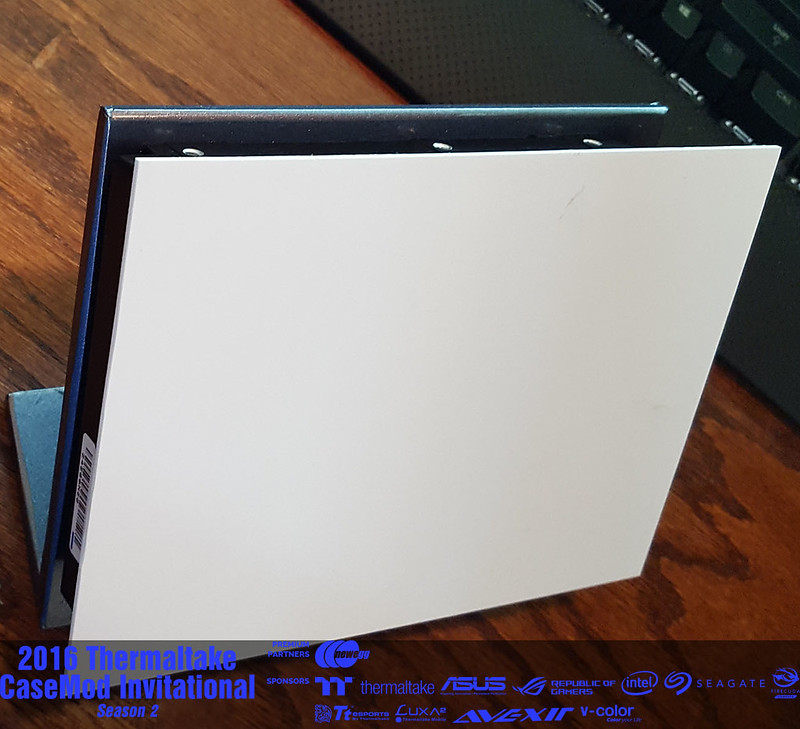
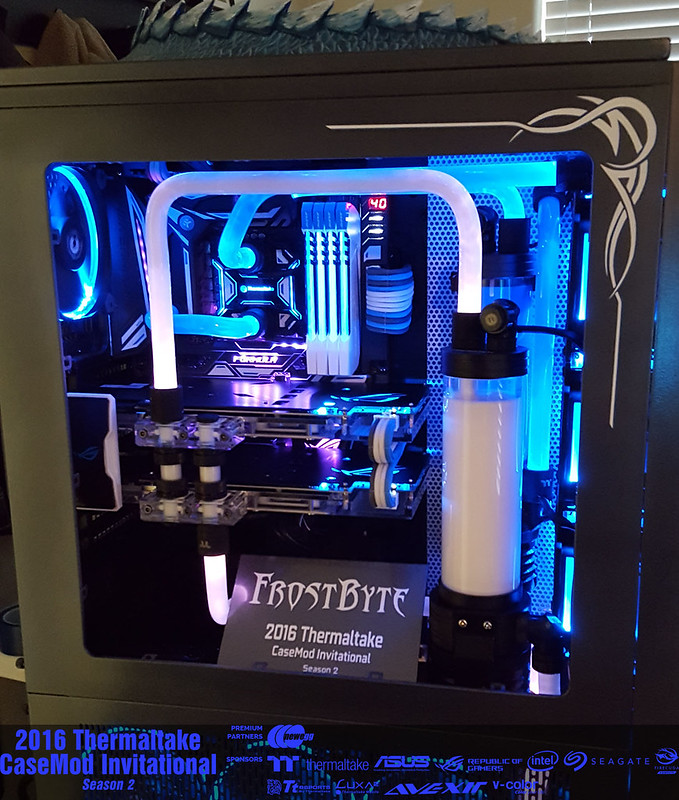
All the hardware has arrived and I've started working on the design.
There is so much awesome here.

 Reply With Quote
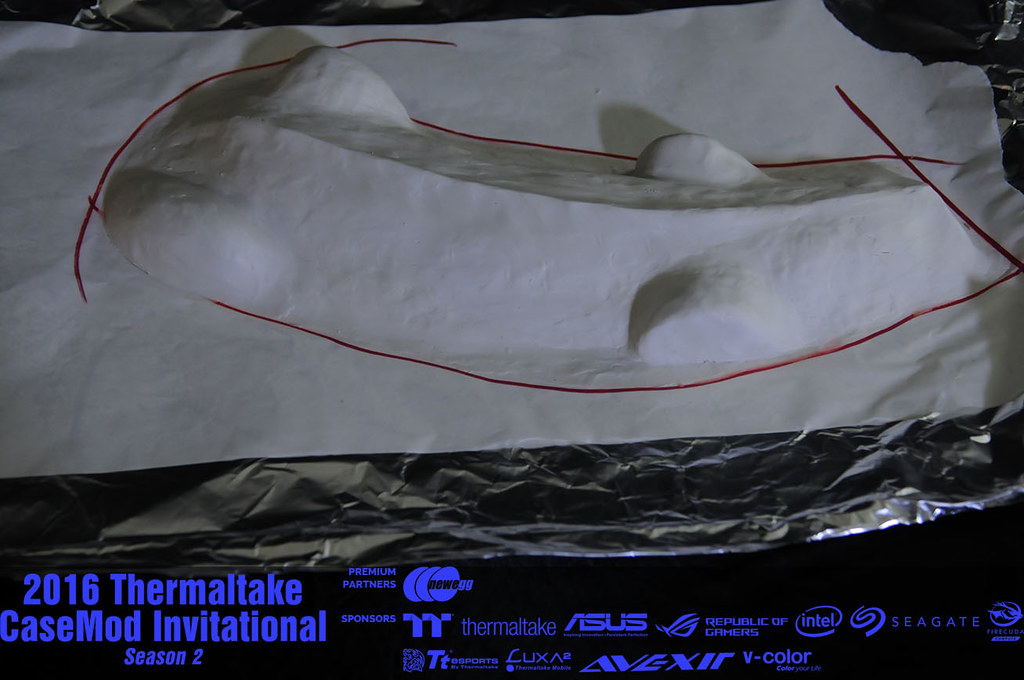


Bookmarks