Page 3 of 8 FirstFirst 123456 ... LastLast
Results 51 to 75 of 178

Thread: The Powerful Pretty Pink Processor (aka, "The PPPP")

  1. #51
    Xtreme Member
    Join Date
    Apr 2012
    Location
    Edmond, OK
    Posts
    179
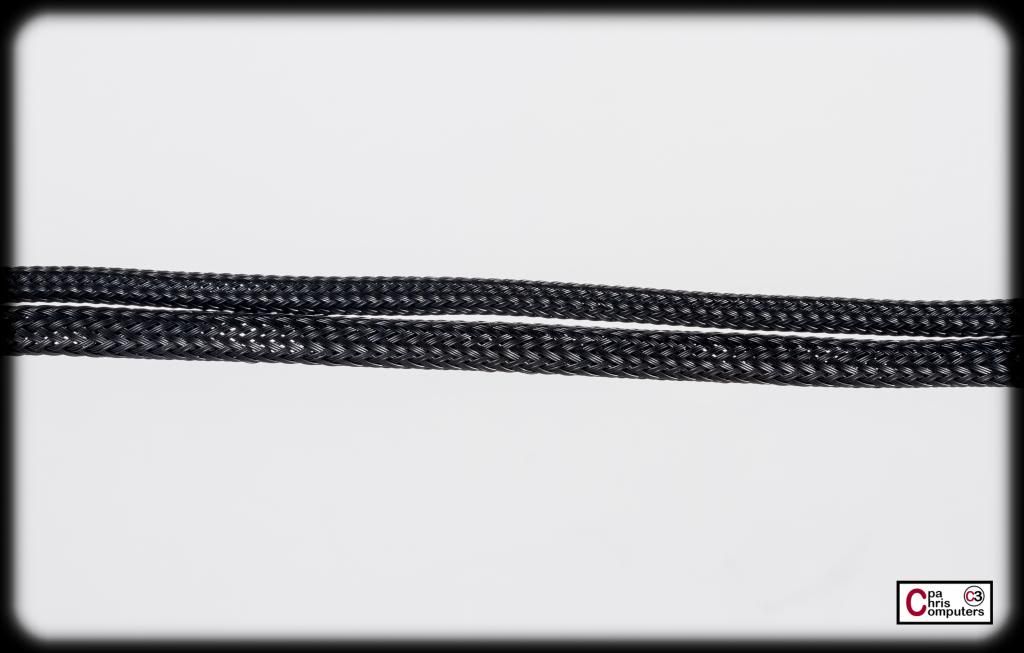
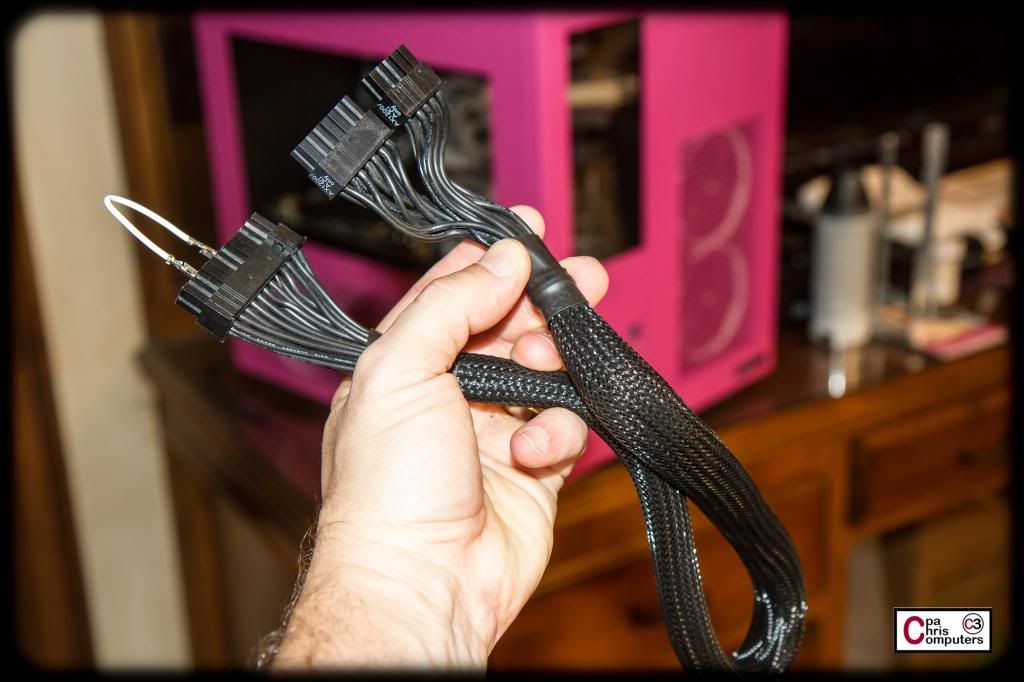
    Here are some comparison shots between Telios and MDPC-X.

    For all of these shots, the Telios is on top, and the MDPC-X is on bottom. First the black sleeve.....


    It's pretty easy to see that the Telios is a smaller diameter sleeve. In theory, you would think that this would make it grab the wire better and be easier to stretch tight. I'll let you know if that's true once I start sleeving with it.
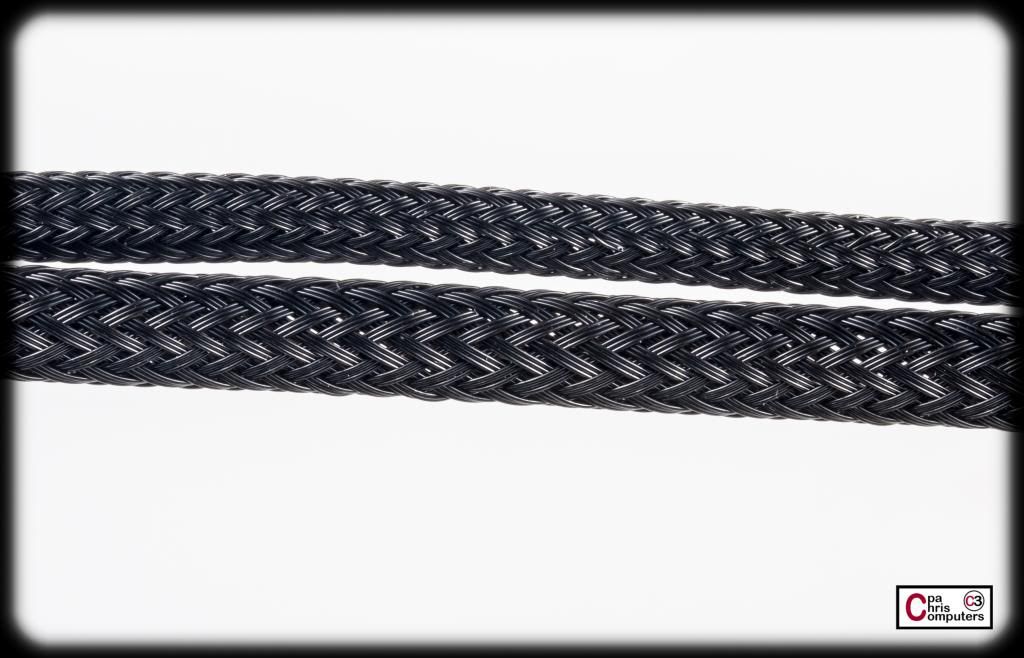
    Closer up....


    The shades of black color are almost idenitical. No real difference there at all. But there is no doubt that the Telios is a tighter weave. Take a look in the picture above at how many specs of light you can see through the Telios sleeve vs the MDPC-X sleeve.

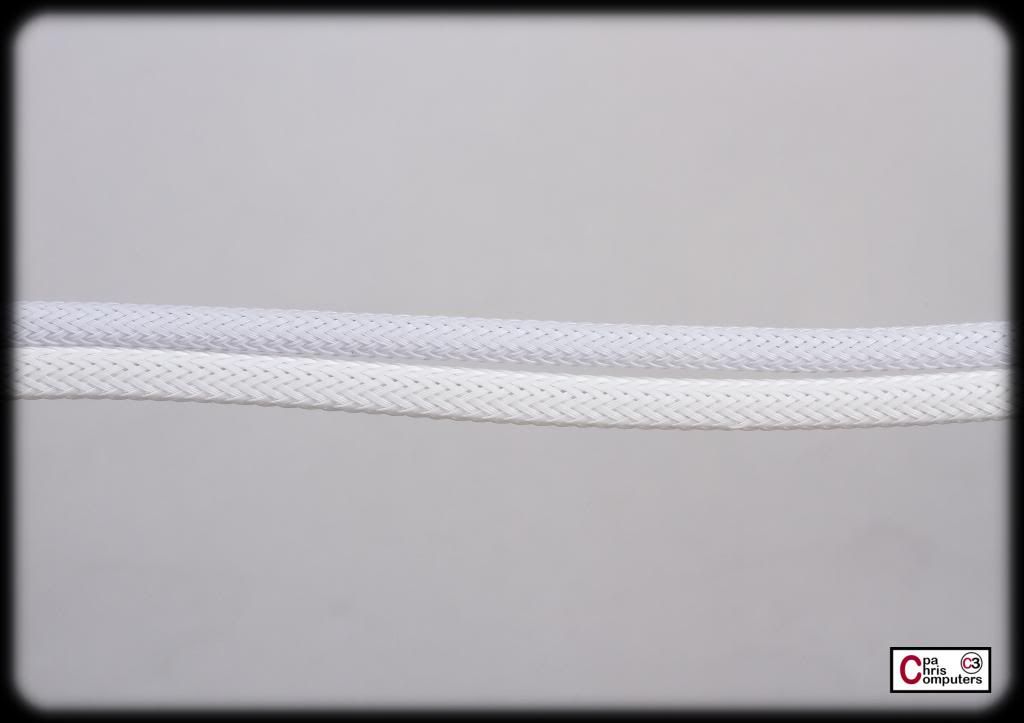
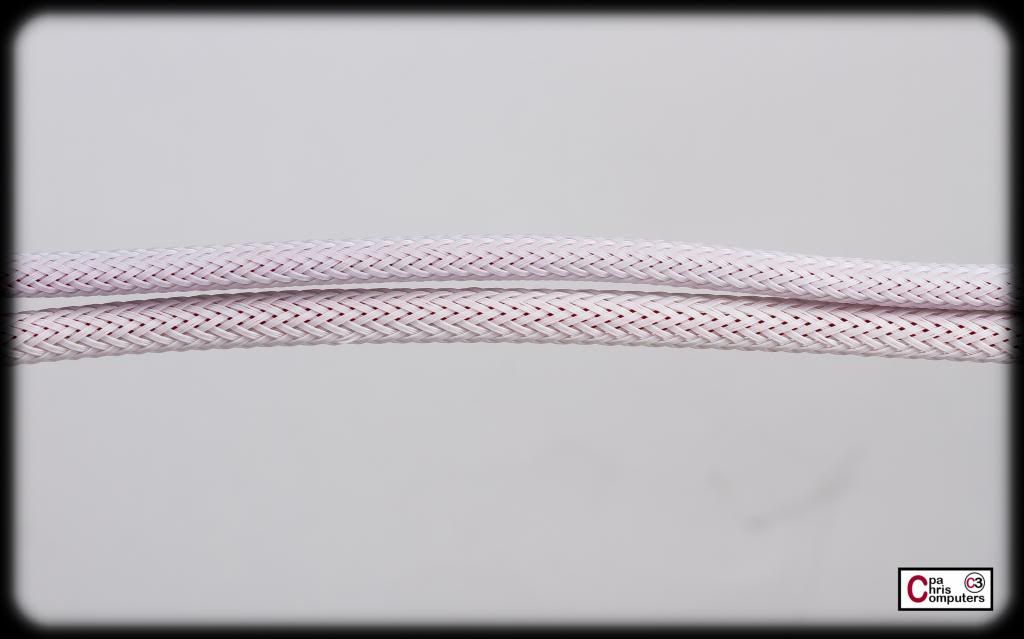
    Below is a shot of the white sleeve. Again, Telios on the top, MDPC-X on the bottom....


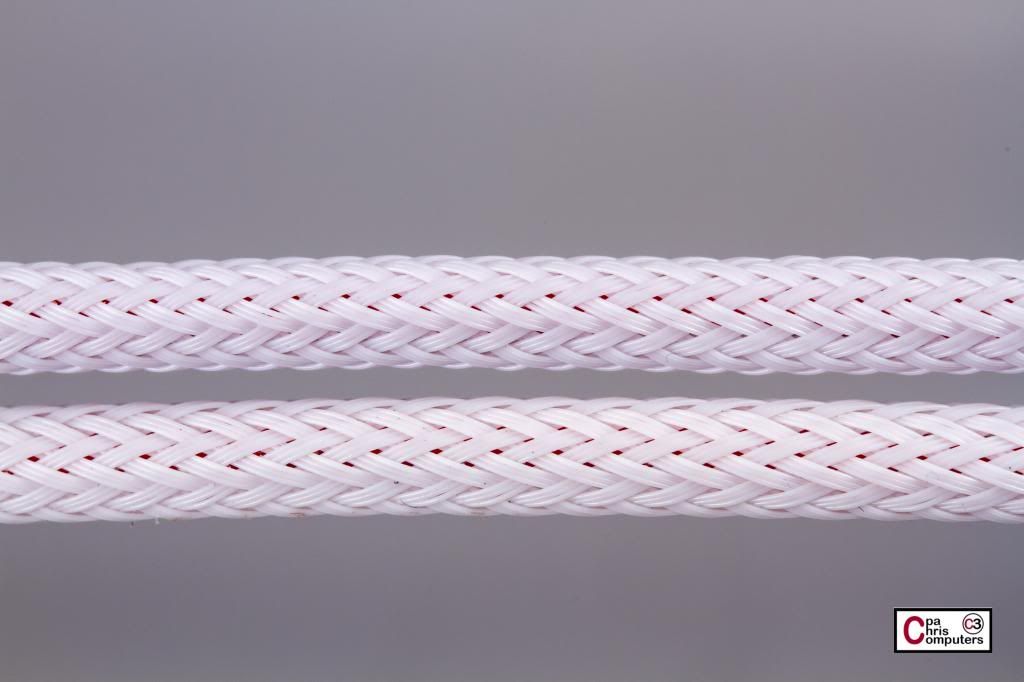
    The shades of white are very different bewteen the two, with Telios being cooler white vs MDPC-X being a warmer white. Easy to see the size difference still....


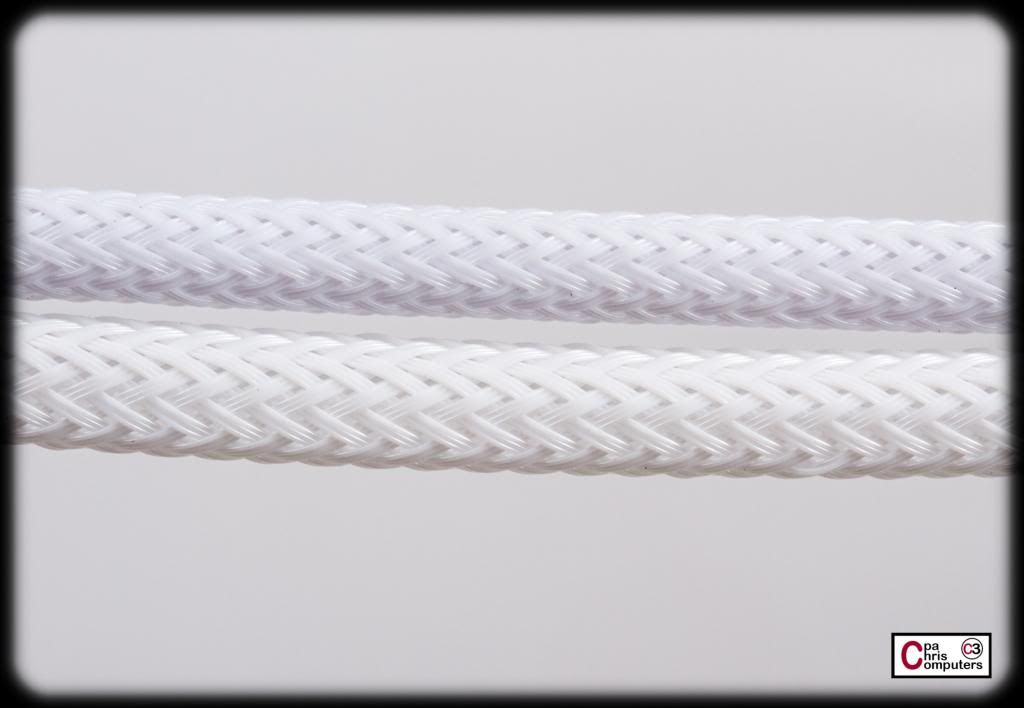
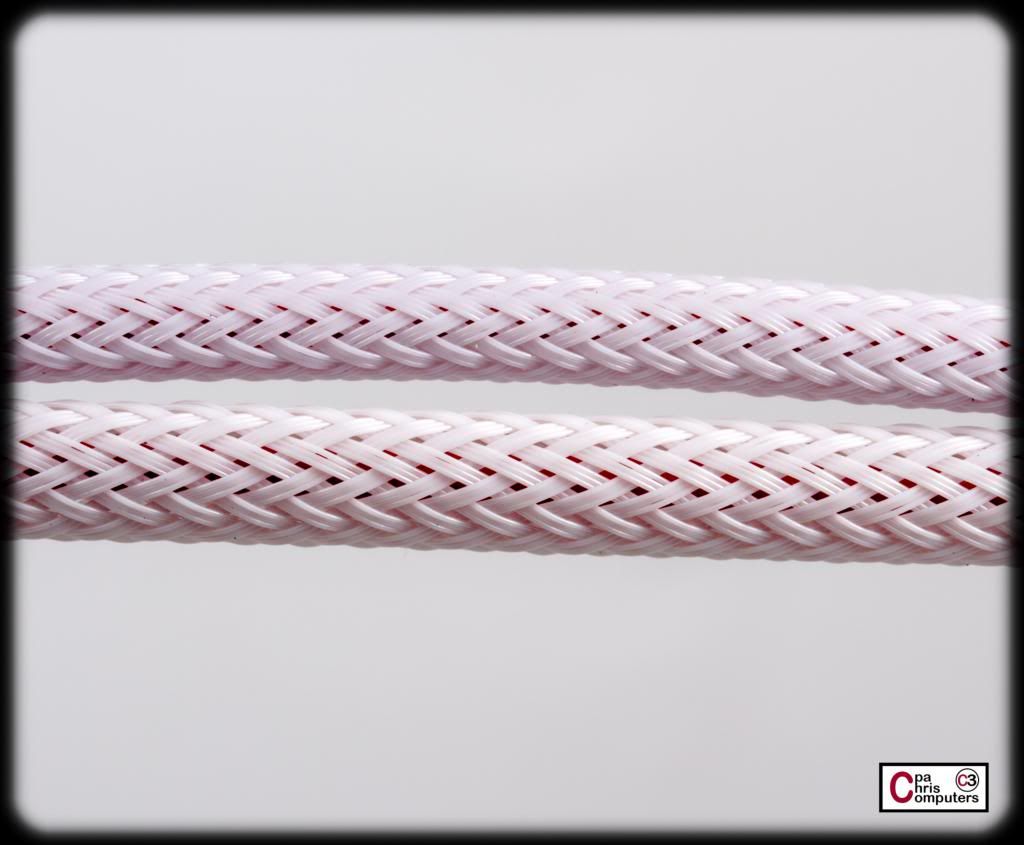
    ...and when you get closer it's easy to see that the weave is tighter for Telios.

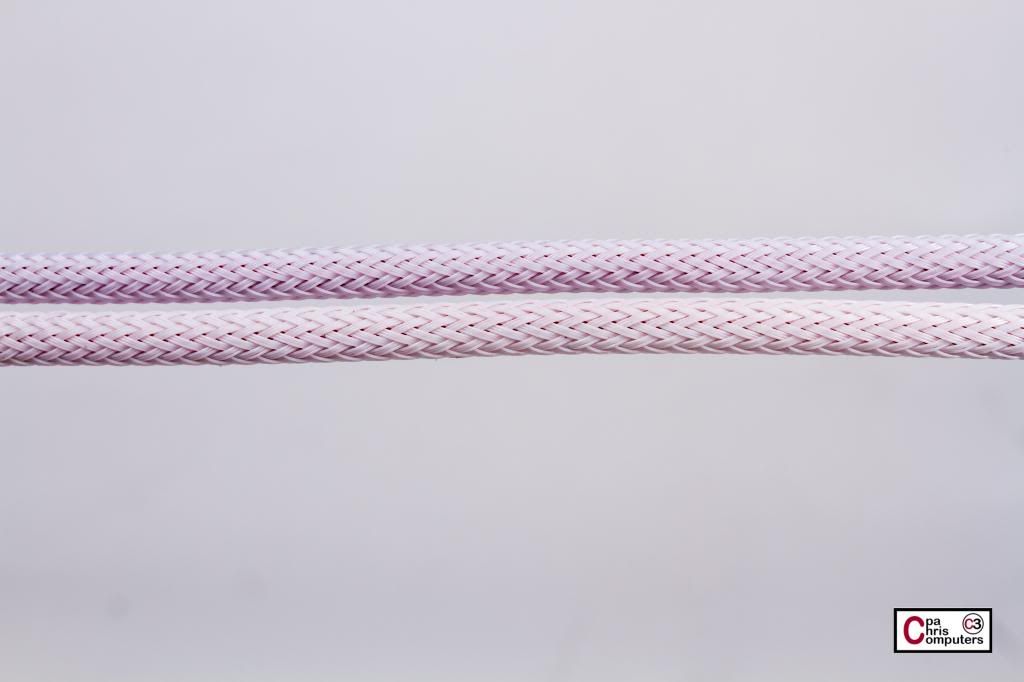
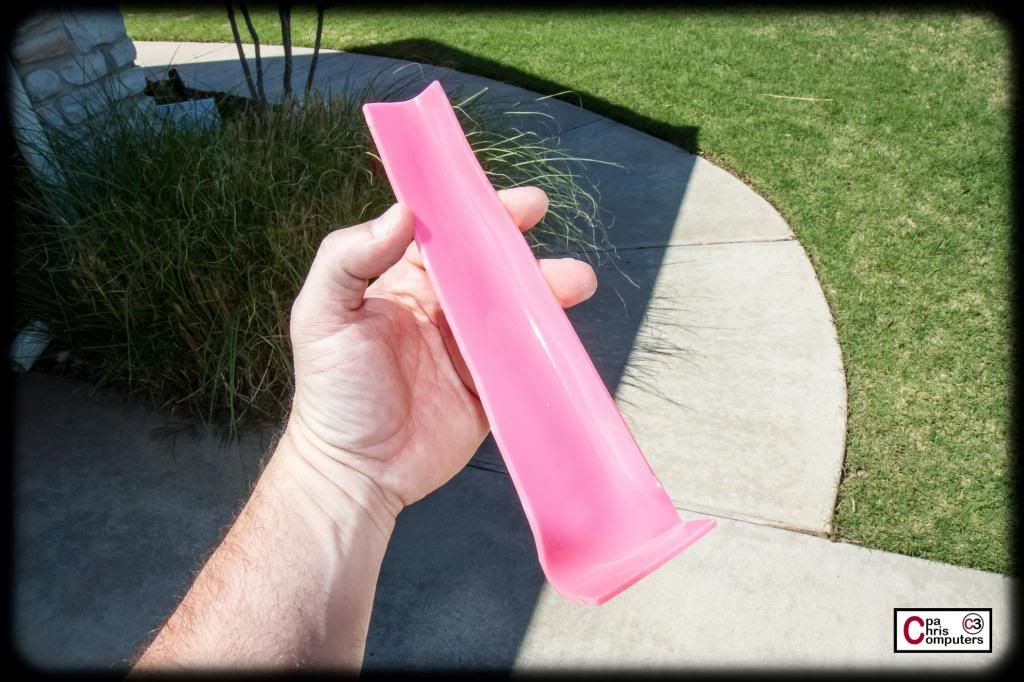
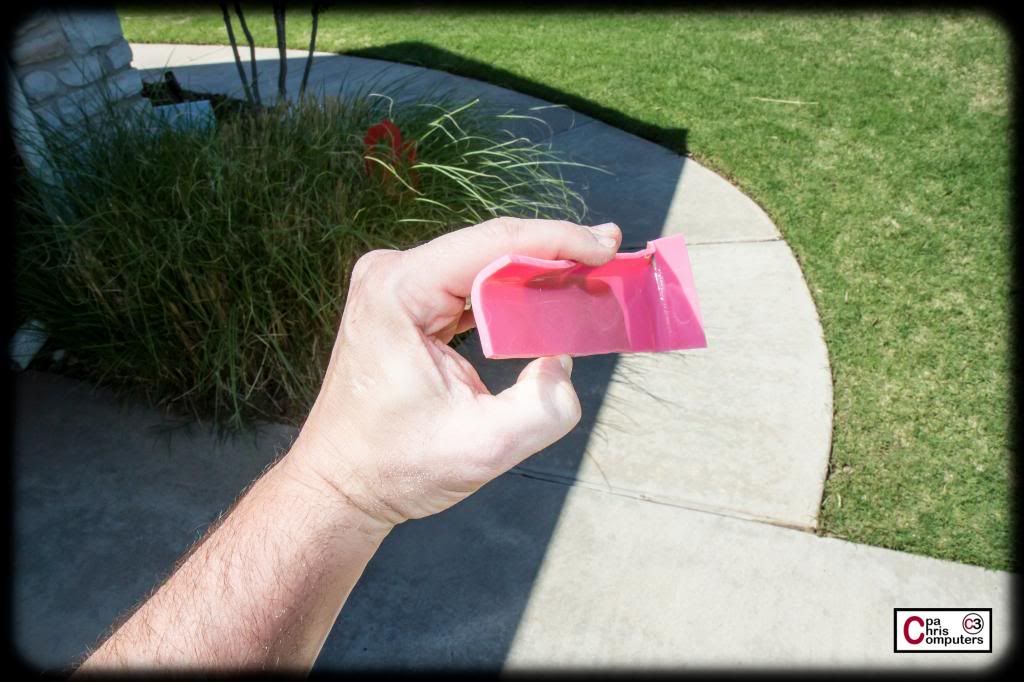
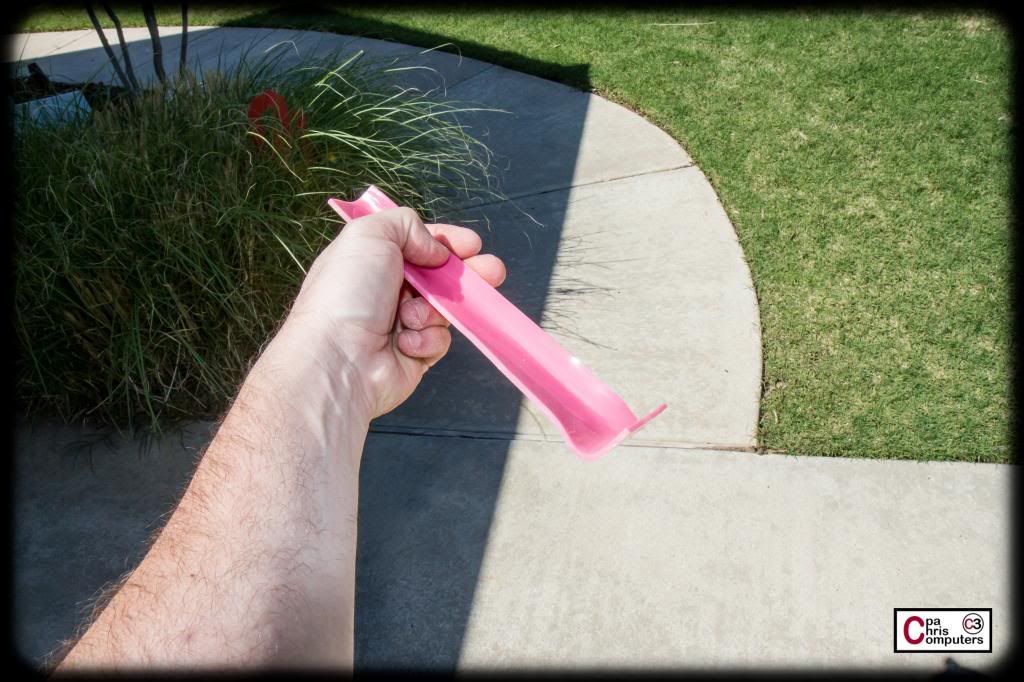
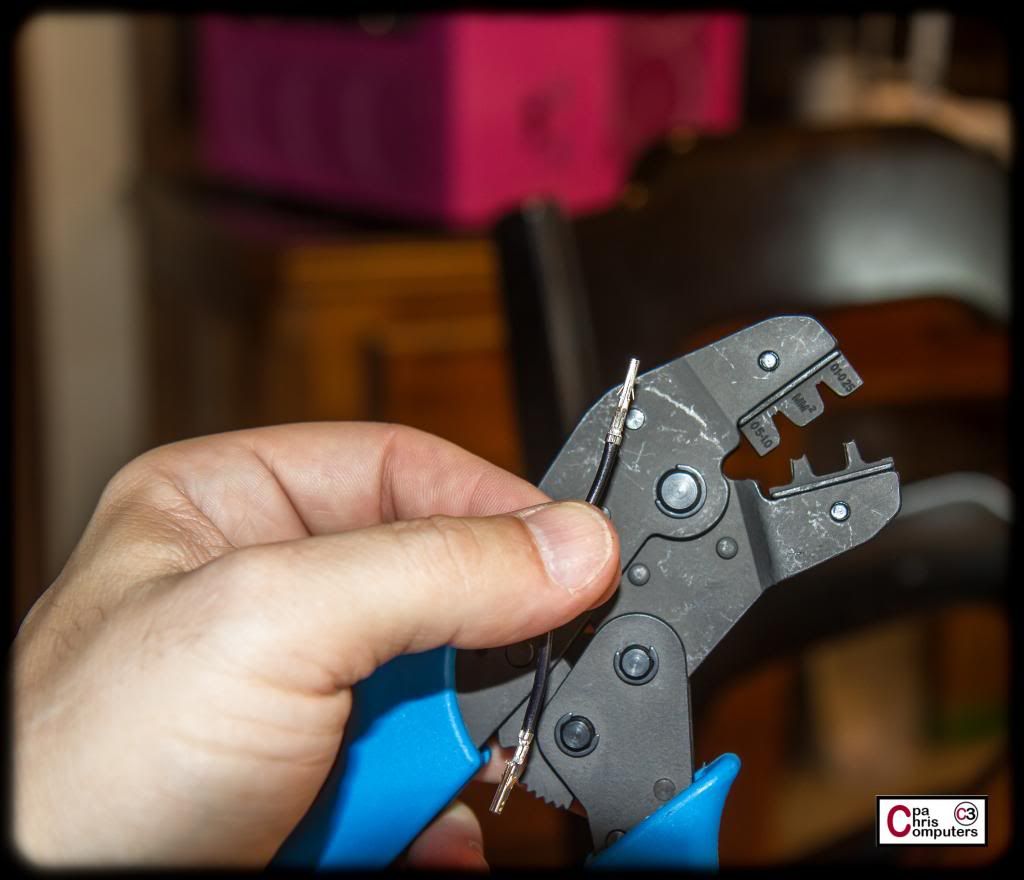
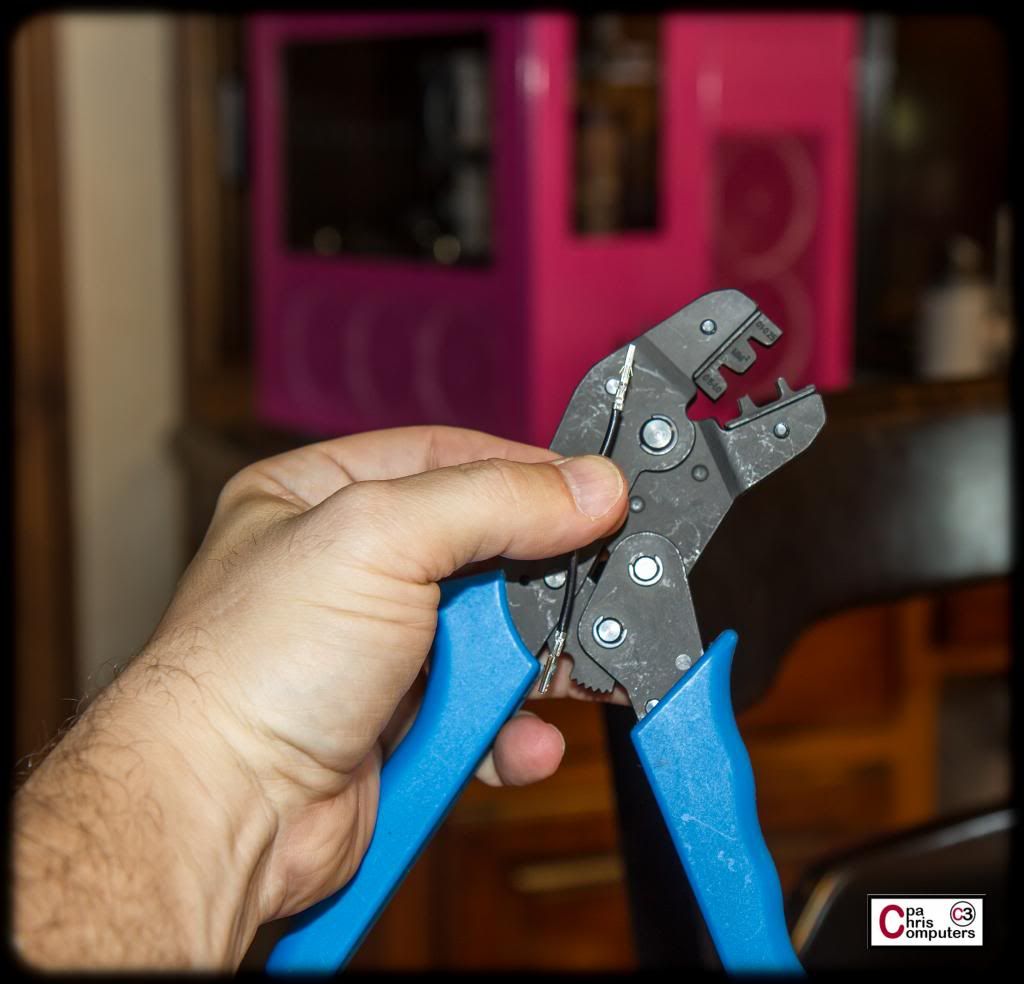
    Now...I would never recommend sleeving red wire with white sleeving without taping up the red to cover it first. But....just to see if the Telios covers better than MDPC-X....lets do it. I put a piece of red 18 awg wire in each of the pieces of sleeve. Still not stretched, so this is just about as bad as it could ever get with regards to coverage.


    While neither sleeve can hide the red wire without stretching it tight....it is easy to see that the MDPC-X shows more of the red specs of wire beneath the sleeve than the Telios does. So I think it's fair to say that you are going to get better coverage from the Telios.


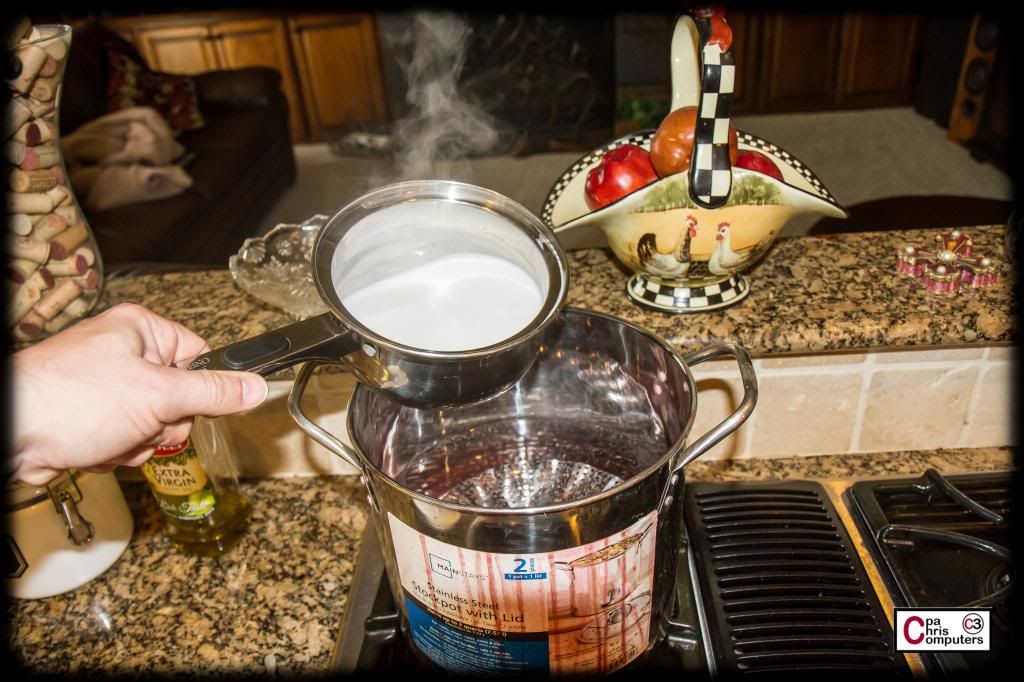
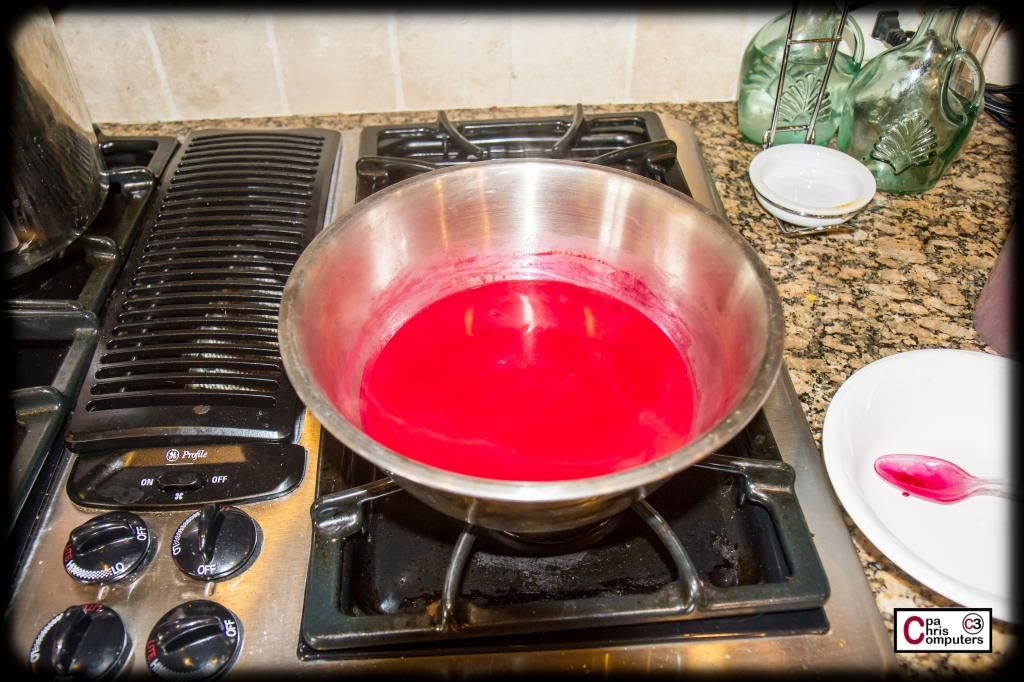
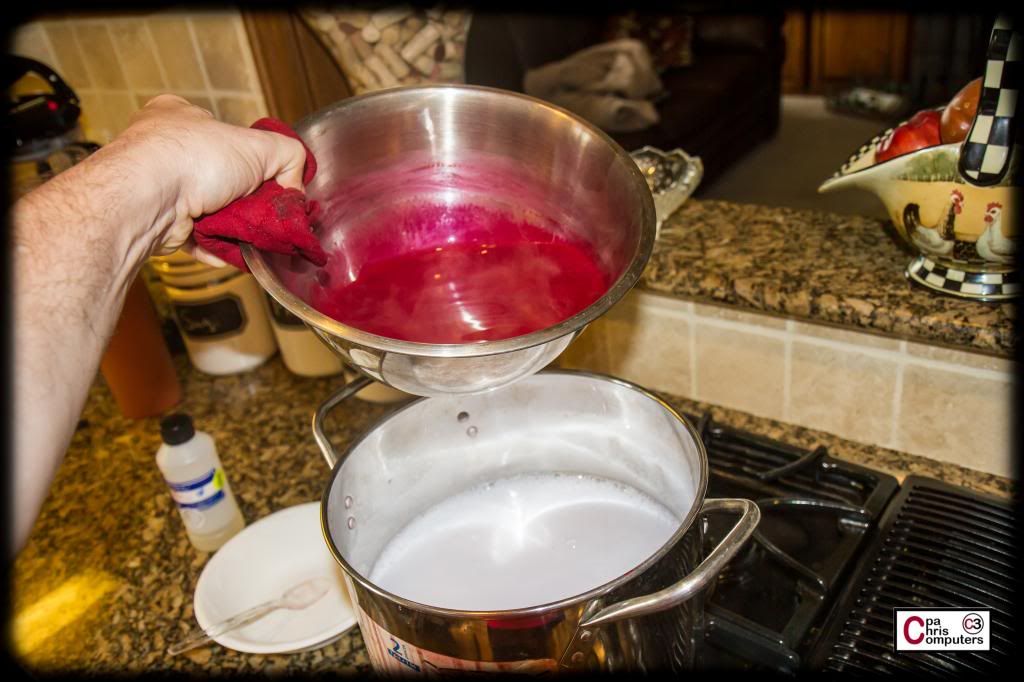
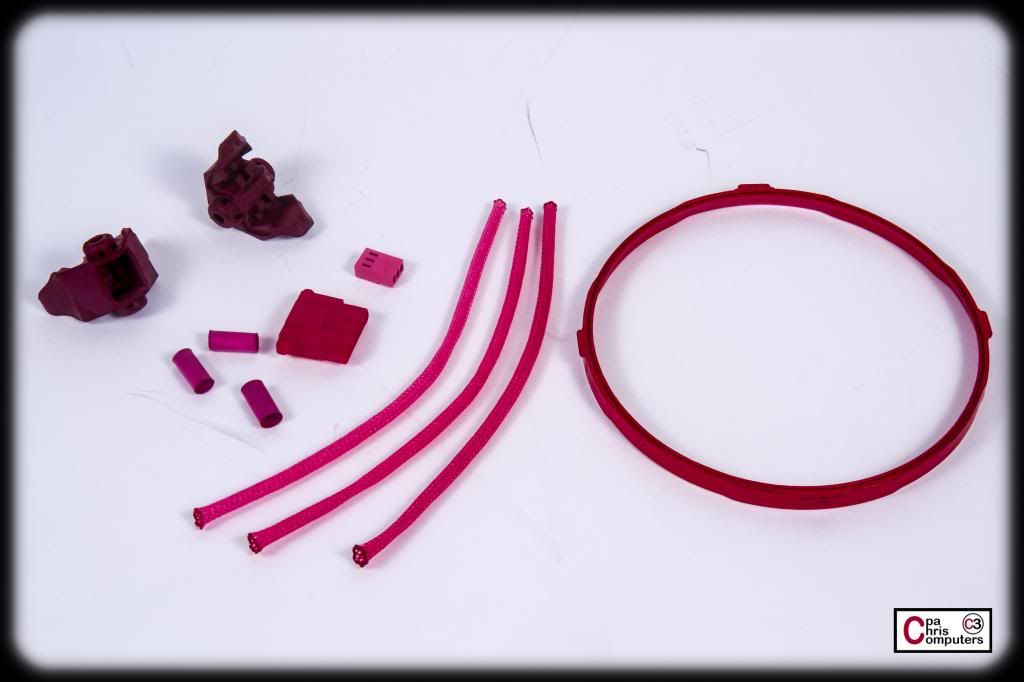
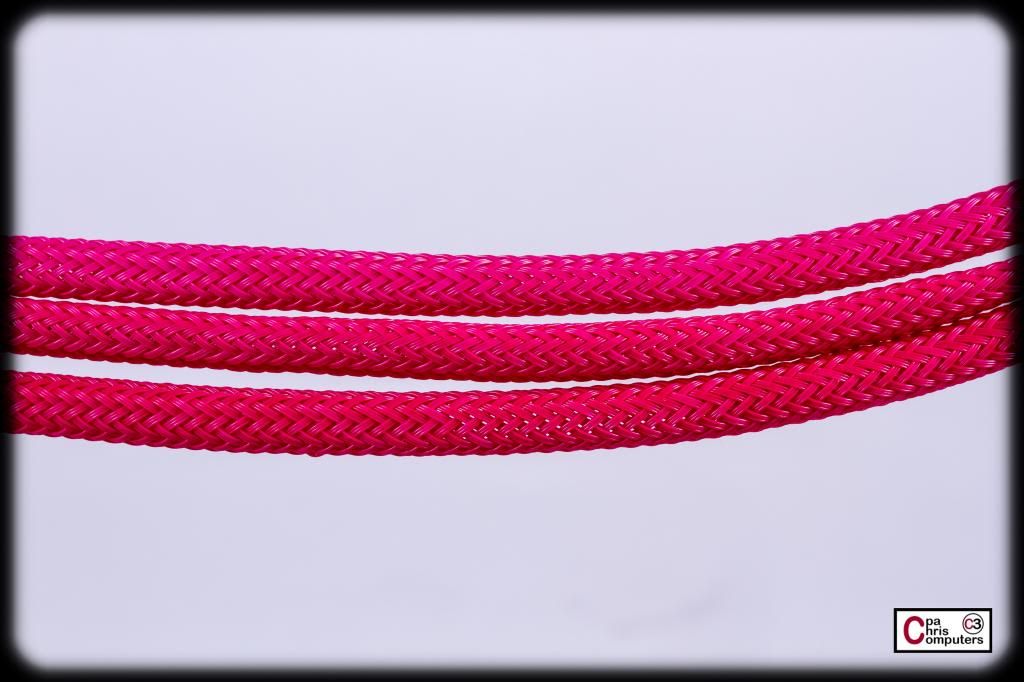
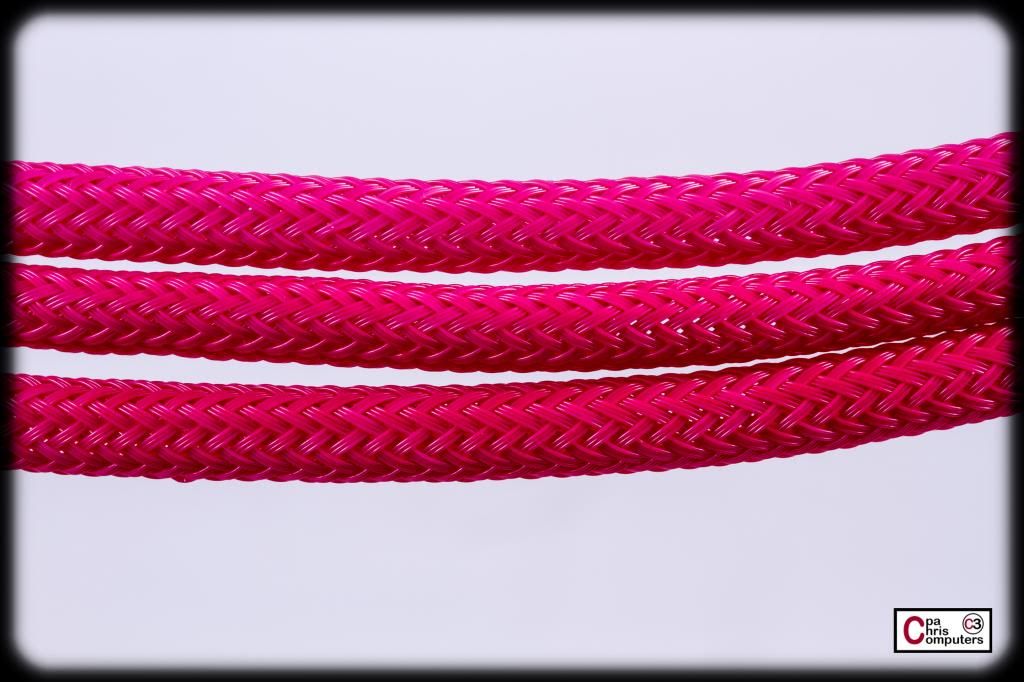
    They almost look pink! Maybe I don't need to dye the sleeve after all...... :p


    What is the difference in cost? Well....that takes a little math. Any CPA's in the house? Oh...wait. Ok...I'll give it a shot. Nil's sells MDPC-X by the meter instead of the foot, and you pay by Euros, not $'s. So we need to do a little conversion. And while we are at it, let's go ahead and set up a scenario where you are getting 200 feet of sleeve. That's enough to do a sleeving job for most computers. Not all. But it gives us a start at estimating total cost for a sleeving job between the two (without the heatshrink, terminals, etc....just the sleeve):

    Telios -- As of today, the cost is $6.75 for 25 feet of black. You would need 8 packs to get 200 feet. 8 * $6.75 = $54 bucks. Shipping for the 200 feet of sleeve would cost you another $6 bucks, for a total cost of $60.

    MDPC-X -- As of today, the cost is six euros for 10 meters of black....or about 33 feet. So you would need 6 packs to get about 200 feet. 6 * six euros = 36 euros. As of today, the conversion rate is 1.38, so it would cost you about $50 bucks. So the sleeve is a little bit cheaper than Telios was. Not much....but every dollar counts, right? However, the shipping on this one will cost you another 9.70 euros, which is about another $13. Total cost of $63.

    So the cost is pretty similar between the two, and the $3 difference is not even something to consider when you are working on your $5k gaming rig, right? For quite awhile, Nils would only open up the MDPC-X international shop for a few hours at a time, and only a couple of times a week. So....ordering it was a process involving finding out when the next opening would be, setting your alarm for whatever ungodly hour it might have been in Germany, and then quickly filling your order online before the store site went down again. Although this difficult ordering process did create a certain mystique about the product, I always found it to be quite annoying. Not sure if it's been changed permanently or not....but for awhile now the MDPC-X online store has been open every time I've visited. So maybe that policy has changed. It will take you a little bit longer to have MDPC-X shipped to you though. If you are getting Telios through FrozenCPU, ...you know how fast they ship and you have options on the shipping method.

    Hope that helps if you are trying to decide between the two. I'll pass on more thoughts as I start using it, but Telios appears to be a very attractive option for sleeving.

  2. #52
    Crunching For The Points! NKrader's Avatar
    Join Date
    Dec 2005
    Location
    Renton WA, USA
    Posts
    2,891
    Quote Originally Posted by cpachris View Post
    So the cost is pretty similar between the two, and the $3 difference is not even something to consider when you are working on your $5k gaming rig, right? For quite awhile, Nils would only open up the MDPC-X international shop for a few hours at a time, and only a couple of times a week. So....ordering it was a process involving finding out when the next opening would be, setting your alarm for whatever ungodly hour it might have been in Germany, and then quickly filling your order online before the store site went down again. Although this difficult ordering process did create a certain mystique about the product, I always found it to be quite annoying. Not sure if it's been changed permanently or not....but for awhile now the MDPC-X online store has been open every time I've visited. So maybe that policy has changed. It will take you a little bit longer to have MDPC-X shipped to you though. If you are getting Telios through FrozenCPU, ...you know how fast they ship and you have options on the shipping method.

    Hope that helps if you are trying to decide between the two. I'll pass on more thoughts as I start using it, but Telios appears to be a very attractive option for sleeving.
    this right here, it was so hard to get that it made it the "cool" thing to have.. not that it was actually the best..

  3. #53
    Xtreme Member
    Join Date
    Apr 2012
    Location
    Edmond, OK
    Posts
    179
    I had a request to show the white comparison again....after it had been stretched tight. Who am I to say no? Telios on top, MDPC-X on bottom....


    ...and closer.


    Both are better than before I stretched the sleeve taught....but I would still never sleeve a red wire with white sleeve. Just say no folks.

    In order to stretch the sleeve, I had to to go ahead and put terminals on each end of the wires, so I could melt the sleeve on the terminals to hold. This gave me a chance to play with some more of the Lutro0 Customs tools. I can tell you that this crimper....


    ....is amazing and does absolutely perfect crimps. This is a combination of the Custom 16 awg wire, the terminals that Lutro0's carries, and the Lutro0 crimper. So nice.


    But my favorite new toy so far is this wire stripper. I've never had one before. Can't tell you how nice it is. Effortless to make a perfect strip every single time. I won't ever go back to the old way.


    It's so easy and beautiful that I may need to show it on video. My first attempt with the heatshrink jig wasn't perfect though. My knife isn't always cutting through the shrink all the way on the first pass. A second pass always cuts it....but not always perfectly lined up with the first cut. Need a sharper knife...or maybe a razor blade, and I'll try again. Quick video wouldn't hurt to show off the jig either.
    Last edited by cpachris; 04-30-2014 at 08:34 AM. Reason: It was 16 awg wire, not 18 awg

  4. #54
    Xtreme Member
    Join Date
    Apr 2012
    Location
    Edmond, OK
    Posts
    179
    There are lots of things I love about the EK-Res X3 150.

    Of course it comes in attractive and well protected packaging.....


    ......Of course it comes with all the accessories that you would ever need......


    ....and of course the reservoir itself is absolutely beautiful.


    But what I really love about the EK-Res X3 150, is how versatile it is......


    EK. It's what's for breakfast.

  5. #55
    Xtreme Member
    Join Date
    Apr 2012
    Location
    Edmond, OK
    Posts
    179
    Was a gorgeous day today here in Oklahoma. Decided to spend a little time in the garage working up a prototype for a pump stand. Because I am in love with the look of the large EK pump tops, my current plan is to put them right in front of a window so they can be seen easily. I think I want the reservoir in the front window....so the only logical place left that doesn't block the view of anything critical is right behind the reservoir on the left side of the case. And I need to stack them vertically. Not just because I don't have enough floor space over there ( I don't ), but because I want them to both be stacked against the window. So....

    First I went to Lowe's and grabbed about $6 bucks worth of aluminum strips. I'm doing the prototype in aluminum because it is so darn easy to work with and so cheap. Once I have a design that I think works, I may investigate doing it in other materials. My first attempt here is using 1/16 inch thick strips. These are pretty soft, so I'll have to see if they can support the weight of the pumps.


    Sketched out rough dimensions. Nothing to precise here. This is just a prototype.


    Got my hacksaw out and went to cutting.....


    This stuff is fairly thin....so it didn't take long. Maybe 10 minutes. Now I have these 6 strips....


    Did some real quick touchups on the ends with a file. Just a few minutes. Not trying to make them look good....just trying to keep from cutting myself.


    Drilled some quick holes.....


    When I did a test fit to see if the holes lined up on the pump....I found out that the pump cover was just large enough where it kept the strip from coming in far enough to line up with the holes. Fail. So....I just filed out a little "v" shape right where the cover was touching the strip.


    Didn't take much....now it fits.


    Got my pieces all cut, filed and drilled. Let's put it together.

    [


    First I put the long vertical strips on the back of the pumps. I used the EK vibration dampeners that come with the D5 mounting kits. I attached the dampeners to the pumps, and then attached the aluminum strips to the dampeners. Was able to use screws and washers from the EK D5 mounting kit also.,


    Then I attached the vertical strips to the base strips with 8mm M4 bolts and nuts.


    It actually feels very solid even without the support strips I cut....but I went ahead and put one on the back anyway.


    The idea would be to mount this directly to the midplate in right about this location. I'd have to do something to decouple it from the floor....but you get the idea. There is just enough room in front of it to reservoir. I might even be able to extend a little mounting arm off the side of this and attach the reservoir to it.


    If I stick with aluminum, these would be powder coated with the same black powder that CaseLabs uses on the interior....so they would blend right in.


    The pumps are about 1 inch higher than I think I want them. So....when I redo this, I'll bring them down a little so they are more centered in the window.


    Would love some feedback on improvements for the pump stand...or other ideas for how to mount these big bright beautiful babies. Oh wait....this is the PPPP....not the BBBB. Ok...how about....ideas on how to mount these particularly pretty plexi pumps. Word.

  6. #56
    Xtreme Member
    Join Date
    Apr 2012
    Location
    Edmond, OK
    Posts
    179
    Gave bending acrylic a try today. Still thinking about different ways to make the pump stand.

    As a test....first I just cut a little 1 inch strip off one of my squares with my table saw.


    Then I grabbed my heat gun and used my workbench edge as an angle to bend the acrylic over....


    It didn't take long until it was getting soft on it's own accord. With some pressure, I could mash it down into a 90 degree angle. It would tend to spring back out of shape if I let it go to soon. Really had to hold it in place for about 2 minutes while it cooled in order for it to stick....


    It's not pretty....but it worked.


    Way too much flex in the bend though. This is pretty thin acrylic....I think it was 1/8 inch. But there is enough flex where something this simple just won't work.


    So I decided to try my hand at a longer double bend. Something that would let me make the sides of the pump stand solid ( for no flex ) while bending out the angles that attach to the pumps and the floor.


    Cut my basic shape....


    Clamped it to the side of my bench, and applied the heat gun liberally.


    Massive fail. Making a long bend like this is much much harder to get to 90 degrees. I was able to bend both sides that I wanted....but they didn't come out real straight. Not usable, and I don't think I could get it a whole lot better outside of having some better tools to layout the plastic and clamp it.


    Have decided that bending acrylic will not be the route I take. :o :o Going to modify the dimensions of my aluminum strip version, and paint it black to see how it looks. I'm also still contemplating some other options with plastics that don't require me trying to bend it....as well as a sheet metal option that was suggested. More soon....

  7. #57
    Xtreme Member
    Join Date
    Apr 2012
    Location
    Edmond, OK
    Posts
    179
    Has anyone ever used any of the online 3d printing services? I played around in Sketchup and modeled a neat little pump mounting system....but I have no idea of how rigid the ABS material comes out.


  8. #58
    Xtreme Member
    Join Date
    Apr 2012
    Location
    Edmond, OK
    Posts
    179
    Fresh off the Thunder win Saturday night....I spent some of today putting together pump prototype #2. I recut some aluminum pieces, and this time I decided to go ahead and put a coat or two of black spray paint on them...just so the bare aluminum wouldn't be so distracting. Here was the highly calibrated and controlled painting environment setup for the evening....


    Using this paint tonight....


    One coat.....


    Two coats.....


    ...and then rush inside to put it together before it's even dried. You'll notice I painted one of the Corsair fan accent rings black also, so that when I get back to choosing the fan colors I can use that one.


    Several people had asked about decoupling the pumps, and this is what I'm using right now. These rubber vibration dampners come with the EK D5 mounting kit. The pump tops screw into these, and the frame I'm building screws into the other side of these. That way the frame is never touching the pump.


    Here it is put together. The paint wasn't even close to dry so I really buggered it up doing this....but it still makes it less distracting fhan the bare aluminum when trying to picture what it would look like. I'm still excited about the 3d printing idea for a pump stand and I'm exploring that....but if I end up doing an aluminum version, I would definitely powder coat the final version.

    The differences in this version are:

    1) I lowered the top pump about 1.25 inches from where it was last time, and decreased the spacing between the two pumps. I knew it needed to be lower, but you really can't tell if you've done it the right amount with building a prototype.
    2) Shortened the front side of the "T" brace at the bottom. Before, the base stuck out way in front of the pumps. Now...I only have it extending just a little bit in front of the frame. It still stands on it's own even with the shorter base.
    3) Eliminated the horizontal brace I had between the pumps. It just doesn't need that since both of the pumps serve as a brace between the two frame sides.
    4) Added a vertical / diagonal brace that extends from the middle of the pumps stand down to the back of the bottom brace.


    Here is what the first version looked like:


    An improvement. And much sturdier. This one is solid with that back brace.

    This one turned out to be just about the right size also. Here are some pictures in the case. Notice how there will be just enough space for the reservoir (mounted and elevated eventually) to the right of the pump tops and in the front window.


    And with the window on you can see that the pump tops are fairly well centered in the window now. Just what I was picturing.


    More info on the 3d printing tomorrow......

  9. #59
    Xtreme Member
    Join Date
    Apr 2012
    Location
    Edmond, OK
    Posts
    179
    The PPPP got featured on the CaseLabs FB page this morning, and the EK Orange Juice shot got featured on the EK FB page this morning. Very cool! I'm duty and honor bound to request that you go "like" their pages immediately.

  10. #60
    Xtreme Member
    Join Date
    Apr 2012
    Location
    Edmond, OK
    Posts
    179
    I'm ready to spin some fans up in the case so that Jennifer can select the final color combination. Quick little project before I start that.

    I'm sure we've all learned the trick of shorting the green and black on the 24 pin to jump start a PSU that is not connected to the motherboard. I use it all the time when I'm doing leak testing with my pumps. I've always done it with something ugly like this:


    The white wire above has male terminals on it and is shorting the PS_On and a ground, on the motherboard side of the 24 pin PSU cable. You could use a paperclip also. It works...but is big bulky and in the way. So, you still have to plug in the entire 24pin connector to your PSU and have the cable stuffed somewhere. If the PSU is in your case, then the bulky 24 pin cable is in the way of everything. If it's outside of your case, I keep knocking the wire out of the terminals when I move or touch it. So....I decided to short the PSU in style this time.

    First...I cut a small piece of 16AWG wire....


    ....used my handy dandy new wire strippers. I really love these. I've grown to really love strippers. Wait....that didn't sound right.....


    Perfect strips every time. I love it when strippers work correctly for me. Wait....that didn't sound right either.


    The I used my handy dandy new crimper from Lutro0 Customs and put some female ATX terminals on the end....


    And might as well put some sleeve on it so that we are shorting the PSU in style....


    Add a touch of heatshrink....and plug directly into the PSU.


    That will be a little nicer to live with while I cable up stuff without powering the motherboard up. I'll simply put the PSU back in the case and leave my jumper on until I'm ready to boot this baby. This way I can still power up and test other components....even without the bulky 24 pin cable stuffed in there.

    The only caution would be to make sure you know which pins on your PSU correlate to the PS_ON and a ground. The AX1500i is not a one-to-one relationship for the wires coming from the PSU to the 24 pin connector. So trace your own wires carefully before plugging in something wrong.

    Now....back to my love for my strippers.....

    :p :p :p :p :p :p

  11. #61
    Xtreme Cruncher
    Join Date
    Dec 2005
    Location
    L.A. ( Latin America)/ 4socket wannabe
    Posts
    2,756
    insane dedication, craftsmanship, attention to detail , superb components, simply awesome
    "Study hard my young friend"[/B].
    ---------------------------------------
    Woody: It's not a laser! It's a... [sighs in frustration]

  12. #62
    Xtreme Member
    Join Date
    Apr 2012
    Location
    Edmond, OK
    Posts
    179
    Quote Originally Posted by Duh View Post
    insane dedication, craftsmanship, attention to detail , superb components, simply awesome
    First.....thanks for the kind words!

    Second....OMG SOMEONE IS ACTUALLY ALIVE ON THIS FORUM!!!! Was starting to wonder.....

  13. #63
    Xtreme Member
    Join Date
    Apr 2012
    Location
    Edmond, OK
    Posts
    179
    Video of fans spinning! Jenn wanted to see them spinning before she chose he her combination. Almost looks like still pictures in a lot of it since the fans blur so nicely, but it's actually all video. I can only really swap out one fan at a time for the different combinations, but you should get a good feel for what they look like.

    Take a 2 minute break, turn up the volume and enjoy!


    ....and yes I see my missing space in the opening.

  14. #64
    Xtreme Cruncher
    Join Date
    Dec 2005
    Location
    L.A. ( Latin America)/ 4socket wannabe
    Posts
    2,756
    man you have a kick arse camera and really know what you are doing. proceed as you consider best and it will be awesome.
    "Study hard my young friend"[/B].
    ---------------------------------------
    Woody: It's not a laser! It's a... [sighs in frustration]

  15. #65
    Xtreme Member
    Join Date
    Apr 2012
    Location
    Edmond, OK
    Posts
    179
    Update on my 3d printed pump stand prototype.....

    Earlier I posted a Sketchup view of a quick and dirty pump mount I had put designed. This one....


    I did some research online, using "the google", and found lots of online 3d print companies where you can simply upload a STL file and they will immediately analyze and spit back out a cost for printing it in different materials they have available. There is an extension for Sketchup that will create a STL file from your 3d model. I installed the extension and created my STL file, and played around with uploading it to various websites for a cost estimate. OMG.....the 3d printing companies are absolute pirates! The design above would cost anywhere between $500 and $600 to print in ABS plastic at all the sites I went to. That's right....an 8 inch piece of plastic would cost between $500 and $600 to print. OUTRAGEOUS!

    A gaming acquaintance of mine had recently been posting in G+ about a 3d printing club that had been started at his work. They had 10 people each pitch in about $200 and collectively buy a printer for their own use. He had posted some pics of the 3d prints he had done so far, and some comments about how cheap the material was. So....I talked to him about possibly letting a non club member utilize the 3d printer for a fee....and his club agreed. Subject of course to availability in the queue, and only if no member prints are ready to go. They decided to charge me $10 plus cost of materials. I sent him the STL file and their printer administrator loaded it to their software, and estimated the cost of the actual materials used at about $1. Yes.....one dollar. You read that right. So.....right now I have my prototype model in the queue at a cost to me of $11. $11 vs $500. I realize that the larger companies need to cover the depreciation on the machine also....but come on. They wanted to charge me $500 for $1 worth of plastic and some printer time? OUTRAGEOUS!

    Not sure when my print will run since I have to wait until no member prints are waiting before my print will run. But I hope to be able to show you my first 3d printed pump mount prototype within the week. I'm keeping my fingers crossed that I didn't make any significant design errors. First 3d printed model....so this one is a learning experience for me.

    But the idea of their 3d printing club intrigues me, and makes me wonder whether there could be some interest here at OCN on members participating in a 3d printer club. I'm thinking seriously about starting one. I'll put the rough outline of how it would work into a new thread to gauge interest. I'll post a link to that thread here, so look for it if you are interested in exploring the idea. Even if you only want to 3d print one item.....it would make financial sense to join the club. But the number of things a computer builder/modder could design and 3d print are limited only by their imagination.

  16. #66
    Xtreme Member
    Join Date
    Apr 2012
    Location
    Edmond, OK
    Posts
    179
    Still playing around with pump mount possibilities. Built prototype #3 today. Follow the fun below.....


    For this version, I thought I would play around with some sheet metal. Never really worked with that before. I picked up a small sheet of 20 gauage steel from my local Lowes....for about $6 bucks.


    Drew out a rectangle that was big enough for both sides of the pump mount.....


    ....dropped the jig saw attachment in my lil' worktable, and of course, donned the appropriate safety glasses.


    Rectangle came out nice and smooth. I drew a line through the middle that would separate the two sides of the pump stand...


    ....and went back outside to the jigsaw to cut it in half. Easy peasy so far.....


    Then I drew some lines where I wanted to ultimately bend the sheet metal.


    ...and used some snips to make a short cut where the bottom base would fold up.


    Then I marked the holes I wanted to drill.....


    ...and commenced to drilling.


    So far, everything went smoothly. Now...I don't own a bending brake. So to bend the metal I had to rig up a home bending brake using some wood and a clamp. Not ideal....but worth a shot.


    It really didn't come out too bad for my first try on a home rigged bending brake.


    Some of the corners came out nice and sharp.....while some were a little looser and sloppier. It was very rigid though. Definitely would hold up well.


    For a final version, I could find someone that had a real bending brake and make these bends better. But....I ended up deciding that I don't really like the look of these as much as the aluminum angle version that I've done so far....so I didn't even bother painting or mounting pumps to it. It was a fun try....but I don't think it is the right solution for this build.


    I made so much racket banging the sheet metal around with a hammer....that Jenn came out to see what was going on. She agrees that we will not be using these mounts in her computer.


    I got notice that my 3d print will definitely run this weekend, so I may have news/pictures Monday of the outcome of that endeavor. I guess that one will be pump stand prototype #4. I have high hopes for that one. But I also like the aluminum angle #2 version, so after I get to see/touch the 3d printed version, I'll know which direction I need to go for the final version.

  17. #67
    Xtreme Member
    Join Date
    Apr 2012
    Location
    Edmond, OK
    Posts
    179
    My friend just messaged me that my 3d print is ready to pick up. Yay! I'm headed his way during lunch. Phone pic showed it looked pretty darn good. But what I'm really after with this prototype is to see how strong it is. Pictures this afternoon!

    Plus....I'm in the middle of a test pink dye bath right now to see how close I can get to the pink case color. I'm testing some sleeving, and some connectors. I'll have pictures of that also tonight. I'm testing at 3 different time lengths for the sleeve. 45 minutes, 1.5 hours and 2.5 hours. I've already taken the 45 minute dye bath sleeve out....and it looks pretty phenomenal. Very good match for the case. I'll definitely be using some of this custom dyed pink Telios in the build as an accent color!

  18. #68
    Xtreme Member
    Join Date
    Apr 2012
    Location
    Edmond, OK
    Posts
    179
    Pictures of Pump Prototype #4!

    If you've been following, you've seen this render of a pump mount that I put together in Sketchup.....


    As previously mentioned, the online 3d printers wanted north of $500 bucks to print this. I found an acquaintance that has access to a 3d printer through a club he participates in at work. The actual material cost ended up being $1 and they charge non-members an additional $10 for each print. So, I paid $11 to have my quick sketchup model printed in black PLA. We used a 50% fill rate for this one. The print took about 16 hours.


    The material you see in the middle of the holes, and underneath the some of the letters....is just support material. The printer can't print on top of air....so if you have an overhang that is greater than about 45 degrees or so....it prints support material underneath it. This material is then removed after the print is complete.


    All the support material came off pretty easy. I could poke out the stuff in the large holes. Used an exacto knife on the stuff in the small holes and the letters. I got a little aggessive on the "T" in the letters. I had thrown that label on the pump stand in the last minute before sending it....just because I wanted to see what it looked like. I only had a smidgen of the T actually touching the base of the pump stand....so it wasn't strong enough to withstand my aggressive removal of the support material. :o I glued it back on....at a funny angle....because there simply wasn't room for it to have much contact.

    While I was messing with the letters.....why not throw some pink paint on them? Right?


    I truly am amazed at the precision of these consumer grade 3d printers. I didn't really know what to expect....but it printed exactly what I designed. It has some heft to it also. Base is very flat and strong. The vertical mount doesn't flex at all on it's own...but you can bend it a little bit if you try.


    Let's put the pumps in the stand and see if it holds them.....


    I guess I got the measurements right! It actually stands on it's own without being bolted down. There is enough of a base where it is self supporting. However, I would definitely bolt it to the midplate for the final installation.

    The pump stand has some rough spots where the finish isn't as smooth as it could be....but even with those spots....this looks so much more professional than any of my other prototypes. This is by far my favorite, and I will definitely go this direction. I will however need a few tweaks for the final design. I'll print another one within a week or so.....

    Here it is in the case!


    Now...for the next, and final, version....I need to make these changes:

    1) Make the vertical plate just a tad thicker. This one was 1/4 inch thick. I think I'll go 3/8 inch thick for the final.
    2) Need another millimeter or two space between the pump tops. There is barely enough space for a stop fitting between them right now.
    3) Use a different font for the "The PPPP" lettering. This was too thin. Don't like how it looks....but I do like the customizaton.
    4) Tweak the base so that there is even more support for vertical plate, and at different levels on the front and back. I can have the supports on the back side of the vertical plate come up higher than I can on the front. I'll take advantage of that for the next version.
    5) I'm going to add an extension arm off the top of this that I will use to mount the reservoir.


    I LOVE THIS TECHNOLOGY!!!!! I'll definitely be starting that thread about a 3d print club. I'm very serious about that. I've already got a long list of things in my mind that I could 3d print for this build and for others. Modder's dream. Look for that thread soon....I'll post a link to it in this thread.

    Let me know if you have any ideas for the final version of the pump stand. I'll be working at designing it this week.

  19. #69
    Crunching For The Points! NKrader's Avatar
    Join Date
    Dec 2005
    Location
    Renton WA, USA
    Posts
    2,891
    as always, awesome!

  20. #70
    Xtreme Member
    Join Date
    Apr 2012
    Location
    Edmond, OK
    Posts
    179
    Quote Originally Posted by NKrader View Post
    as always, awesome!
    Thanks! I'm pretty pumped about the 3d printing.....

  21. #71
    Xtreme Member
    Join Date
    Apr 2012
    Location
    Edmond, OK
    Posts
    179
    It's been too long since I did a dye bath. Let's change that.....

    For those that didn't follow along when I did this for the BBBB....here are the basic steps. I'm using disperse dyes since I found the RIT dyes did not do well with plastic sleeving. At least for the colors I wanted to make. I had great success with the disperse dyes. First...get 3 pots. 1 large and 2 small....


    Save your marraige. Don't use your wife's good pots. The big pot needs to be large enough to hold all the items that you are going to dye. Fill it up about 1/2 full with water (or however much you need to fully cover items plus some extra), and add 1/2 cup of vinegar in it. Start that bad boy boiling.....


    In one of the small pots, get some water boiling, and then add 1 tablespoon of your dye carrier.


    This dye carrier is cool to watch when you put it in water. It looks like a nuclear reaction under the water and billows out like clouds engulfing all the water in the pot and turning it a milky white Stir the mixture. Save your marraige. Don't use your wife's good flatware to stir.


    Take the carrier/water combination from small pot and dump it into your large pot that has the water/vinegar combination....


    It's now a milky white also.....


    In the other small pot, you need to get some water boiling also. This is the pot you will add the actual dye to. Save your marraige. Dont use.....you get it by now. I'm using red from Pro Chemical disperse dyes. It's more of a pink for some items...and more red for some items. Depends on the material. In my trials and tribulations of learning how to do this last time....the sleeving ended up more pink with this stuff....


    How much dye you use has a direct impact on color. For this test, I'm using 3 teaspoons of red dye....


    After mixing it well....dump the dye mixture from the small pot into your large pot.


    Bring it back up to a simmer. You want a small boil. Needs to be hot.


    Now get the items that you are going to dye. For this test, I'm going to throw in one of the Corsair fan accent rings, a 4 pin molex connector, a 3 pin fan connector, two of the rubber corners for the Corsair fans, and 3 short pieces of sleeve.....


    Later in the process....I also threw in 3 pieces of white heat shrink. You can't add these while the pot is boiling, or it activates the shrink. Wait until your other stuff is done, and let the dye bath cool just a little bit first...and then add the shrink....


    Keep the dye bath simmering. The length of time in the dye bath impacts how dark a shade of color you get. I took one of the pieces of sleeve out at 45 minutes, one at 1.5 hours, and the other at 2.5 hours. All other items came out at 2.5 hours also.

    Here is how all the items looked! You'll see some items came out red (fan accent ring, 4 pin molex, rubber fan corners)....but some are a glorious pink!


    Close-ups of the sleeve, since that is really what I was the most interested in.


    From top to bottom....is the 45 minute, 1.5 hour and 2.5 hour version. Tough to tell in pictures...but there is a small difference in how deep the color is the longer the sleeve was in. Not really a different color....just deeper. The top one ended up being the best match for my case. So for the final batch, I'll probably cook it about an hour.


    The fan connector was also almost an exact match for the sleeve. And you'll notice that with dye....every nook and cranny gets colored. There are no spots that are missing color. Everything is uniform. Plus...you can't scratch it off. It's a permanent part of the plastic now. Very durable.


    Colors are tough to get right and distinguish in those up-close shots with lighting. But here is a better pic of the sleeve in front of the case. It really is a perfect match. I don't even need another test batch to tinker with the color....because this matches the case exactly.


    So.....the accent ring didn't come out pink. I'll still need to paint those. The grey rubber fan corners didn't come out pink. I'll leave those grey. The 4 pin molex didn't come out pink. I'll use black for those. But the sleeving and the 3 pin fan connectors are a perfect match, so I need to figure out what I want to do with those.

    I'm still thinking primarily black sleeving inside the case. Maybe all black sleeving for the fan cabling. But I really would like some pink accents in the main power cables (24 pin and the motherboard power connectors). This gives me an option. Early on in this thread I had bought some samples of the pink sleeving available out there....and didn't like any of it. It looked cheap. But this is the Lutro0 Customs Telios sleeving....in a perfect pink match for my case. I simply must add some. I'll try out some color combinations on you guys after I dye all my white Telios pink.

    Need to think about whether I want to use the pink fan connectors....or stick with black. Or I guess what I should do is ask the boss....

  22. #72
    Xtreme Member
    Join Date
    Apr 2012
    Location
    Edmond, OK
    Posts
    179
    I've got most of the tweaks in the pump stand model. Here is a front view and a back view......


    The lettering is simpler. I like it better. Trying some recessed on the front....although this may not really show at all. And some on the back.

    Next...I'll try and add the reservoir mount structure to the right side of the pump stand.

    Would love suggestions/comments/ideas as I tinker with this.....

  23. #73
    Xtreme Member
    Join Date
    Apr 2012
    Location
    Edmond, OK
    Posts
    179
    Updated sponsor plaque. Is it just me....or does there appear to be space available at the top of the plaque? Bottom right appears to have some available space also.....


    major announcement coming soon......

  24. #74
    Xtreme Member
    Join Date
    Apr 2012
    Location
    Edmond, OK
    Posts
    179
    I'm thrilled to formally announce ASUS as the Platinum Level sponsor for the Powerful Pretty Pink Processor build. Took us awhile to get through approvals and agreements, but we're there now. And when a new sponsor is added.....the sponsor plaque must be updated. Behold......


    ASUS is showing they are a big believer in the PPPP build by sponsoring not only a motherboard, but also two video cards. You'll even get an early peek at their announced, but not yet released, 4K monitor. I'm pumped. I mean, what better way to put those two video cards through their paces....than doing it with a 4K monitor? It will be fun.

    Motherboard and video cards should arrive tomorrow, so expect lots of pictures later this week. I should even be able to do an initial power-up of the system (air cooling of course) within the next week or so to make sure everything is working. Then.....we'll tear it all down, do some cool mods, block everything.....and put it back together. Can't wait!

    And the observant among you will notice that there is still an open spot on the sponsor plaque in the bottom right corner. Hmmmmm......

  25. #75
    I am Xtreme
    Join Date
    Dec 2002
    Posts
    5,931
    This is fantastic thanks for sharing your progress

Page 3 of 8 FirstFirst 123456 ... LastLast

Bookmarks

Bookmarks

Posting Permissions

  • You may not post new threads
  • You may not post replies
  • You may not post attachments
  • You may not edit your posts
  •