

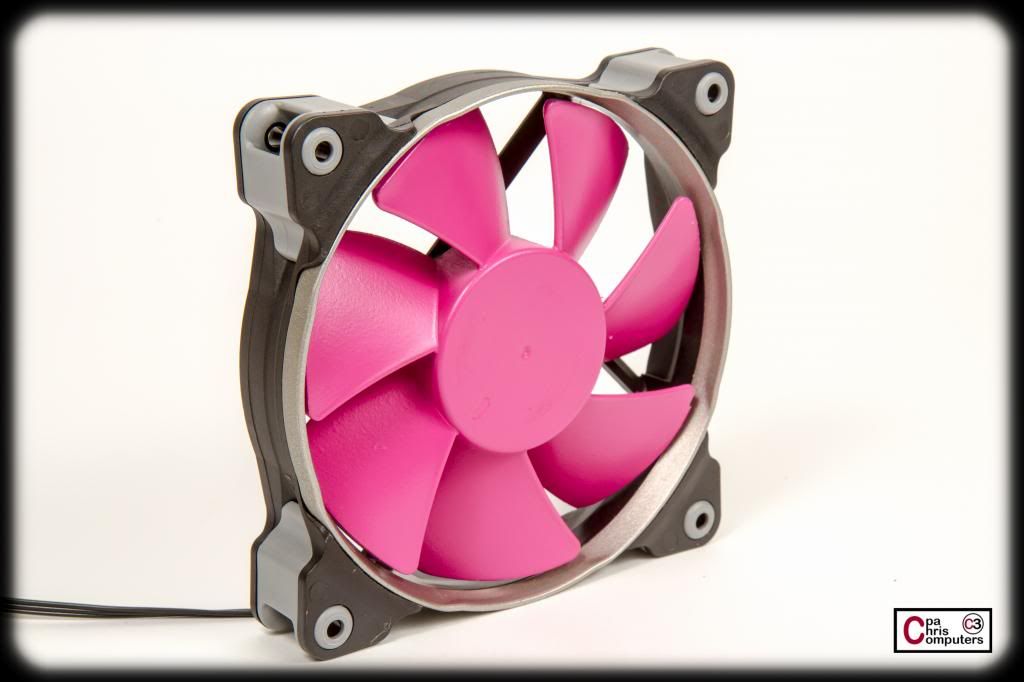
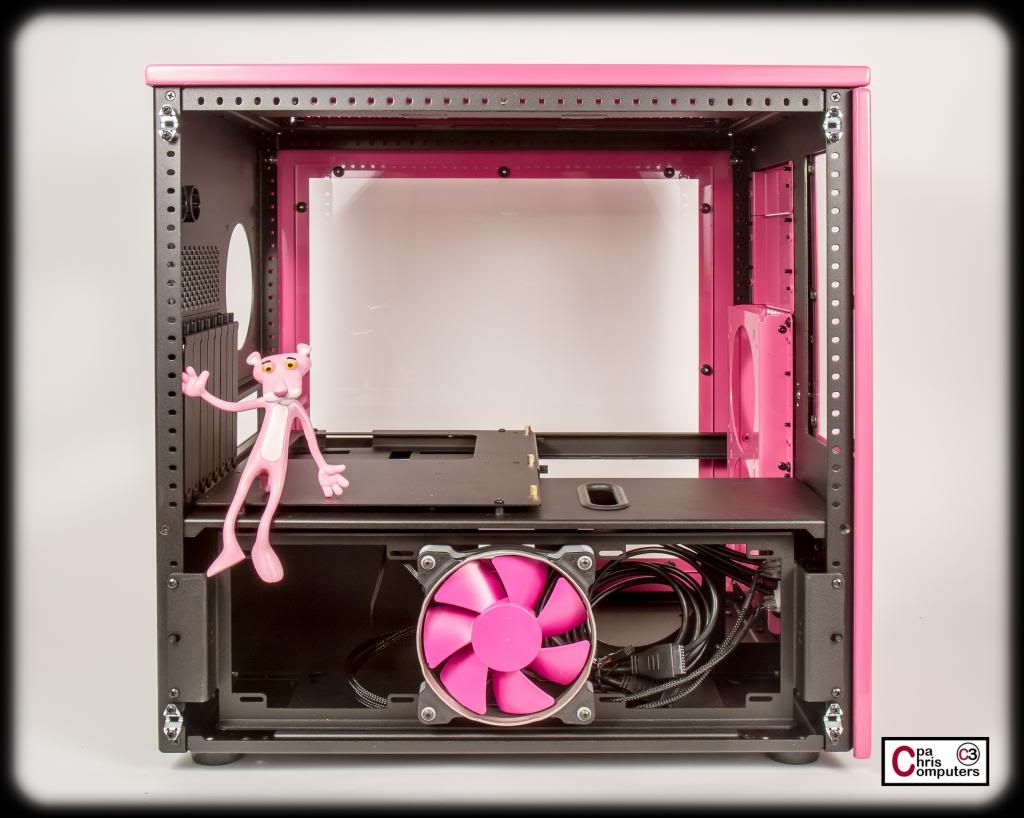
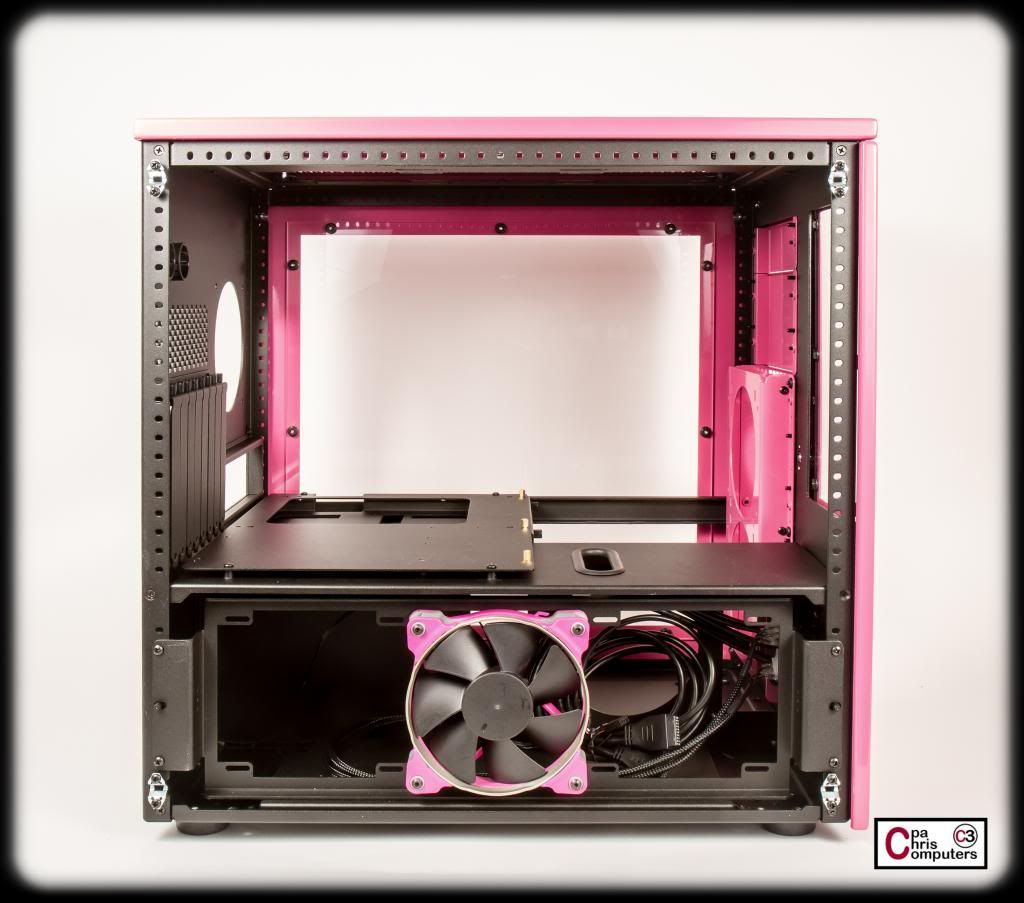
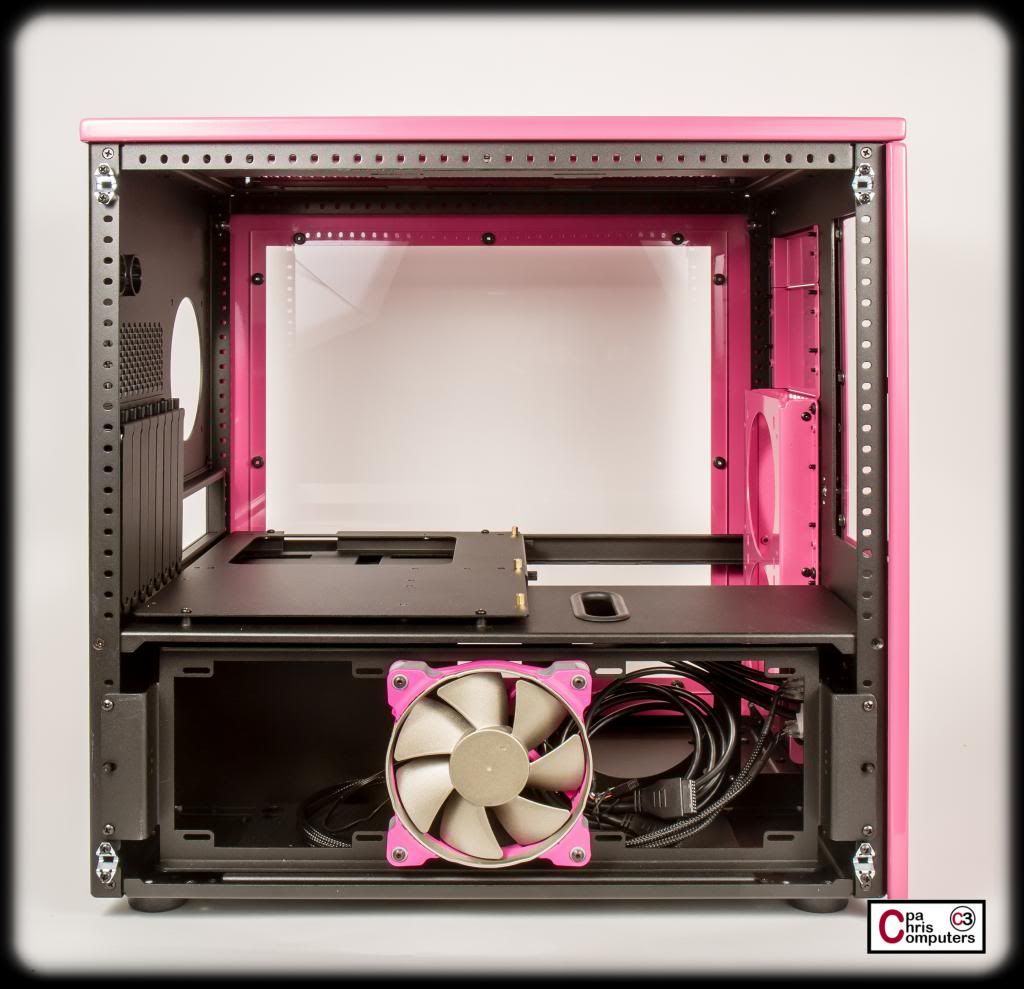
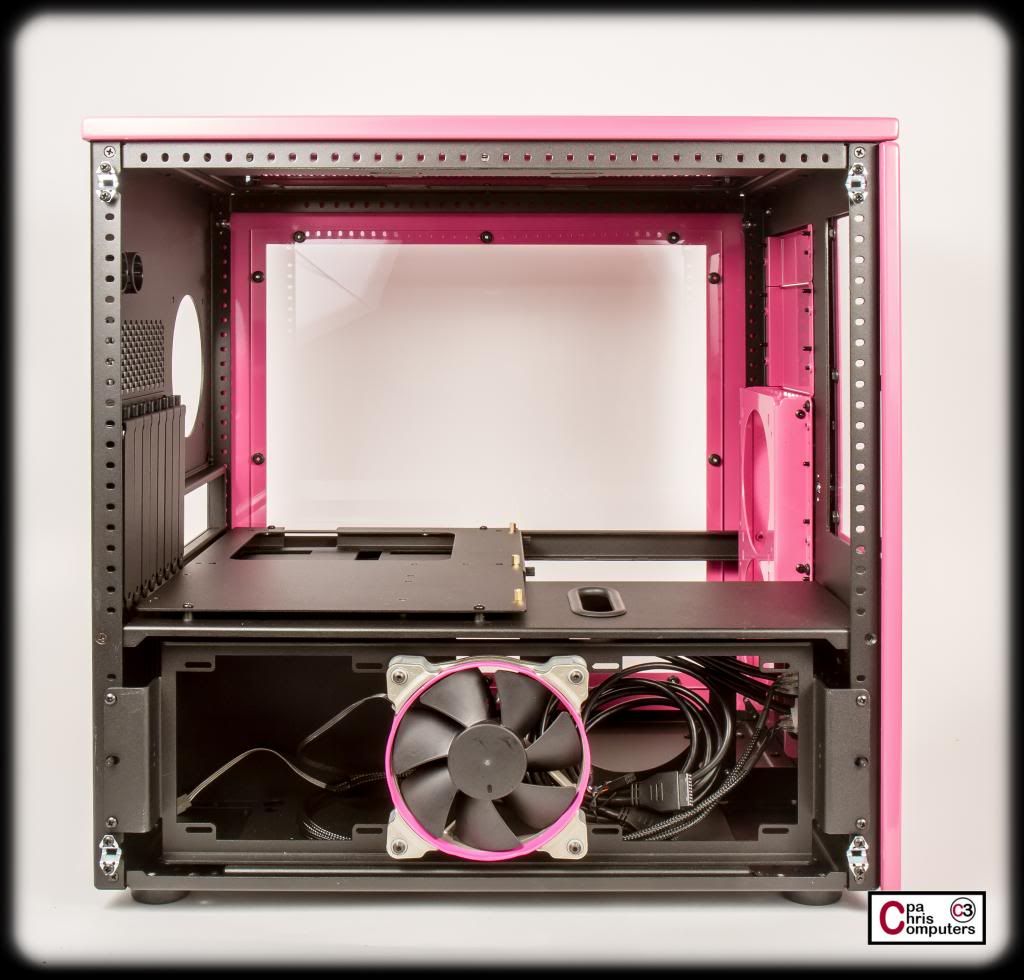
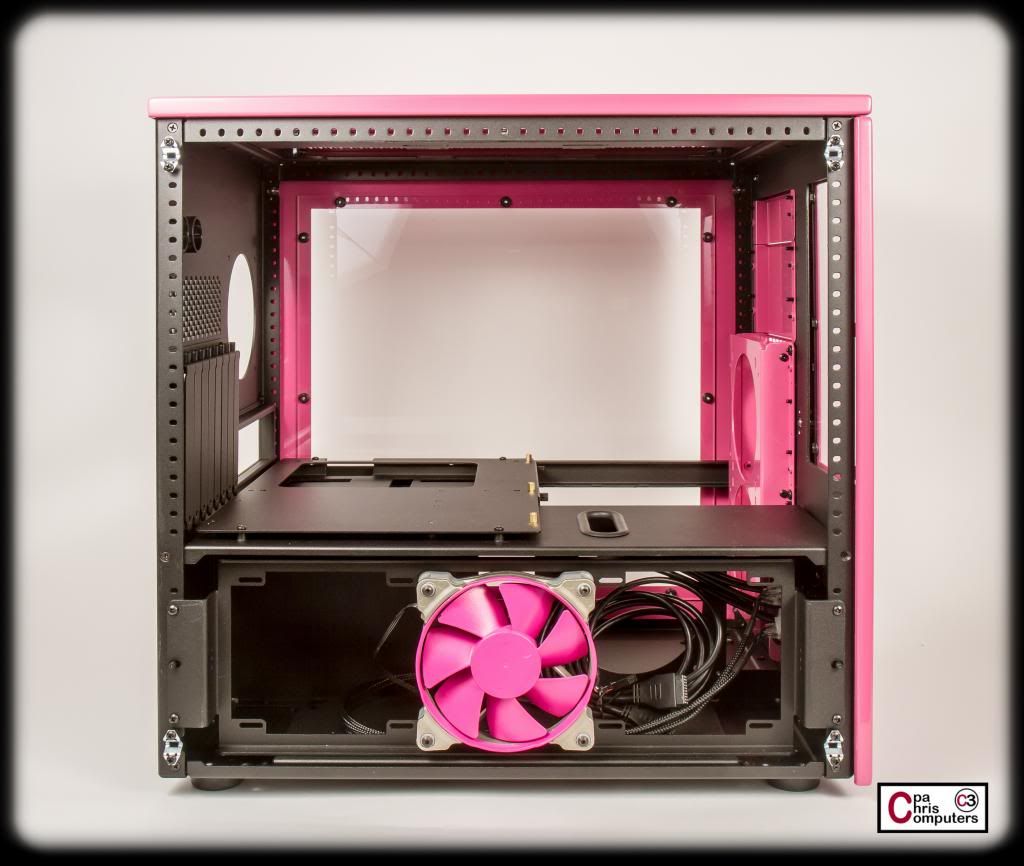
Black Frame, Pink Accent Ring and Nickel Blades.
Since the tower is already Pink, the smallest part of the fans are the ones supposed to be pink, or it will be lost in the middle of the tower's colour.


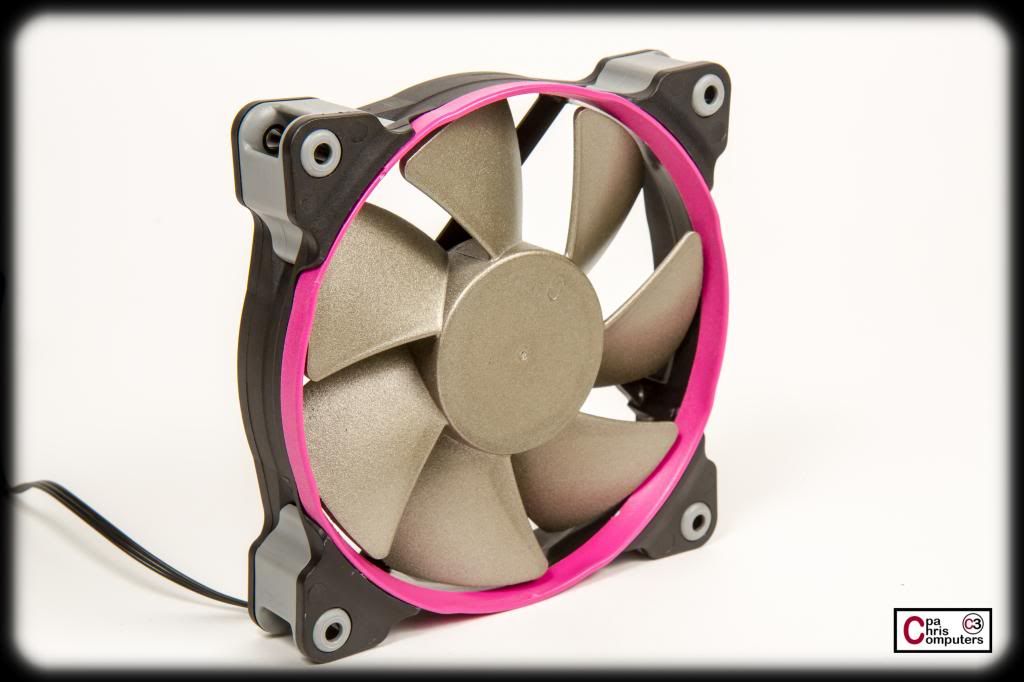
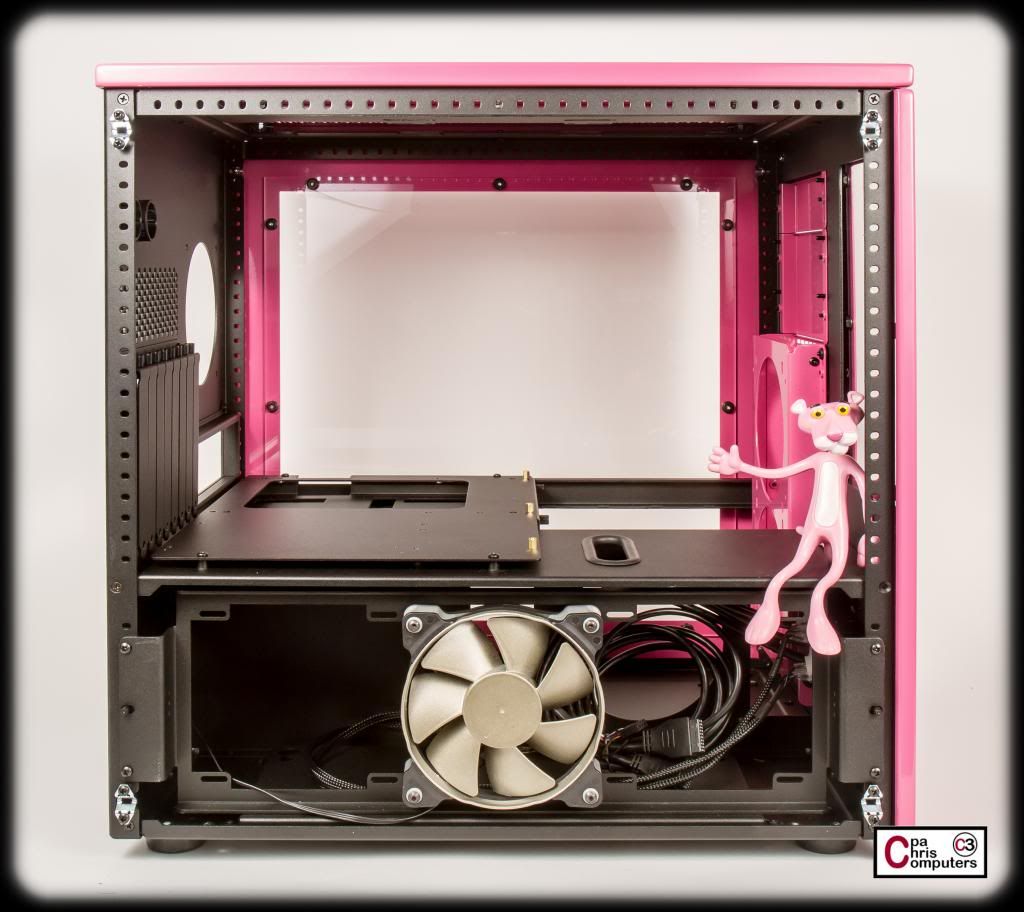
Black Frame, Pink Accent Ring and Nickel Blades.
Since the tower is already Pink, the smallest part of the fans are the ones supposed to be pink, or it will be lost in the middle of the tower's colour.

the very first picture is by far the best one
Even though that one is not my favorite of the pictures of just the fans....once it's inside the case behind the pink hex mesh....it may be my favorite. I'll have those pictures posted soon. The black blades just kind of disappear behind the pink hex mesh...and you don't get to see anything at all. The nickel or pink blades give it a lot more contrast and something to look at behind the pink hex mesh. And nickel may be my favorite. Let me know what you think once I get them posted.Originally Posted by Black Phoenix

I like that one also.
and i wont lie, i really dislike the nickel blades, they look tacky.
That's why I said that the best was that image. Since all the tower are pink on the outside, you need some contrast of colours to make some contrast. It could be not the most beautiful but it's the most contrast available. Although the "Miss" has 50 votes in advance, so it may be a 1 vote and 1 vote and 50 votes...
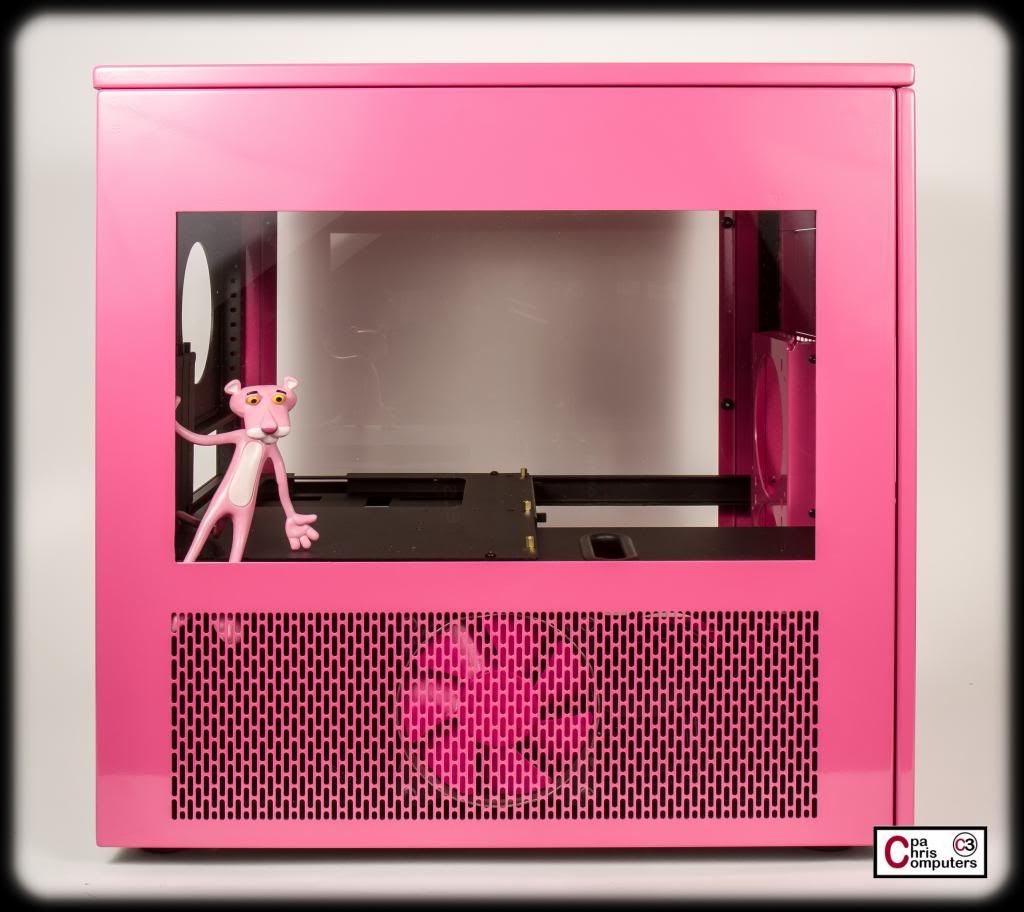
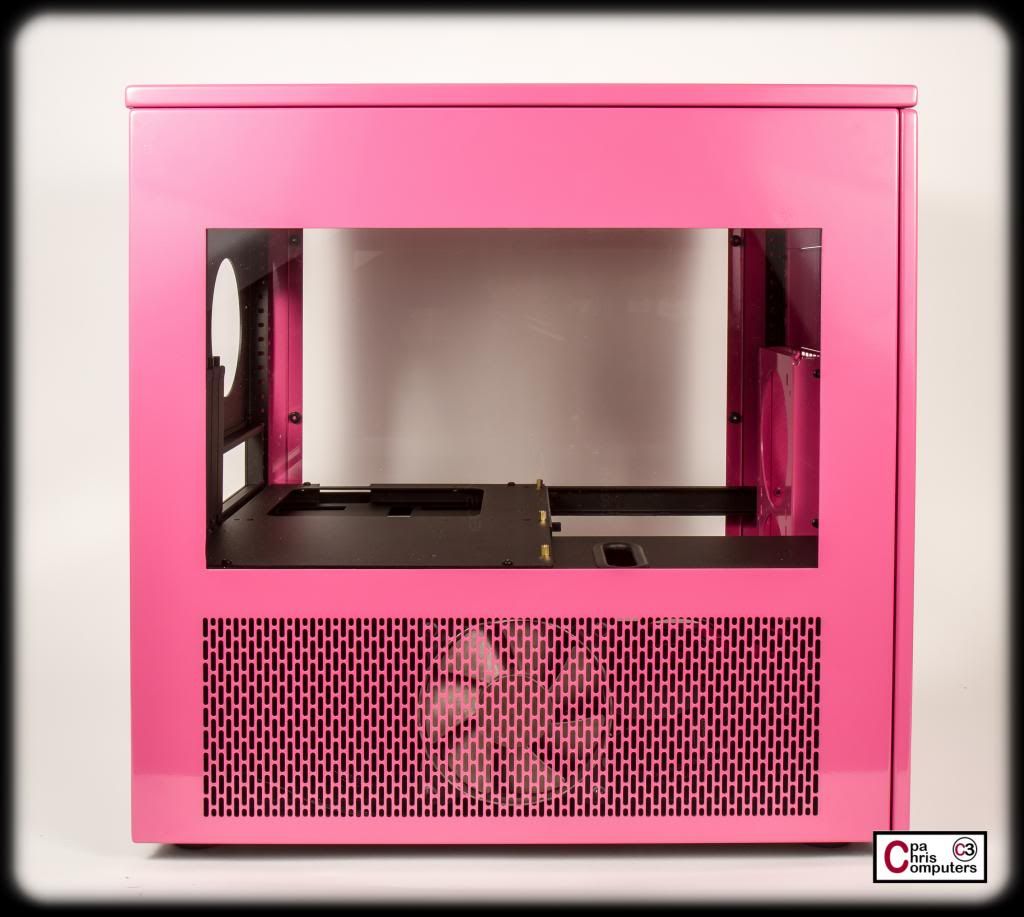
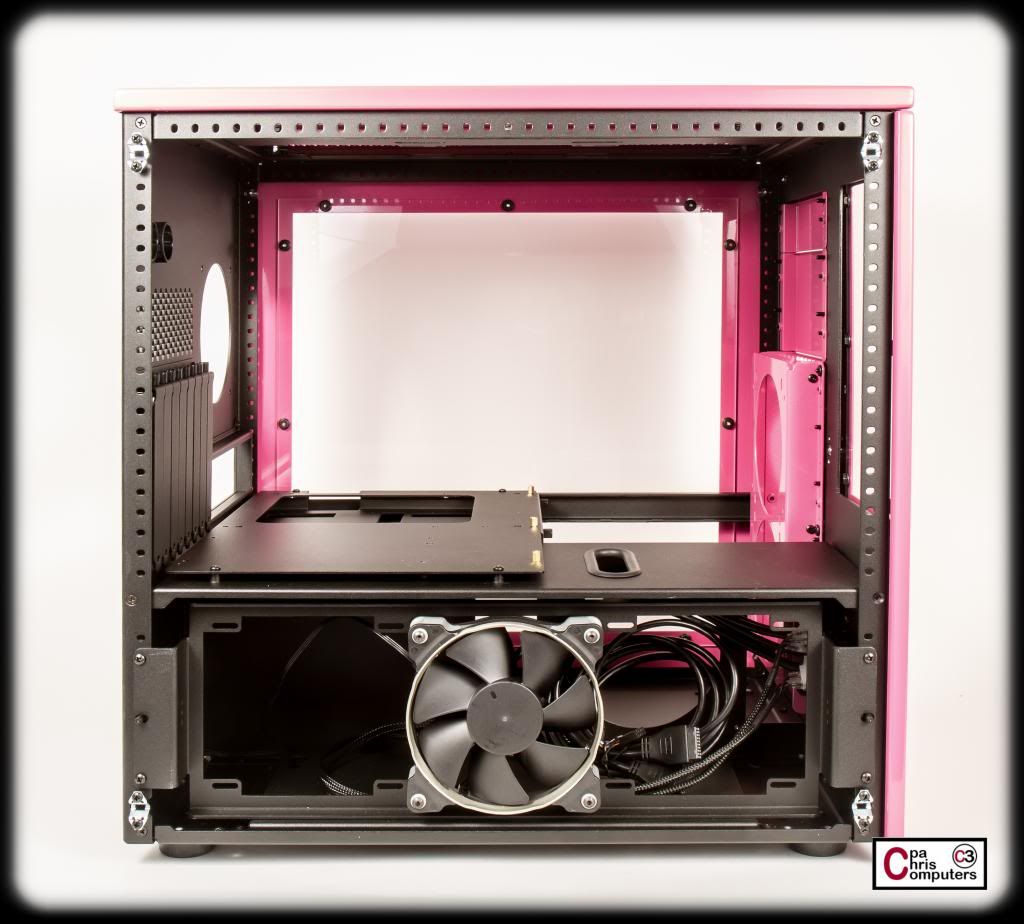
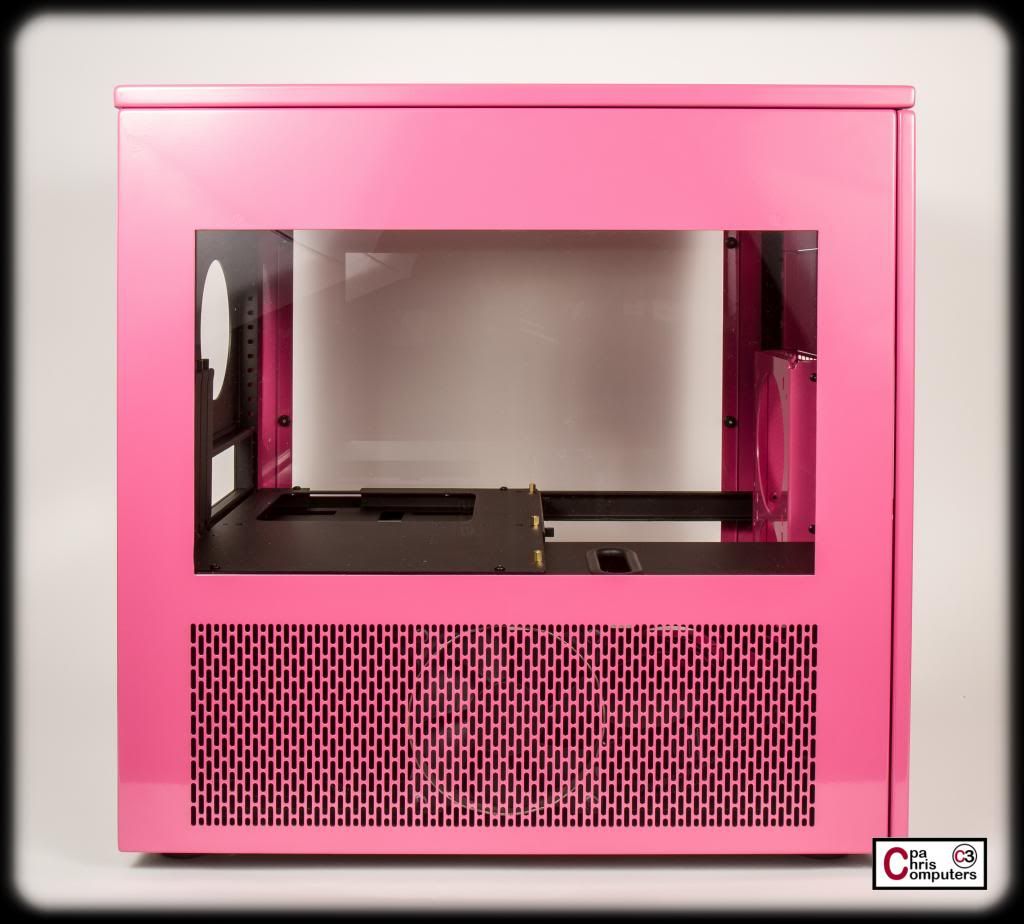
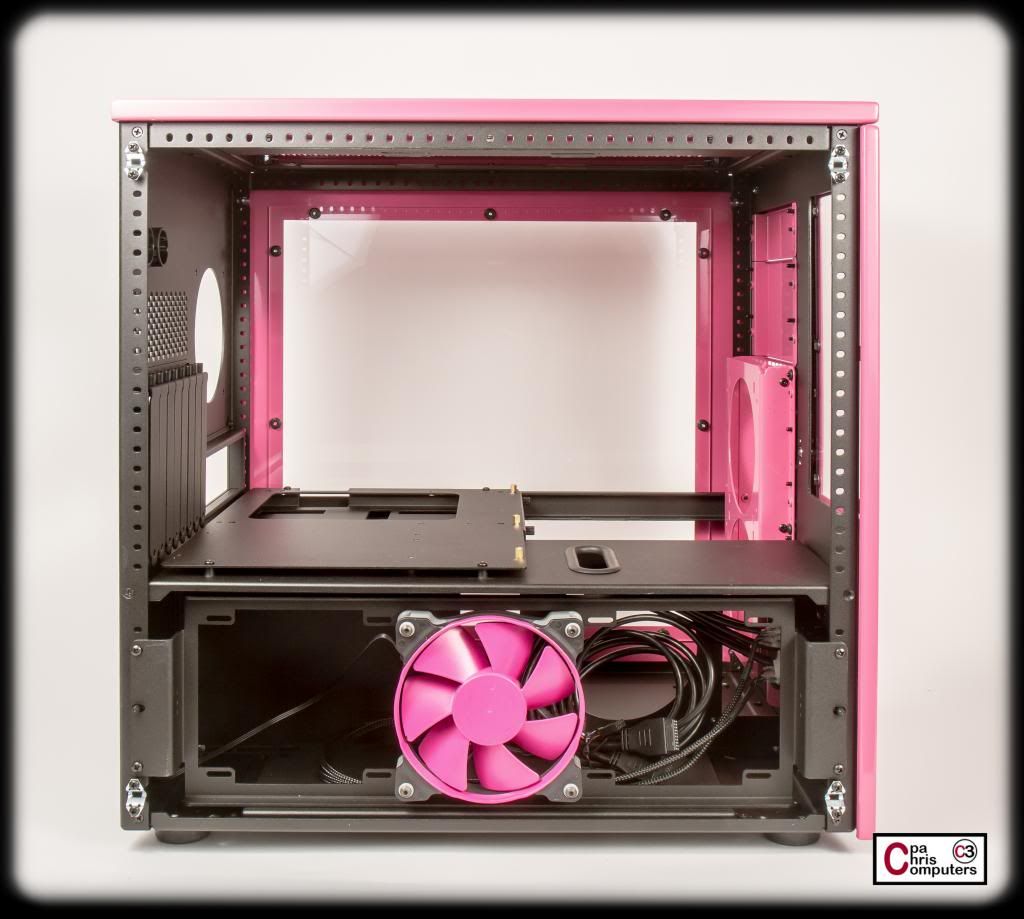
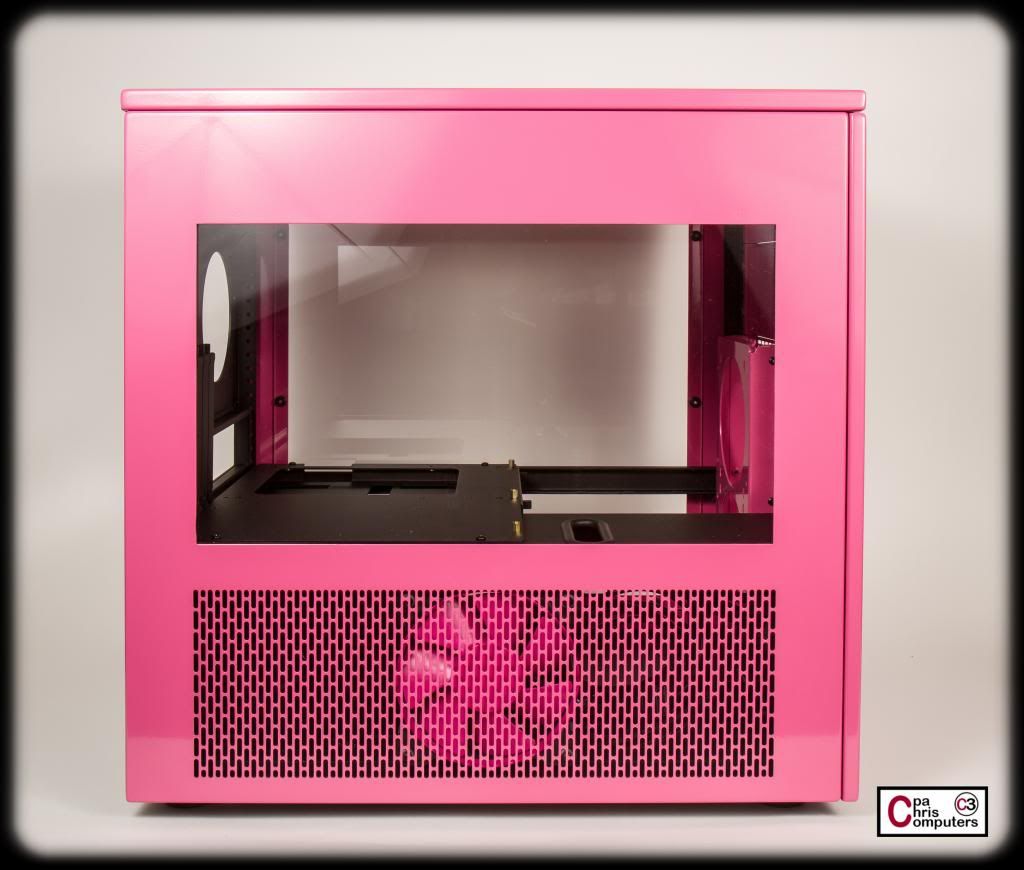
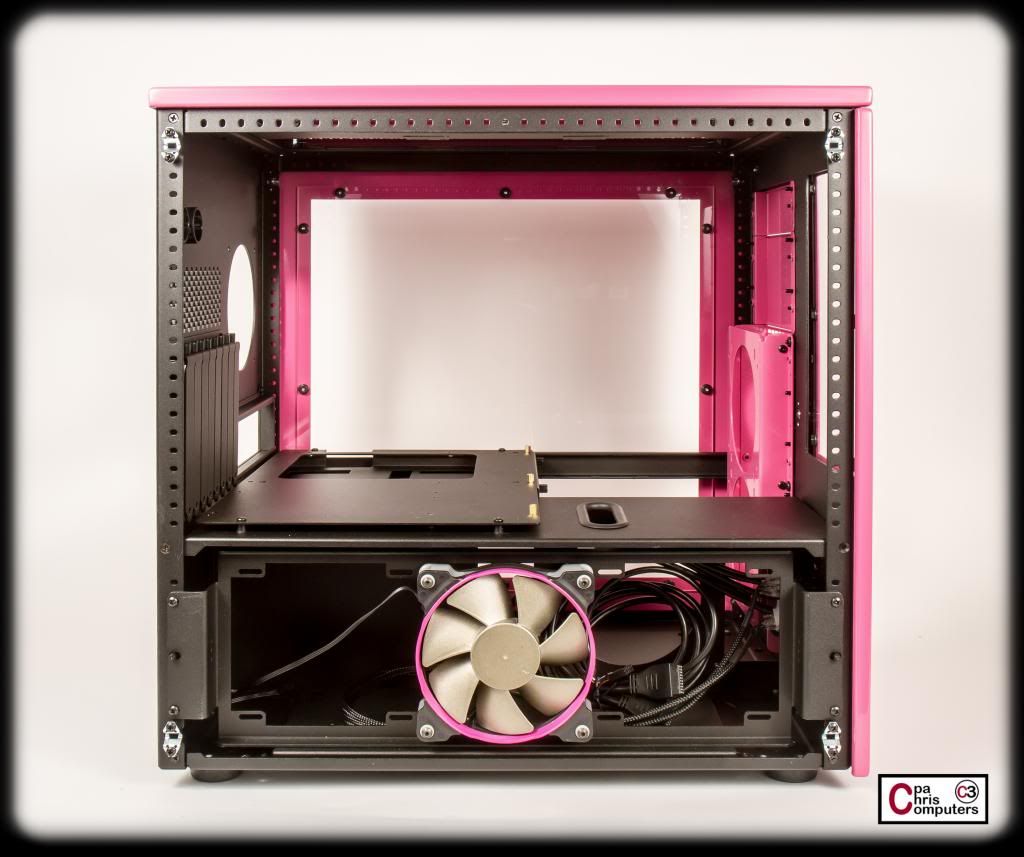
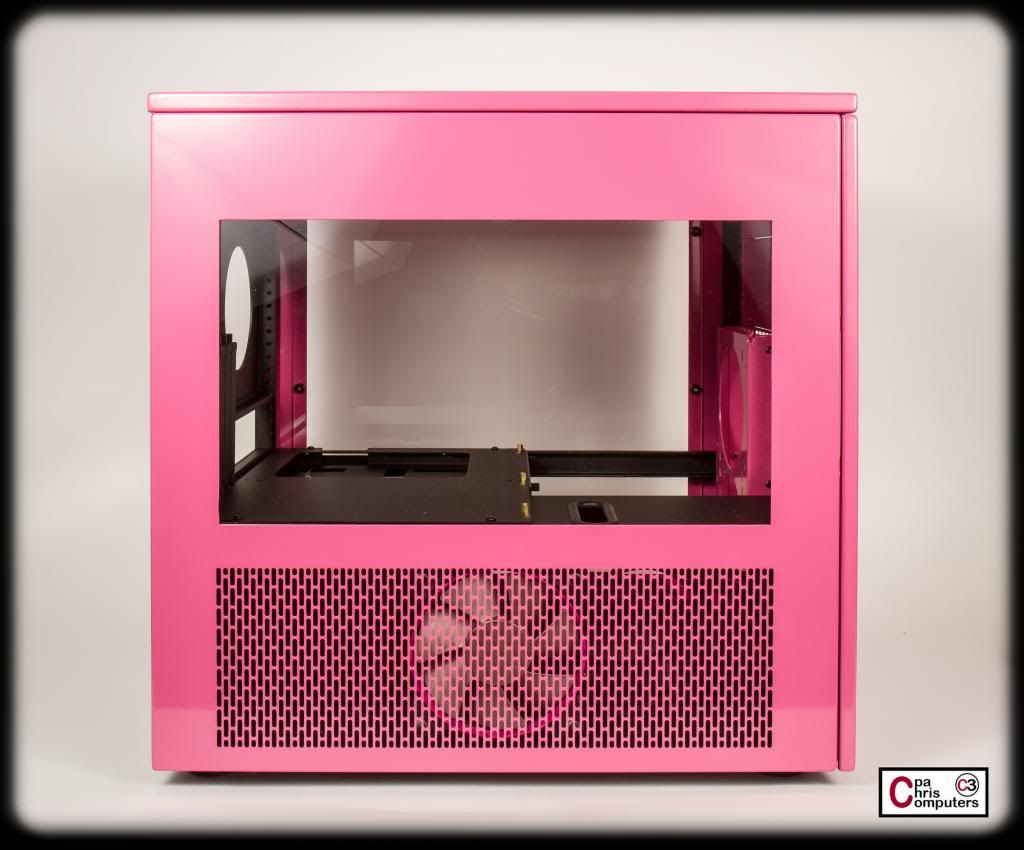
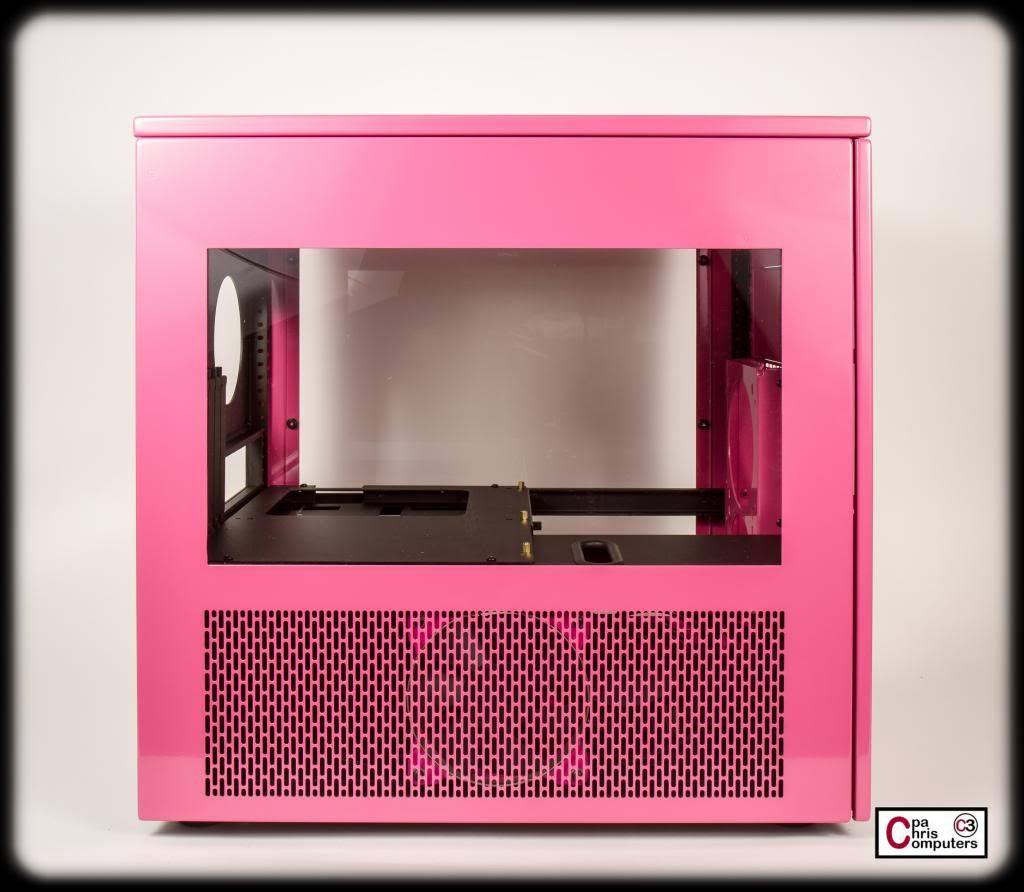
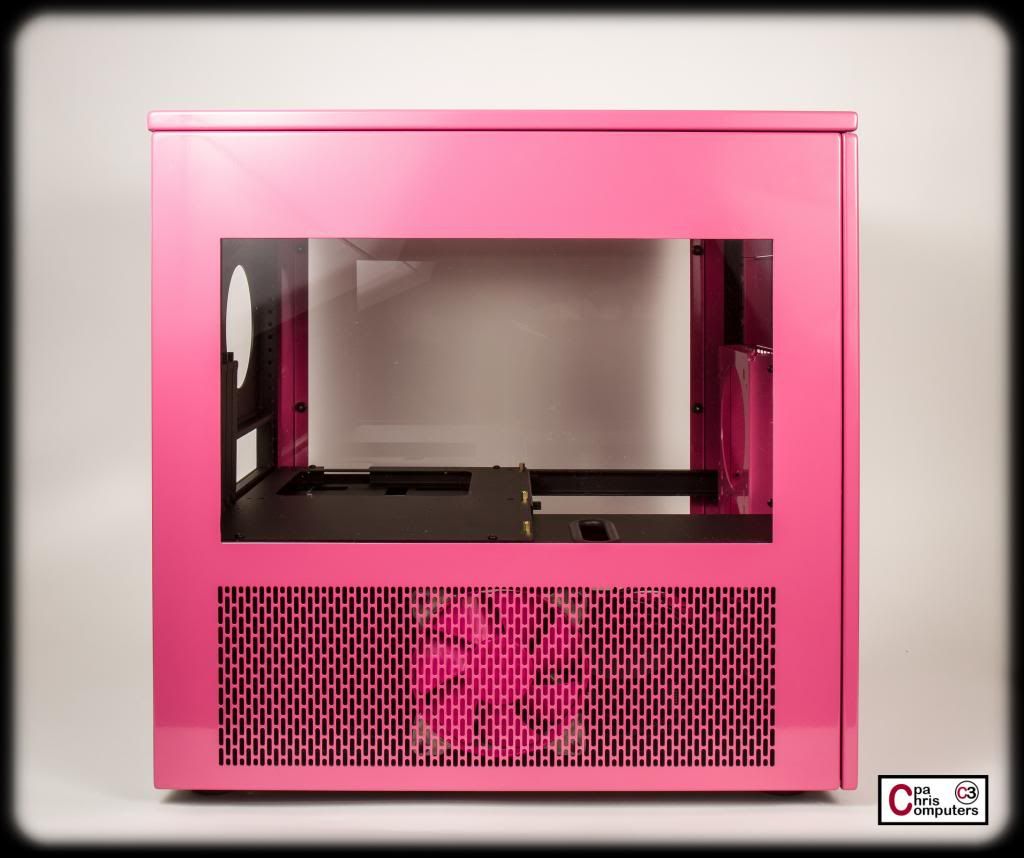
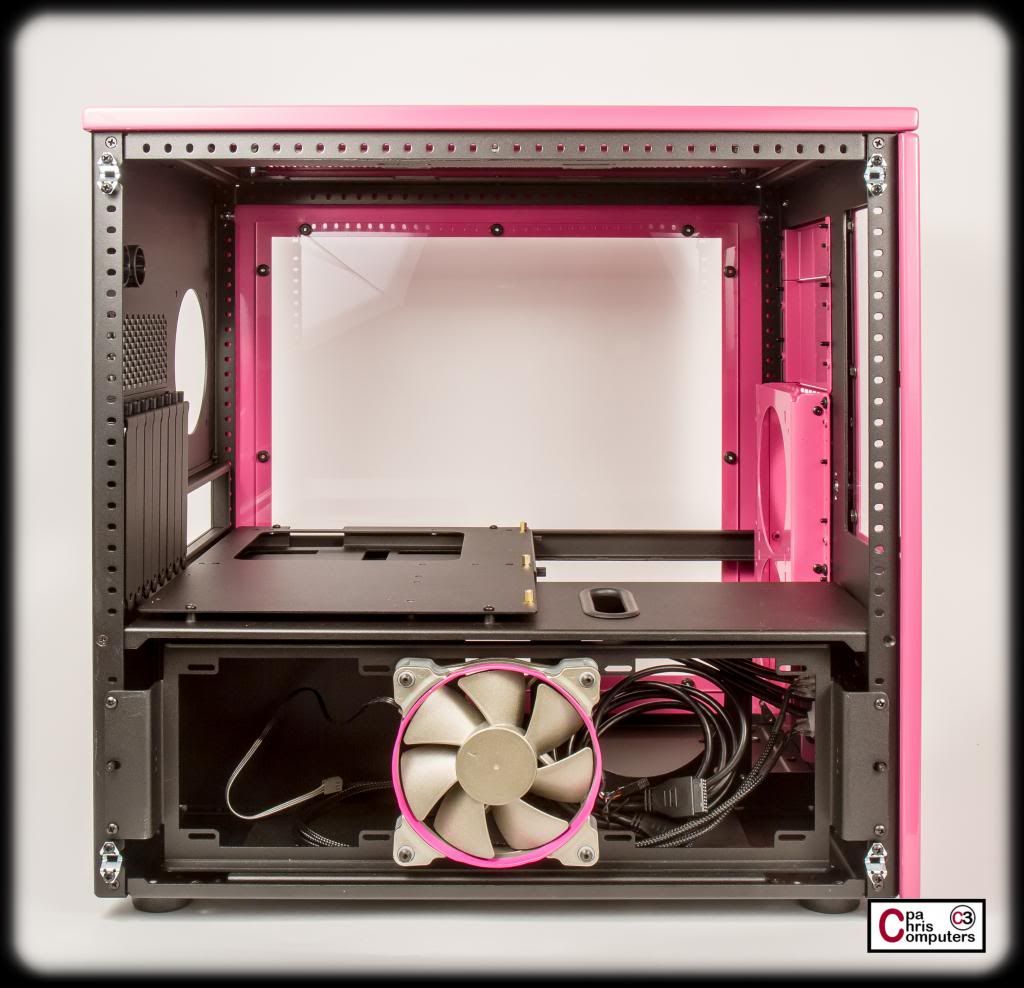
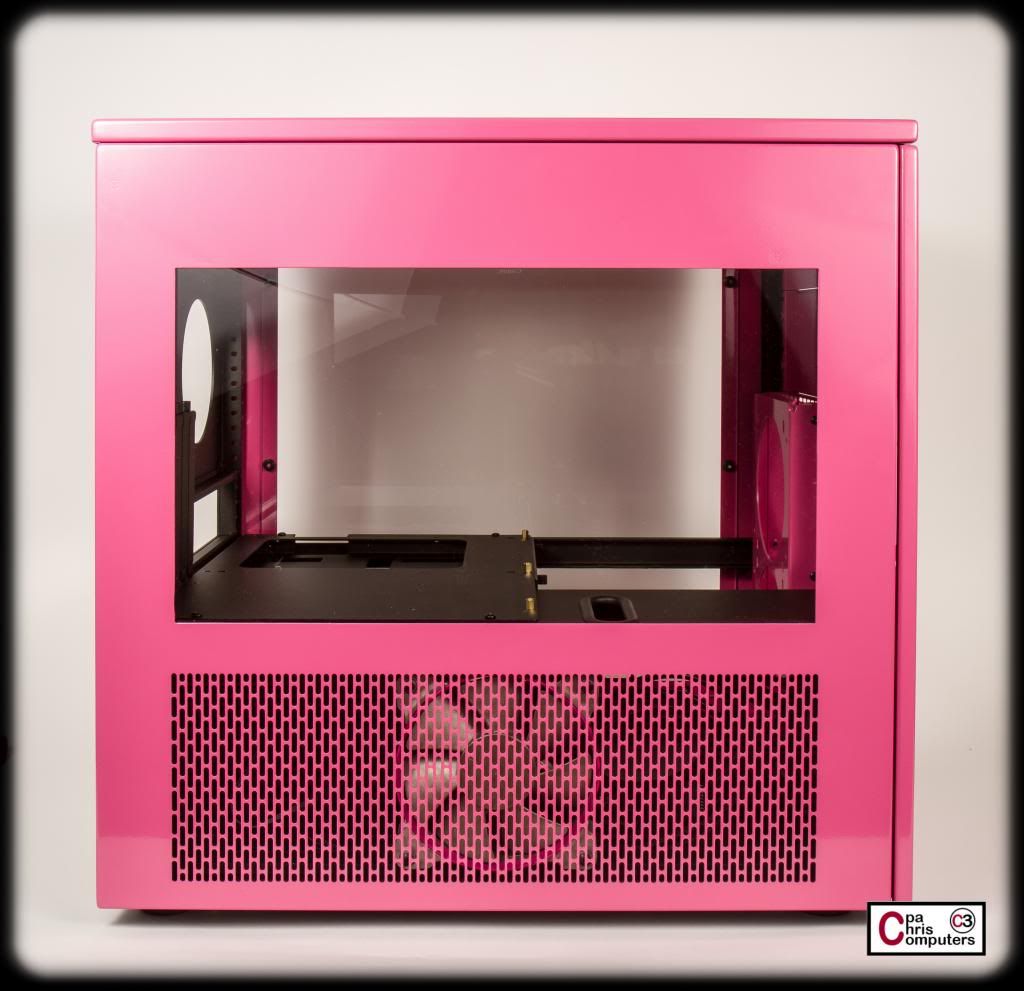
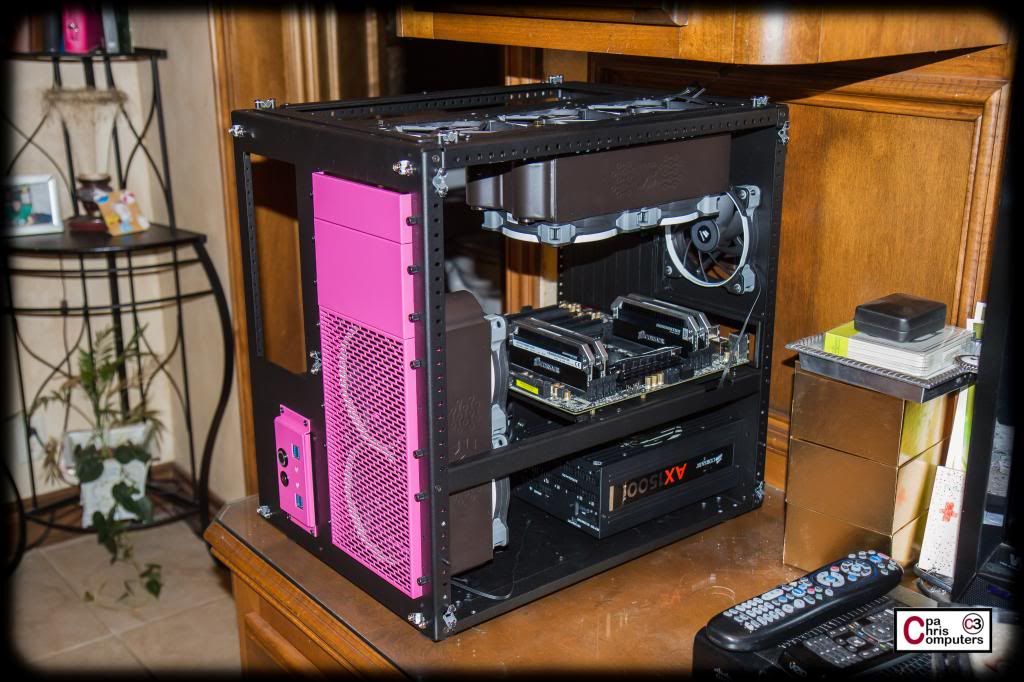
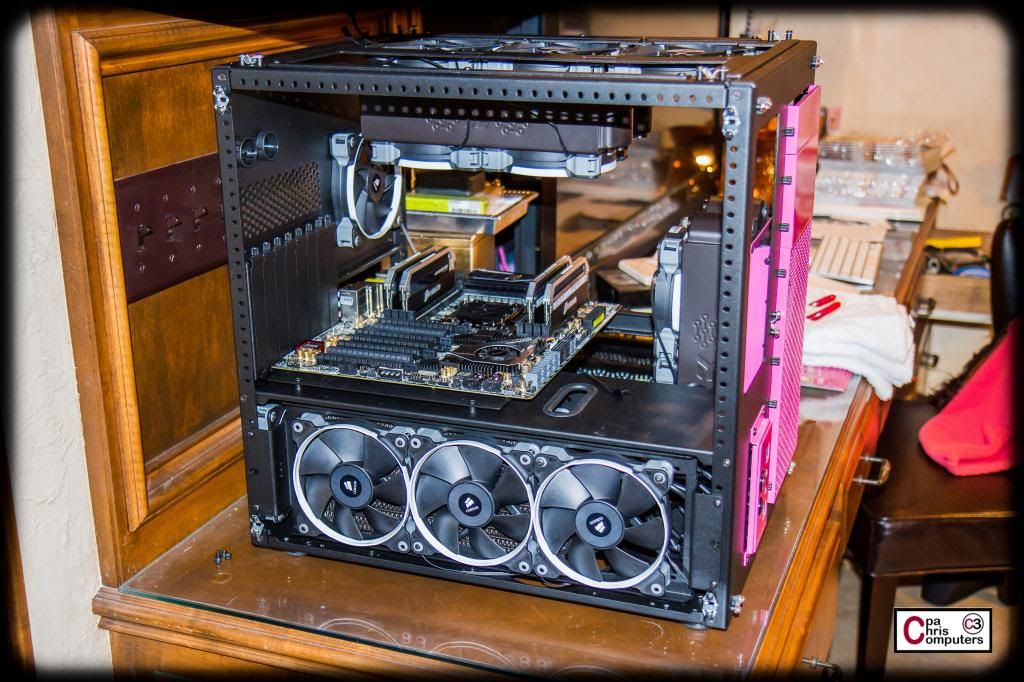
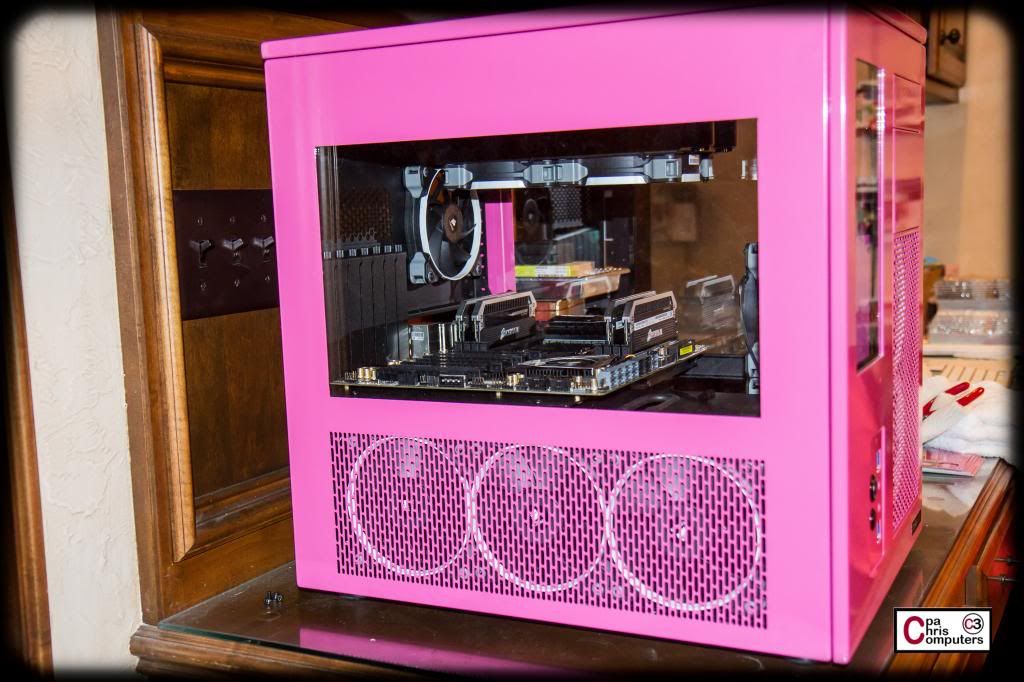
Here are the photos of the fan combinations behind the pink hex mesh of the case. For each combination, I have a series of two pictures. First I show the fan without the case cover on (so you can tell which one it is), and then a second picture of the exact same fan with the pink cover on the case. If you're like me, my favorite fan combinations changed once I saw them behind the pink hex mesh. That's why I'll probably end up with two different combinations of fan colors in this build.
Black frame, nickel ring, pink blades:
Black frame, nickel ring, nickel blades:
Black frame, nickel ring, black blades:
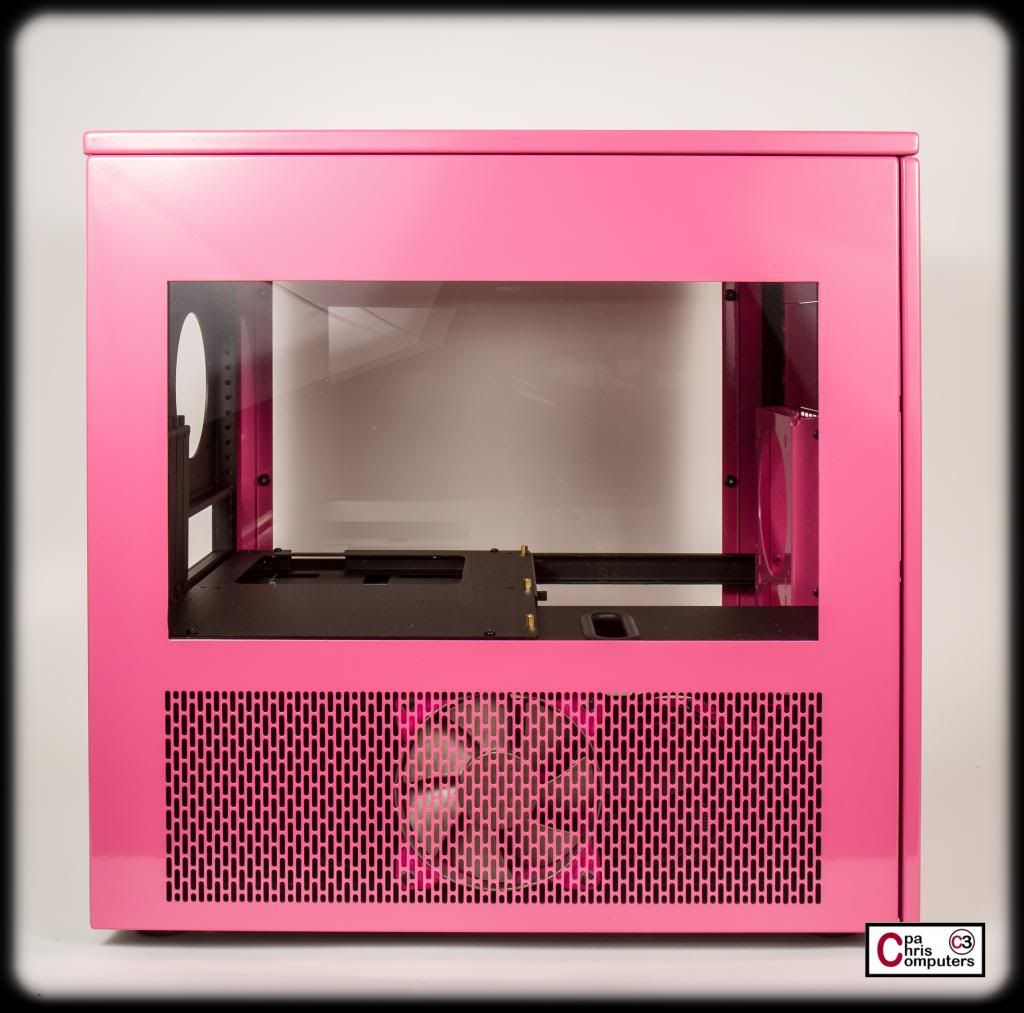
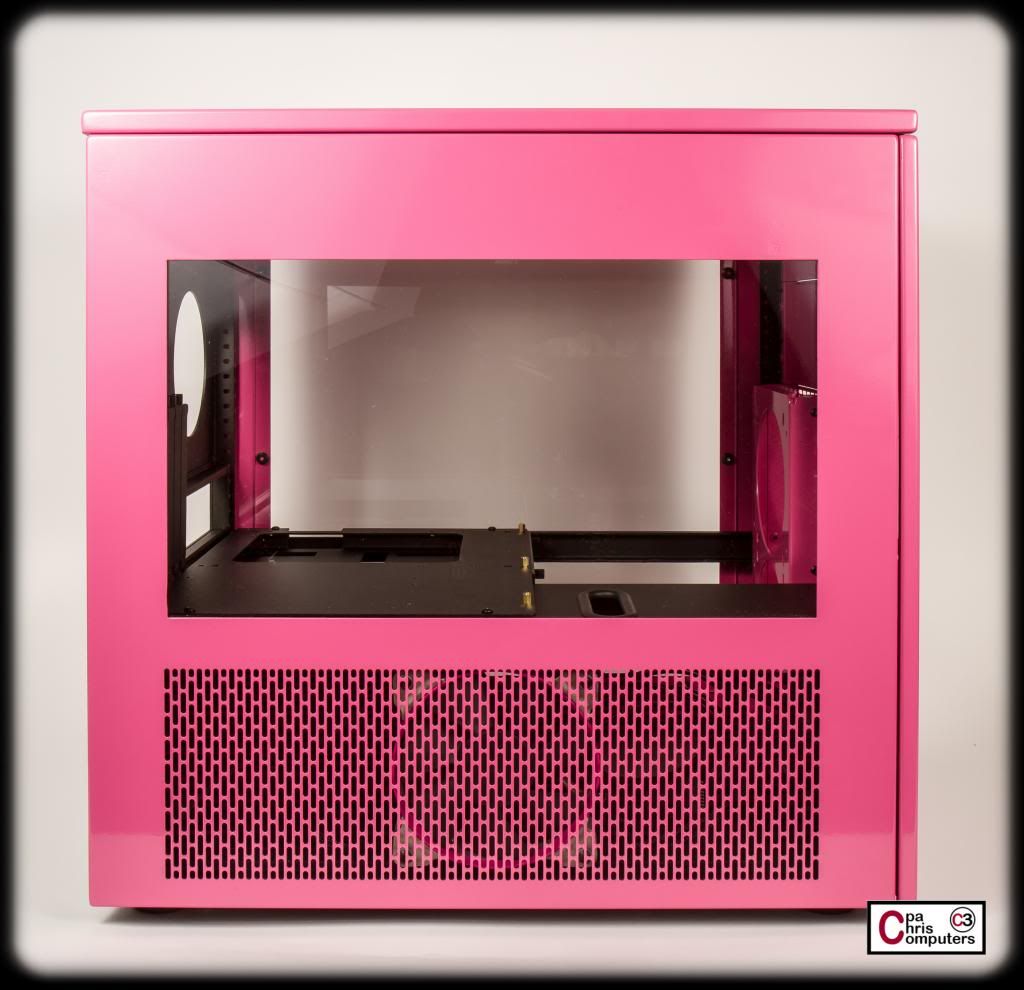
Black frame, pink ring, black blades:
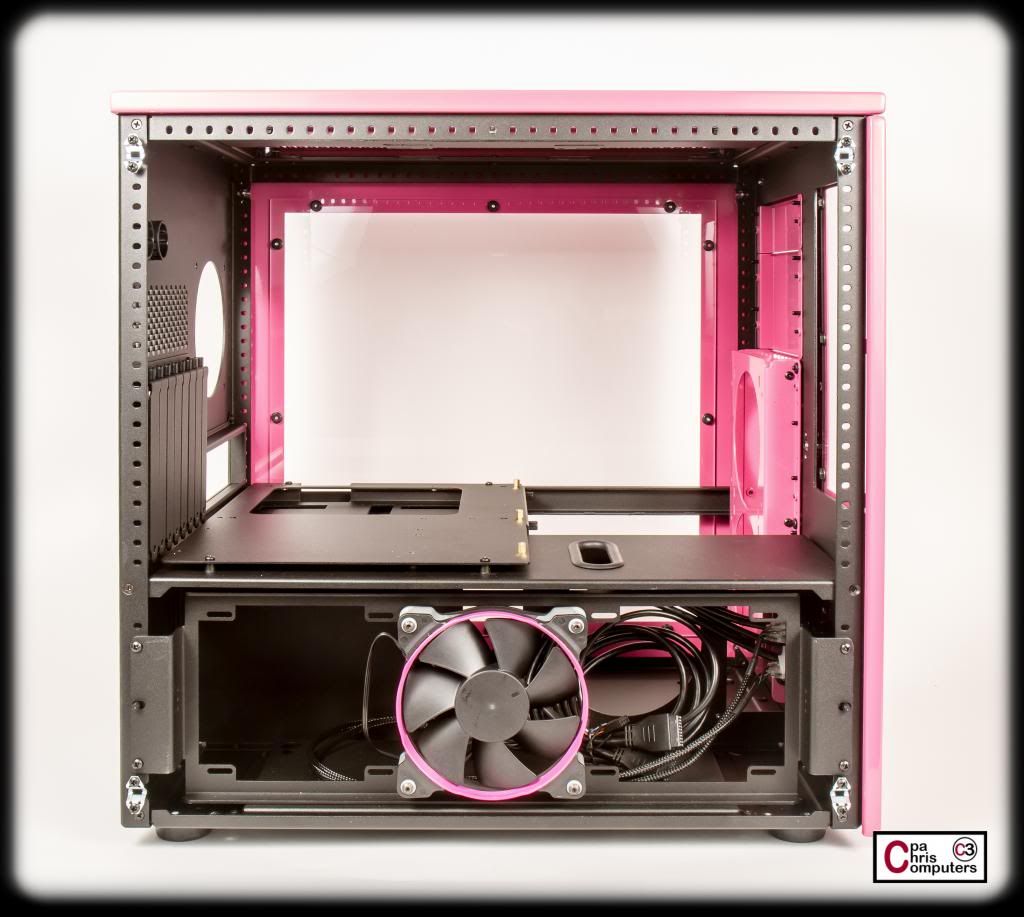
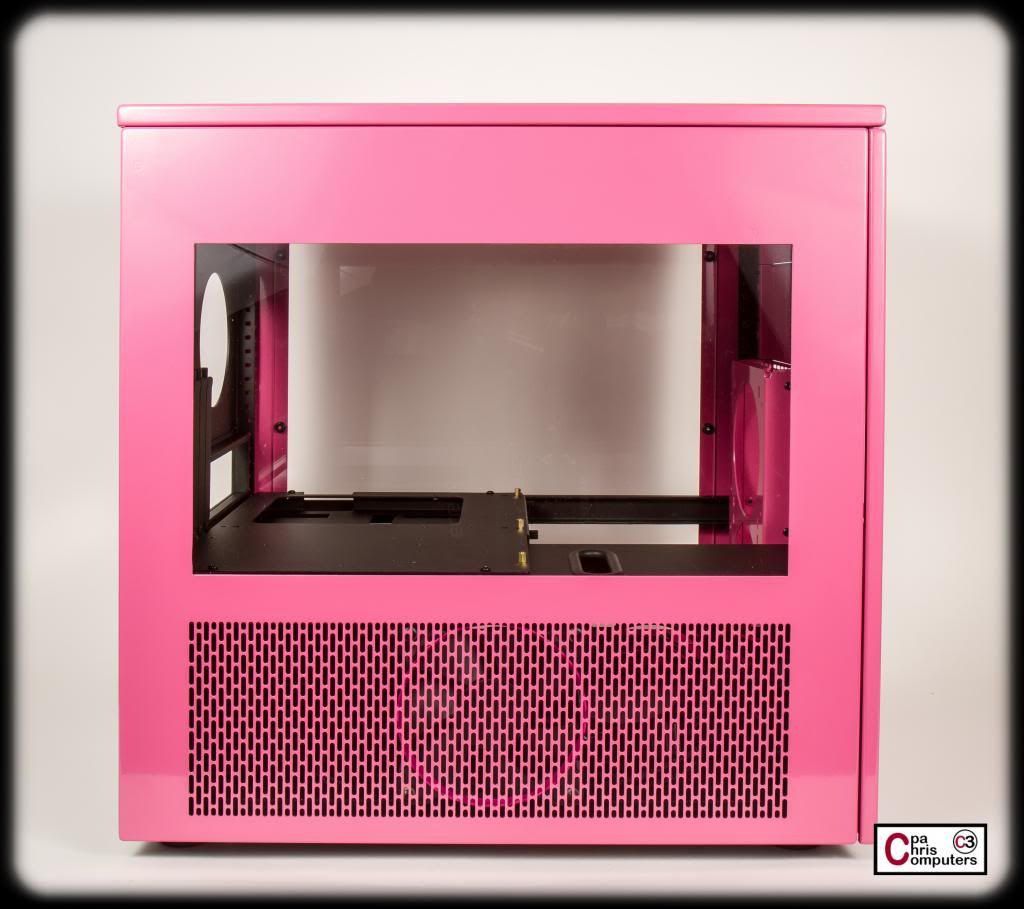
Black frame, pink ring, pink blades:
Black frame, pink ring, nickel blades:
Pink frame, nickel ring, black blades:
Pink frame, nickel ring, pink blades:
Pink frame, nickel ring, nickel blades:
These next ones have the nickel frame, and were not included in my solo fan shots. Purely by accident.
Nickel frame, pink ring, black blades:
Nickel frame, pink ring, pink blades:
Nickel frame, pink ring, nickel blades:
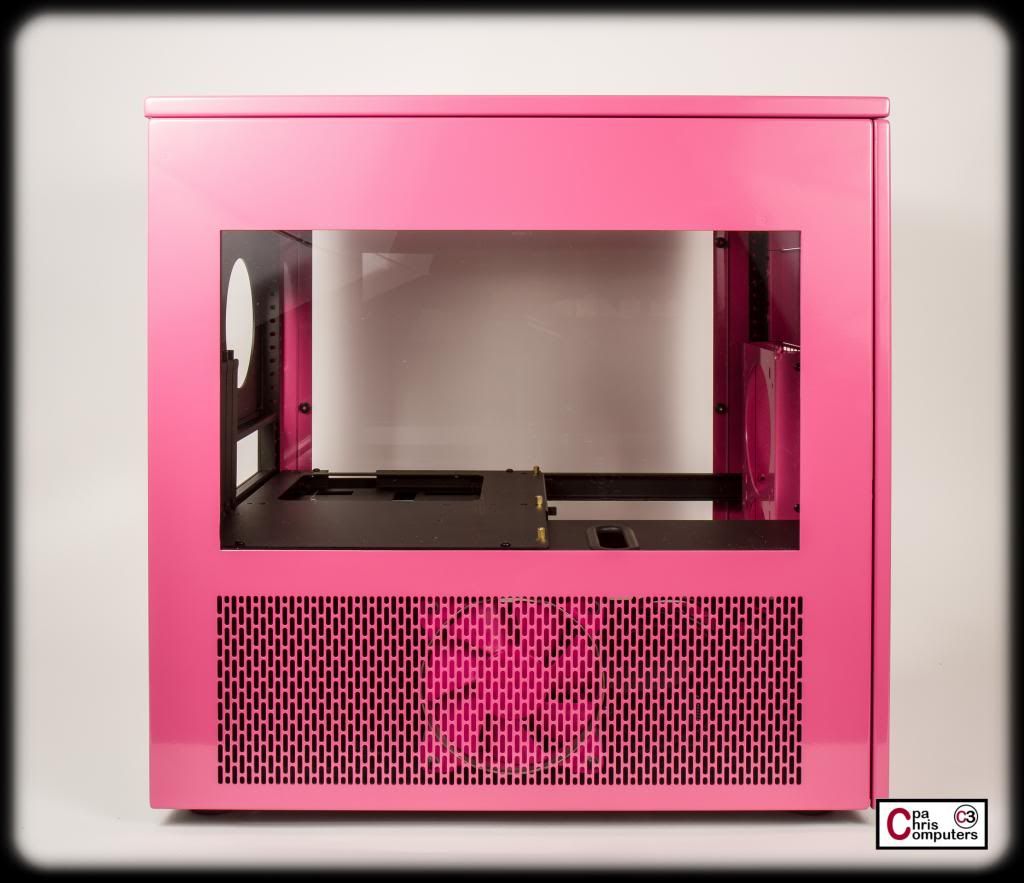
Find your favorite fan from the previous shots in the ones above, and see if it is still your favorite fan when it's behind the pink hex mesh. For me...I think the nickel and pink colors provide lots more contrast and pop when behind the pink mesh. I like to see the shape of the fan behind the mesh, and with the black color, you really can't. It just blends away like it's not there. I like to see them! For the ones behind the mesh....I think one of my favorites is the black frames, pink ring and nickel blades. I like how the frame disappears into the black...and you are left with the pink circle that really pops, and then the more subtle color of the nickel blades that show up well behind the pink hex mesh.
For the ones inside the case/radiators (not behind the pink hex mesh), I'm not sure which ones are my favorite.
I know Jenn is peeking in and looking at pictures, so now is your chance to influence her decision with wise counsel.
i changed my mind, i like this one
I keep mine:
Thanks for all the comments, observations, opinion and suggestions guys! Jennifer has narrowed it down to just a few combination possibilities...and has requested to see them spinning.
I'm working on that right now....so I'll shoot video as I do it and post it here.
I also have an exciting new sponsor to announce....but I want to take some pictures first. These guys stepped up in a major way to support this build, and I can't wait to share it!
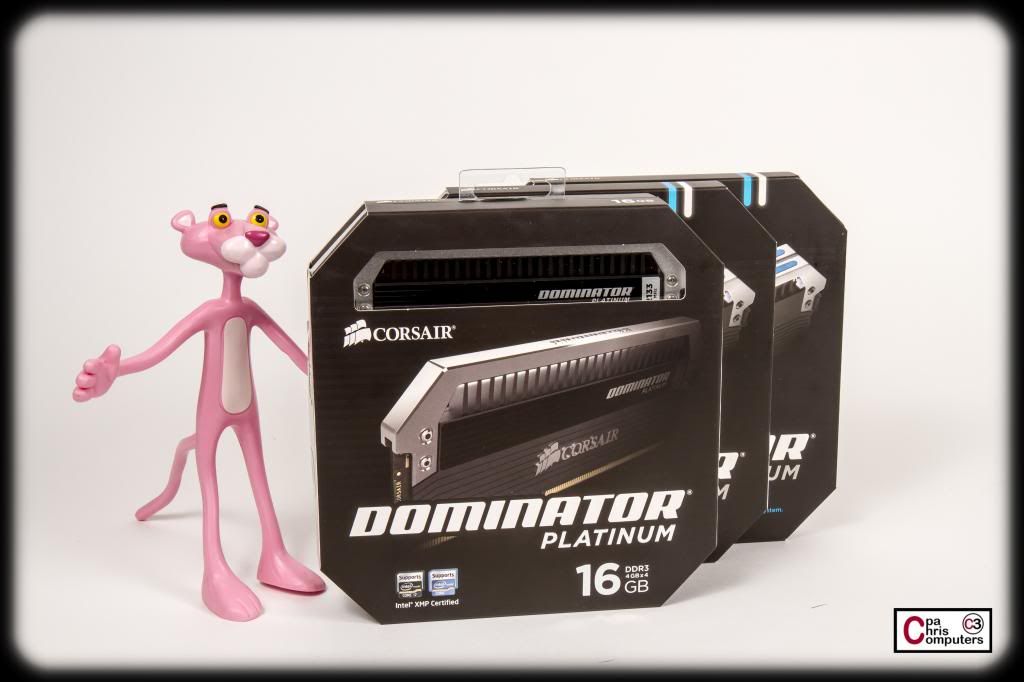
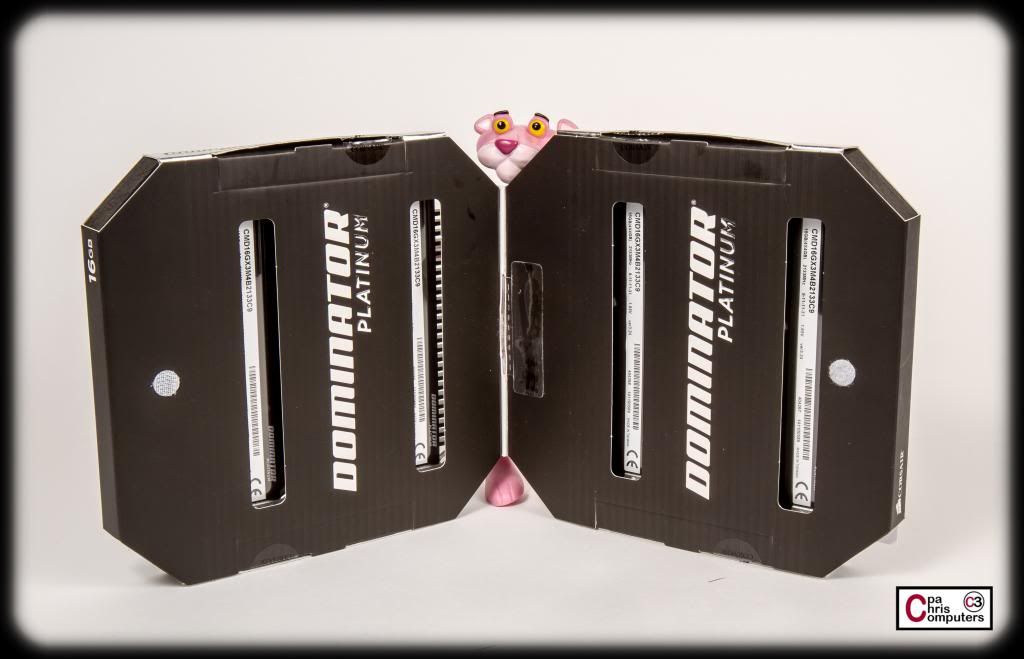
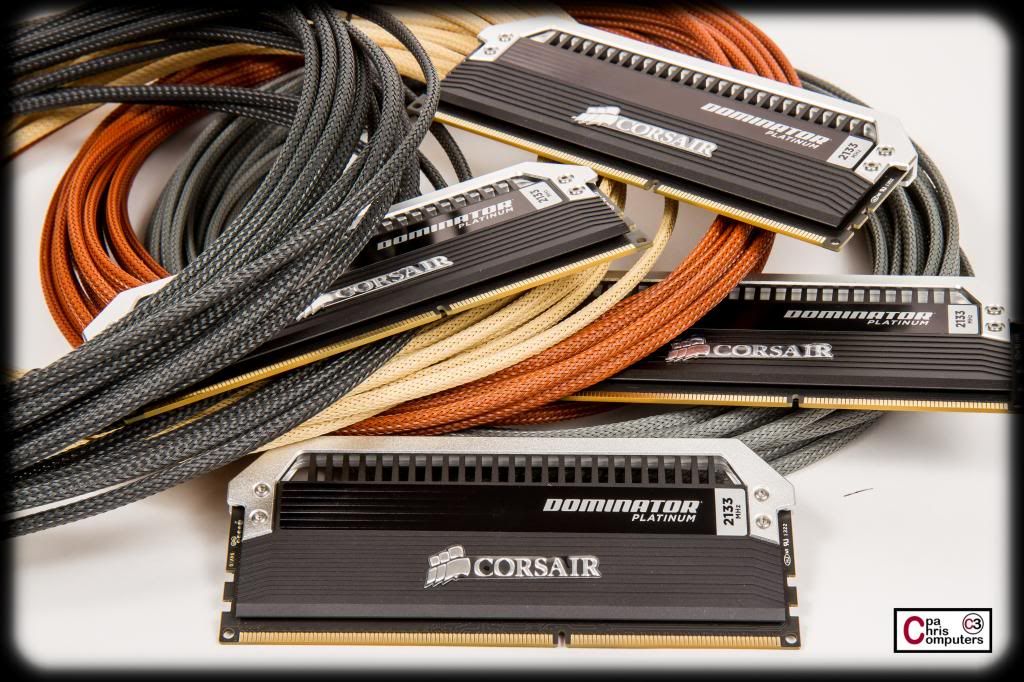
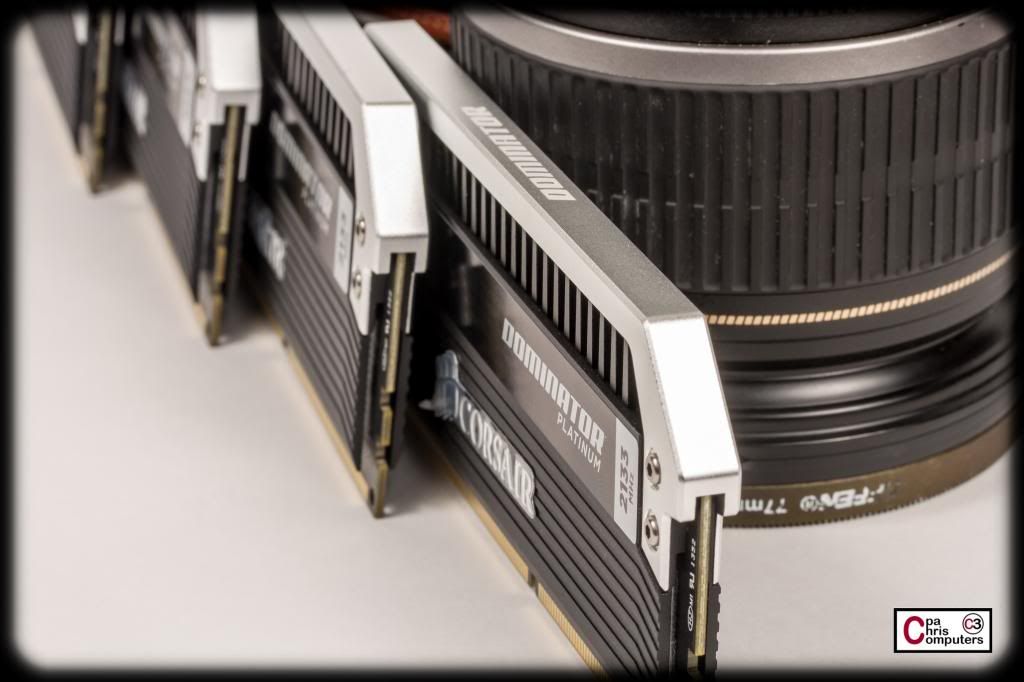
What would a Corsair sponsored build be....without some Corsair memory? My friends at Corsair REALLY came through for this build. They are sponsoring it in a big way. I've already shown you the AX1500i, all those gorgeous SP120 and AF120 fans, the amazing little Neutron SSD's....and now....the memory......
Corsair packaging is always amazing for their flagship products. Still can't get over how nice the PSU packaging was....and now look at this RAM package. Each stick is enclosed in the normal plastic casing....but then the plastic casings are embedded in this nice little rubberish cutout. The shape of the cutouts is consistent across the entire line of Dominator Platinum memory....and even some of the accessories. Very nice touch. When you spend top dollar on components, it should come in nice packaging. Corsair understands that.
He asked what it was, and I told him "memory". He said, "I just take Ginkgo Biloba".
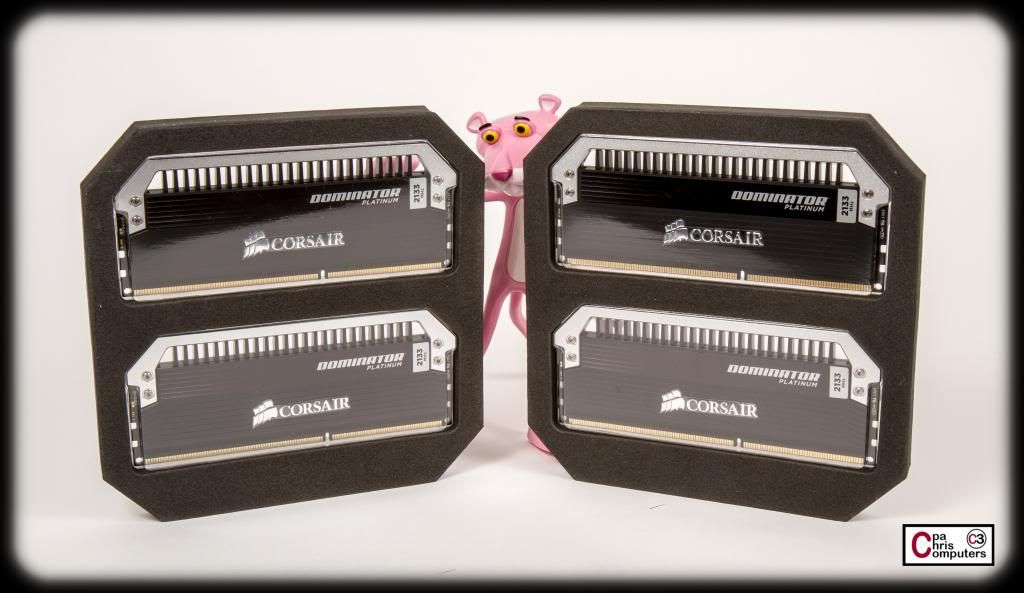
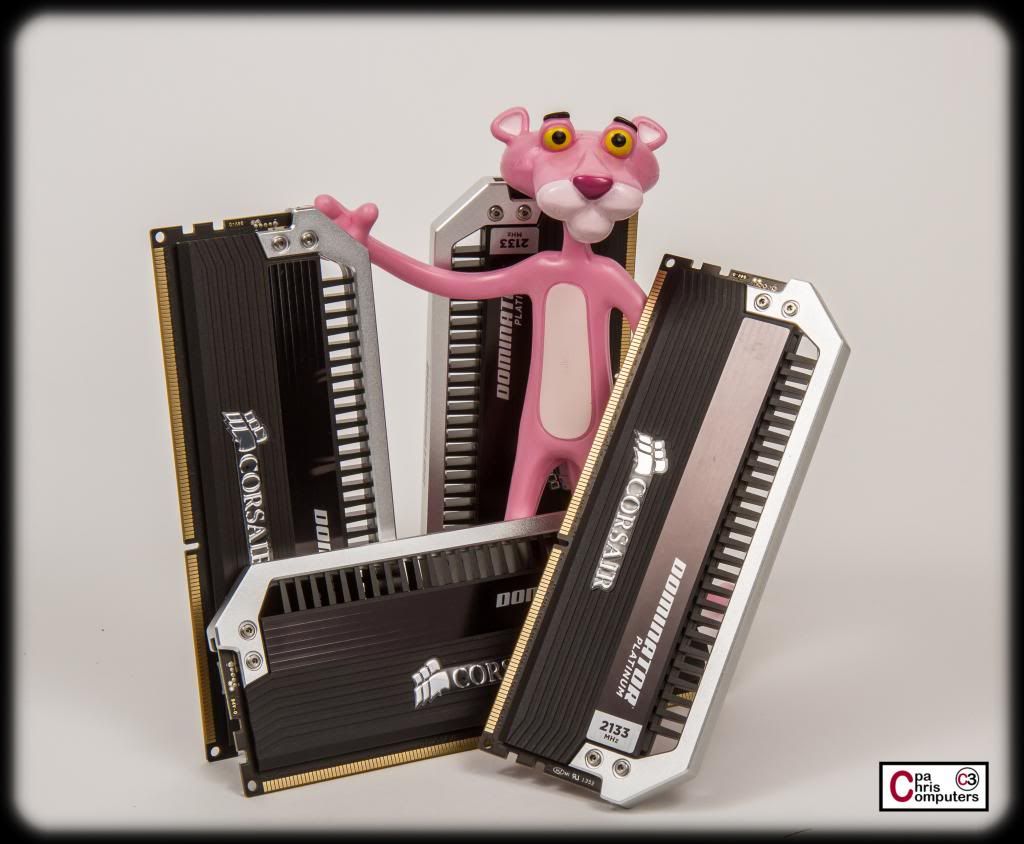
Pink Panther suggested that this RAM is so good looking....that we should really just let him get out the way and shoot some glamour shots with the sticks. I obliged.
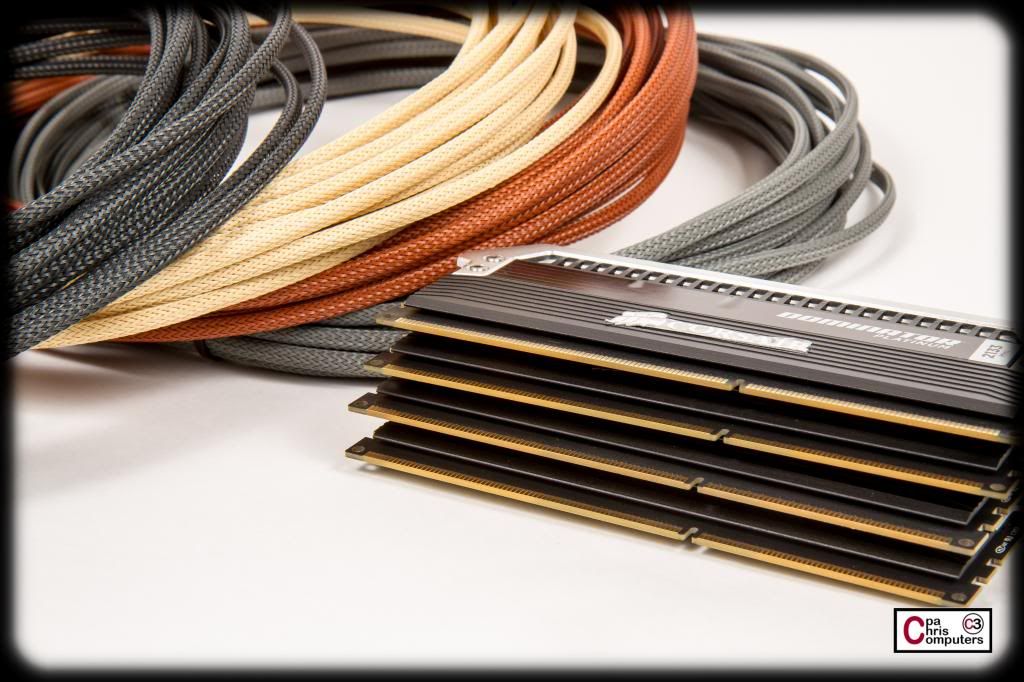
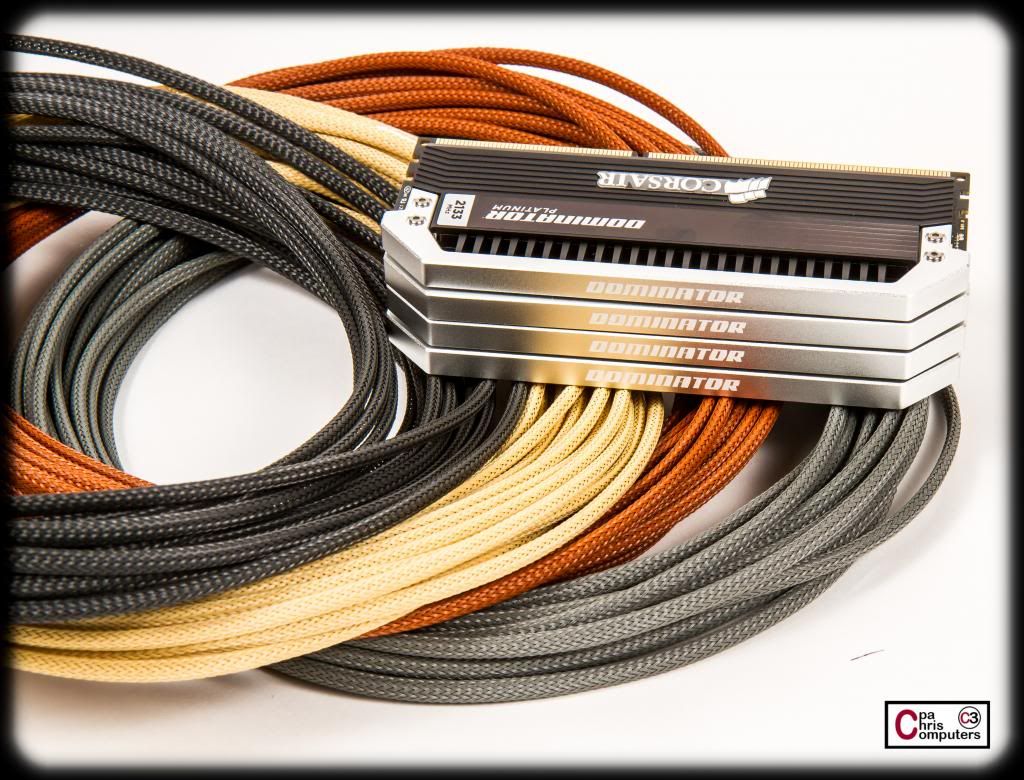
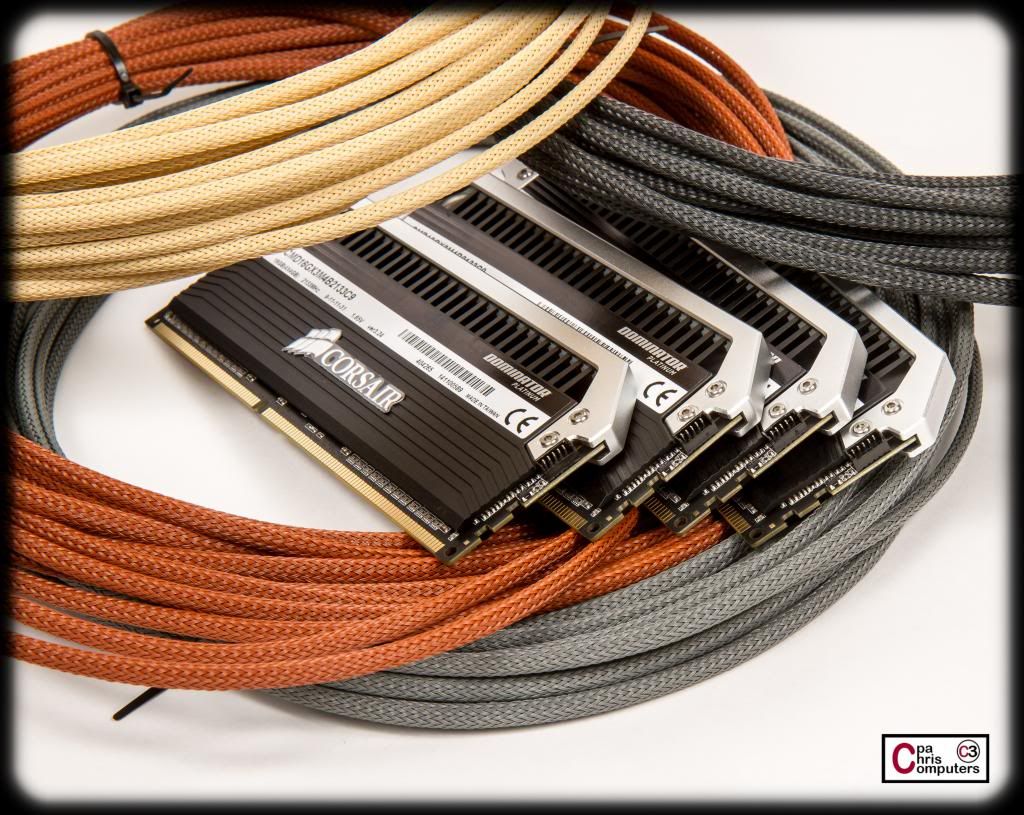
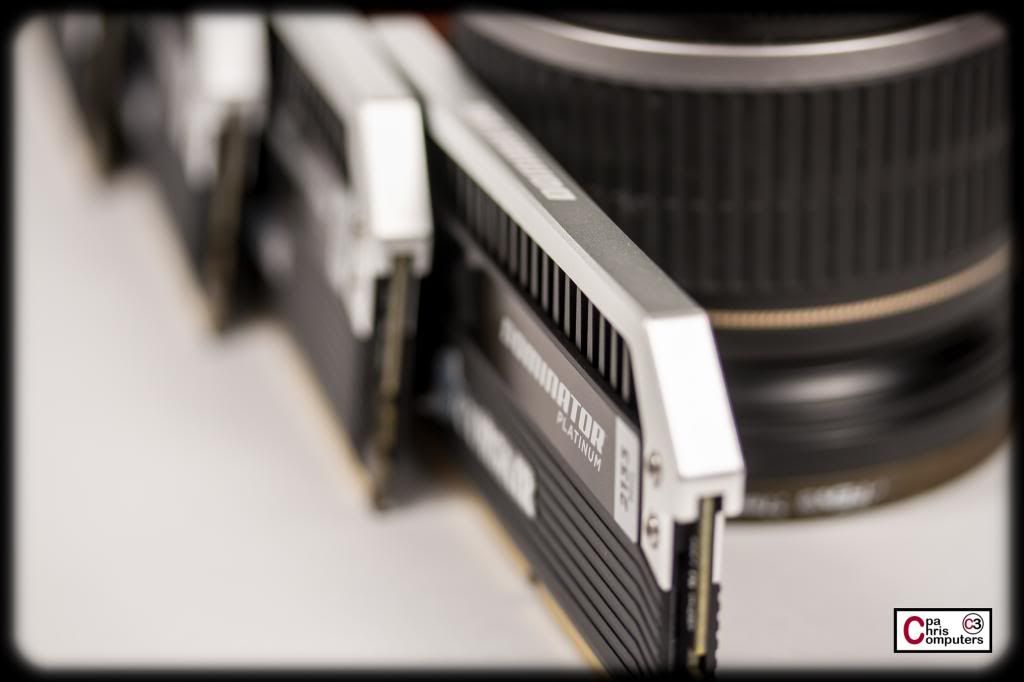
These sleeving colors are not being used in the build....but I thought they looked nice with the RAM.
I like the nice muted reflection of the sleeving on the light bars in this pic.....
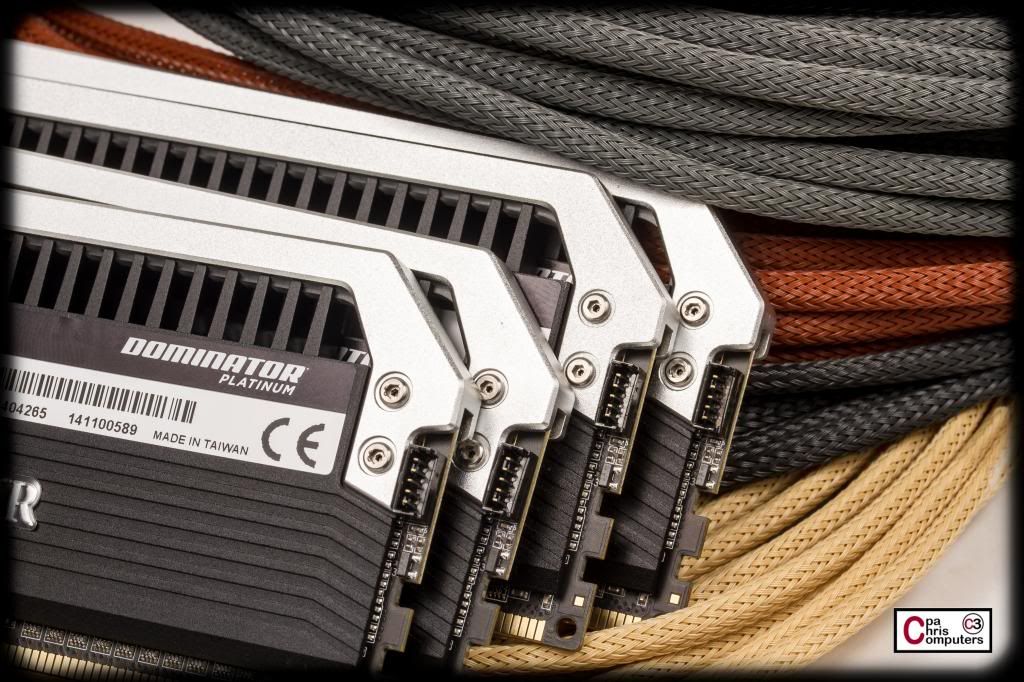
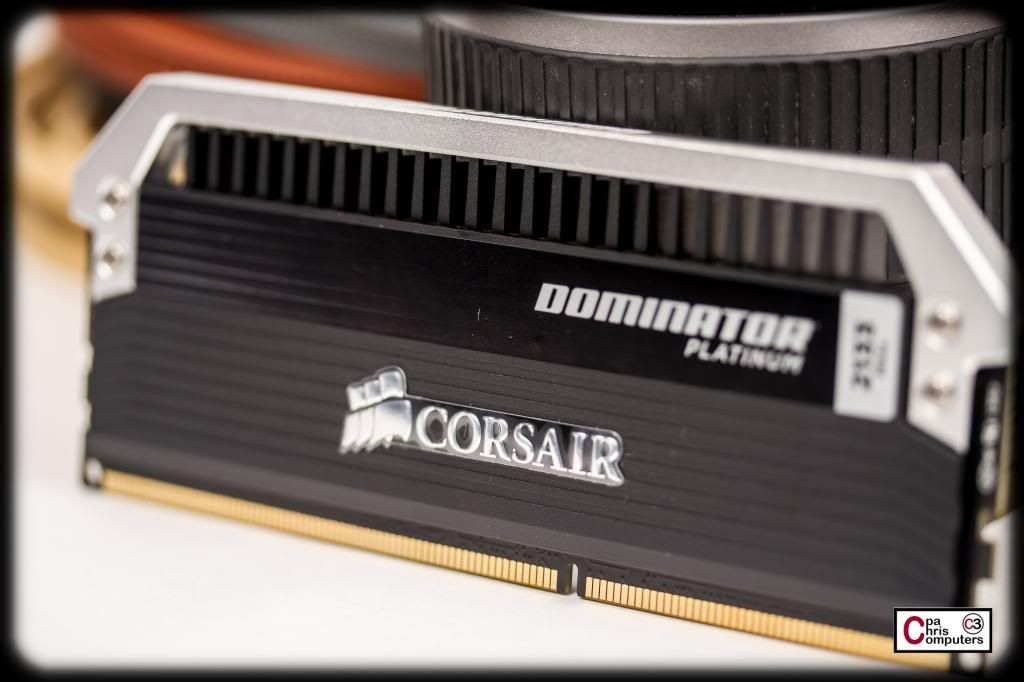
You can see the Corsair Link connections well in this shot. I'll tinker with that for this build probably. Haven't used that monitoring tool before. I'd like to see what it's like.
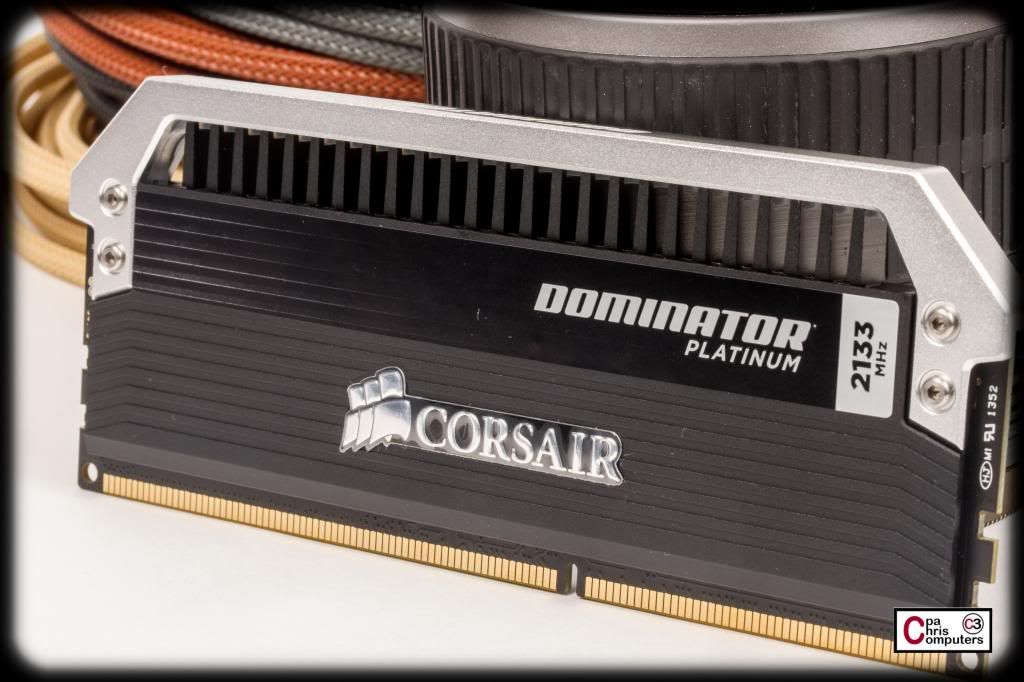
I used 64GB of Dominator GT's in my last build. This will be my first experience with the Dominator Platinum line. I purposely chose 4X4 GB for 16GB total. I found that with my last build, I had trouble getting 64GB to overclock....or even get up to the XMP profile settings. I could overclock them when I used just 4 sticks (32GB), but not at 8 sticks (64GB). Just too taxing on the IMC I guess. Well.....Jenn should have plenty of Pinterest power with 16GB of memory, and this let me use less dense sticks, ....and just 4 sticks instead of 8. I think this is the optimal setup for this build. It is still utilizing quad channel memory configuration....but hopefully has enough headroom for some overclocking. This is rated at 2133 MHz and a nice tight CL9. I'll see how far I can push it.
Build log index and hardware list updated in the opening post. Three weeks in and it's still up to date! This is so unlike me....
I'm really pumped about adding this next sponsor to this build. A hint.....
ekwb, gratz! I eventually hope to get watercooling into my S5
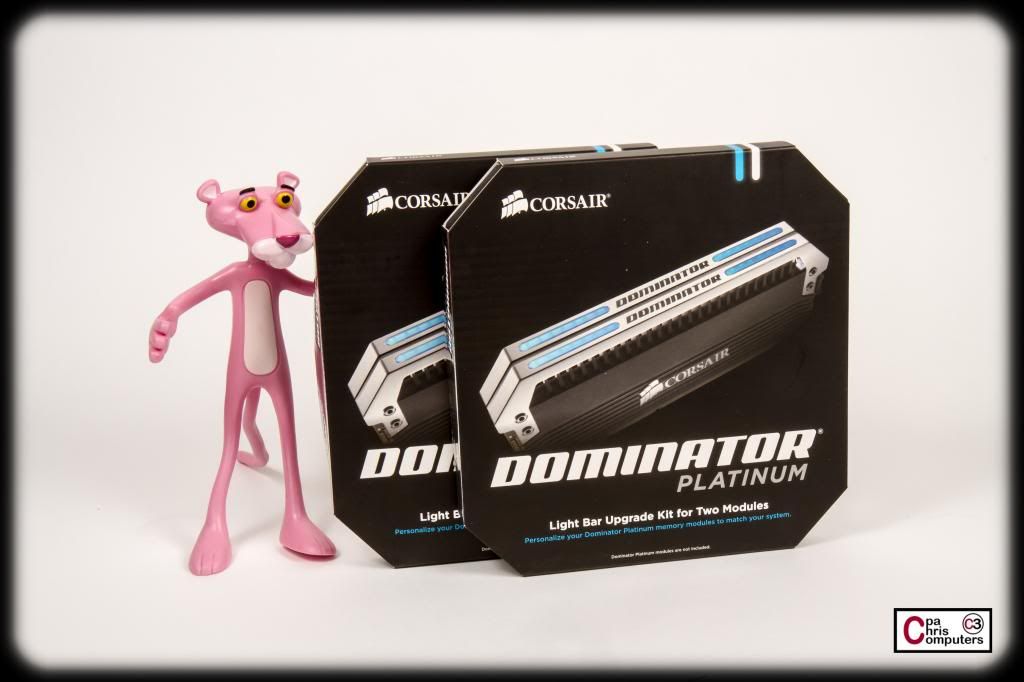
Here are pics of the last of my Corsair sponsored items. The Dominator Platinum Light Bar Upgrade Kits!
These come in the same awesome packaging as the actual RAM modules do. Again....Corsair knows how to package their flagship line of products.
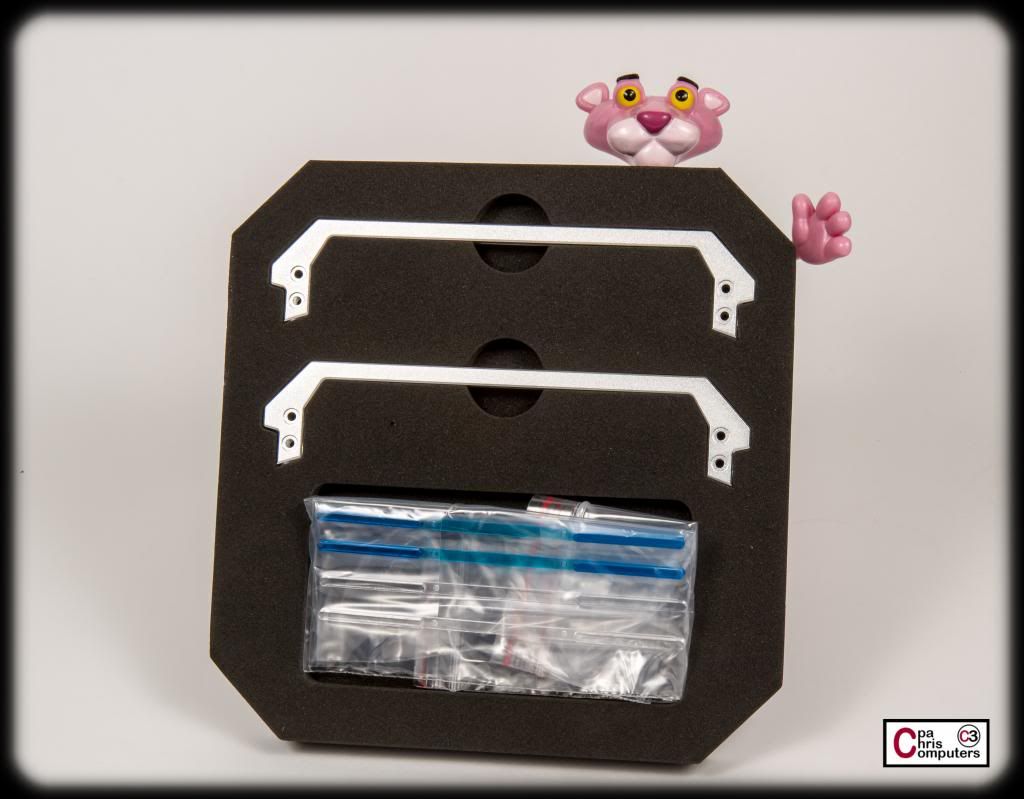
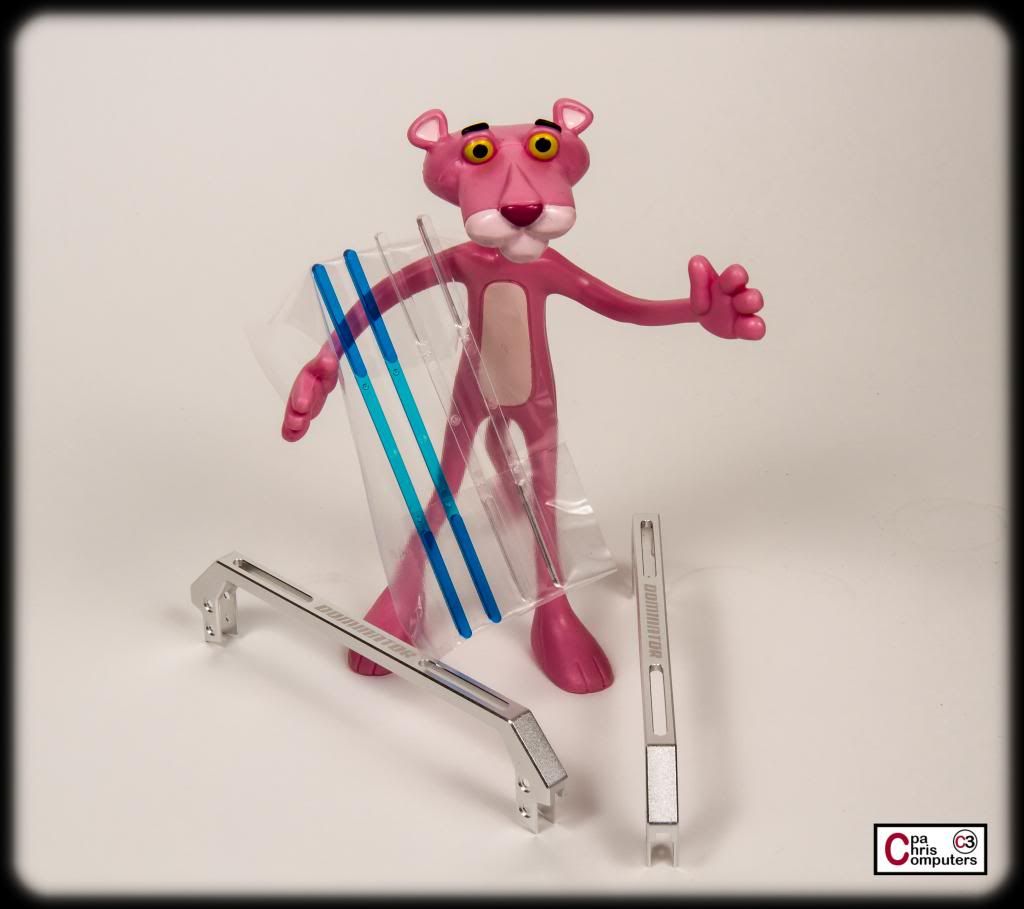
The kit requires you to replace the aluminum cover that comes on the light bar, with the ones in the kit. The ones in the kit have the cut-outs on top of the light bar. So....not only do you get that soft glow going downward that the regular light bars give you...you also get a glow of light showing through the cut-outs on top.
There are two different color inserts that come with the light bar upgrade kit. Blue and White. My goal with these is a little color modification. I think I want to take the black aluminum heat fins and have those powder coated in the same pink as the case. Then, I would take the aluminum light bar covers (the upgrade kit version), and have those powder coated the same black as the inside of the case. For the actual light...I'd like it to glow pink instead of white. I think that would look really boss to have the light bar cover be black, but a soft pink glow coming out of the cut-outs.
I've got a couple of different ideas. First idea, is I've picked up some pink lighting gels in a few different shades, from a local studio lighting store here. I could cut the gels to fit the lightbar. That is one option. The other idea is to use the same dye process I did on the sleeving in my last build....and actually dye the light bar and inserts to be pink. I'd have to do some samples and see how much light is transmitted both ways.
I'll take a lot of pictures of the trial and errors here as I get started on it. But I'm excited about the idea of having the only black and pink set of Corsair Dominator Platinums around. It will be a fun mod. I'm still deciding whether or not I want to replace the stickers on the RAM with some custom ones...., leave them as-is,.....or just remove them altogether.
Three awesome major league sponsors is worthy of a sponsor plaque. Introducing.....
That is three companies that really know a thing or two about computer components. An incredible trio of power. I still can't believe that they are all sponsoring this build. Quite humbling actually. For those of you that followed my last build....you are probably painfully aware that I'll do a little photo shoot of each component I get...before the real assembly/modding starts to take place. But be patient....that day will come.
Plus...I think I may be on the verge of announcing another sponsor. Or two.
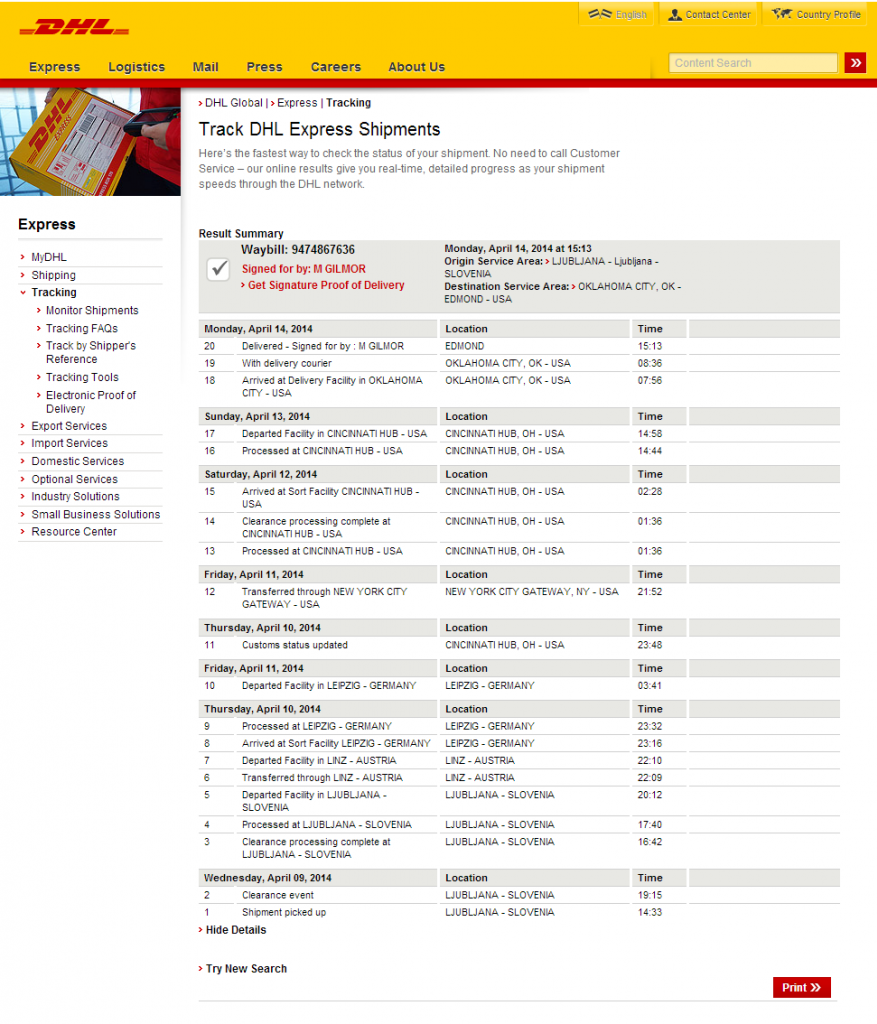
Check out the bounty which springs forth from Slovenia.....
Of course there will be a series of shot for each major item group coming up over the next few days. Some of this stuff is bea-u-ti-ful! Thanks EK!
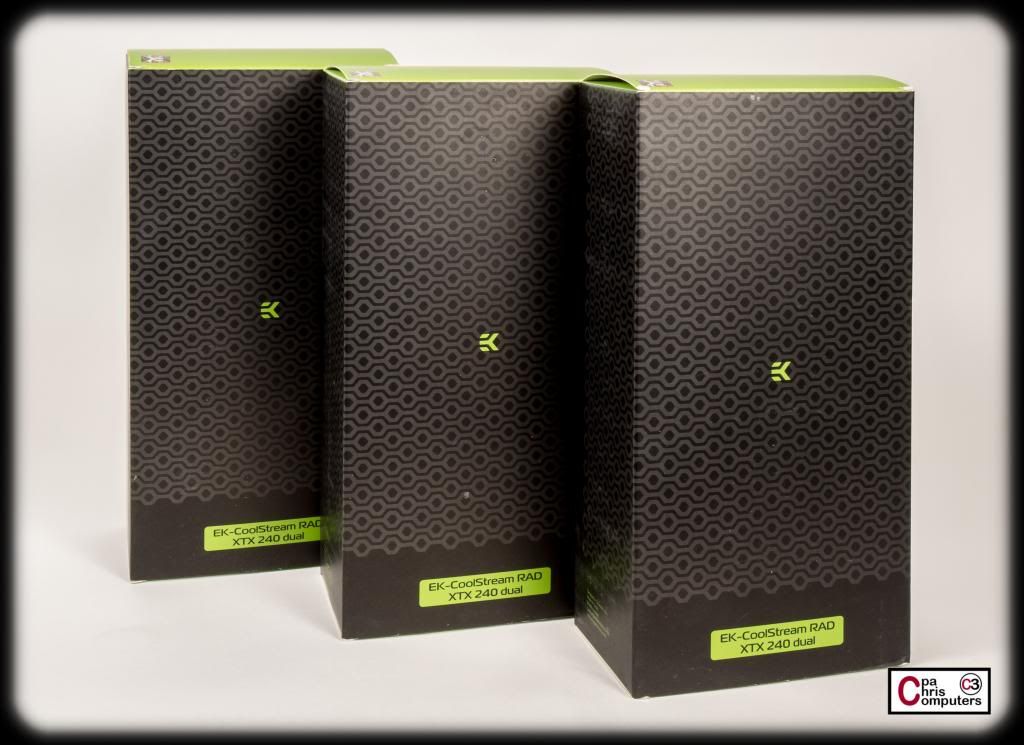
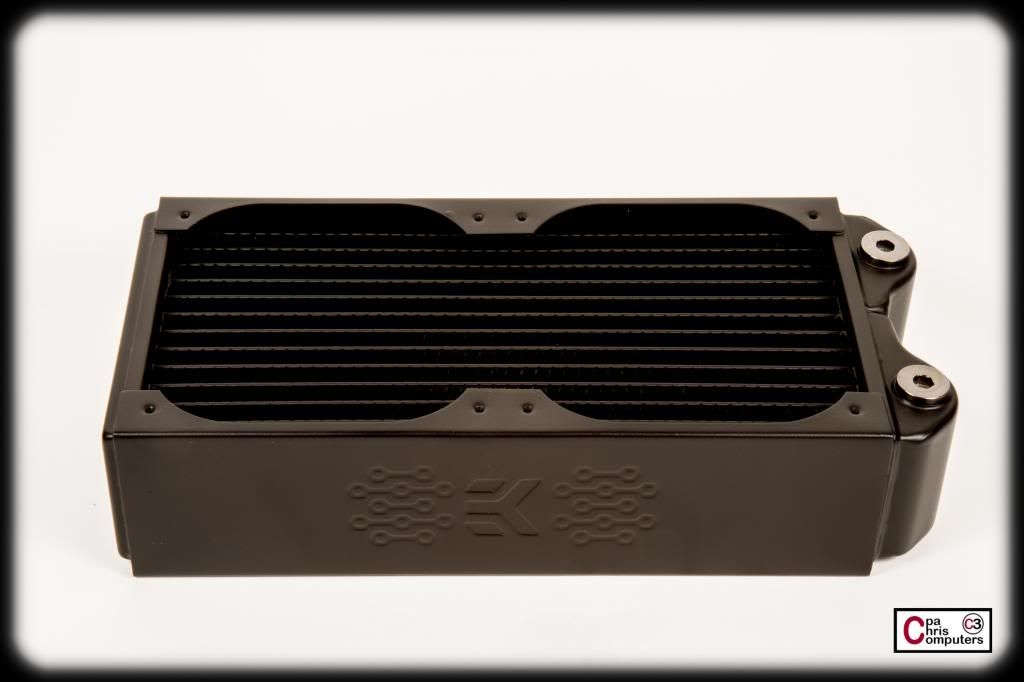
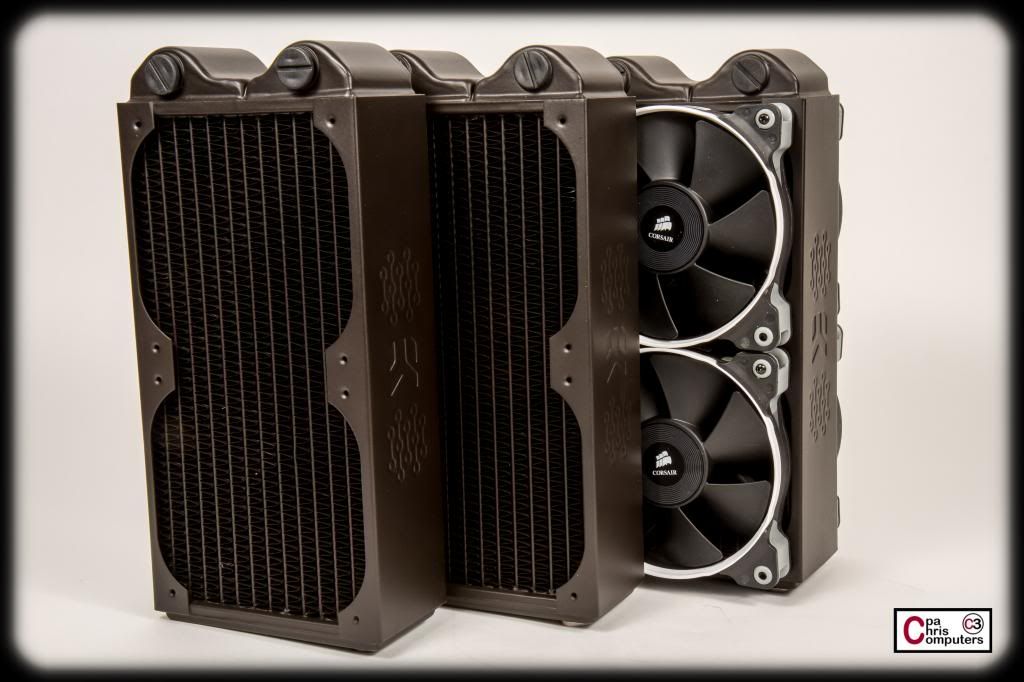
First up for the photoshoot out of my large and generous EK care package.....the XTX rads!
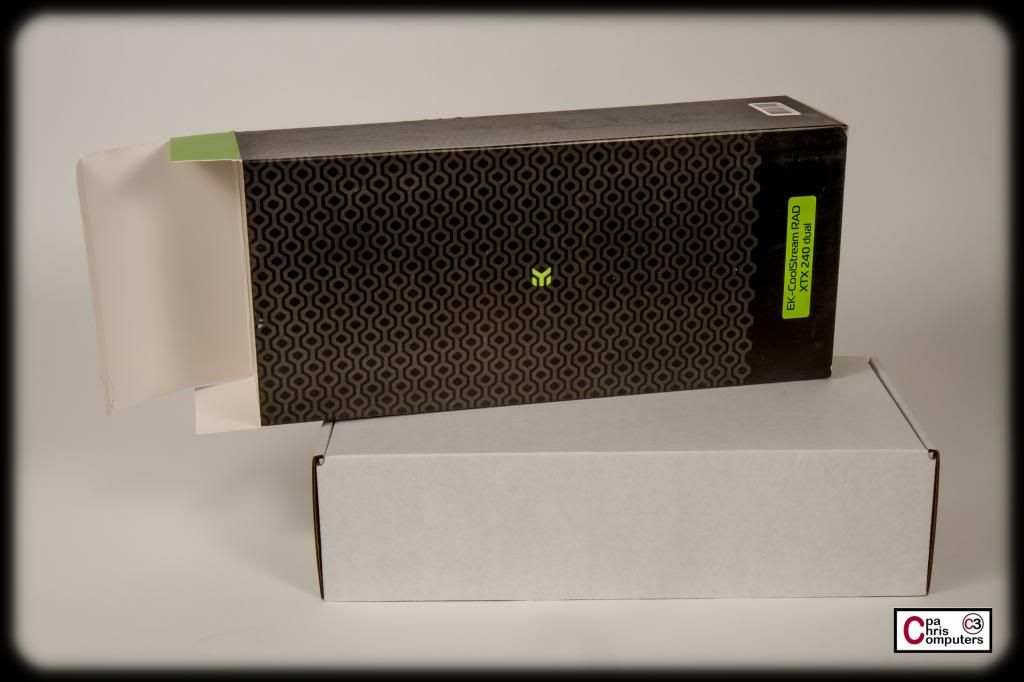
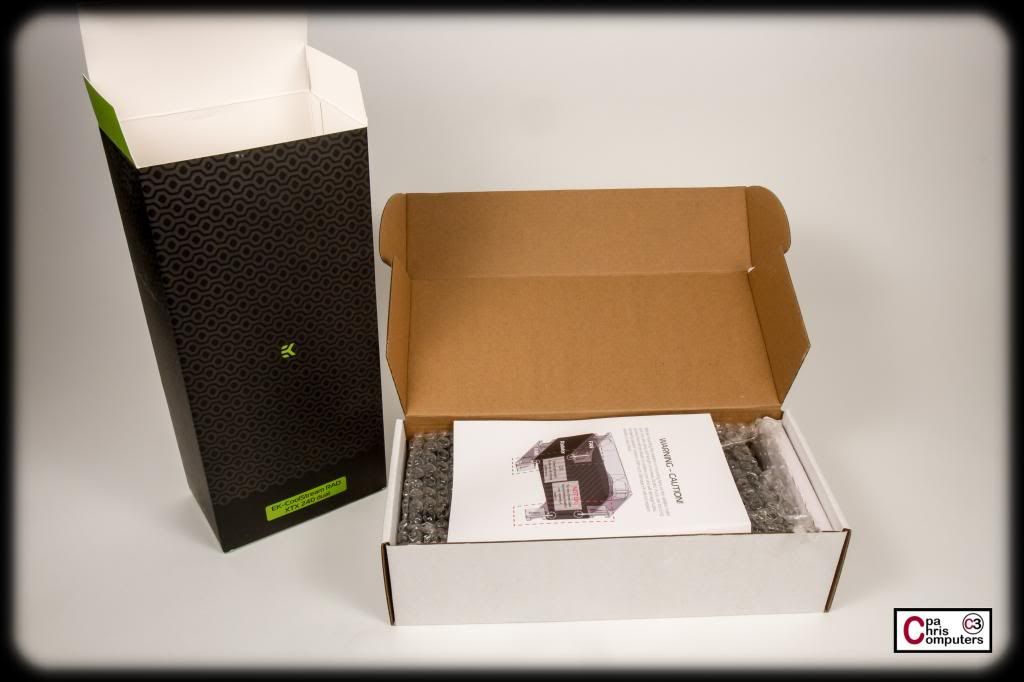
Like Corsair...EK is another one of the companies who always packages their products well. Attractive, protective, functional....
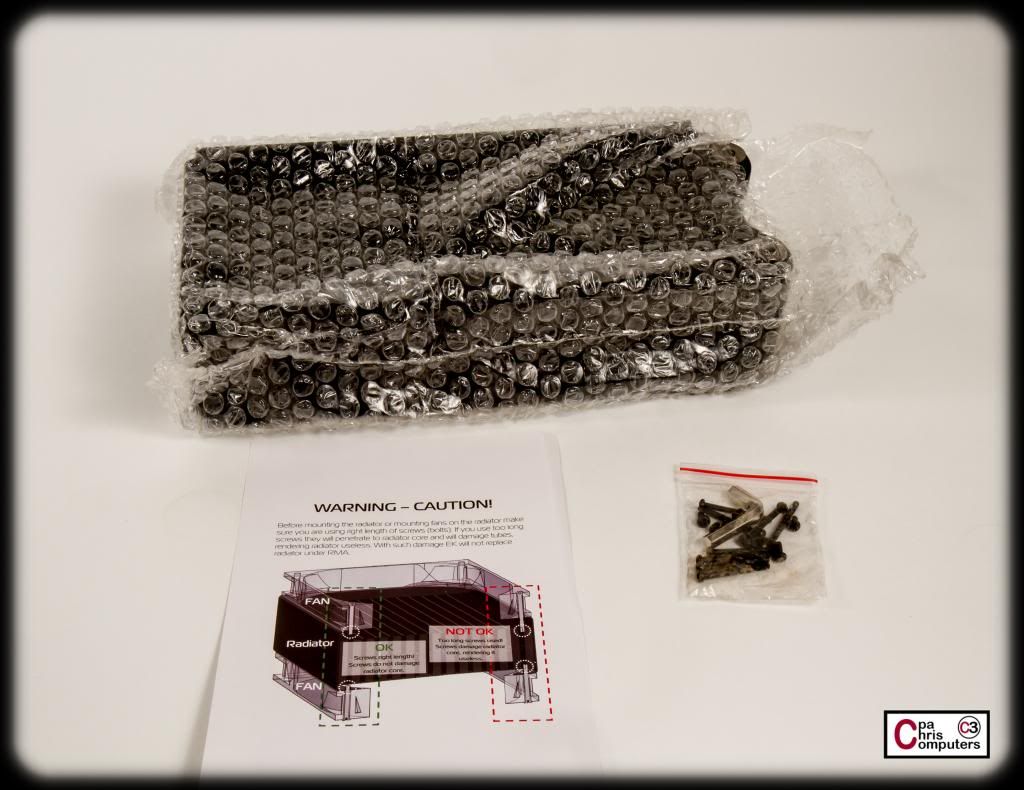
Comes with a set of long screws (30mm) and short screws, to get you through almost any installation.
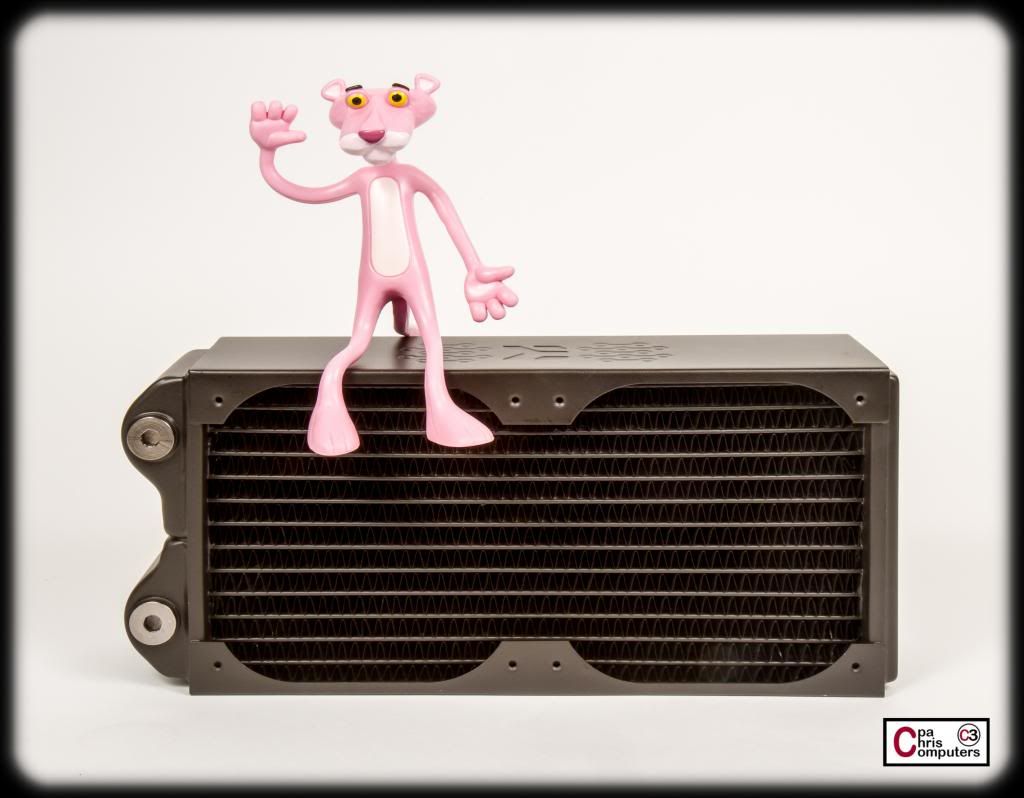
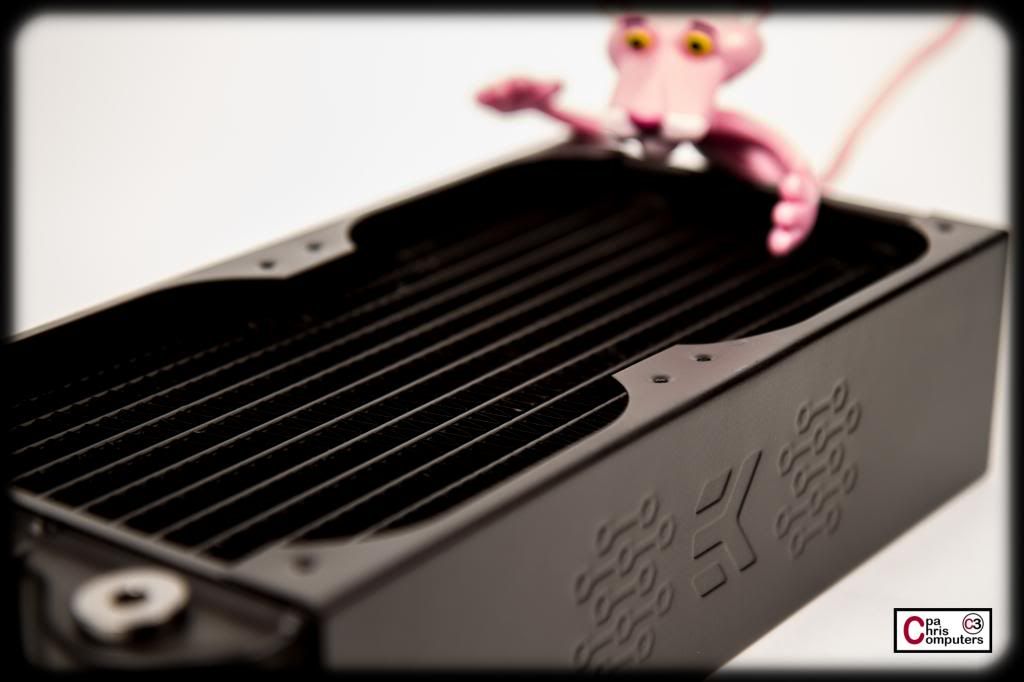
Ahhhh....That's a good looking radiator. Nothing new about the XTX series....but it's EK's flagship line of radiators, and is always one of the top performers in testing.
The finish is superb, and the fins were almost perfect. It comes with 2x of the temporary stop fittings shown below, that you won't use. And also 2x of the nicer EK stop fittings. Allen wrench for the stop fittings included.
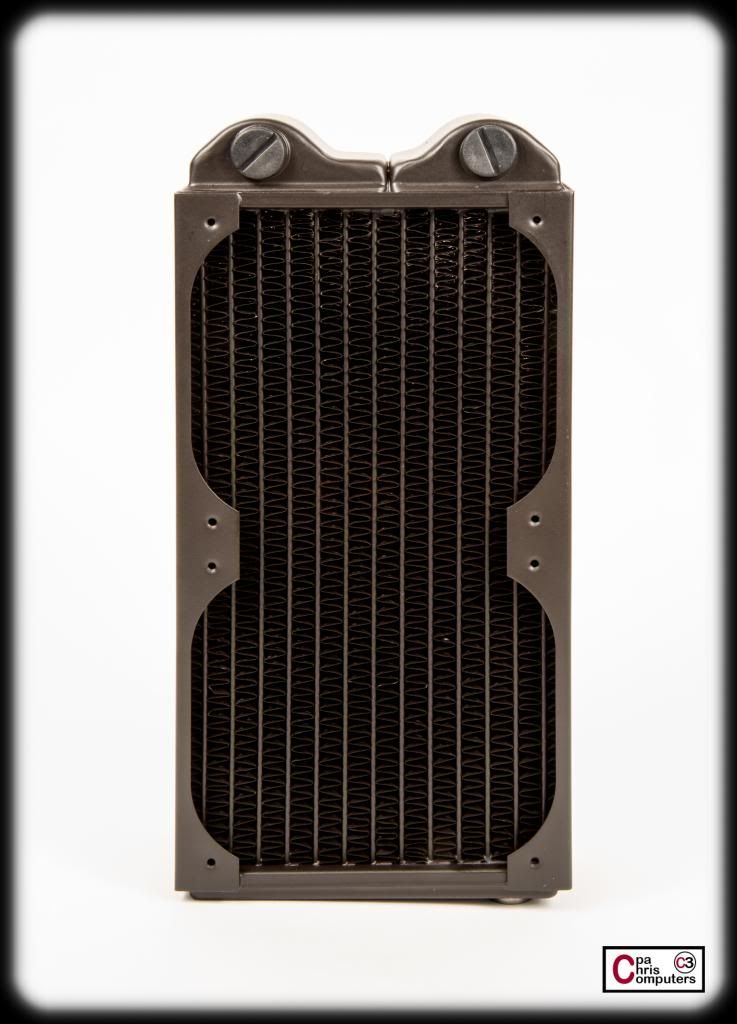
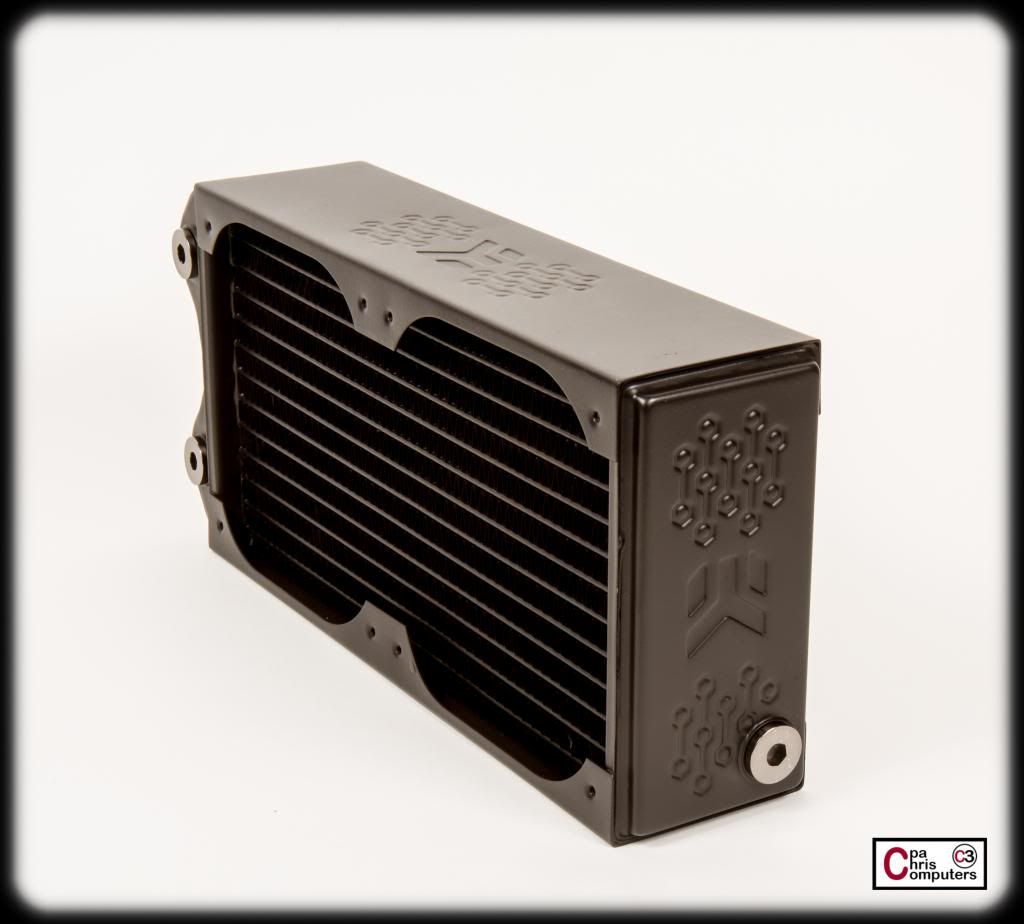
At 64mm thick, these are thicker than the SR-1's I used on my last build. Look and feel "muscle-y". Tough. I also love this bleed/fill/drain port on the bottom of the radiator. Could definitely come in handy.
Wait. What's that......
Oh yes. Of course. Rascally lil' panther.
My favorite shot....
I'm thinking about getting a small brush and using some Pink acrylic paint to fill in that EK logo on the side of the radiator.
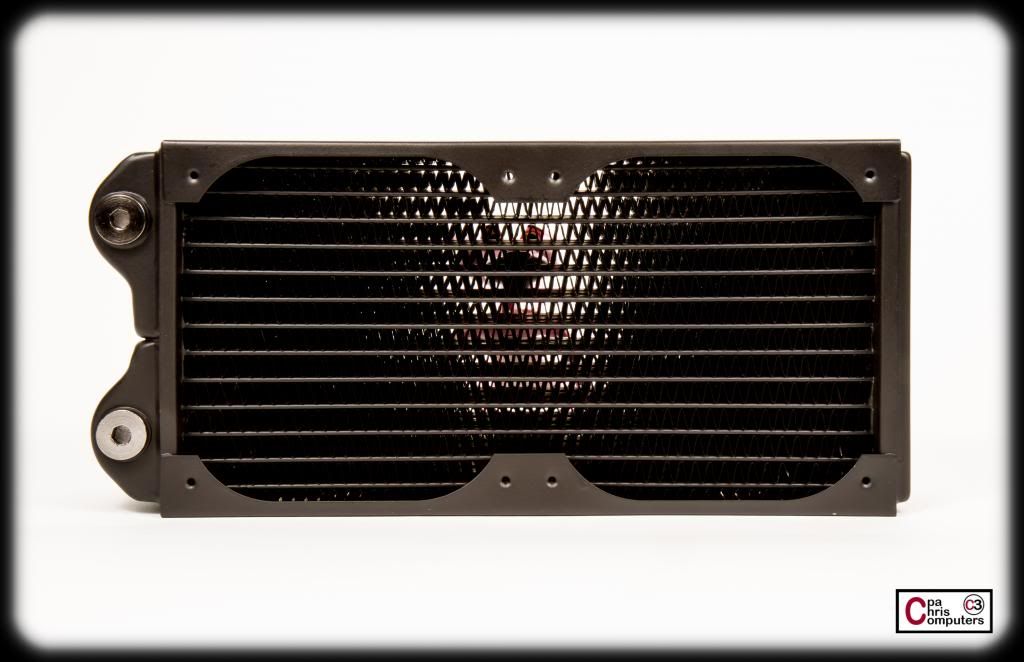
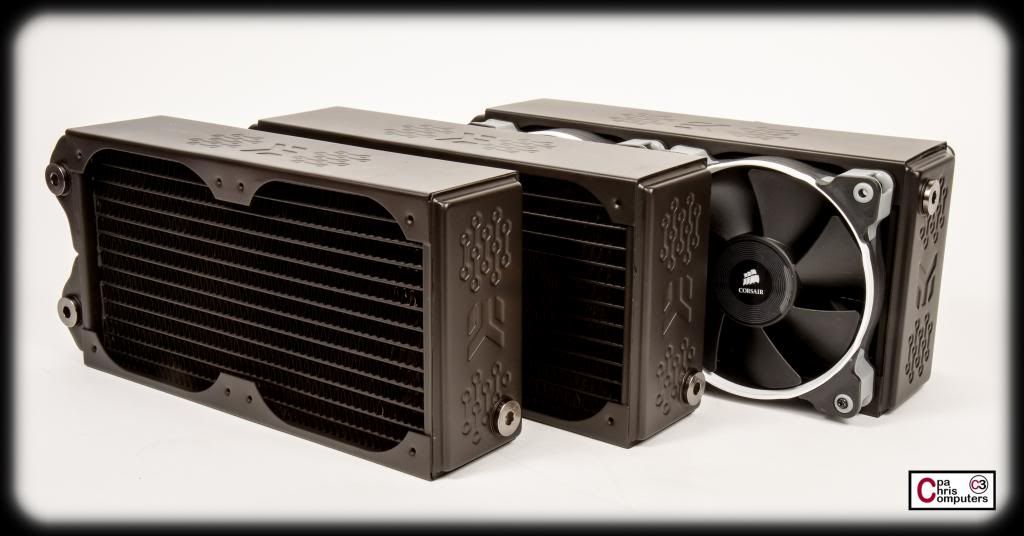
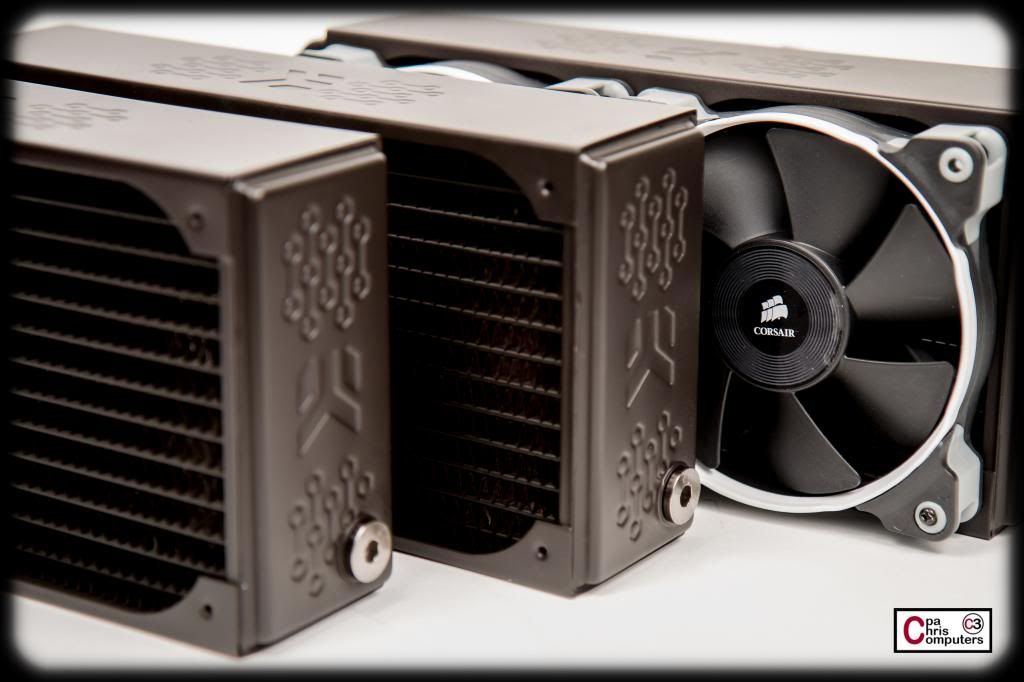
Couldn't resist quickly putting on some fans to see what they look like on the rads. Love them!
The Mercury S8 will hold a 360 radiator in every spot that I'm using a 240. The reason I opted for the 240's was really that I didn't want to make anything feel crowded. By using 240's on the top of the case and in the flex-bays....this will leave me a little pocket of room for accessories in the flex bay that are longer (blu-ray, etc.), or for sleeving runs from shorter accessories. For the one that is side mounted in the bottom of the case, using a 240 leaves me a little pocket of space right behind the switch plate for all the cabling running from the front of the computer to the motherboard and other places. Could you still fit everything if you were using 360's? Probably. But it would be much tighter and cramped. That's not the look I'm going for with this build. Plus...3x 240's is probably more than enough radiator space to cool this Pinterest powerhouse!
Taking pictures of the CPU block now......more later.
This lil' cat keeps getting into my stuff.....
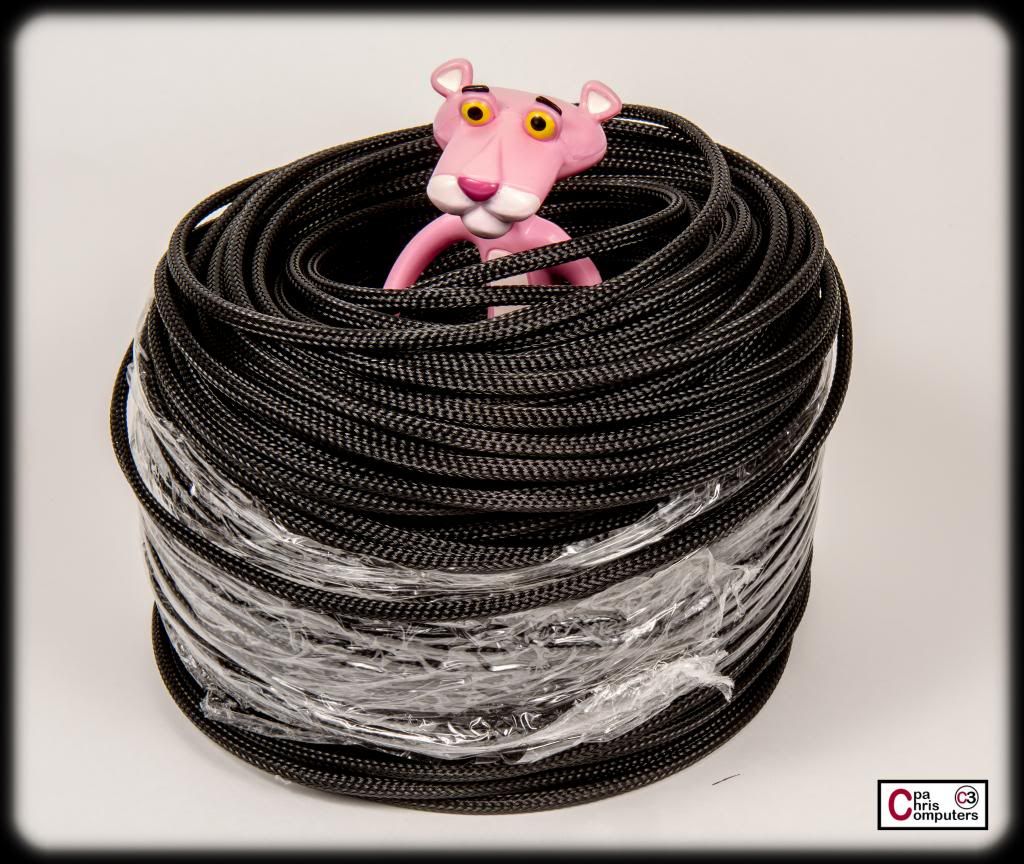
I didn't use much black sleeving in my last build....so this is my left over Black MDPC-X Family Pack, from the Big Budget Boomer Box materials. Perhaps I'll have a chance to use some black sleeving on this build......
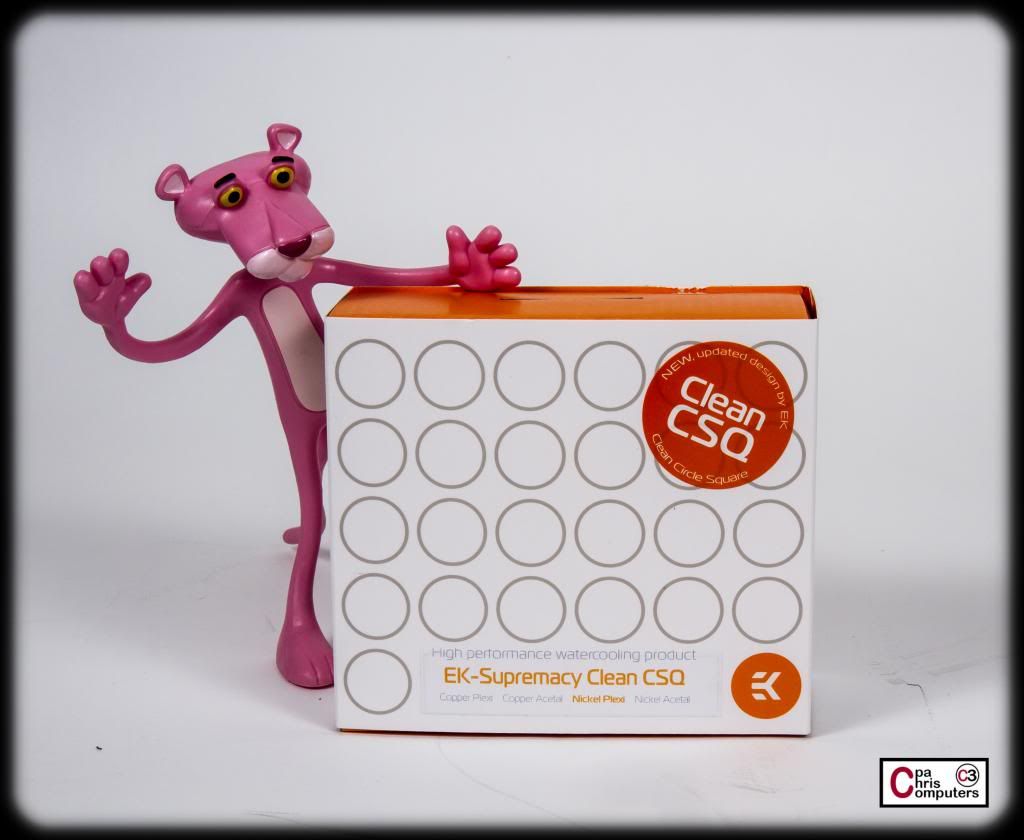
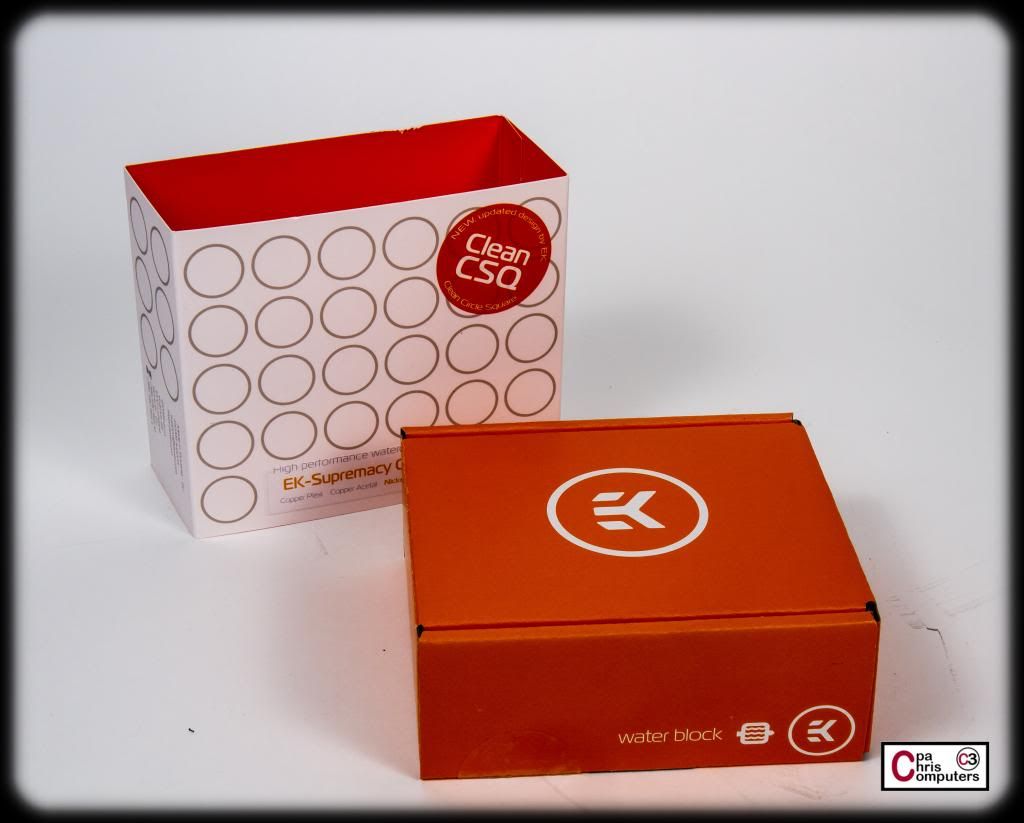
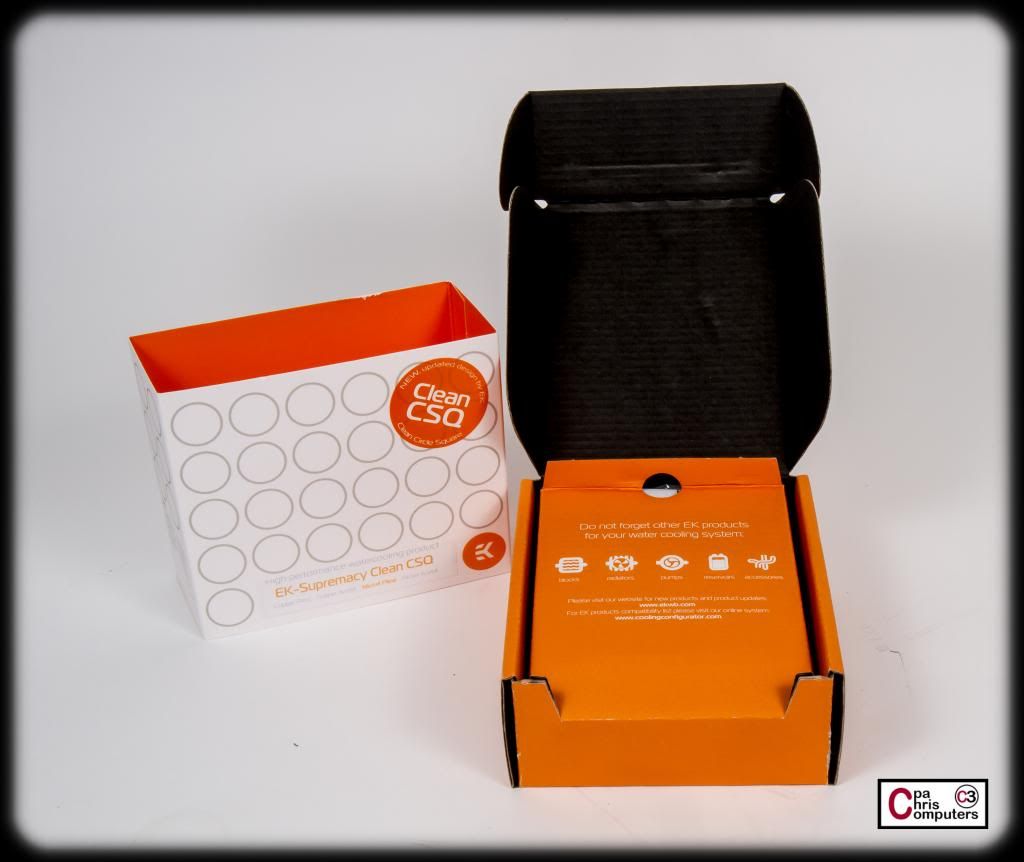
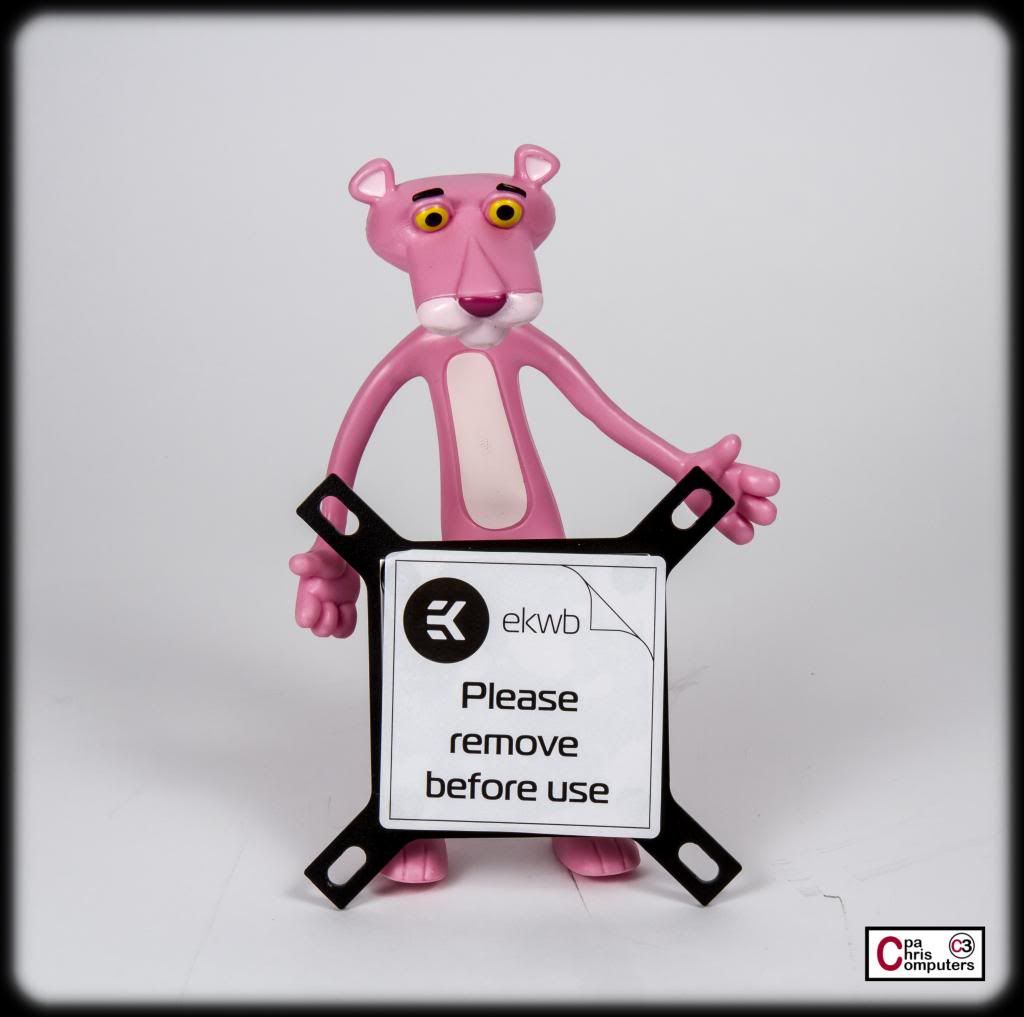
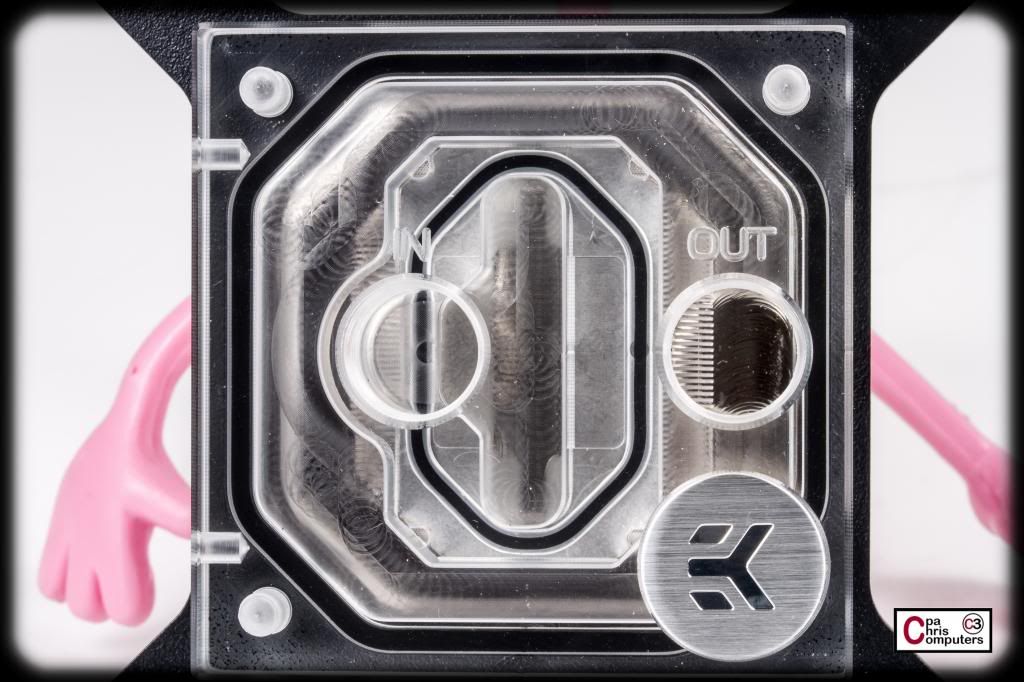
Picture time! Today we are getting another item out of our wonderful EK care package. The EK Supremacy CPU Waterblock.
Once again, it's a nice looking package. Maybe Aquacomputer should go visit the EK warehouse and learn how to package things up nicely. I like Aquacomputer products....but my goodness. Sometimes their products come in a box that looks like it's been used about 20 times and almost never fits what is inside the box. EK packaging is a whole different world from Aquacomputer.
Lets open up this gorgeous box.....
Underneath the layers of cardboard and protective foam....the stuff is even then packaged in little plastic bags.....
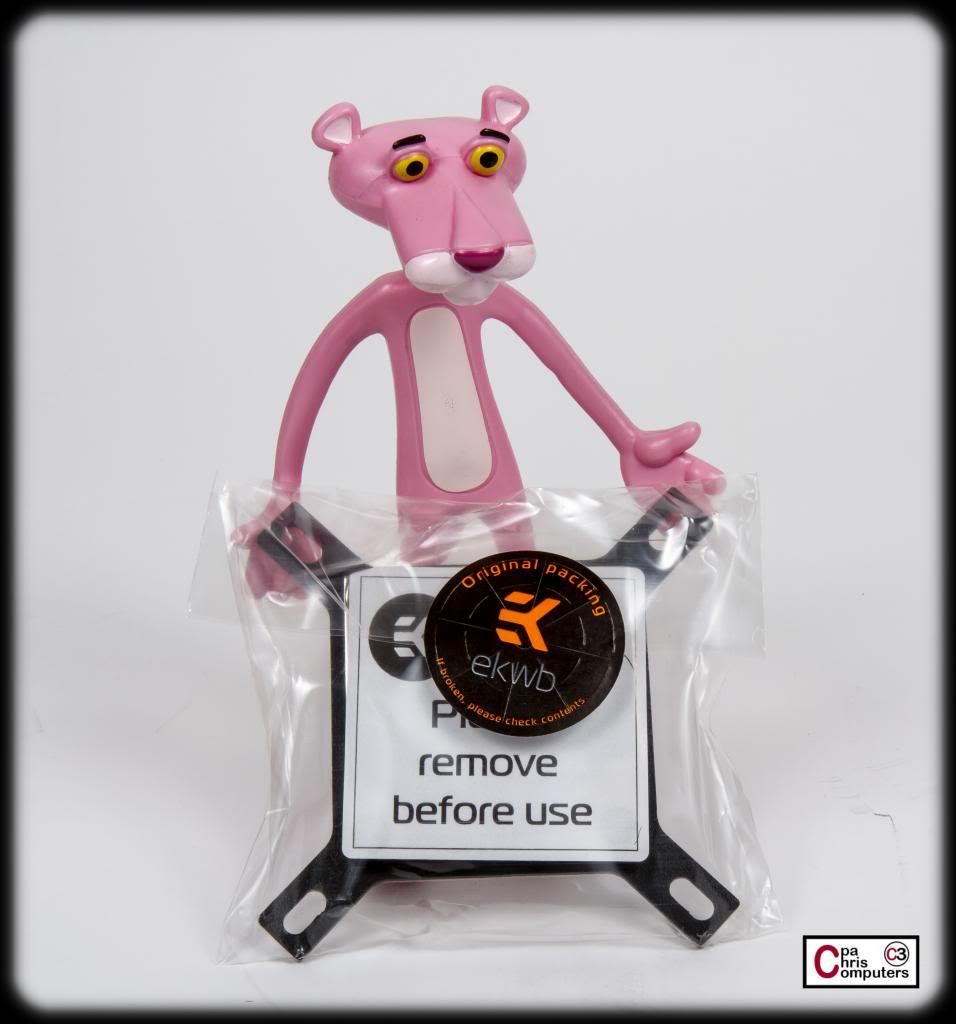
The waterblock itself is packaged in a plastic bag with a sticker that seals it up as the original factory packaging.....
Mr. Panther likes the block. I went with the "Clean CSQ Nickel" version. I like these more than the original CSQ design with the cirlces.
The sticker says "remove" folks. Don't be a Chesty Spankers. :p
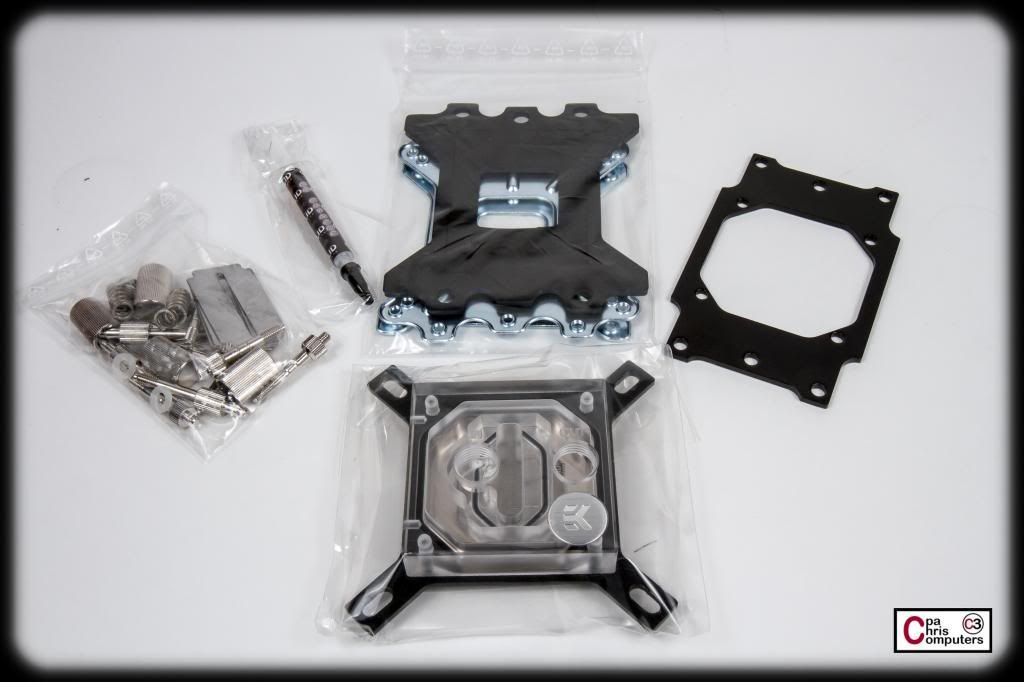
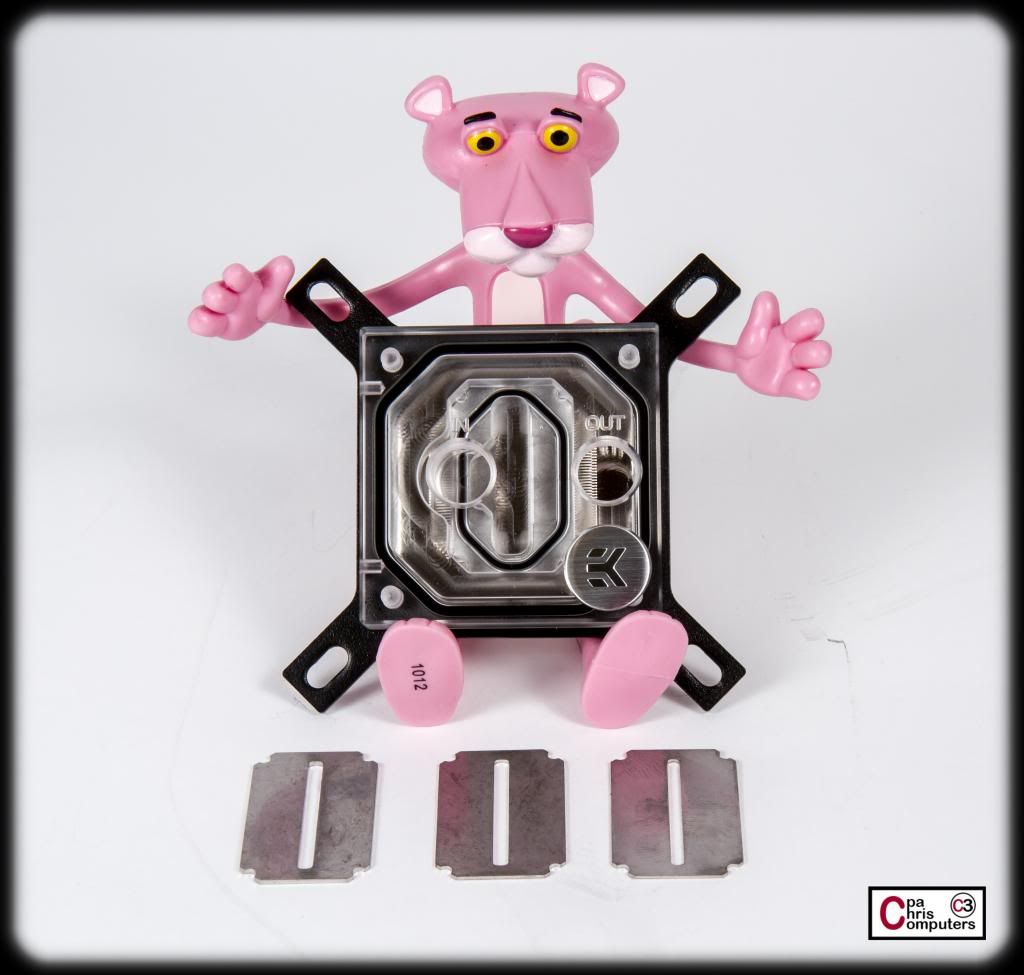
The block comes with 4 different jet plates. The one installed is their generic good performer, but there are specific plates of different thicknesses and width of openings, that are tailored for particular processors. The one on the far right is for LGA2011 processors, so I'll be swapping out for that one.
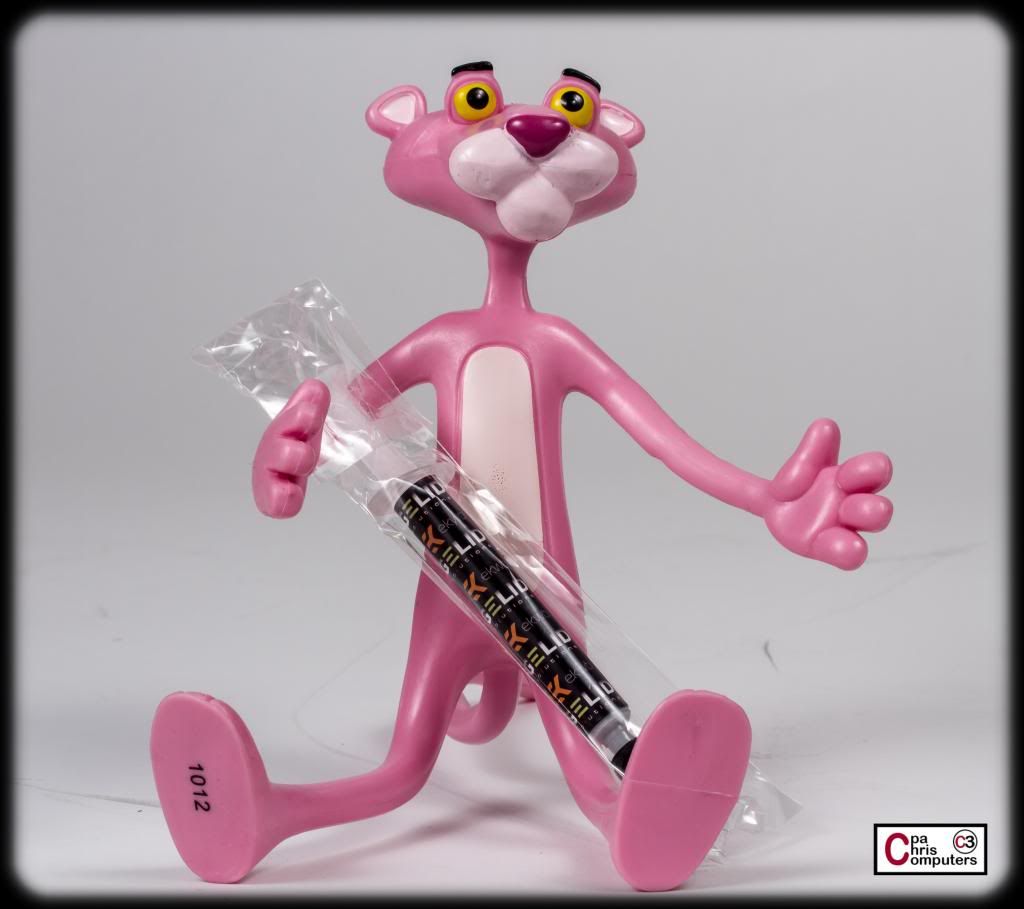
EK even includes some Gelid Extreme TIM, which is a good TIM. Nice touch.
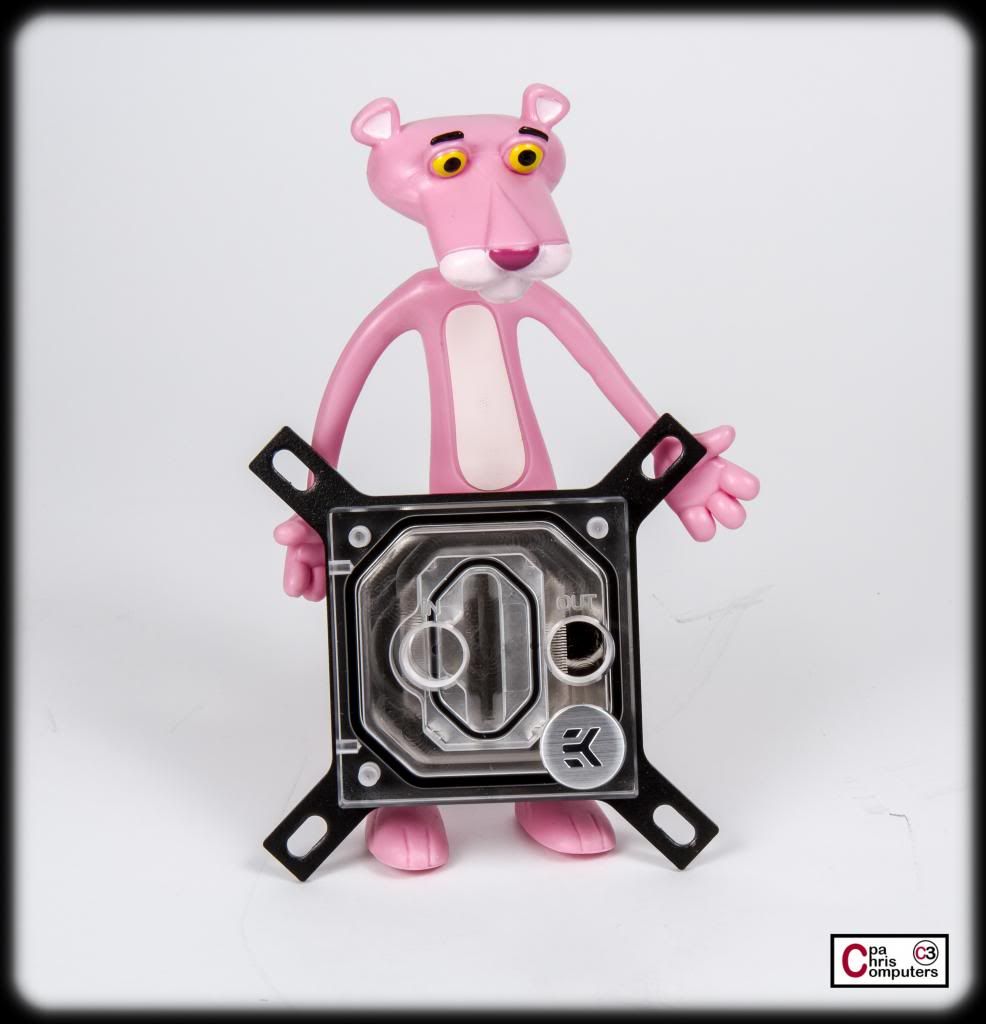
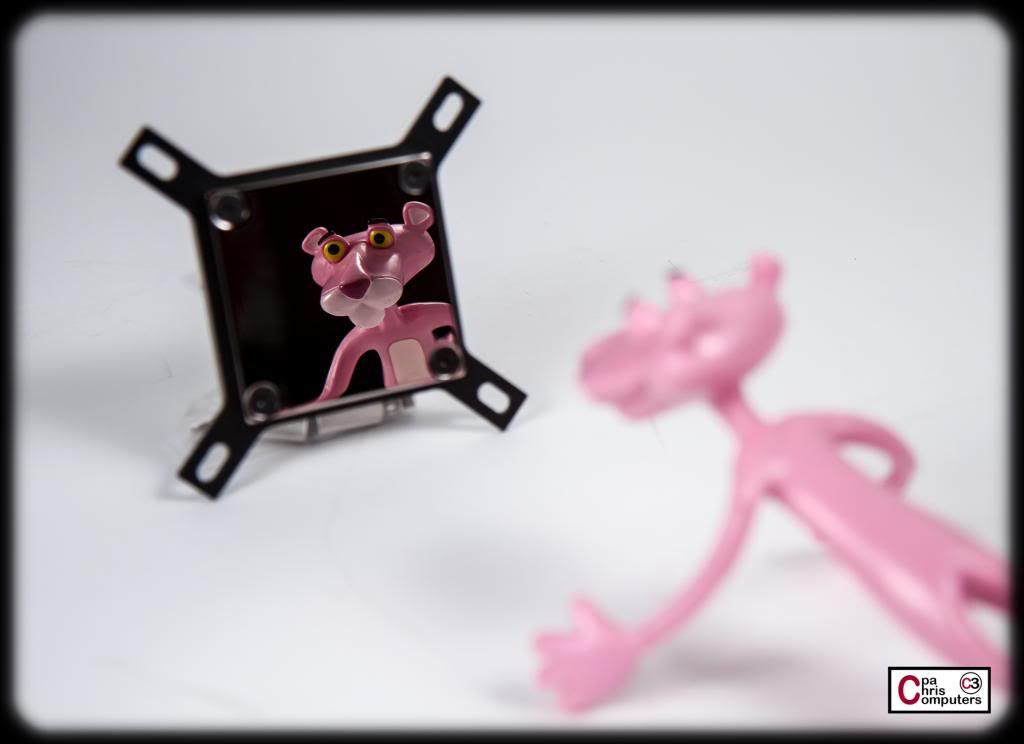
Who's that good looking kitty? Who's that good looking kitty!
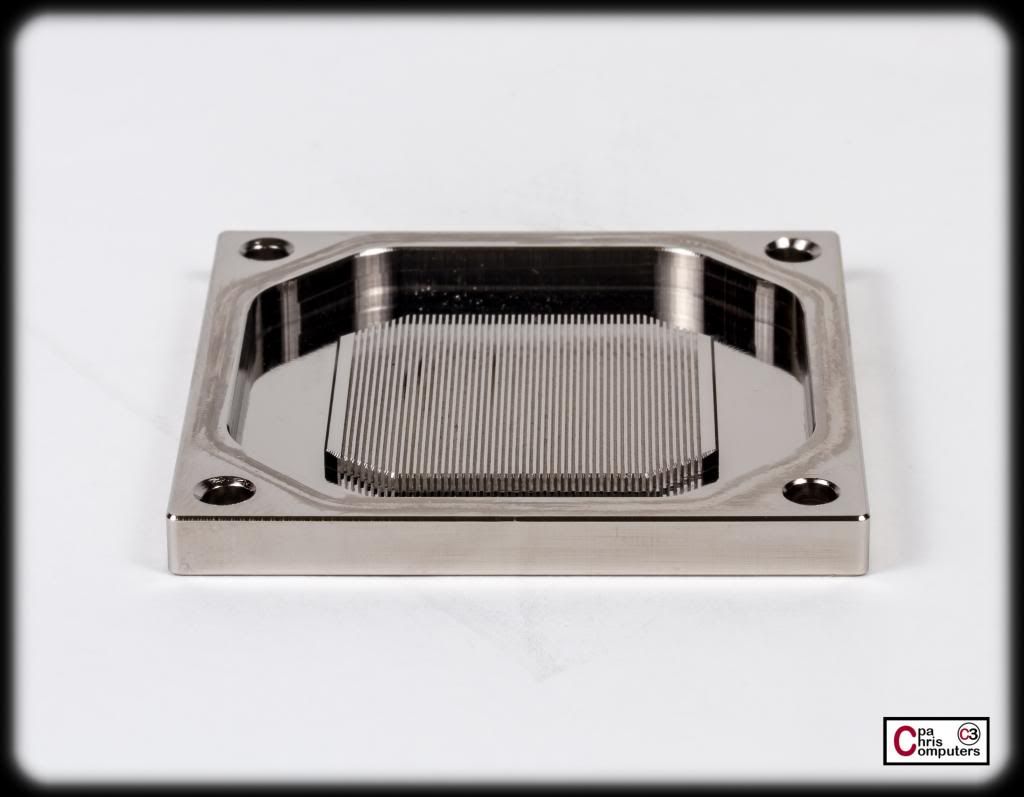
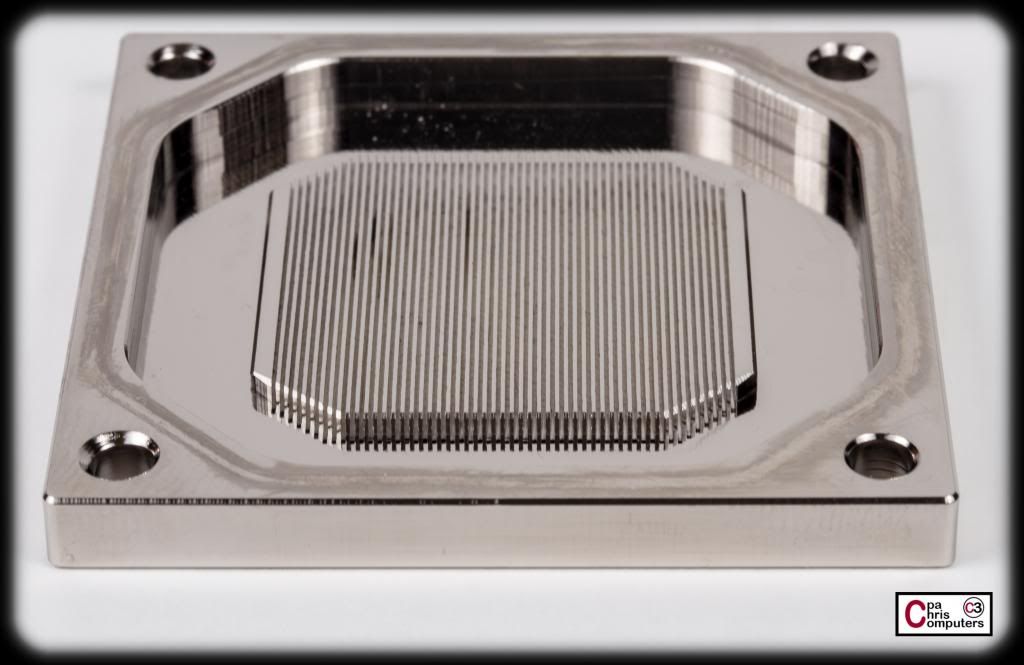
The base is nice and polished. Very well done.....
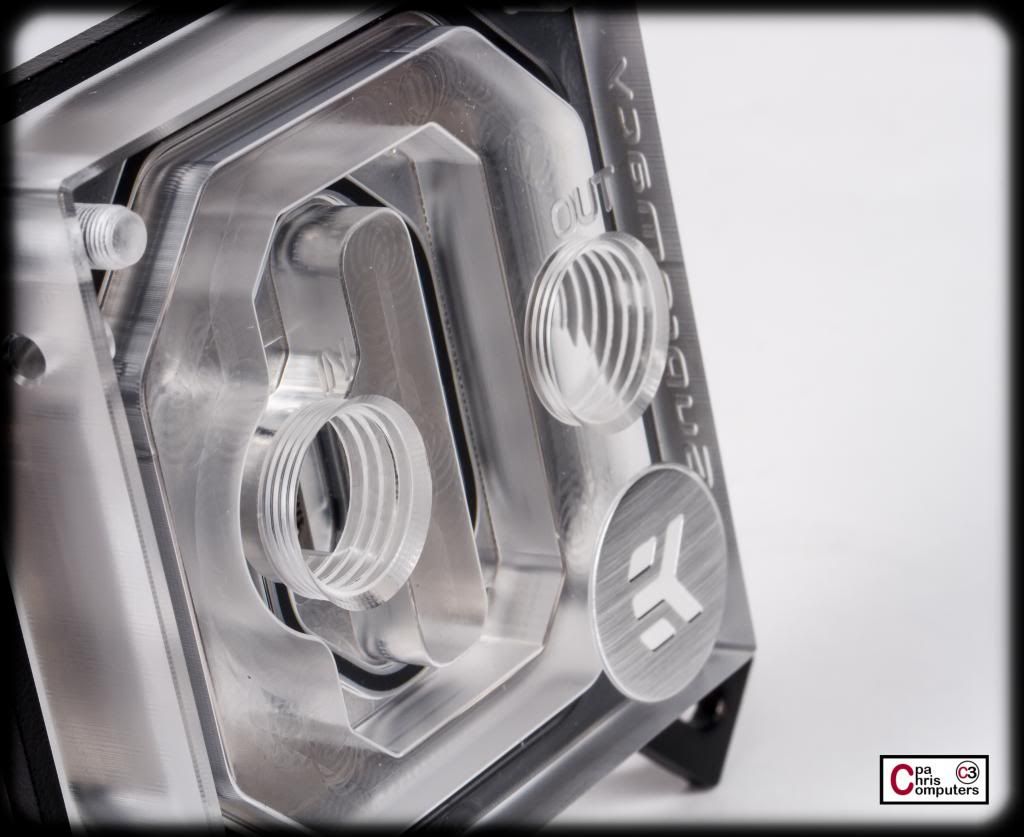
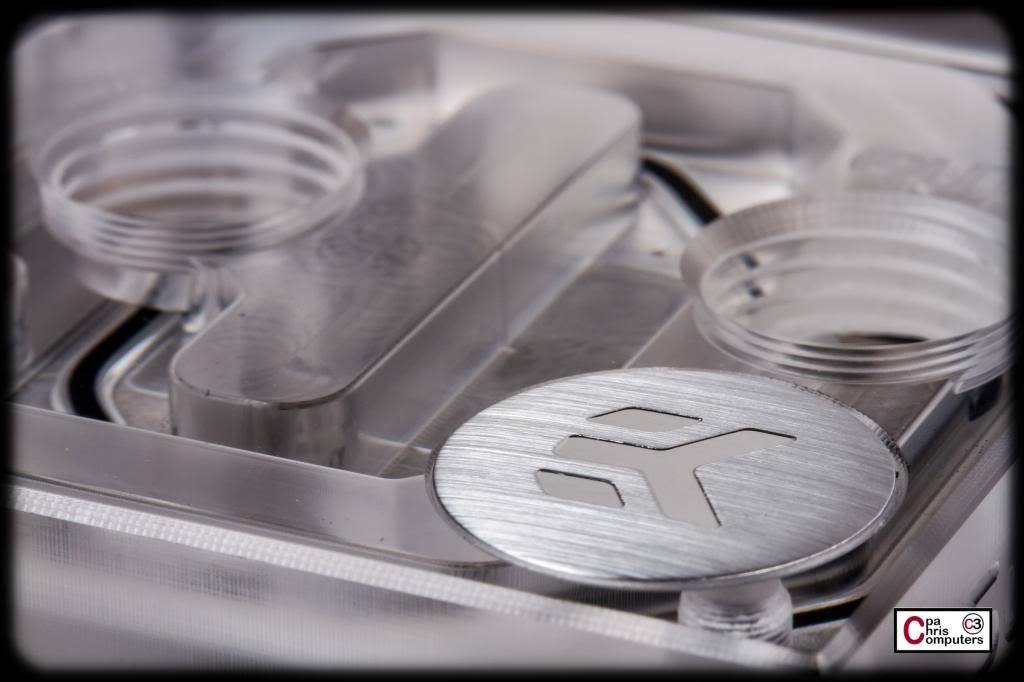
I really like the brushed aluminum look of the EK badges, and how they have used this design element across all of their product lines. EK even threw in some extra of these little disks for me so that if I have some inspiration on how to use them.....I'll be able to. Ideas anyone?
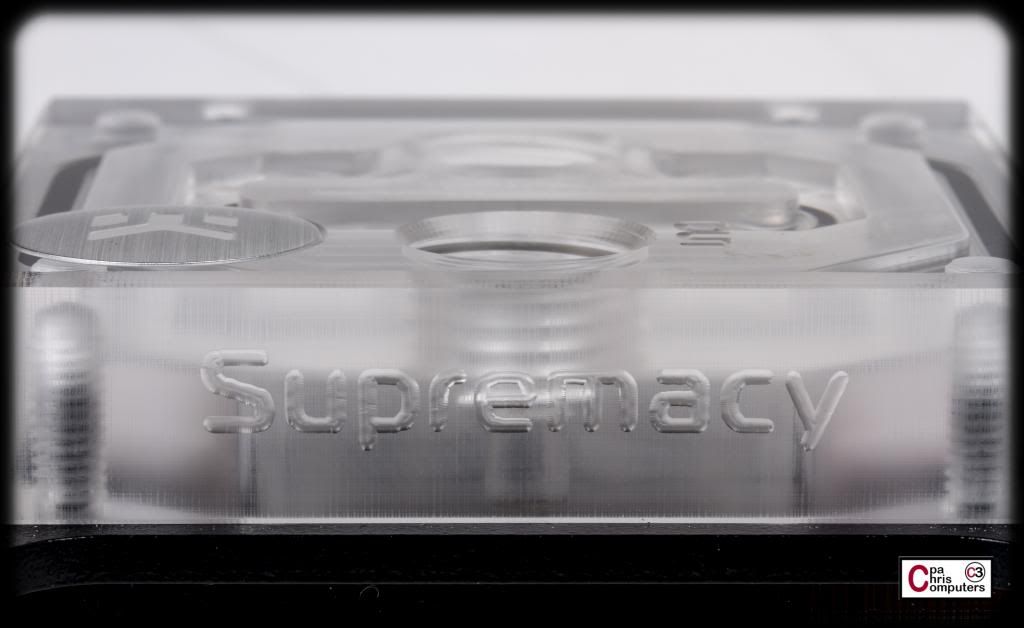
In the picture above and below you can get a feel for the difference in the sides of the block and the top of the block. The sides of the block retain a more "frosted" appearance, while the top of the block is more "clear". Also, when you get up close on a straight-on shot...you can see the machining marks in the block still. These are on the inside of the block in the water chamber portion. The outside of the block looked nice and smooth.
I'll be using the "lowfat" polishing method on this thing, and will take the frosted look off the sides, and smooth out the water chamber so that this thing looks like glass. Lots more pictures of that as I start the work.....
I took the block all the way apart and this is what the cold plate looks like naked.....
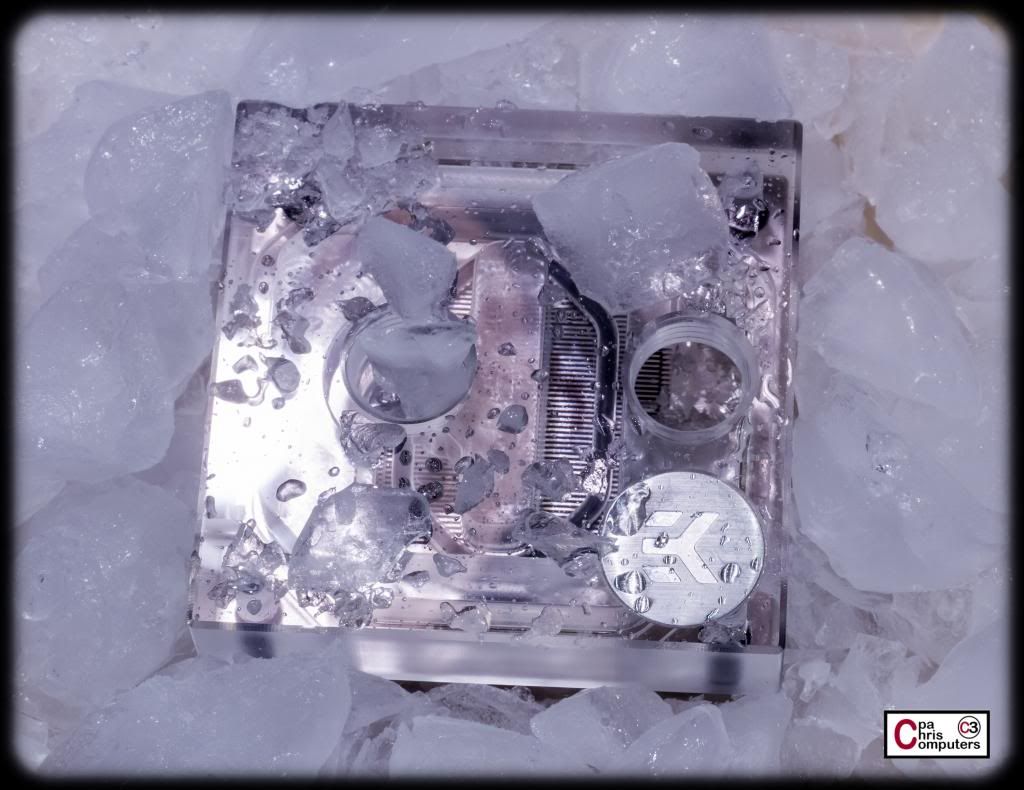
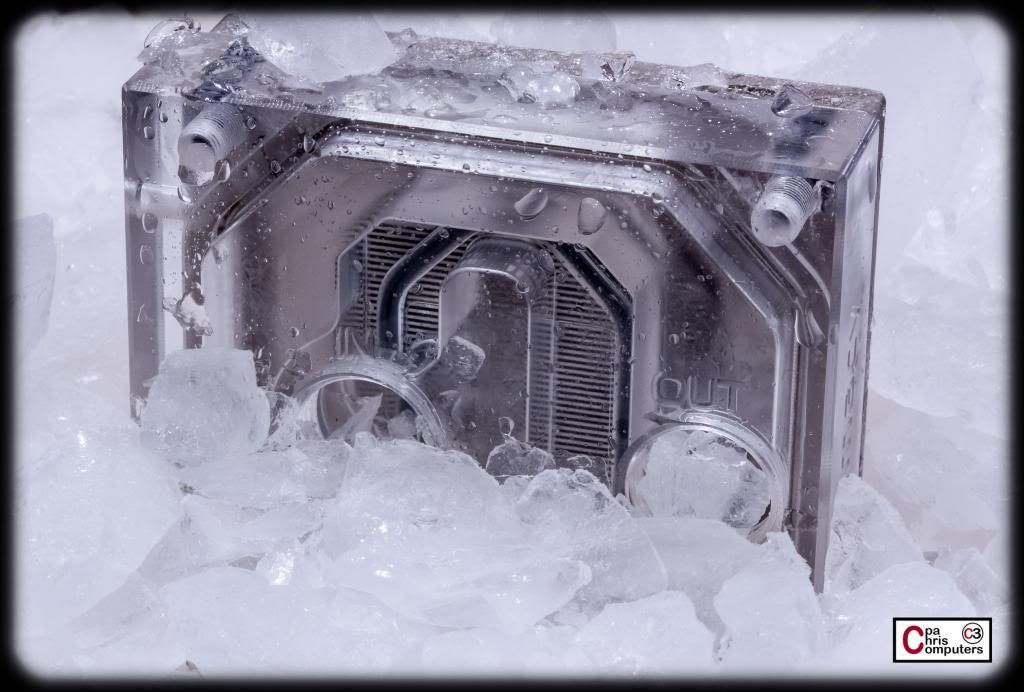
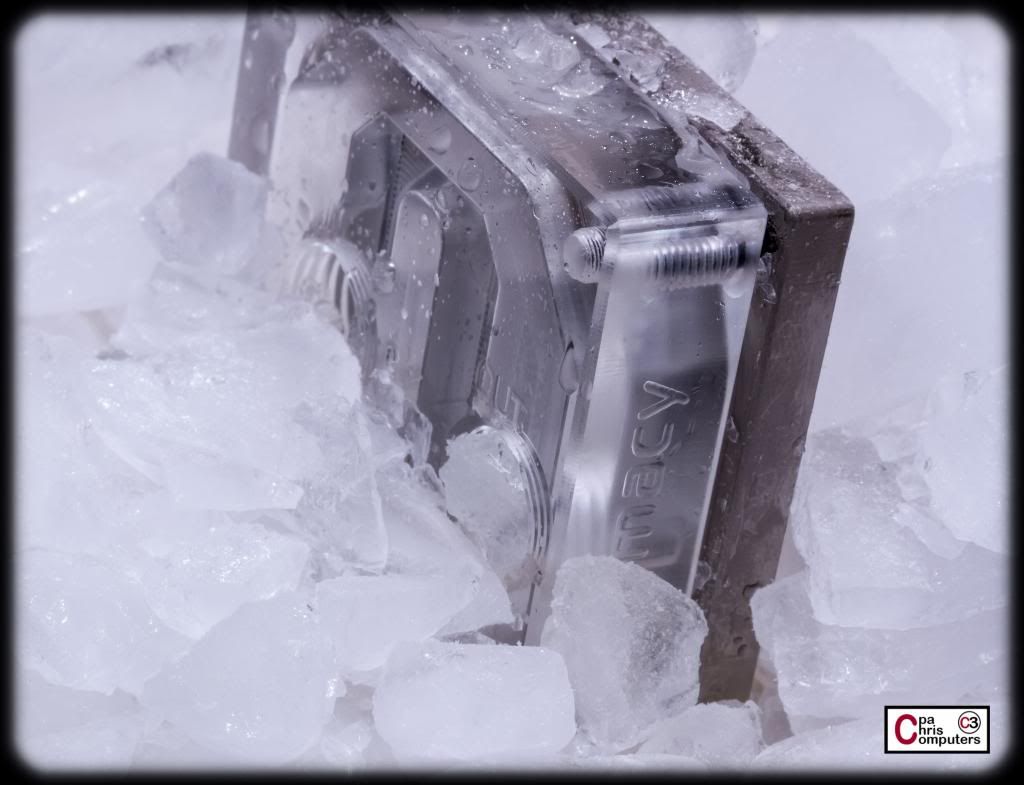
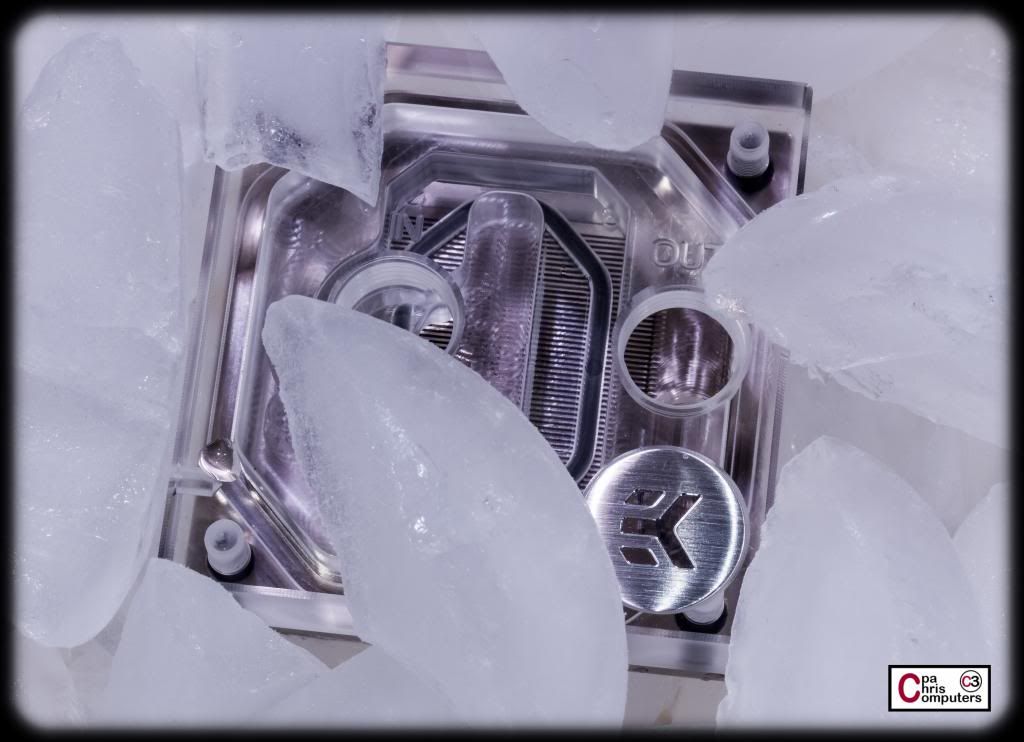
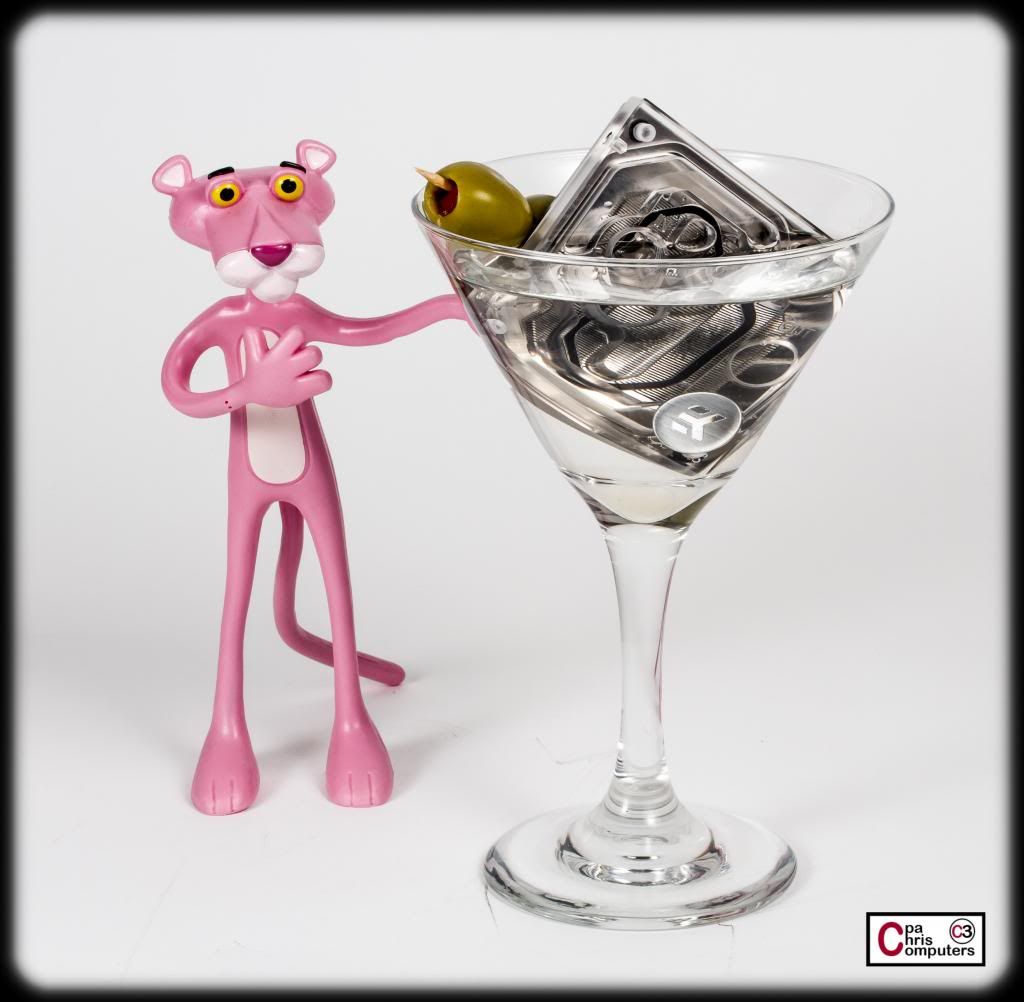
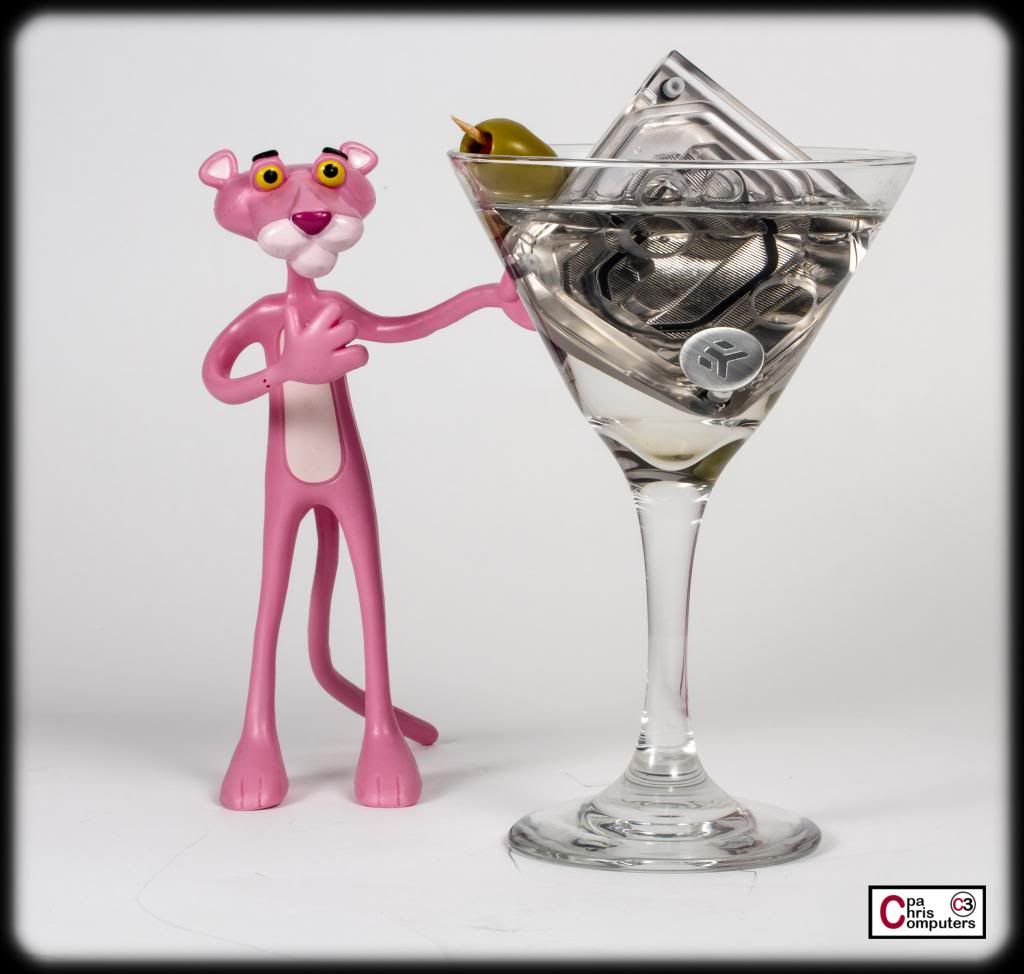
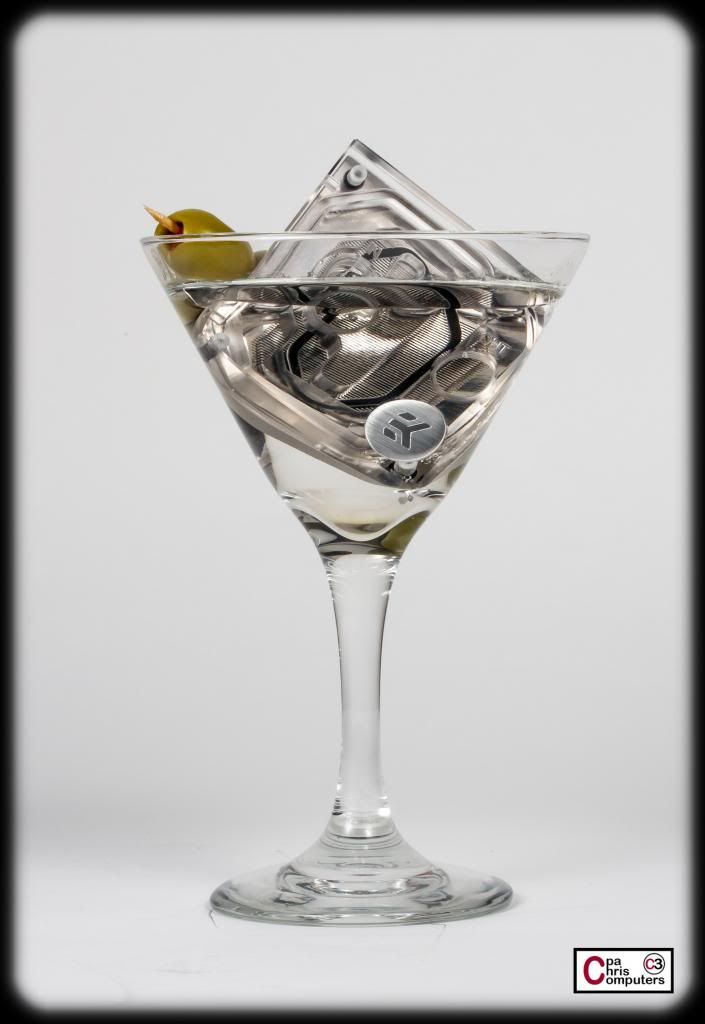
Well....after all those pictures and handling of the block...I had gotten it quite dirty. So I got a little pan of water out and put the block in it so I could clean it. Suddenly, and without warning....the cooling power of the EK-Supremacy manifested itself in a shocking display of frigidness.....
:p :p :p :p This block can keep things chilly! More to come!
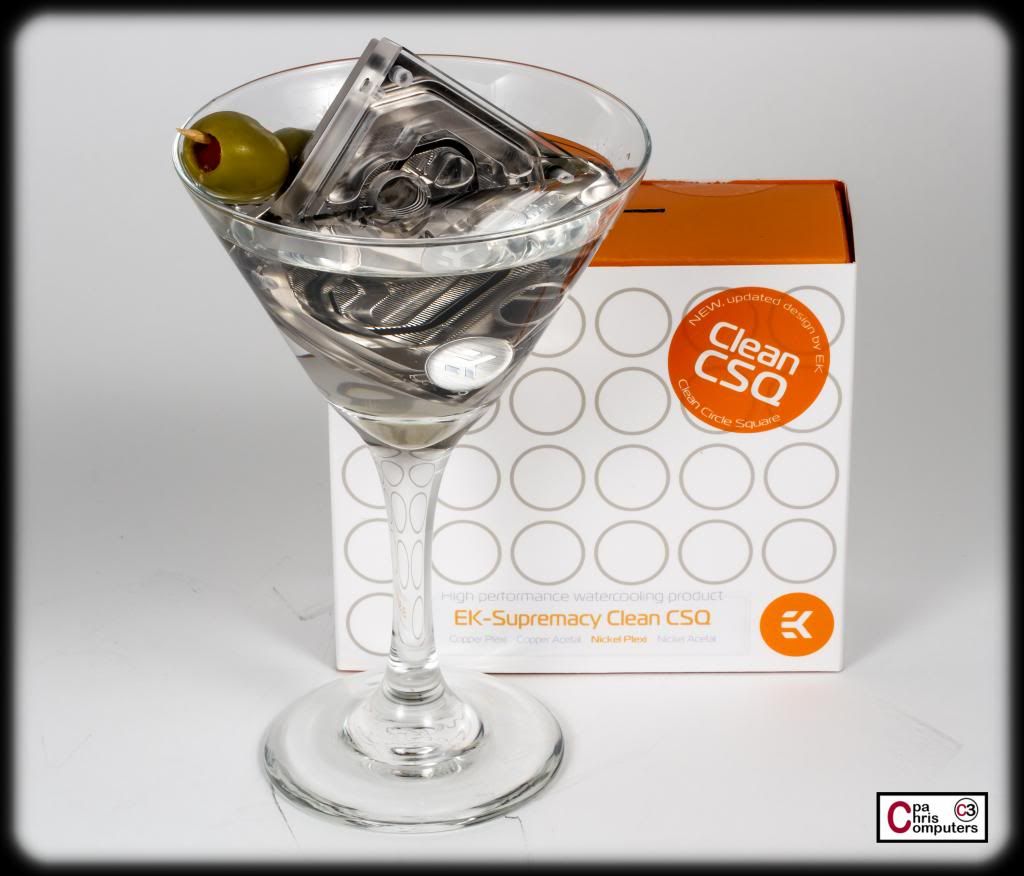
I like my martini's dirty.....but I like my blocks clean!
I told him that the block would help keep things chilly. He didn't really get it.....
I'll try and anticipate the questions before they even come.....
- Yes.....that is really gin.
- Yes.....it is a dirty martini
- No......I wasn't brave enough to drink it afterwards. But I did pour myself a fresh one.
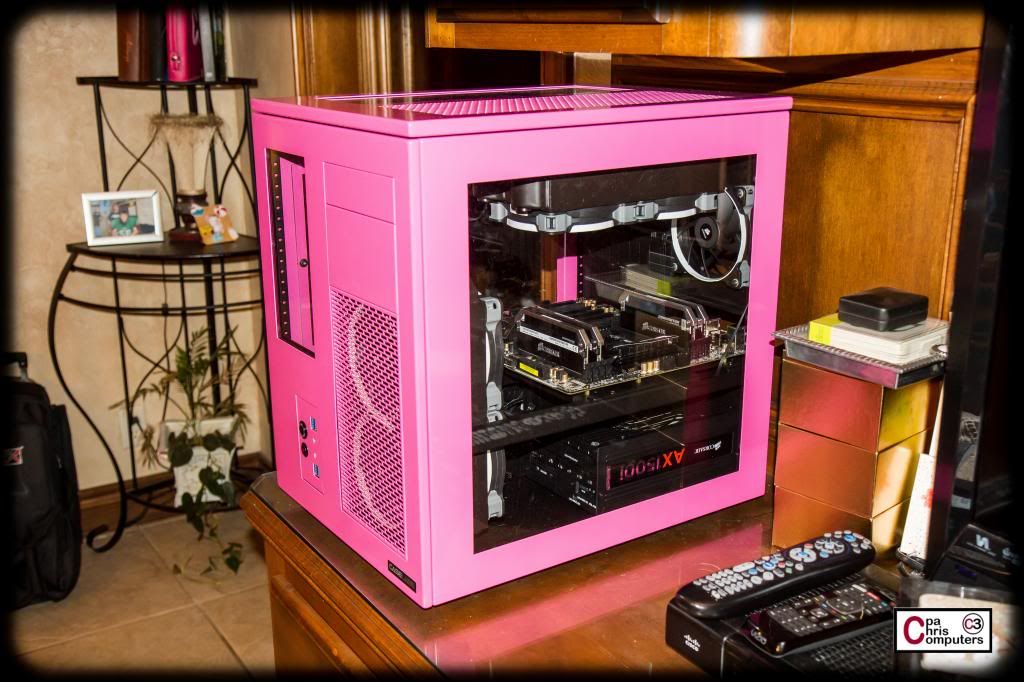
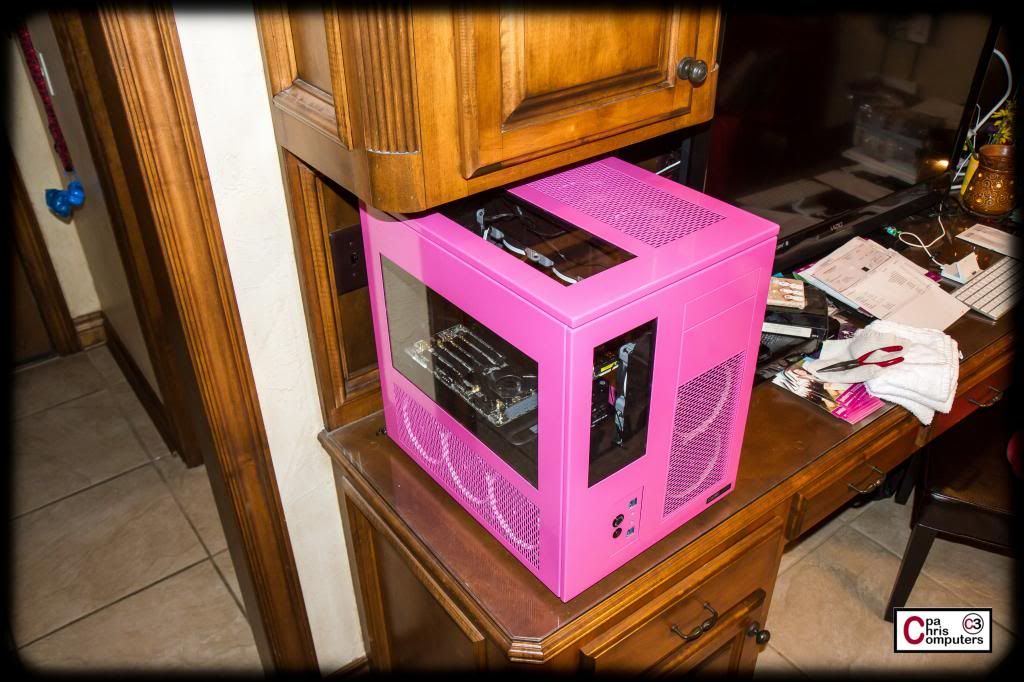
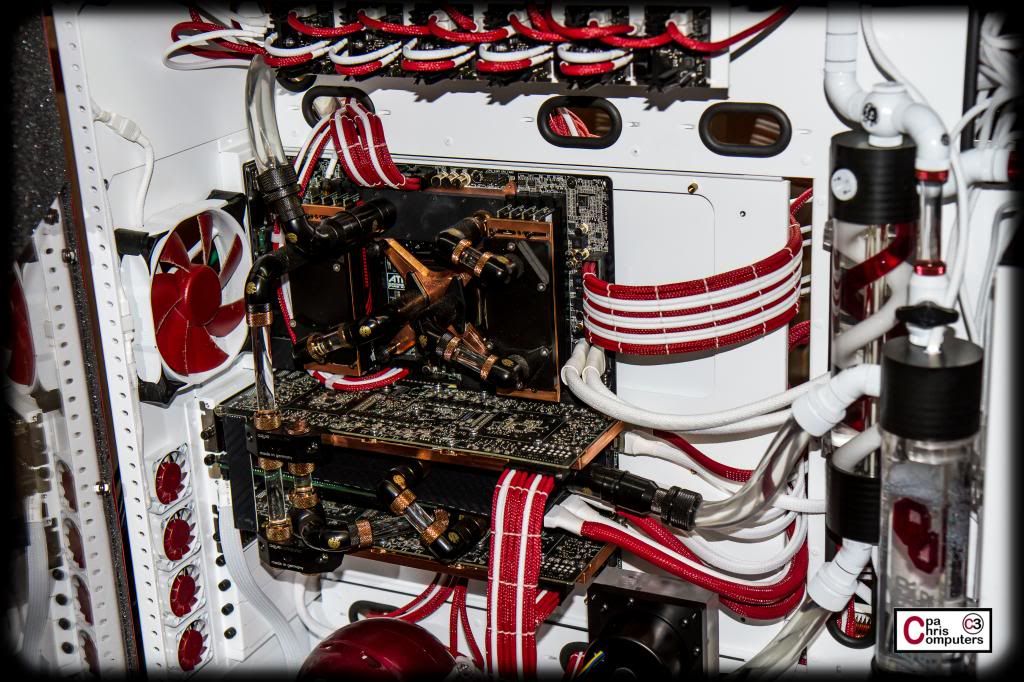
I wanted to get a feel for my options on placing the pumps and reservoir, so I threw all the components I have so far in the case so I could get a better look.....
This is not the motherboard I'll be using.....this is my spare for the BBBB. But it's about the same size as the one I have my eye on. There are not many options for me on this side of the case. The cabling coming out of the PSU will take up most of the space between PSU and radiator, and I'll have some flex bay items (aquaero, card reader, etc.) in the upper flex bays on this side also.
That area at the front of the case on this side is where I have the most space available. I'm going to make the pink coolant the highlight of the inside, so mounting the reservoir behind that front window is definitely an option I'll consider. Putting in two pumps will require some more creativity.
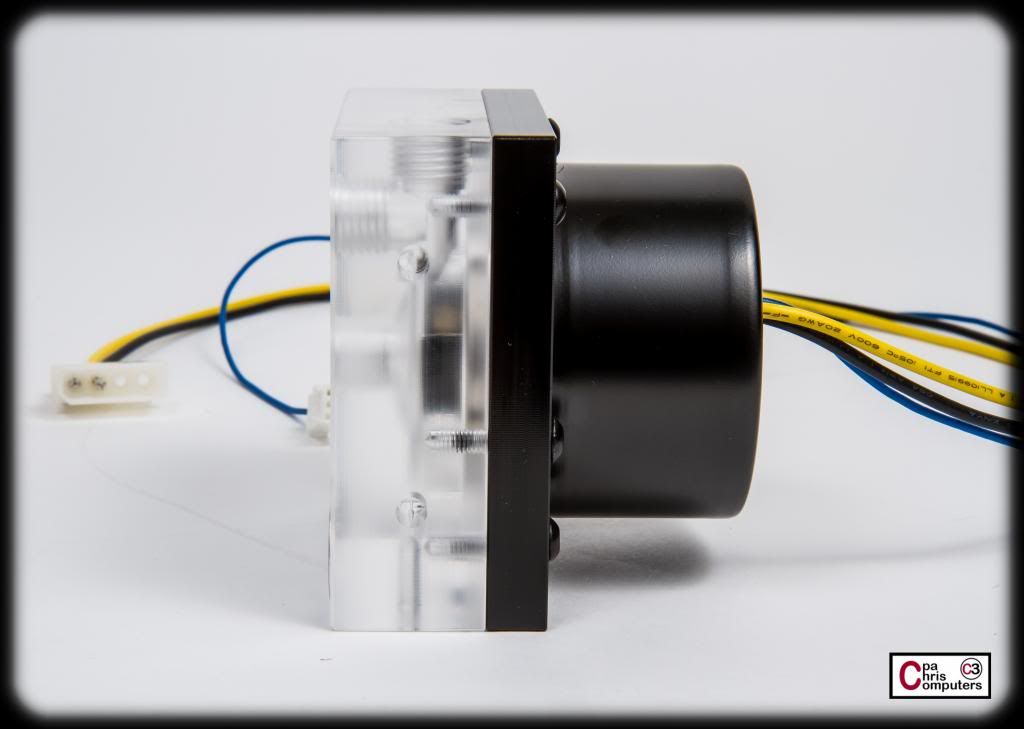
I'll have pictures probably tomorrow of the EK pump tops I received, and they are huge. Beautiful...and huge. Much larger than the Bitspower tops I used in the BBBB. If I want to center the reservoir in the front window (and I think I do), there is no room on the midplate floor to mount both pumps. And the pump tops are so beautiful (really freakin' beautiful) that they should be displayed in a window also. I may need to build some type of vertical mount myself to put the pumps behind the reservoir, but facing the side window. They would have to be lifted off the ground and inch or two...because otherwise they would block access to the SATA ports. It would be sweet to have the bottom of the GPU cards and the two pump tops, all flowing with pink coolant, be what dominates the left side window.
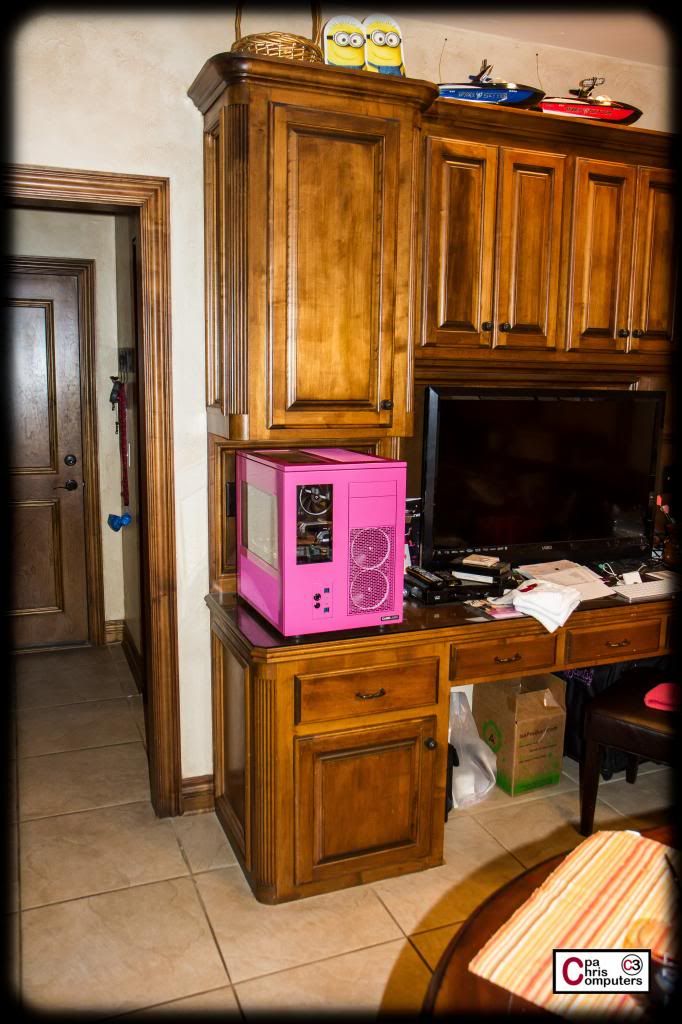
Remember back in one of my early posts about how the dimensions of the case were important to me because of where it would be located? These two pics give a good feel for the size of the space I was dealing with, and how perfect the S8 fits that space.
Must go work on finishing the pump top pictures. I'm in love with the pump tops!
Excited to announce the newest sponsor for The PPPP.......
Many computer forum members know Mike of Lutro0 Customs as one of the foremost sleeving evangelists. It was actually his videos I watched when doing my first sleeve job.....and I know I'm not alone in that regard. Lutro0 Customs is sponsoring all of the wire, sleeve, terminals, connectors and heatshrink for The PPPP. I'll even try out some of his sleeving tools that he sells from his website and let you know what I think. I used MDPC-X in my last build, so I'm anxious to compare Mike's new Telios line of sleeving with my prior MDPC-X experience. If you haven't checked out his website lately.....you should. He has really done a great job at gathering together all of the things you would need to do your own custom cables....into a one-stop shop.
I guess I have to redo the sponsor plaque.....right?

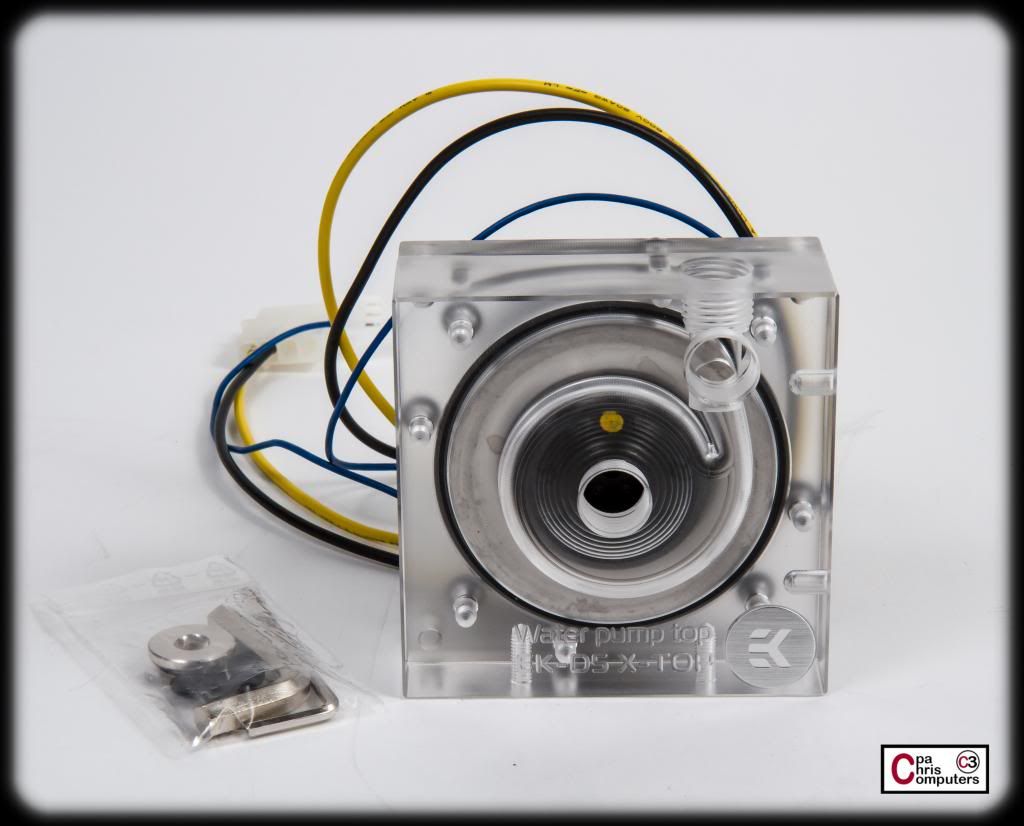
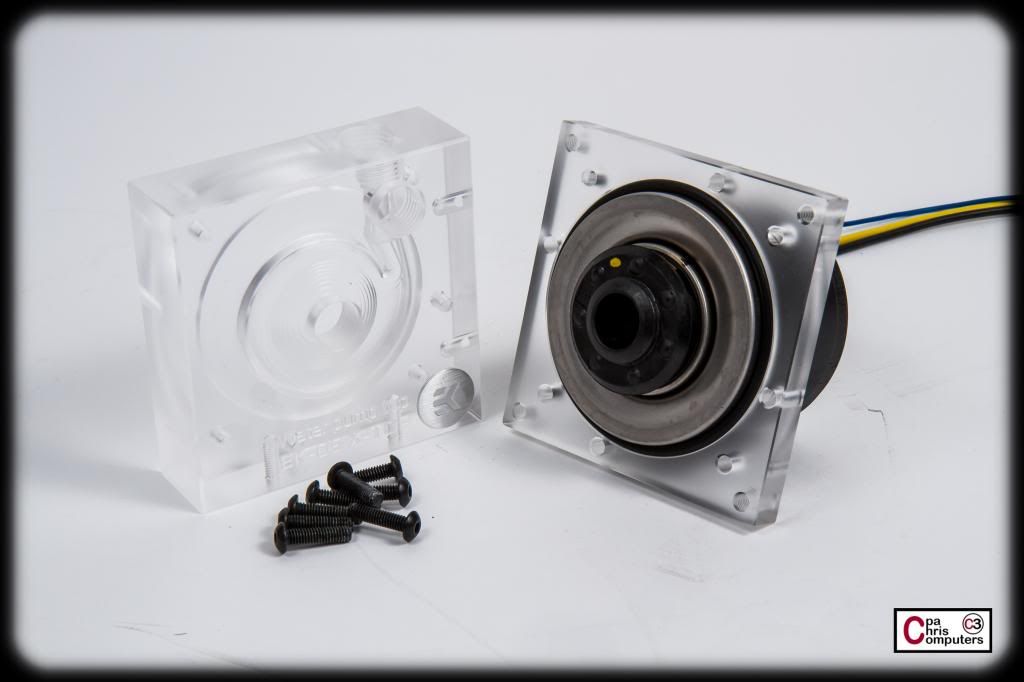
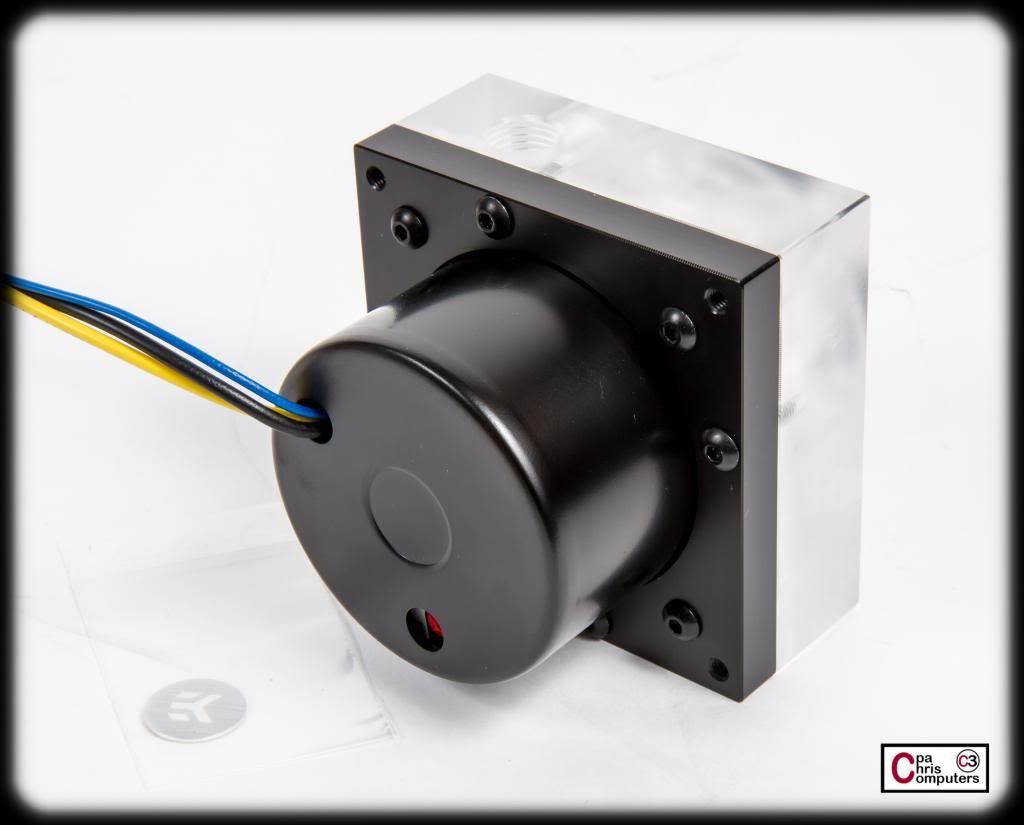
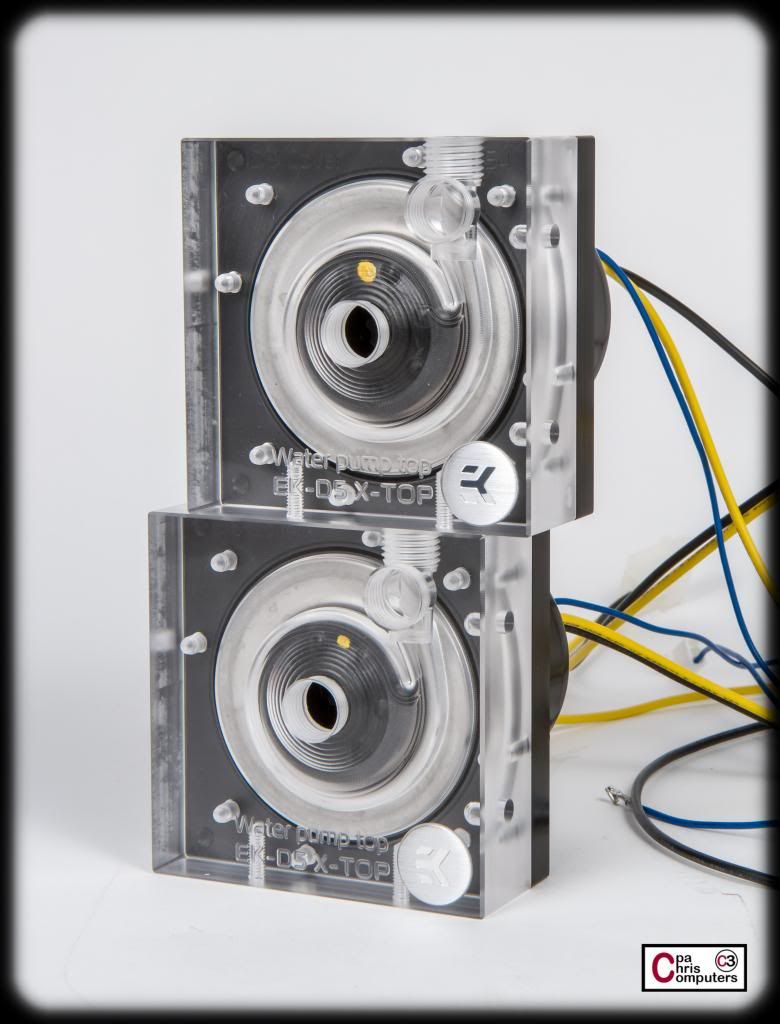
Let's pull those beautiful EK pump tops out the box, and the EK cover kits......
As with most EK products...the pump tops (including pump) are packaged in a first rate fashion. Not sure why the cover kits don't have the same treatment yet. Maybe too new? Or since it's such a small dollar item maybe they don't worry as much about packaging.
The pump top has a perfectly sized red box that slides out of the cover. Very similar to the orange boxes for the waterblocks that match the orange sleeve. Love how EK does this.....
The red box opens up to reveal components surrounded in foam protection and inside a plastic bag. As typical, the box is the perfect size for the included items. No more....no less. Very nice again. *cough*payattentionaquacomputer*cough*.
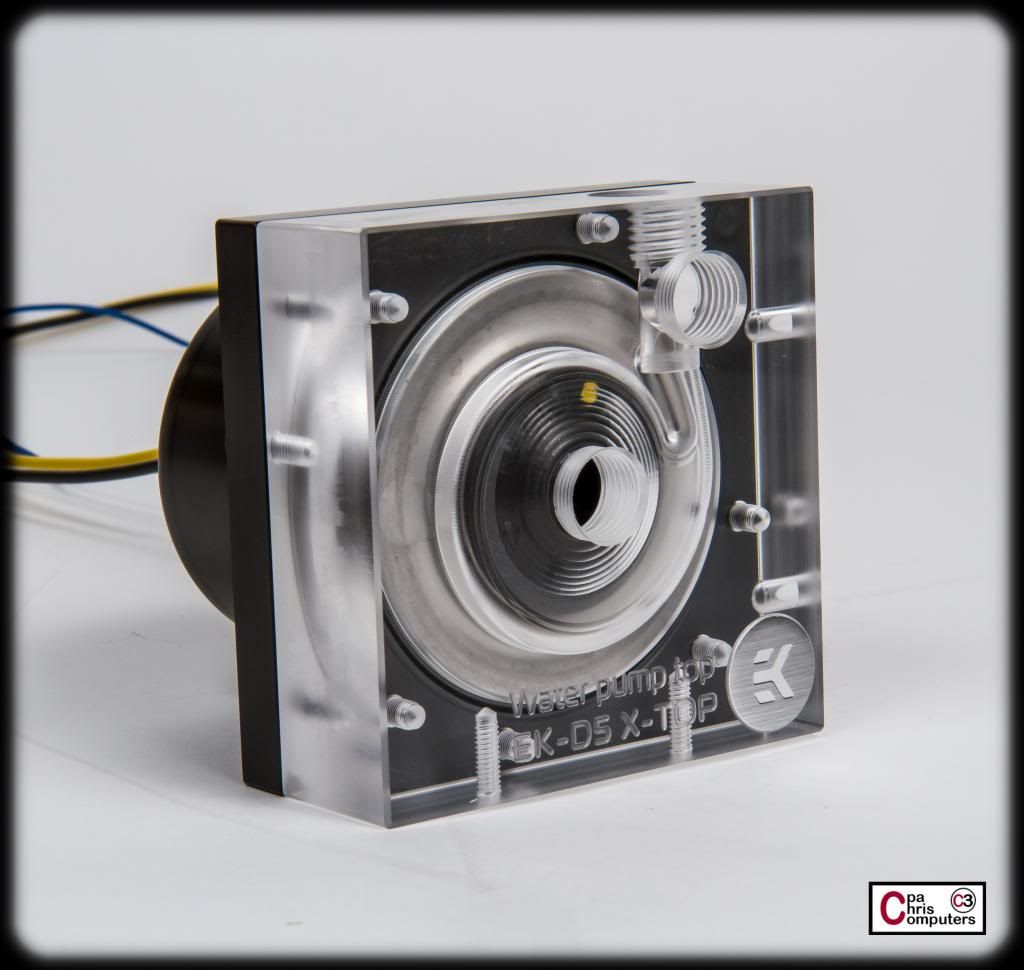
These kits are the pumps and pump tops. I chose these because I really wanted a "clean" version of the acrylic pump top, and the only way they are currently offered was as part of the kit that includes the pumps. My guess is that will change eventually....because these pump tops are beautiful. It comes with all the tools you need for installation.
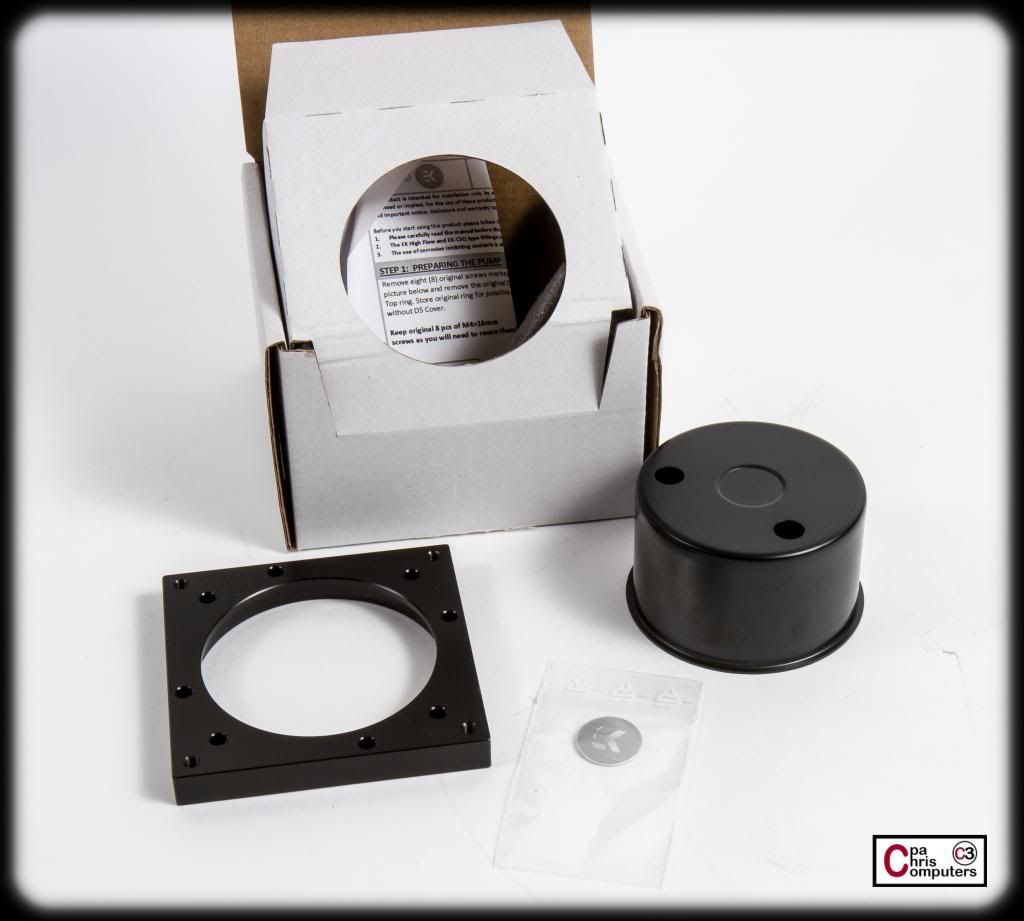
The pump cover kits have the same great foam protection inside a perfectly shaped box. No waste of space in most EK packaging.
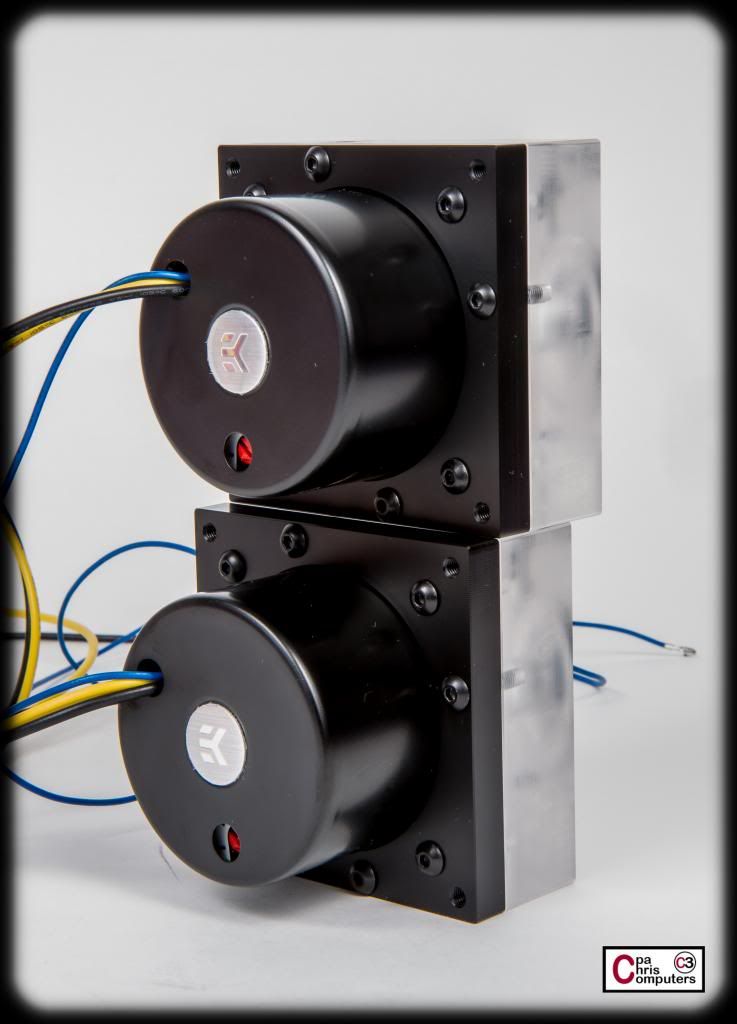
Installation of the pump cover kits is pretty straightforward. First you separate the pump top into two pieces by removing the 8 screws....
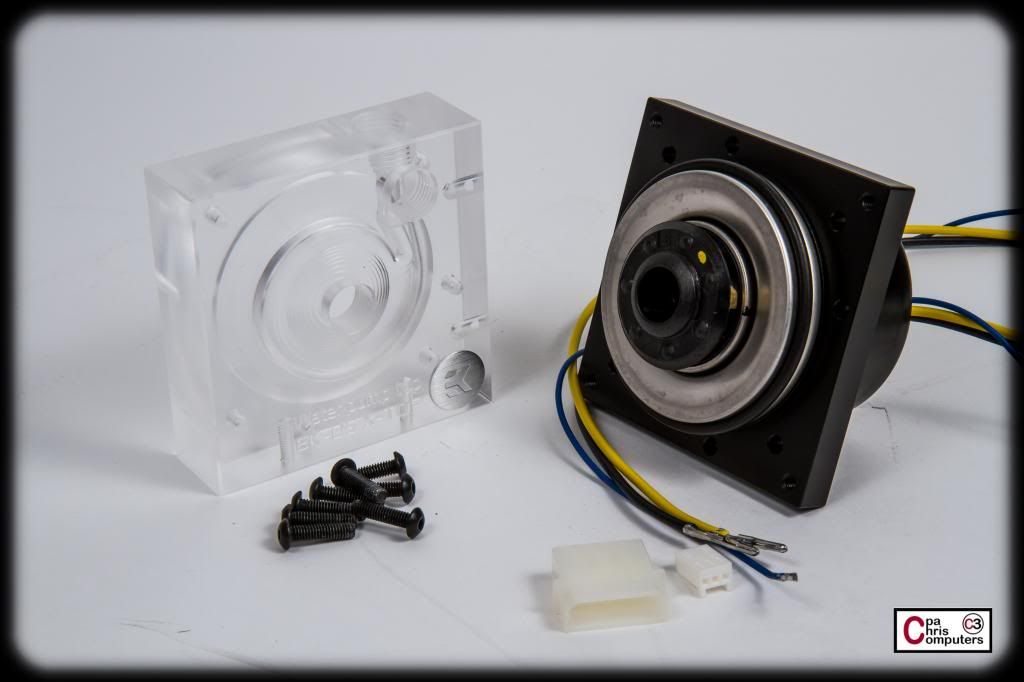
Then you replace the standard pump top backing (acrylic in my original pump top kit) with the pump top backing from the pump cover kit (black in my kit). The one from the pump cover kit must be used as the diameter of the hole for the pump cutout is too small to let the pump cover through on the original one.
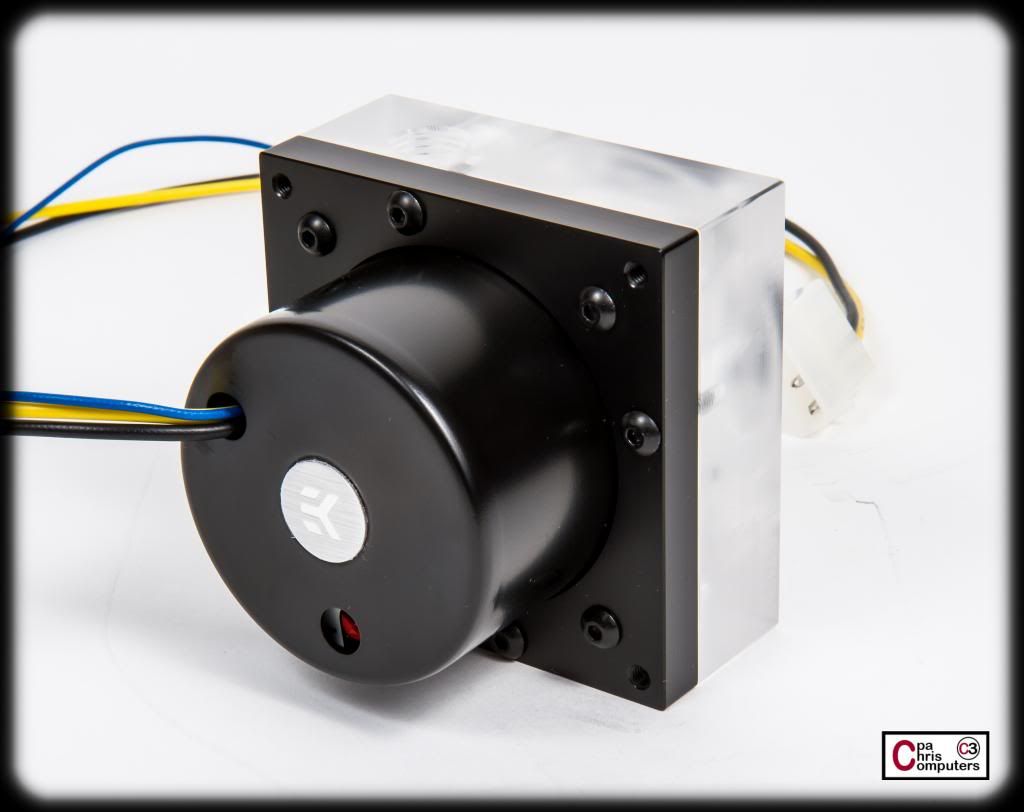
Screw it back together and ....viola!
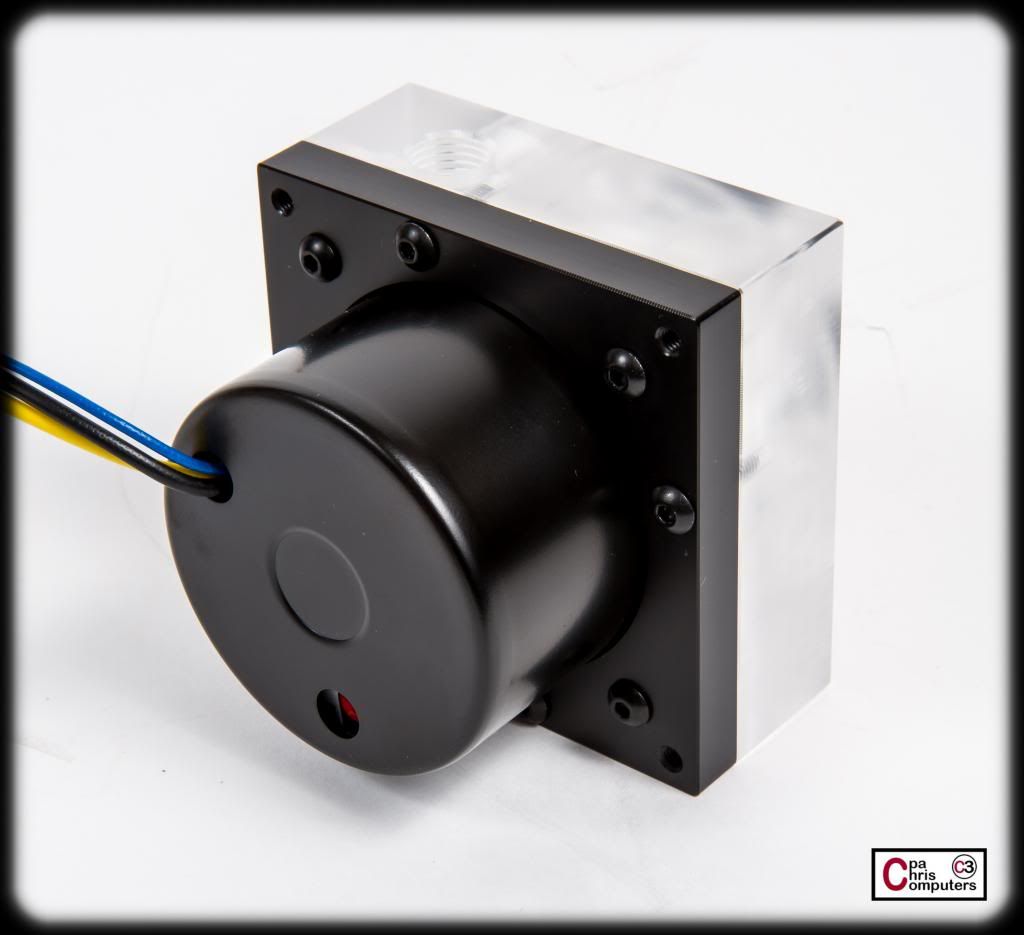
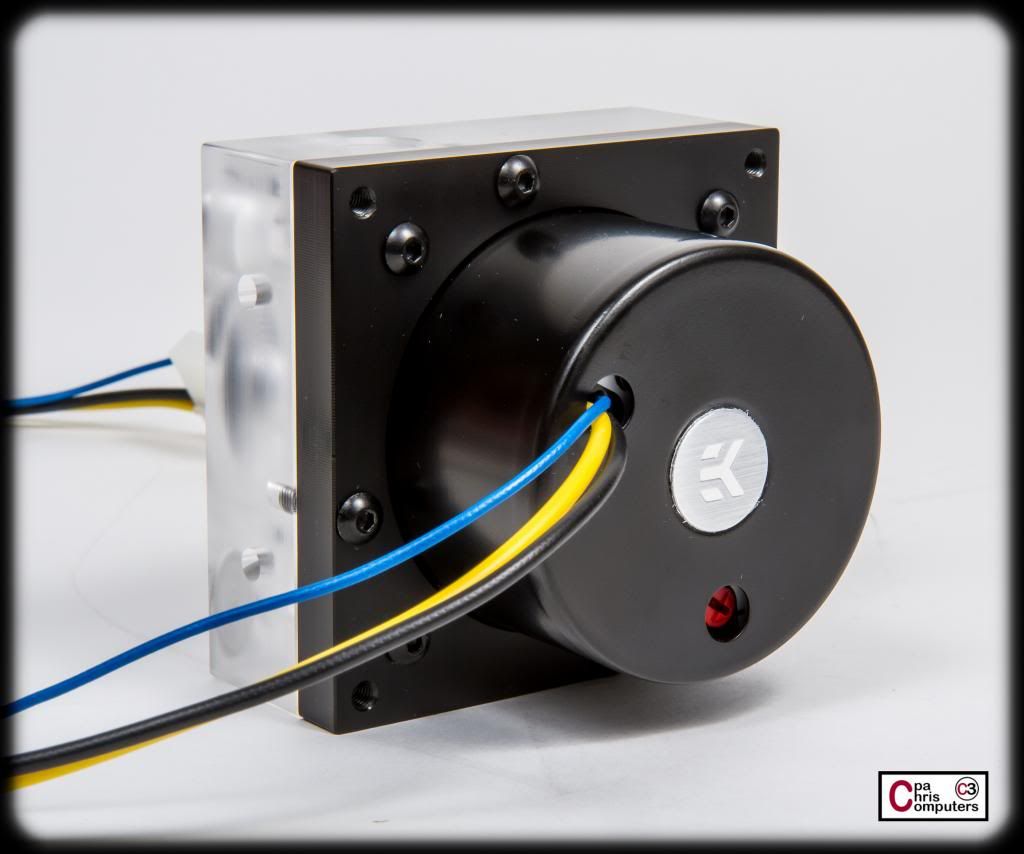
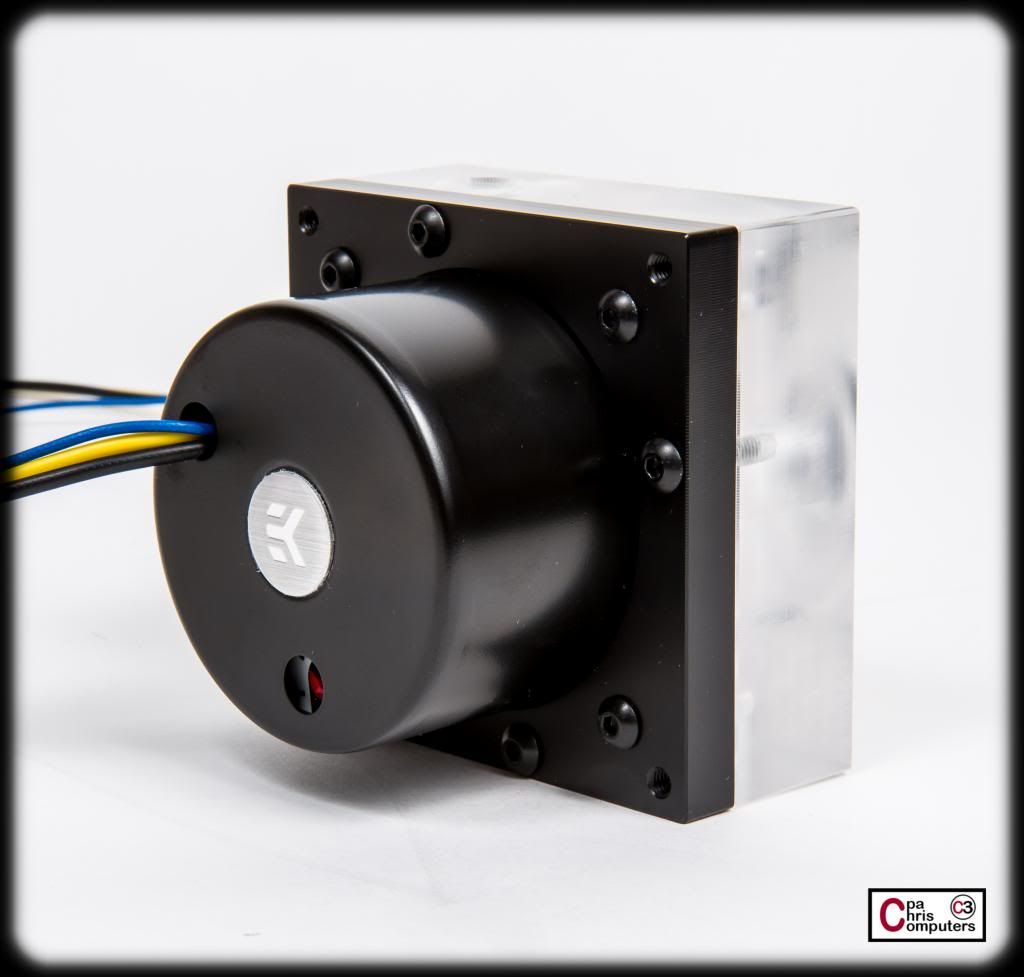
The back of the cover kit is purposely missing the EK badge....
One of the aluminum EK badges comes in the kit, and you can put it on whichever direction you want.....
So....if you wanted to rotate the back cover so that the wires come out the left...or the right....or bottom....or whatever you want....you can still make the EK badge line up in the correct direction. Whatever direction you want it read. Nice touch.
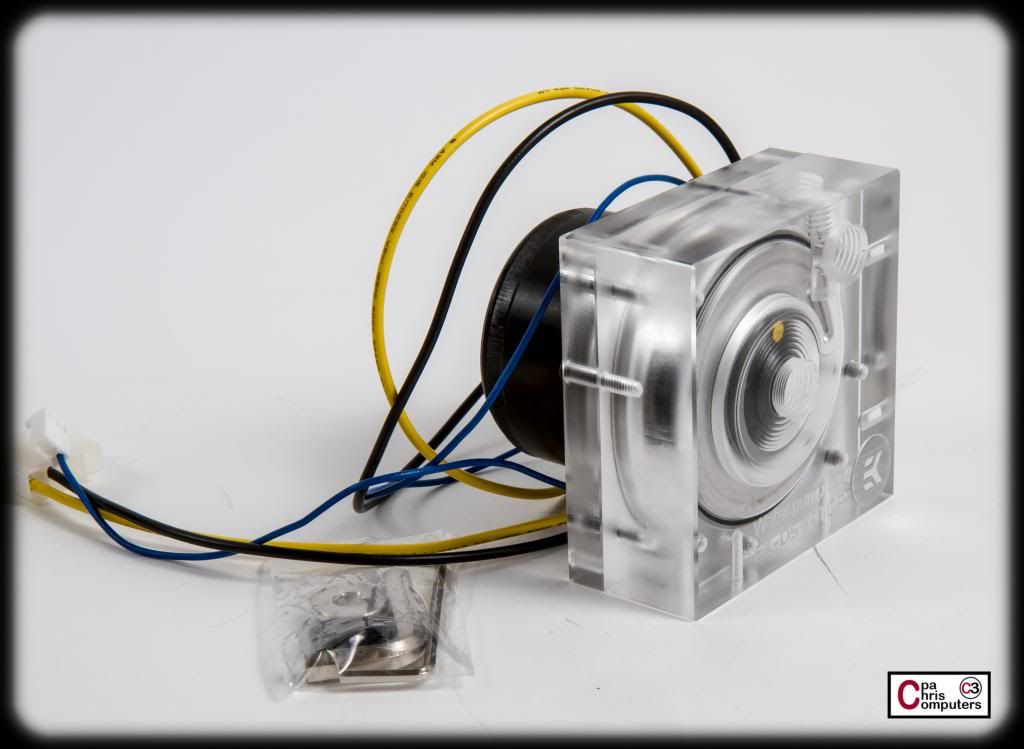
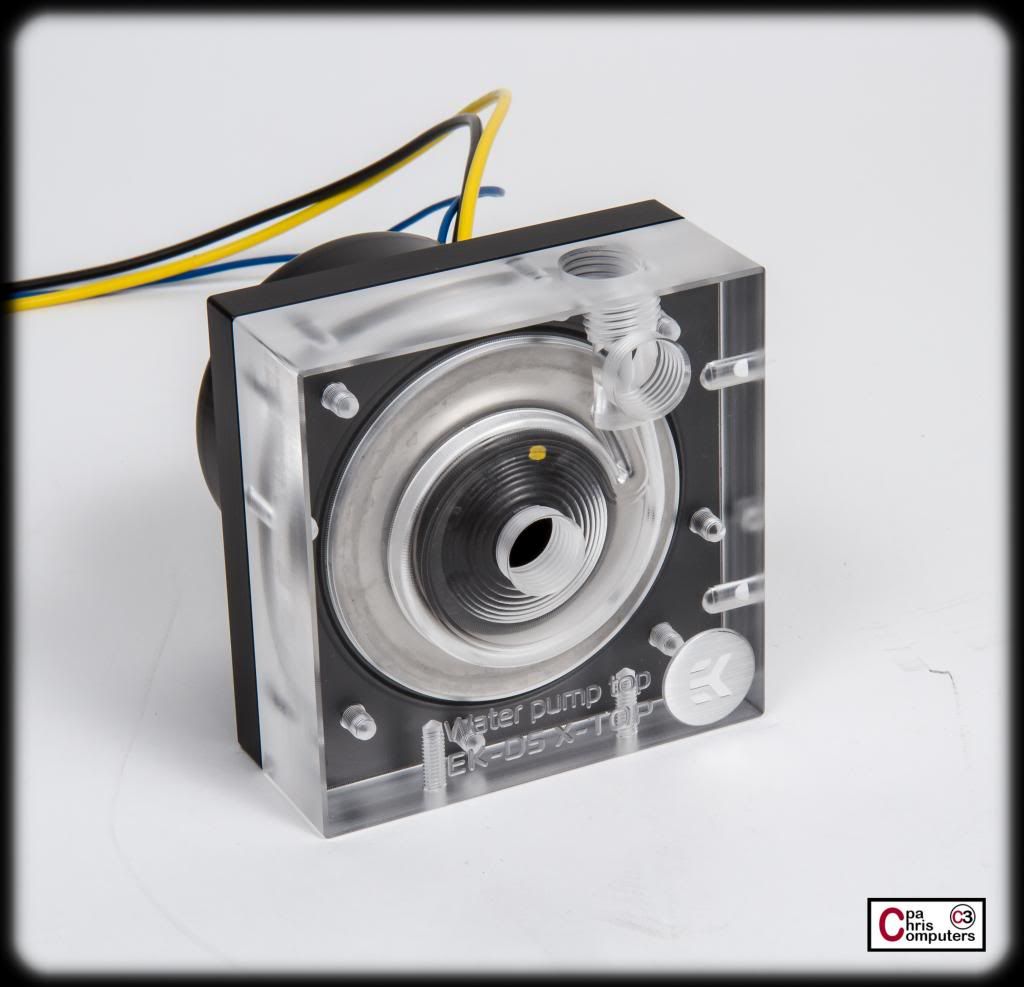
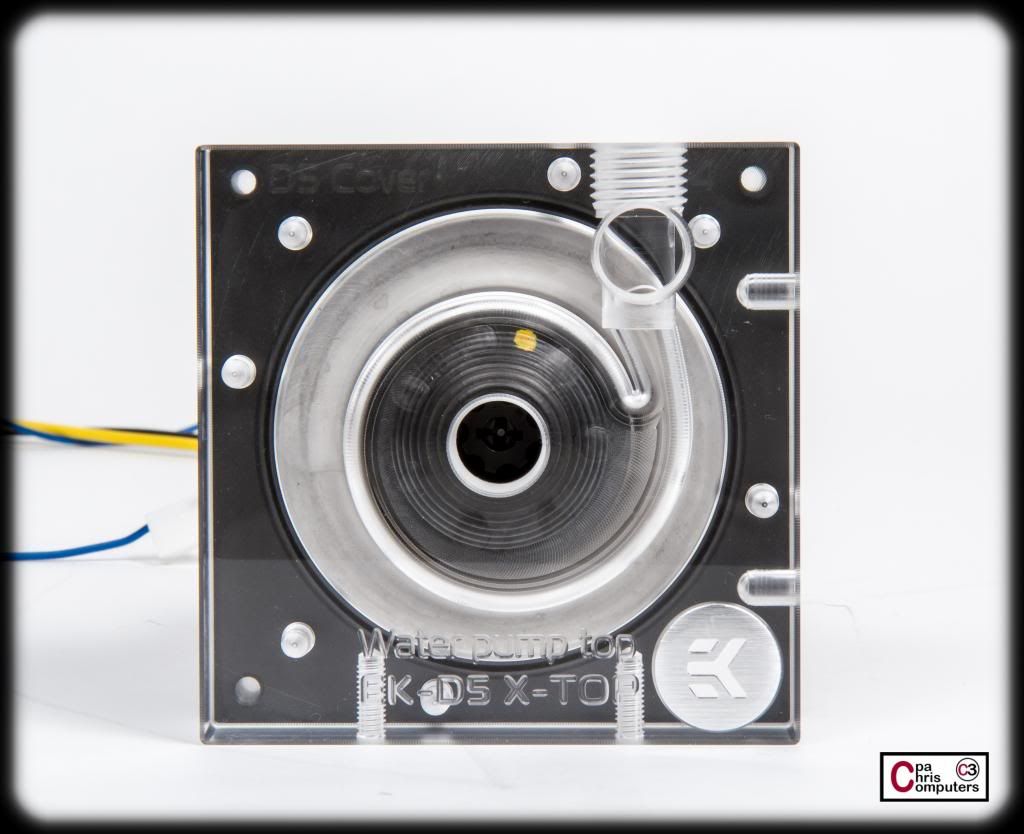
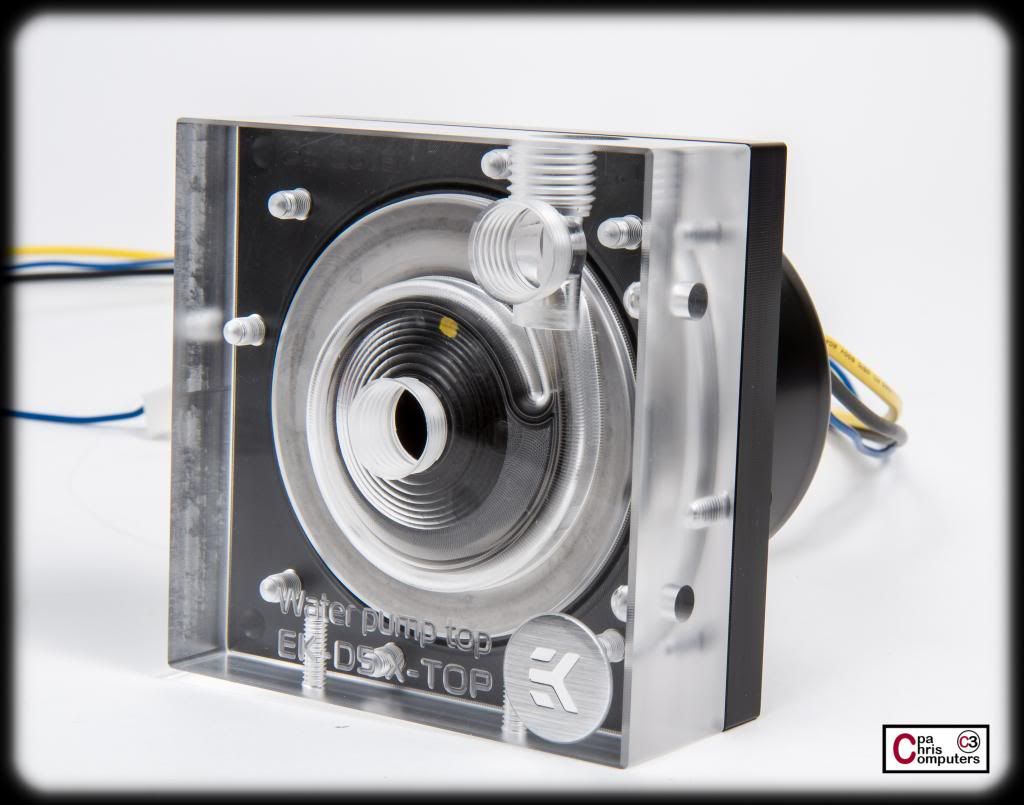
Let's take a lap around this beautiful pump top. Similar to the "clean" version of the Supremacy block I showed earlier....you'll notice that the top of the pump top is much clearer than the sides....which have a frosted look. My plan will be to polish this bad boy up so that everything is clear as glass......
Couple of LED holes on this right side of the block.....
I find these pump tops beautiful. Imagine them inside the black part of my case, with a soft glow of LED's illuminating the inside of the block and the engraving....and some gorgeous pink coolant circulating. Mmmmmmm. The only thing better looking than one of these pump tops.....
.....are two of these pump tops.
I find them so attractive that I'm going to find some prime real estate in the case, right by a window, for installation. I'm even going to try and stack them vertically so that there is this enormous surface area of beautiful clear illuminated pump tops....with pretty pink coolant pulsing through. Yes.......my precious........
They receive the official Pink Panther seal of approval. He thinks they're purrrrrrrfect. Whatever that's worth.
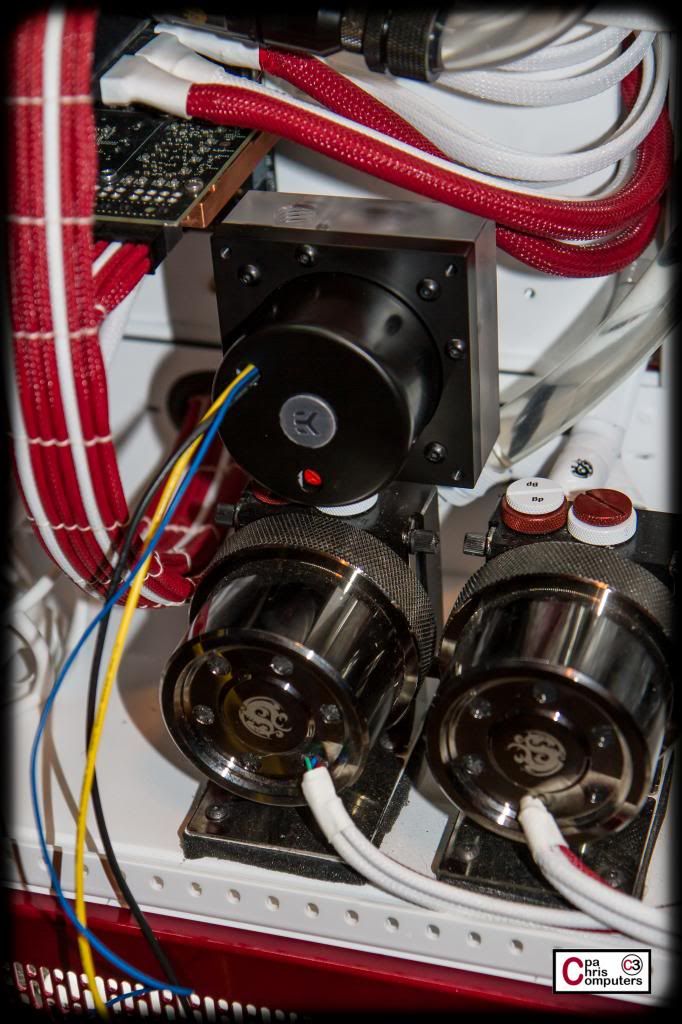
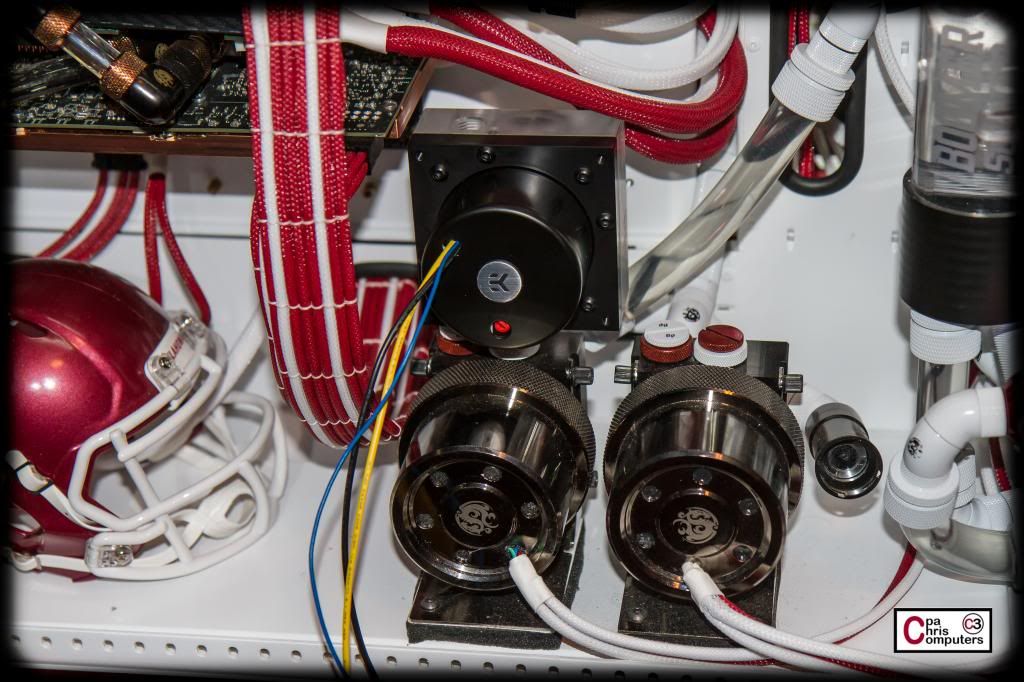
If you're already familiar with Bitspower pump tops, these next pictures will help you get a good feeling for how BIG these pump tops are. The EK one is an 80mm square, while the Bitspower one is a 60mm square. That means there is about 75% more surface area on the Bitspower pump top. In the pictures below, I've lined up the left edge of the EK pump top, with the left edge of the Bitspower pump top in the BBBB. You can see how much longer the EK version sticks out on the right side.
If you have the space for it, it's beautiful. But it does take up considerably more space.
When comparing these to the Bitspower pump tops and mod kits.....I would say that the Bitspower mod kit definitely has a lot more "bling" to it, while the EK mod kit has more of an simple, elegant and refined look. They both are great looking...so it really just depends on your preference or the aesthetics you are going for in your build.
The installation is also very different. Bitspower relies on threads on the pump top to screw the mod kit on to it. EK secures the mod kit with a series of screws. The Bitspower installation method is quicker and easier....but I think I prefer the EK screws. I feel rock solid about the seal I'm getting with the screws. It seems like sometimes the Bitspower mod kits loosen up a little on me after installation, and need to be tightened again. I also get hesitant about possibly stripping the threads on the Bitspower version if I tighten up toooooo much. Bitspower is definitely available in a much larger variety of finishes though....so it may be easier to match your build colors with a Bitspower top. And as mentioned earlier....the EK pump tops are much larger and take up more space. If you have the space and want to show them off.....cool. If you are short on space....definitely consider whether you have the room.
And since I was in the BBBB taking the pump picture....here is a shot of the inside in the location in my office where she currently resides. She has been humming along perfectly for several months now. I'm starting to give up on getting a GTX790 released...so not sure what the next upgrade here will be. Pretty sure I DON"T want to drop in two Titan Z's at $3,000 a piece.
Why is it you never notice the dust in your system until after you've taken a picture?
Going to dig into my care package from Lutro0 Customs tonight. Thanks Mike! Pictures later.....
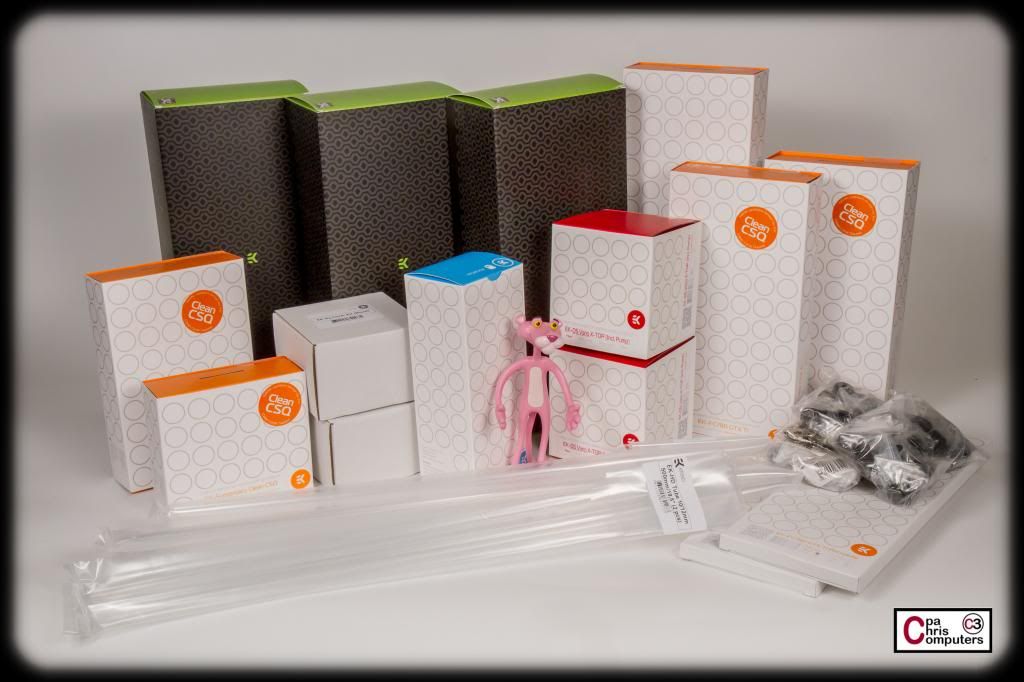
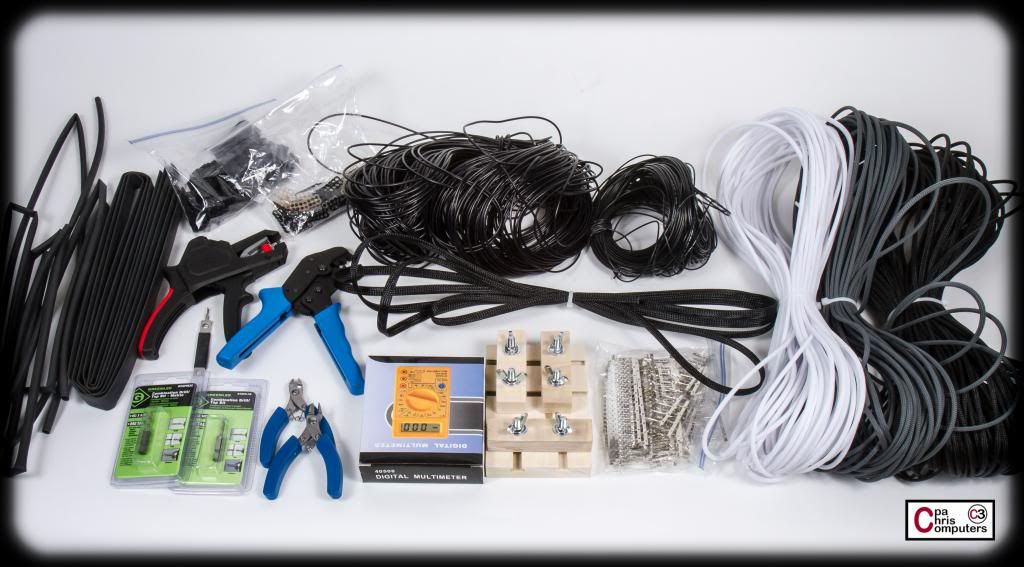
The Lutro0 care package was so full that it was actually difficult to get a shot of everything together.
Lutro0 Customs is supporting this build with all of the sleeving, wire, heatshrink, terminals and connectors that will be used. Being extremely grateful for their support, I also decided to pick up a few of Mike's tools from his website to try while doing the sleeving for this build. In the general direction from left to right and top to bottom, the Lutro0 Customs care package contained:
- 16 feet of 1/4 inch heatshrink (his recommended size for heatshrinkless sleeving)
- 12 feet of 1/2 inch heatshrink
- various connectors
- Wire stripper
- Crimper
- Molex Extractor
- Combination drill bit and tap
- Flush cutters
- 250 feet of Custom 16 awg wire
- 175 feet of Custom 22 awg wire
- 10 feet of black SATA sleeve
- Multimeter
- Adjustable heatshrink jig
- various terminals
- 75 feet White Telios Sleeve
- 75 feet Dark Grey Telios Sleeve
- 200 feet Black Telios Sleeve
I'll do some additional pictures of individual items since it's such a large batch of stuff. Very excited about the Telios sleeving. First impression is very positive. Looks smaller diameter than MDPC-X and also looks to be a tighter weave. Very attractive.
FYI....the white sleeve will be for my attempt to dye it pink.
Thanks Lutro0 Customs!!!!!

 Posting Permissions


 Reply With Quote


Bookmarks