


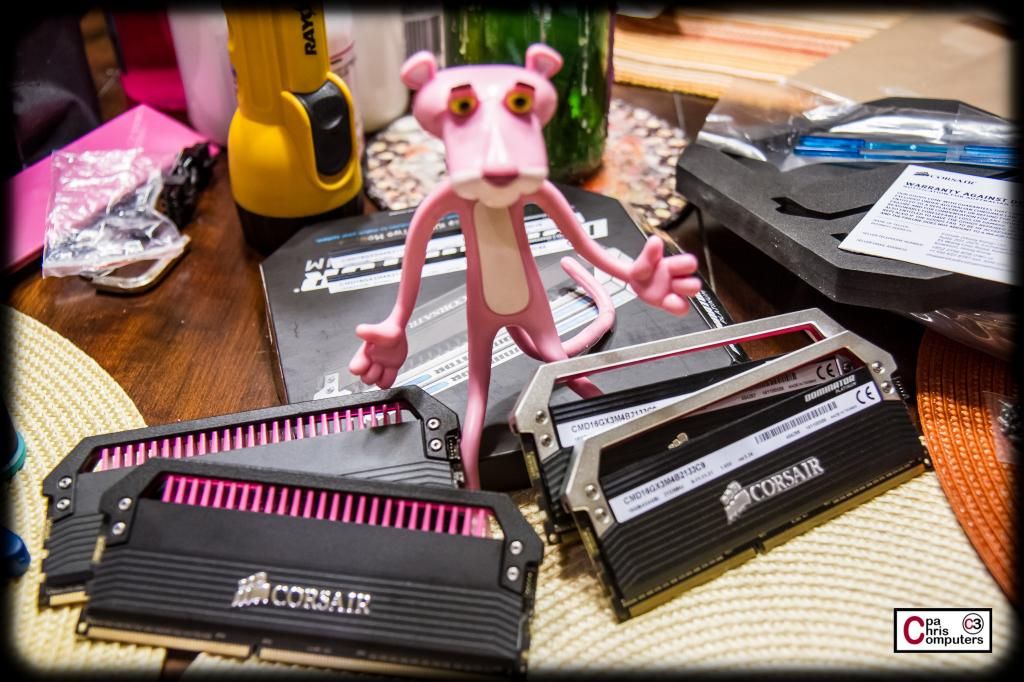
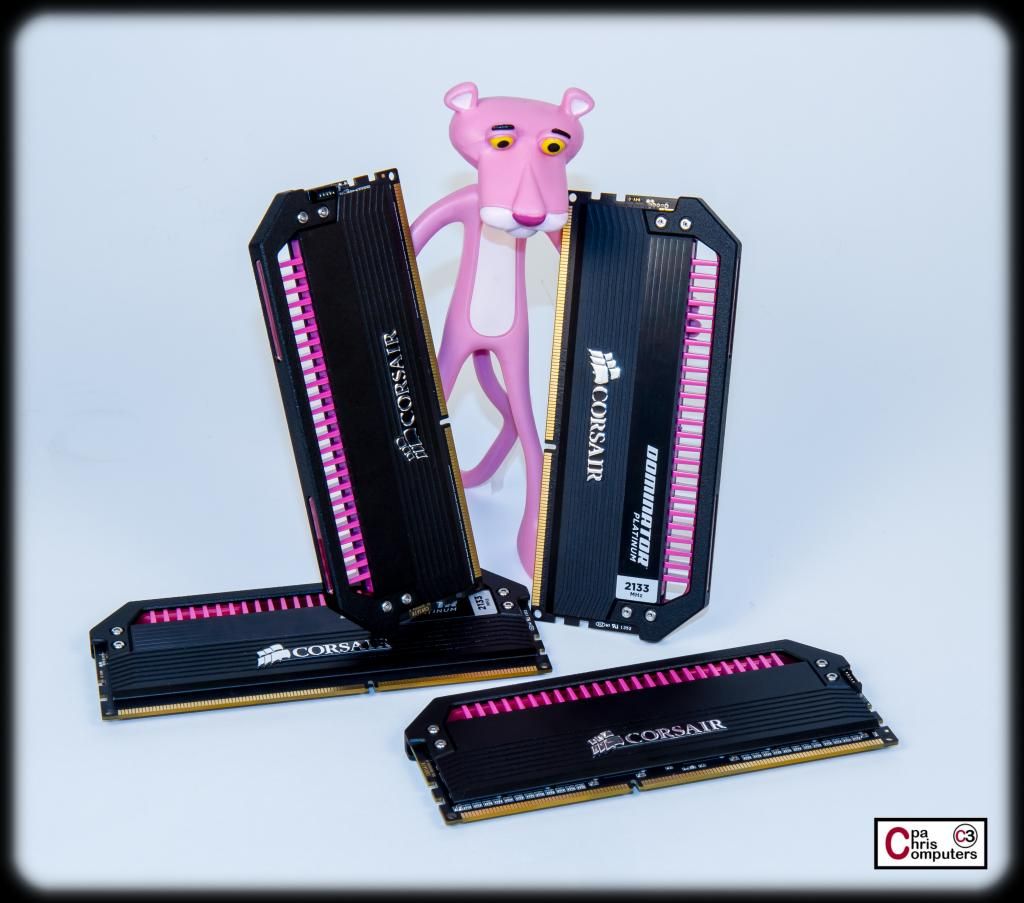
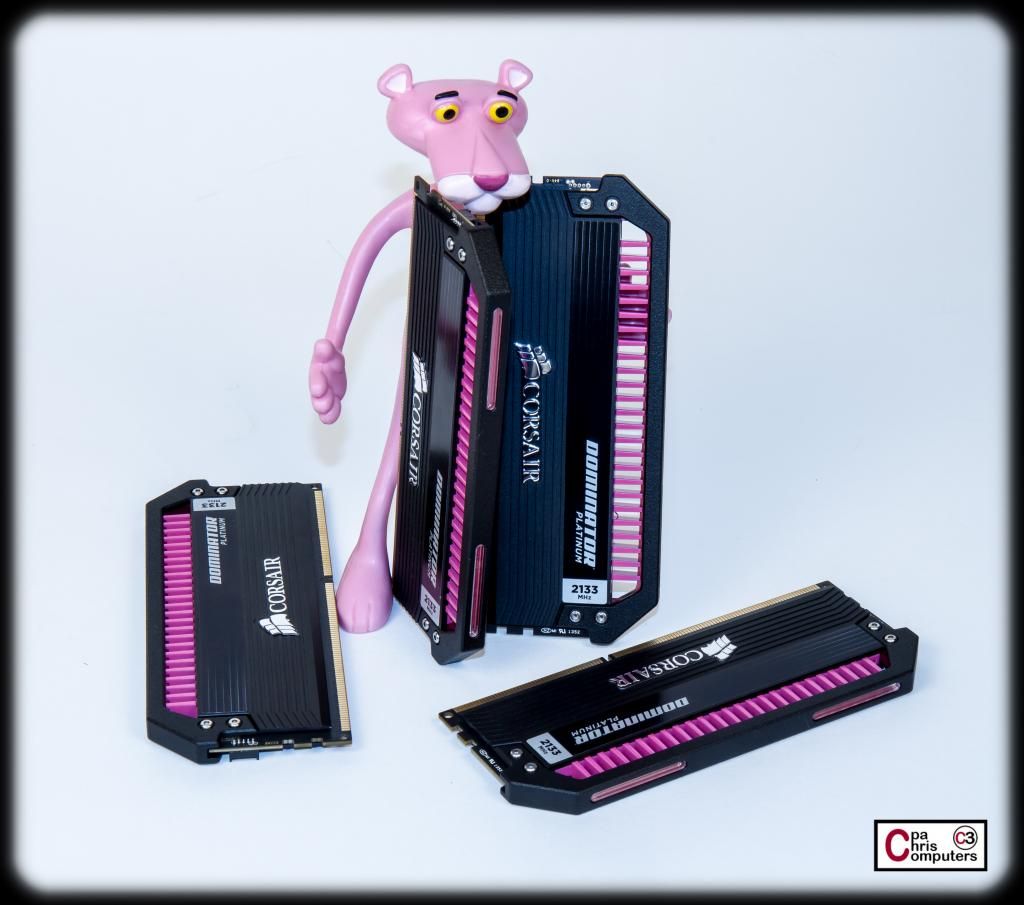
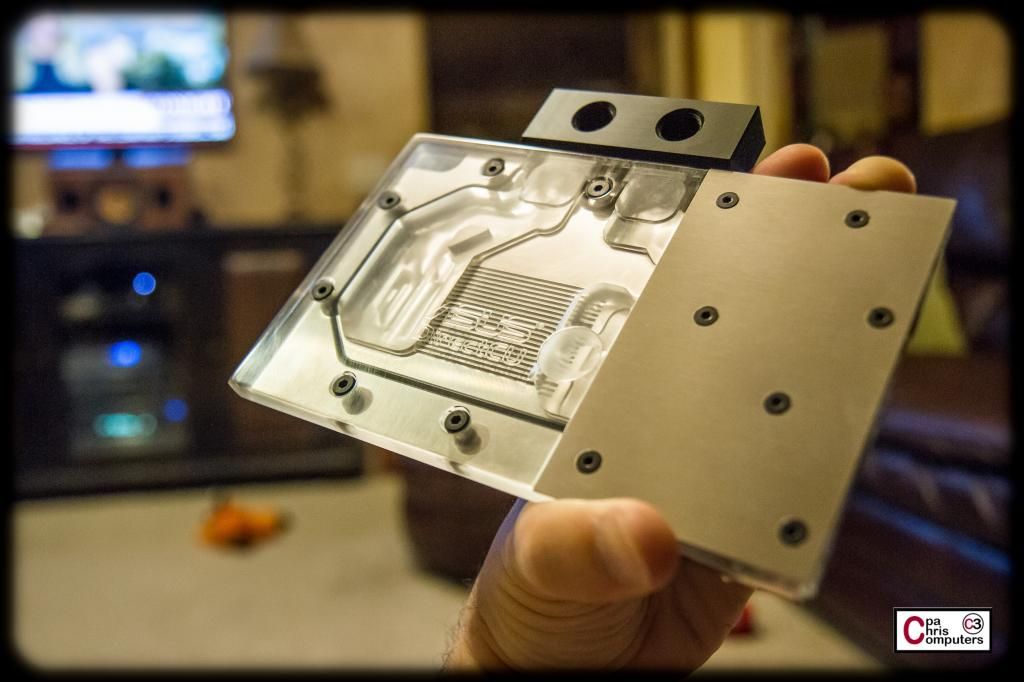
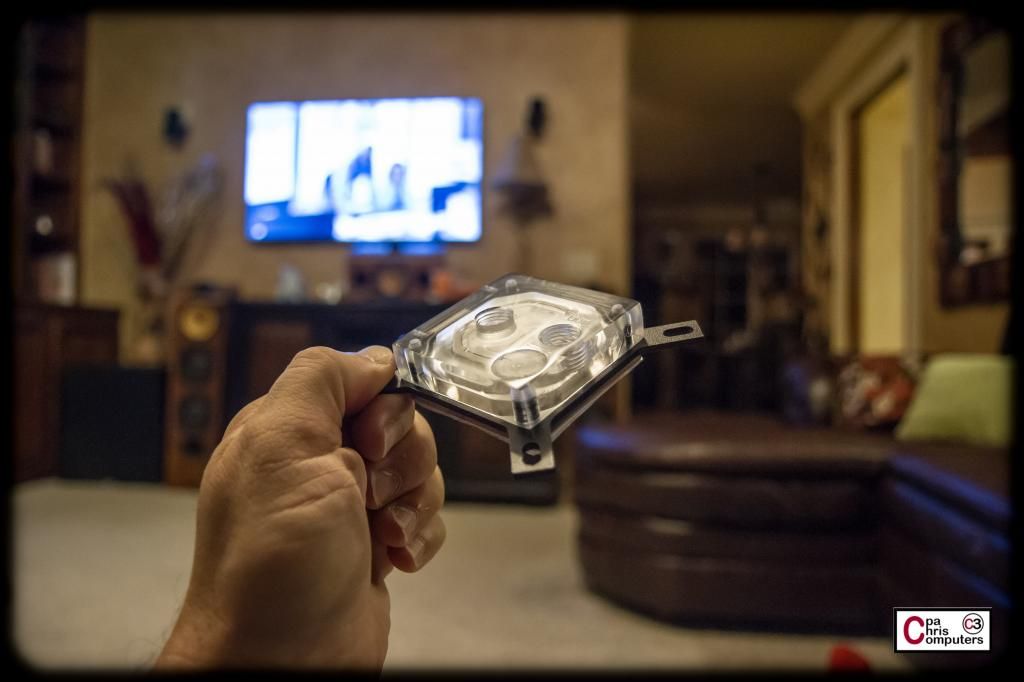
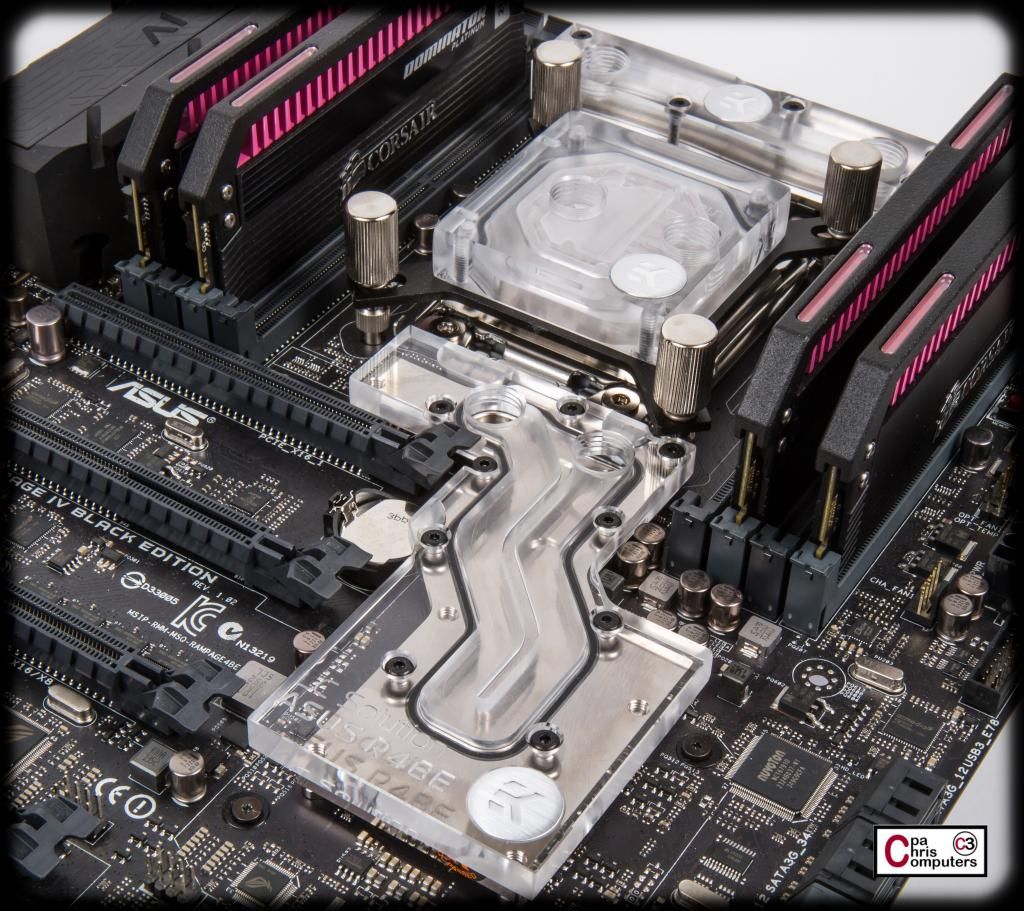
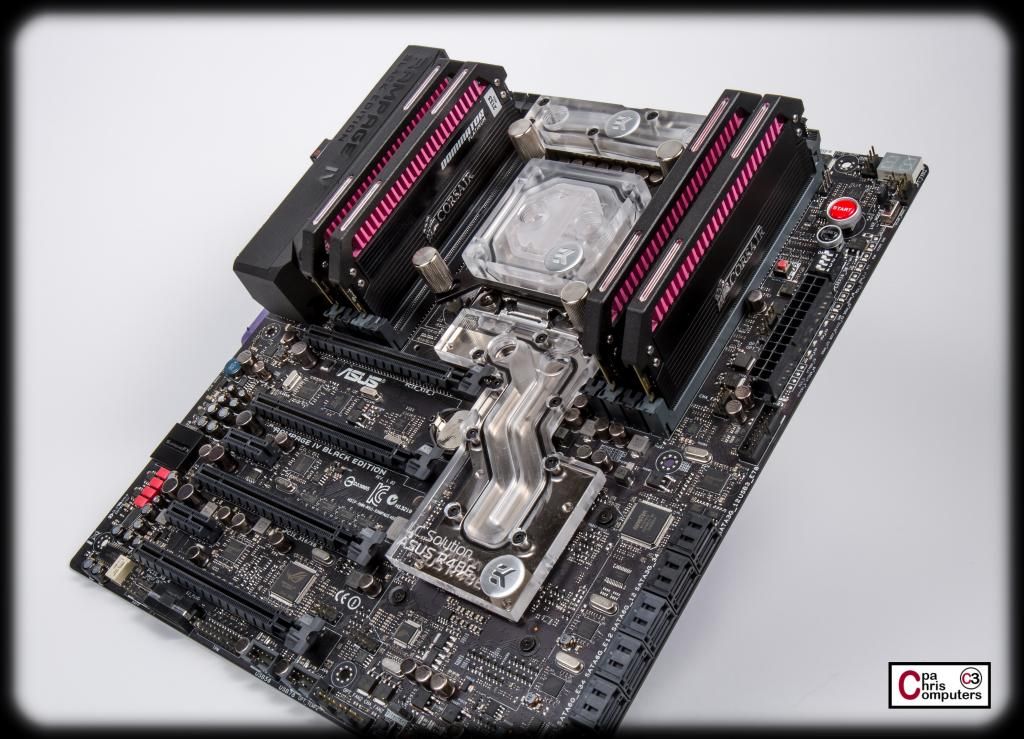
cool thanks! mine should be done soon!Originally Posted by cpachris

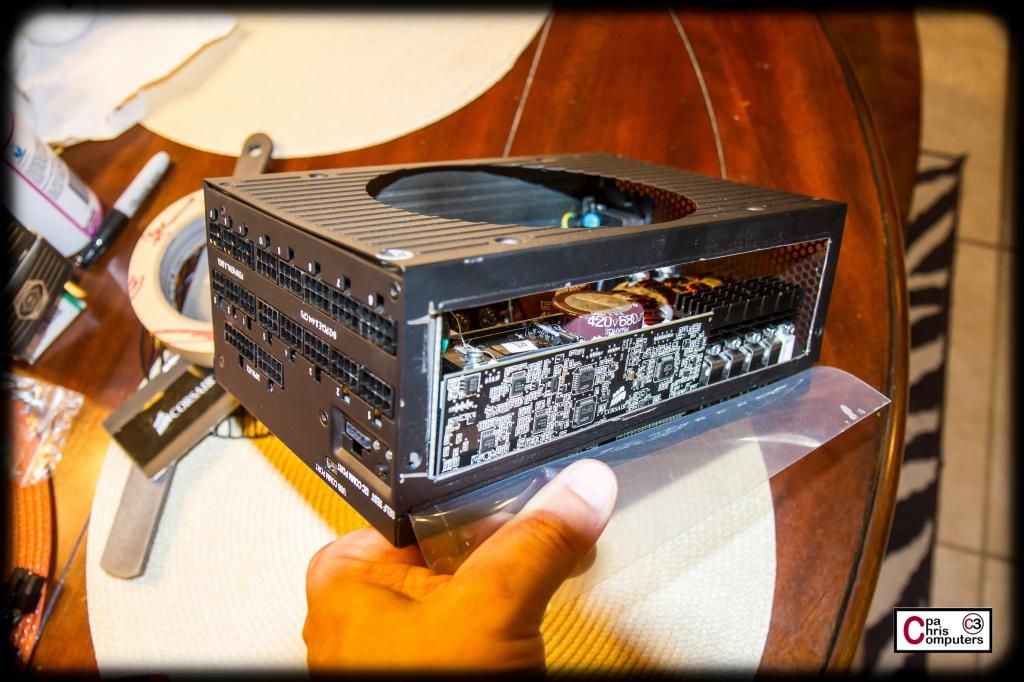
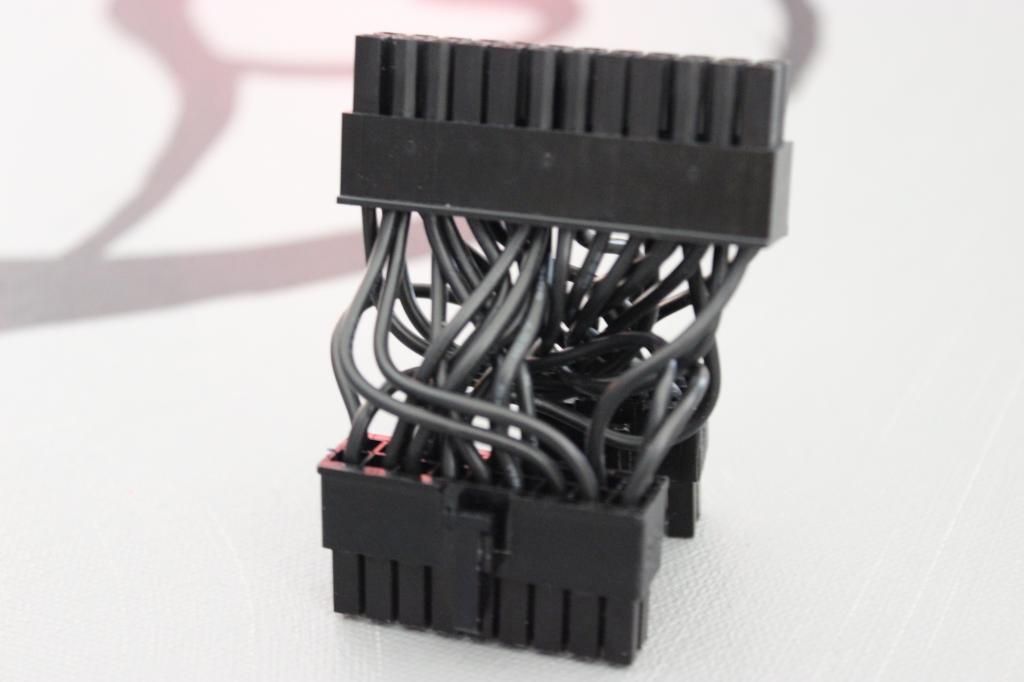
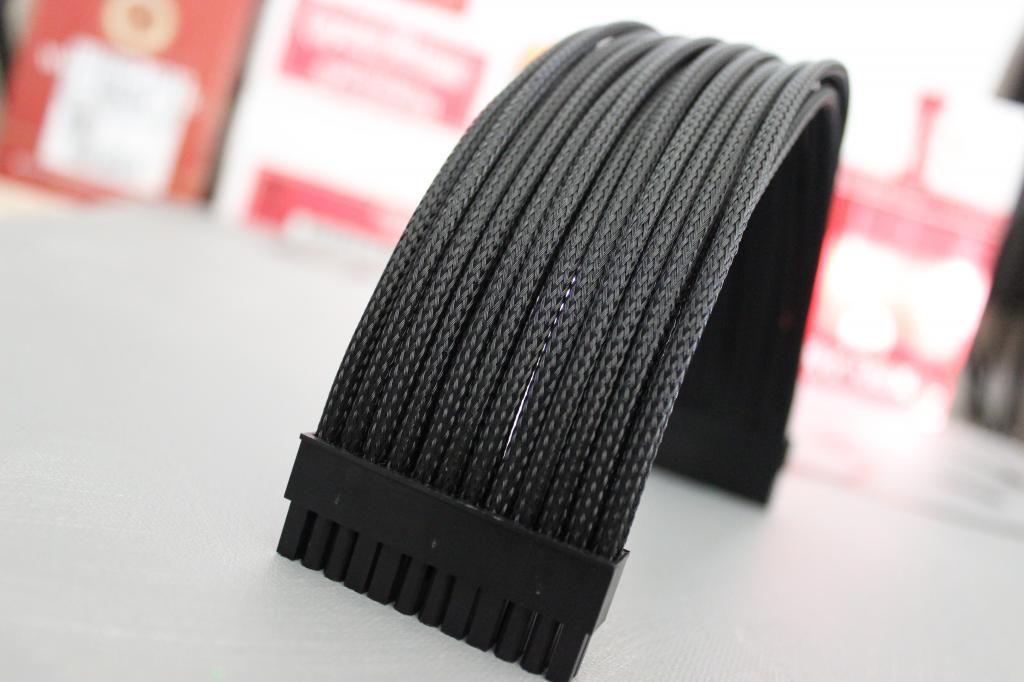
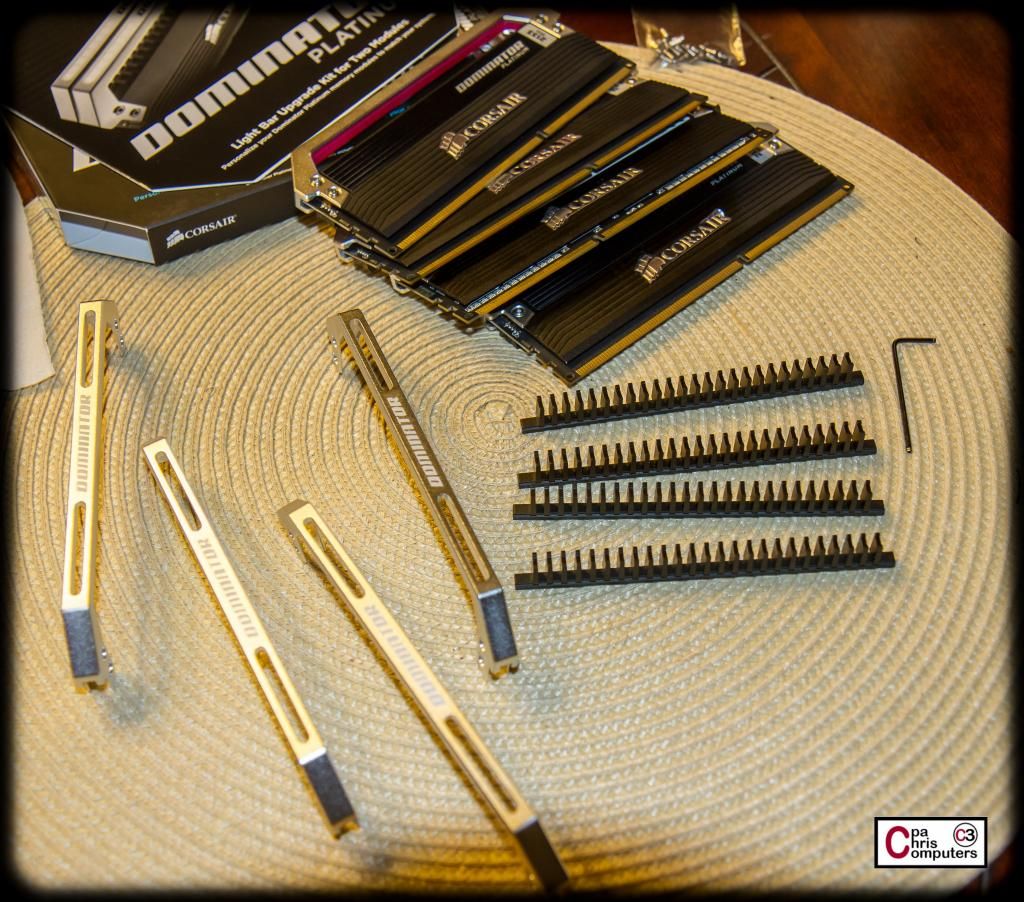
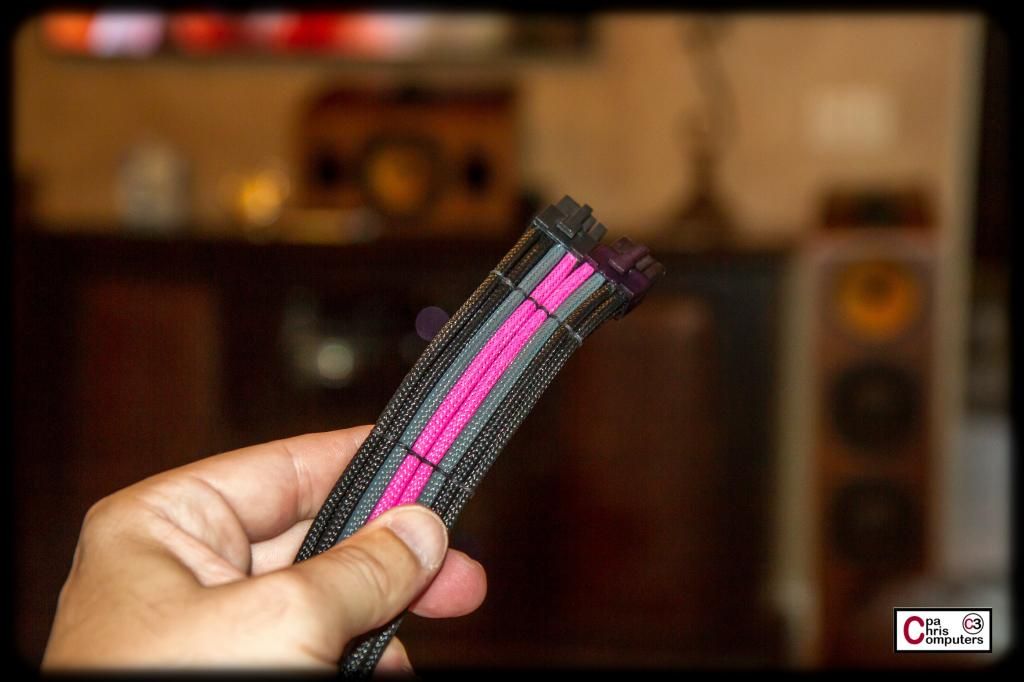
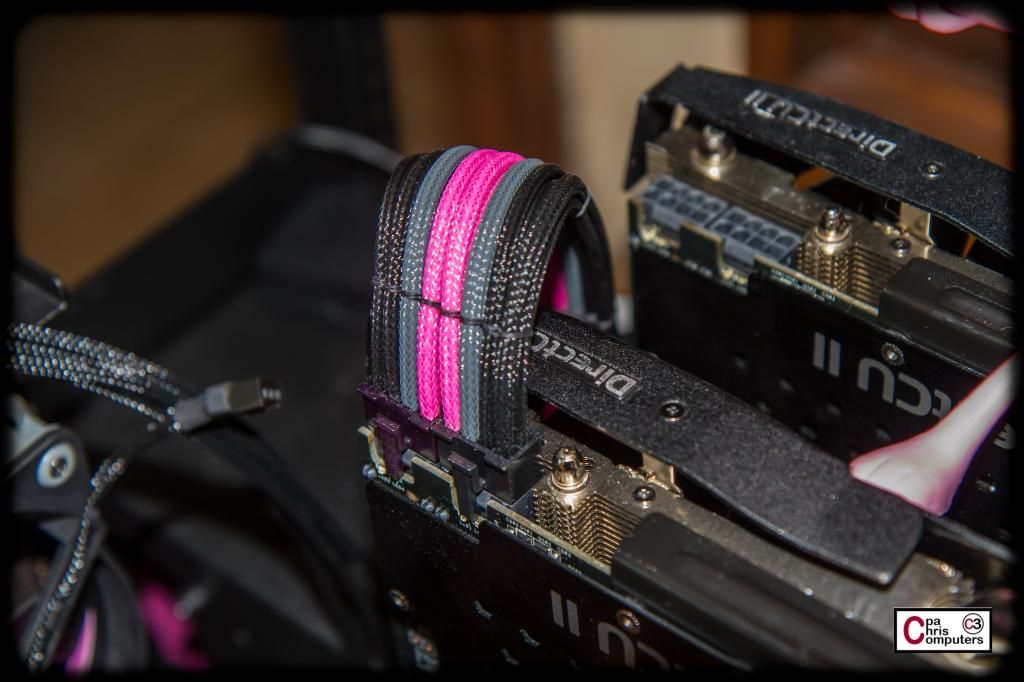
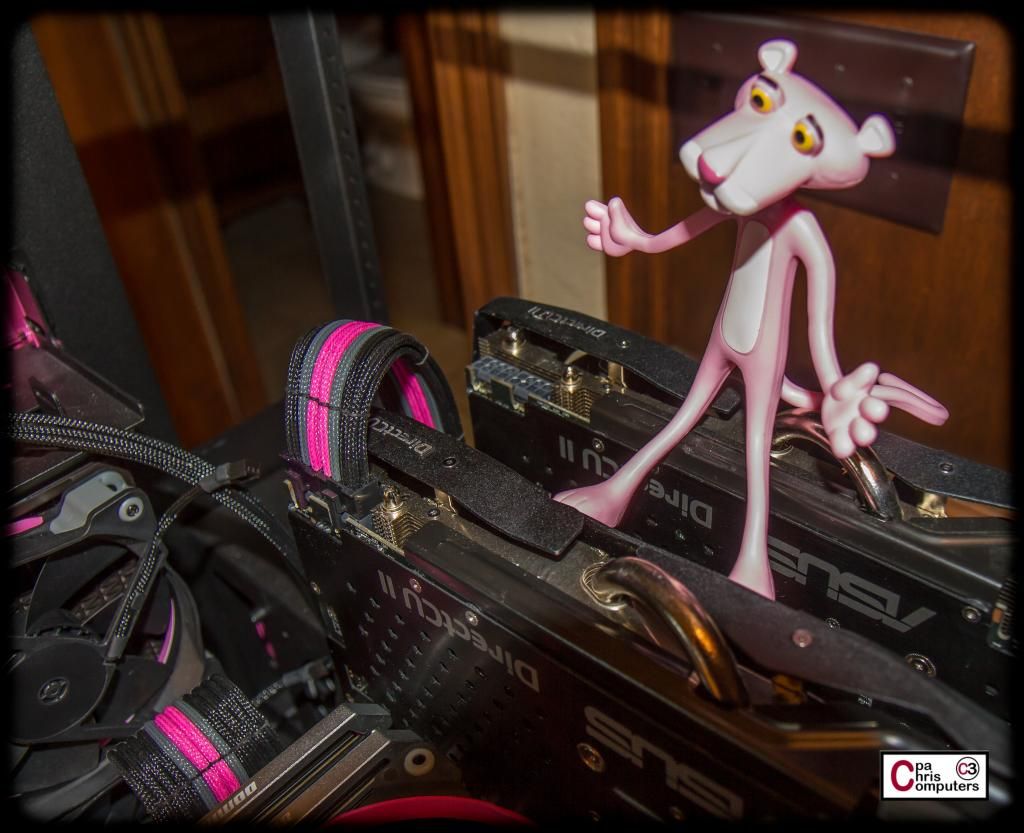
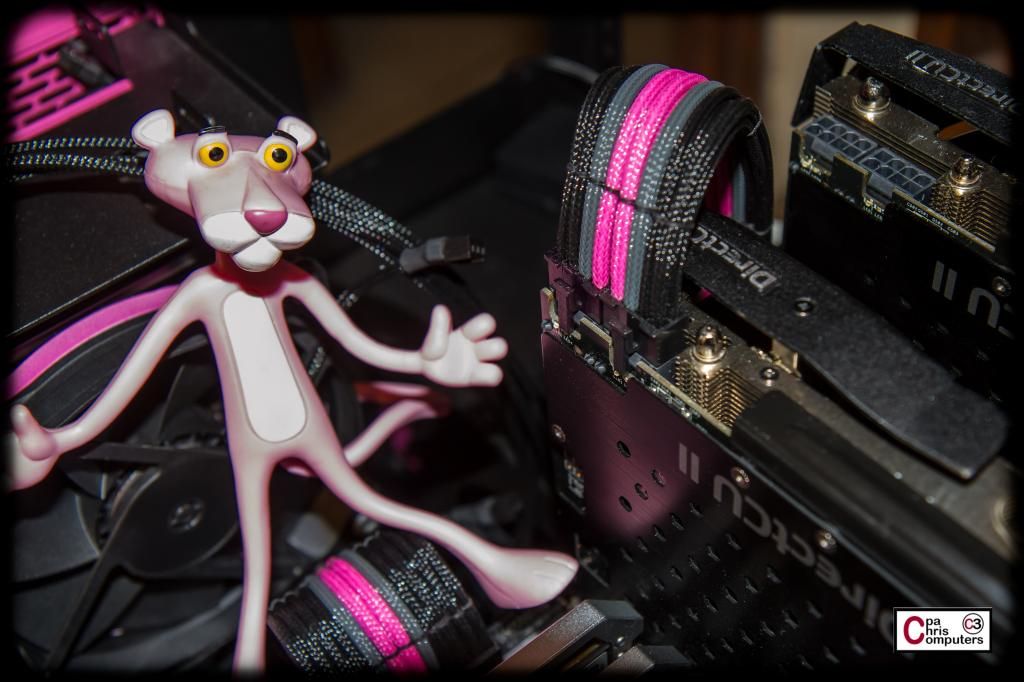
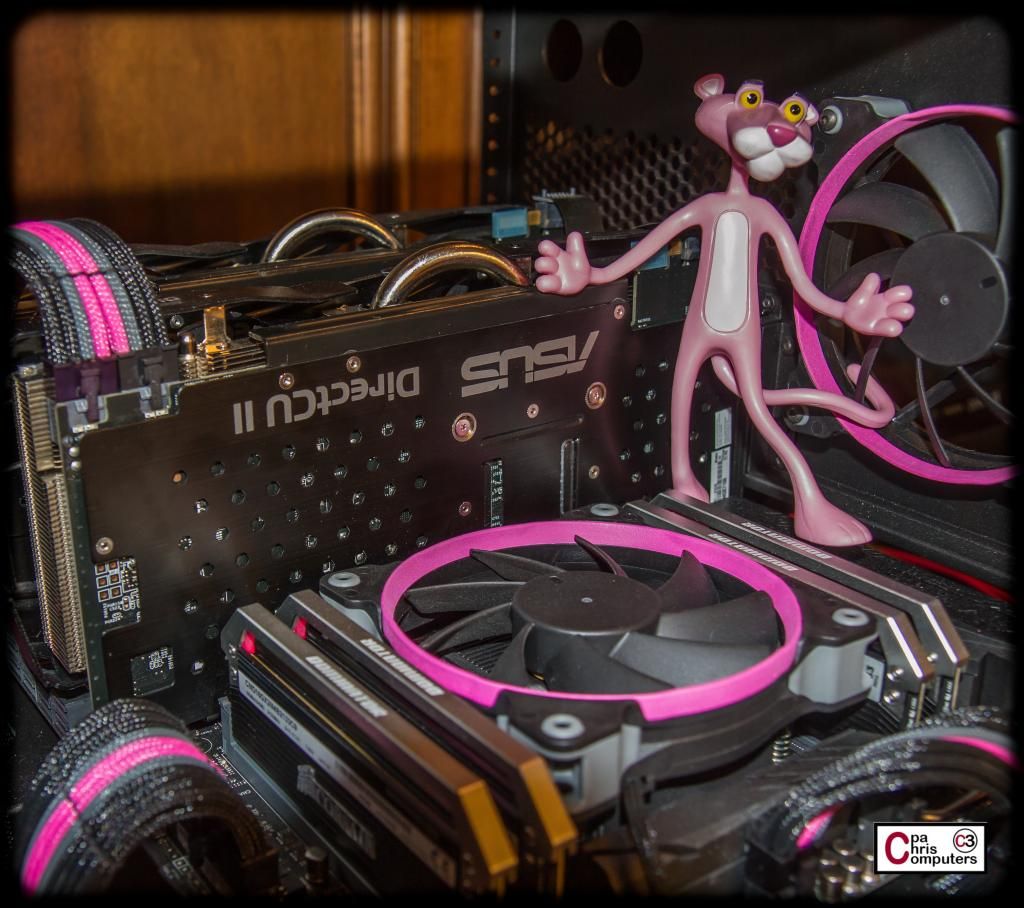
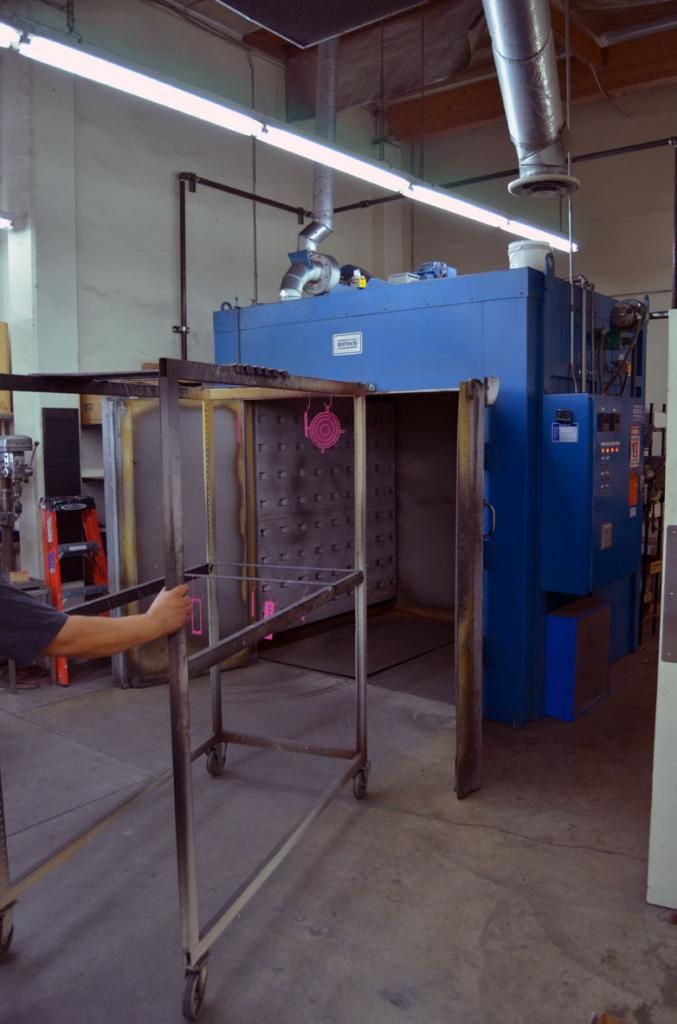
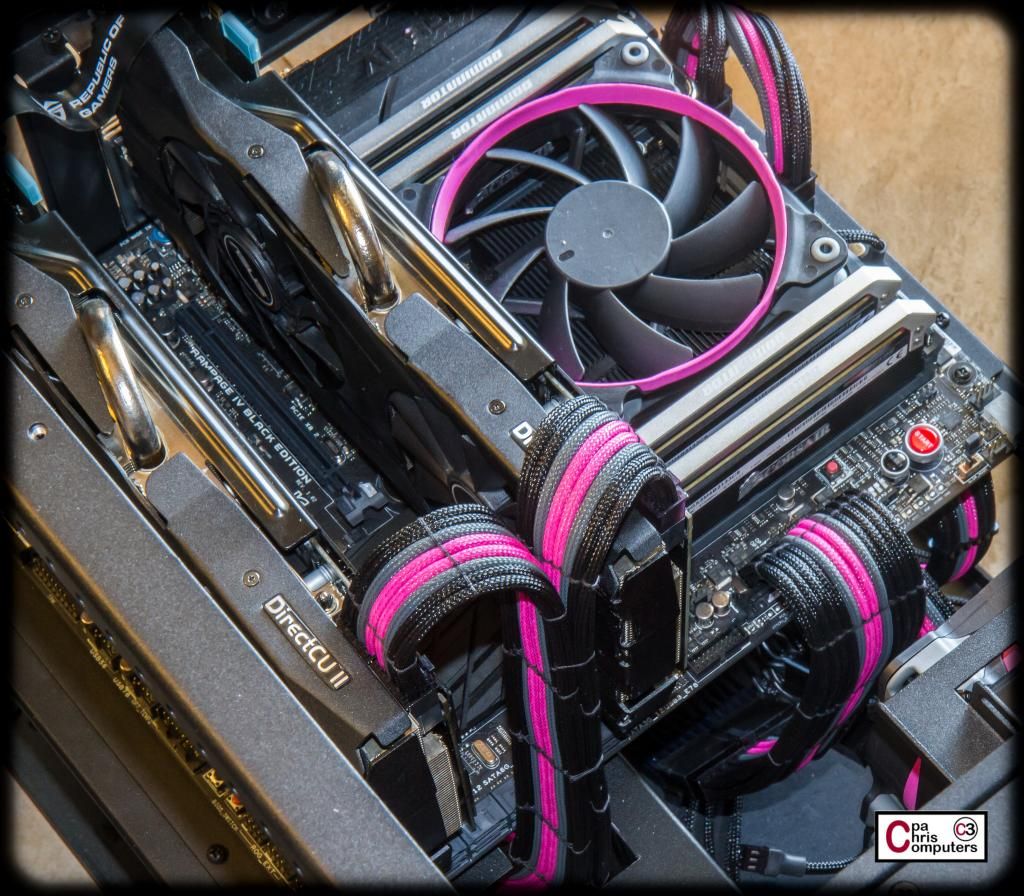
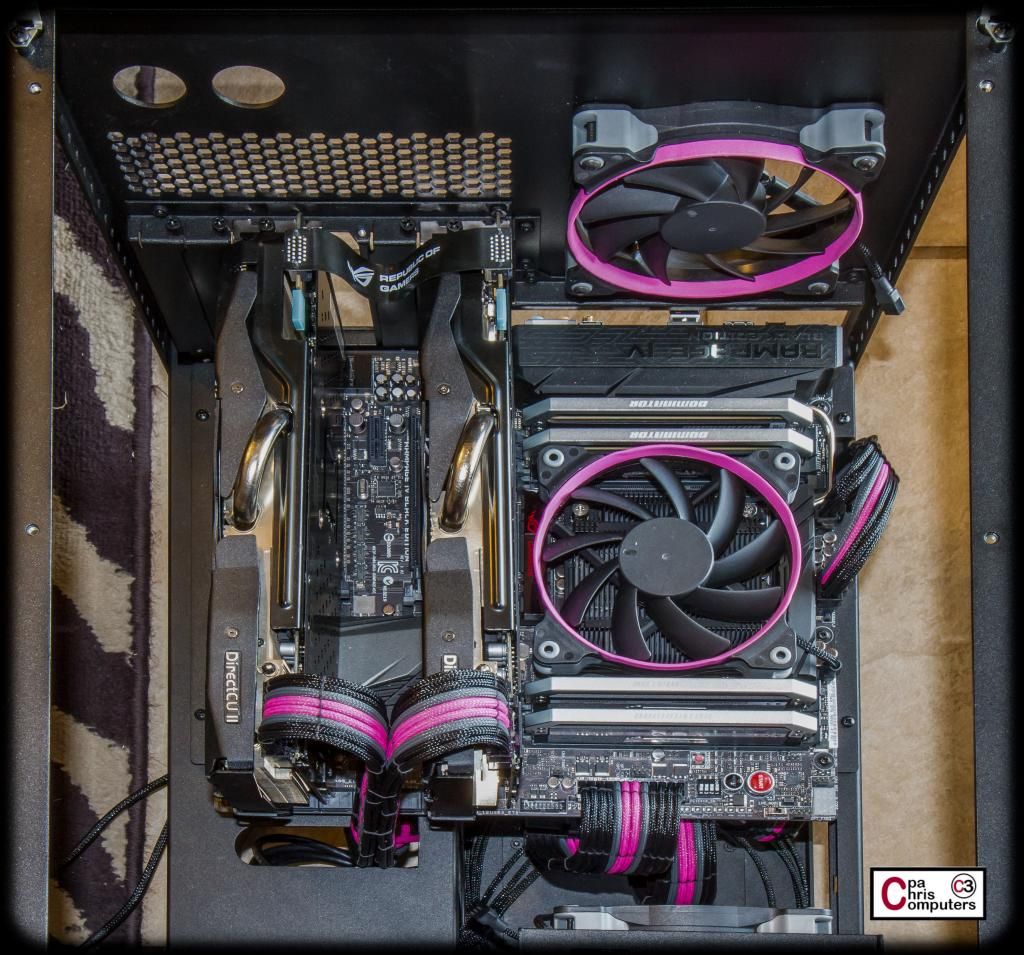
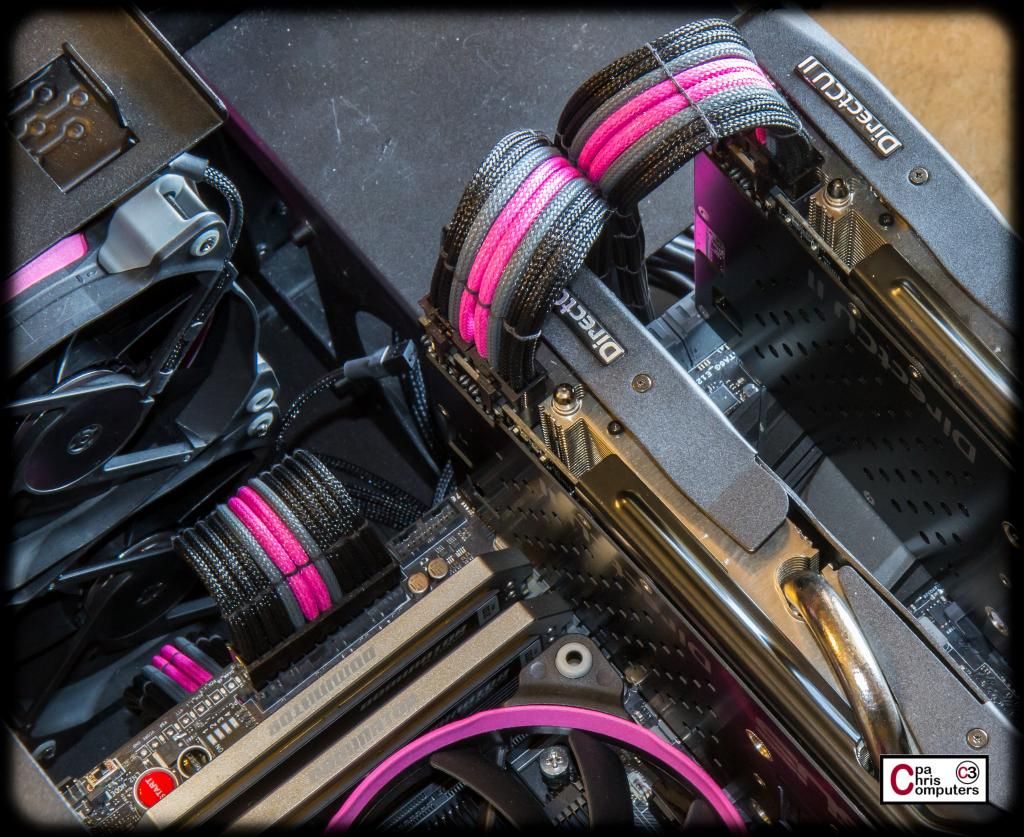
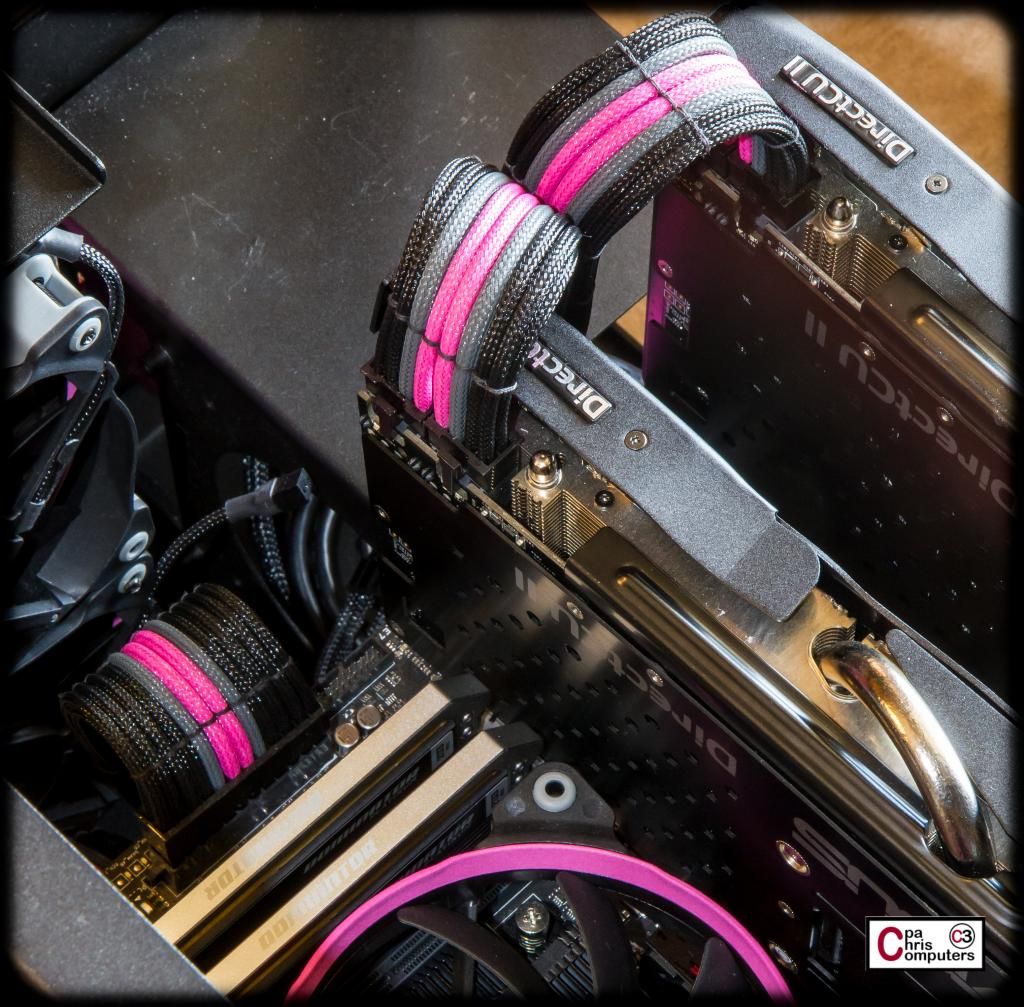
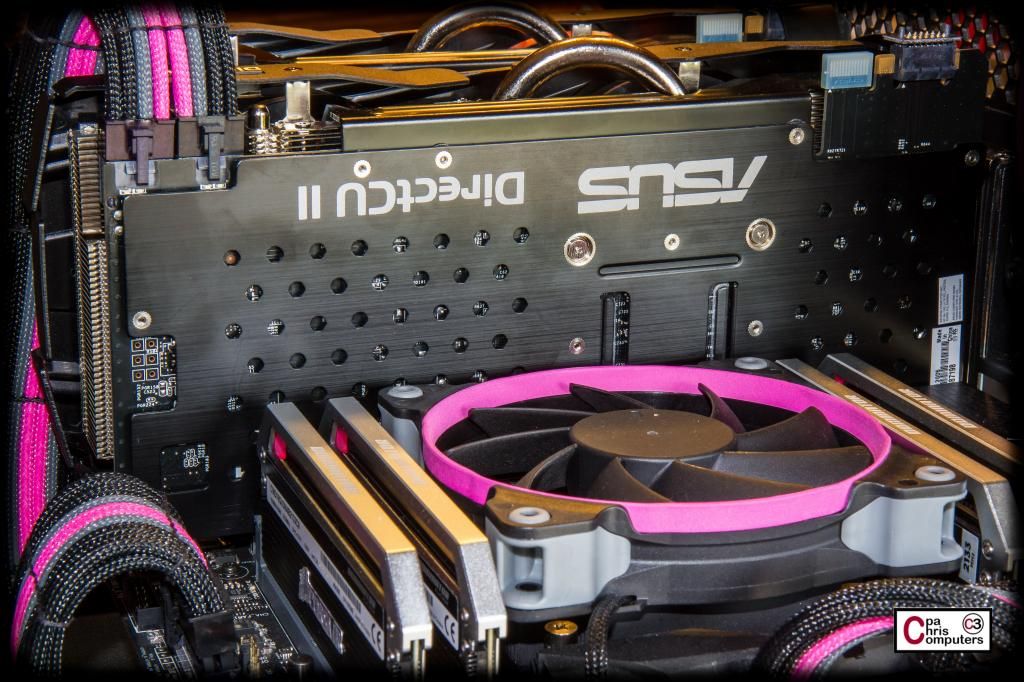
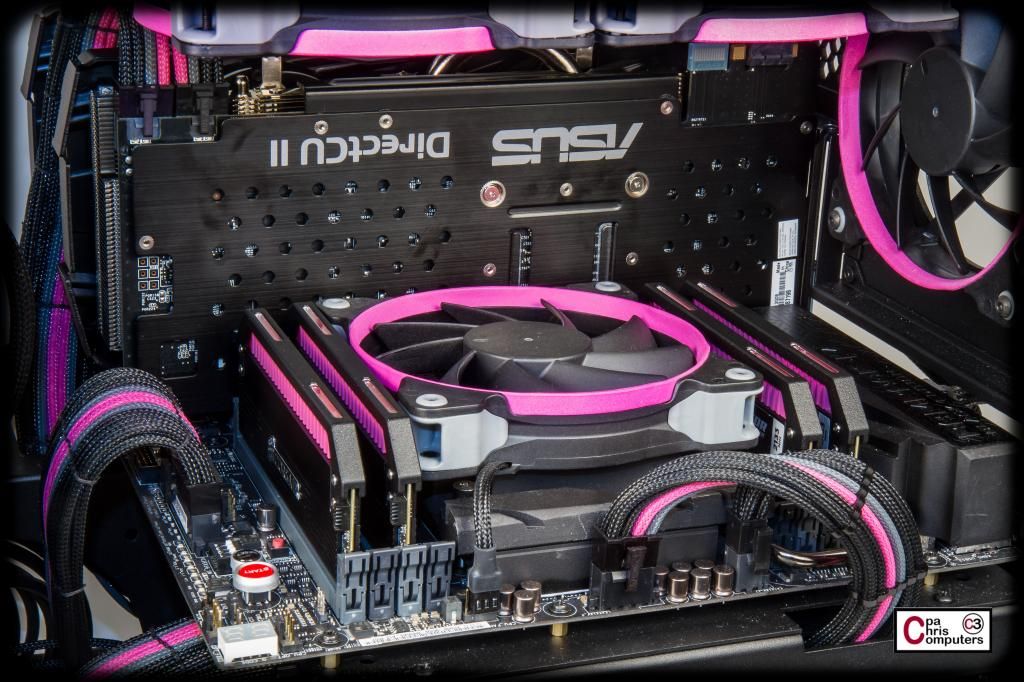
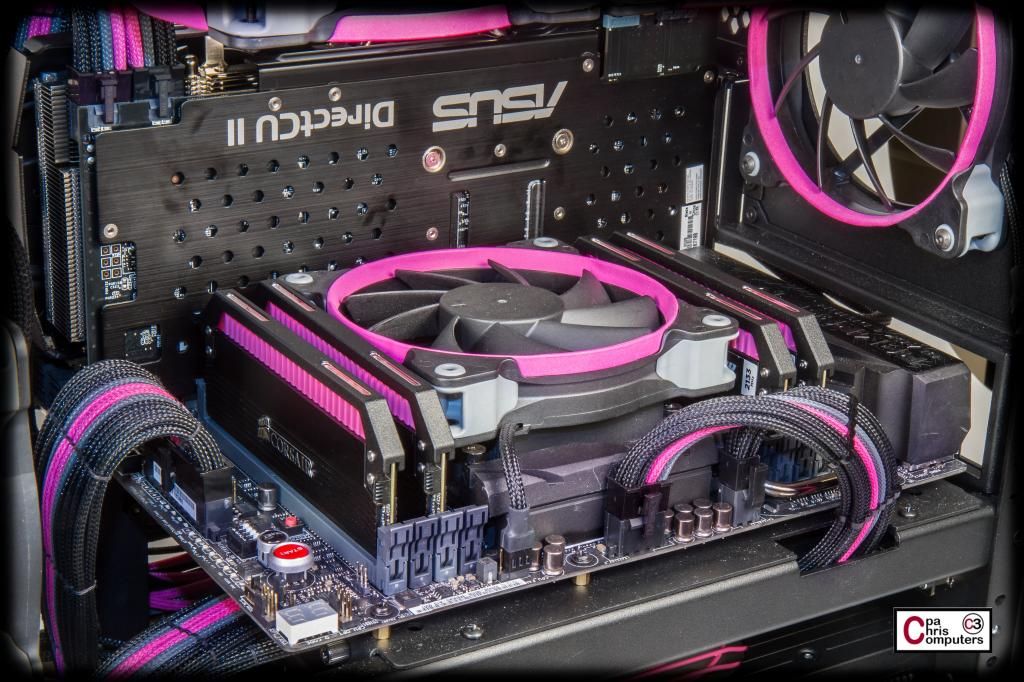
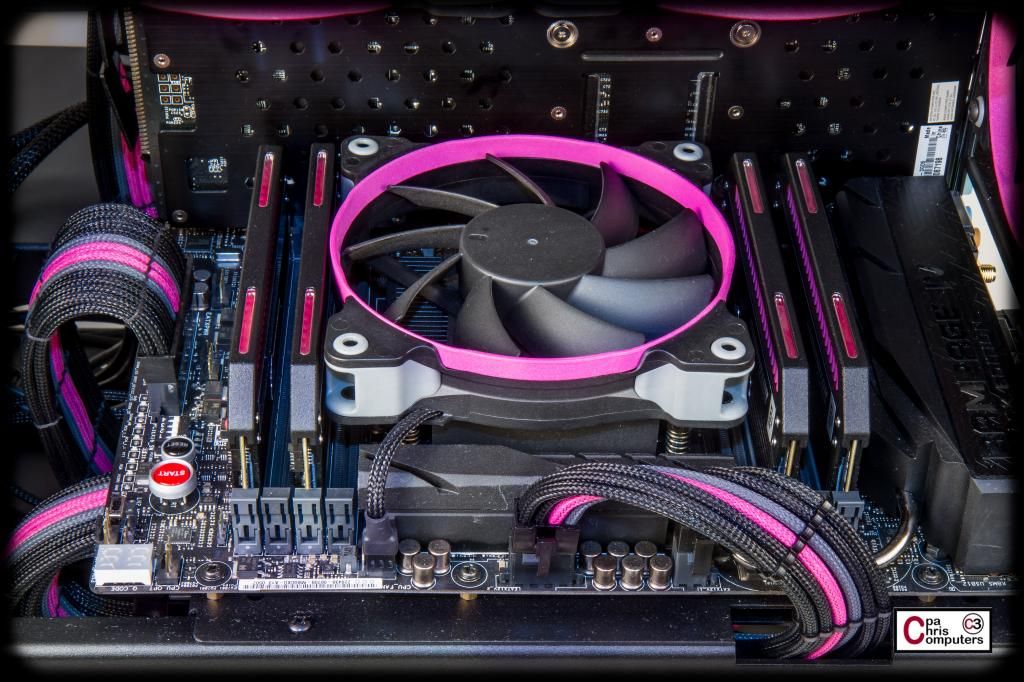
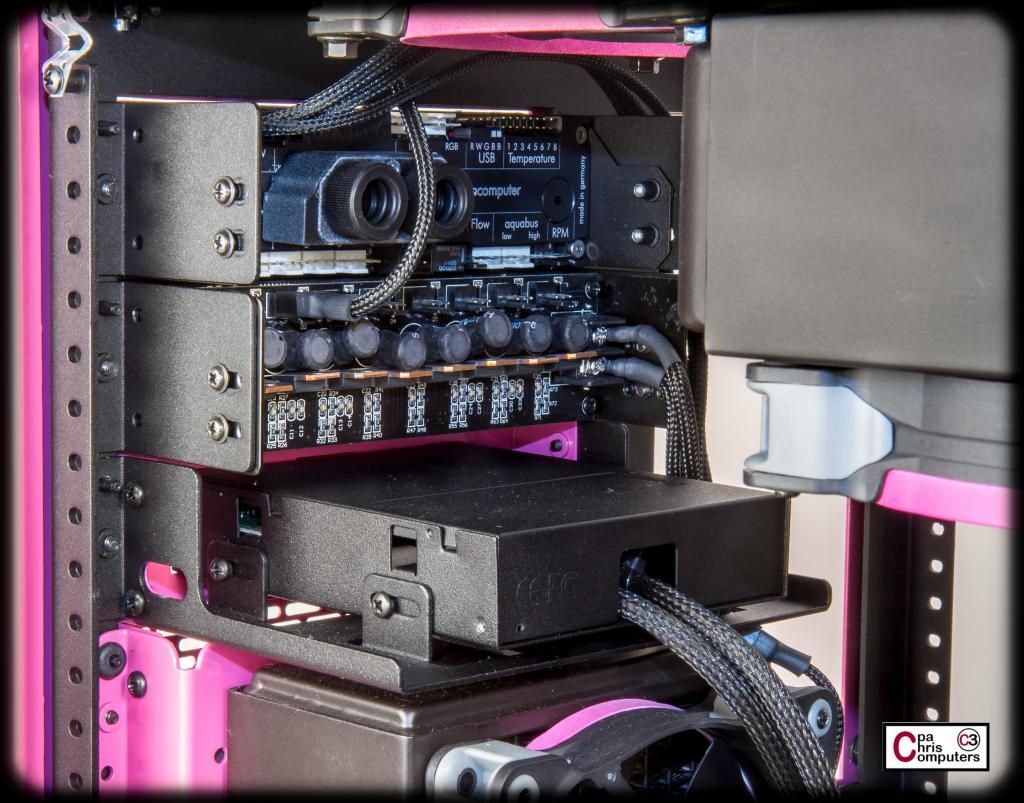
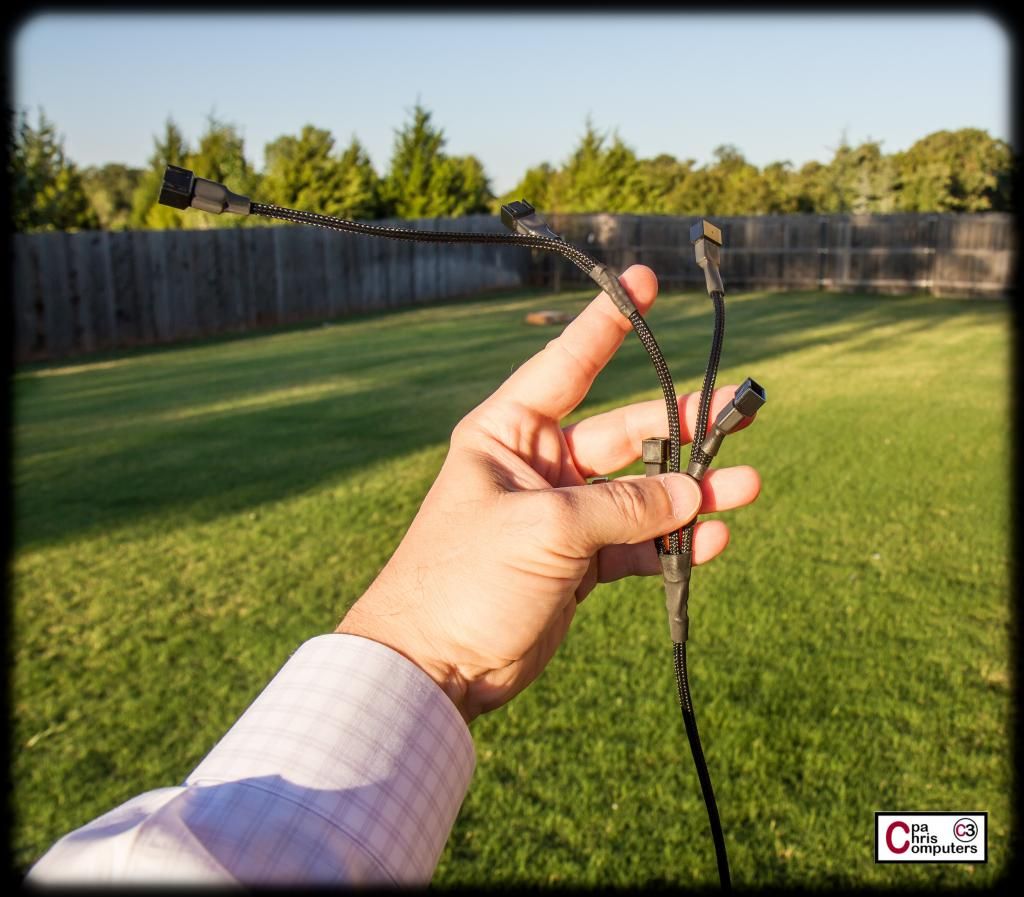
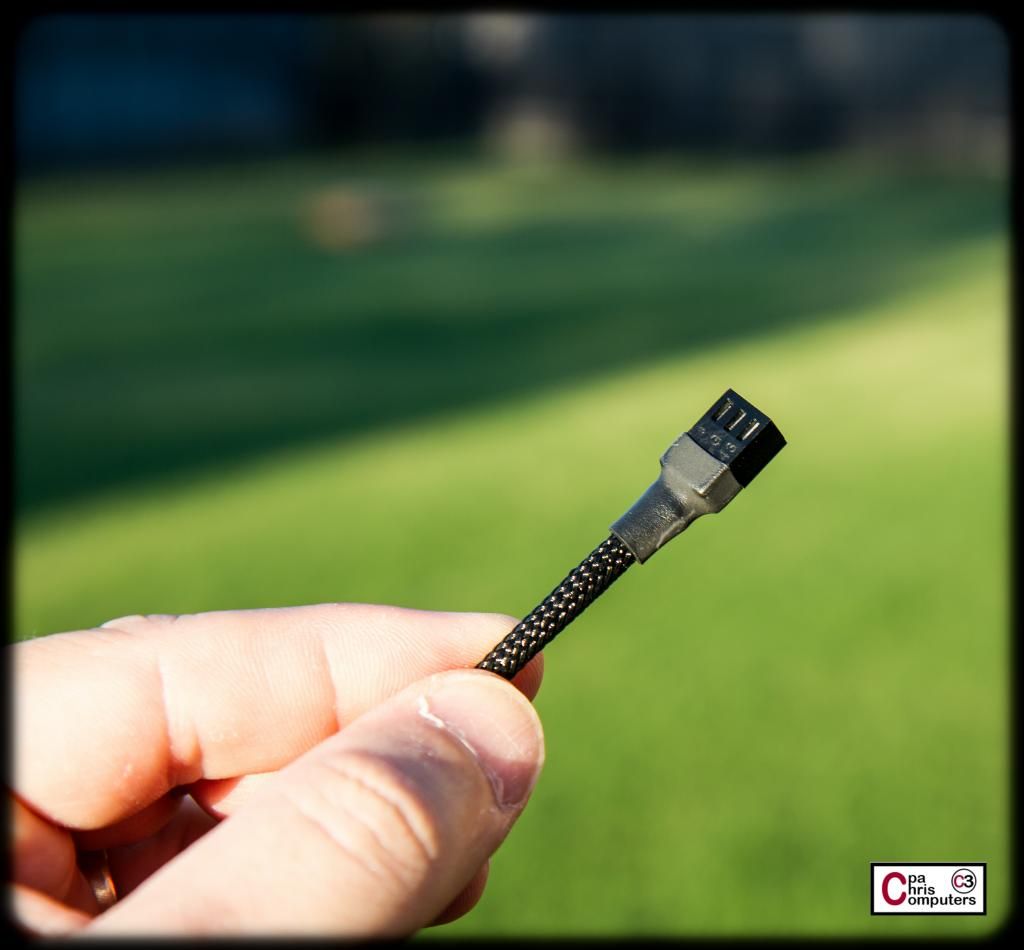
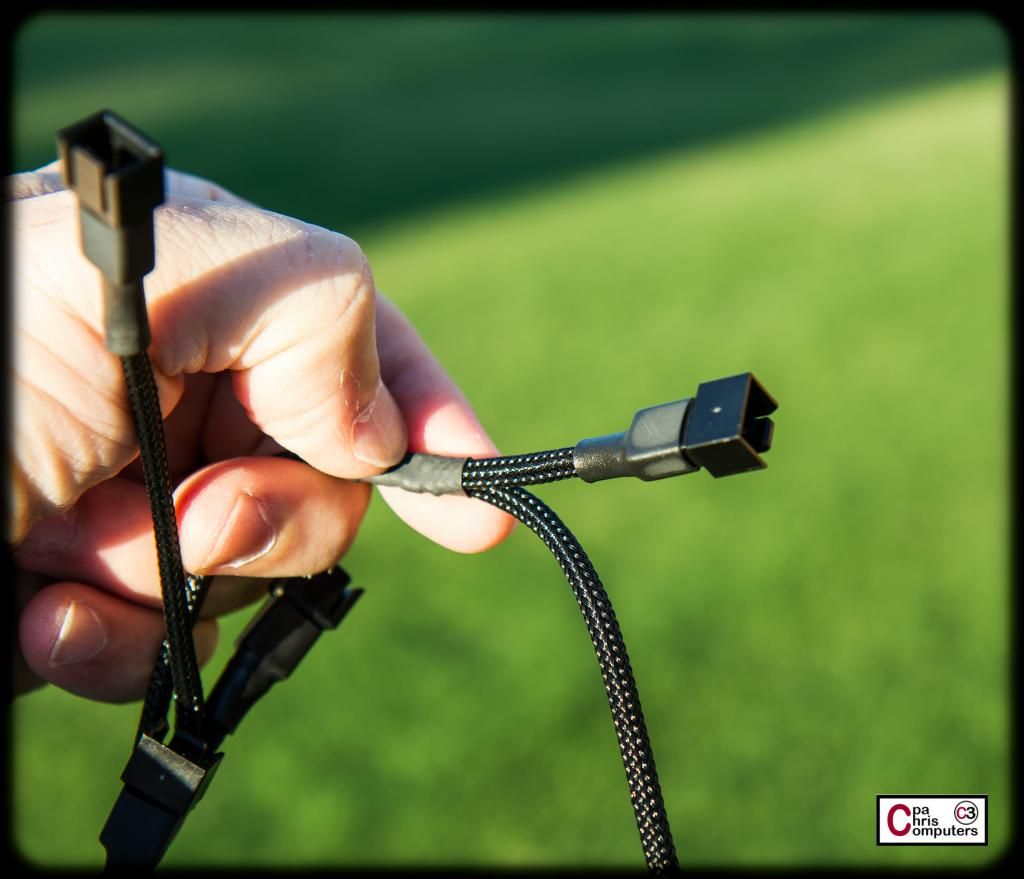
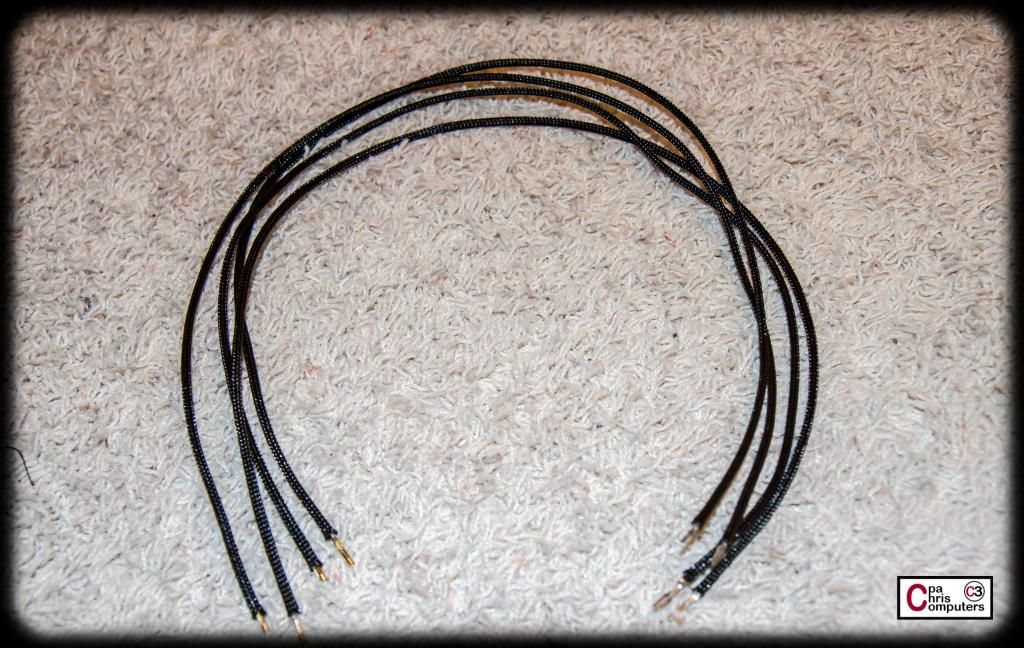
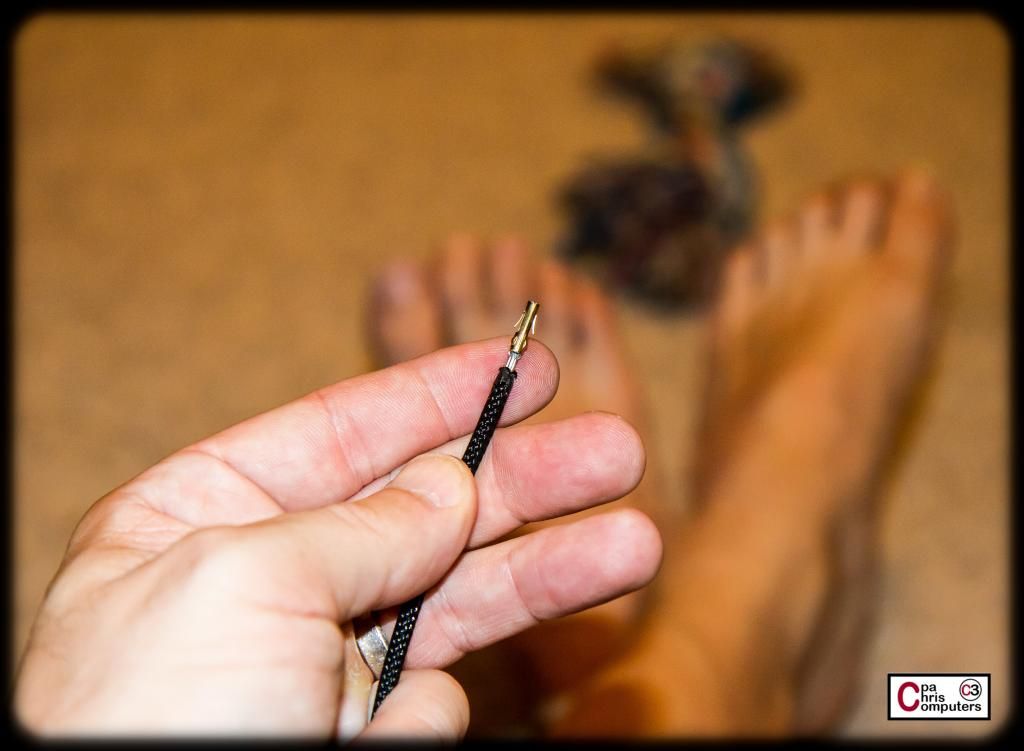
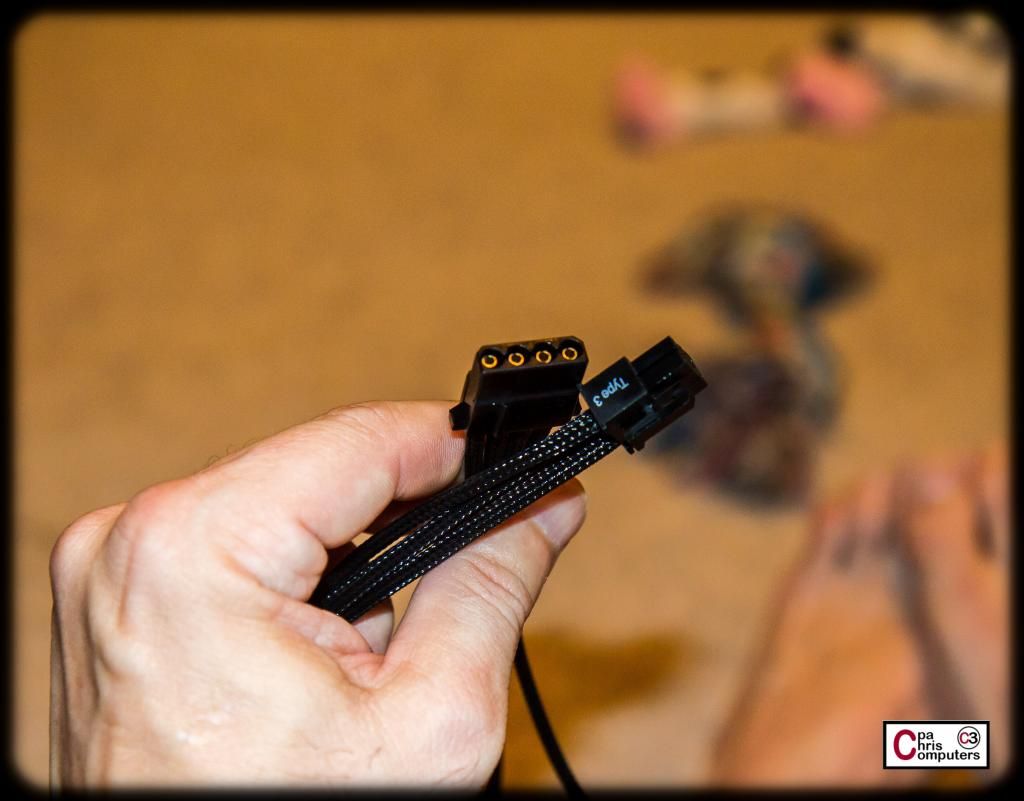
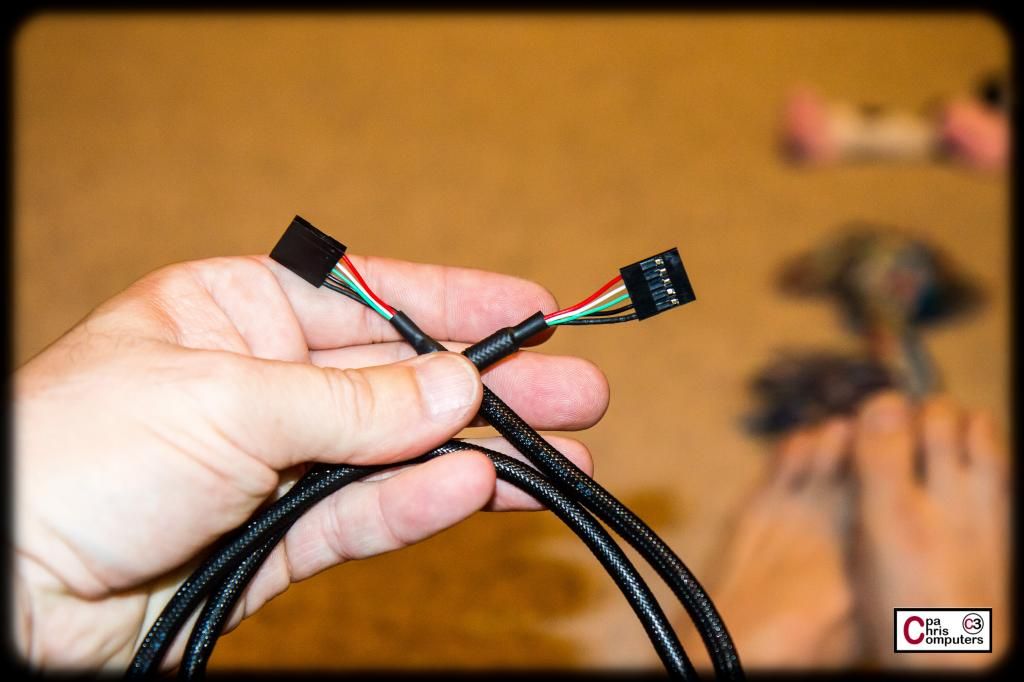
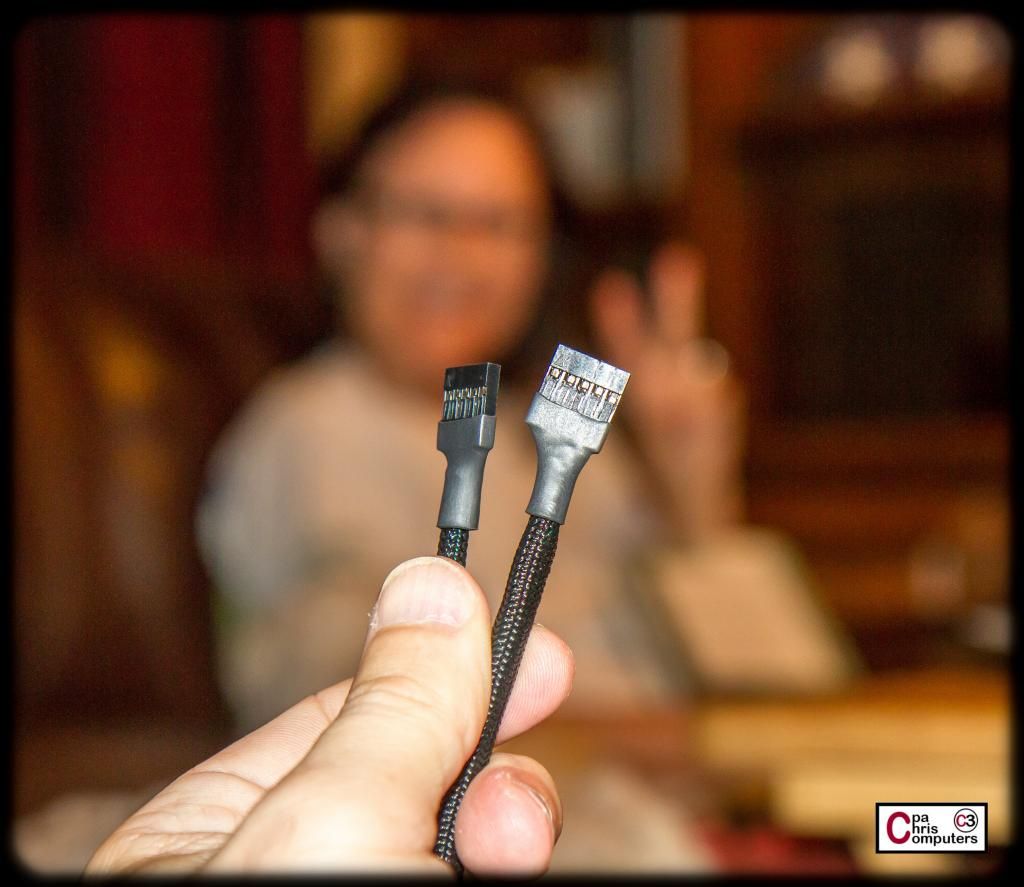
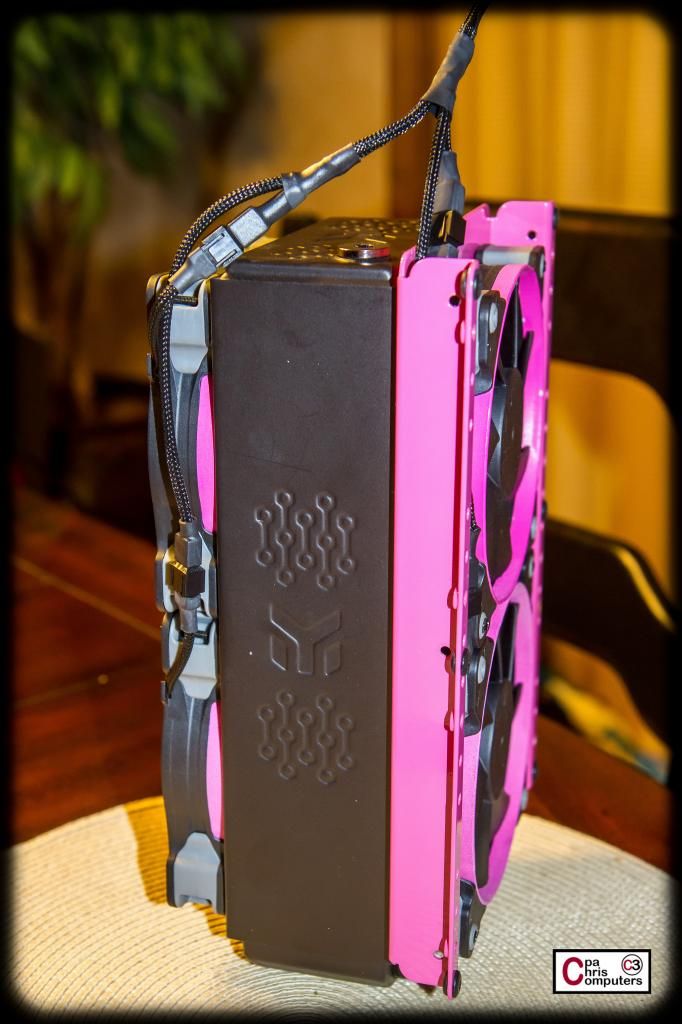
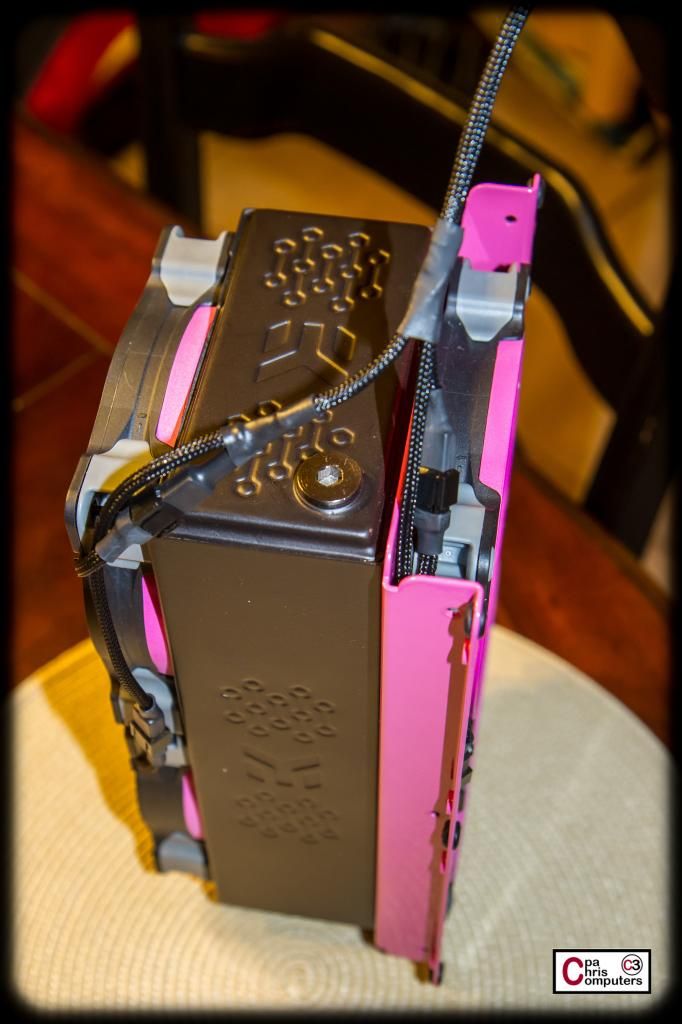
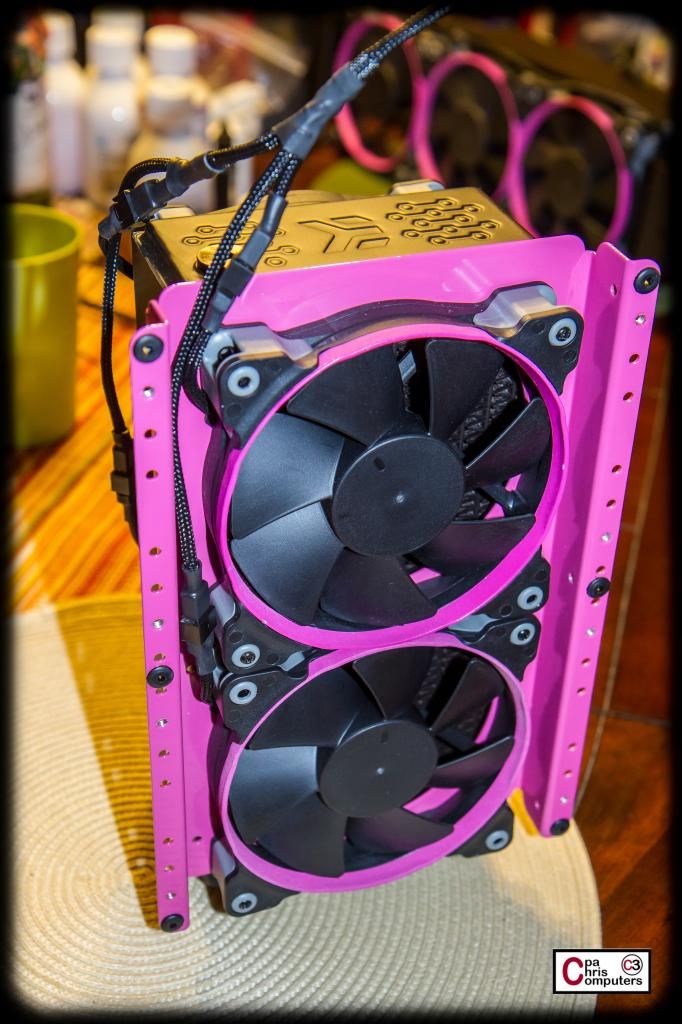
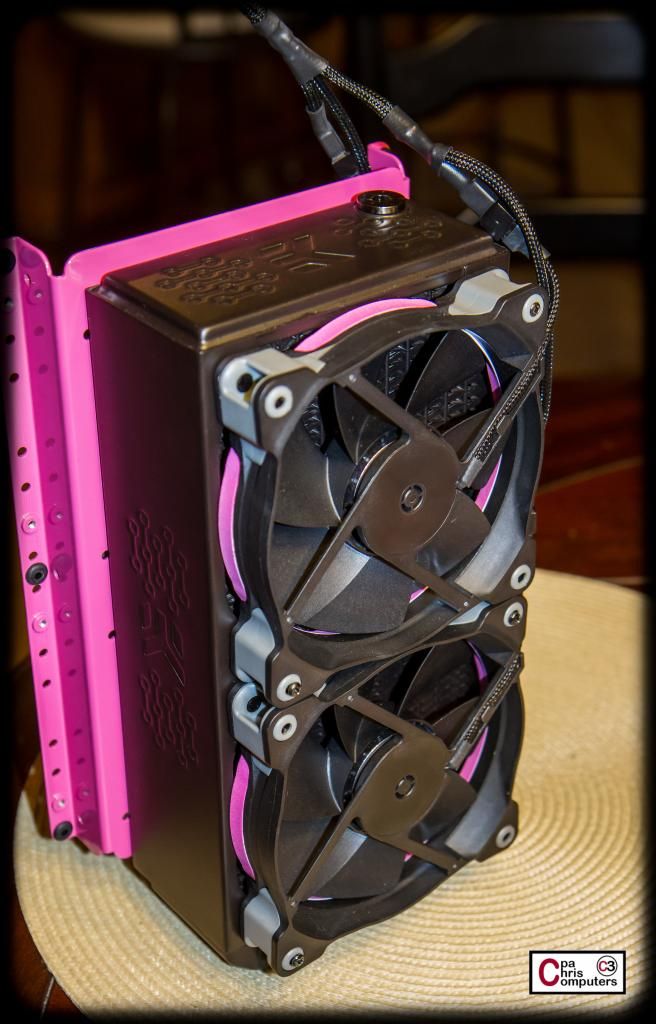
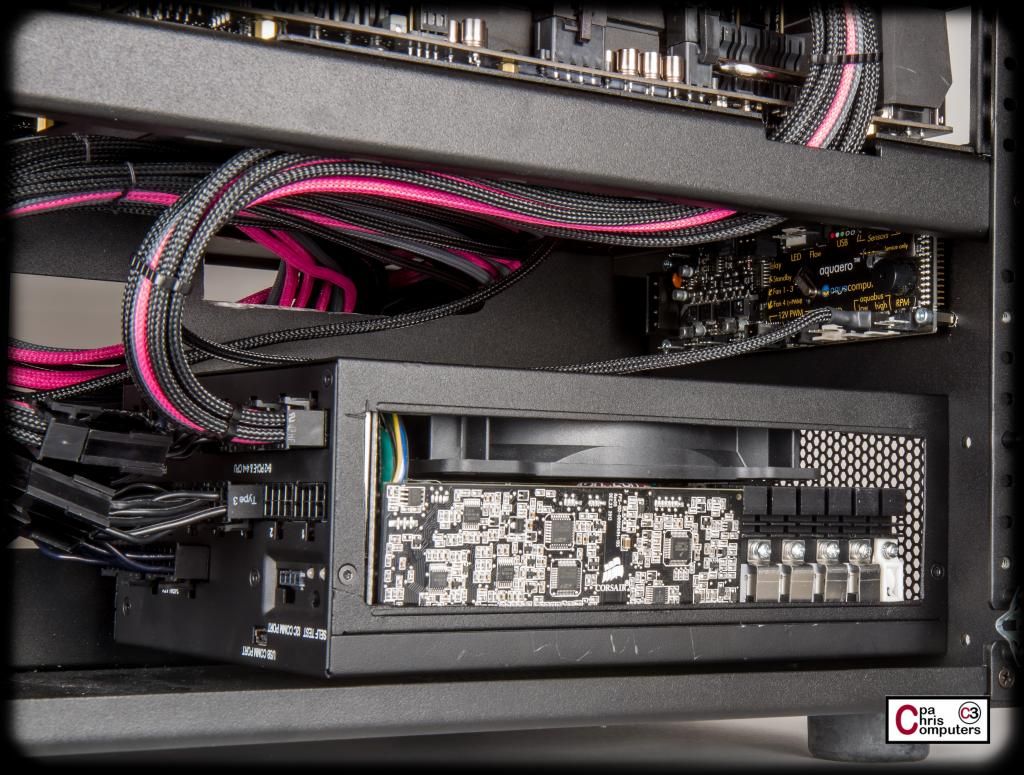
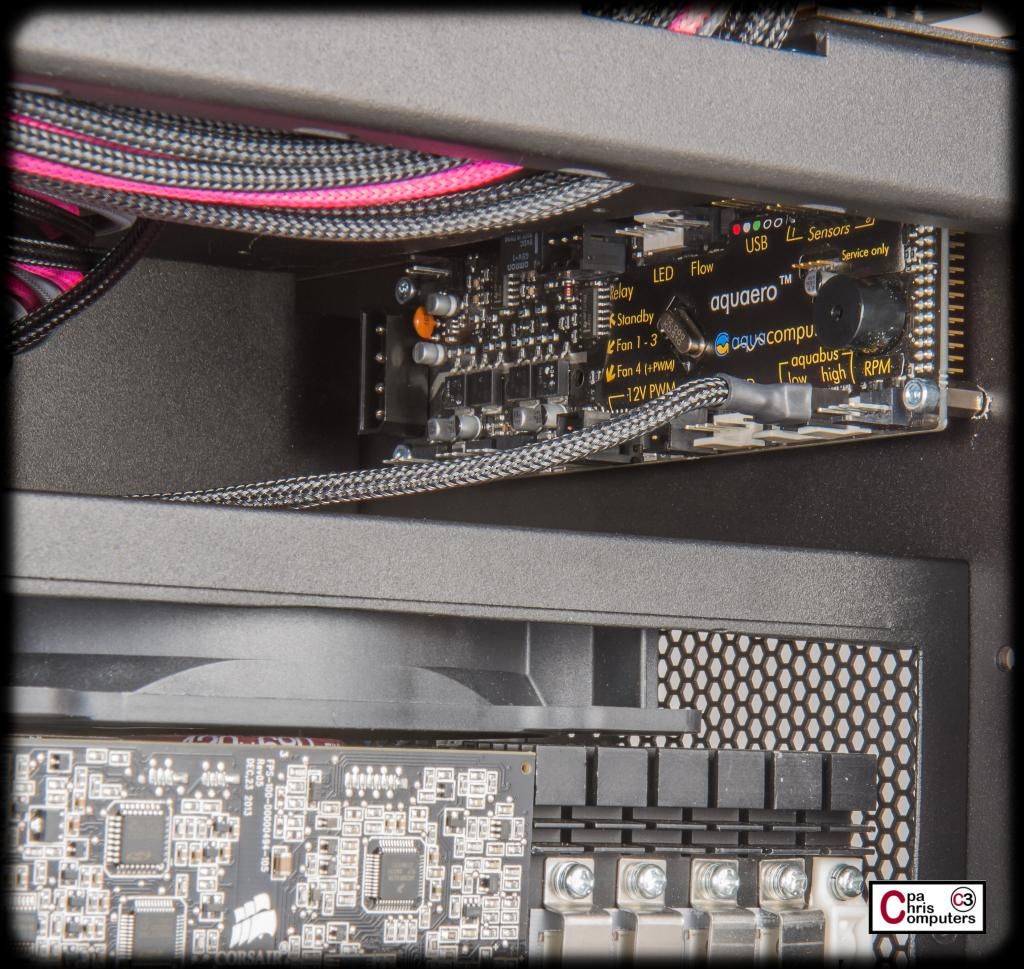
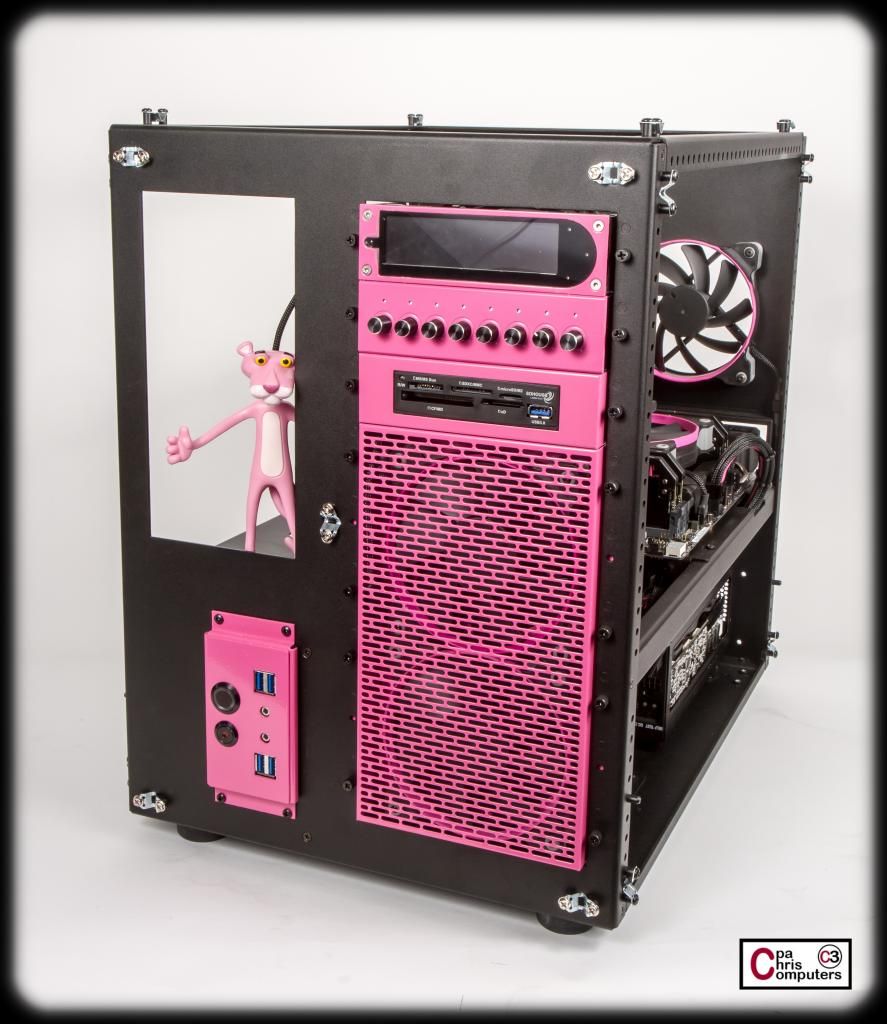
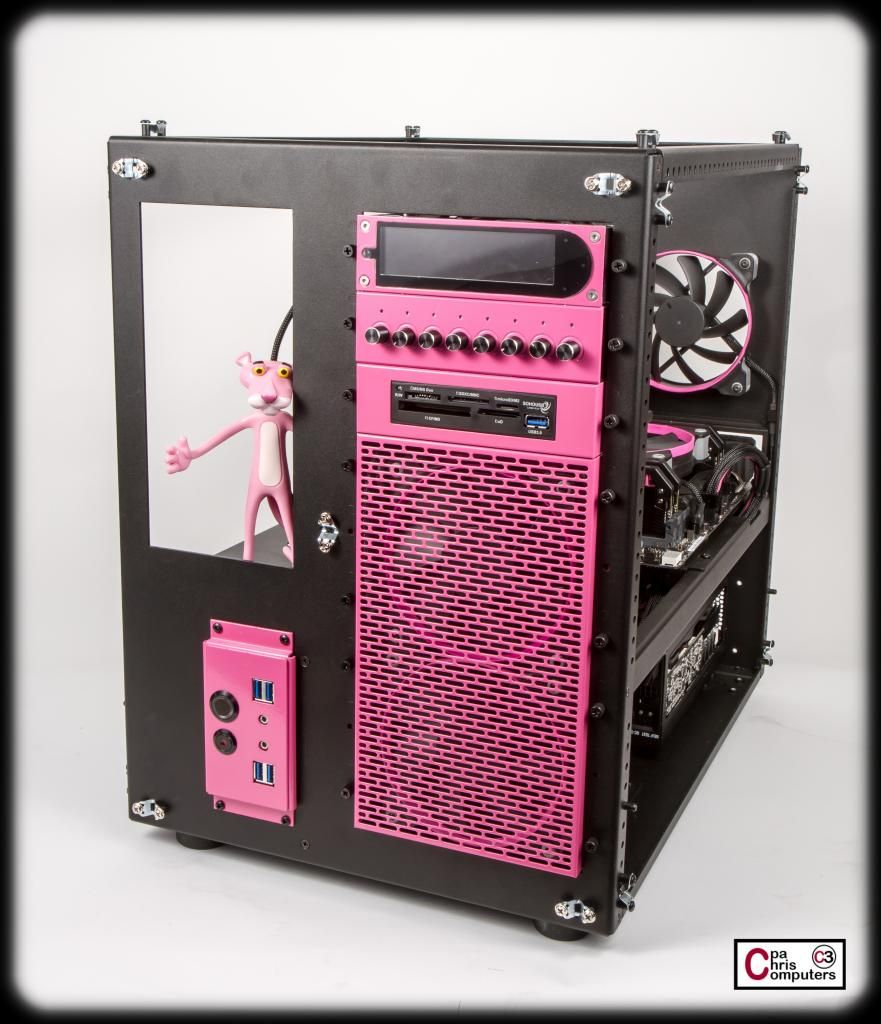
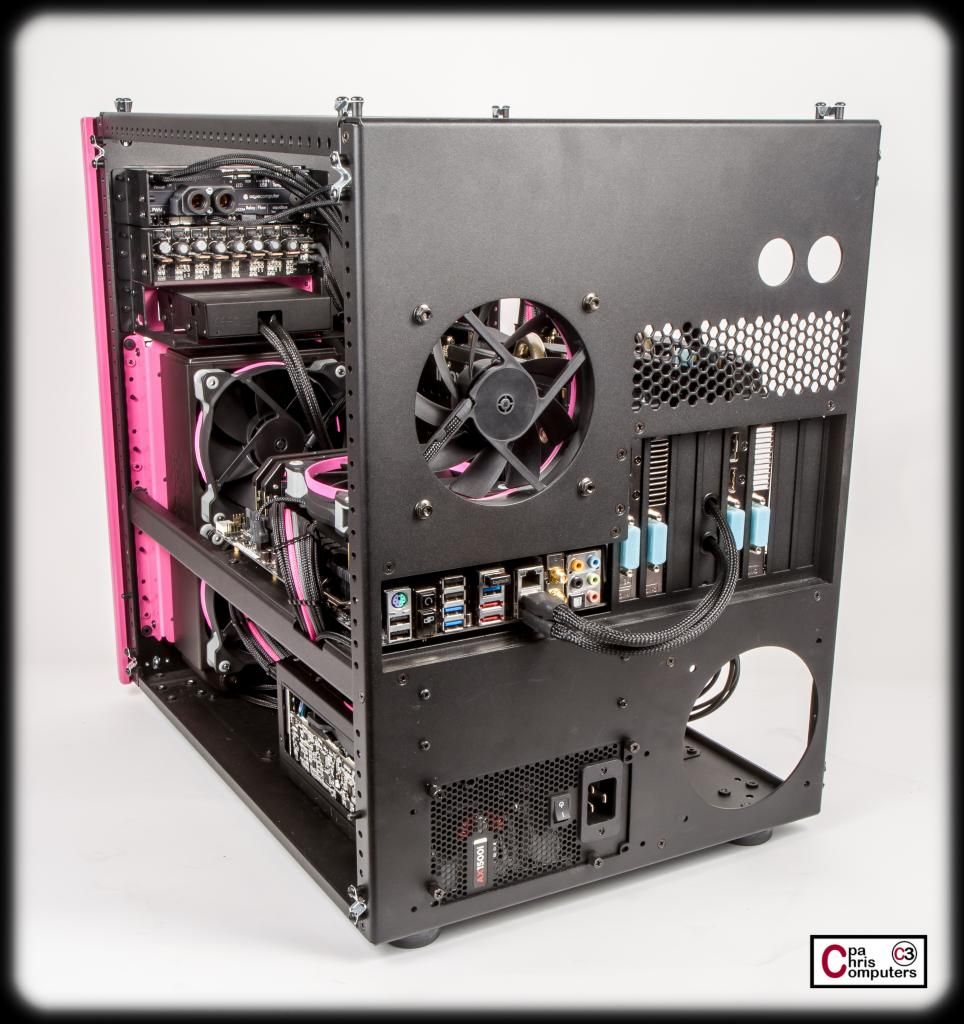
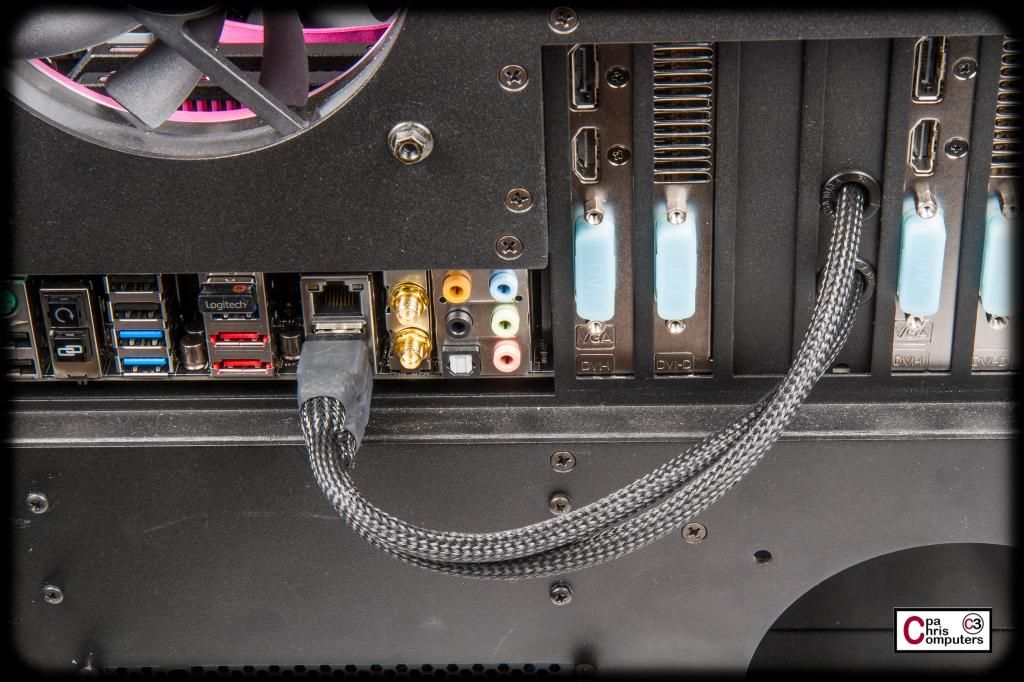
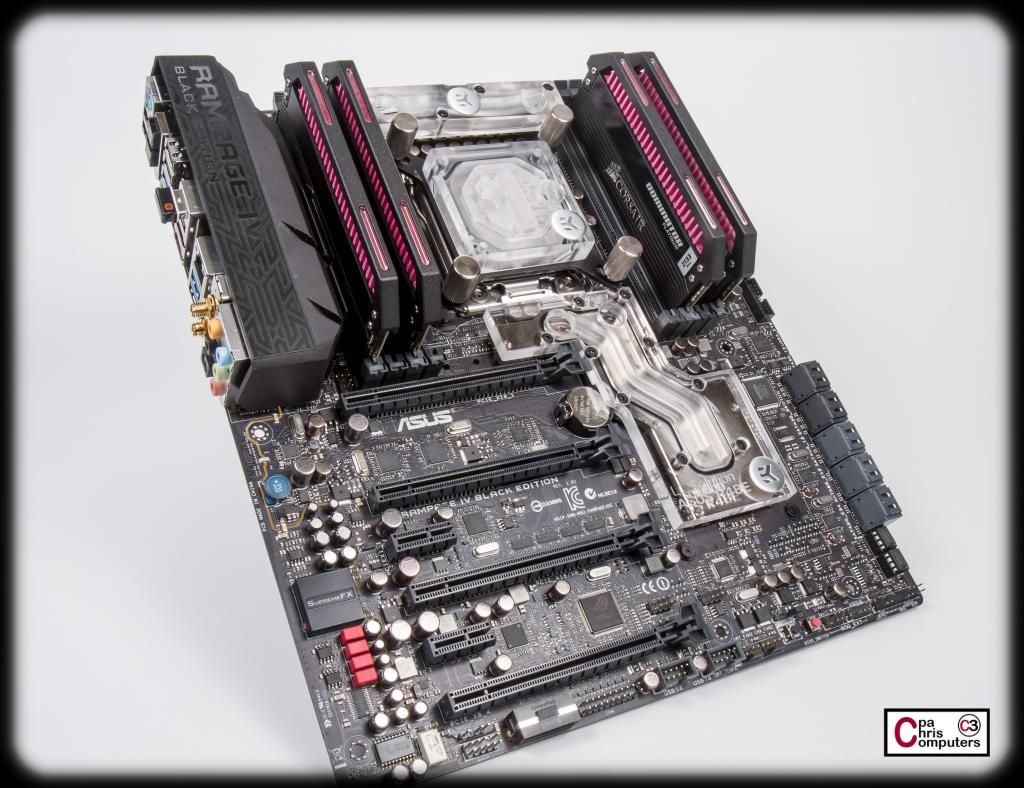
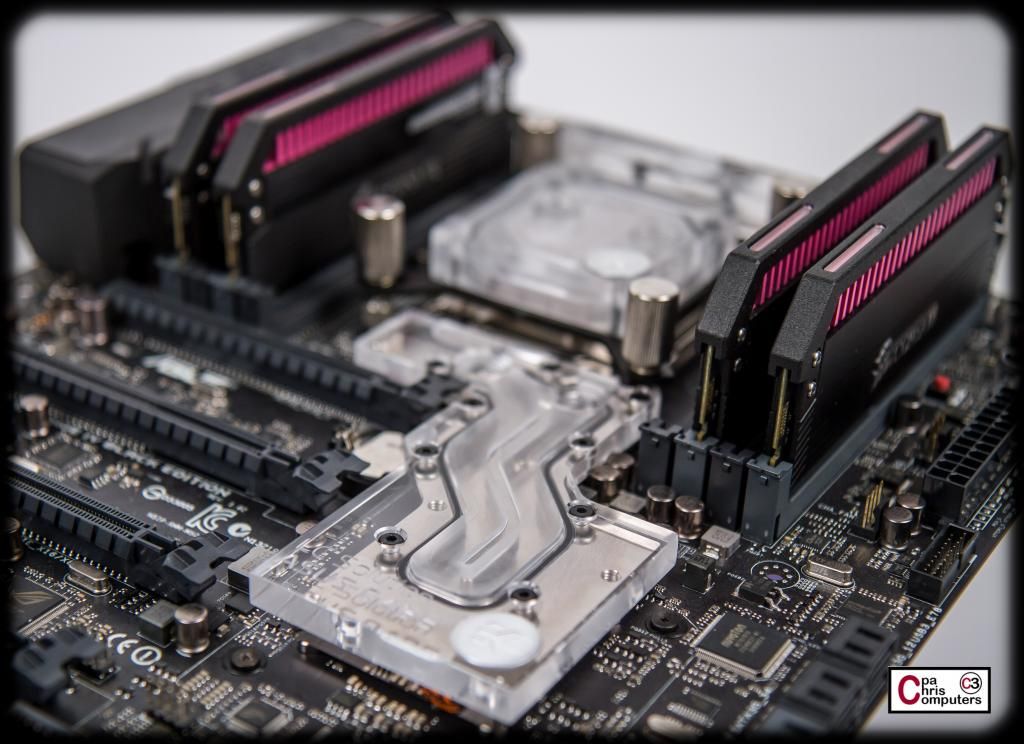
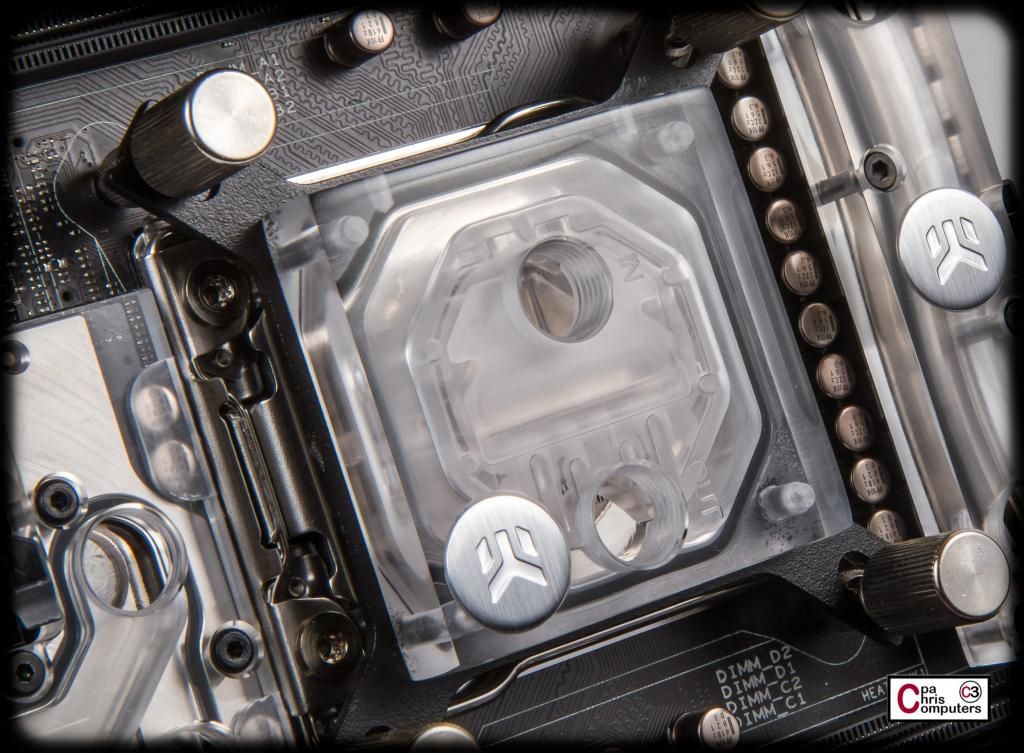
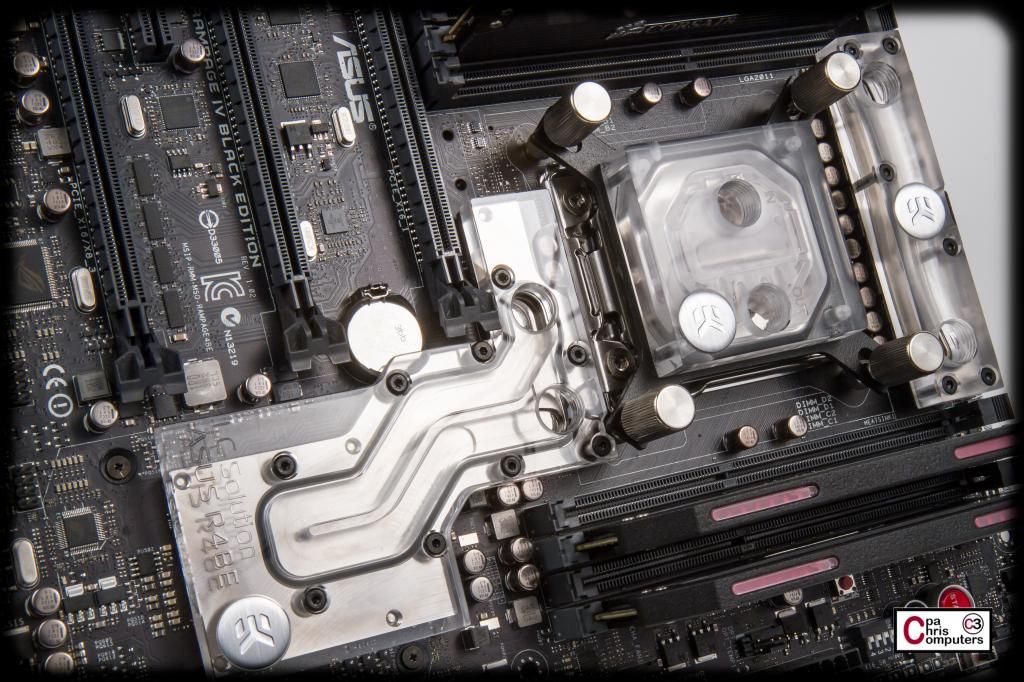
finally pulled the trigger and got Ultimate Personal Computers (adamBirli) to finish all of my cables in mdpc black
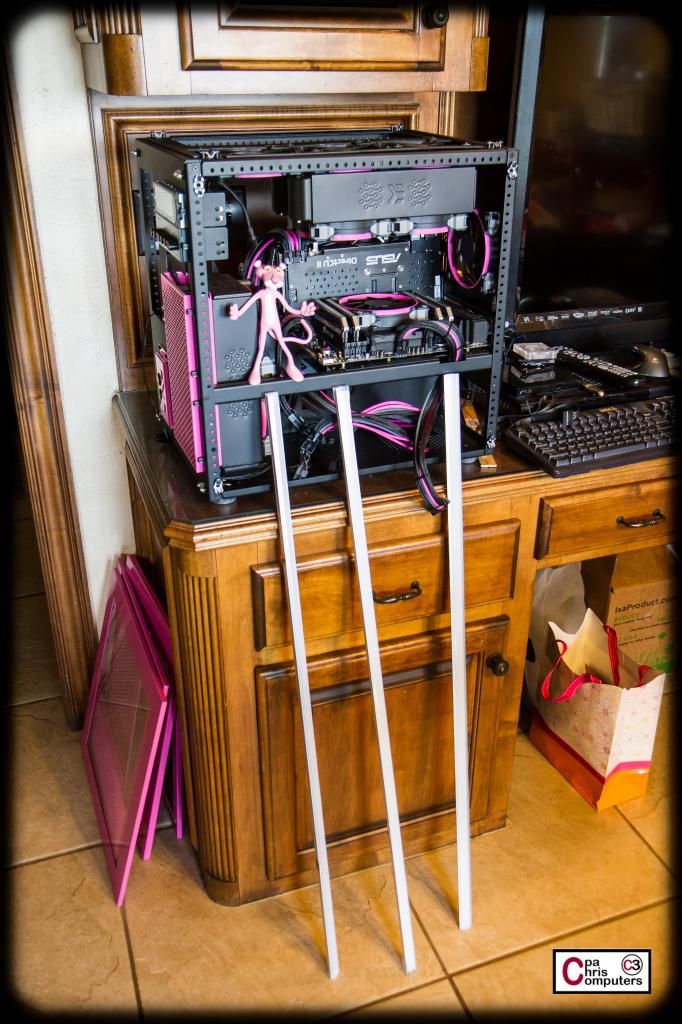
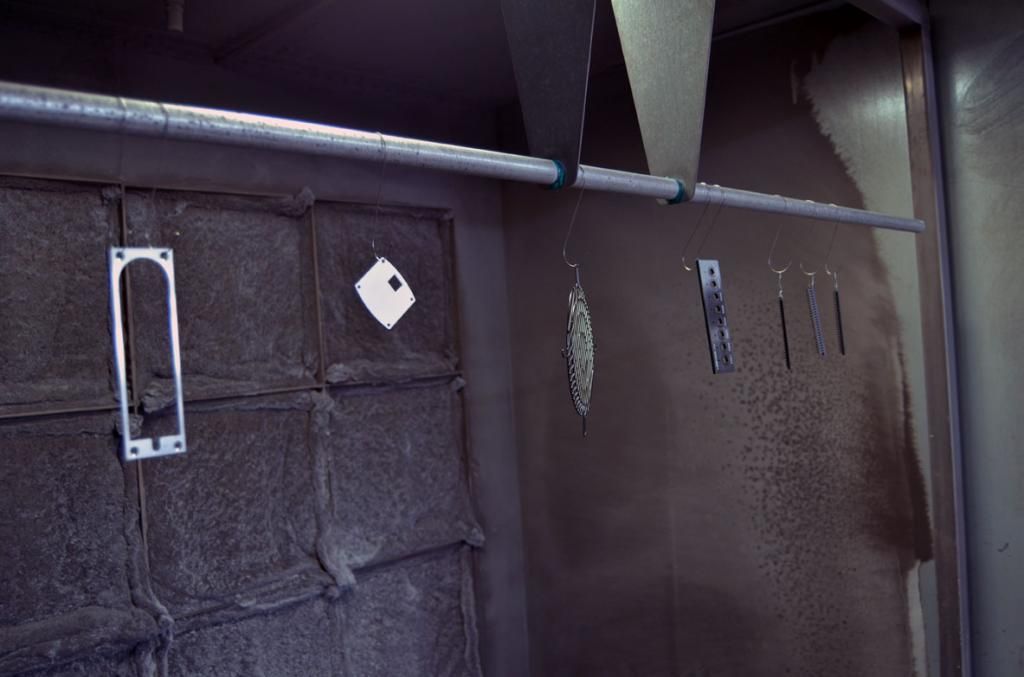
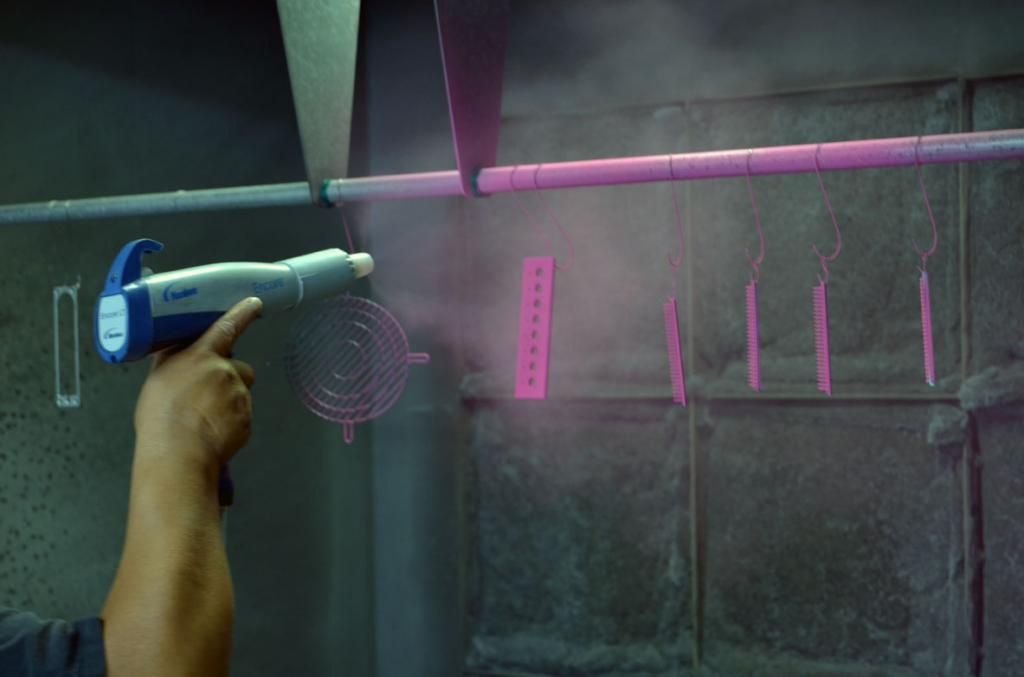
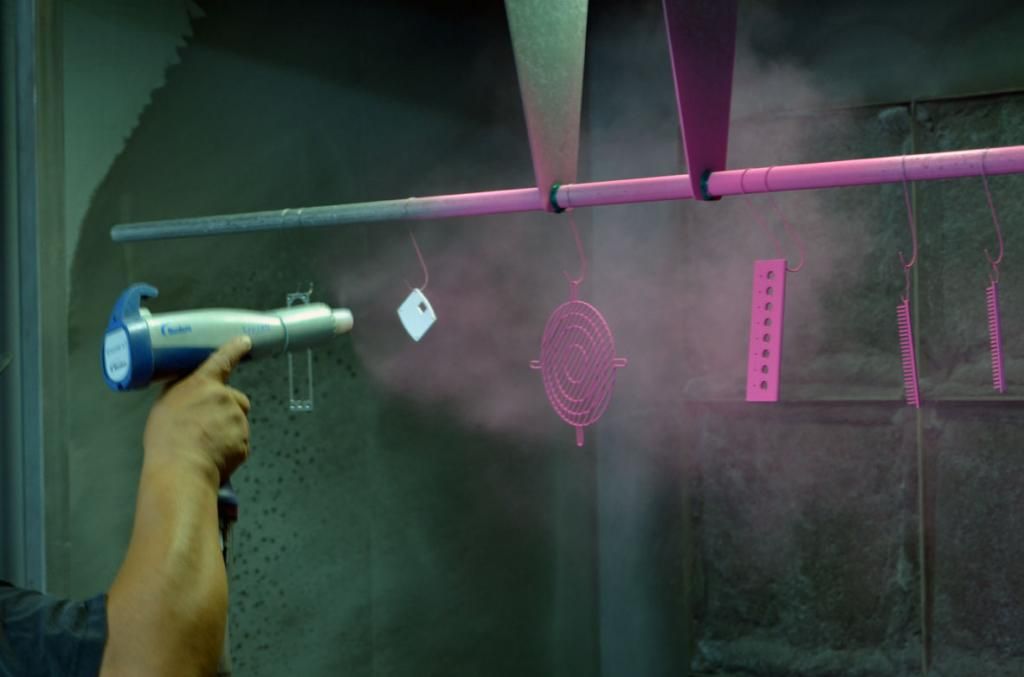
if your only doing one psu,
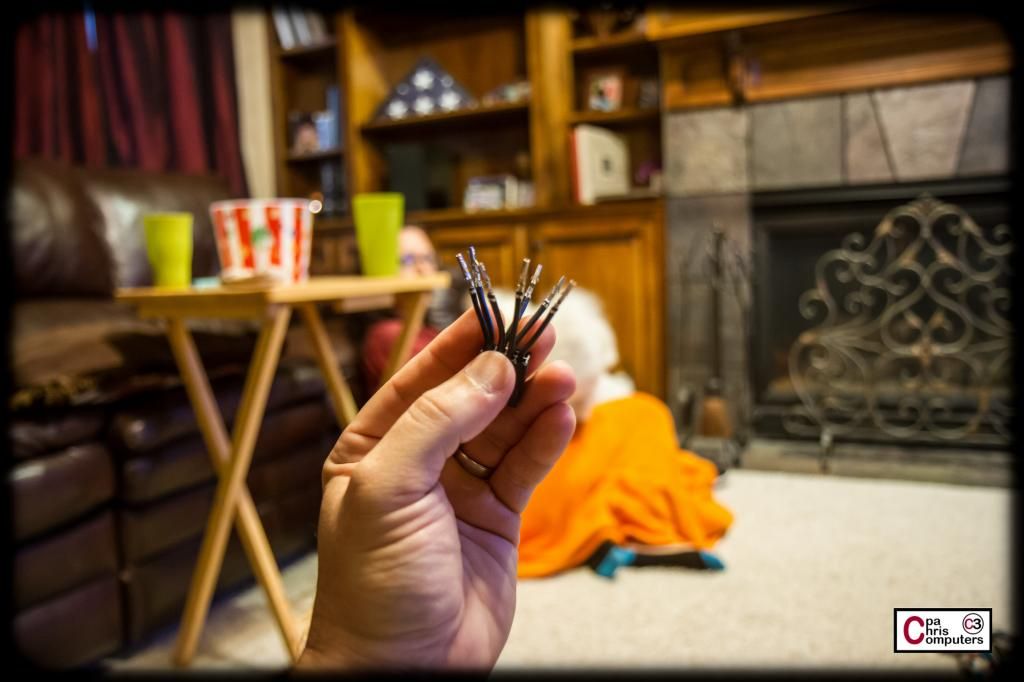
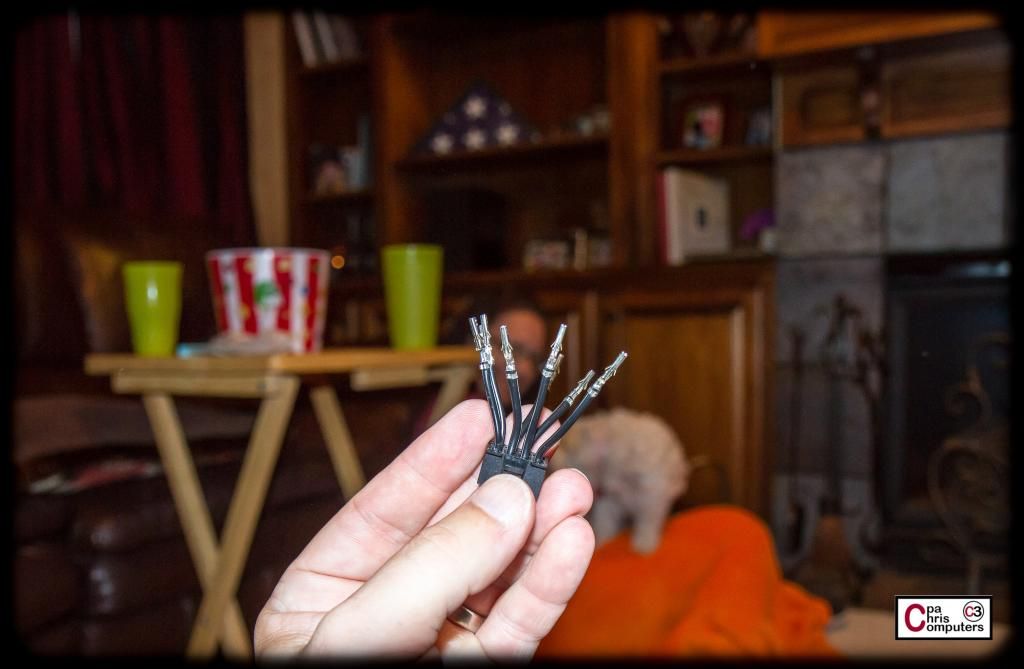
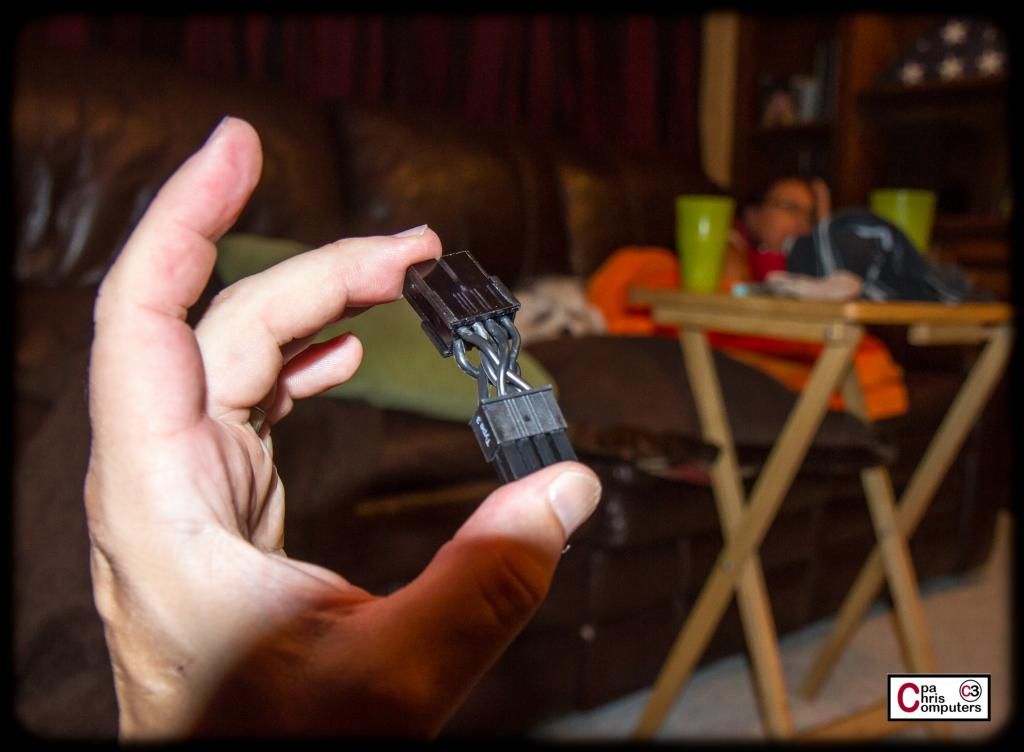
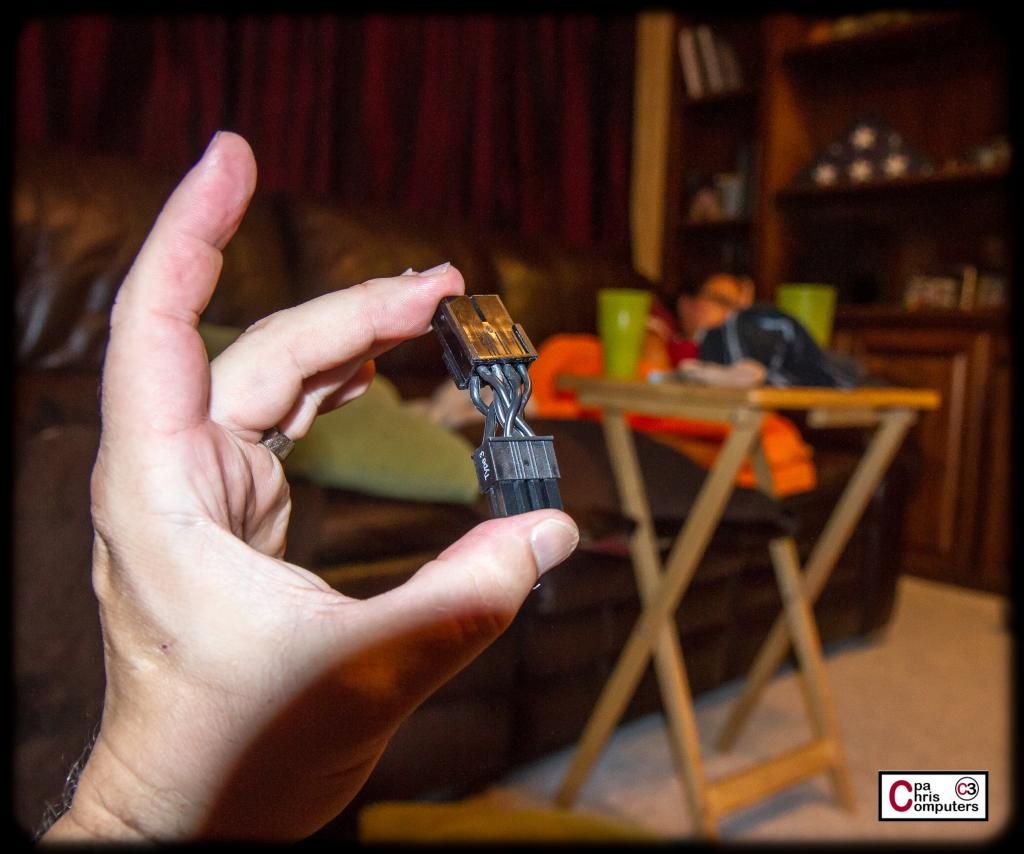
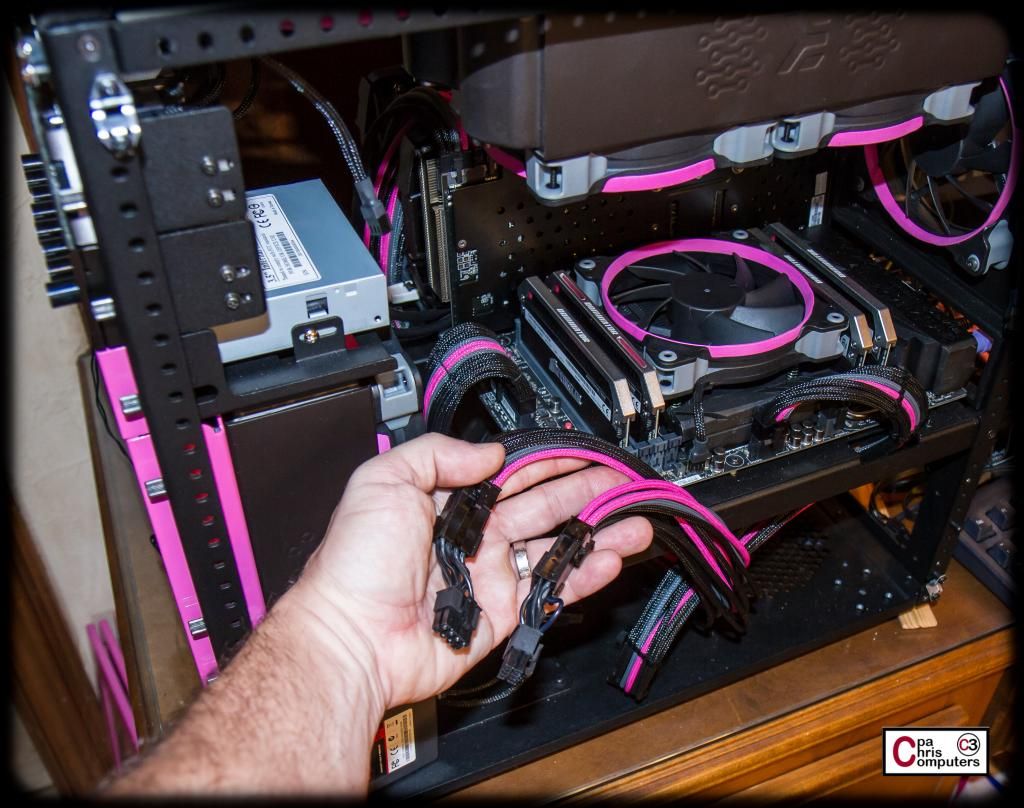
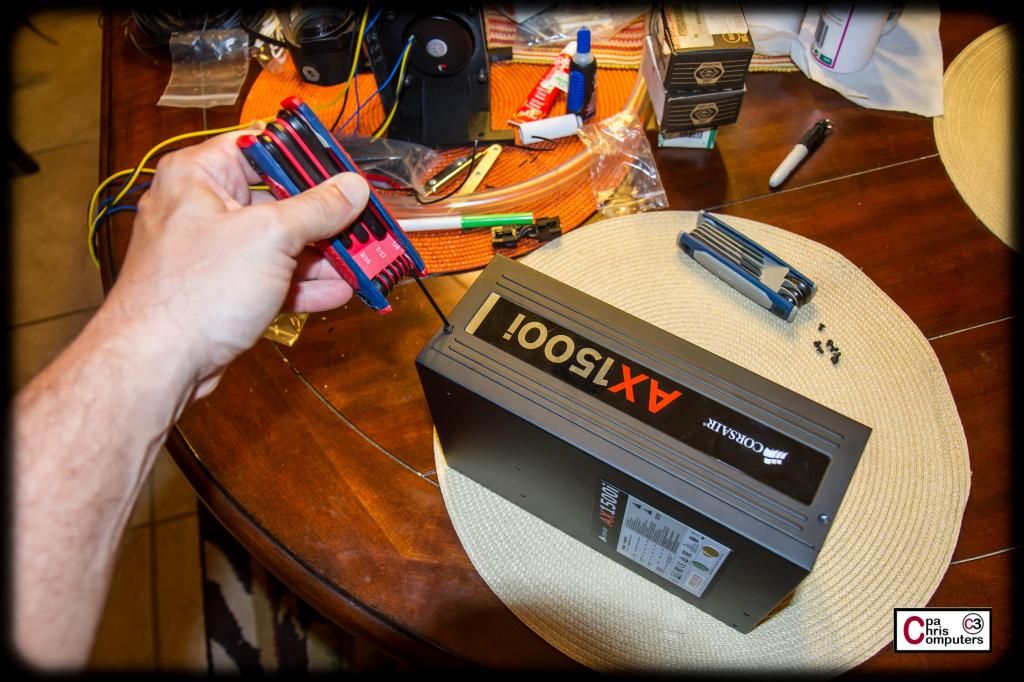
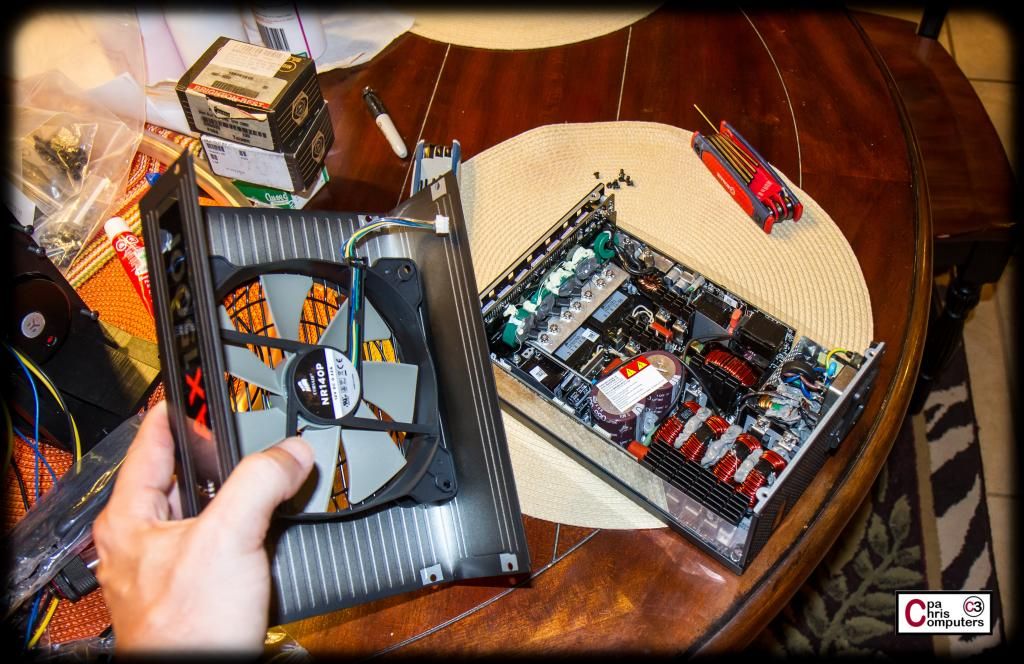
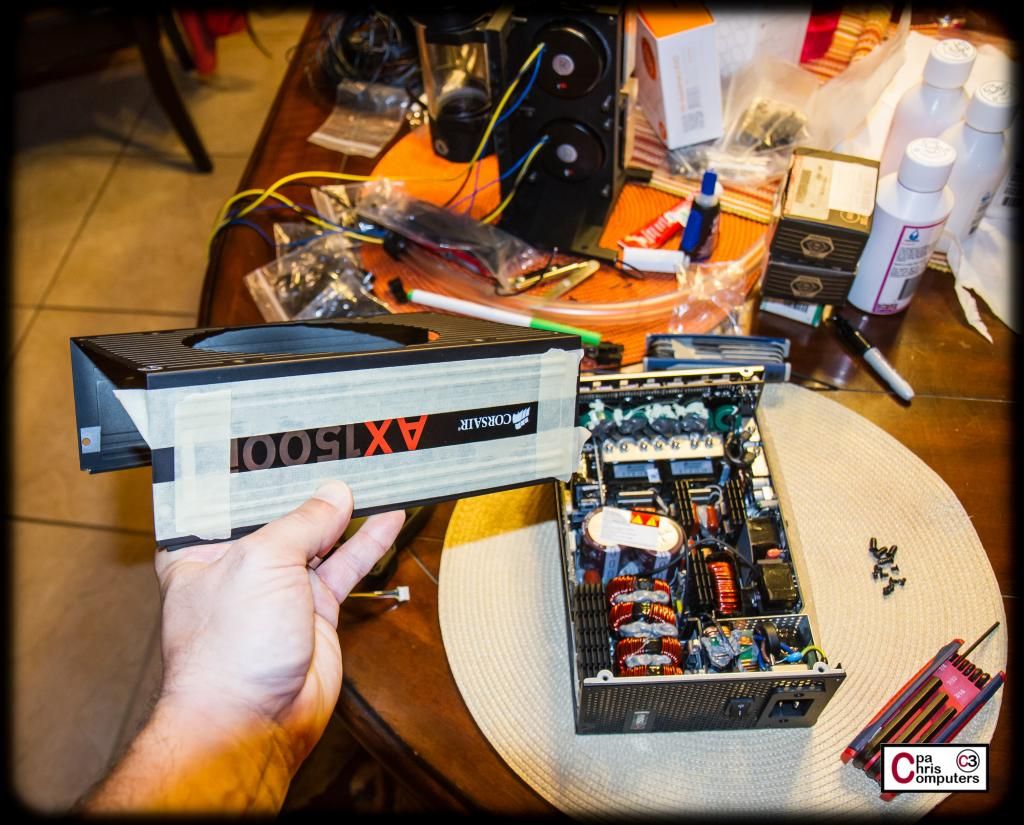
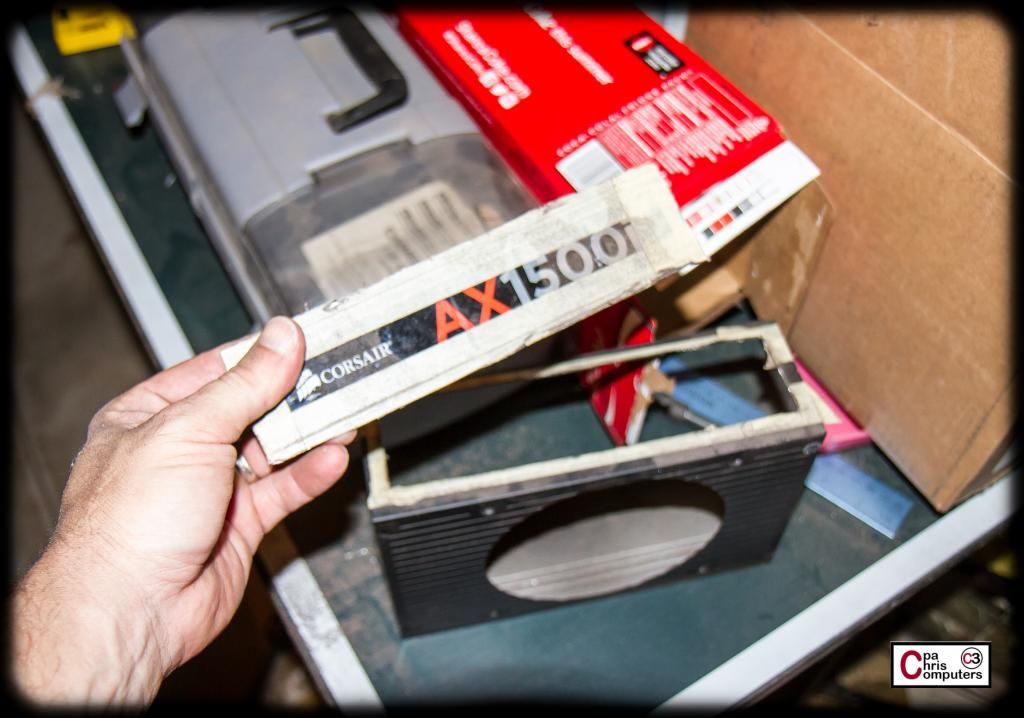
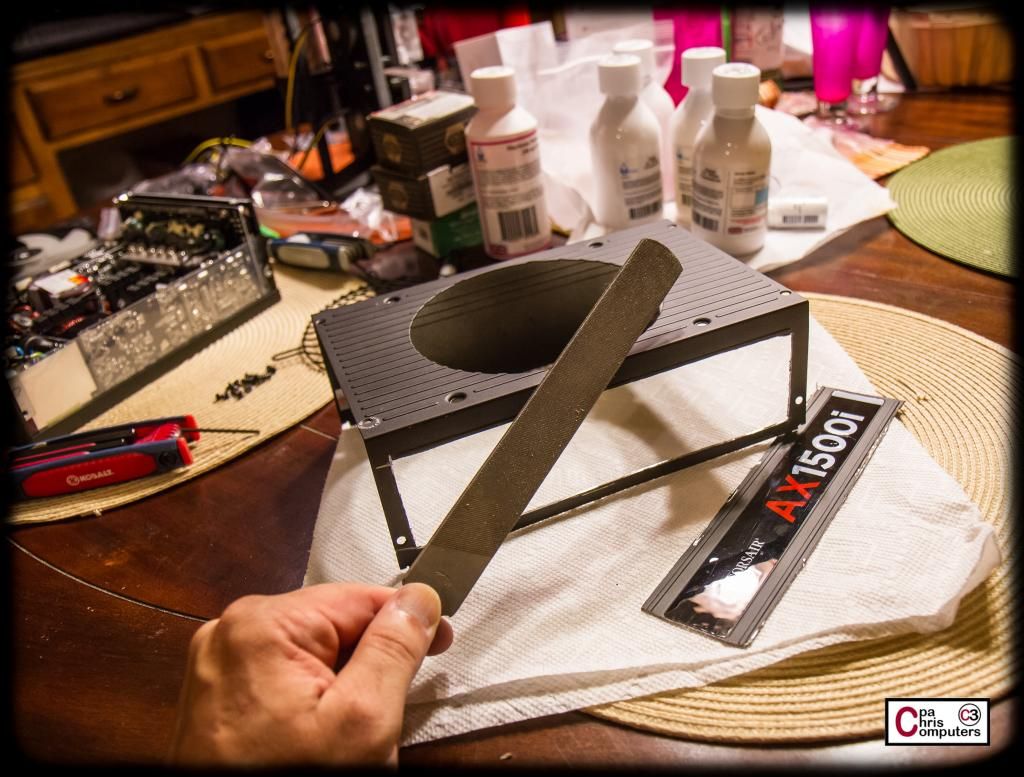
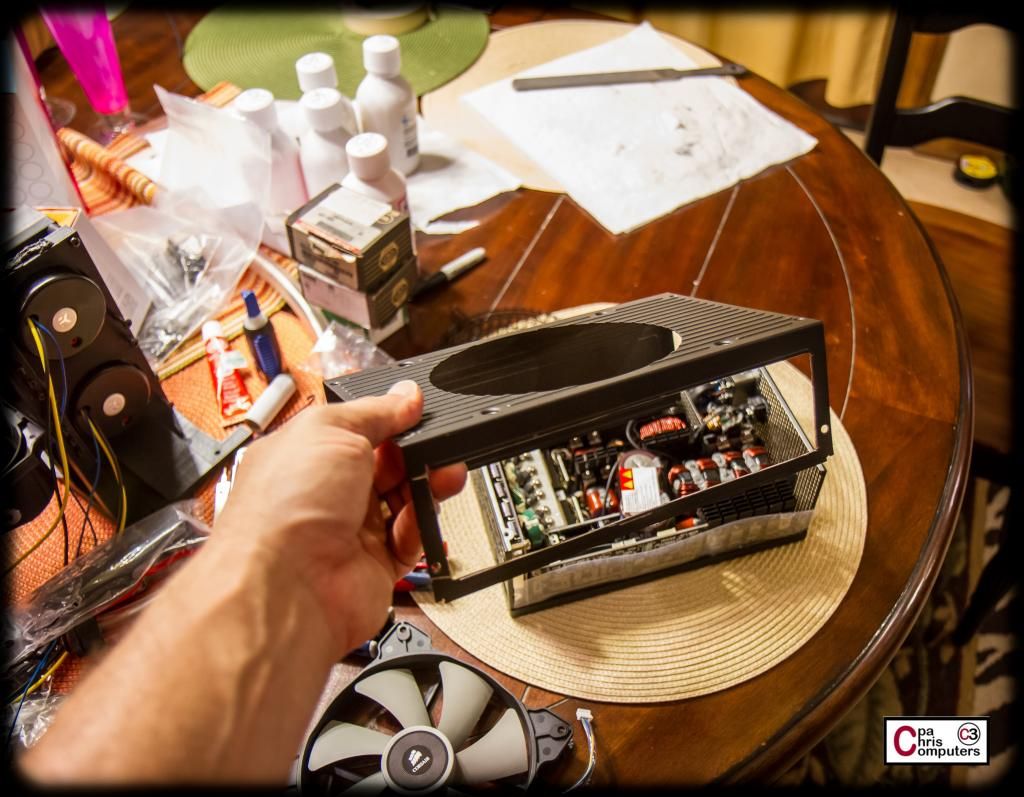
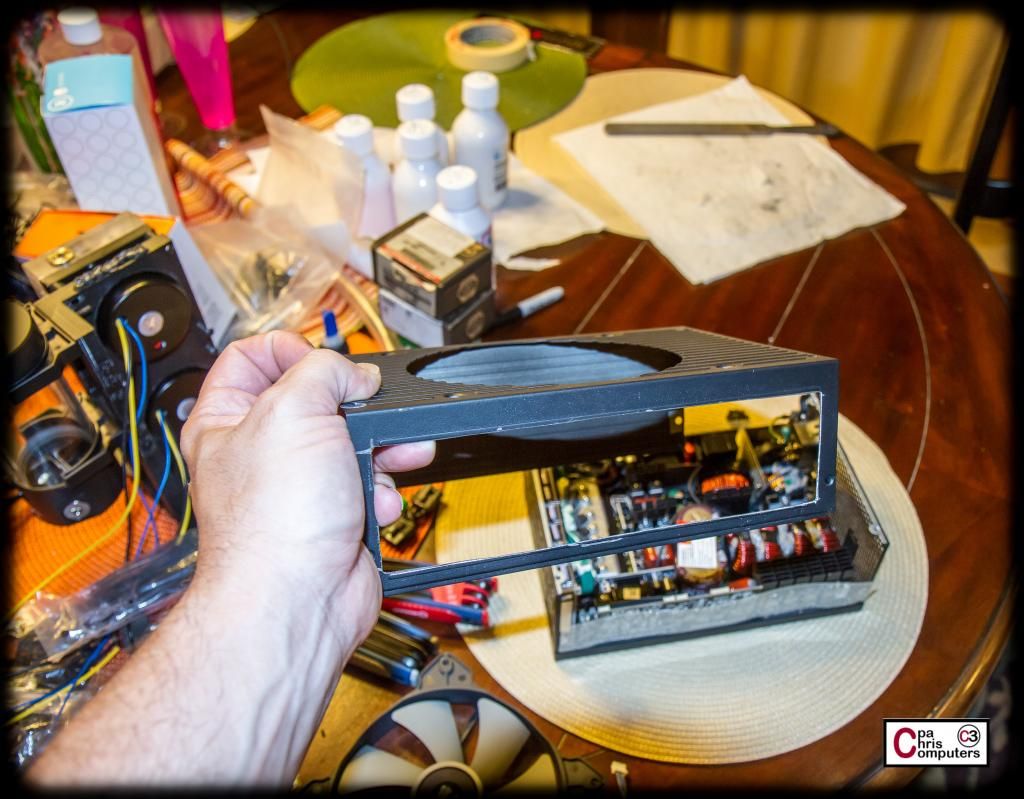
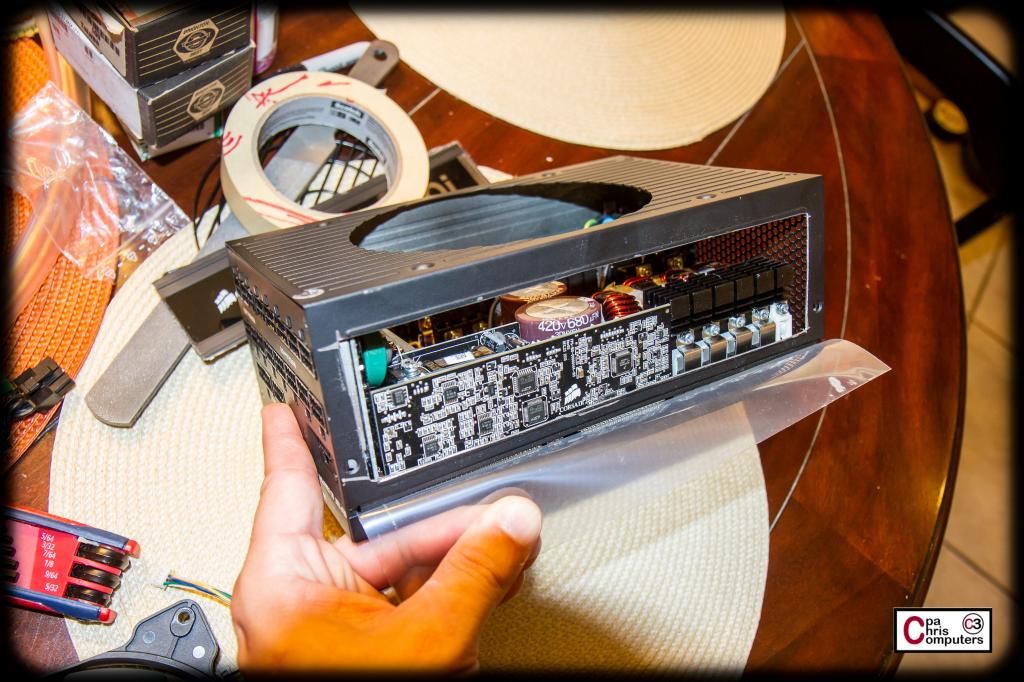
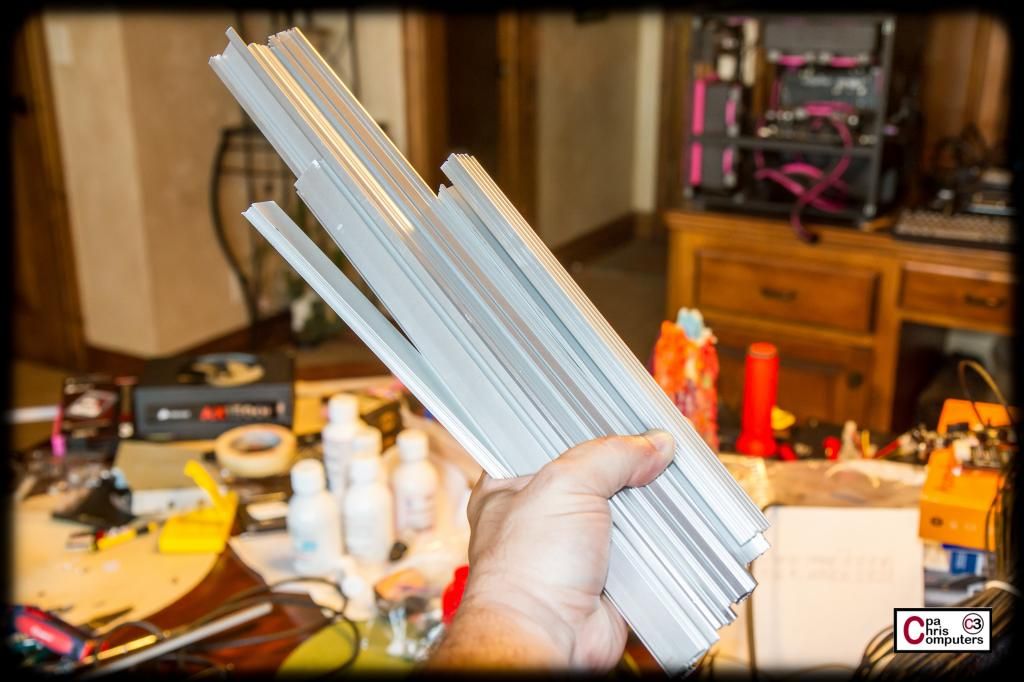
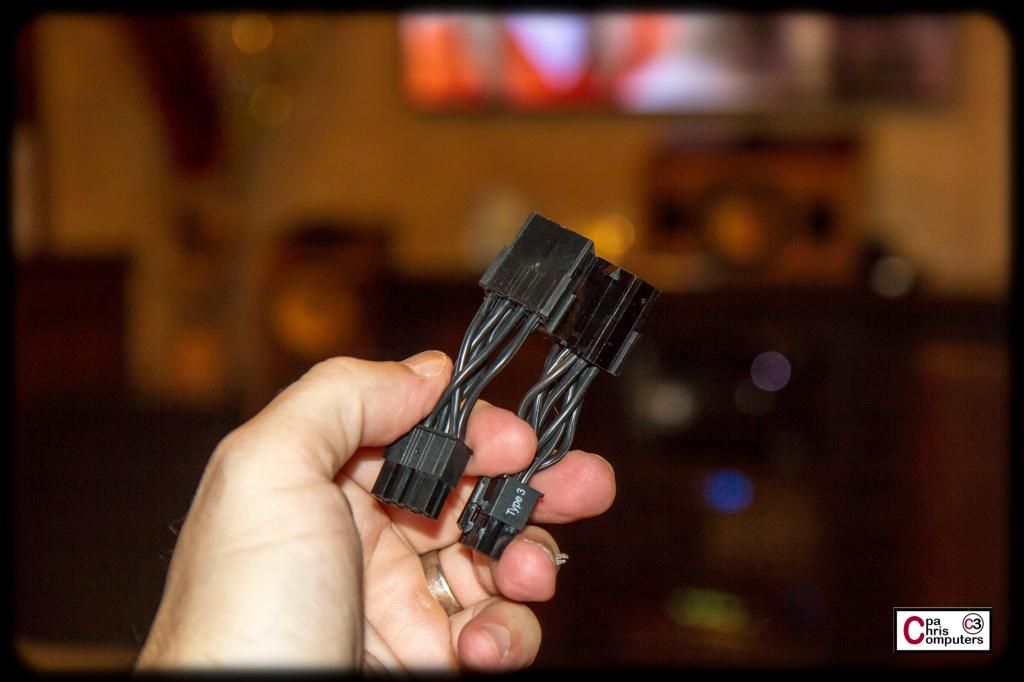
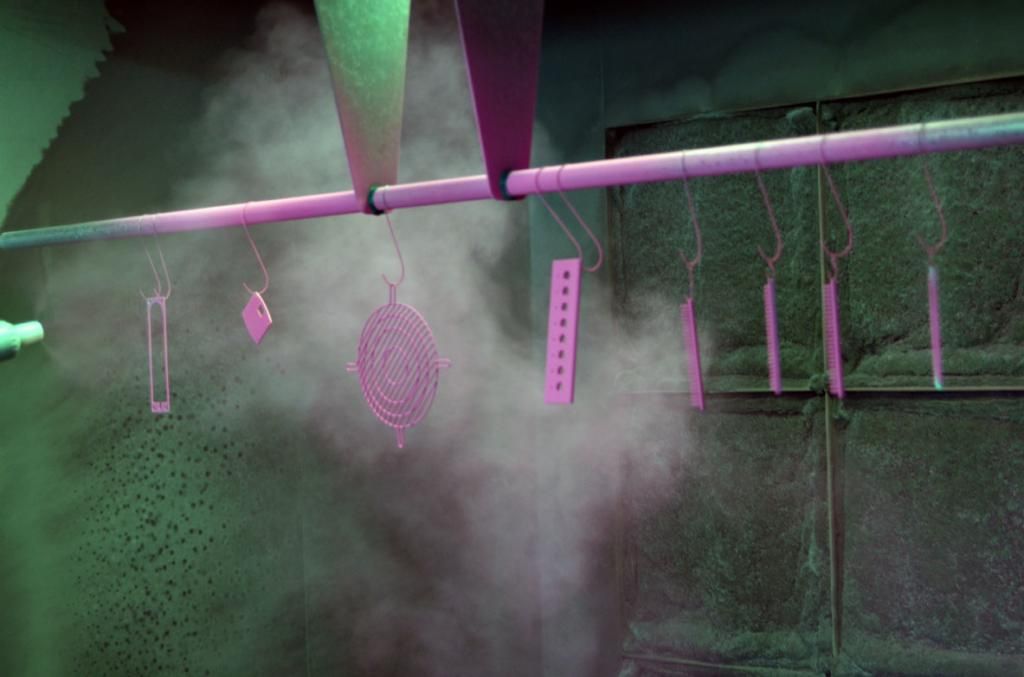
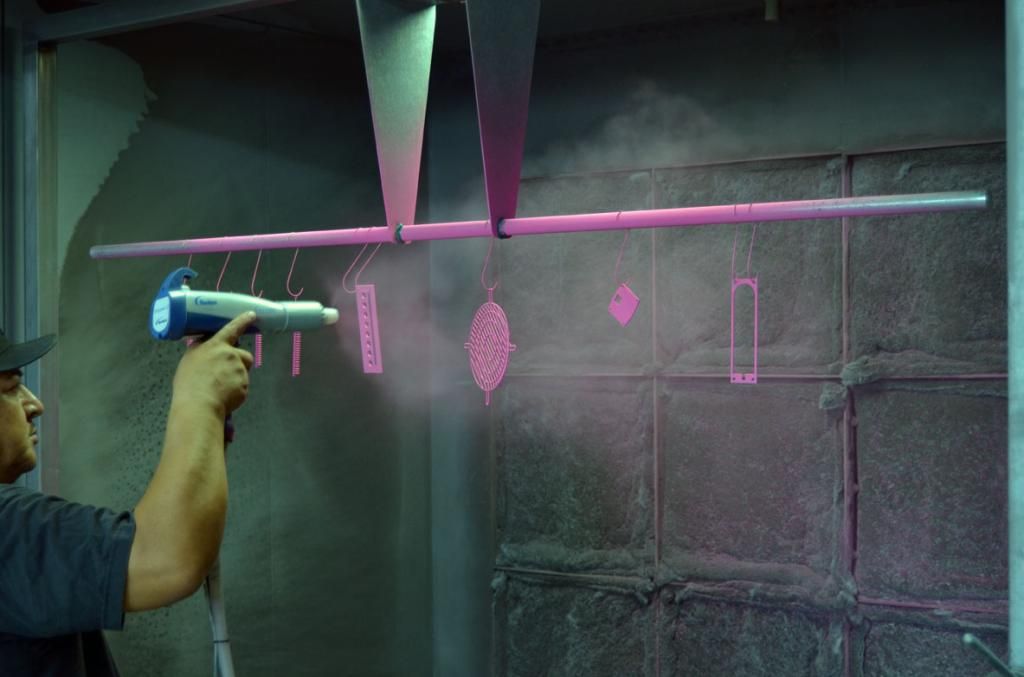
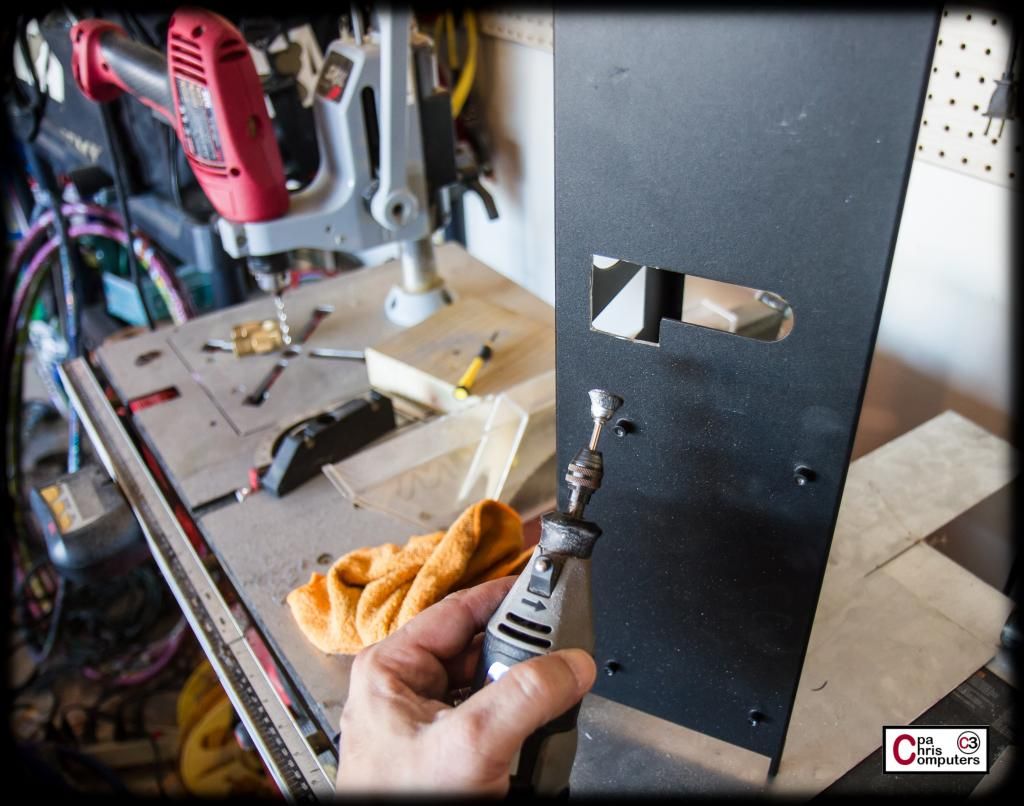
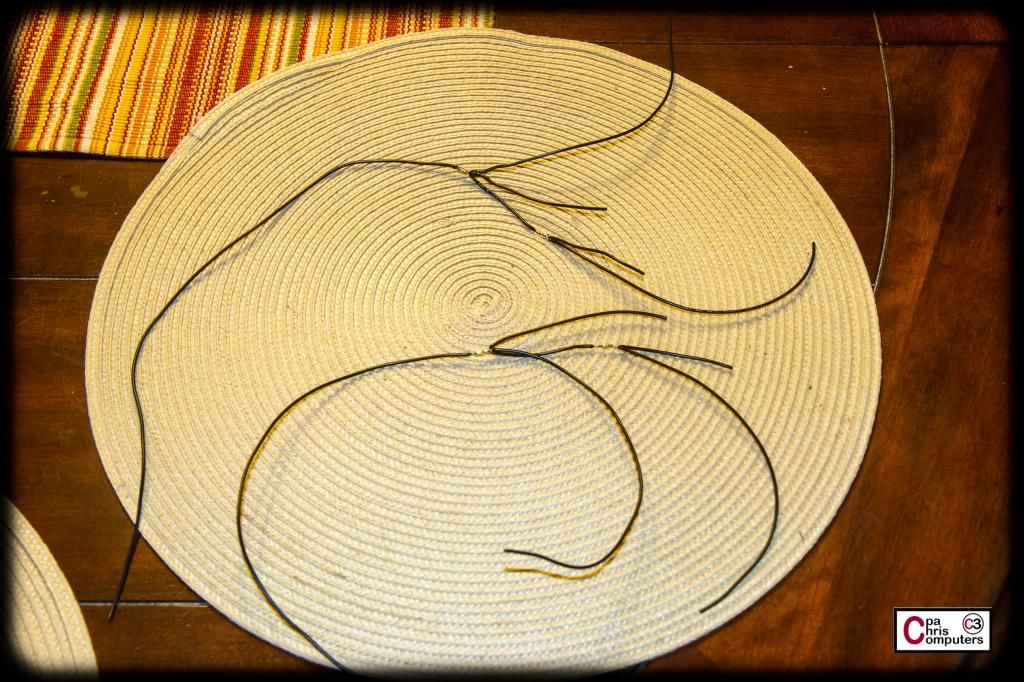
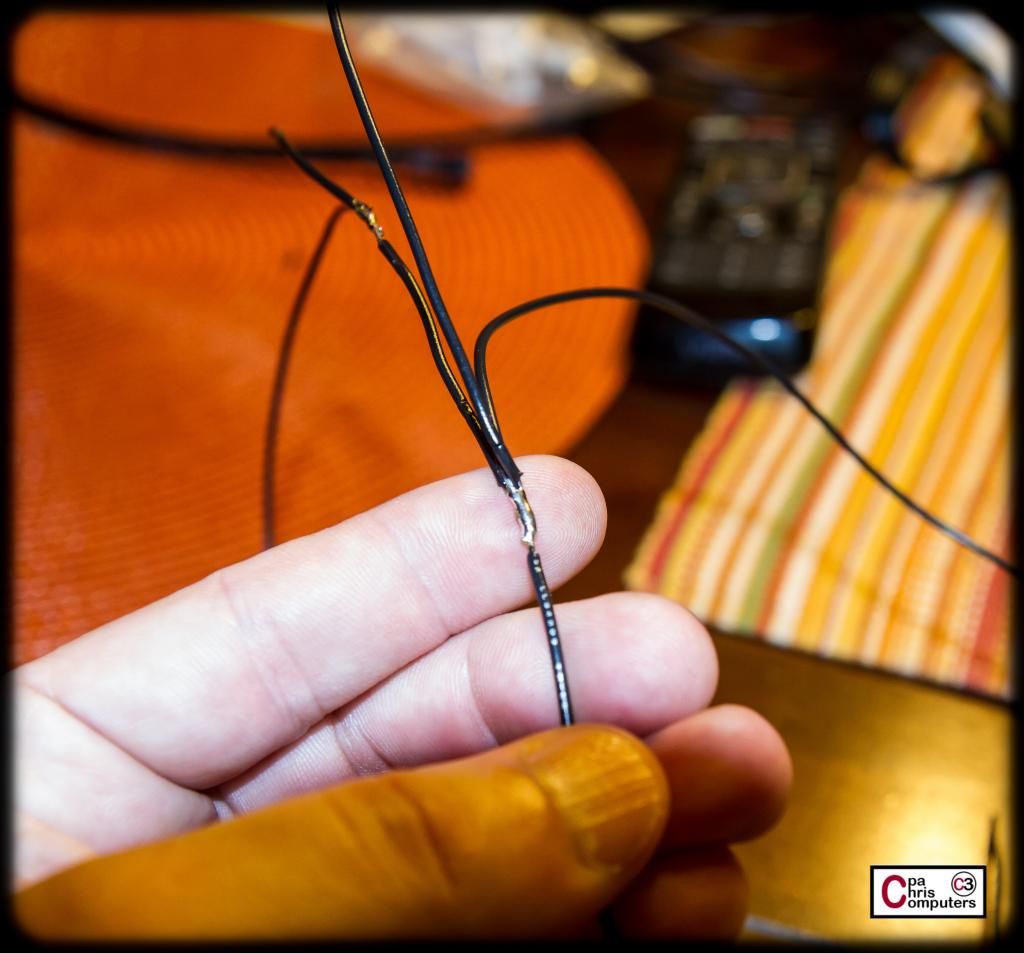
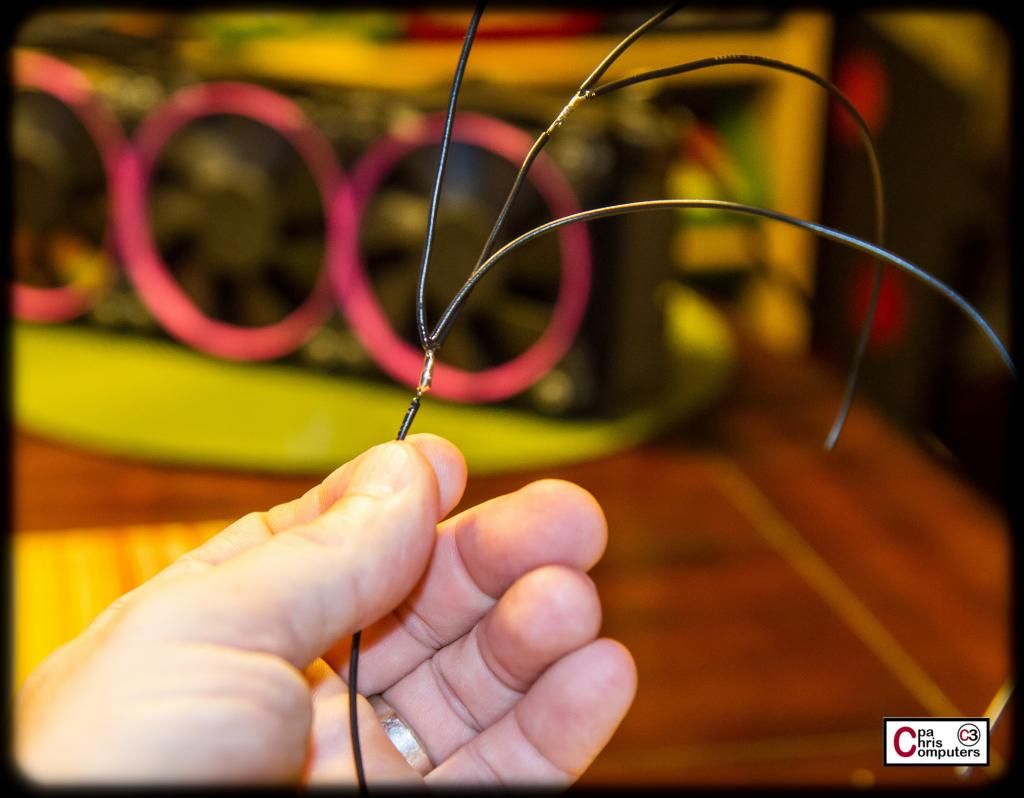
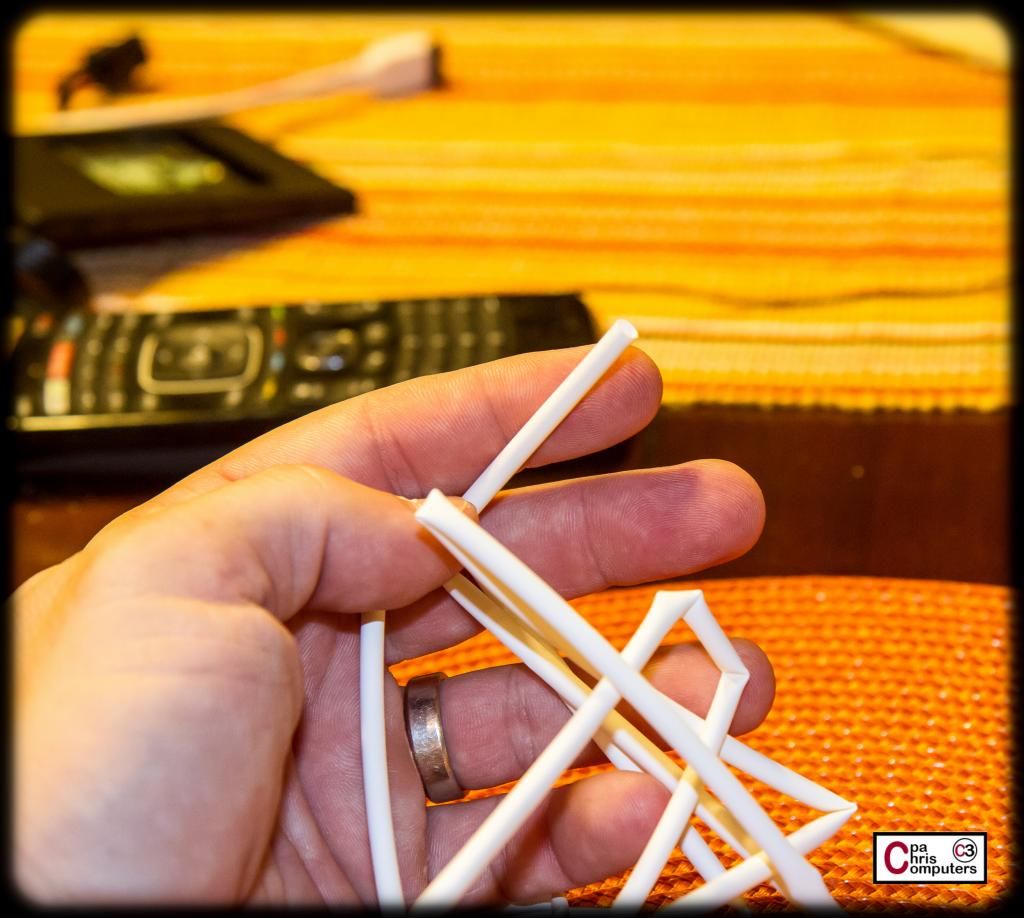
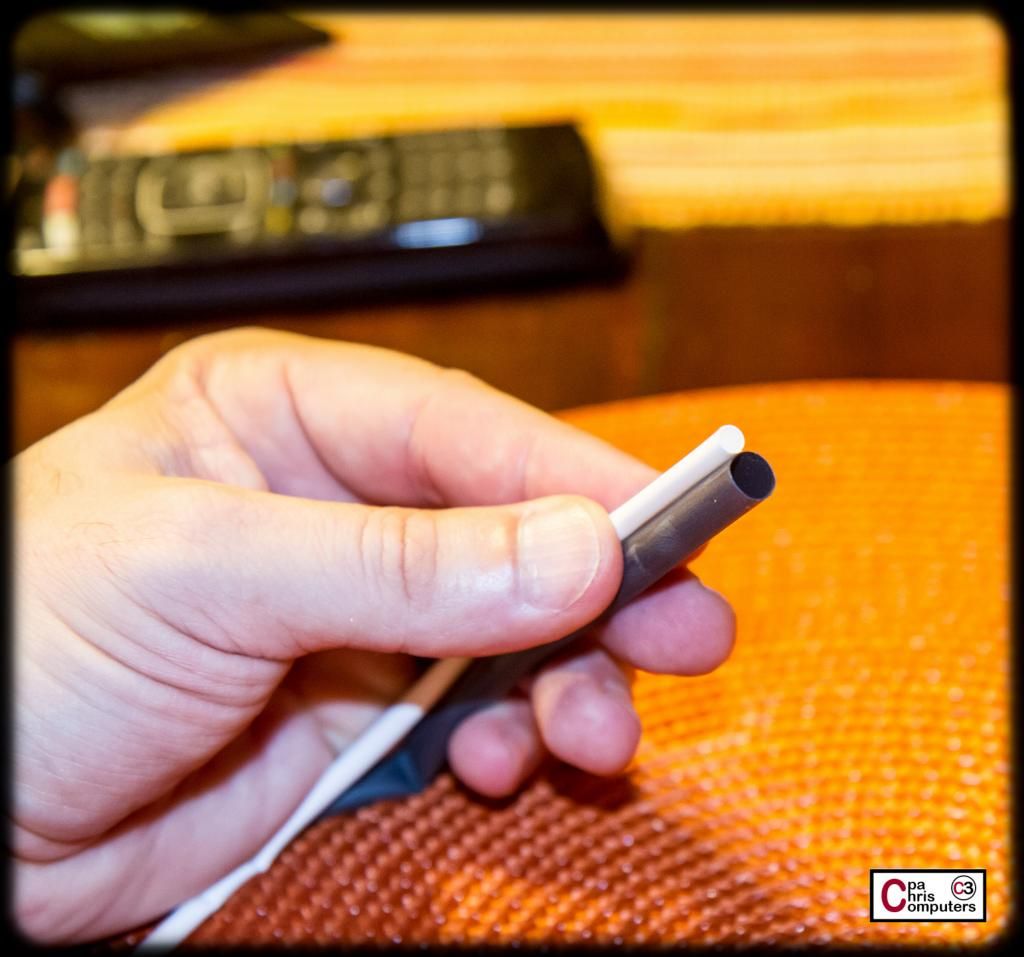
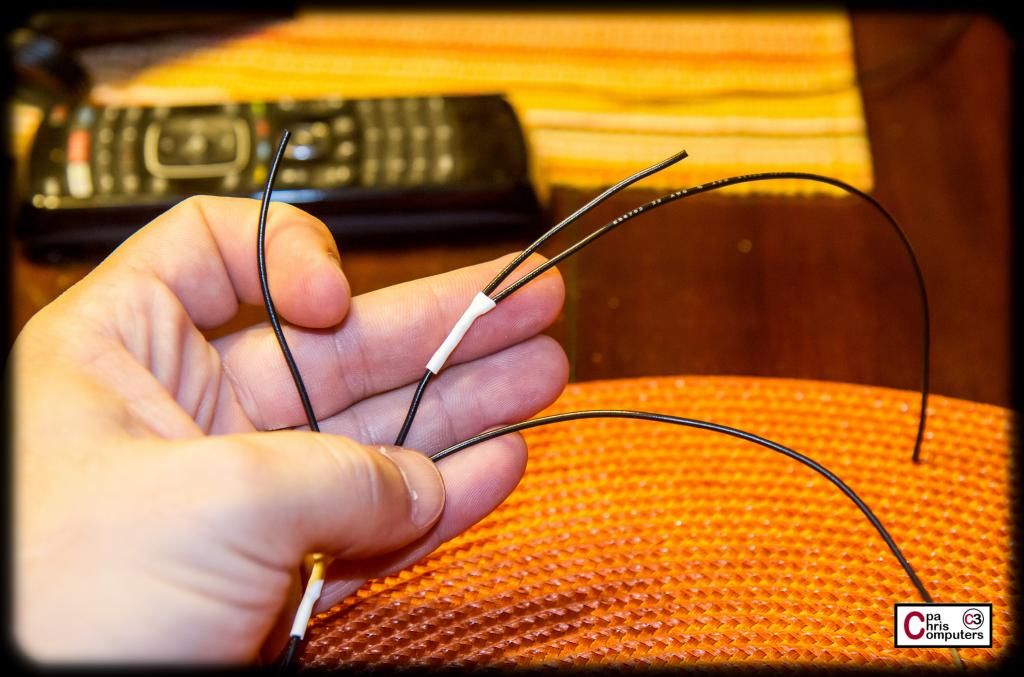
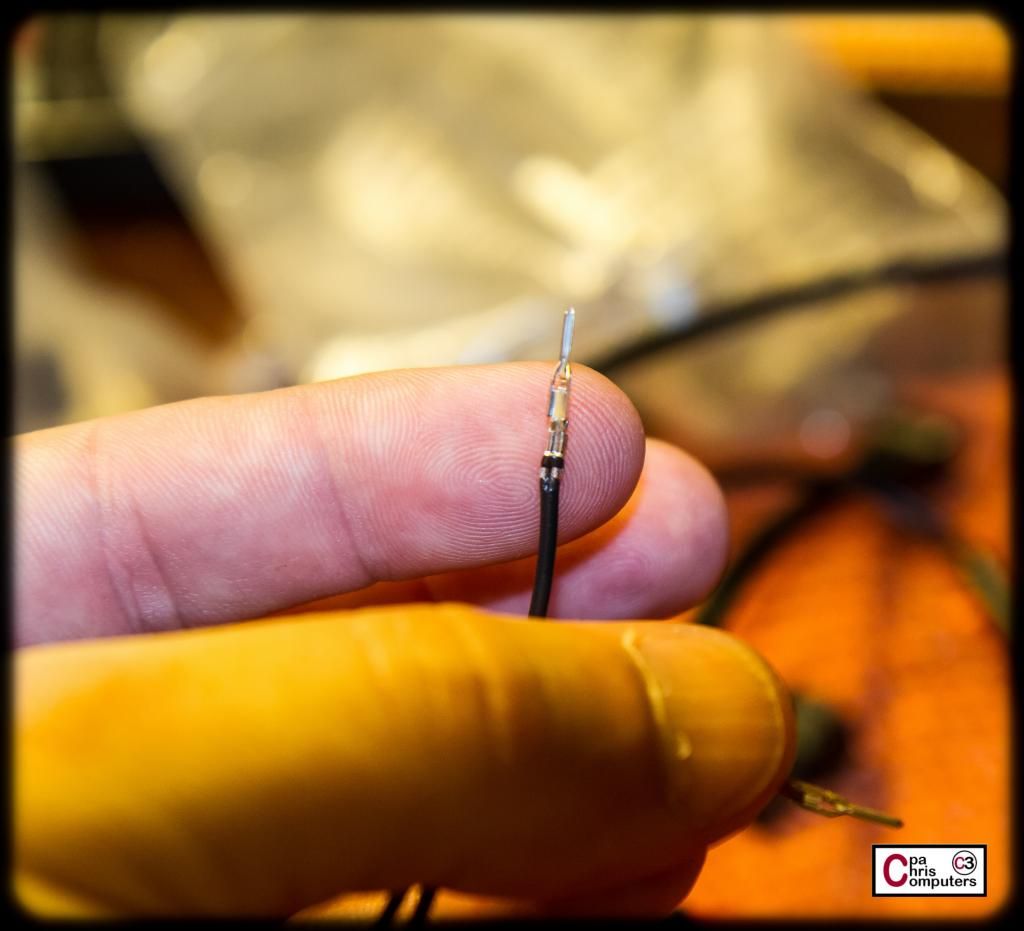
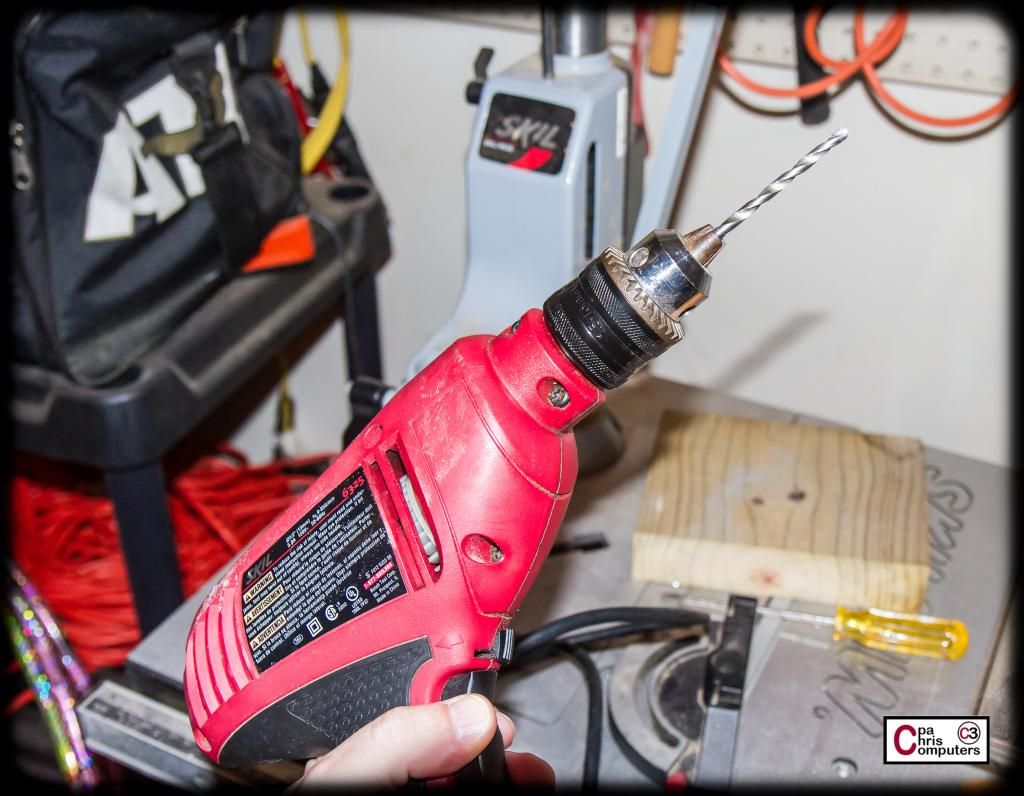
i would really just have somone do this for you, after buying tools and materials you end up spending as much if not more (not even counting time lost) than if you would have paid a professional to do it. and they end up perfect if you use the right person.


 Reply With Quote
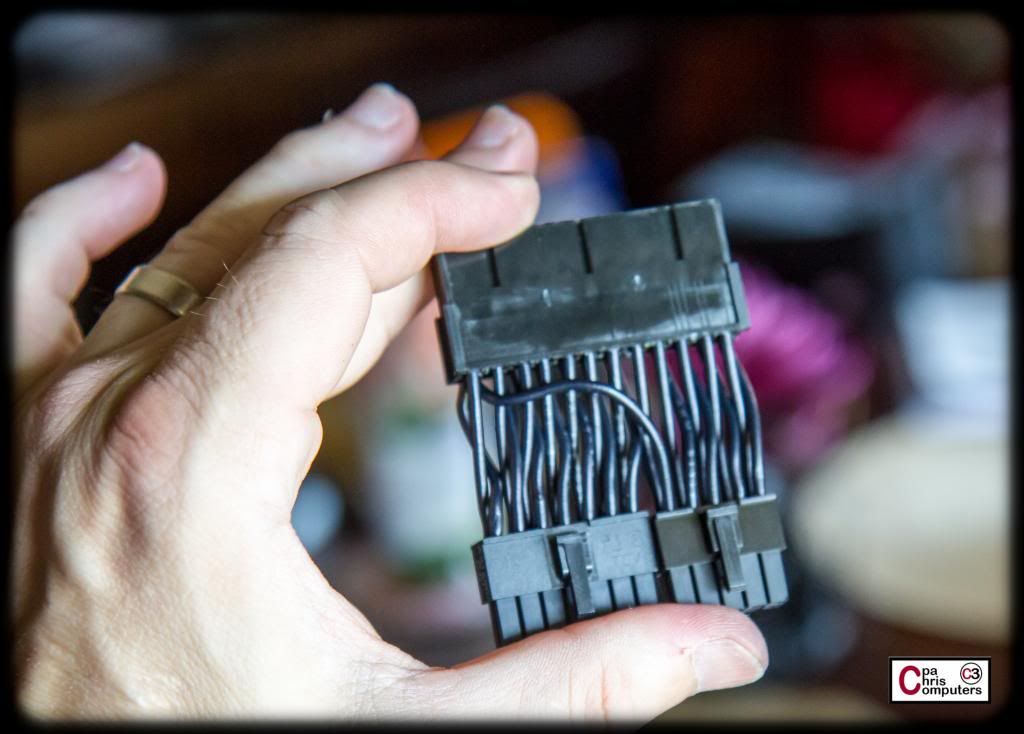


Bookmarks