Results 1 to 8 of 8

Thread: [CIP] Purpura (XPS 720)

  1. #1
    Xtreme Member
    Join Date
    Apr 2011
    Posts
    116

    [CIP] Purpura (XPS 720)

    Hello All,

    This will be the start of a new project. Purpura
    For this build I am going to use for an old acquaintance. In the summer of 2013 I had the change to get my hand on 2 XPS 720 cases. I will use these 2 beauty's to create 1 complete case.

    The hardware and water cooling parts will be reused from my previous build Bel Air. Because I never got to finished the mod I will be using most of the parts that where sponsored then.

    Sponsored by


    The black Case came complete with hardware when I bought it. The only thing that was missing was the foot of the case. That is why I got the other one I also will use they silver case for donor parts.


    Dell created a really good system to open 1 side panel in seconds with these series. But the other panel was a nightmare. U had to remove all the hardware before U could reach to the screws of the other panel. This system would not be handy at all of u wanted to do some tight cable management.


    This is where the donor case will come in handy. I removed the mechanism from the case and install this in the case that i will use my self.


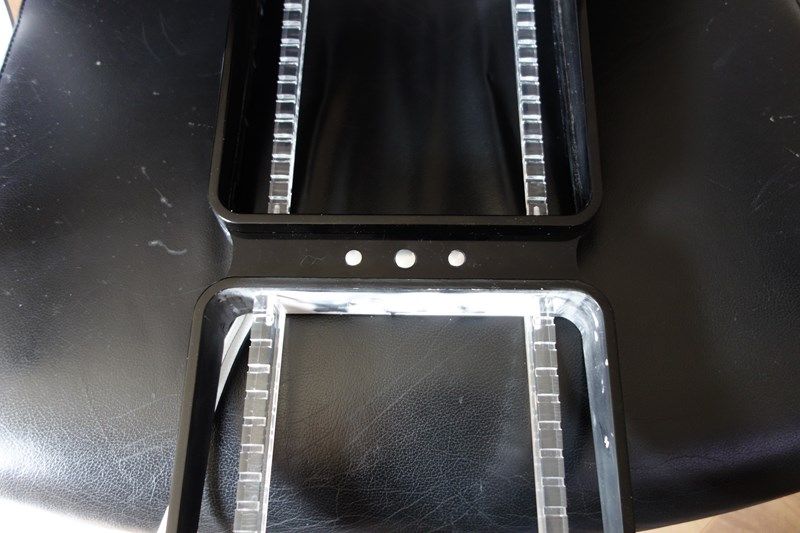
    Removed the profiles from the top and bottom plate and removed all the double-sided adhesive tape.


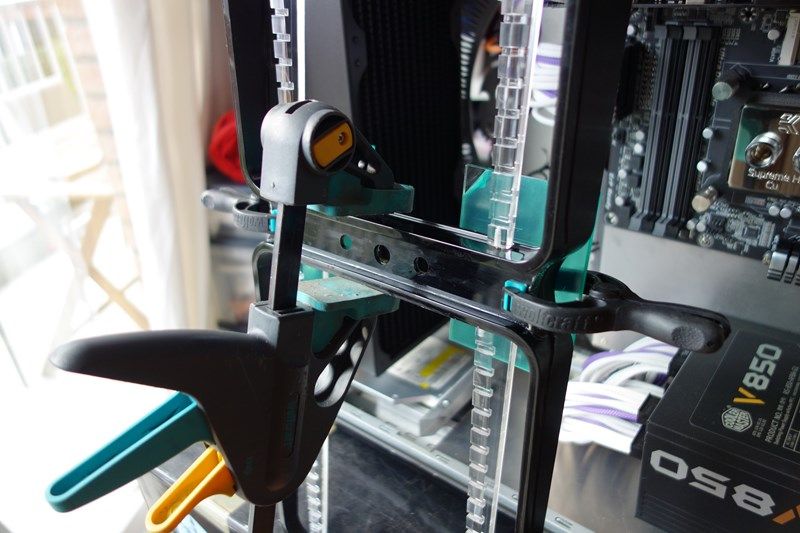
    Making sure that the profiles stay on the same place before I can fasten it.


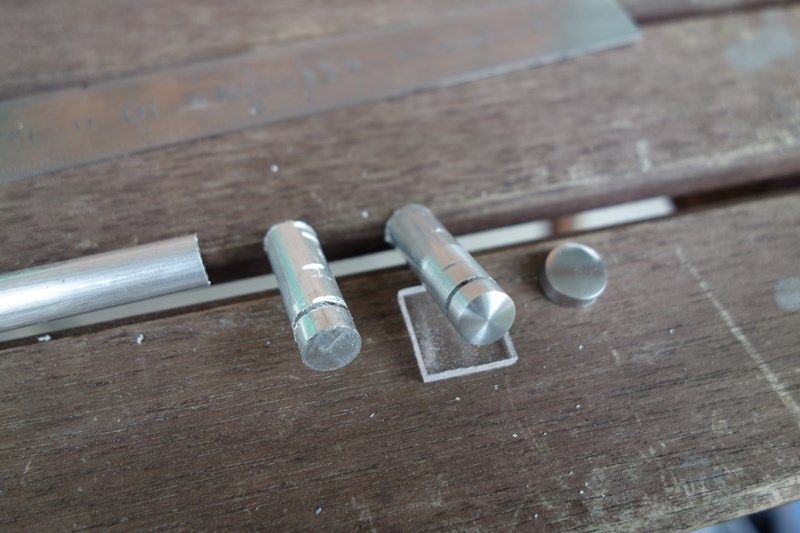
    To Fasten the profiles I will use 2 methods. First I use 2 compound metal glue the other type will be rivets this way they will never come loose again.


    Where the rivets where placed I had fill up the hole and sand them even with the panel.


    Coming up next will be the side panels and the slot mechanism.

    Till next update!
    Last edited by Snelleedie; 02-22-2014 at 08:20 AM.

  2. #2
    Xtreme Member
    Join Date
    Apr 2011
    Posts
    116
    Update!

    Time to work on the side panels and the slot mechanism.


    This is how the original mechanism looks like.


    Made a small adjustment with the dremmel. Removed all the material that is not needed anymore.


    Repeated it 2 times for every panel of the case.


    Did the same on the bottom of the panels.


    The only rested to do was to remove the double-sided adhesive tape from the panels.


    Now when there ready it is time to test it. And see if the systems works ok.


    Thank u for reading till next update!

  3. #3
    Xtreme Member
    Join Date
    Apr 2011
    Posts
    116
    Here is a small preview for the next update.


  4. #4
    Xtreme Member
    Join Date
    Apr 2011
    Posts
    116
    Thank U Nexxo,

    Update!

    A few weeks ago I went to visit Pascal to pick up some parts for the build. For the build I choose to go with a new front,back plate + a new motherboard tray. This way I have more option for the case.

    This was the first idea/theme that I wanted to use for this project.


    After a while I dissected to create something that really would fit with the elegance from the case.


    These where the parts that I picked up at Pascal.


    The only things that needed to be done where bending and drilling holes for the mounting.
    After a few hour Pascal and me where done with all the work and the case could be assembled for test.
    Thanks again Pascal to help me with this project.

    Frontplate


    Rad mount


    Backplate


    Motherboard Tray


    There where only a few thing that still needed to be done like drilling the holes for the stand offs and pci brackets


    Assembling of the case.


    This was it cya till next update. ^^

  5. #5
    Xtreme Member
    Join Date
    Apr 2011
    Posts
    116
    Update

    Last weekend I had some time to continue my work on the case. I started to make a support for the DVD and bottom plate. Used 2 alu profiles for this. To attache them I used 2k glue and rivets to secure to the bottom plate.


    Still need to make a cover for the DVD I will do that when the new materials arrive.


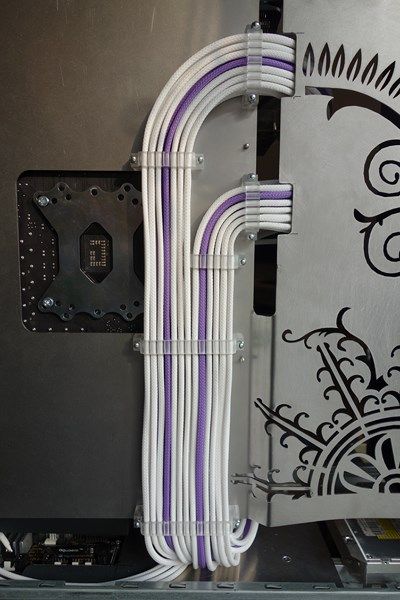
    Few weeks back I visited Sander from MWM to help him a bit with building some mining pc's. In return he made a few parts that I needed for my cable management.


    The pieces have bin polished and sanded to get the frost look.
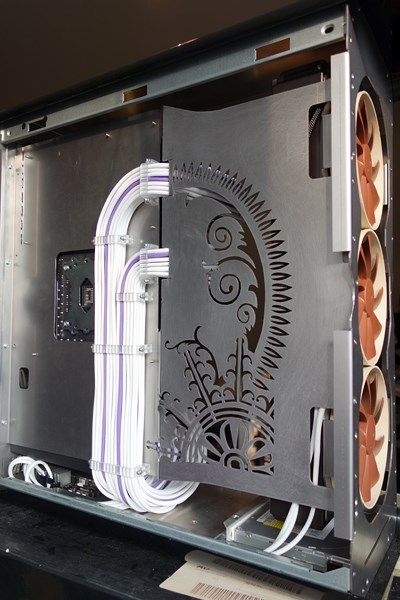
    Mounted it at the back of the motherboard tray.


    This way the power cables will run nicely next to each other.

    Next step was the front/back of the case.

    Before


    After


    Same for the back panel.


    Installed the polished pieces in to the front.


    In every open space will come a piece of aluminum. This will give a nice retro look for the front.
    This was it again cya at the next update.

  6. #6
    Xtreme Member
    Join Date
    Apr 2011
    Posts
    116
    It has bin a while when I showed my face around here. :hip:

    So Time for a Update !

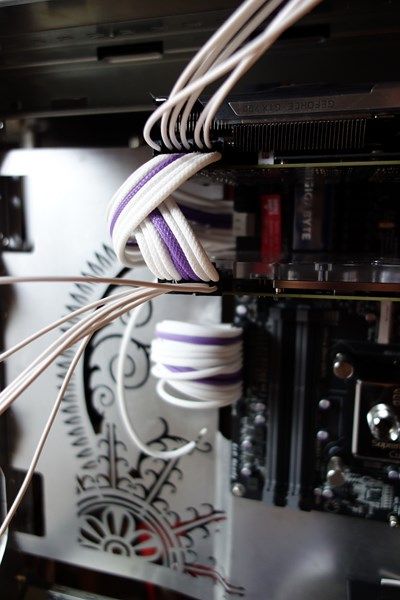
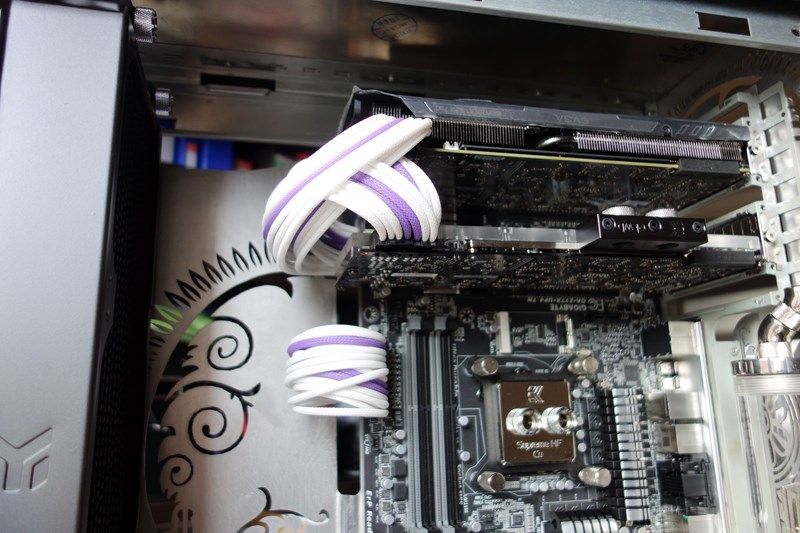
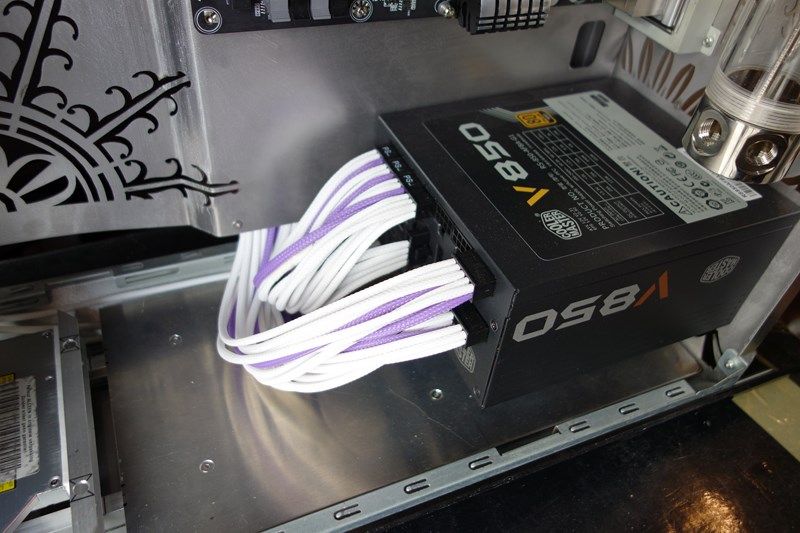
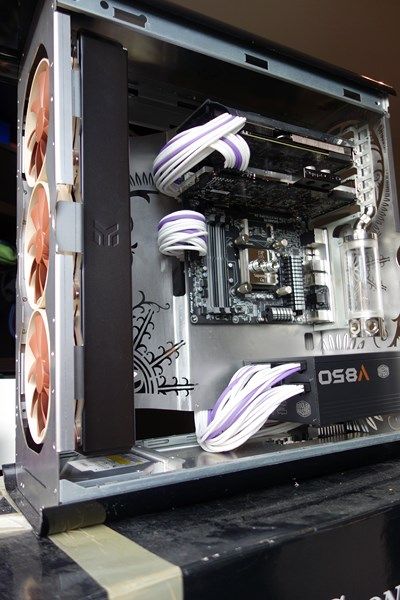
    In the preview I already show U the 24pin cable, now its time for the cables for the GPU.


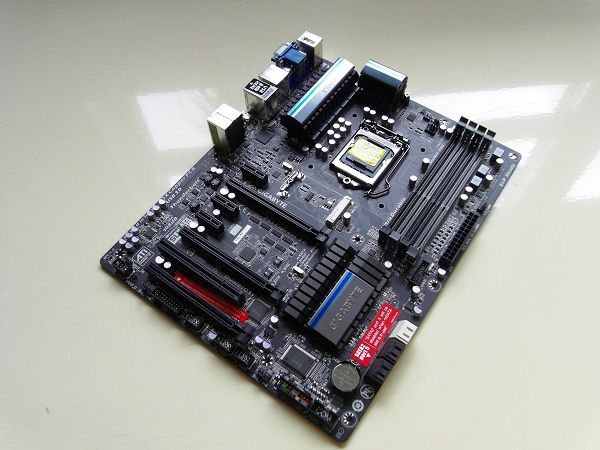
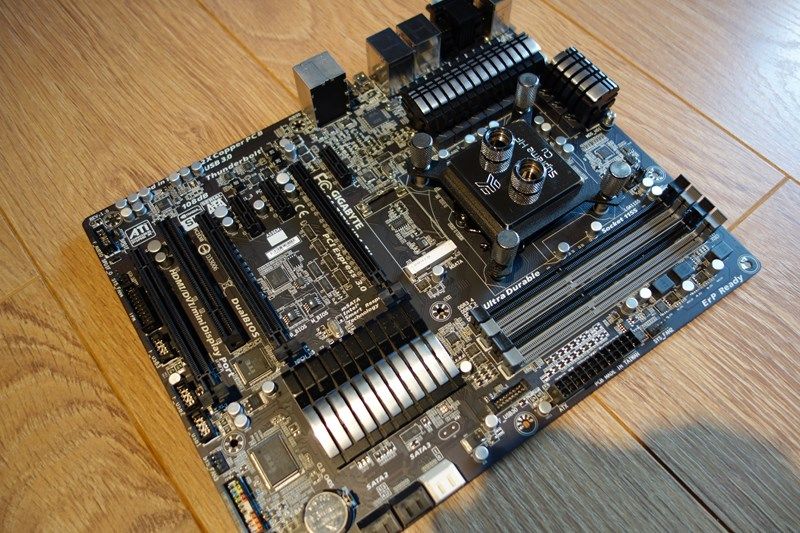
    The colors from the MB didn't really fitted with the rest of the theme that I was planning. So time to change that to.
    Before.


    After.


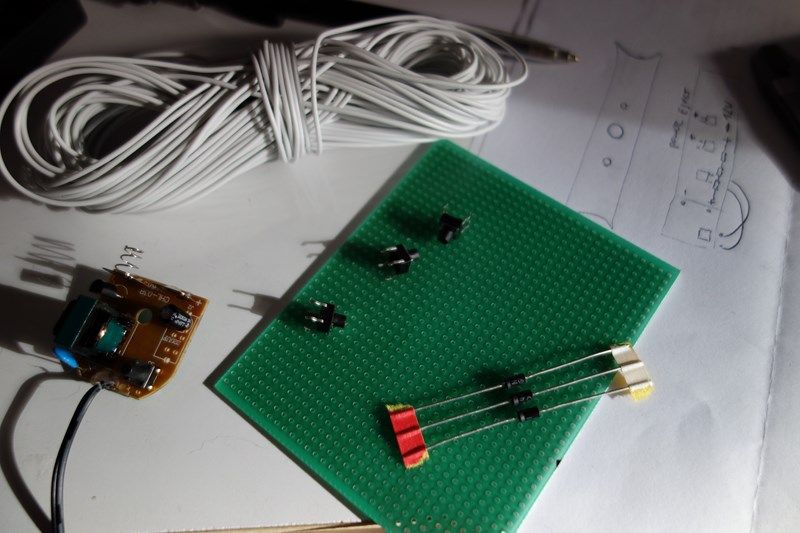
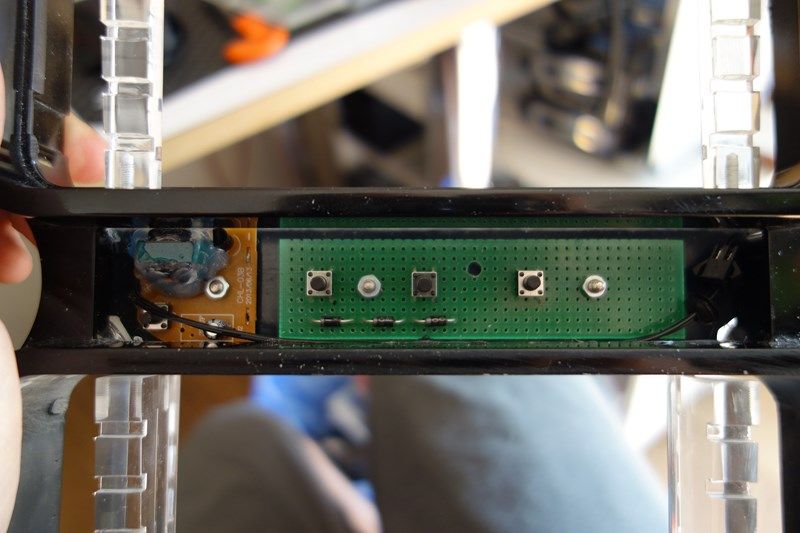
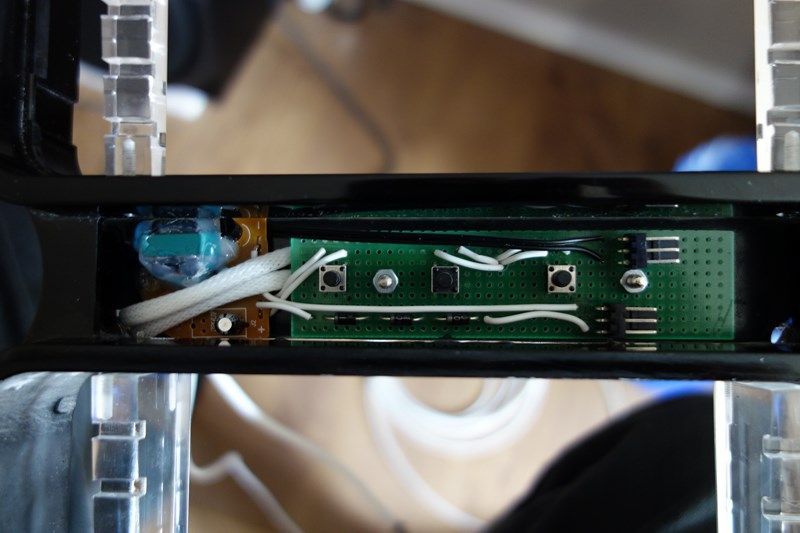
    Next up was making my own pcb for the power/eject/light button.


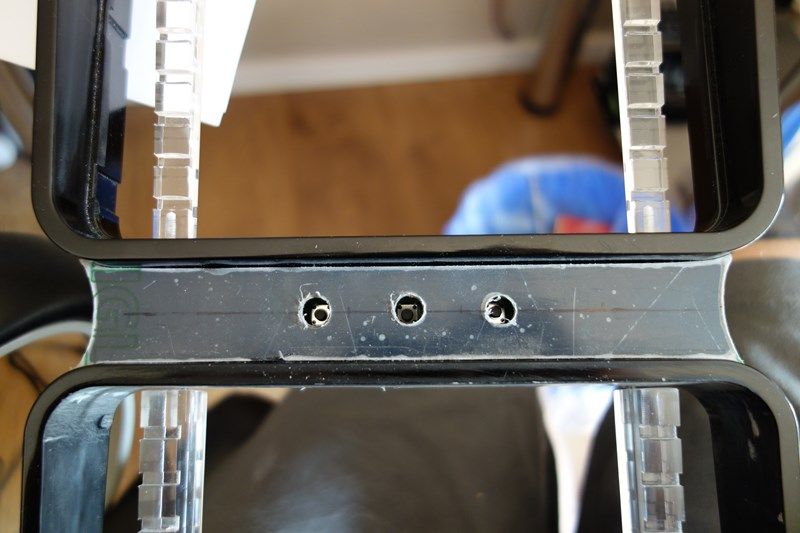
    To get a nice look for buttons I got my self a aluminum bar


    With this as end result simple stylish buttons.


    Atm the glue is getting hard when that is done I can start the prep work for the painting the front.


    Short video about the change I made for the DvDrom

    https://www.youtube.com/watch?v=auKo...lN_lpRkkIQGDrw

    Till next Time!

  7. #7
    Xtreme Enthusiast miptzi's Avatar
    Join Date
    Feb 2008
    Location
    Not sure if...
    Posts
    595
    amazing, just amazing!
    Last edited by miptzi; 04-16-2014 at 02:47 AM.
    Raidmax ATOMIC - Core i7 3770s + Corsair H70 // Gigabyte H77N WIFI // Corsair Vengeance 2x4GB 2133mhz // EVGA GTX1060 ACX2.0// Kingston SUV400 480Gb // Sharkoon SFX500L

  8. #8
    Xtreme Guru
    Join Date
    Jan 2005
    Location
    waukegan
    Posts
    3,607
    definitely liking this.
    mobo: strix b350f
    gpu: rx580 1366/2000
    cpu: ryzen 1700 @ 3.8ghz
    ram: 32 gb gskill 2400 @ 3000
    psu: coarsair 1kw
    hdd's: samsung 500gb ssd 1tb & 3tb hdd

Bookmarks

Bookmarks

Posting Permissions

  • You may not post new threads
  • You may not post replies
  • You may not post attachments
  • You may not edit your posts
  •