Results 1 to 6 of 6

Thread: 4770K Heat spreader tuning

  1. #1
    Moderator
    Join Date
    Oct 2007
    Location
    Oregon - USA
    Posts
    830

    4770K Heat spreader tuning

    Here I will post my worklog of attemting to extract every drop of heat sucking performance out of the 4770K's Heat spreader. After delidding the processor, it was quite apparent that the thermal compound Intel uses sux, and my heatspreader did not sit perfectly atop my core. After my naked Haswell experiment convinced me that running the processor in the nude as if it were some sort of AMD Barton 2500+ was not the ideal solution, I decided to "re-lid" my haswell. If the processor still sux after this, ill buy a new one. If anything, this will be a good experiment for when I do get a fantastic haswell.

    Anyways, after delidding the processor I noticed my vice put little teeth marks on the heat spreader. Step 1 was buff those down


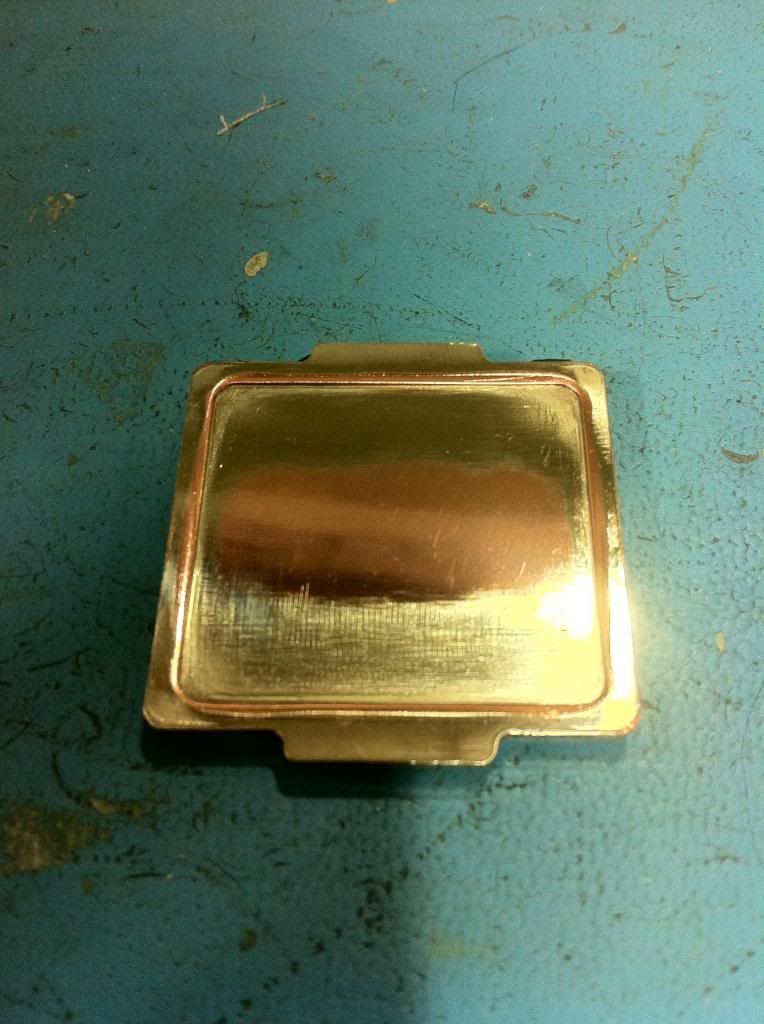
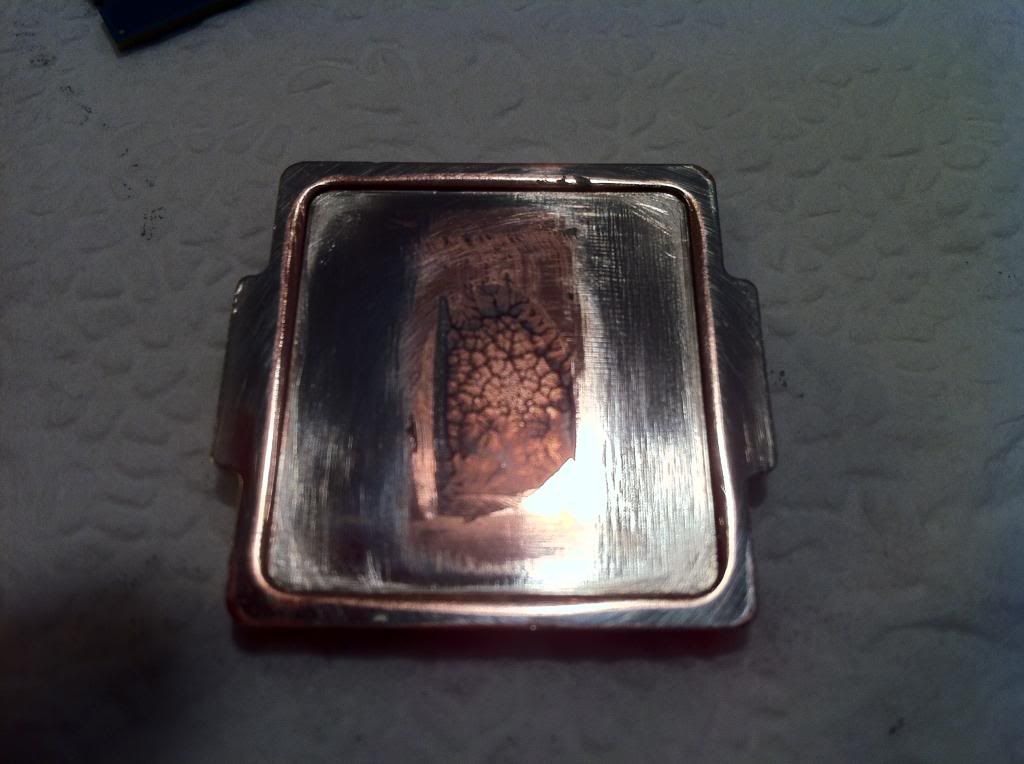
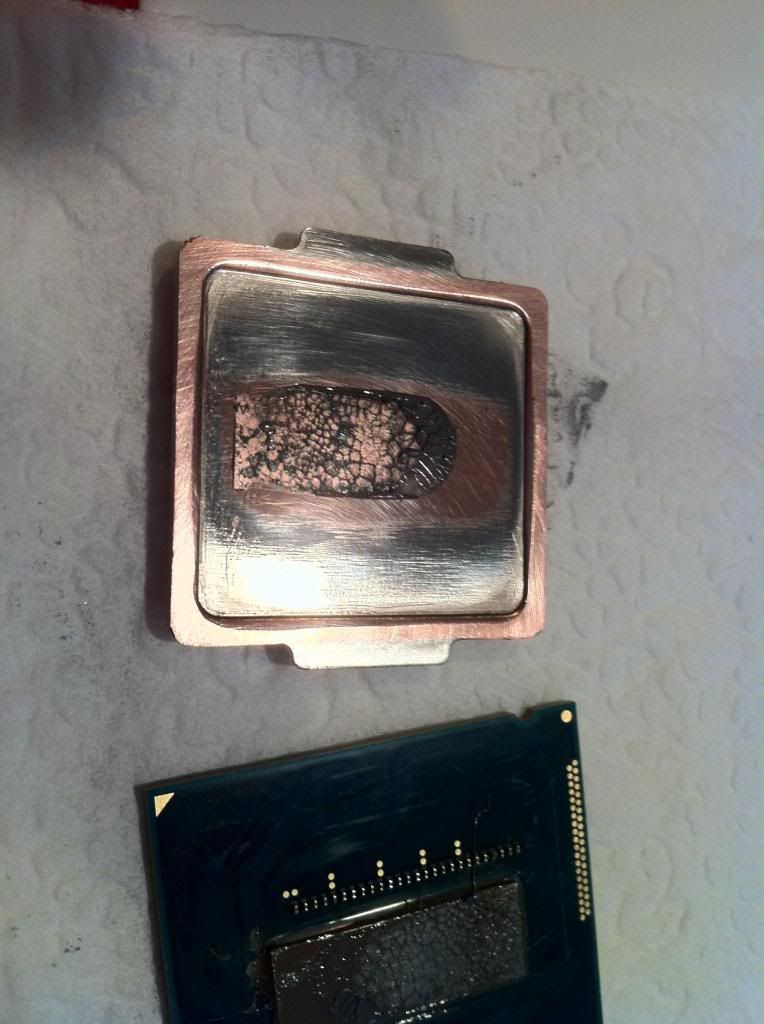
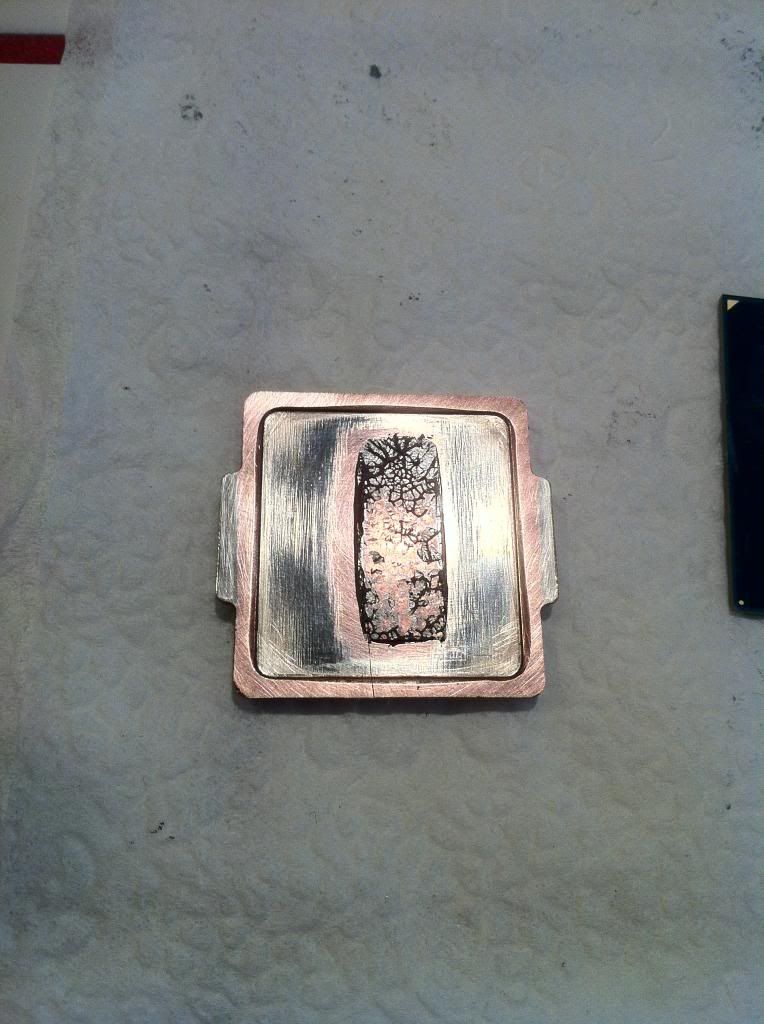
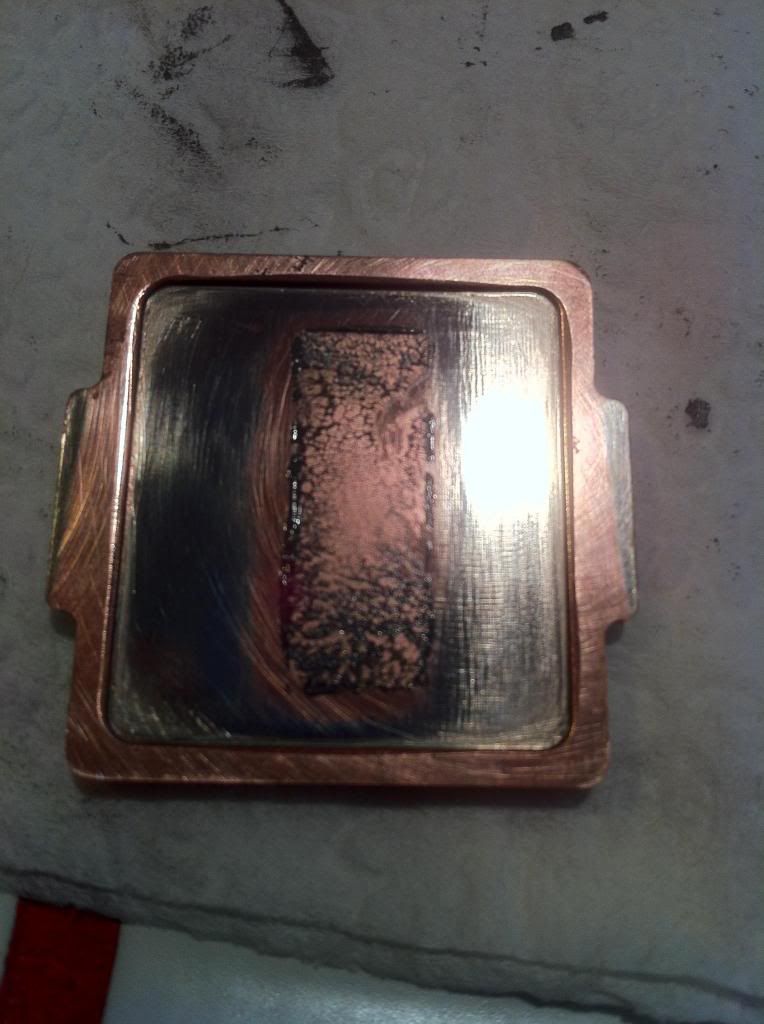
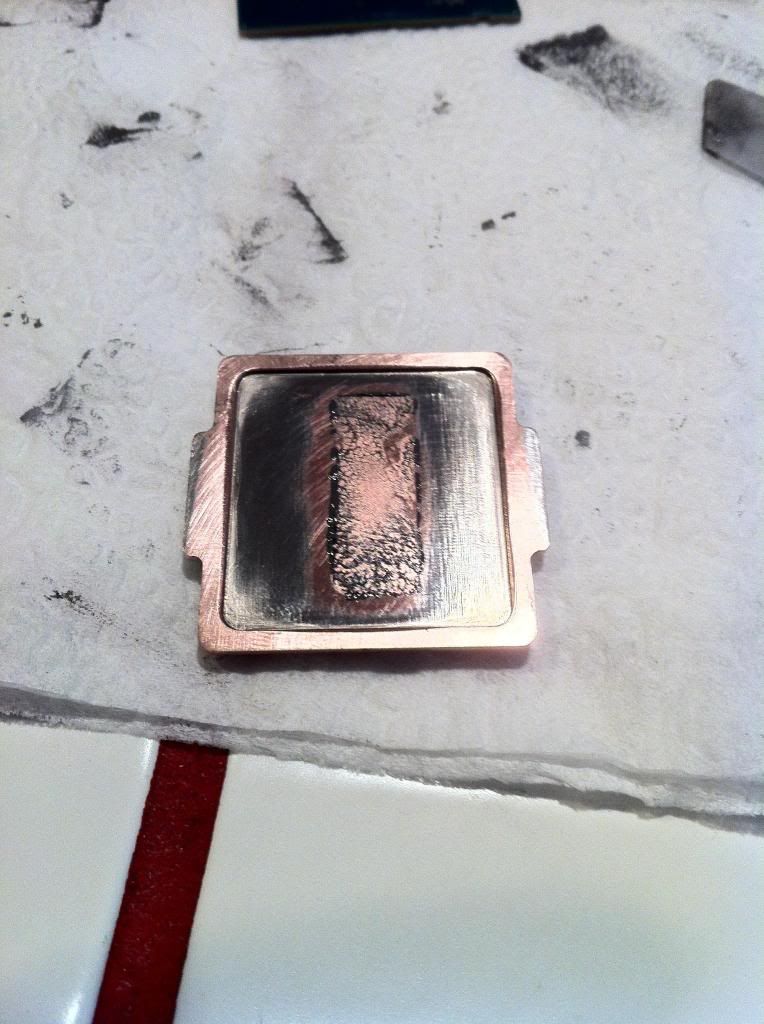
    Now, I measured the width of the CPU core and where it sat on the die. I didn't want some crappy machining, and unwanted plating to come between my cpus core, and the heat extracting copper of the heat spreader. This was all done by carefully buffing away at the die landing area until all deep machine marks were gone and the plating was removed from the location. I did not do any unnecessary buffing here, only what was needed to get the job done


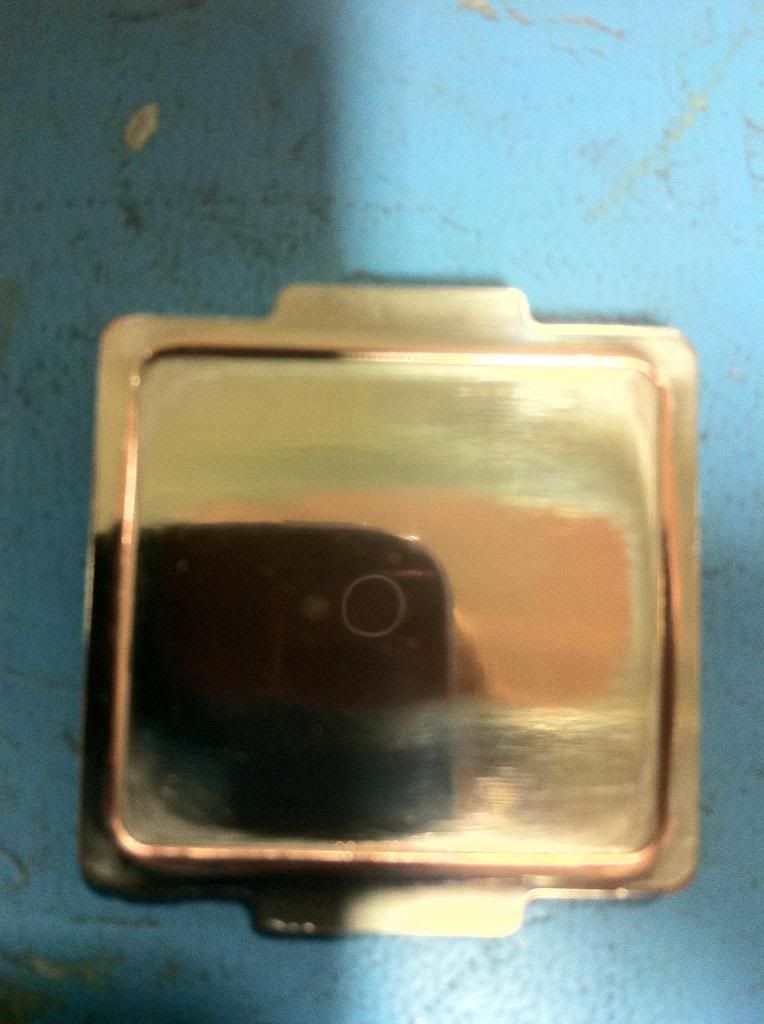
    I then micro polished the area with some compound we use at work on certain aircraft parts. Guess what took this picture... lol


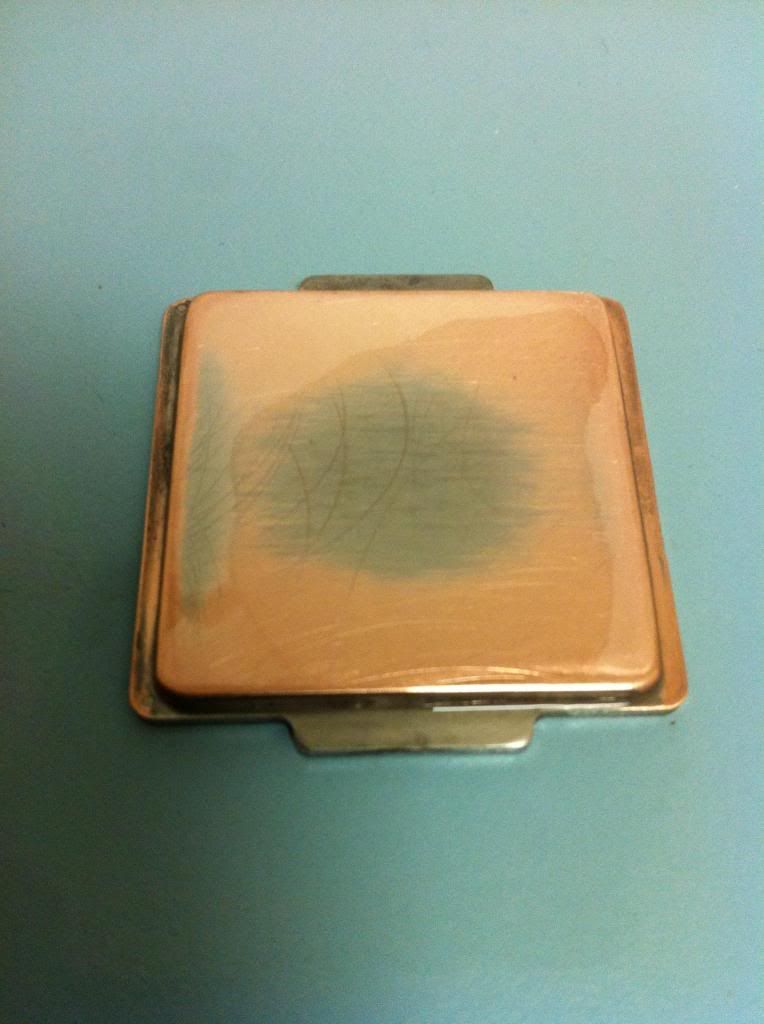
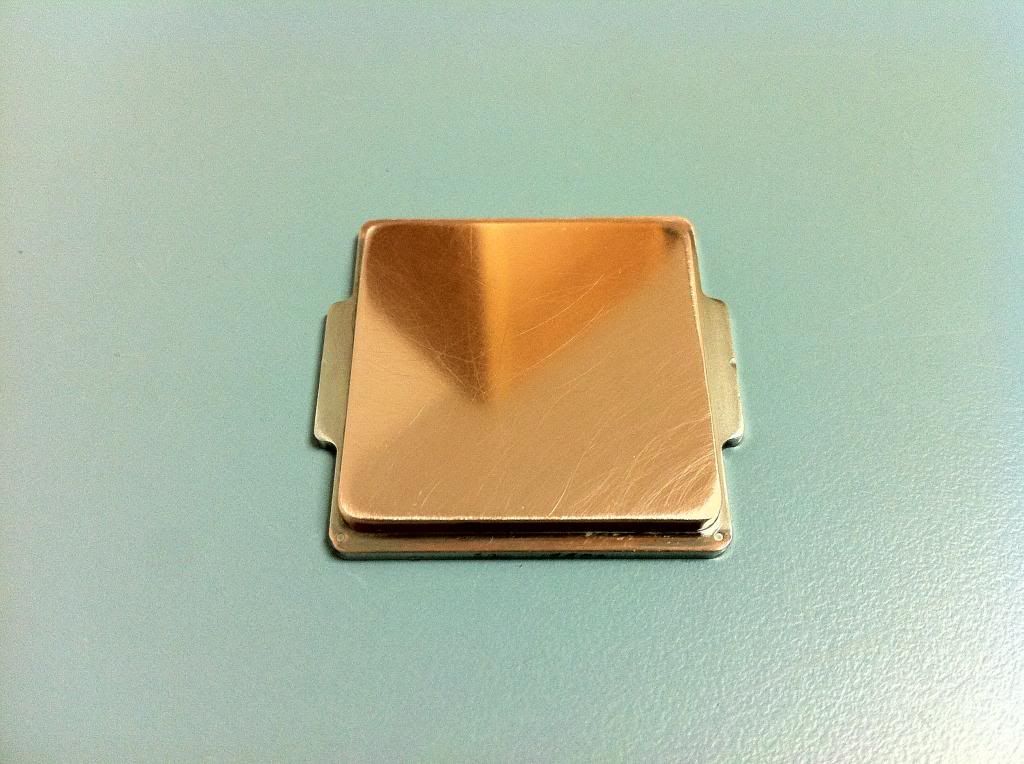
    Now I move onto the heat spreaders top surface where it makes contact with the cooler. I started with 1200 grit wet sandpaper and went to work. I immediately realized the heatspreader is not flat. This is even after I worked on it for quite some time. I should have taken a picture to show just how concave it was.


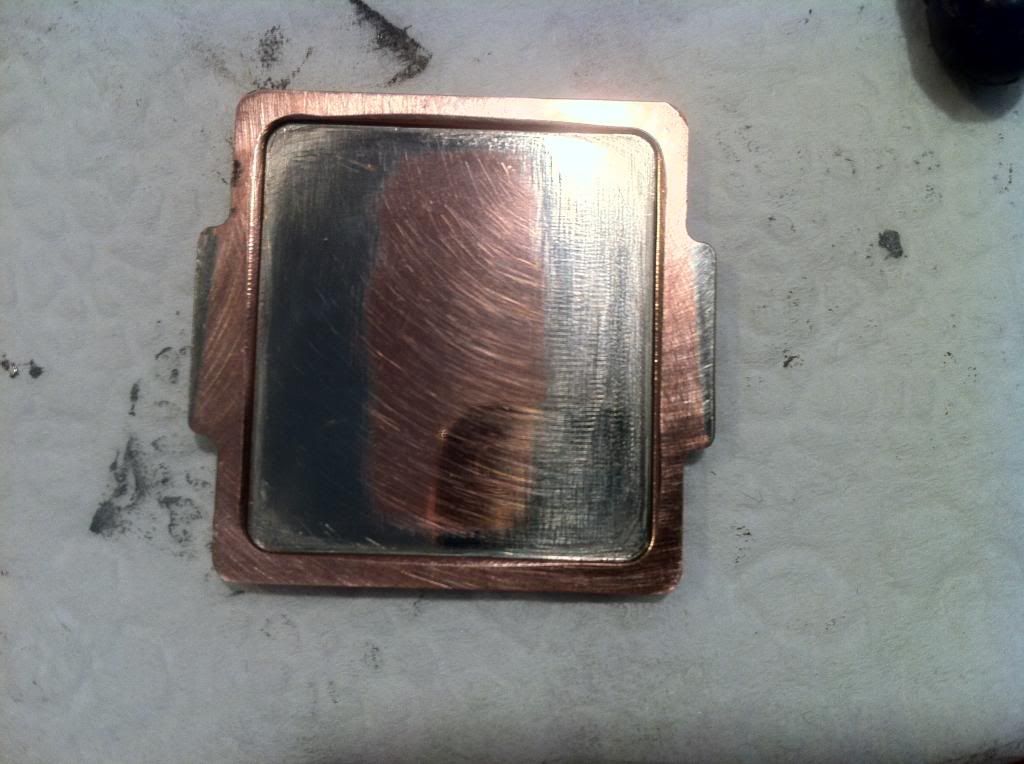
    Here it is all nice and flat from sanding with the 1200


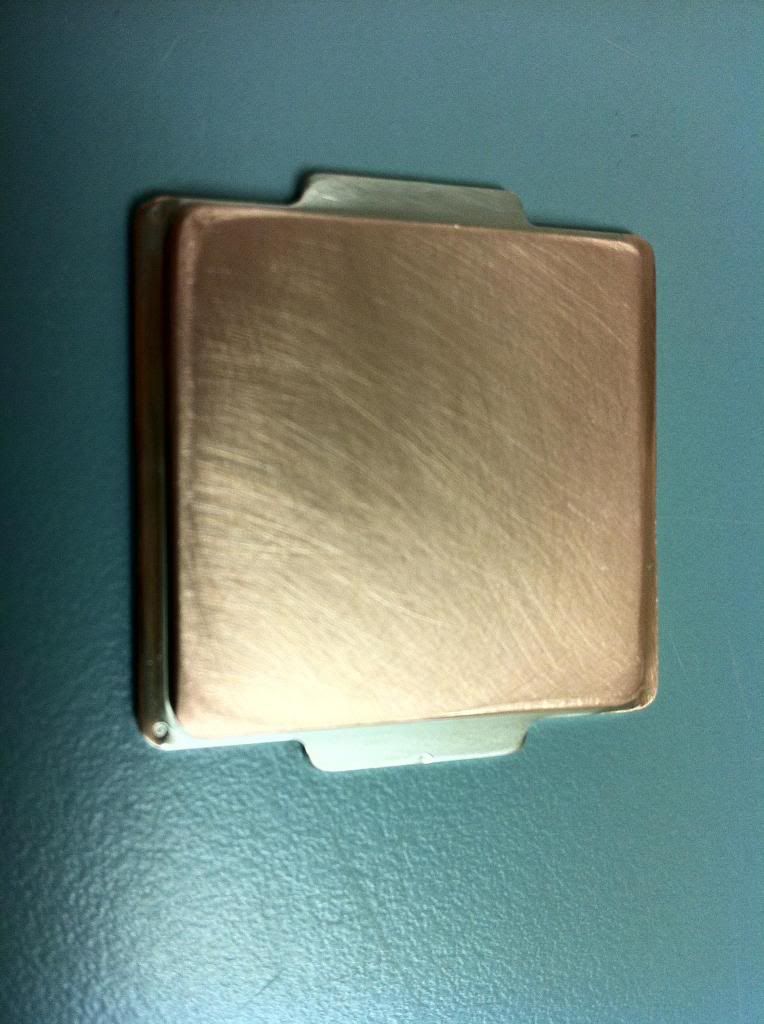
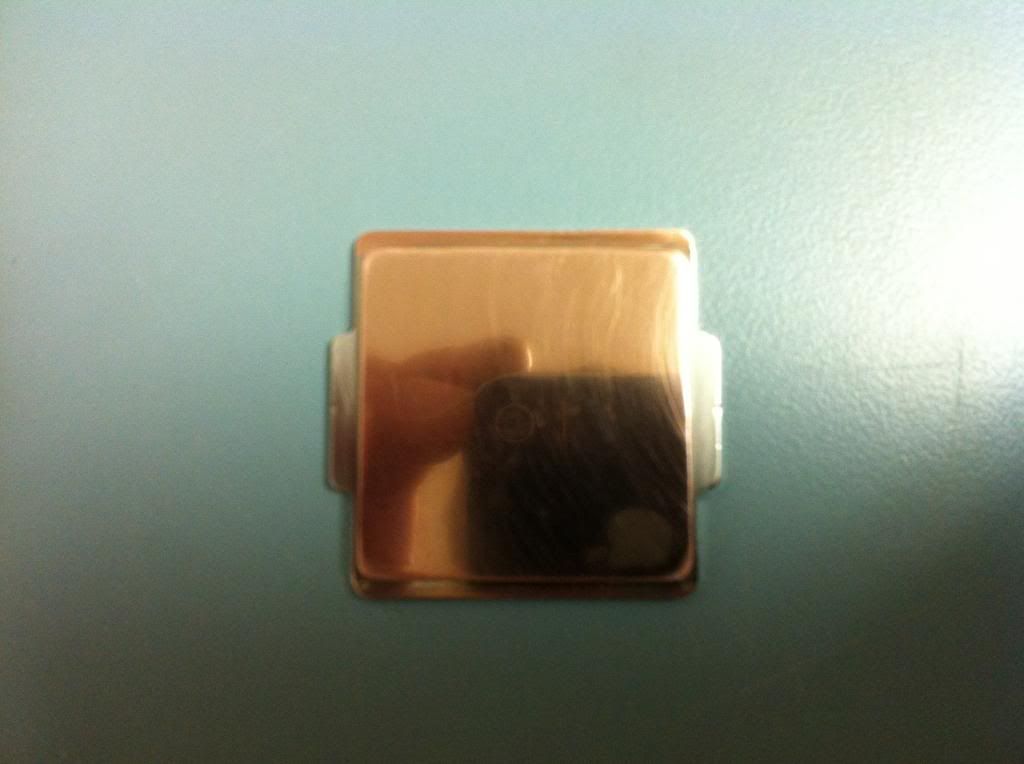
    I then began working on it with 2000 grit


    After that was done and I removed most deep scratches, I use 3000 grit to smooth it all out


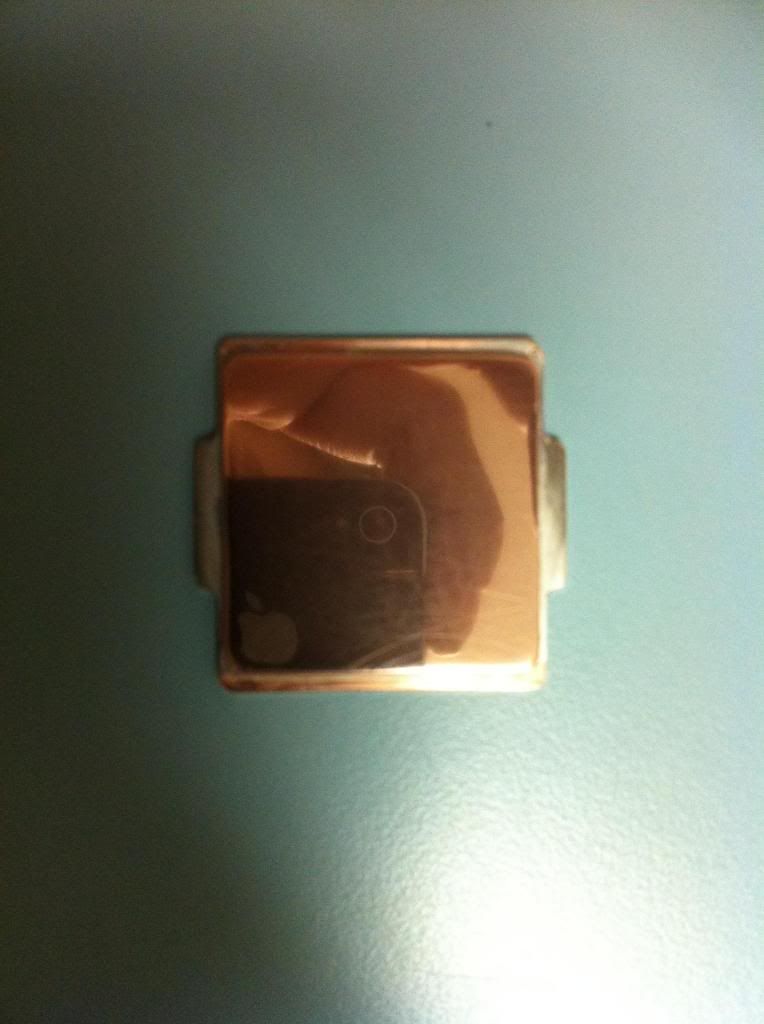
    Here it is awaiting its final buffing before being reapplied to the processor.


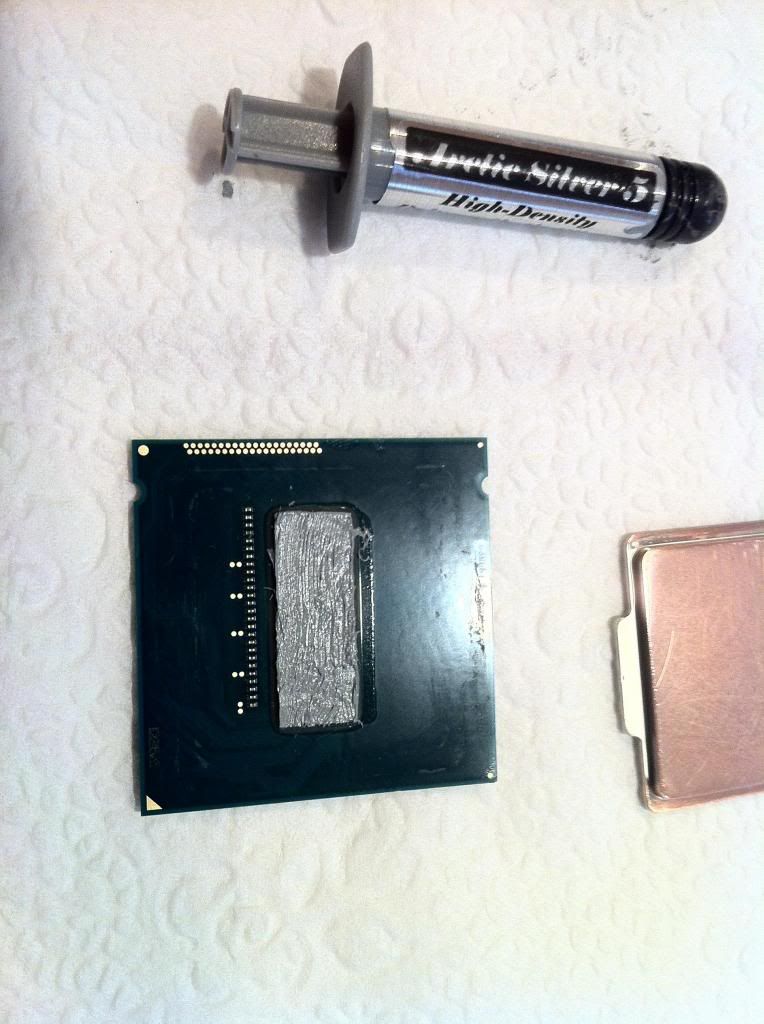
    Next step, Tune the mounting surface of the heat spreader so that the core landing area makes level and even contact with the Core of the processor. I want there to be just enough room for a bit of coollabratory liquid ultra to fill any imperfections in the two surfaces but I want the core as close to the copper as possible.
    Stay tuned
    Asus Rampage IV Extreme
    4930k @4.875
    G.Skill Trident X 2666 Cl10
    Gtx 780 SC
    1600w Lepa Gold
    Samsung 840 Pro 256GB


  2. #2
    I am Xtreme
    Join Date
    Oct 2005
    Location
    Grande Prairie, AB, CAN
    Posts
    6,140
    I lapped mine as well when I had mine off. I wet sanded w/ 1000 then 2000. Then polished it w/ some Autosol to make it look pretty.


  3. #3
    Xtreme Legend
    Join Date
    Mar 2008
    Location
    Plymouth (UK)
    Posts
    5,279
    I am guessing you will ensure that there is a little clearance between IHS and the PCB of the processor to allow the best possible fit.

    I shall be interested to know if you have to remove much material to achieve this.


    My Biggest Fear Is When I die, My Wife Sells All My Stuff For What I Told Her I Paid For It.
    79 SB threads and 32 IB Threads across 4 rigs 111 threads Crunching!!

  4. #4
    Moderator
    Join Date
    Oct 2007
    Location
    Oregon - USA
    Posts
    830
    So I had some OLD arctic silver 5 that was pretty much worthless other than using it to get an idea of how the heat spreader was making contact with the core.


    After initial testing, you can see that the core almost makes no close contact with the heat spreader.


    After working it down a bit, we can see that the heatspreader makes uneven contact.


    To work down the heatspread to even it out, I made a mark on the side that had no contact, then I put pressure down on that side of the heatspreader as I work it around the wet sandpaper.
    Looking a little more even this time


    Almost there


    and...... the money shot!


    If you look at the tabs on the side where there are still some plating you can see how uneven the heatspreader was machined in relation to the core.


    Now we just gotta wait till the coollabratory shows up and its go time!
    Asus Rampage IV Extreme
    4930k @4.875
    G.Skill Trident X 2666 Cl10
    Gtx 780 SC
    1600w Lepa Gold
    Samsung 840 Pro 256GB


  5. #5
    Xtreme Member
    Join Date
    May 2007
    Location
    The Netherlands
    Posts
    935
    Looking at how little contact there was, I would guess that the temps will be much better now. Looking forward to seeing the results.

  6. #6
    Xtreme Addict
    Join Date
    Mar 2008
    Location
    Minnesota
    Posts
    1,653
    Thanks for the idea, that is for sure what is going on with one of my chips. One core is 20-25C too hot while the others are tamed beautifully by Liquid Pro + delidding.
    i5 2500K @ 4.9GHz+ 8GB G-Skill RipJaws DDR3-2000 @1600Mhz CAS 6 Asus P8P67 Pro CrossFire 6970's @ 950/1450
    Xeon X5677 @ 4.5Ghz 6GB G-Skill RipJaws DDR3-2000 @1600Mhz CAS 7 Gigabyte EX58-UD5 4870x2
    i7-880 @ 4.2Ghz+ (still playing) 4GB G-Skill RipJaws DDR3-2000 @2300Mhz CAS 9 Asus Maximus III Formula MSI Hawk 5770

Bookmarks

Bookmarks

Posting Permissions

  • You may not post new threads
  • You may not post replies
  • You may not post attachments
  • You may not edit your posts
  •