

Thanks a lot man, means a lot to me.
Still see myself as just an hobbyist


Thanks a lot man, means a lot to me.
Still see myself as just an hobbyist
really for hobby you do this? crap i thought you did this professionally. seriously.
mobo: strix b350f
gpu: rx580 1366/2000
cpu: ryzen 1700 @ 3.8ghz
ram: 32 gb gskill 2400 @ 3000
psu: coarsair 1kw
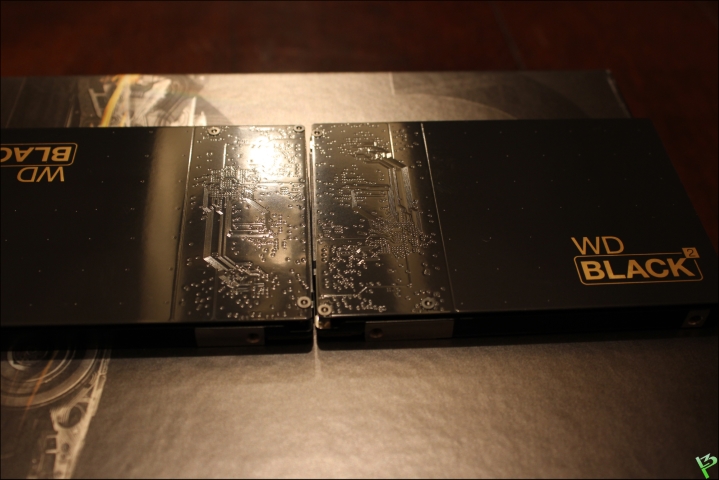
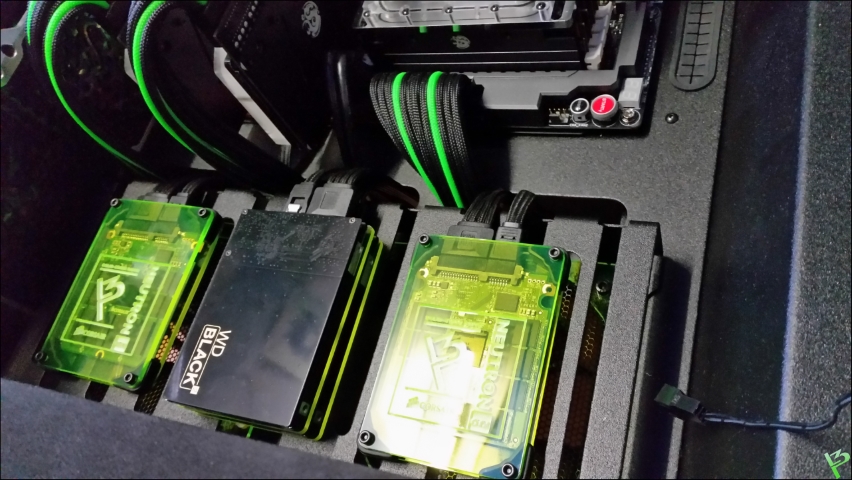
hdd's: samsung 500gb ssd 1tb & 3tb hdd
Well .. I'm an electrician by day, never made a single $ with modding at night
Beautiful work...simply stunning.
I live vicariously through your mod work.
- i7 5820K | Asus X99 Deluxe | 16GB Corsair Vengeance LPX | eVGA GTX 970 SC SLI | Asus PB278Q | 250GB Samsung 840 | 11TB HDD Storage | Steel Series Rival & QcK+ | Razer Orbweaver & Black Widow Ultimate '14 | Corsair RM1000W | Win 8.1 -
- Ek Supremacy Nickel | Alphacool NexXxos UT60 360MM | Coolgate UHE 360MM | Bitspower Water Tank Z-Multi 150 | EK D5 CSQ Top | Alphacool VPP D5 | Corsair SP120 HP's | Corsair 900D | Xbox One & PS4 | Sharp Aquos Q 60" | Astro A50 -
~ Gone but never forgotten: Xtreme Legend - Hallowed Point - Enthusiast - Bencher - Friend ~
Time to get back on this project!
Been busy the last few weeks with some other things that needed to happen first
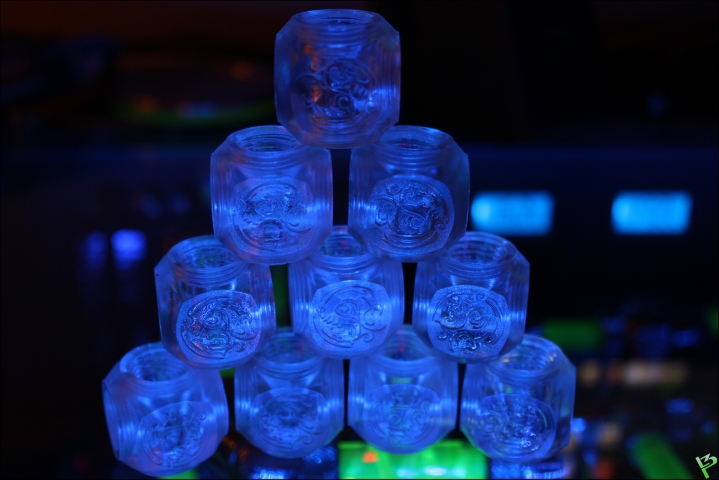
First ordered some more Q-blocks
Think these will give a cool effect too.
Something I did which took me a few full days.
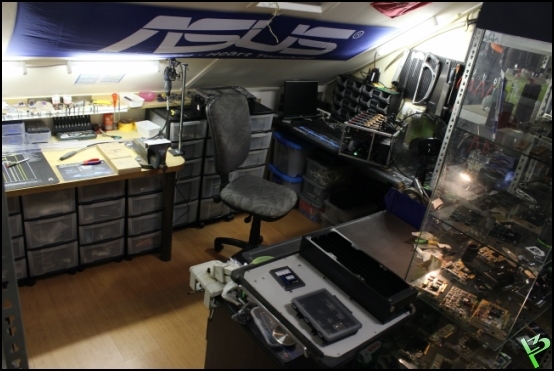
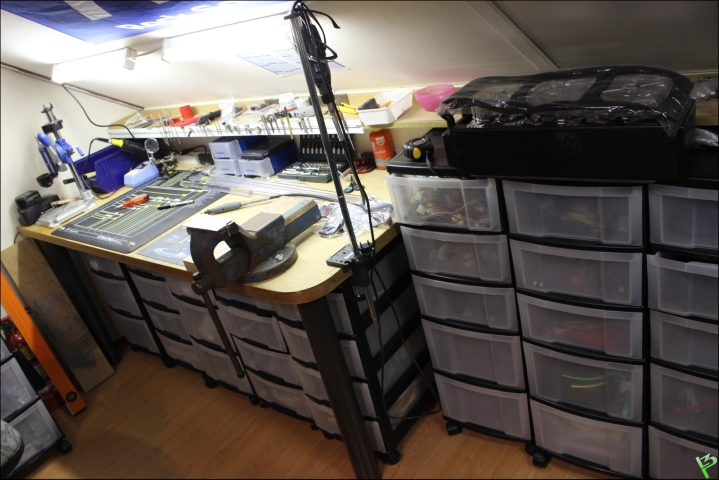
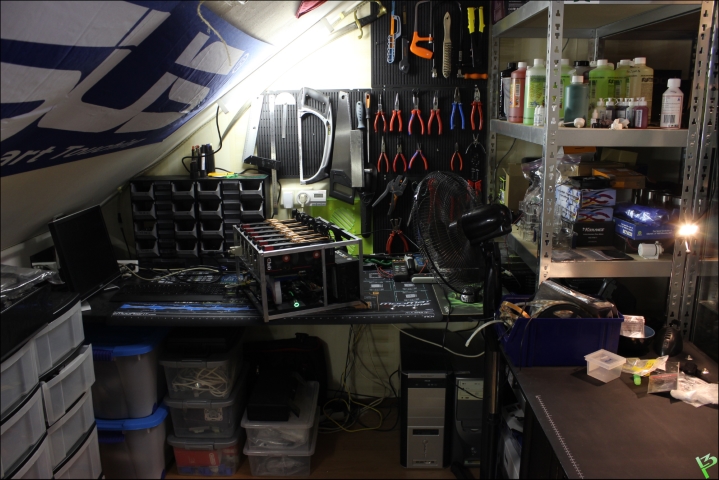
Cleaned up and re-organised the complete attic.
And another thing I did..
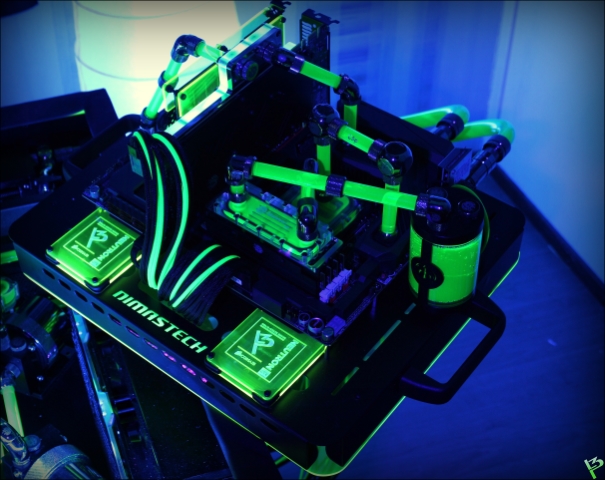
Probably the cheapest case I ever made
'L3p Min3r'
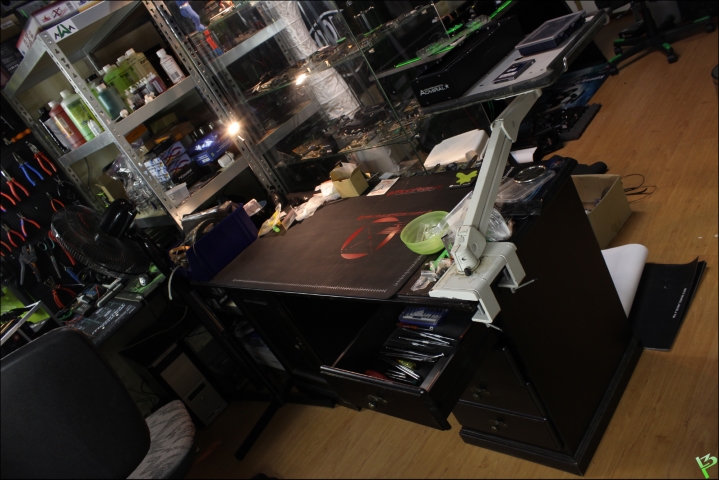
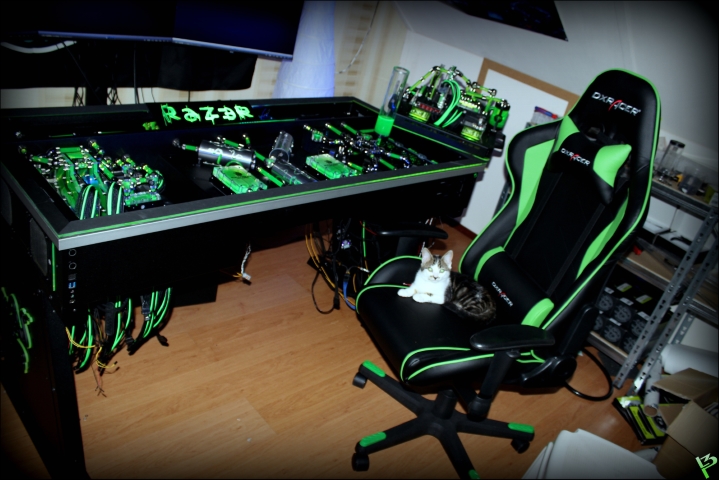
Desk for the 'clean' work.
Also received something really nice from ASUS Benelux.
Screams to be modificated
Such a pleasure to work in a clean spot
On to the next updates!
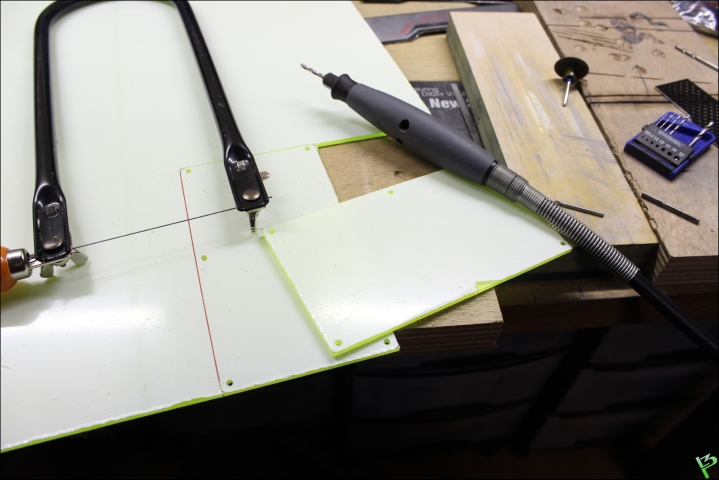
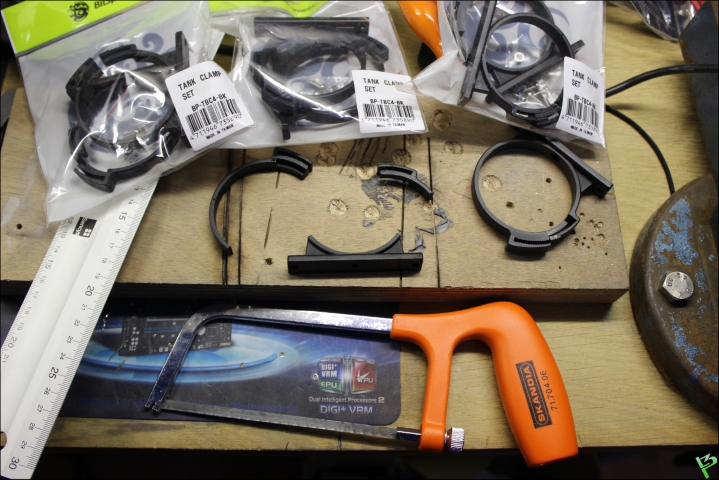
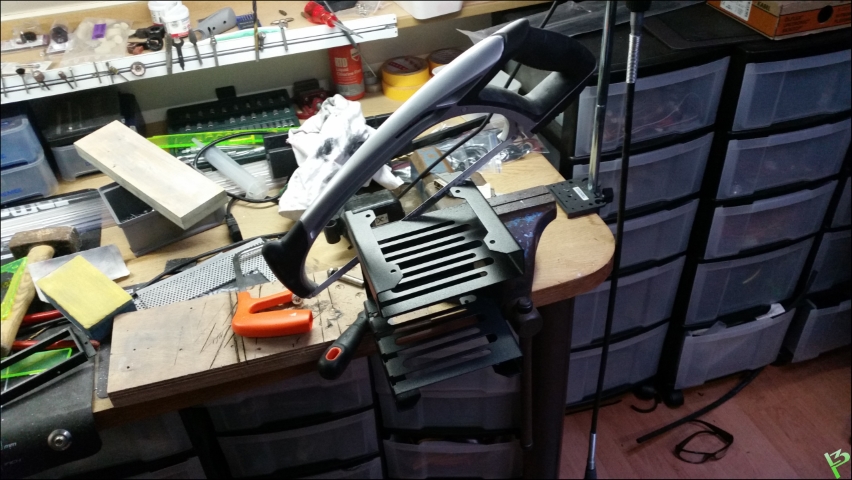
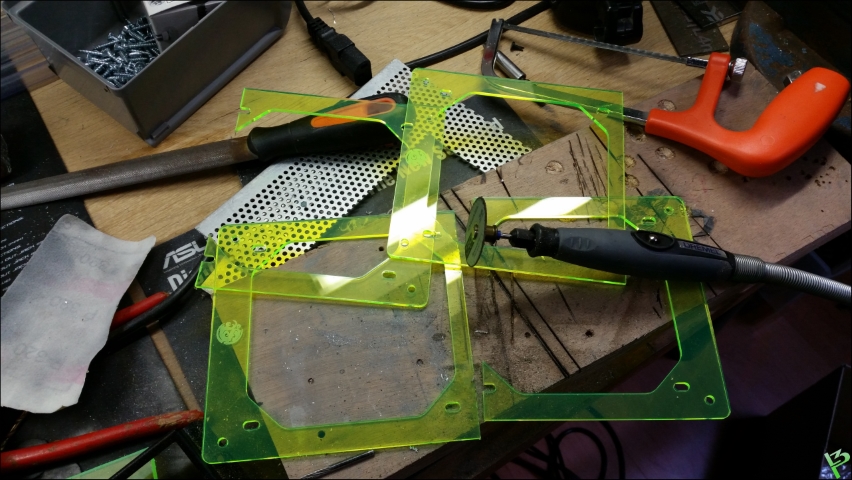
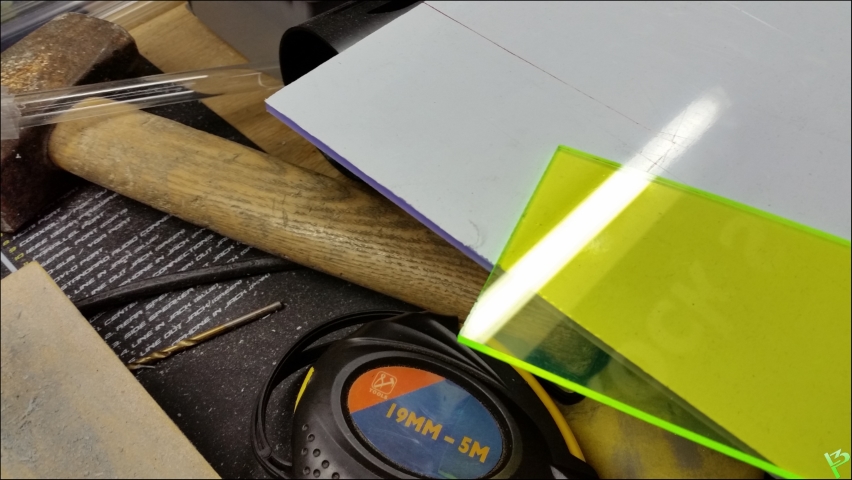
Decided to only use some handtools and a dremel this time
First wreck it.
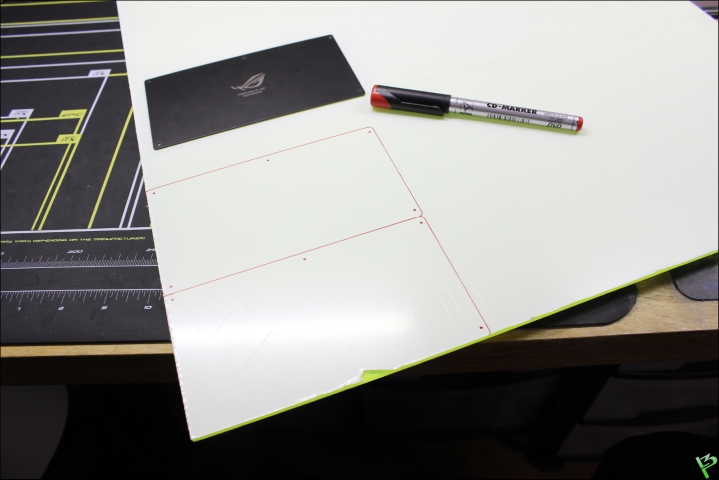
And measuring the acrylic.
First drilled the holes then used the fretsaw.
You can easily drill holes near the edges with a dremel on high speed by the way without breaking it.
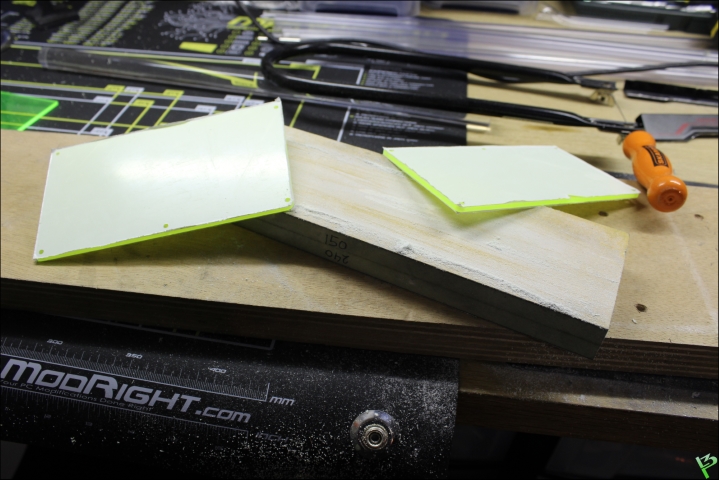
And sanded the edges.
More measuring.
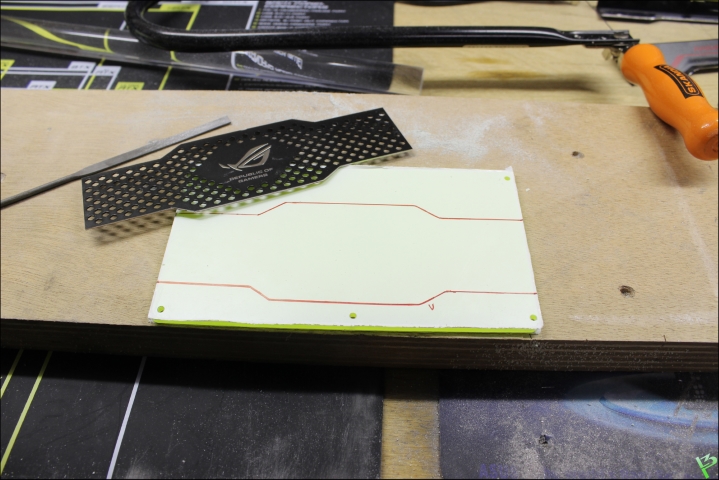
Always a lovely moment when you can peel off the protection layer :P
Used transparent glue and left it to dry for a night.
Then I found out I didn't have long M2 bolts after all ..
So removed the standoff's and drilled all holes in PCB and covers with 3.2mm.
Plenty of M3 here
30 nuts later.
And with some LEDS on.
With his little sisters.
I'm still alive
Months ago I got the idea to have a PS4 on the right side, cooled with custom made waterblocks.
However after months of doubt I have decided not to do this cause of the time and finances involved for this (MARSII block.. pfff )
Last weekend I took a few hours to see how I will continue .. and .. I'm totally back
Also will use the pumps and reservoirs separate instead of the combo's.
And .. going to do 2 separate loops with each 2 pumps, however with the use of 4 valves I want to be able to switch to one huge loop with 4 pumps and 4 radiators.
So .. another update.
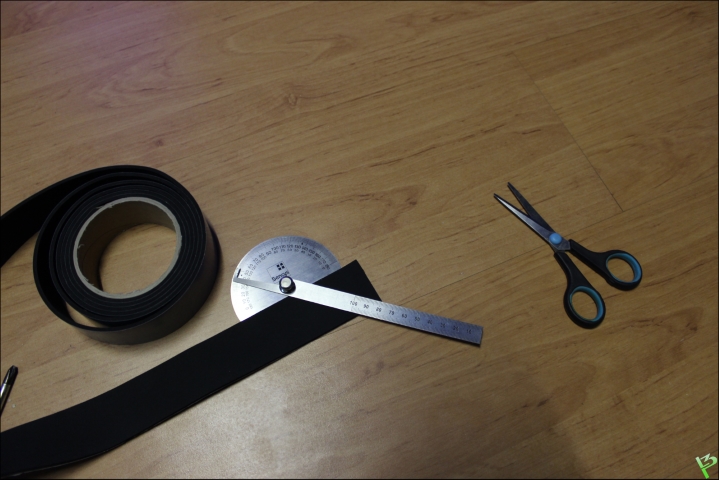
Used rubber again on top of the acrylic edge to hide the green top side and isolate the desk inside.
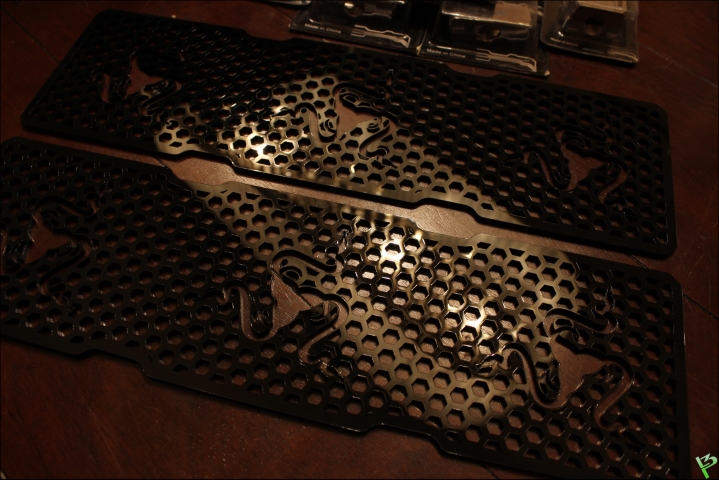
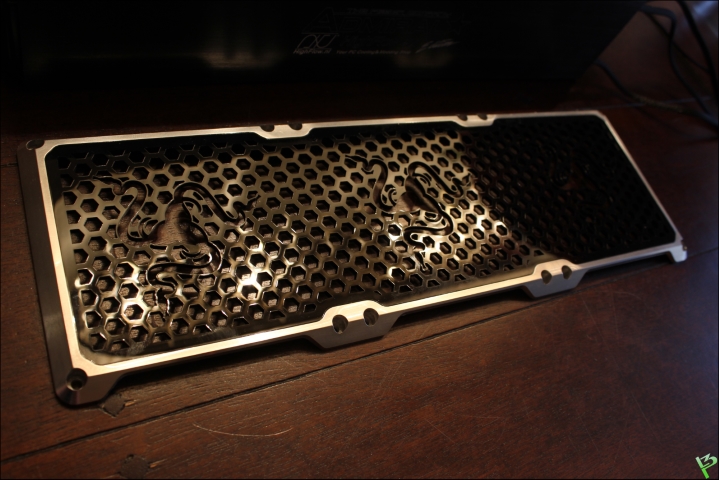
Also 2 extra grills from ModWithMe which I will use on the inside of the desk.
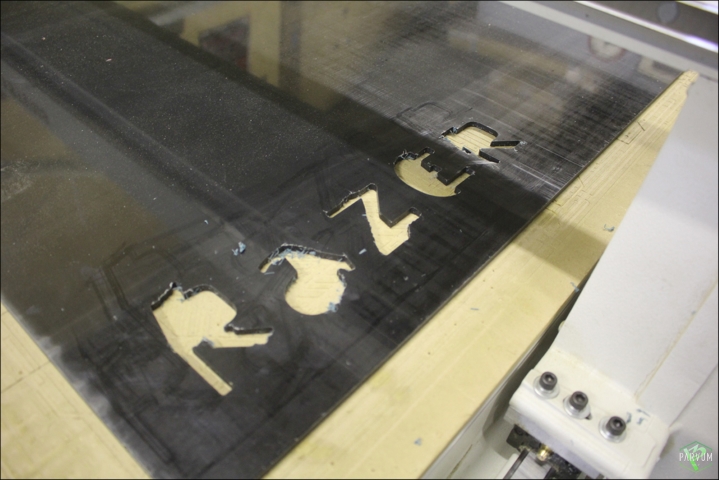
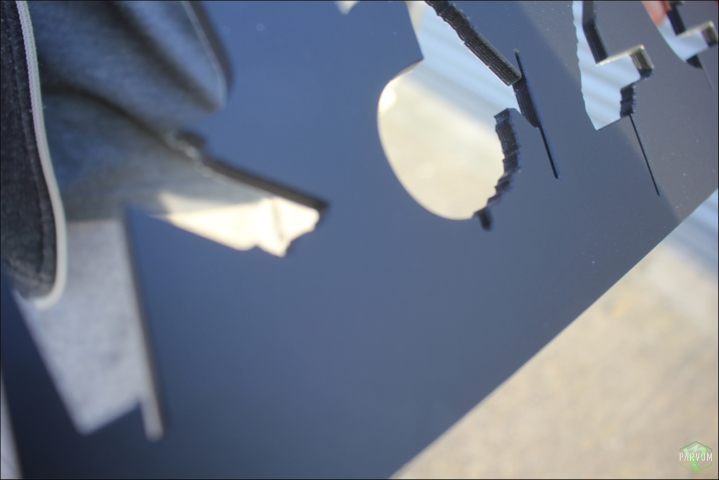
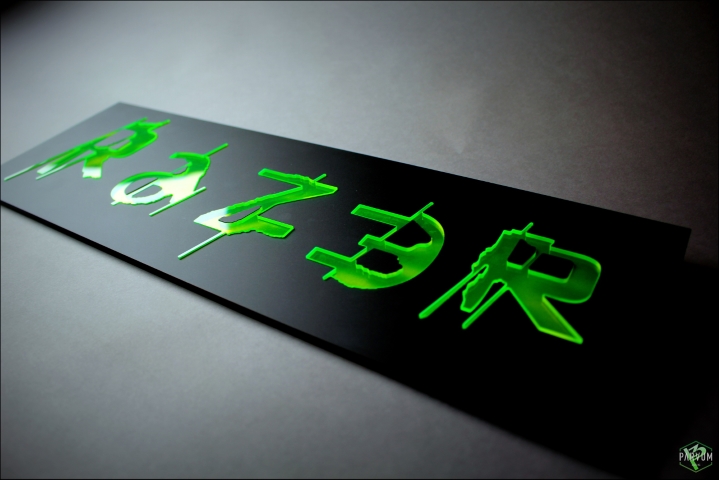
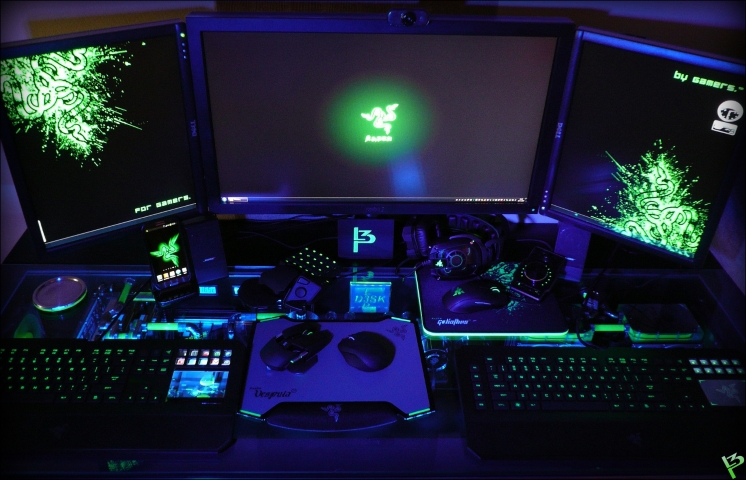
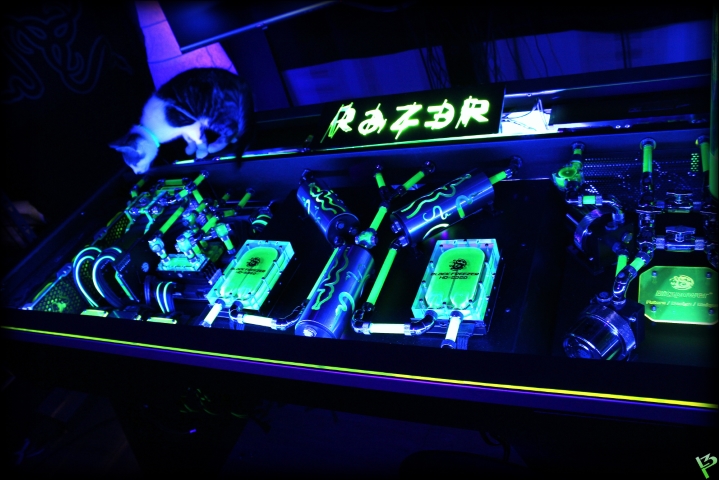
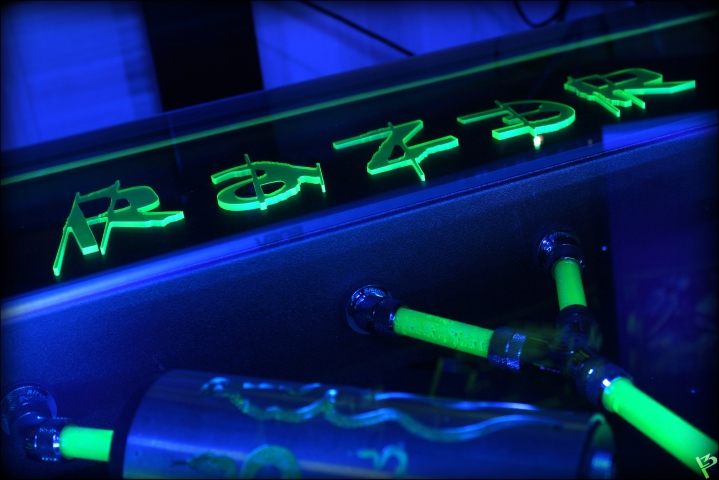
The Raz3rator.
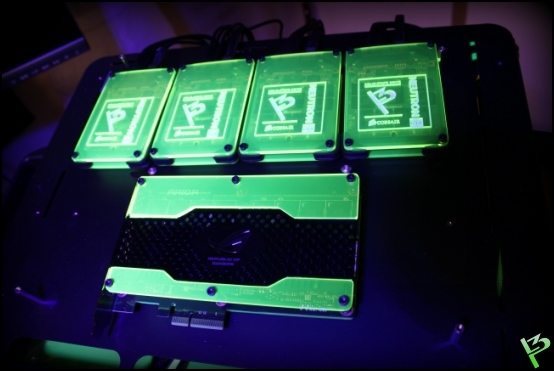
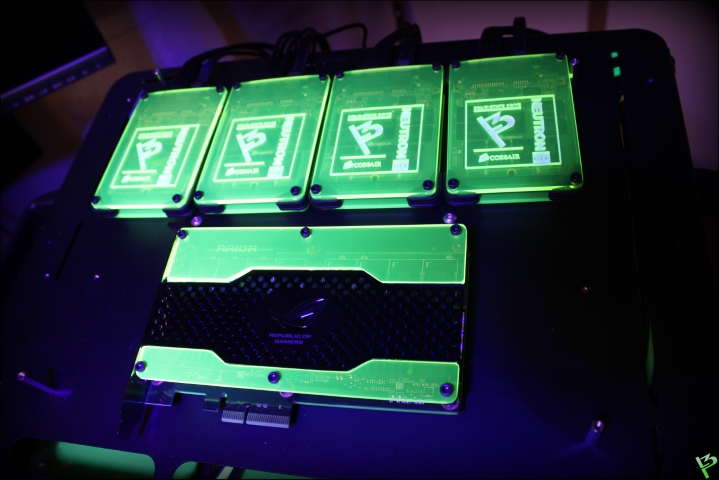
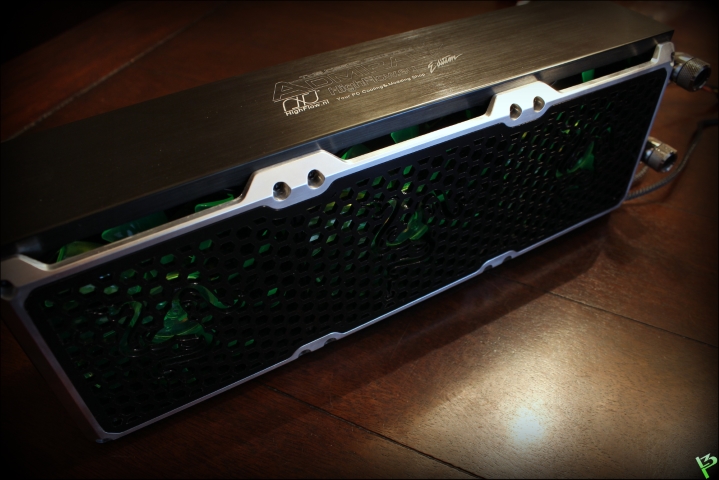
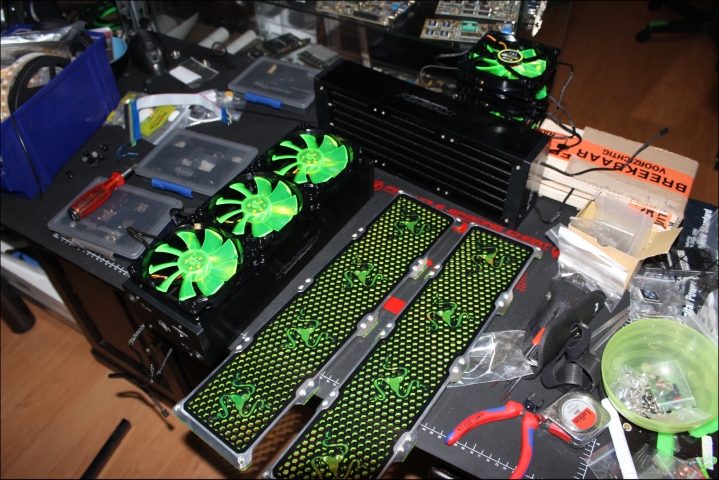
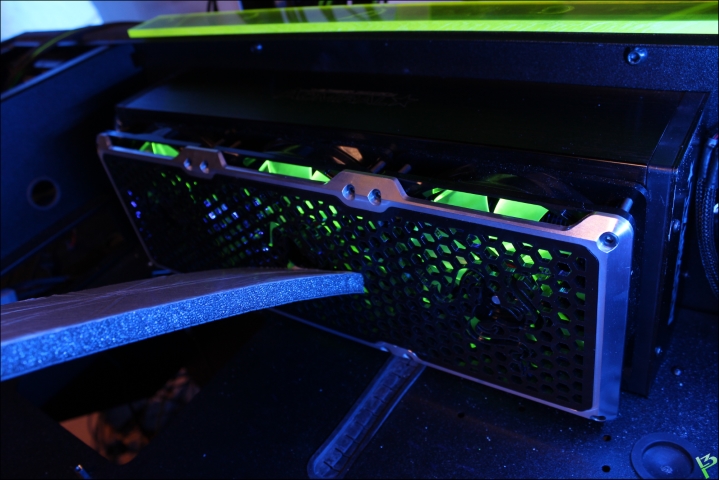
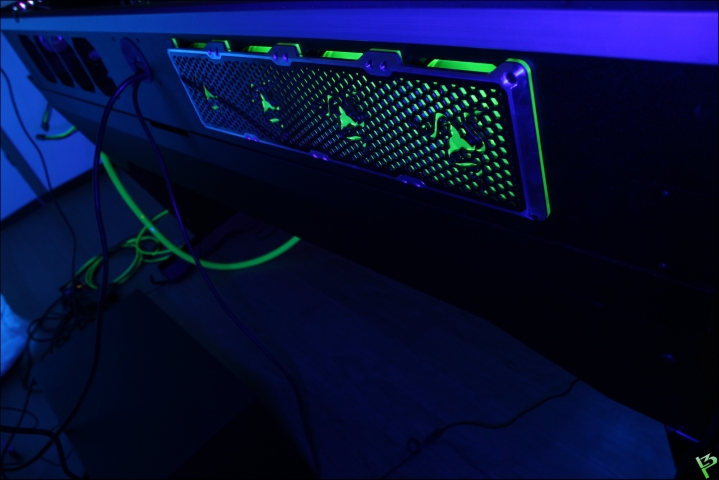
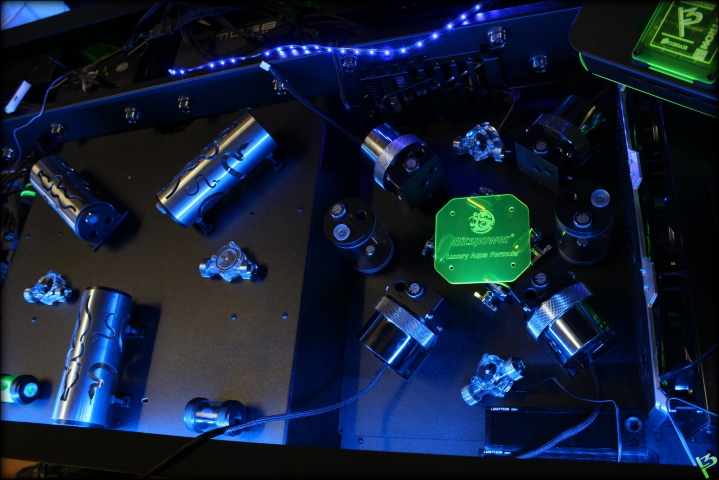
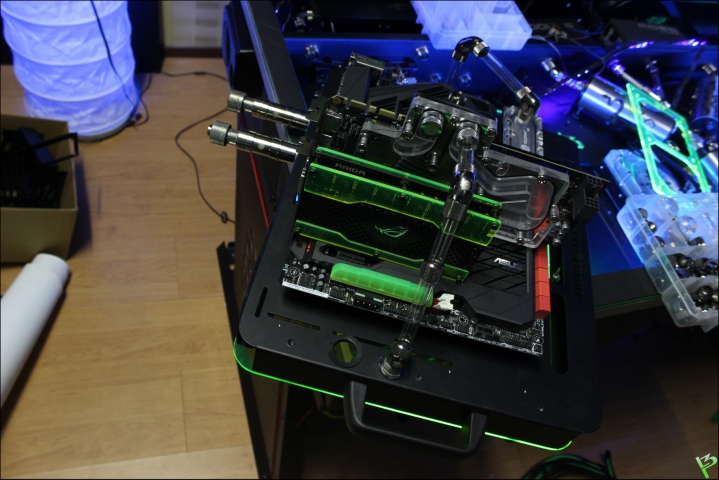
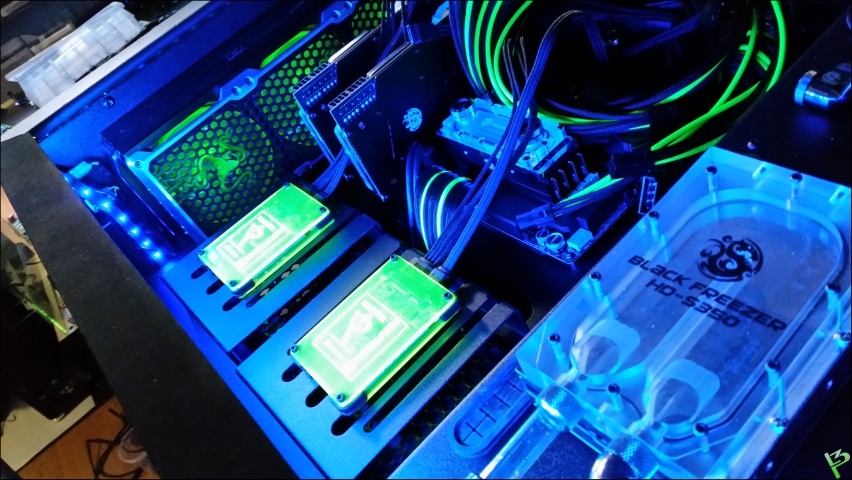
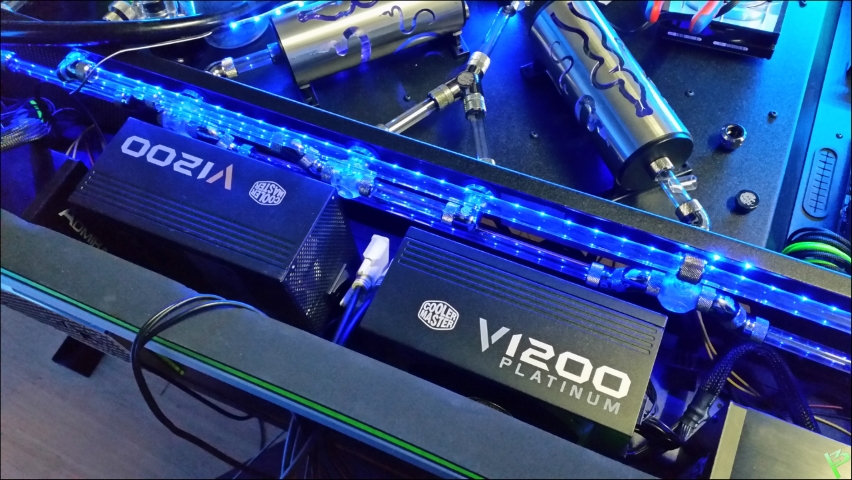
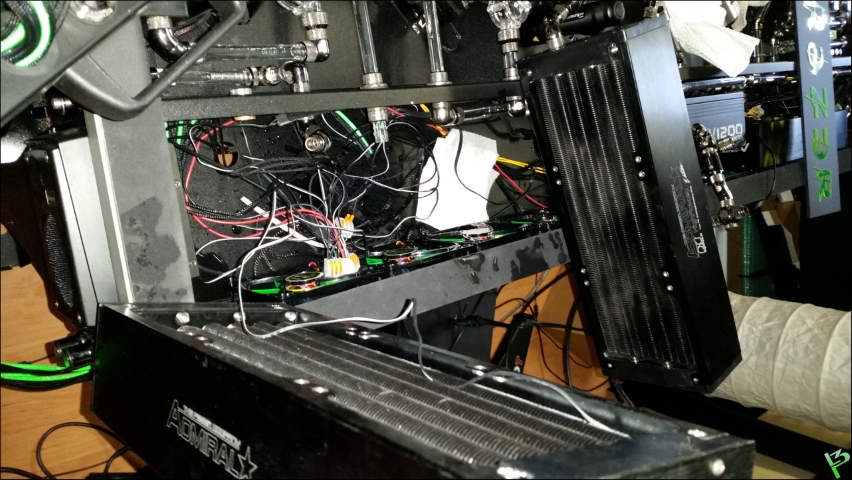
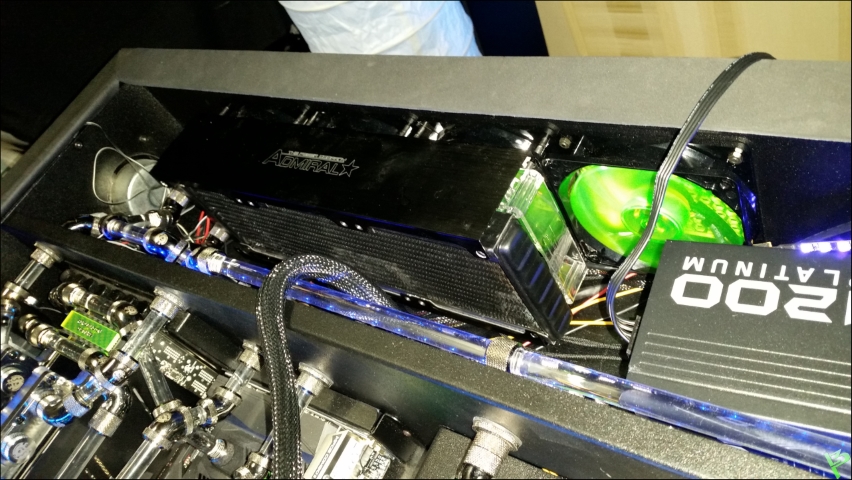
Finally I can mount all 4 Admirals
Ook kan ik eindelijk alle andere radiatoren monteren.
Number 1
Two.
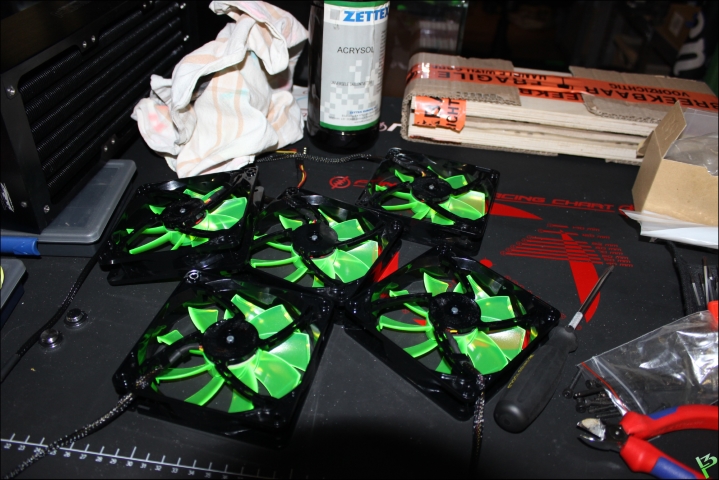
Removing sticker from the other fans.
Quite some bolts.
Number 3 done
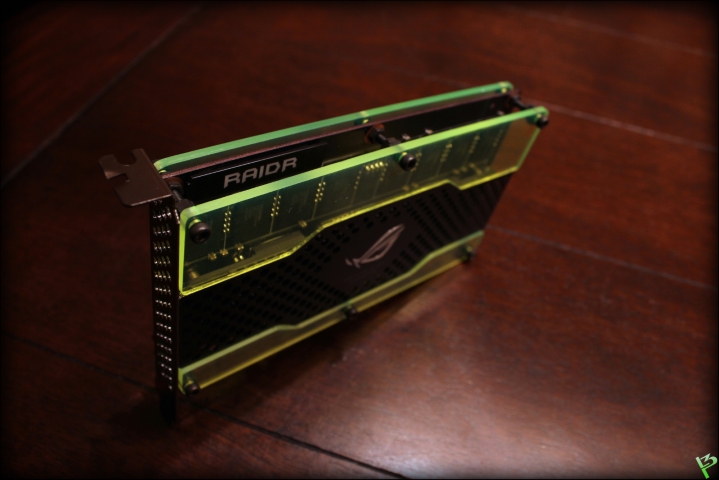
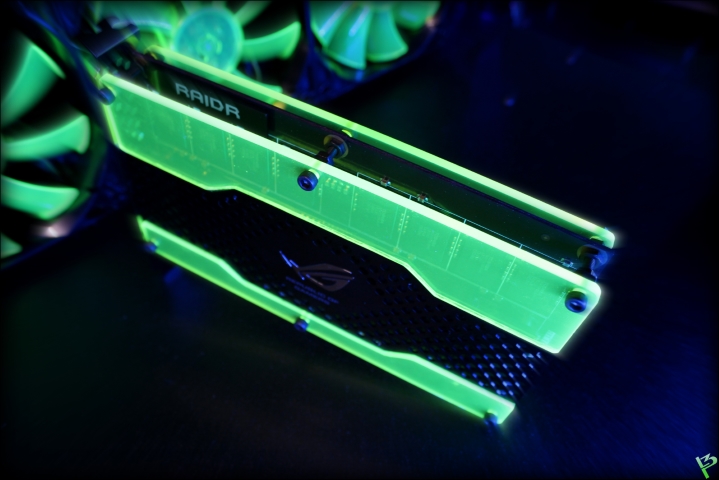
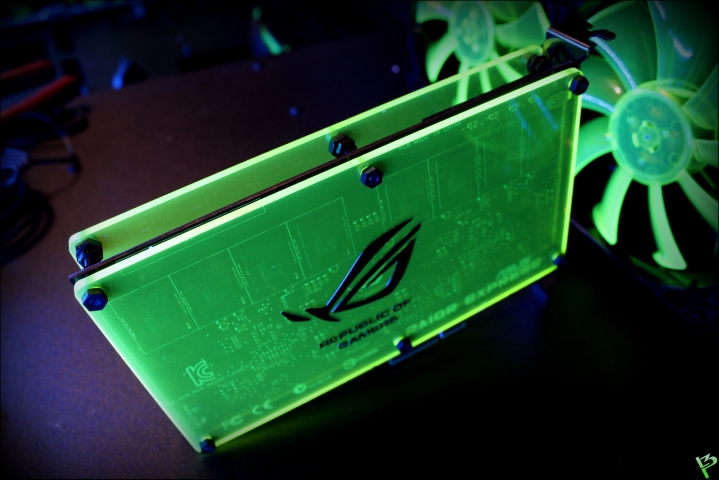
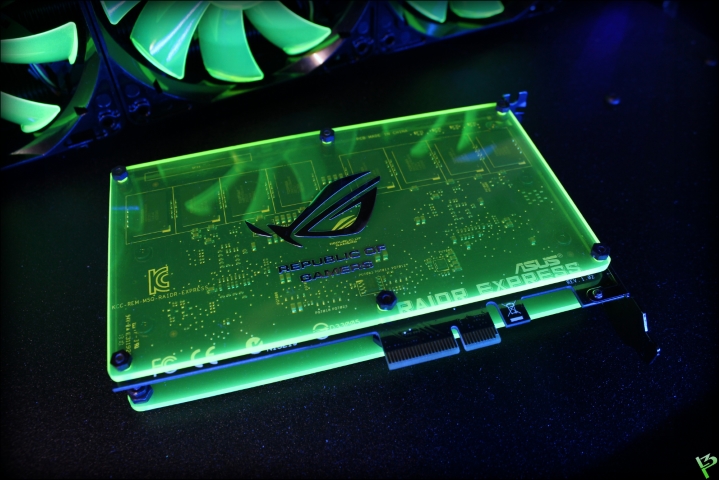
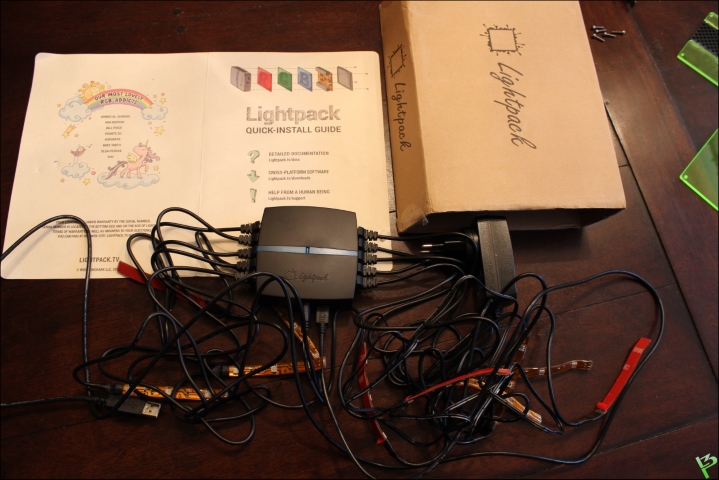
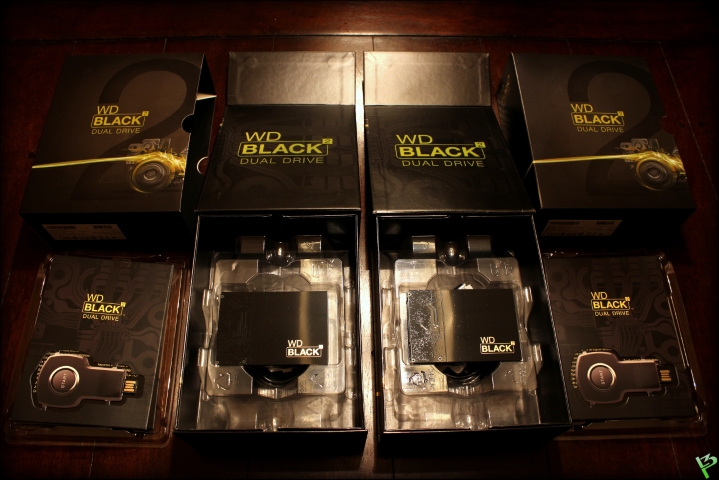
Something I ordered months ago through Kickstarter.
Ambilight
More about that later.
Also 2 long LED strips inside, nice effect when opening it
And the last one.
Number 4 .. done.
This photo was made just after I decided to drop the PS4 idea and I was measuring it all.
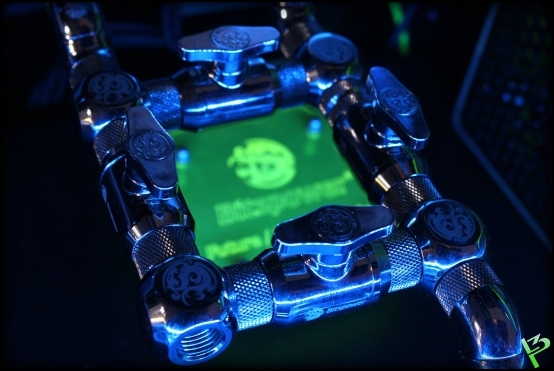
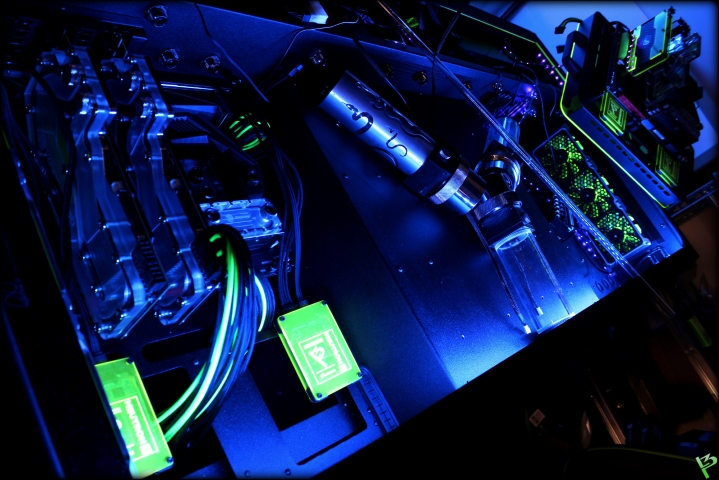
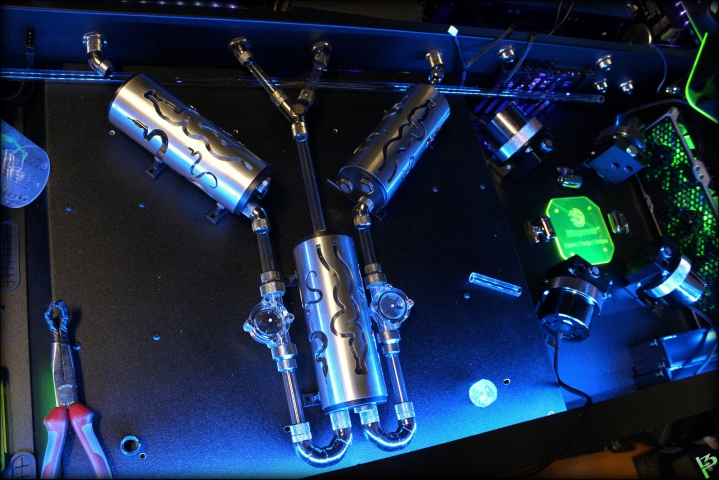
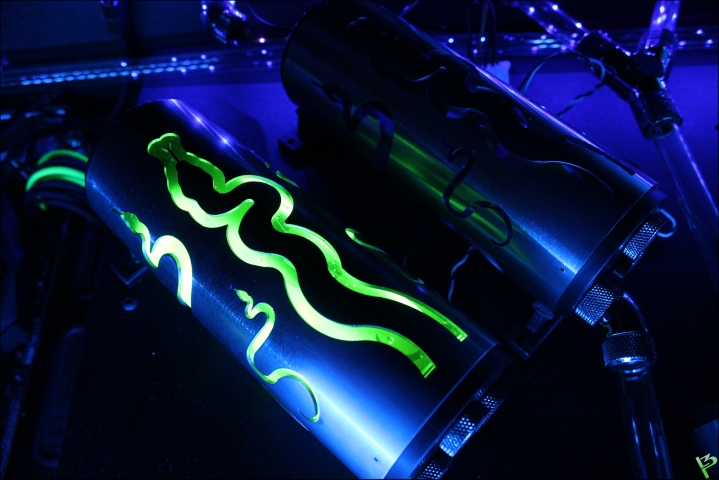
First make the reservoir covers a little more shiny .. not too much, don't want to see all the leds in detail.
Sawn off all reservoir clamps.
And another try
You will lose the skin on your fingers ... but I love it!
Testing how it will look with a Bitspower LED RAM MOD underneath.
Means it will have the same 'heartbeat' effect as the Razer mice. (See video!)
Will be a lot of measuring
This is how the should work, and yep I often use paint for these kind of things :P
Things could still change but personally I already like it.
And a short video of how it's standing now.
Another update.
Back to the Benchtable.
It still needs some extra holes for tubing and wires.
Also on top
Quick disconnects.
And tubing on the inside.
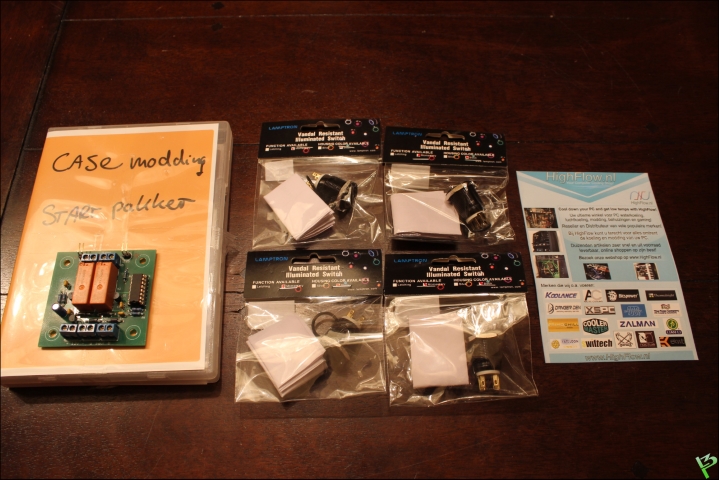
Completely forgot there were still red buttons in the desk
So ordered 4 new green ones from Highflow.
Also bought a print from a forum user there, will be able to use momentary switches to switch all lighting on and off with led notification.
So also replaced those
Extra hole for a fillport in the 'firewall'.
Also drilled the 2 quickdisconnects in the desk, tight fit.
What a mess ..
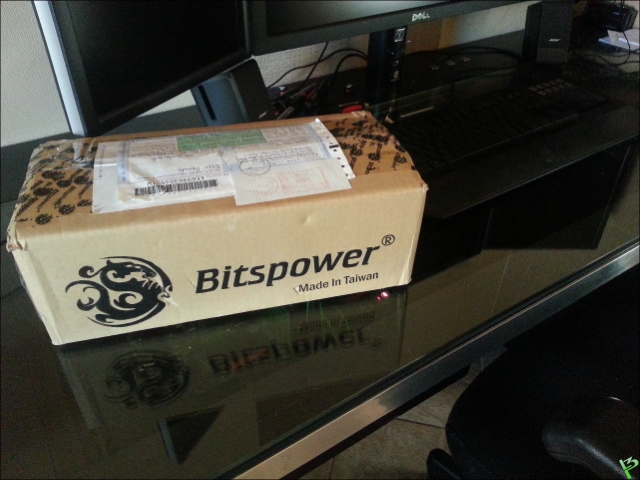
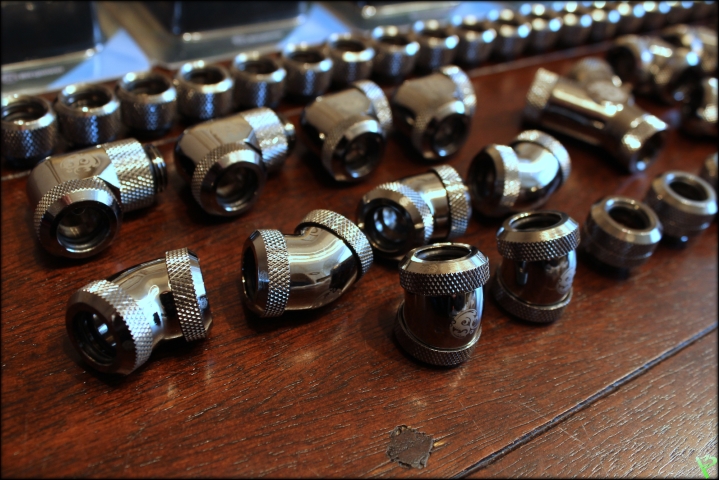
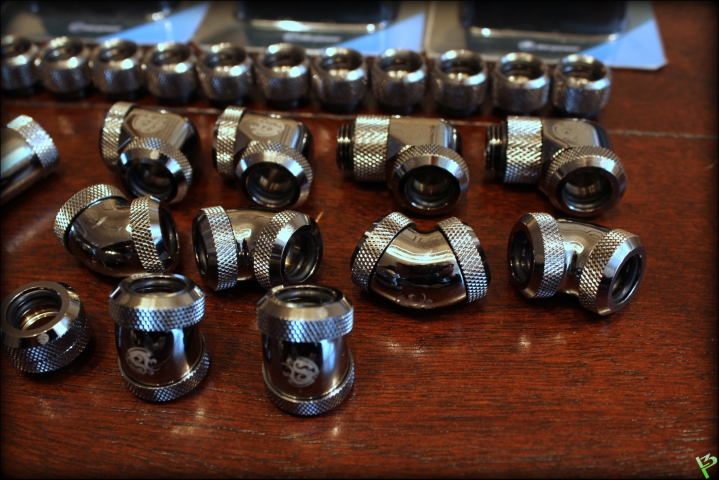
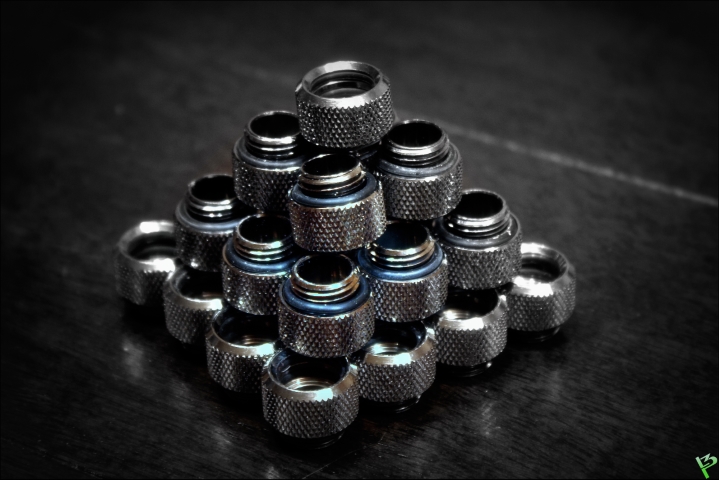
Here is where I noticed I was going to run short on fittings.
Glad Vincent from Bitspower was able to help me out.
Measuring.
And another small step further
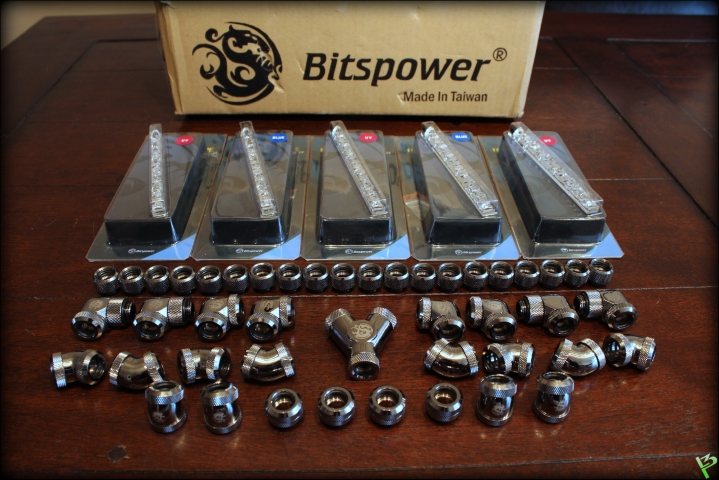
Best thing there is .. finding this on your desk after a long day.
Ultraunpackspeed
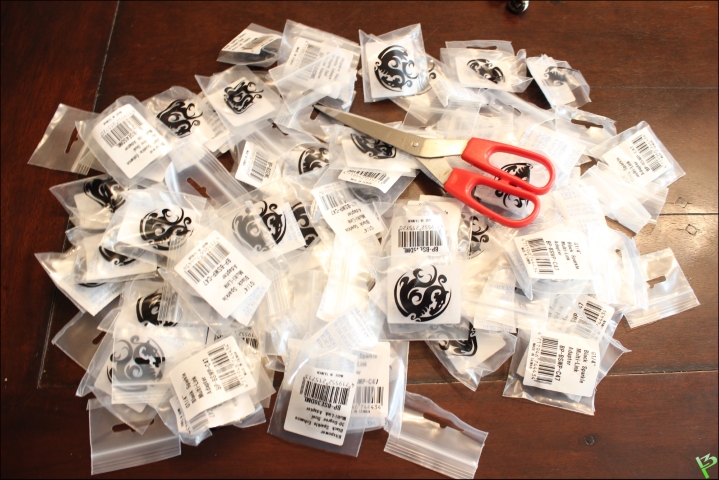
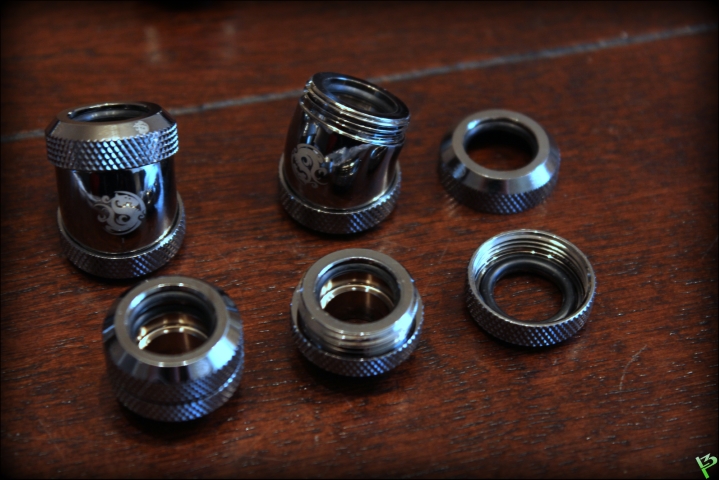
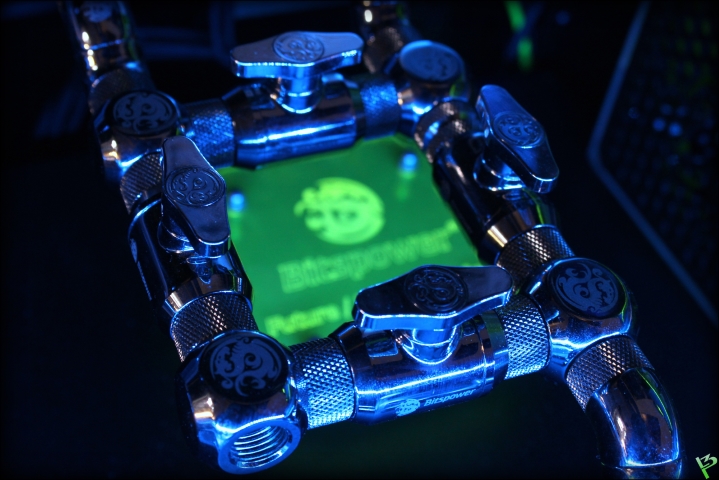
Bitspower Enhance Multilinks. Love them .. compression fittings for Acrylic.
Already made one for Cross desk but need more power.
With this all the fans, lighting and pumps will always run, no matter if there's one of the pc's is running or both.
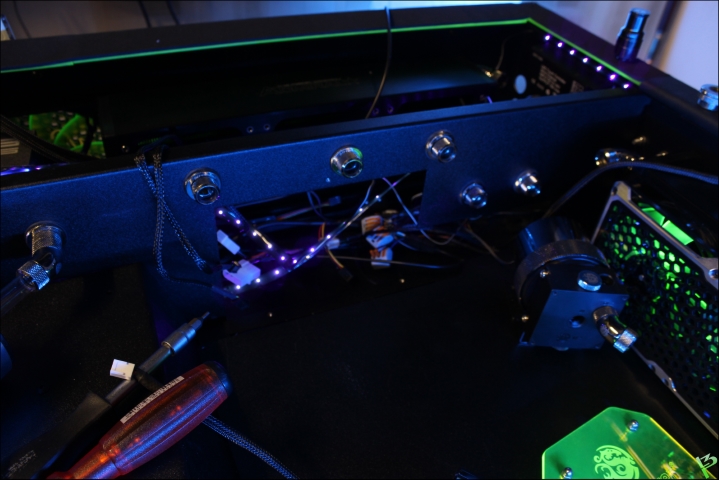
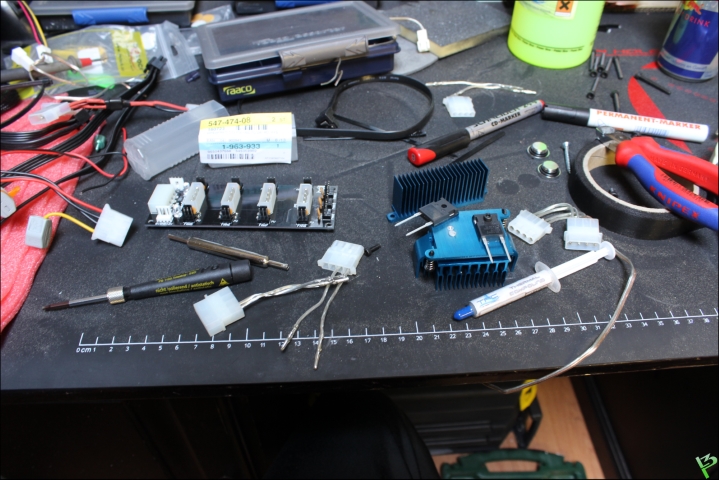
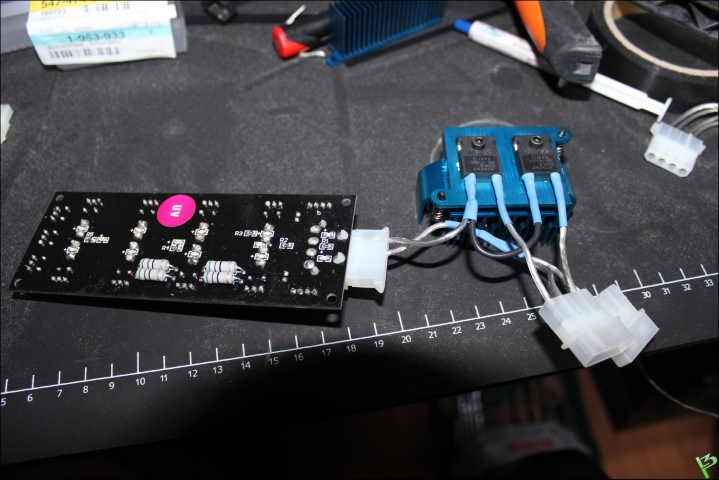
Also connected all 14 fans to the Lamptron controllers.
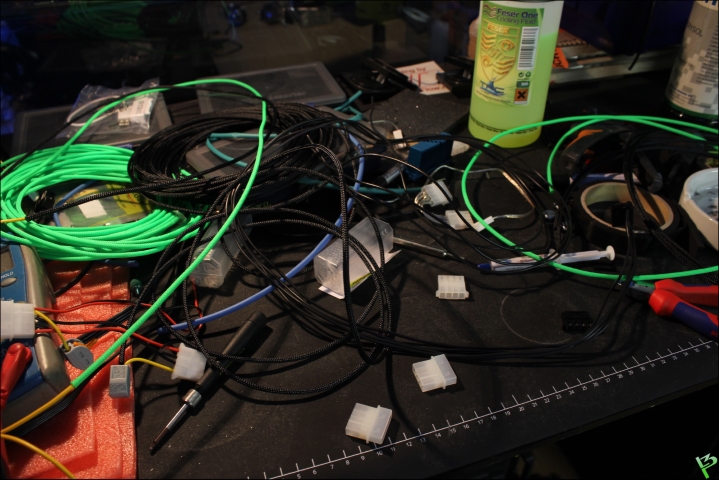
And some sleeving
Not going to sleev the cables out of sight .. just too much lol
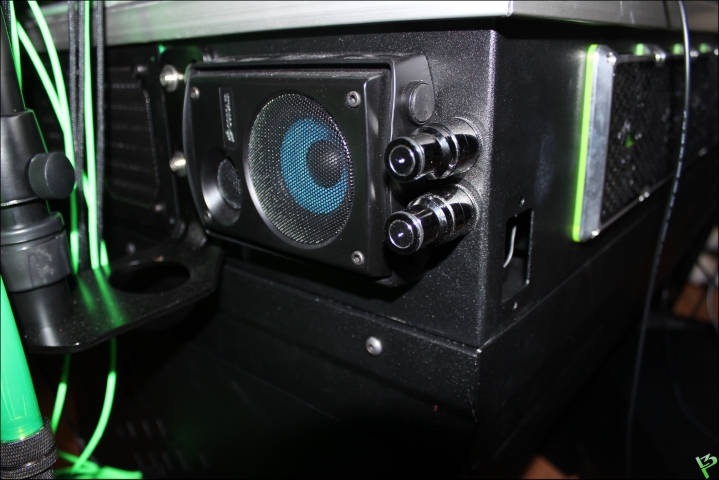
The top Lamptron is to switch Ledstrip.
Bottom one to control the Bitspower RAM MODS which will be under the GPU's and reservoirs.
More cables.
Cables gone..
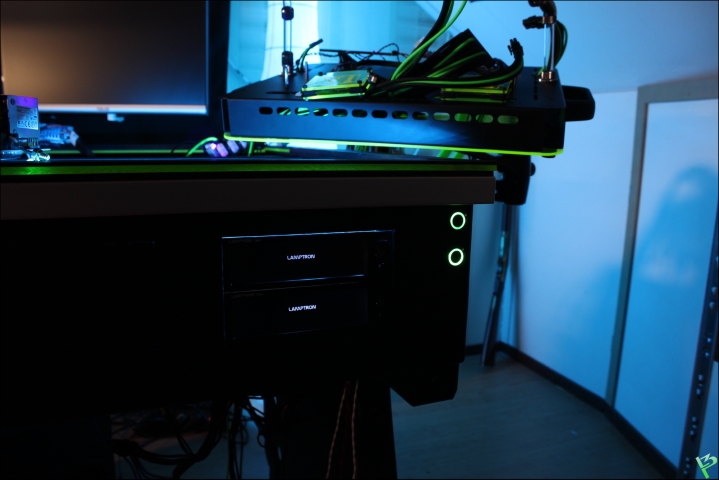
Mounted the controllers and used some glue on the back to hide the bleeding light
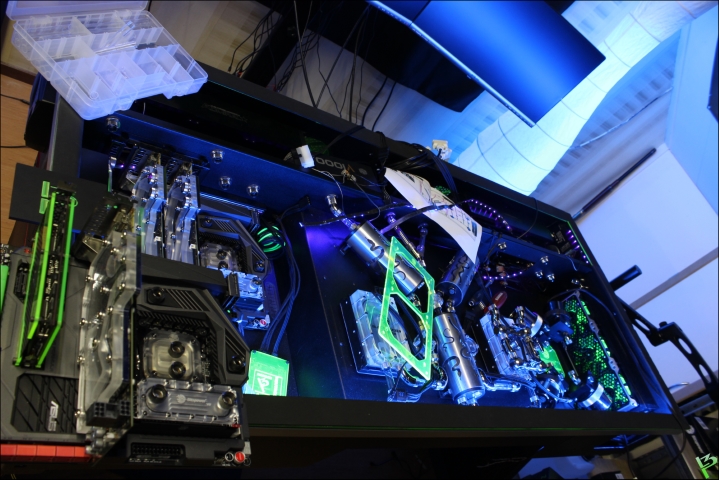
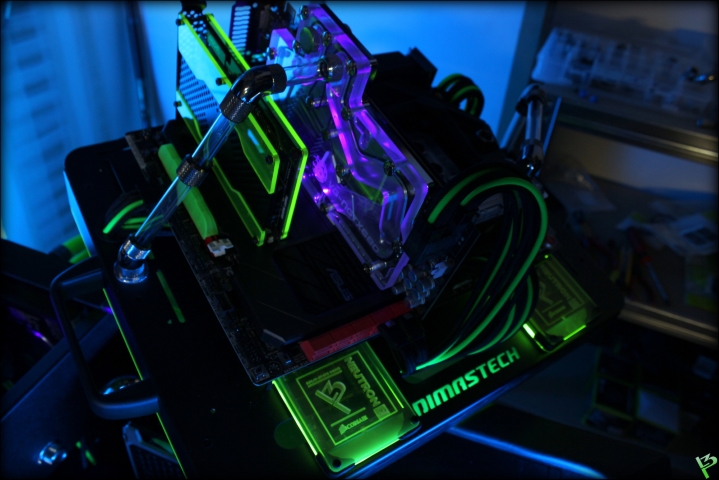
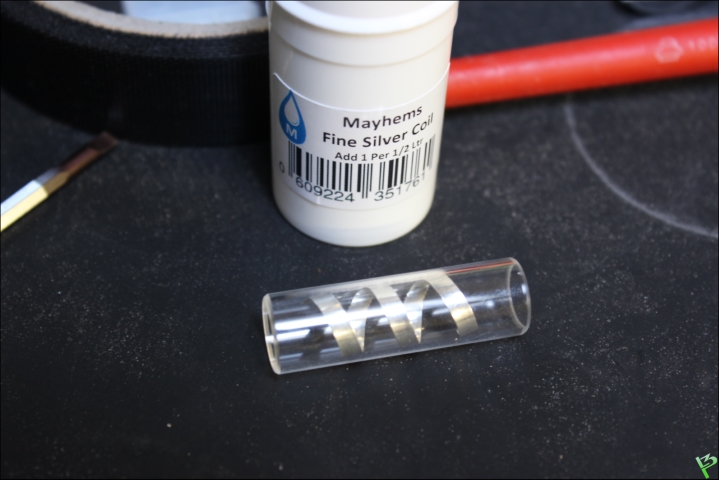
Off course .. a Silvercoil.
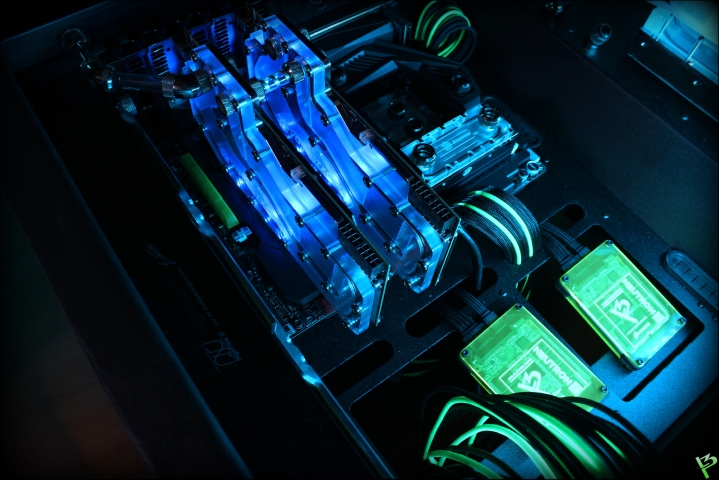
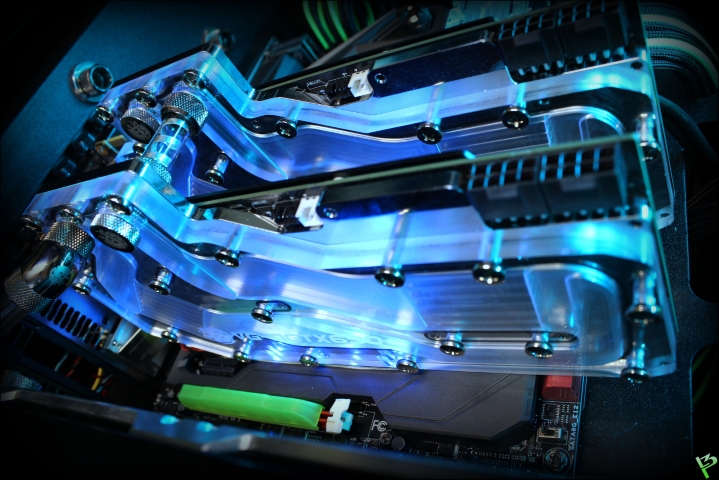
Between the GPU's
Also changed some in the middle
More coming soon!
nice, man! glad to see it coming together slowly but surely.
mobo: strix b350f
gpu: rx580 1366/2000
cpu: ryzen 1700 @ 3.8ghz
ram: 32 gb gskill 2400 @ 3000
psu: coarsair 1kw
hdd's: samsung 500gb ssd 1tb & 3tb hdd
After desk builds have been ruling my life for 4 years.
These kind of videos make it worth it
Thanks a lot Red Harbinger and Richard Surroz!
At the moment very busy at work, still hoping to finish it this summer
So .. 'small' update again.
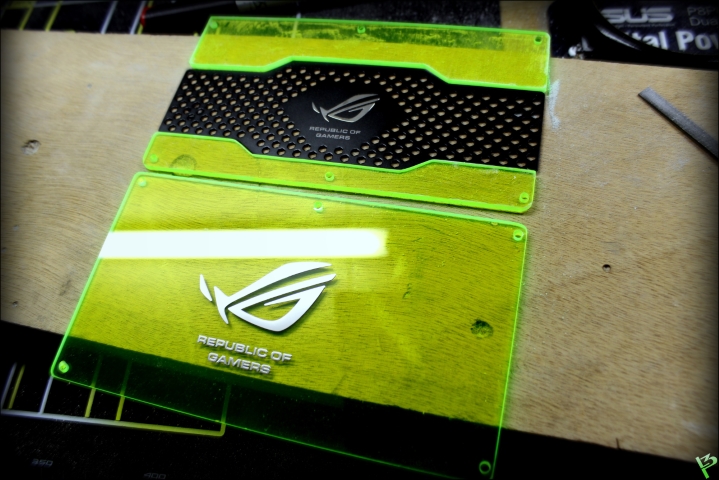
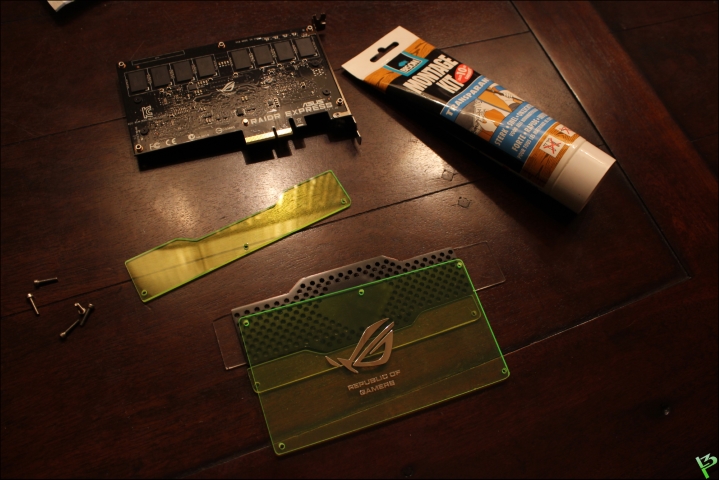
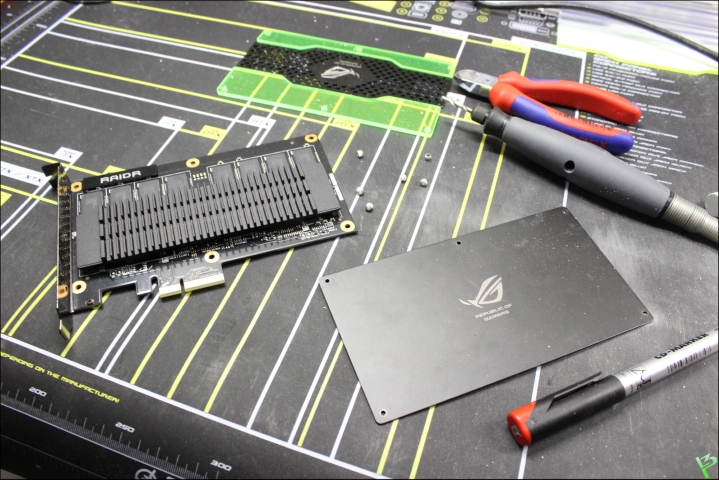
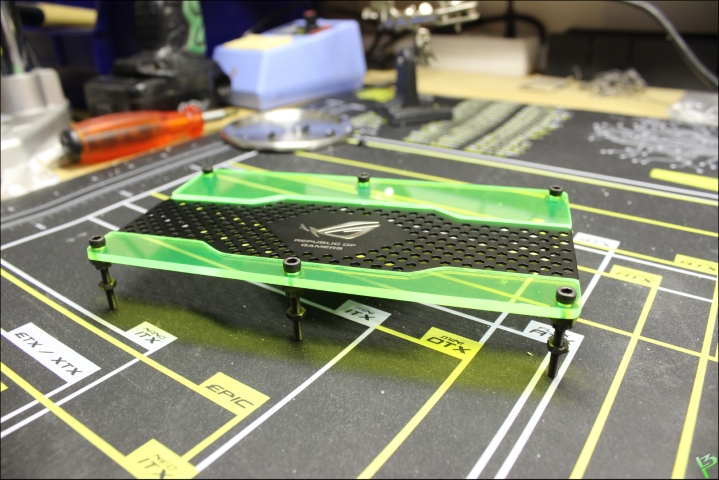
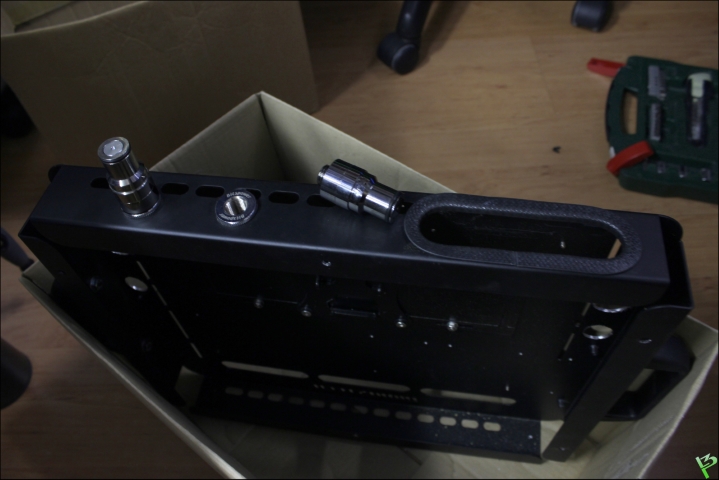
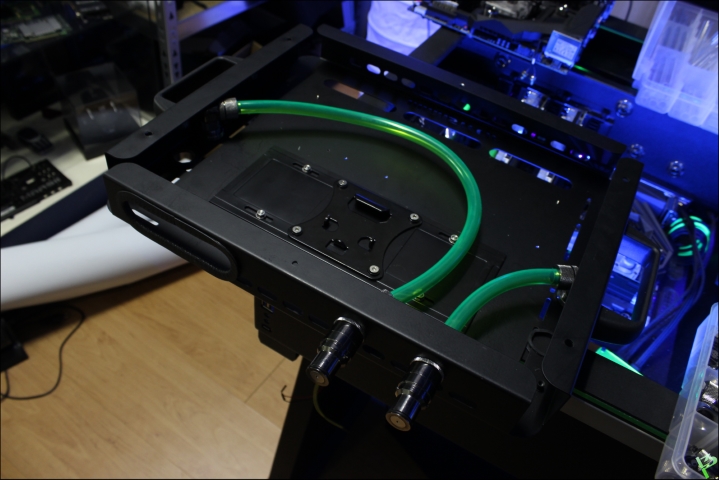
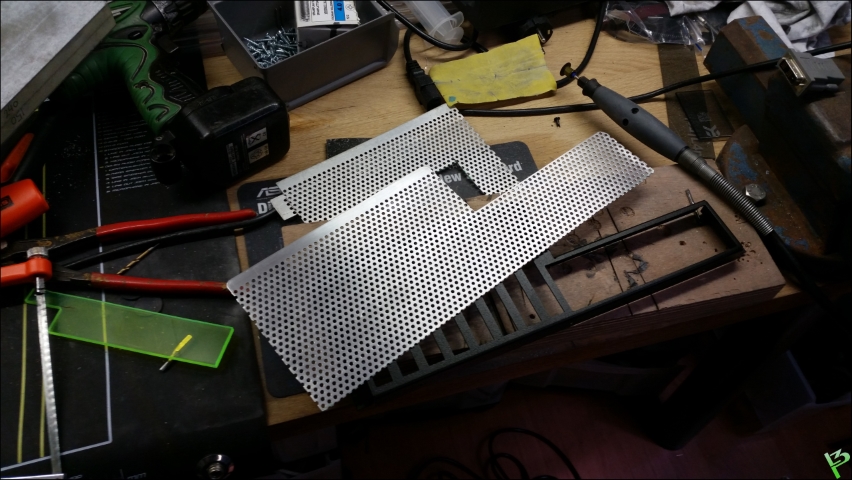
First a replacement for the slot bracket.
And found a way to still use the HDD brackets
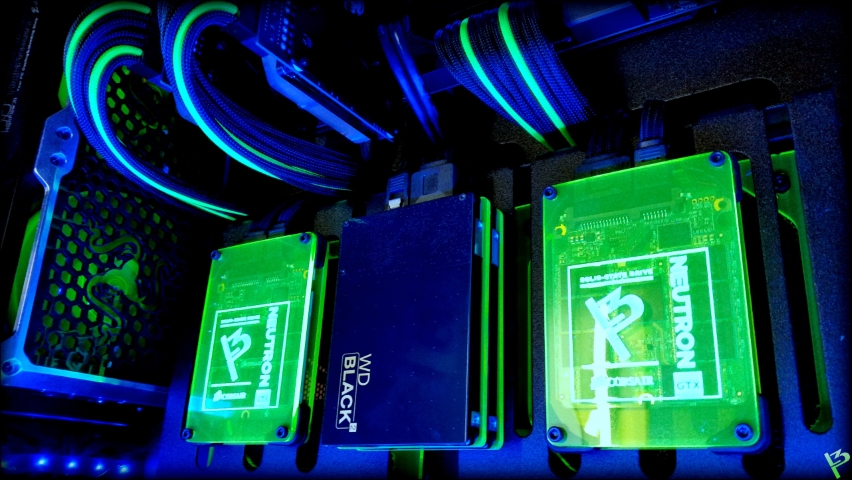
A nice bed for the SSD's.
Also bought some more acrylic fittings from another modder.
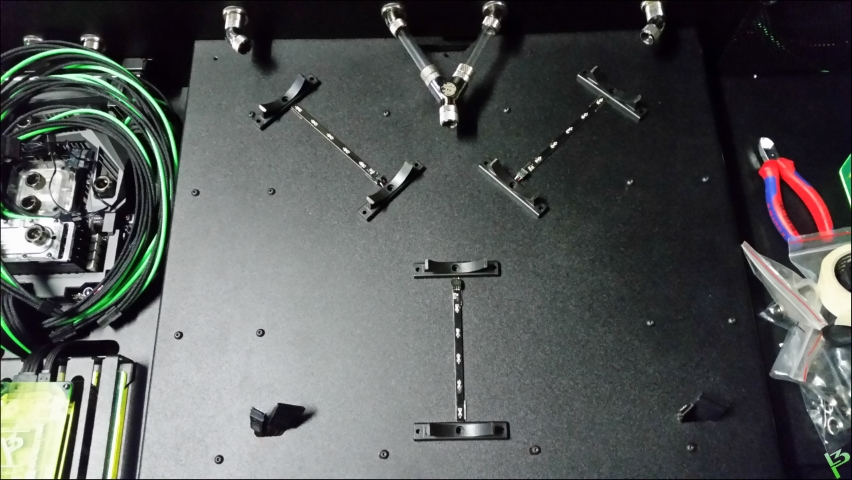
Measured, drilled and filed all holes for the 'bridge'.
Also the connections for the HDD's.
Built in the fan controllers and connected them to the 14 fans.
Used 3M Dinoc to hide the red Sata slots.
And started with the loop from the benchtable. Added a small reservoir on top.
So .. a little further.
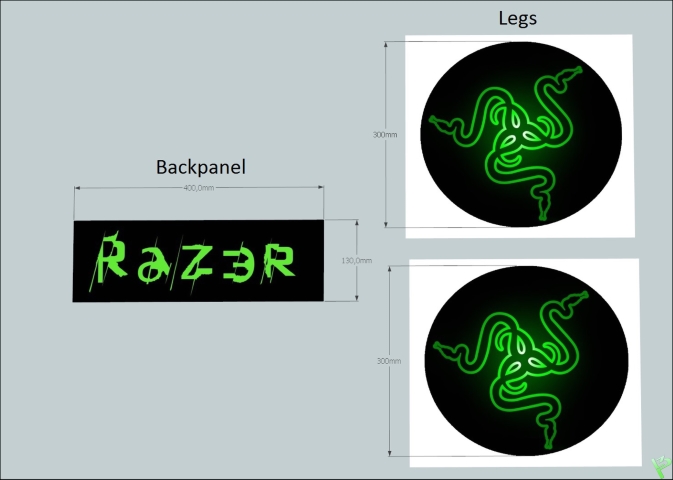
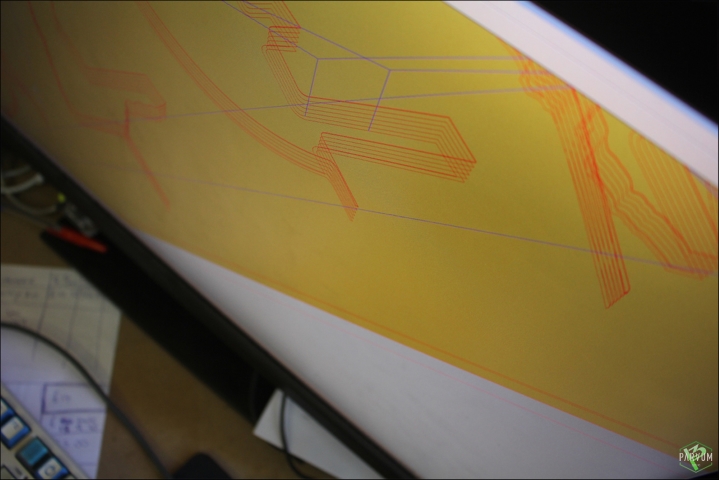
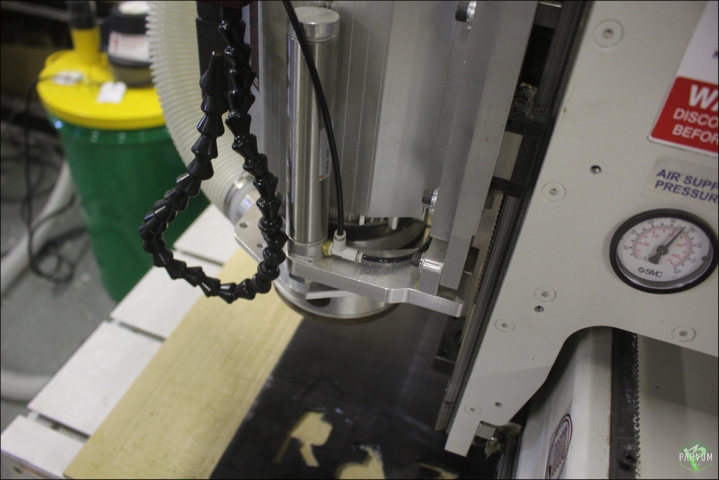
Here's something I've been walking around with for a long time.
A logo for the legs and top panel.
Then you have an idea but .. how to continue?
Glad there were 2 awesome guys I got to know from a previous project who wanted to help me out.
<3 Parvum systems CNC
Thanks a lot Justin and specially Shaun for making my figment reality! (Sorry mate

Had to spend a few hours on the hot attic
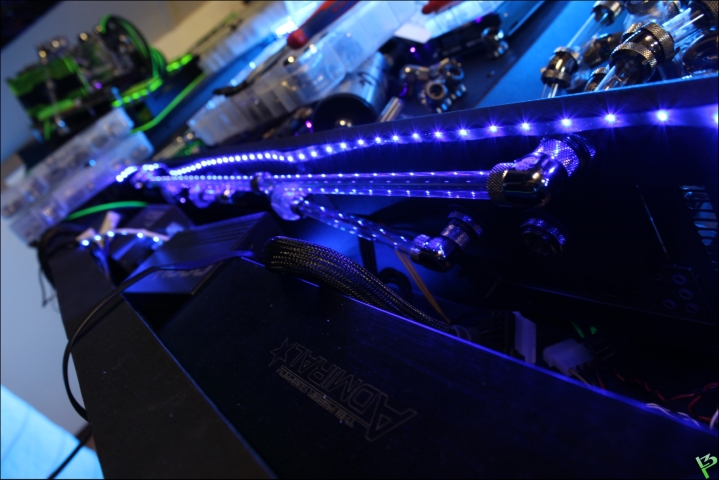
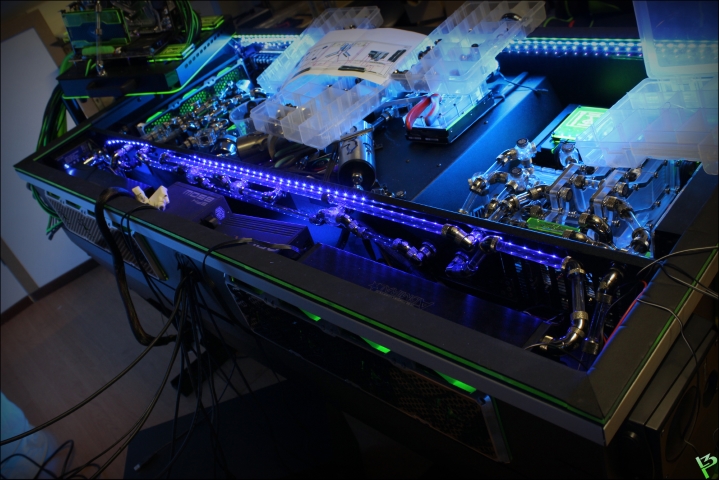
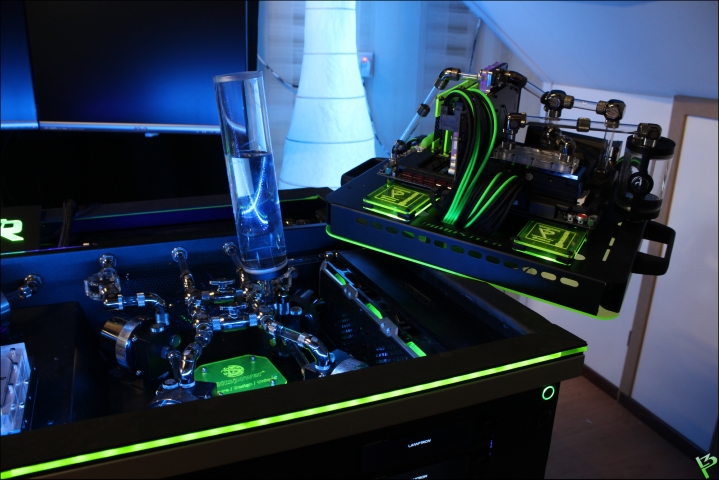
The acrylic borders are now completely enlightened. (see video at the end)
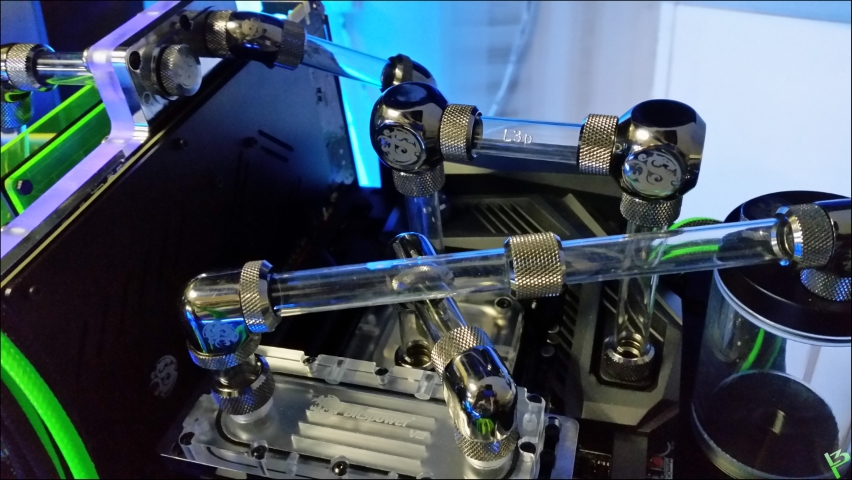
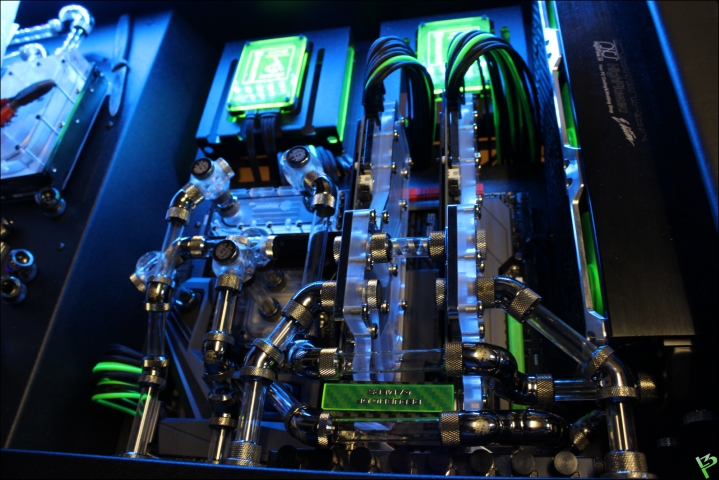
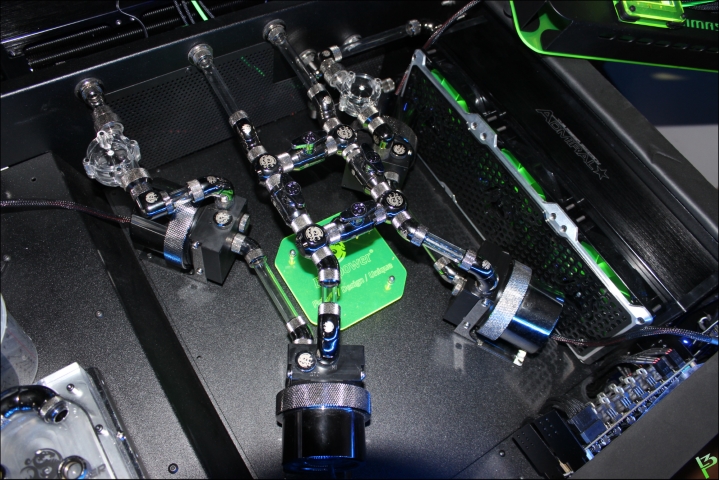
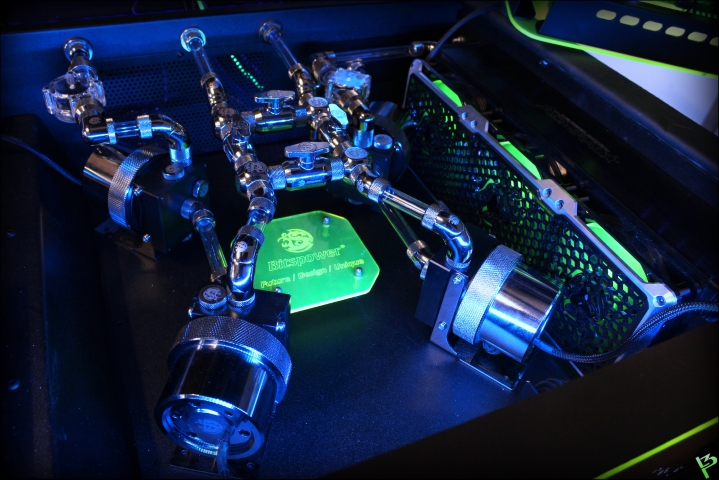
Also started with the loop on the left side.
The back will still be quite some work.
But this loop will probably remain like this.
I love chaos
Still can't wait to fill it up.
Video of the RGB controller with UV leds.
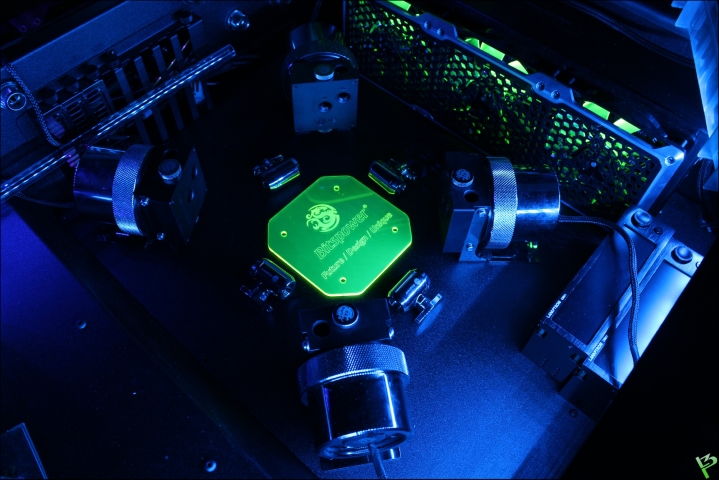
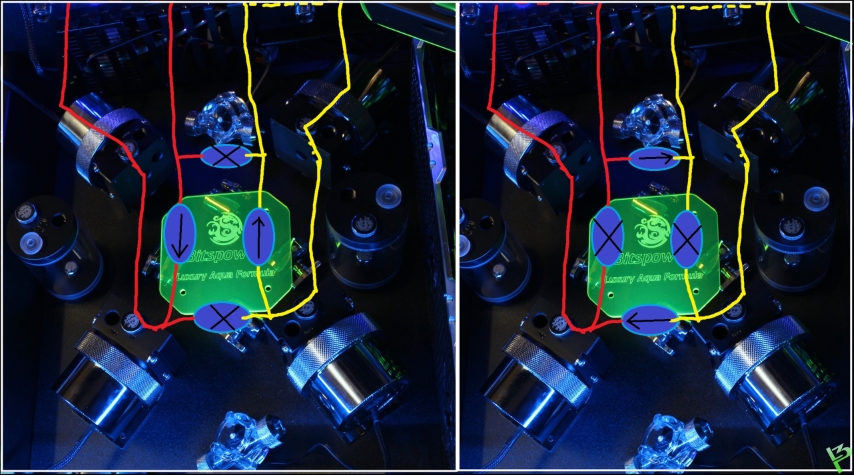
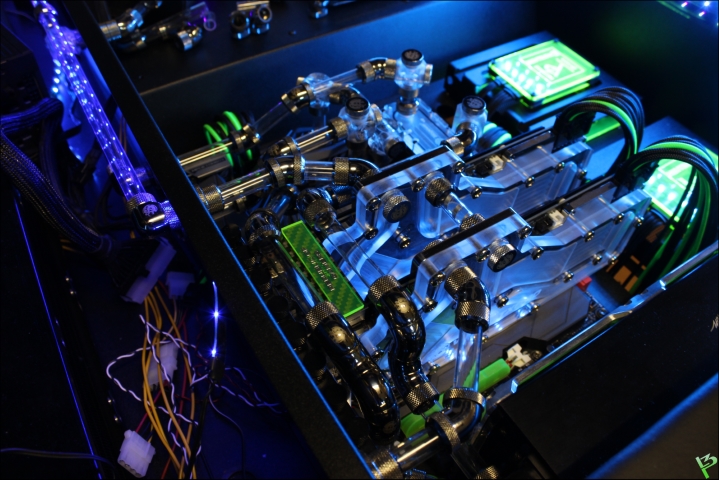
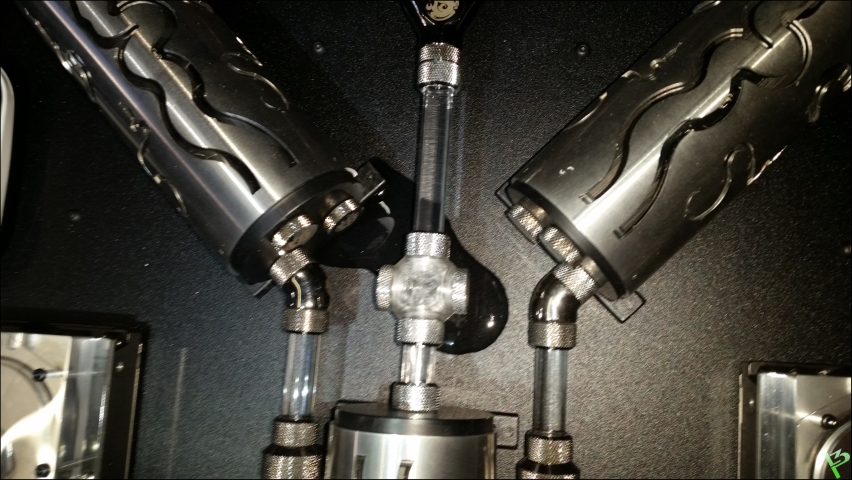
And further on the loop
Also I need a paper next to it for the flowdirection.
3 hours and 1mm of skin later.
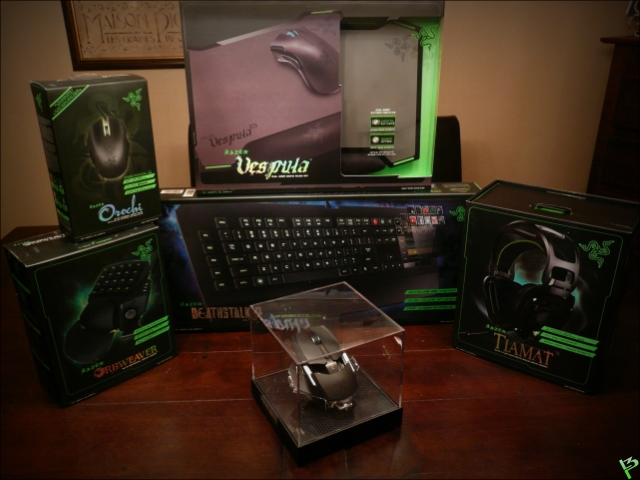
Here the funpackage I got from Razer almost a year ago
Off course had to unpack it.
Back to the loop!
Another long waited package arrived.
Because I didn't count on it anymore I had to change plans.
So slept a night on it.
Think the contrast is better like this..
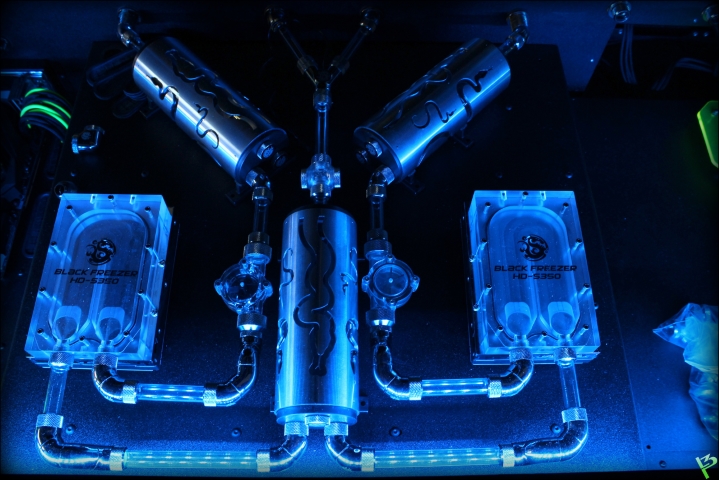
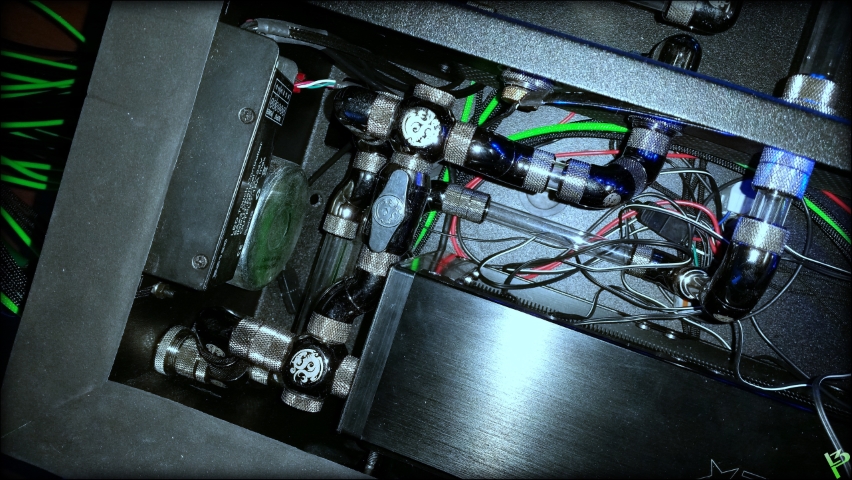
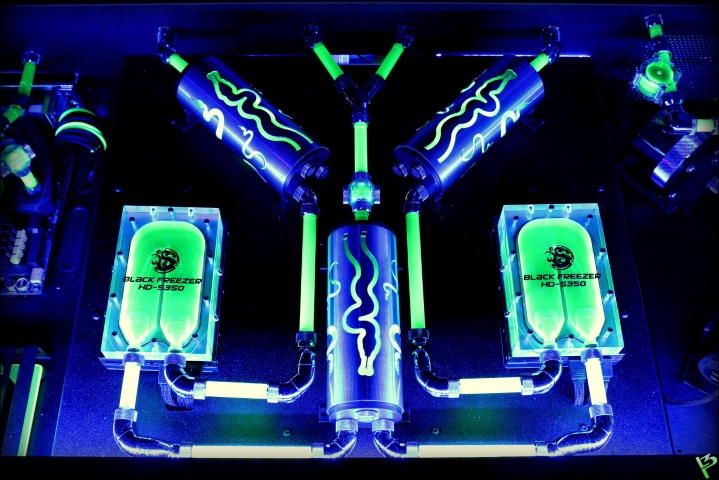
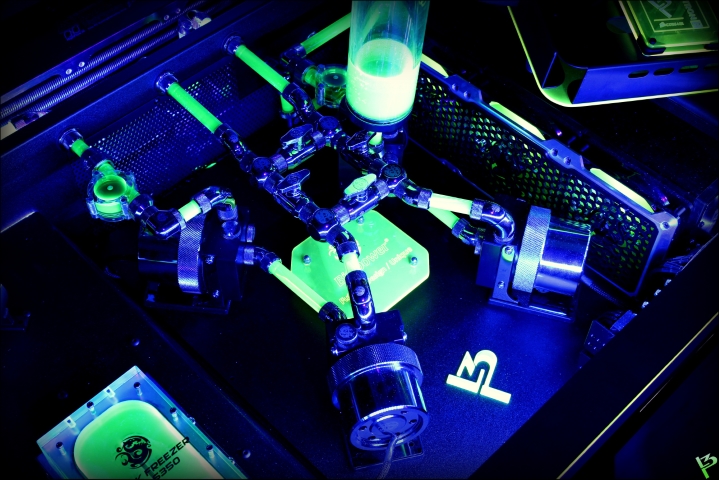
And ... the pumpstation.
With this I can make one big loop for both pc's with 4 rads and 4 pumps.
Or one loop per system with each 2 pumps and 2 rads.
Backside finished too.
Also added 2 green LED strips on the bottom to be able to see something there.
I will be able to switch it off or dim it with the Lamptron controller.
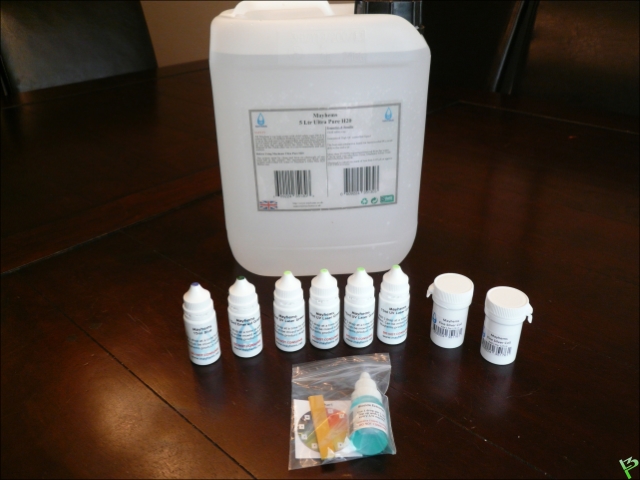
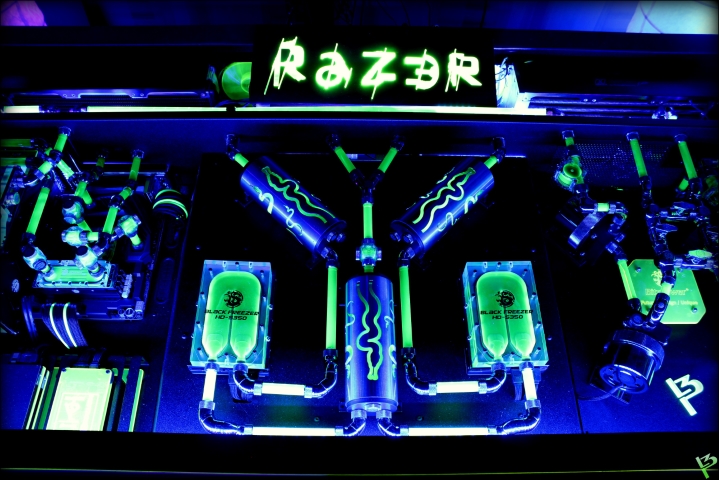
Ready to fill
I prefer filling with clear liquid and adding color later.
Because .....
I had several leaks, this while I tested everything in front.
Few hours later 1 radiator seemed to leak.
Temporary solved it this way.
But then finally .... loop up and running!
Mau approves
Next update soon!
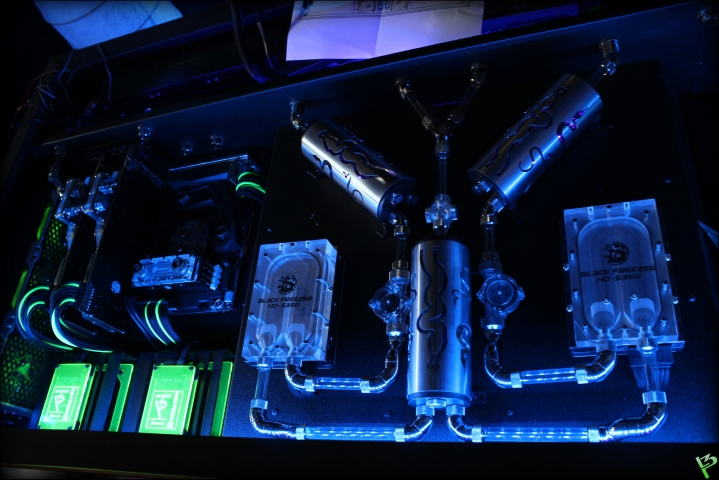
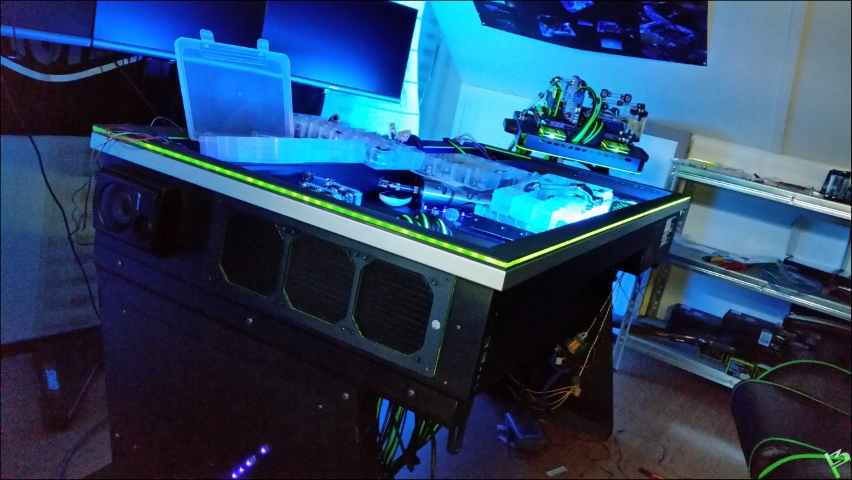
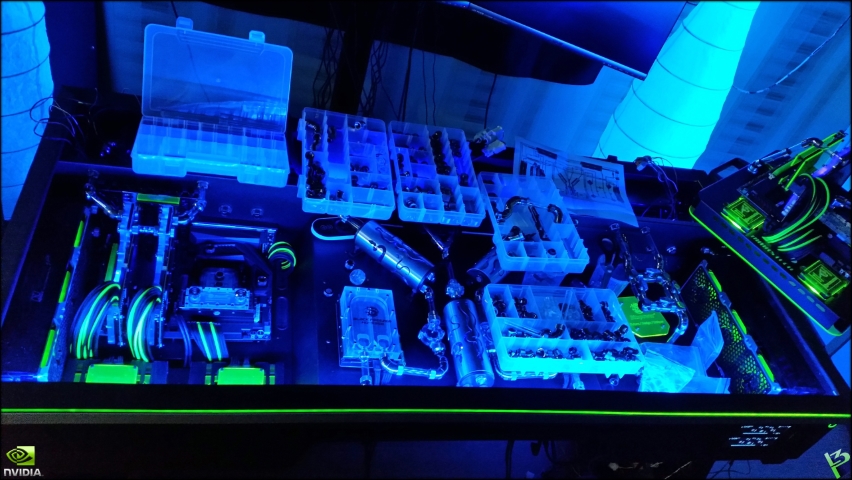
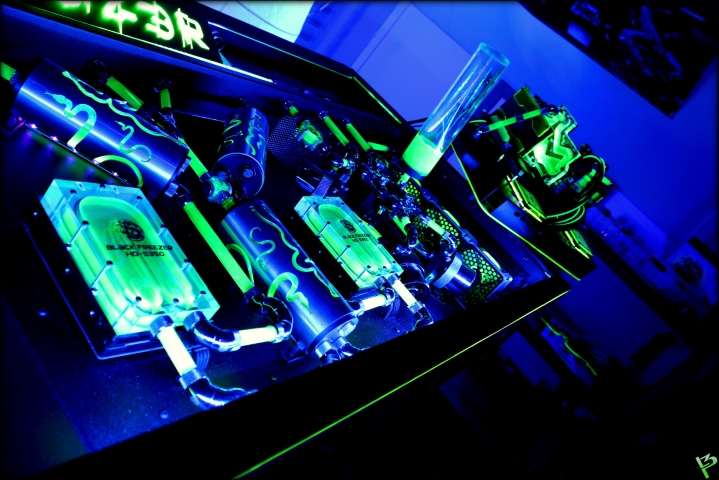
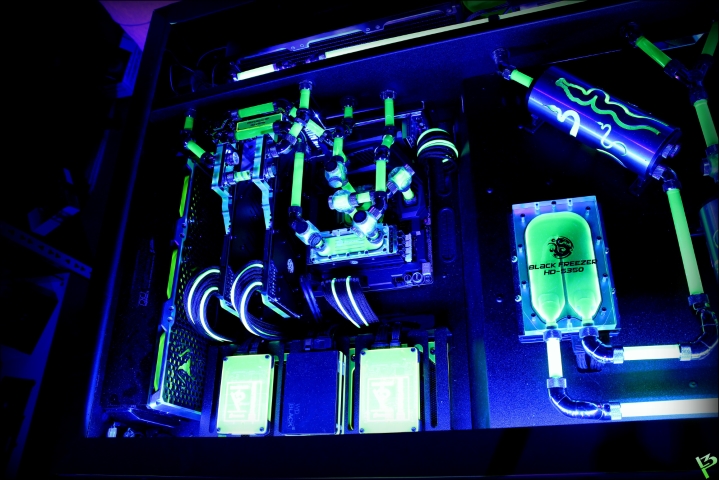
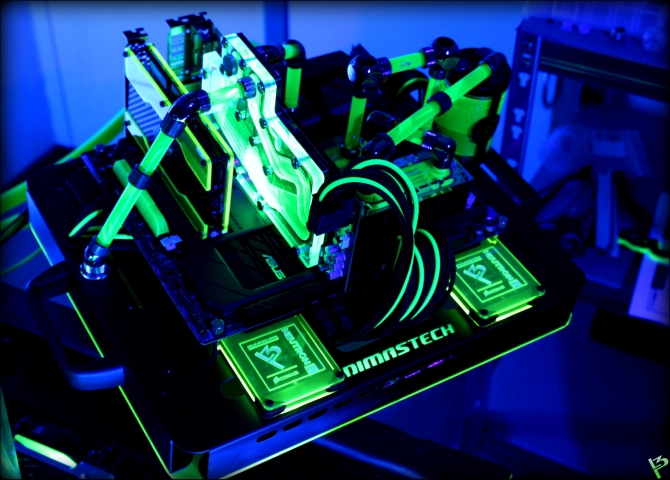
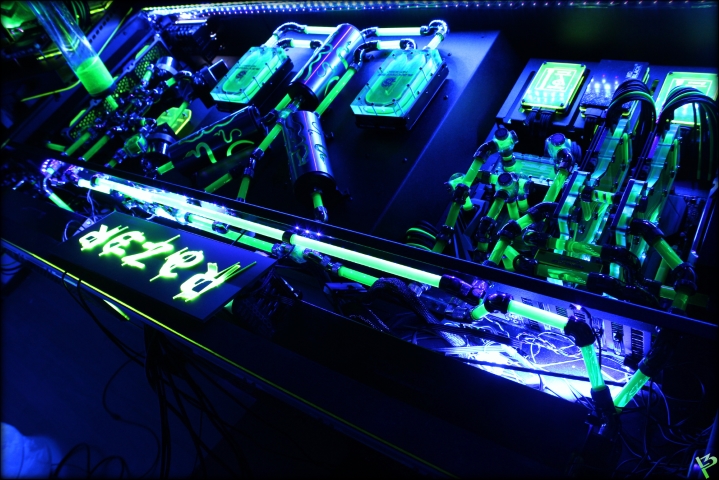
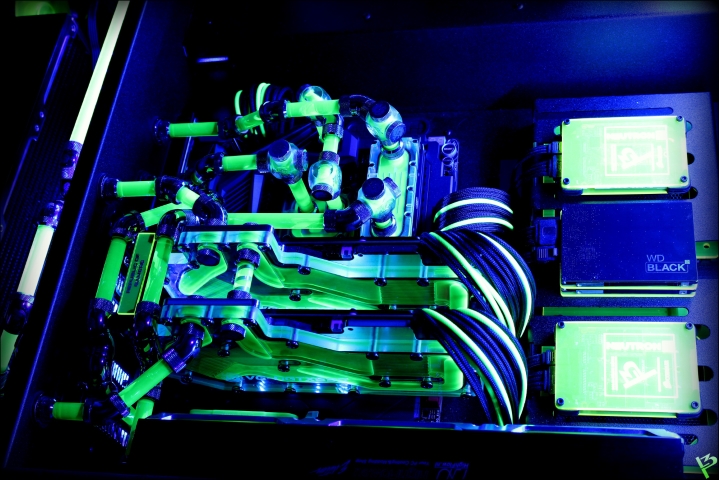
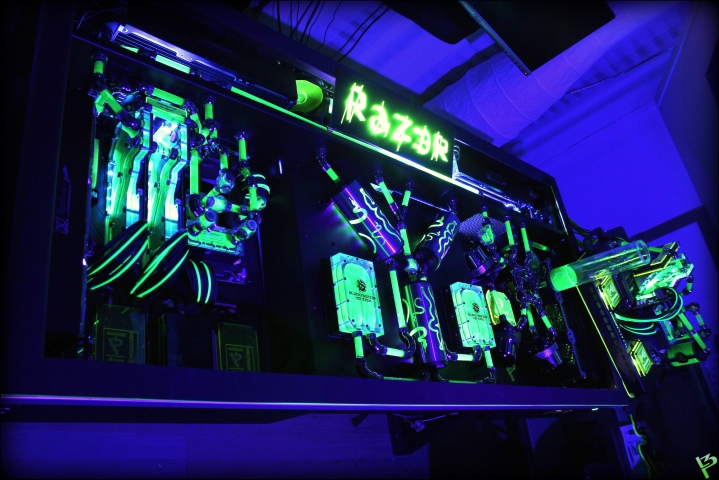
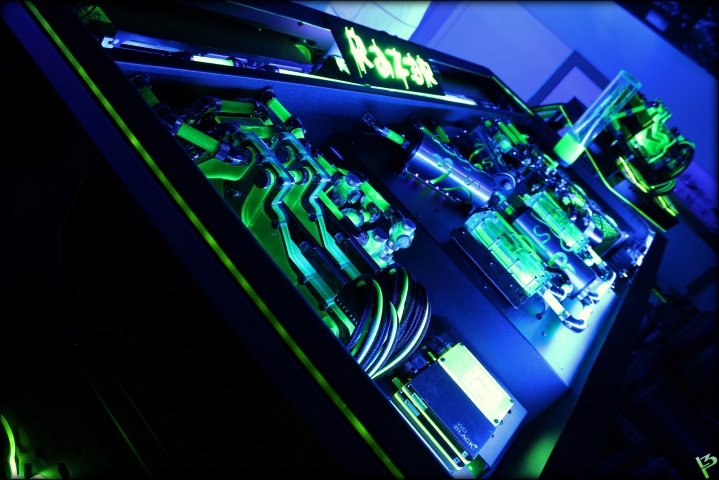
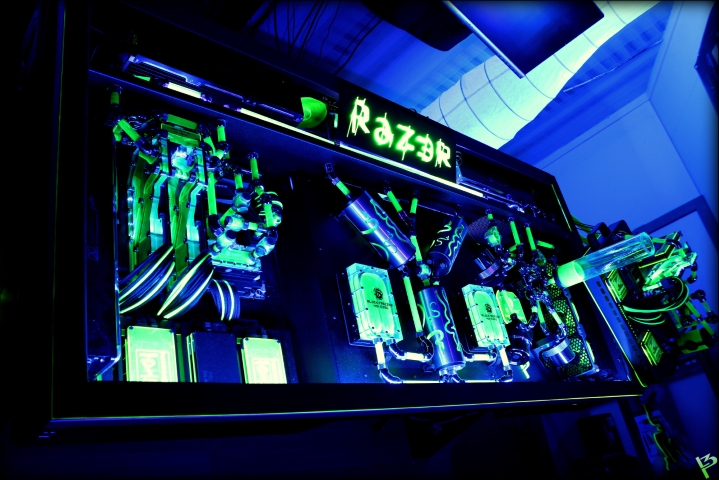
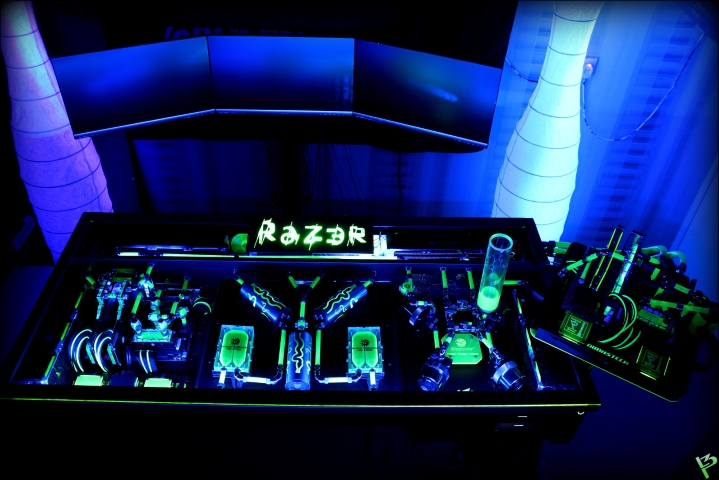
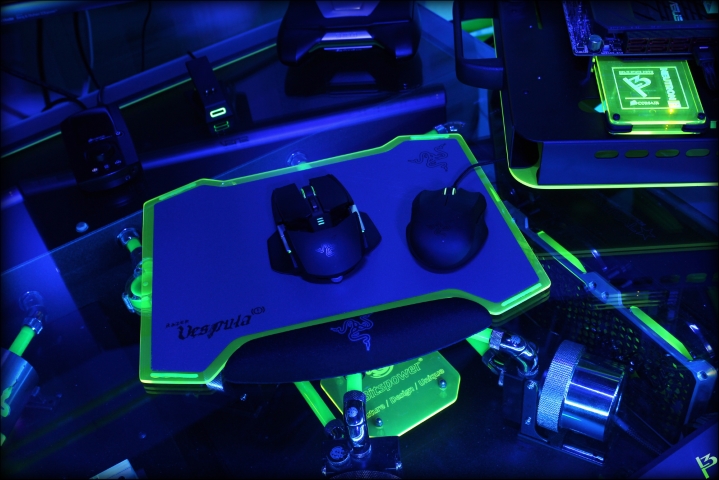
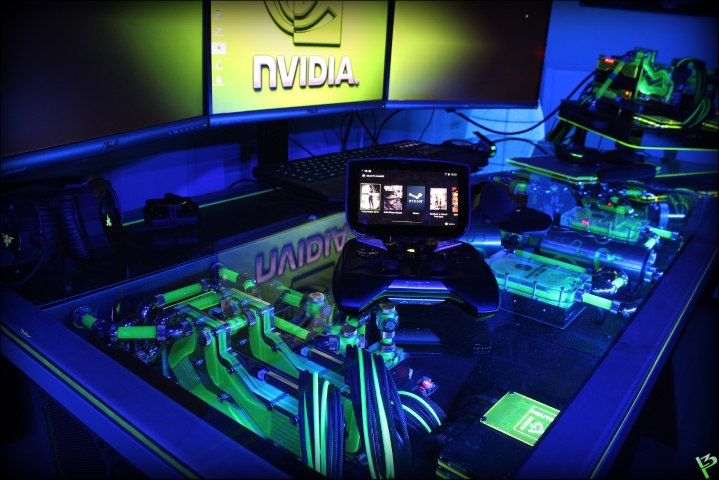
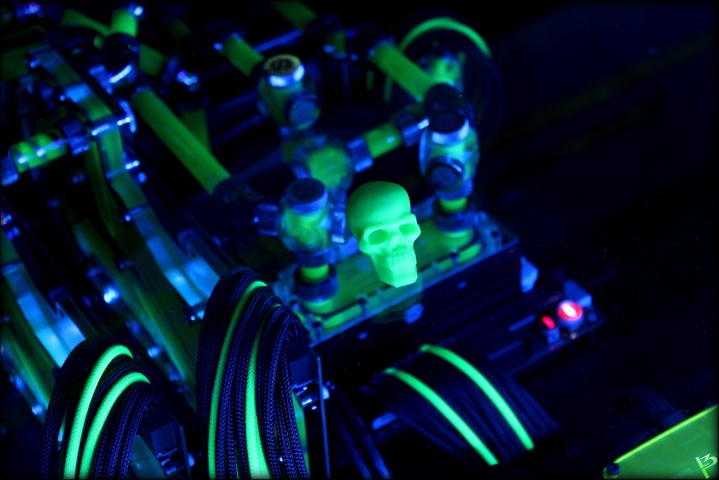
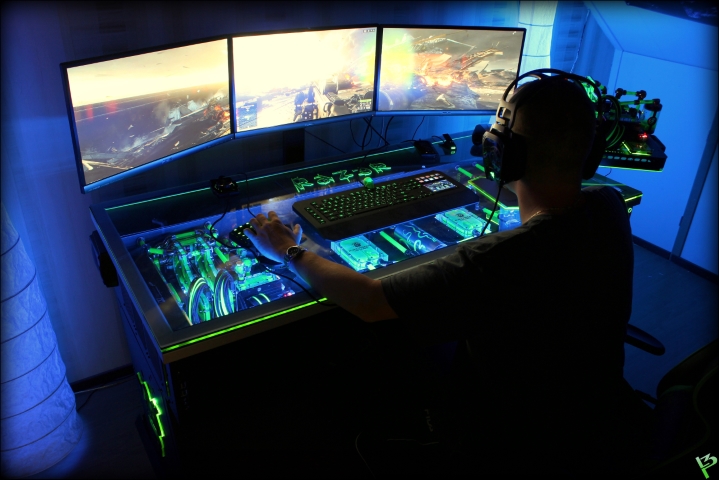
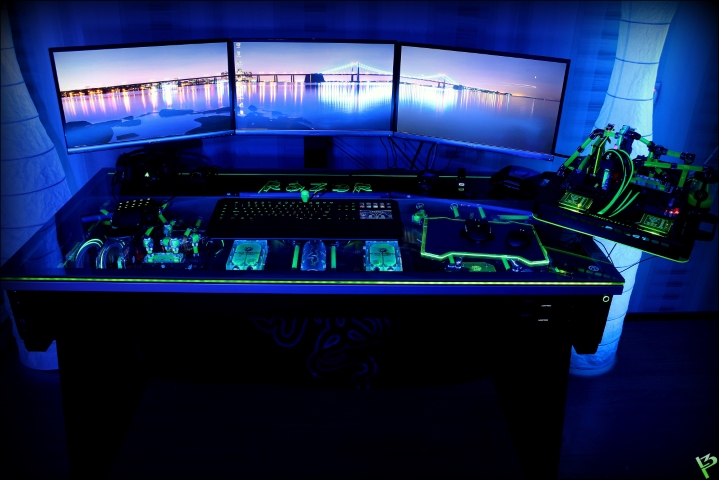
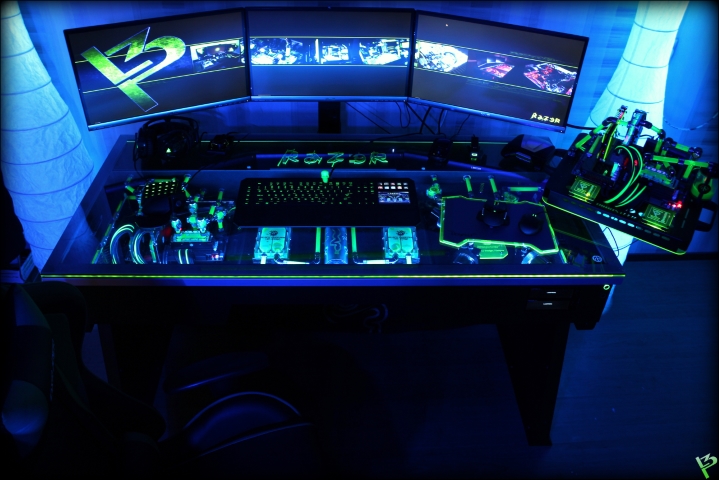
Here some photos now that it's filled up.
Some with just UV, some with UV + blue.
Glad I had fanguards there

Wow, stunning work!
Donate to XS forumsOriginally Posted by jayhall0315

![Send a message via AIM to [XC] Synthetickiller](images/misc/im_aim.gif)
![Send a message via MSN to [XC] Synthetickiller](images/misc/im_msn.gif)
![Send a message via Yahoo to [XC] Synthetickiller](images/misc/im_yahoo.gif)
![Send a message via Skype™ to [XC] Synthetickiller](images/misc/im_skype.gif)
Absolutely sick! I am in awe of your work.
You must [not] advance.
Current Rig: i7 4790k @ stock (**** TIM!) , Zotac GTX 1080 WC'd 2214mhz core / 5528mhz Mem, Asus z-97 Deluxe
Heatware
Thanks guys!
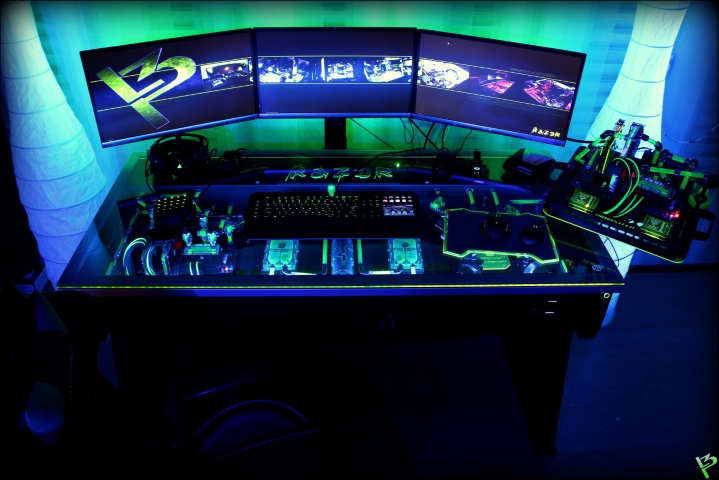
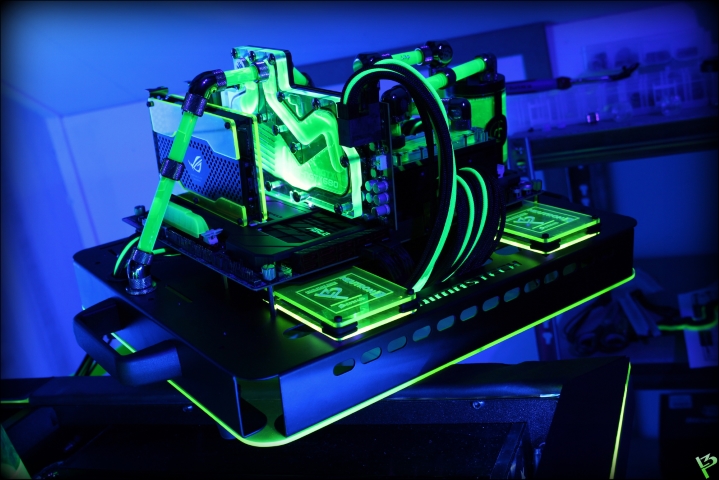
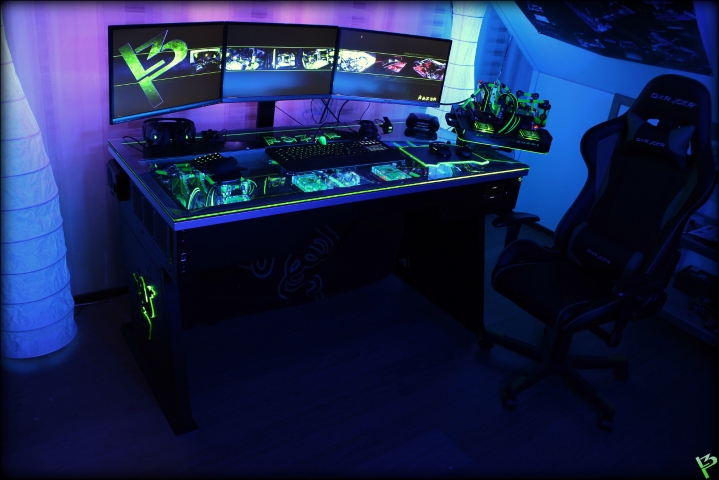
And here the final photos
Together with Infantry Productions we will create a final video to end this chapter.
It has been a project with blood, sweat, leaks, 79 acrylic pipes and tears ... but it was totally worth it
Celebrated the end of this build with my daughter yesterday .. she totally likes disco mode
Here the final video of this project.
I want to thank everyone for the support!!
Video shot by me, edited by: http://www.facebook.com/InfantryProductions
Last edited by l3p; 09-18-2014 at 02:04 PM.
 Posting Permissions


 Reply With Quote
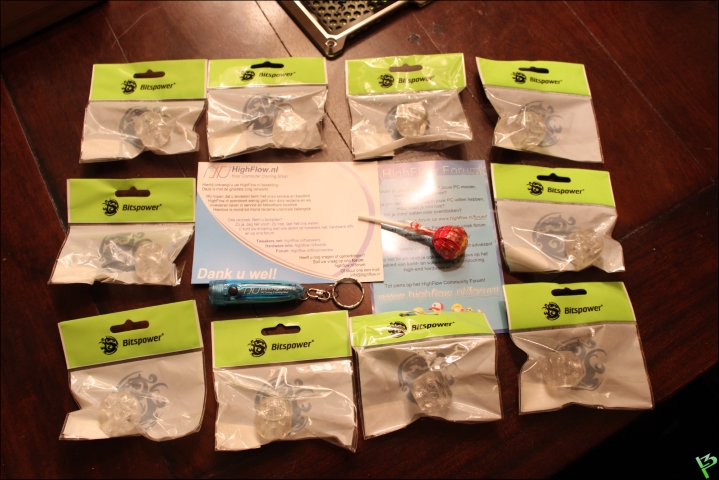


Bookmarks