

Here is a few more pics w/ some better light.


Here is a few more pics w/ some better light.
Today I worked on cutting the case up for better cable management, air flow, and looks.
Some action shots.
A couple of pics of the drain from the other side.
The MiniNG for the pump.
Removed the regular ATX motherboard supports as they block a lot of the view. Drilled out some cable management holes while I had it out. I also cut out a lot of the top grill at the top of the case. Better air flow for the PSU. Plus you'll be able to see more of the system from the top mesh window.
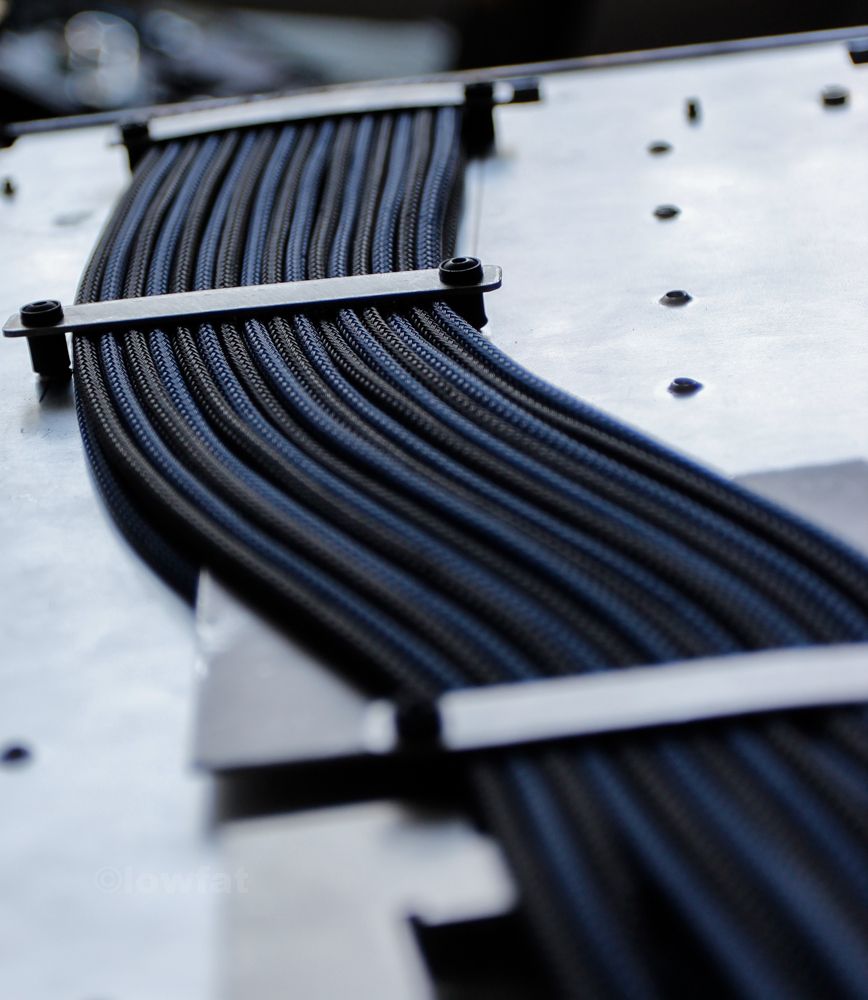
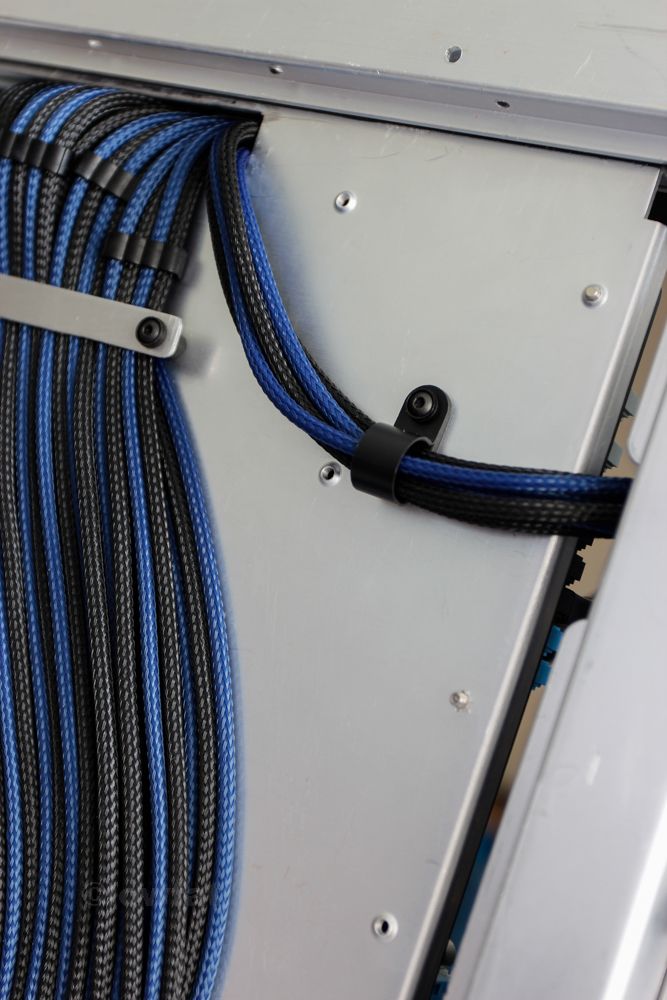
First attempt at a wire holder made of sleeve. 2nd attempt will be much better.
A better shot of the 24-pin in place. I unfortunately found out that I can't reinstall the motherboard tray w/ the retention bars in place. So I have to pull off all the cables to get it back in the case.

Some WIP pics from this morning.
'
'
and then the nightmare of wires at the PSU. The big downside to having your entire 24-pin restrained is this. I will have to adjust the length of every single cable.
Managed to get quite a bit of work done today. I'll just let the pics do the talking.
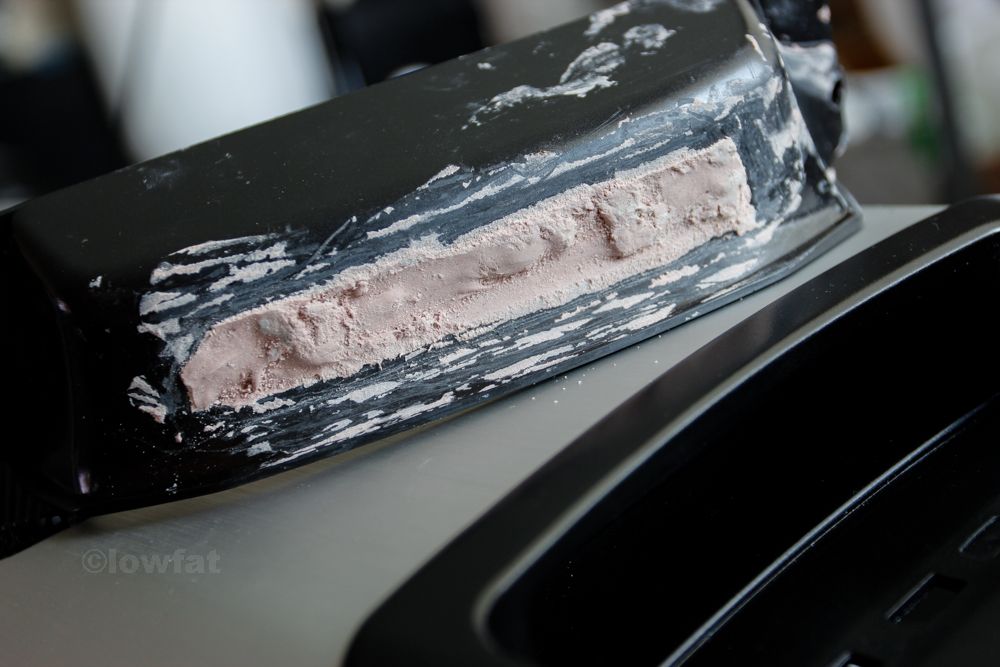
Painted some of the old silver trim pieces today. I accidently bought semi-gloss instead of flat but it still turned out ok. The insert w/ the power button was done in plasti-dip first to give it the texture.
Not planning on using the other 2 front usb, audio, mic, firewire so I'm going to attempt to bondo it.
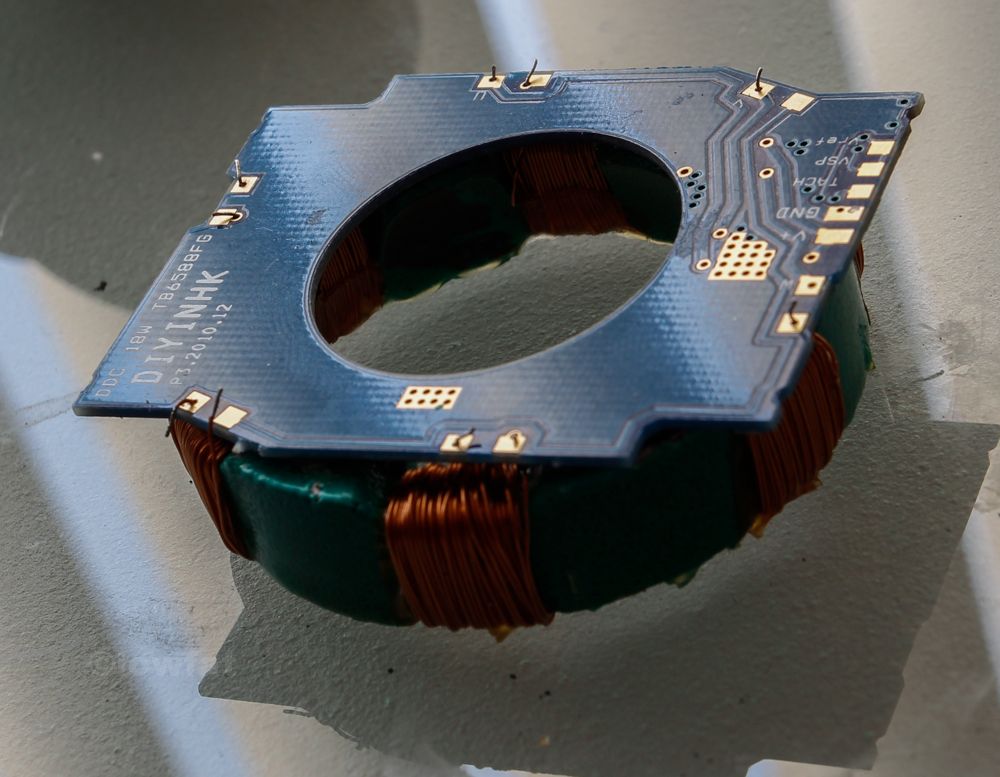
Well it seems the DDC-1T is outrageously loud and sounds even worse when slowed down. So I'm going to see if it sounds any better with one of these.
Powered on the T-Balancer MiniNG for the first time ever today. Works pretty decent in manual mode. I have found that GTs sound awful w/ a PWM signal, horrible motor noise. But in analog mode they sound awesome @ 5-7V.
I finished the PCB swap today and it slows down fantastically.
Couple of WIP pics.
A few new WIP pics.
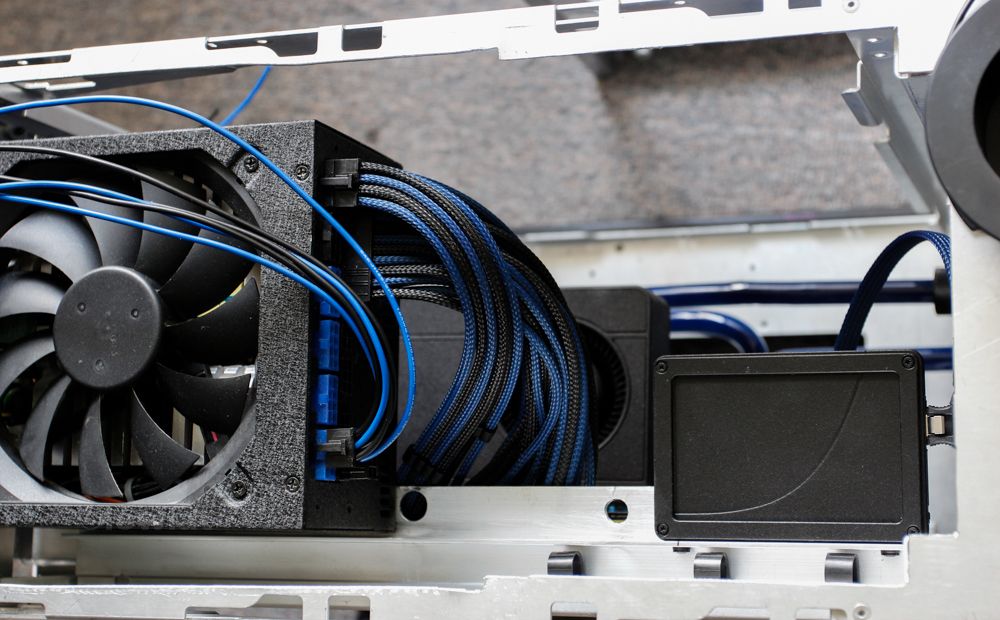
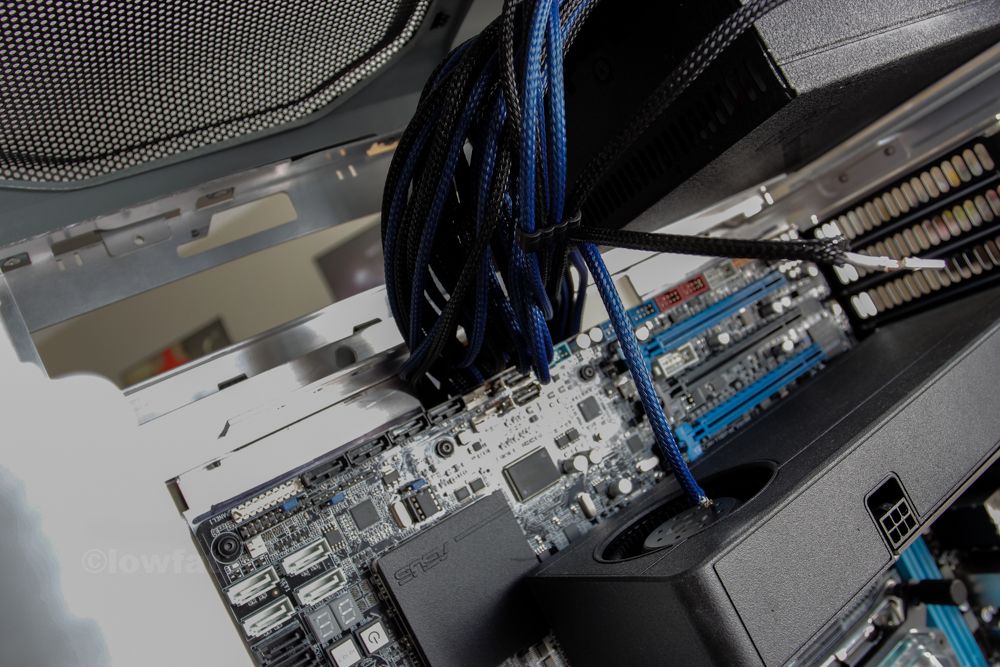
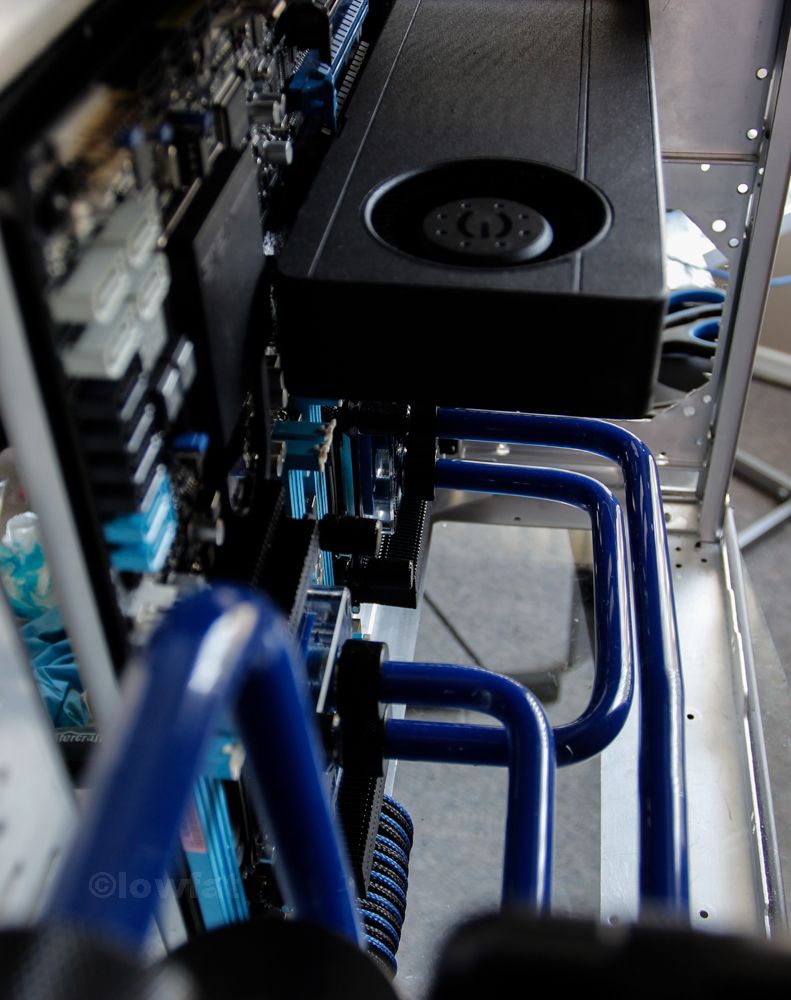
Worked on the power cables for the GPU + MiniNG yesterday evening and this morning.

I love what i see!!
proud to be from Belguim ^^
Lightpainting and hardware are my life!
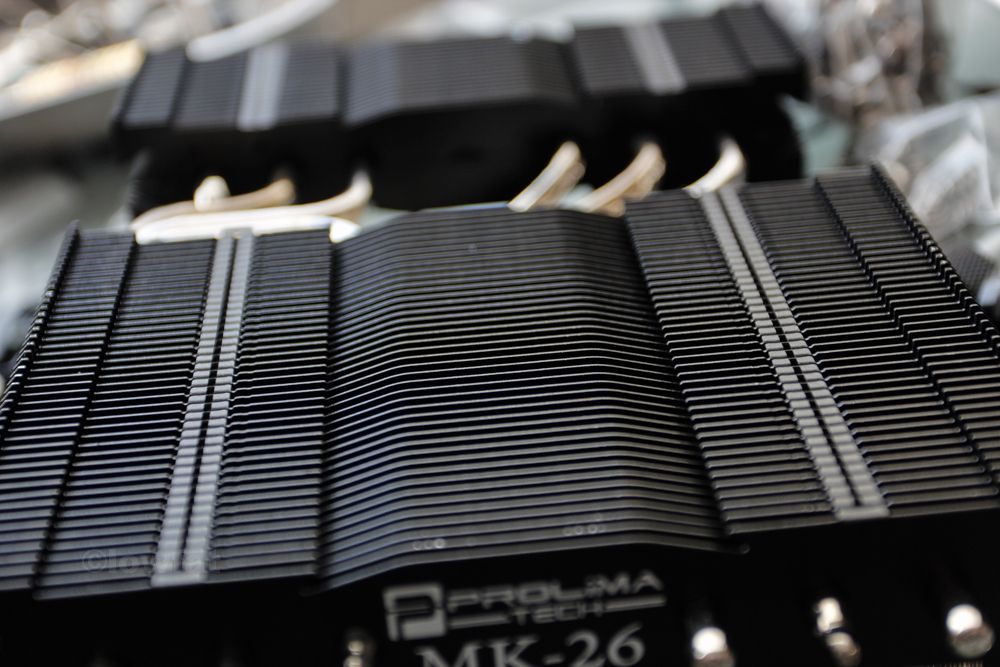
New heatsink for my GTX650TiBo came today.
 Posting Permissions


 Reply With Quote


Bookmarks