


I modified a 3.5 hard drive cage from a 9F to fit in the 7H to add more 3.5 and 2.5 mounts. The modified 9F cage holds 6x 3.5 and 2x 2.5. Pics later.
I have a silver PC-7H. It is a great case except that it does not have enough hard drive mount point for me. I was using a an old PC-62 that able to fit 6x 3.5, 4x 2.5 and 2x DVD/Blu-ray, and I needed the PC-7H to do the same.
The stock PC 7H holds 4x 3.5, 1x 2.5 and 3x 5.25. To hold everything, I needed to add mounts for an additional 2x 3.5 and 3x 2.5
1. At first I tried this: http://www.newegg.com/Product/Produc...82E16817995073
Not in the 5.25 bay. Rather, it has a detachable 3x 3.5 drive cage, and that can be attached to underside of the 5.25 cage. 4 drilled holes later, it was attached, and the drives did clear the front fans. But it was a pain to swap drives and the the cage tended to vibrate - it was only attached at the top and has no individual drive shock mount.
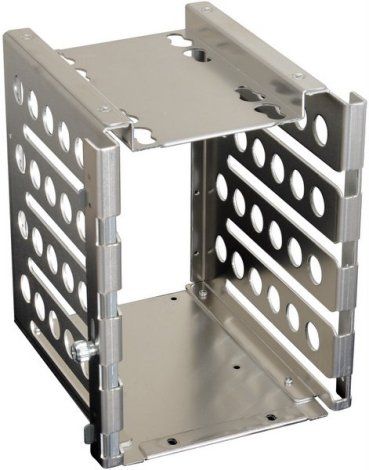
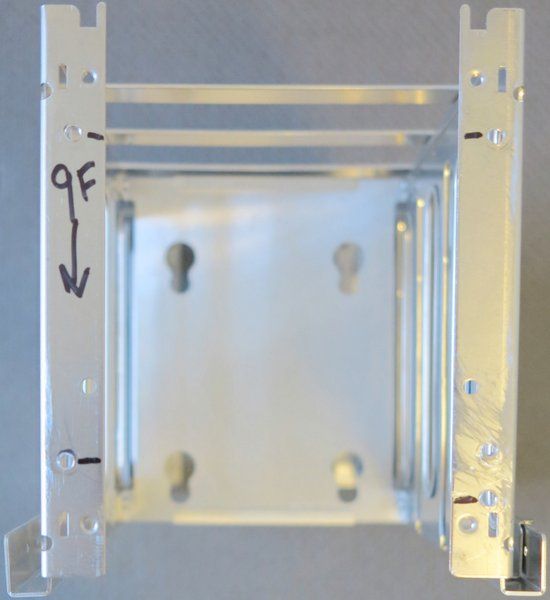
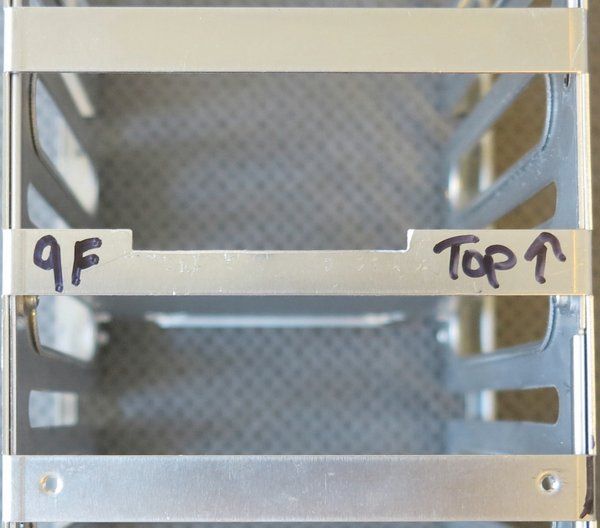
2. Next I ordered a PC-9F 3.5 hard drive cage from Lian-Li support. $10 plus shipping and handling. The cage holds 6x 3.5 + 1x 2.5 [I would have bought a full PC-9F case but they are no longer manufactured in silver, and scratched up black cases look terrible to me]
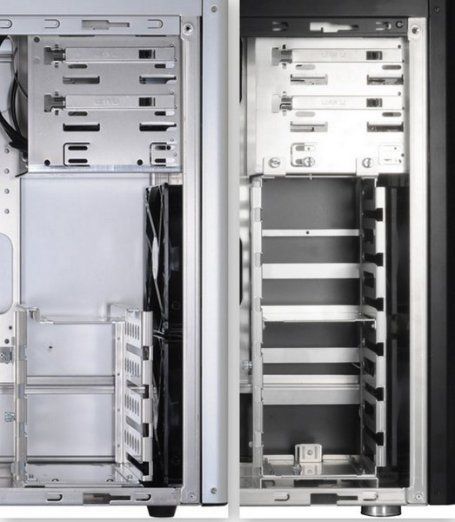
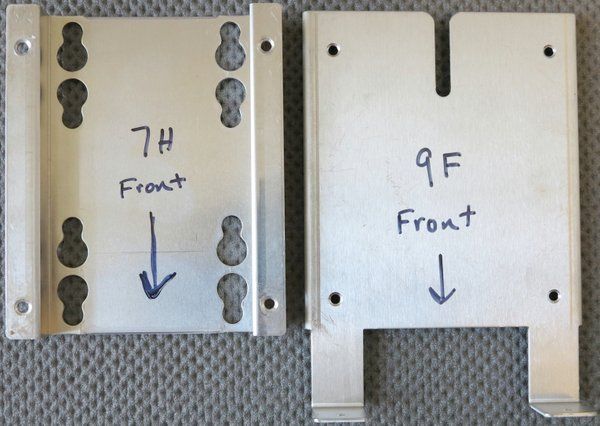
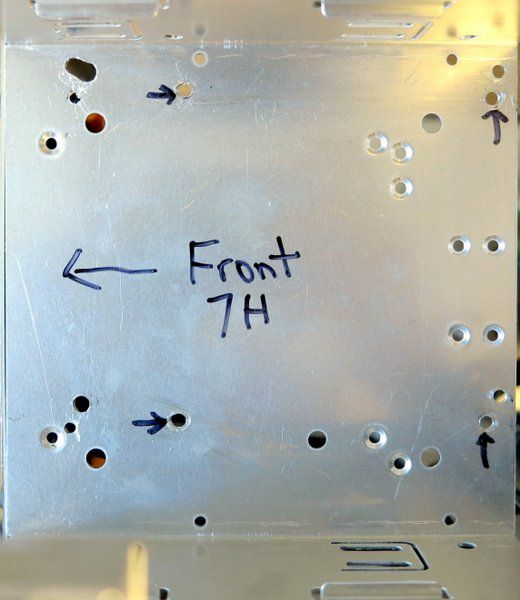
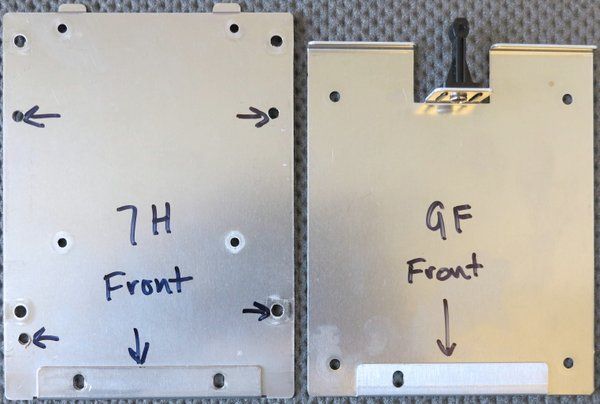
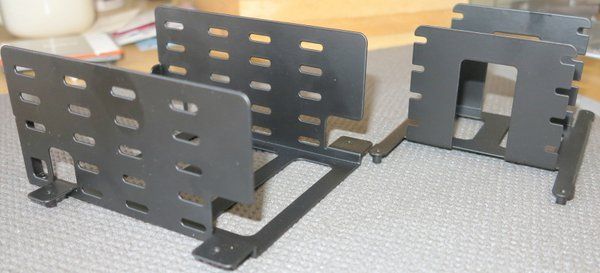
Turns out the 9F drive cage fits neatly in 7H case (they are essentially the same case), it just needs new mounting points. SO, I took the bottom mounting plate from 7H cage. I also took the top from the 7H cage, since it has another 2.5 mount. The 7H cage is held together with rivets. The 9F cage with machine screws.
1. Drilled out the rivets on the 7H to remove the plates. (Annoying!)
2. The 9F cage comes apart with screws.
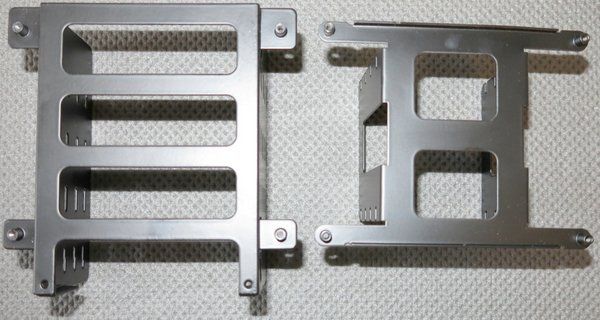
3. Drilled and tapped 4 holes in the bottom of the 9F cage to attach the 7H bottom plate.
4. The top plate from the 7H cage lines up perfectly with the holes on the top of the 9F cage.
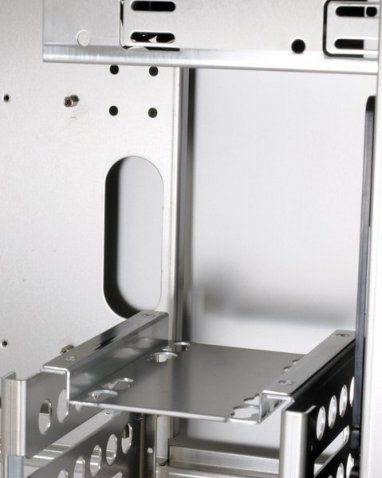
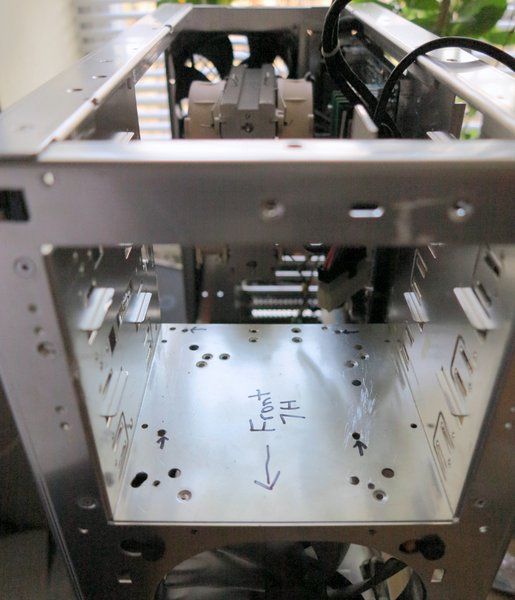
5. Drilled 4 holes in the bottom of the 5.25 cage to attach the modified 9F cage at 4 points. (I actually only drilled 2. I reused 2 holes from the first cage attachment attempt.)
6. Used 4 rubber washers between the 9F cage and the bottom of the 5.25 cage
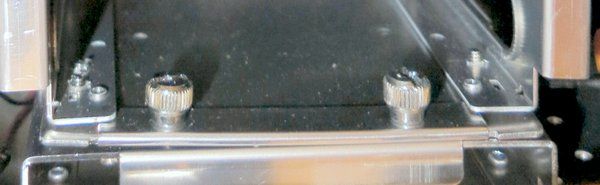
7. Attached to cage to case with 2x thumb screws at the bottom and 4x machine screws at the top.
The fit is not perfect. The 9F cage is drilled such that the 7H cage top plate forces the sides apart slightly at the top. The 3.5 drives still fit. I could have stayed with the original 9F drive cage top plate, but I really wanted that additional 2.5 drive mount.
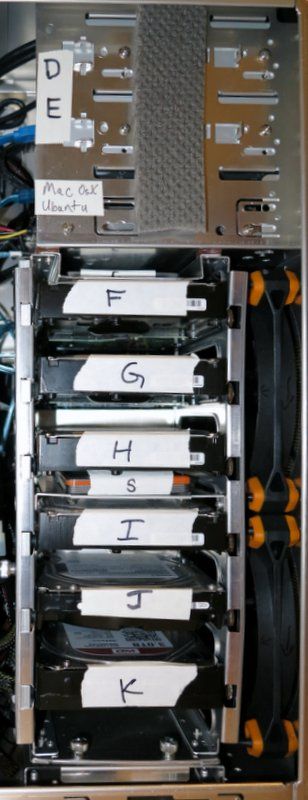
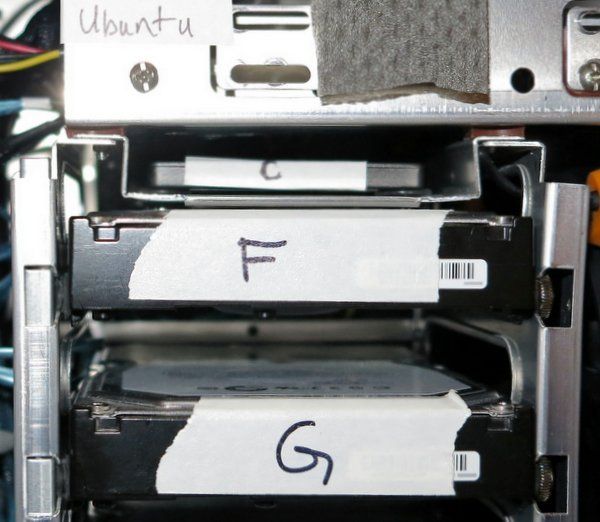
The modified 9F cage holds 6x 3.5 and 2x 2.5. The remaining 2x 2.5 are in the lowest 5.25 slot.
Things I learned:
1. I like the drive spacing on the newer 7H cage. The drives are closer and they line up with the new back-planes. With that spacing, the 7H could easily hold 8x 3.5 drives
2. Lian-Li should not rivet drive cages together. It's annoying when you want to change or adjust something.
3. Adapting the current production Lian-Li cages and cases to a universal, interchangeable, stack-able drive cage mounting system would be trivially simple. Most of the holes already line up. All I had to do was drill out a few rivets and tap 4 holes.
Pics of the finished product to follows later.
Edit:
I meant "9F" not 9H. Changed.
PC-9F: http://www.lian-li.com/v2/en/product...25&ss_index=62
PC-7H: http://www.lian-li.com/v2/en/product...25&ss_index=62
PC-62: http://www.lian-li.com/v2/en/product...38&ss_index=96

 Reply With Quote
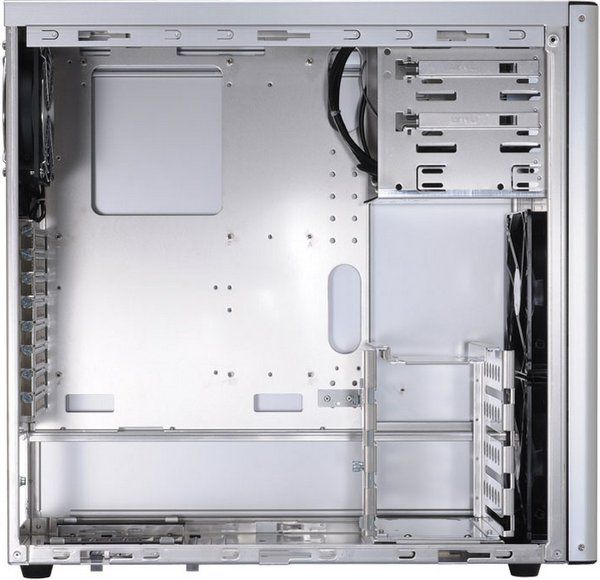


Bookmarks