


Parvum Extreme MbK
Sponsored by:
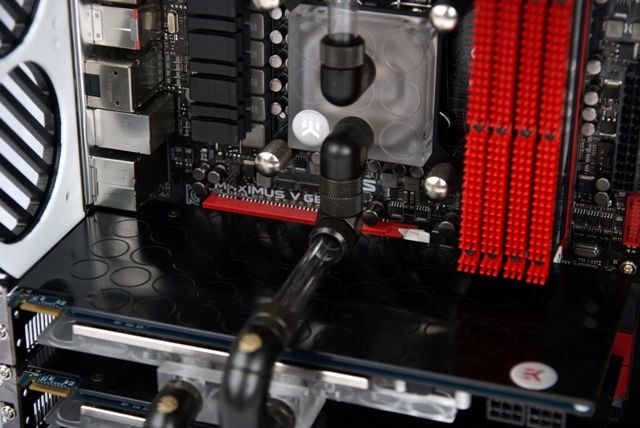
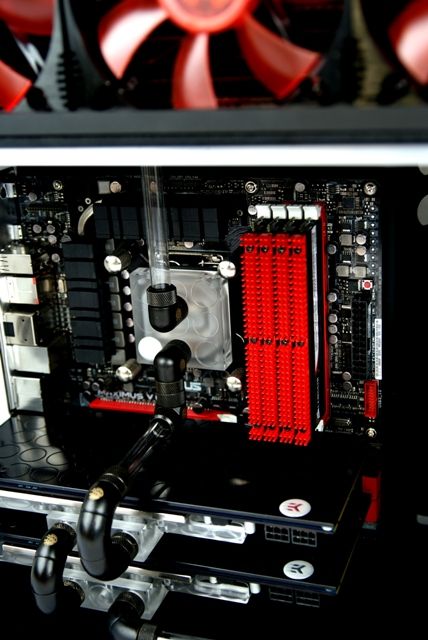
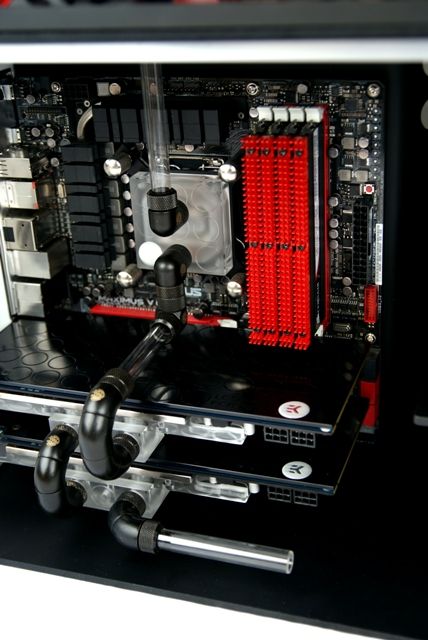
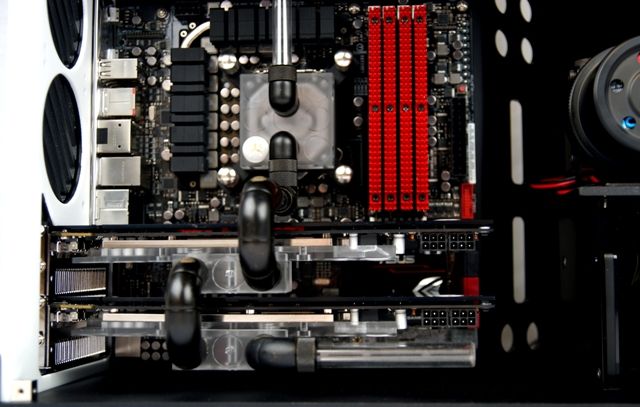
Hi fellow casemodders, Kier is back...again
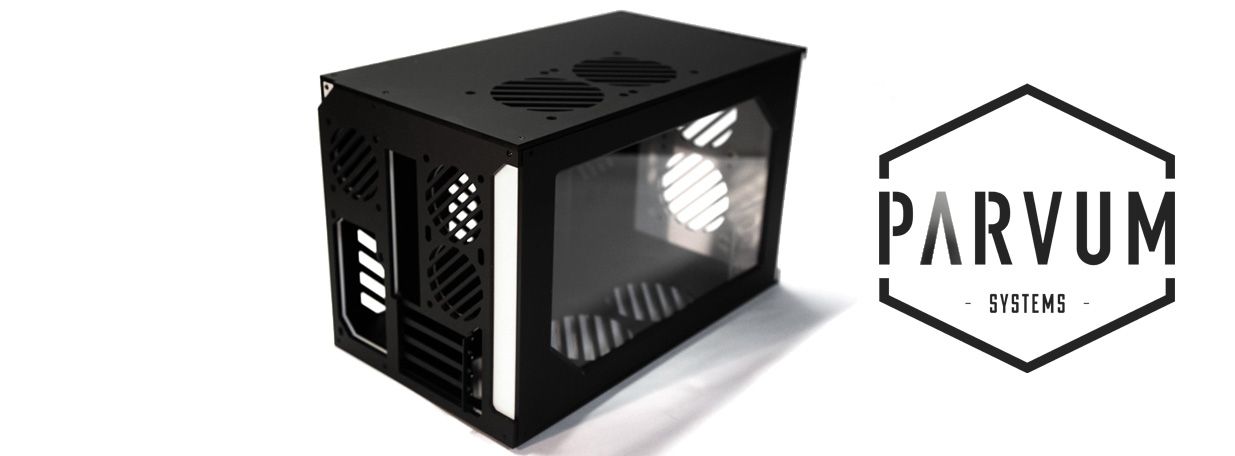
This time I will start with a great new acrylic case
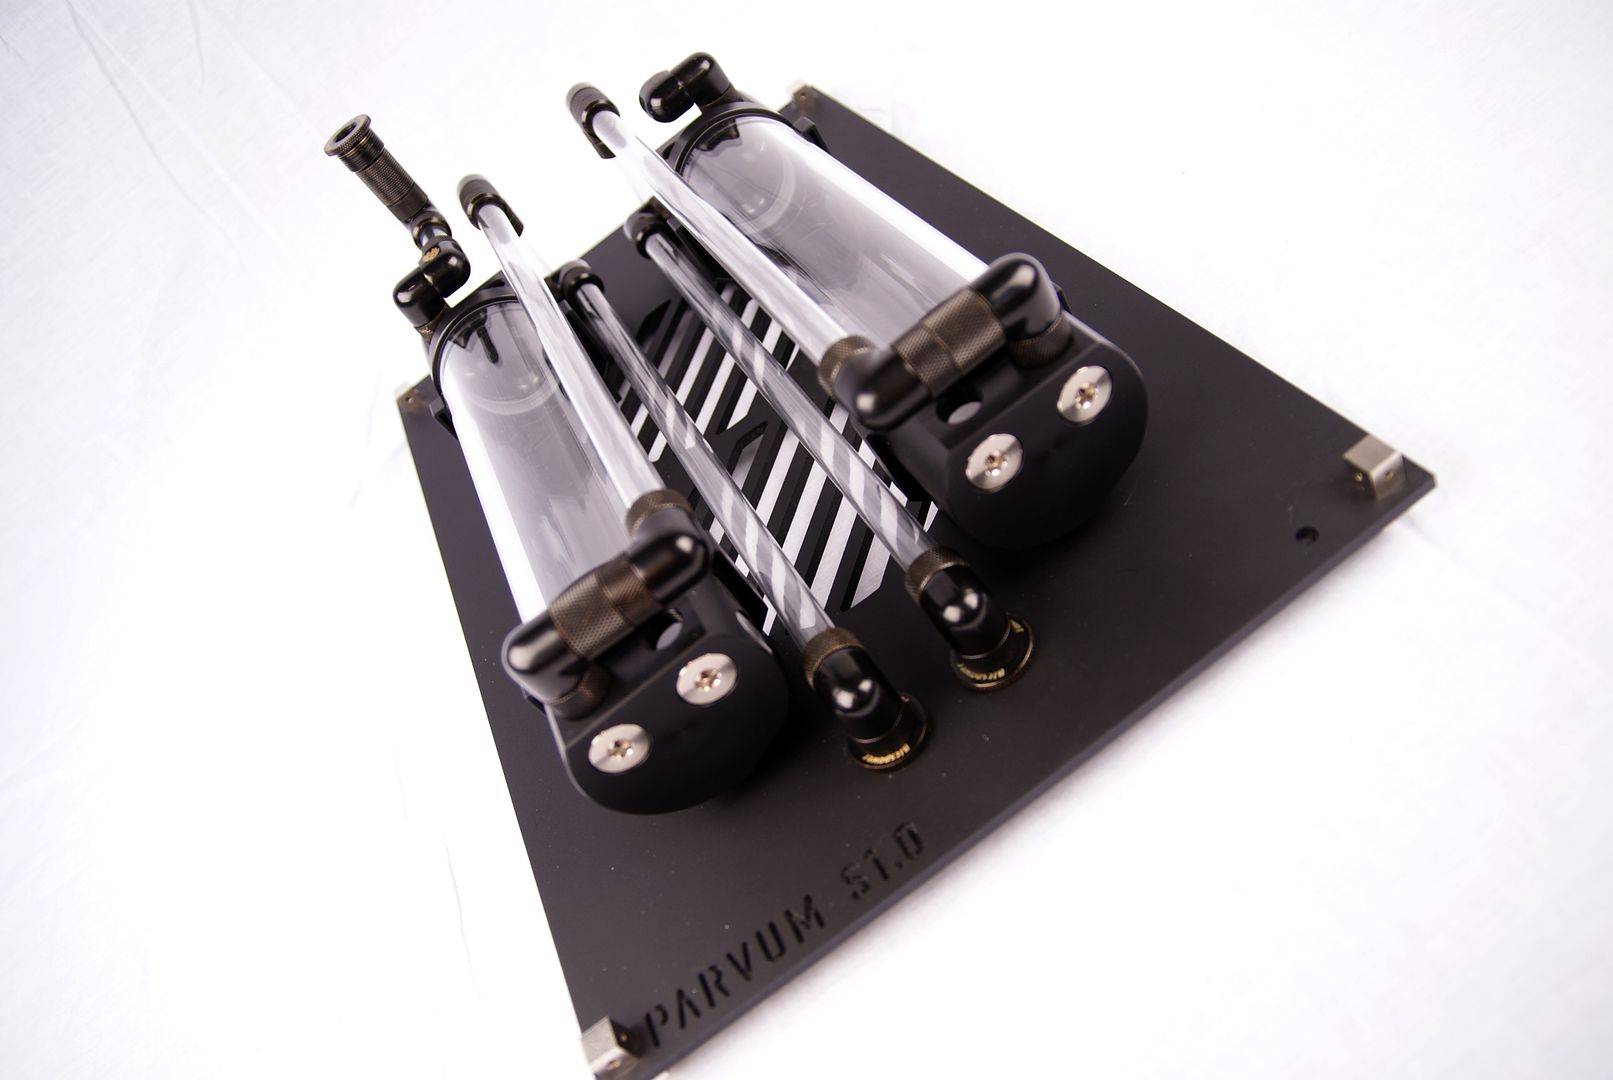
Probably you have seen it allready in the buildlogs from L3p and K.3nny, the new Parvum systems S1.0
The case is individually cut and hand assembled, various colors and custom modifications possible
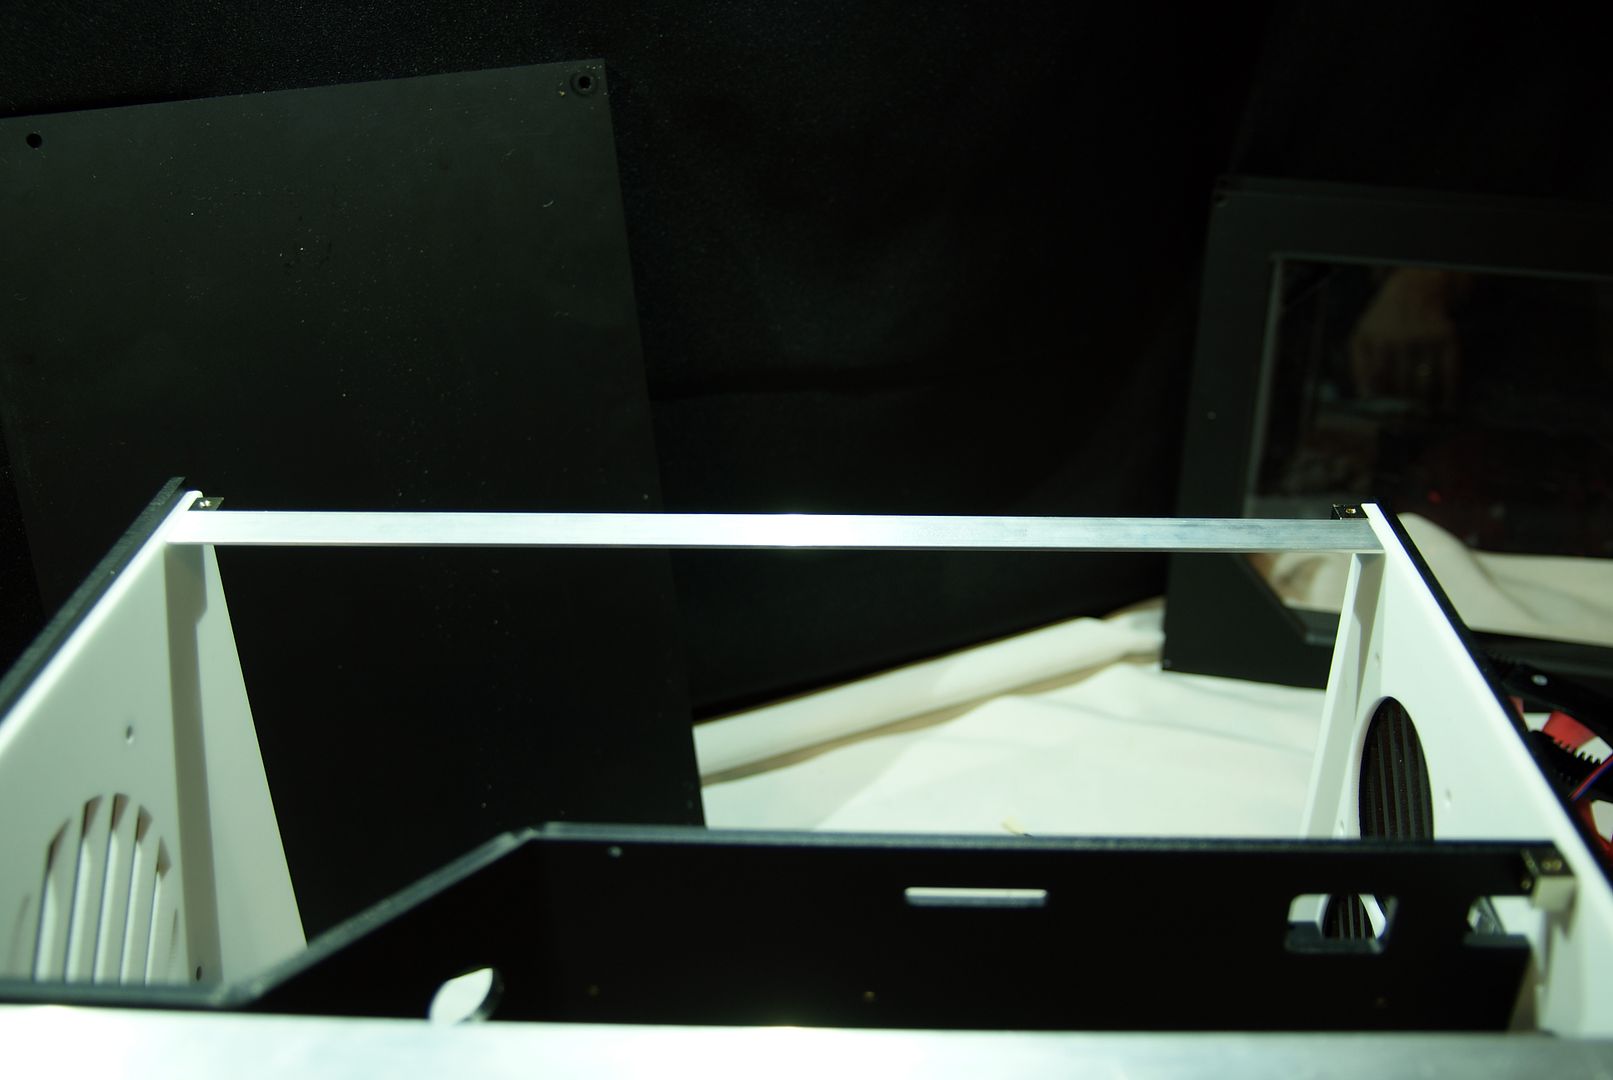
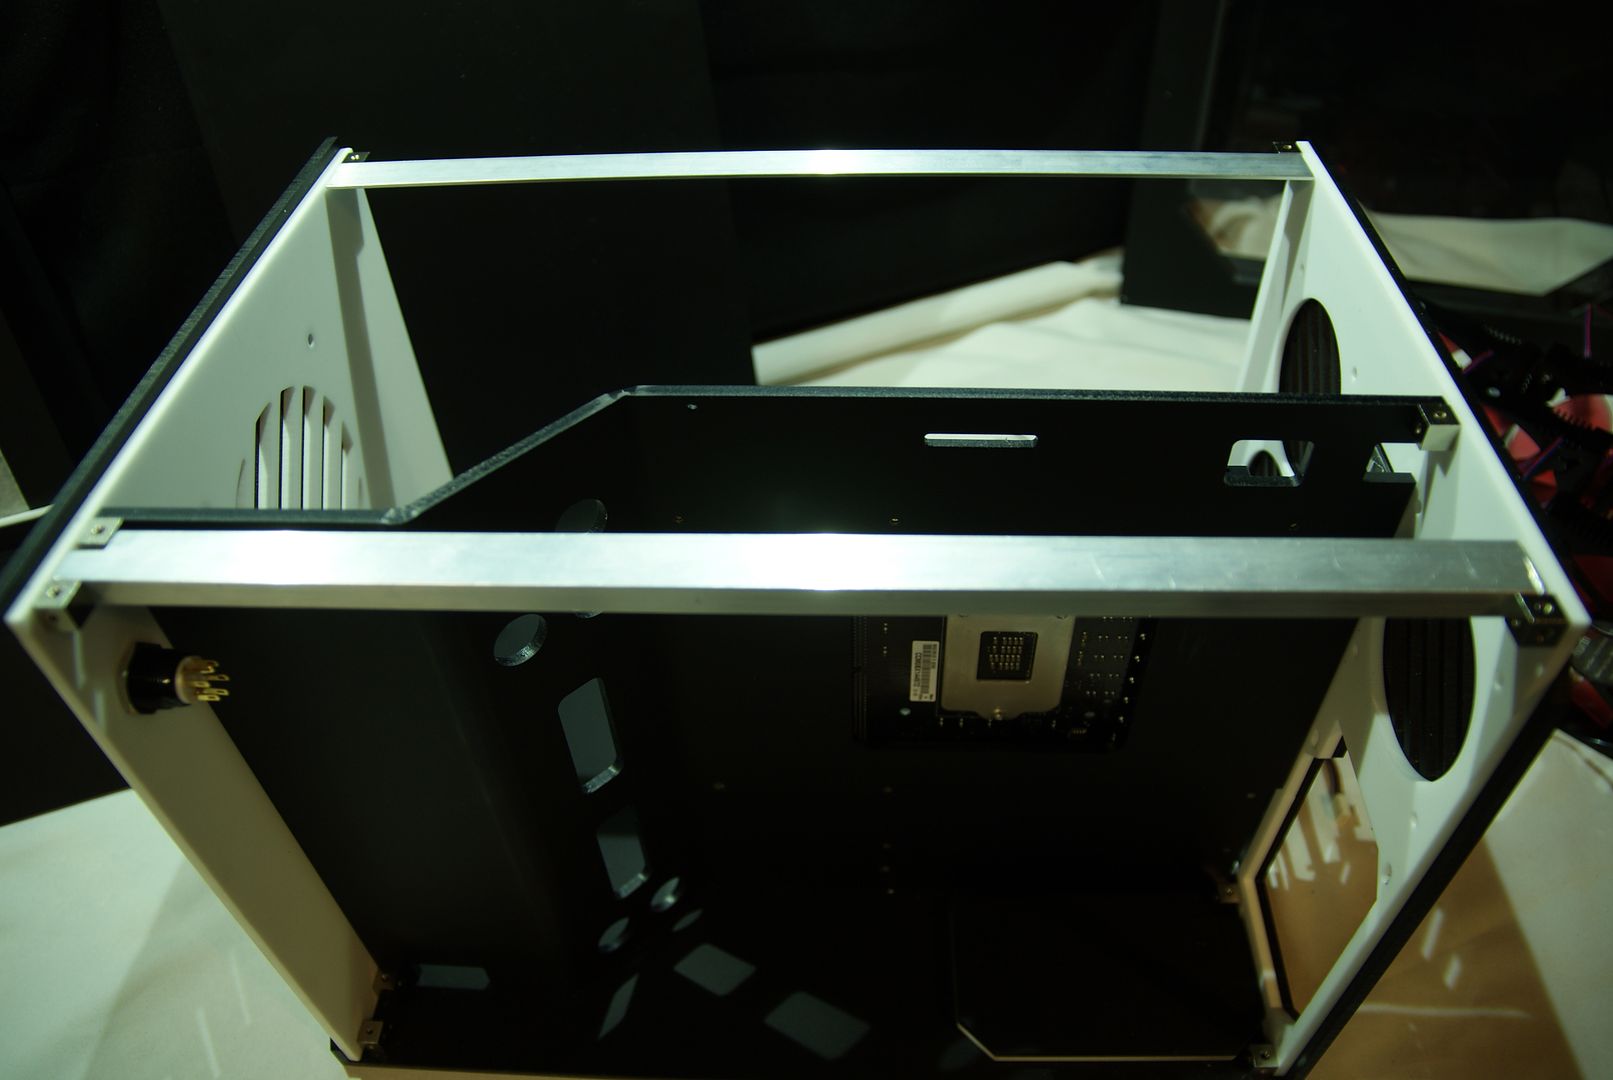
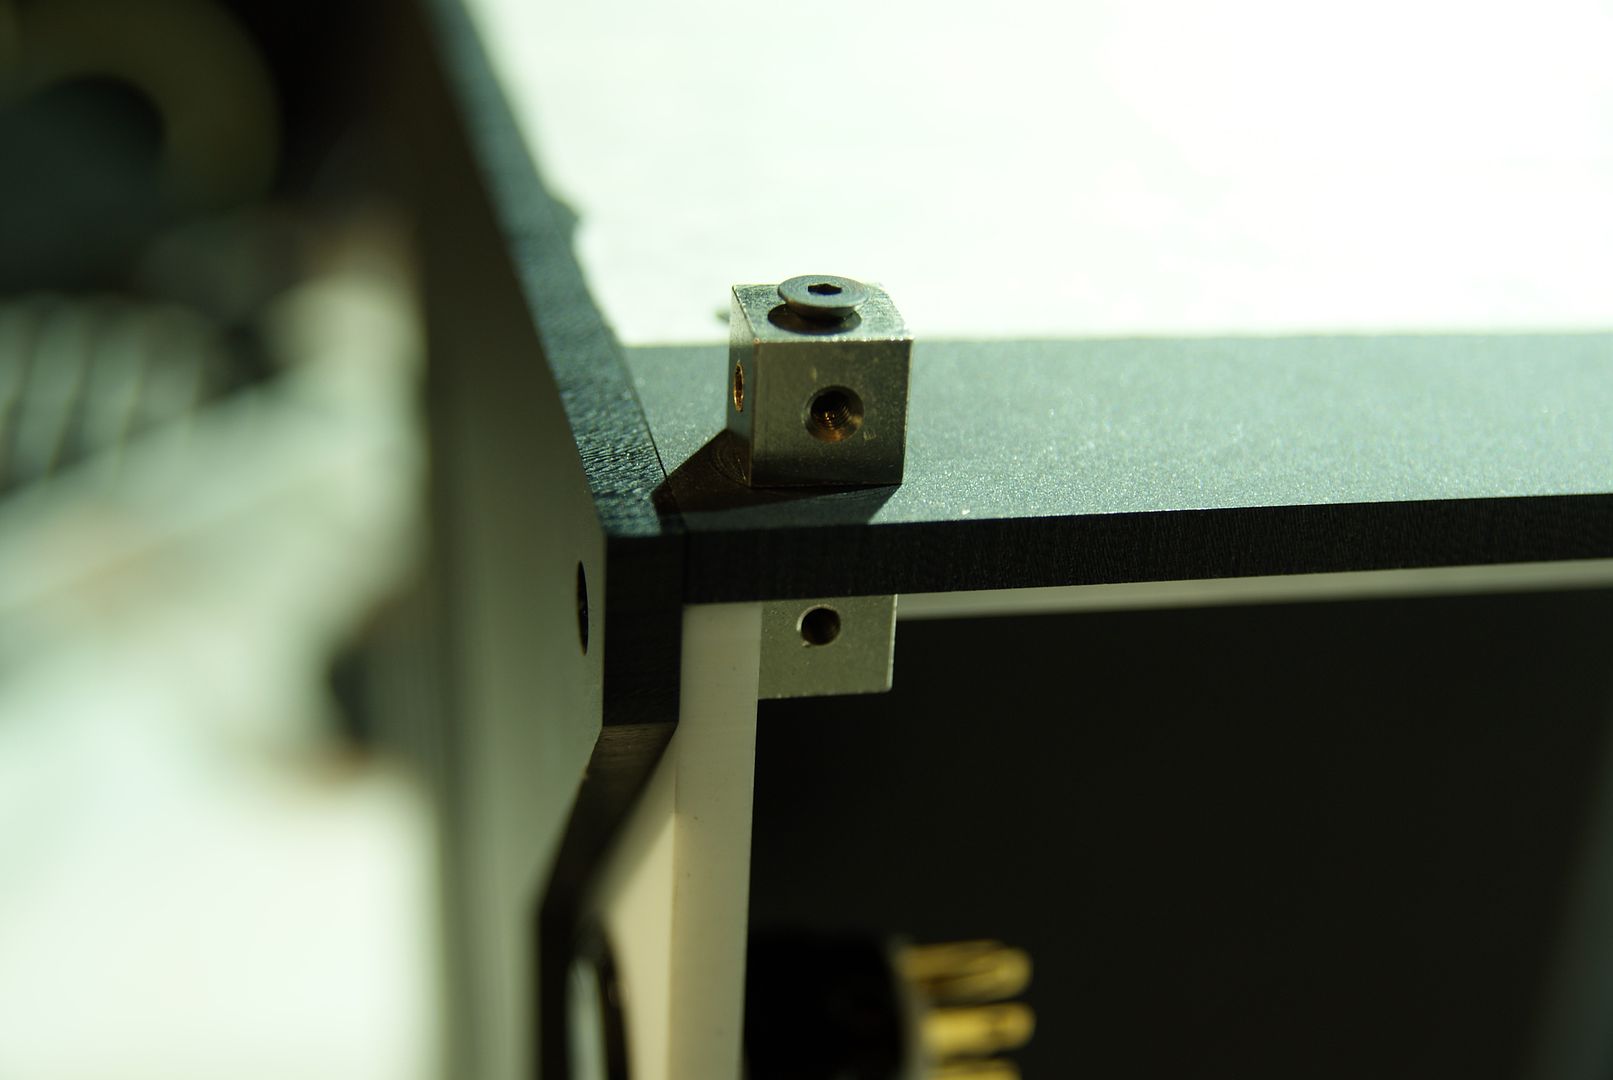
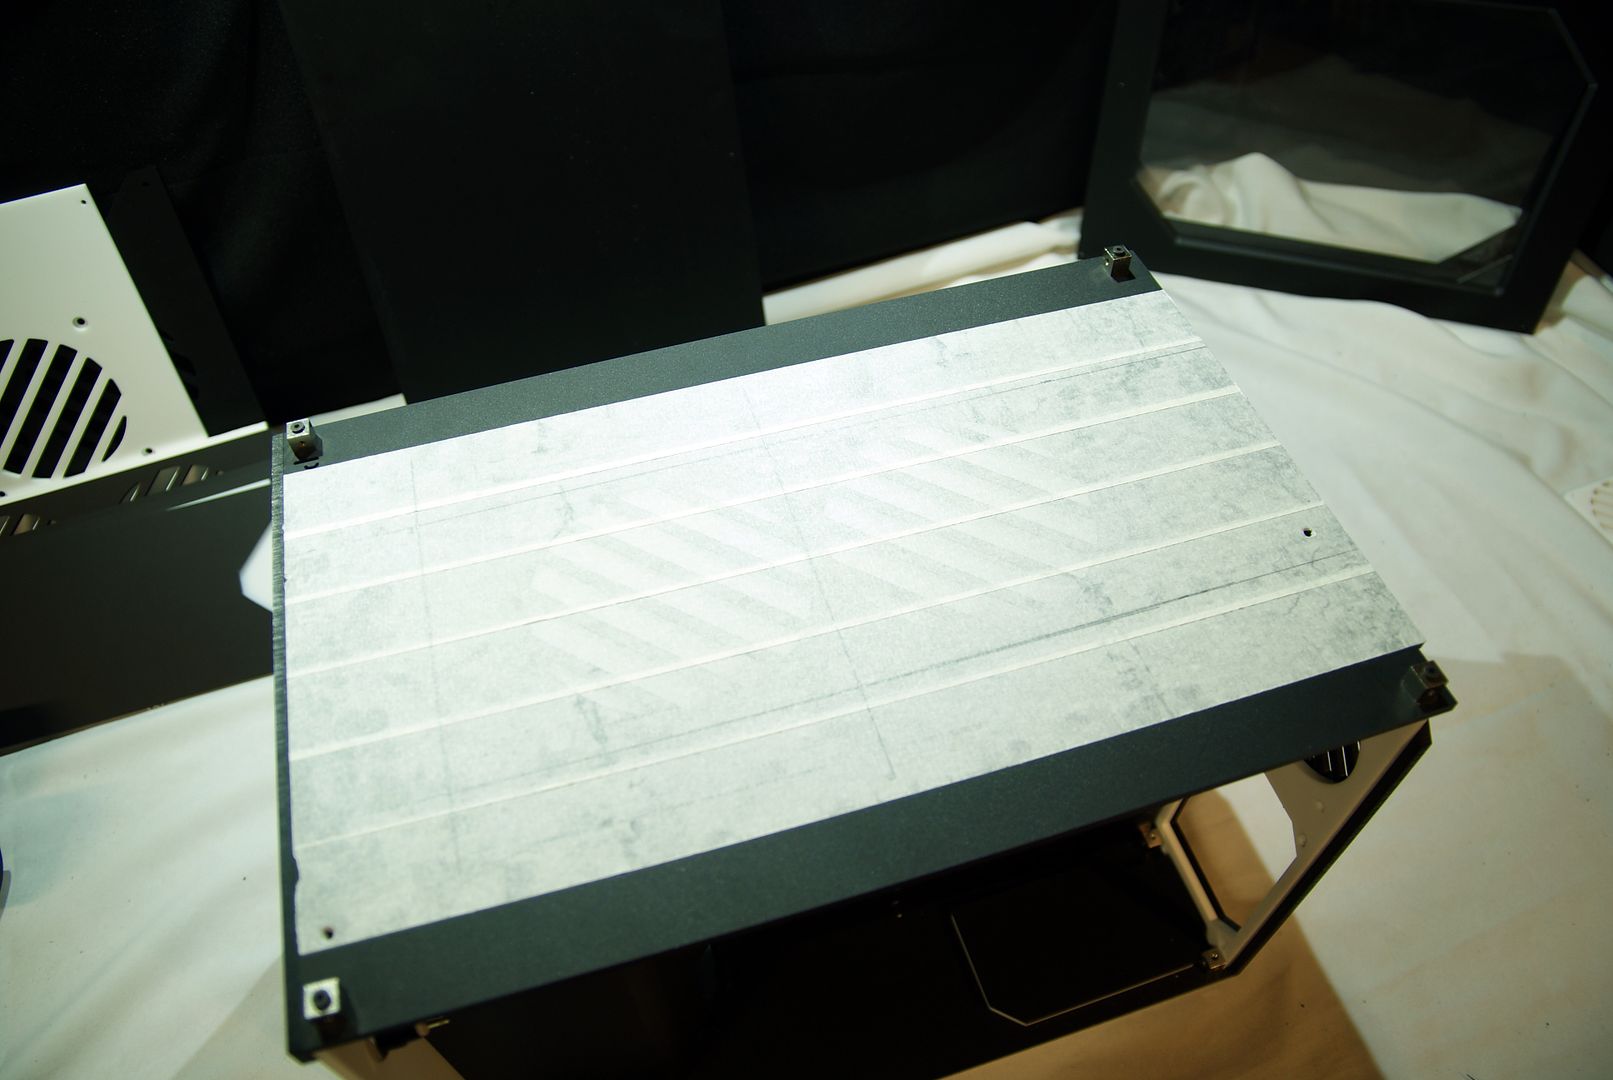
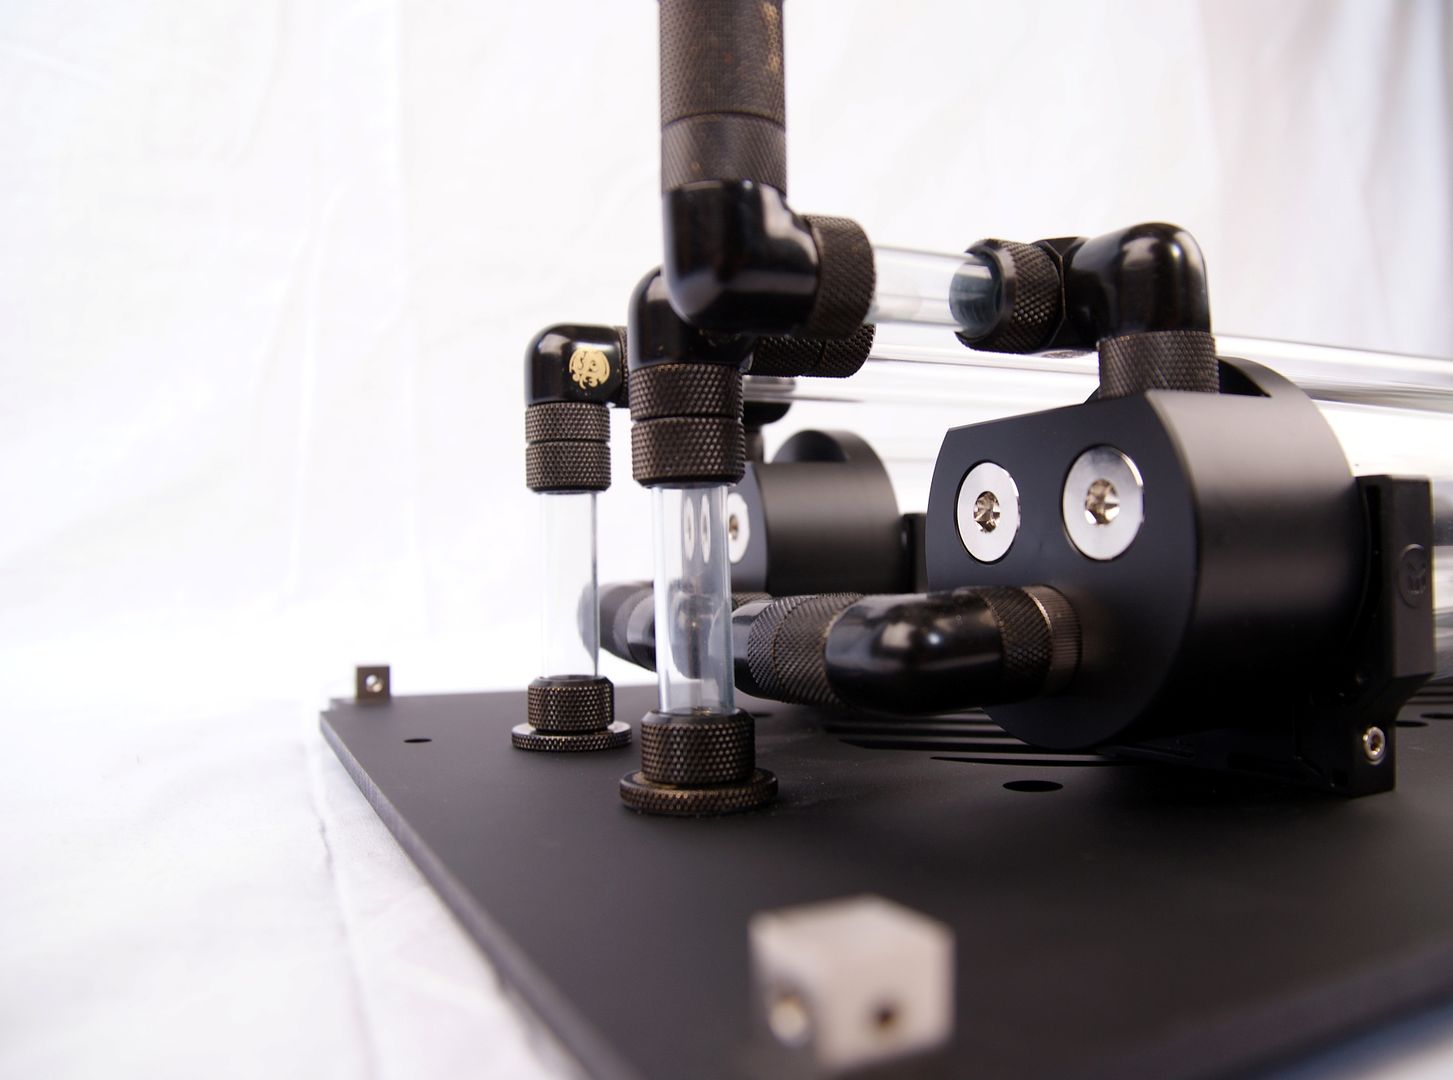
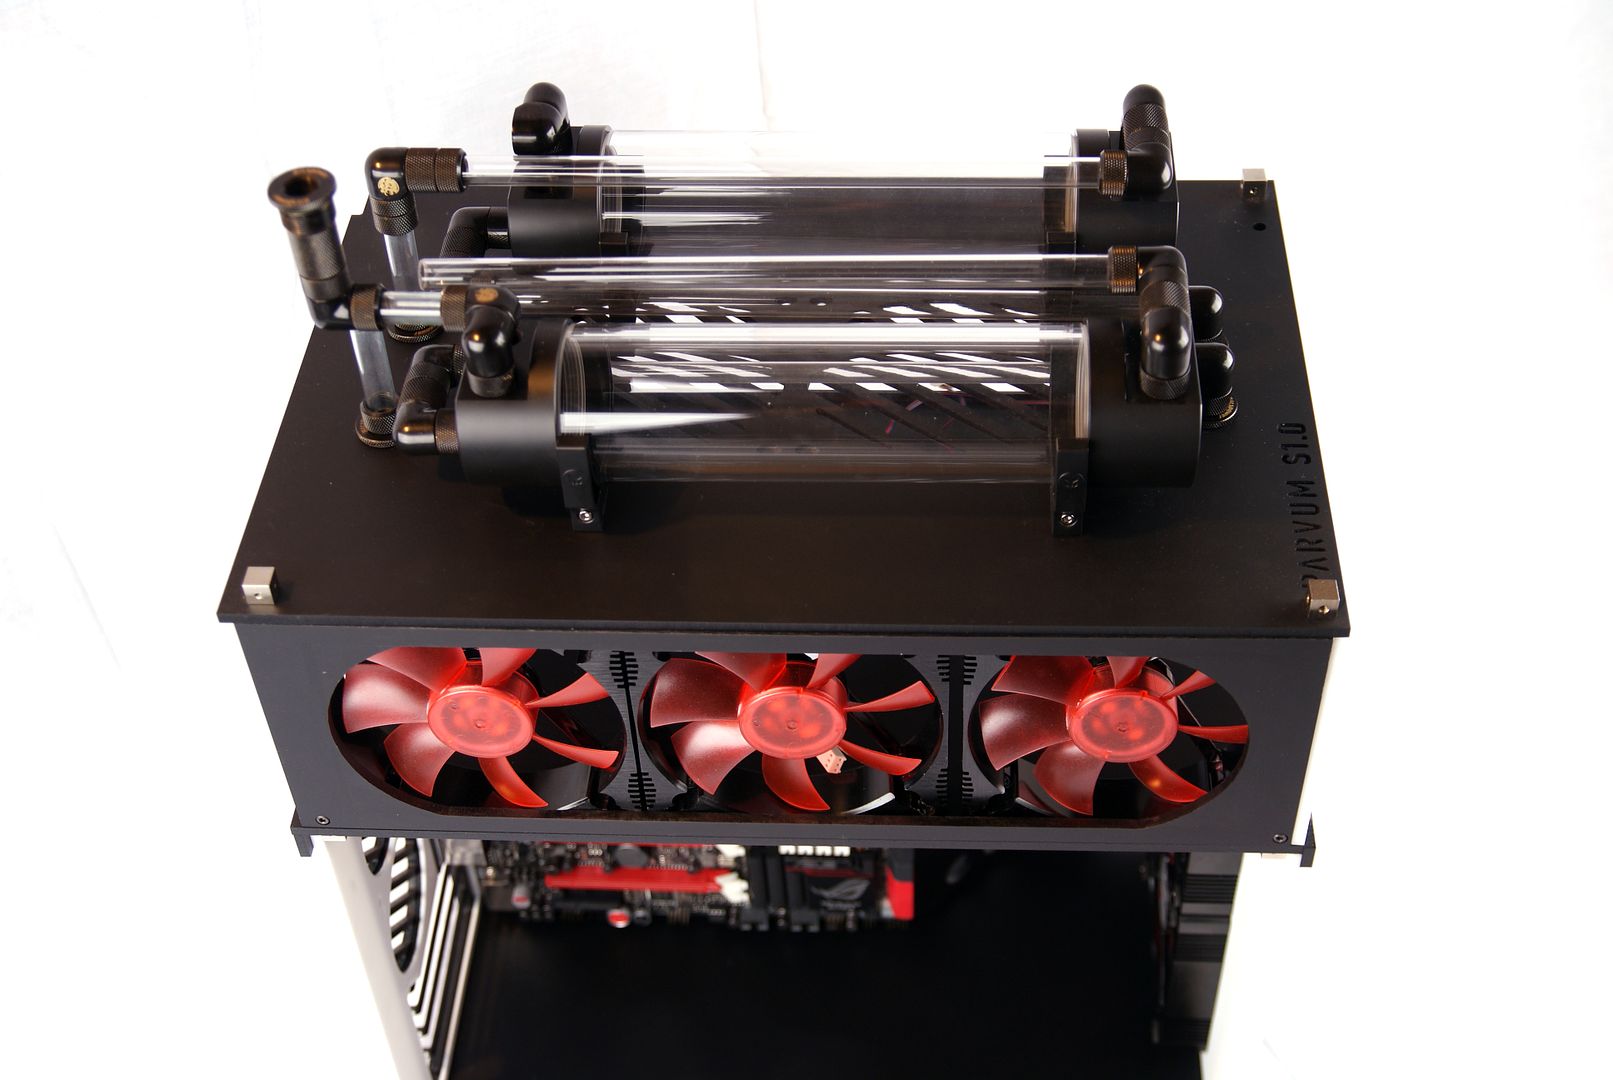
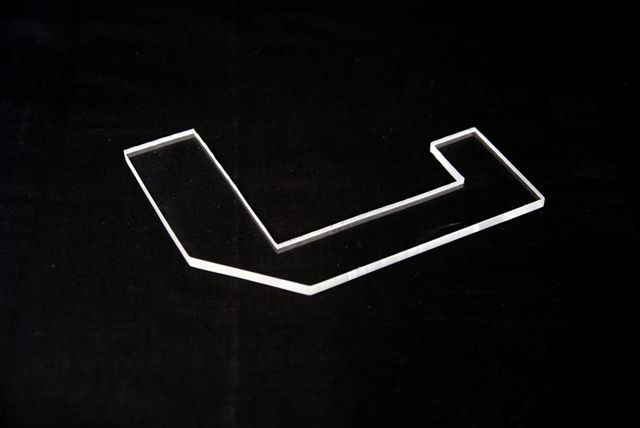
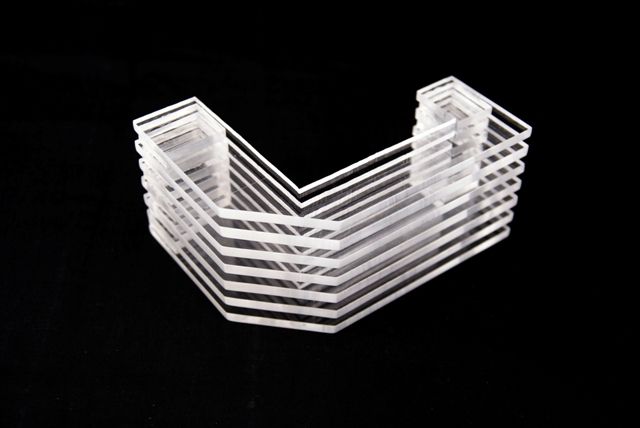
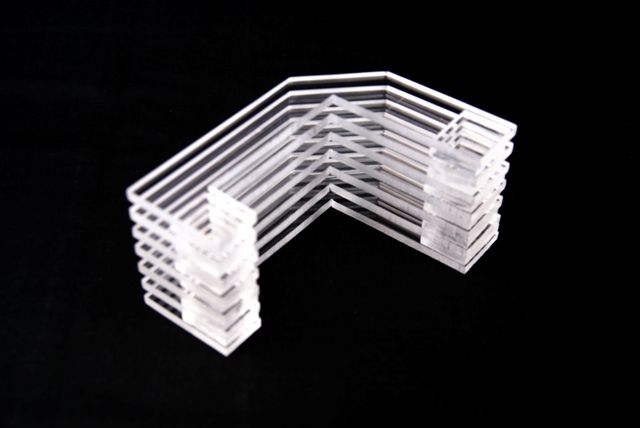
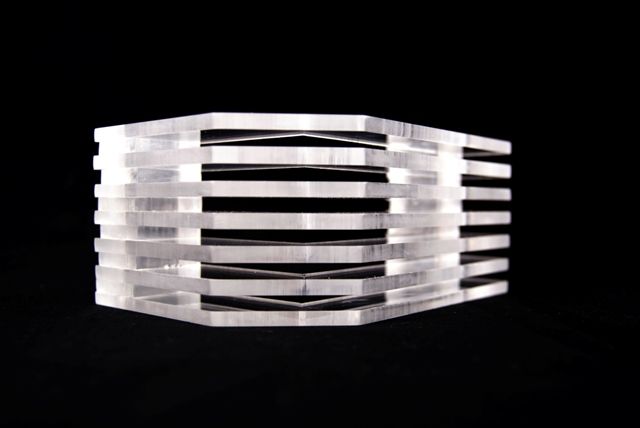
When unpacking I noticed the very good quality acrylic (5mm high quality acrylic) ... very hard material to work with, but not impossible, more on this later. The layout is also beautifully engineered.
The case is available from mid-March @ Highflow Parvum Systems S1.0 White
And @ http://www.overclockers.co.uk/showpr...odid=CA-000-PS
How it all started:
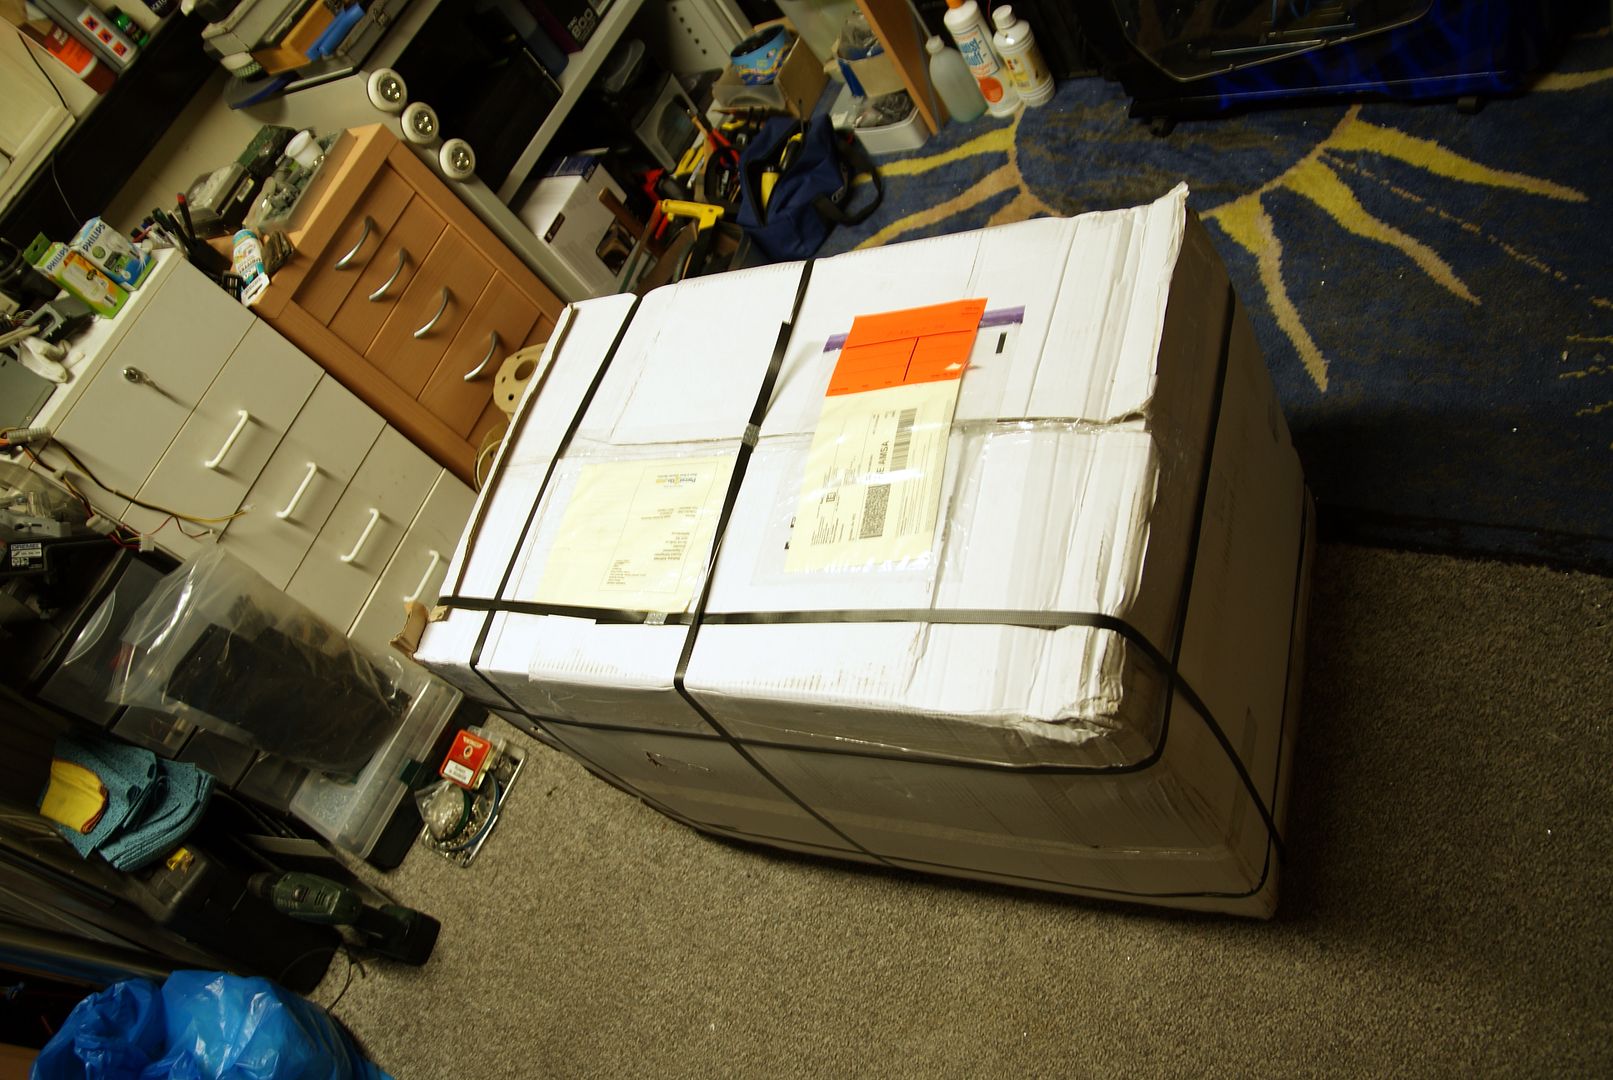
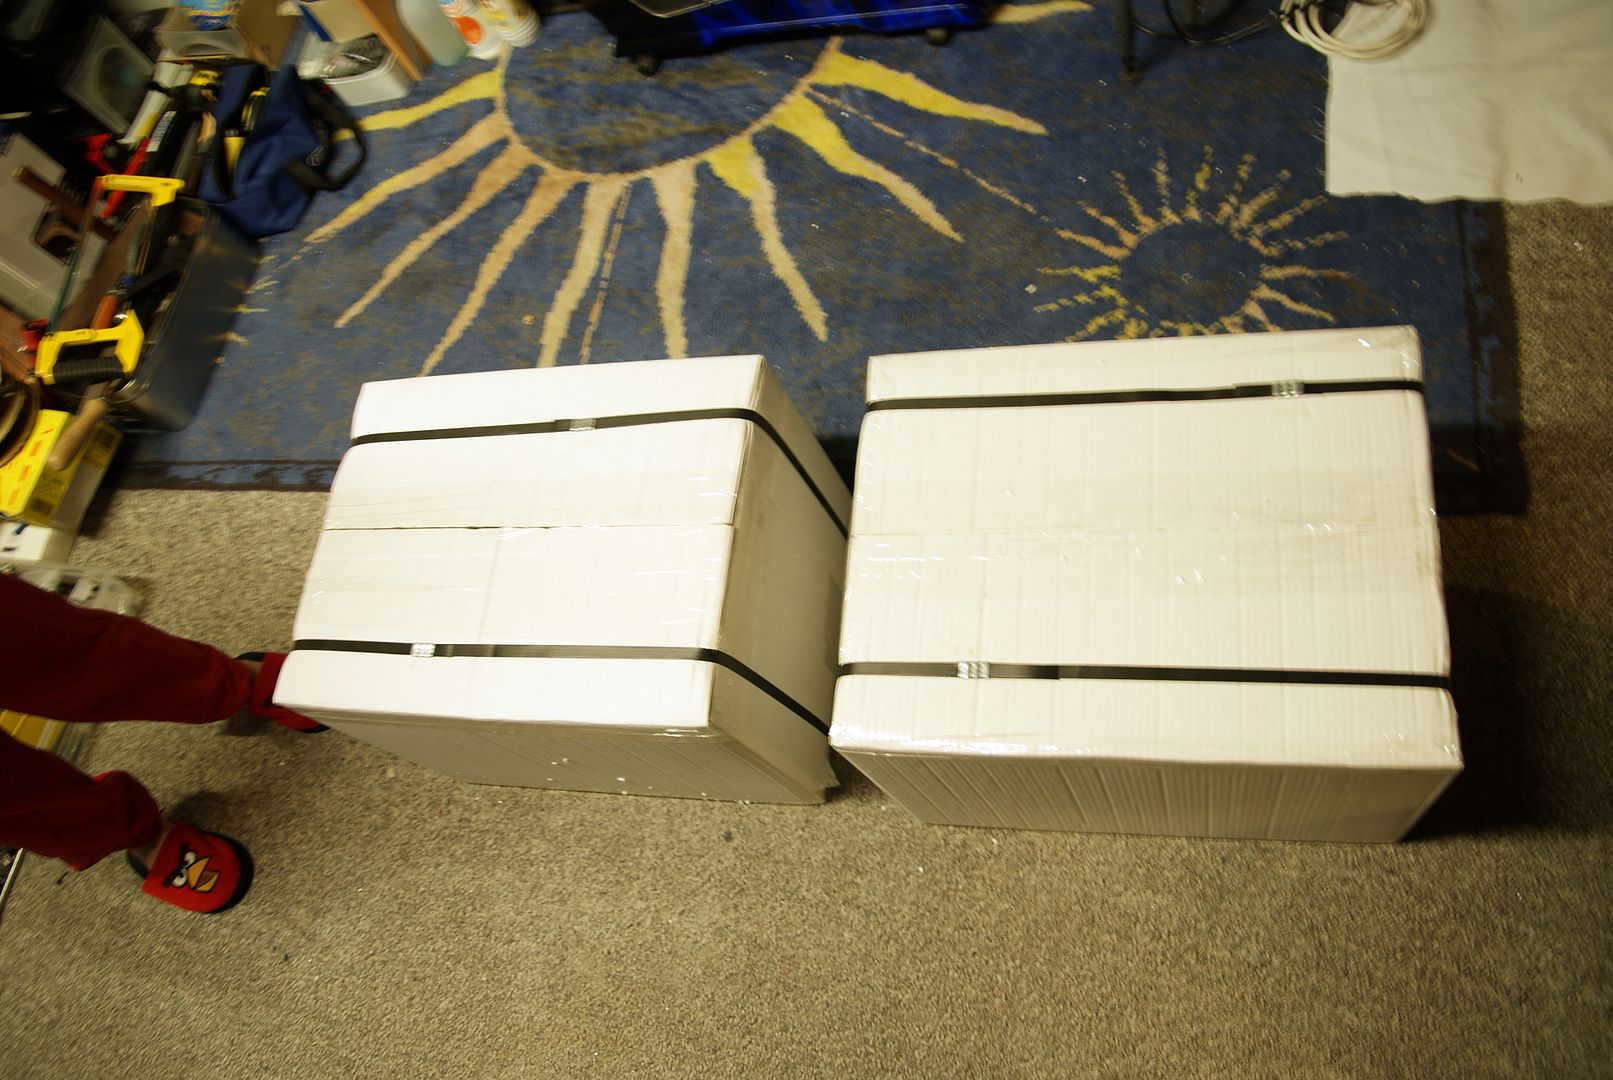
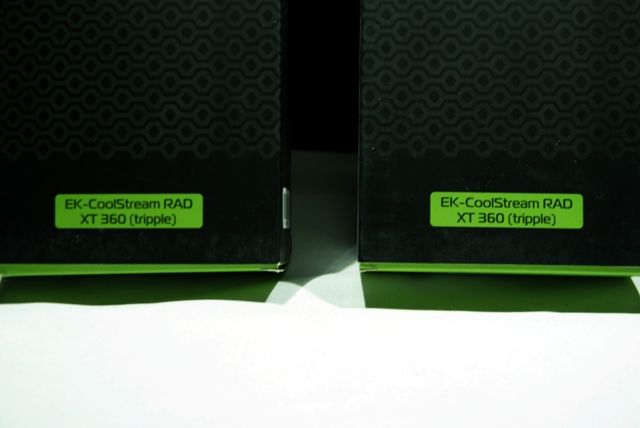
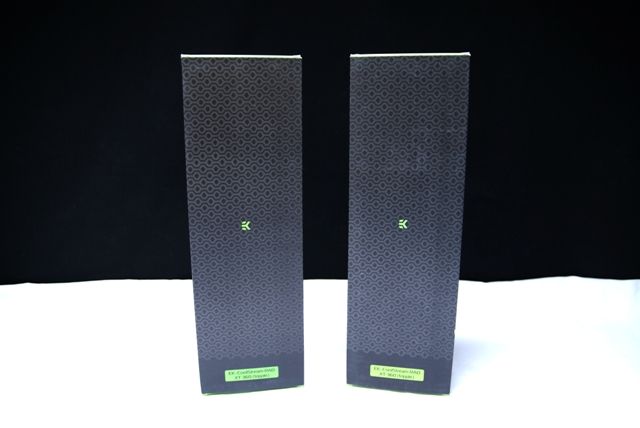
After missing the postman two times it finally happened. A BIG package:
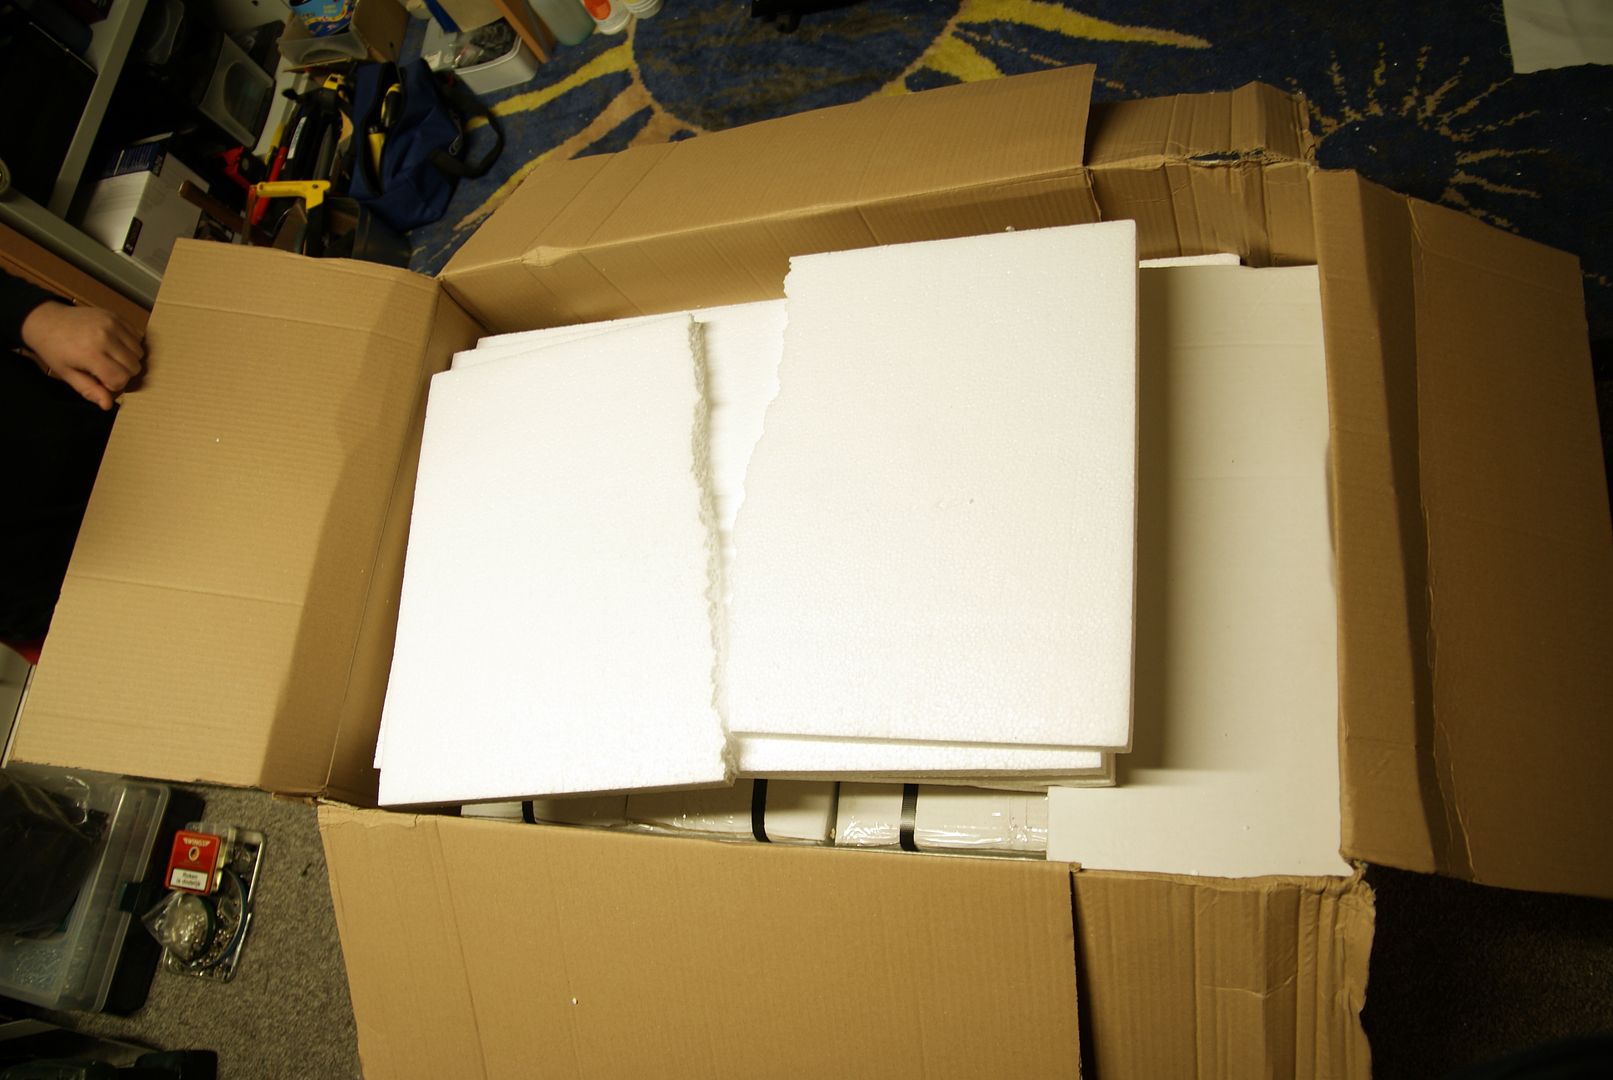
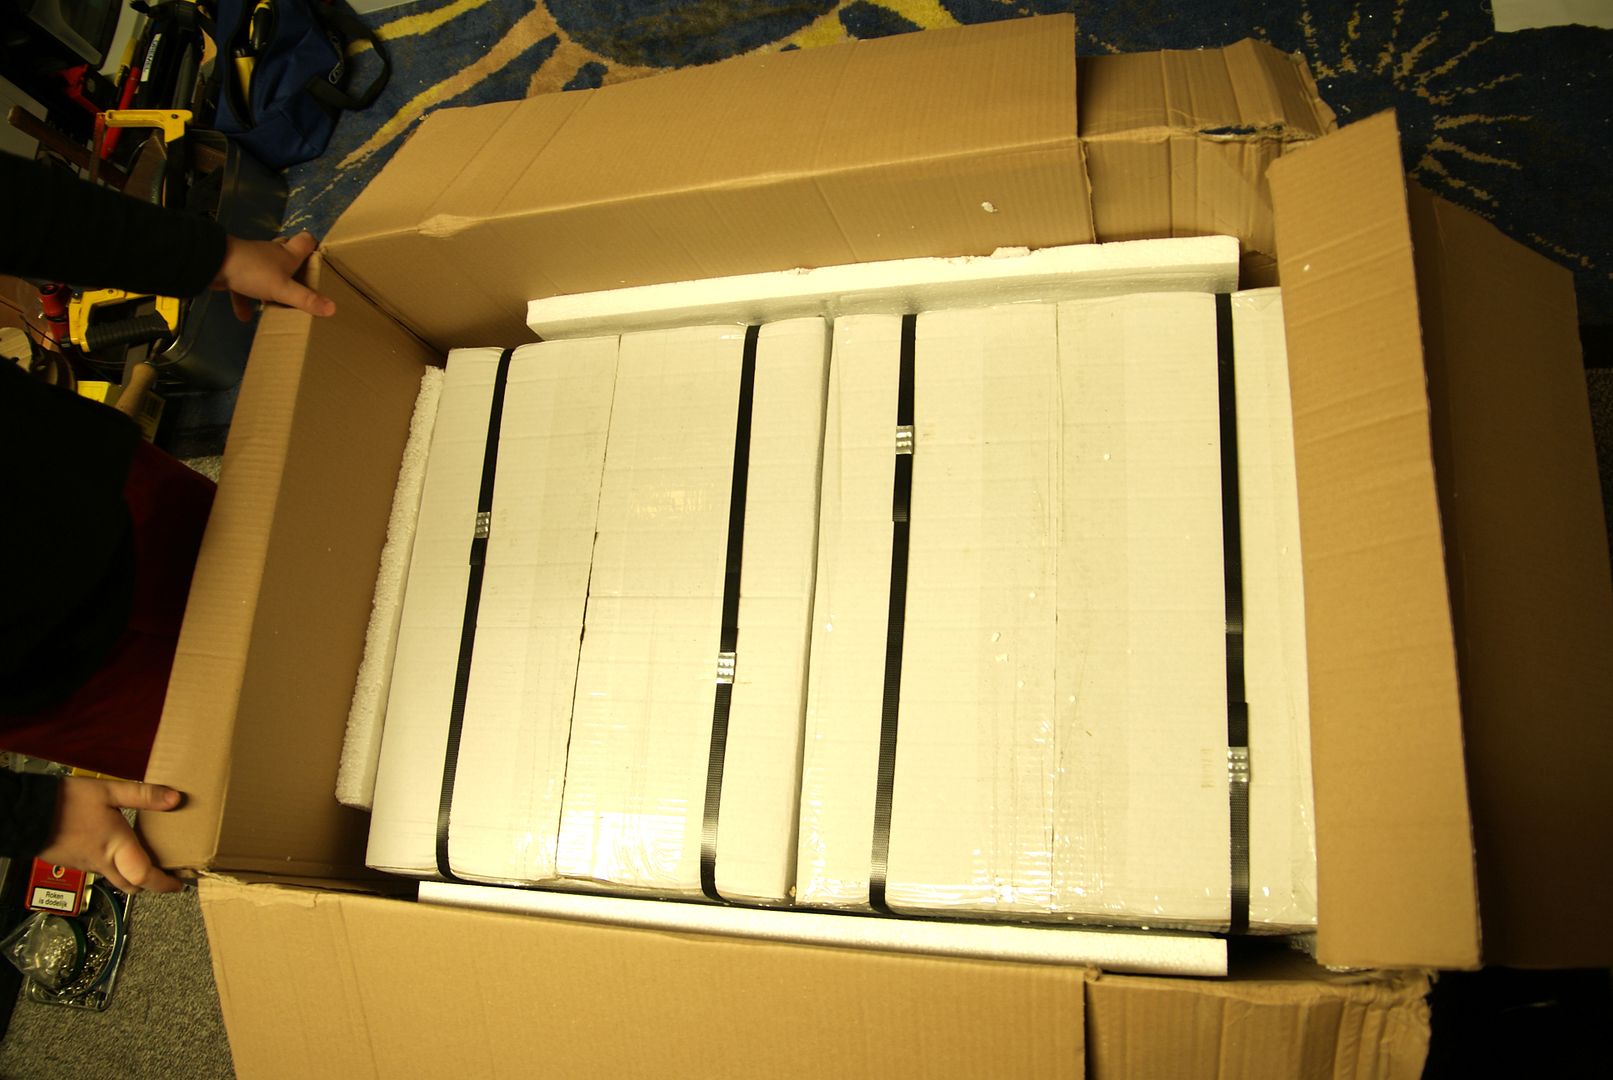
Very well packed
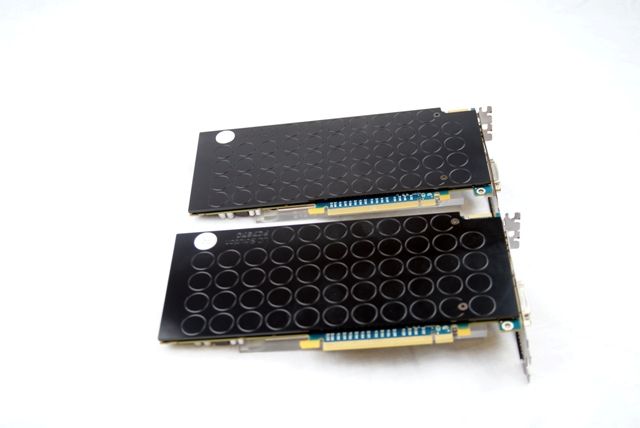
Hmm 2??? yes 2Want to build something extreme.
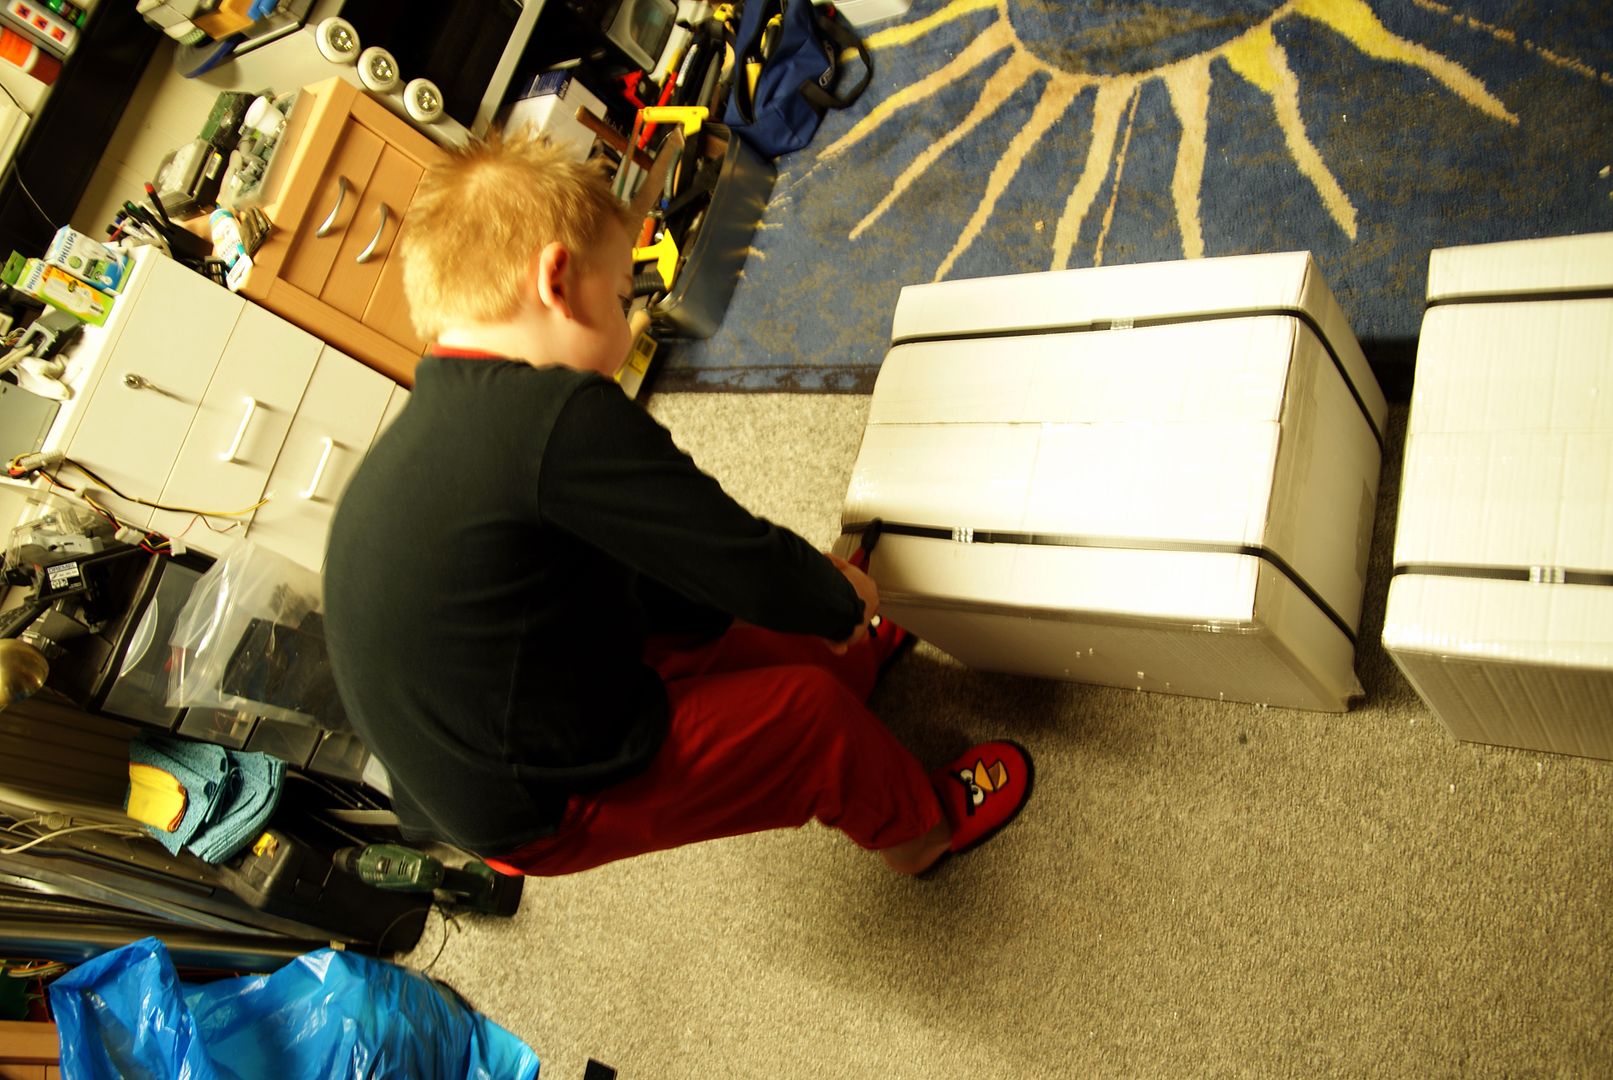
My kid really would like to know what it contains and whether it is for him .... unfortunately for him, these are for me
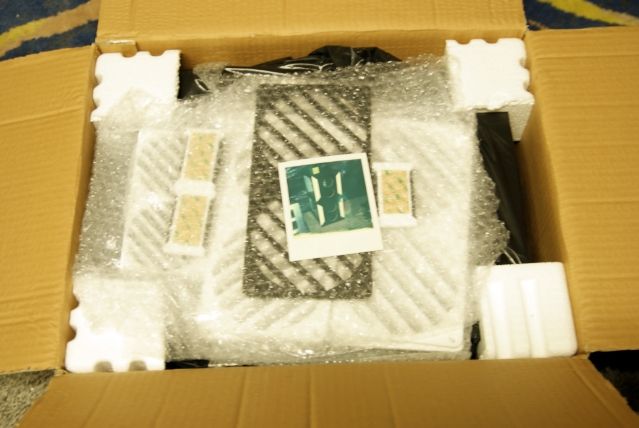
Little picture with it from the two cases stacked.
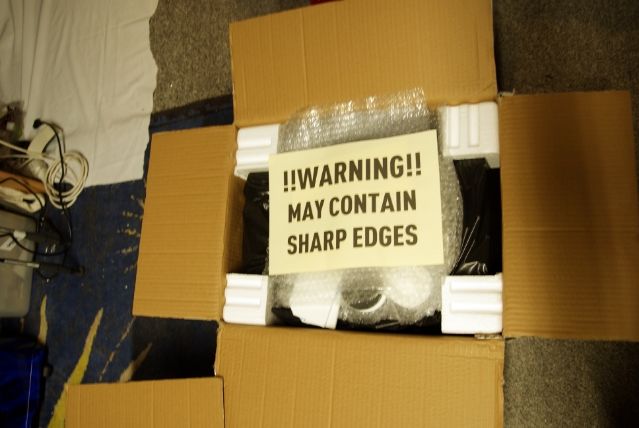
And a warning just in case ...
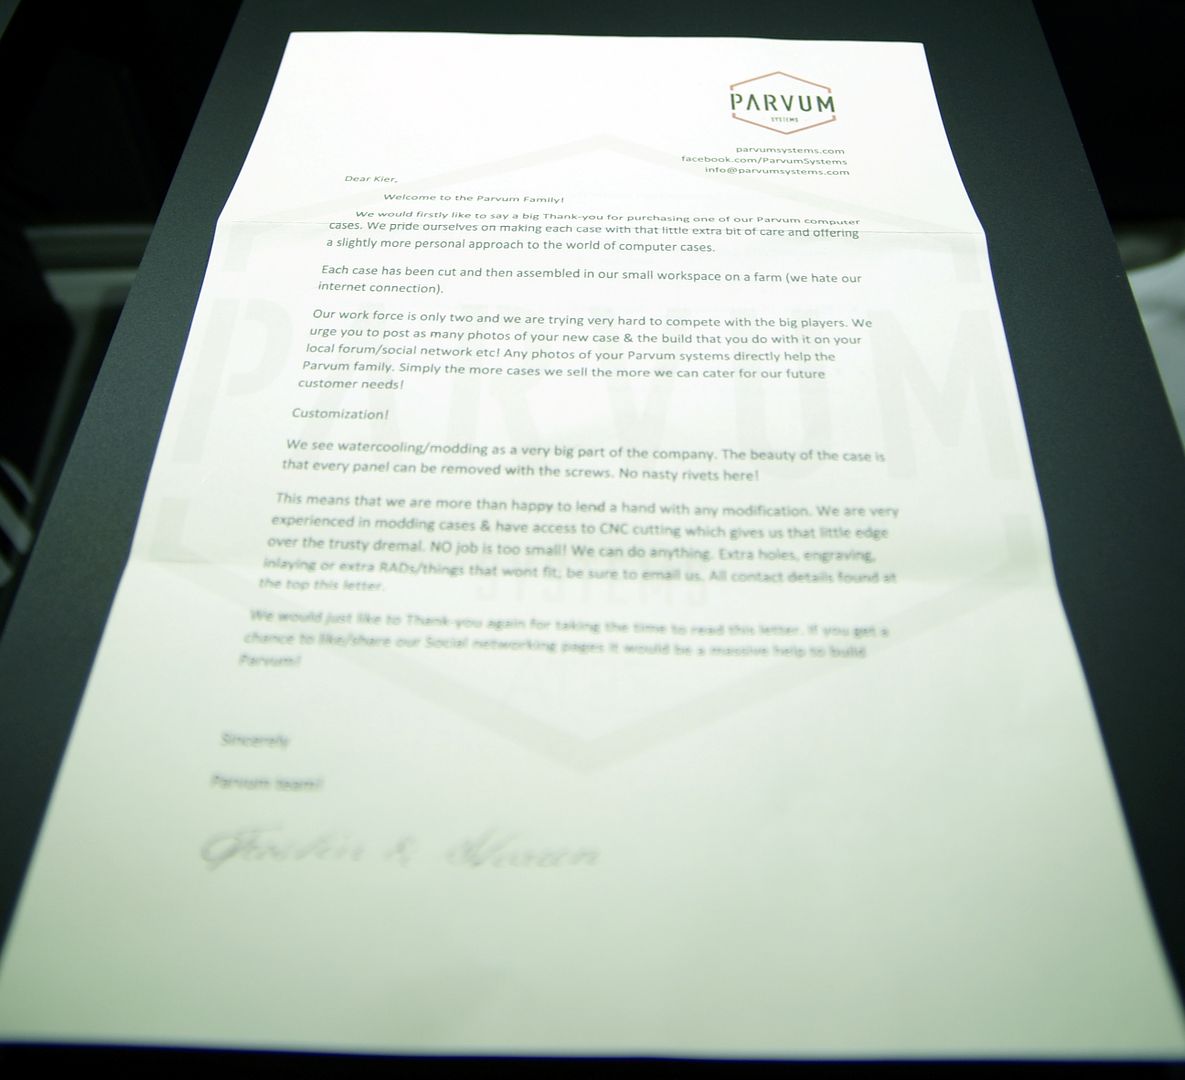
A nice thank you letter from the Parvum family
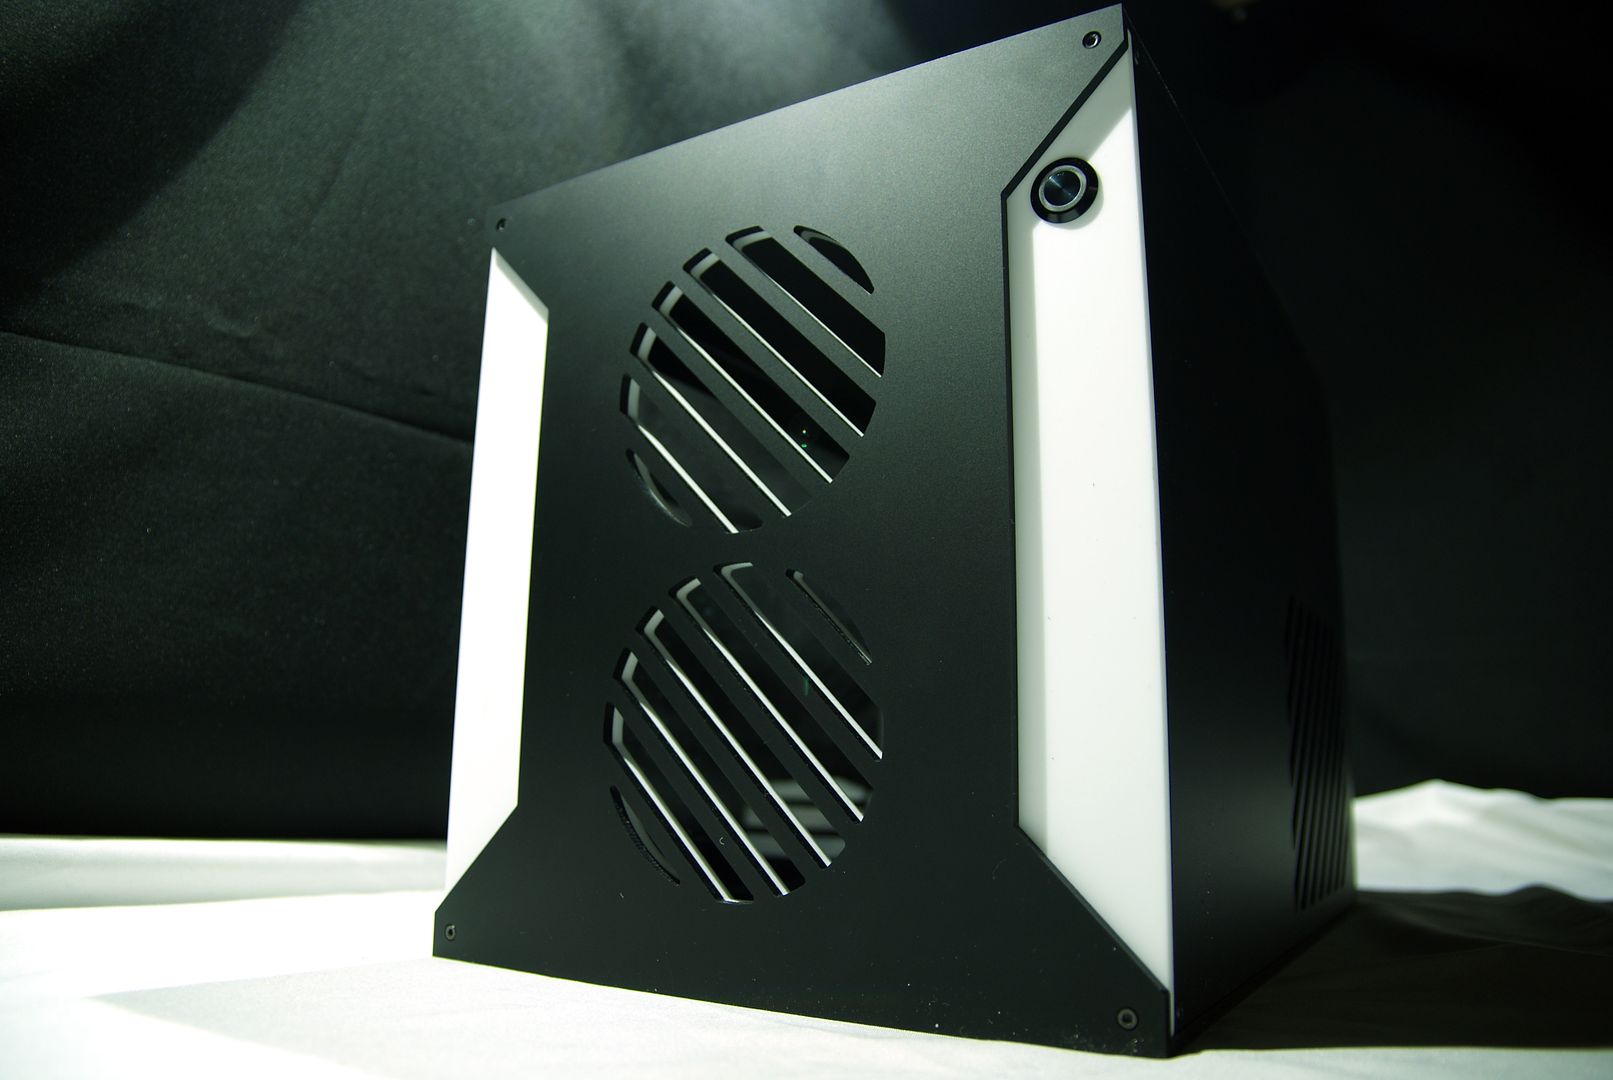
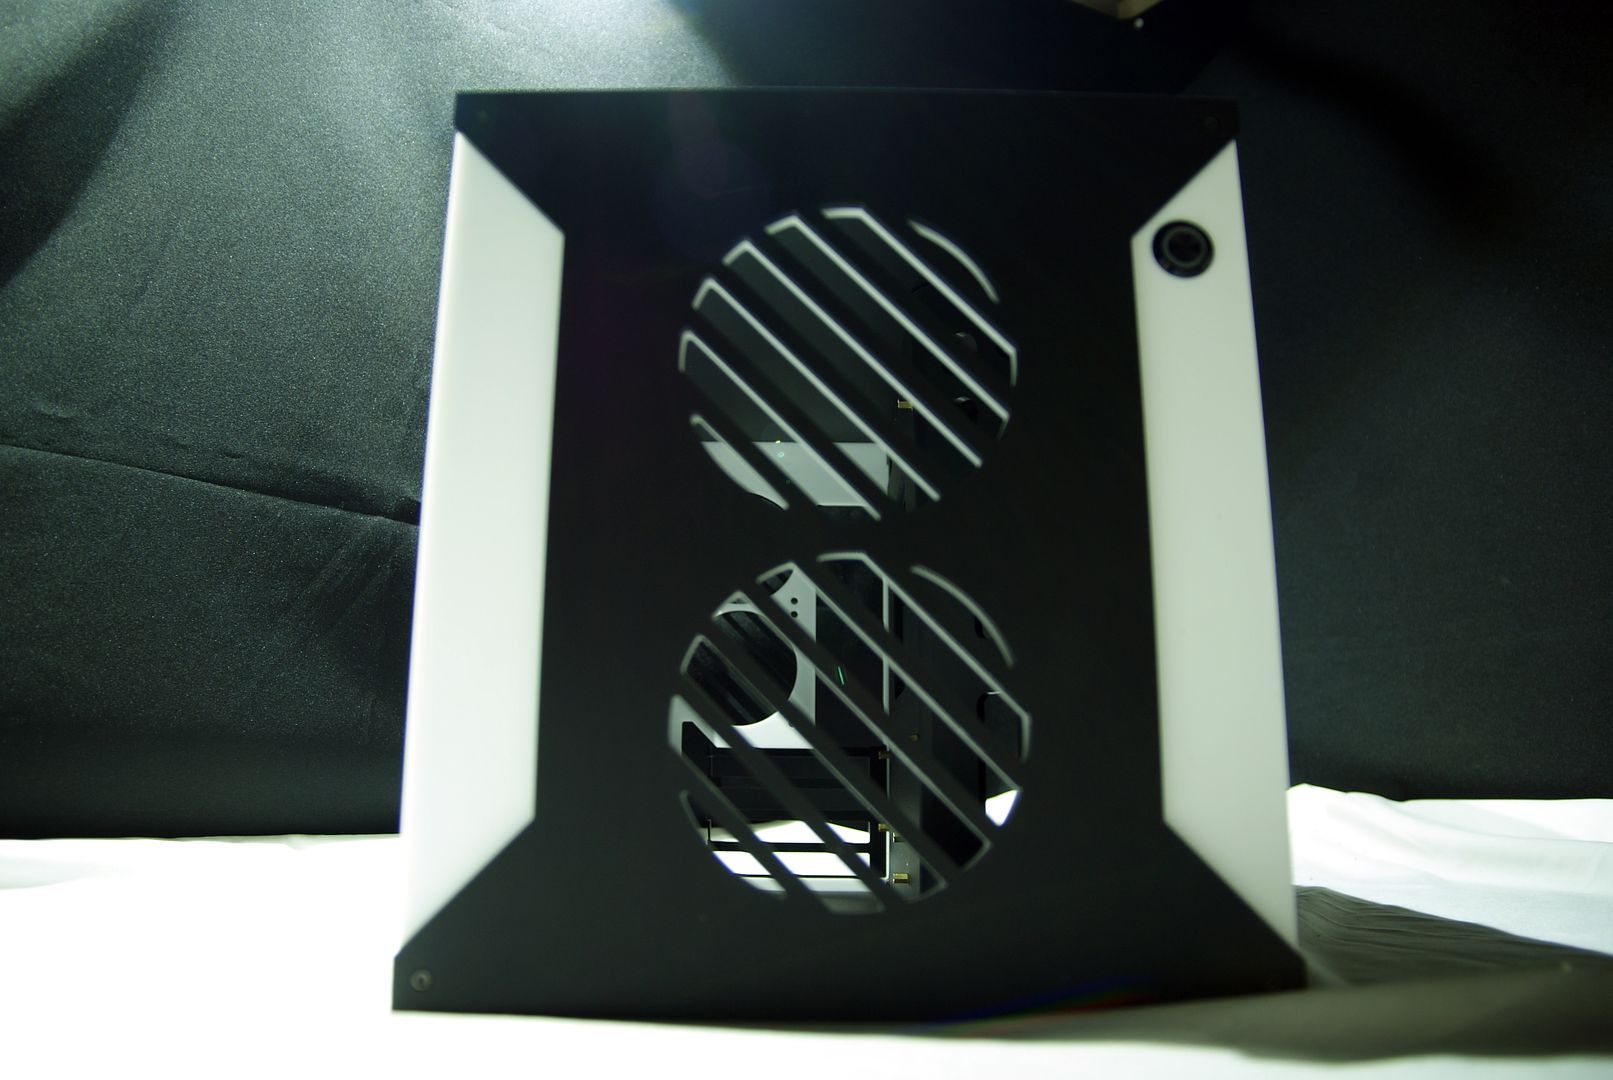
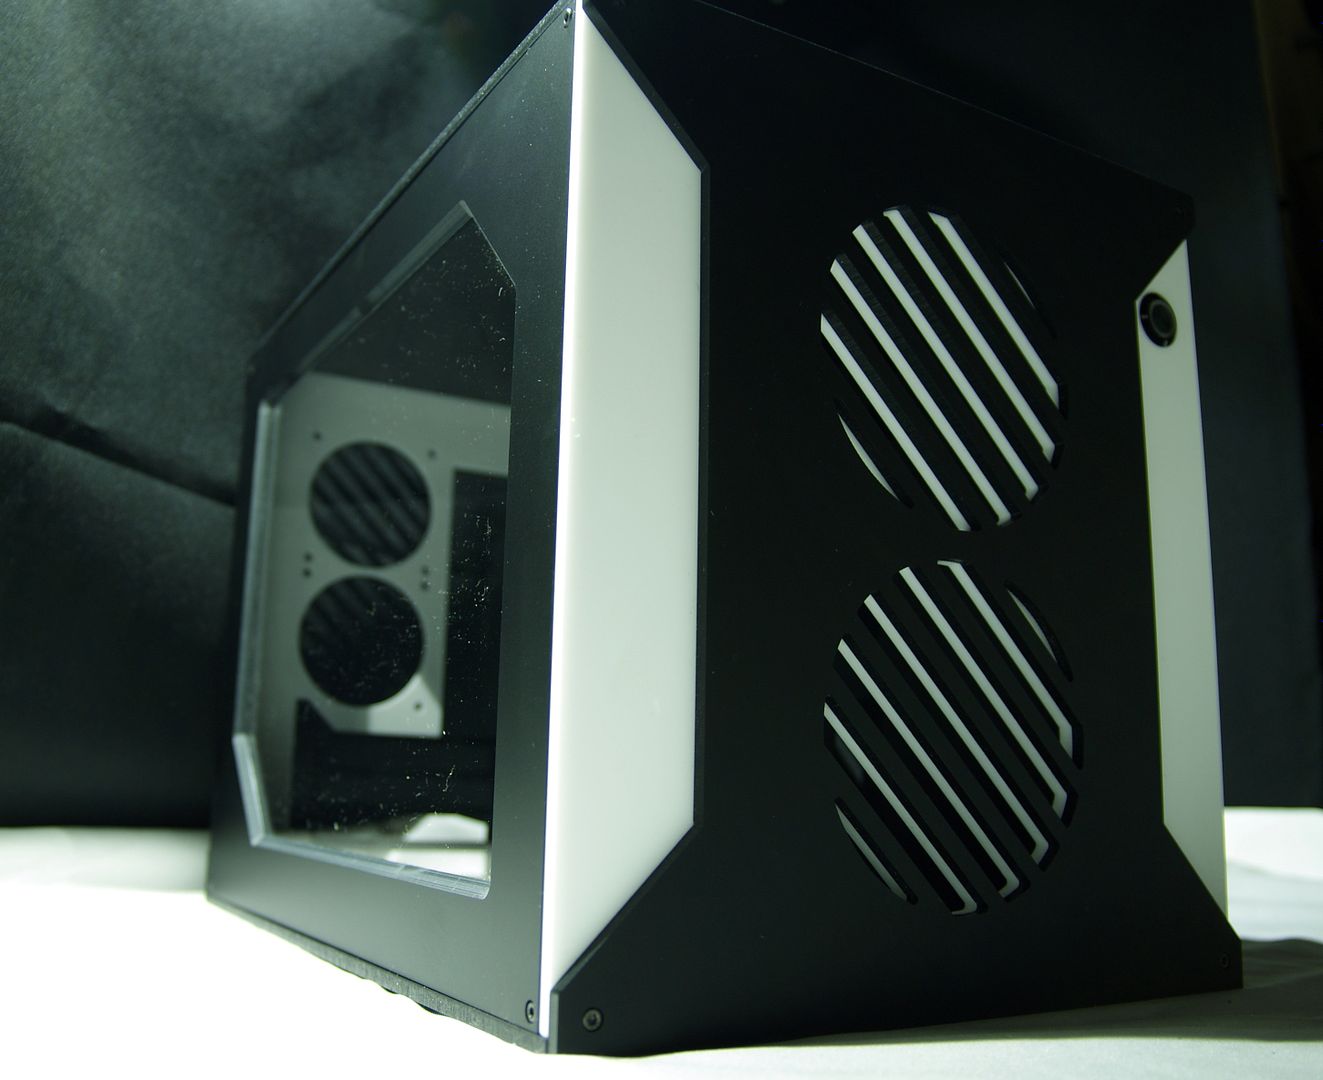
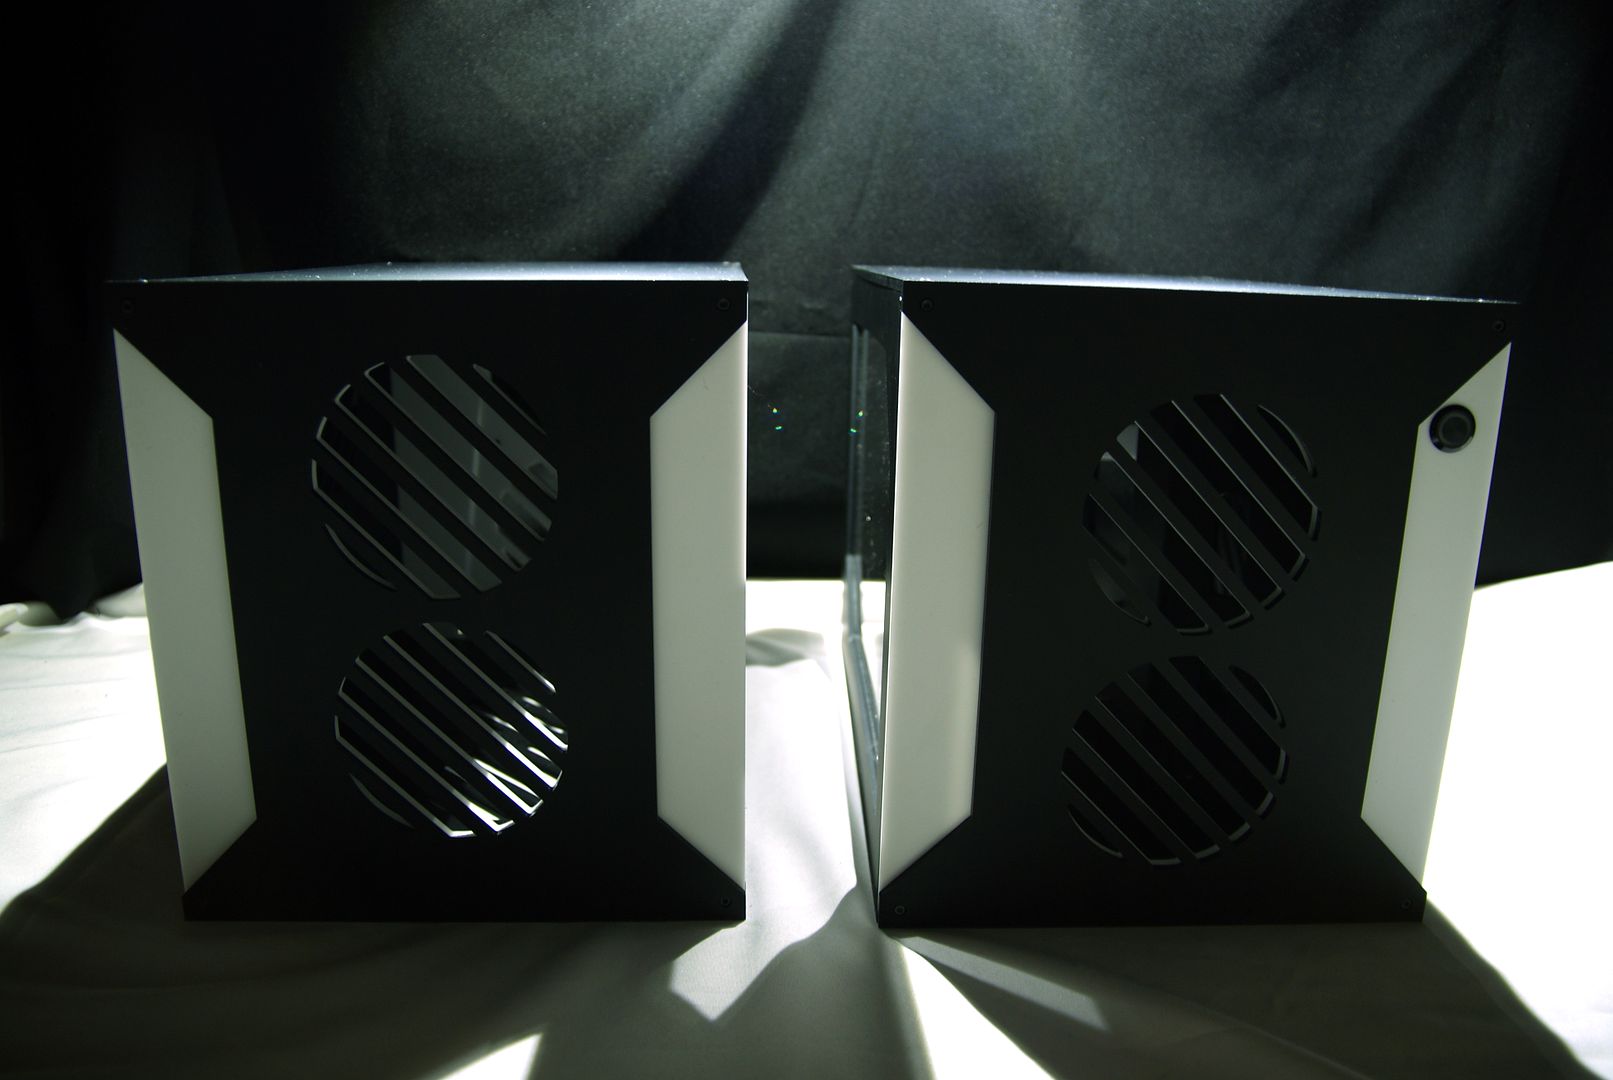
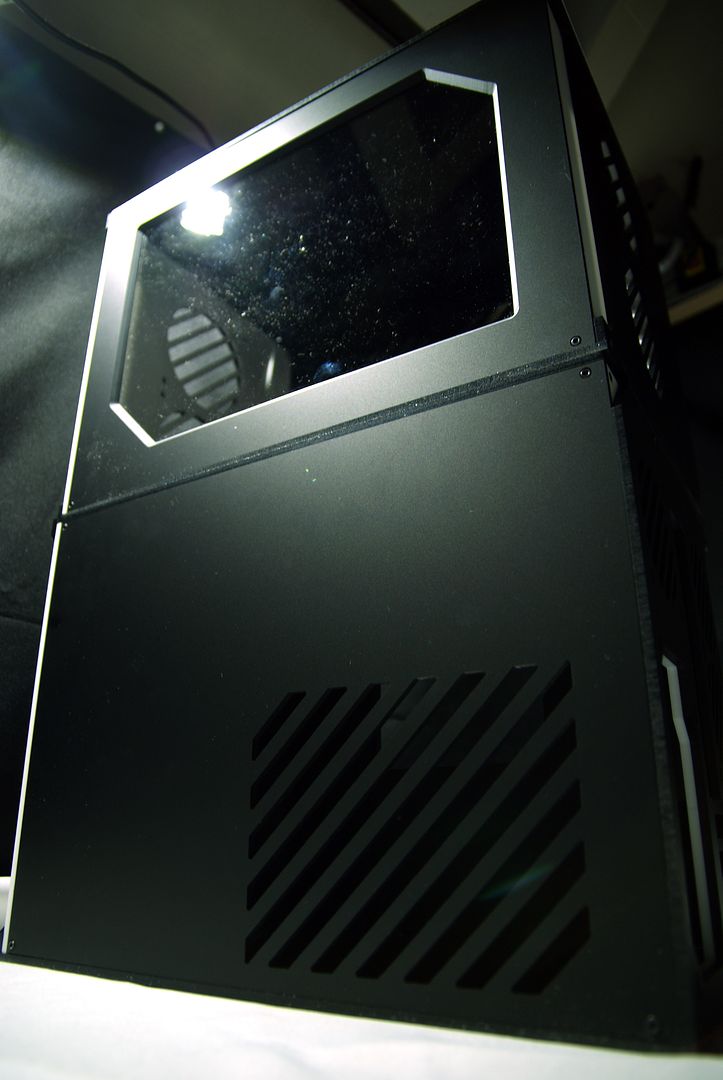
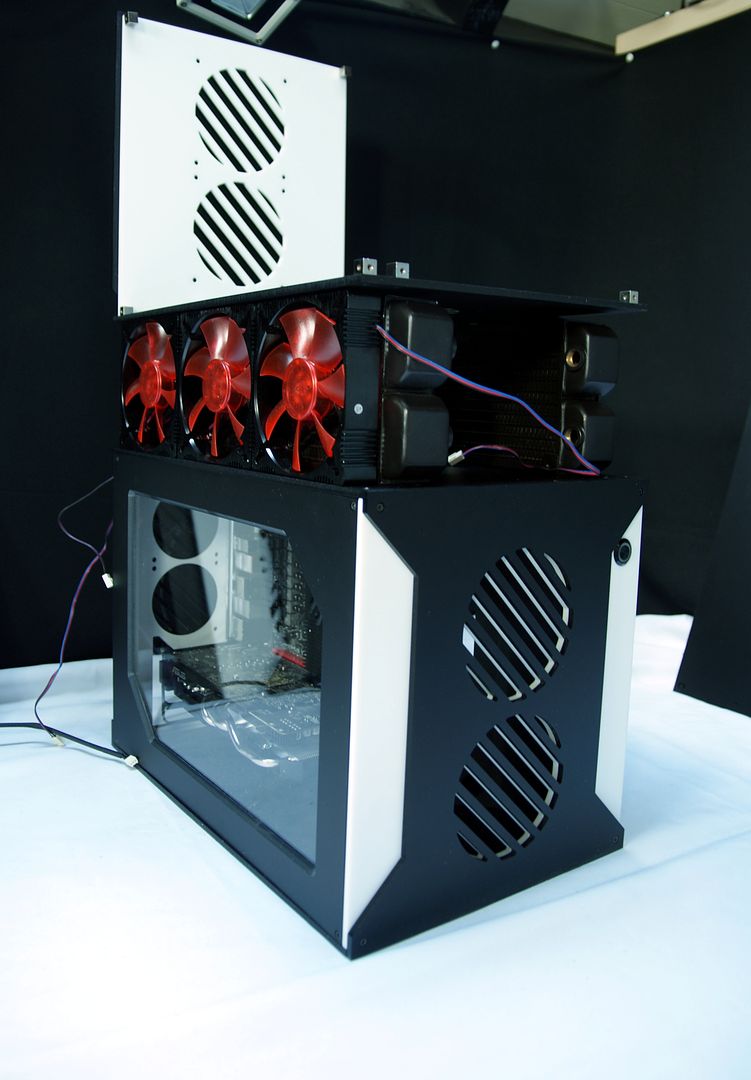
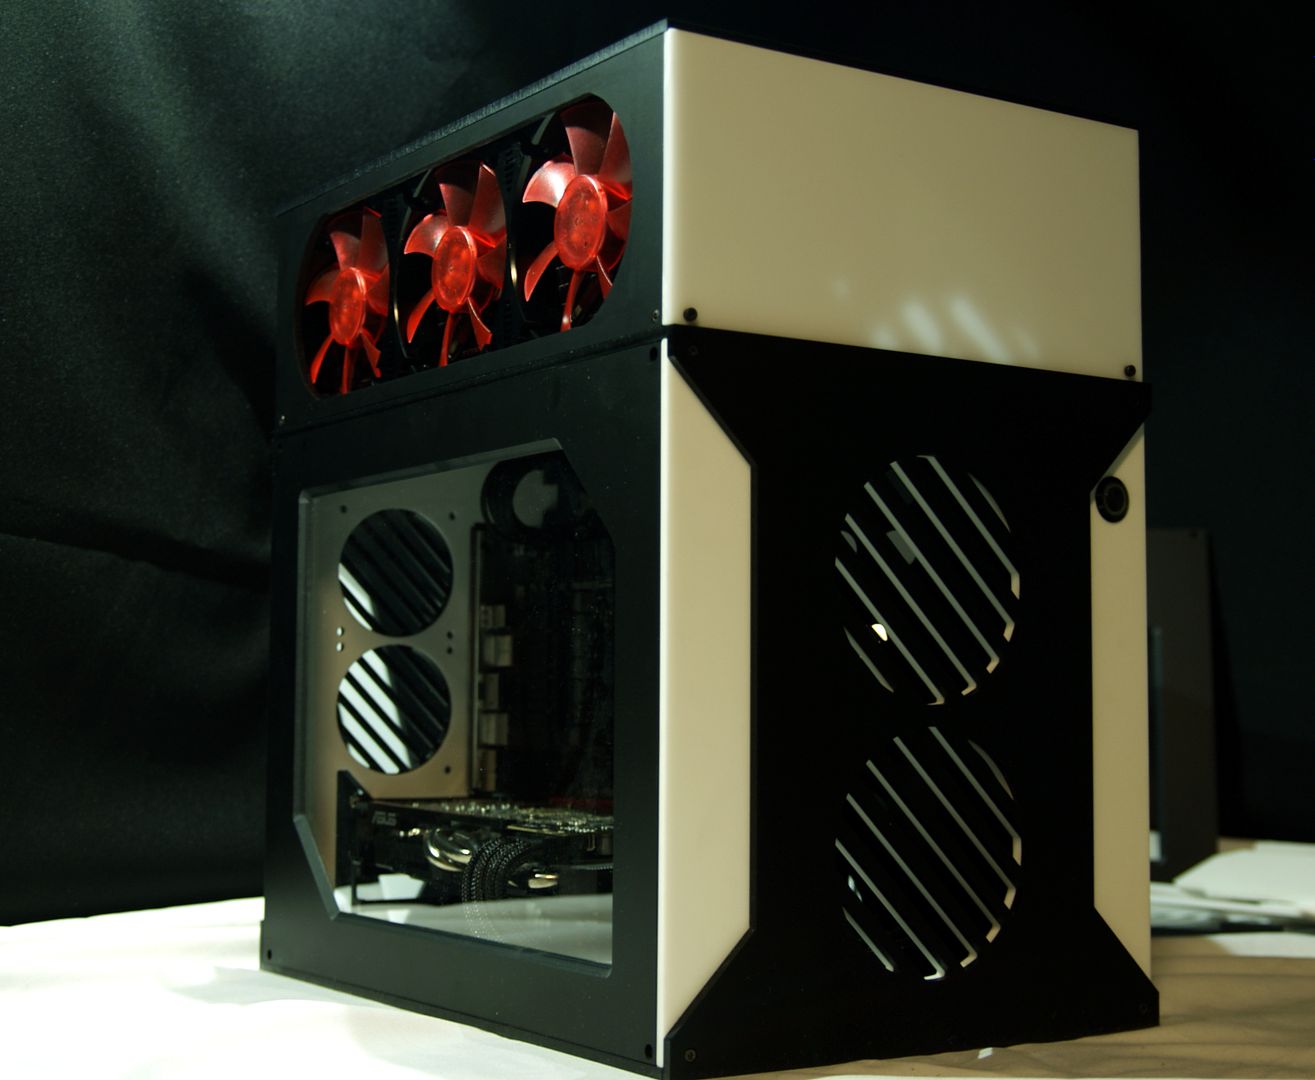
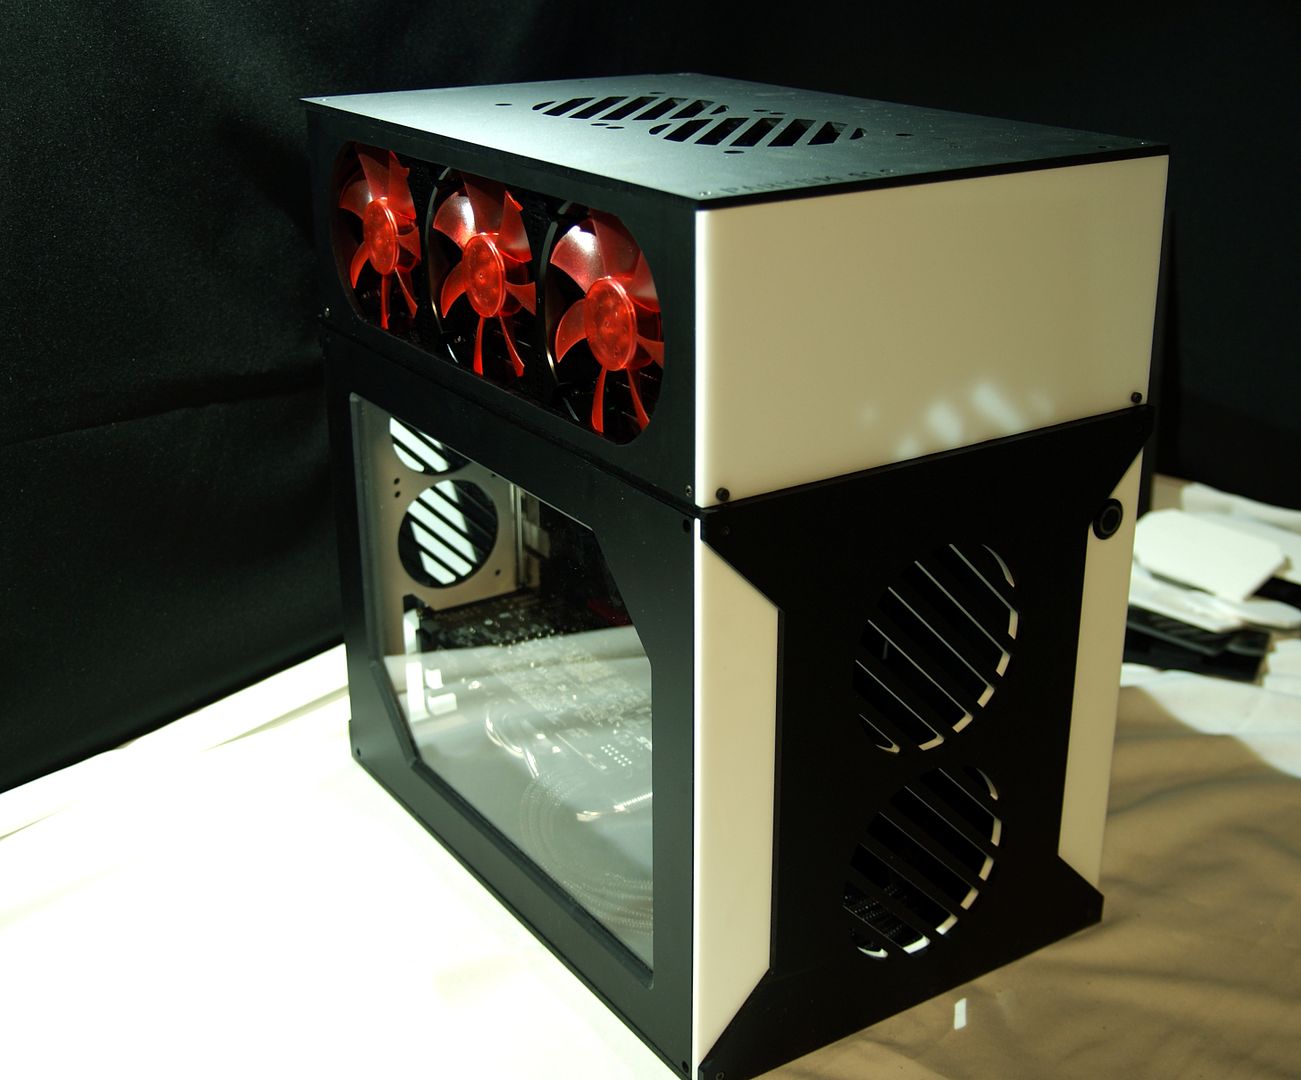
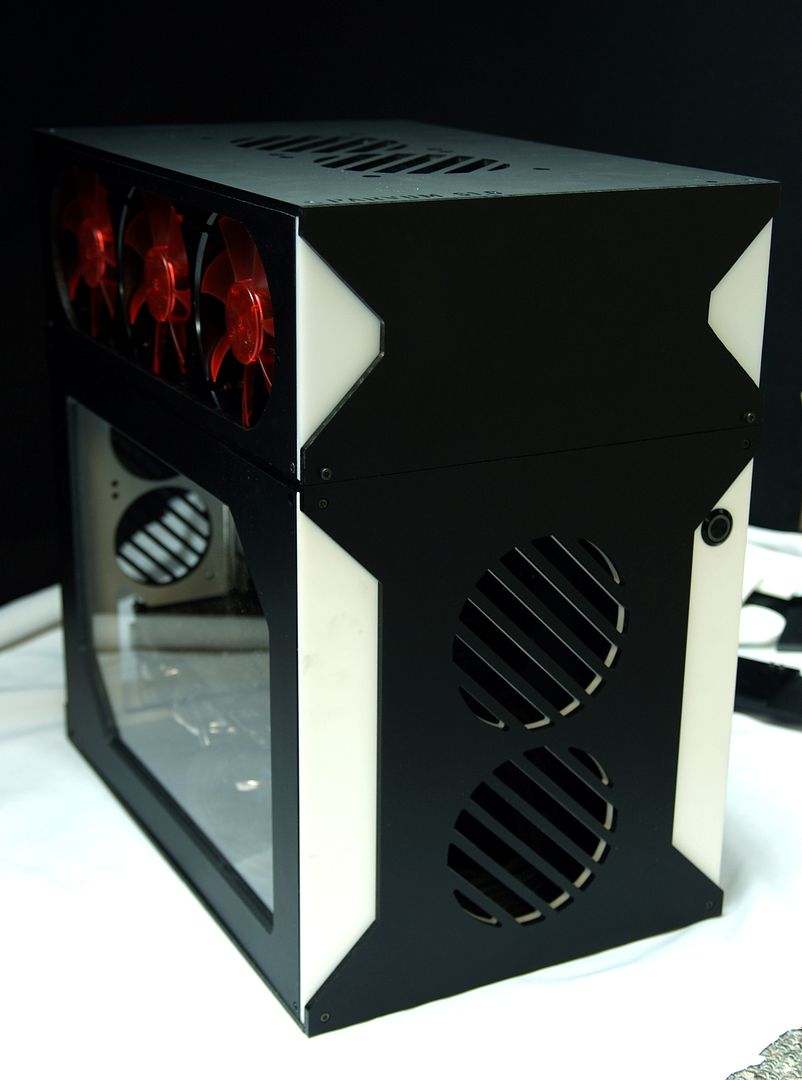
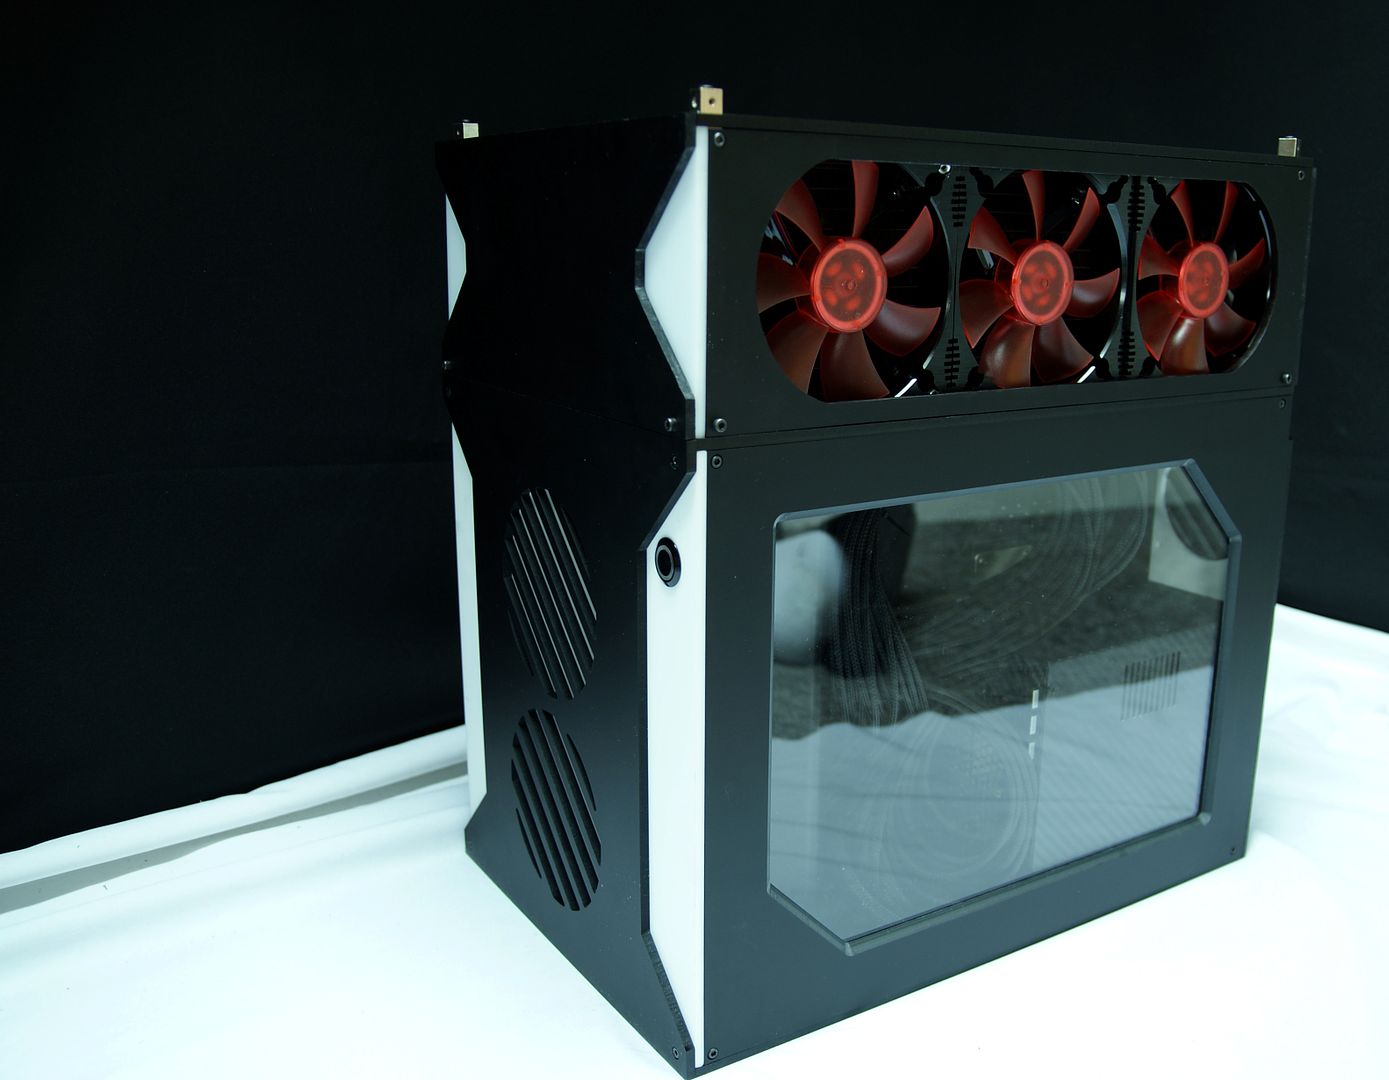
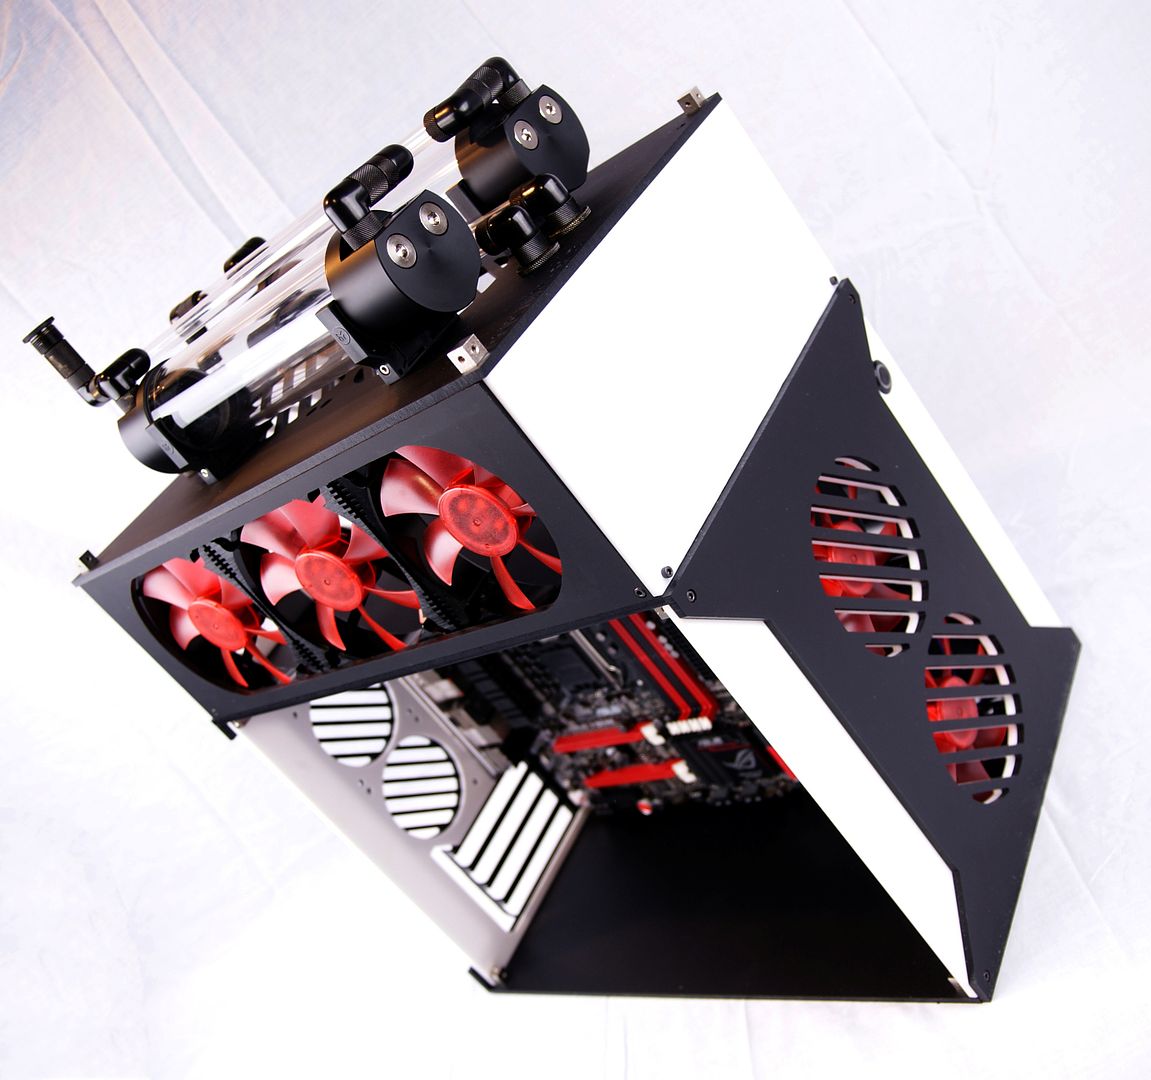
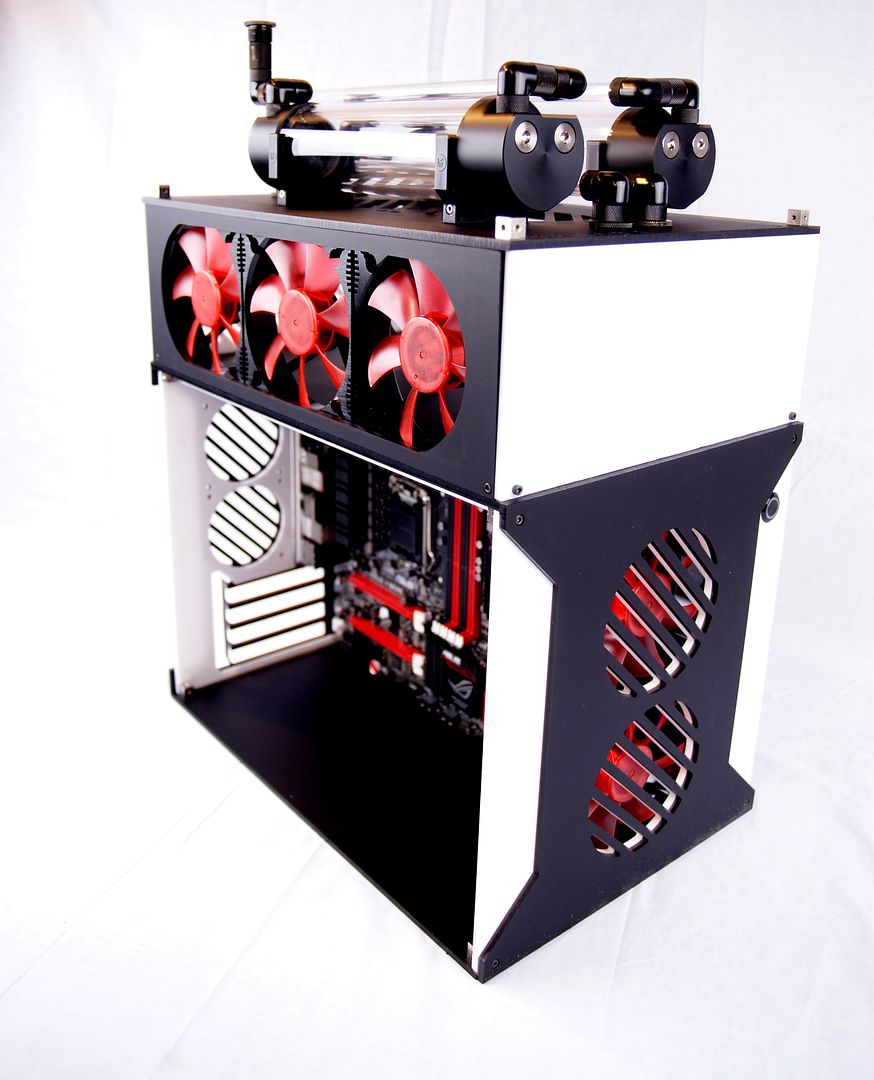
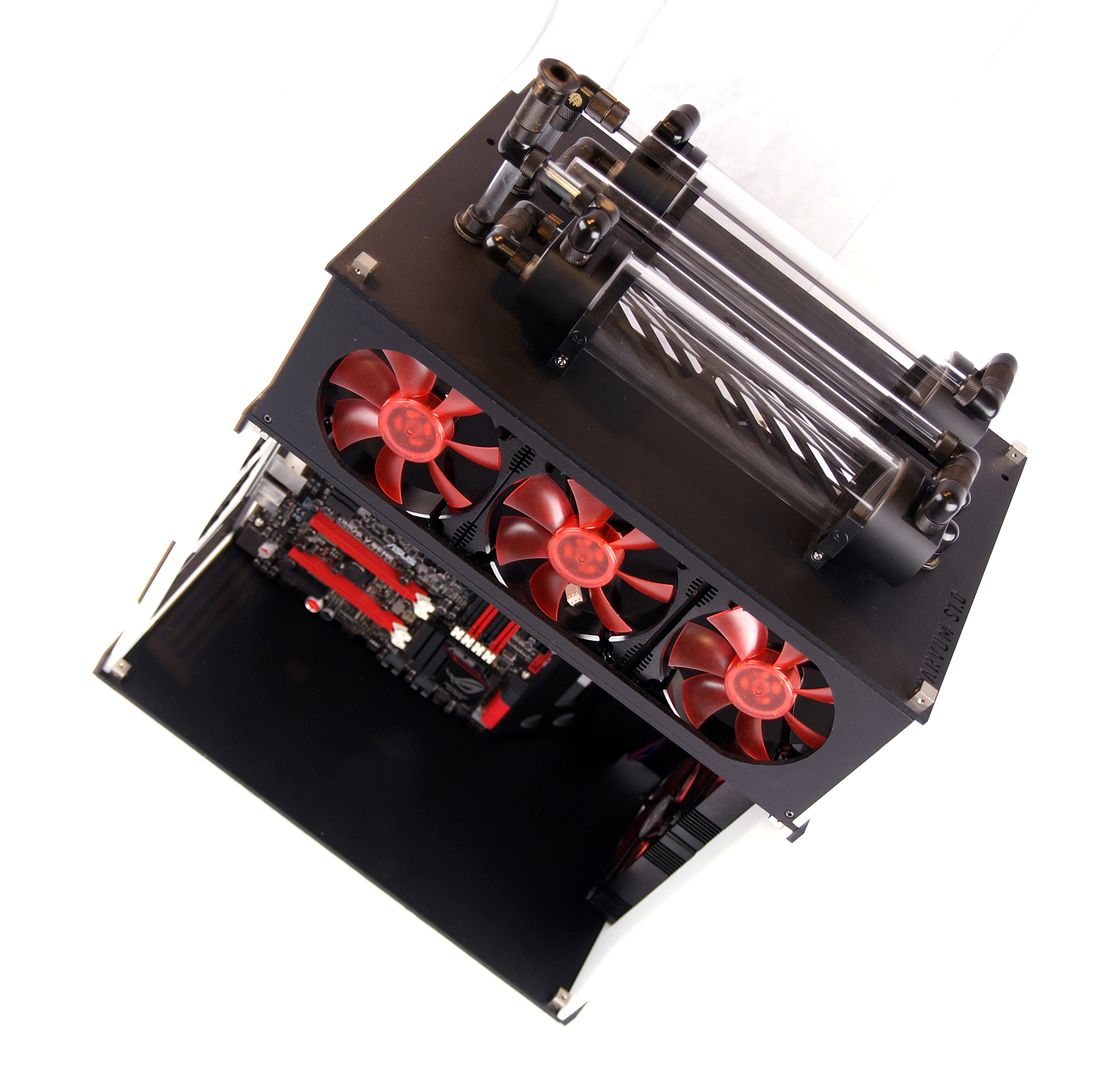
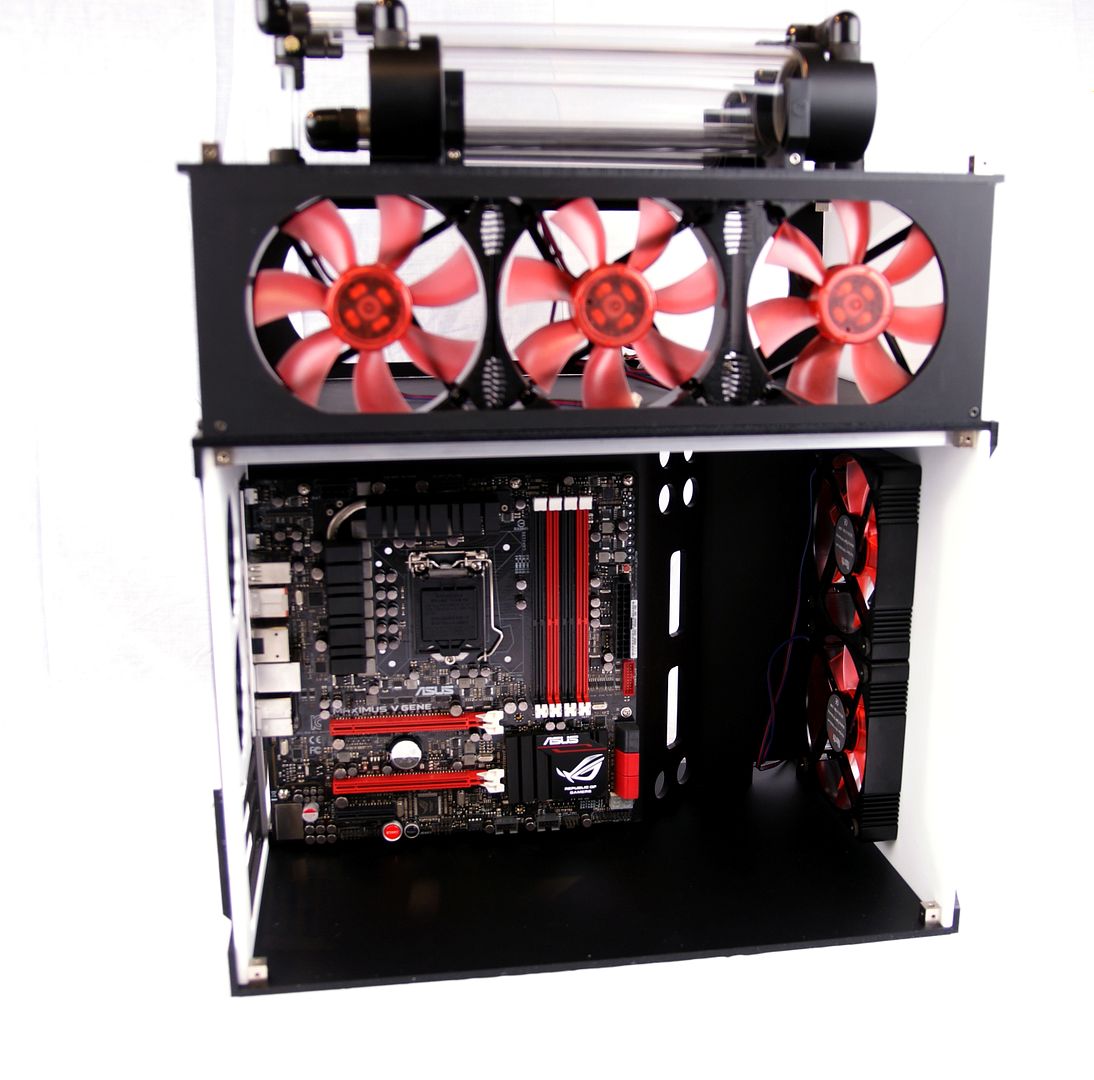
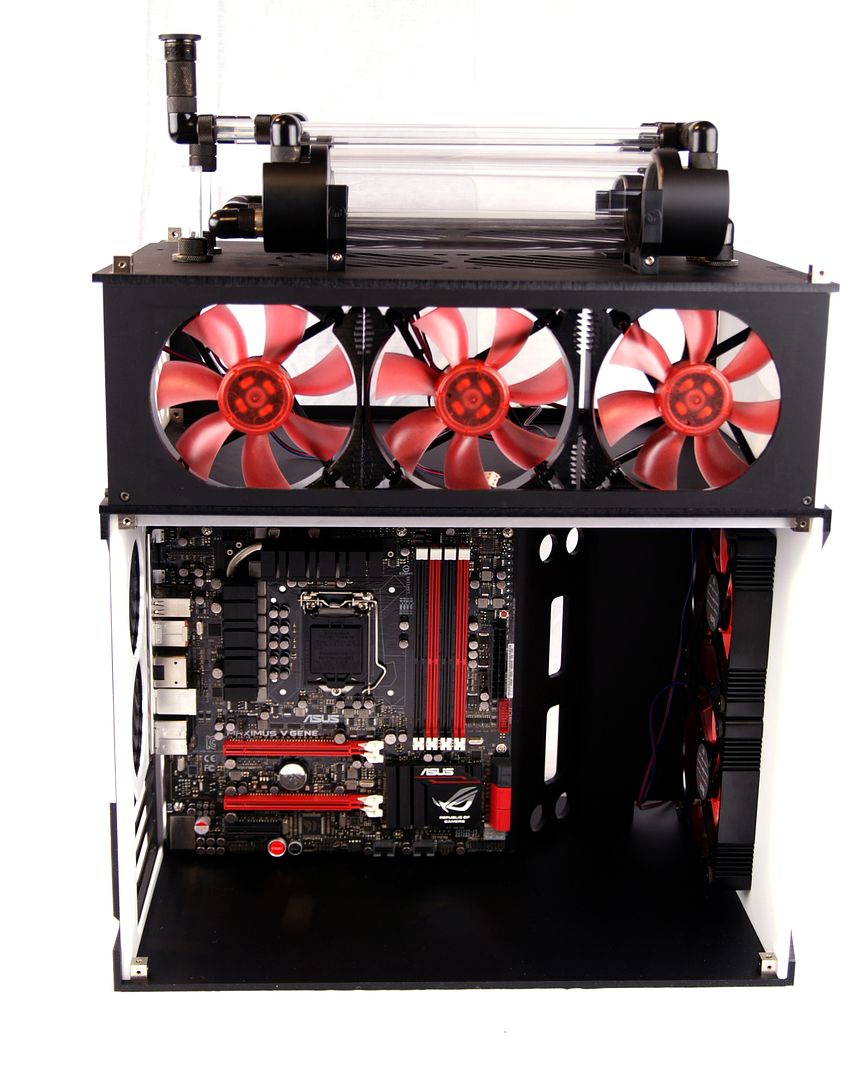
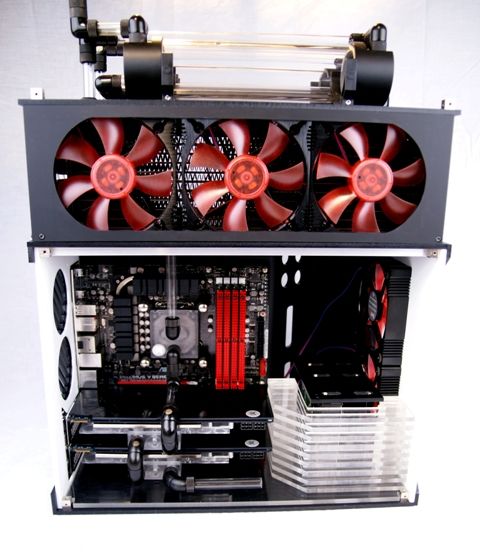
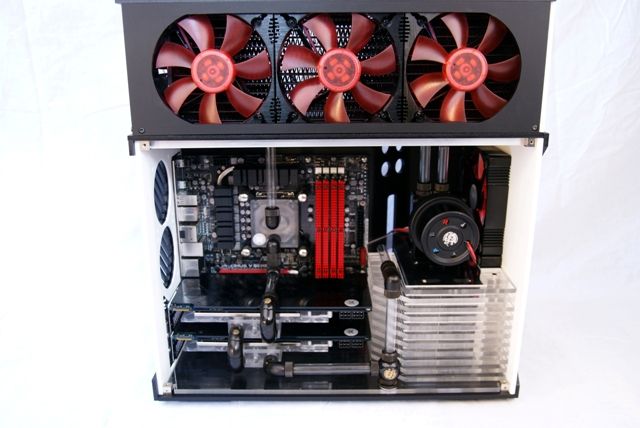
The black and white case with the following specifications:
- Materials: Acrylic
- Colours: Black/White
- Dimensions (WxHxD): 275 x 305 x 420mm
- Maximum CPU Cooler Height: 152mm
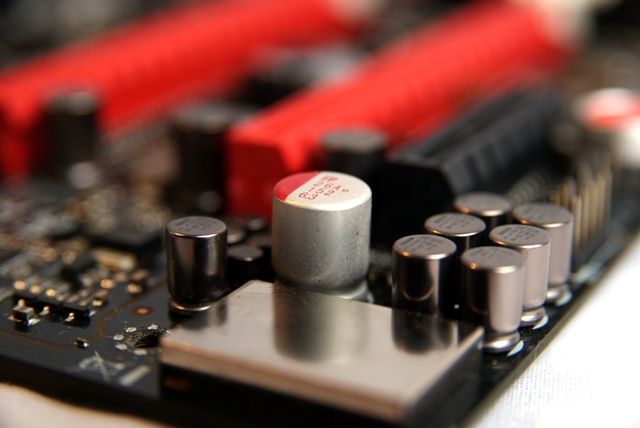
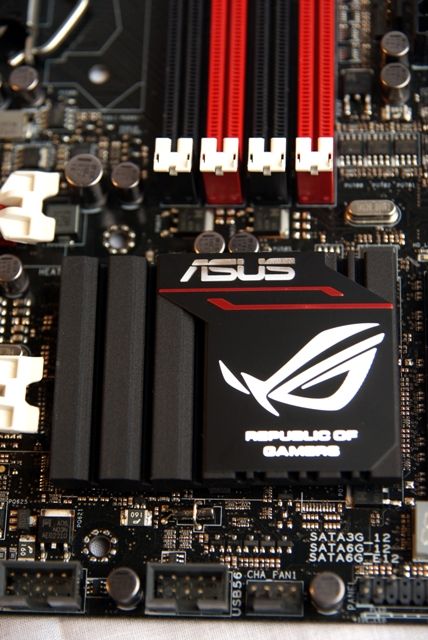
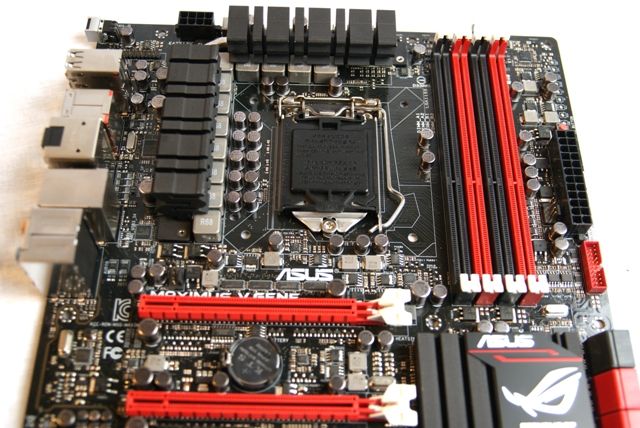
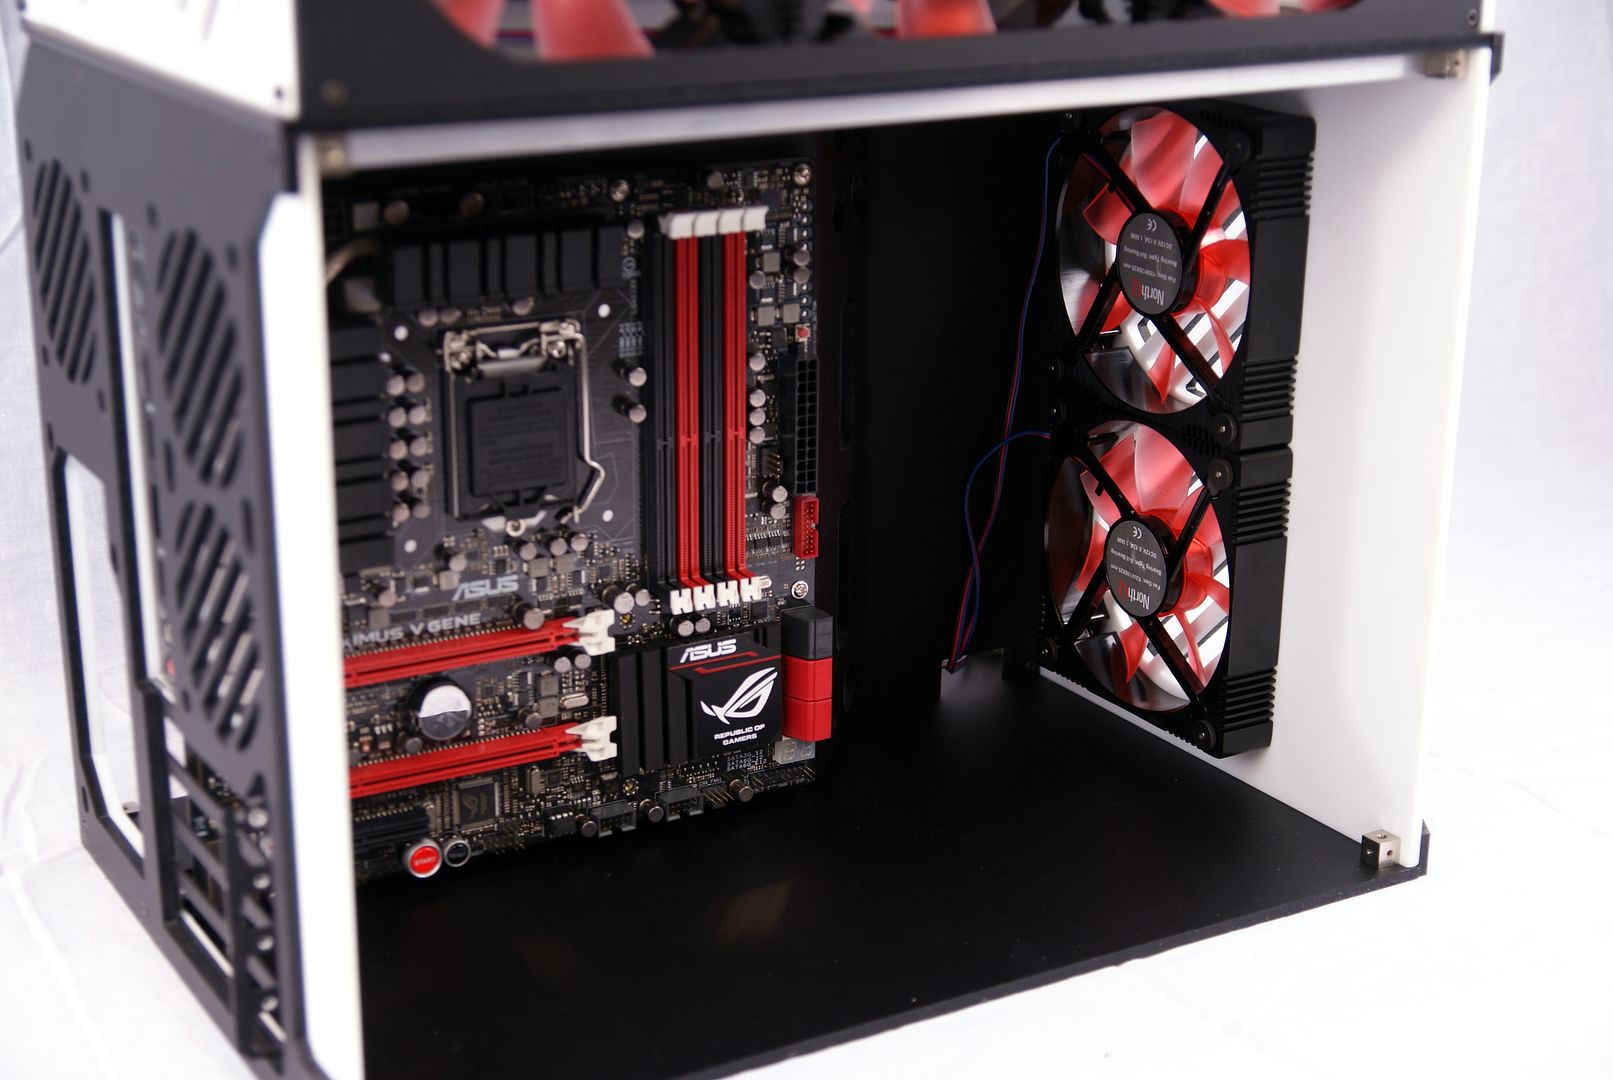
- Motherboard Sizes: mATX
- 3.5" Drive Bays: 2
- 2.5" Drive Bays: 4
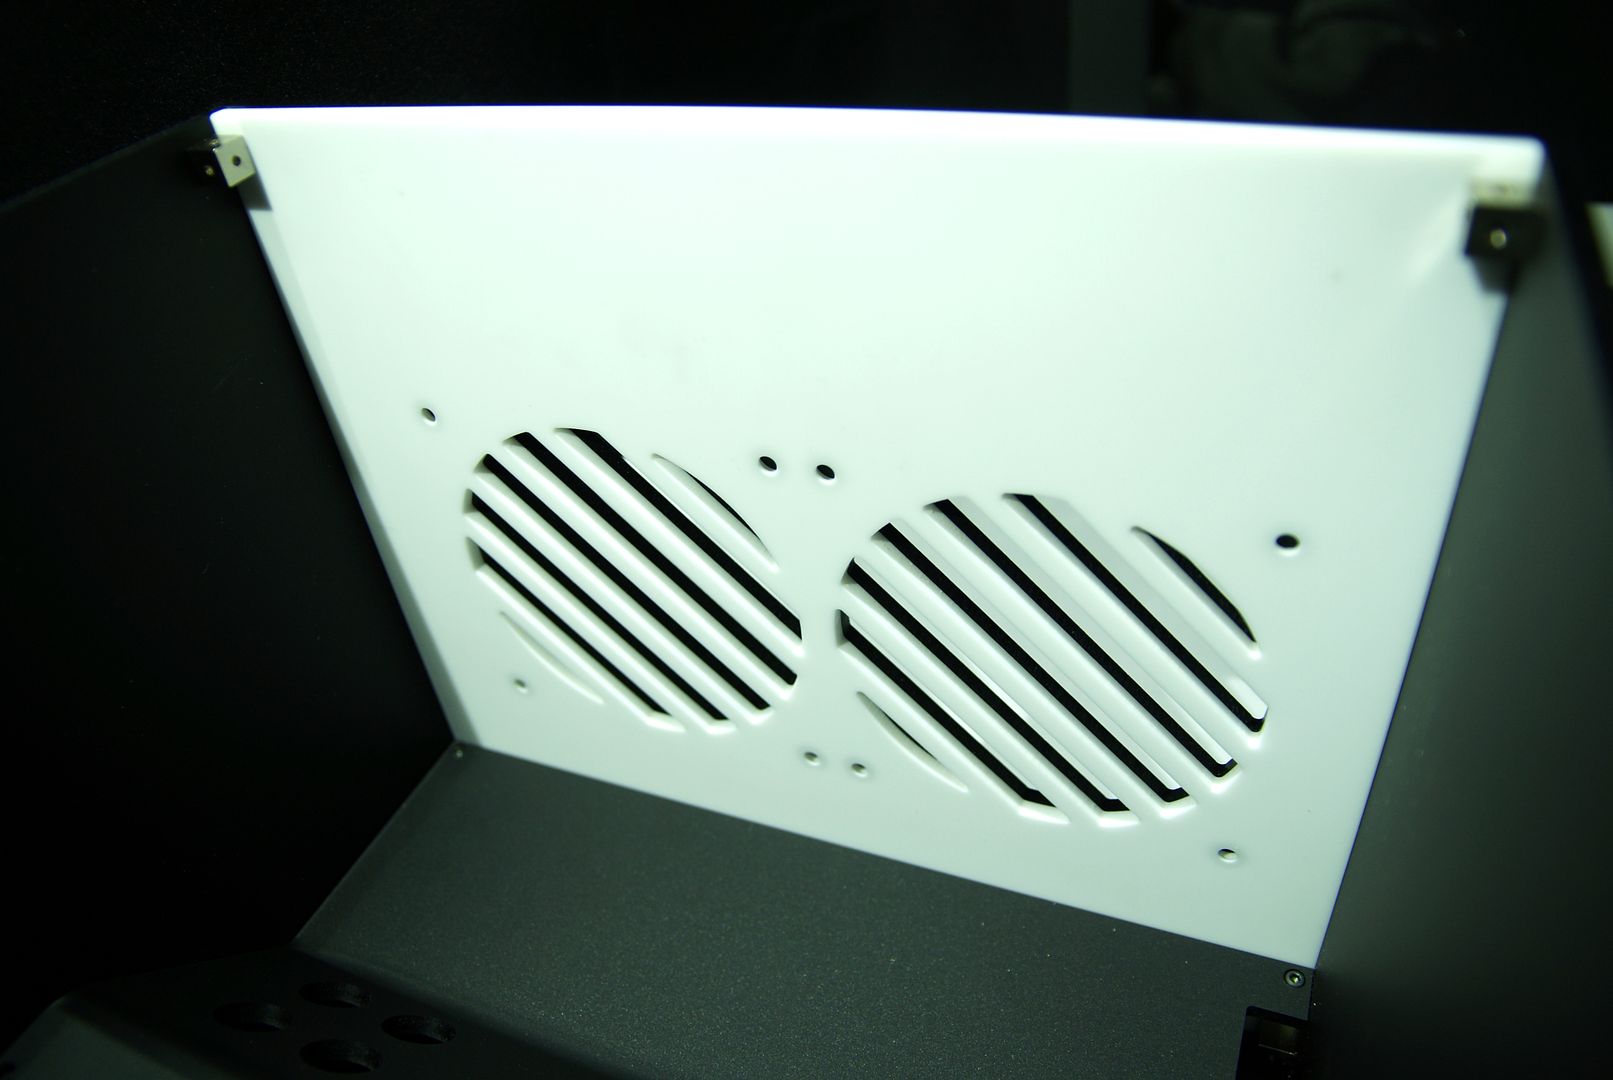
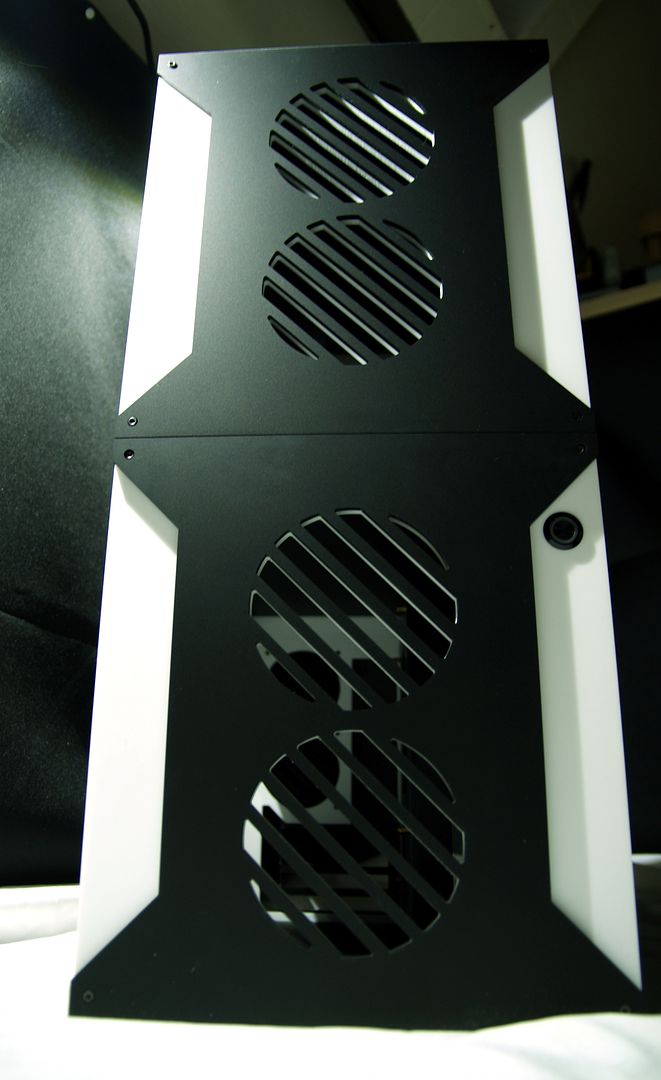
- Cooling Front: 2 x 120mm
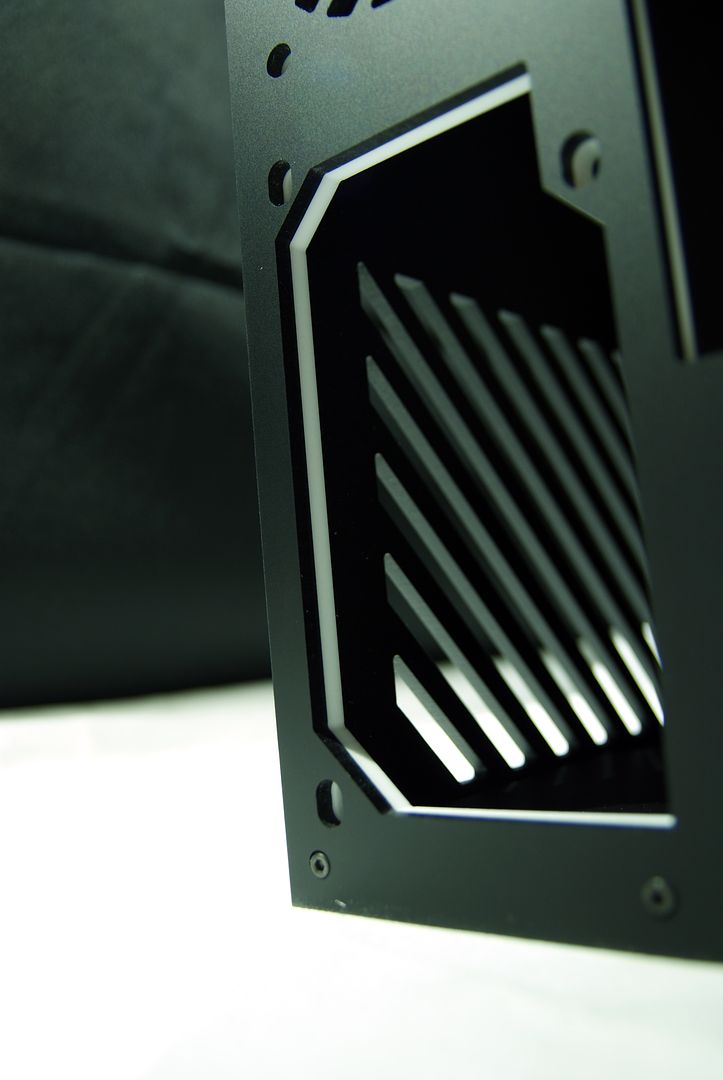
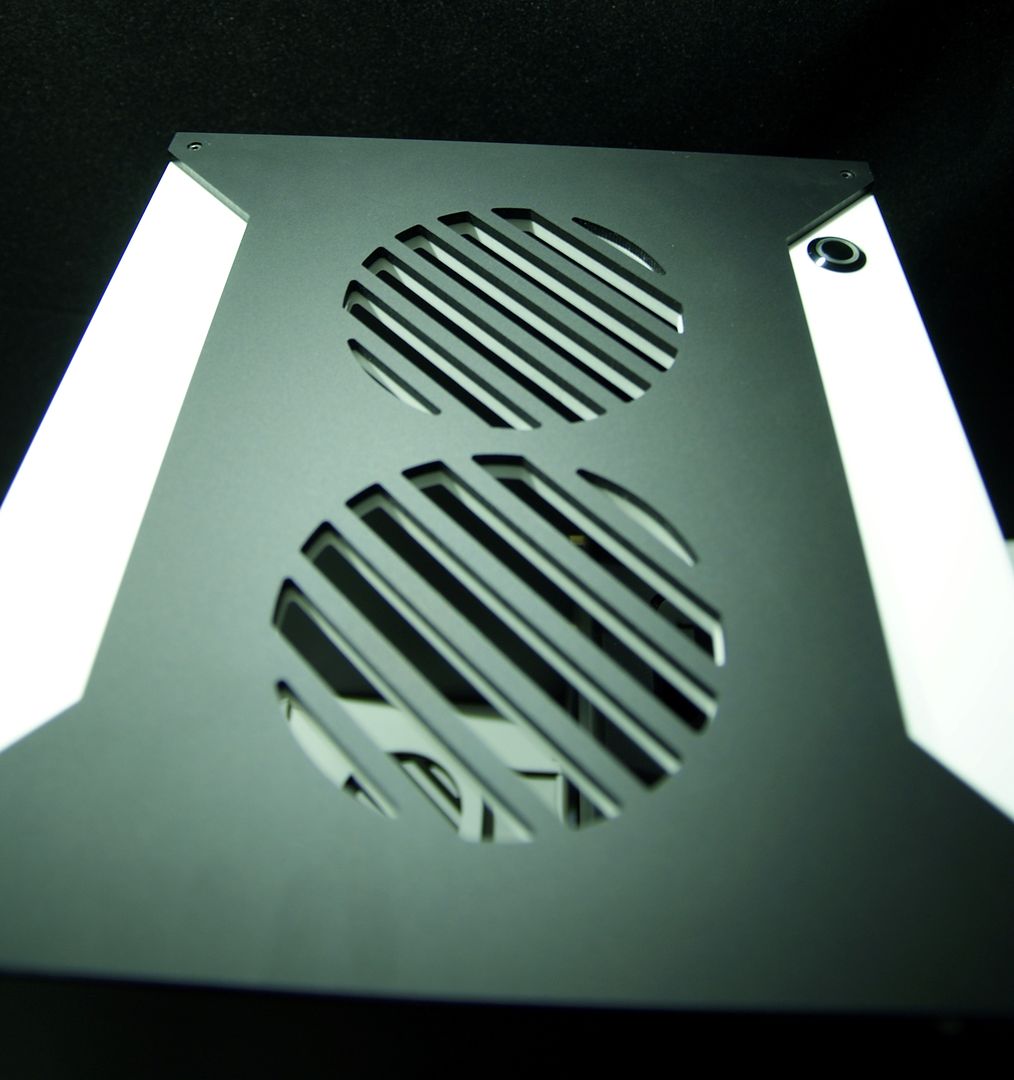
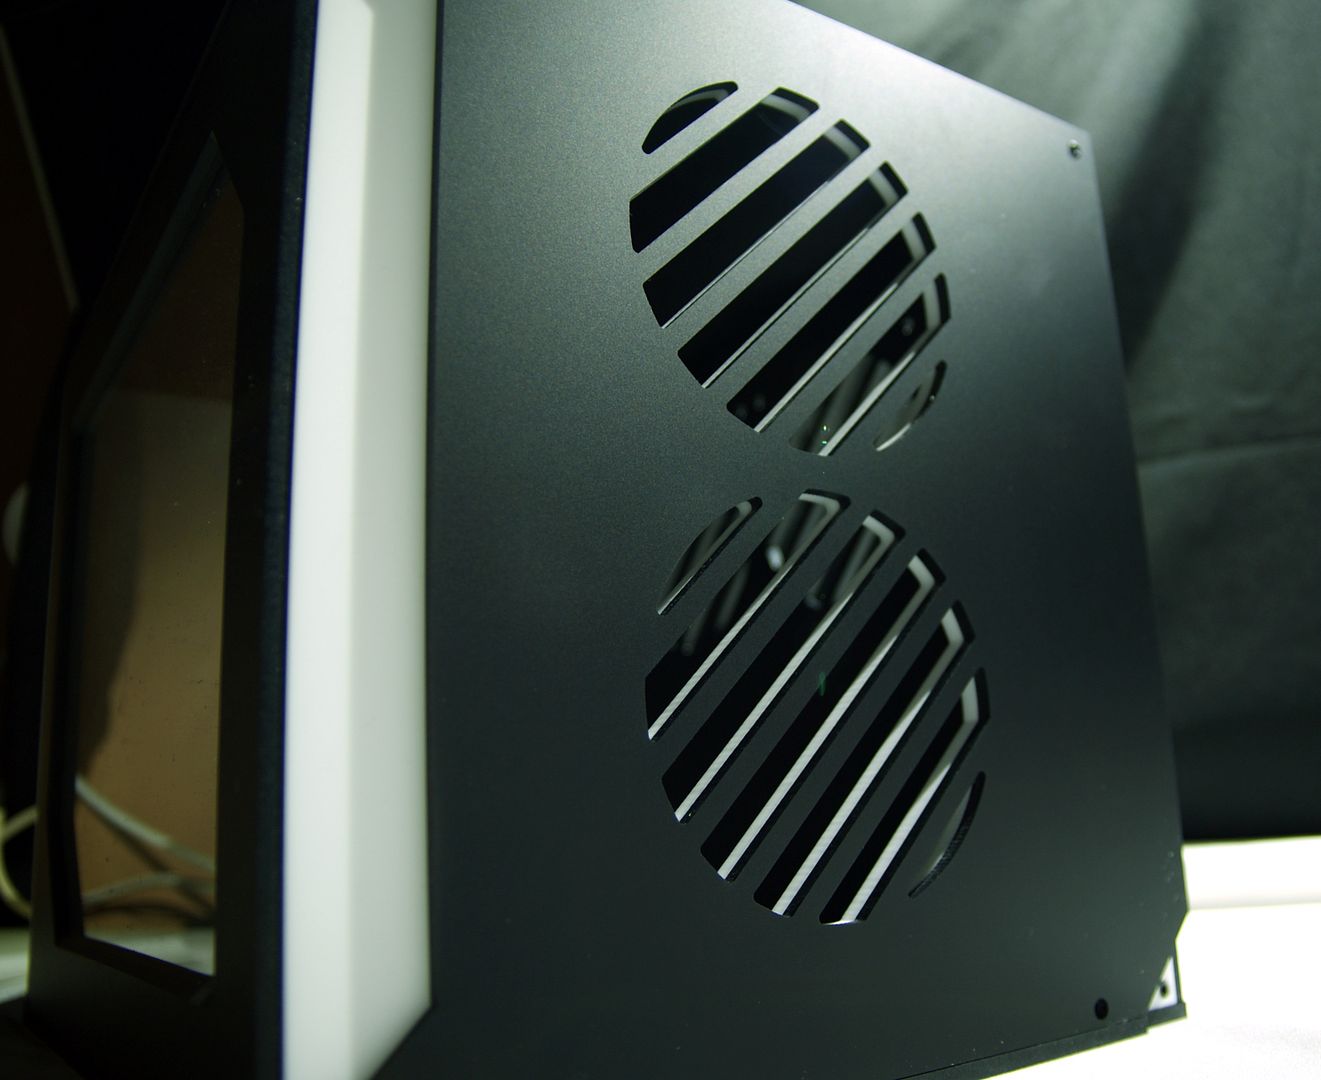
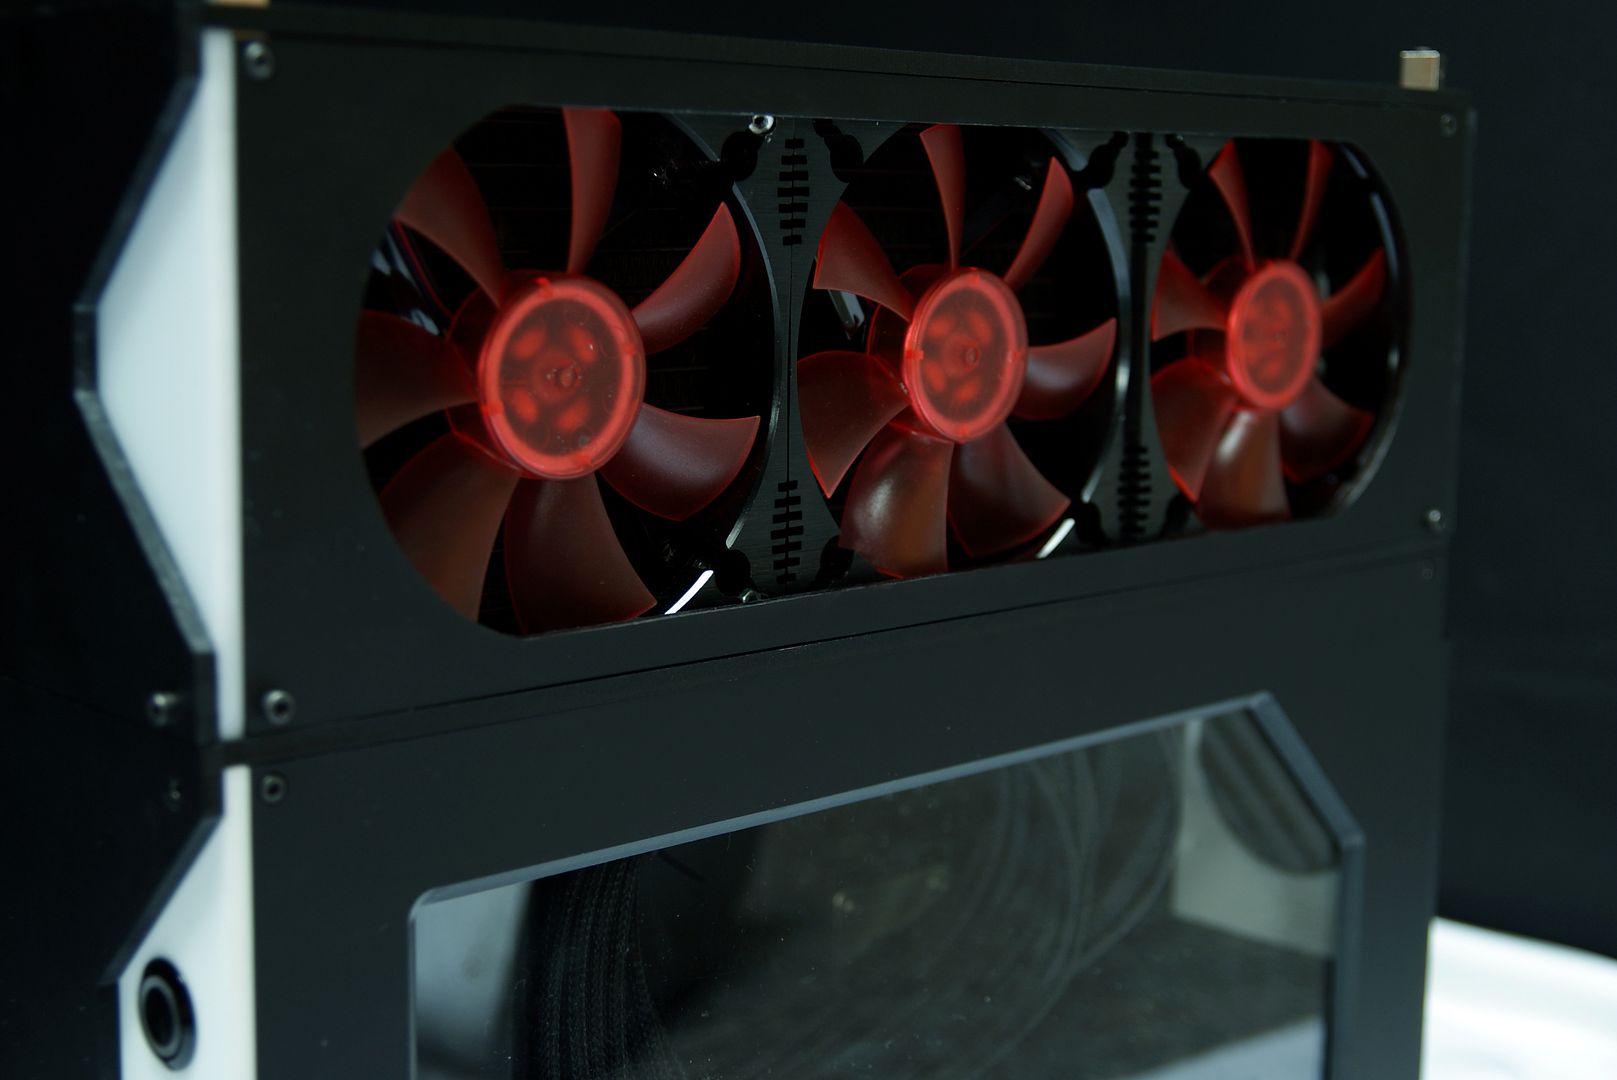
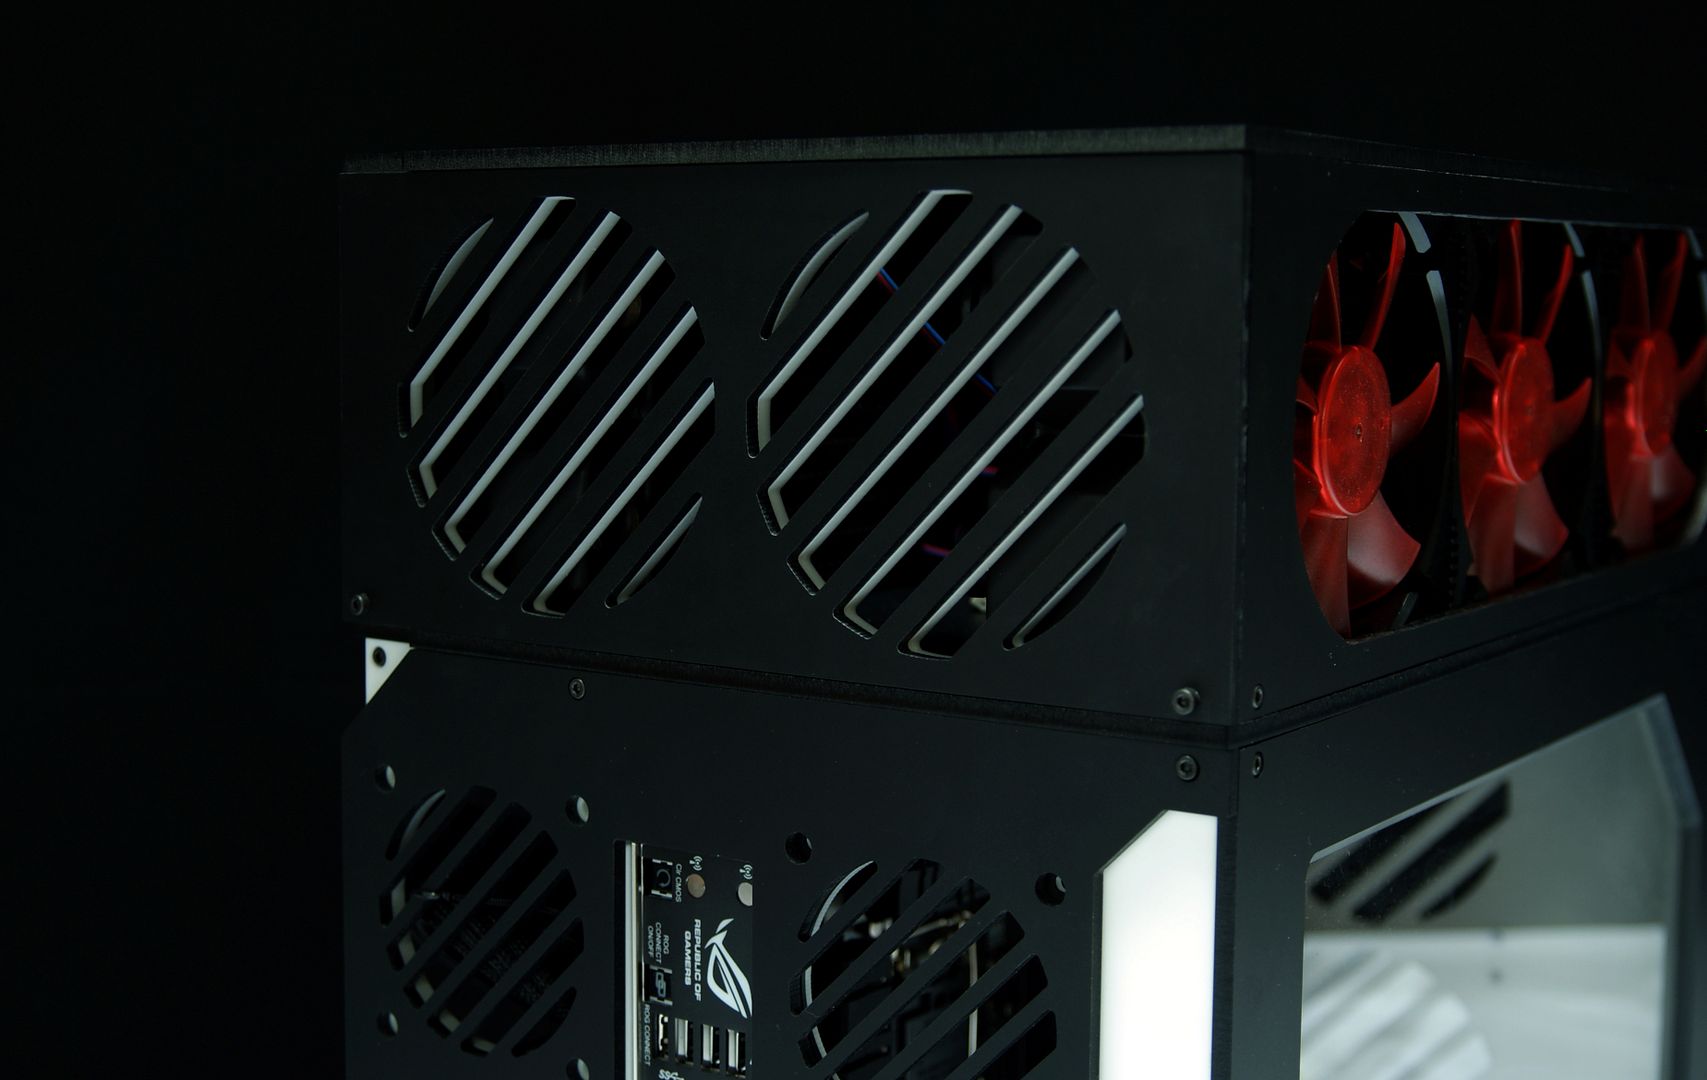
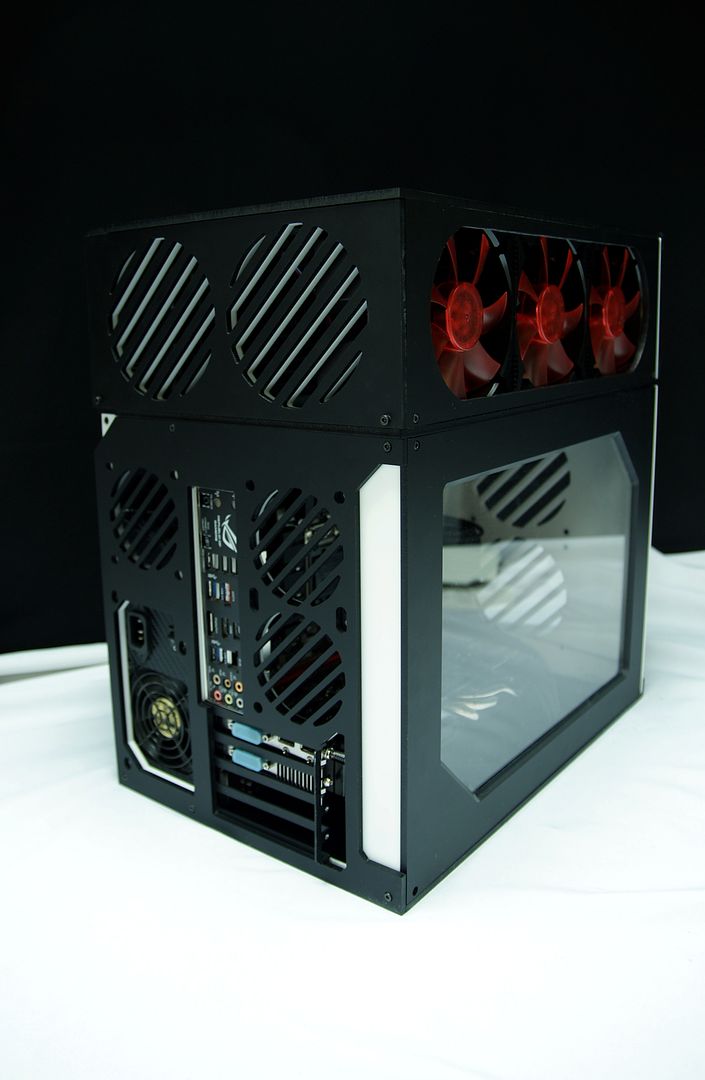
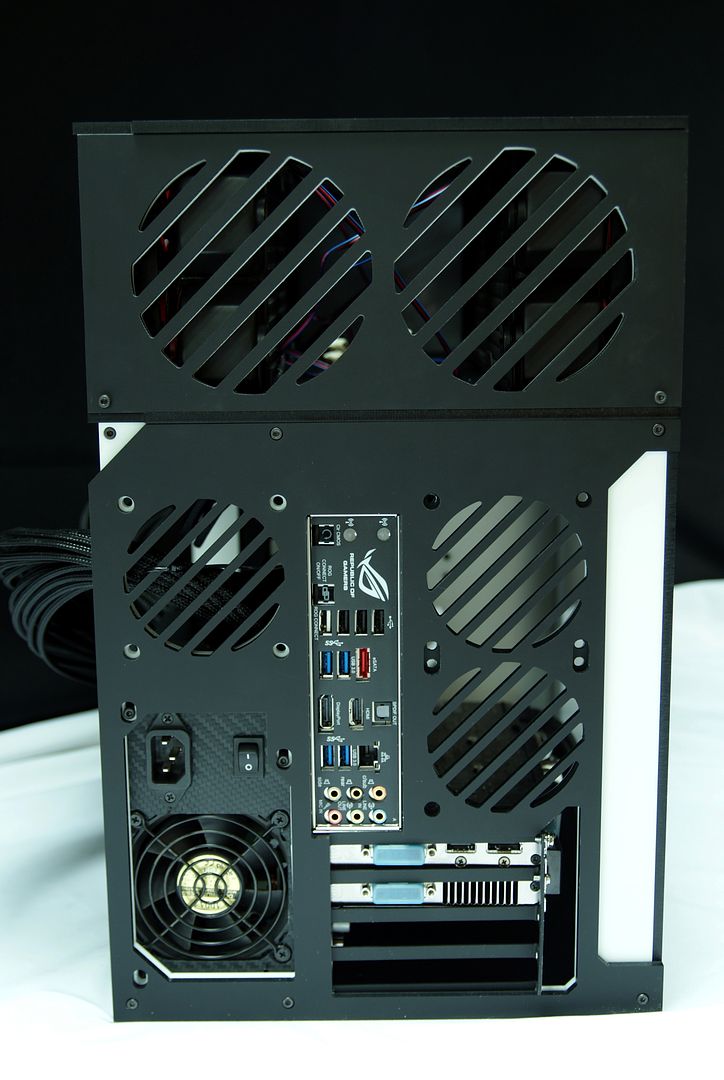
- Cooling Rear: 3 x 80mm
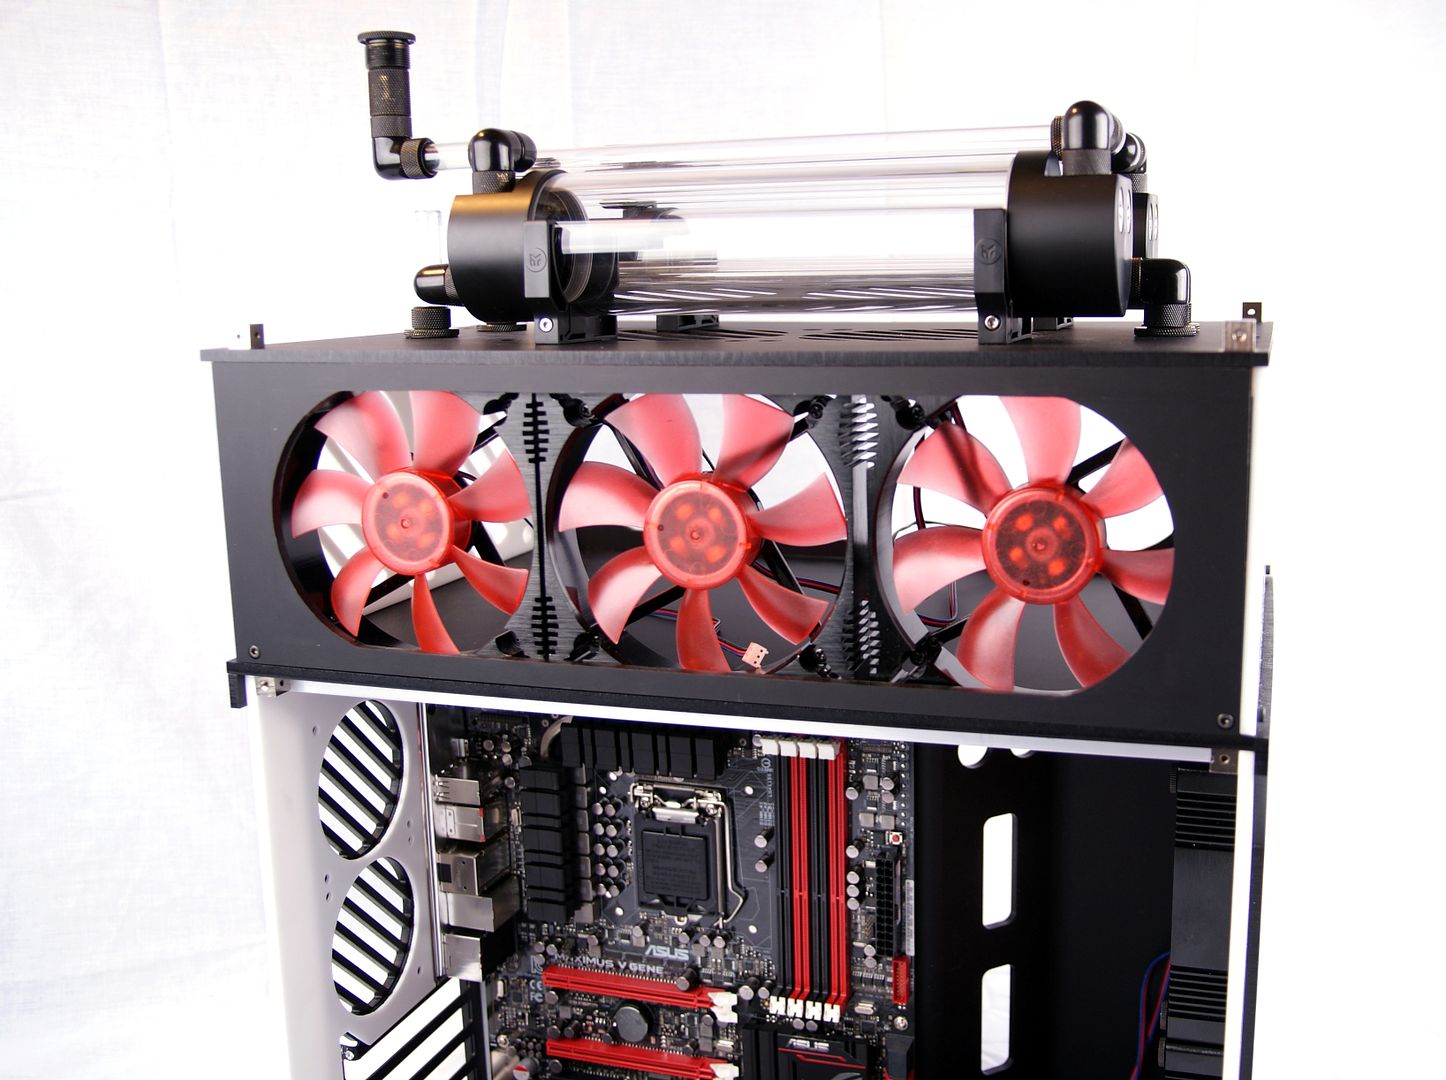
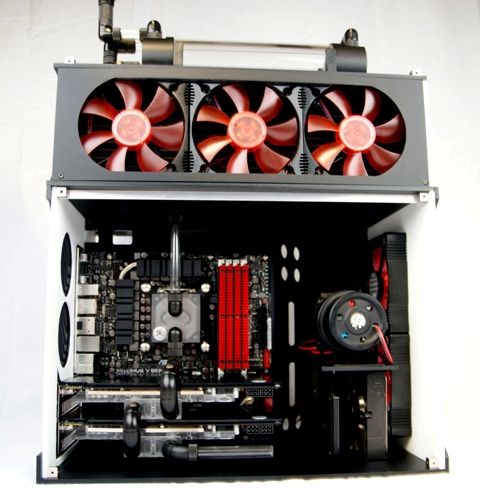
- Cooling Top: 2 x 120mm
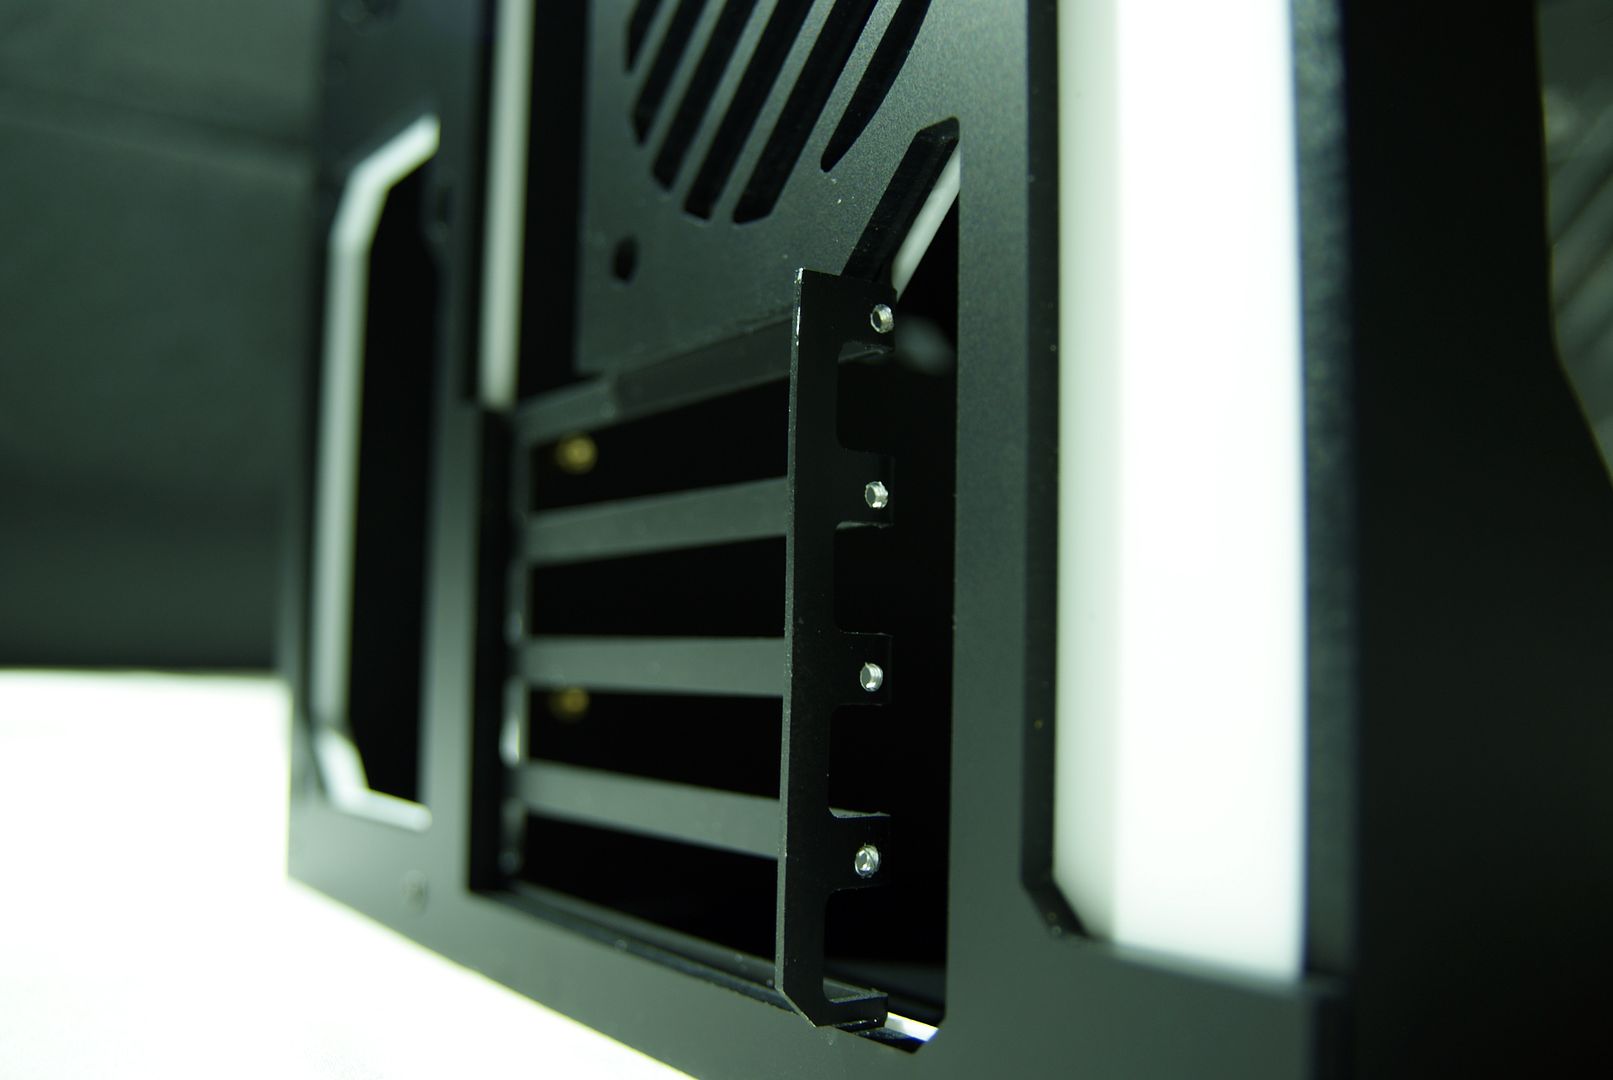
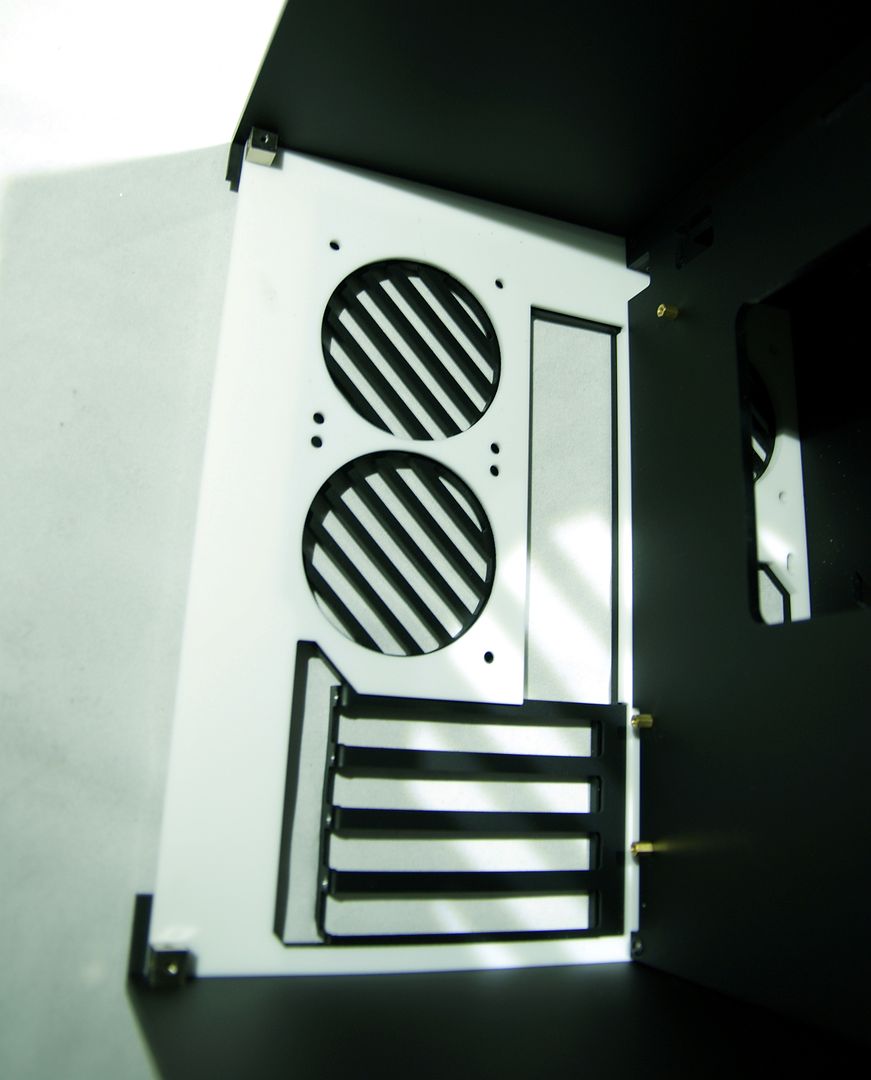
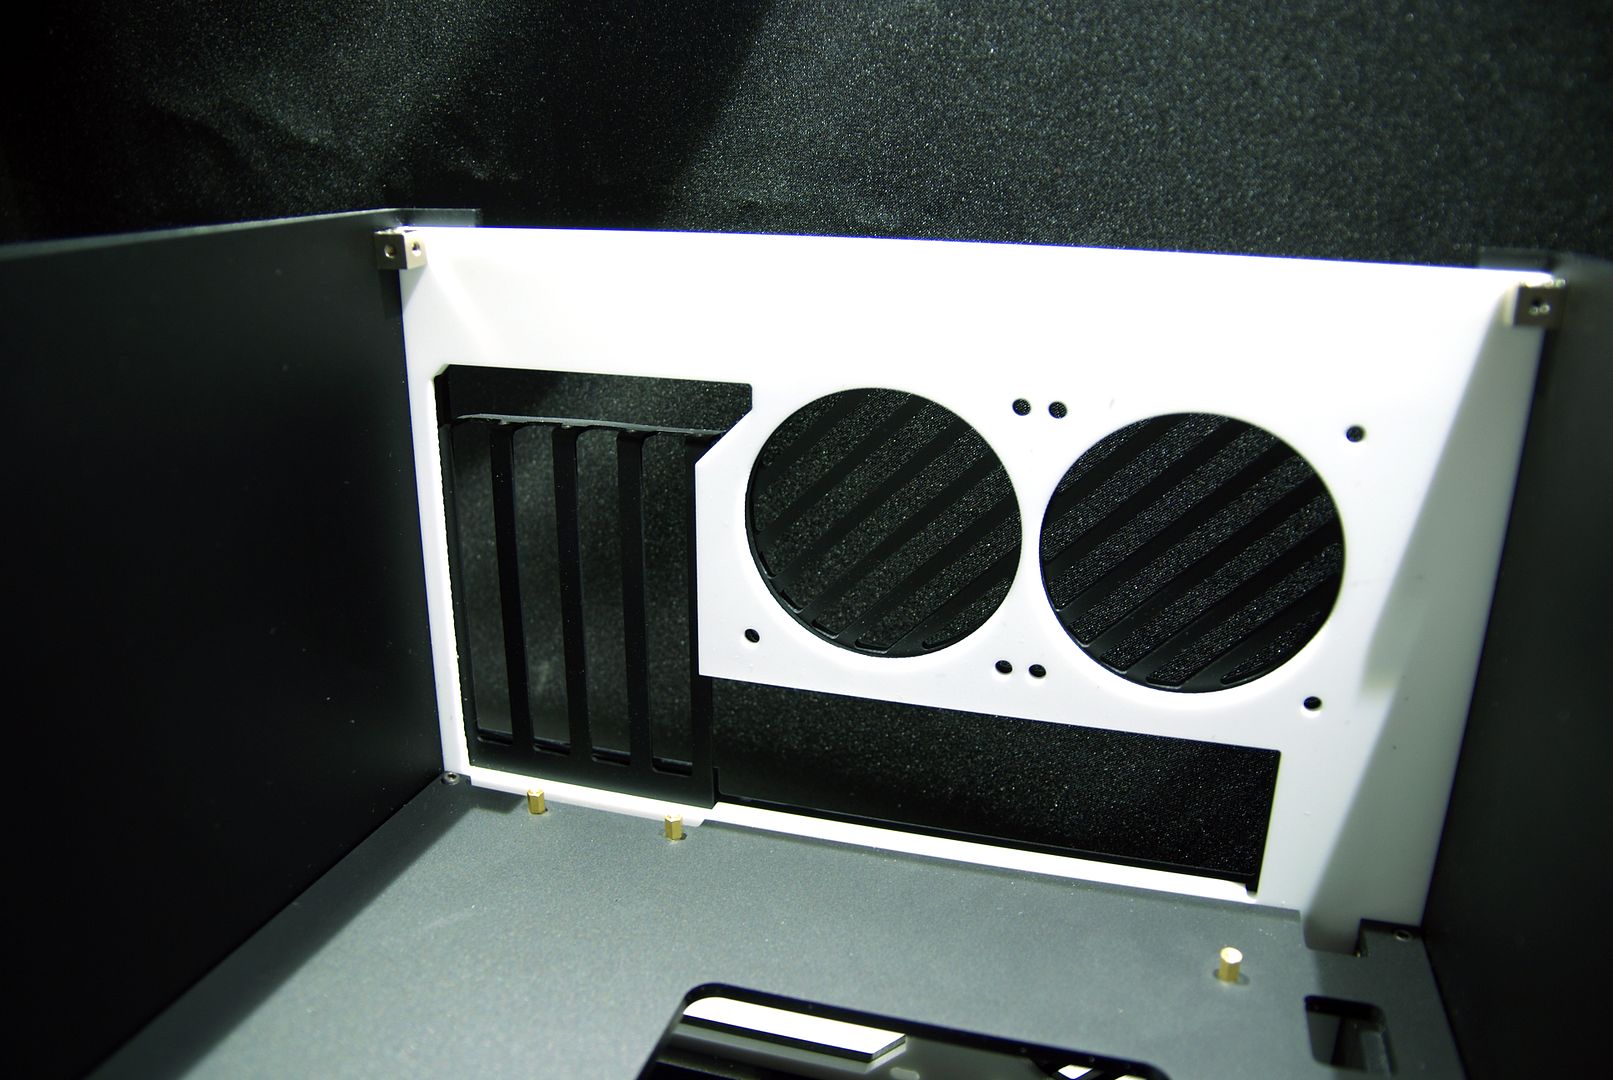
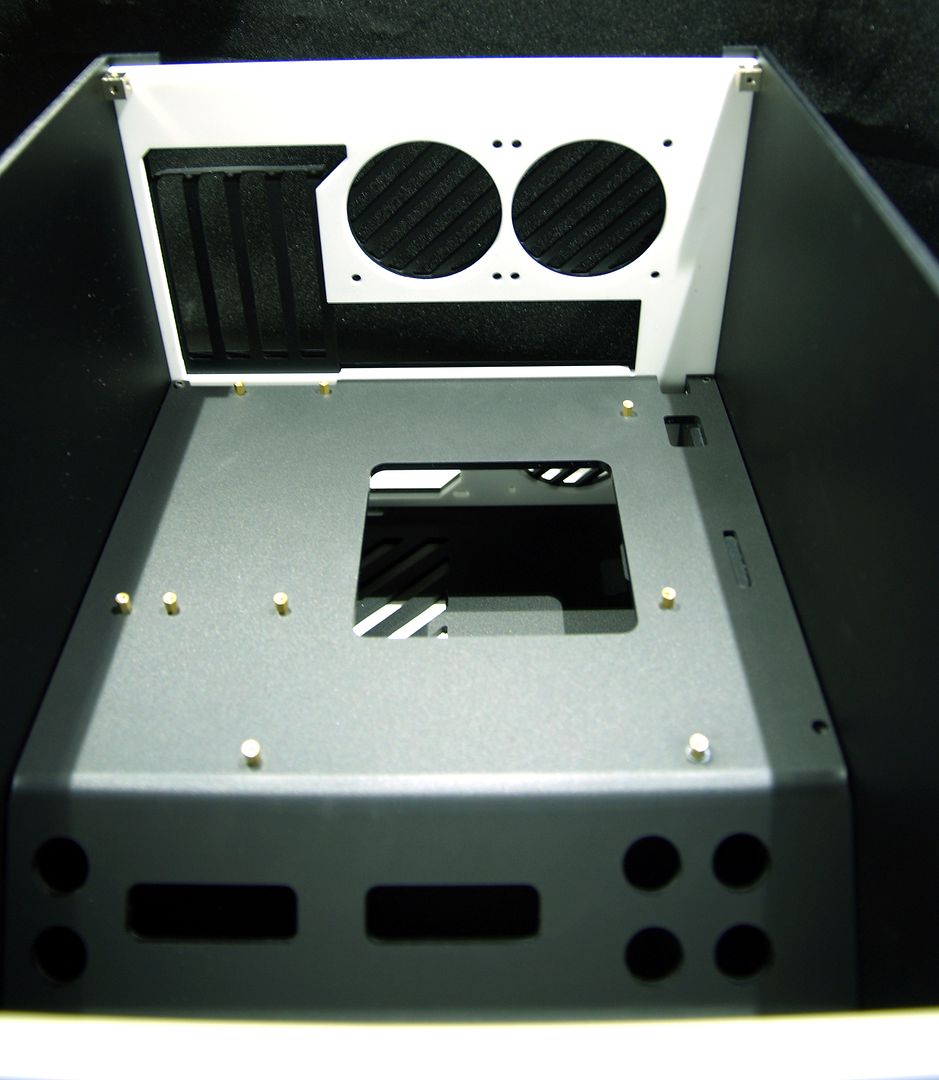
- PCI Slots: x 4
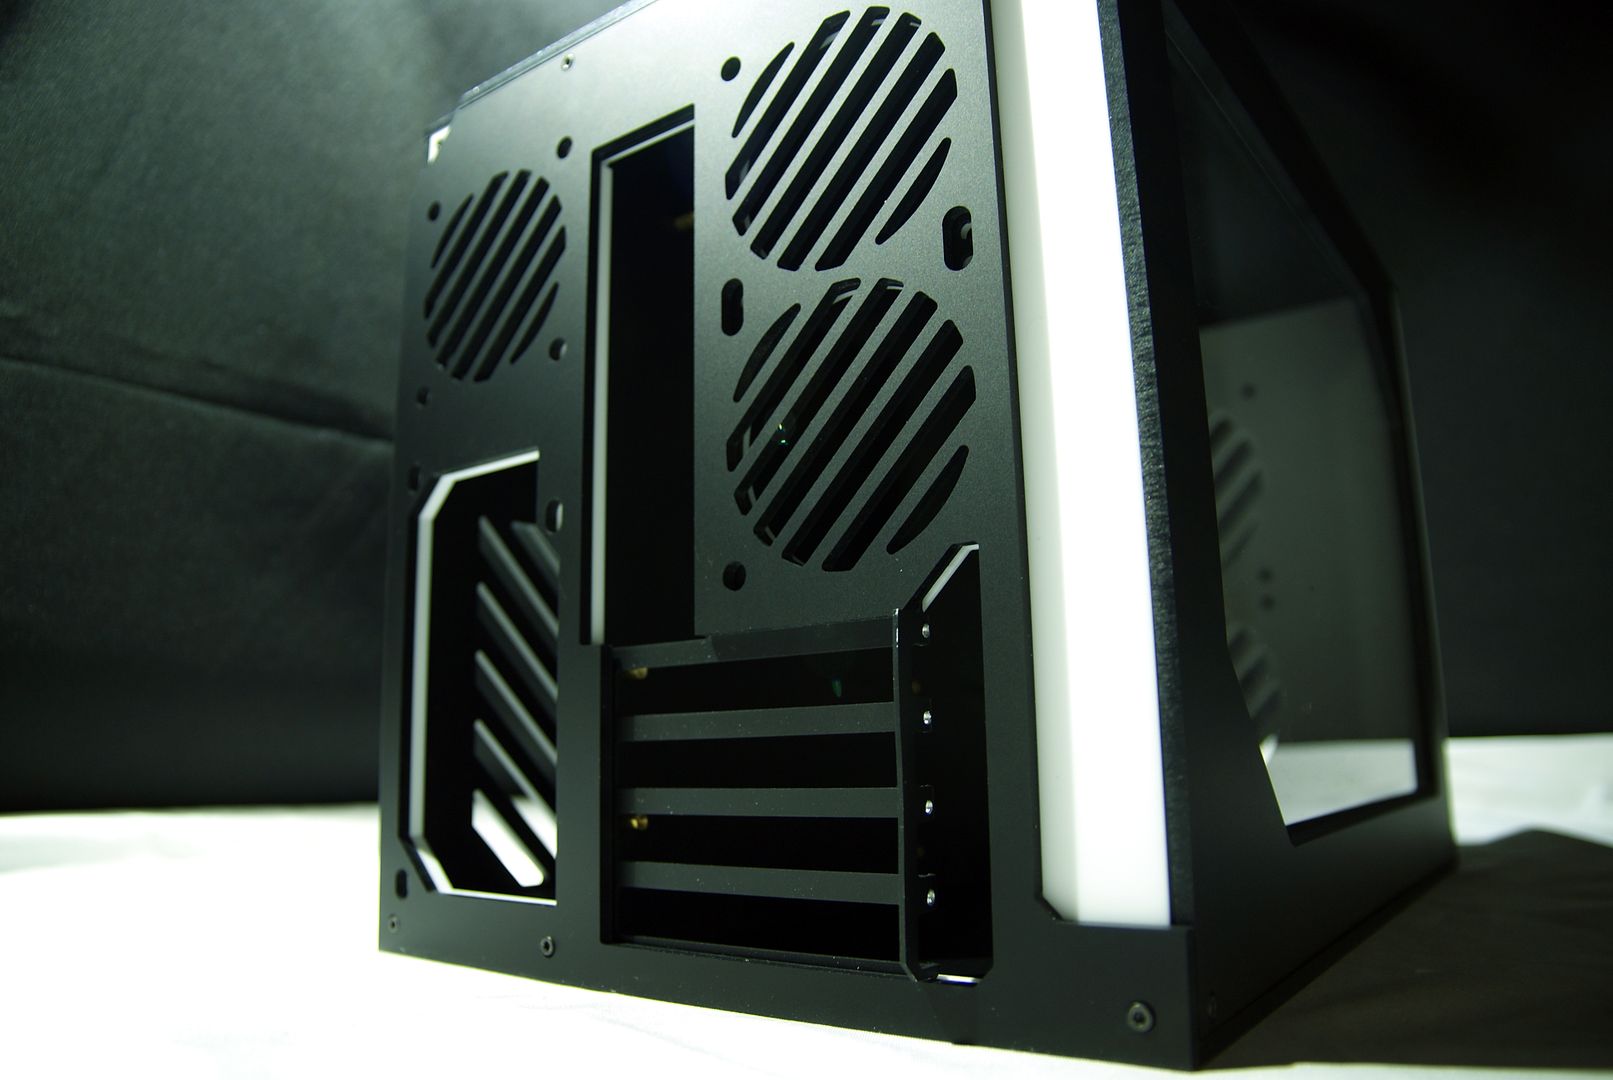
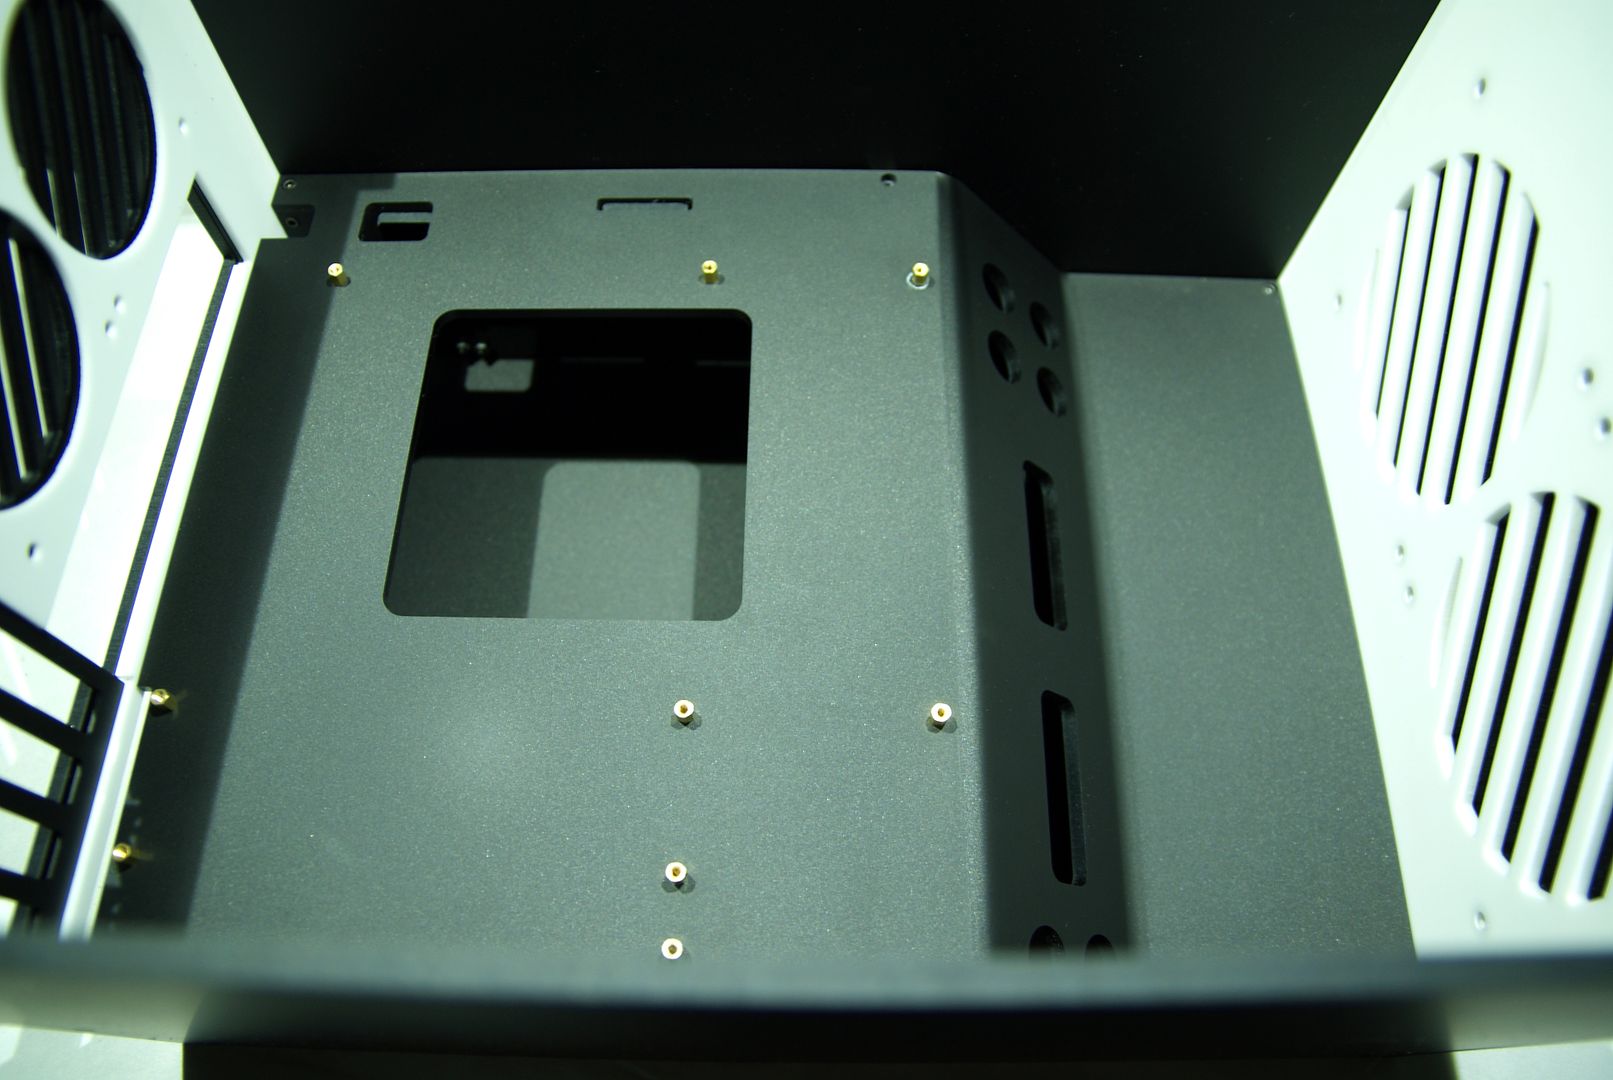
4x PCI slots
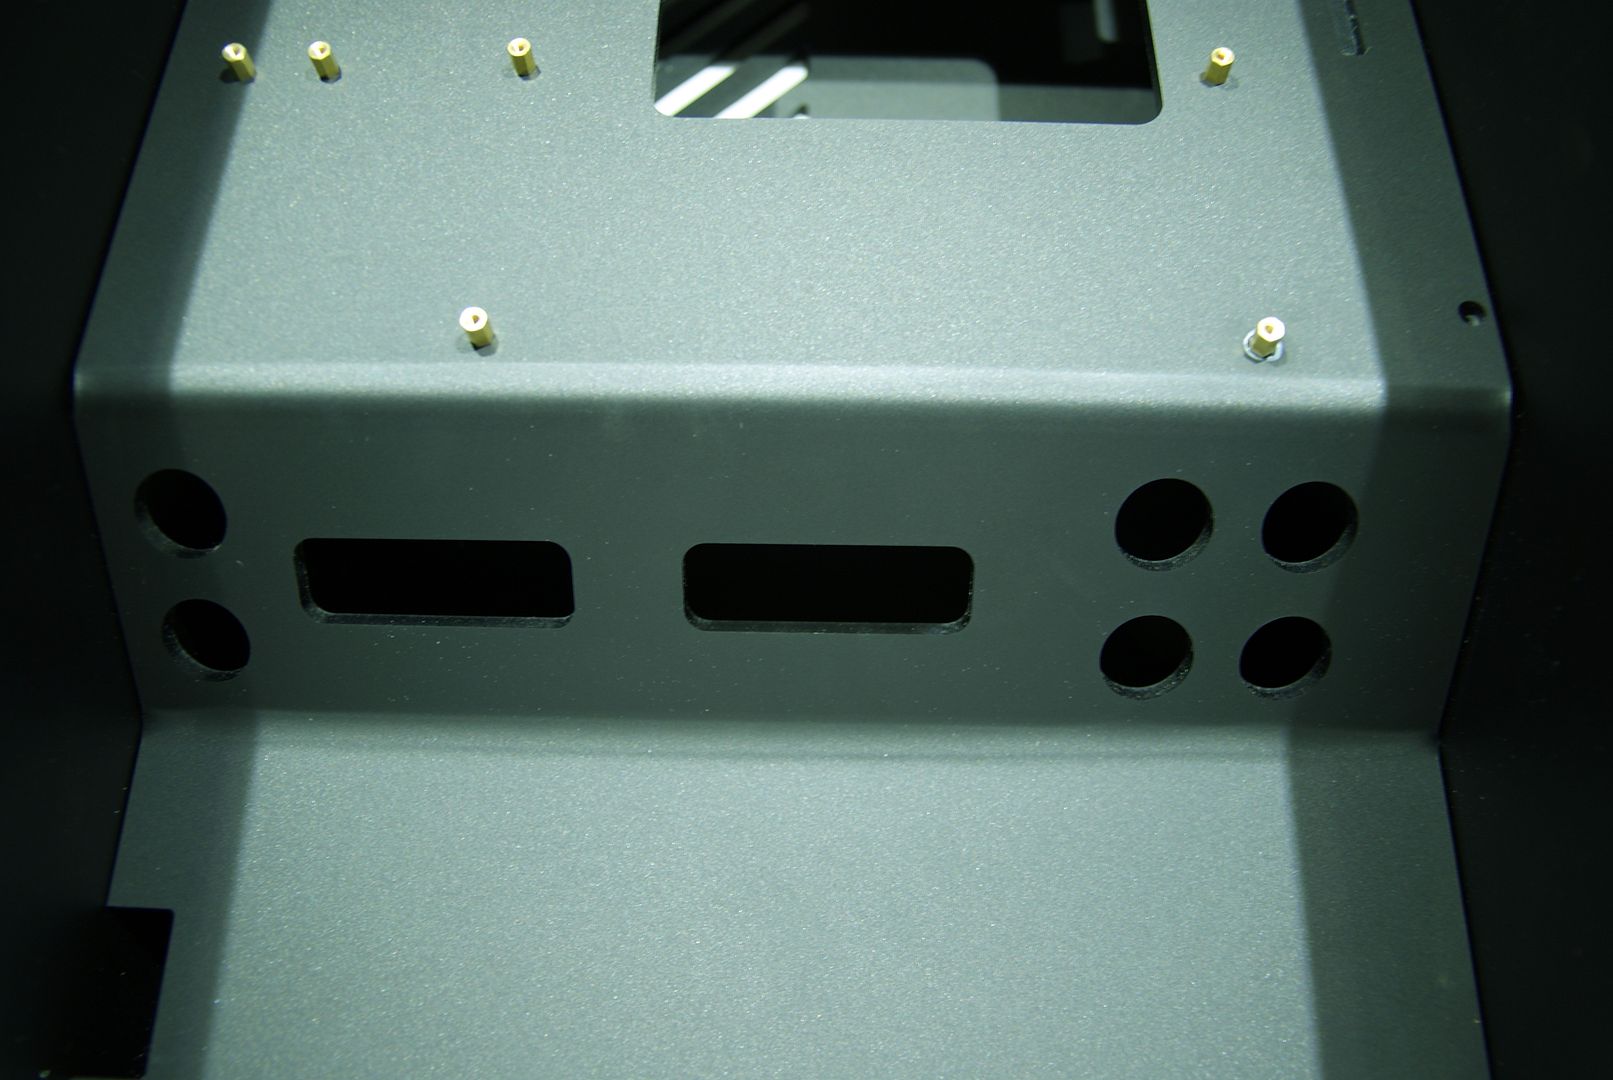
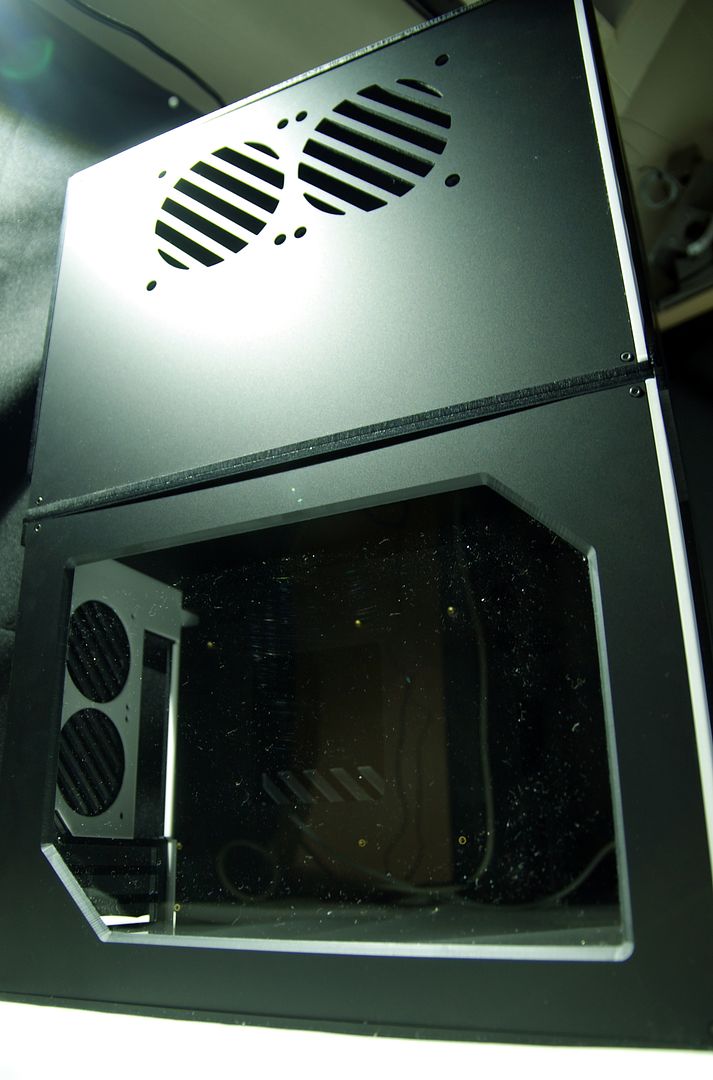
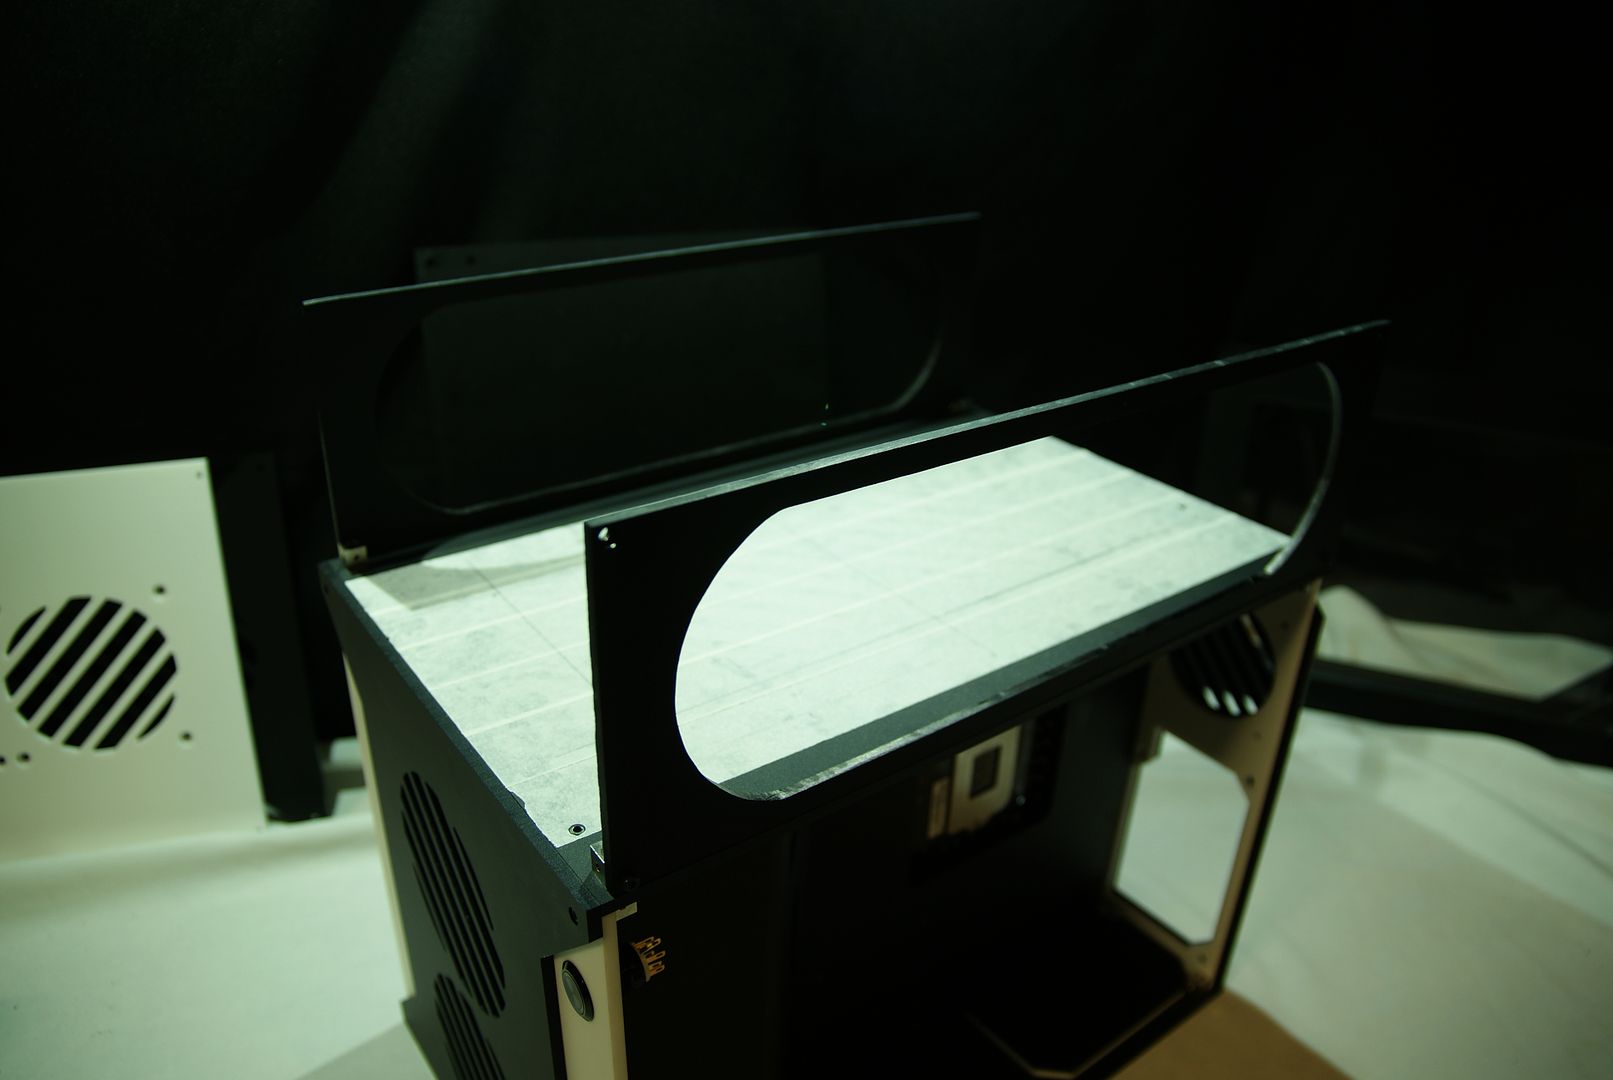
PSU opening
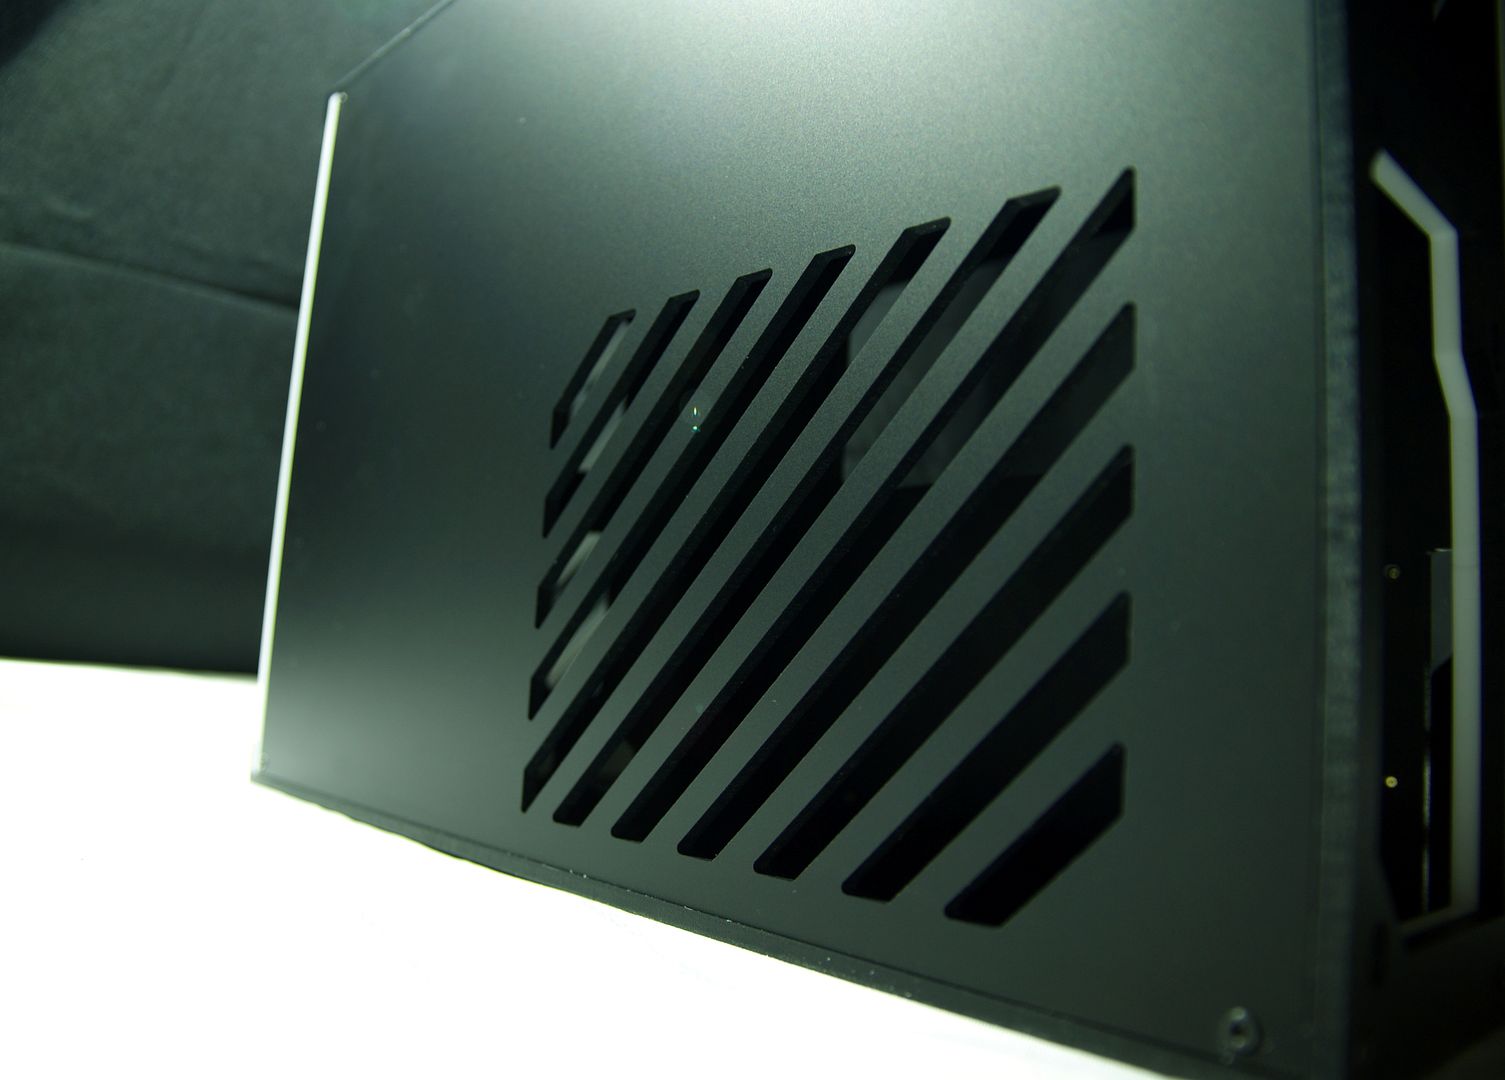
Air outlet for the PSU
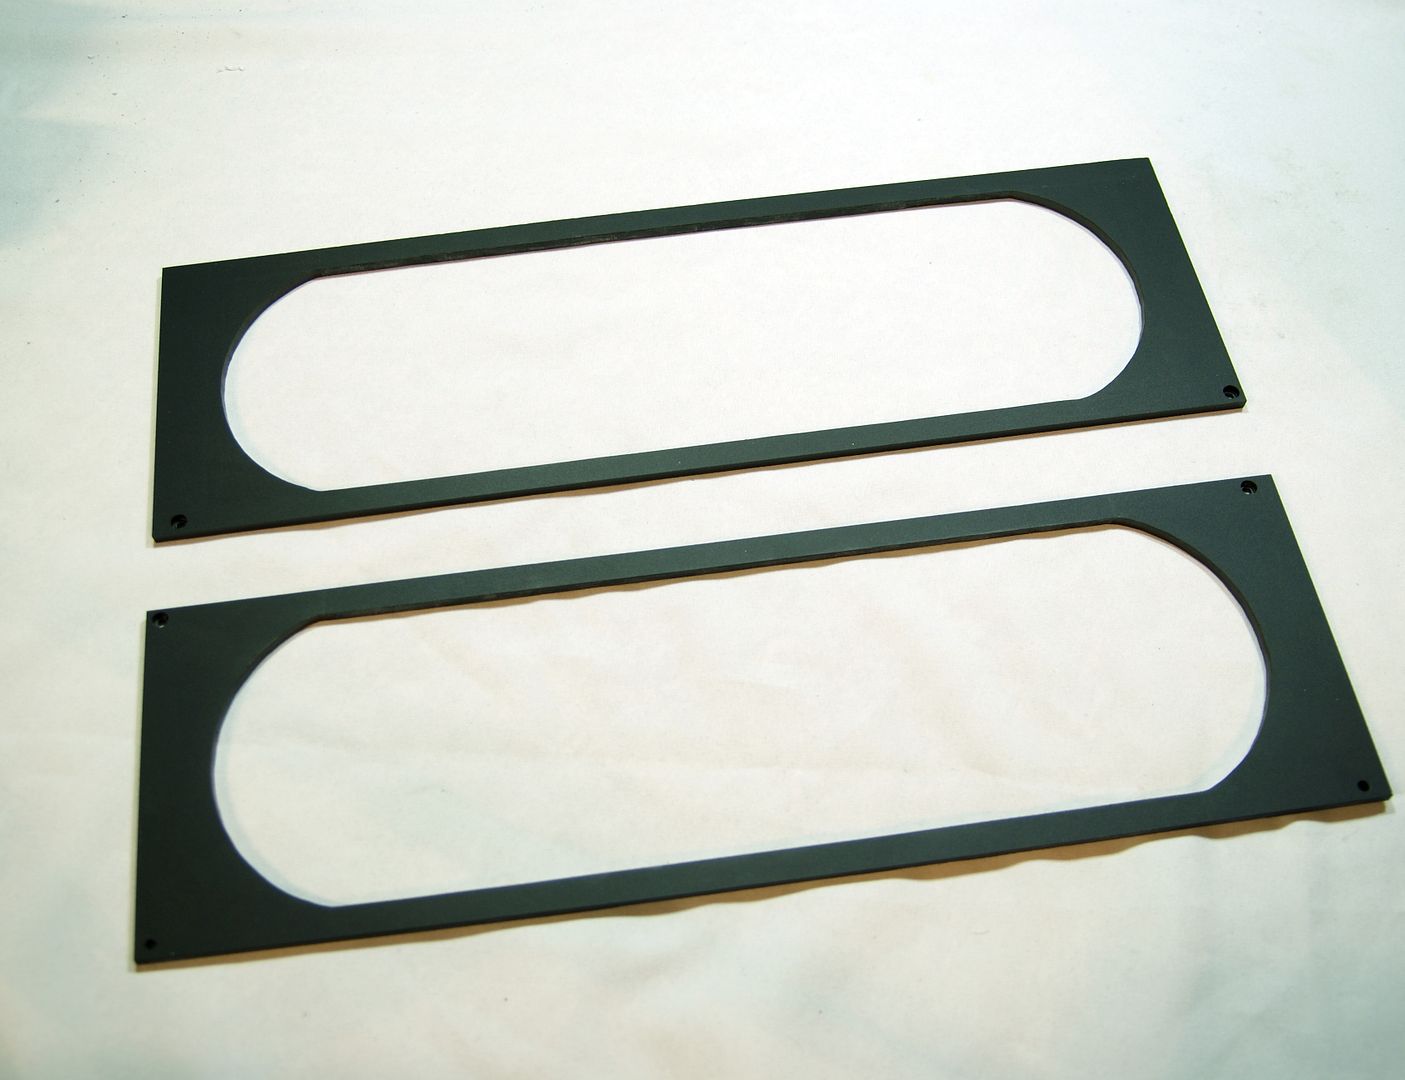
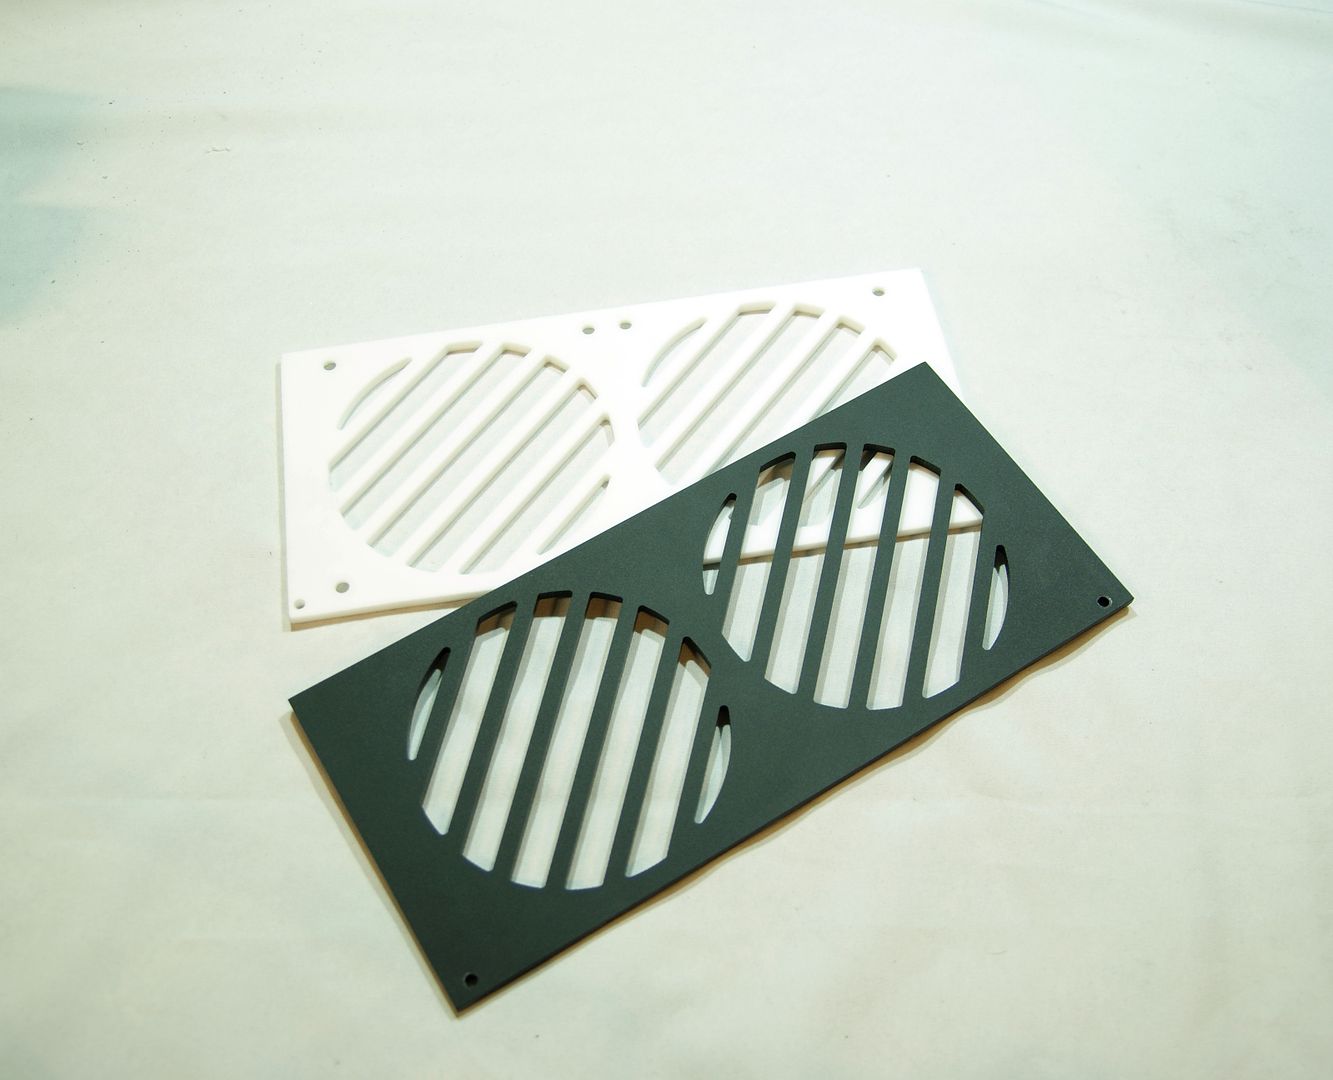
Front fanholes
And more 80mm fanholes at the back
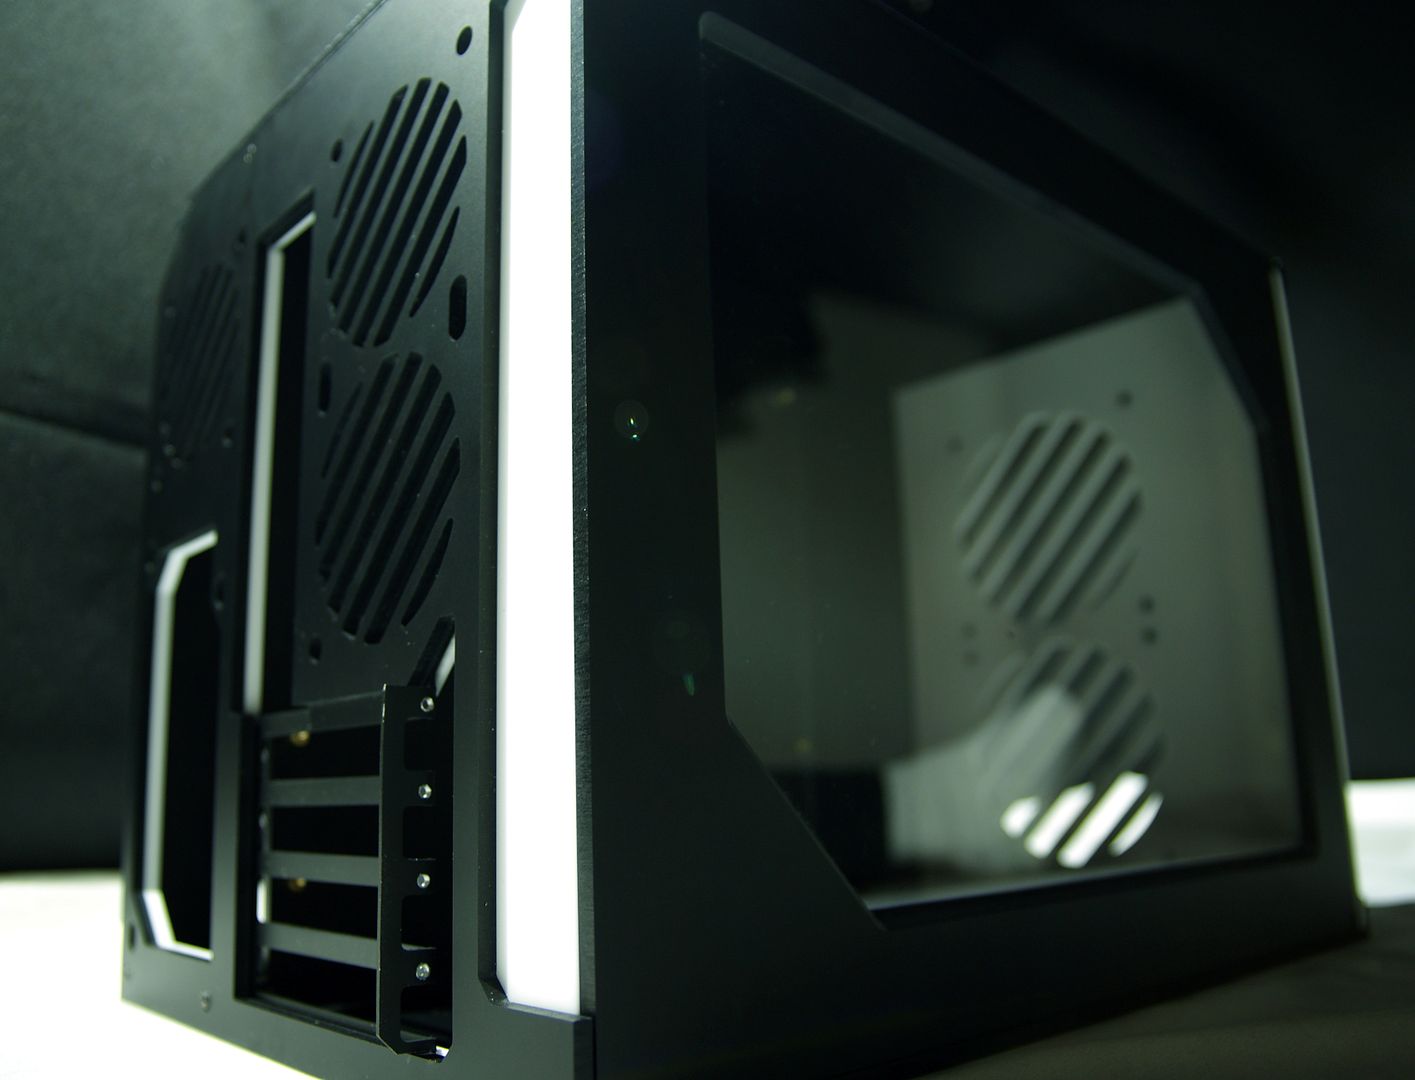
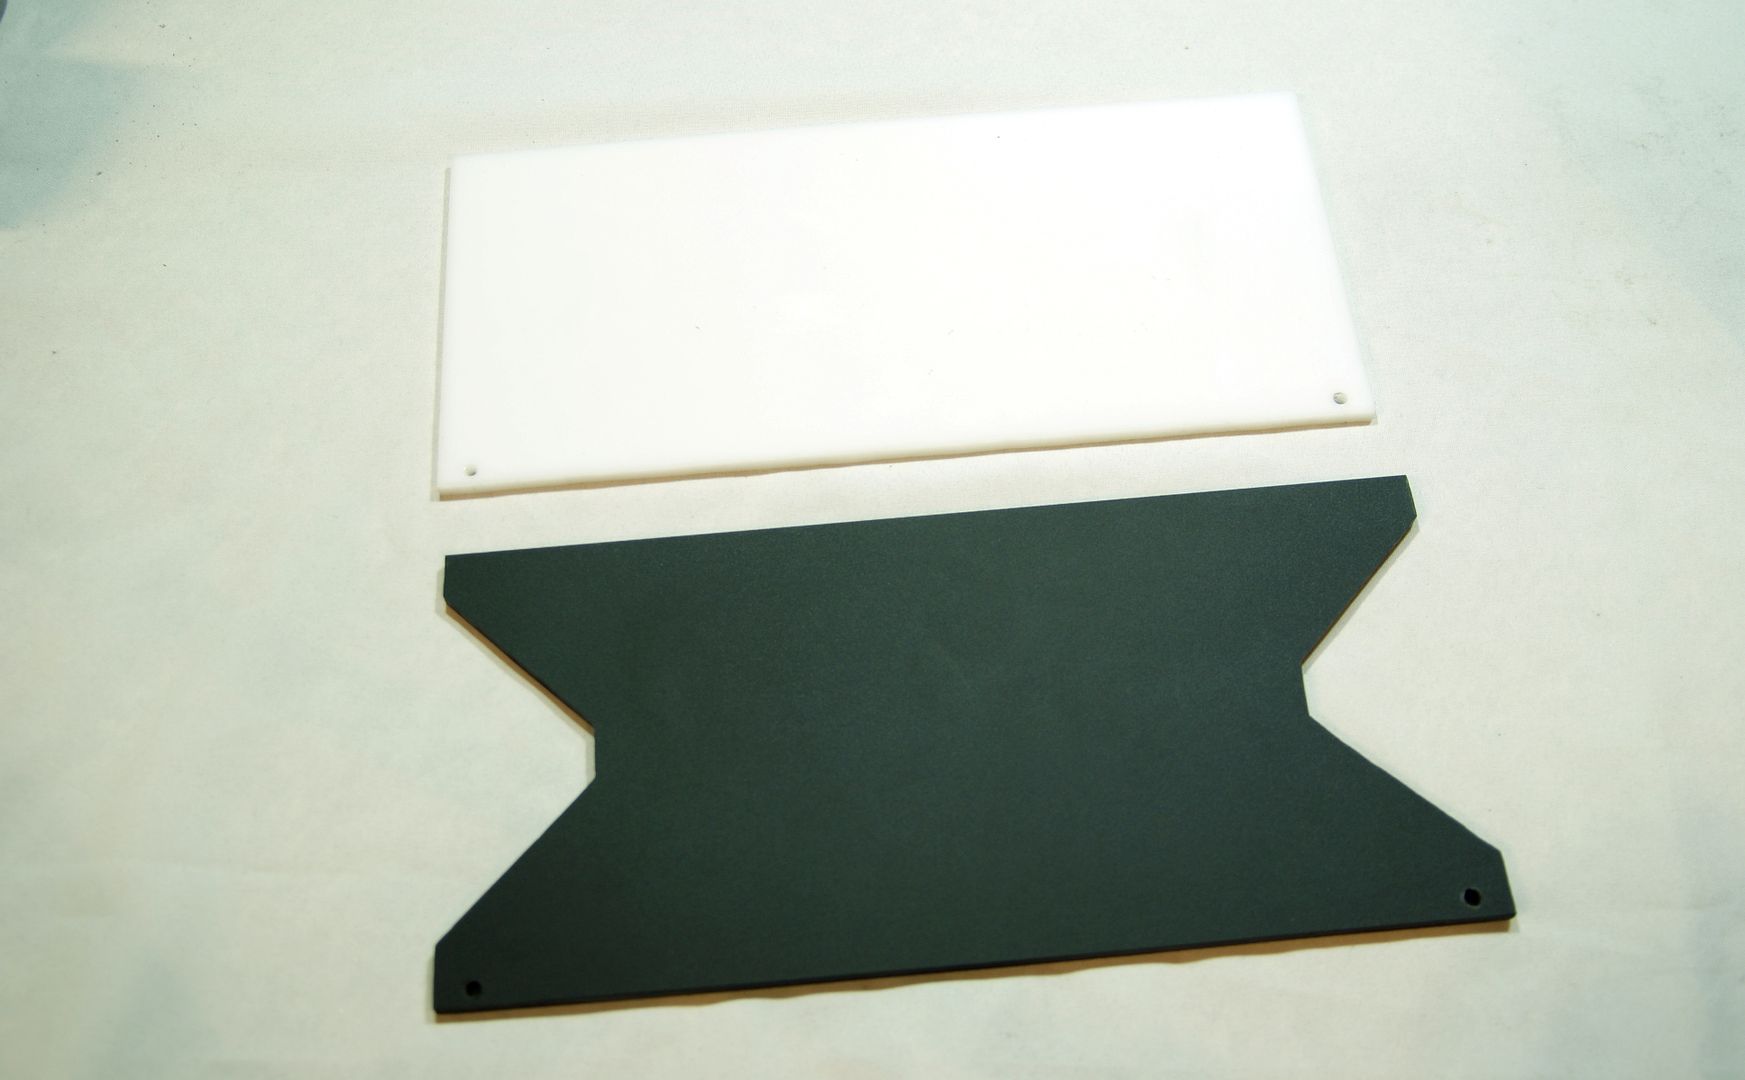
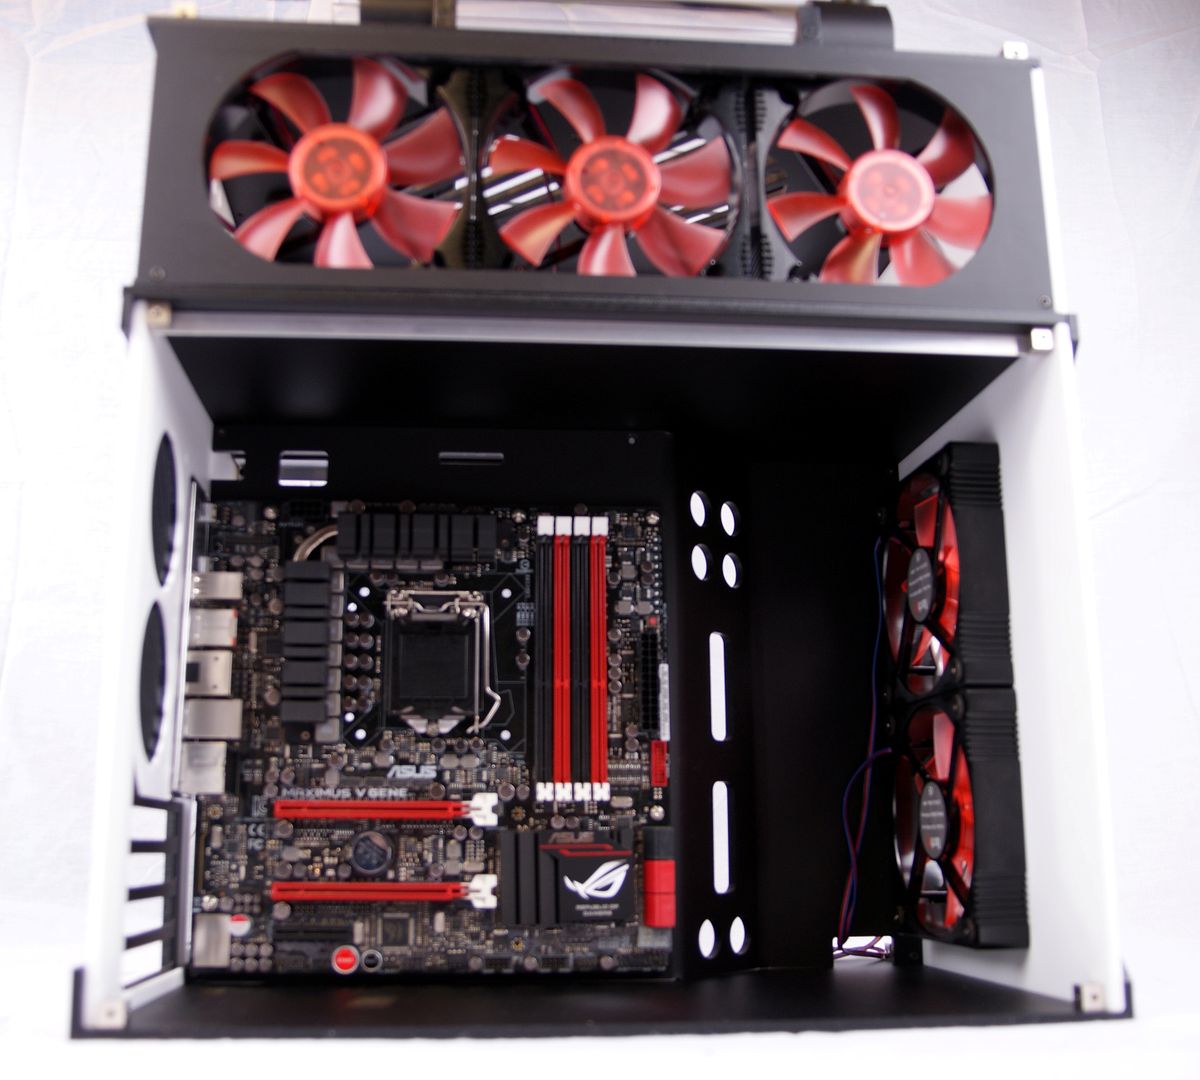
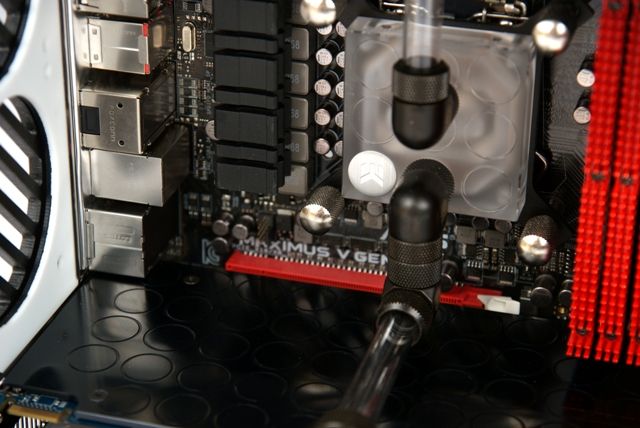
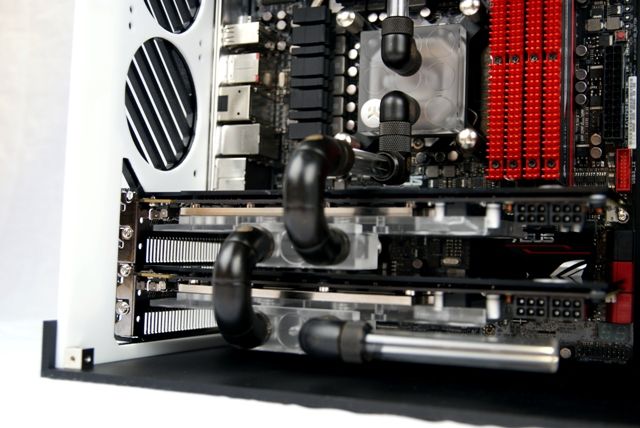
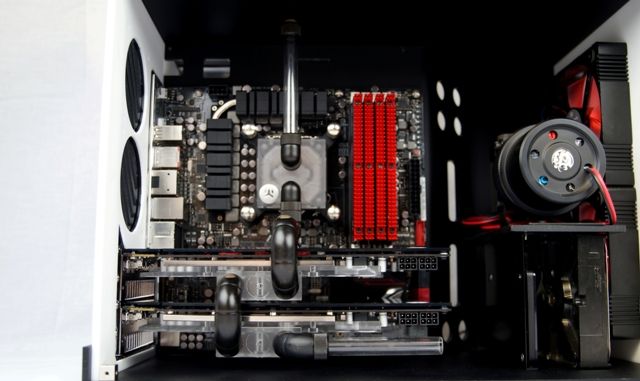
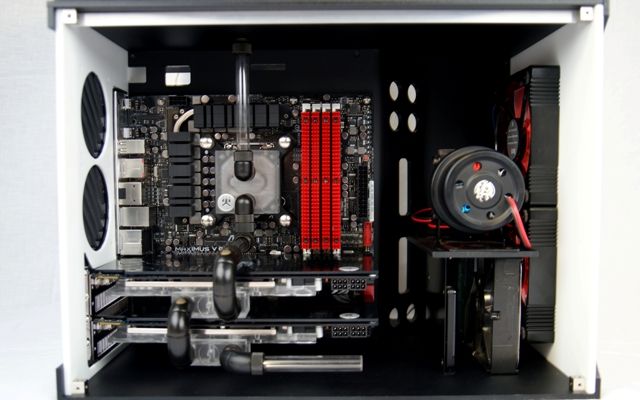
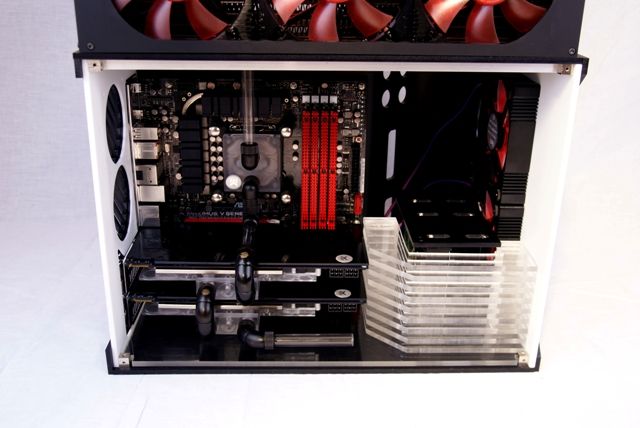
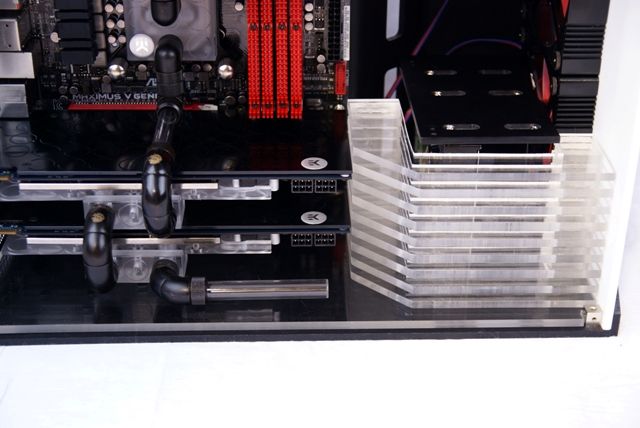
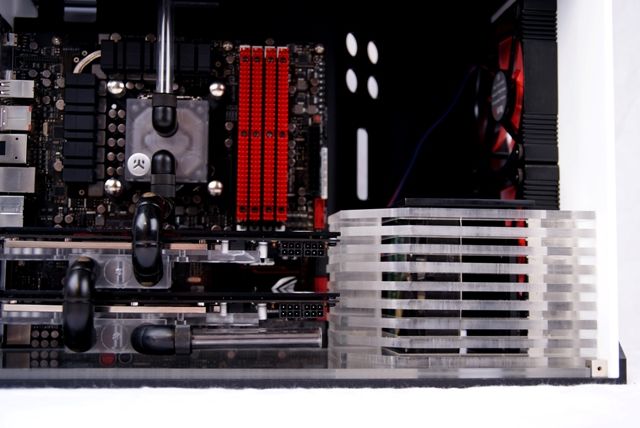
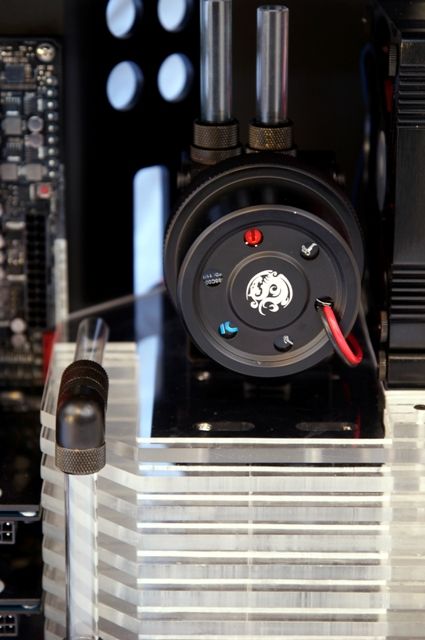
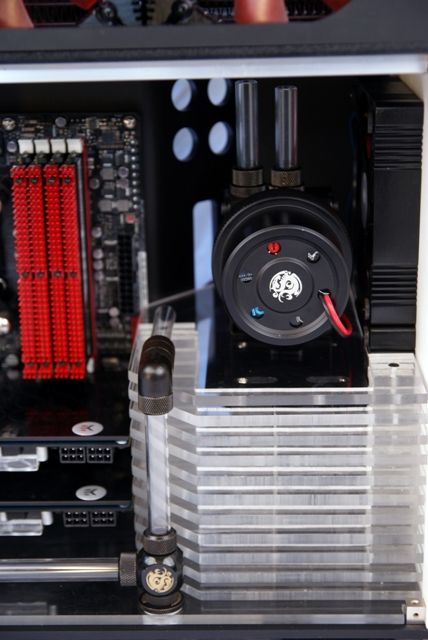
The mATX mobo tray, a hand bent acrylic mid-wall. Provides both case strength and the cable management
With openings for the cables and possibly tubes
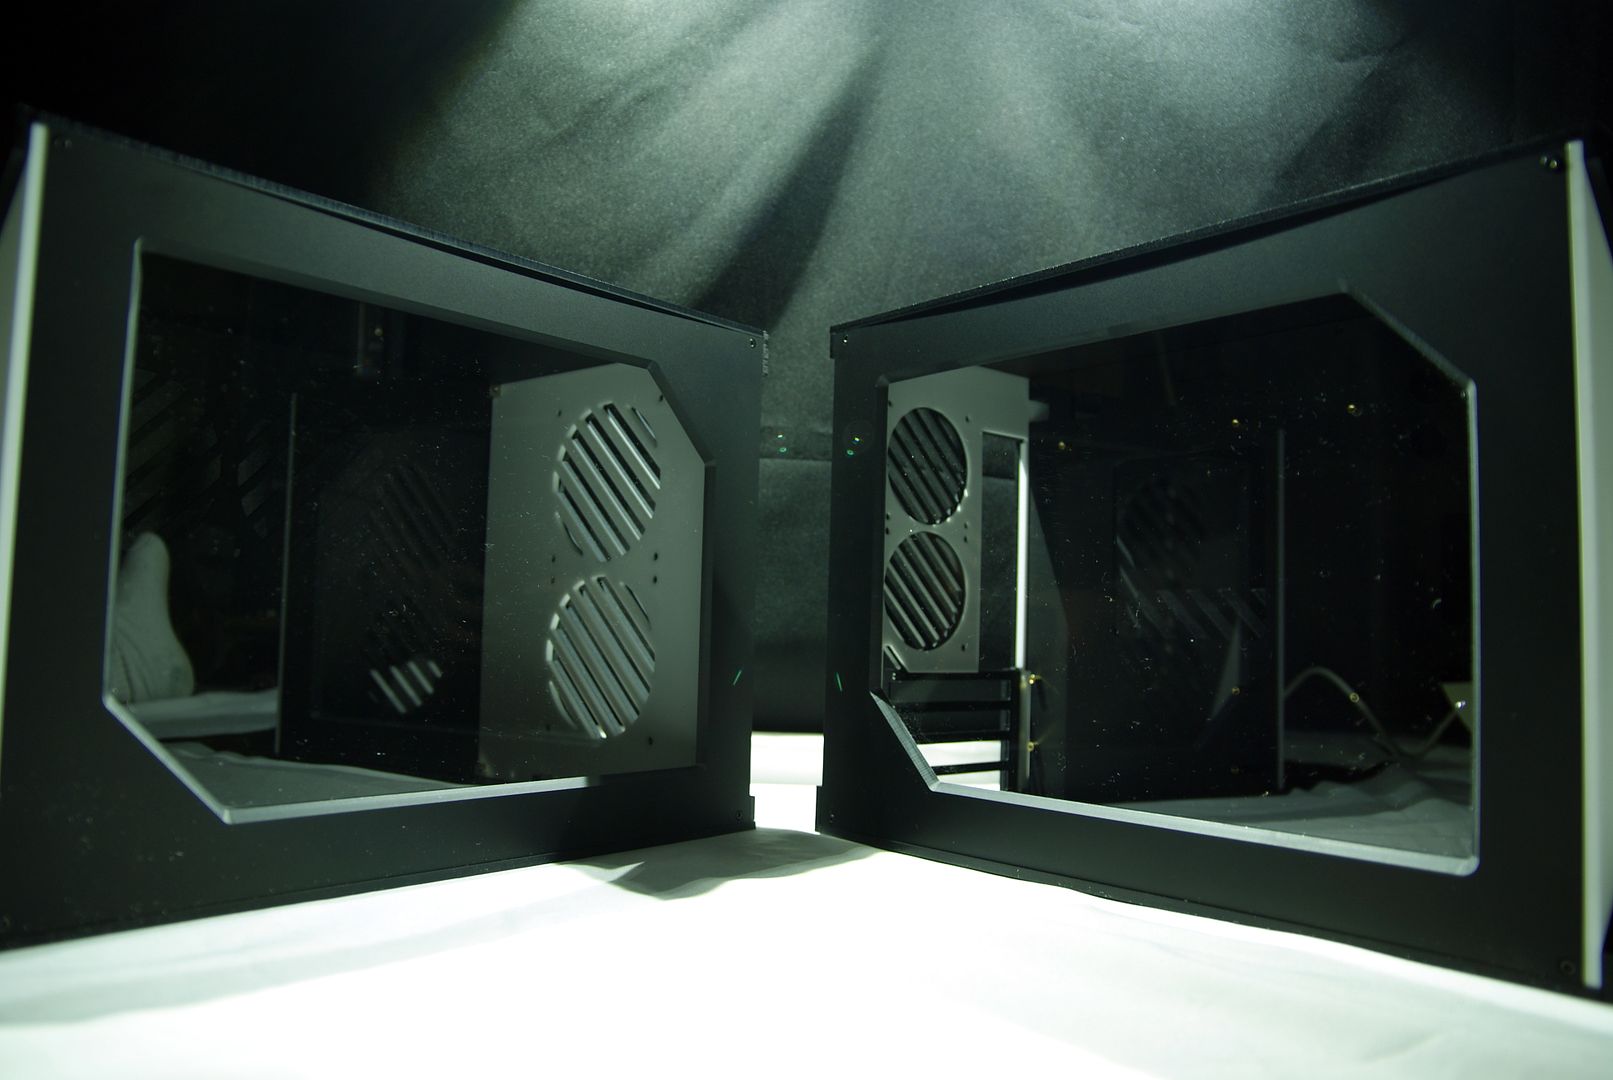
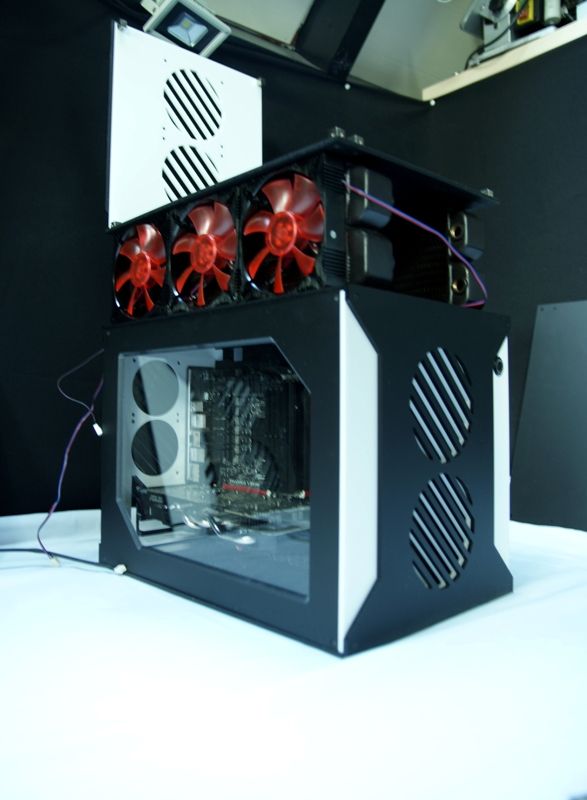
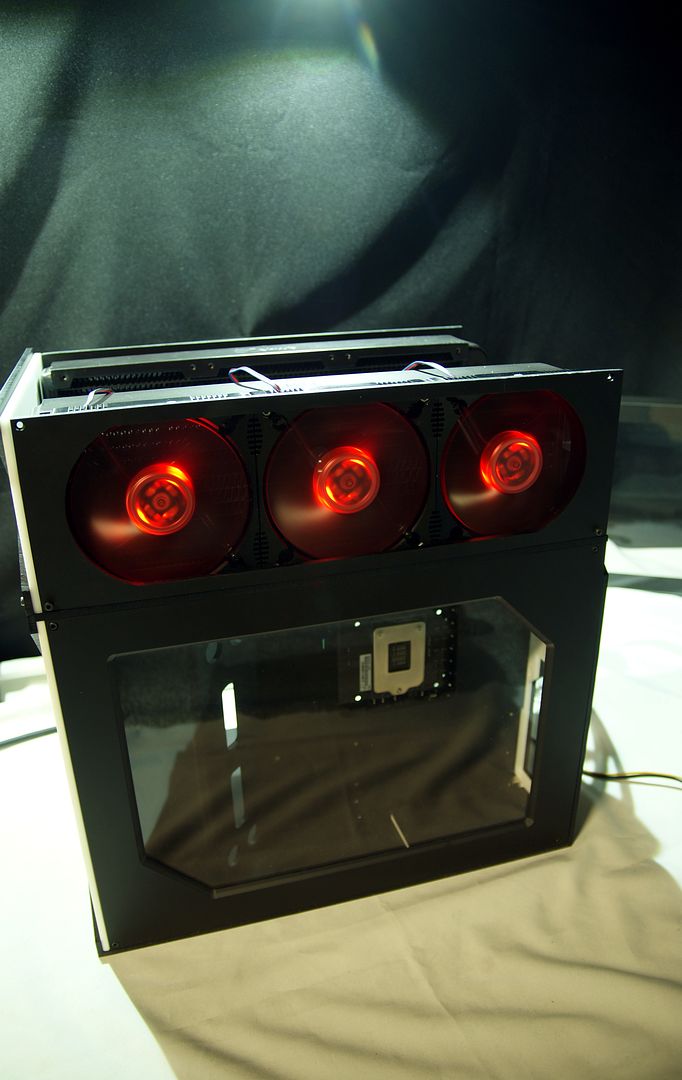
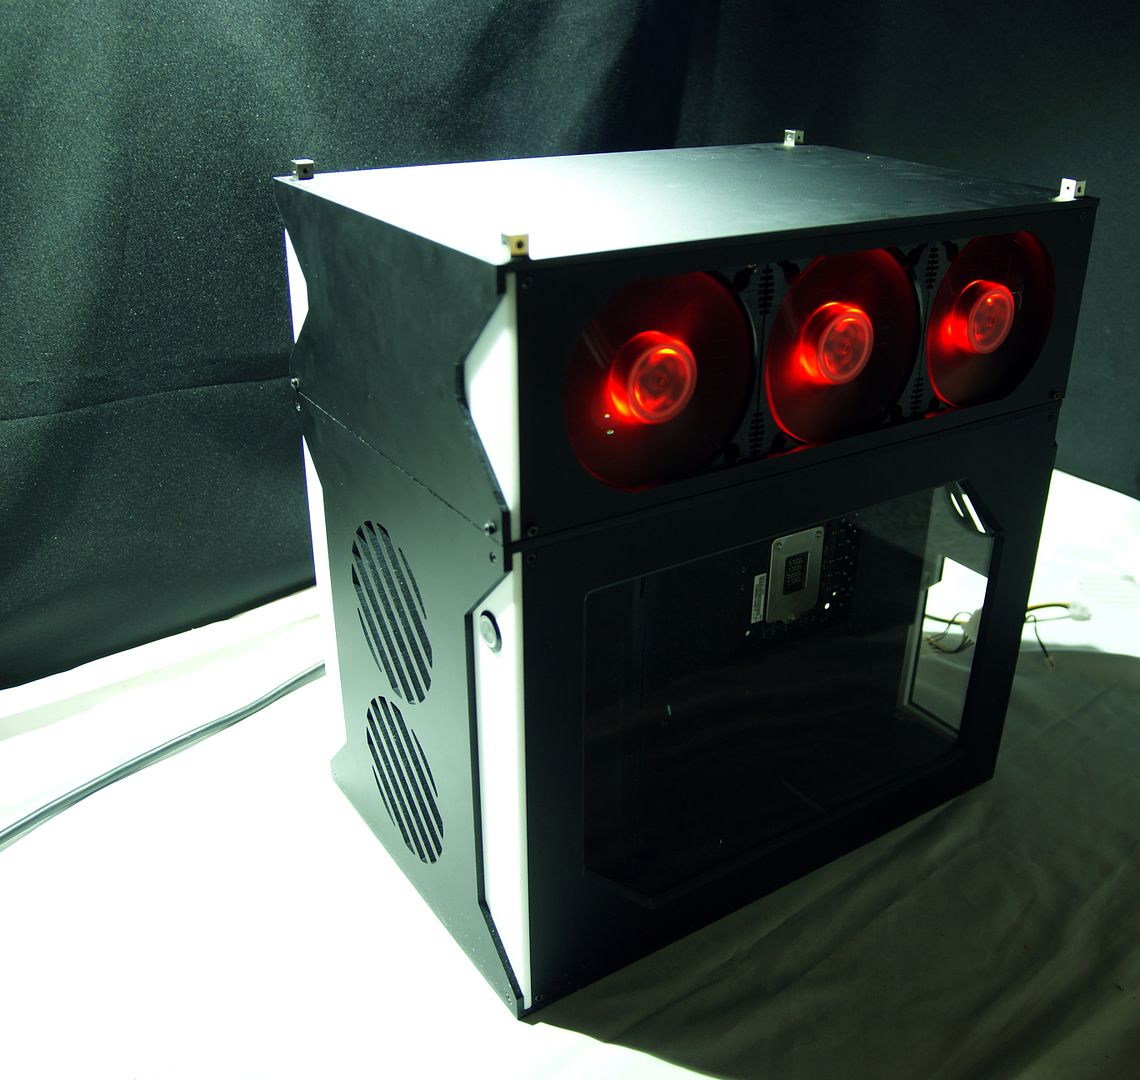
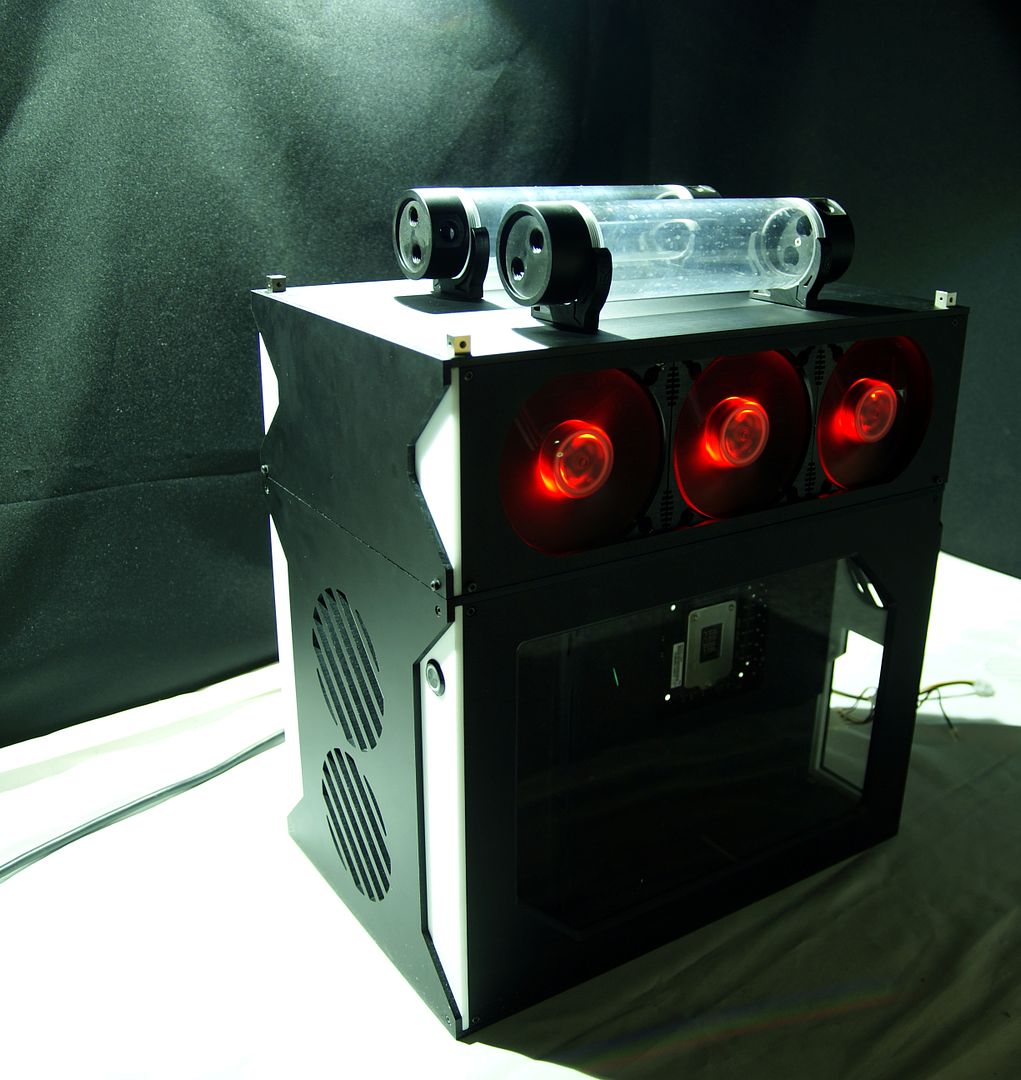
The second case is slightly different internally and externally then the first original. Because I'm planning some fun stuff with this
However, both with window
Front is the same
Furthermore the second case is empty, because I need only 1 hardware section. It is also slightly different at the back. 2x 120mm fanholes in the middle
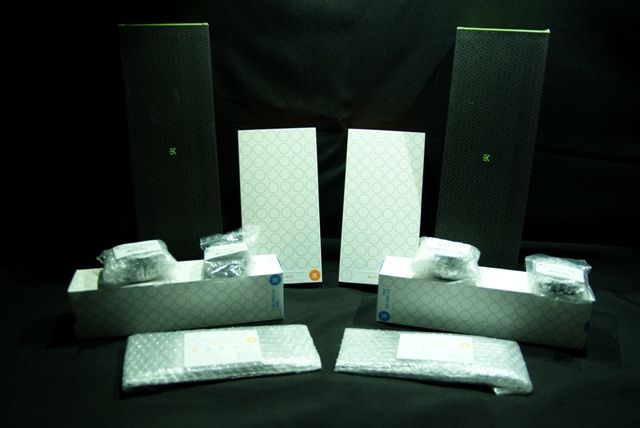
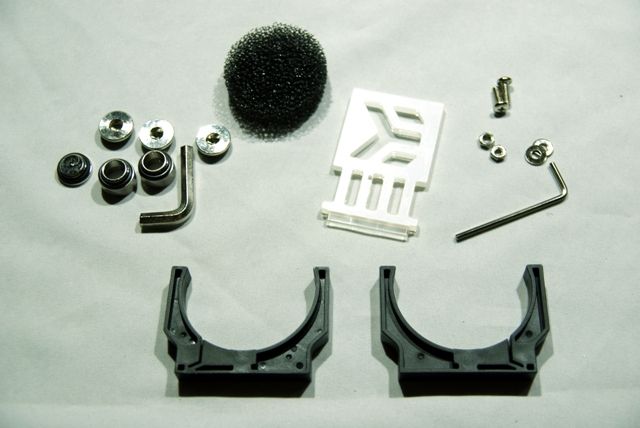
Also there were some nice extras in the package like:
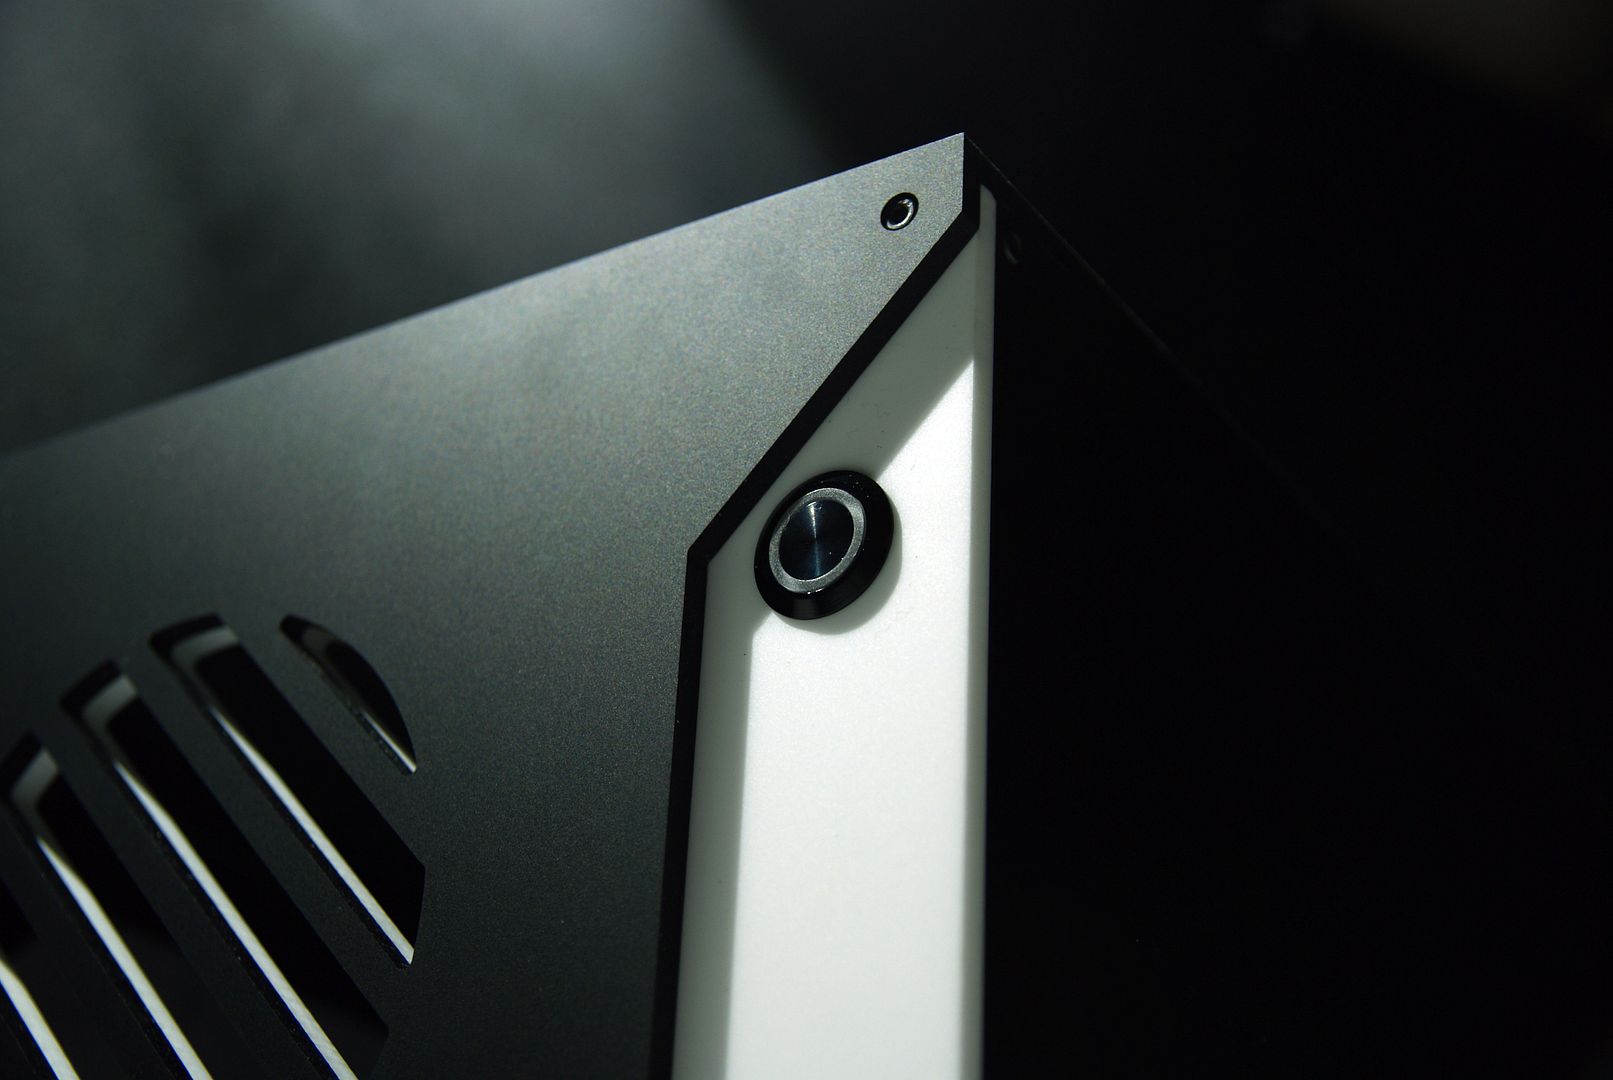
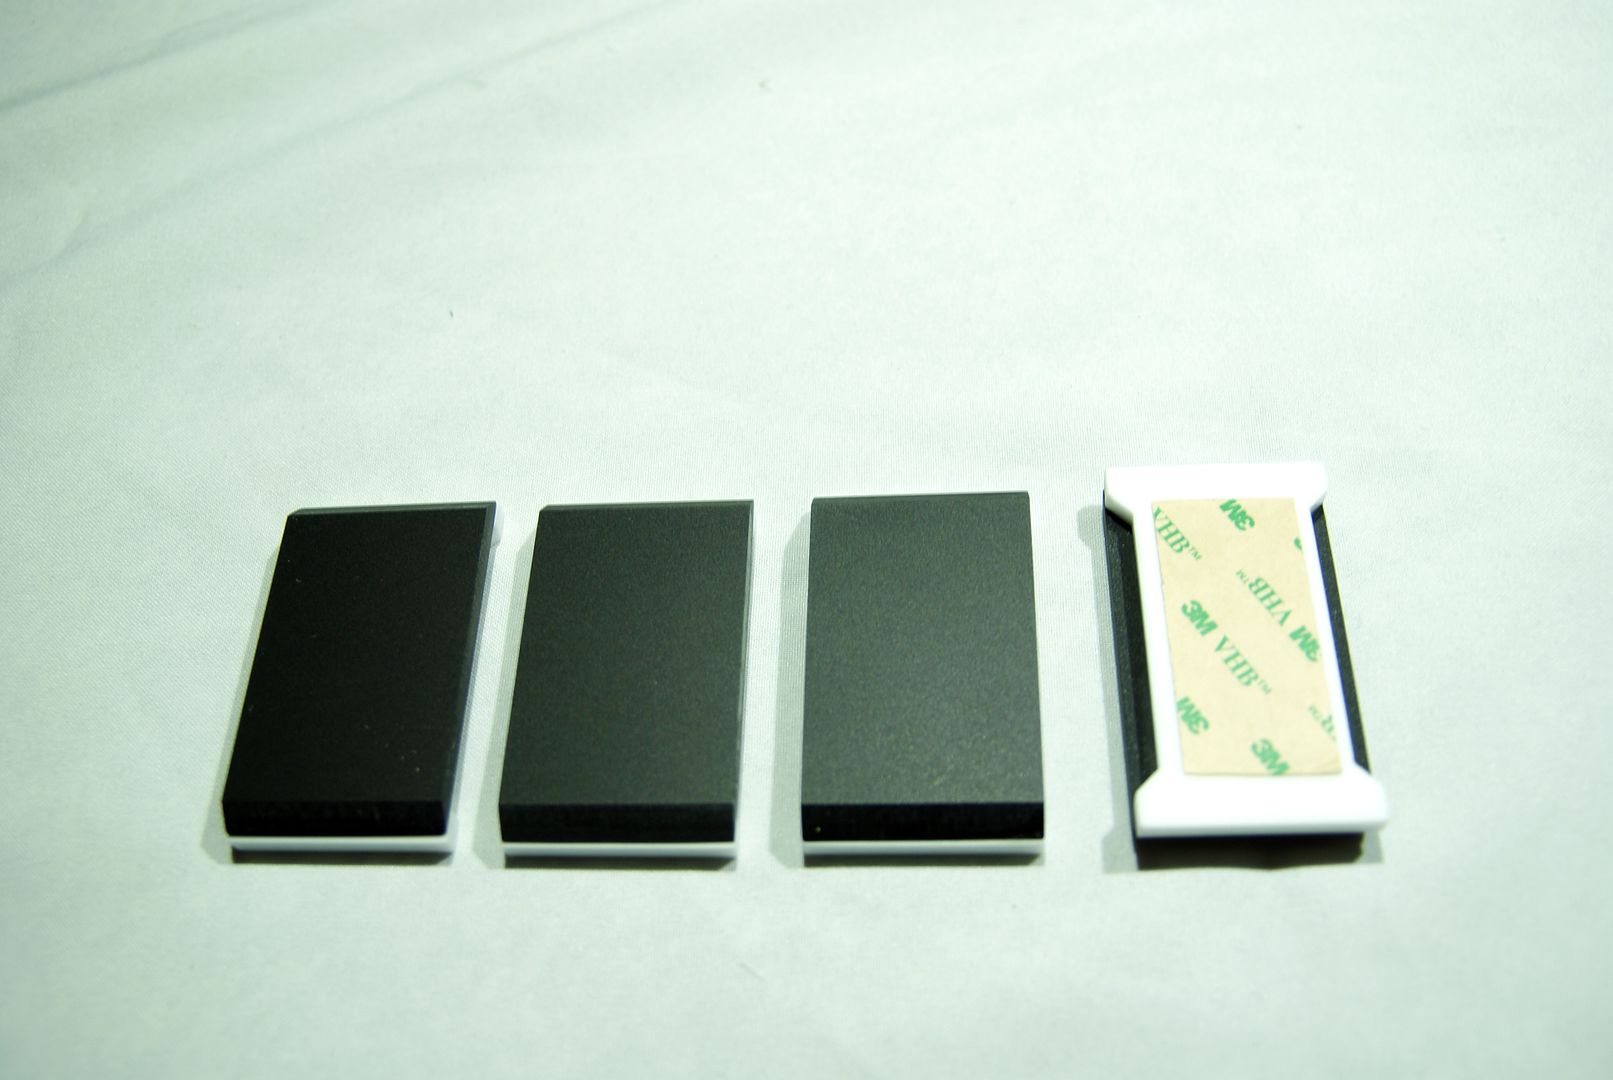
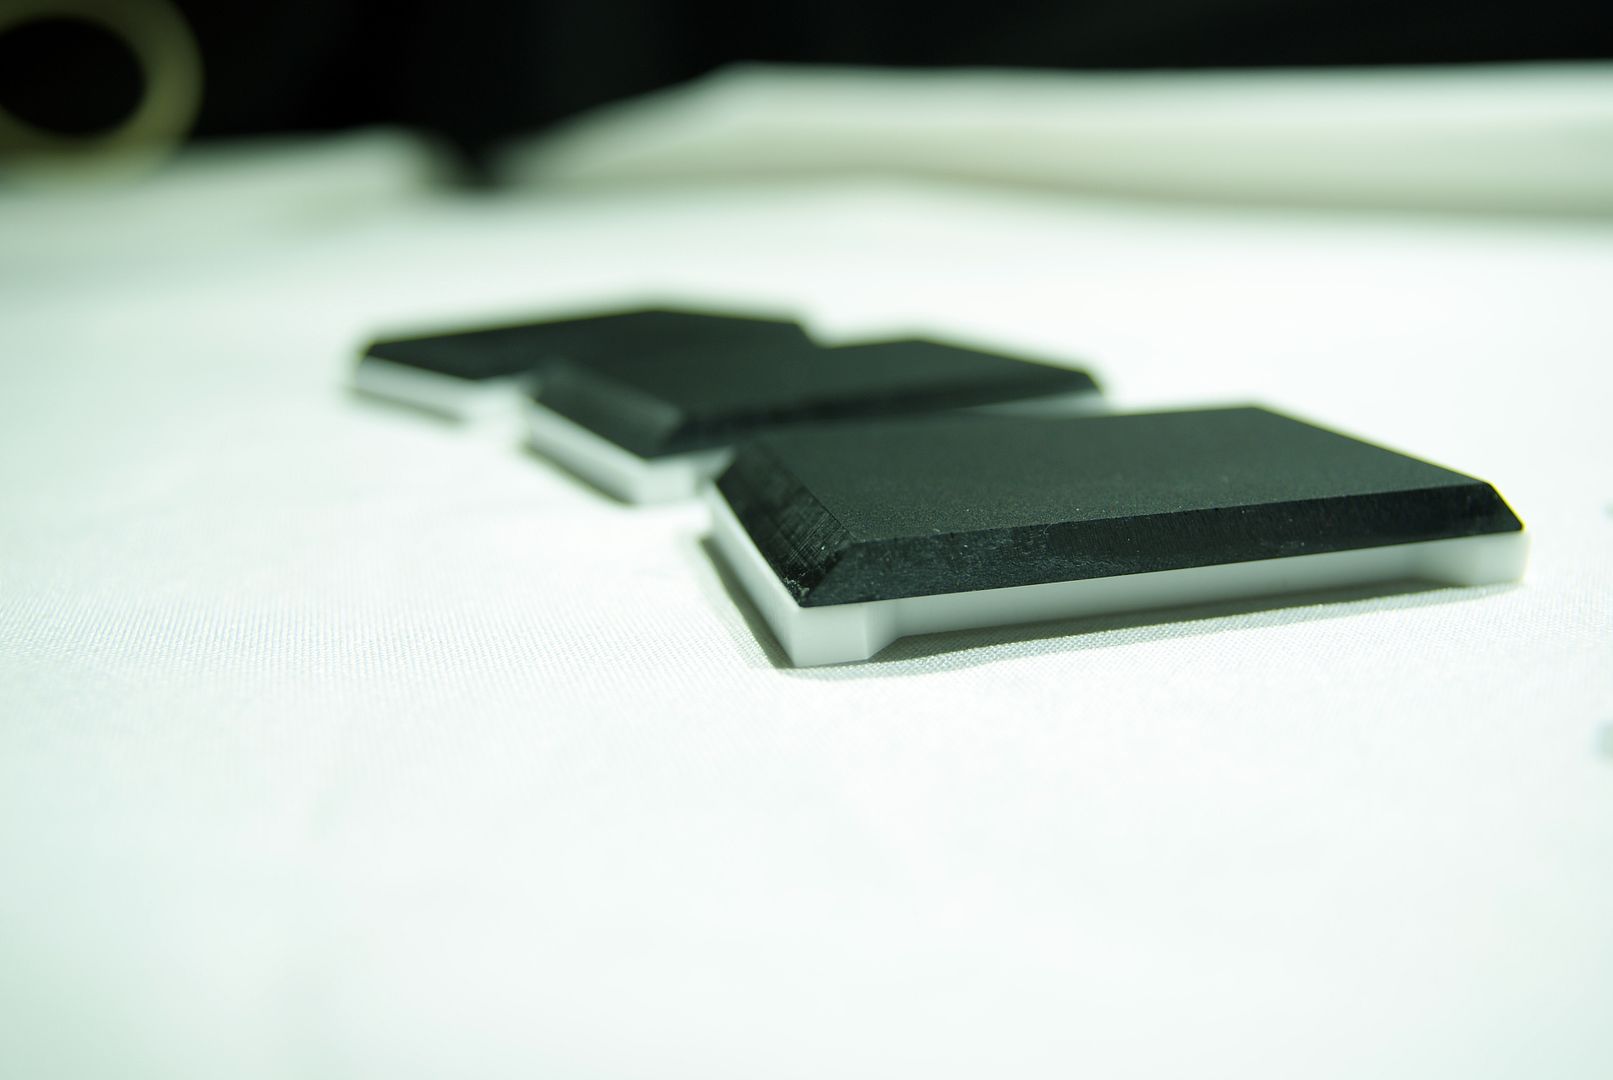
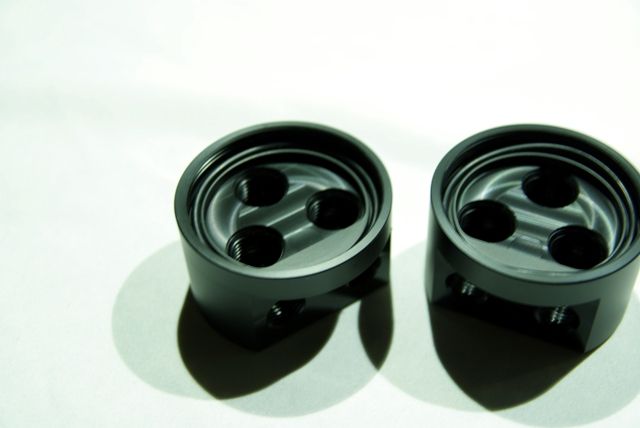
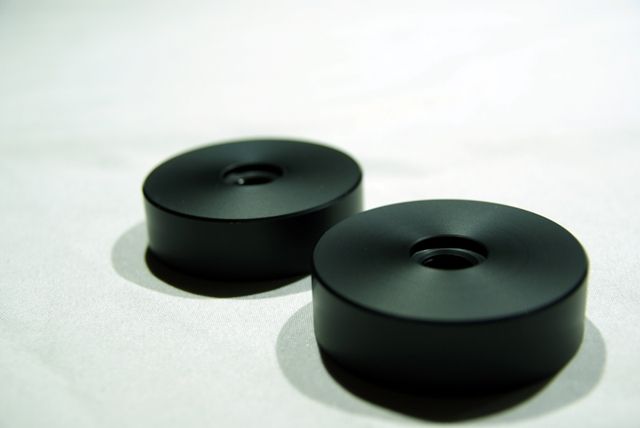
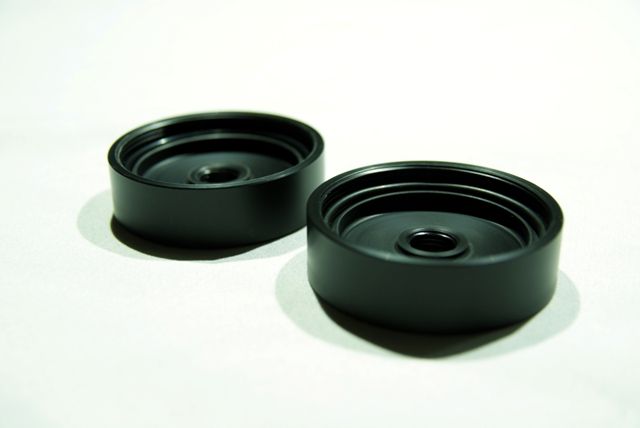
Case feets
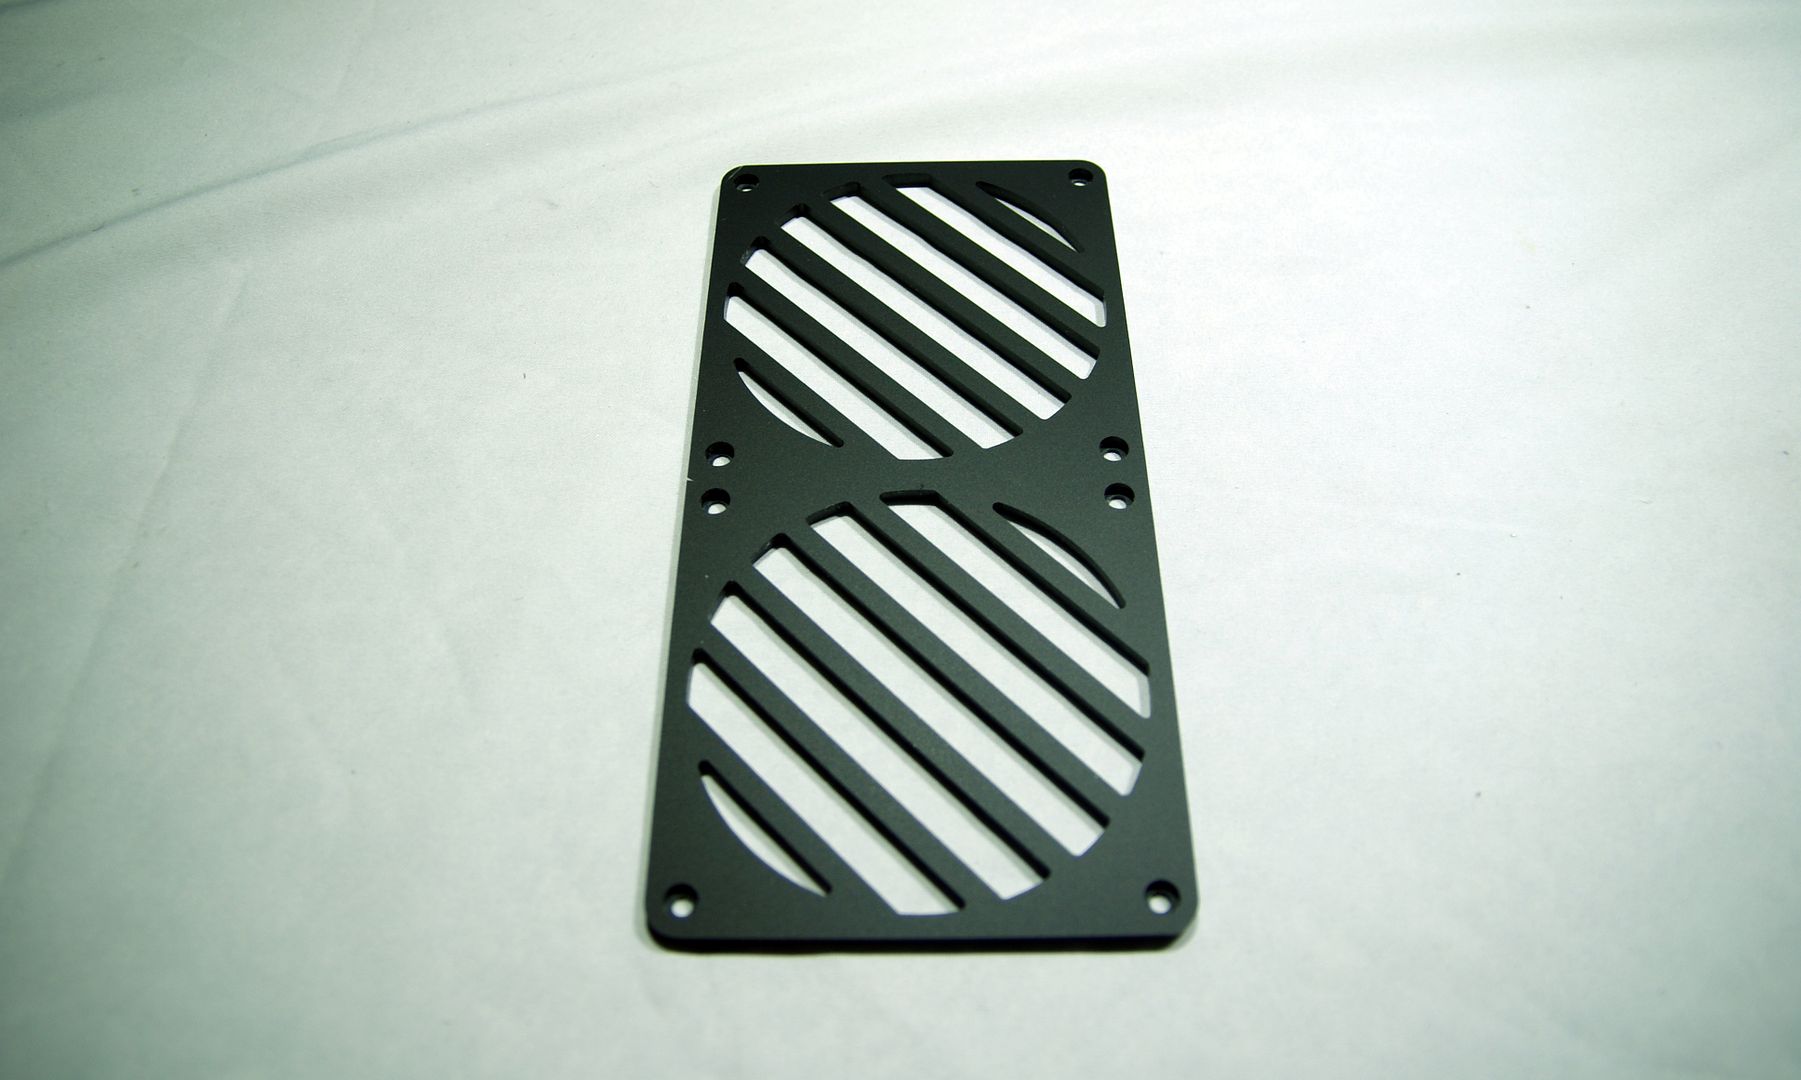
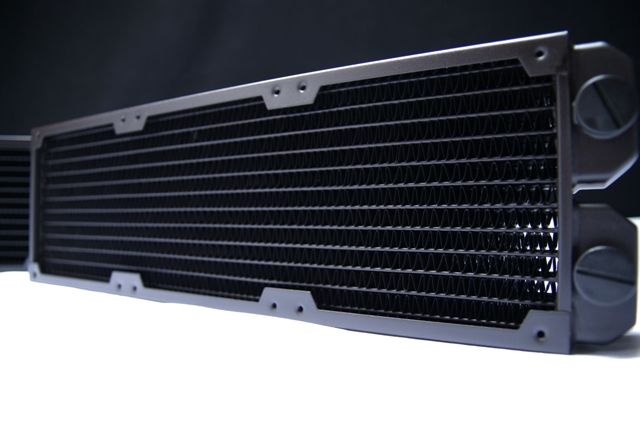
Some beautiful 240mm radgrills.
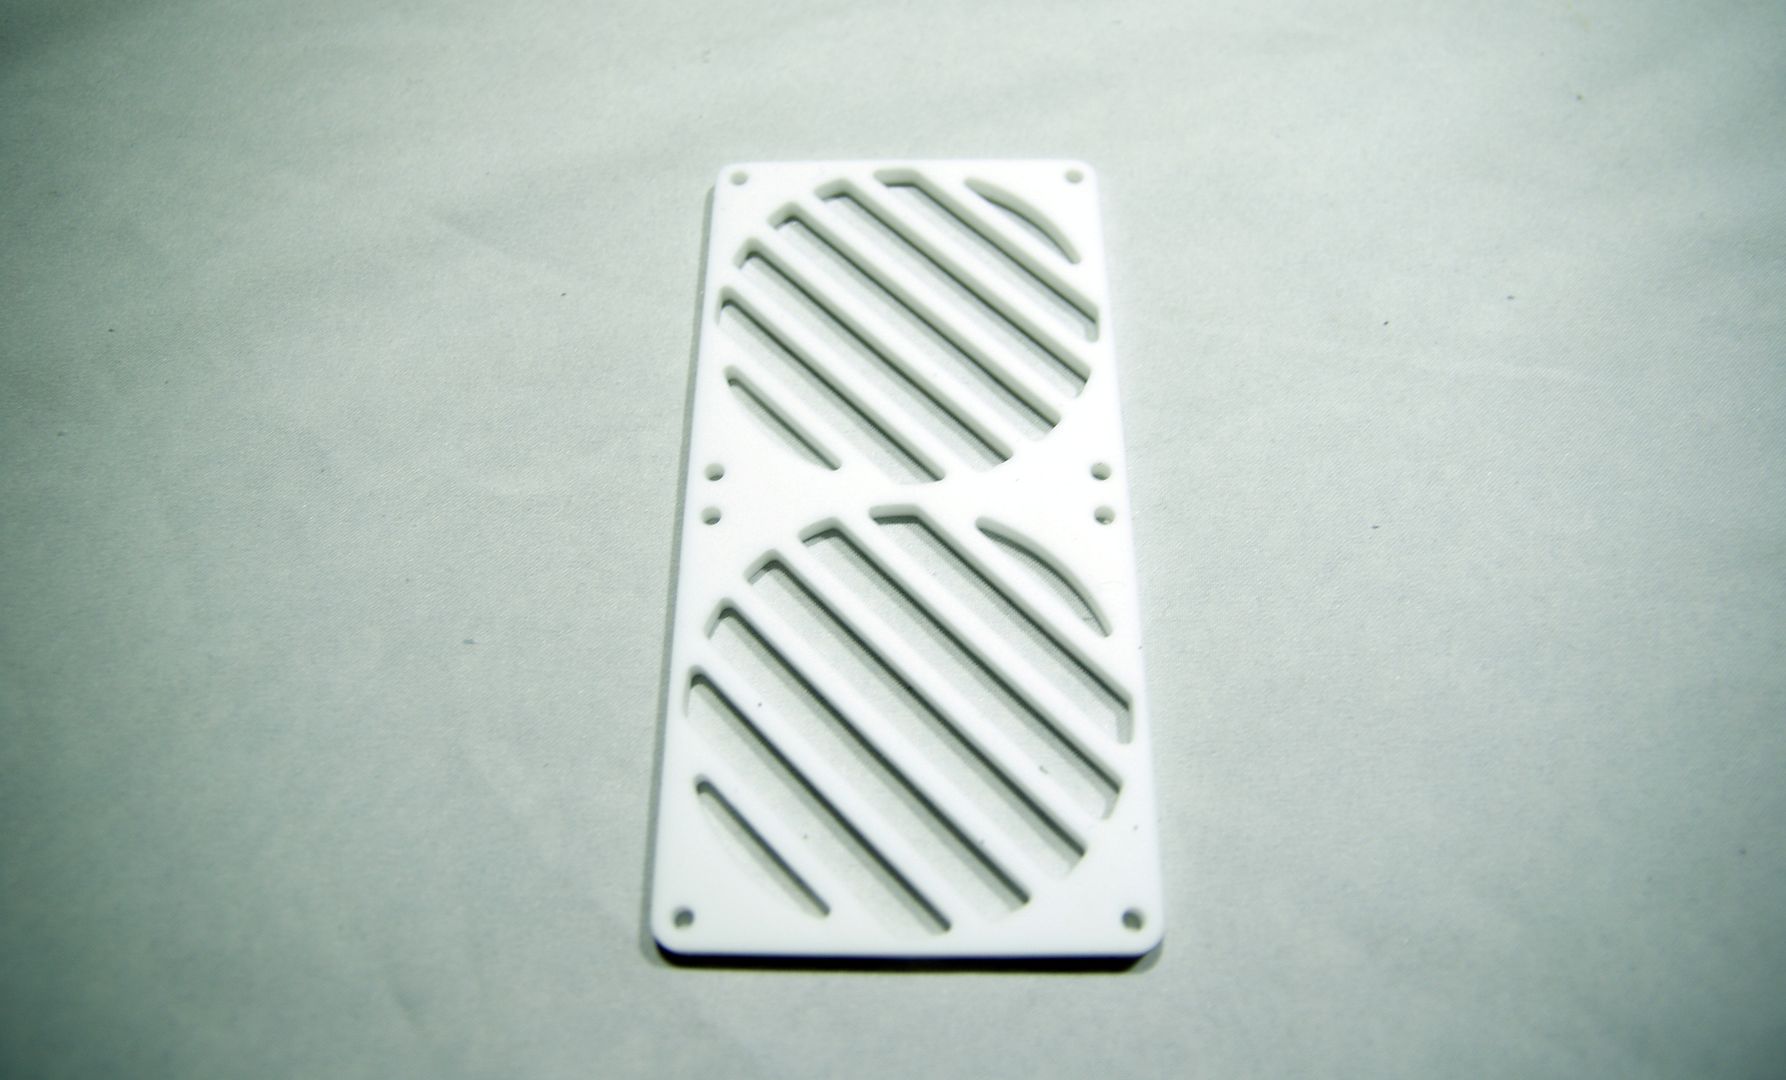
And a 160mm radgrill.
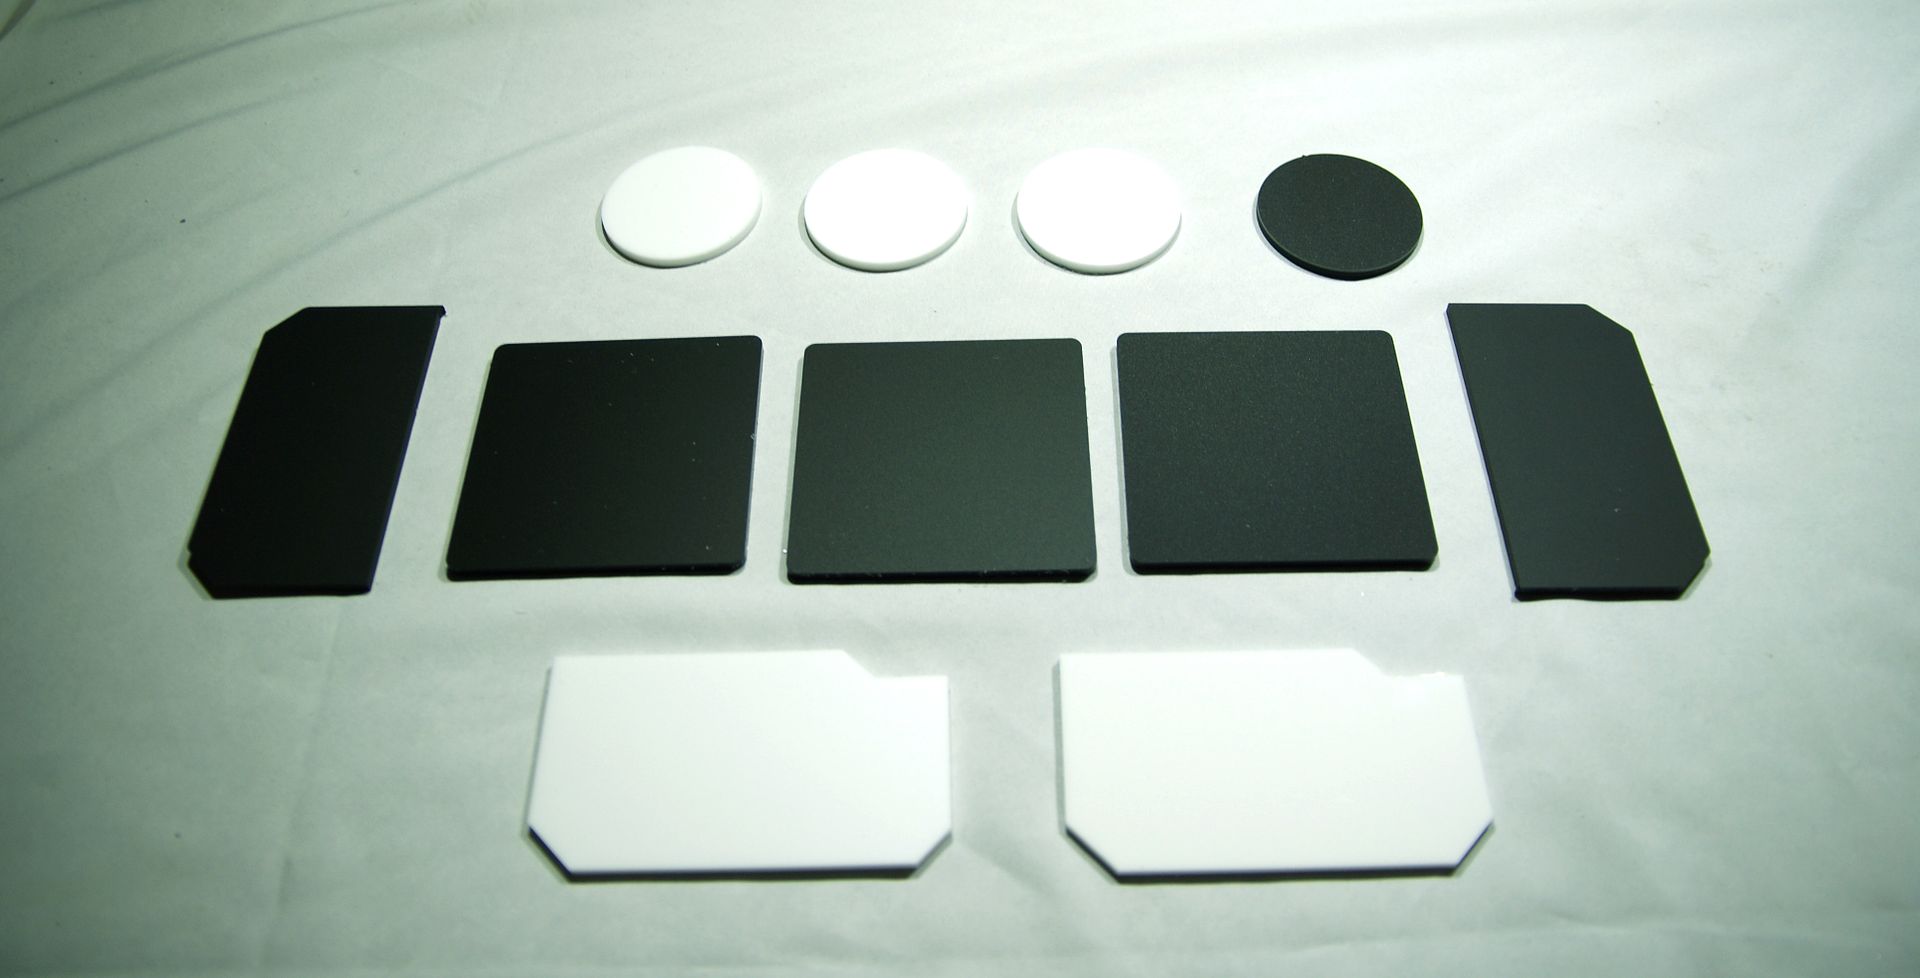
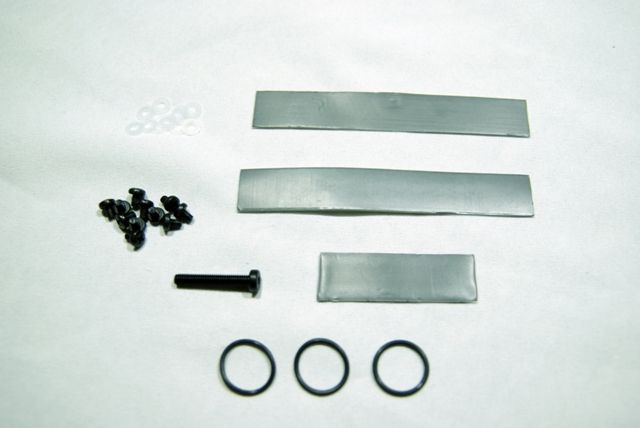
I also asked for some extra rest material for various purposes.
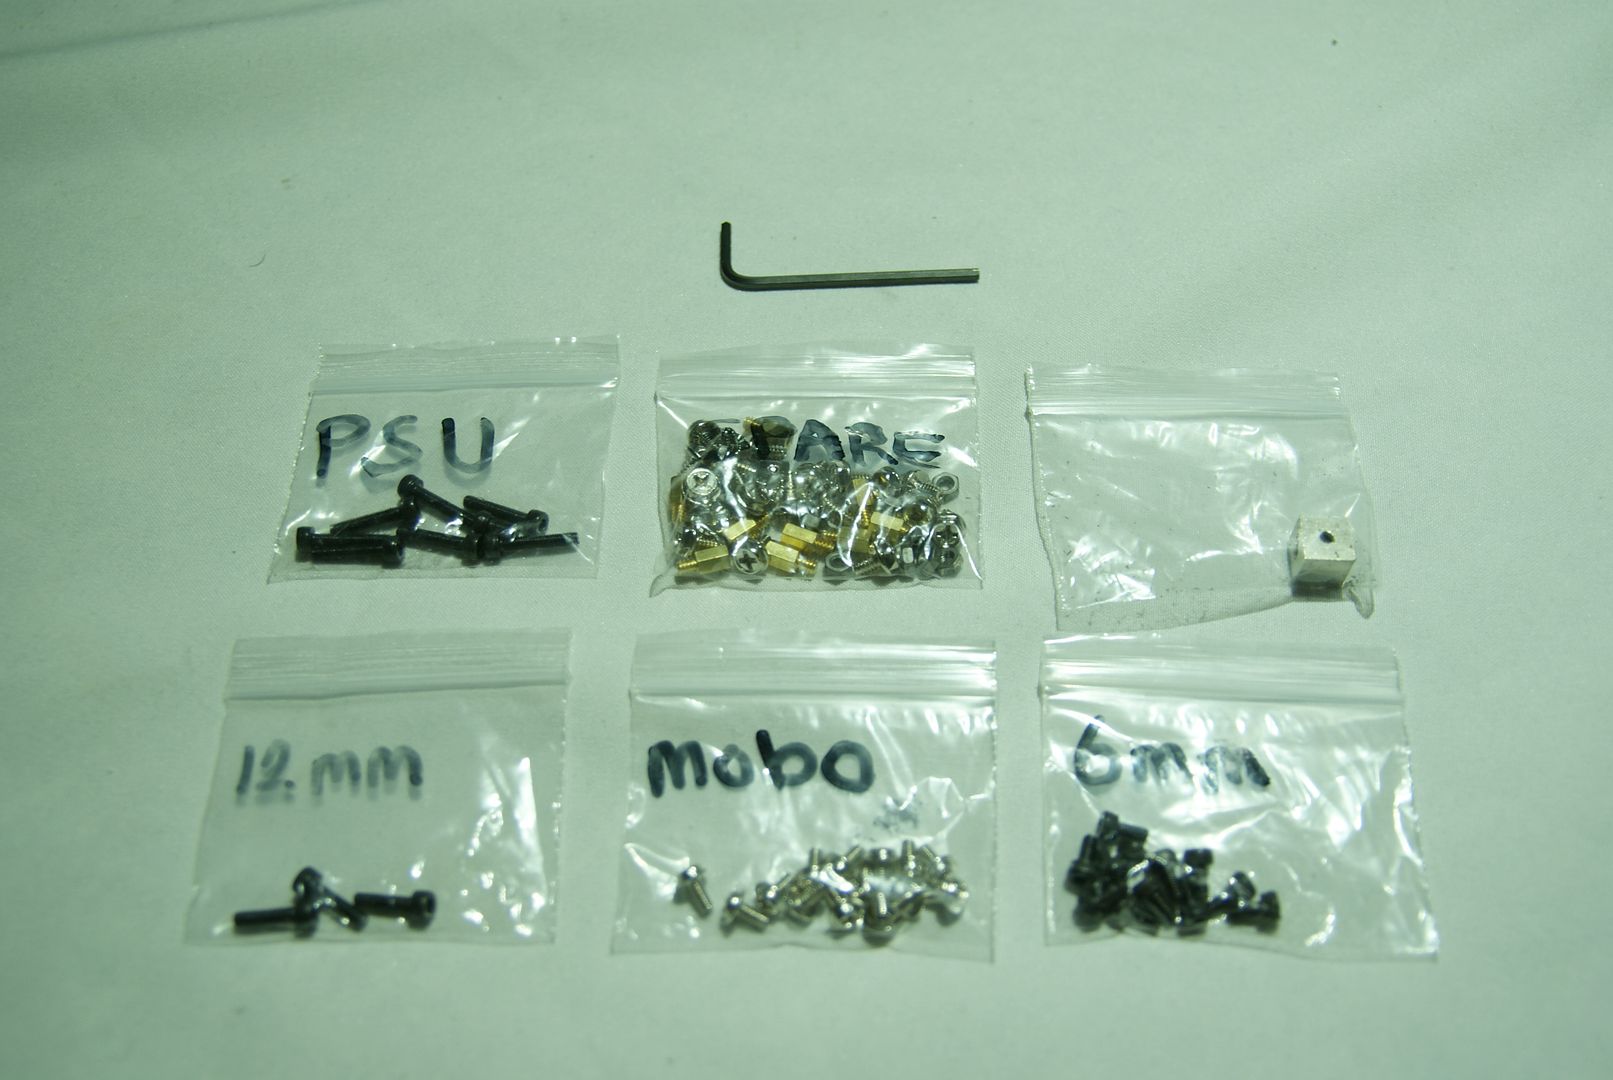
Extra mounting stuff.
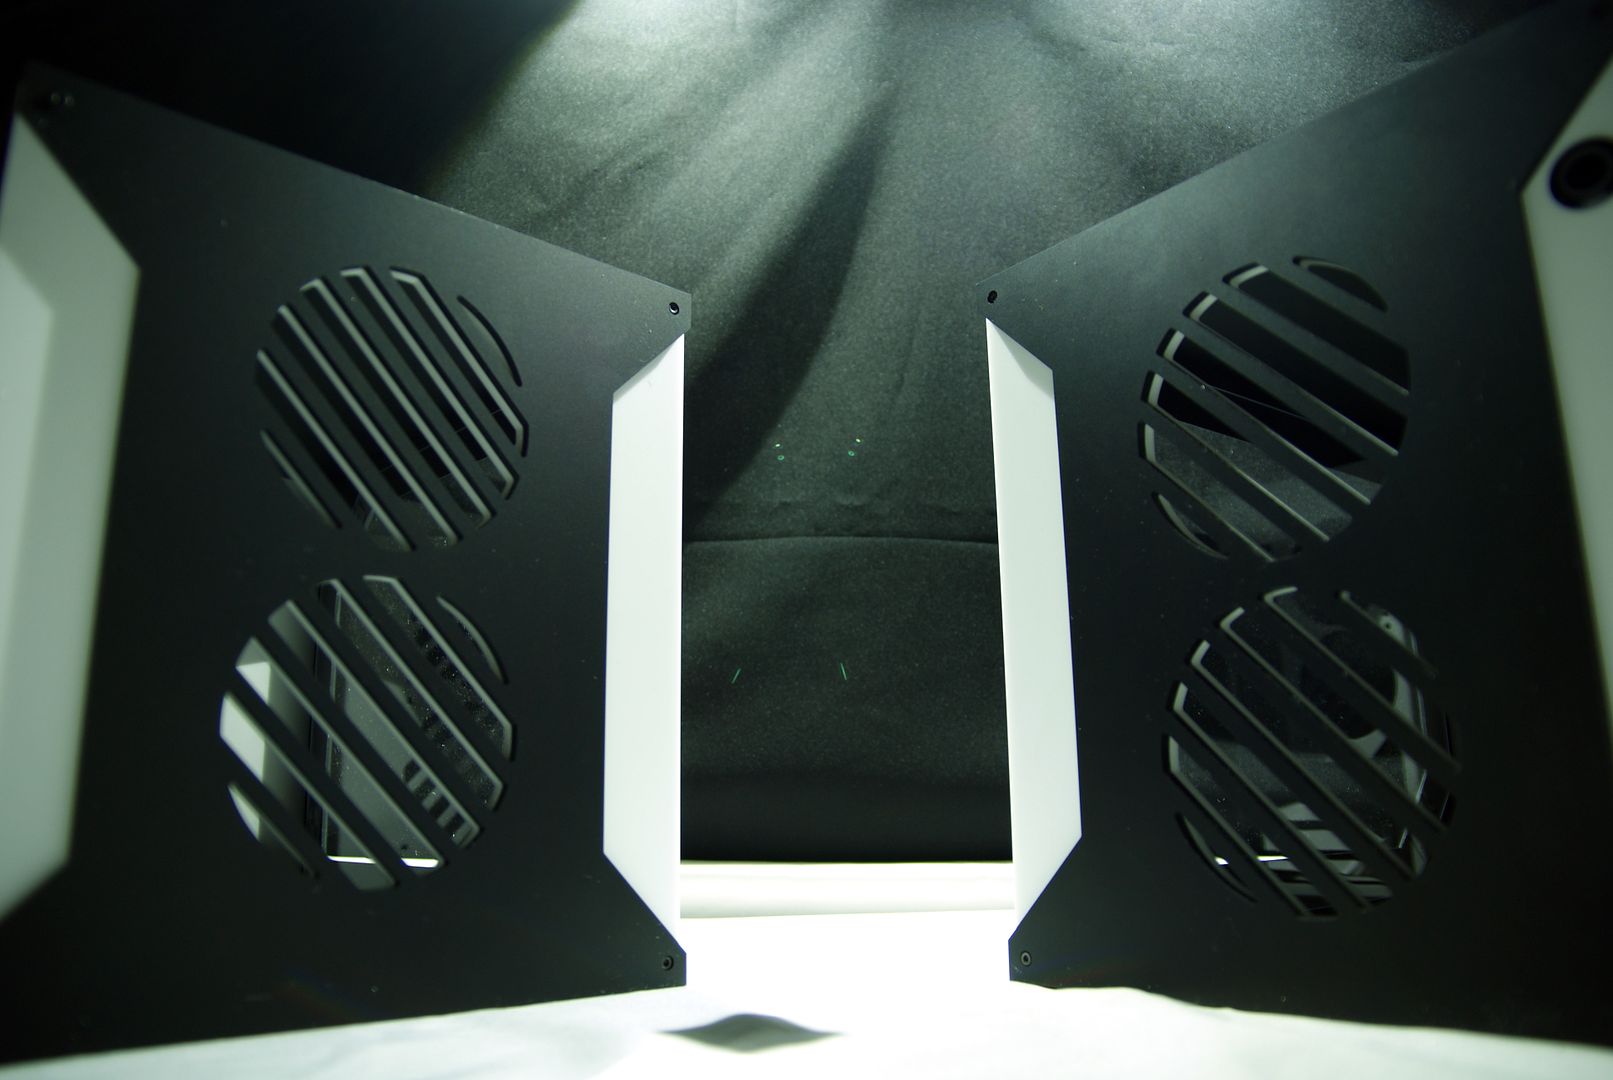
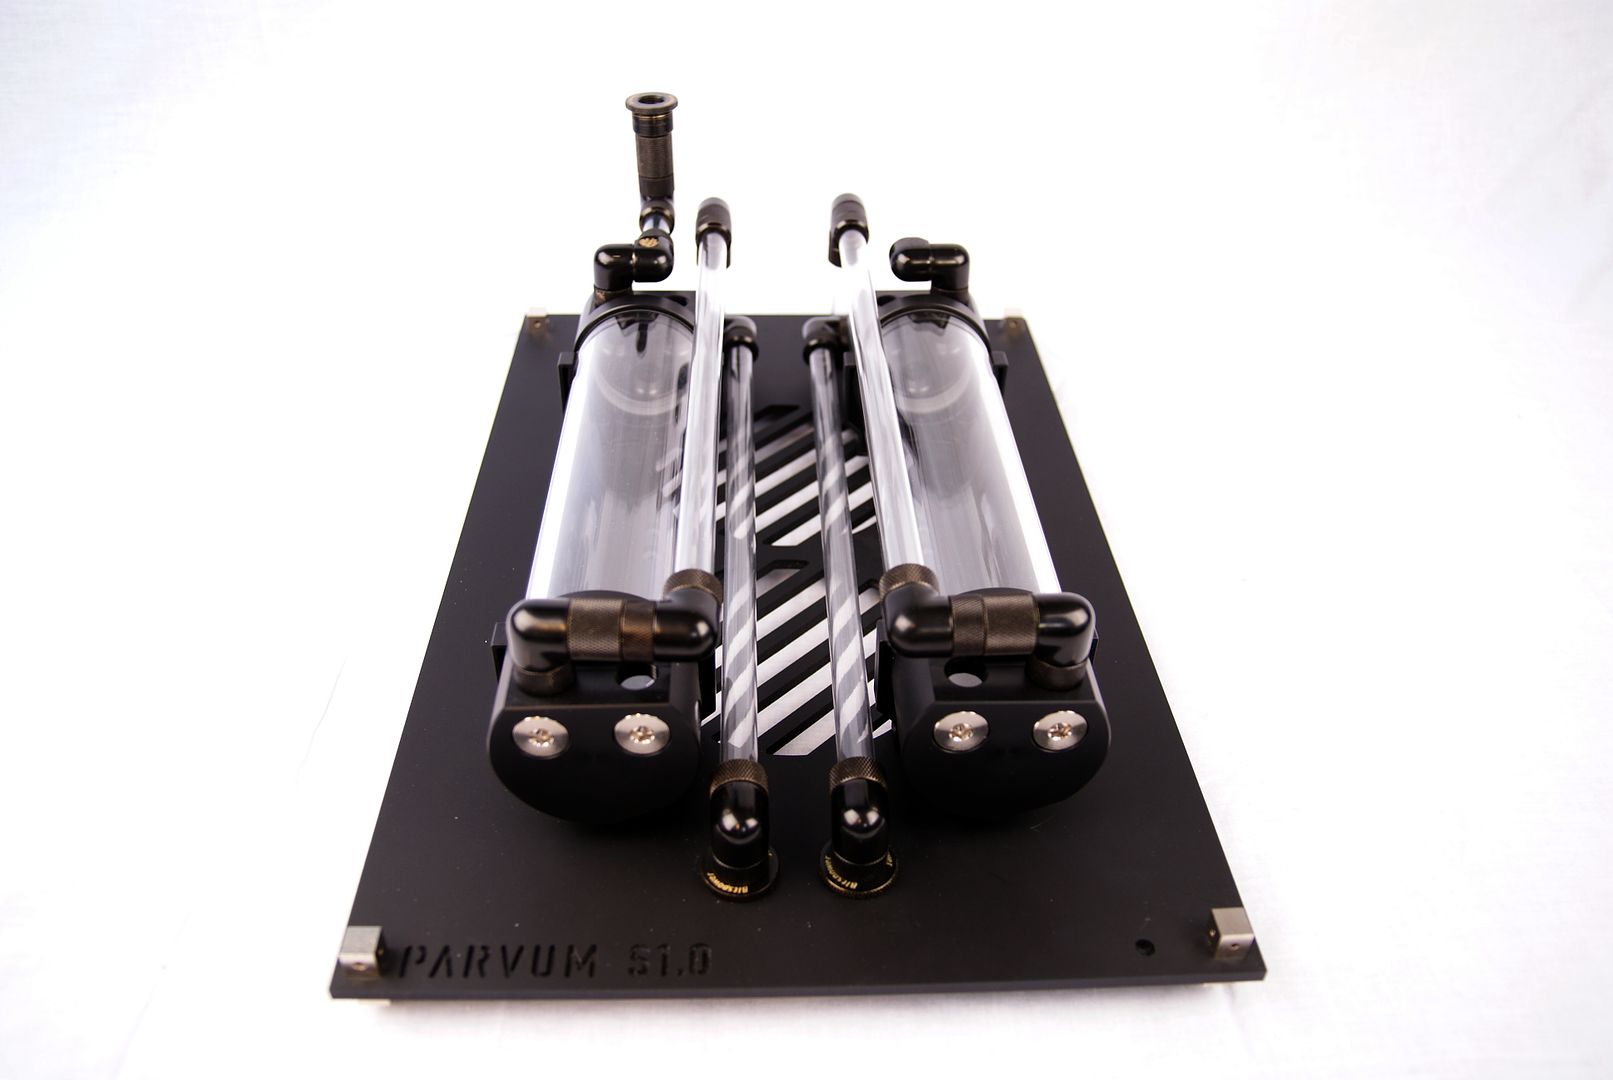
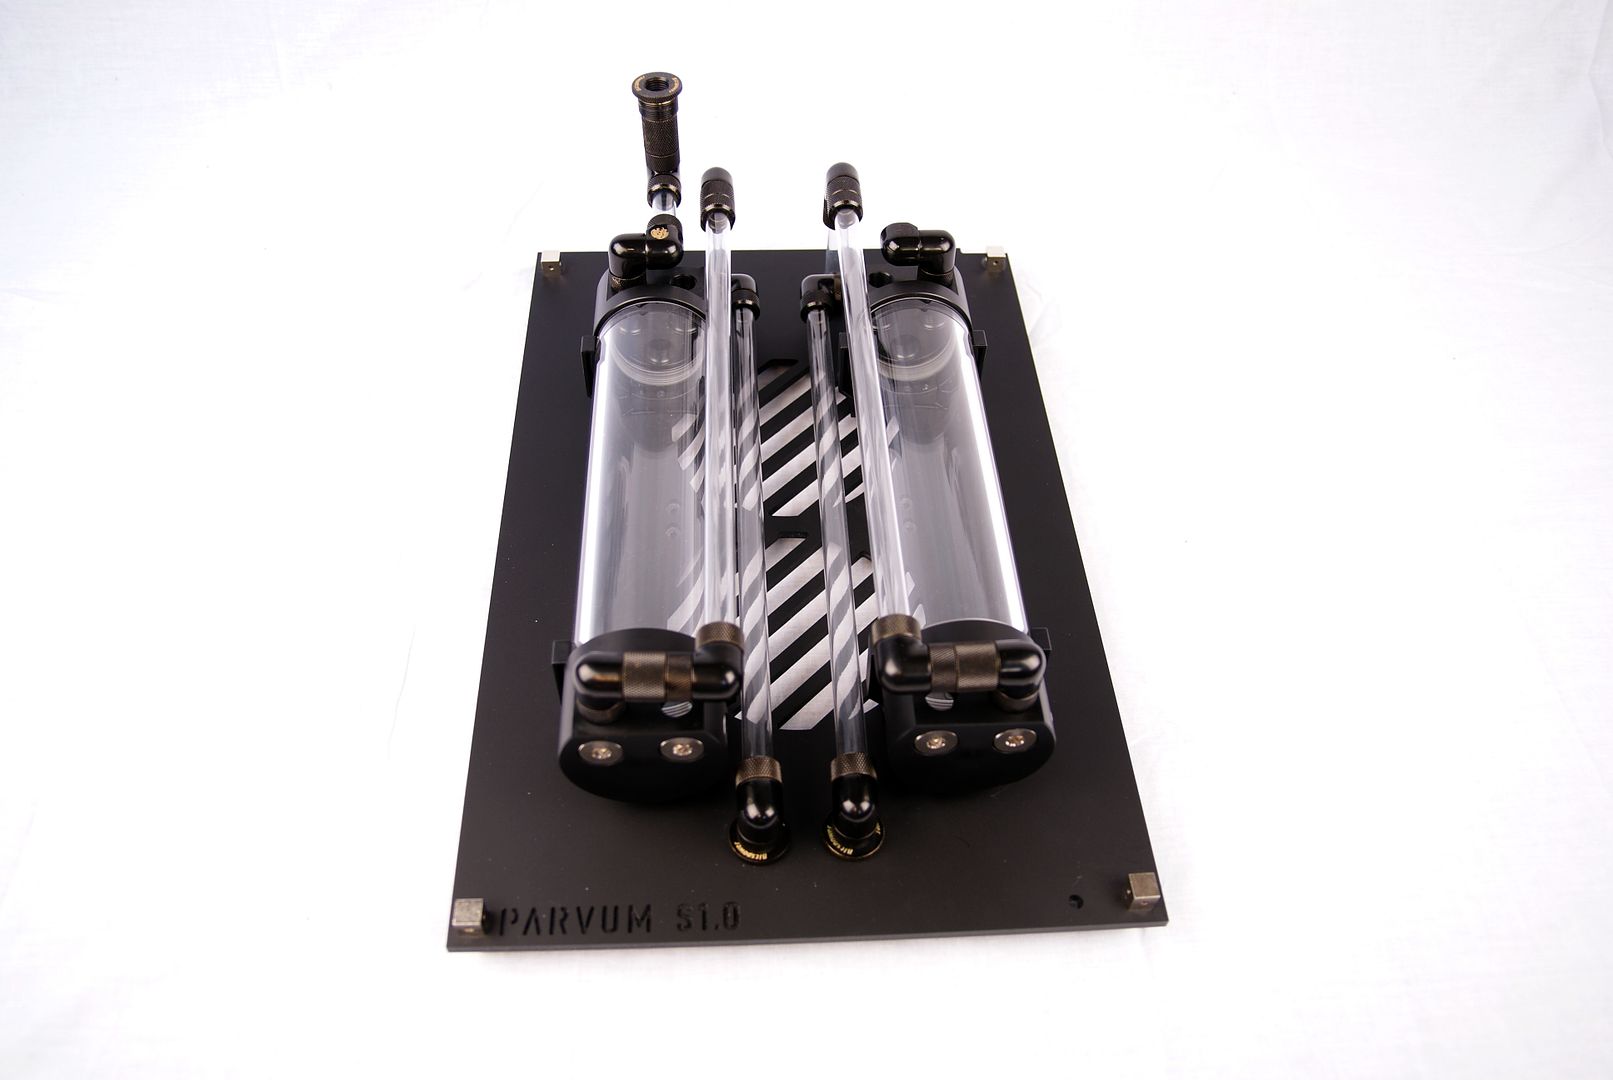
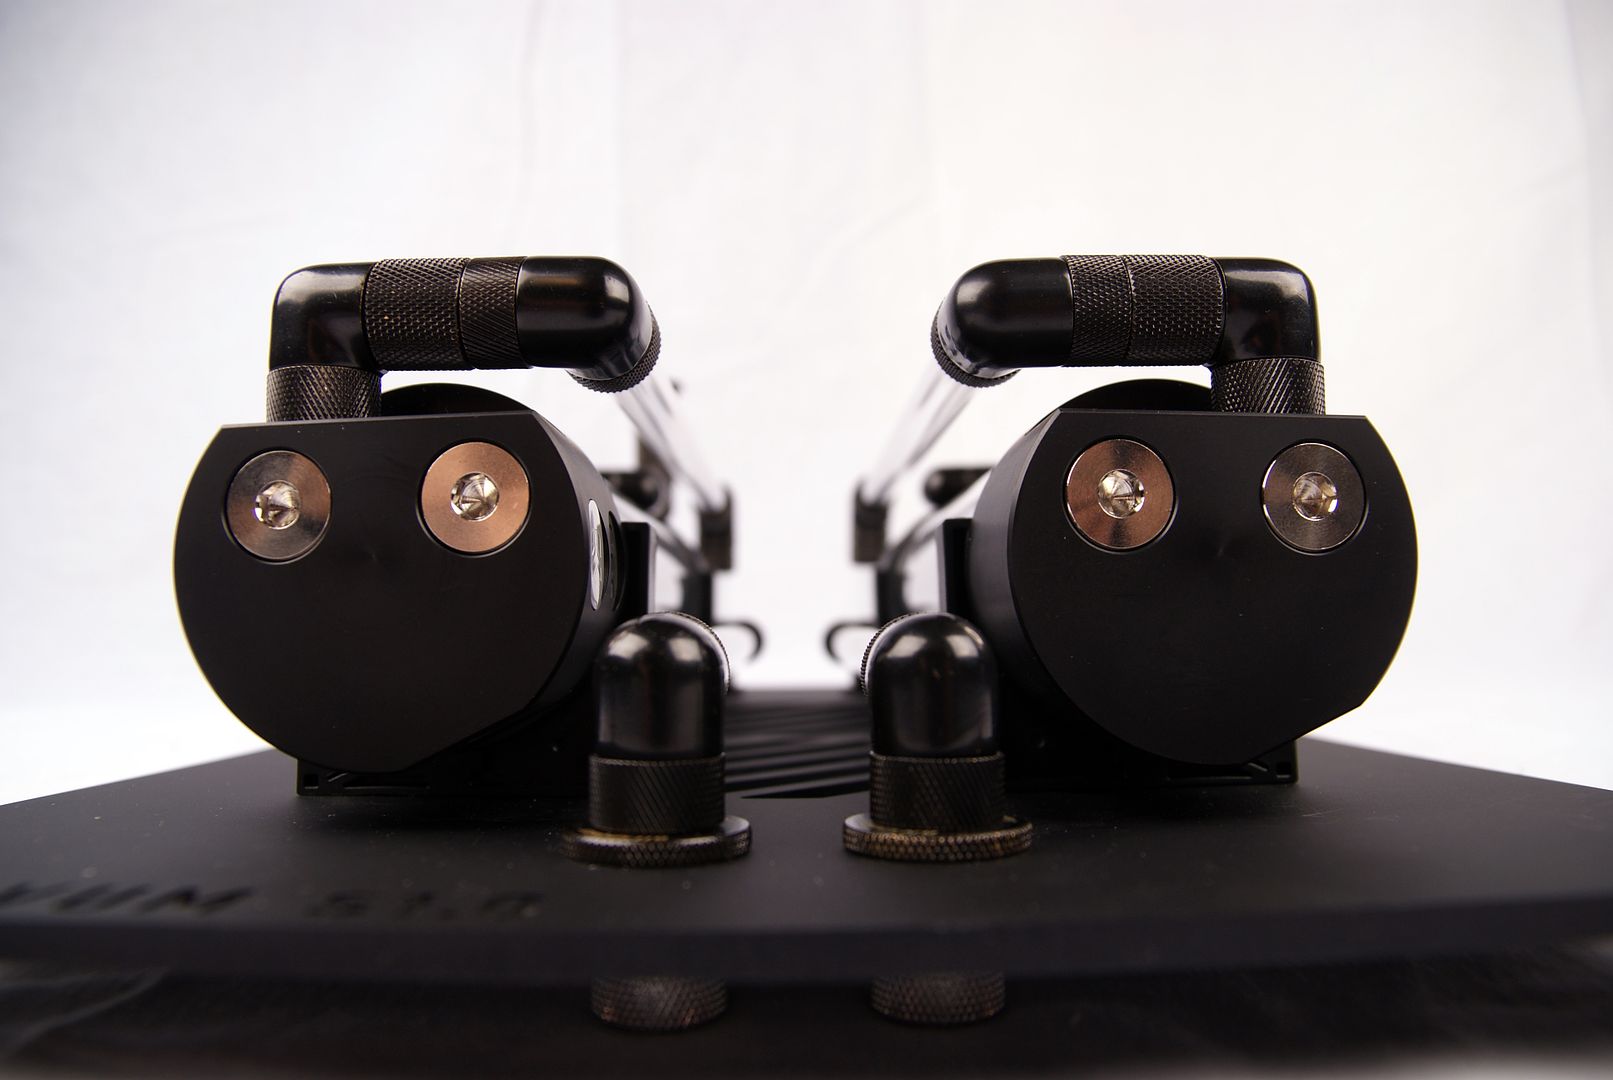
Some last shots of the cases together
To be continued


 Reply With Quote


Bookmarks