-
-
-
-
-
-
-
-
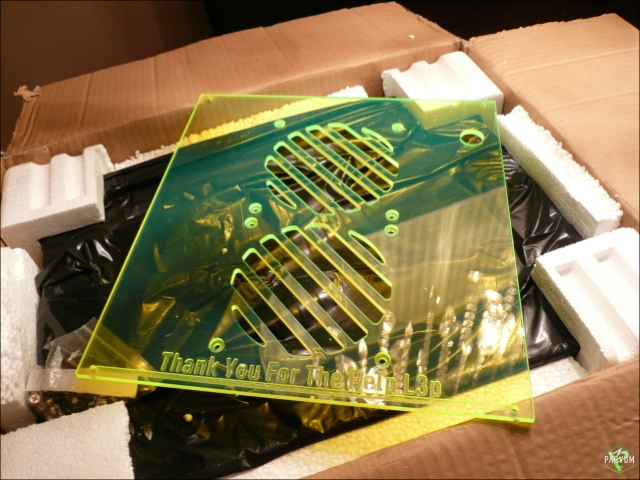
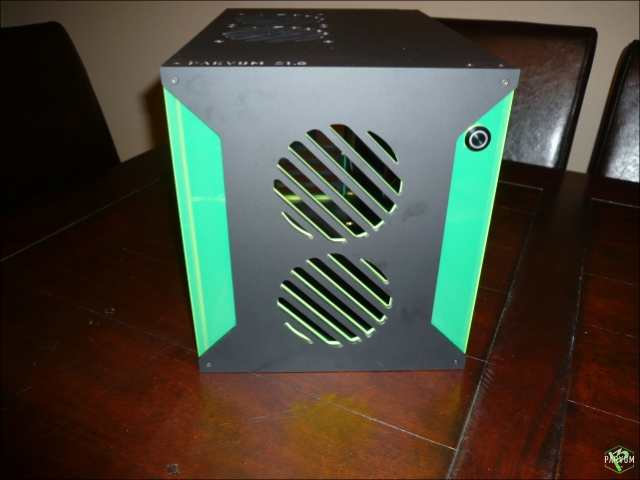
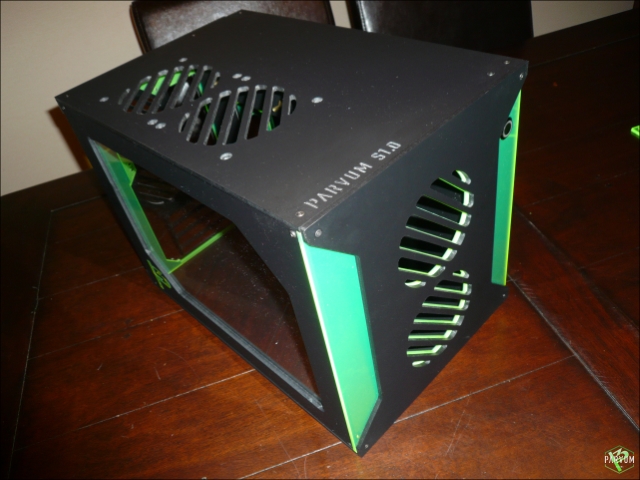
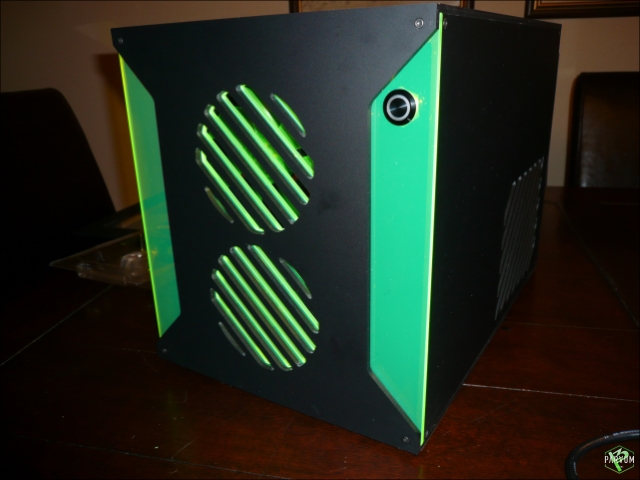
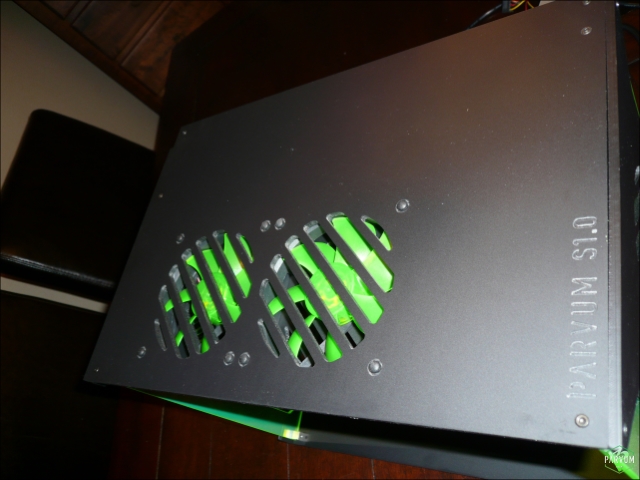
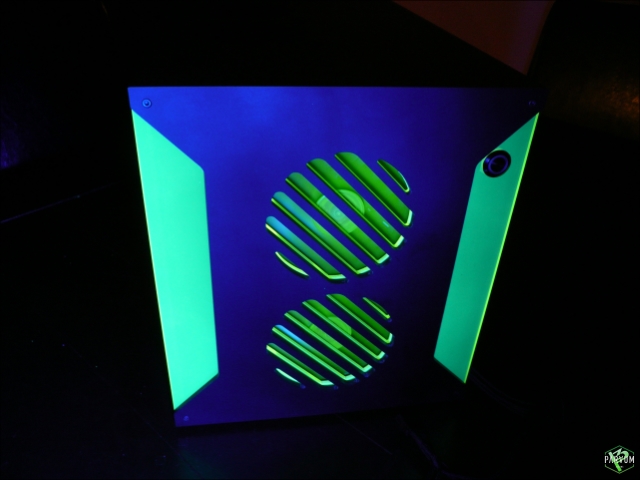
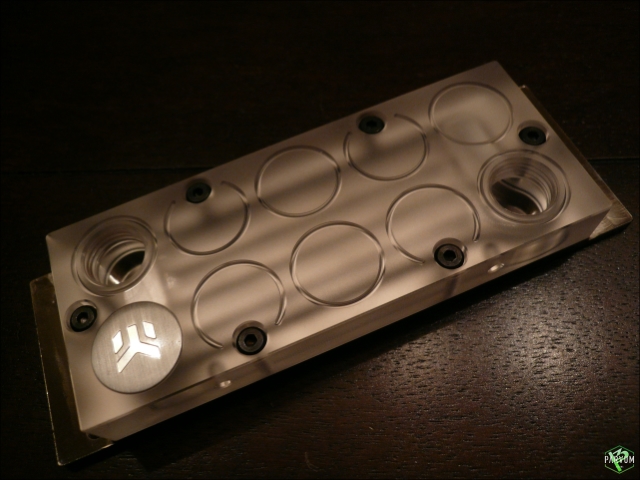
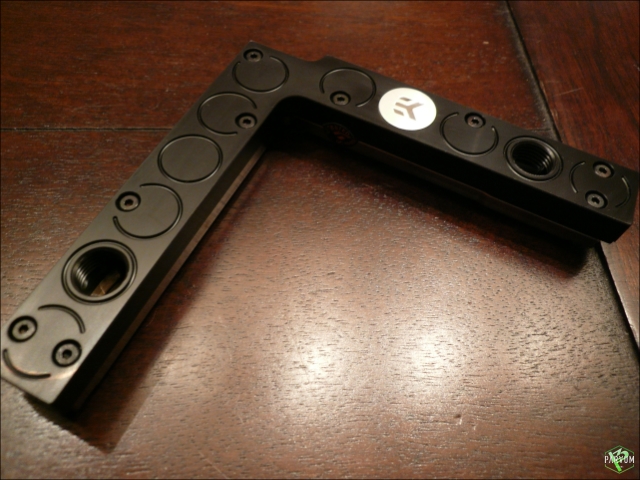
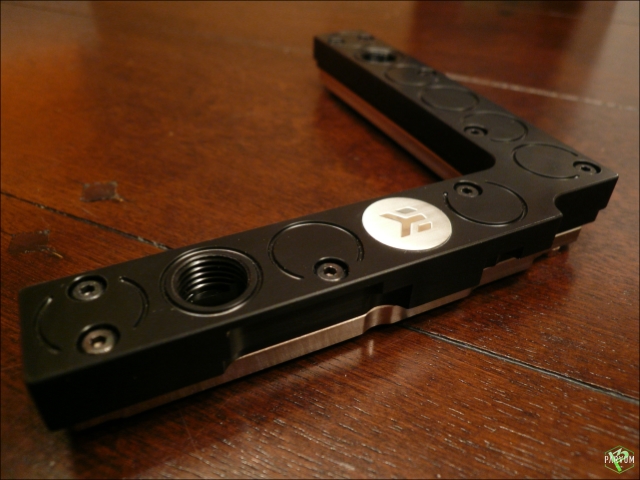
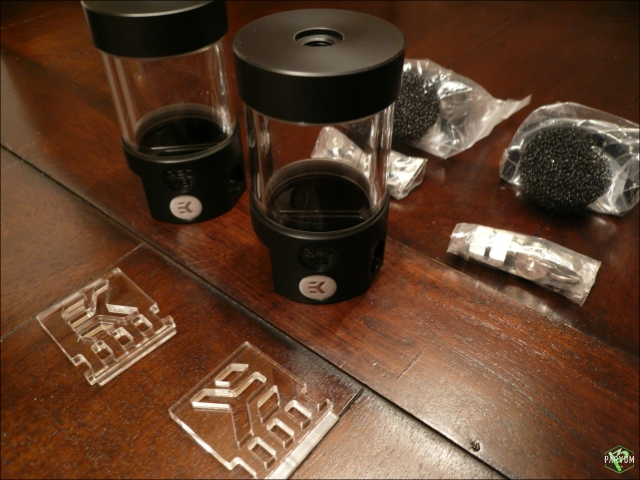
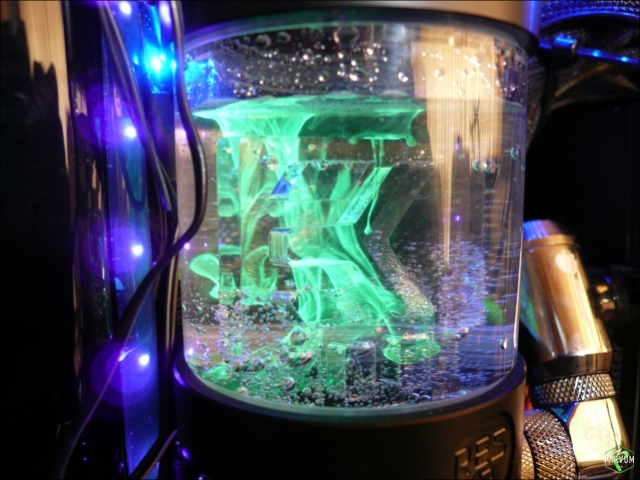
Extreme BodyBuilder

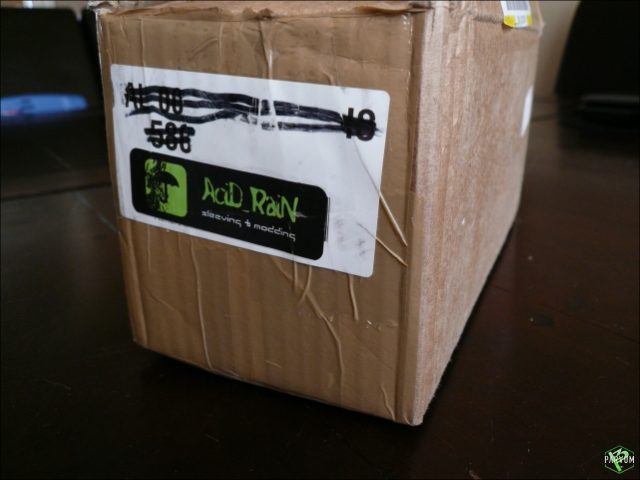
So, where can I buy one ? 
Nice work mate  i am def keeping my eyes on this thread....
Greetings, Ray(mond) from that same land........
-
-
Wow, this is seriously pretty doggone cool.
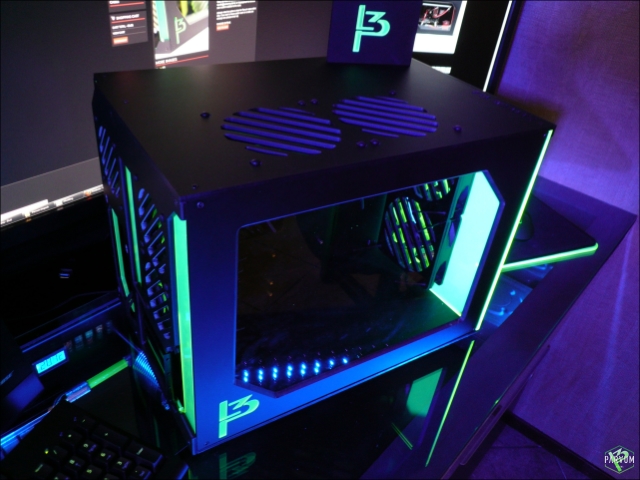
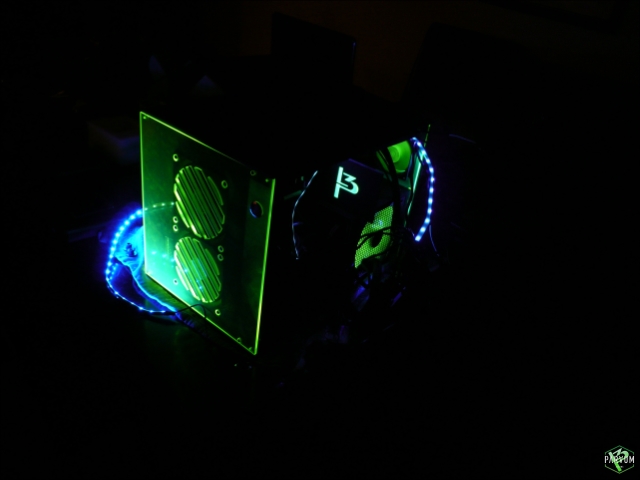
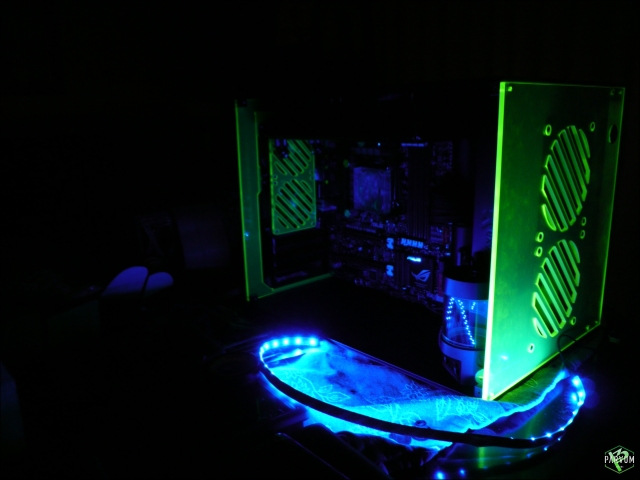
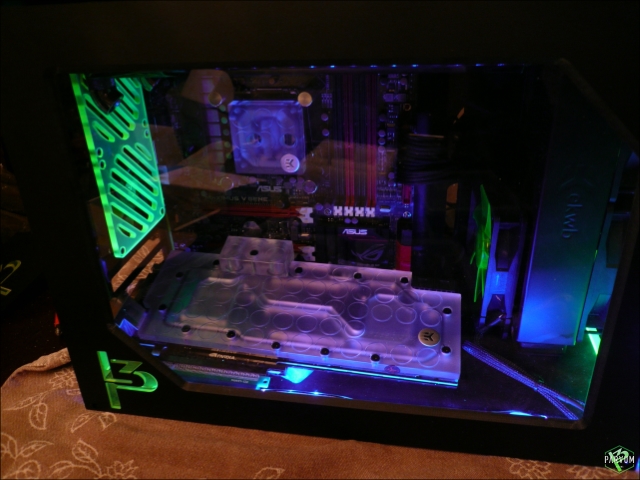
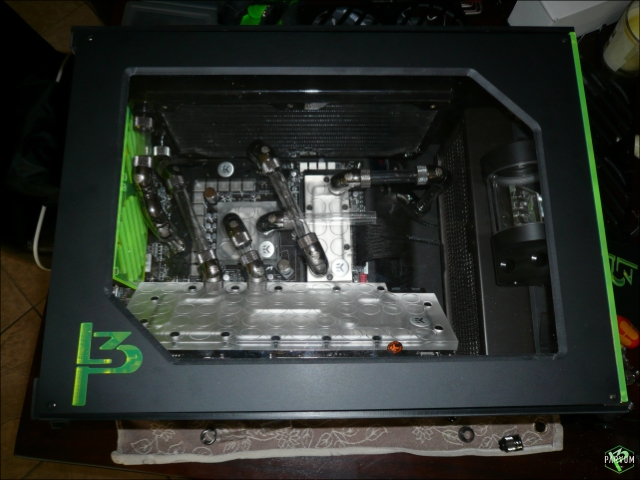
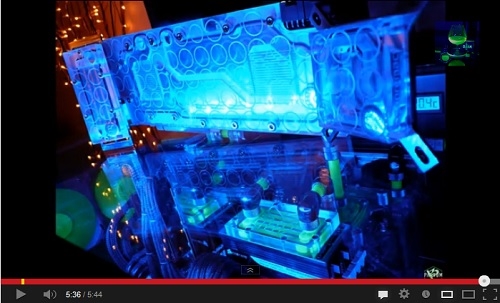
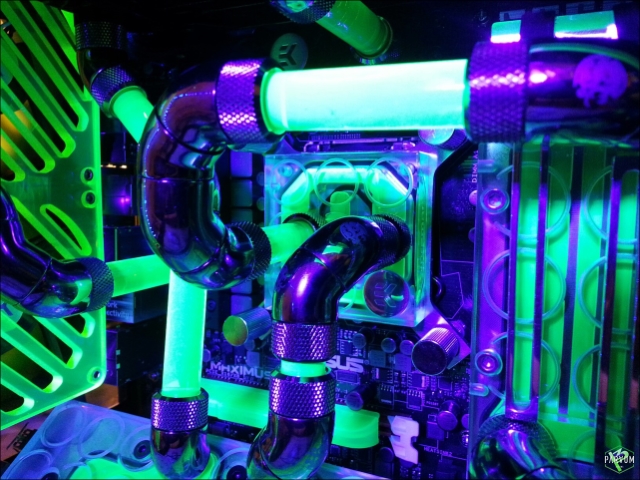
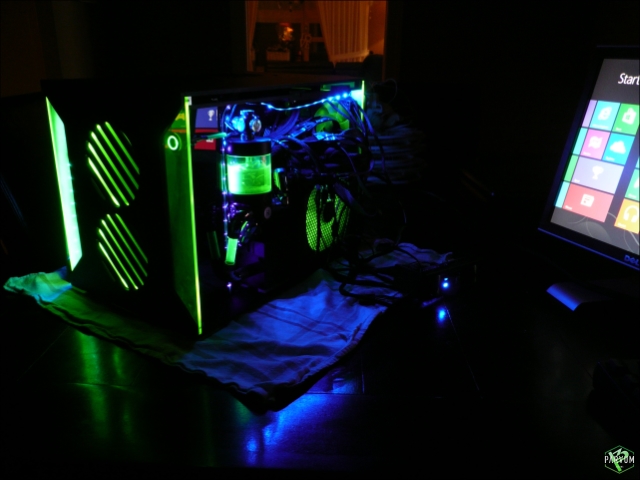
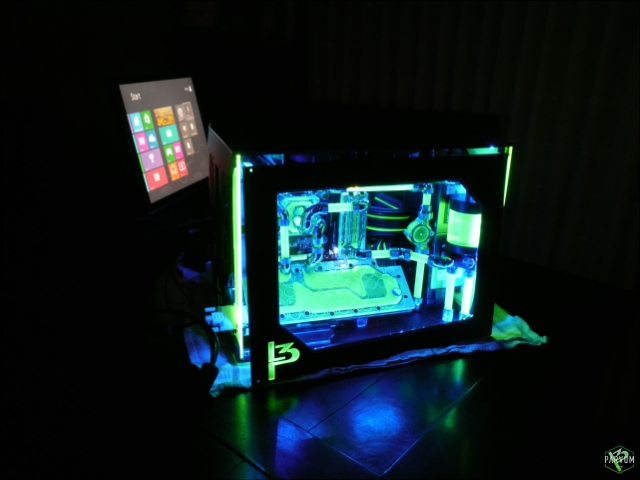
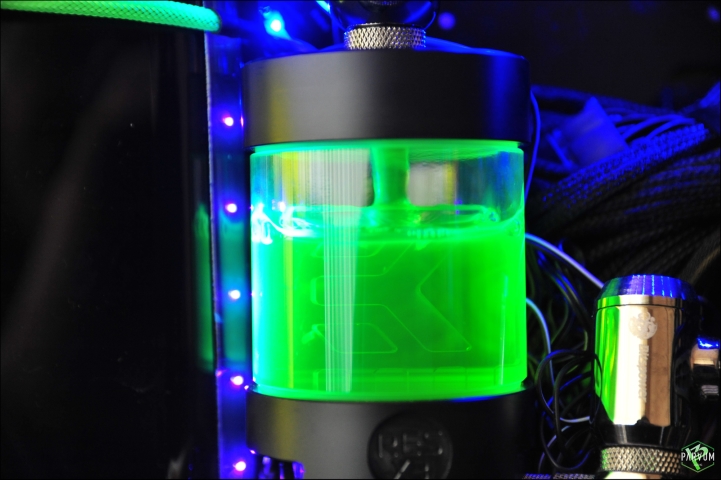
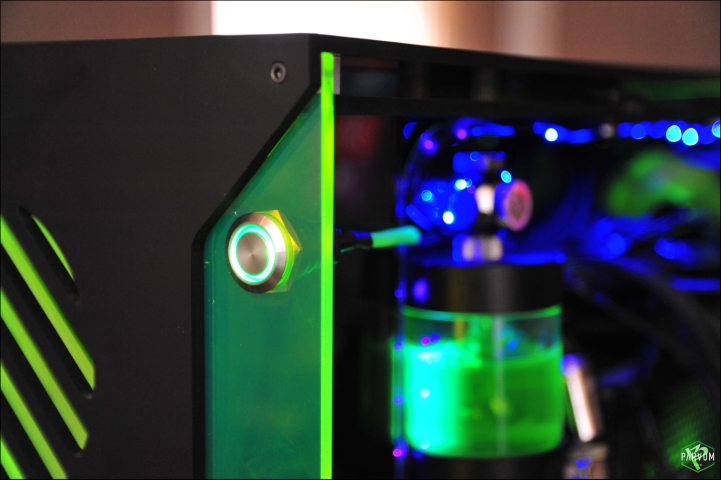
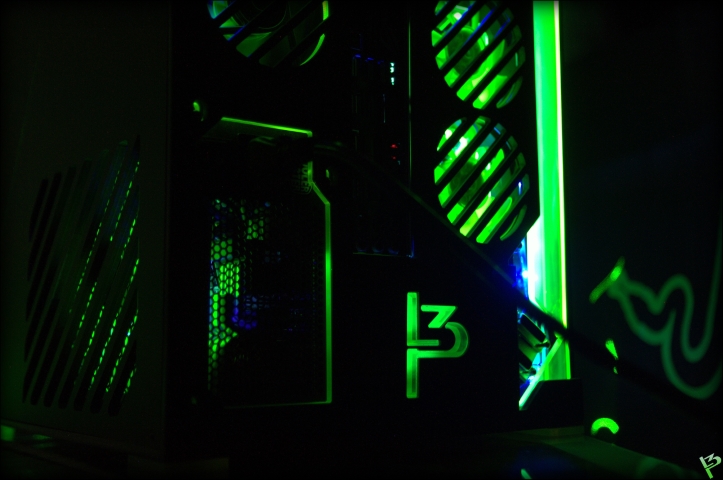
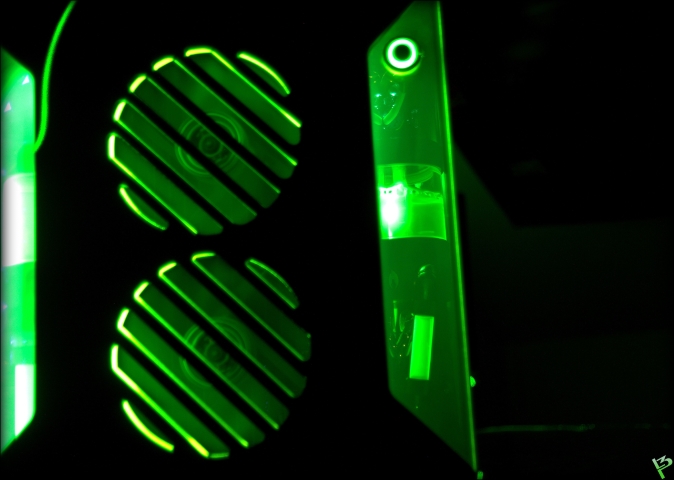
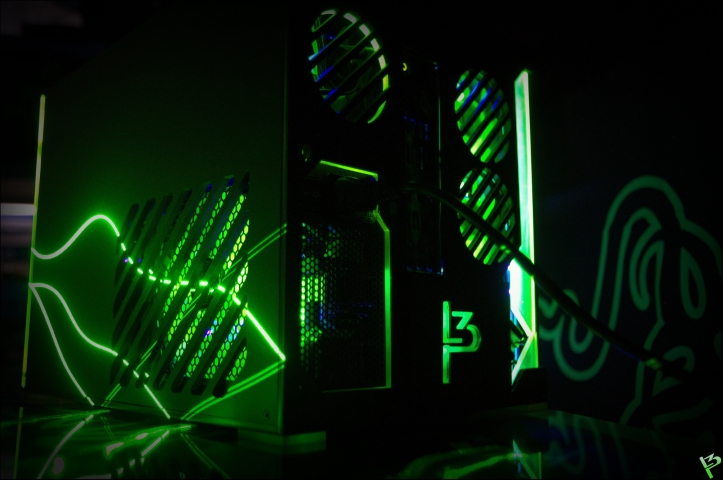
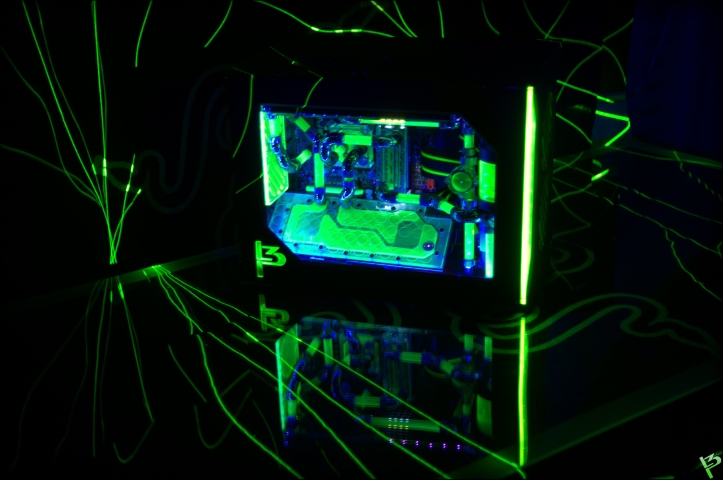
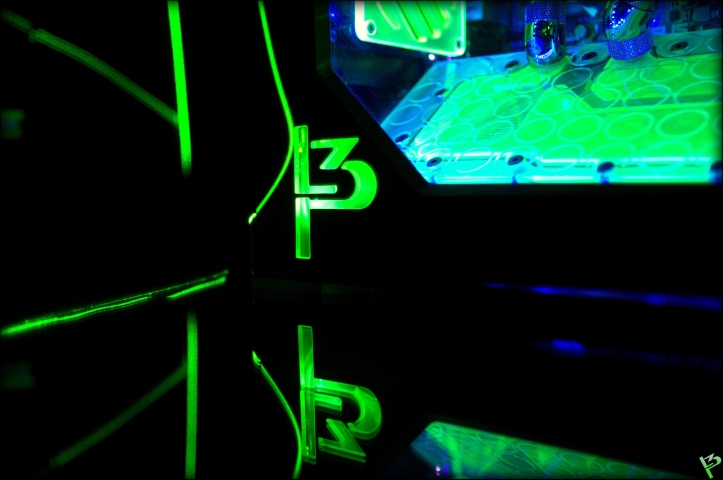
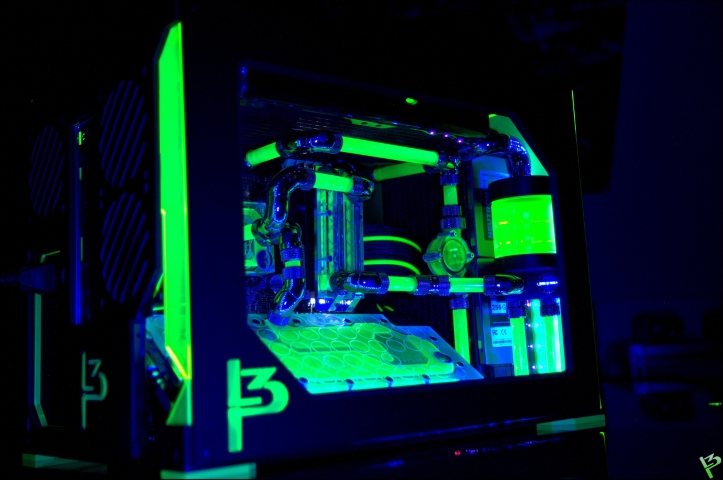
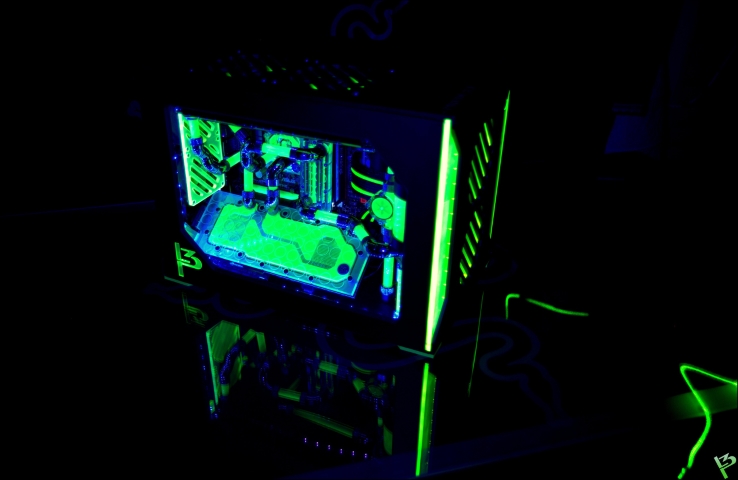
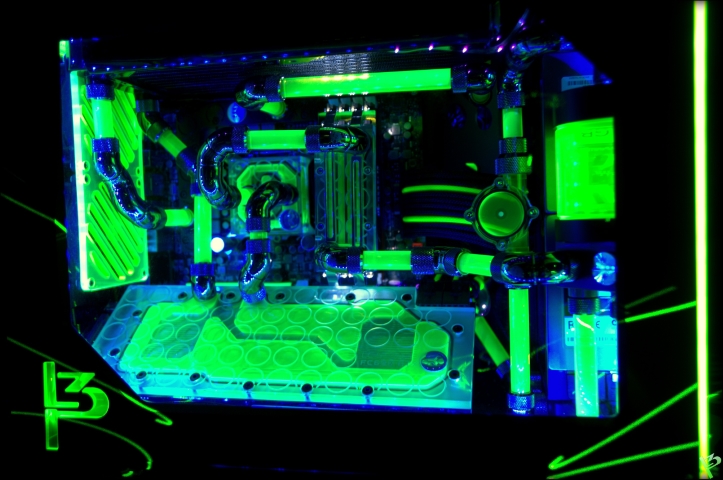
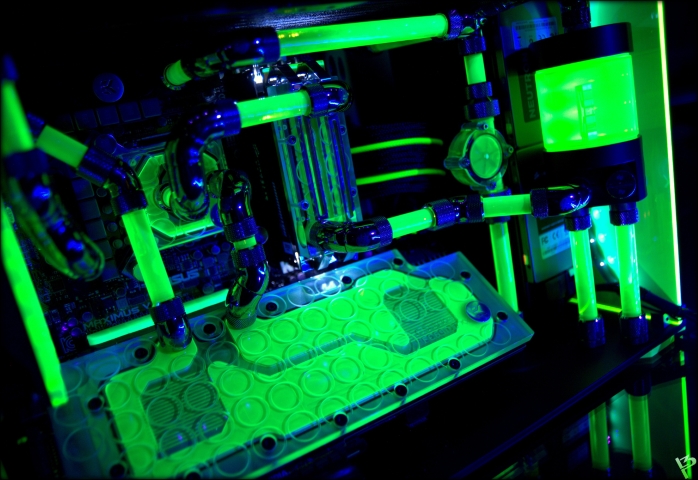
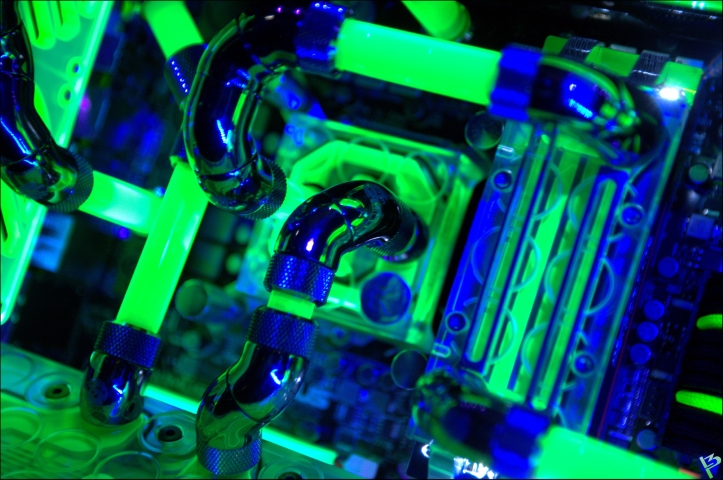
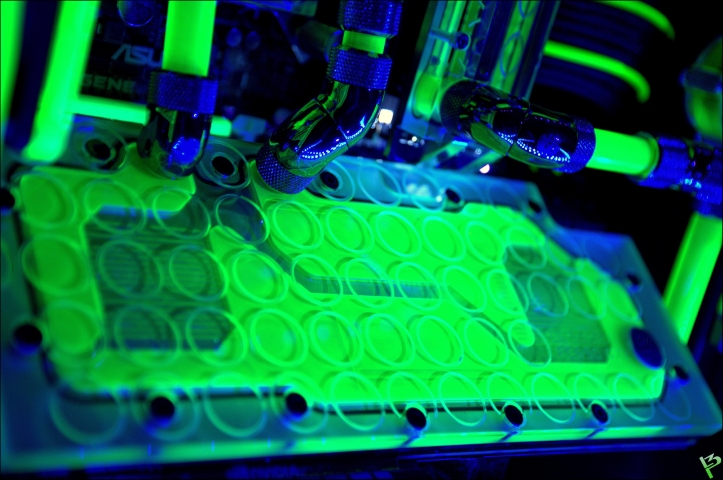
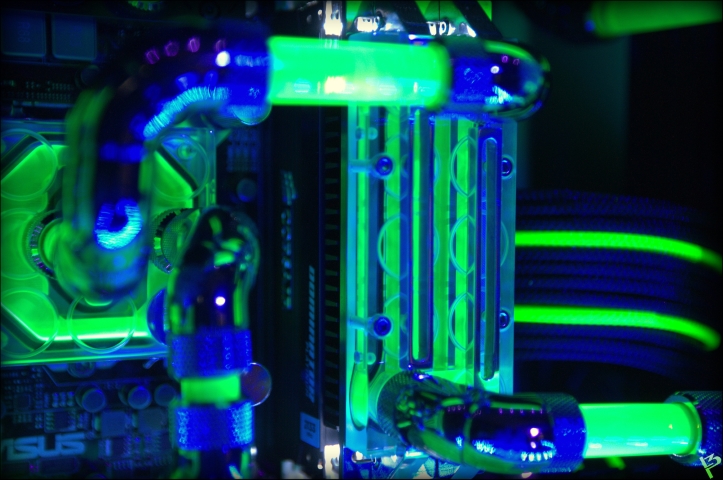
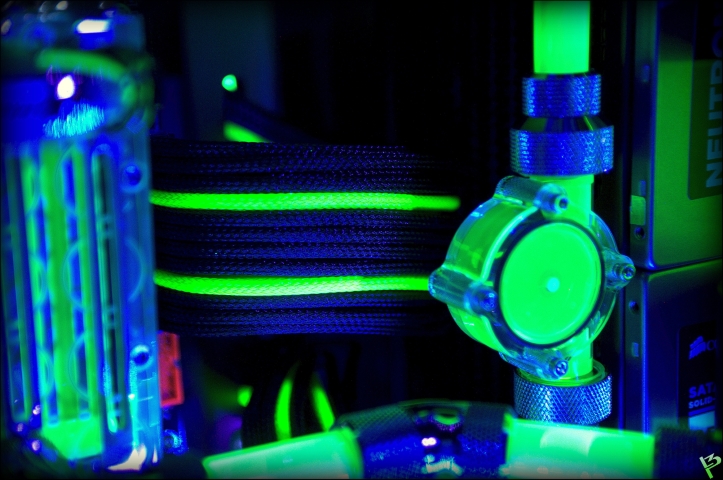
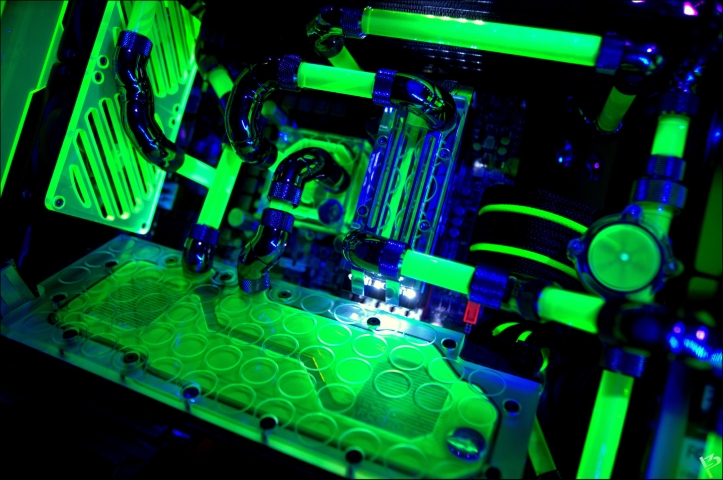
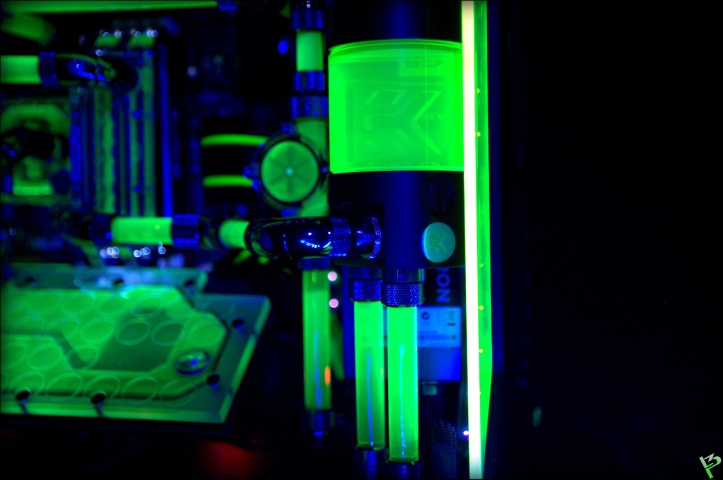
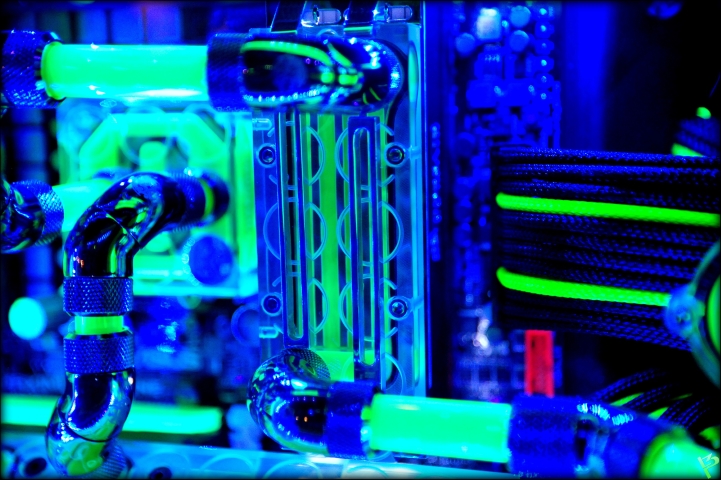
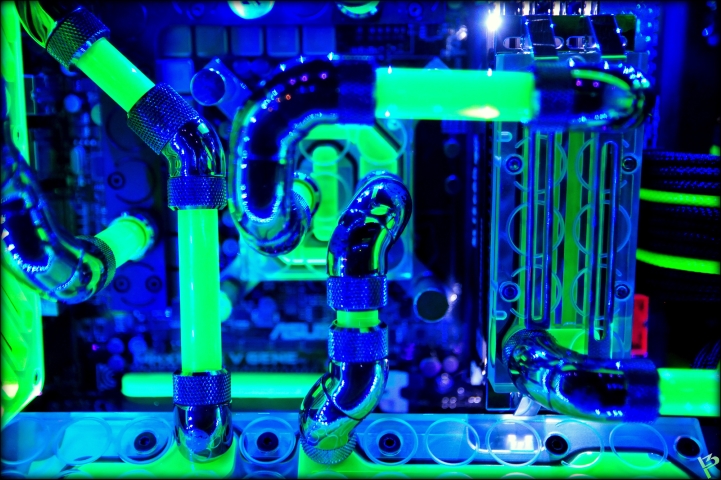
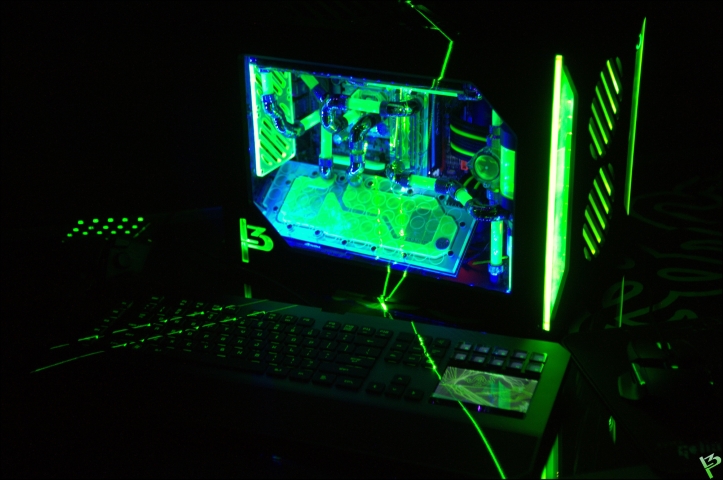
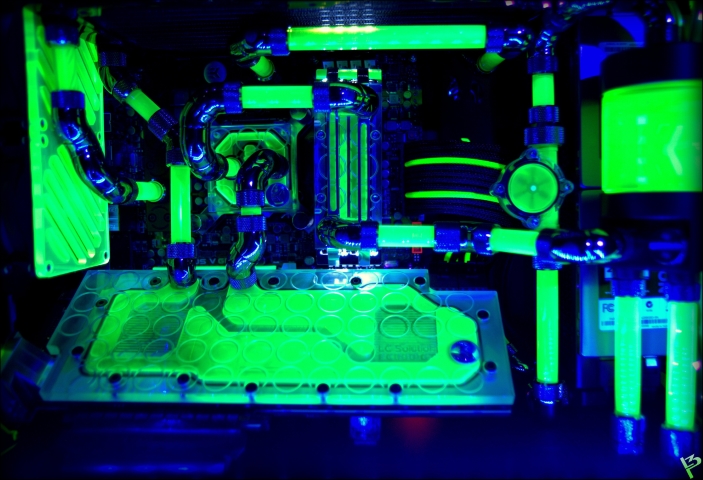
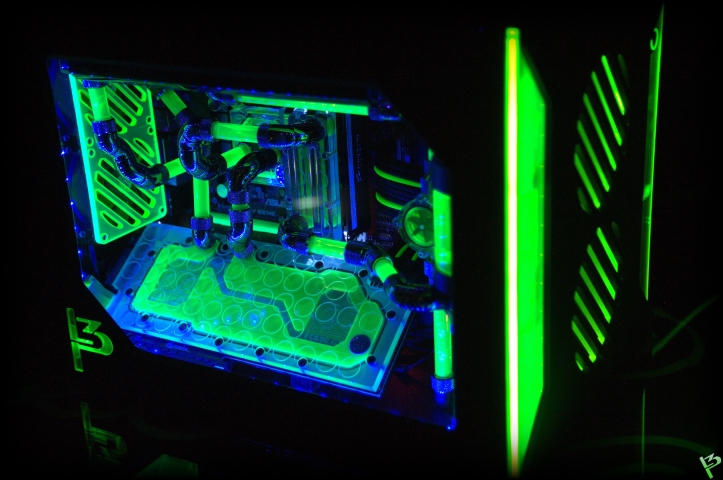
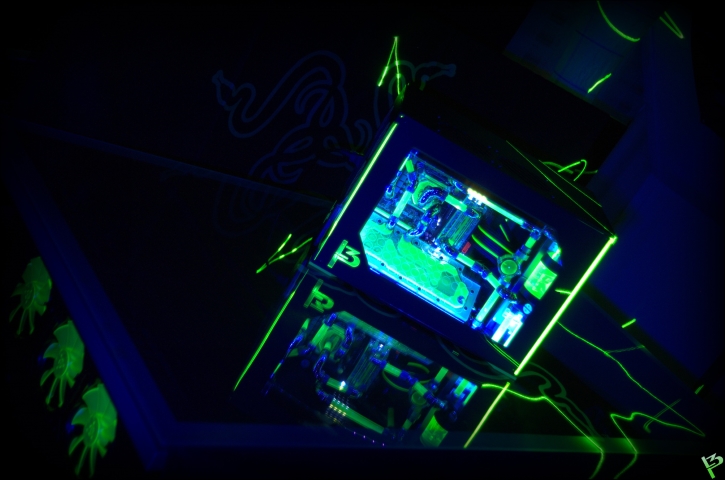
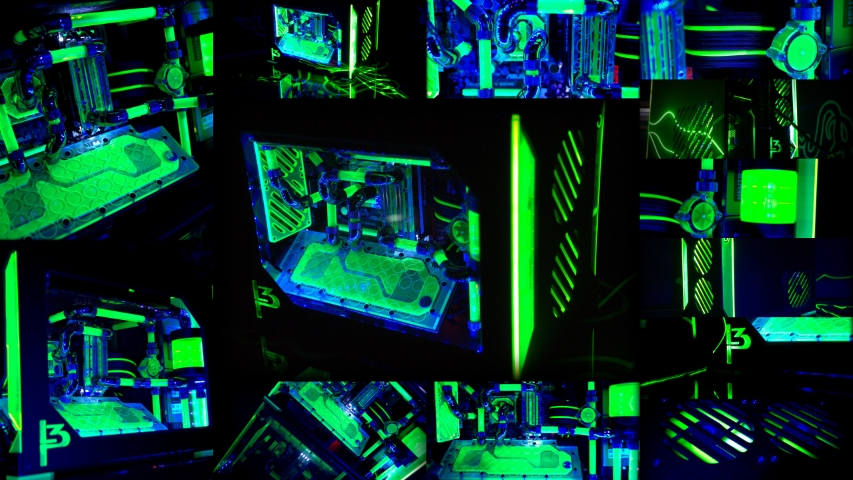
\Project\ Triple Surround Fury
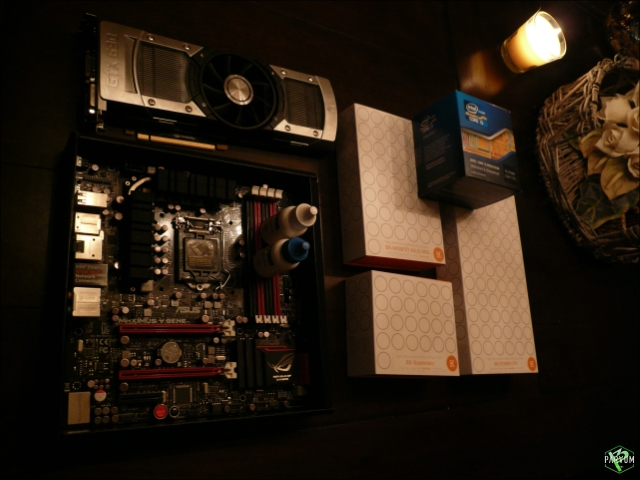
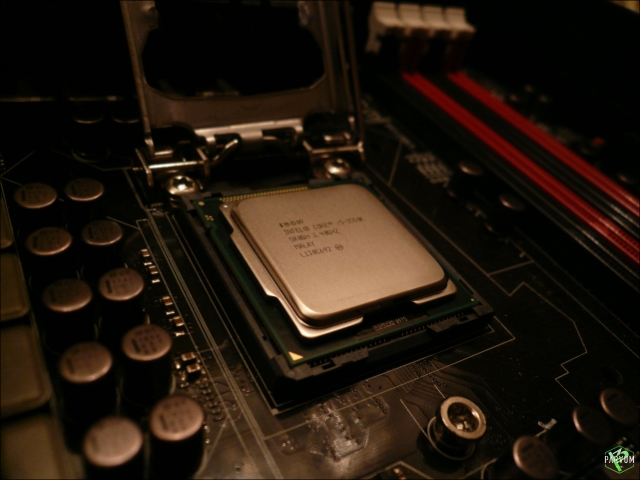
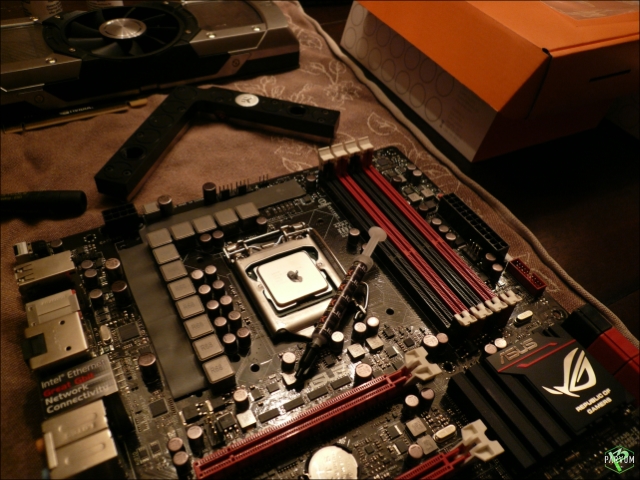
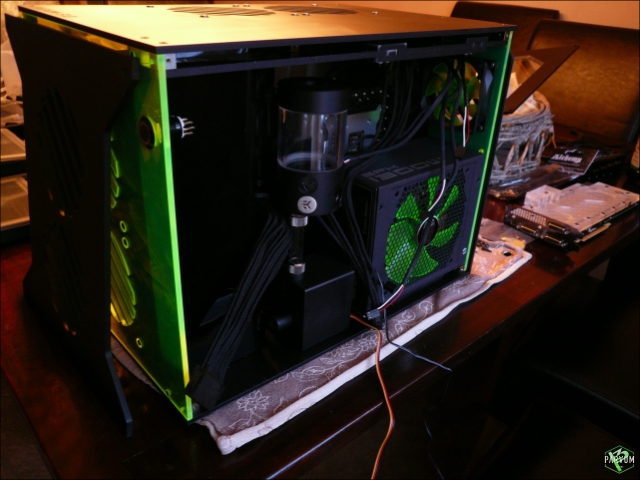
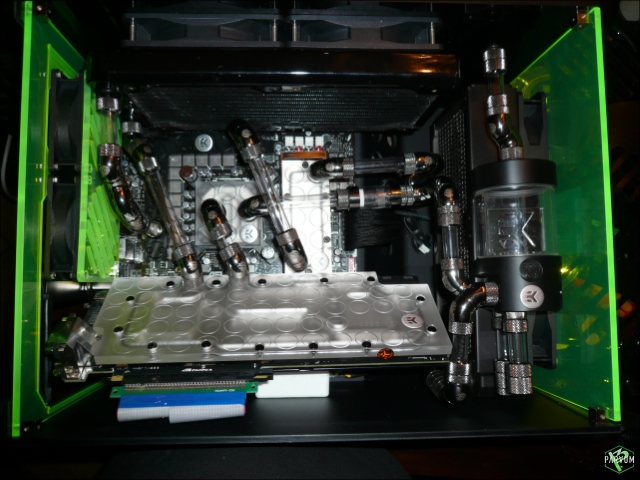
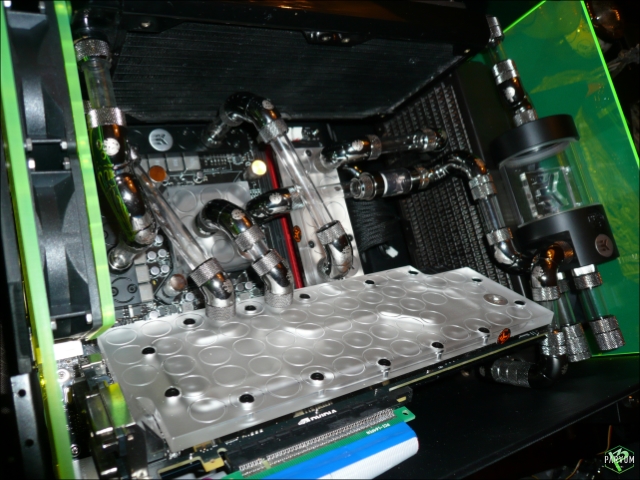
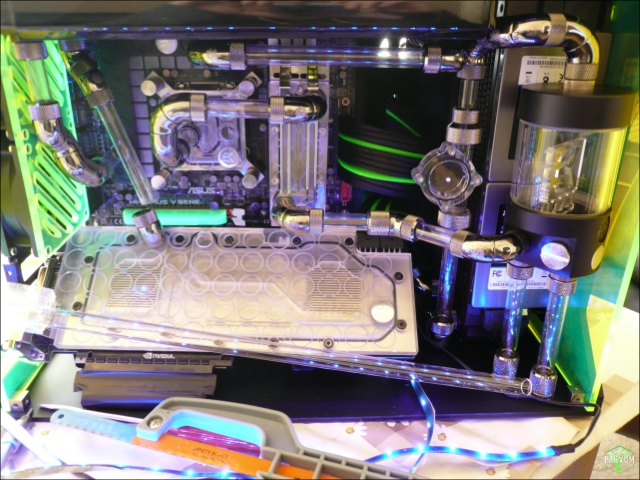
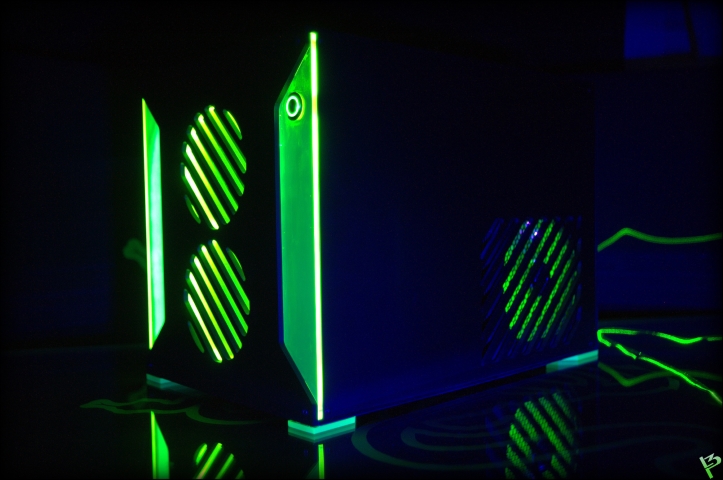
Case: Mountain Mods Ascension (modded)
CPU: i7 920 @ 4GHz + EK Supreme HF (plate #1)
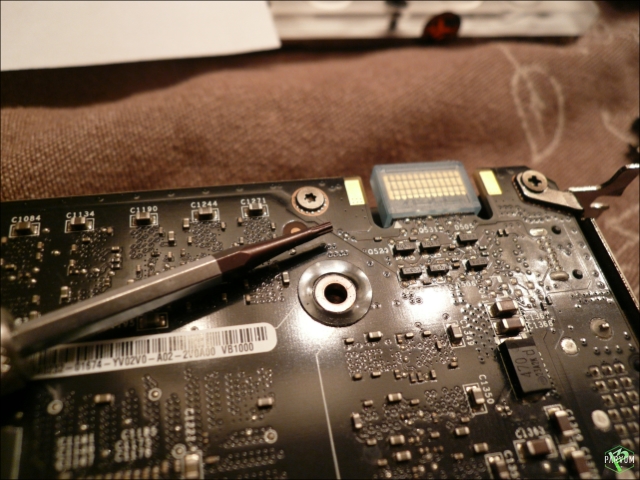
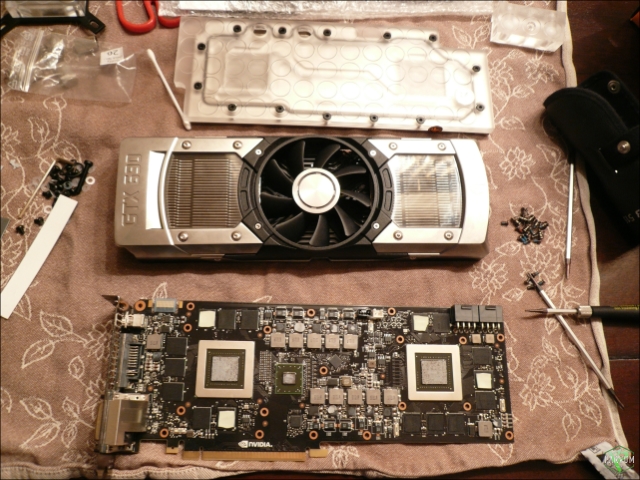
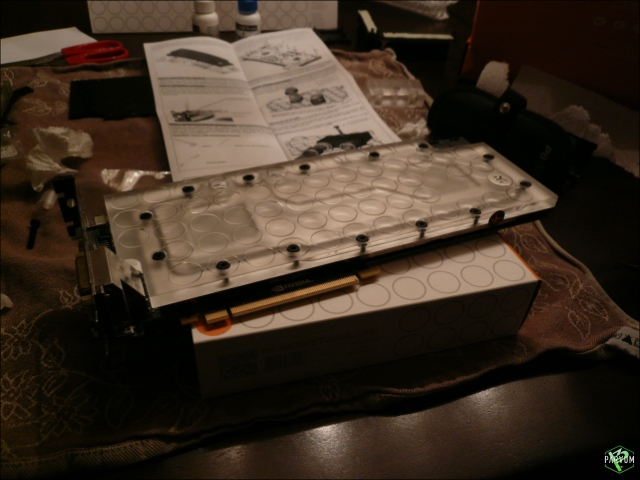
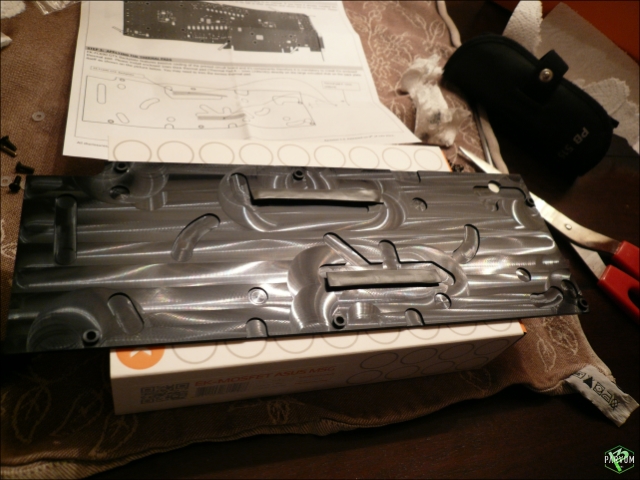
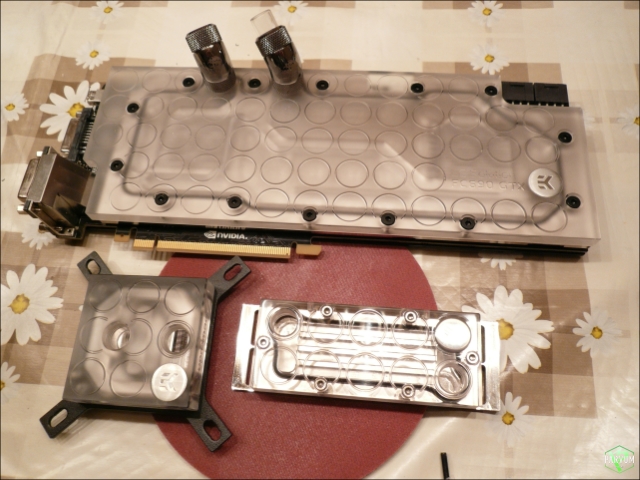
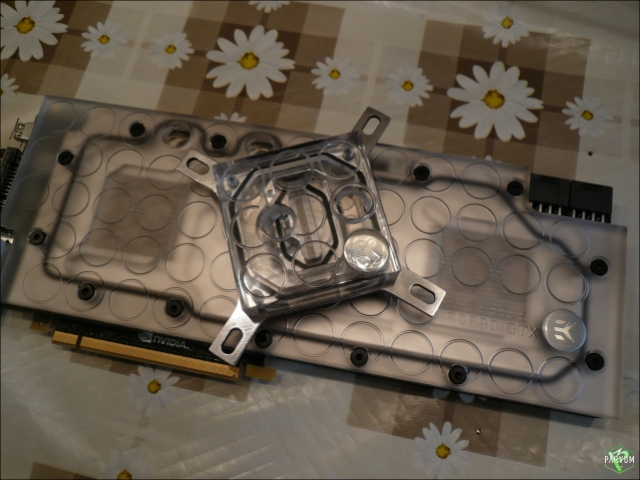
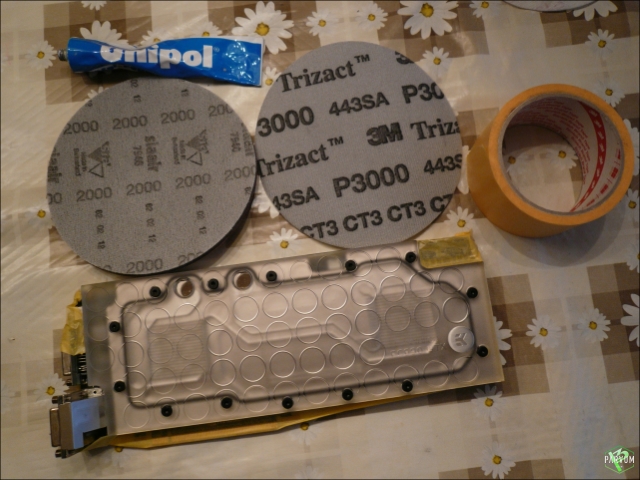
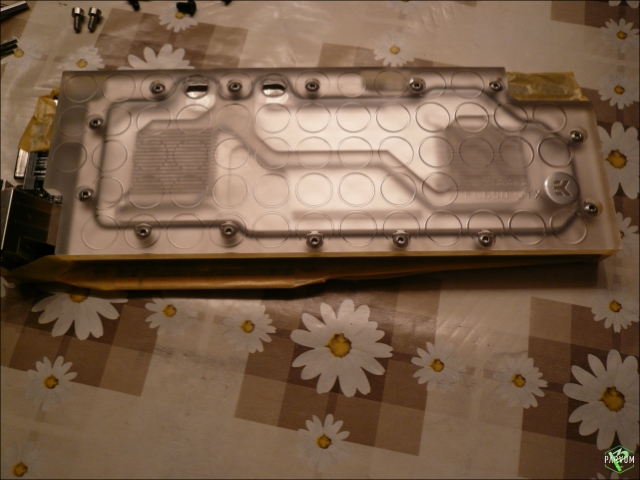
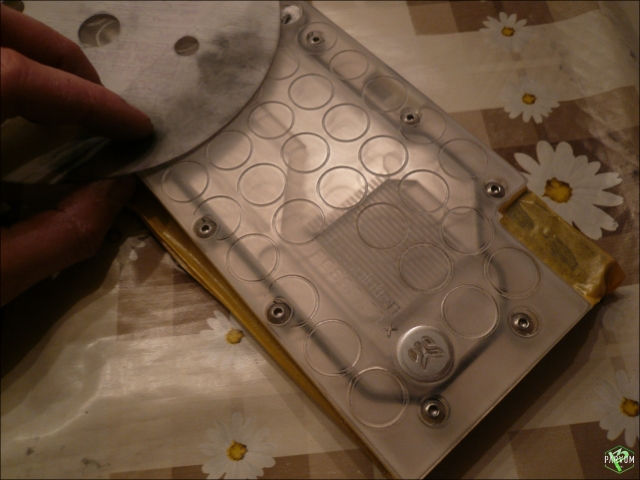
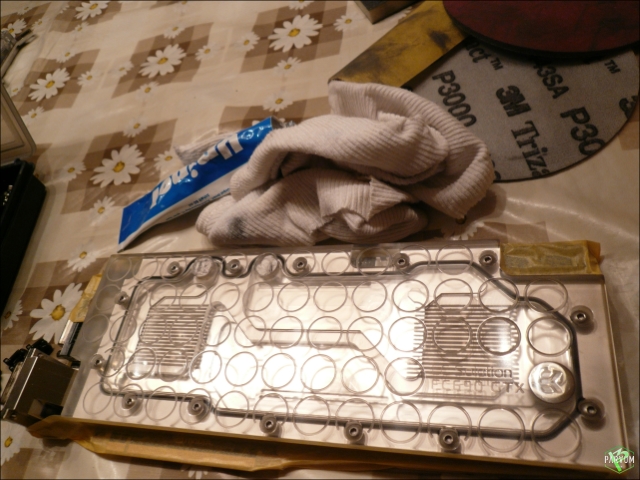
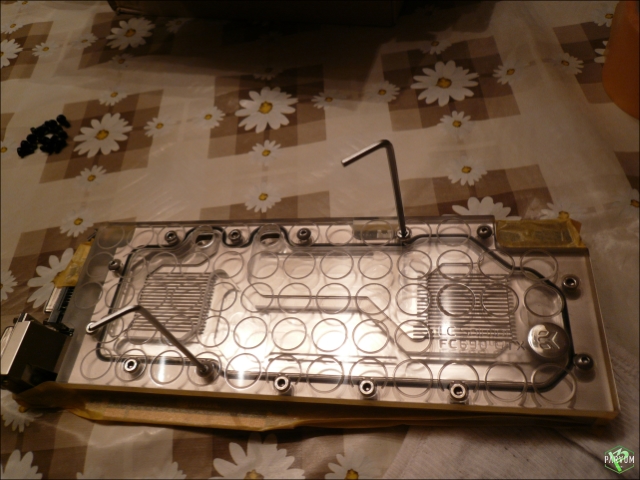
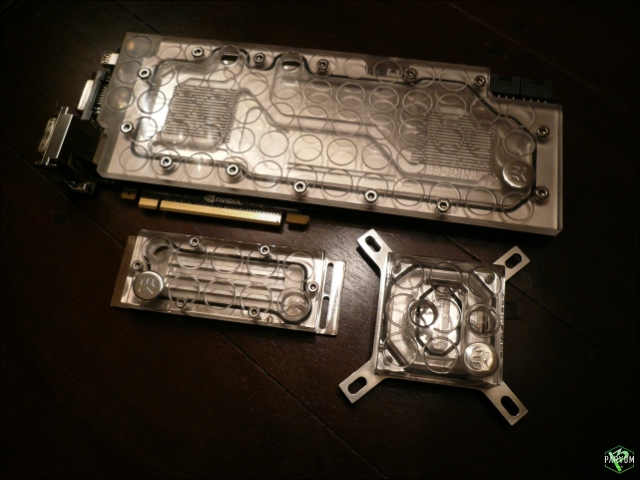
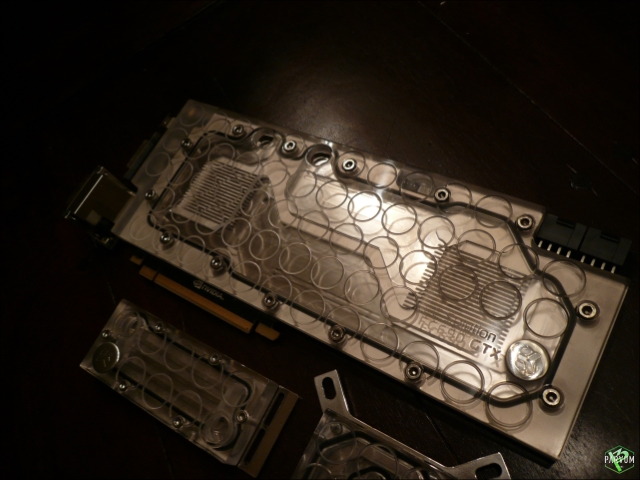
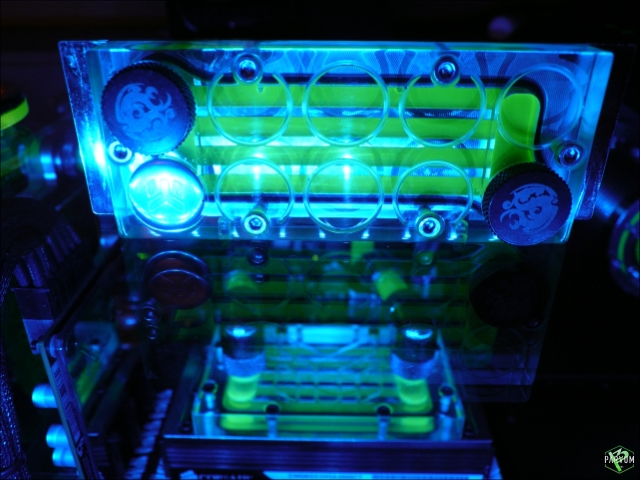
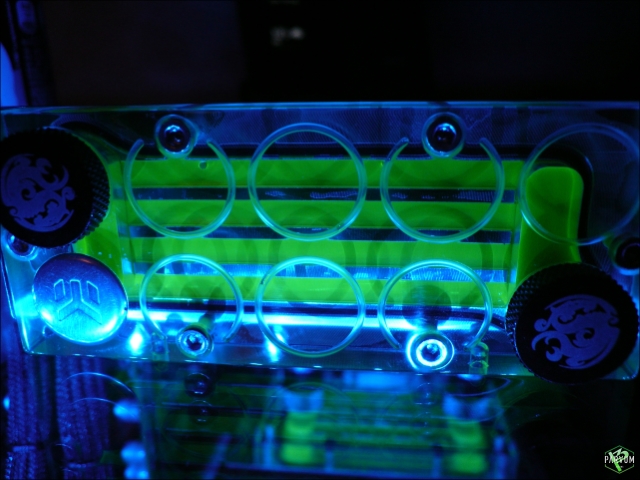
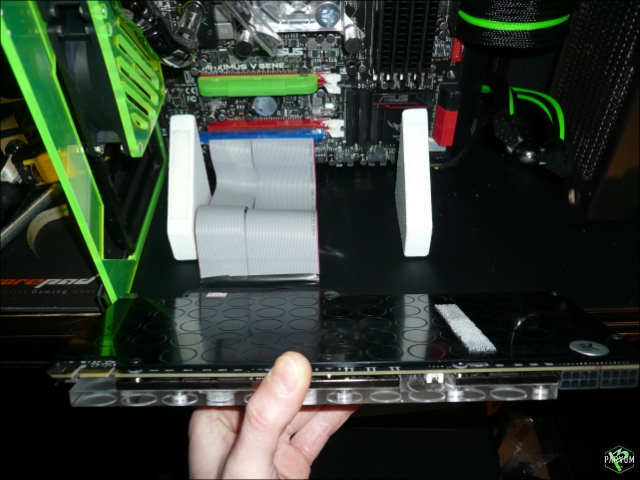
GPU: GTX 670 3-Way SLI + XSPC Razor GTX670 water blocks
Mobo: ASUS Rampage III Extreme + EK FB R3E water block
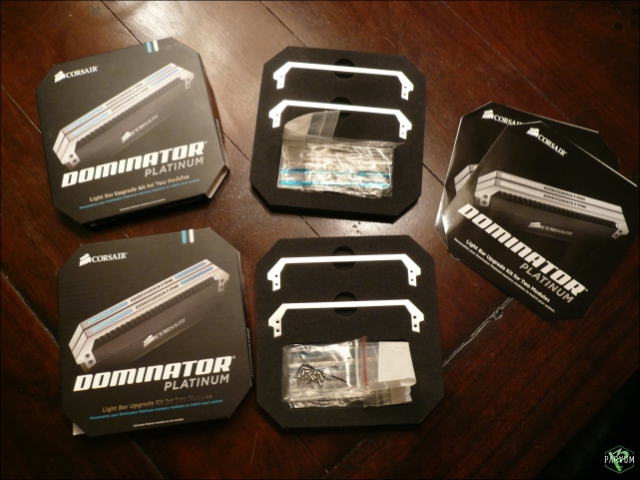
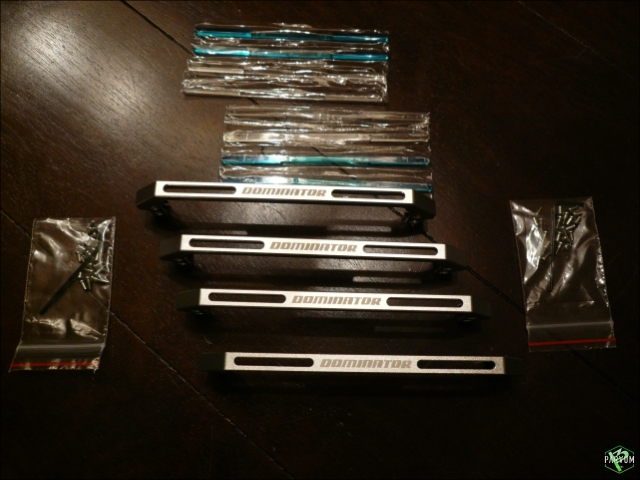
RAM: 3x 2GB Mushkin Enhanced Ridgeback DDR3 @ 6-8-6-24 1T
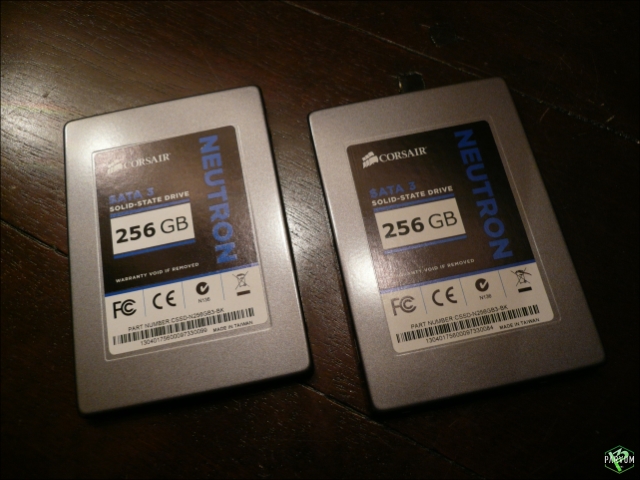
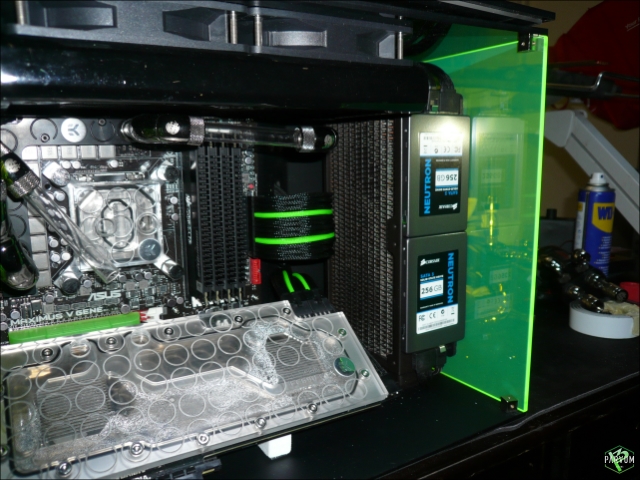
SSD: Crucial M4 256GB, 0309 firmware
PSU: 2x Corsair HX1000s on separate circuits
LCD: 3x ASUS VW266H 26" Nvidia Surround @ 6030 x 1200
OS: Windows 7 64-bit Home Premium
Games: AoE II: HD, BF4, MKKE, MW2 via FourDeltaOne (Domination all day!)
-
-
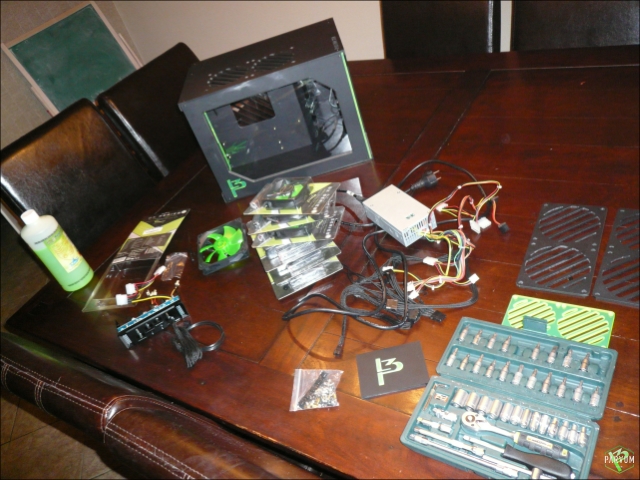
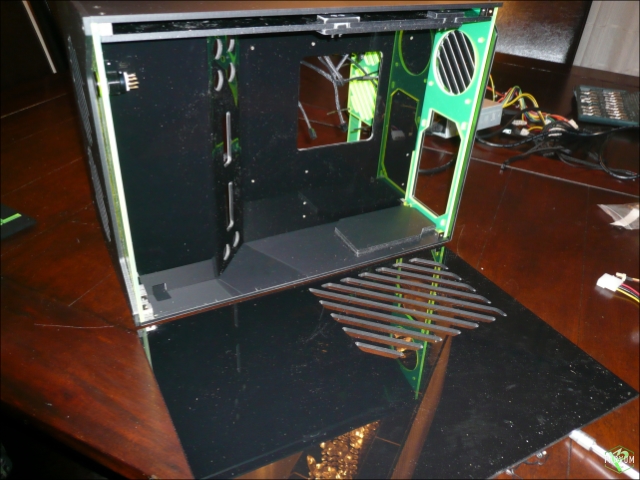
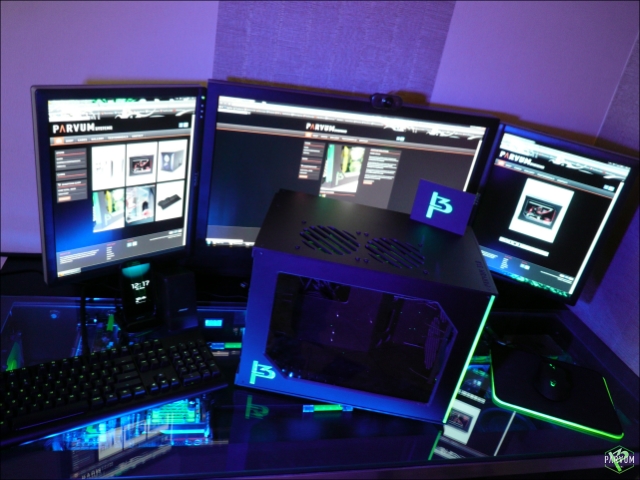
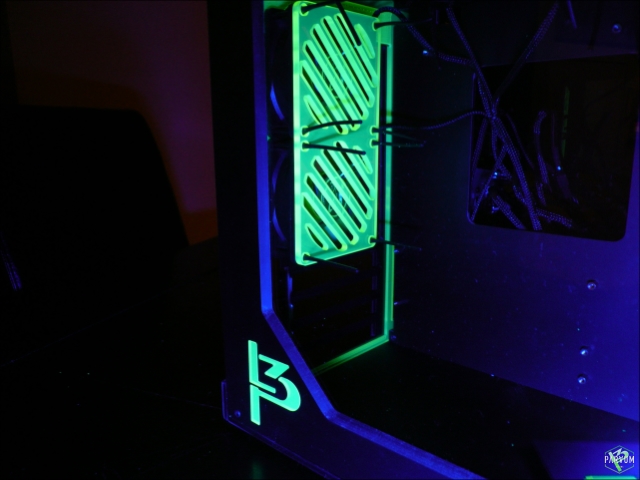
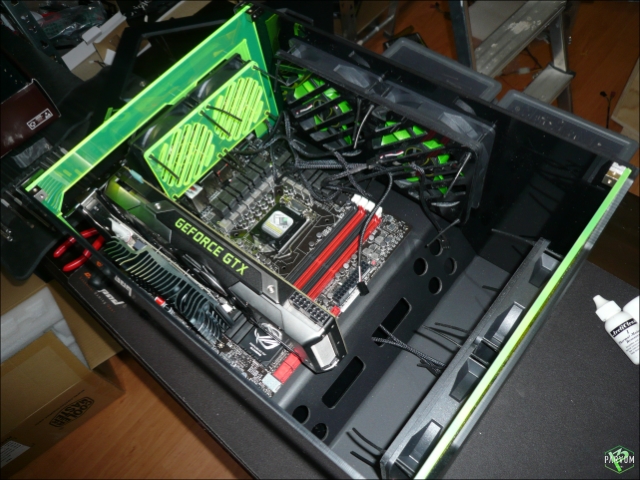
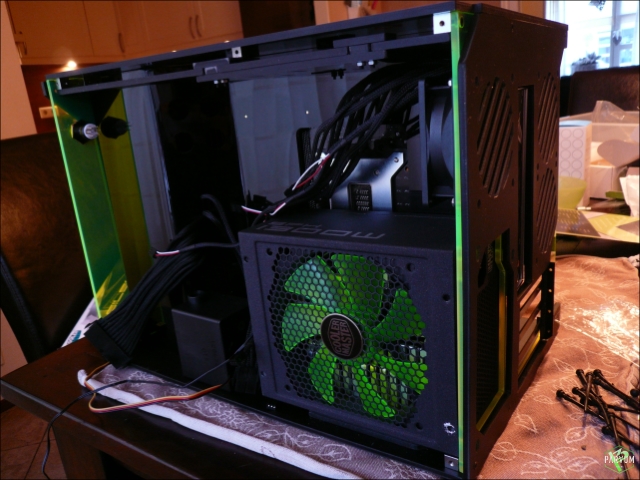
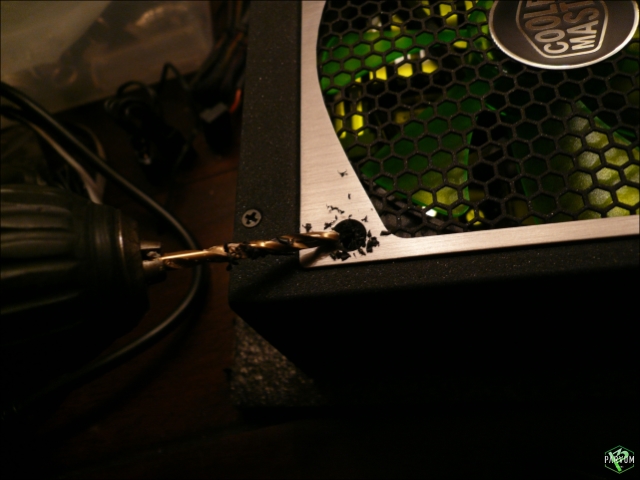
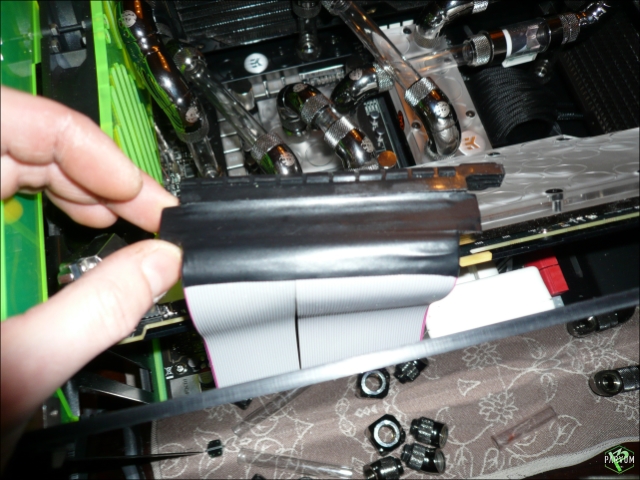
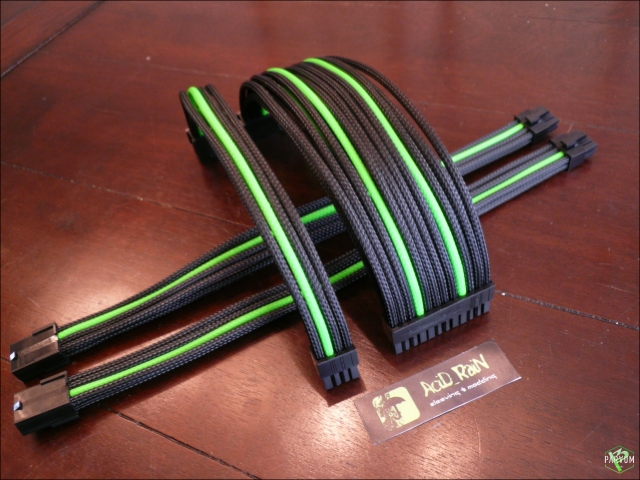
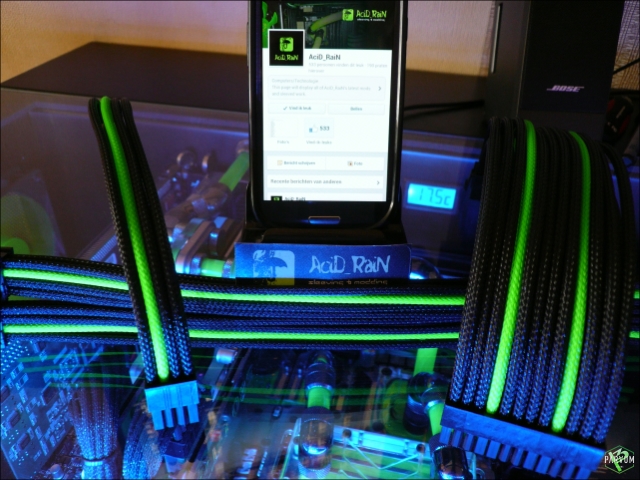
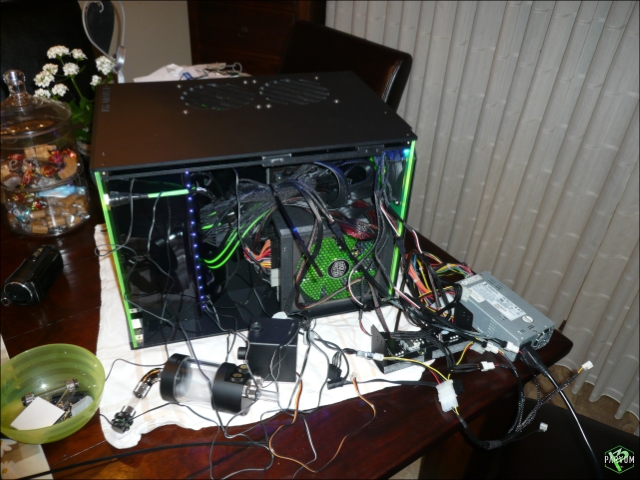
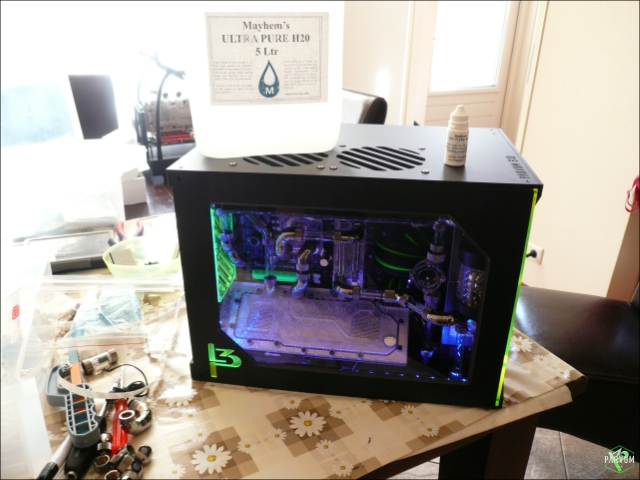
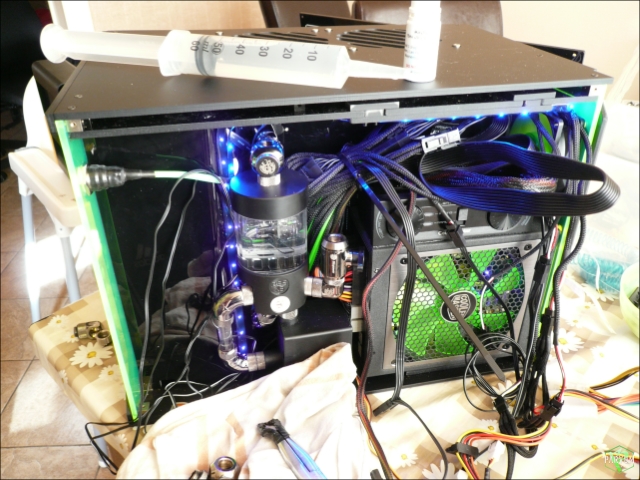
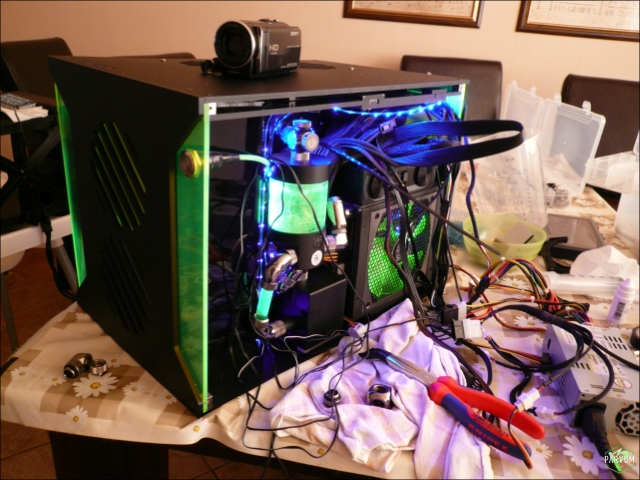
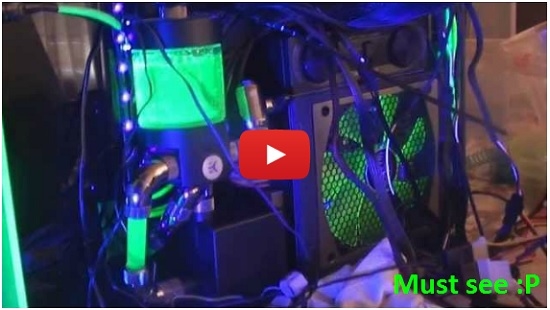
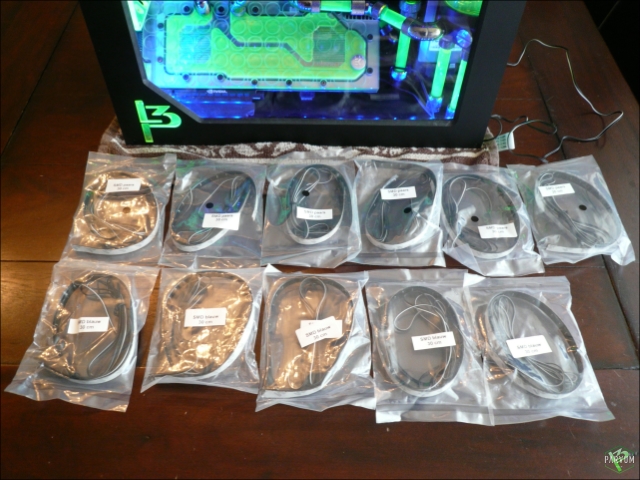
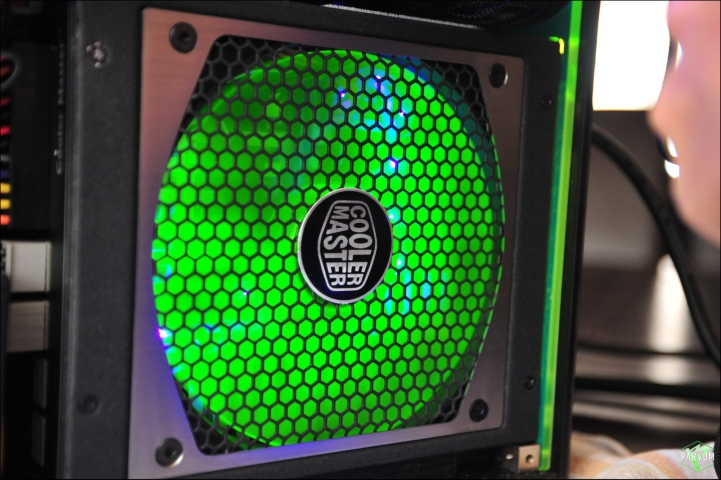
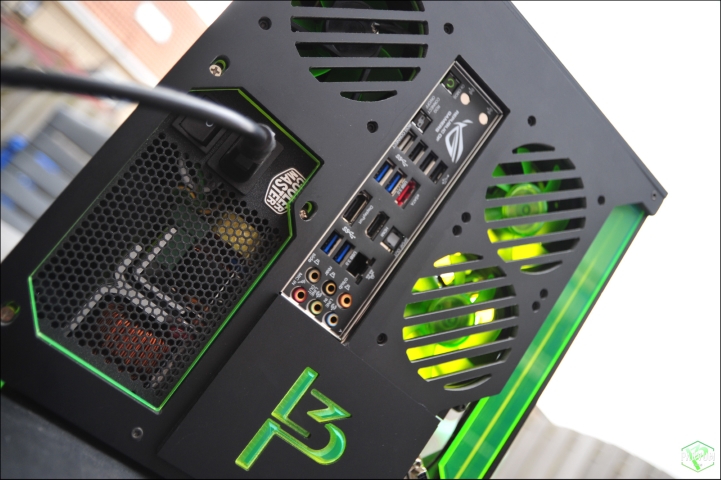
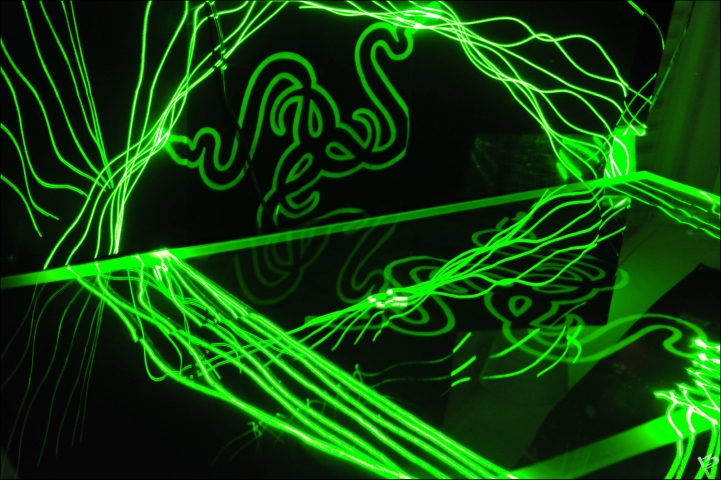
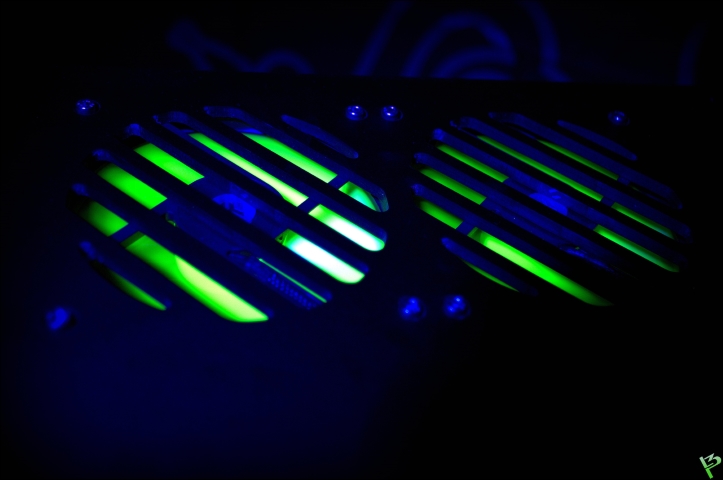
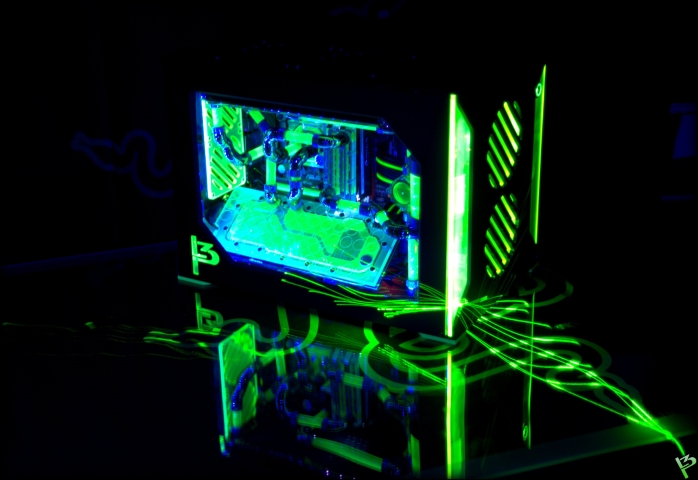
So many wires, must see wire management!
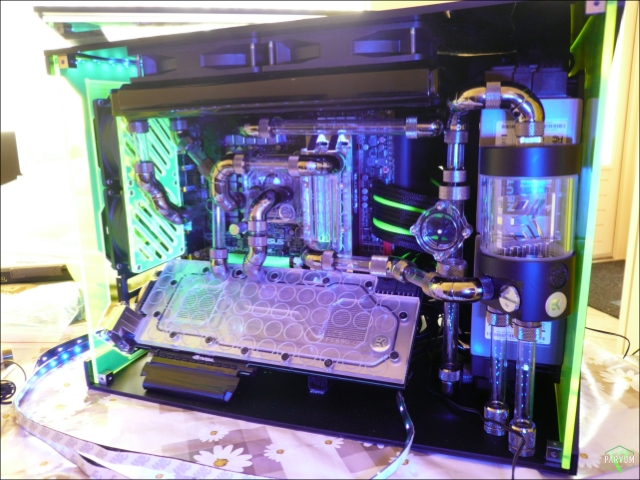
\Project\ Triple Surround Fury
Case: Mountain Mods Ascension (modded)
CPU: i7 920 @ 4GHz + EK Supreme HF (plate #1)
GPU: GTX 670 3-Way SLI + XSPC Razor GTX670 water blocks
Mobo: ASUS Rampage III Extreme + EK FB R3E water block
RAM: 3x 2GB Mushkin Enhanced Ridgeback DDR3 @ 6-8-6-24 1T
SSD: Crucial M4 256GB, 0309 firmware
PSU: 2x Corsair HX1000s on separate circuits
LCD: 3x ASUS VW266H 26" Nvidia Surround @ 6030 x 1200
OS: Windows 7 64-bit Home Premium
Games: AoE II: HD, BF4, MKKE, MW2 via FourDeltaOne (Domination all day!)
-
-
-
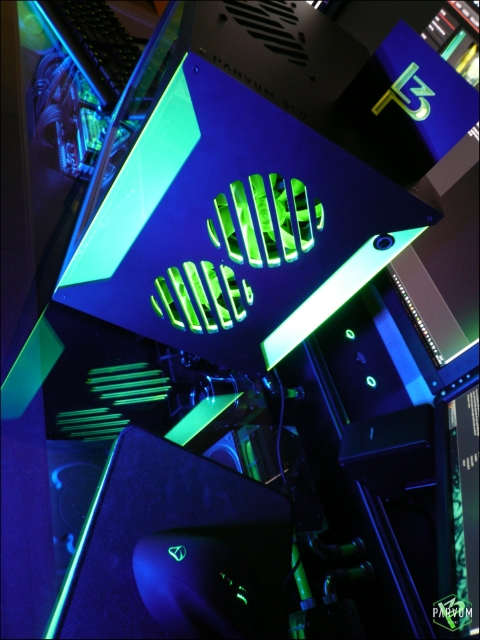
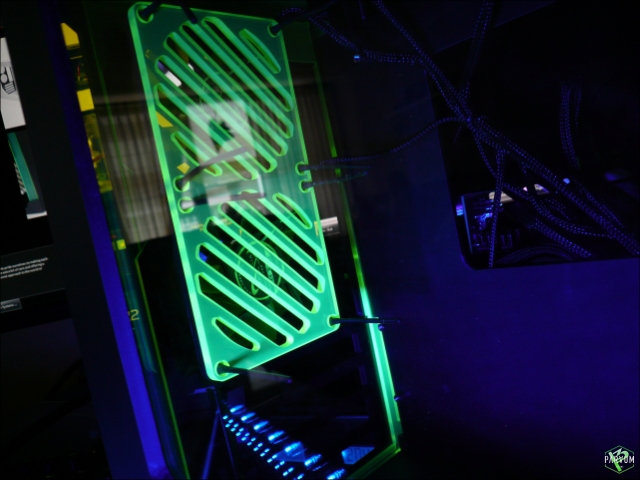
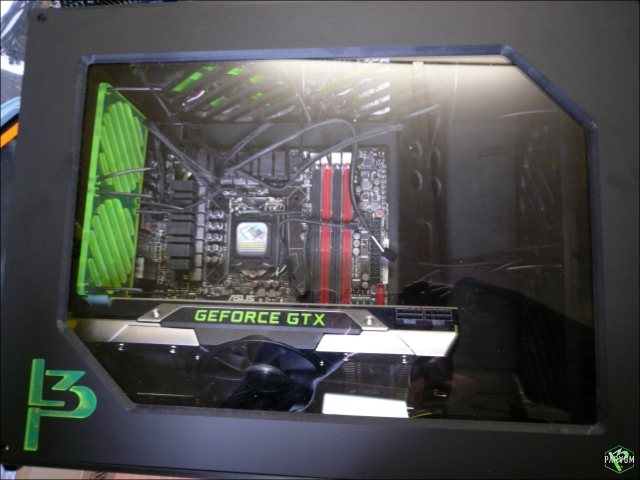
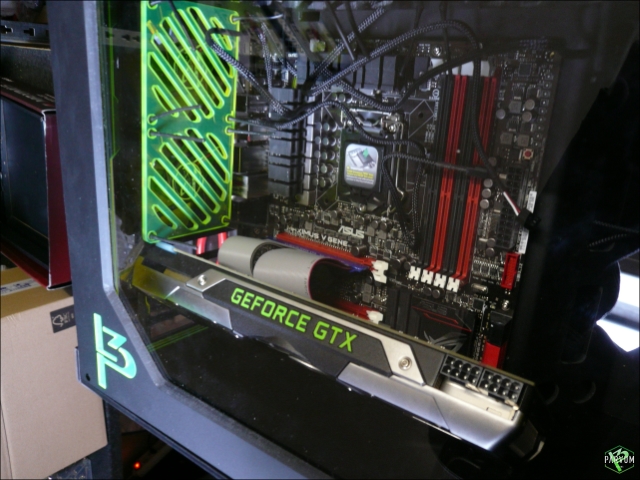
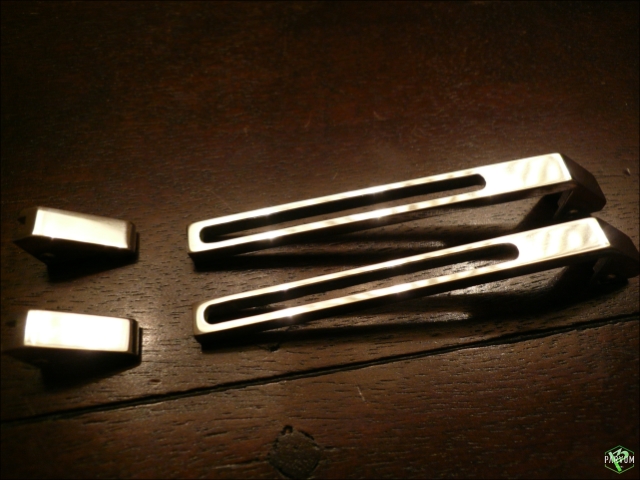
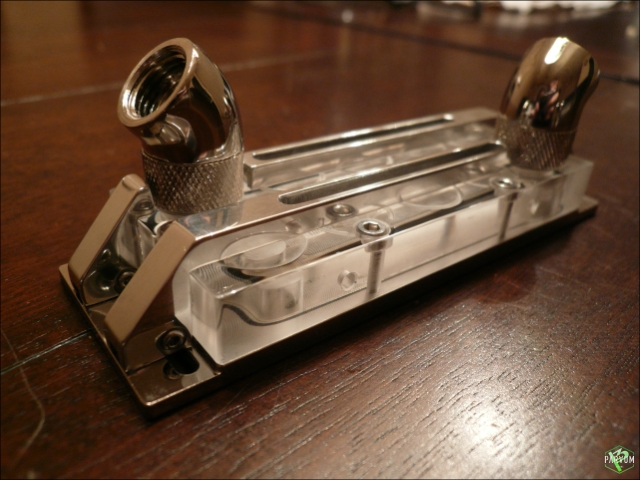
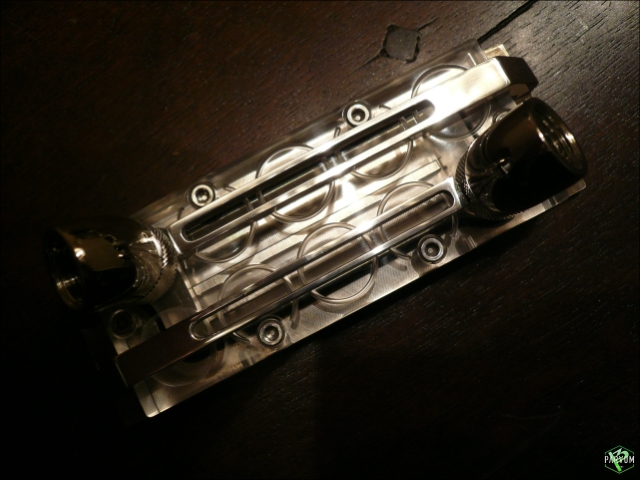
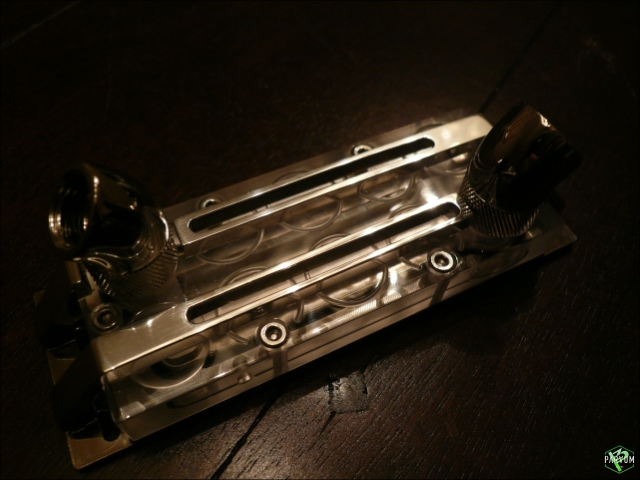
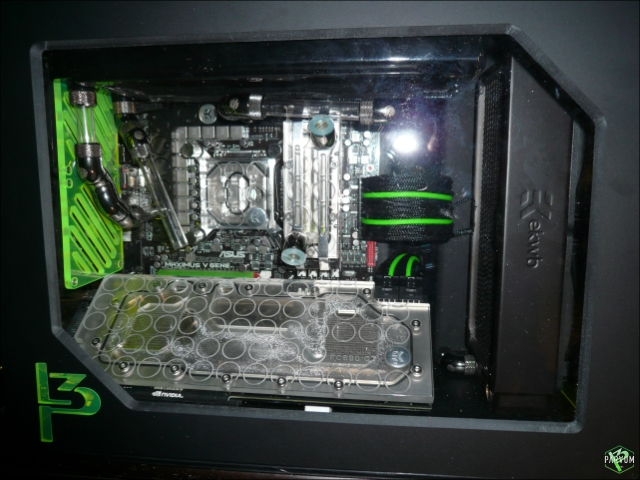
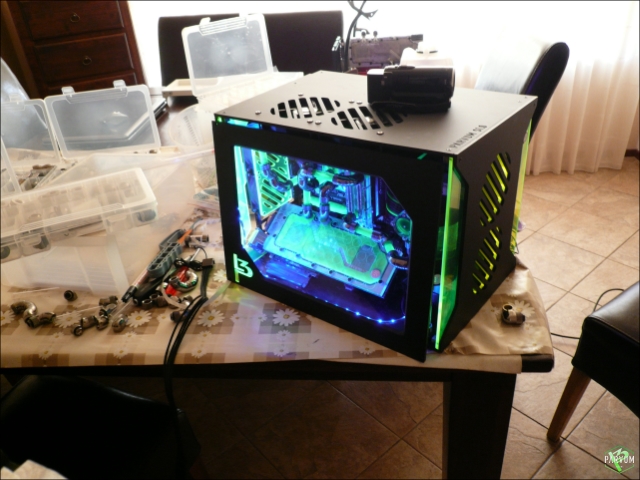
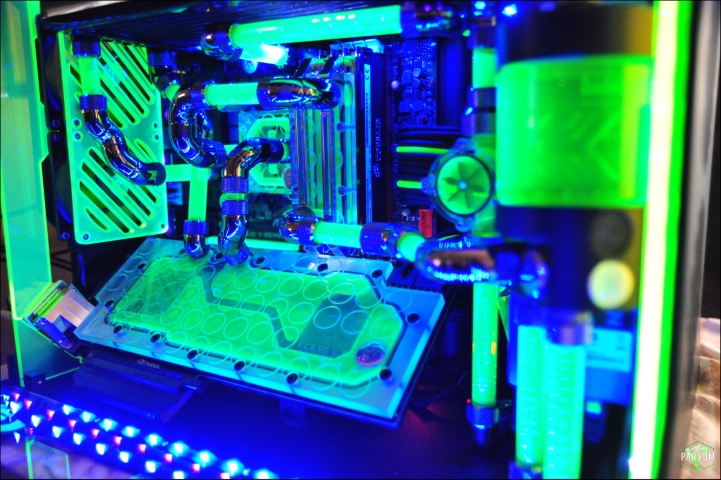
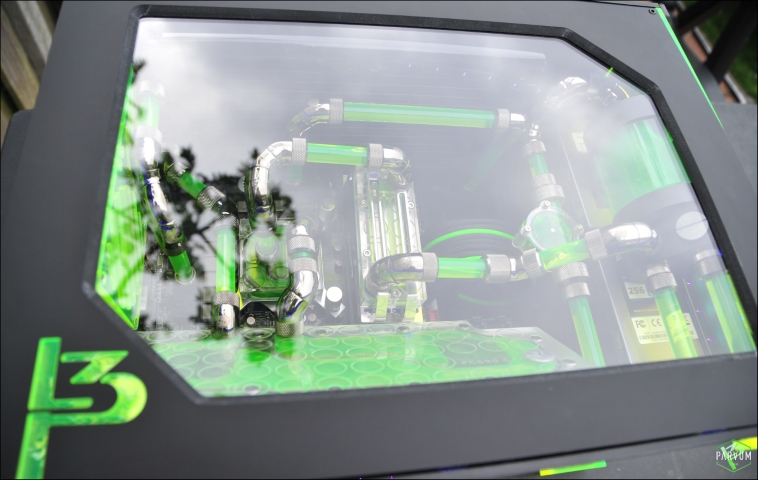
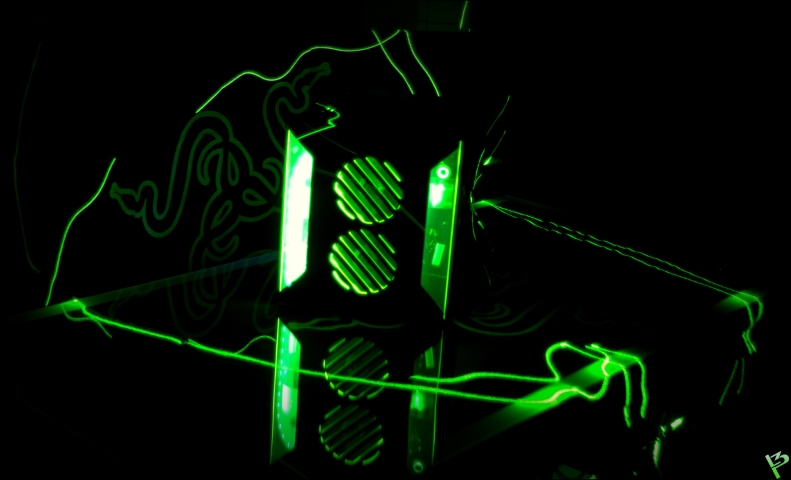
Very cool, l3p! I'm impressed with how the GPU's coming out--great idea on having it at a 45 degree angle.
 My toys:
Asus Sabertooth X58 | Core i7-950 (D0) | CM Hyper 212+ | G.Skill Sniper LV 12GB DDR3-1600 CL9 | GeForce GTX 670-2048MB | OCZ Agility 4 512GB, WD Raptor 150GB x 3 (RAID0), WD Black 1TB x 2 (RAID0) | XFX 650W CAH9 | Lian-Li PC-9F | Win 7 Pro x86-64
Gigabyte EX58-UD3R | Core i7-920 (D0) | Stock HSF | G.Skill Sniper LV 4GB DDR3-1600 CL9 | Radeon HD 2600 Pro 512MB | WD Caviar 80GB IDE, 4TB x 2 (RAID5) | Corsair TX750 | XClio 188AF | Win 7 Pro x86-64
Dell Dimension 8400 | Pentium 4 530 HT (E0) | Stock HSF | 1.5GB DDR2-400 CL3 | GeForce 8800 GT 256MB | WD Caviar 160GB SATA | Stock PSU | (Broken) Stock Case | Win Vista HP x86
Little Dot DAC_I | Little Dot MK IV | Beyerdynamic DT-880 Premium (600 Ω) | TEAC AG-H300 MkIII | Polk Audio Monitor 5 Series 2's
-
-
-
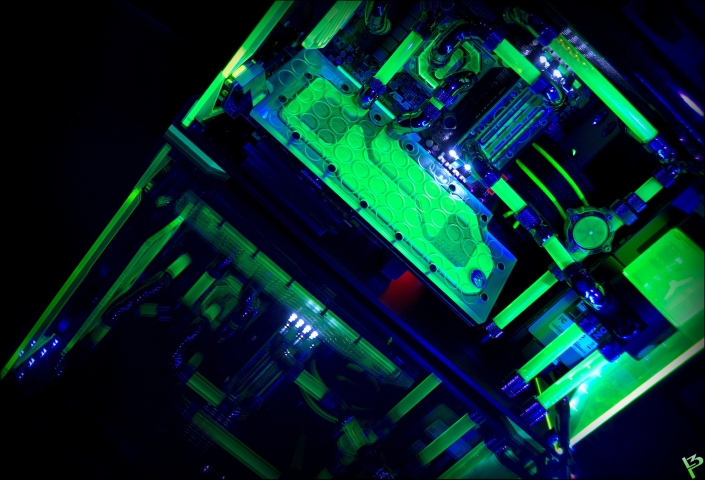
\Project\ Triple Surround Fury
Case: Mountain Mods Ascension (modded)
CPU: i7 920 @ 4GHz + EK Supreme HF (plate #1)
GPU: GTX 670 3-Way SLI + XSPC Razor GTX670 water blocks
Mobo: ASUS Rampage III Extreme + EK FB R3E water block
RAM: 3x 2GB Mushkin Enhanced Ridgeback DDR3 @ 6-8-6-24 1T
SSD: Crucial M4 256GB, 0309 firmware
PSU: 2x Corsair HX1000s on separate circuits
LCD: 3x ASUS VW266H 26" Nvidia Surround @ 6030 x 1200
OS: Windows 7 64-bit Home Premium
Games: AoE II: HD, BF4, MKKE, MW2 via FourDeltaOne (Domination all day!)
 Posting Permissions
- You may not post new threads
- You may not post replies
- You may not post attachments
- You may not edit your posts
-
Forum Rules


 Reply With Quote


Bookmarks