


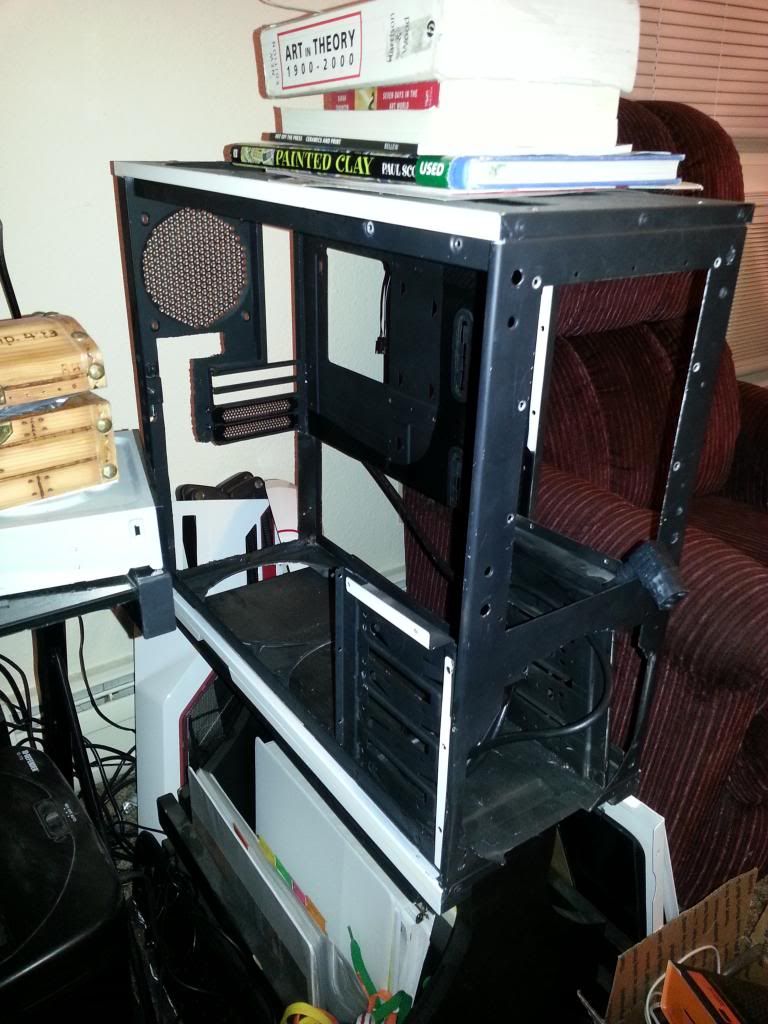
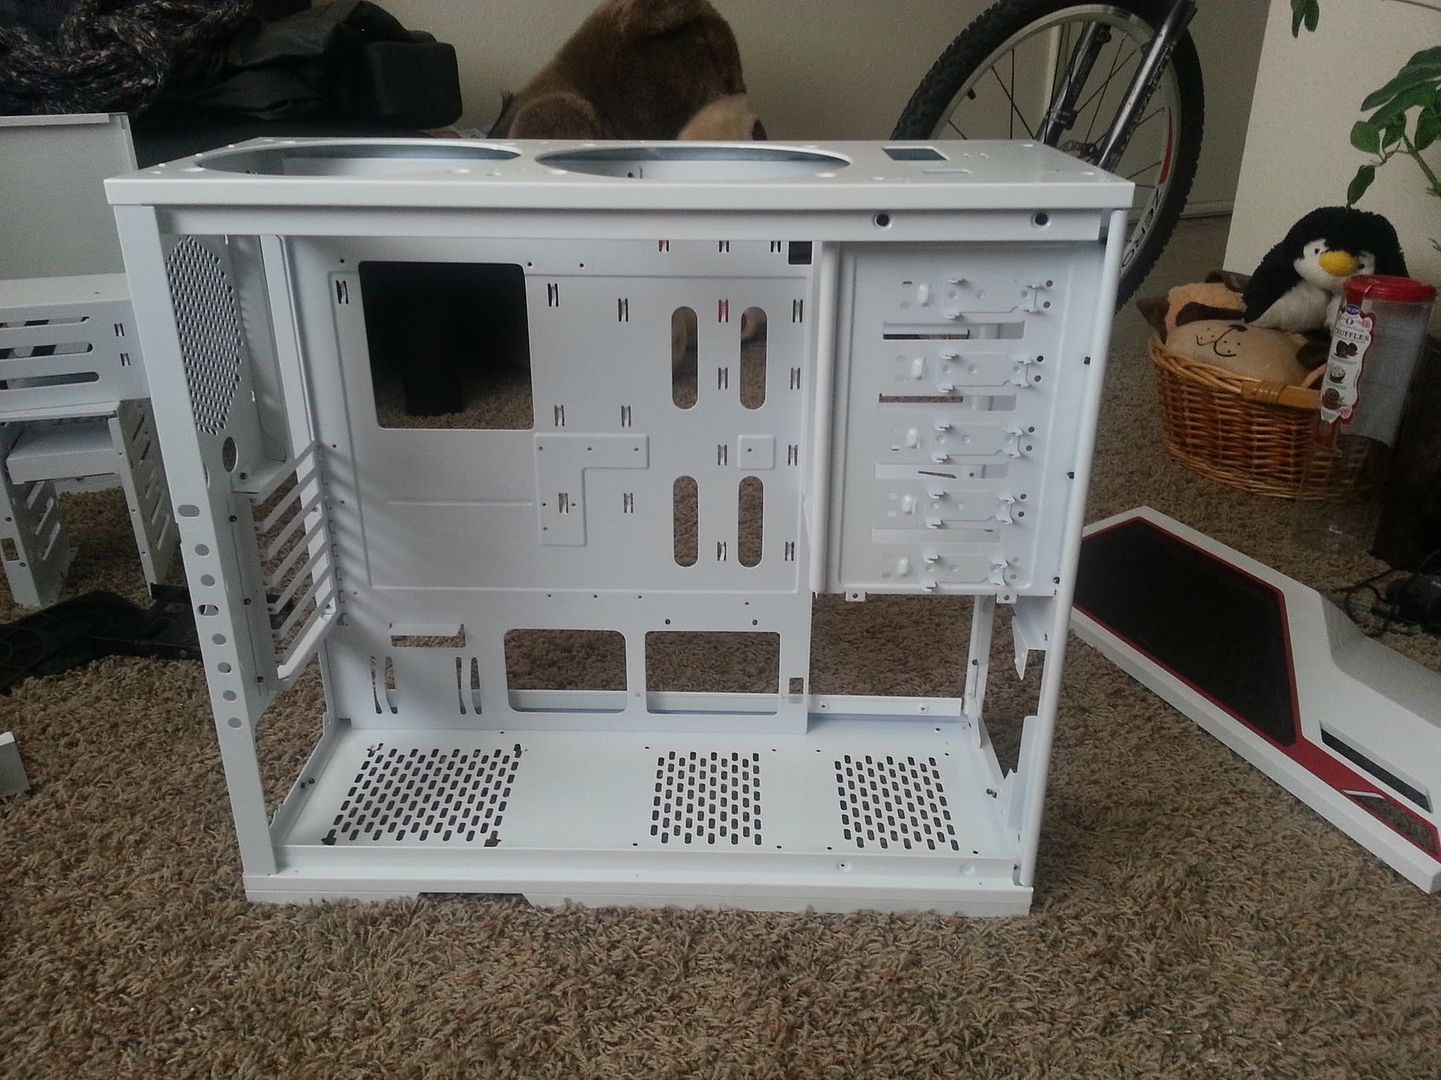
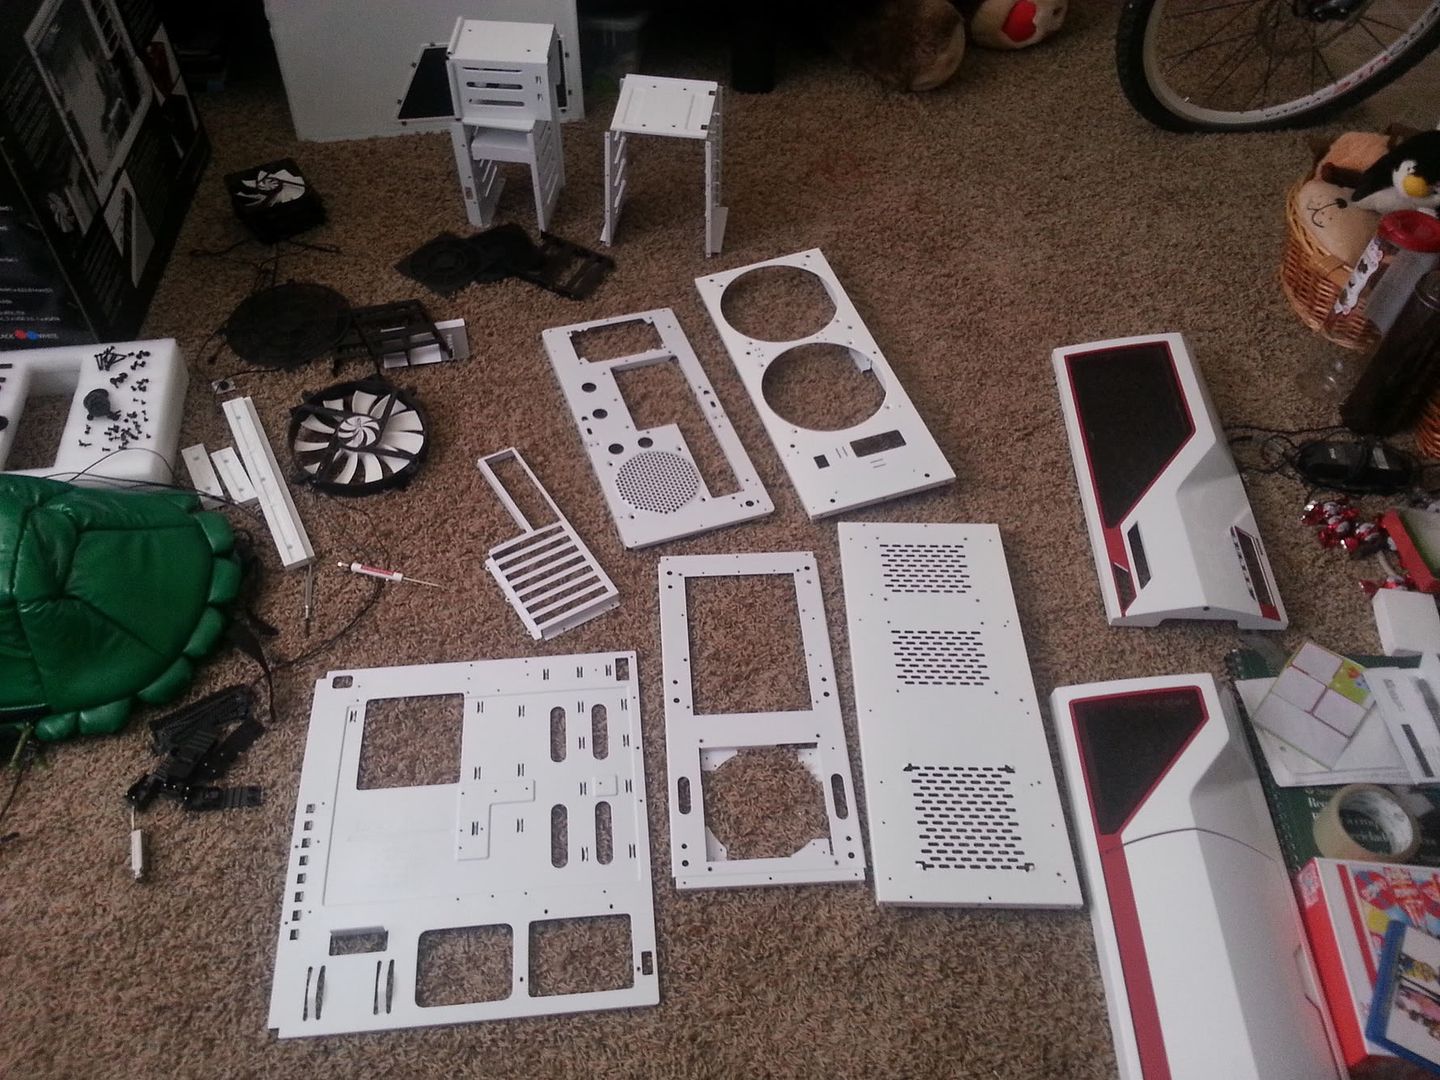
The Plan:
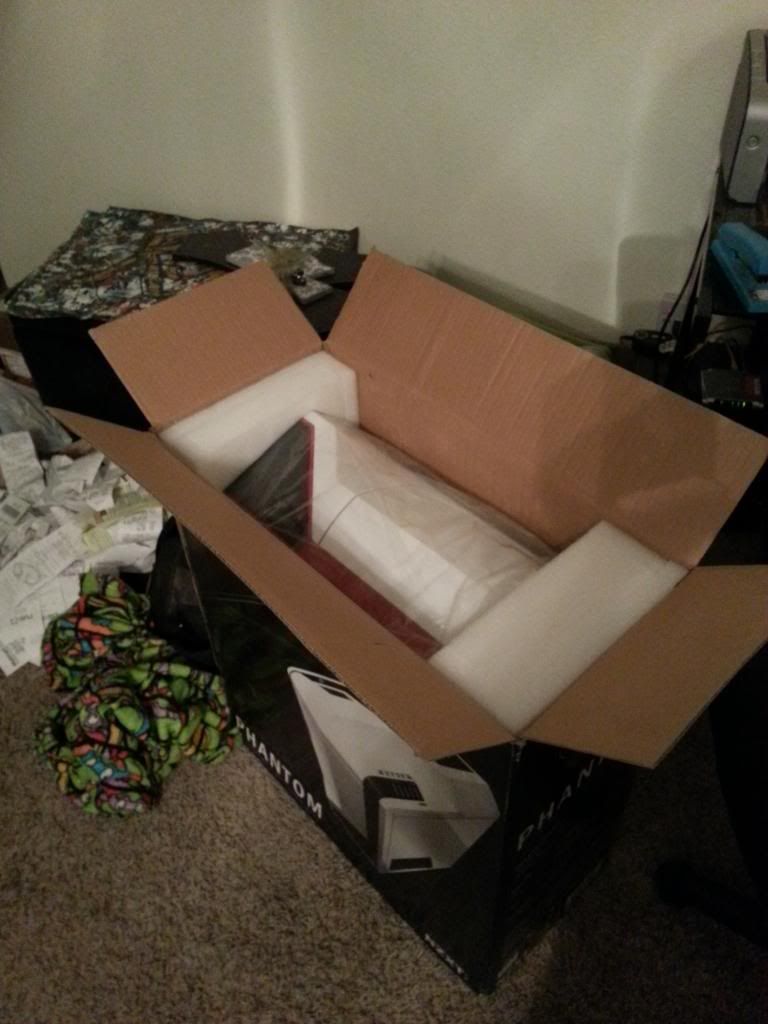
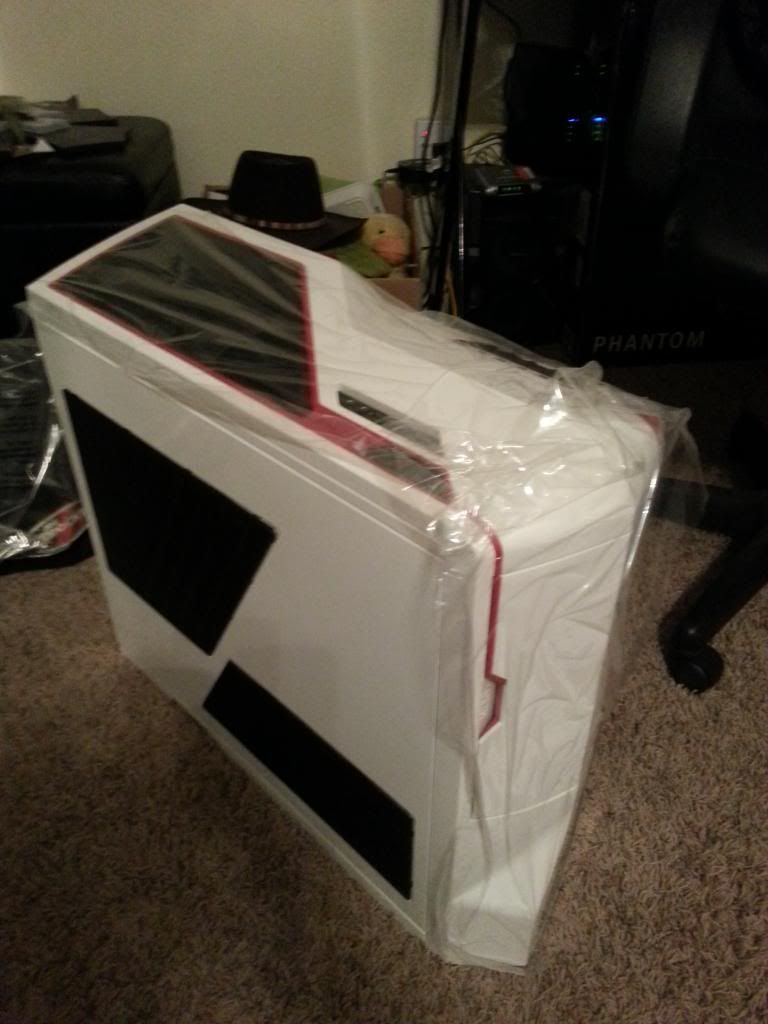
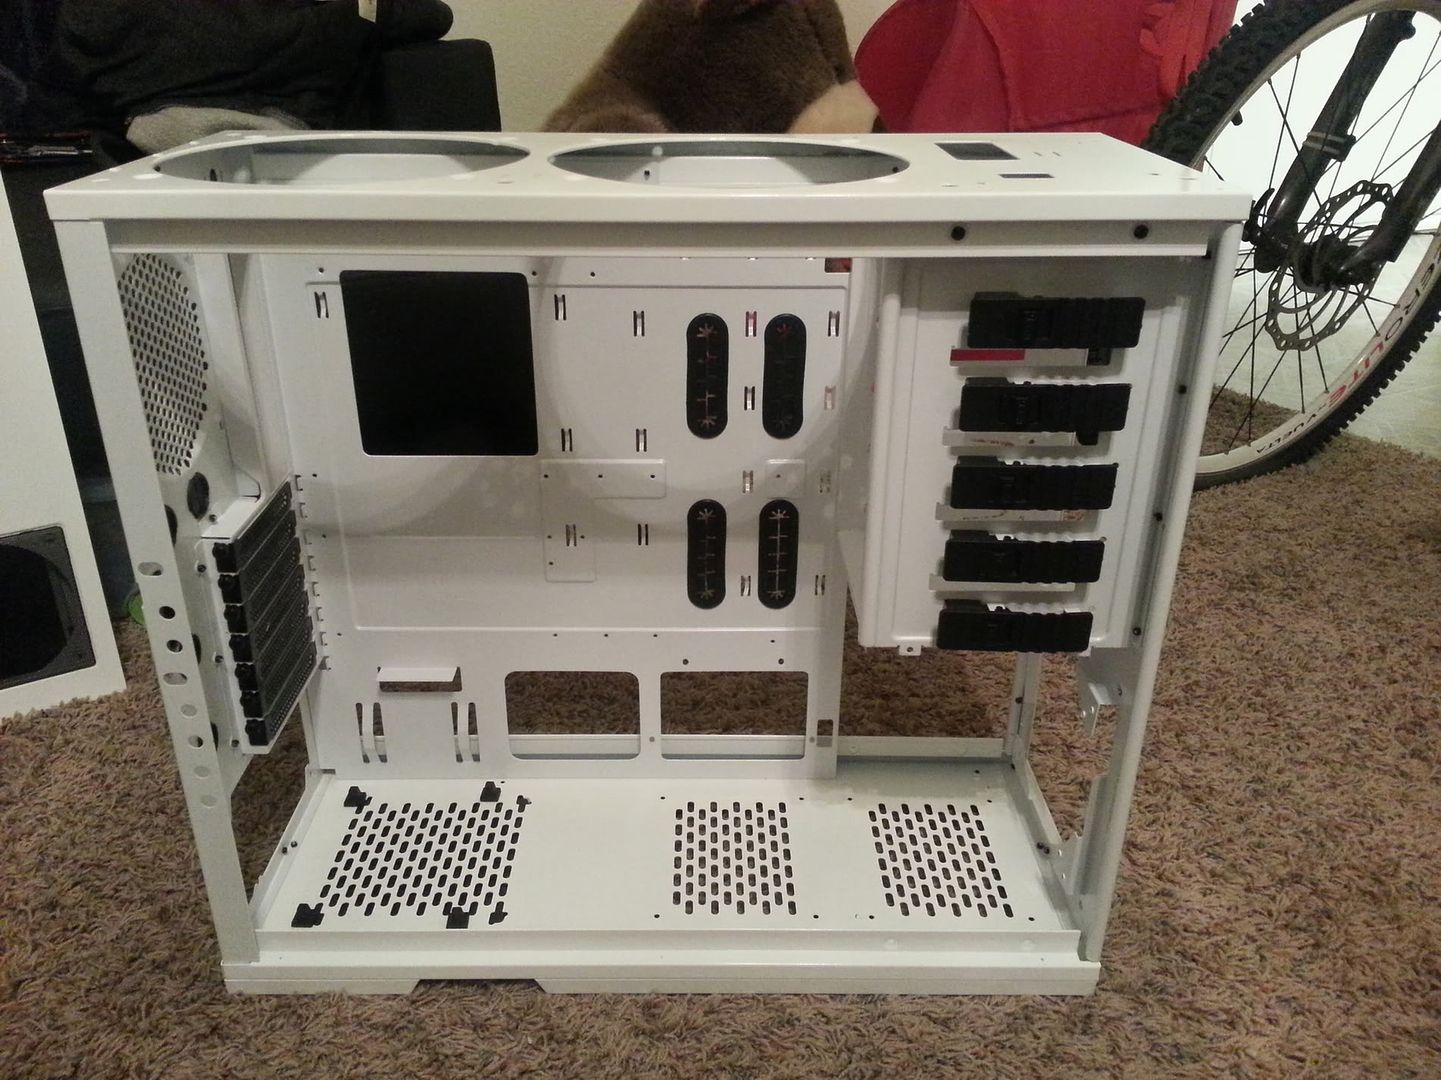
Make a Phantom go from this:
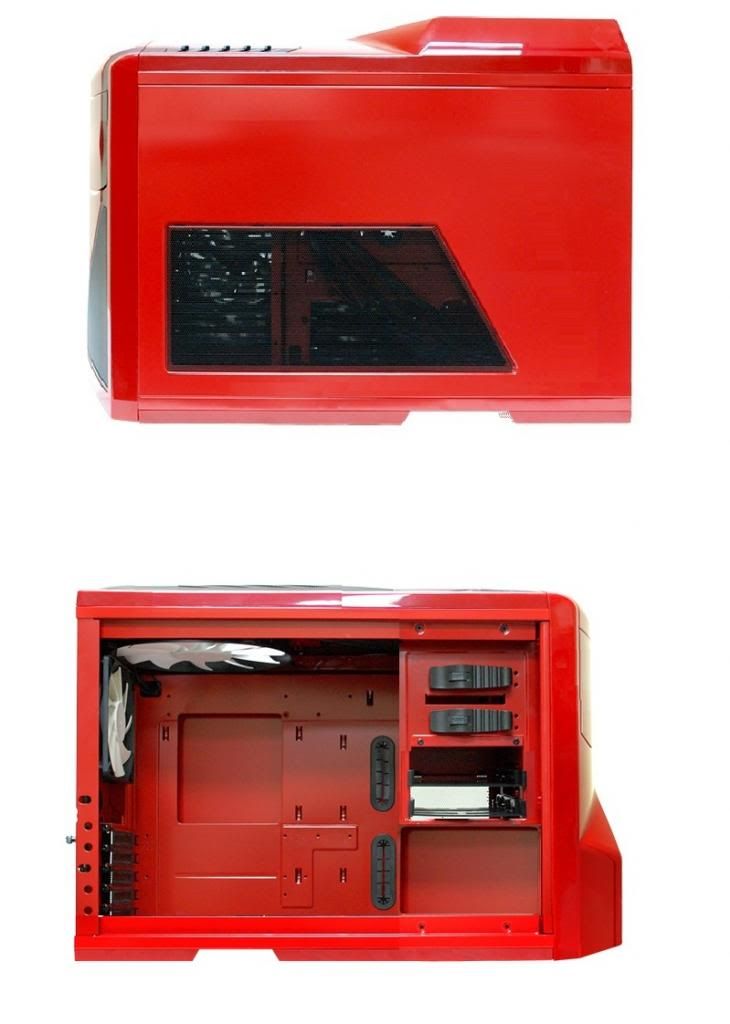
To this:
And stuff a whole lot of awesome in it.
A couple things to note about this build:
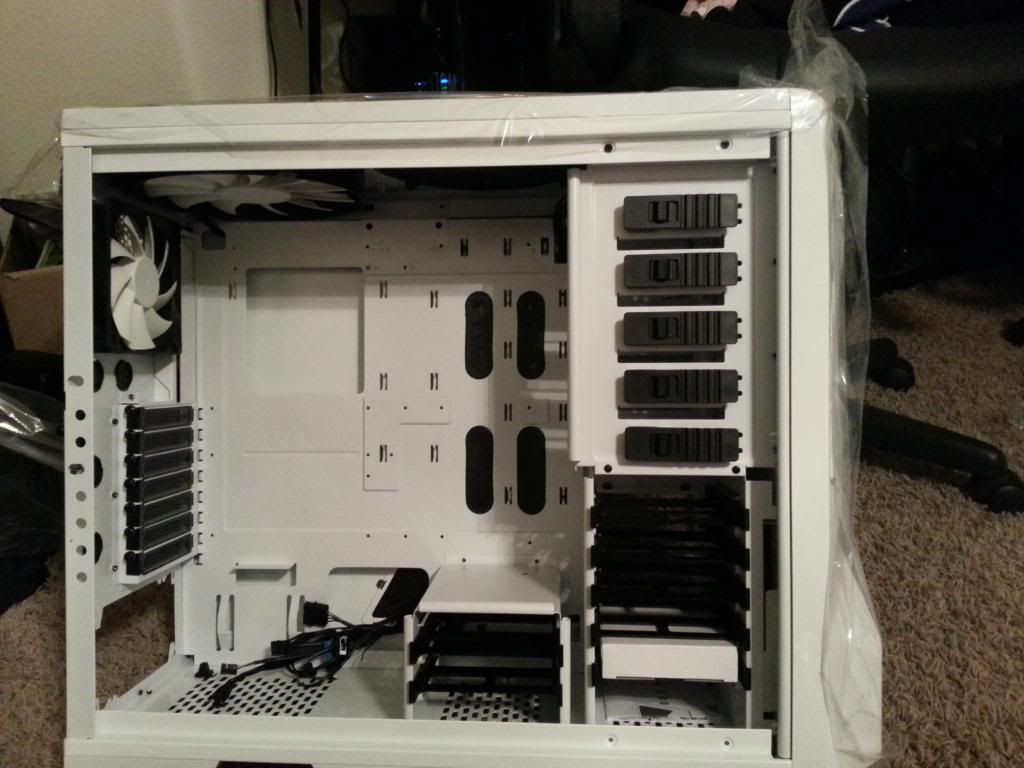
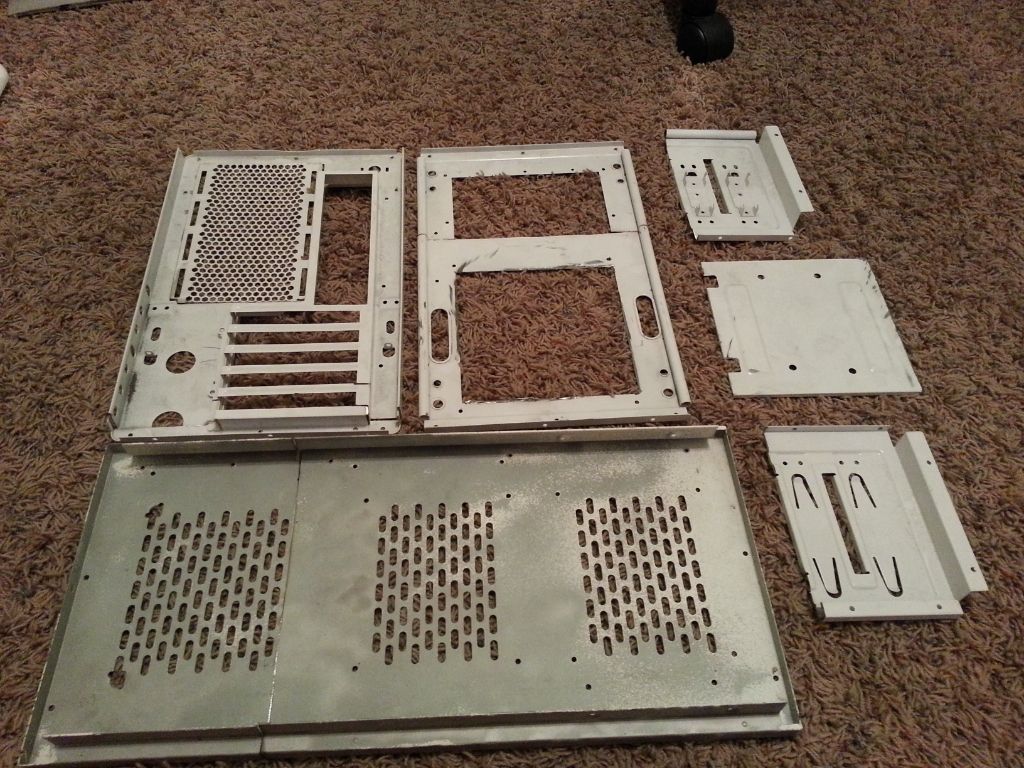
-The above pic was done in MS Paint as a reference point. The plan is to shorten the height by 6" and the length by 3.5".
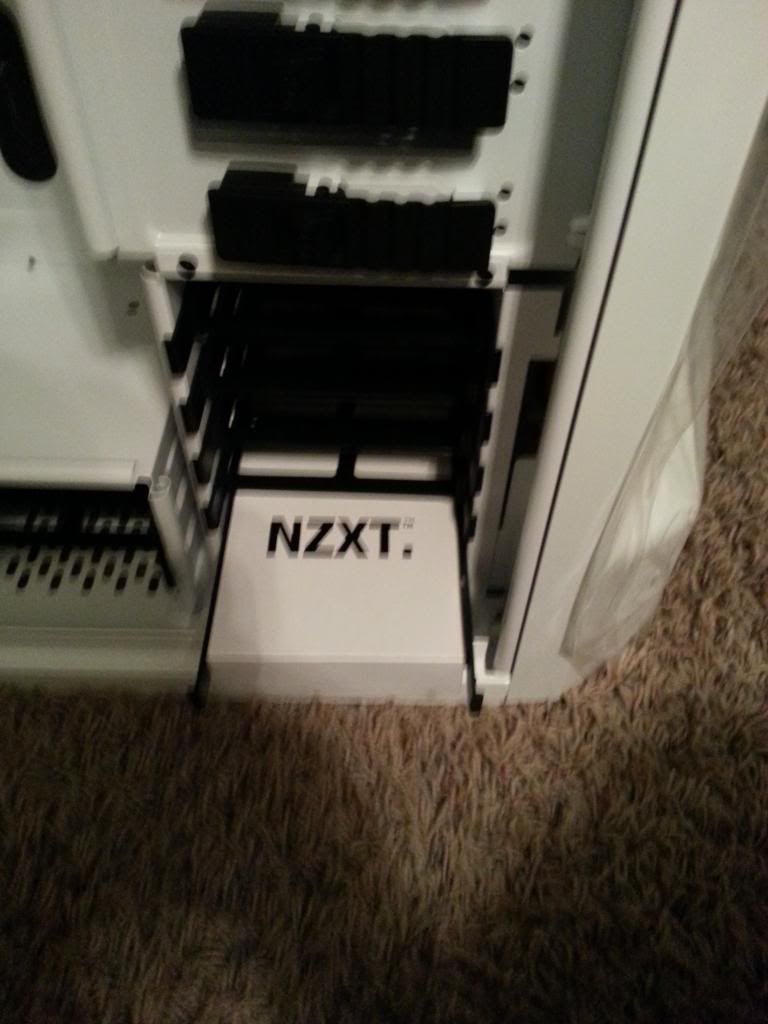
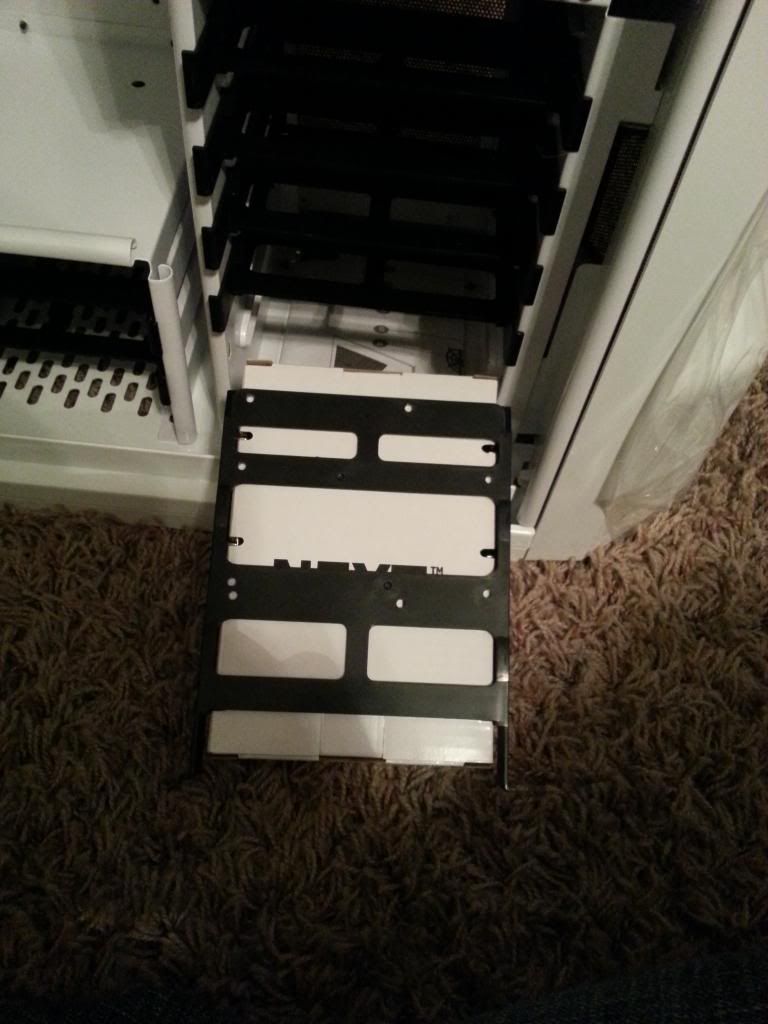
The final will have 2 5.25" bays and 2 3.5" bays
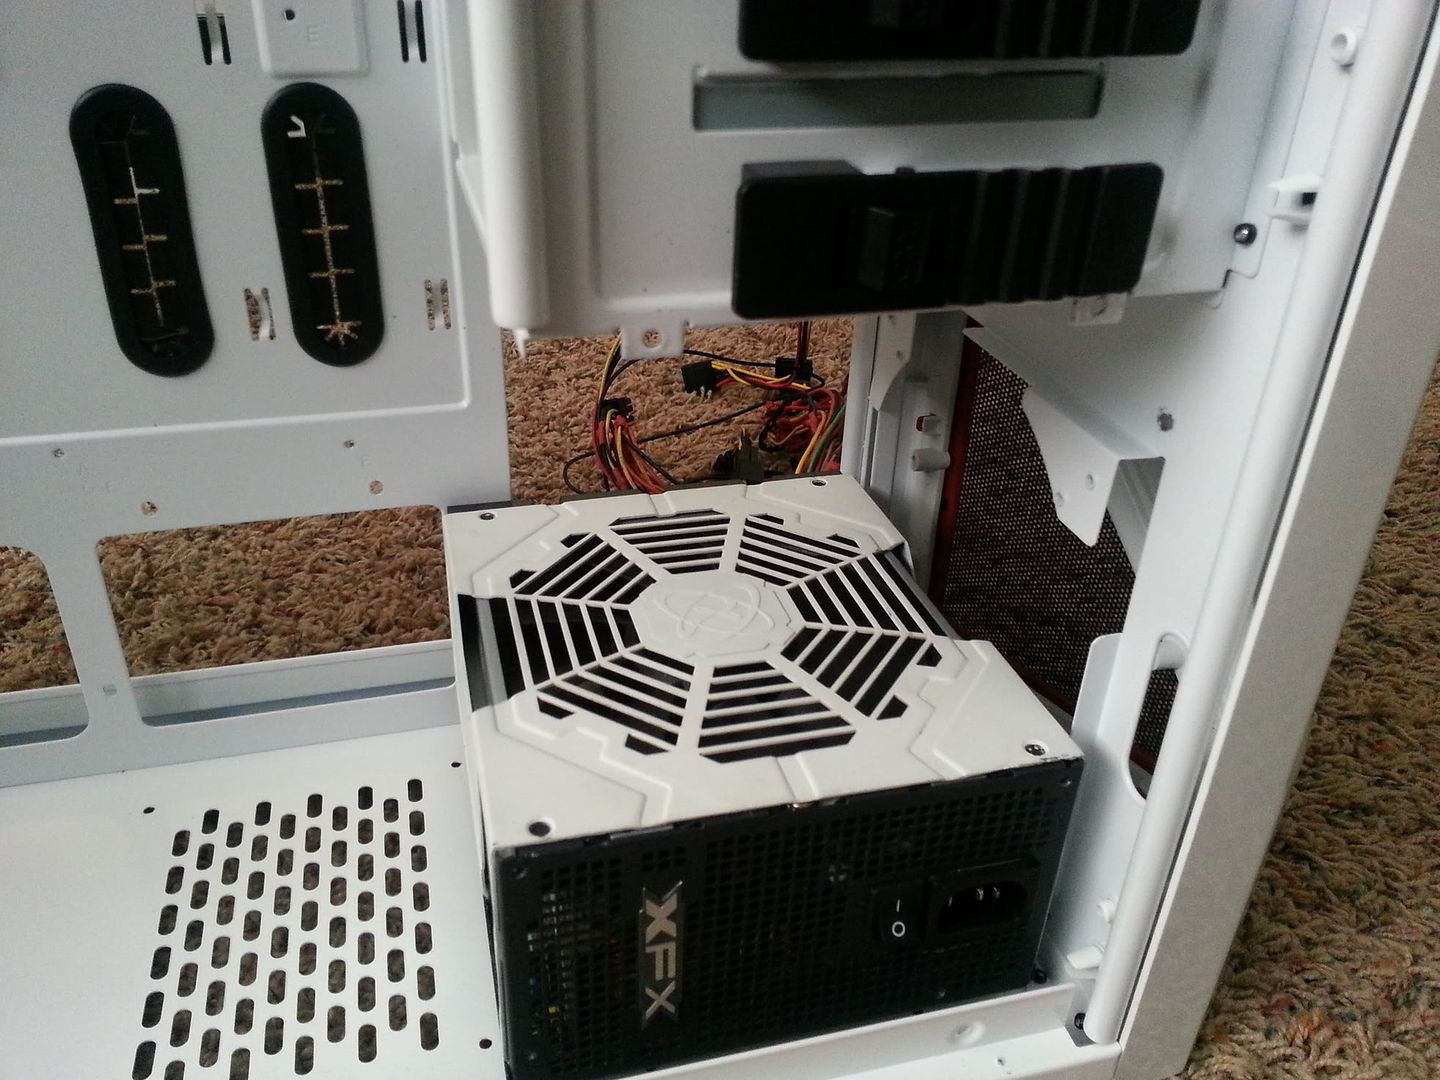
-The power supply will mount sideways in the bottom-front, like in silverstone cases.
-The final will not have a 200mm fan in the top, though it will likely have one in the bottom, similar to my last build.
-Door design is still being decided.
Parts List.
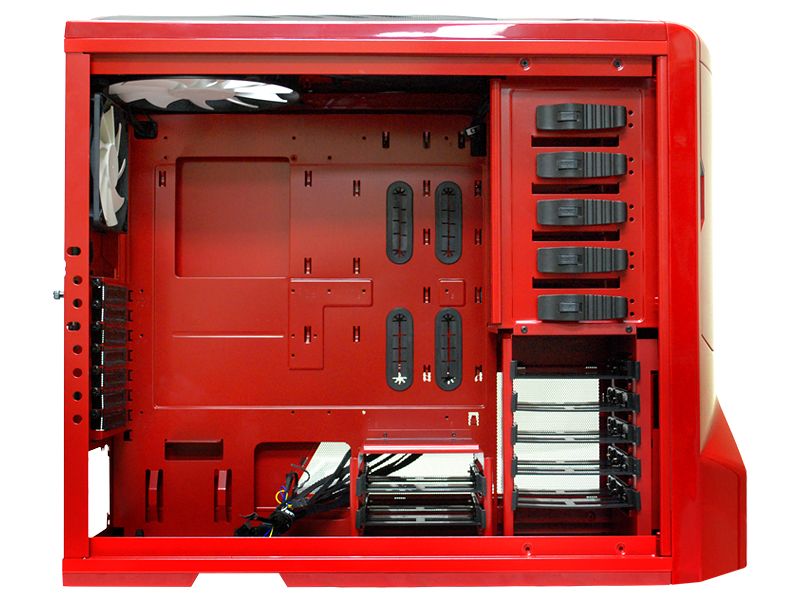
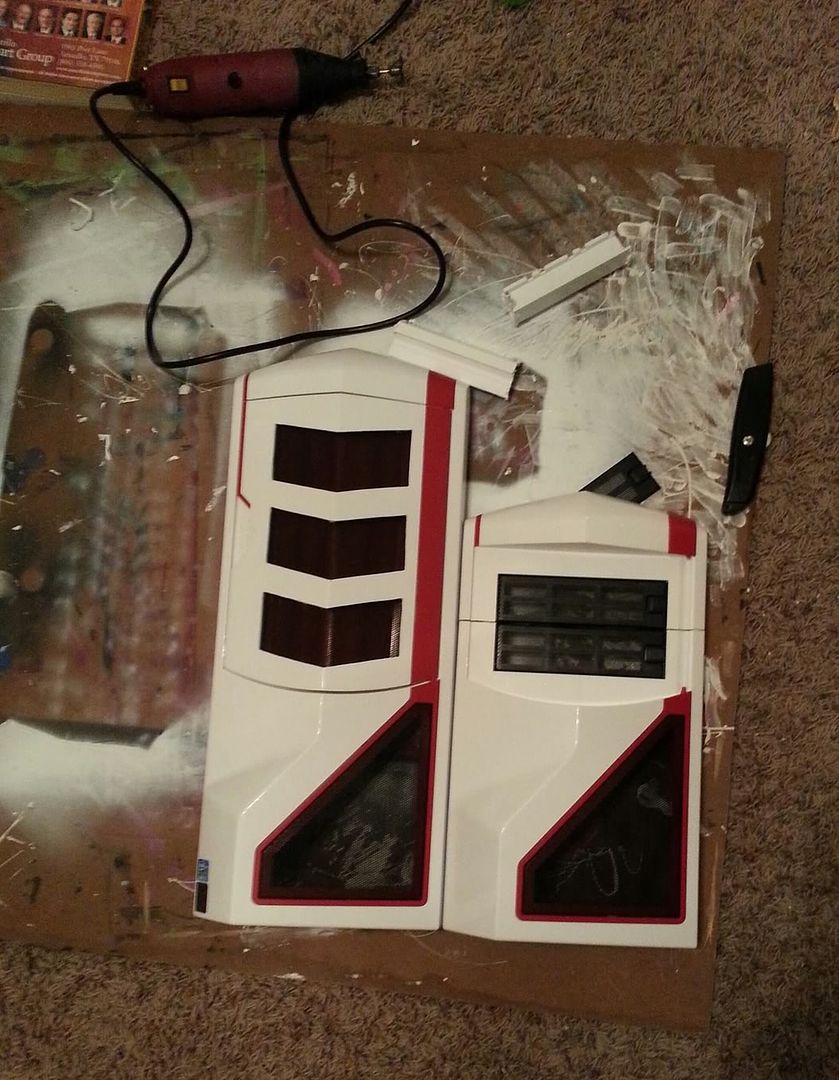
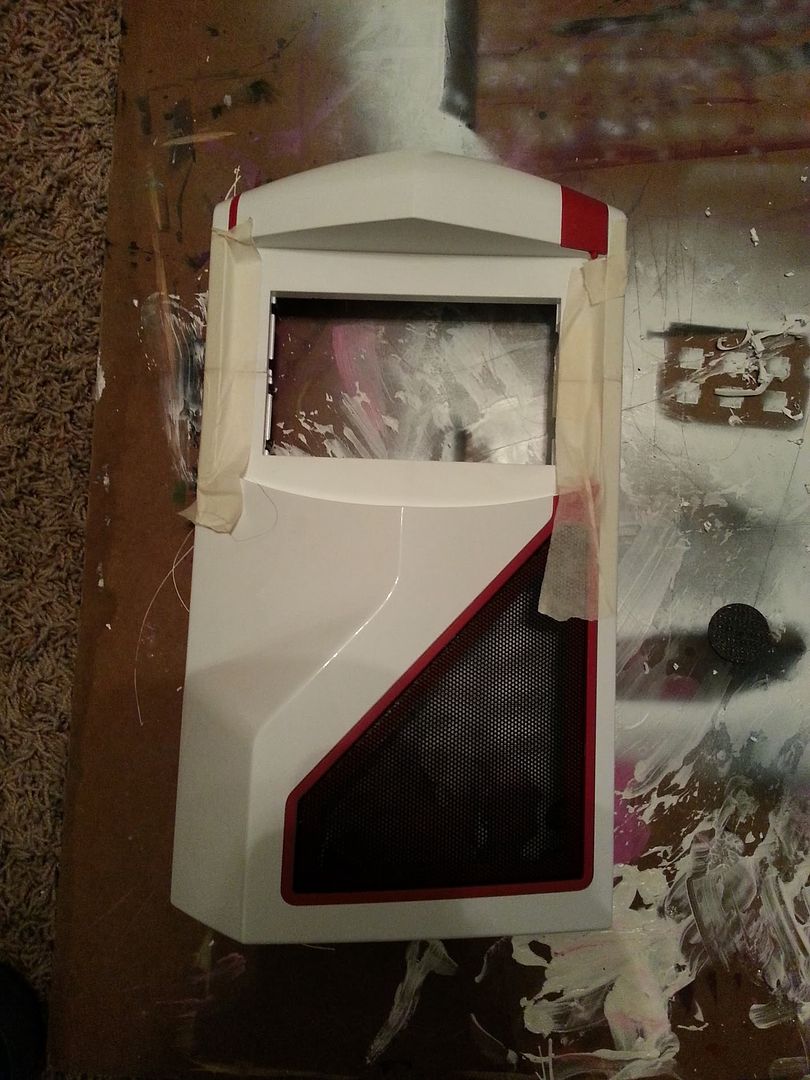
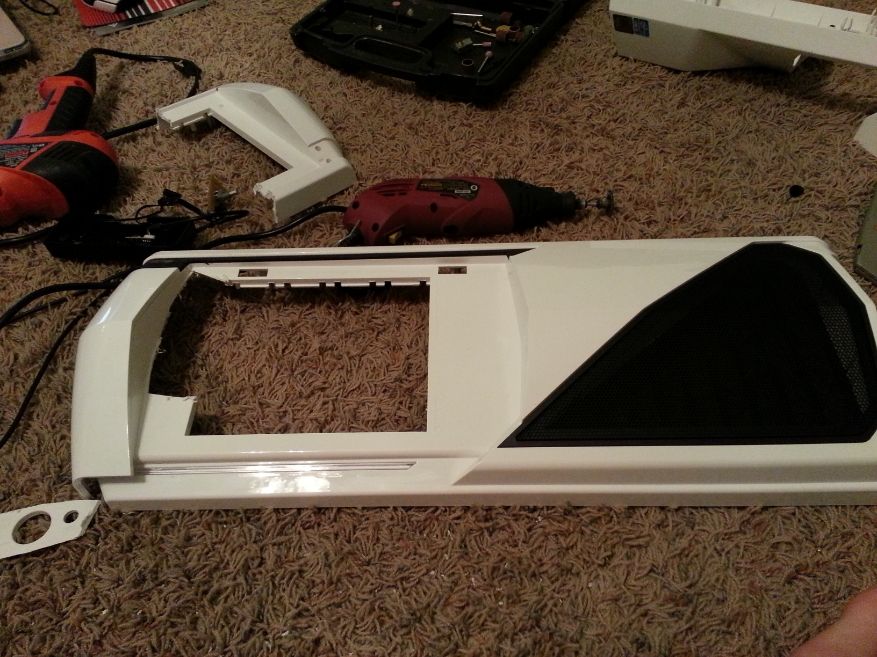
case: modified NZXT Phantom Full Tower (owned)
processor: Intel i7 3820 (owned)
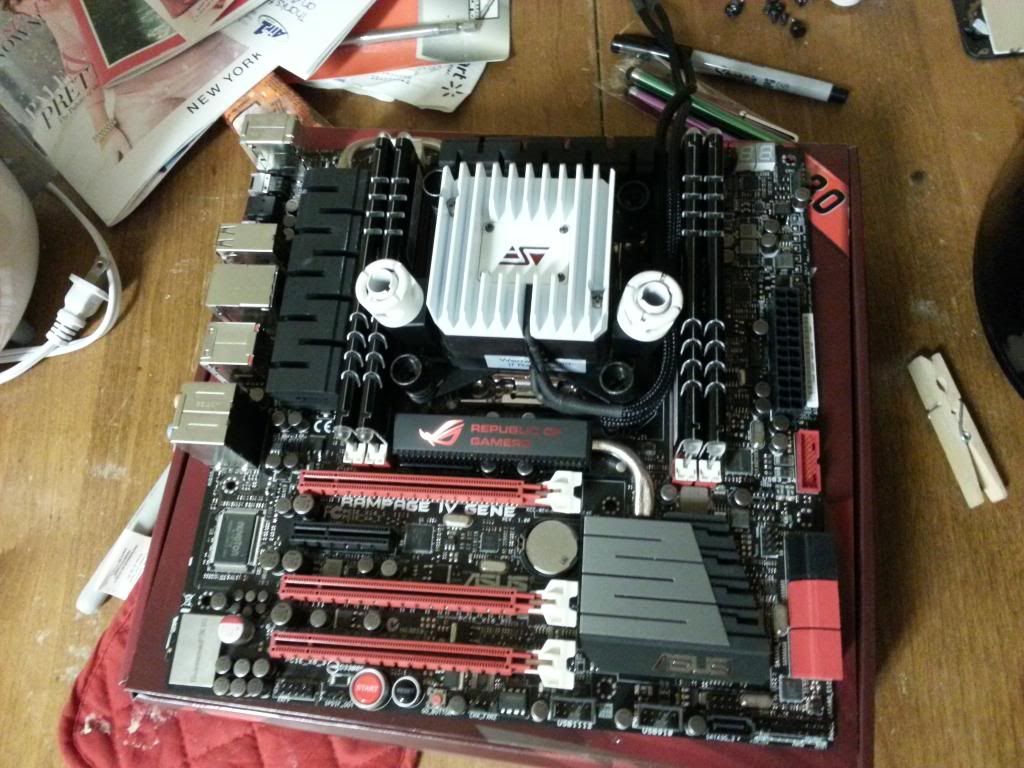
motherboard: Asus Rampage IV Gene (owned)
RAM: TBD, currently Avexir CORE series 4x4 GB 1600mhz (owned)
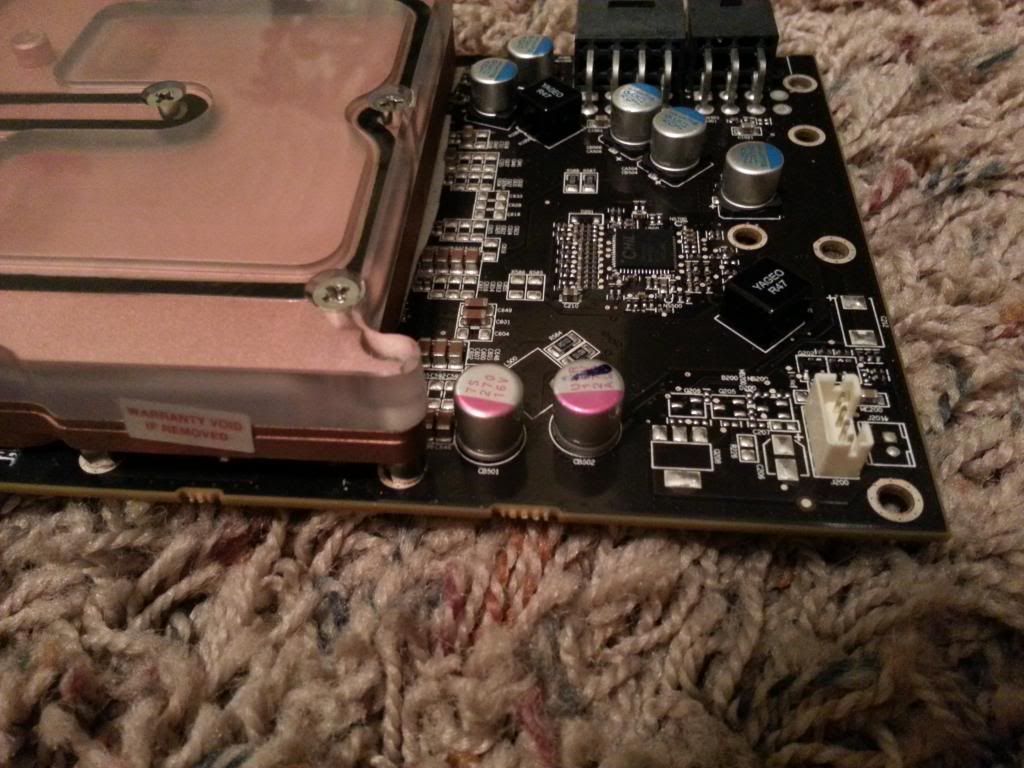
graphics card: Diamond 7970 reference (owned)
storage: Mushkin Chronos 120 GB SSD for OS, WD Scorpio blue 2.5" 640GB and 250GB for storage (all owned)
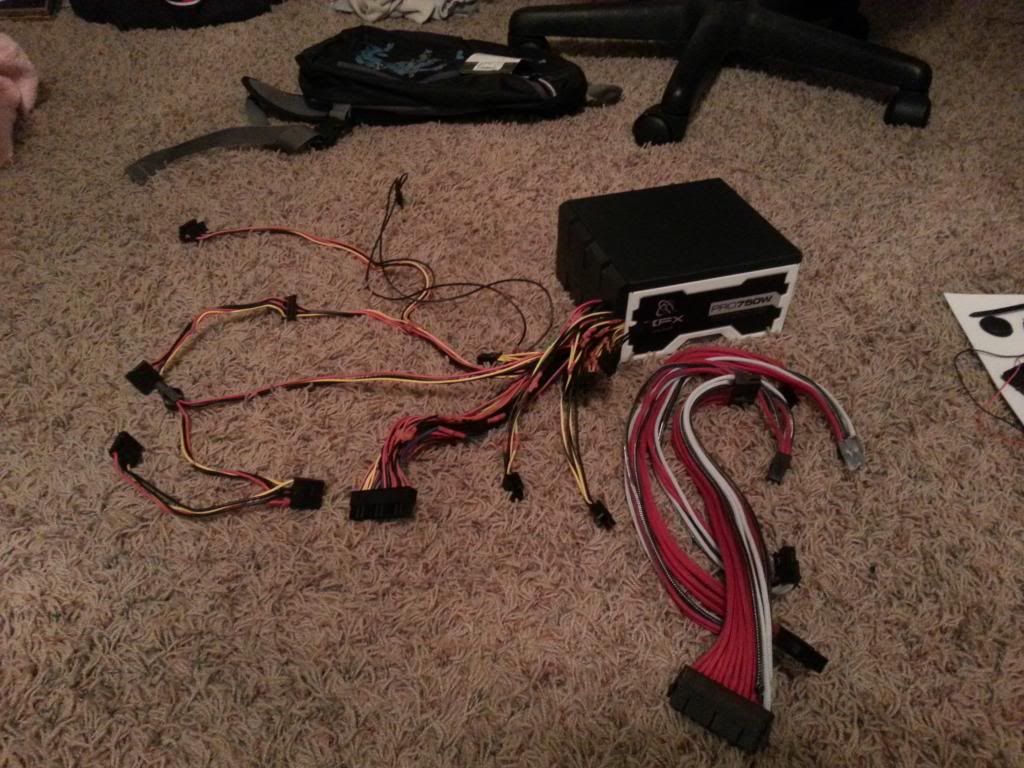
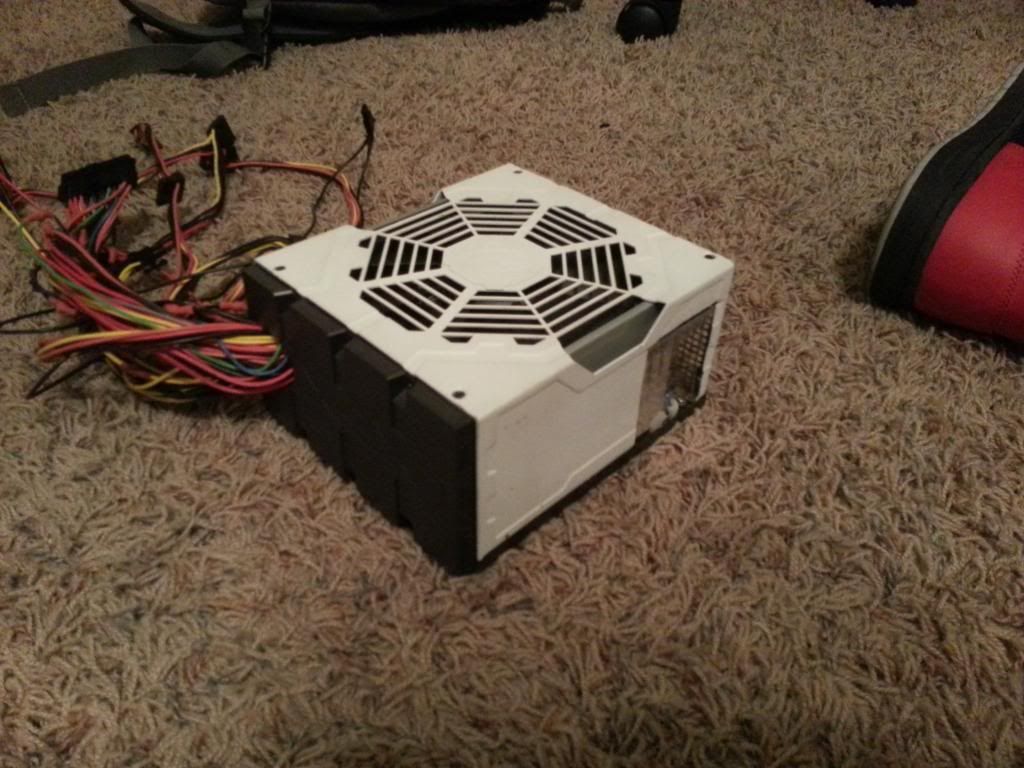
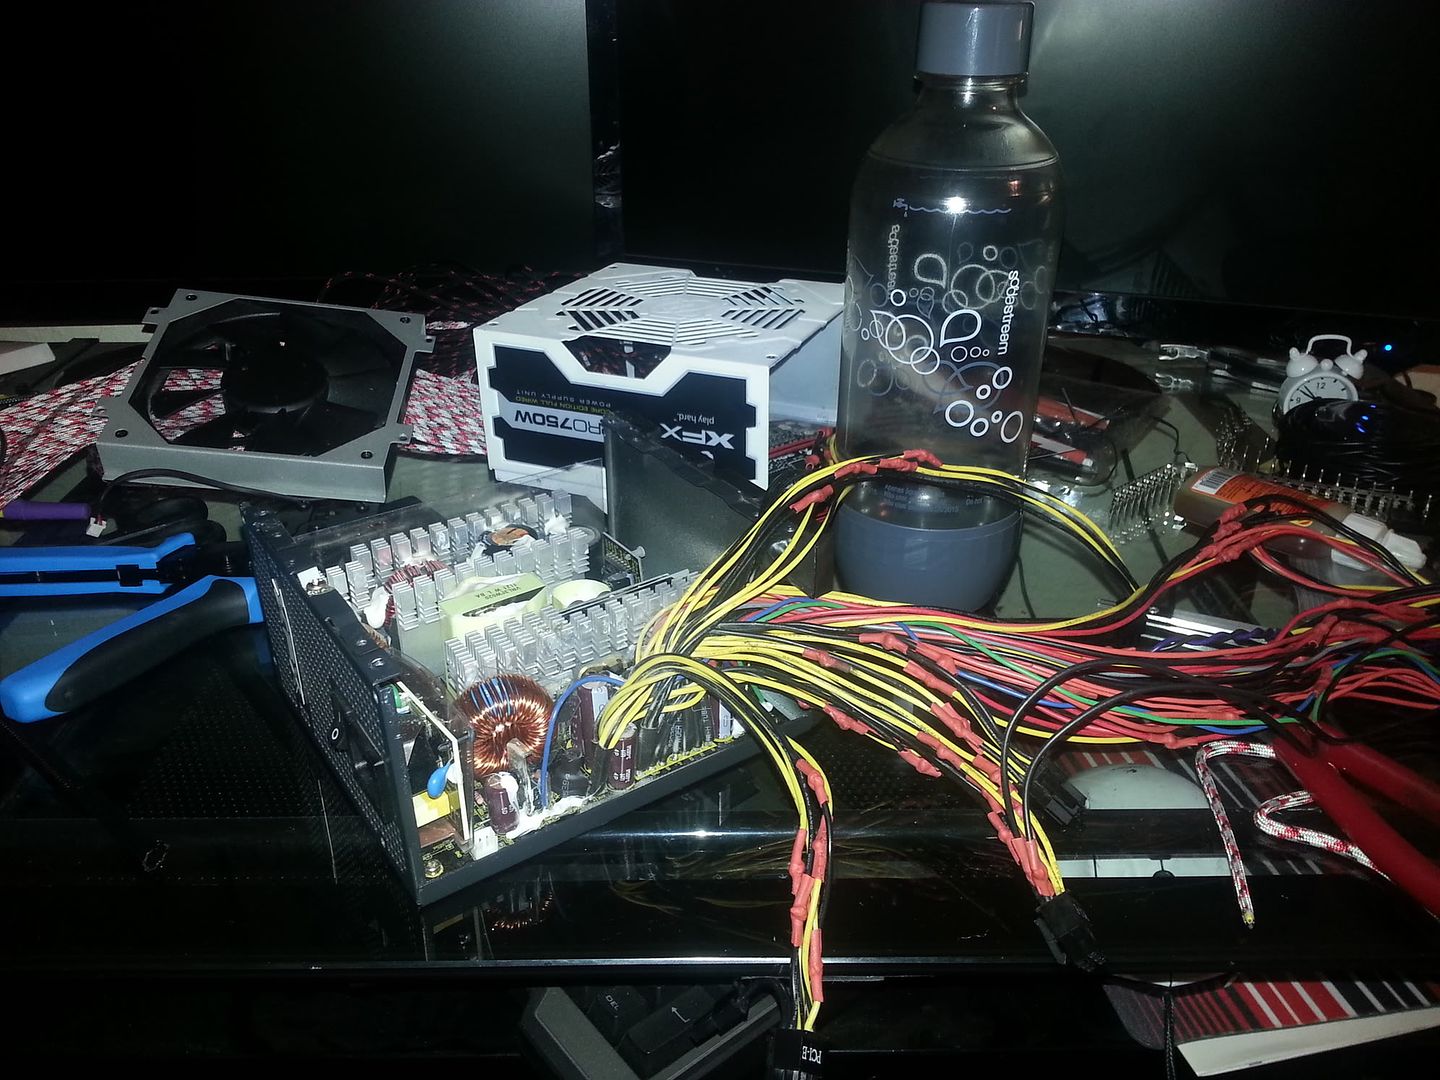
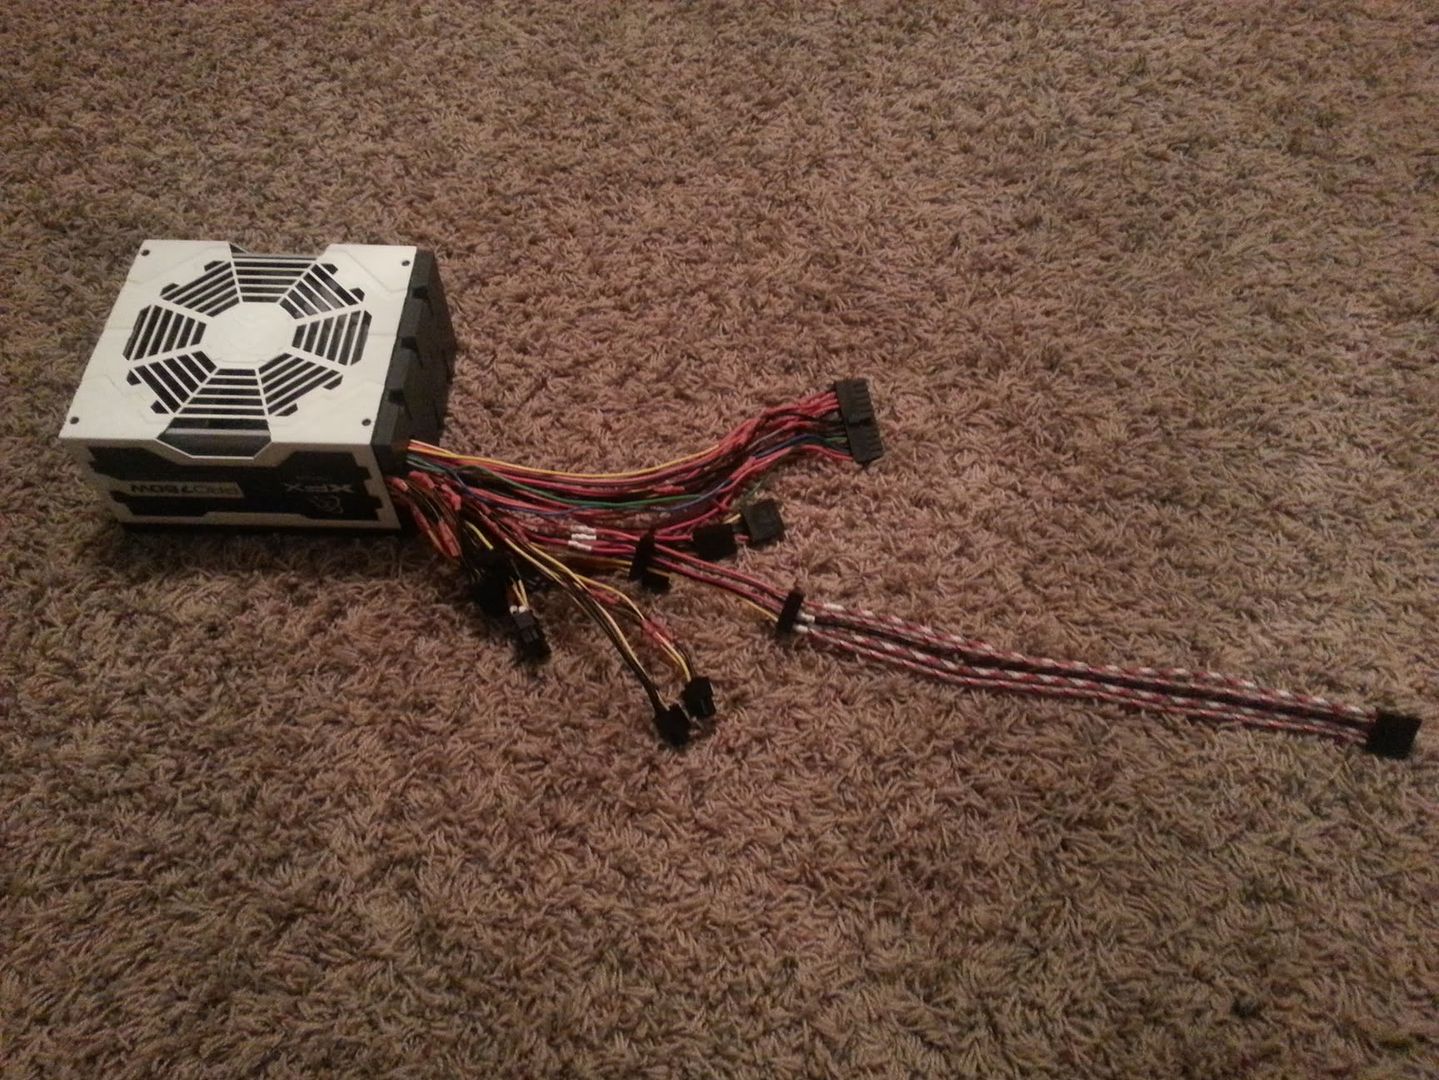
power supply: TBD, currently XFX 750w (owned)
CPU block: Swiftech Apogee Drive II (owned)
GPU block: Swiftech Komodo (en route)
chipset blocks: XSPC RIVG chipset blocks (needed)
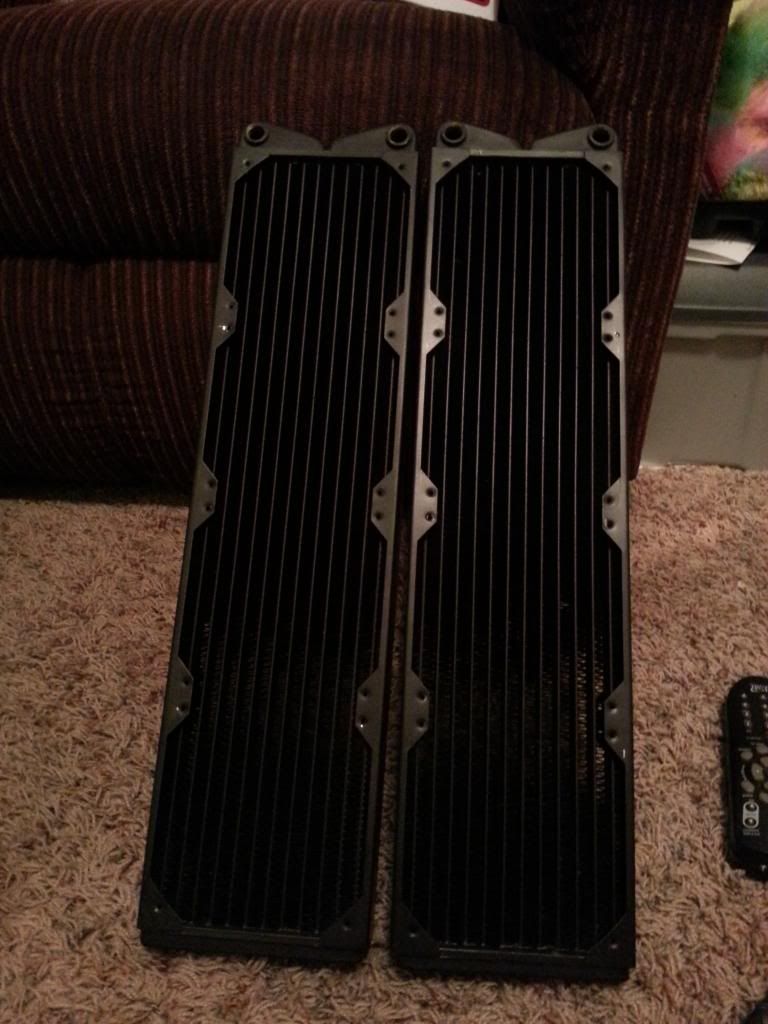
radiators: Swiftech MCR220-QP-RES and Swiftech MCR120-XP (both needed)
pump: Swiftech MCP35X, integrated in the Apogee Drive II
reservoir: integrated in the MCR220-QP-RES 240mm radiator
fans: TBD
fittings: TBD
tubing: TBD

 Reply With Quote
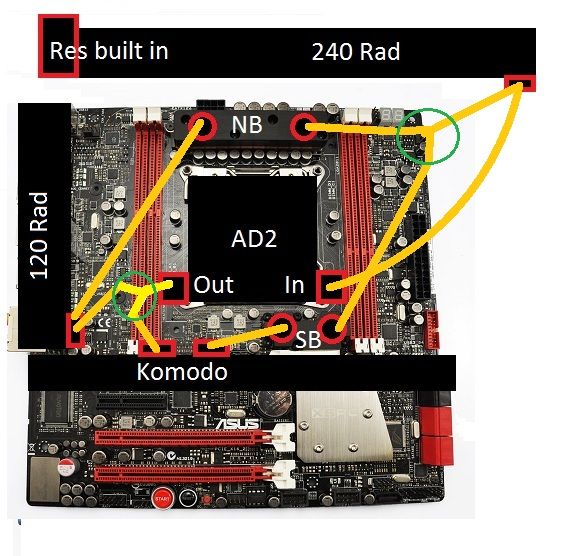


![Send a message via AIM to [XC] Synthetickiller](images/misc/im_aim.gif)
![Send a message via Yahoo to [XC] Synthetickiller](images/misc/im_yahoo.gif)
![Send a message via Skype™ to [XC] Synthetickiller](images/misc/im_skype.gif)


Bookmarks