


Cooler Master Blue flame MbK
Sponsored by:
Thanks to : Marco, Ruud and Maikel.
And thanks to: Niko
Hardware:
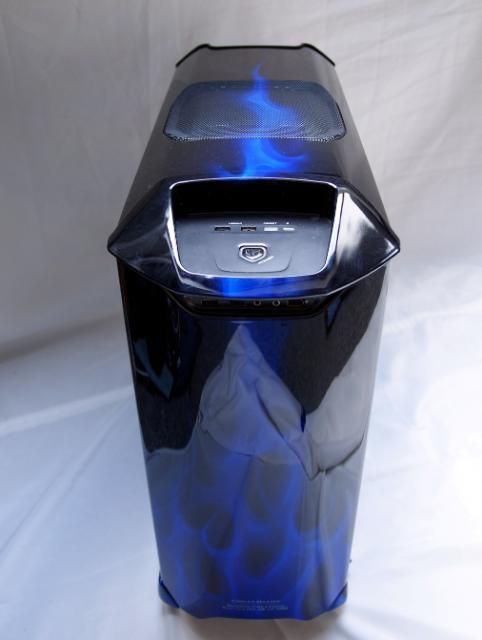
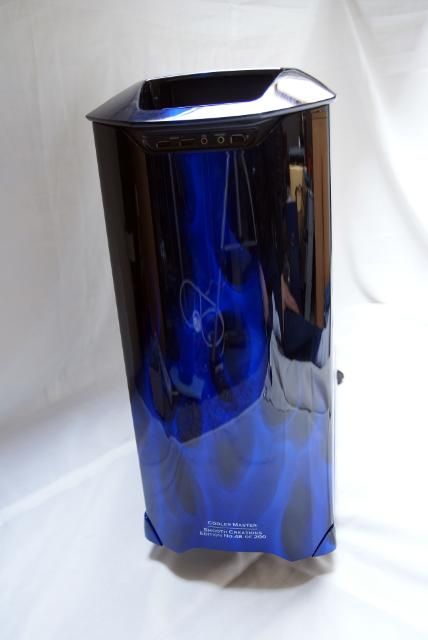
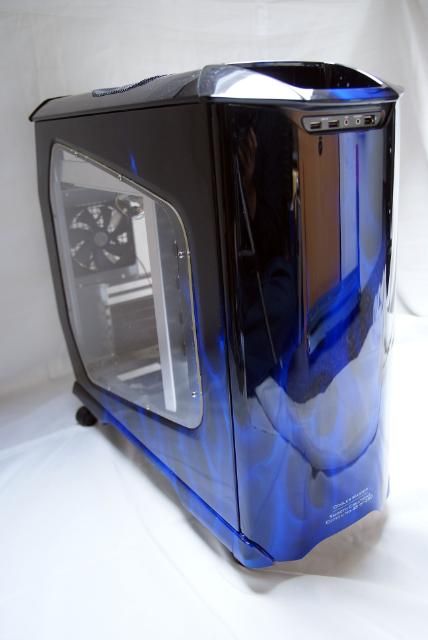
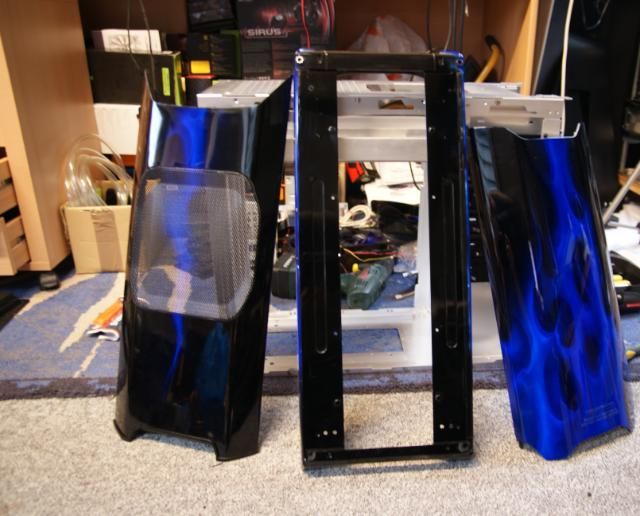
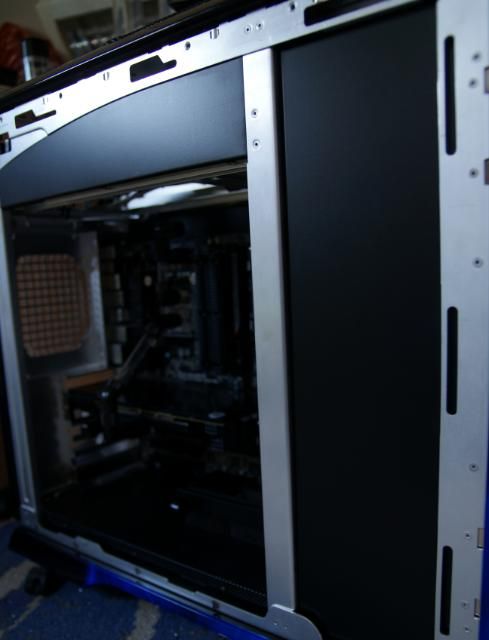
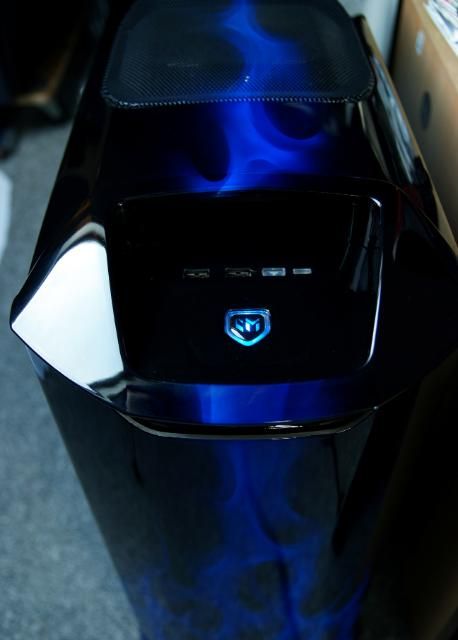
- CASE: Cooler Master CSX Blue Flame
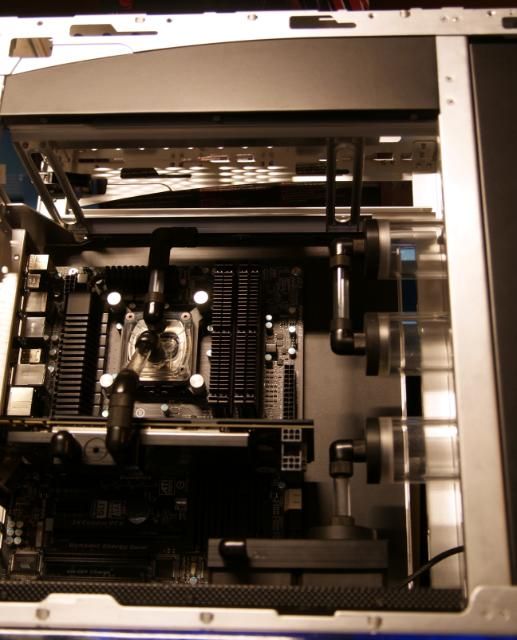
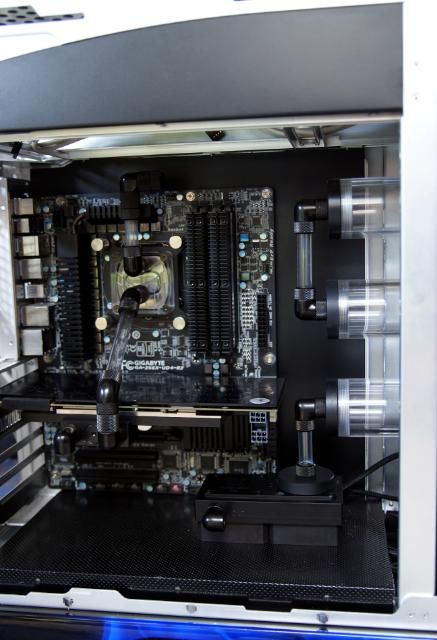
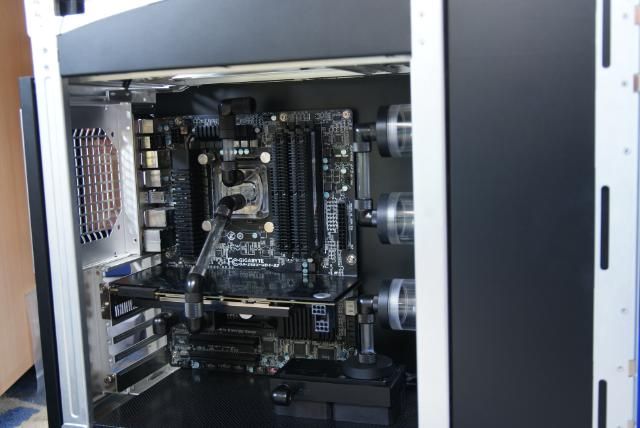
- PROCESSOR: Intel? Core i7-2600K
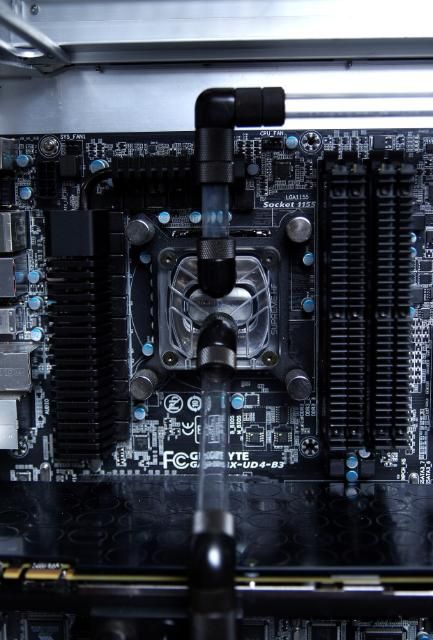
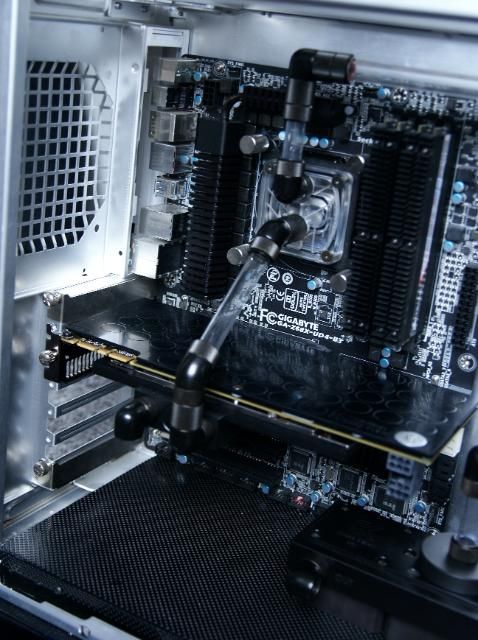
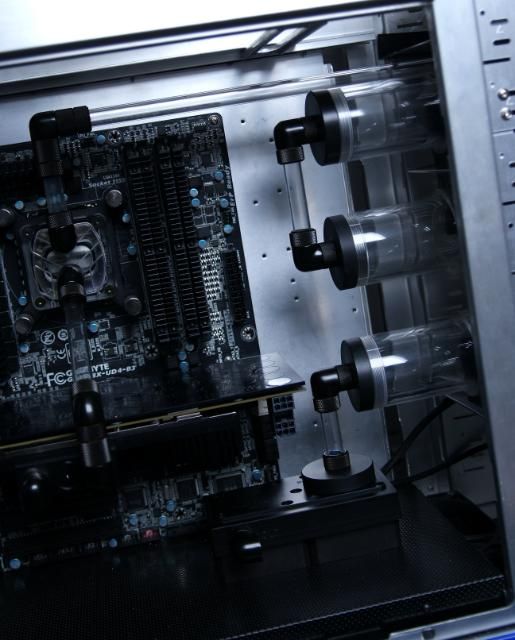
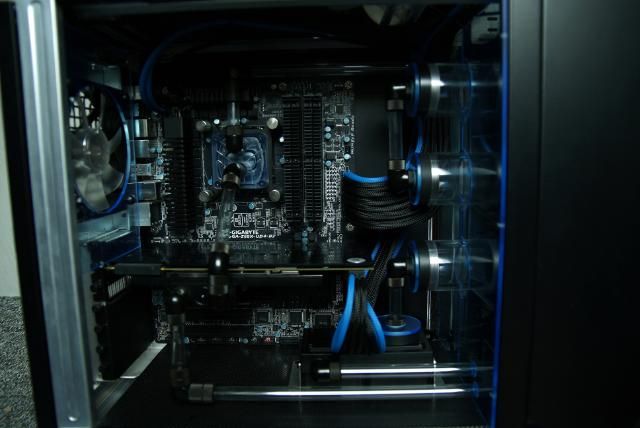
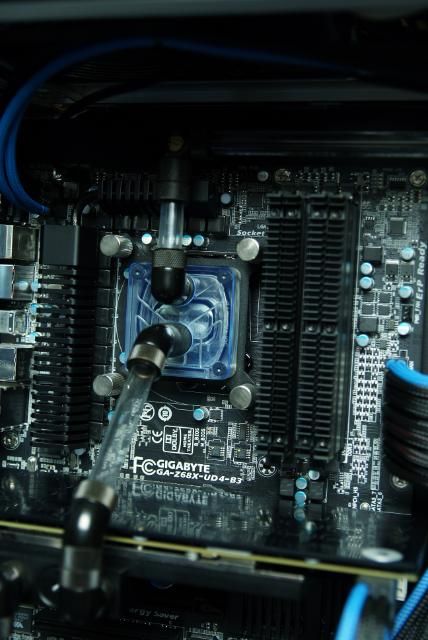
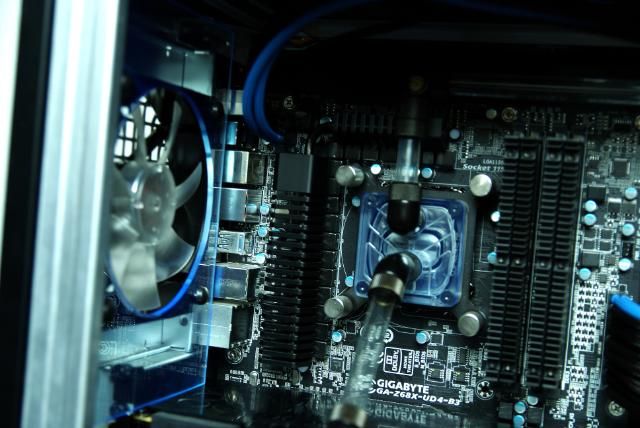
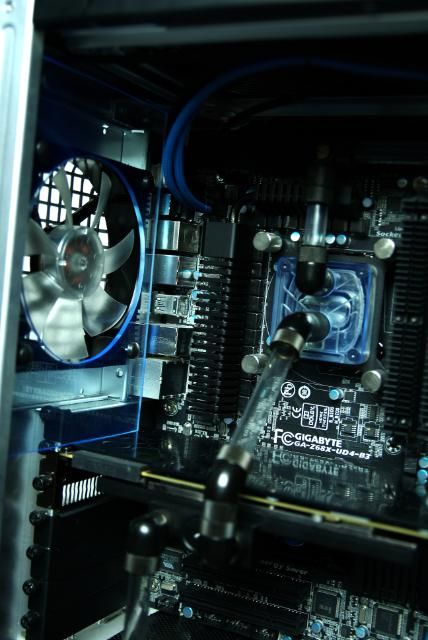
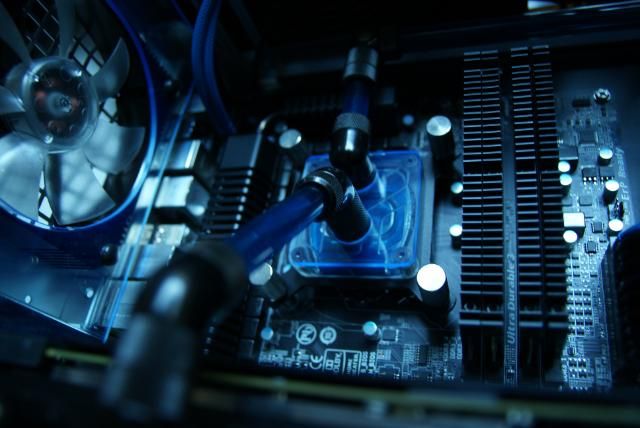
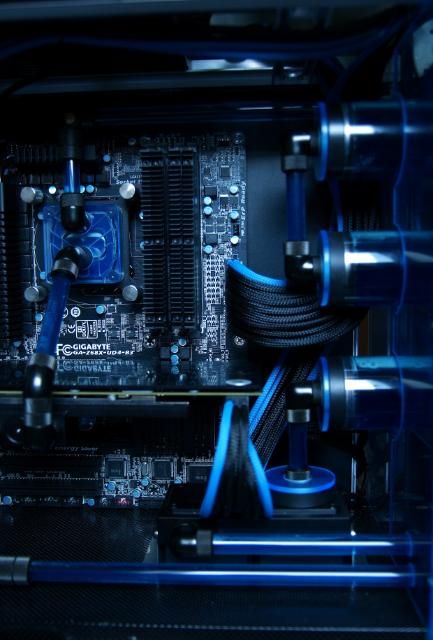
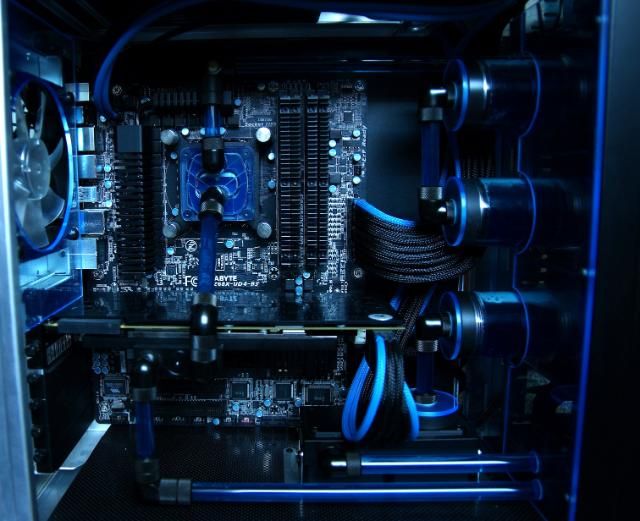
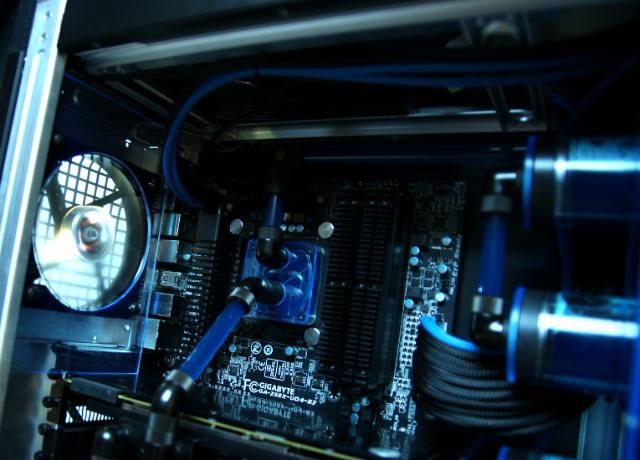
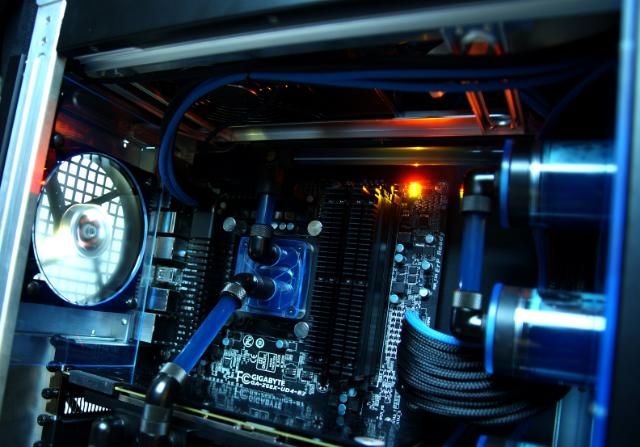
- MOBO: Gigabyte GA-Z6X-UD4-B3
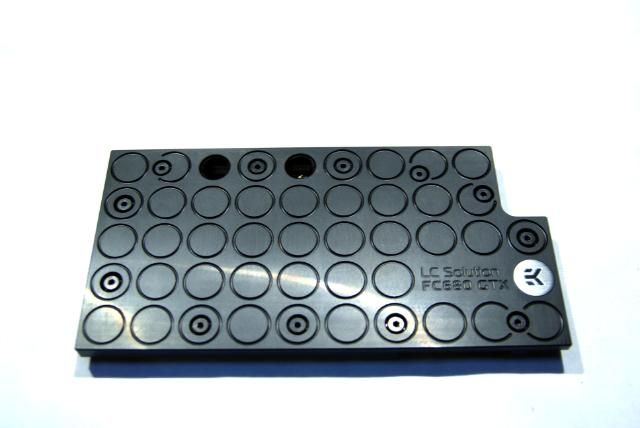
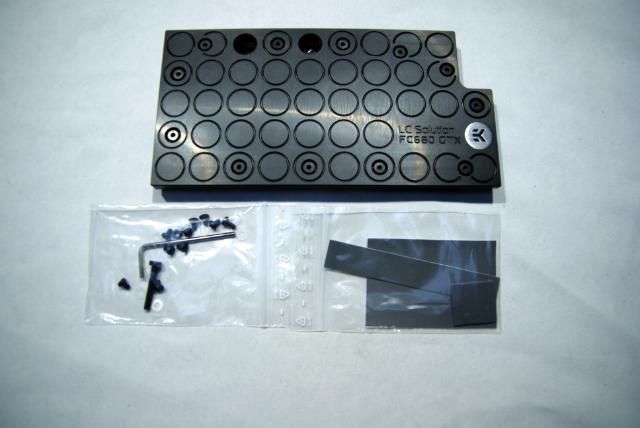
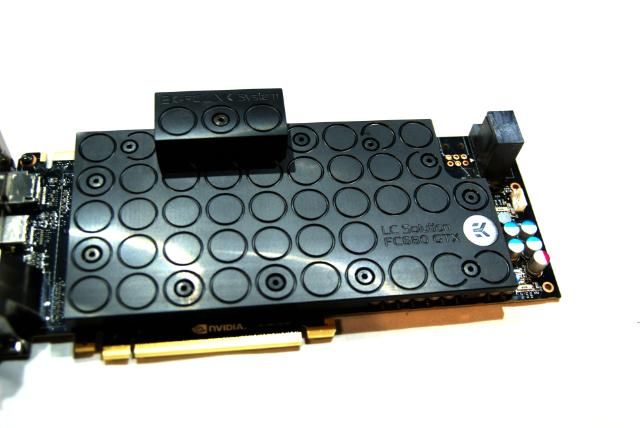
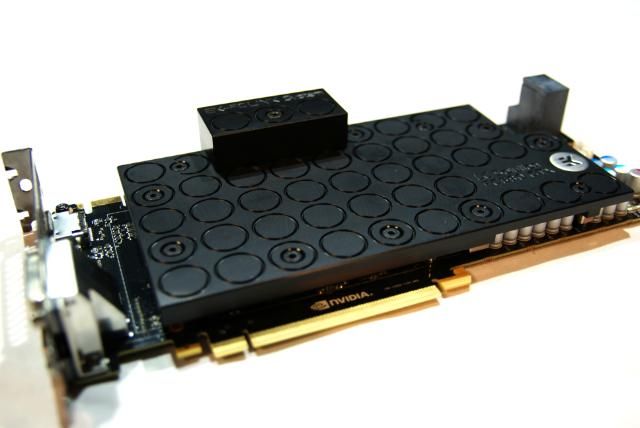
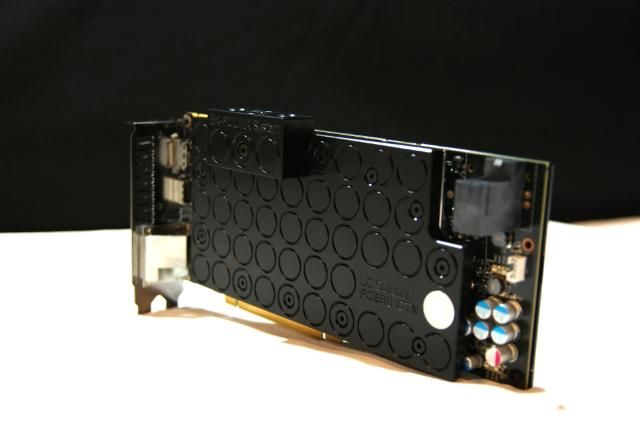
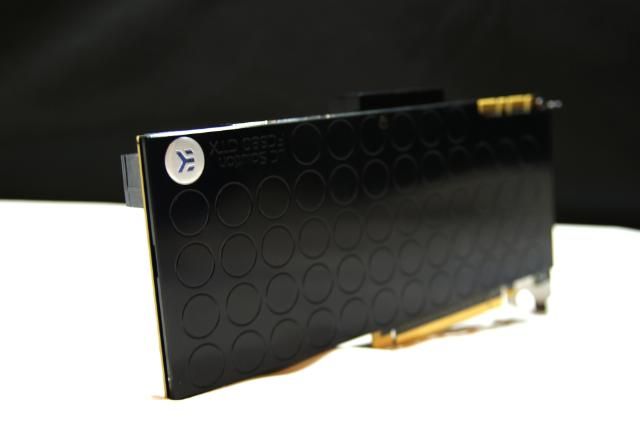
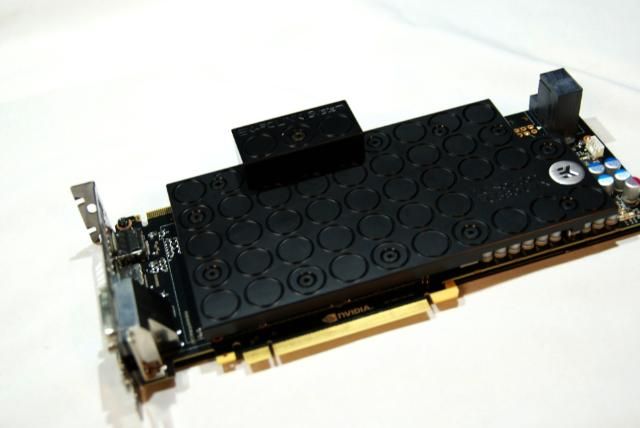
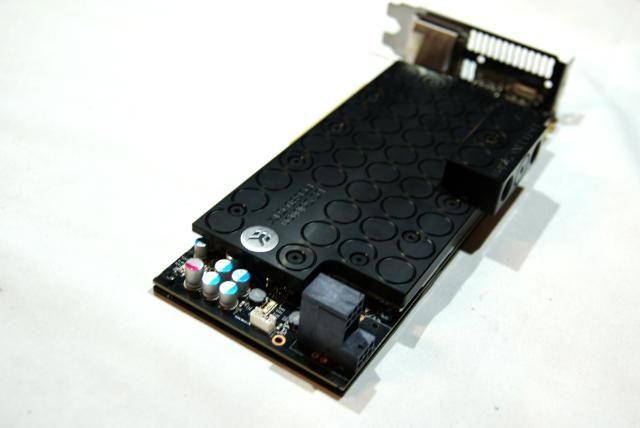
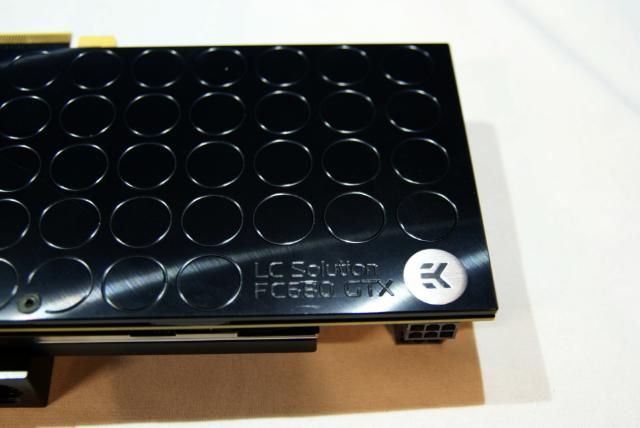
- GPU: GTX680
- RAM: Corsair Domnator 8GB (4 x 2 GB) 2000 MHz Quad Channel DDR3
- HDD: 256 GB SSD
- OPTICAL: Sony optiarc AD-7670S
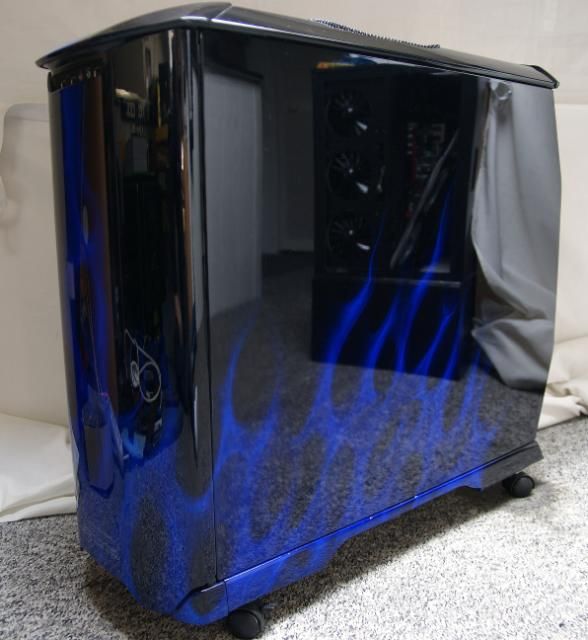
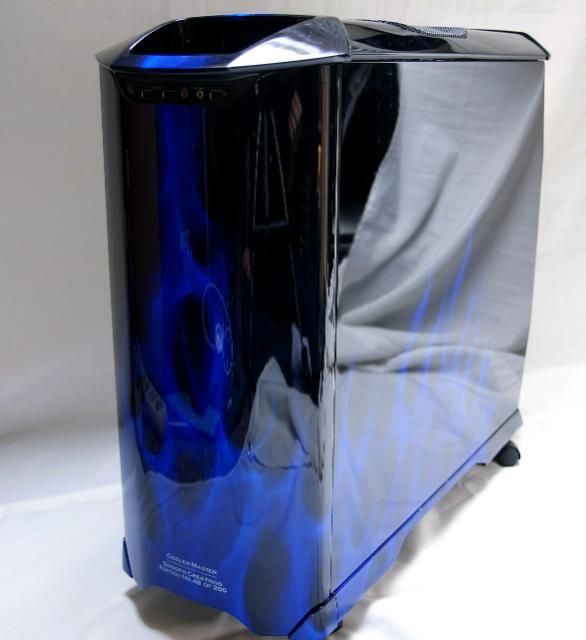
Who doesn't know them, the Cooler Master CSX series. The beautiful paintbrushed Coolermaster Stackers 830
I've always wanted to mod this case. Luckily I've made a great deal to with Cooler Master
The only condition was that I wouldn't do anything to the outside. Hmmm ok
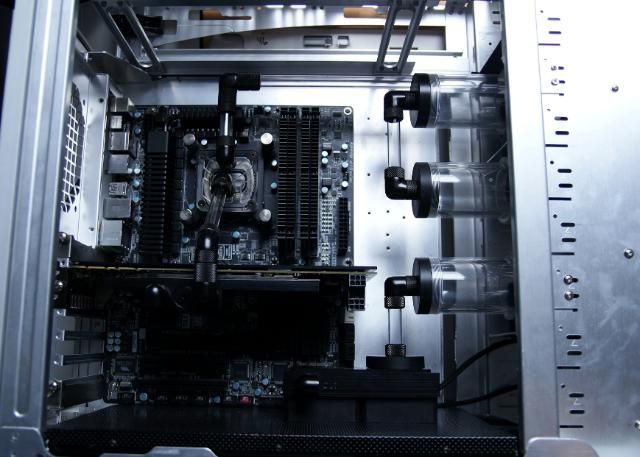
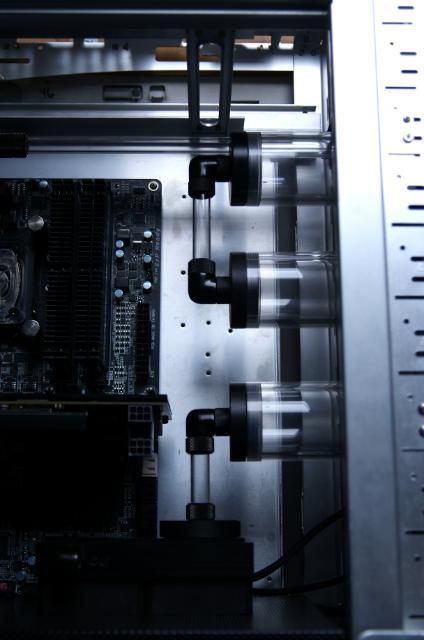
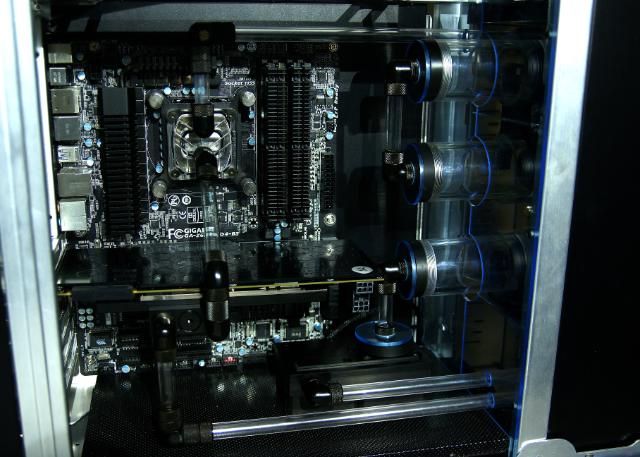
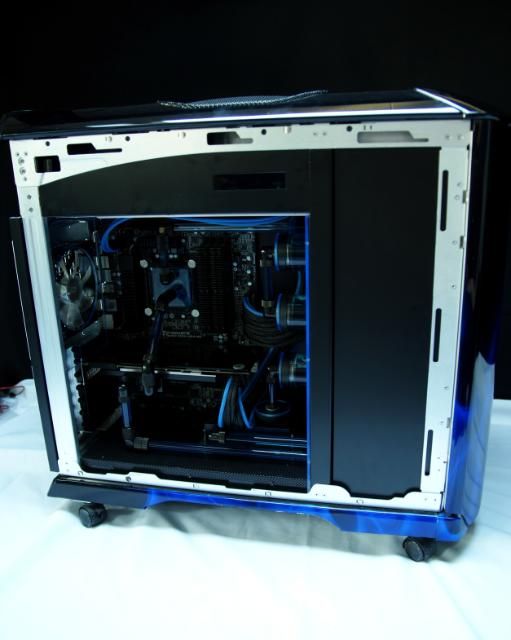
So a build entirely focused on the inside.
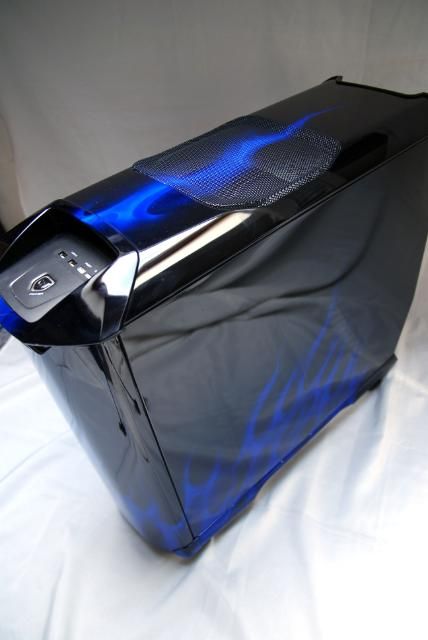
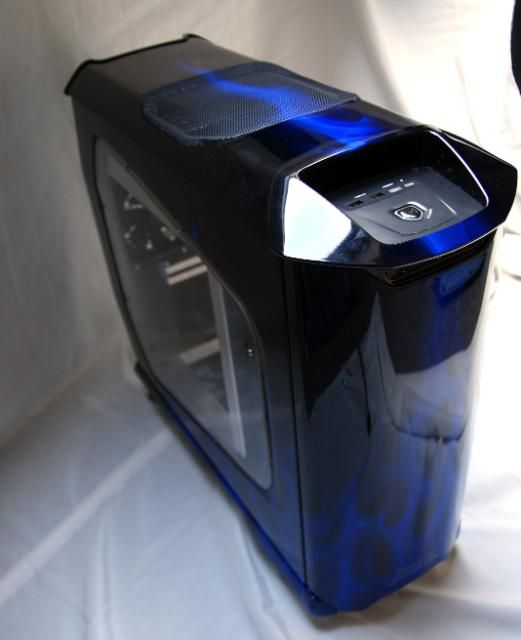
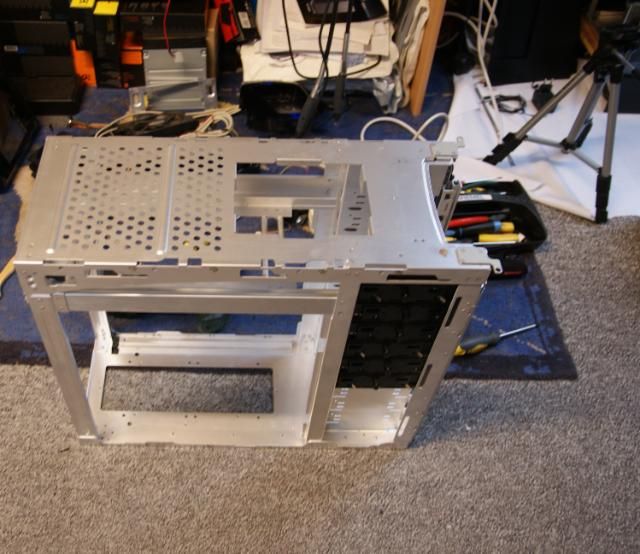
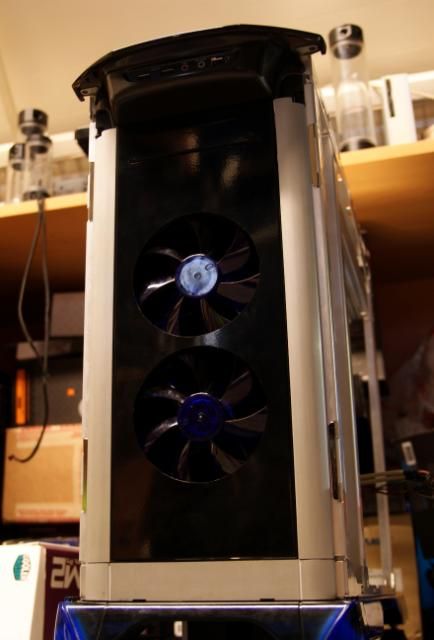
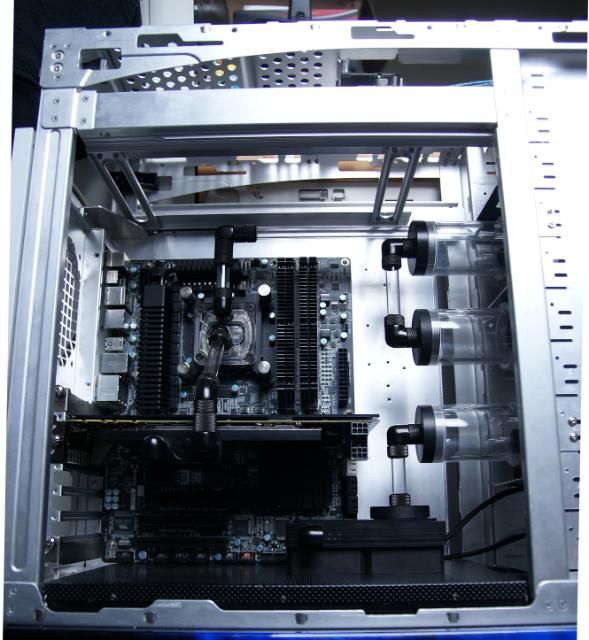
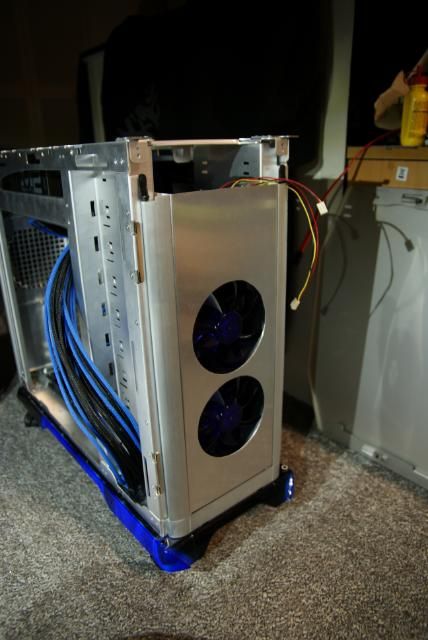
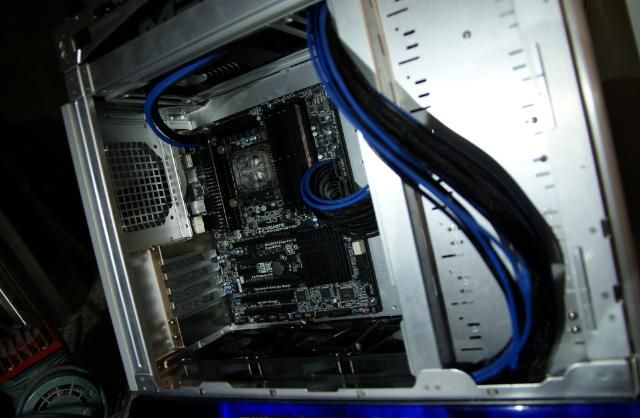
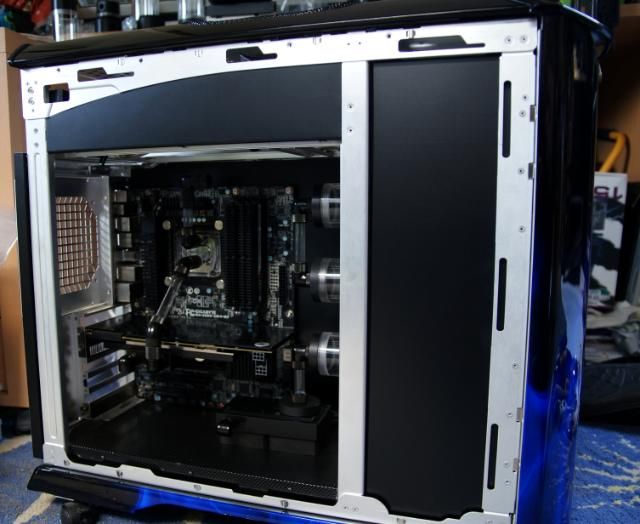
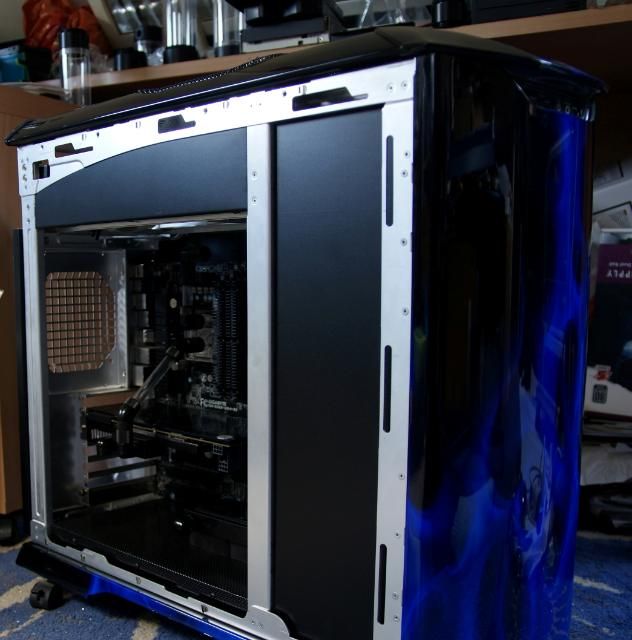
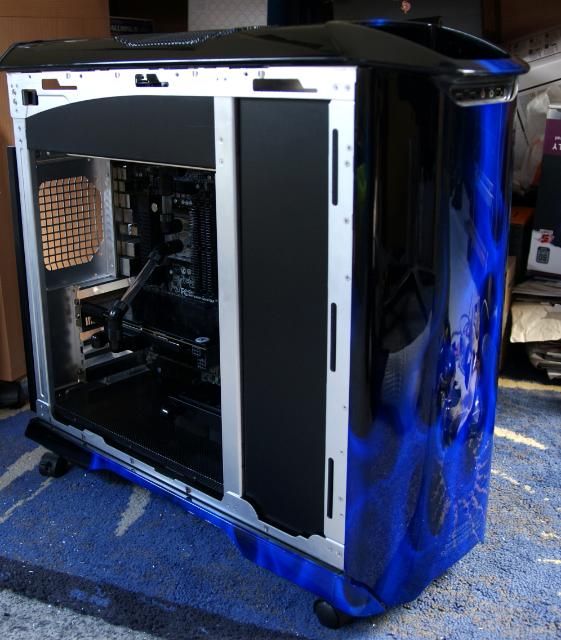
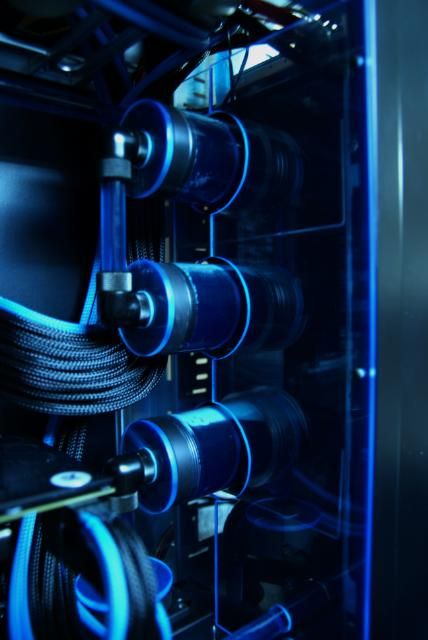
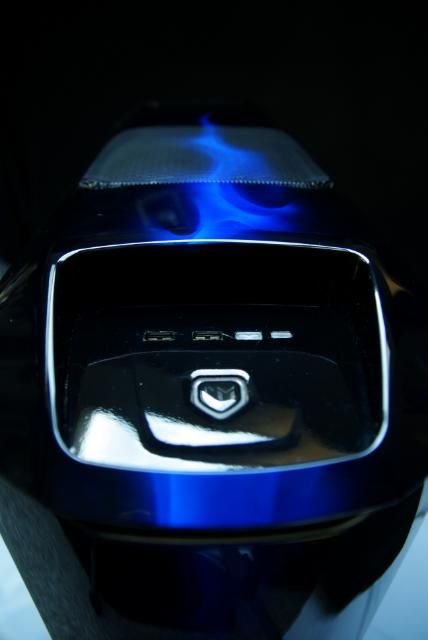
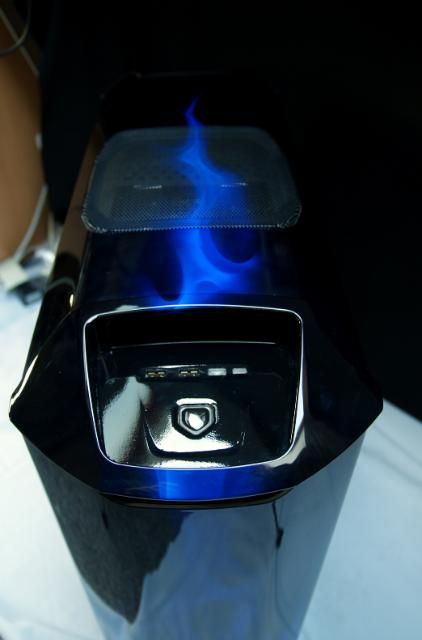
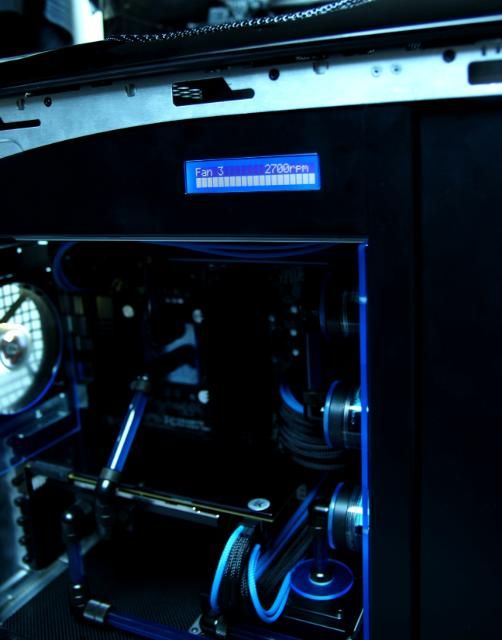
The Cooler Master Stacker 830 CSX Blue Flame:
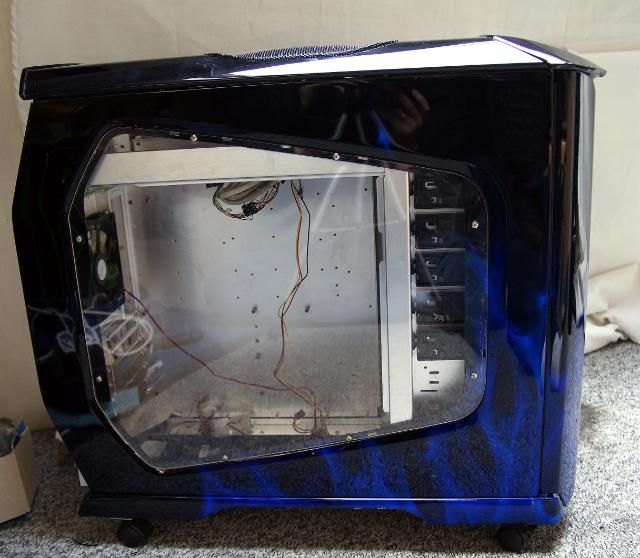
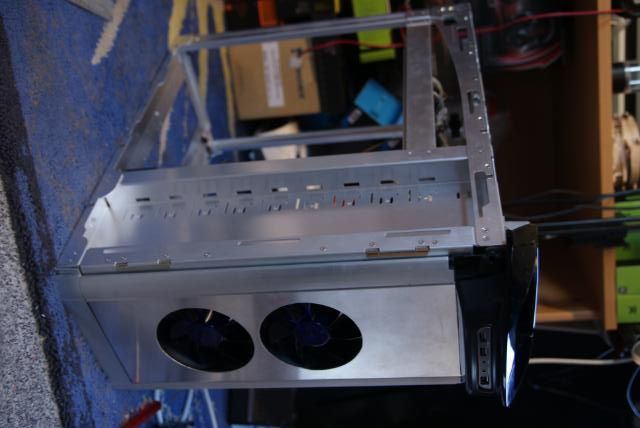
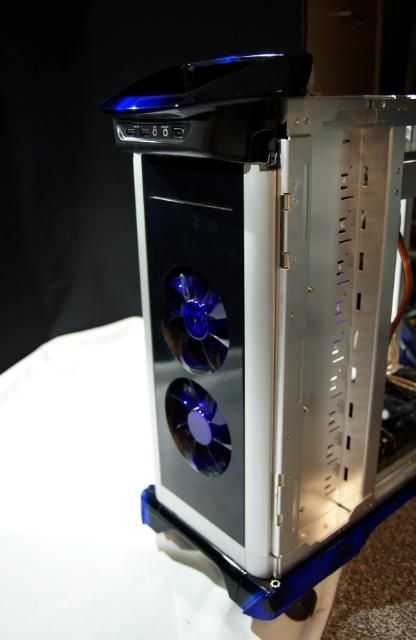
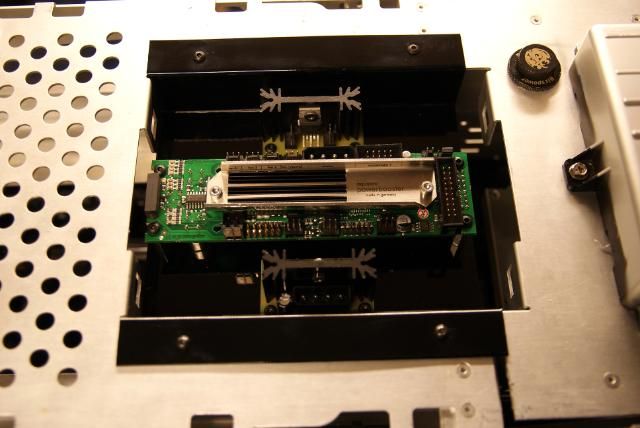
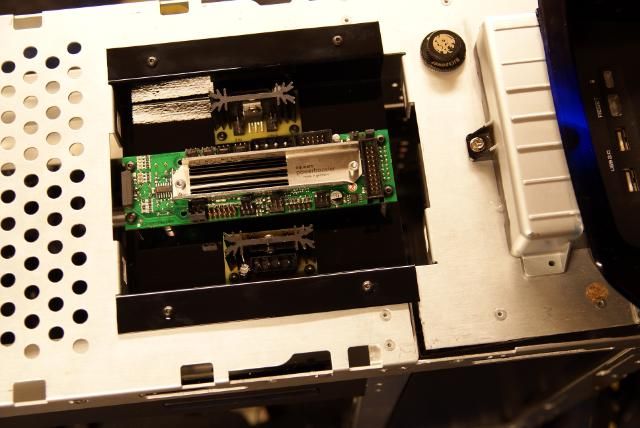
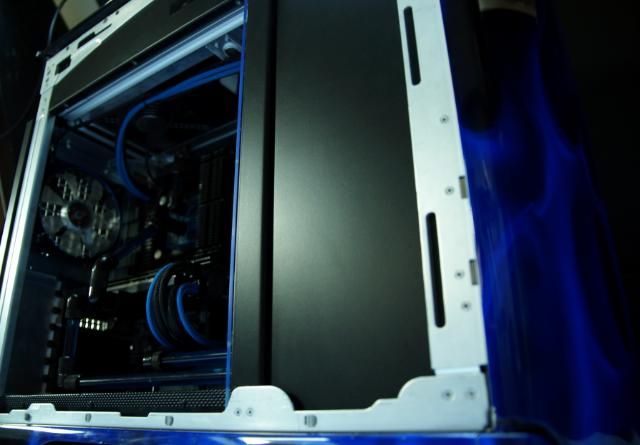
Sorry but need to strip it
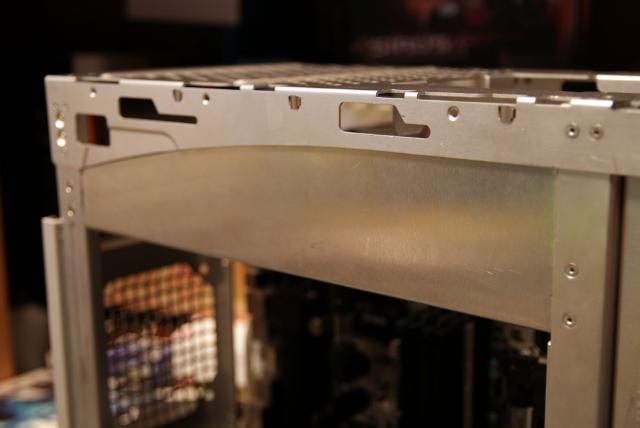
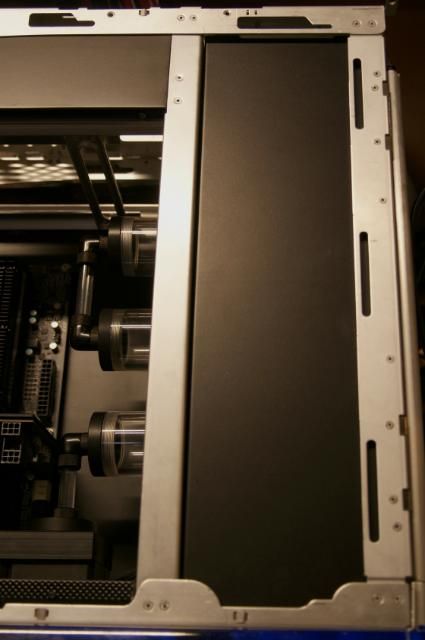
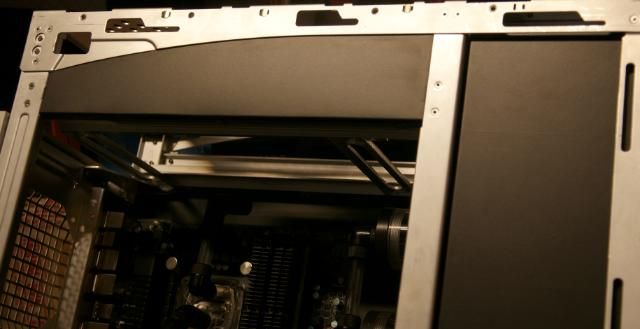
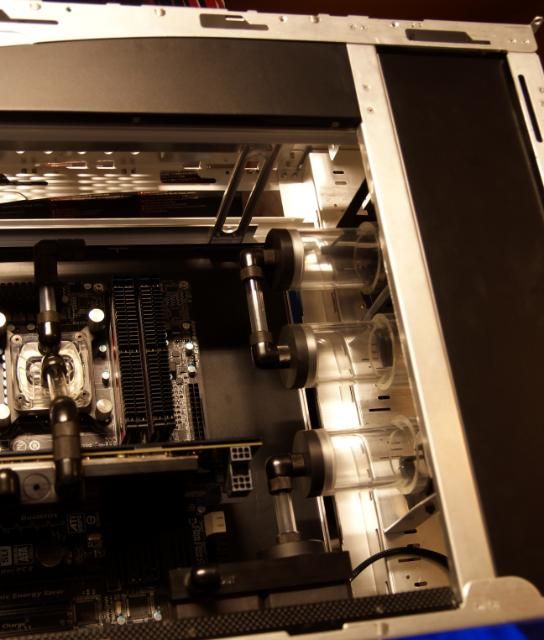
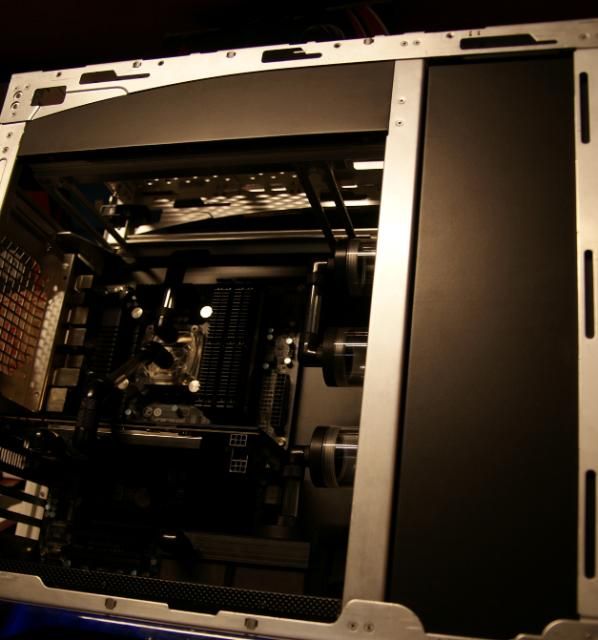
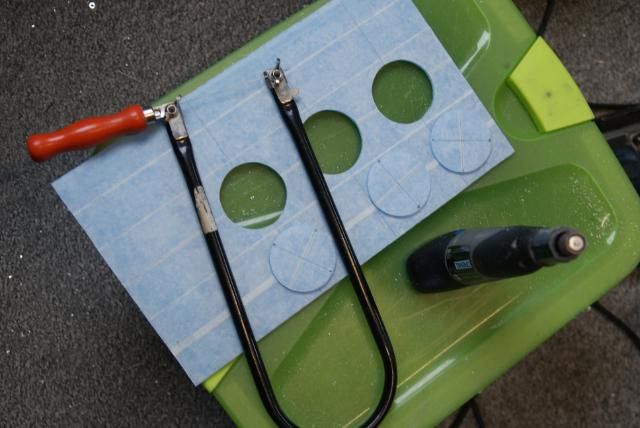
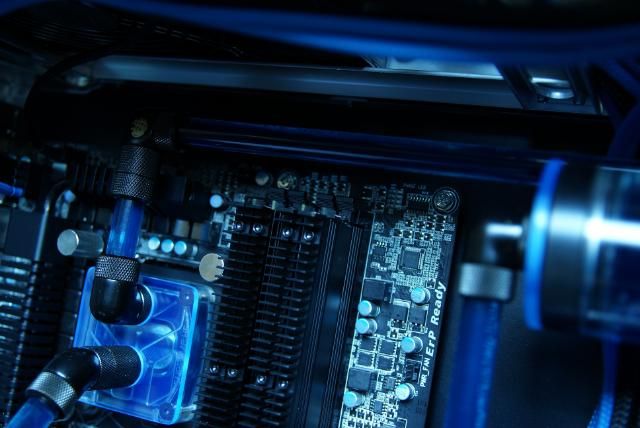
For the outside I may not use my dremel ... but inside oww yes here we go
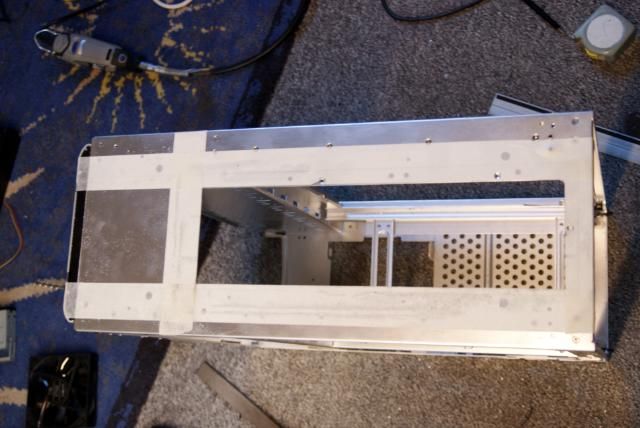
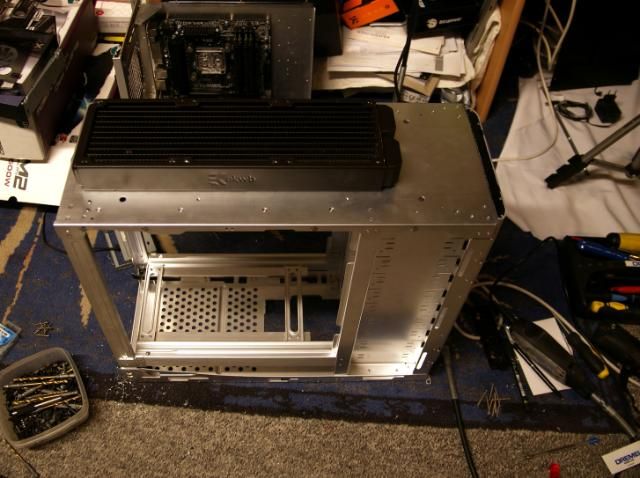
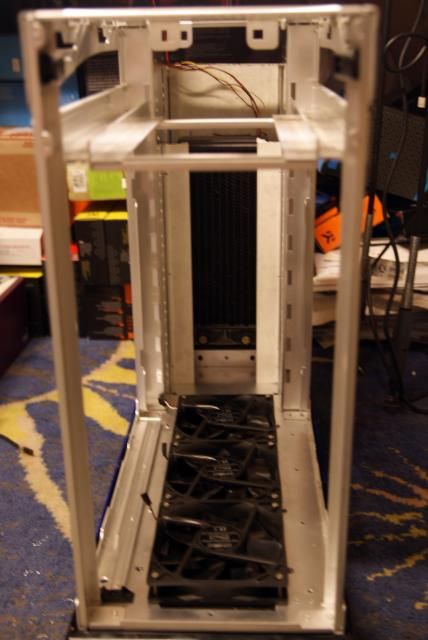
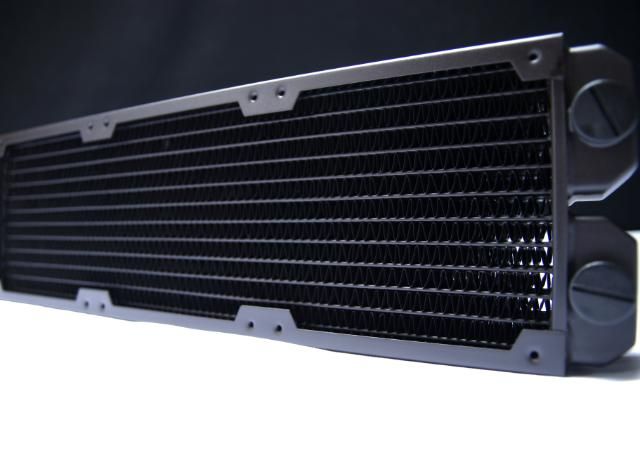
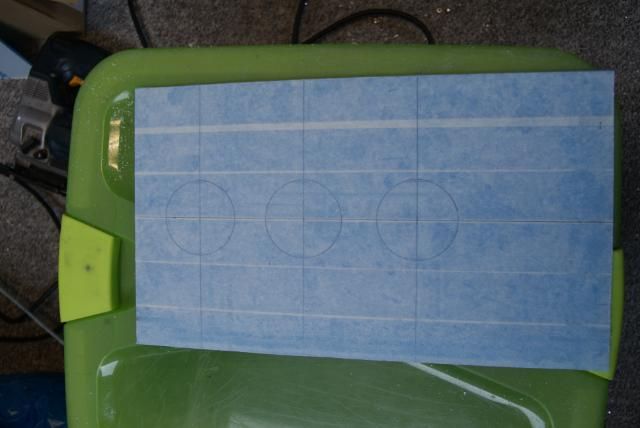
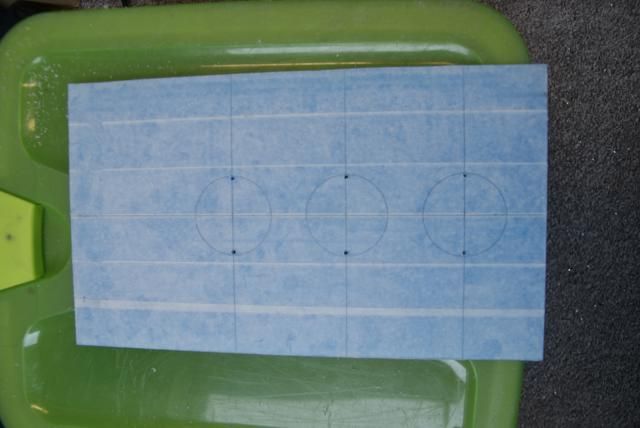
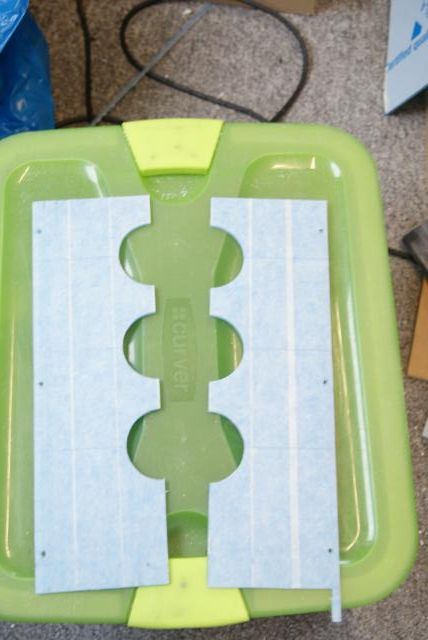
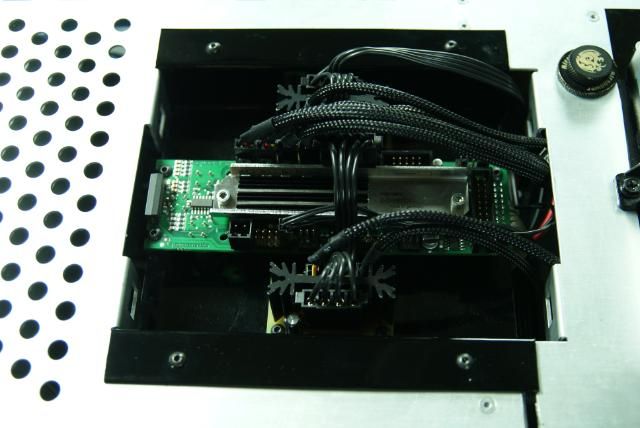
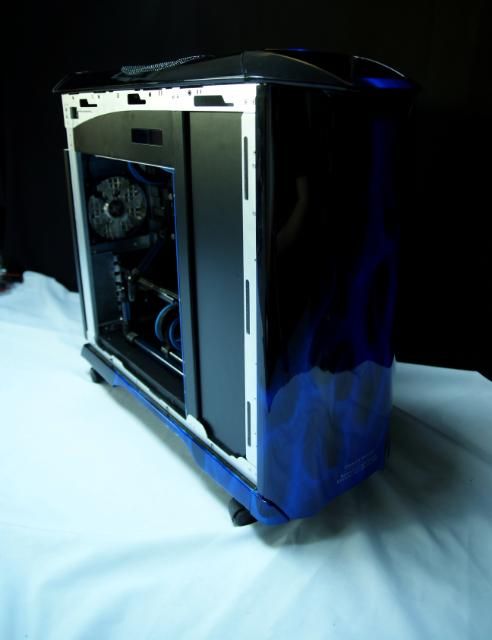
Marked some lines for a 360 radiator.
On top of the fans there will be a piece of bended mesh.
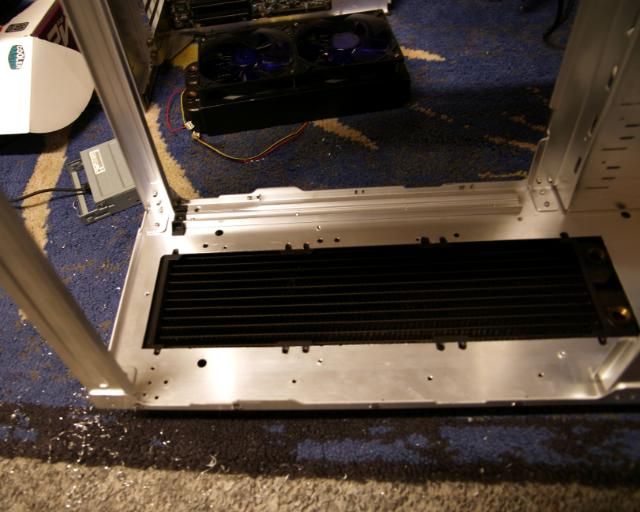
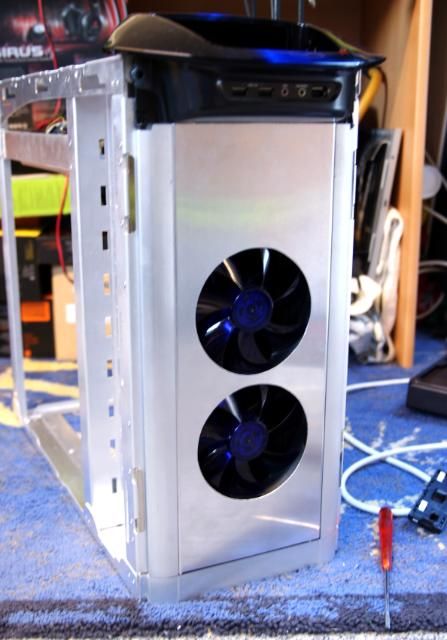
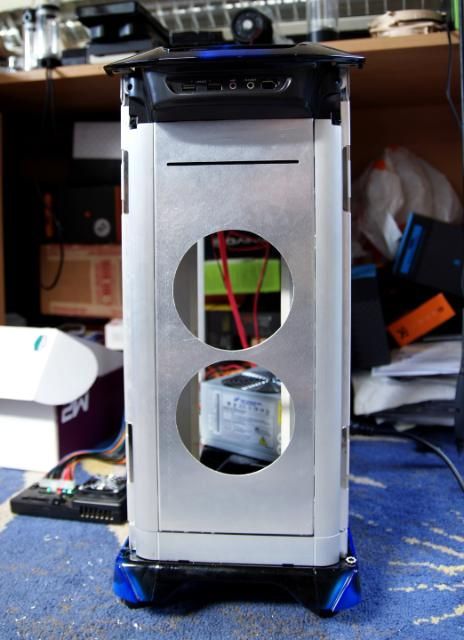
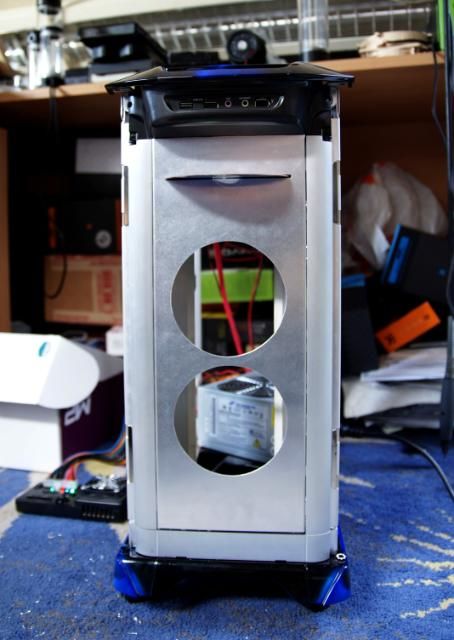
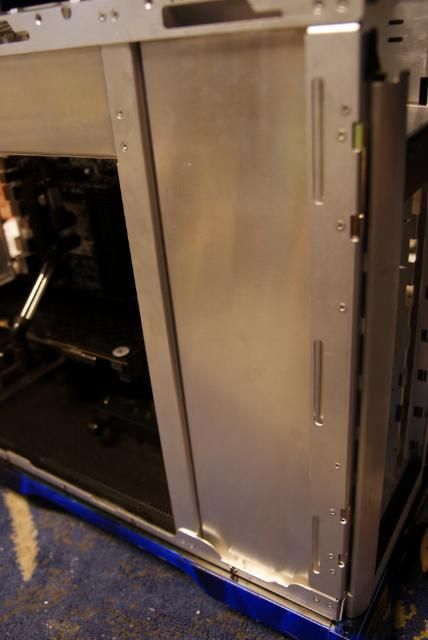
For the front I've made a cover for a 240 radiator.
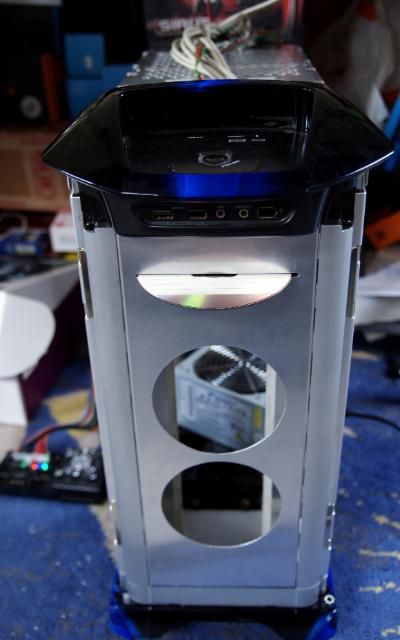
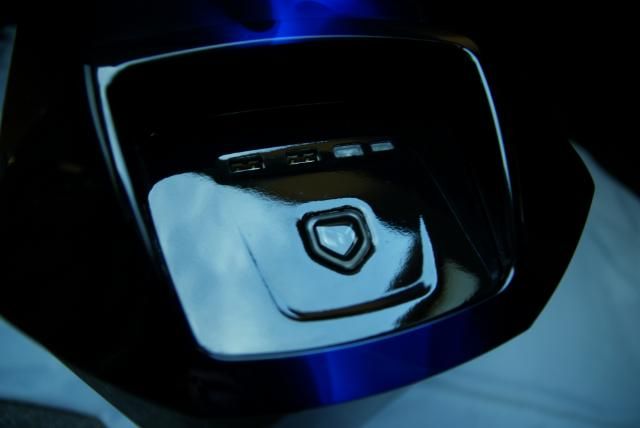
I've also made a slot for the Sony slimline drive.
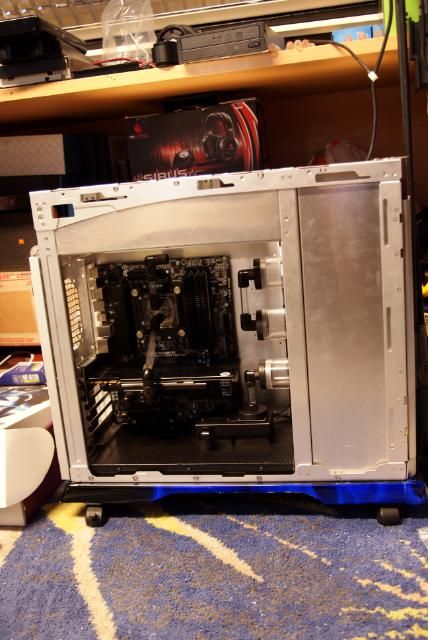
And pasted some nice black glossy vinyl over it.
More soon!!!


 Reply With Quote


Bookmarks