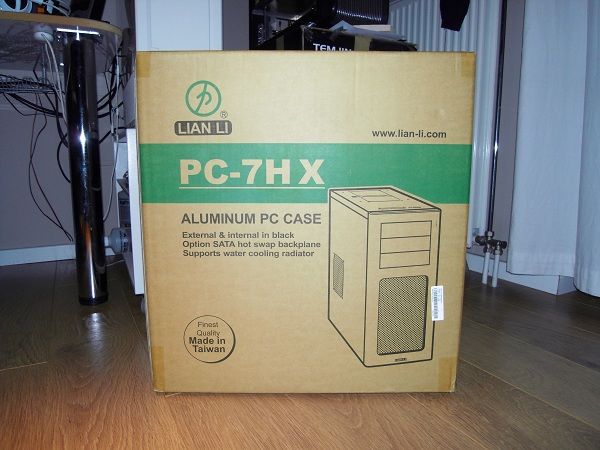
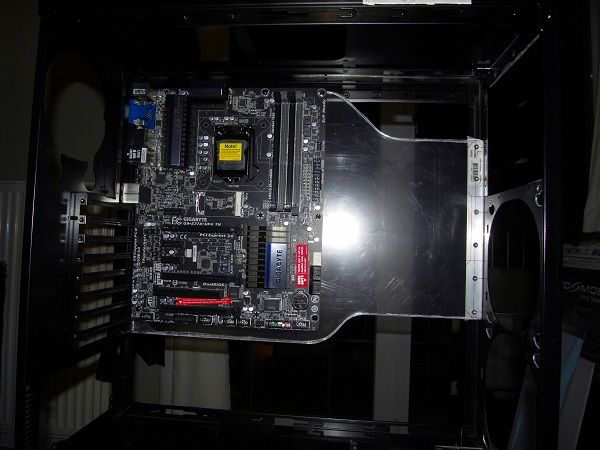
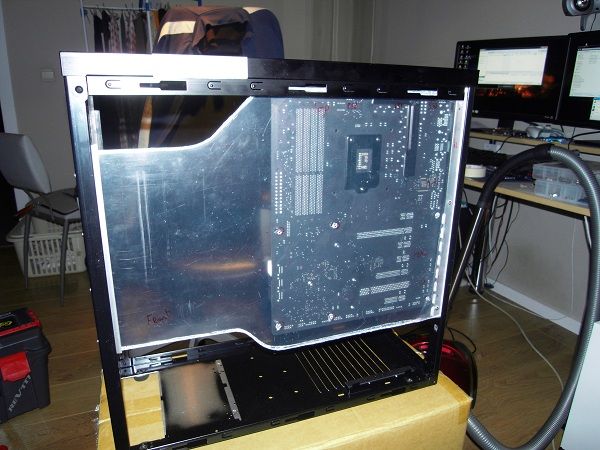
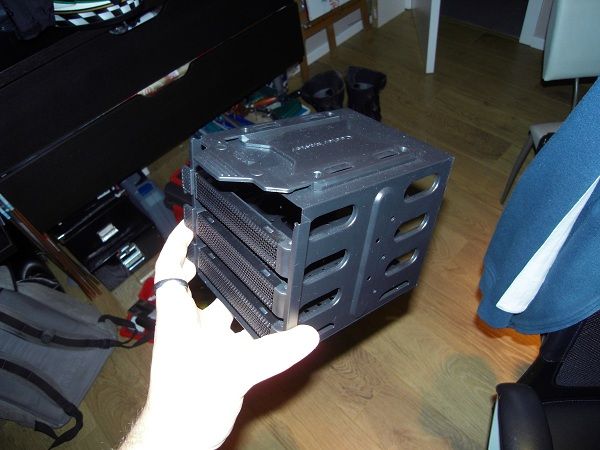
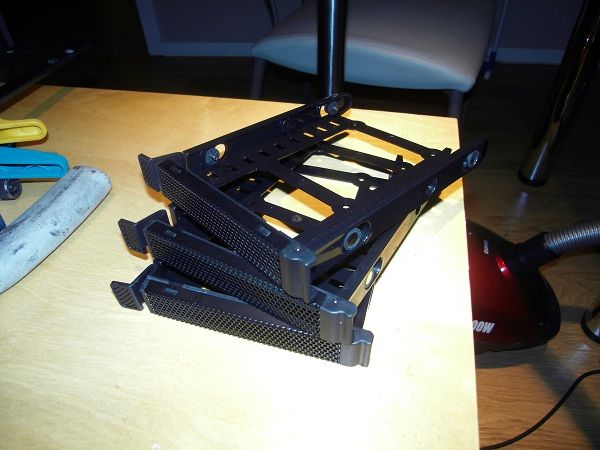
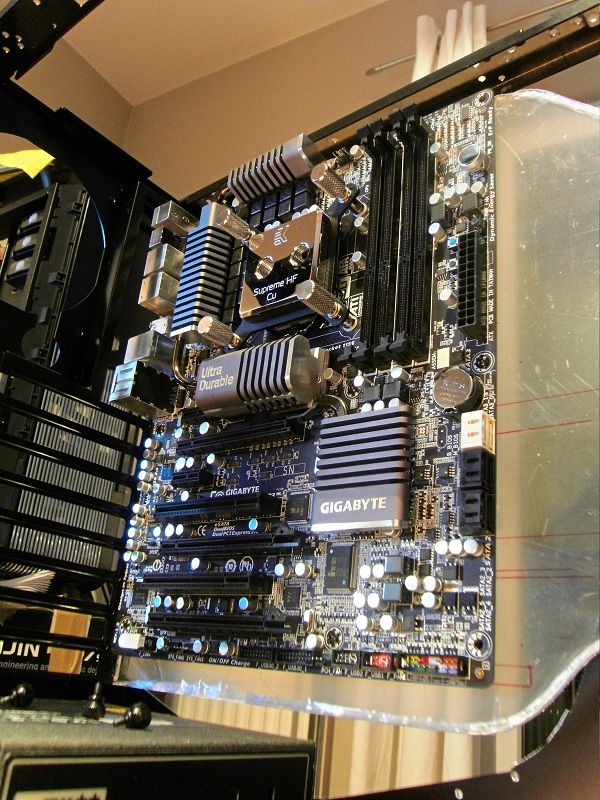
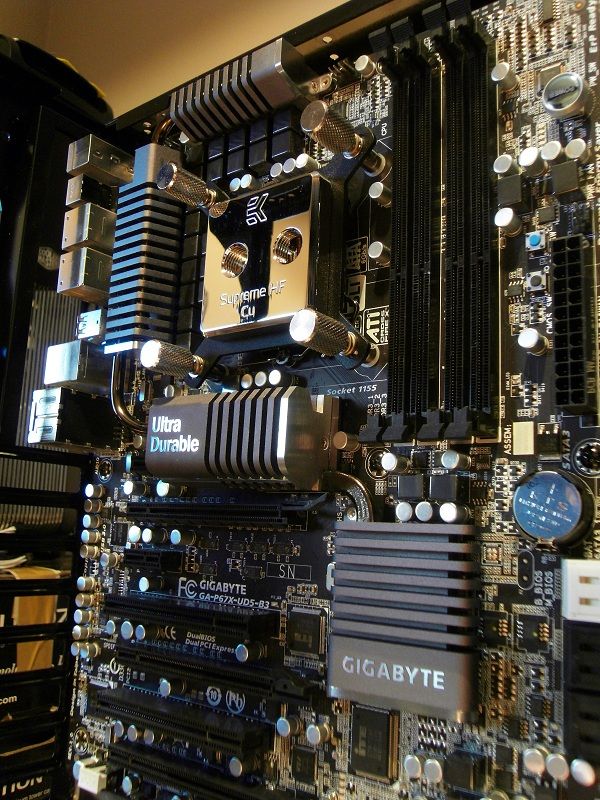
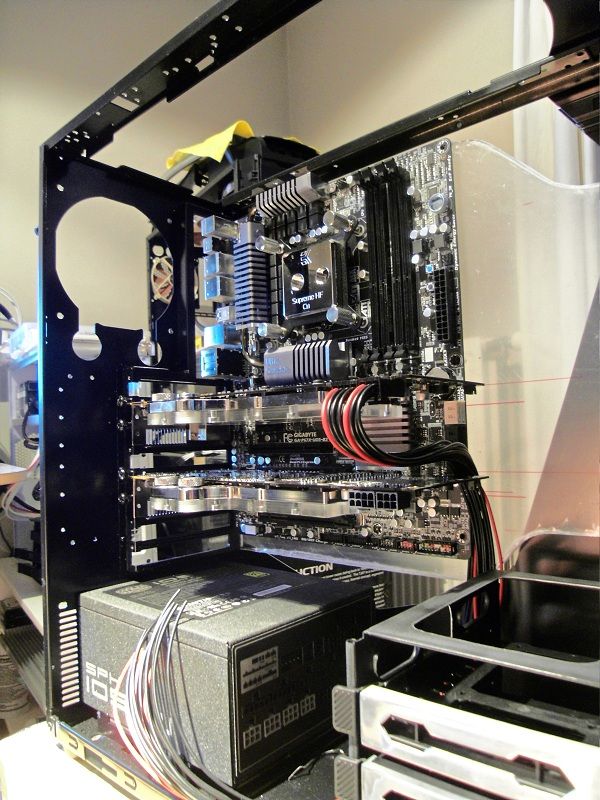
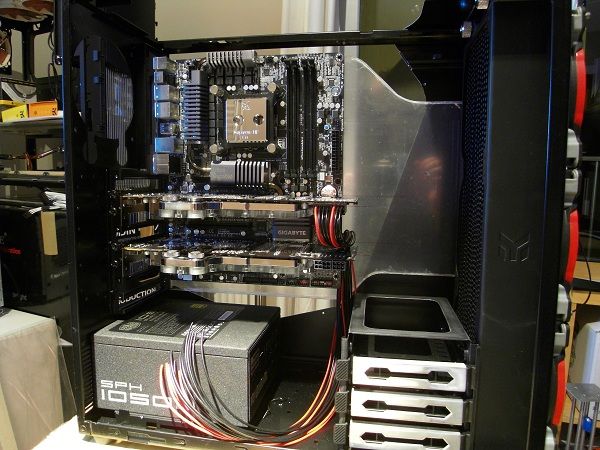
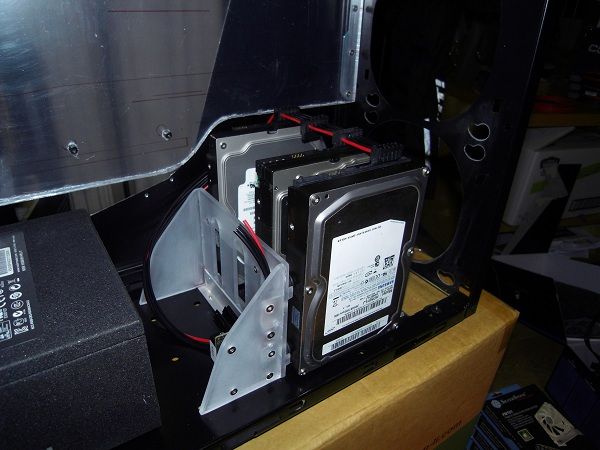
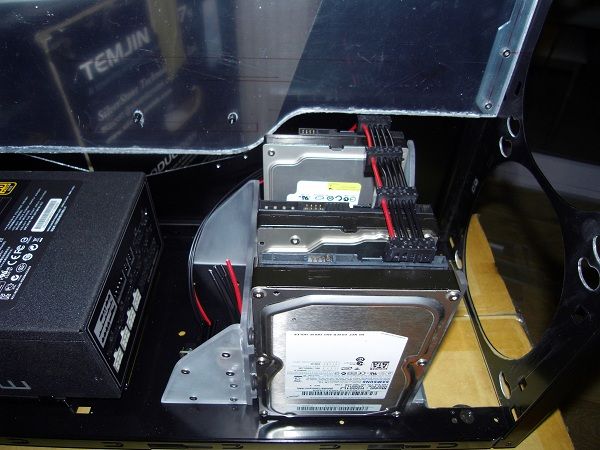
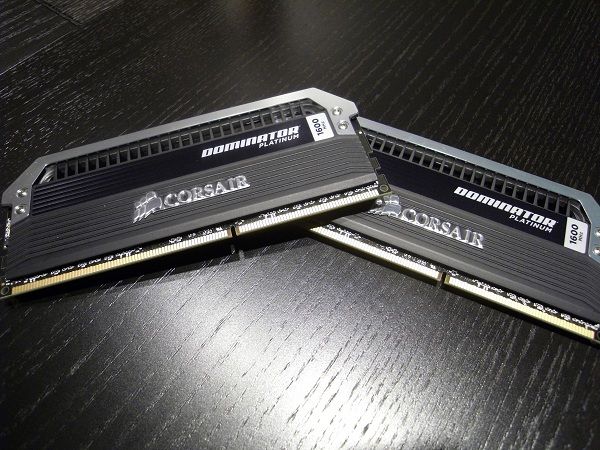
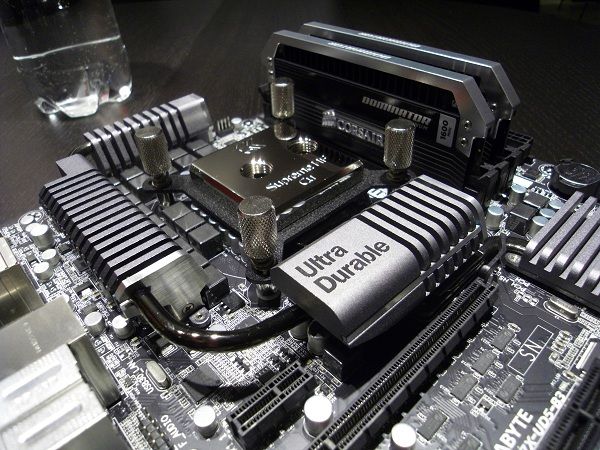
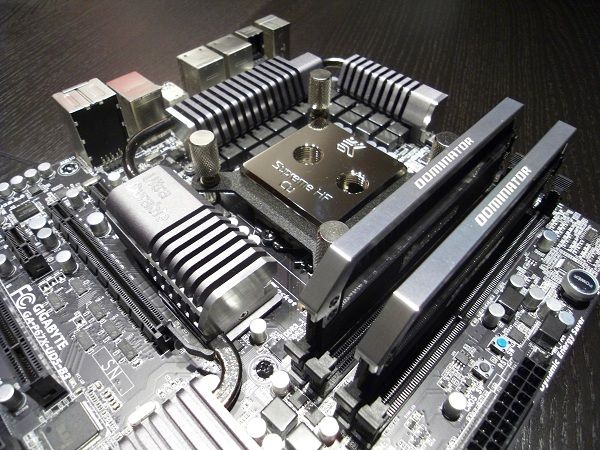
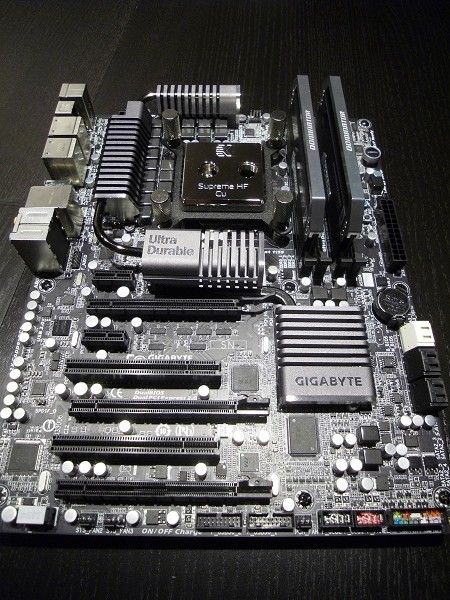
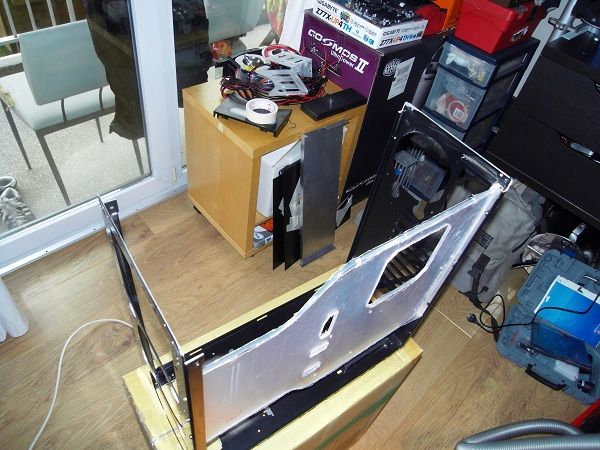
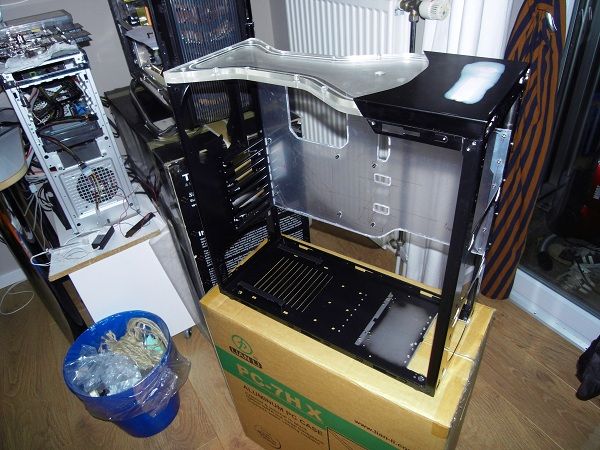
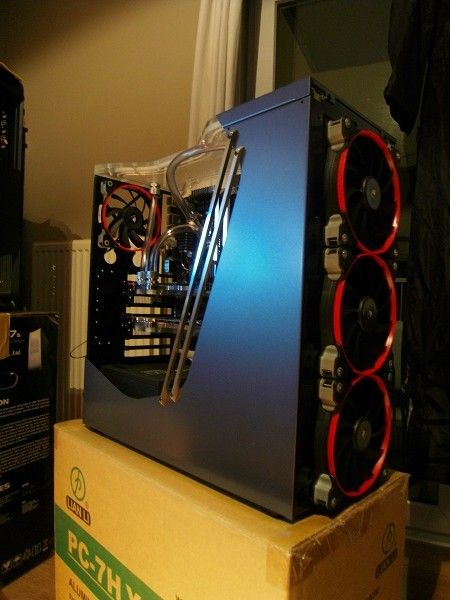
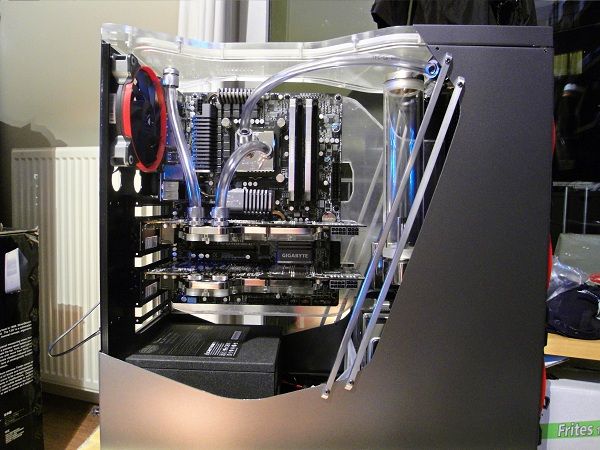
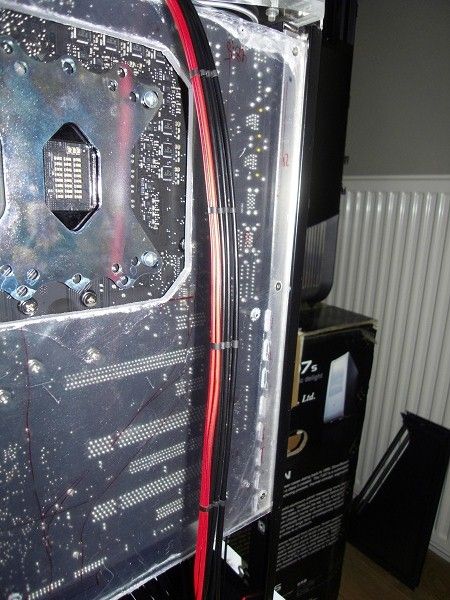
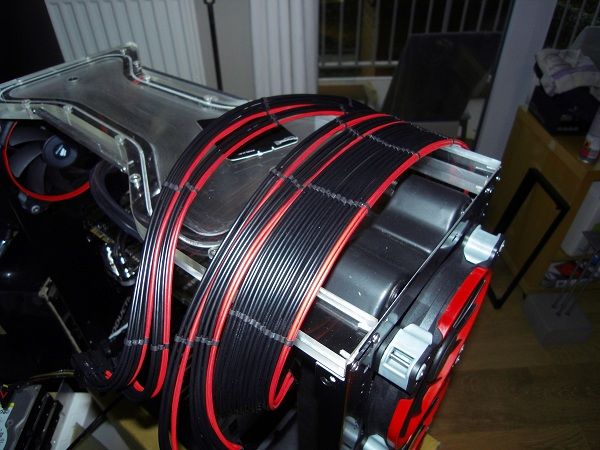
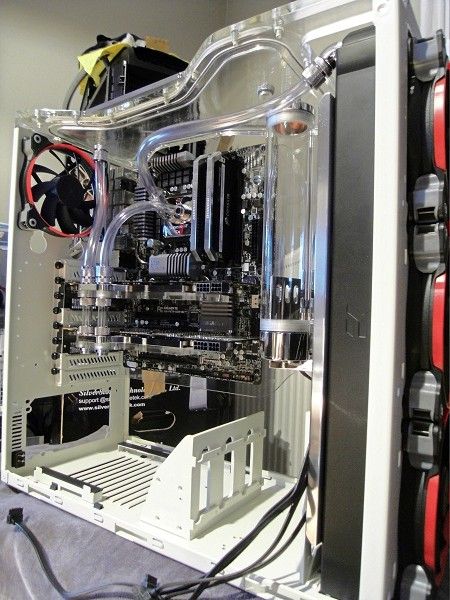
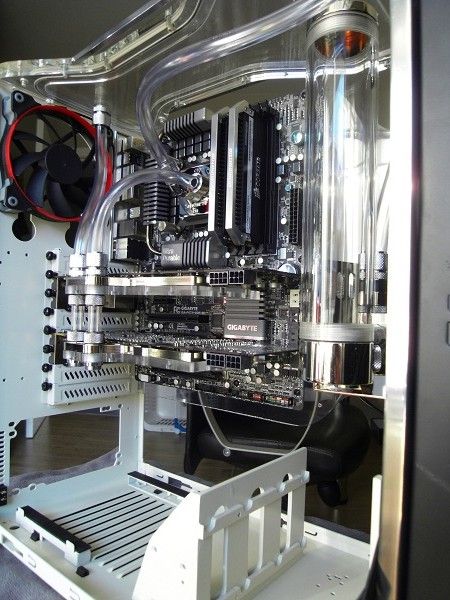
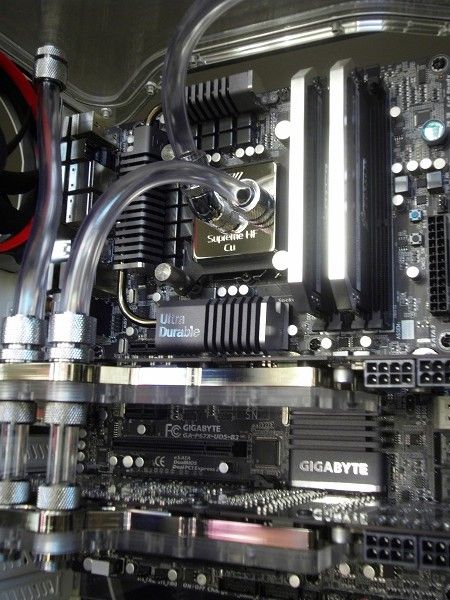
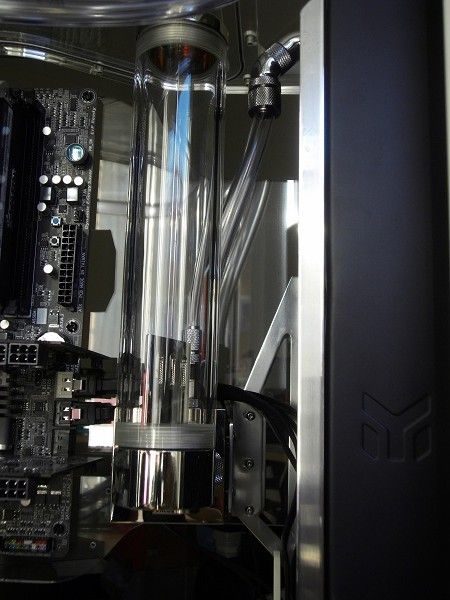
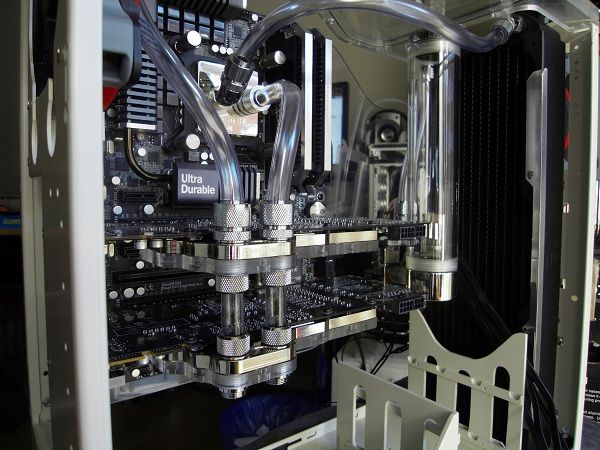
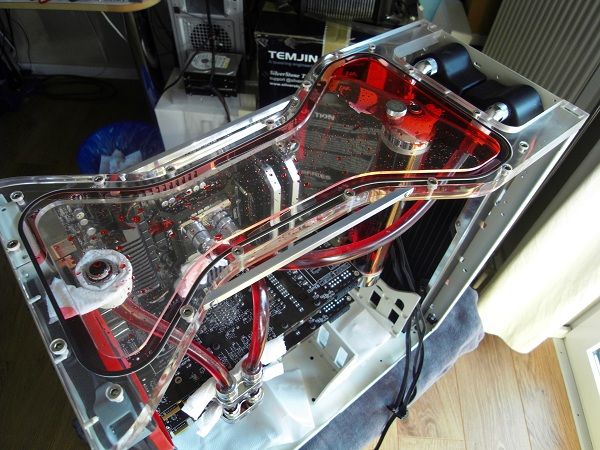
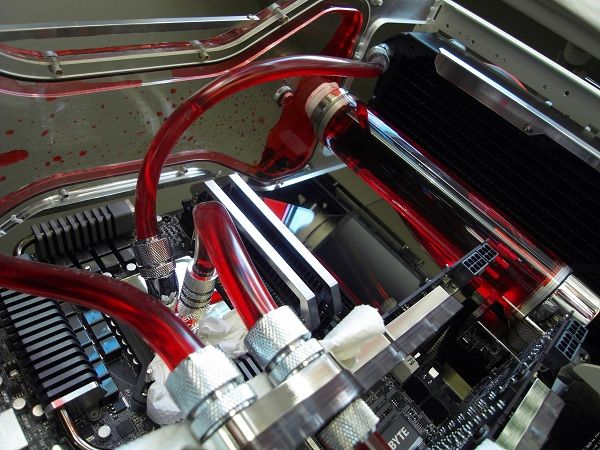
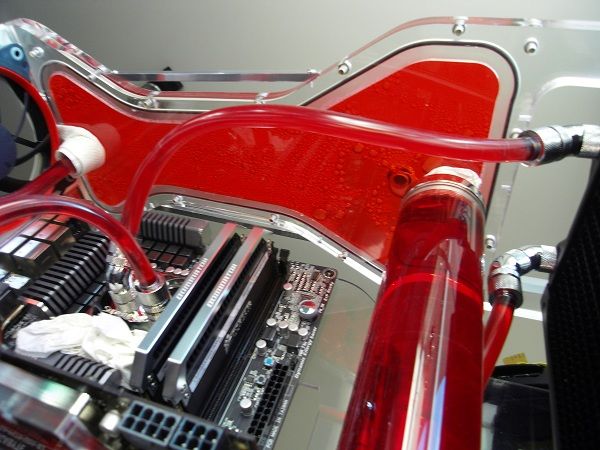
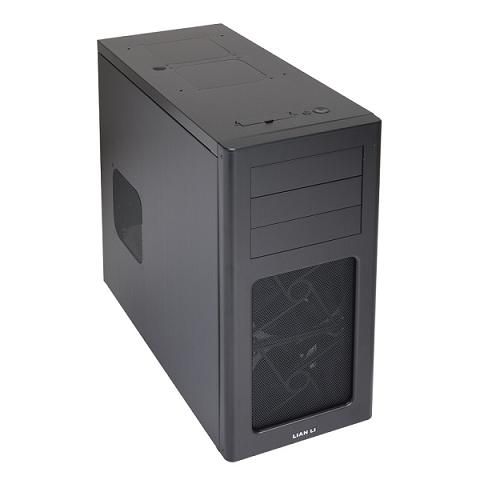
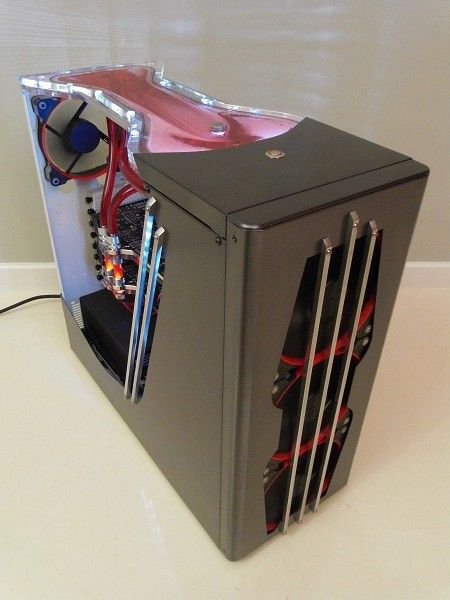
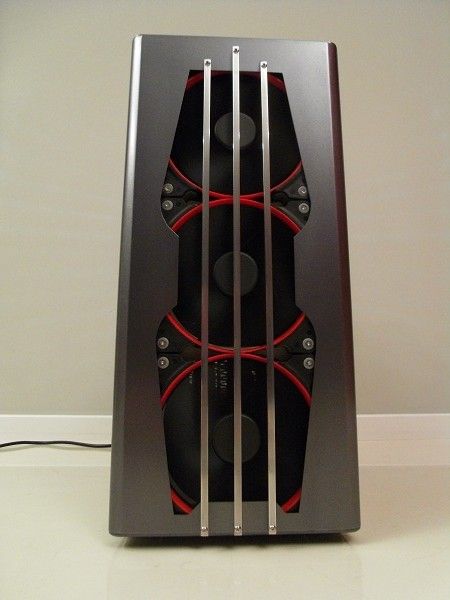
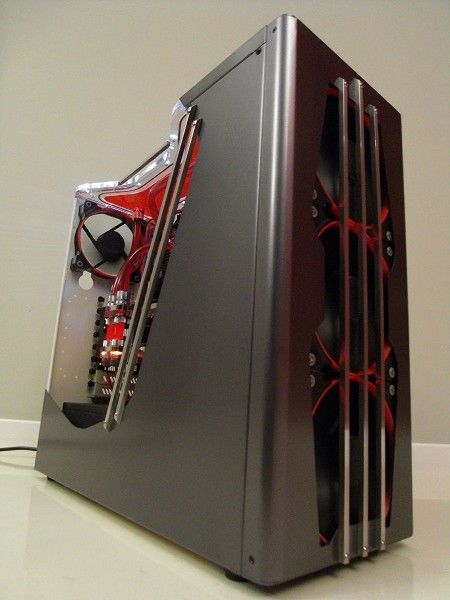
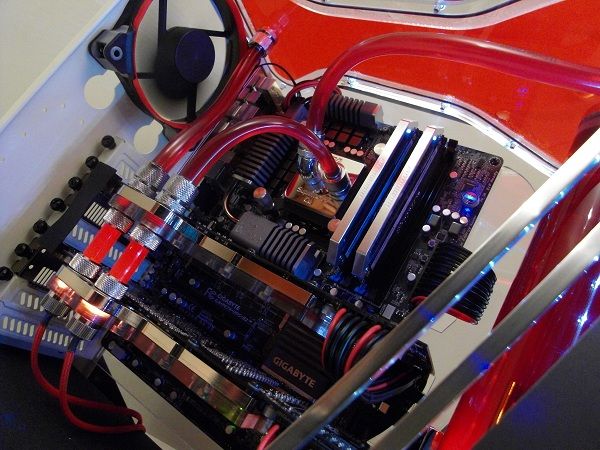
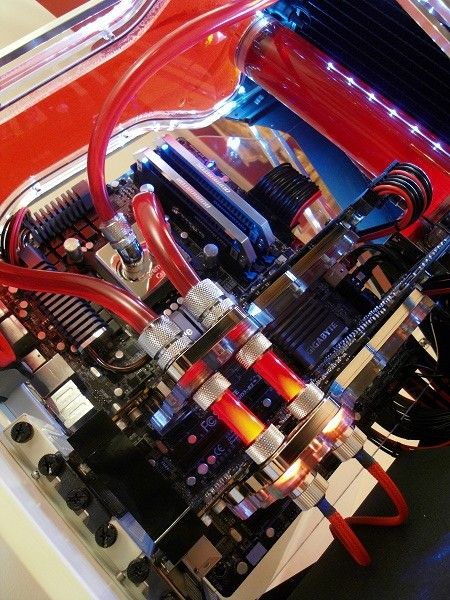
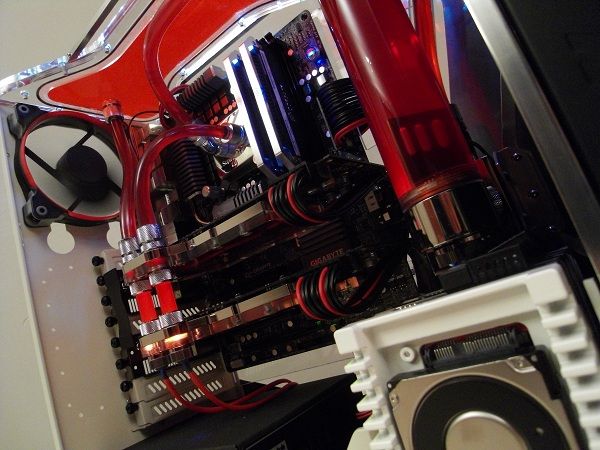
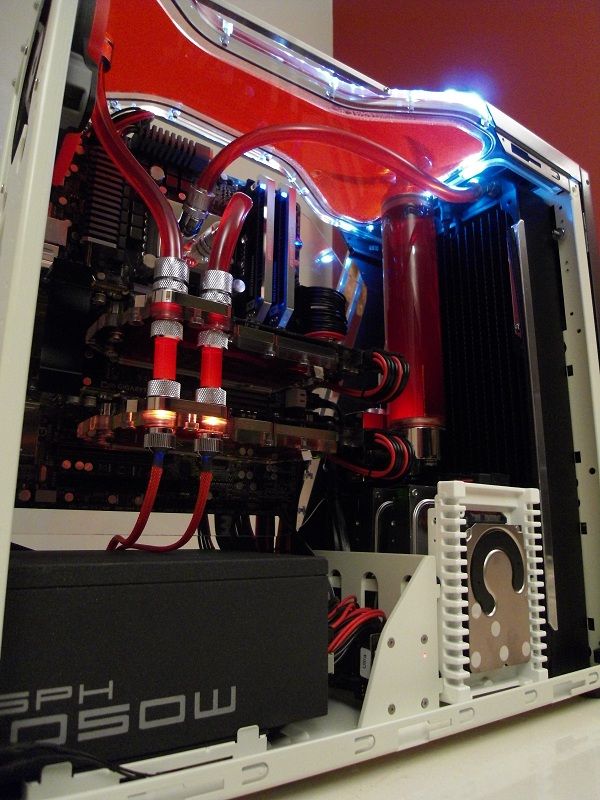
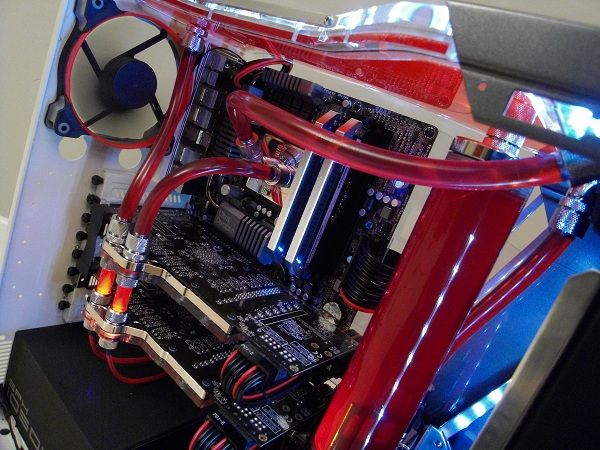
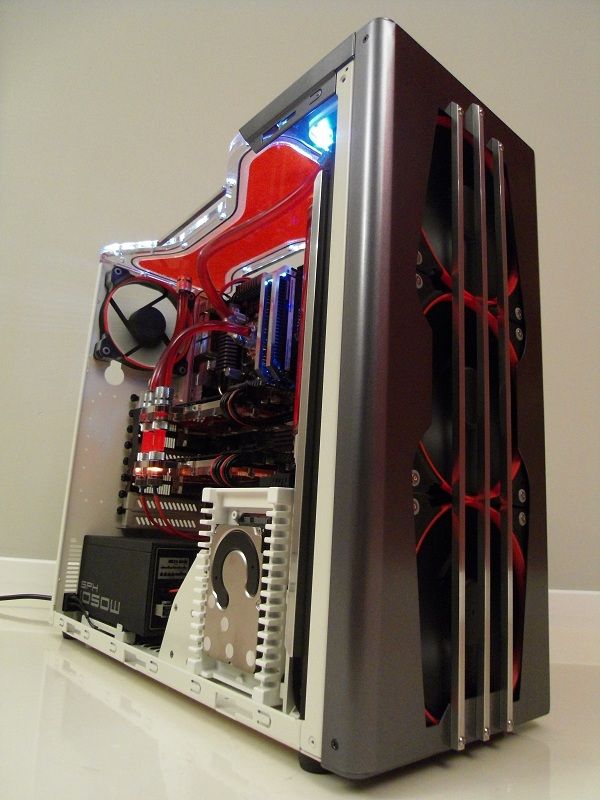
Fun Box: Asus P8Z68-V GEN3++Corsair AX850++i5 2500k@4.5Ghz-1.272v++Corsair A50++2x8Gb Corsair Vengeance++MSI R7970 Lightning++Audigy2 Plat-EX++TBS 6280 DVB-T2 tuner++256Gb OCZ Vertex 4.500Gb Caviar Black.500Gb Seagate Barracuda++Sony AD7240s++Lian-Li PC-60++Linux Mint/Win 7++Asus P238Q
Work Box: Gigabyte H61MA-DV3++Corsair HX620++i5 3450@stock++2x8Gb Corsair Vengeance++120Gb OCZ Agility 3++Linux Mint
Quantum theory in a nutshell: It's so small we don't know where it is, it could be here, it could be there.
Just 'cos it's legal don't make it right.


 Reply With Quote
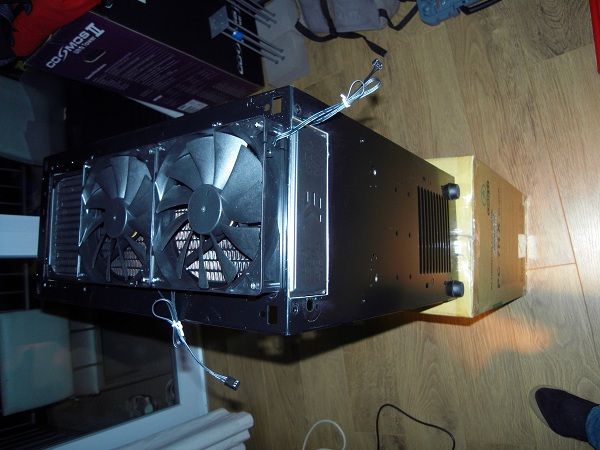
 !
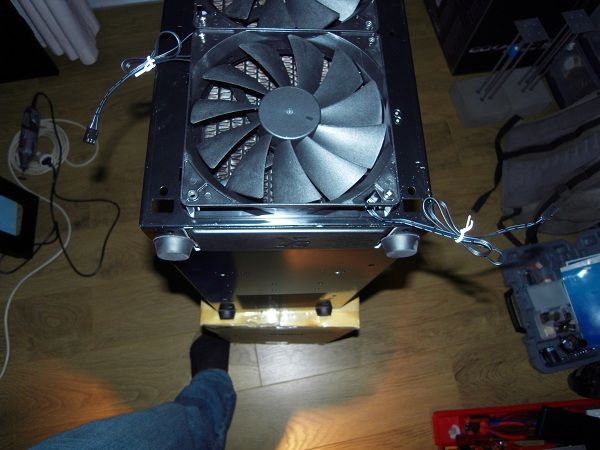
!


Bookmarks