


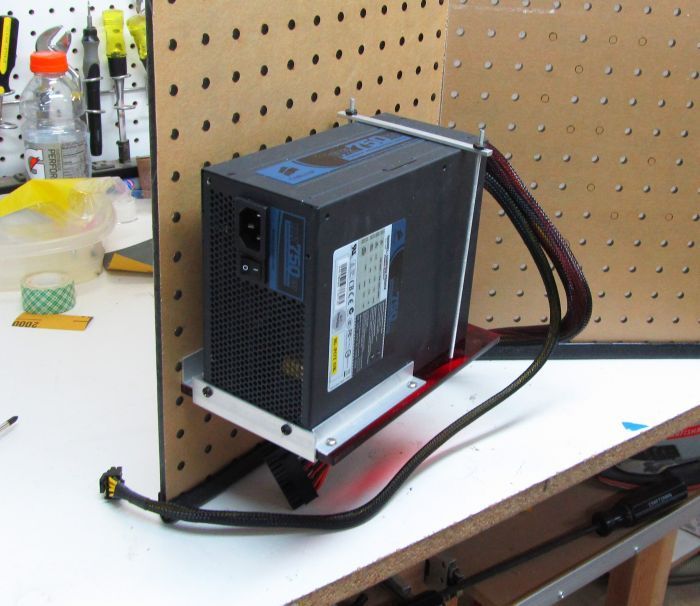
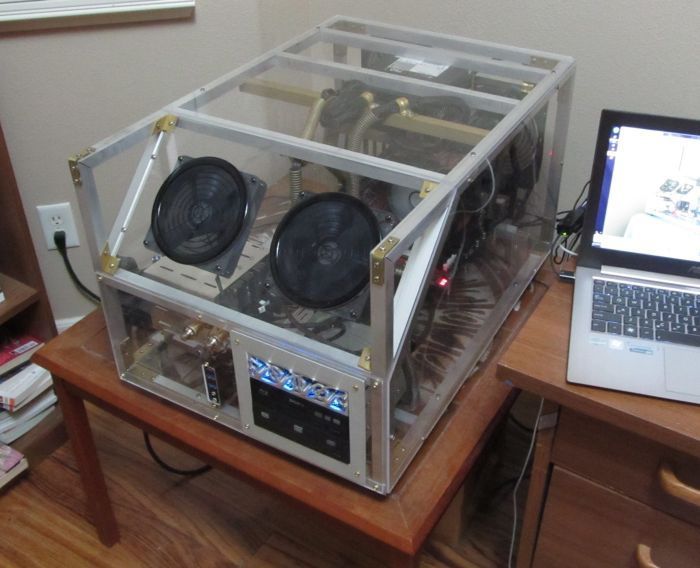
Vertical Benching Station
(**** This project is now complete. To skip to the Completed portion of this thread (which includes selective summary of the build) the link is --> here <--).
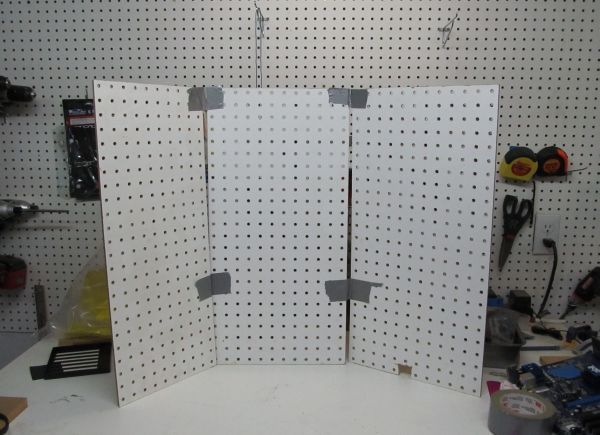
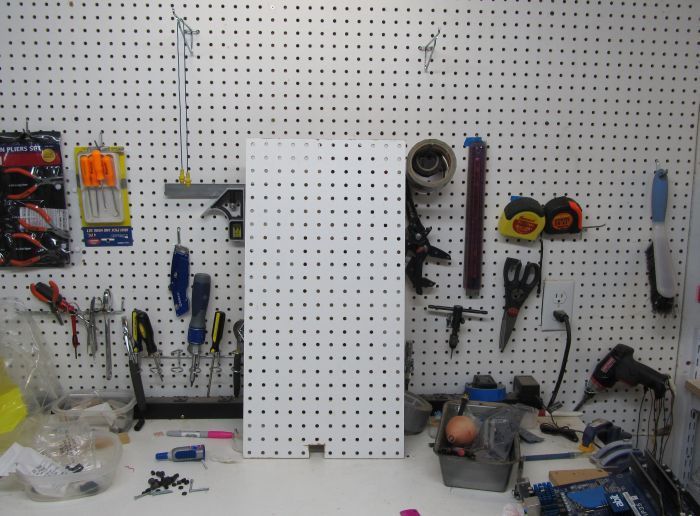
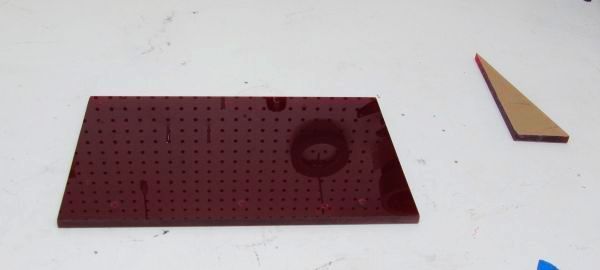
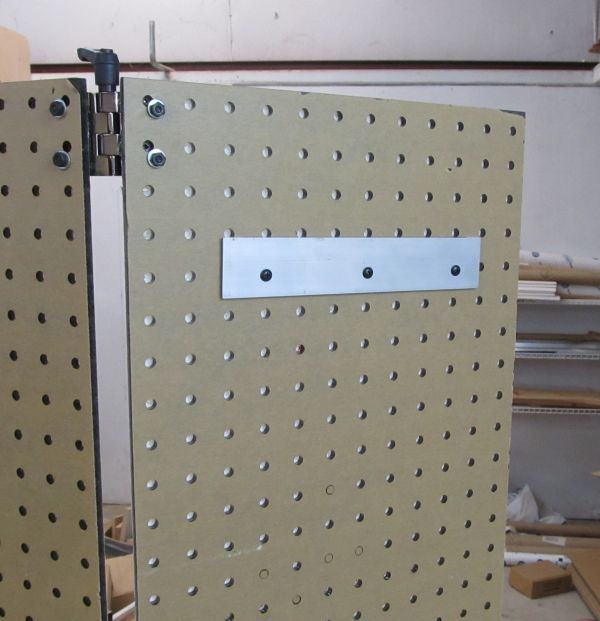
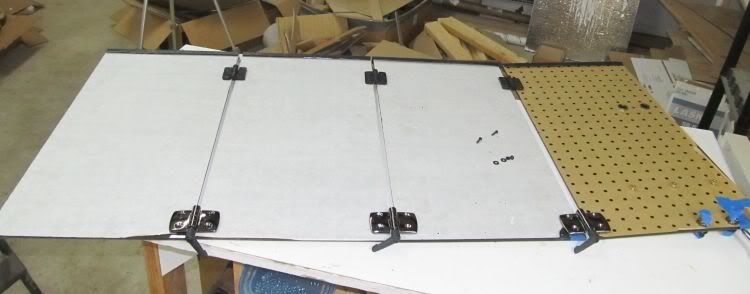
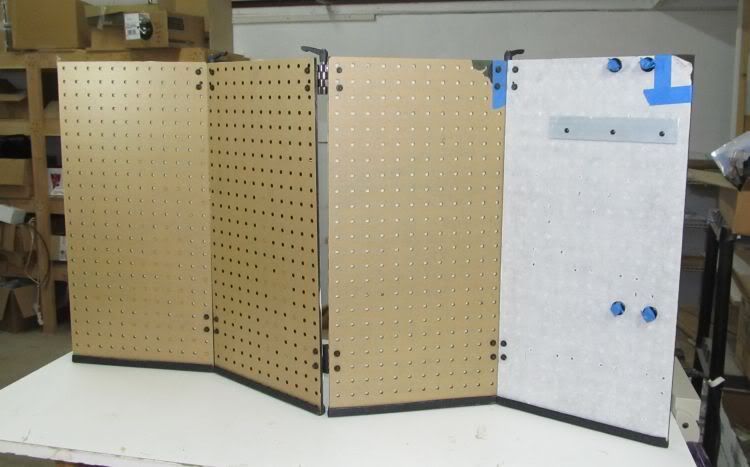
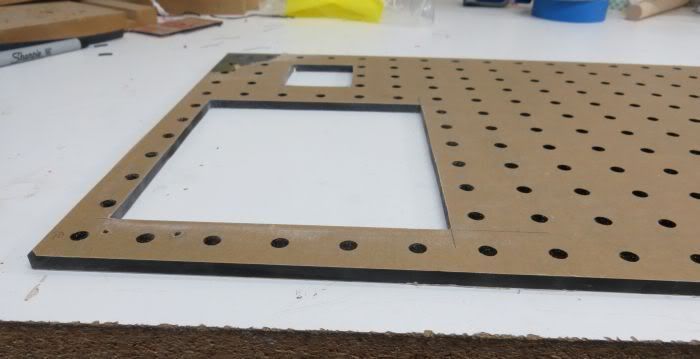
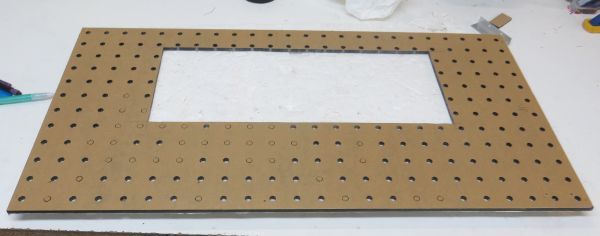
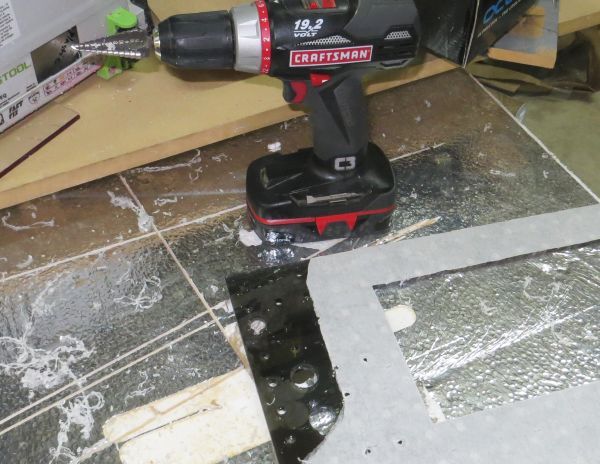
I got this idea when I was setting up shop in my new house 2 years back. I put up a bunch of standard pegboard for holding my tools:
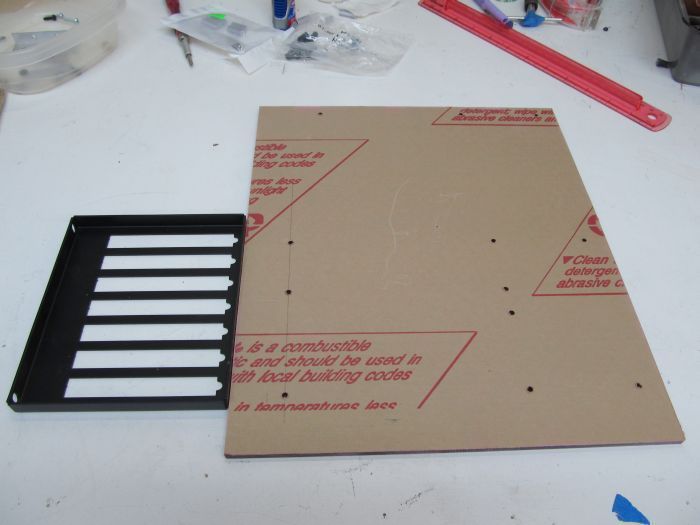
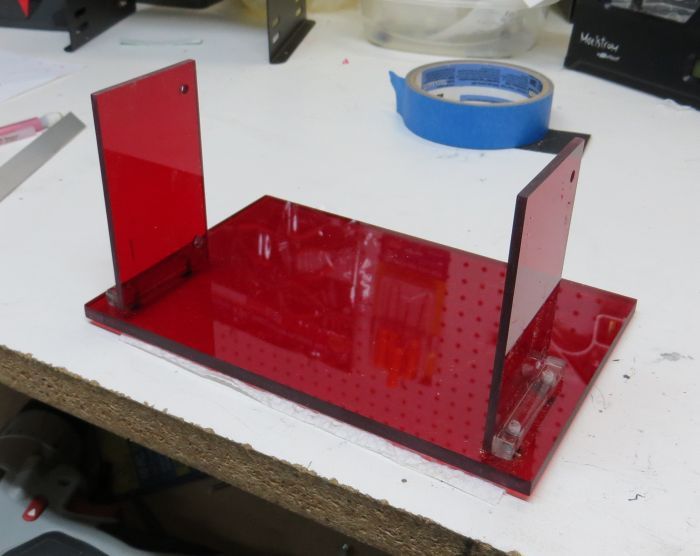
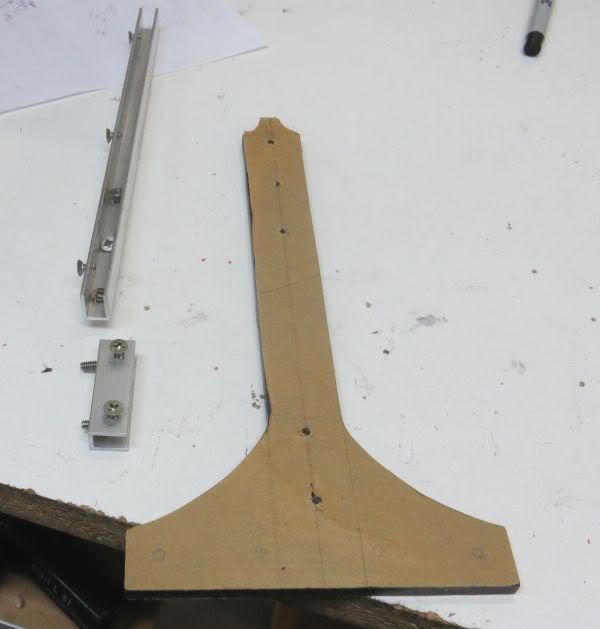
I had a few extra panels of the stuff.
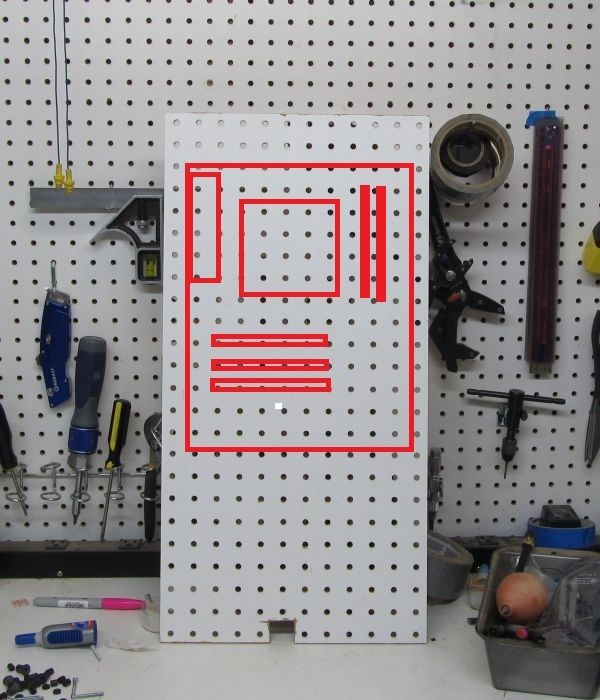
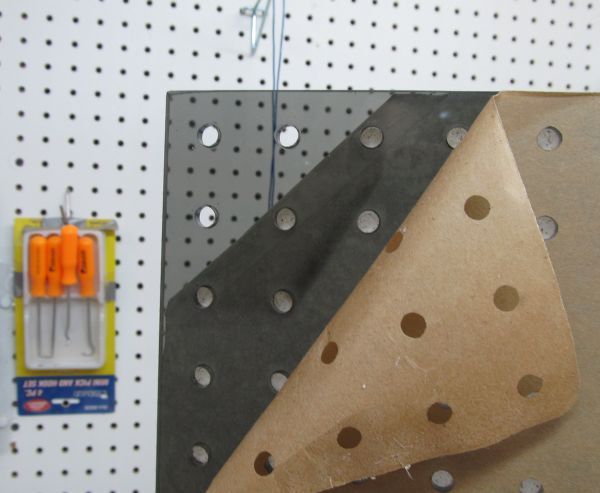
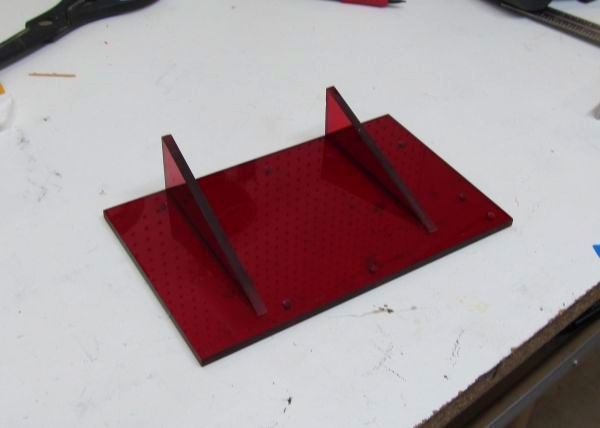
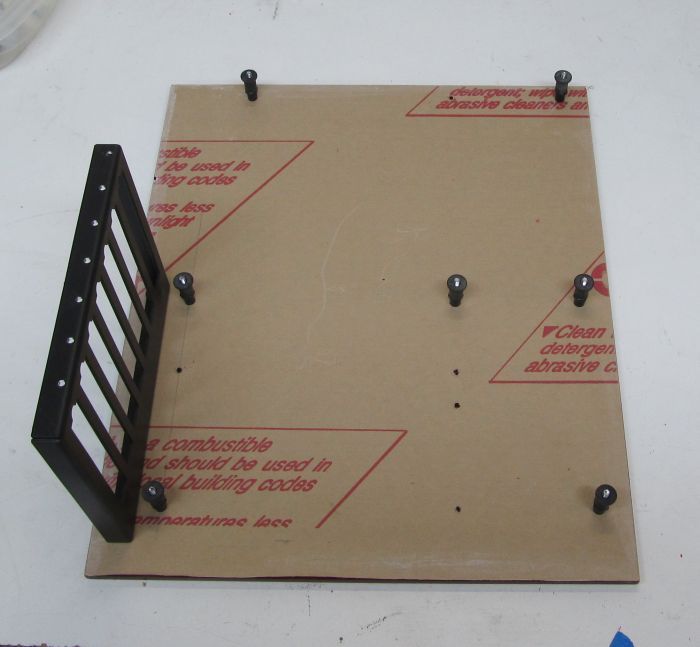
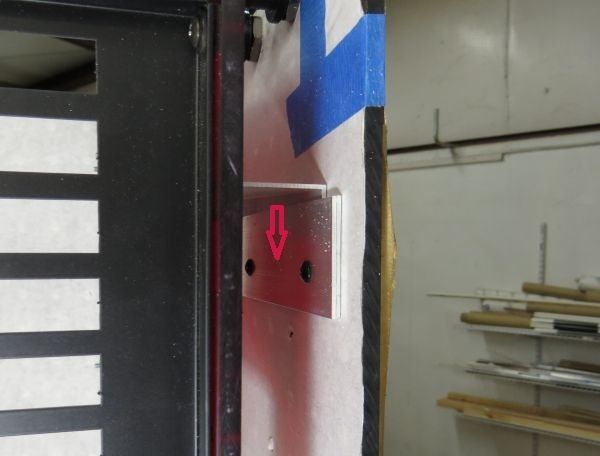
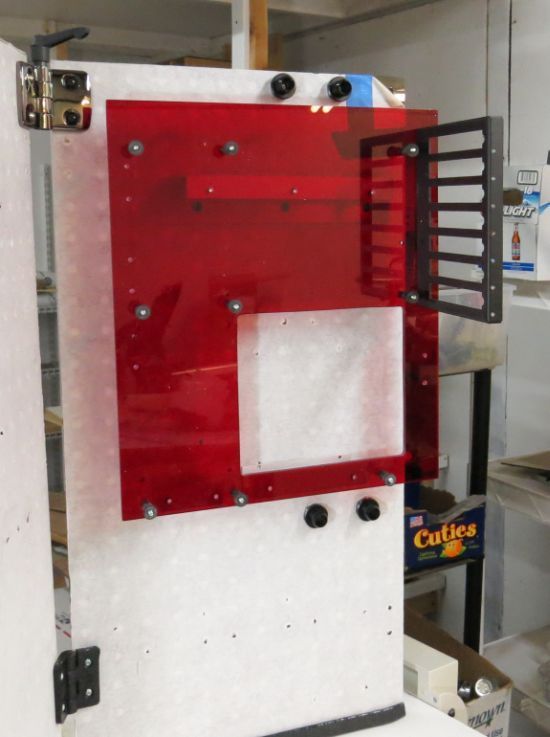
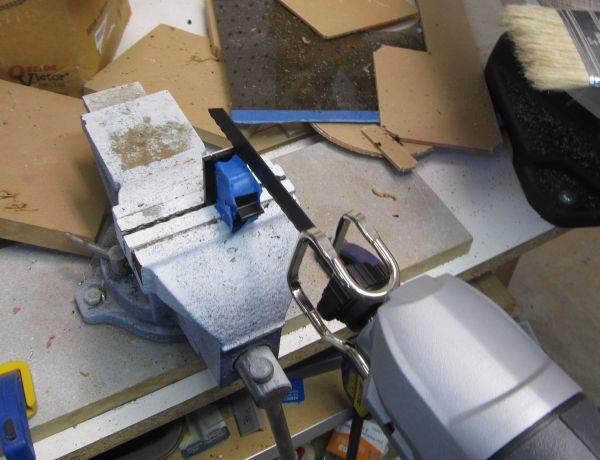
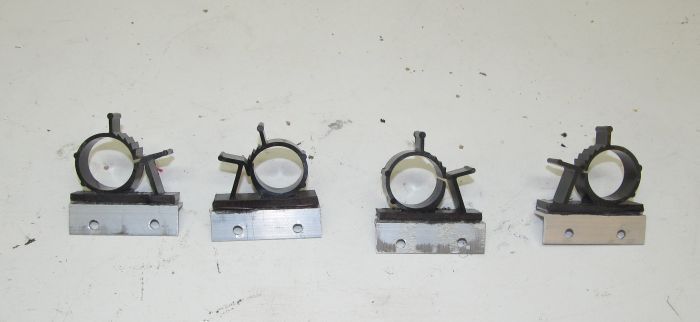
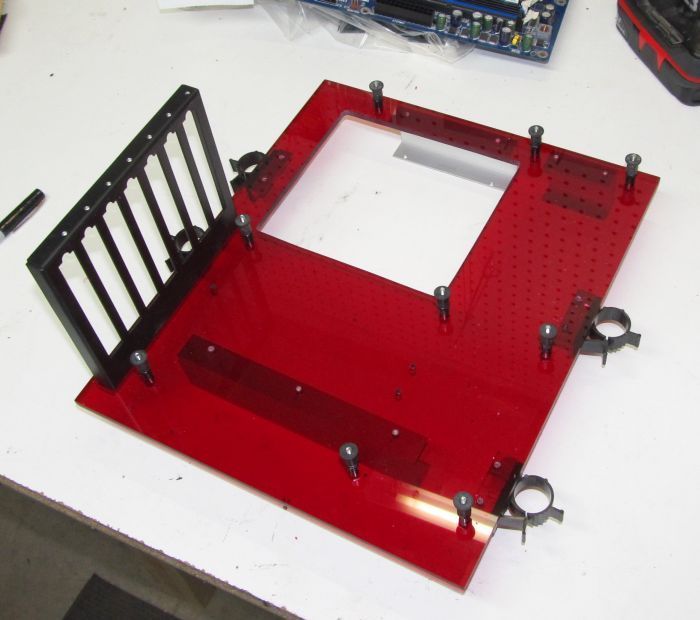
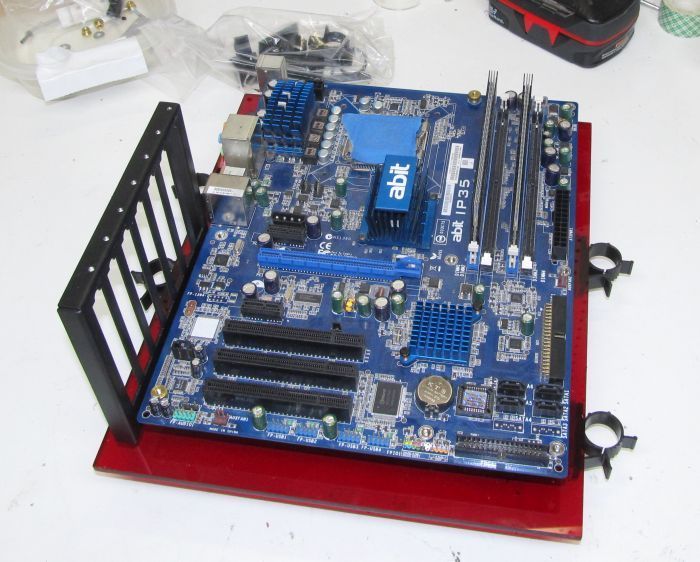
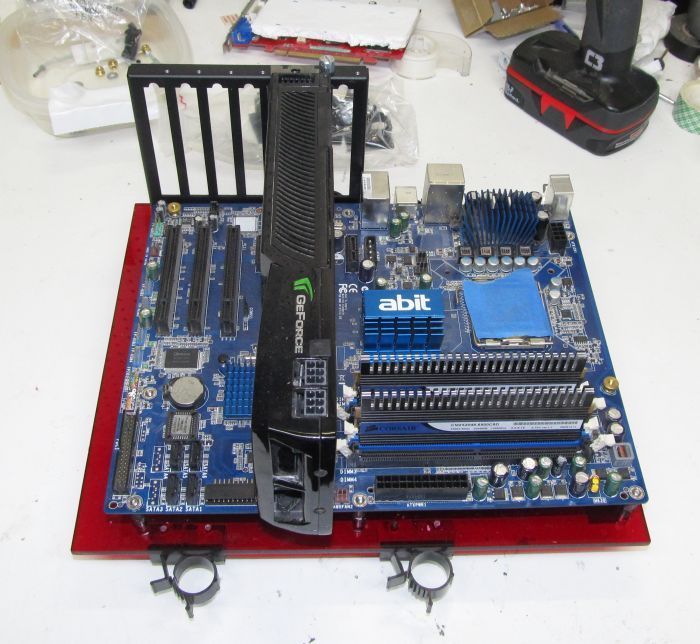
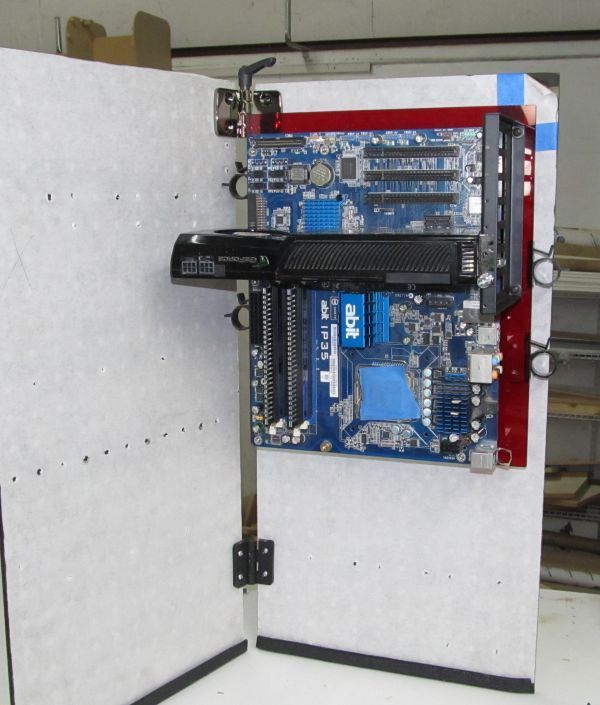
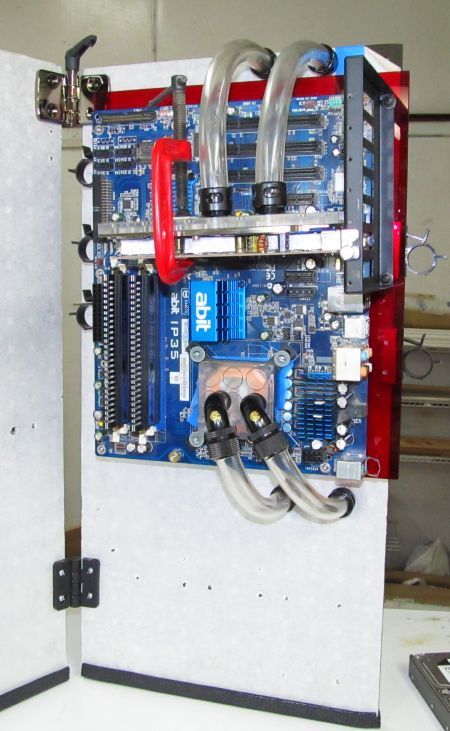
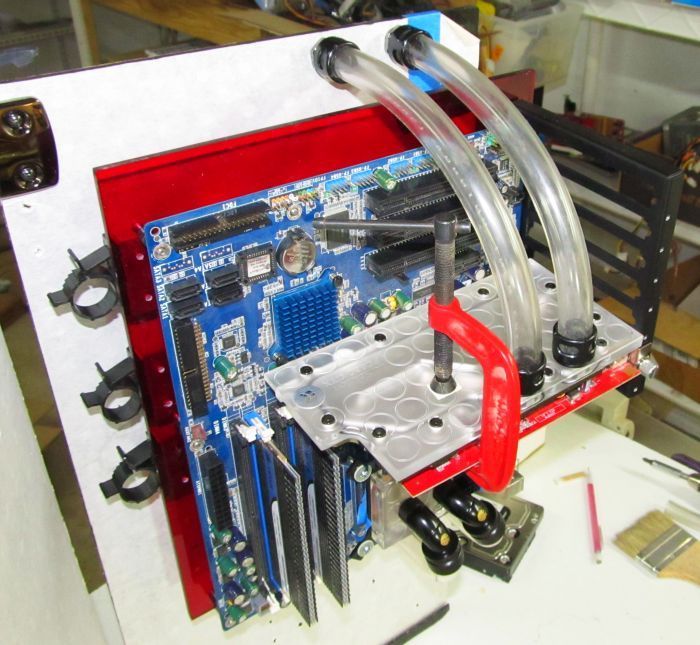
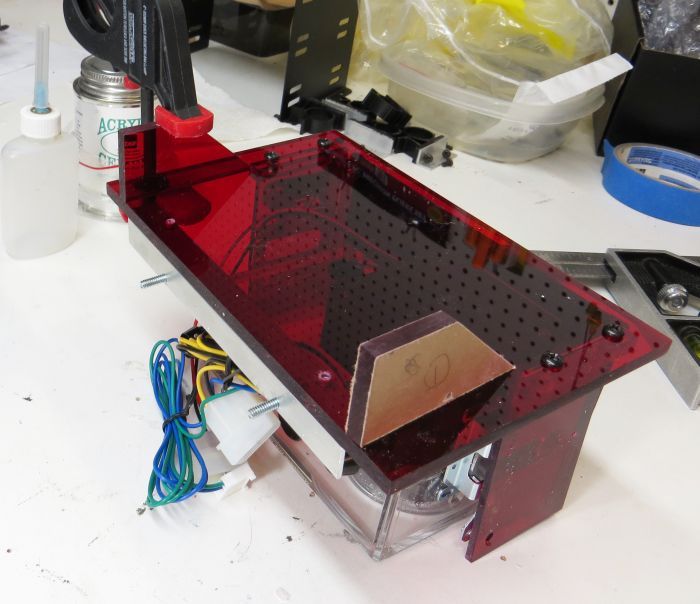
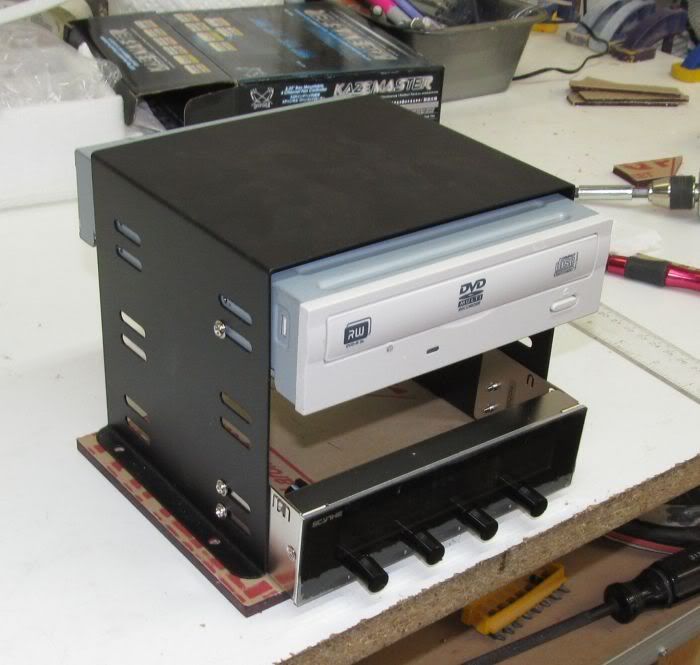
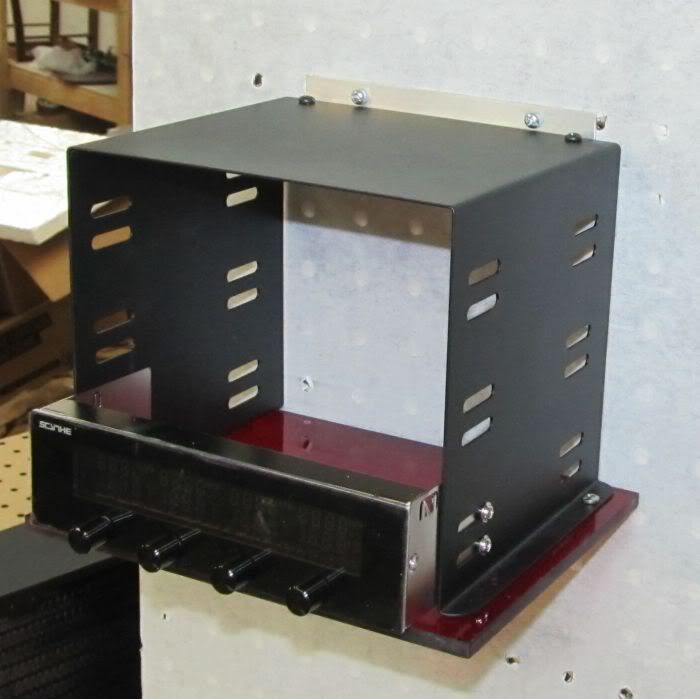
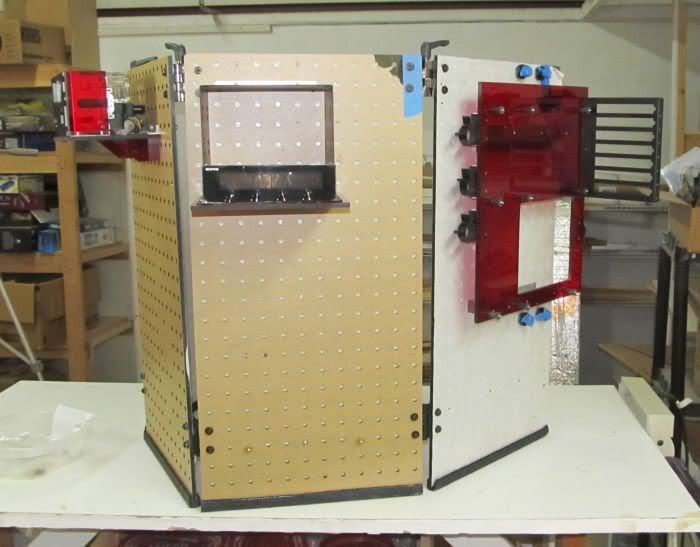
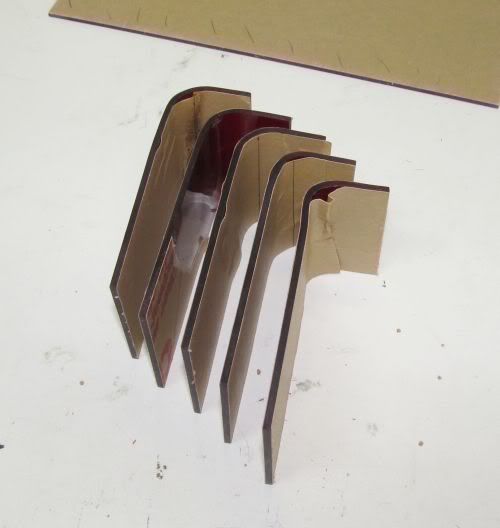
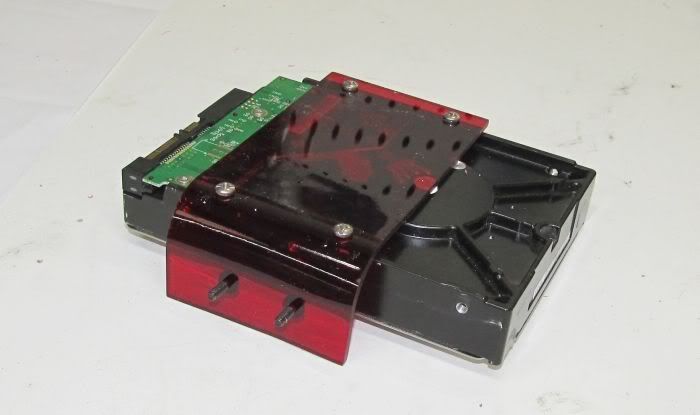
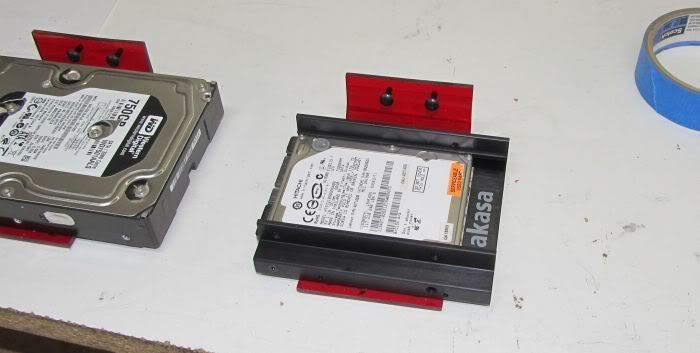
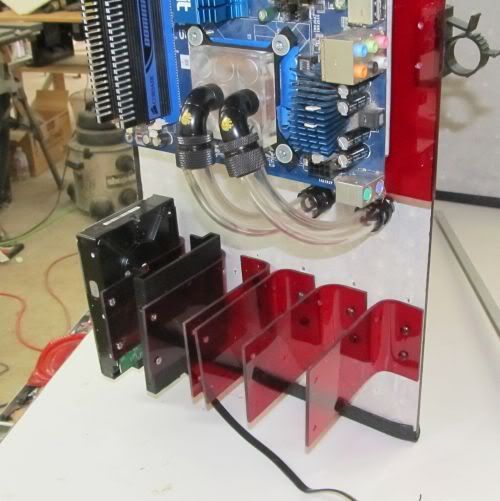
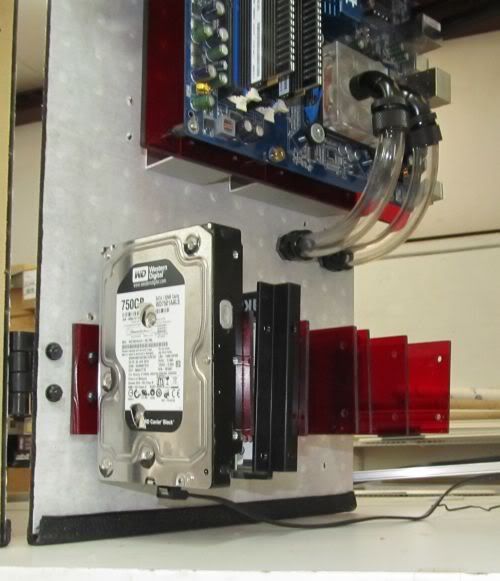
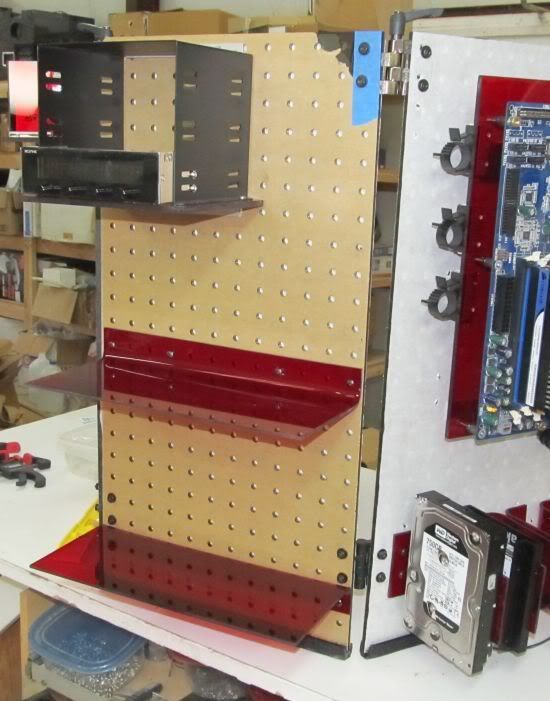
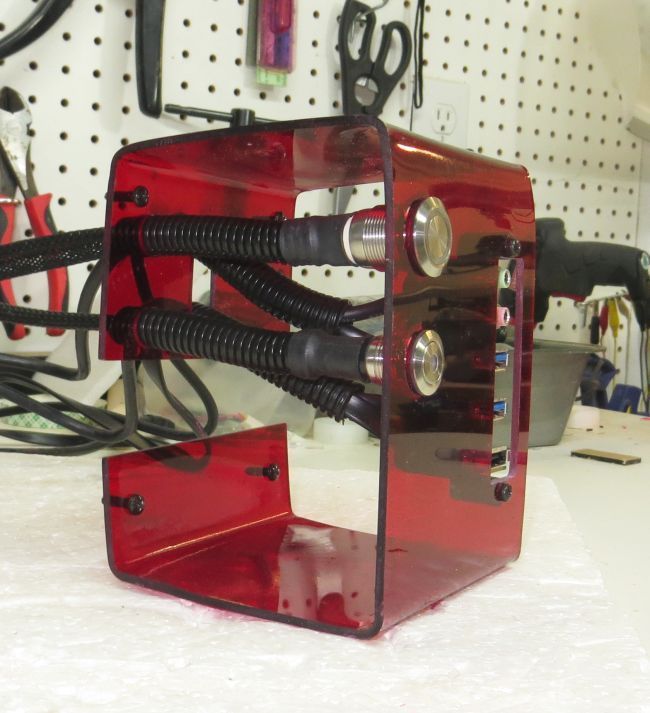
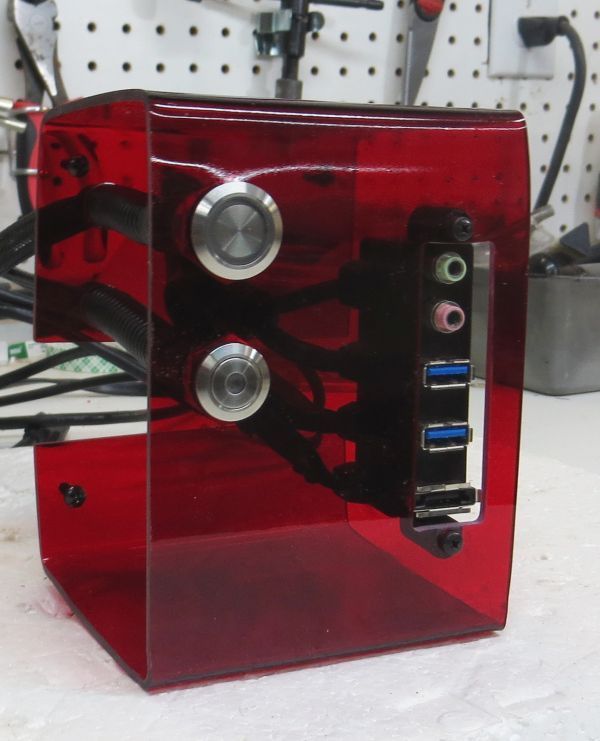
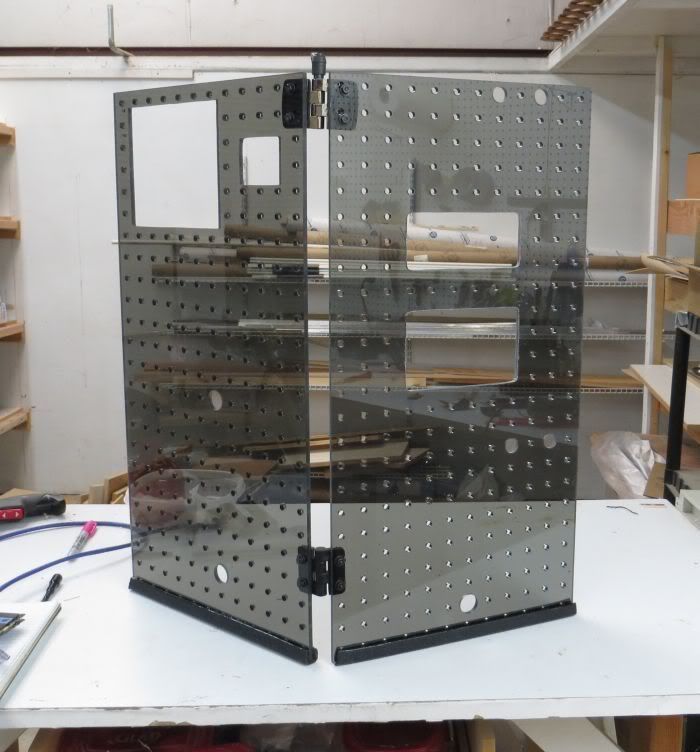
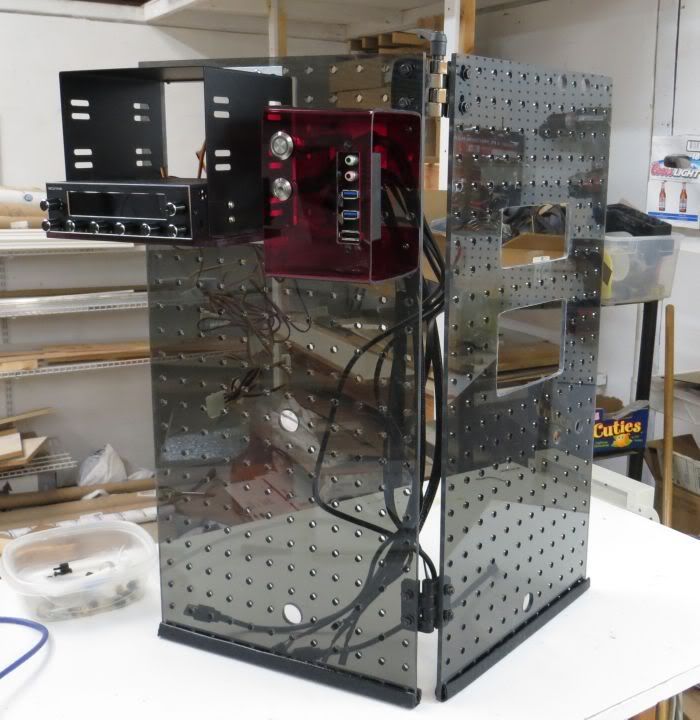
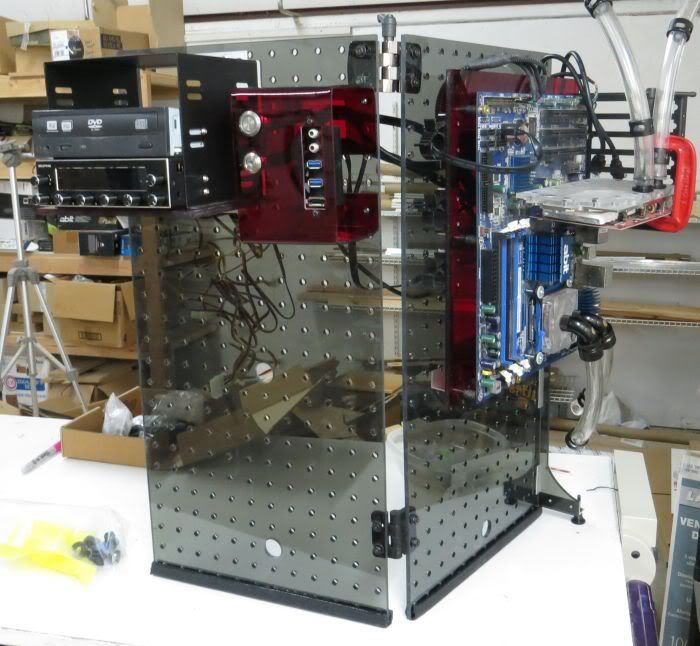
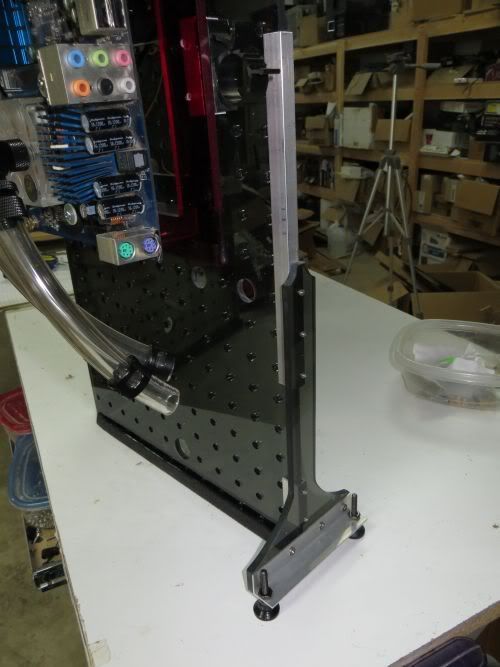
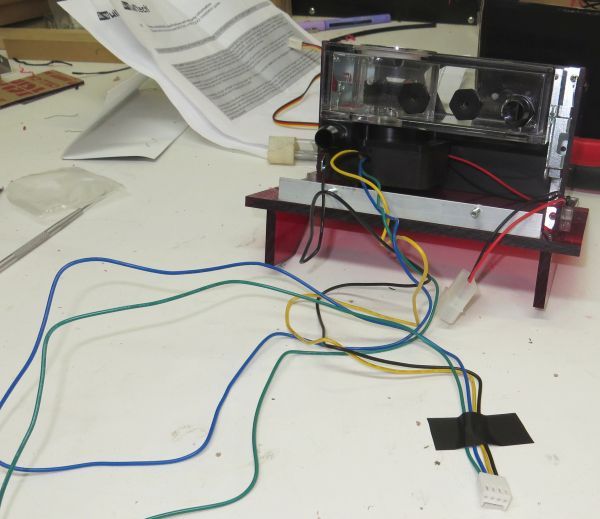
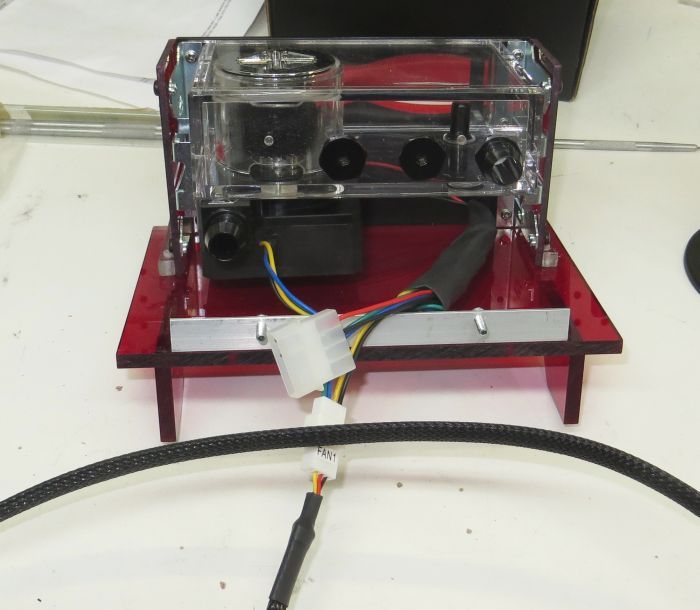
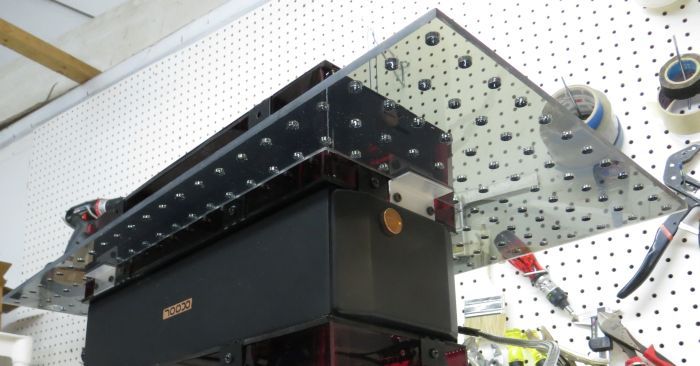
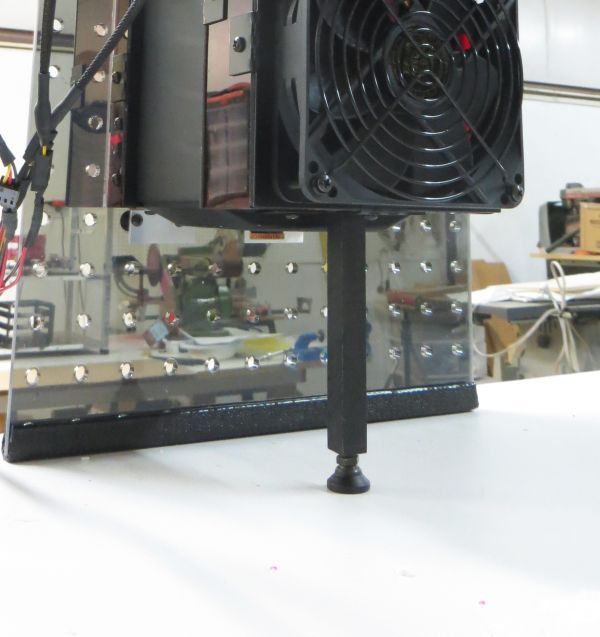
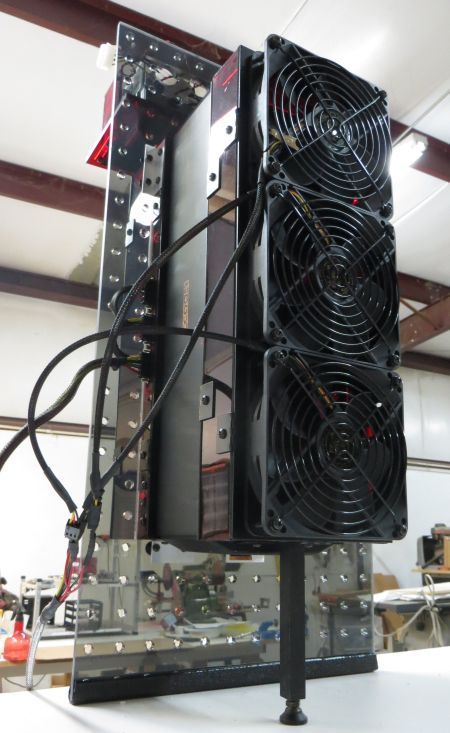
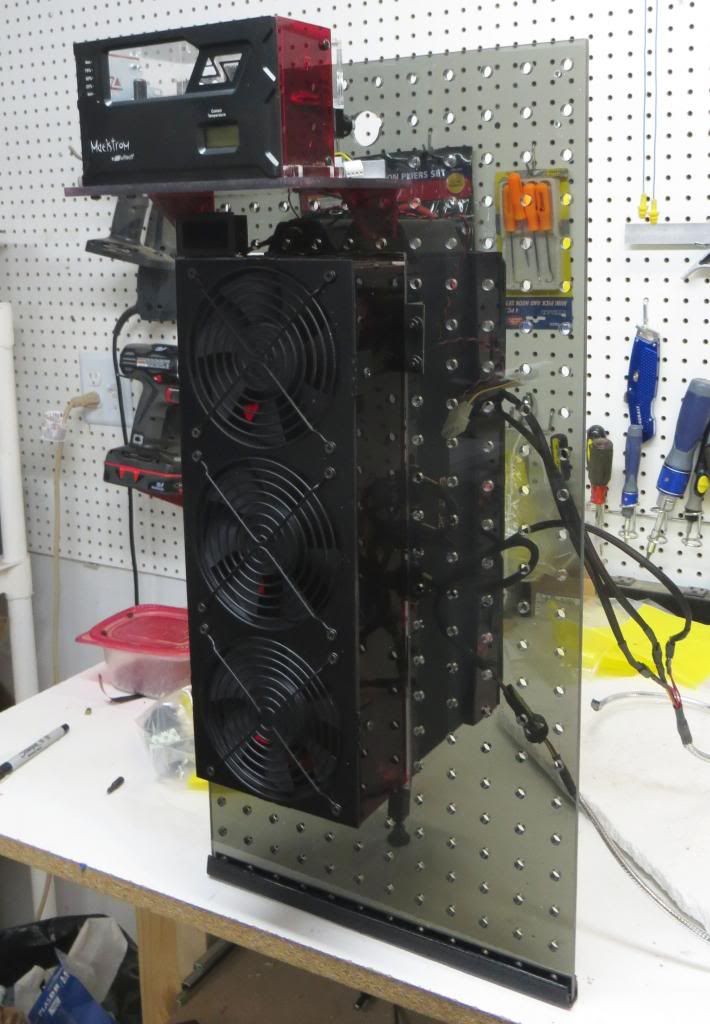
I pictured each panel being sort of an individual unit--one panel for the motherboard, one panel for drives, one panel for the motherboard:
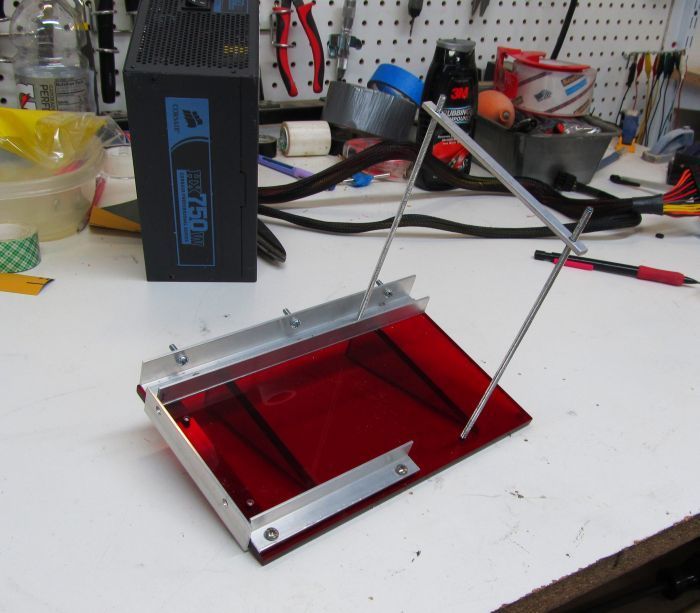
(motherboard unit)
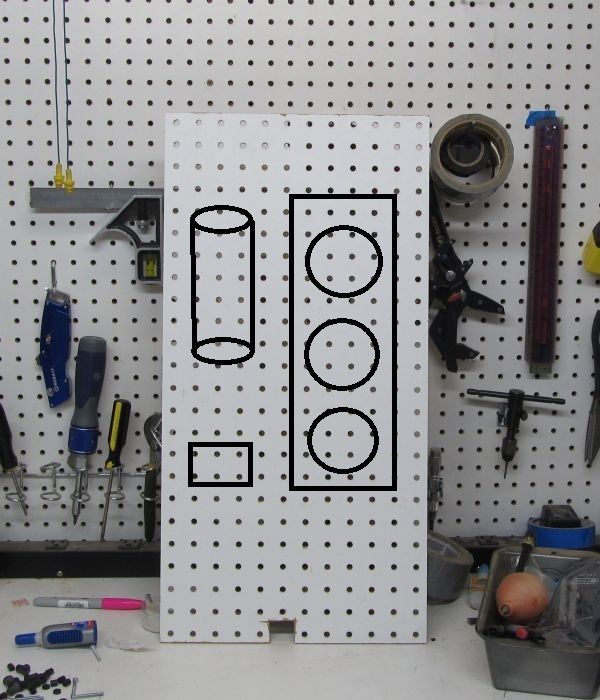
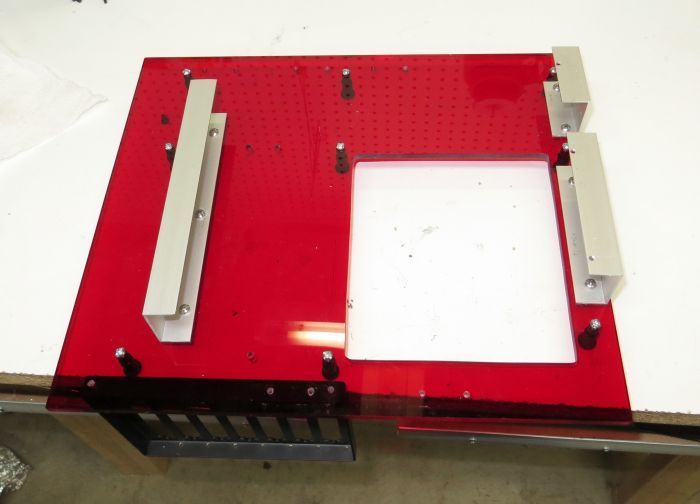
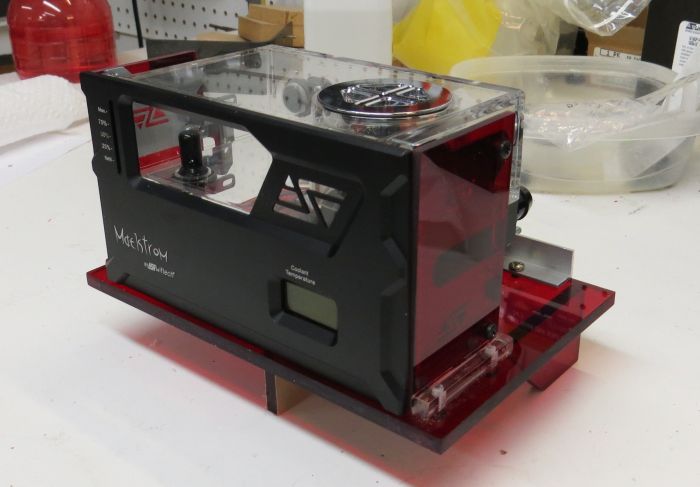
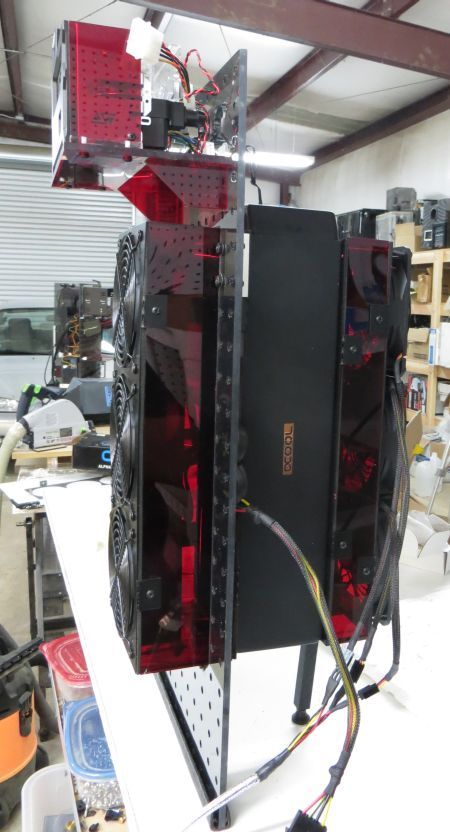
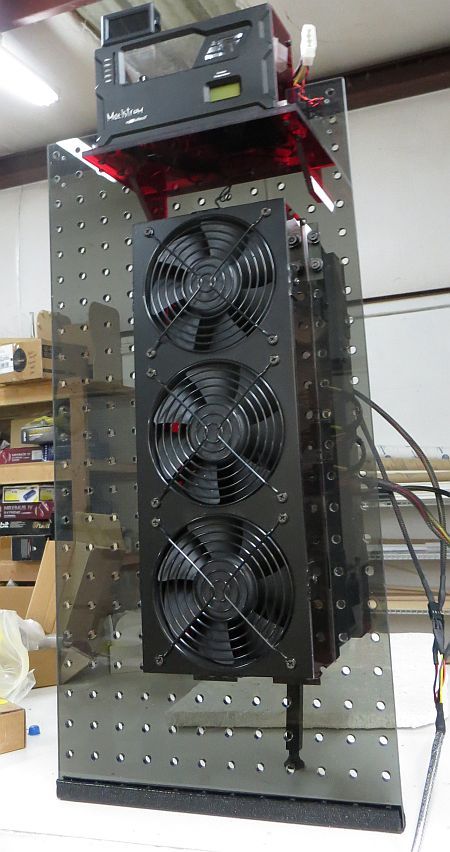
(watercooling unit)
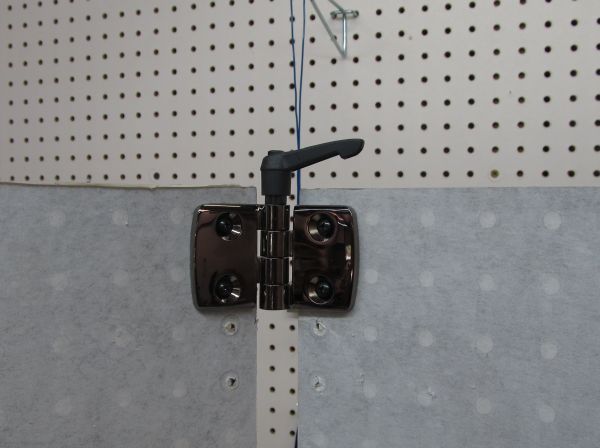
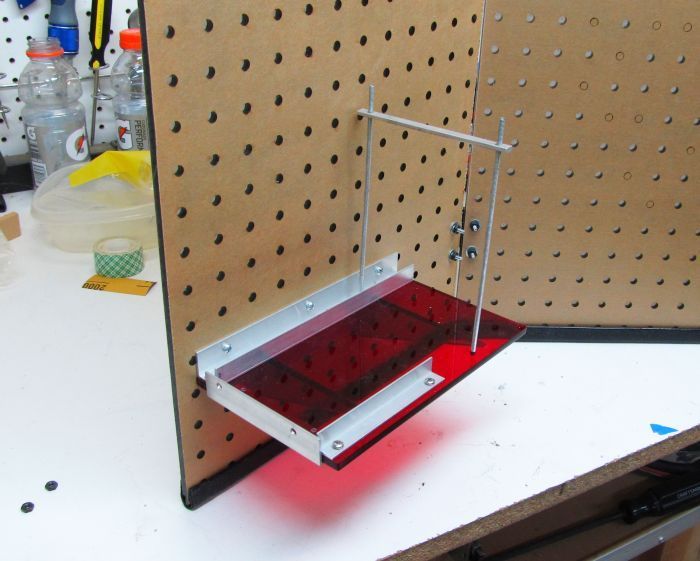
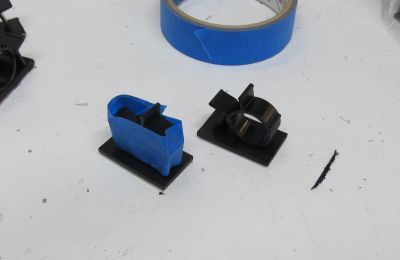
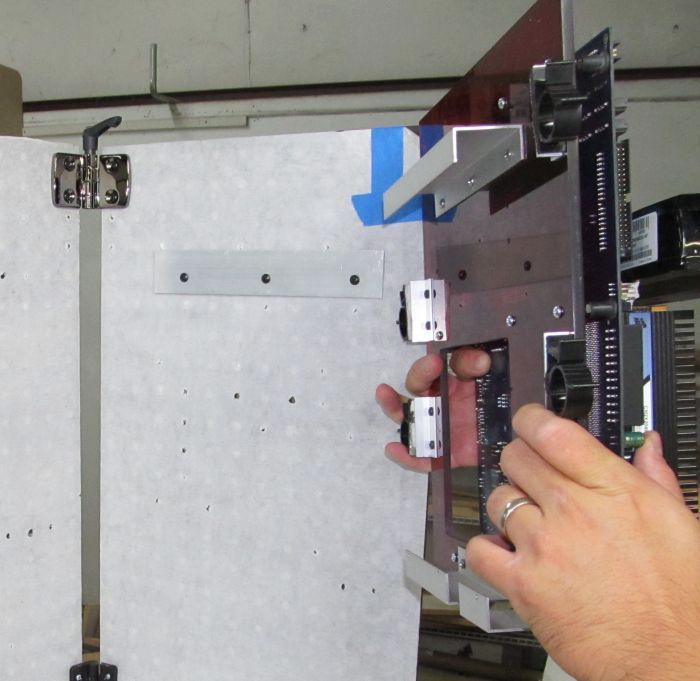
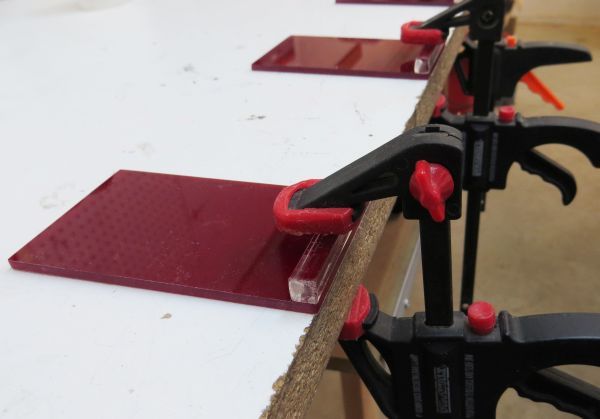
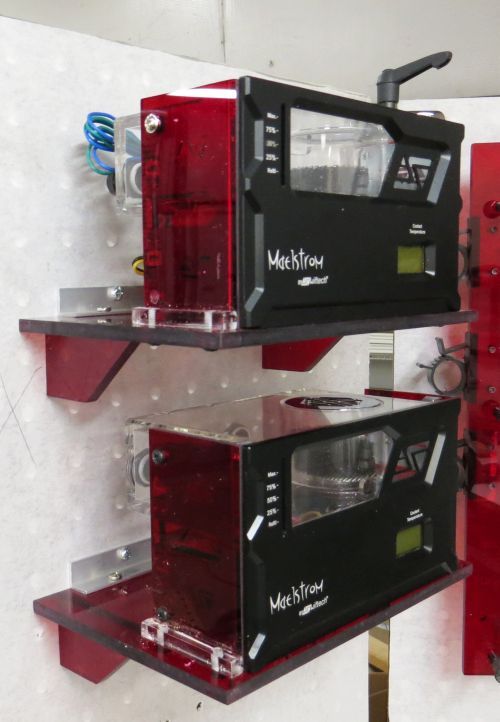
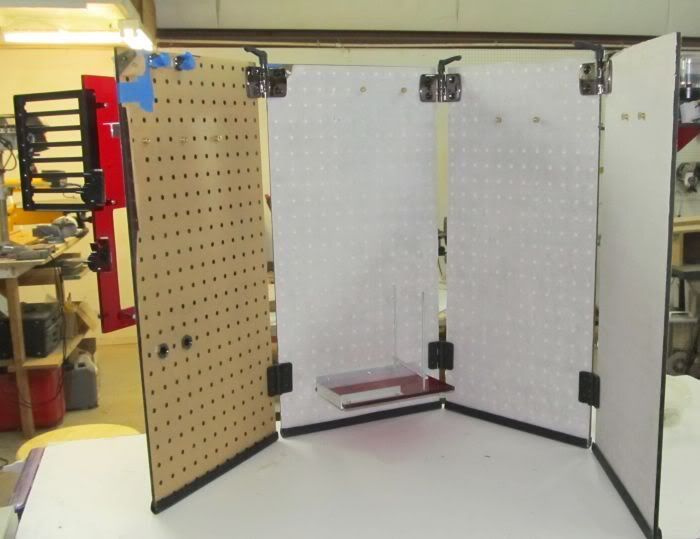
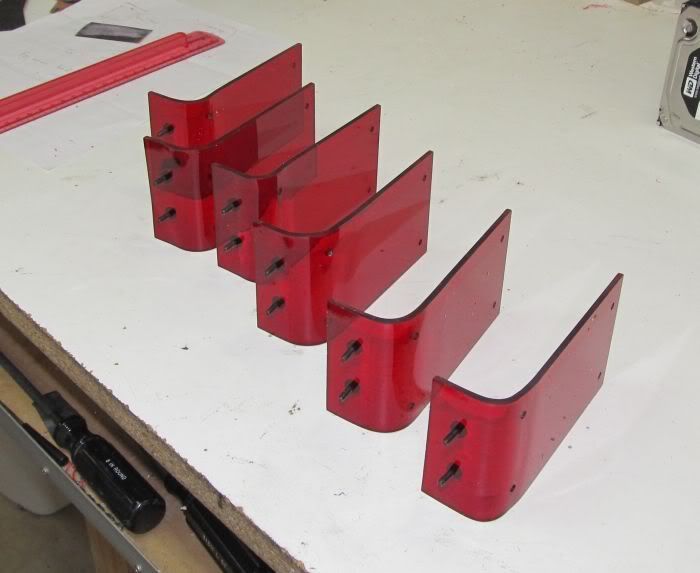
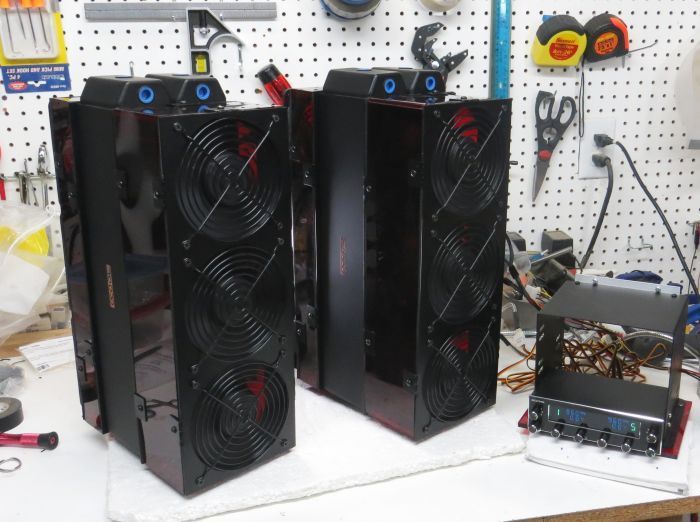
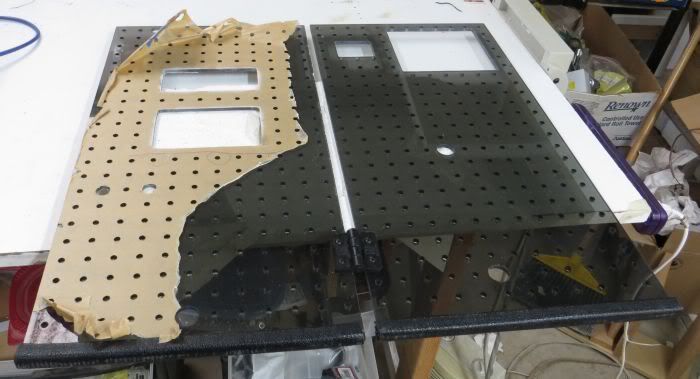
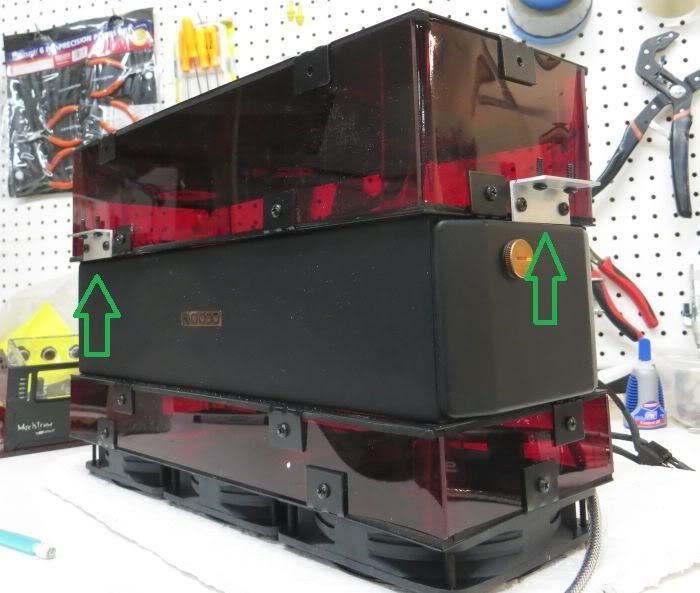
And then you could link the units with some hinges, ala Asian panel style:

 Reply With Quote
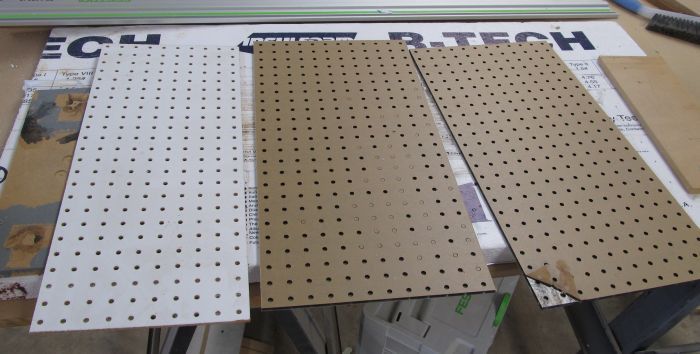


Bookmarks