


First off let me thank all of the long time contributors here for the wealth of information.
I have been reading up and I think I have figured enough of this out to get started with my first build. I have acquired some parts and still have some more to get, but I wanted to get some input from the experienced guys before I get the last of the needed parts.
I acquired this Sharp 10,000 BTU portable a/c unit:

Here it is with the covers off:
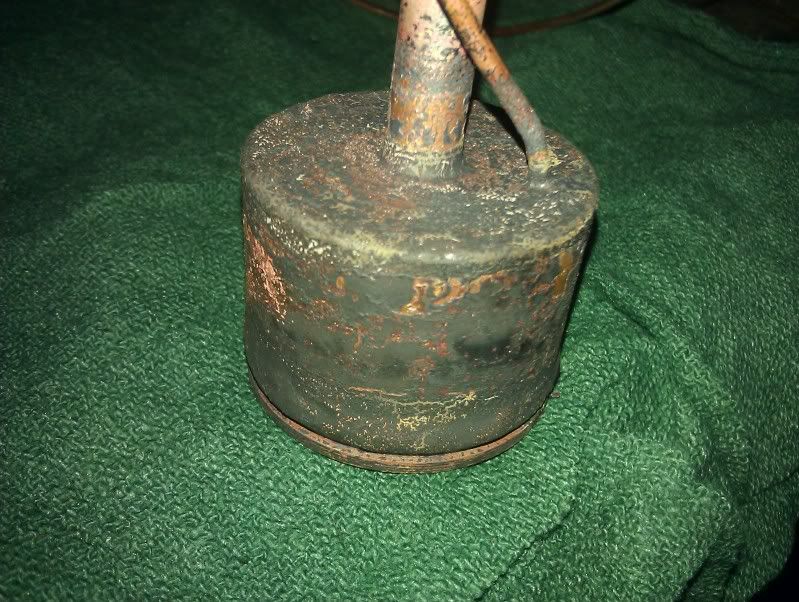
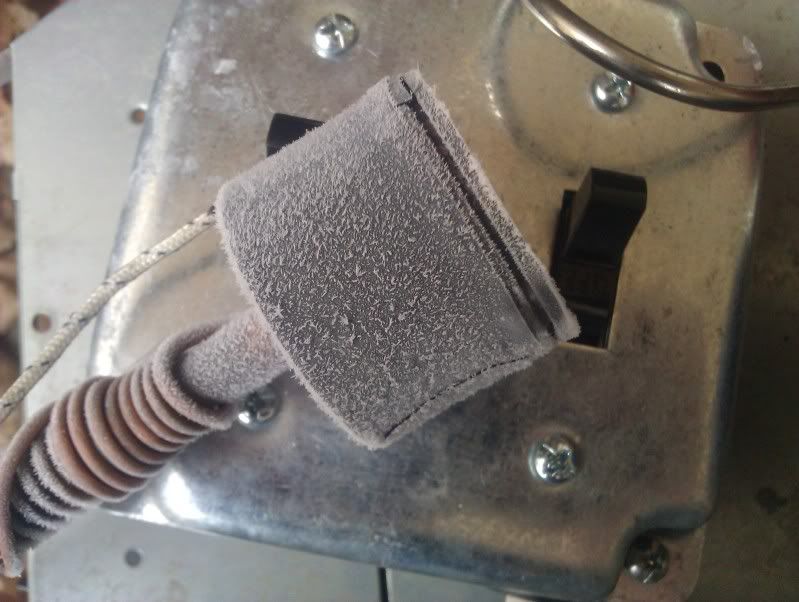
Here is the compressor:
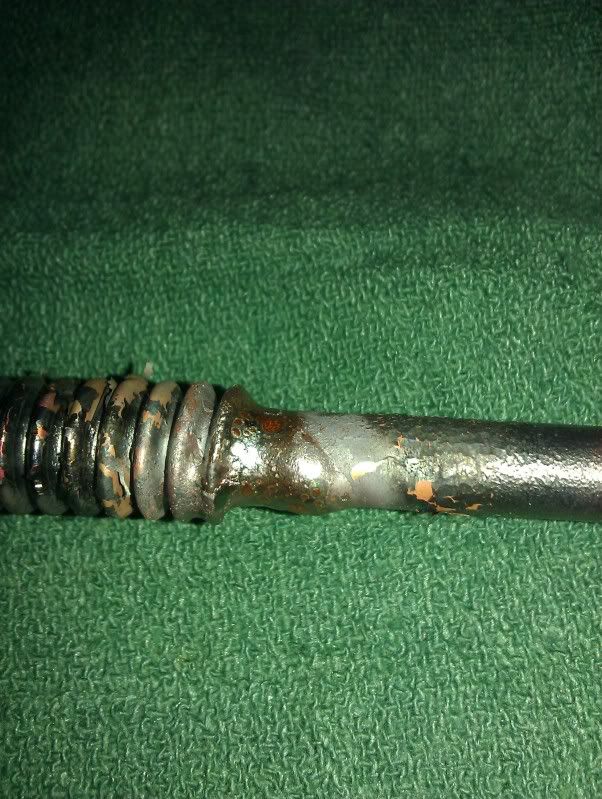
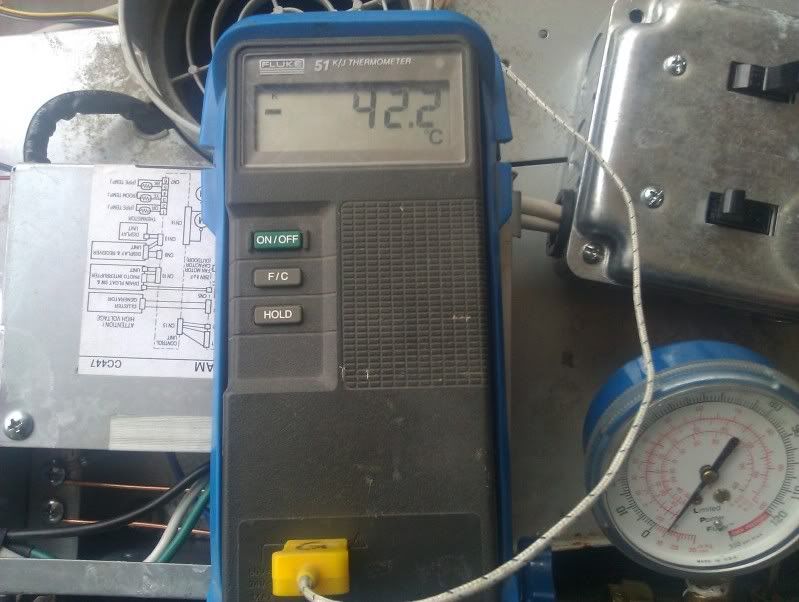
I also got this:
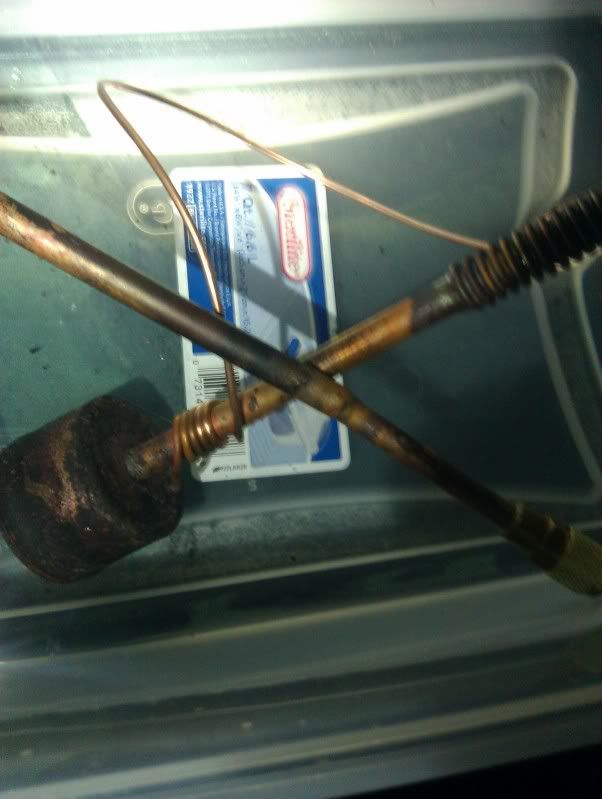
Here is a picture with a couple notes outlining the basic setup:
(My apologies for the cell phone pictures, it is the best camera that I have.)
Do I have this figured out correctly? Is there any reason to change any of the other existing lines?

 Reply With Quote


 is the remedy
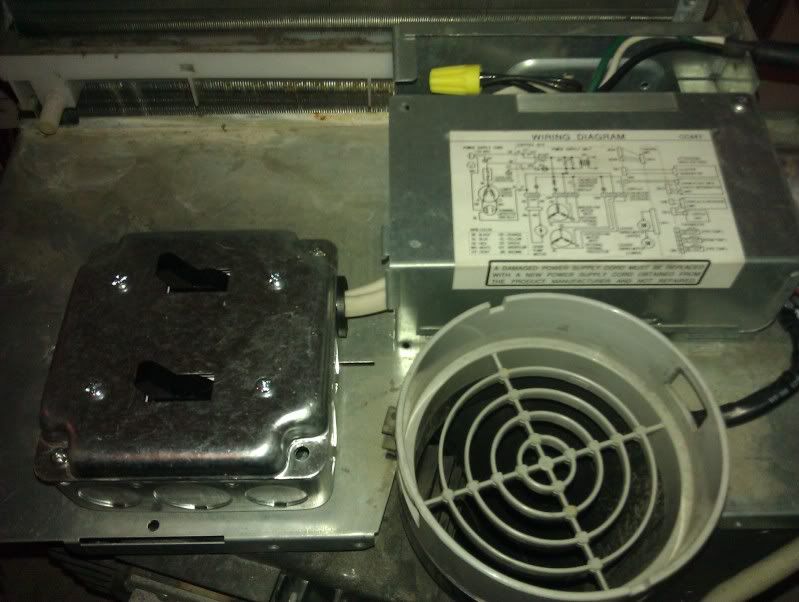


Bookmarks