Page 1 of 2 12 LastLast
Results 1 to 25 of 34

Thread: "MybadOmen's" New NZXT Build ?

  1. #1
    Xtreme Member
    Join Date
    Feb 2012
    Location
    USA
    Posts
    105

    "MybadOmen's" New NZXT Phantom Evolved Build !


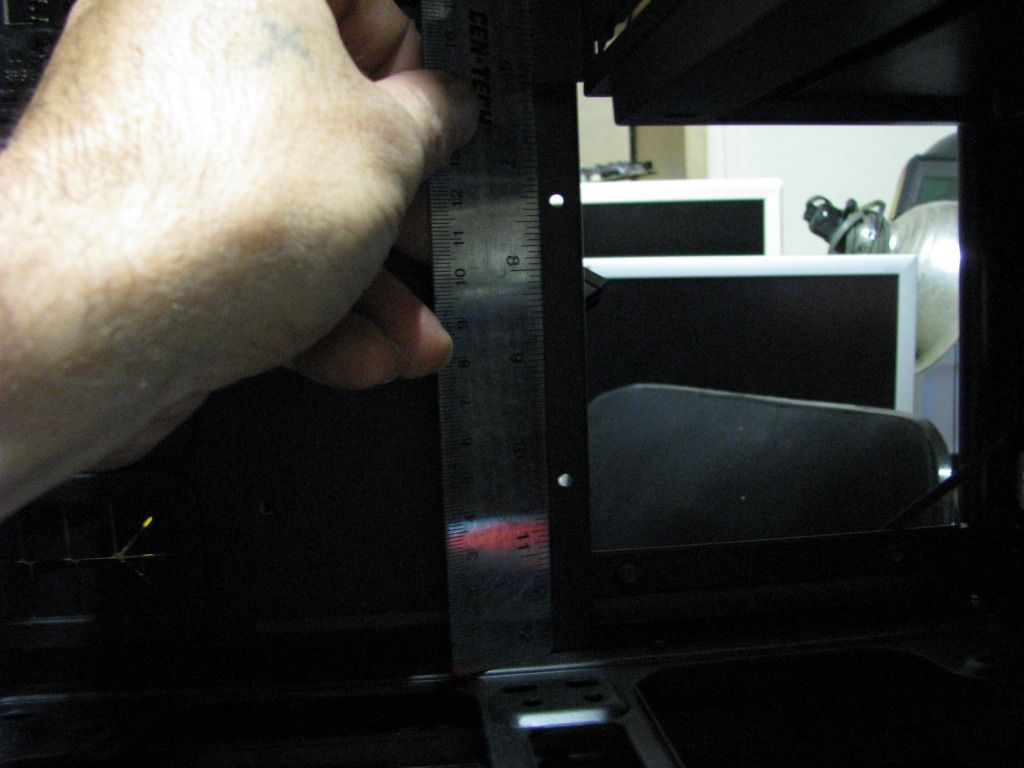
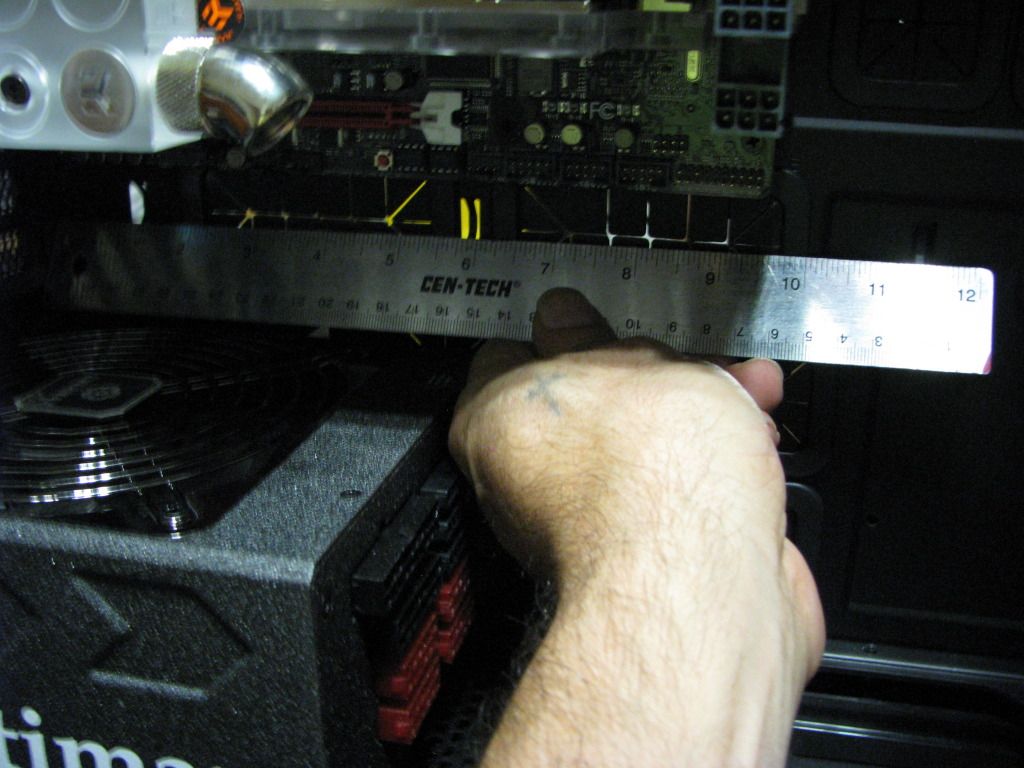
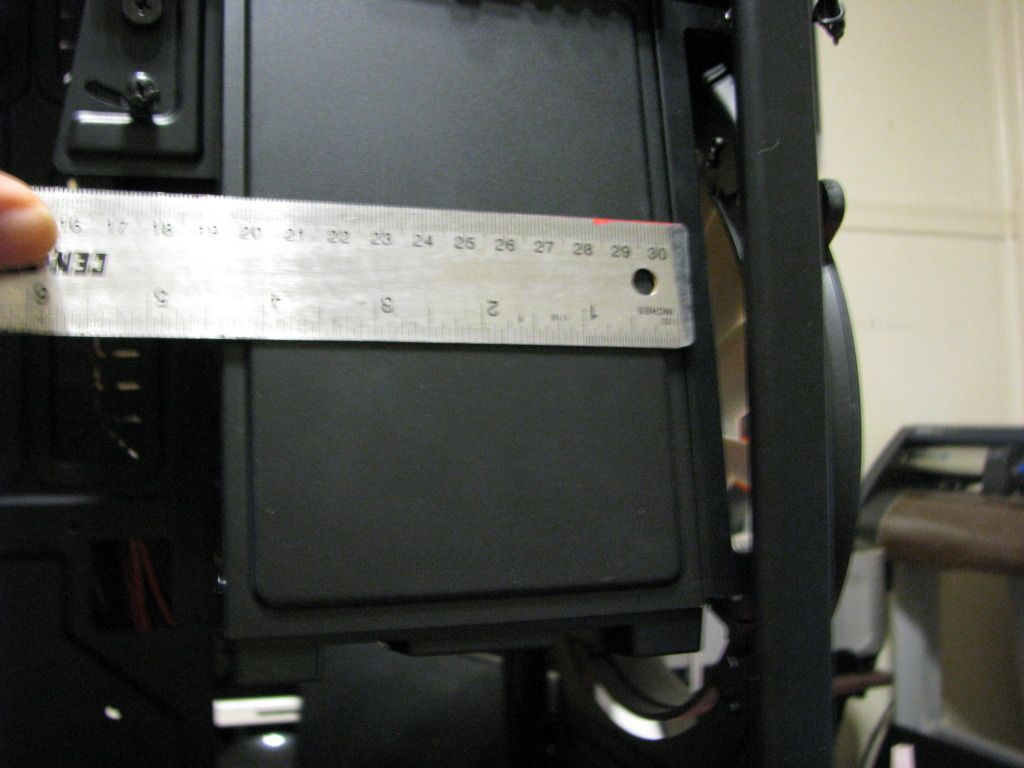
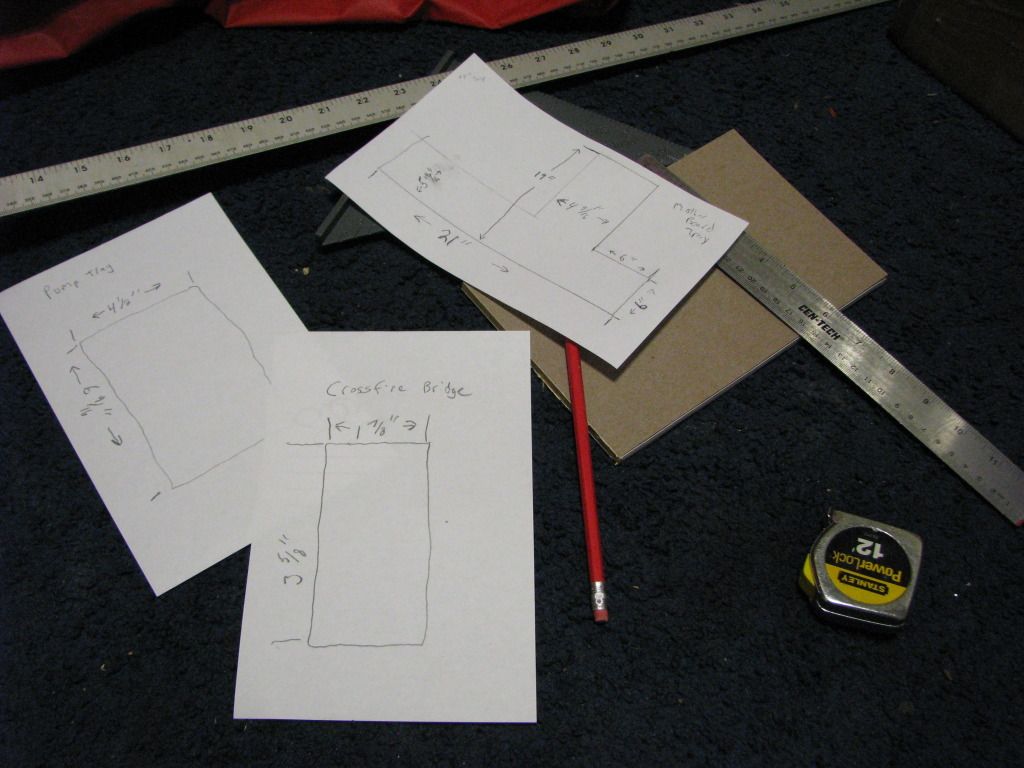
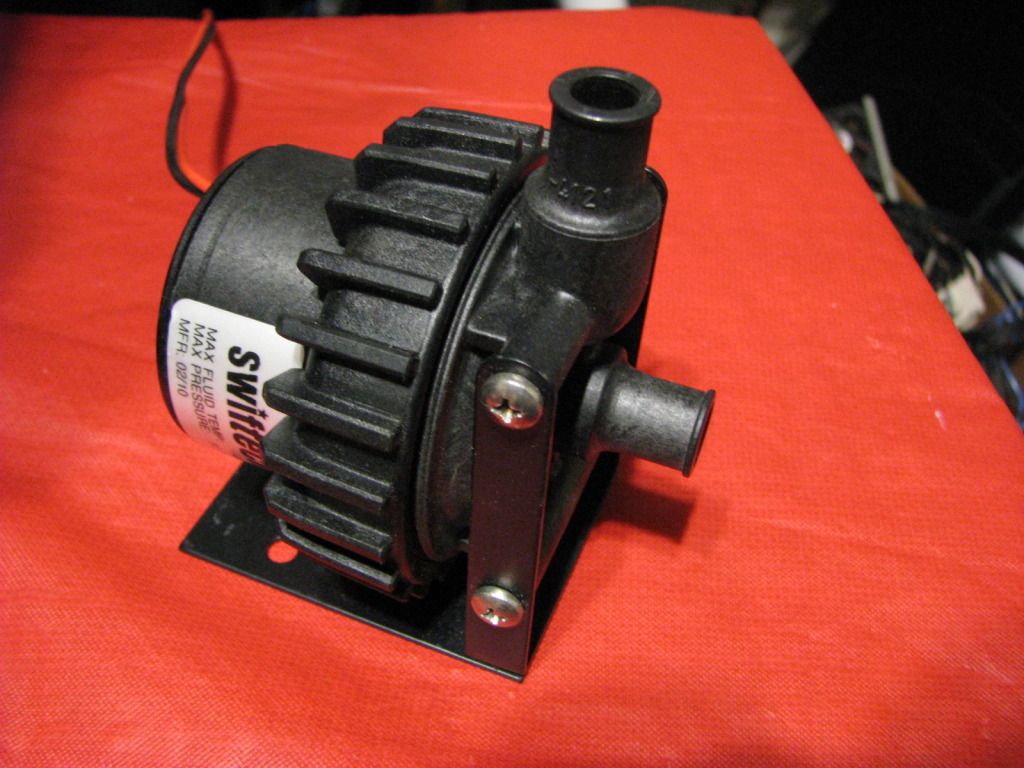
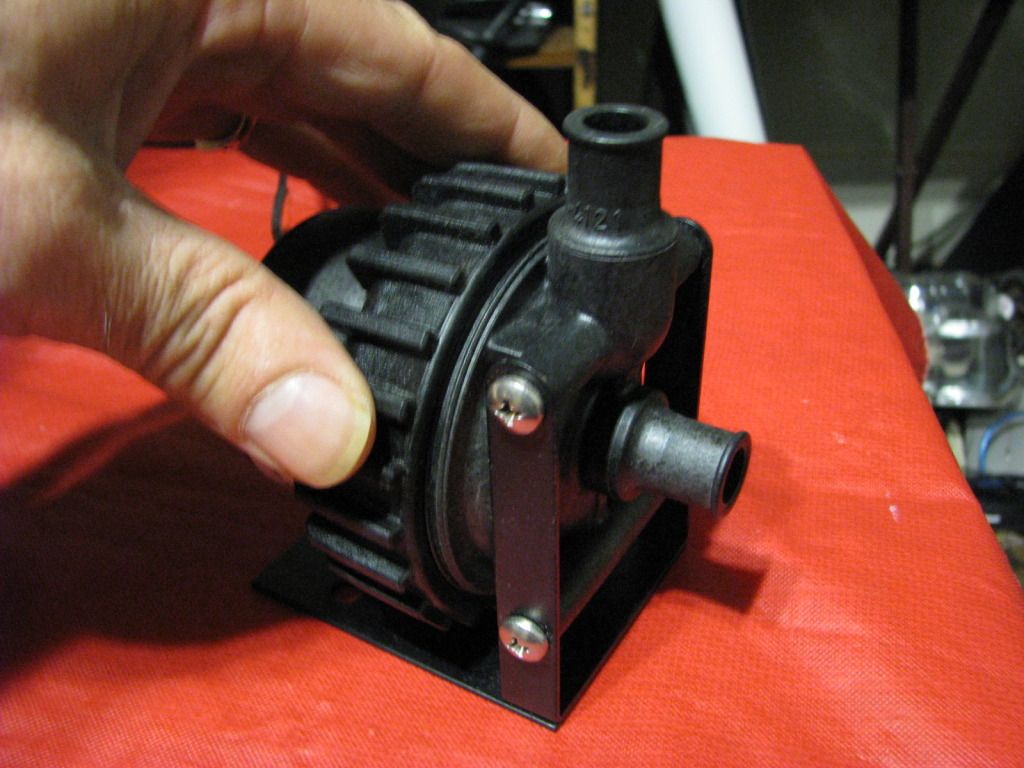
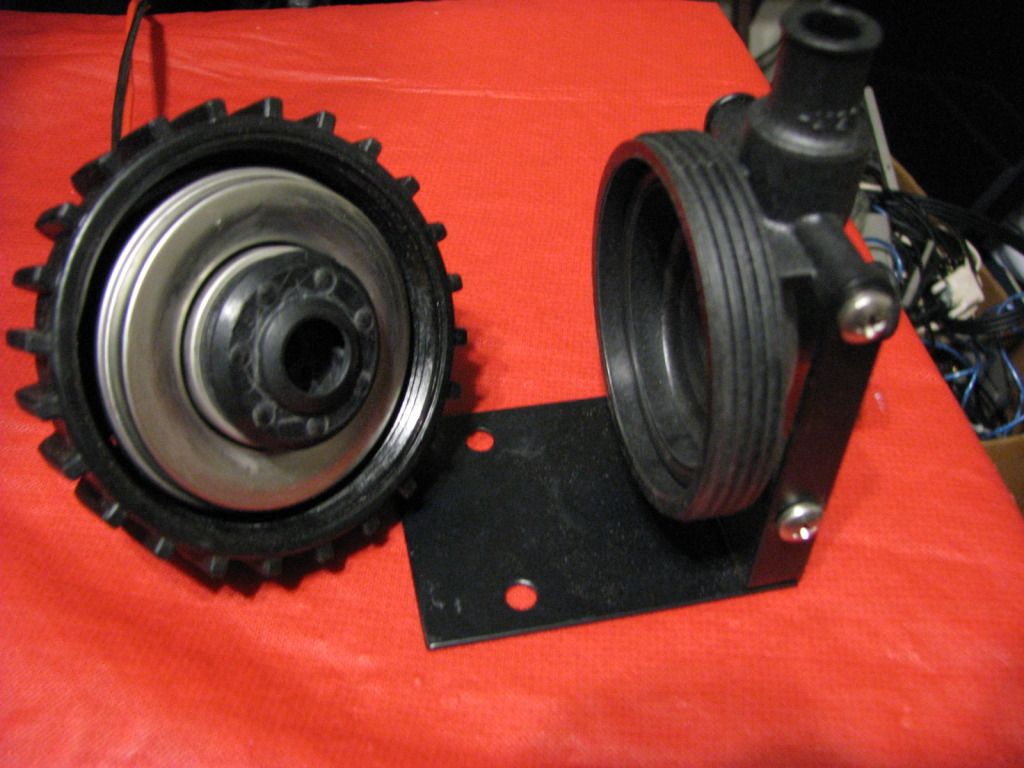
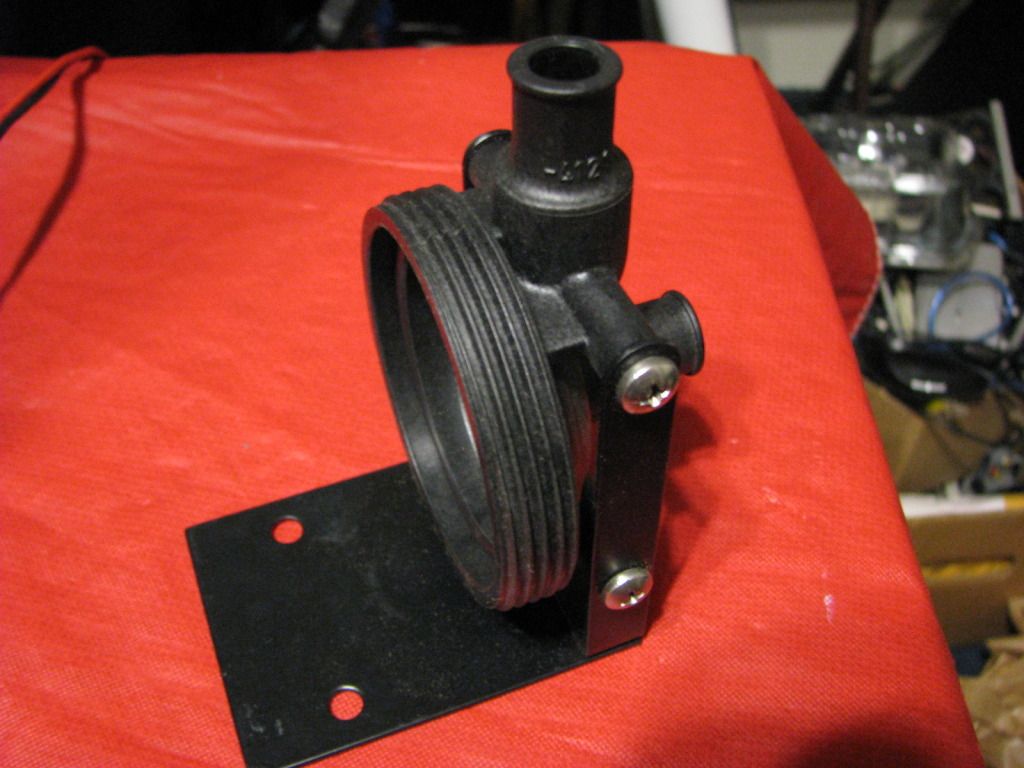
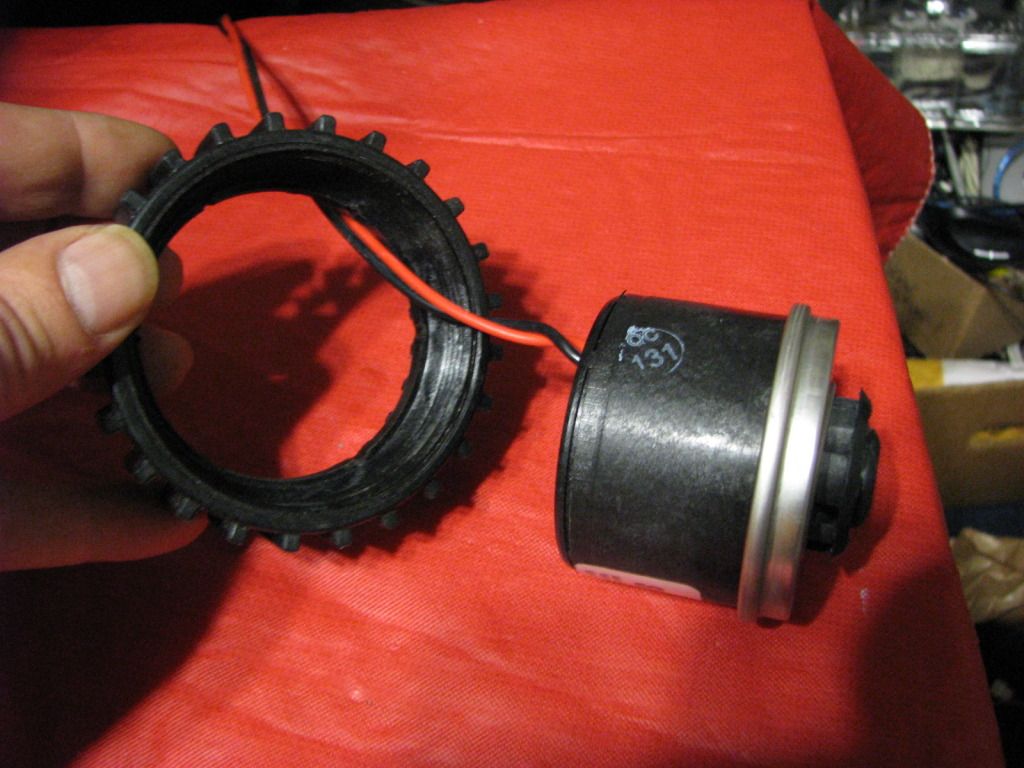
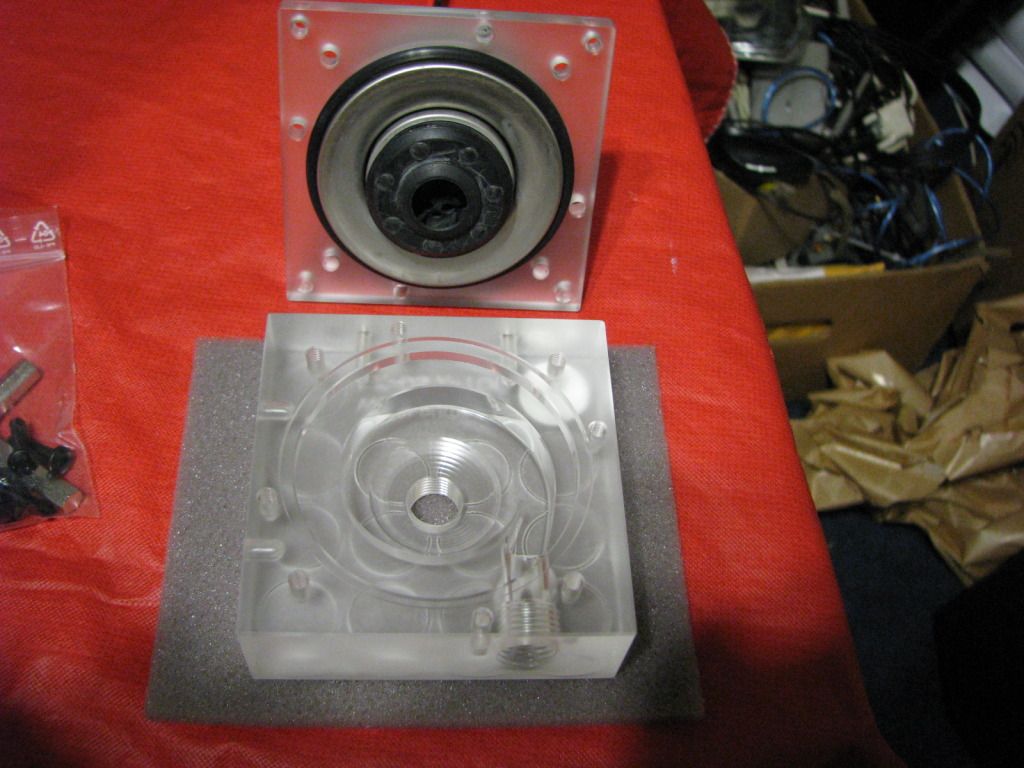
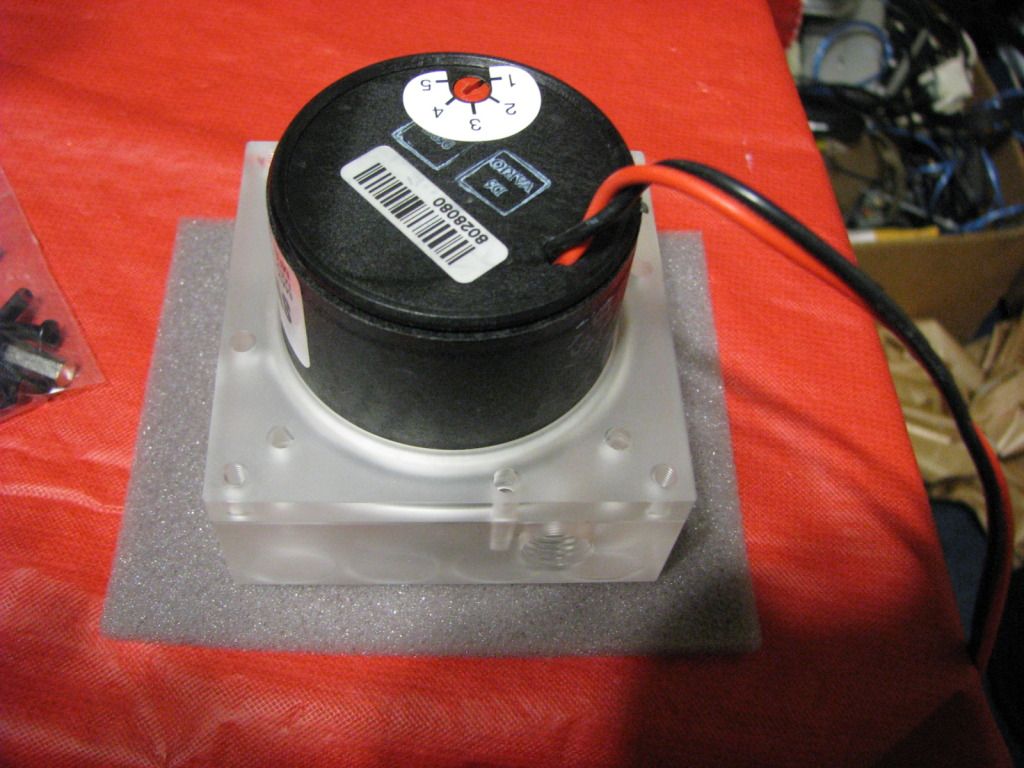
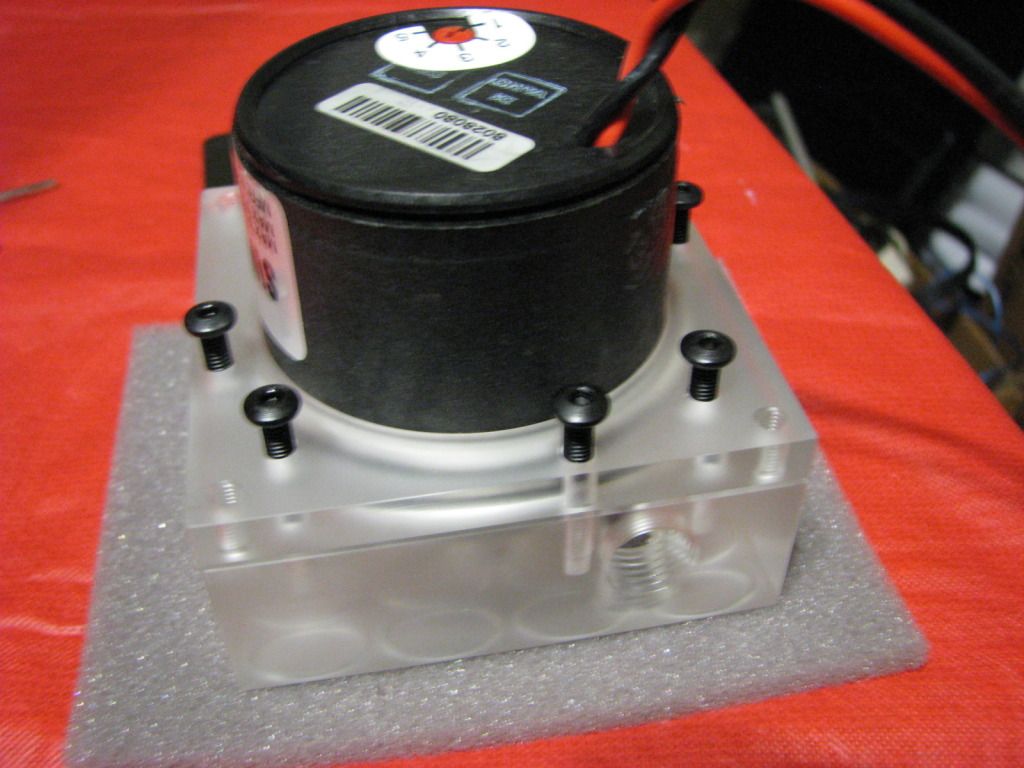
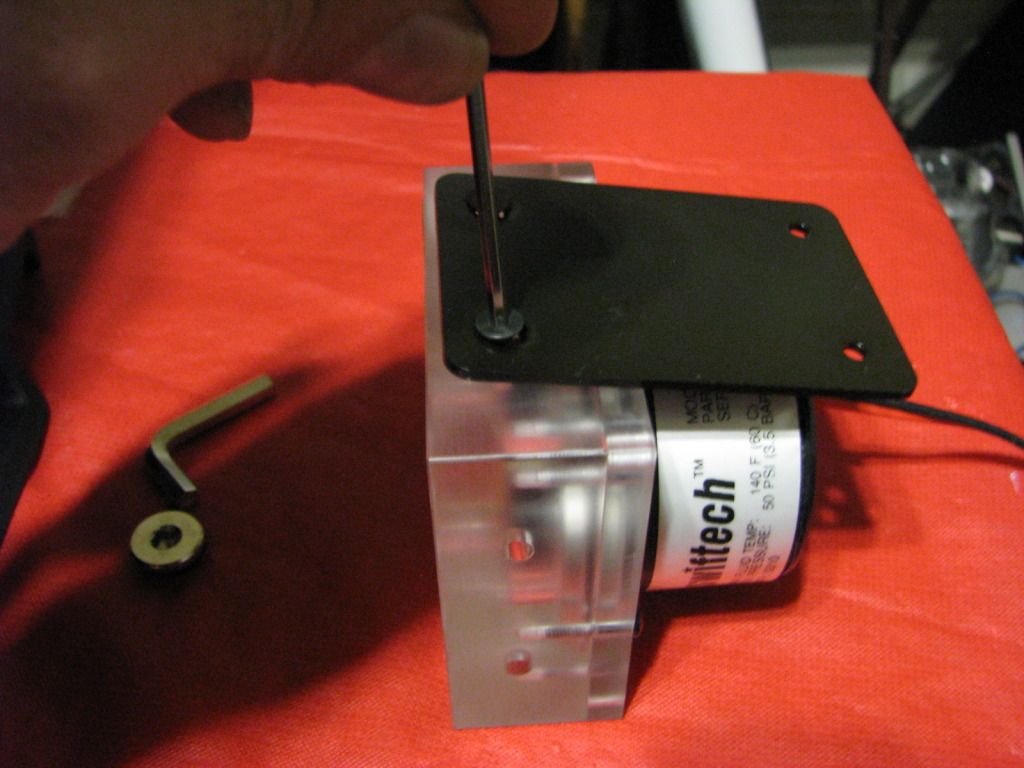
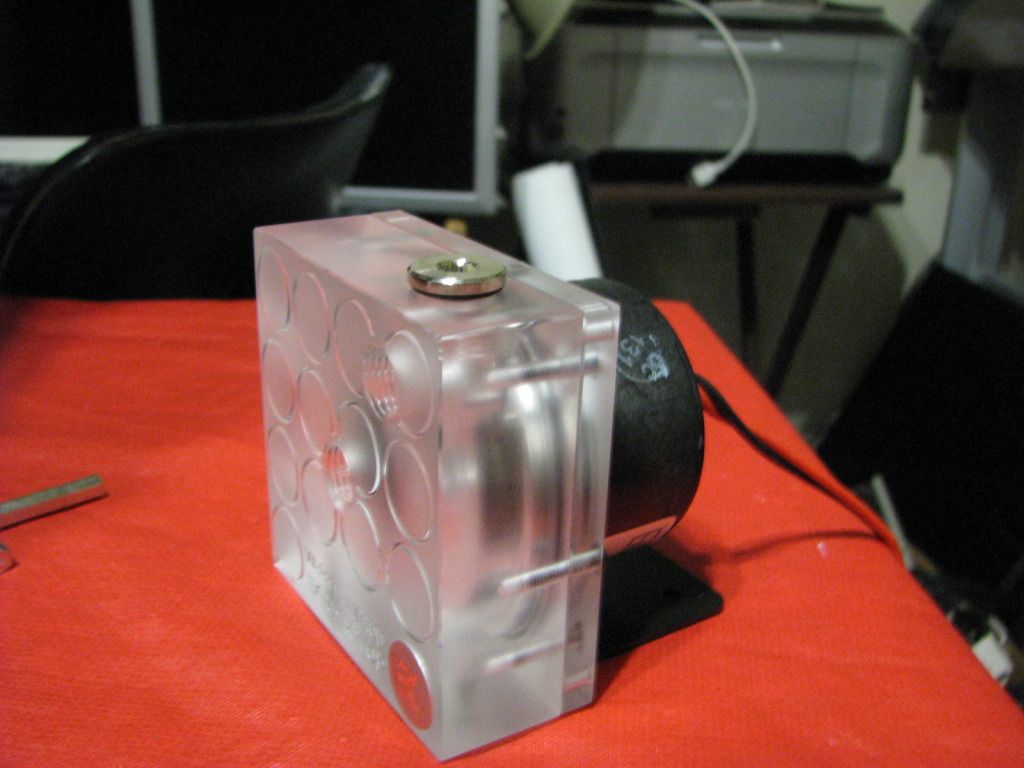
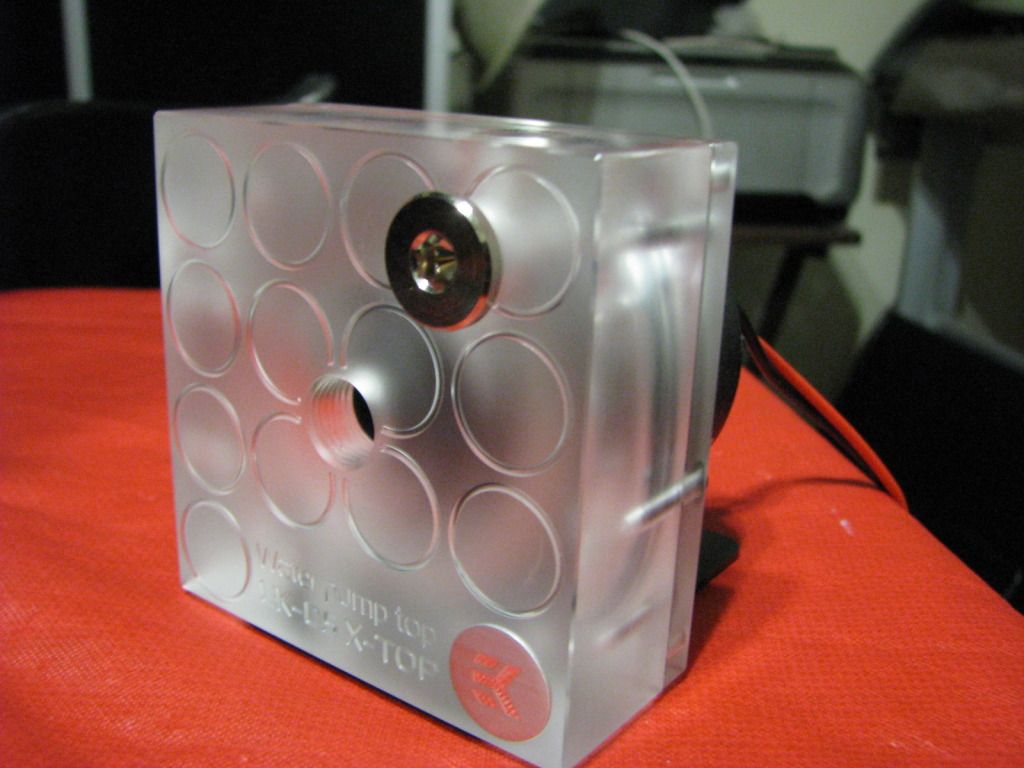
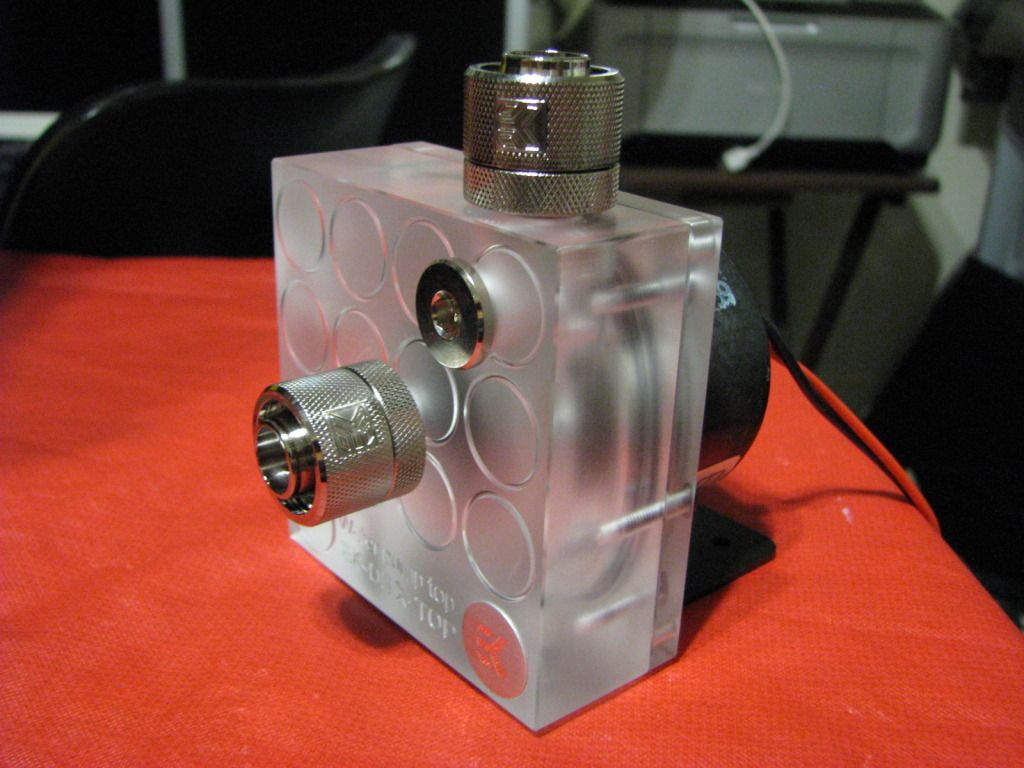
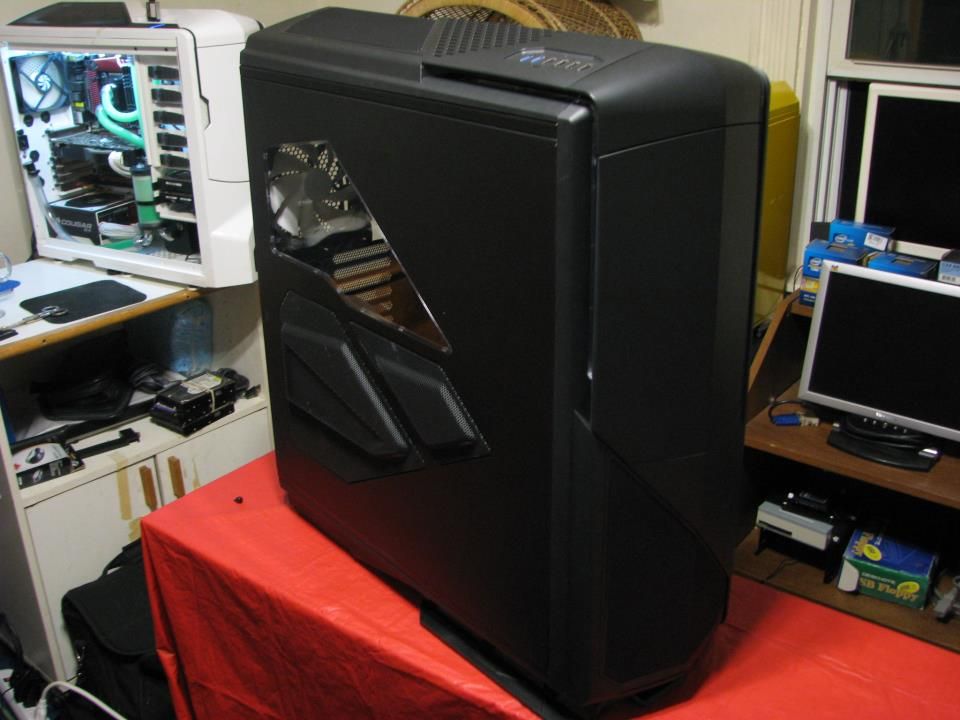
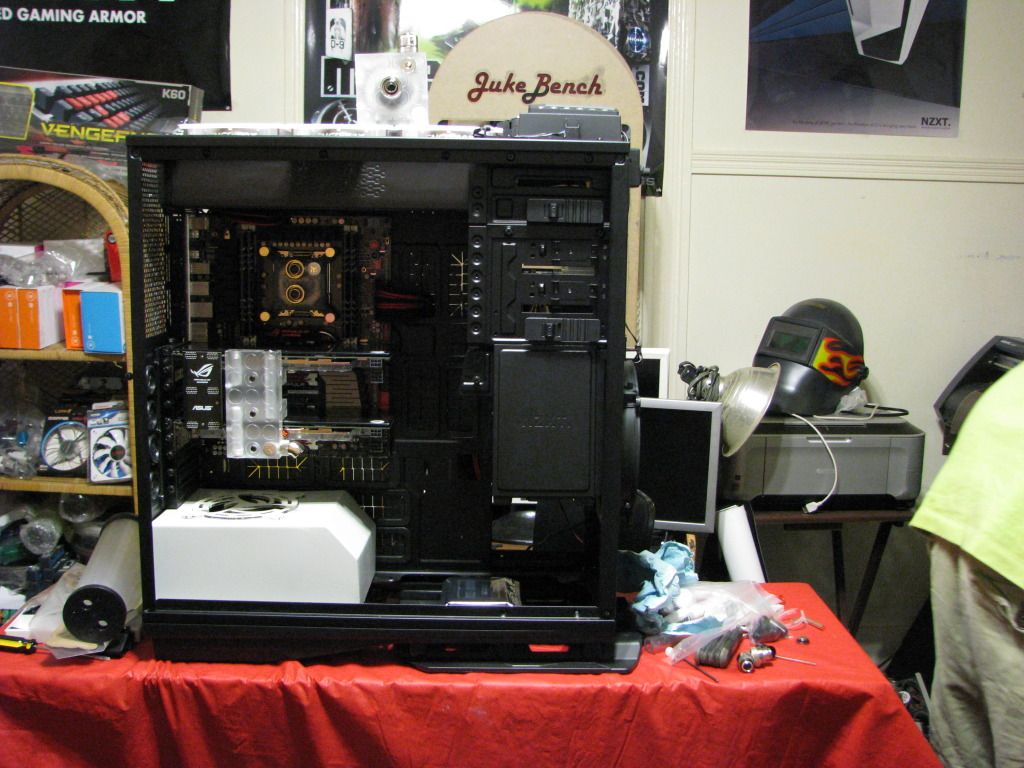
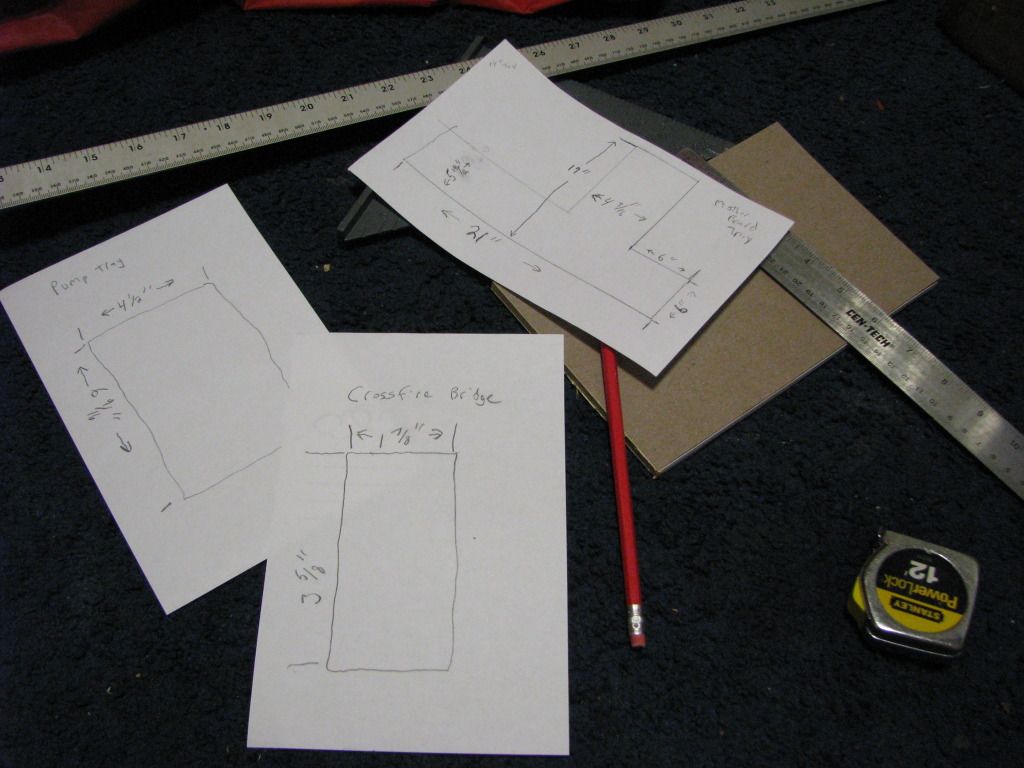
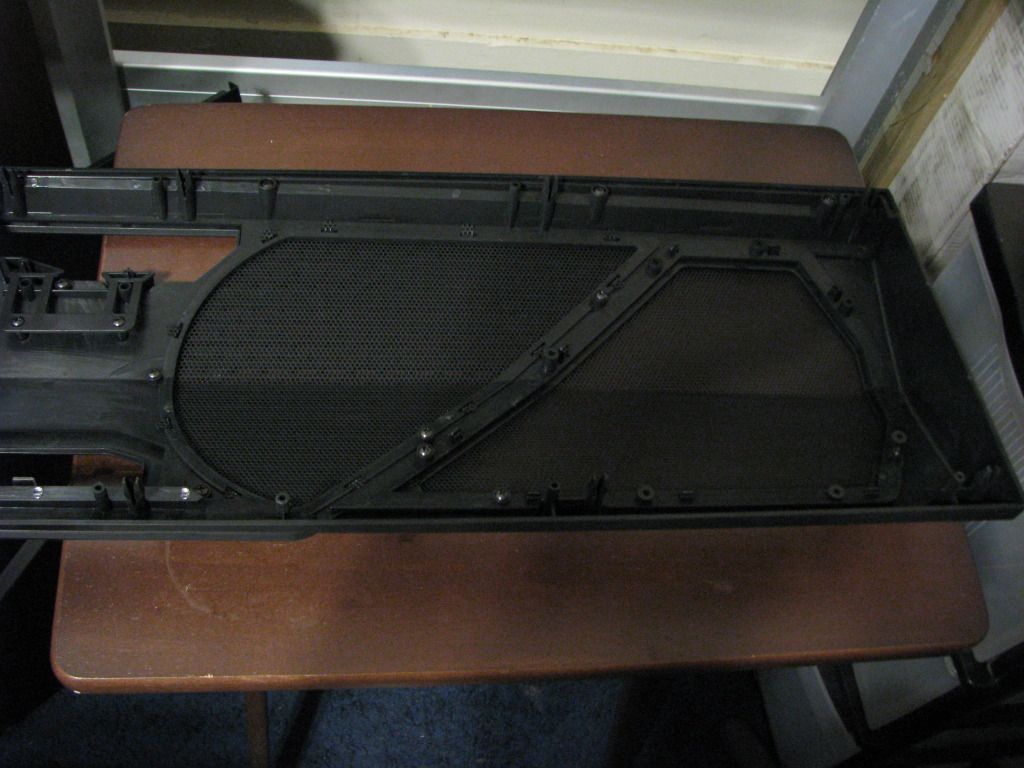
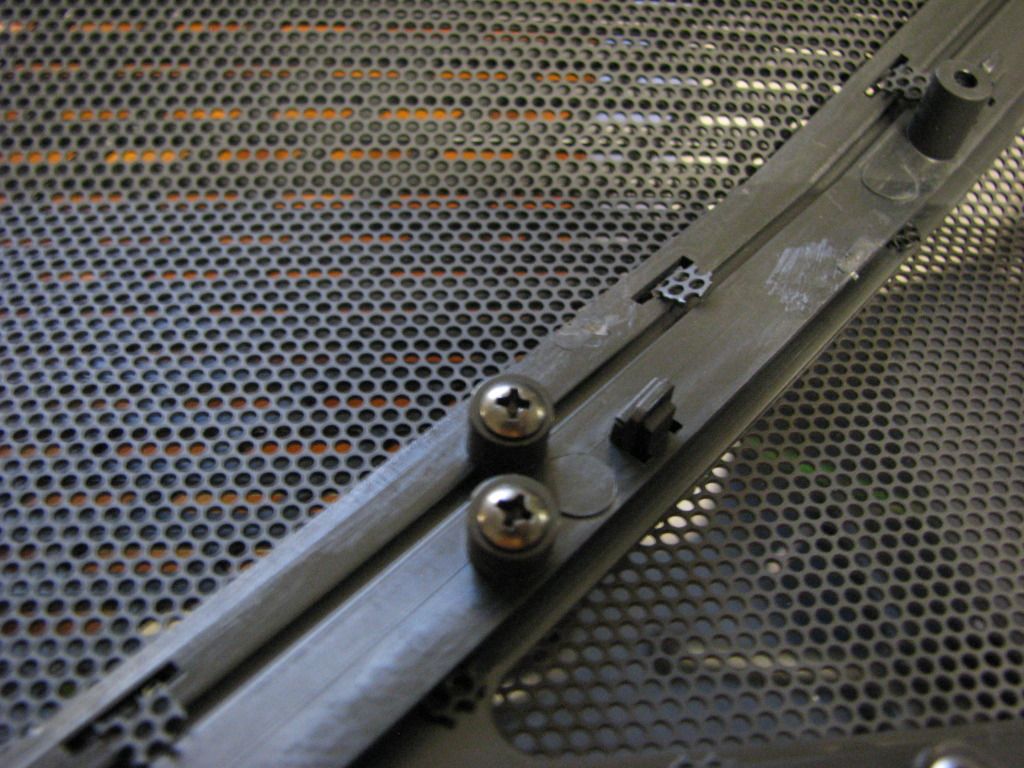
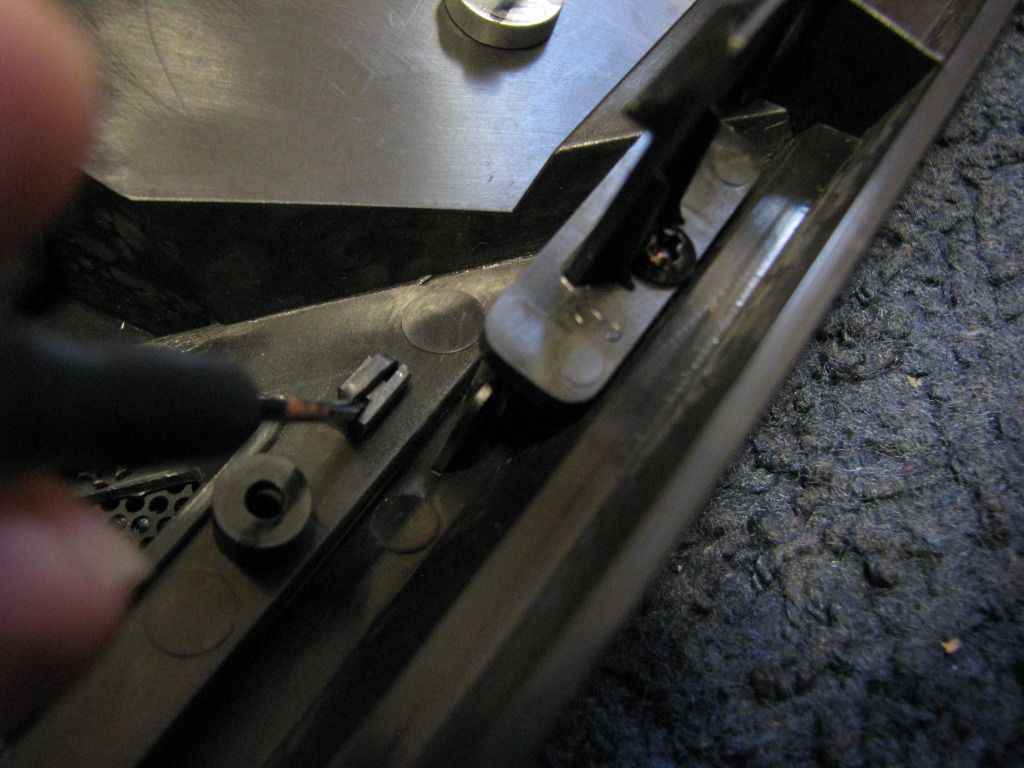
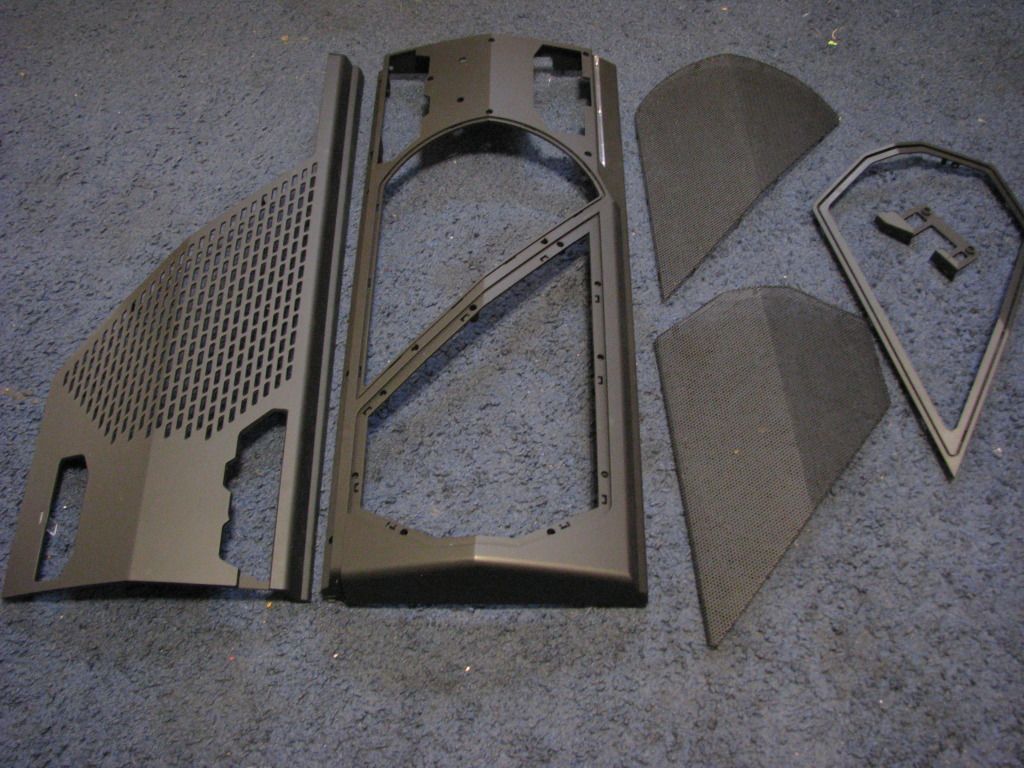
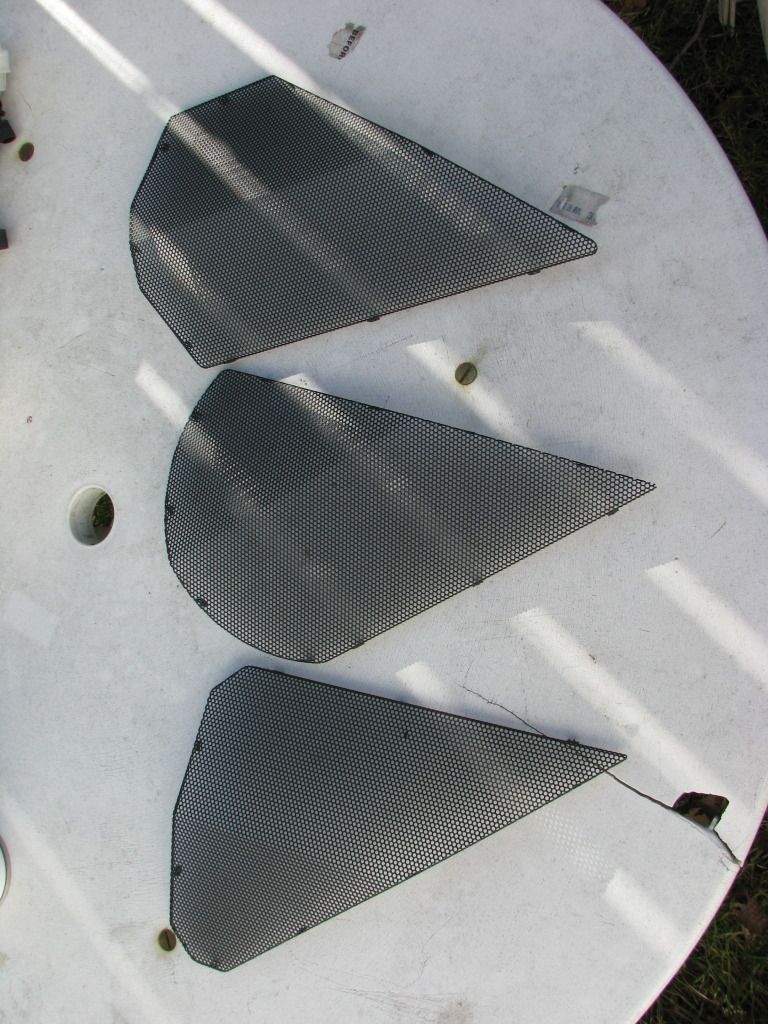
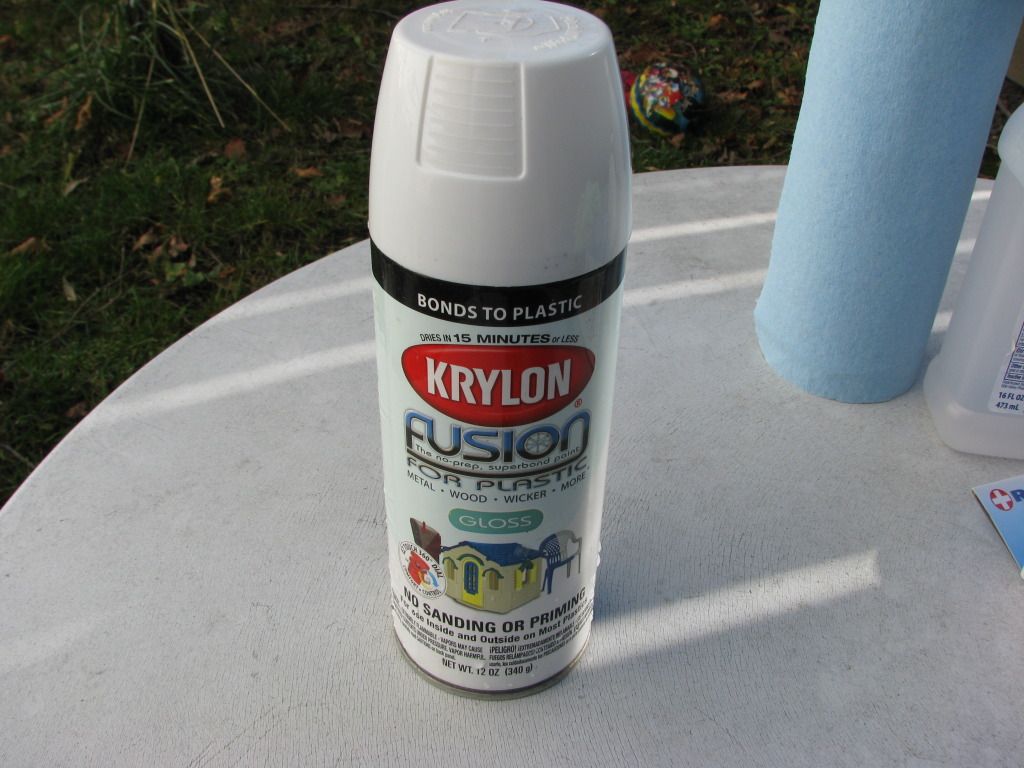
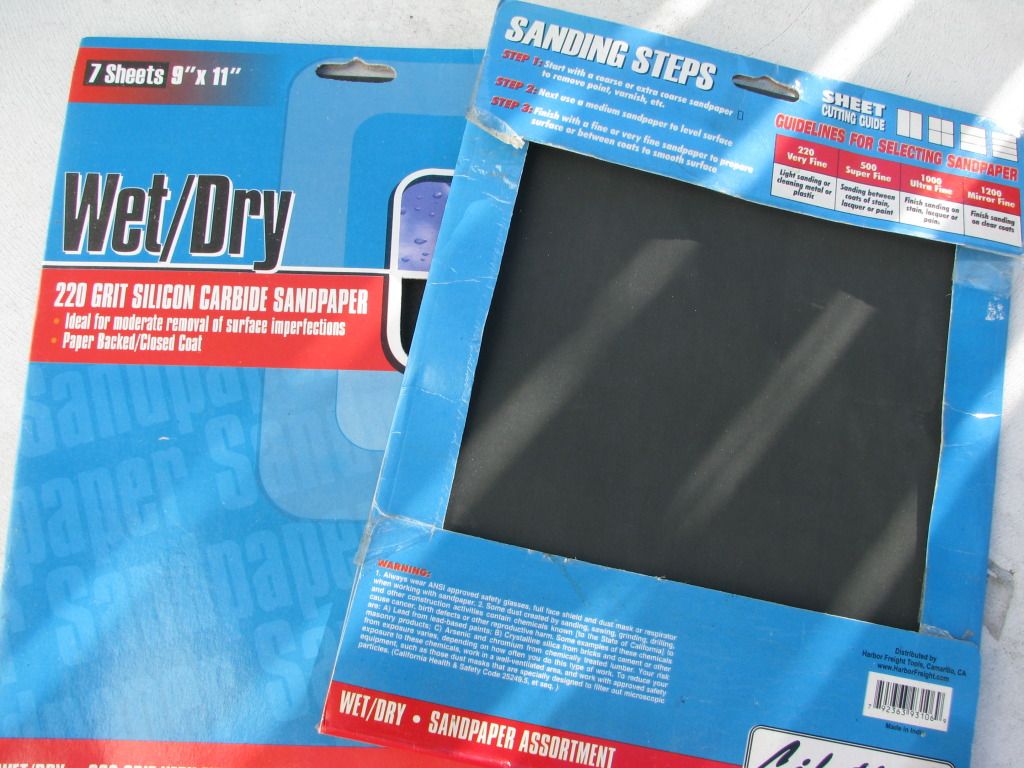
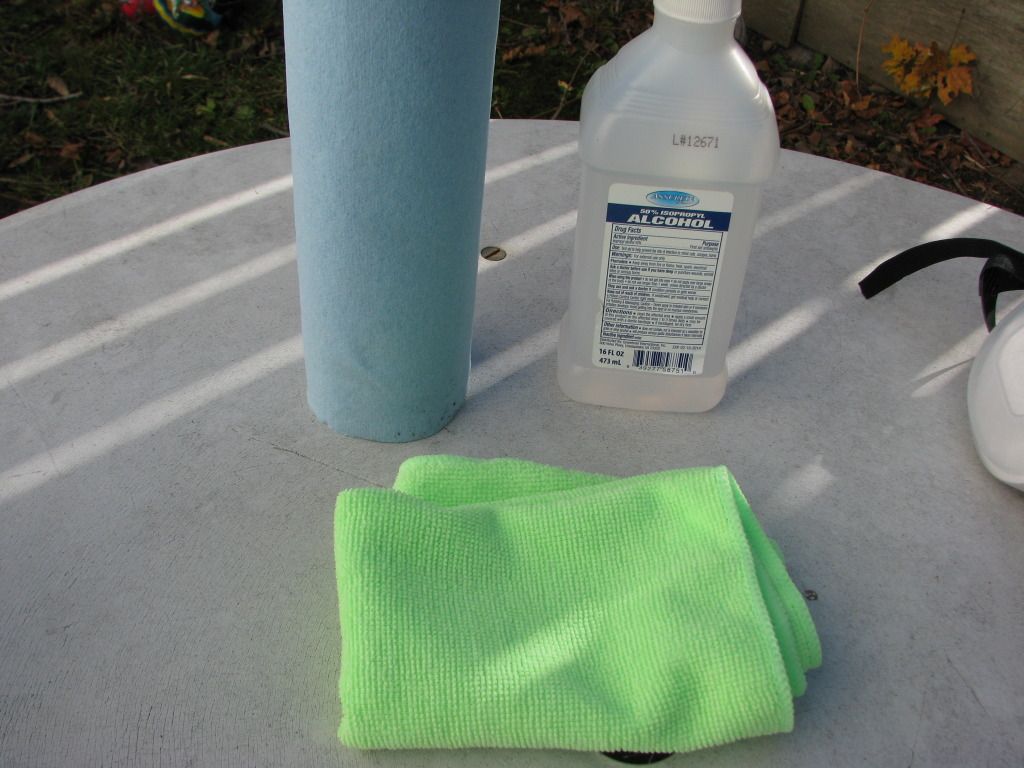
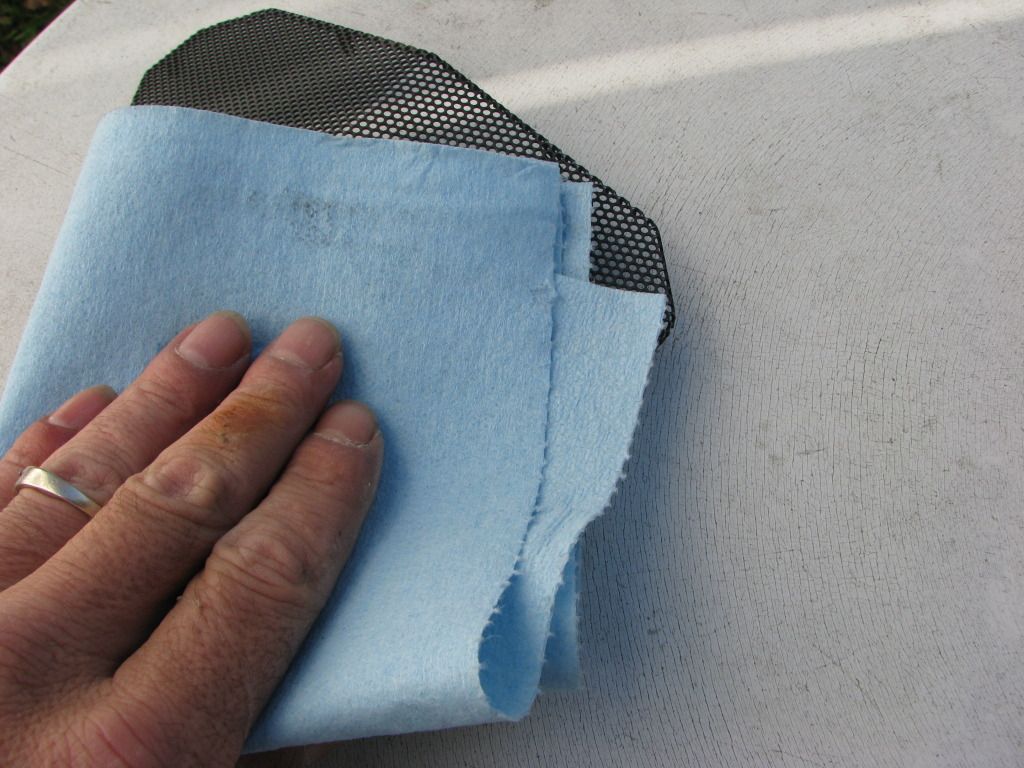
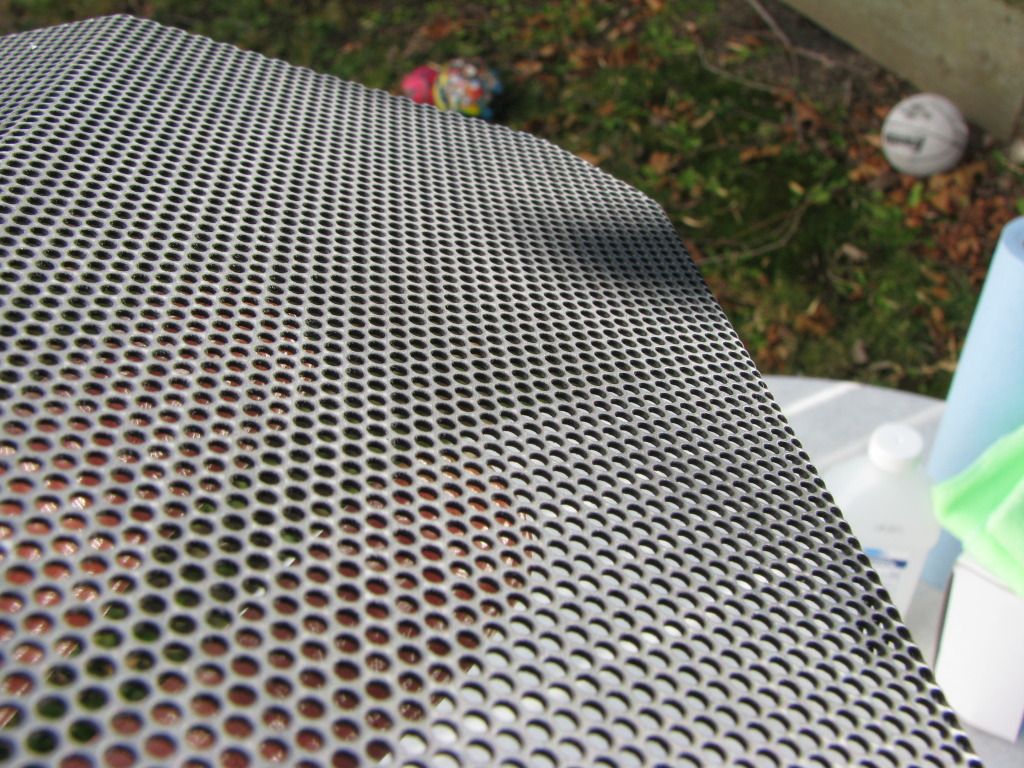
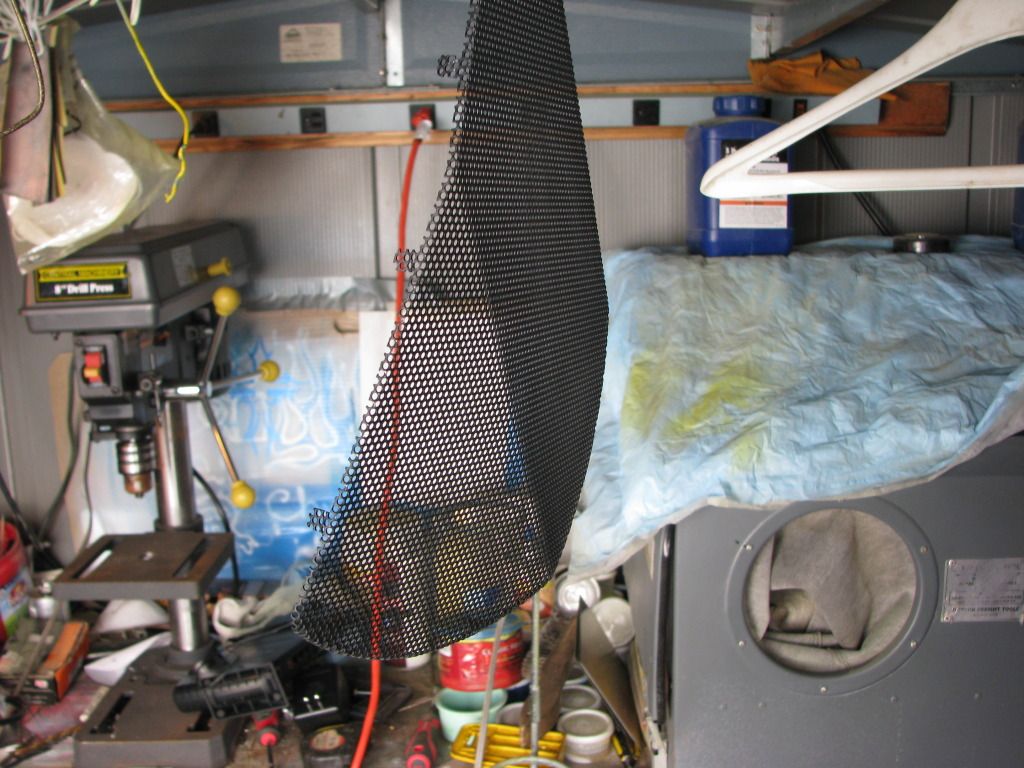
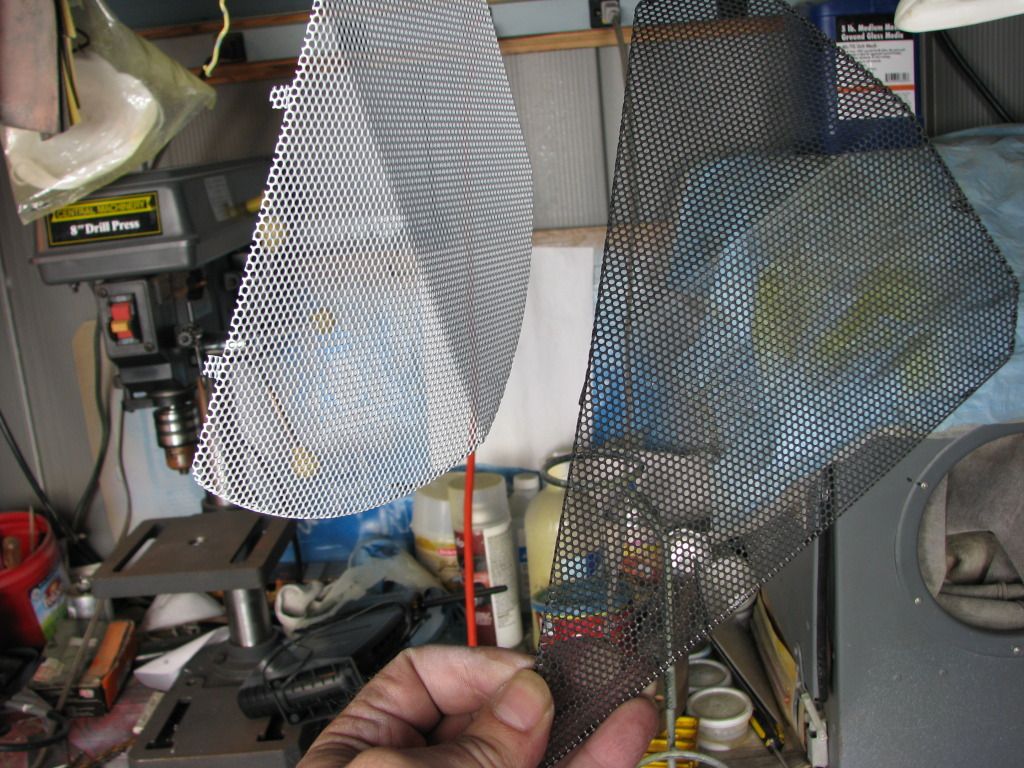
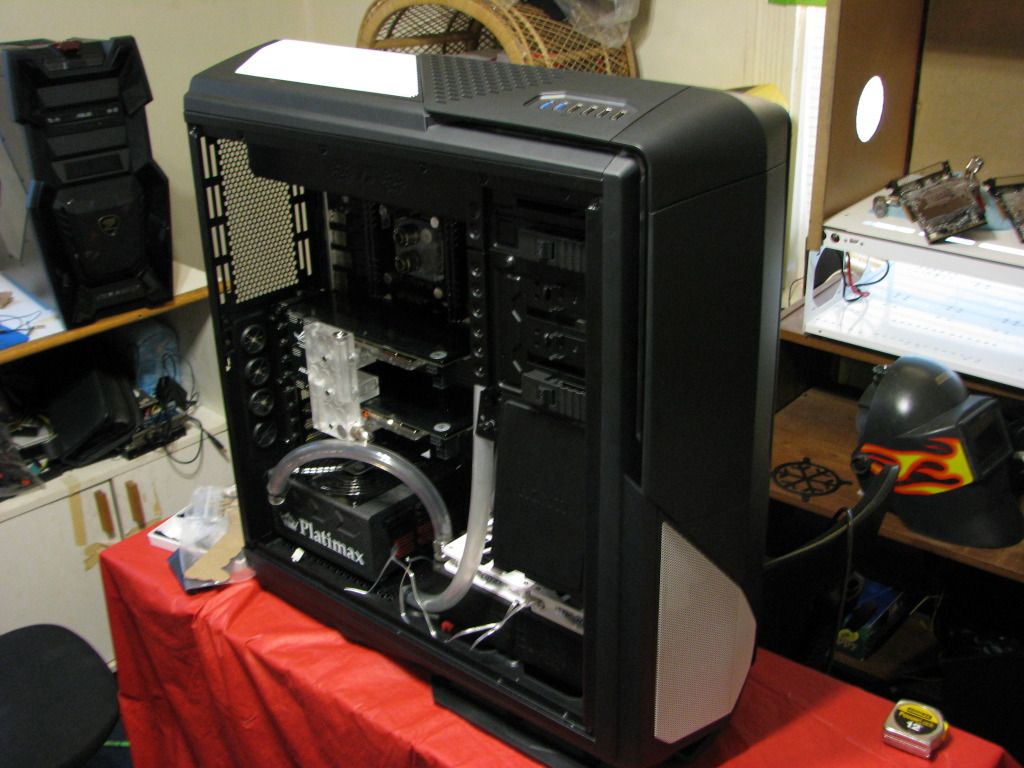
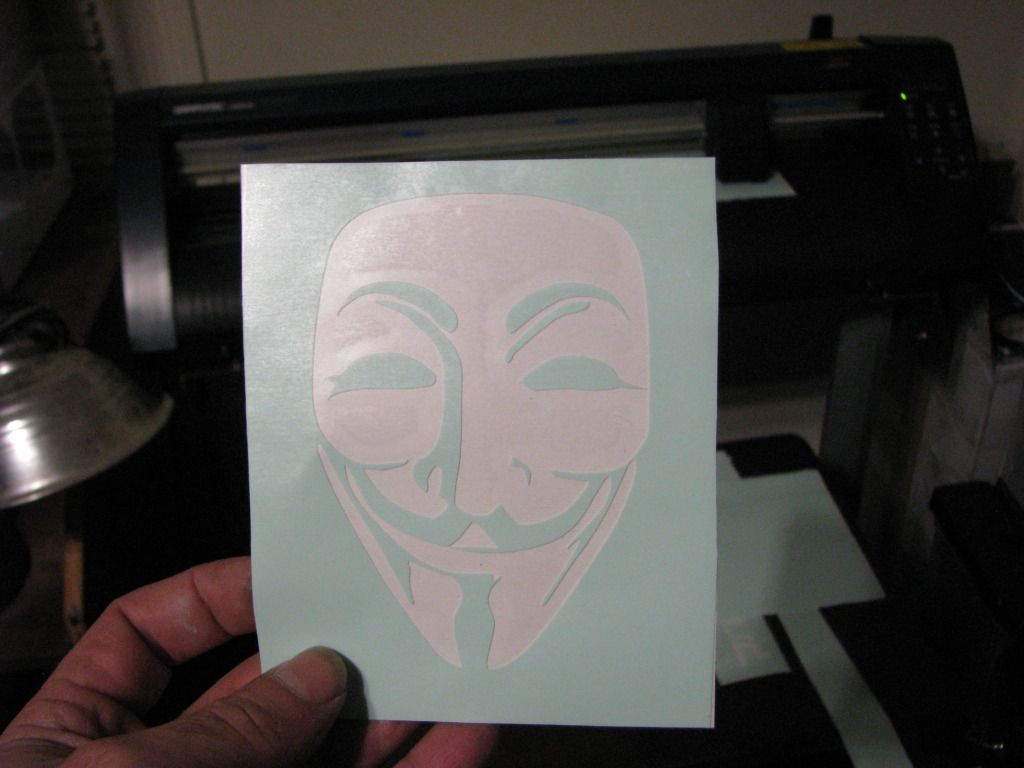
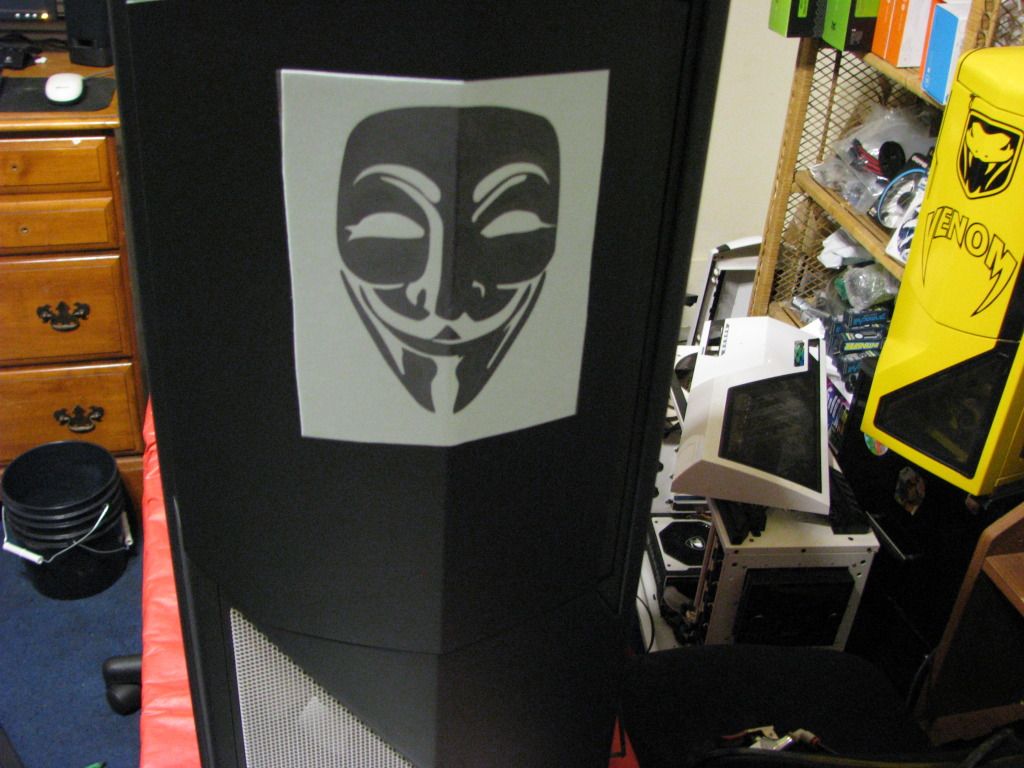
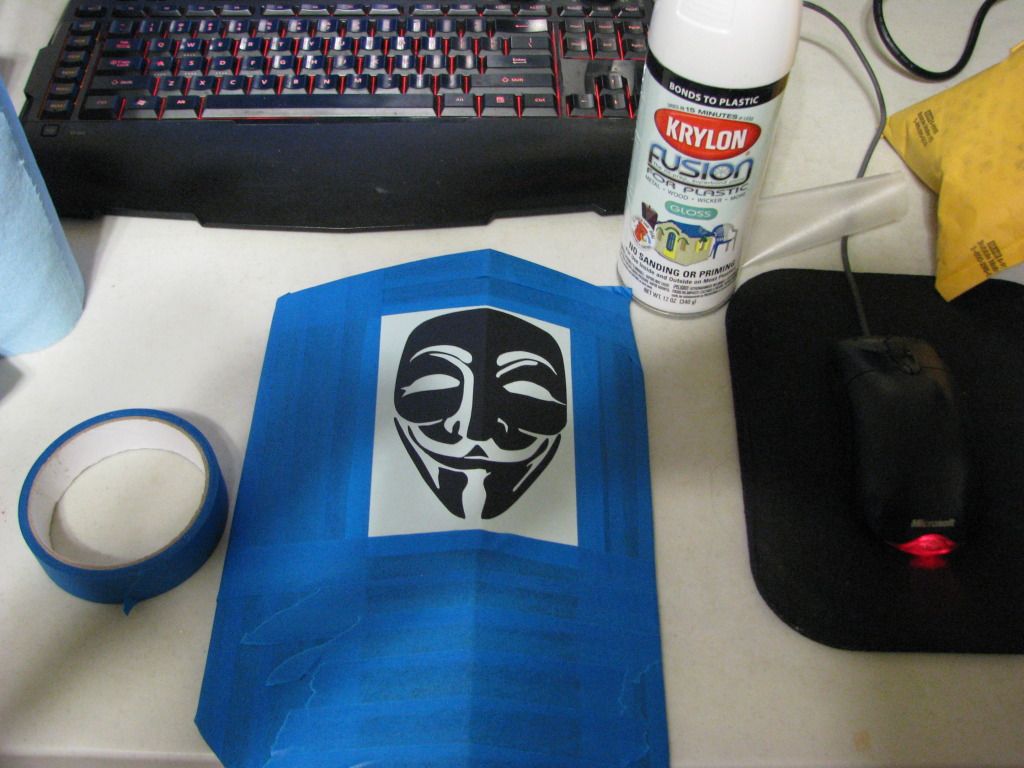
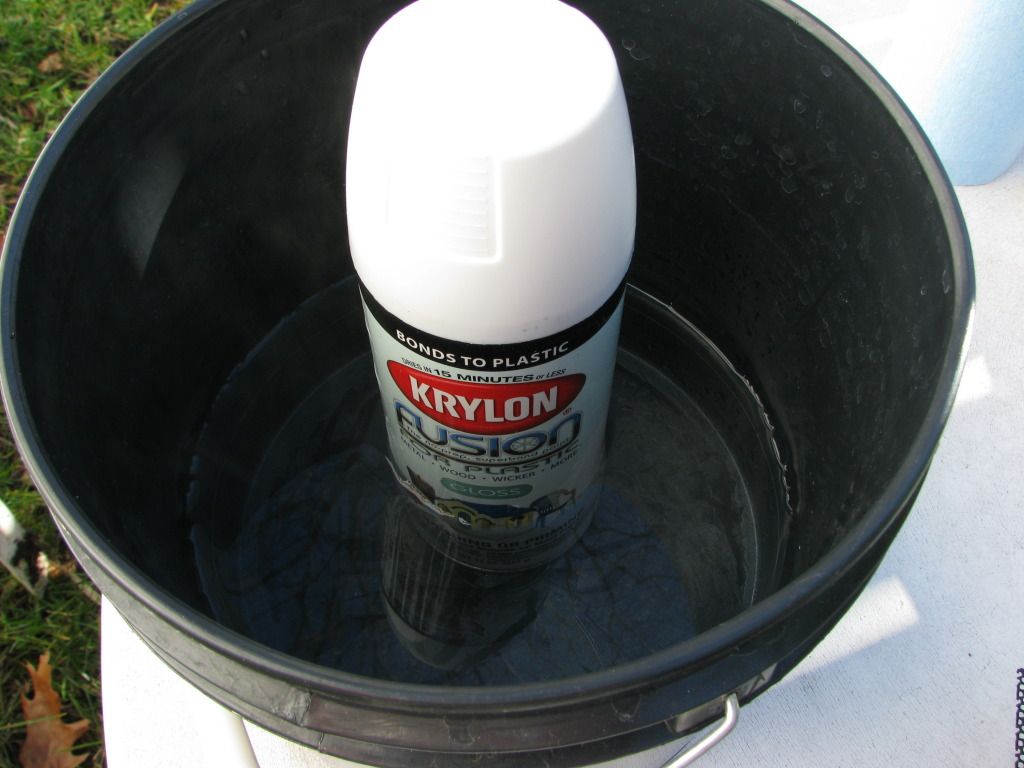
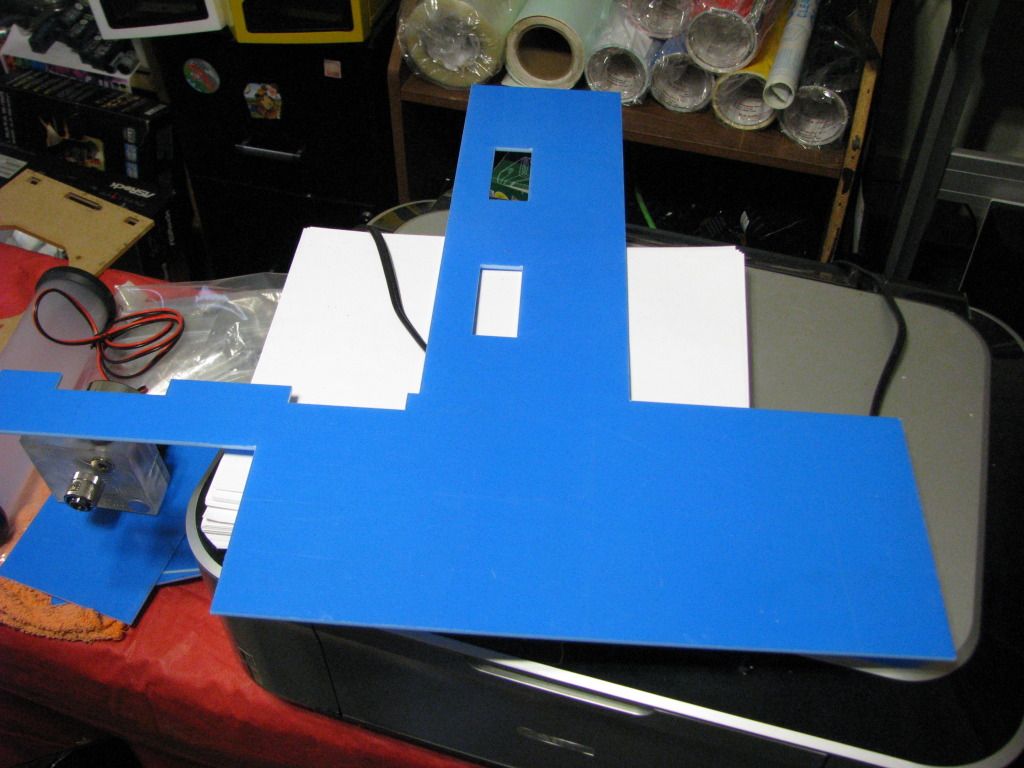
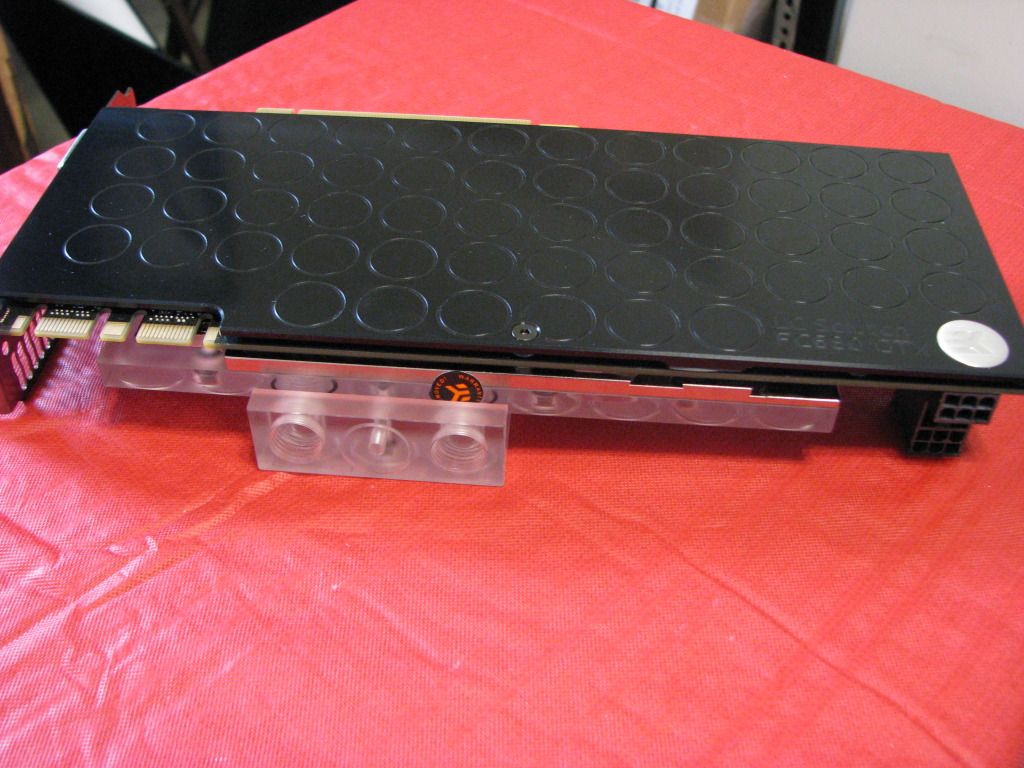
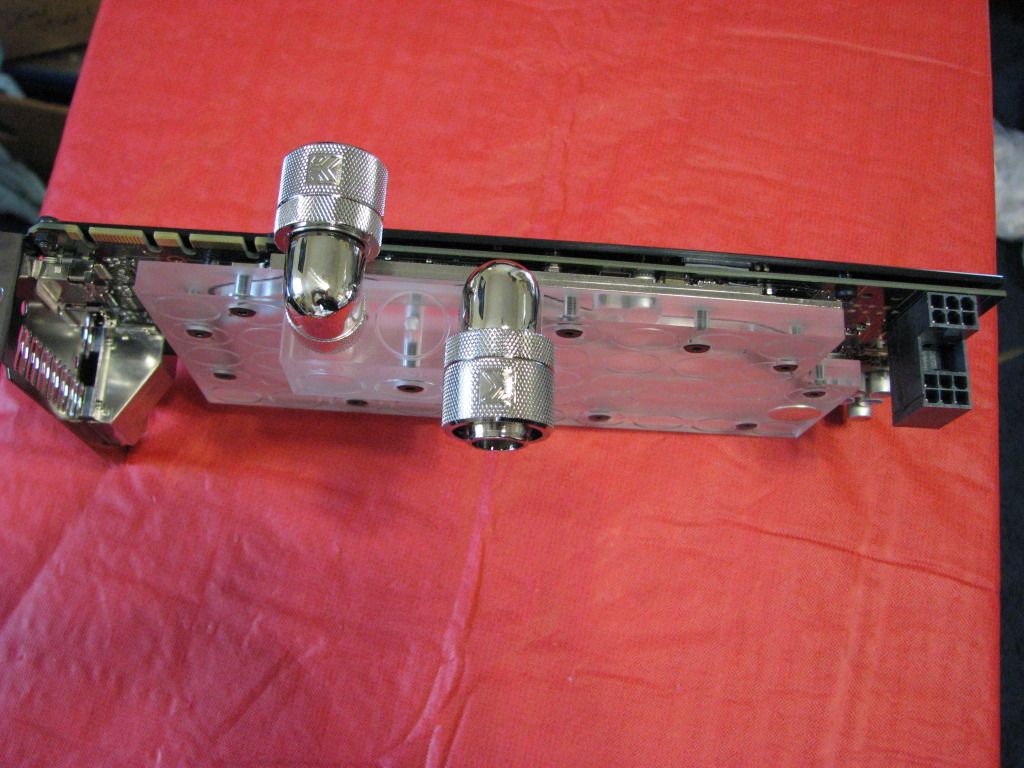
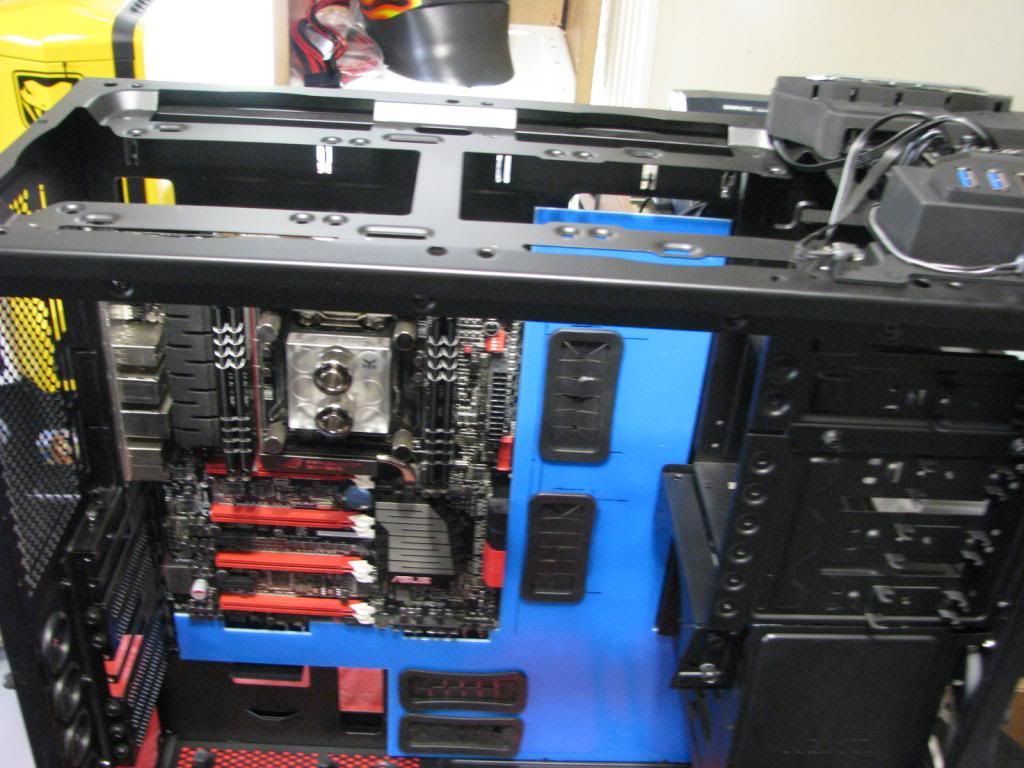
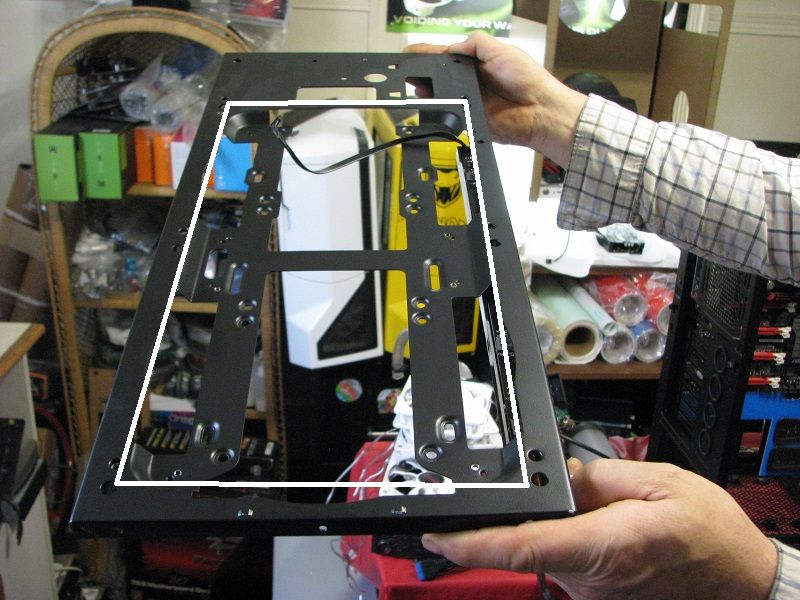
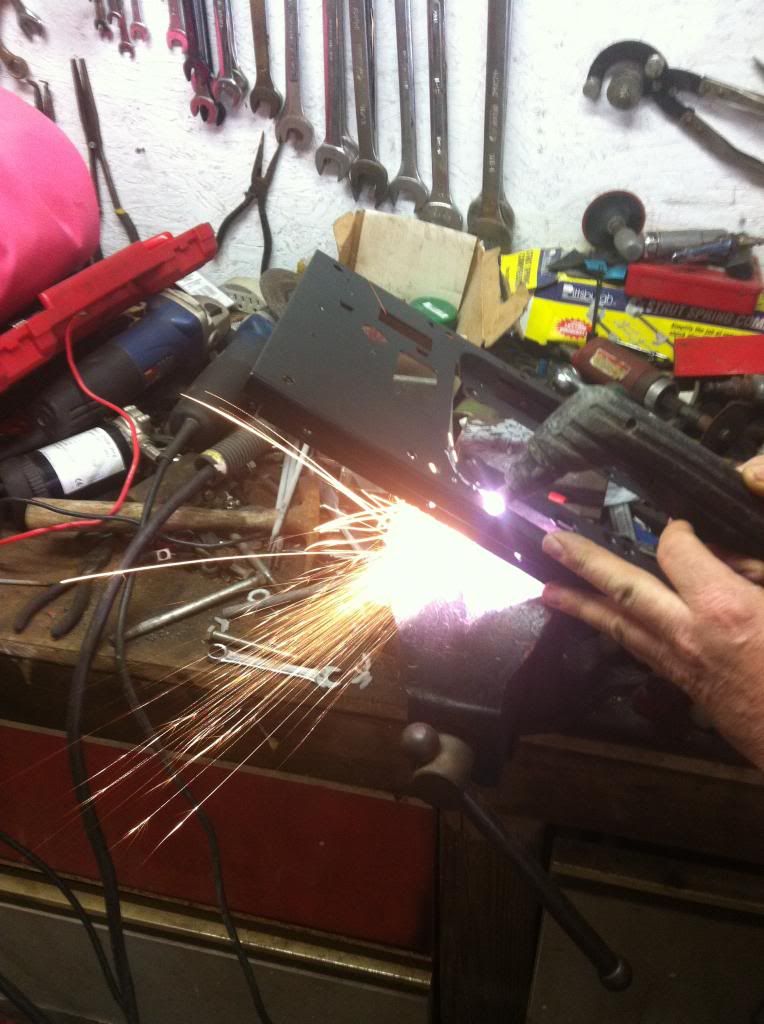
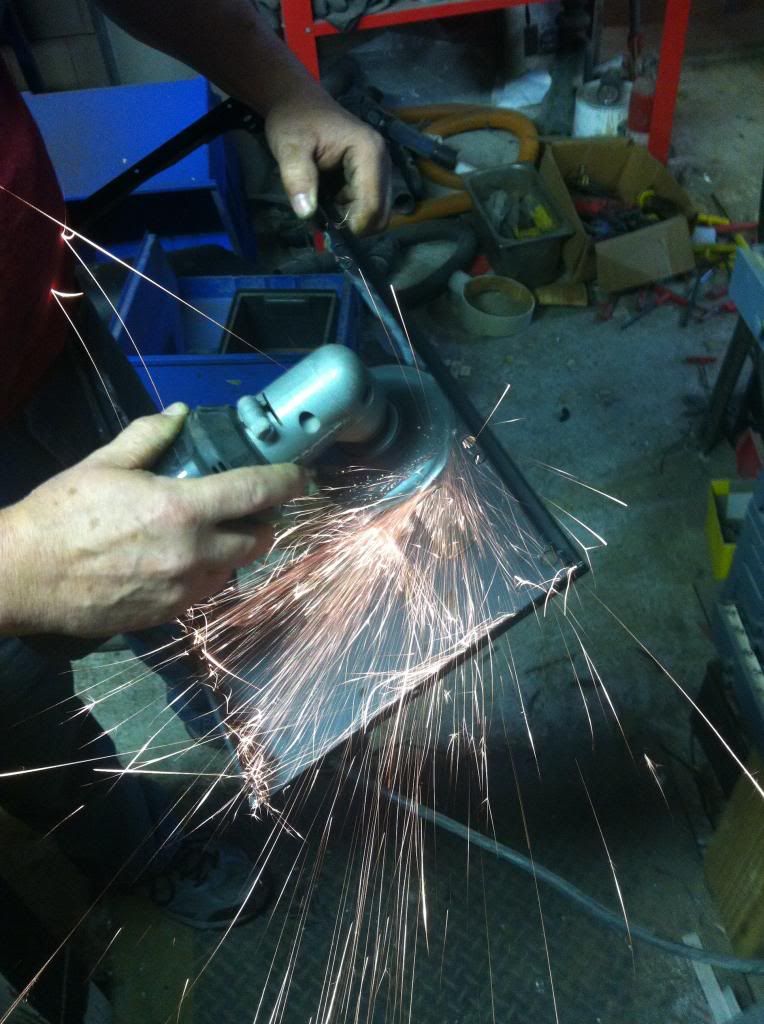
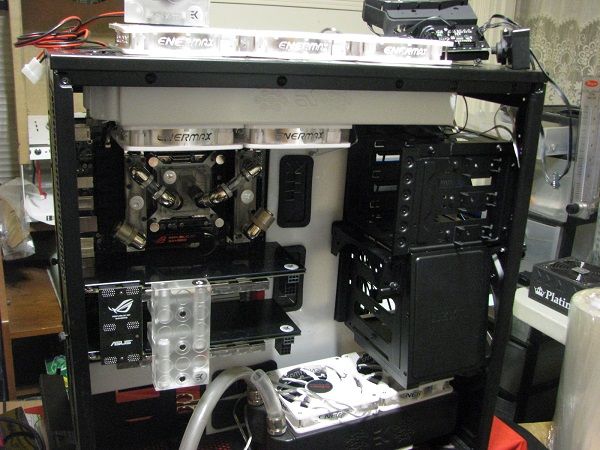
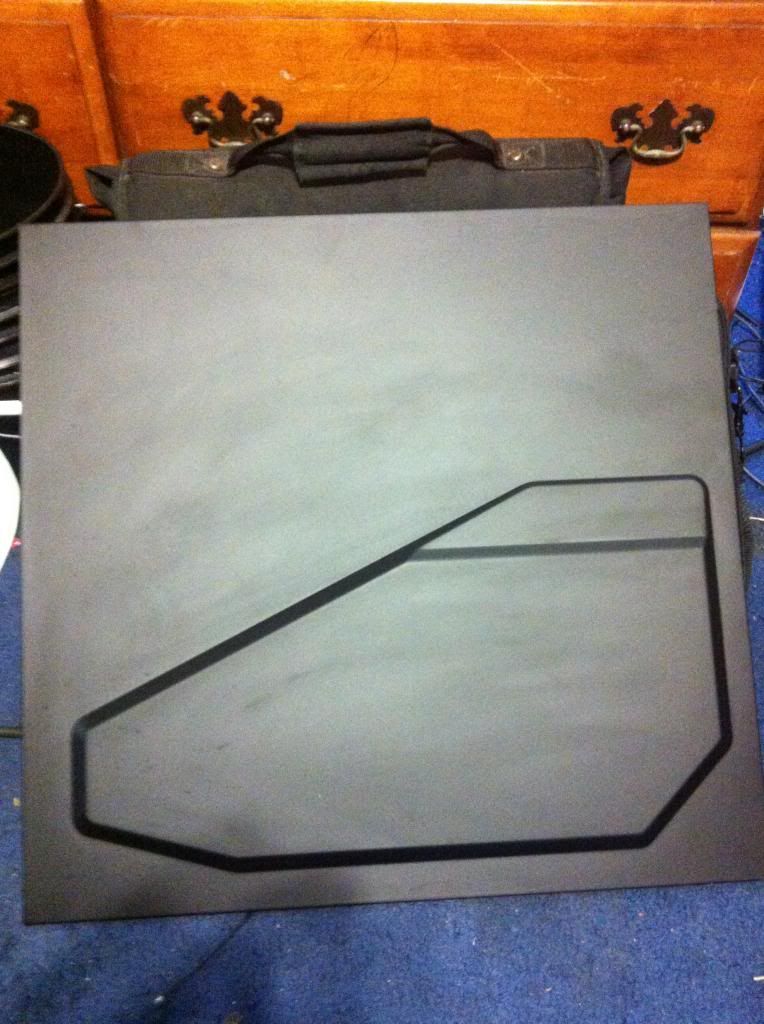
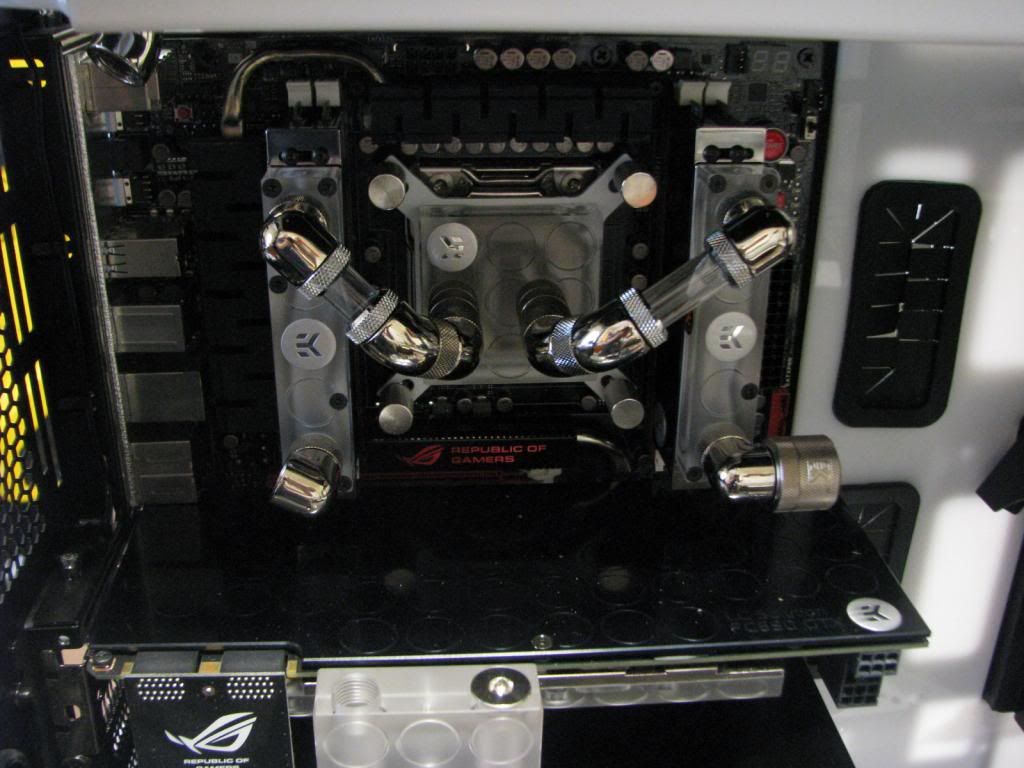
    The project has now begun !


    Take Care and hope you guys Like this one, as most of you know I Love NZXT Cases and Parts !


    MybadOmen


    I would also like to take a second to pay respect to a good friend Adam myself and many others have lost and i will be thinking of you Mate though this whole build.Somewhere i will sneak something into the build for you mate. R.I.P. my friend and i will never forget you.


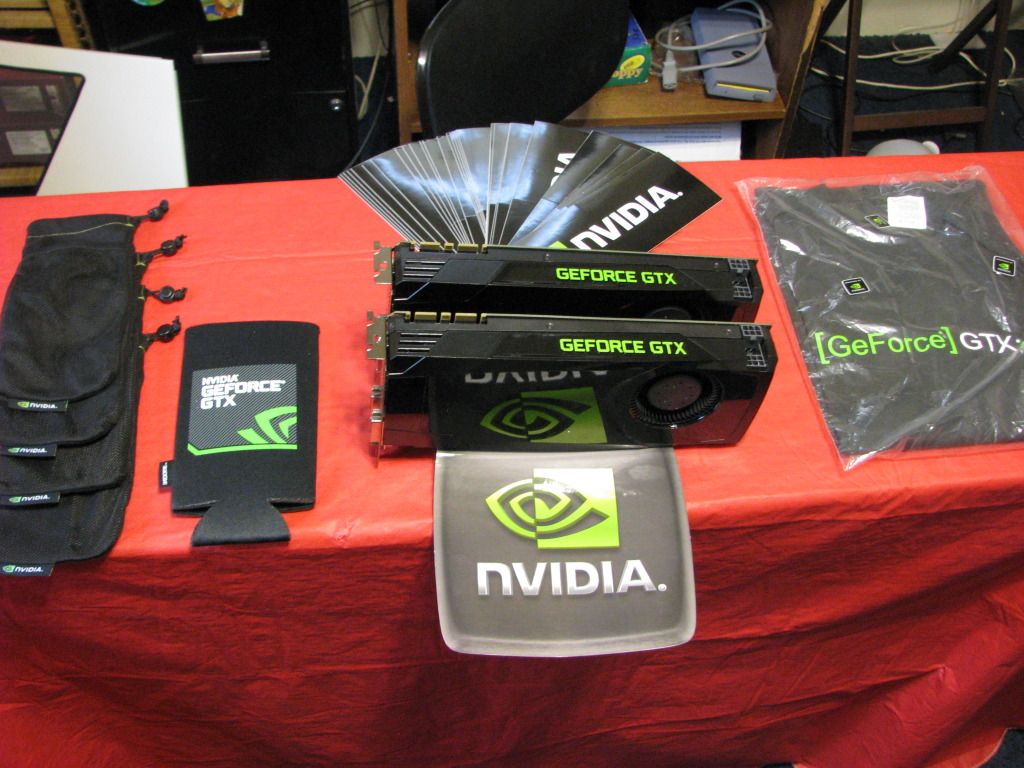
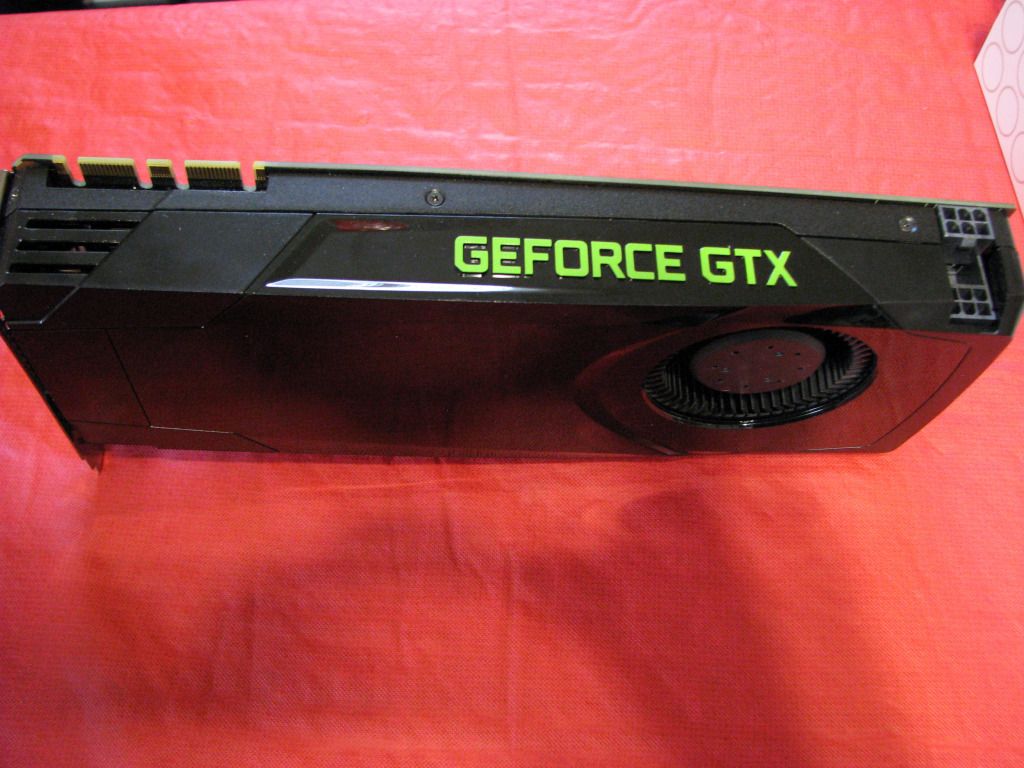
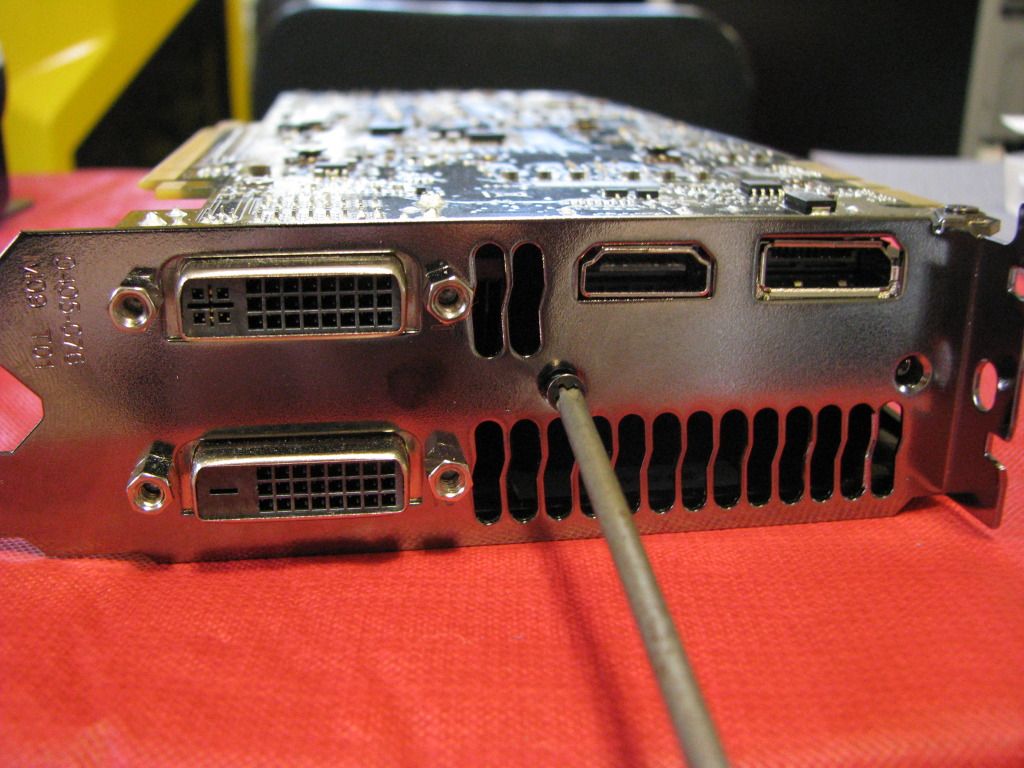
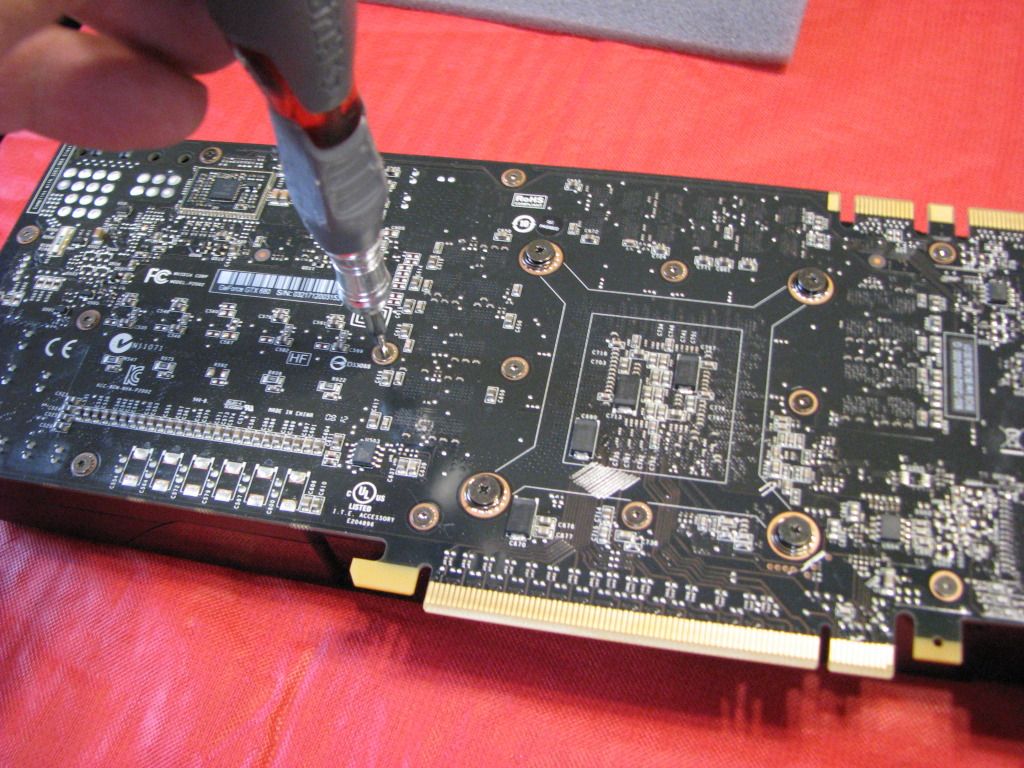
    Special thanks goes out to my sponsors who believe in my work and i believe in them as very good companies that are close to the community and sell top notch Products!


    Sponsors so far:


    http://www.nzxt.com/new/product_all.php


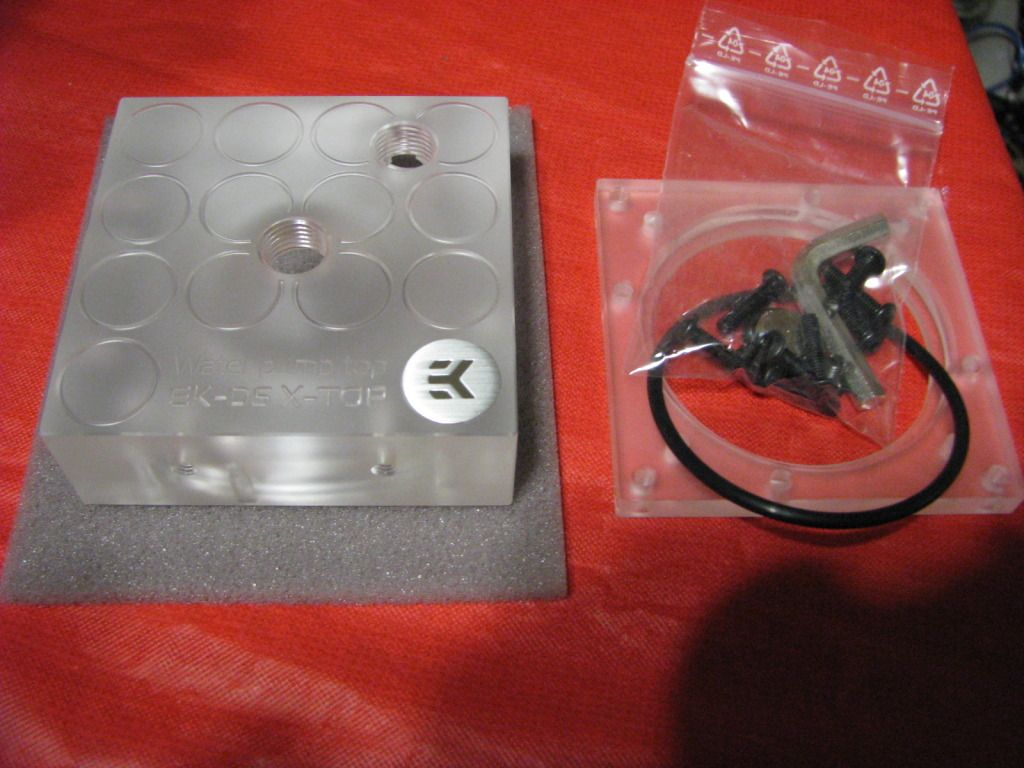
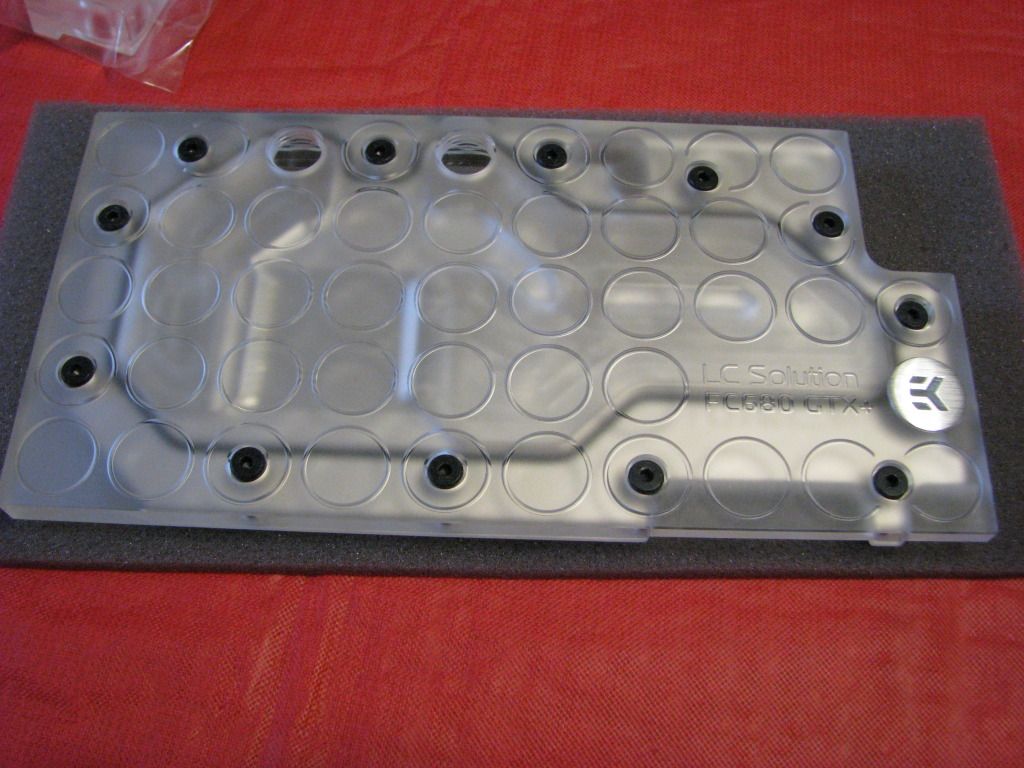
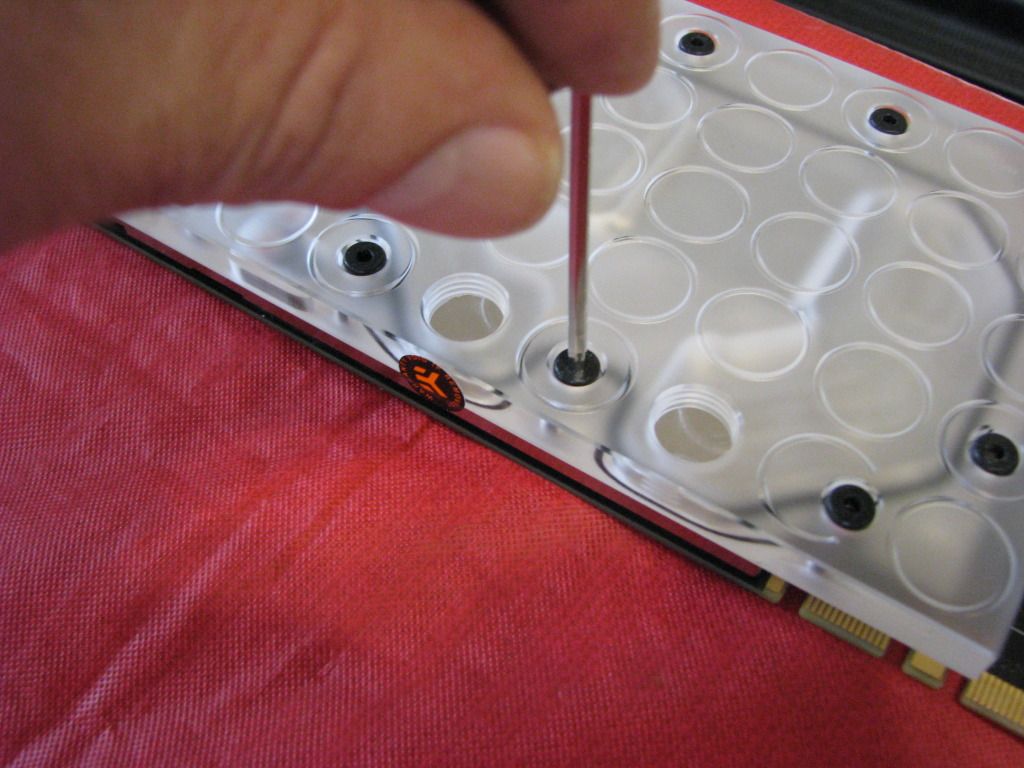
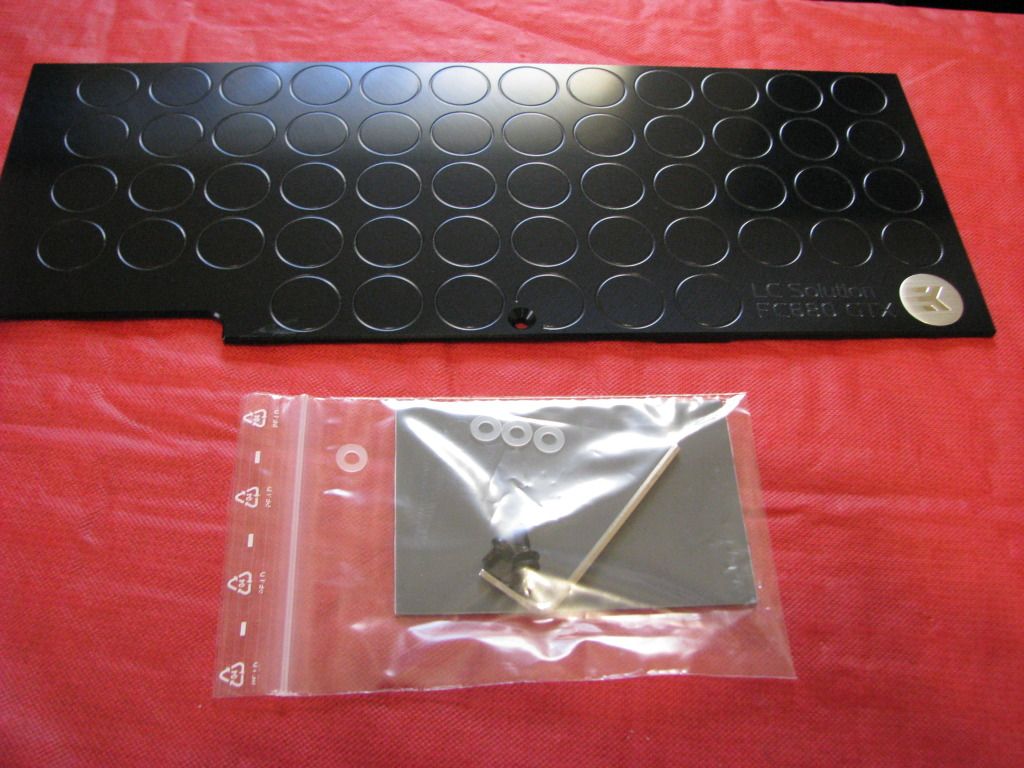
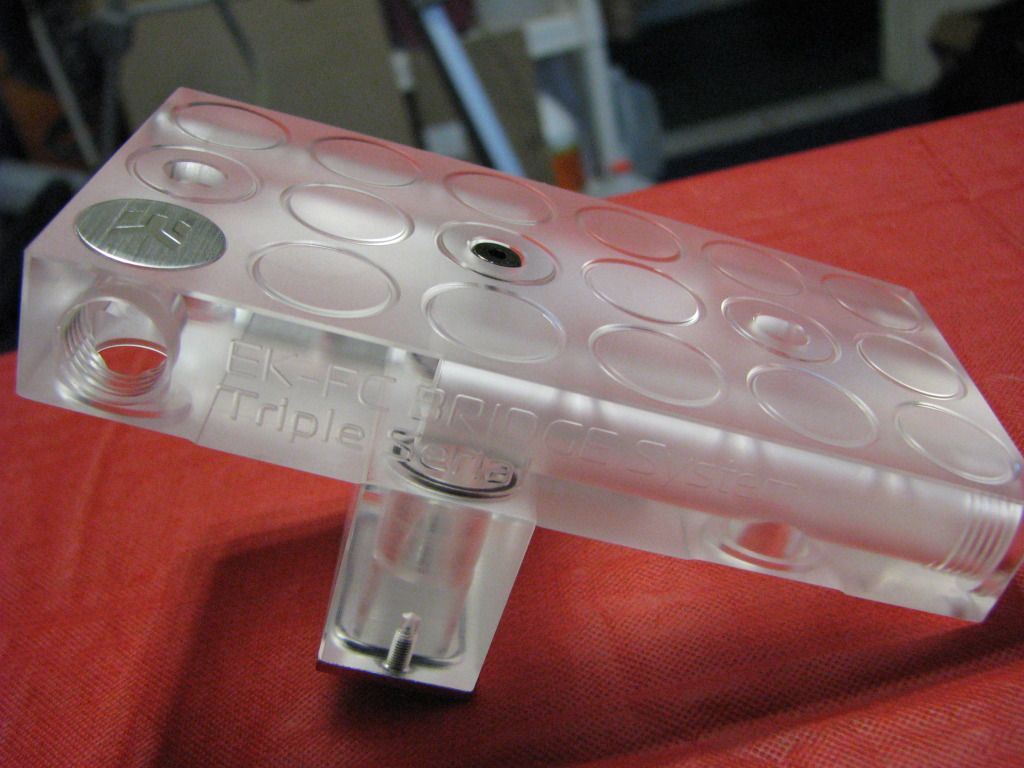
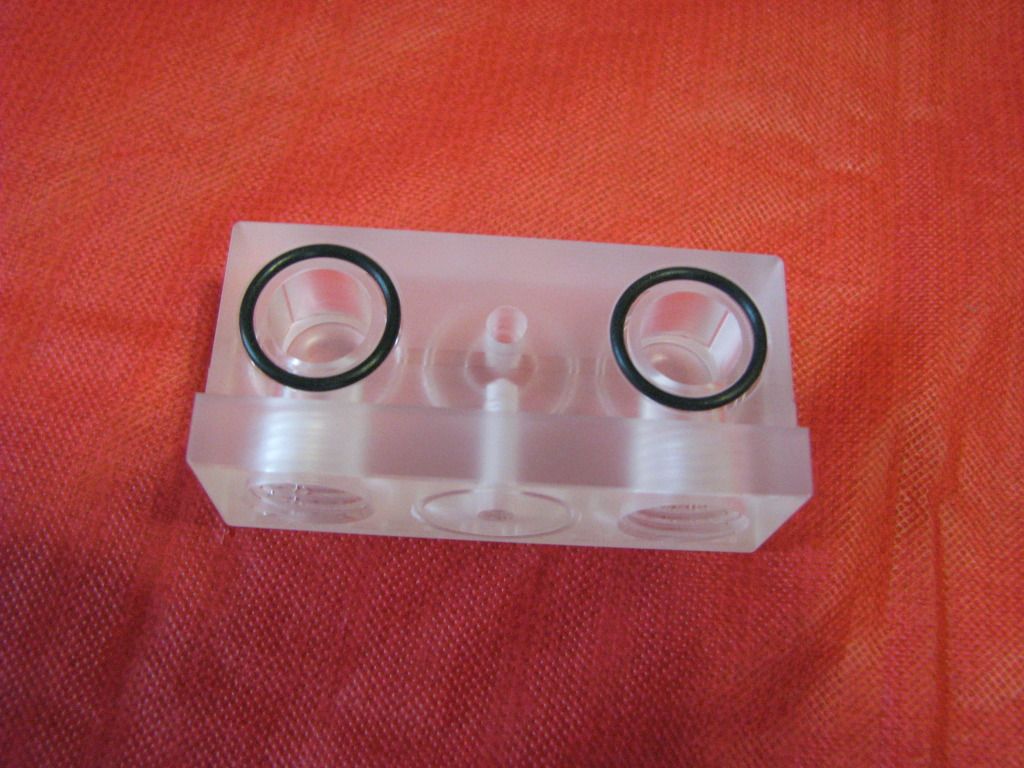
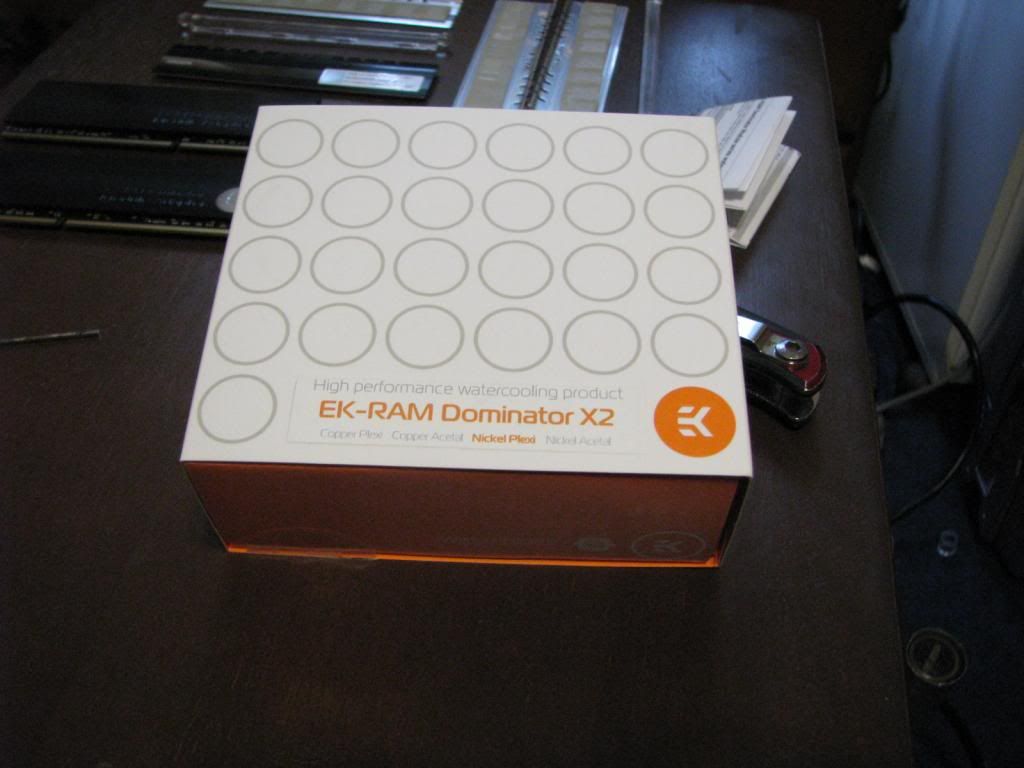
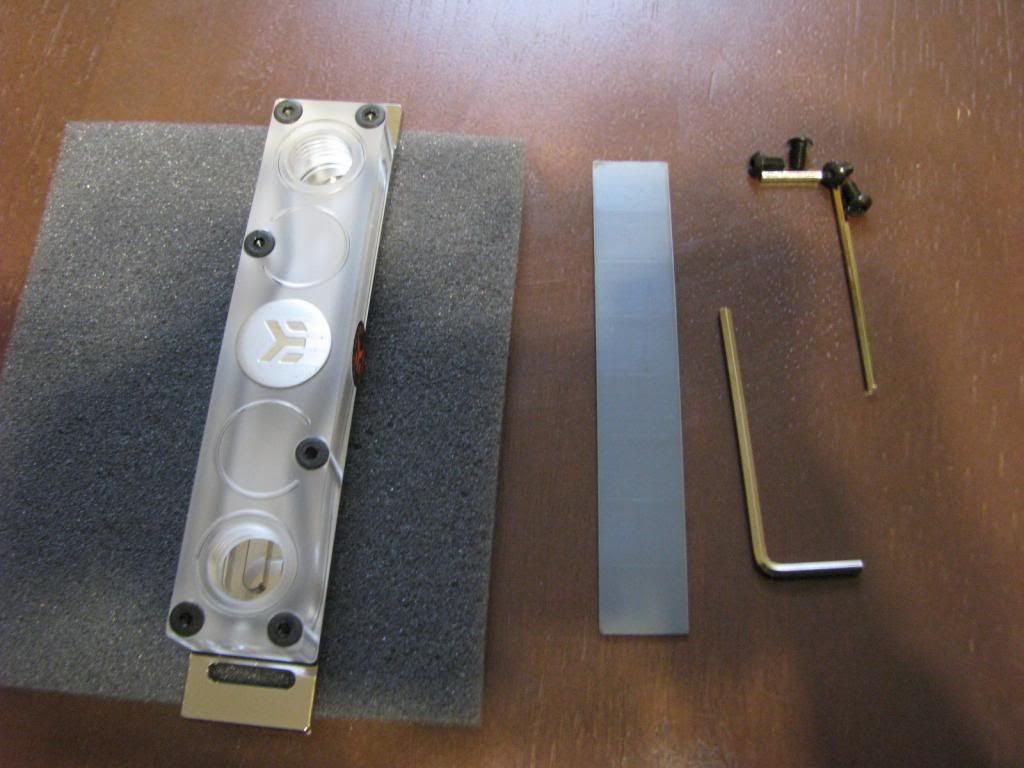
    http://www.ekwb.com/shop/


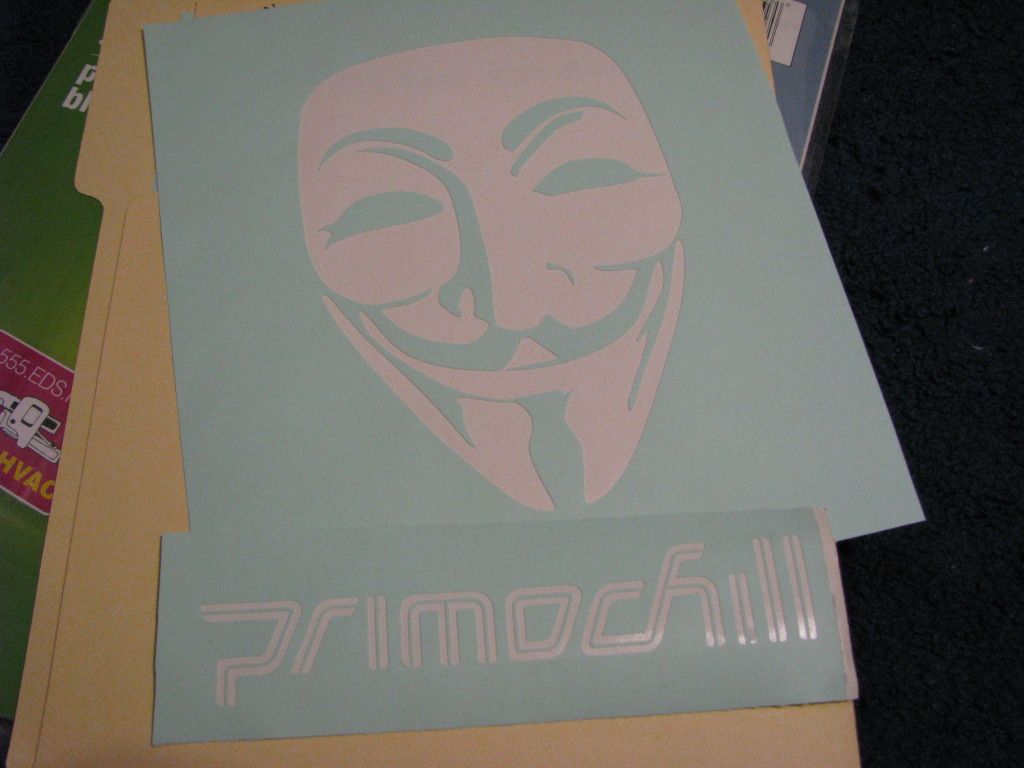
    http://www.primochill.com/


    http://www.enermax.com/


    http://www.mod-smart.com/


    http://mnpctech.com/


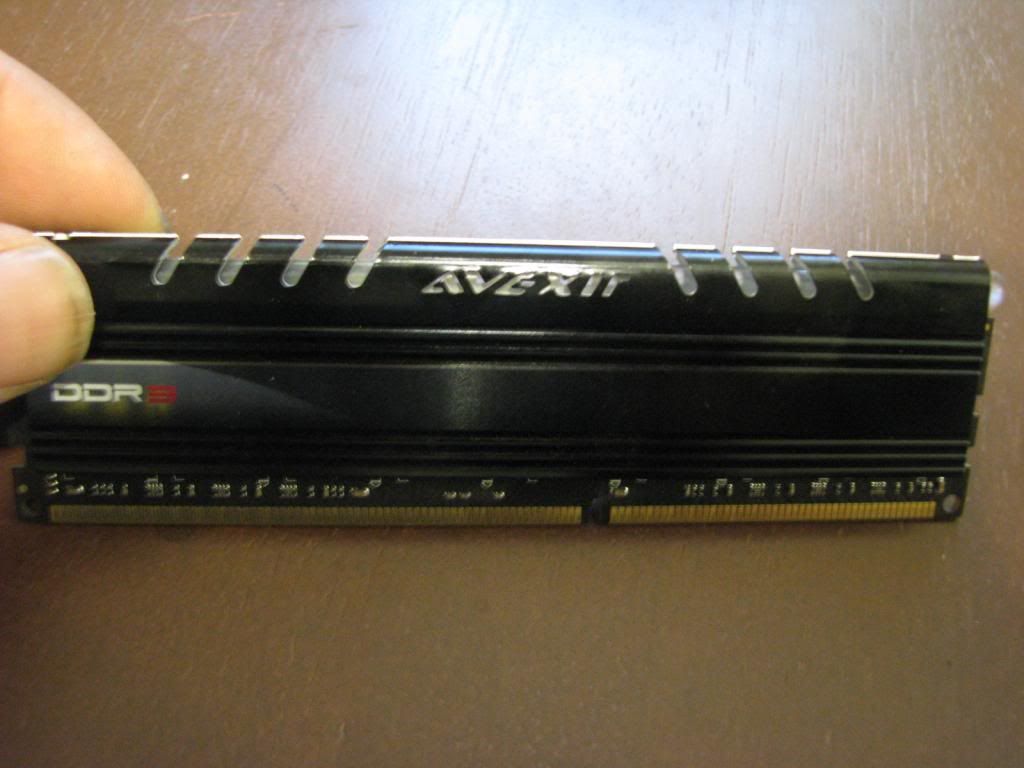
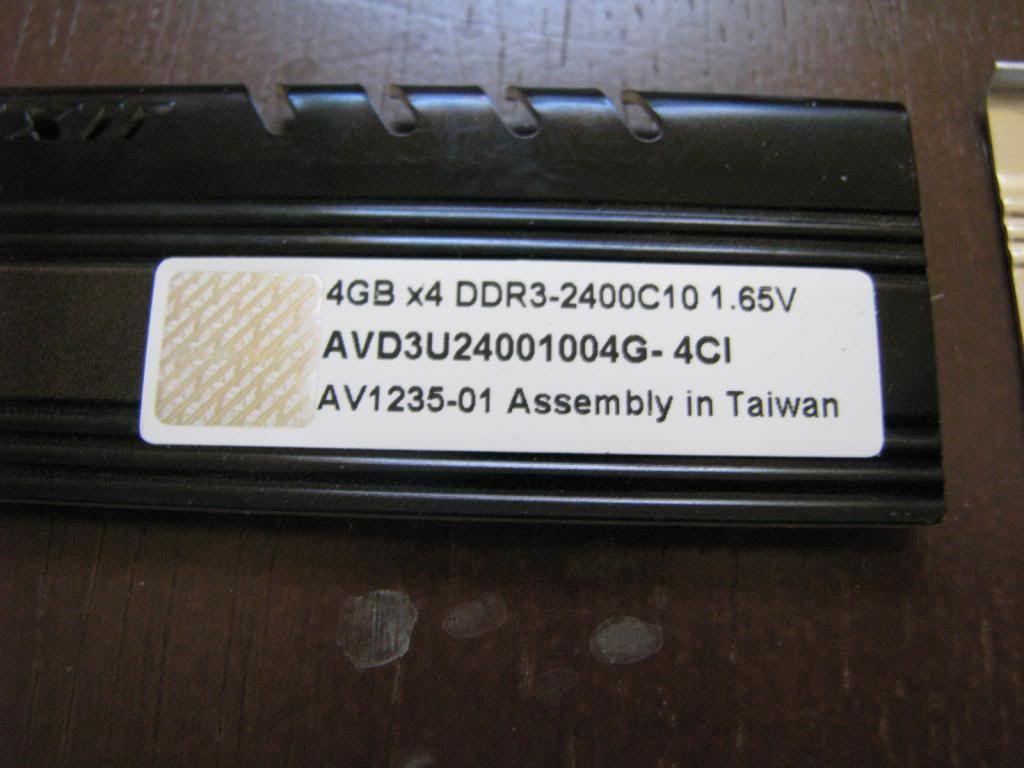
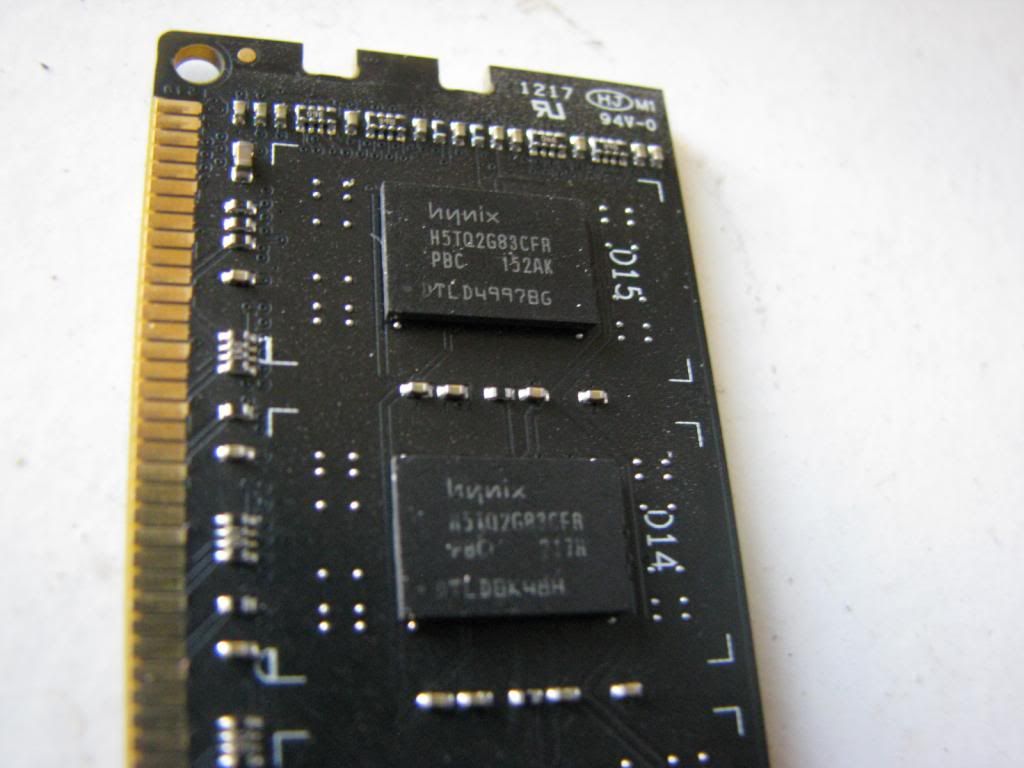
    http://www.avexir.com/


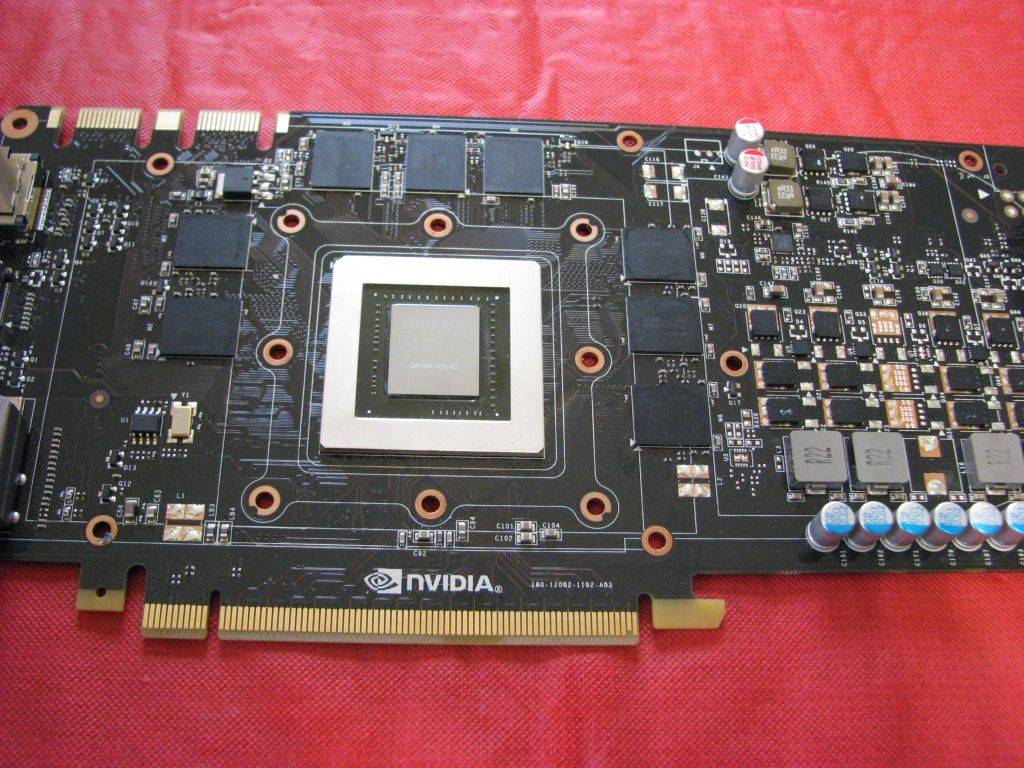
    http://www.nvidia.com/page/home.html


    http://www.crucial.com/store/ssd.aspx
    Last edited by mybadomen; 09-30-2013 at 05:00 PM.

  2. #2
    Xtreme Member
    Join Date
    Mar 2012
    Location
    Brisbane,Australia
    Posts
    182
    looking forward to it!
    Work/Gaming: i7-950|GB X58A-UD7|12GB Trident BBSE/XMS3|460GTX|WD 1TB BLK|Pioneer DVDRW|CM HAF-X|Win 7 Pro 64 bit|U2711|HX850|G500|G510
    Quote Originally Posted by hiwa View Post
    I protect my gskills like how i protect my balls
    Heatware: jimba86
    Bench:Custom Giga-bench|Win 7/XP SP3|WD 36GB Raptor|Dell 22|AX1200|MS intellimouse
    Bench 1:i7 930|water 2.0 performer|Gigabyte X58A-OC | 4GB corsair 1866 CL7|GTX 295 Quad SLI
    Bench 2:E8500|NHD14|P45-UD3P(2nd PCIEx16 slot broken.. )|2GB Corsair 8888 Cl4|GTX 260 SOC
    (Bench 3: In Progress) 4770K|F1EE|Gigabyte Z97X-SOC Force| 4GB GTX1 /8GB Gskill TridentX 2666CL11 ney pro|5870 x3 on KPC tek9 slim 5.0/7.0
    Bench 4 E8600|NHD14|REX|2GB Corsair 1800 Cl7|Asus GTX 280
    Bench 5 (TBC): FX?|990FX-UD7|Gskill Flare 2000 Cl7|6970
    Server/renderbox: G3258|TT Water 2.0|Gigabyte Z87 Sniper M5|8GB Gskill Sniper 2133|gigabyte 5750|FD NODE 804

  3. #3
    XNine
    Guest
    Giggiddy

  4. #4
    Xtreme Member
    Join Date
    Feb 2012
    Location
    USA
    Posts
    105
    UPDATE 1 !

    I know its been a long wait but yes its true ! Update #1 is here and its a very small update but also a HUGE update. Reason this update is going to be small is because the updates following this will be in depth and something new from me if it all works out.

    Anyway not much more to say then October 26th 2012 the NEW NZXT Phantom in Matte Black has arrived and is ready for Modding !

    Quick look for now but it will stay in the box until i open it with you guys and give a quick review and my thoughts on the case. Seeing i have owned and built many many Phantoms and a Switch 810 i think i should be able to give you guys a really nice review from a Modder / Water coolers point of view that is very familiar with NZXT.


    Here she sits till i open here with you guys:


    Thank you NZXT and all my friends that come back to watch another Mod . This should be good.

    Take Care and be back Very soon

    MybadOmen

  5. #5
    Xtreme Member
    Join Date
    Feb 2012
    Location
    USA
    Posts
    105
    Update 2 !


    Here is my first ever Video UN-Boxing and Review .They will get better as i go but i don't want them to become professional either.They are meant to be from a Modder /Enthusiast to other Modder's and Enthusiast . Also didn't realize there was such a short video time on YouTube so i had to post it on Veoh which seems to be pretty nice.

    My first ever Review was of the NZXT Phantom 820 and i feel pretty good about the video besides some improvements i need to make.

    Also i want you guys to know i waited 2 days as i had the Phantom 820 sitting in my house to even open it till i did it with you guys watching.It was very difficult to hold out but i wanted it to be a special thing i did with you guys that follow my work so in the long run was very much worth the wait.

    Please watch the Video and let me know what you think as i plan on continuing to make them if you guys like them.Will try to make them shorter to fit on YouTube though from now on.

    Take Care and Enjoy guys !


    My First Ever Video Un-Boxing & Review "" NZXT Phantom 820 ""

    http://www.veoh.com/watch/v393656918kgBZzBS


    And Keep watching guys Parts are on the way and tools are ready to go !!


    MybadOmen

  6. #6
    XNine
    Guest
    MOAR updates!

  7. #7
    Xtreme Member
    Join Date
    Feb 2012
    Location
    USA
    Posts
    105
    If you guys are wondering why not updates on either of the 2 Sponsored builds i am doing its because i am Human like everyone else and struggling with something on each of them right now. Normal process usually in my Mods but will jump the hoop soon and keep on moving with them. Some of the things i think up just don't work and i don't want to do what i know everyone else would.I try to as much as possible to keep everything Unique which we all know is almost impossible at this point on a Case Mod. So i have to totally rethink it. But in the end it will all come together. I just need to think and get past the issues.

    Just being straight up Honest on why no updates. Its because i'm currently stuck on both and back to the drawing board. Just once again proves i no different then anyone else.

    There you have it. As soon as i have a full update together it will be posted immediately.

    Take Care,

    MybadOmen

  8. #8
    Xtreme Member
    Join Date
    Feb 2012
    Location
    USA
    Posts
    105
    Update

    Just want to show you guys im in the middle of a bunch of things at the same time on the build so once i post some updates there will be allot of them and then i will have the thread moved back to the Build Log section.I am currently working on 4 builds right now well actually 3 as i just completed one for a client 2 are the Mods you guys see posted here and the other is a new test bench that i badly need for product testing and my own research. I also have been putting together guides for everything i have been doing which you will also see soon but right now im focused on the Phantom 820 and the JukeBench Mod.

    Here is what i am working on now as well as my Google sketches and some designs i left out that would give the project away.


    First i will start with just a few Photos of the first phase of the design (Not to exciting but in a way it is because i see what it looks like done and you will also soon).


    Taking measurements on Paper and then i transfer them into Google Sketchup and then order what i need and start cutting.


    As most know from my previous projects i dislike the stock motherboard trays so here i am designing the fix for that.


    5.25 bays will be Modded but i want to try to keep them usable in this build but if not i already have a plan be for that. Plus a bunch of mods going into the drive bays.


    Messy scribbles but this is how it all begins every build.


    Thats about all i can share on that part right now without giving away the whole theme of the build and its way to early for that..

    Next some work to the Pump


    Getting the Pump Ready.And i made it sorta a Tutorial at the same time for those that never seen inside a D5 Pump before.

    This is the Pump going in this build and before its asked yes the wife will be sleeved also


    Here is a Stock D5 (MCP655) which come in many flavors , Single speed,Variable speed, and just about every brand name carries the D5 under a different name. One in this little guide is Swiftech variable speed, but like i said brand and speed control doesn't matter its all the same.


    D5 stock pump:


    First spin of the big plastic nut that you see me taking off now. Left to loosen it.


    The Pump should now Split in 2 parts as shown:


    The old top we can now put away because we will no longer be needing it.(Make sure you save the O-ring that is inside the old top in case you plan on putting it back together later.)


    Now we simply remove the plastic nut from the wire by sliding it down over the wire. We will no longer be using this either.


    And here is what we are left with the actual D5 pump itself.


    There are a bunch of different tops on the Market to choose from. I just happen to be using the EK CSQ Plexi Top for this pump which is a high flow top so not only do pump tops improve the looks of a D5 but also the performance.


    First i slide the new back plate over the wire with the inside groove facing the front of the pump. This back plate takes the place or the Plastic nut we removed earlier.


    The new Top should come with a new O-ring which simply slides over the pump as shown.


    Next since i don't want to scratch the pump top i place it face down on a piece of soft foam in the direction i want the top to sit when i place the pump into it.


    Simply Place the pump assembly onto the top lining the screw holes up at this point.


    Most Pump tops will come with all the tools needed and the hardware to assemble it. So take the small Allen wrench and the long screws as that's what we will need next.


    This part is rather important since the Plexi or whatever top you are using can easily be stripped.Turn all the screws in with your fingers a good 5 threads before using the Allen wrench to avoid stripping the delicate threads.


    Now use the Allen wrench and tighten the screws evenly in a criss cross pattern. Just snug them don't crank them down as you will destroy the top. All you are trying to do is compress the O-ring which don't take much pressure.


    And there we go ,Not done yet but starting to look like a much better pump then what we started with and we should only be minutes into this project.


    Next we need this Plate that comes with the kit. This is the Mounting plate to actually mount the plat inside the case. Optional mounting kits are also available again from different manufacturers.But this is what comes supplied. Also the last 2 screws (The short ones) are used in this step.


    On the Bottom of the Pump Top you will see 2 holes.Make sure you are looking at the bottom as the other 2 holes on the side are for LED's if its a Plexi clear block.Easy way to tell is to make sure the holes have threads inside as shown in photo.


    Next the same thing start the screws with your fingers first and then snug them with the Allen Wrench.


    On the EK tops there are 2 outlets and 1 inlet so the Pump Top comes with 1 Plug so you can choose which outlet to use. I will show both outlets blocked so you know which are the outlets.


    And finally drop in the Fittings and there you have it. Allot better looking pump with a higher flow rate and the use of G1/4 compression fittings or barbs.


    If you actually followed this guide you would see the whole precess only takes a few minutes tops.Its a very simple Mod that any one can do to their pump thats make a huge difference in both looks and performance..


    Now i am just going to do a simple Mod that makes a huge difference. This is only optional and you can use your own creative ideas on yours. I decided i wanted to make the back of the pump Chrome as i had some old Chrome Vinyl i had for using on cars. Its kinda like a stick on Chrome used for decorating cars. Any auto shop should carry it.Or you can simply paint your pump or even use Di noc its basically whatever you want to do.


    This took 2 seconds to do and made a huge difference:


    And finally a side by side before and after or what we just did.


    Hope you guys enjoyed the Update/Guide and hope it helps someone out there.


    MybadOmen

  9. #9
    Xtreme Member
    Join Date
    Feb 2012
    Location
    USA
    Posts
    105
    Update 6

    Hiya Guys i'm back with some more updates. I decided to hang low for a bit and stop logging and just concentrate on Modding. But now im back. I have tons of Photo's for my logs and a bunch of new guides also that i havent decided where to post them yet.

    So with that being said Lets get moving on to the build Log which as always i try to share as much as the process as possible so newcomers to this wonderful world of modding can have something to go by. It just makes me feel better showing how its done and explaining it rather then just posting pictures of completed parts.

    Last Time we left off we were at about this point in the build.

    The case in its stock wardrobe.


    Here was me just trying somethings and getting some measurements. Mainly when things start to click and i get that little light bulb over my head.


    My scratching. Lol dont look like much but later in the log it will make sense.


    I removed the top and front of the Phantom which both come apart basically the same so i will show just the top as its the one that's a little more difficult.

    The Top


    First i flipped the top over and you can see the 2 Mesh filters a bunch of screws and a new clip system from NZXT that i will explain in the next few photos.


    Here is a shot showing the screws and more importantly the new clip system they are using on the 820.


    Next i removed all the screws and then figured out how the clips worked.To release the clips i used a small iPhone Flathead screwdriver and put it in between the clips as shown in the photo and gently pry outwards. (Away from the middle of the top) They seem they could break very easy if to much force was used so if you try it be careful.


    And when your finished it should look just like this.If you break a thing or 2 just throw them over your shoulder and mod something to replace them. Lol just kidding.


    Ok here are the Pieces i am going to be starting with.But the painting process of those build will be done in a few stages and not to bum you out but that will be in the next update as i am trying to keep updates 15 photos or less do to some forum restrictions.


    Ok now i am going to go over the materials i will be using and like i said continuing after into the next update.


    As many of you already know i can spray basically any paint and have 12 Real pain guns and a few airbrushes but after painting enough and trying plenty of paints i decided i will be just using Krylon Fusion Rattle cans. It is an incredible paint for both plastic and metal. No adhesion Promoter needed for plastics with this paint nor primer on metal (Unless its bare metal i would still use an etching primer. Anyway incredible paint. Dont believe me go buy a can and try it i promise you'll love it.


    Next thing i will be using is a wet/dry sandpaper i have a pack of 220 and a multi pack . I usually use a 400 myself personally for this kind of thing. Dont but crappy sandpaper get wet/dry you wont regret it.


    I also will be using some mechanic towels (Blue in photo) a lint free micro fiber cloth and some rubbing alcohol I prefer 70% but 50 % will do also if its all you can get.


    Never ever paint even spray paint without a mask. for spray paint in a well ventilated area use either of the ones in the photo but when you start getting into guns and Lacquers and more aggressive paints you should upgrade you masks. Its your life and your lungs and the 5 pack of masks you see cost me 1 dollar so their is no excuse not to wear one.But of course i am only giving advice as i would hate to see anyone get hurt over something so simple.


    Stay tuned for the rest of this update and more soon and its nice to be back. I think you guys will really get a kick out of where this build is going.

    Take Care my Friends,


    MybadOmen


    To be continued ......

  10. #10
    Xtreme Member
    Join Date
    Feb 2012
    Location
    USA
    Posts
    105
    Update

    Hiya guys and thanks for coming back to check out another update if you are here This update is just continuing on from the last and seeing there will be a few different times i am painting on the case i will try and keep them in order the best i can.

    Ok so last update we left off showing the meterials i was going to be using to paint the Mesh on the top and the fron of the Phantom 820 the old fashion Spray bomb method which with the right paint can be just as durable as using my guns and look just as nice to a point of course.

    Here i will walk you through what i did to prep and paint the mesh. and here is where we left off in the last update.

    The Mesh just removed .


    First i washed them in some luke warm water with Dawn brand dish soap to remove all the grease or anything that could be on the case.It is important to do this before sanding as the sanding will just spread the oils or whatever is on the case or part you are painting all over the place. ( Sorry no Photo of this step wasnt even thinking about it at the time i did it) But its simple enough.

    Next i decided to go with a 400 Grit wet/dry sandpaper for the Mesh because i dont want to remove the old paint, I only want to remove the shine or basically scuff it up so the paint can bond good to it. Seeing i know how good this Paint bonds i know i can easily get away with a 400 grit which is finer then a 220grit. (Higher the grit the finer the sandpaper).The reason i dont want to remove the old paint is because i will then be left with bare metal and in that situation you need to use an etching Primer before you can paint.

    Sand everything and both sides.Try not to miss places as that will be the place you have the chance of peeling paint etc. With the paint i am using i doubt it ever but just be be safe thats what really should be done.


    Now as in the update before this i showed and talked about the materials i would be using and as you can see i am using the 70% Alcoholand shop towels to wipe everything clean until no black shows on the towels. I then at then end whipe it quick with a clean Microfibre rag or a Rak rag depending on what i am painting. Microfiber is fine for what i am doing.


    Here is how dirty it was even though after sanding it seems to be clean. So if i just painted without cleaning there is a good chance the paint would peel or fish eye on me.


    Here is a Photo showing the mesh Properly prepped for painting, If you look close you can see its lighly scuffed up but not down to metal. (Dont worry there will be spots you go through to bare metal just try to avoid it is all)


    Next i hang the Mesh in my Messy Shed i i have been mosty using my shop inside the house now so havent got a chance to get it more organized. Besides that i blew all the dust out first with my air compressor and Vaccumed .Its also good practice to wet the floor if you are somewhere that is possible to do to keep the dust down. But again with what i am painting here its not really that necassary.

    Note i am hanging the mesh by one of the clips in case i get a mark from where the hanger was ,this way the clip is hidden when the mesh is put back into the case.


    Sorry i never get Photos of me actually spraying besides 1 time i think i did .Reason for this is the pain will destroy my camera as its floating in the air sorta like dust when im painting.Not to mention its a bit hard to focus on laying the paint down nice with a camera in my hand.

    Anyway start with whats called a Tack coat. This is just a very light coat of paint that barely covers at all and then let it sit in the case of the paint i am using i gave it about 3 minutes as the complete dry time is 15 minutes but remeber thats still not the pain fully cured but it is handable.The reason for a Tack coat is to help avoid getting runs while painting and also to help the paint bond better also so it is rather important. Never try to just paint anything in 1 quick coat and always leave time in between coats.There is a good reason for this also. If you just try and throw a heavy coat of paint on something its for 1 most likely going to run on you or fish eye and also the top of the Paint will dry before the lower coats leaving the paint sorta sealed in so it cant dry. would be a soft finish or peal all kinds of nasty stuff so basically Tack coat and leave time between coats.

    Showing the prepped and Finished Mesh:


    Looking Very Nice and very durable.


    And everything else on the build is in shambles as im working on a few things at the same time on it so ignore the inside for now.But the white Mesh fits where i am heading with this build just right and i think im pretty pleased with it so far but tons to go as far as painting and Modding.


    Thanks for Looking guys and i still have allot more to still get logged so will be back very soon with more.

    Take Care and Keep Watching.

    MybadOmen

  11. #11
    Xtreme Member
    Join Date
    Feb 2012
    Location
    USA
    Posts
    105
    Update

    Hiya again Fellow Modders / enthusiest /Overclockers / etc .

    Today's update i would like to start by thanking another talented Modder named Kellen aka (Kaged) many of you may remeber him from his Pink Cancer awareness build that he Modded and raffled off and then donated the 100% of the proceeds to a cancer awareness program. He has also built another Phantom recently called "Lucky 13" which is also another nice mod. but the reason i am mentioning him is many of you may have already known but many dont.Kaged was the person that made all my Vinyl Decals for "Mass Effect 3" and the Masking for "Venom" but the funny part is i have a high end plotter sitting in my house that i just didnt know how to use. So some of the delay on the project is i wanted to learn Corel Draw ,The Plotter software ,how to work with Vectors,Welding Vectors etc. After a few nights with no sleep and Kaged on my PC via remote desktop i finally learned it all and this will be my first Project making my own Masking and Vinyls.So i think a huge Thank you goes out to Kaged for all the help he has given me with this as its not a simple thing to learn and took many days.

    That being said lets get on with the Update :

    First off this is a Plotter for those that never seen one. This specific one is a Graphtec America Plotter and goes for roughly $2400. new without the stand but you can buy Plotters for a less that will basicaly do the same thing i believe the cricket is similiar also. This particular one cuts Din noc etc and meterial from 24 inches wide to any length. This Plotter was also a gift from someone for my birthday that i work for.Anyway what a plotter does is can take a drawing or name etc and cut a certain metarial like a sticker etc without cutting all the way through. Most sign makers use plotters or t shirt makes.

    Here is the plotter i will be using


    And here is the Plotter actually working.This is after i made the design i wanted,Converted it to Vector ,Improved the quality of the image and welded it also . (Welding basicaly makes sure the blade dont cross itself or go off the path that you want cut.Its hard to explain but if interested in it more you can Google Plotter welding) and finally i end up with a .cdr file that i sent to the plotter and position it where i want it then send the command to cut. Sorta like a printer.


    Here are the first cuts i made but the face was a bit to big so i resized it and tried again. Live and learn .


    The material i was cutting was a medium tack masking but when i was finished i relized i had no transfrer tape which is extremly important to apply the masking or a decal and you will see why soon.So what i did was thought about it and went to the local hardware store. I happened to find some low tack Clear Contact plastic used for lining drawers and it was basically the same exact thing as transfer tape so i came back home and could continue working without another delay.

    Here is the Contact drawer liner i bought and the other thing in the photo is a cutter i use for all kinds of projects but goes perfect with the plotter.


    Now what i have to do is carefully lay the transfer tape or in this case the drawer liner over the masking so it should look something like this when completed. (This is a completed Masking ready to go).


    Now that i have the masking i need to clean the surface that i will be painting and placing the masking so just like in previos post i used alcohol ,Shop towels and Microfiber cloth.


    First i clean the surface good with the Alcohol


    Then i wipe it clean with the Microfiber cloth ,I will repeat this again right before applying the masking to make sure there is no dust at all.


    Now we take the backing off the masking (Not the clear transfer tape but the other side) And i then center or position the masking where i want it and since this is going on a pointed area i place the center of the decal or masking on first and then work away from the center with a credit card or squeegy to make sure there are no air bubbles in the blue masking.


    Next its time to peel the clear transfer tape off and this can be tricky depending on the design you are working with. The best way i found is pull towards yourself keeping the transfer tape pulled way back as shown in the photo. Also of you have long thin lines in your work start where the line is conected and then pull the tape from that point to the tip to avoid peeling the masking off.


    And its off. Not i just make sure there are no bubbles or more important any spots that are lifted where i will be painting as that will destroy the paint job.The reason is the pain will go under the lifted area and just make it messy looking.


    Now we simply mask of everything we dont want painted.I am using a medium tack painters tape. (Dollar store i think i got it)


    I forgot to mention this the previous update but when i do use Spay Paint i always warm the can in luke warm water first.Thius makes a huge differents in the way the paint flows from the can and gives a smoother finish.


    Next i peel the masking off. It takes a little time to get the perfect timing down on when to remove the maksing as to early the paint can be ruined from stringy looking paint thats not dry yet and to late the paint will be stuck to the masking and peal off with it. Its usually not a problem so dont worry to much about it as i am just saying it could happen.

    In this case it came out perfect


    And still more painting to go but here it is with the door back on for now


    Hope you liked the update and like i said the painting is far from done as well as the build as a whole .

    Keep watching lots more to come

    MybadOmen

  12. #12
    Registered User
    Join Date
    Nov 2012
    Location
    Amarillo
    Posts
    34
    lookin' good MBO!

  13. #13
    Xtreme Member
    Join Date
    Feb 2012
    Location
    USA
    Posts
    105
    Thanks Mate

  14. #14
    Xtreme Member
    Join Date
    Feb 2012
    Location
    USA
    Posts
    105
    UPDATE

    Here is the latest work on my "Legion" Build and sorry updates are not going as fast as my prior builds but to be honest financially and time wise its very difficult for me as a dad of 3 to afford one mod on top of another even if they are sponsored Mods they still cost allot and i am doing my best so hope you enjoy the build. I figured i would finally come clean and just tell you guys why it takes me so long on these current builds.

    Well with that out of the way here is the new Acrylic i made to be part of a motherboard tray when its completed. (The blue is just the protective layer) the color is solid white. Also thi is the second time this was made as i broke the first one.More work has to be dont to it but here it is at this point.


    Next came sleeving my PSU. I really dont like extensions at all do to the extra wire and plugs so as always i am doing the whole PSU.

    This Sleeving job is being done a little different as i am actually using the new Modsmart Kobra Max Paracord sleeving. This can only be purchased as either a PSU kit or as Extentions but since the owner sponsors me i asked for some of the wire to use on my PSU. The reason you cant but this sleeving alone is because its a New type of Paracord that's actually formed tight to the wire and it would be impossible to put on without a machine.Anyway the stuff is absolutely amazing and i love it. The tight to the wire look is extremely clean looking and easy to work with but don't get me wrong the way i am doing it is still a pain but you can buy the extensions ready to go.

    First off the PSU i will be sleeving and rewiring is the Enermax Platimax Fully Modular 1350w (1600wPeak) PSU. Thanks to Enermax and their help with the project.

    Here is the Mess i have to work with after cutting the factory sleeving off Looks fun don't it. Yes allot of work but well worth the final results.


    Its always fun to find wires crimped together like this photo and makes sleeving just that much harder but i am noticing this in many new PSU's coming out now.So it ends up being a rewiring job rather then just a sleeving job. Every harness is like this on or worse.


    I decided to use Red plugs with White and Black Modsmart Kobra Max Paracord (Majority of the color being White) Here are some of the wires done. Looking way better then the photo above.


    Thanks for Looking and adding more updates now.

    MybadOmen

  15. #15
    Xtreme Member
    Join Date
    Feb 2012
    Location
    USA
    Posts
    105
    UPDATE

    This update will be a 2 part update do to the amount of Photos i separated it into 2 parts that still make sense.


    This Update will be on the GPU's and Blocks going into Legion.Legion will be running 2 Nvidia GTX680's with EK's new CSQ line of blocks and there installation .


    First off here is the package sent by Nvidia as part of the sponsorship of the Legion build.


    Ok lets get started. In this update i will go over doing a single card as if i was going to only run 1. Here is the 680 we will be working on.


    First on these cards its very important not to miss this screw on the GPU bracket or you have a chance of breaking your card.


    Next you want to remove all the screws on the back of the card that it says to remove in you block instructions. Use directions as it varies from GPU to GPU.


    Now carefully split the stock cooler from the GPU also being careful of the small fan wire when separating them. Unplug the Fan wire and you should end up with something like this.


    Remove all the thermal Pads and clean the thermal paste from the GPU itself.So its nice and clean like this:


    At this point cut the new thermal pads according to your instructions and apply them to the card where the directions also show. And add new thermal paste to the GPU of your choice.I think i used MX4 and you can do the pea sized drop or use an X pattern when applying.That's up to you.I didnt show this photo as the directions should def be used for this part.

    Here is the block i will be using the EK FC 680 GTX CSQ block (Nickel/Plexi)


    Place the block on the card gently with the screws ready to go.Try not moving the block around at all once you set it down.


    Next its time to add the back plate that i should mentioned has to be purchased separately from the block. Here is EK's new CSQ Back plate. I think its damn sexy.


    And finally here is what a single GTX680 looks like dressed in EK CSQ Nickel/Plexi Block and Back plate.


    Of course there are many different fitting configurations you use on a single card setup like this with the new CSQ blocks.I am only showing this setup as there were complaints or rather confusion when the cards first releases but now EK added another block that gives more options with the newer kits so all issues are gone with that problem. Sorry i got my blocks early so i dont have that adapter to show since i dont need it anyway.

    Take care guys and will show the Dual setup in Next Update which will be a short update.


    MybadOmen

  16. #16
    Xtreme Member
    Join Date
    Feb 2012
    Location
    USA
    Posts
    105
    Update Or rather extended from last one.


    Hiya Guys back to finish off the GPU setup that will be going in Legion so i will get right to it.

    Ok last update i showed the single card setup but Legion will be running dual 680's so this will be a really quick update.


    Basically all i am going to be doing next is adding an EK GPU Bridge and Blank off do to the spacing on the Asus Rampage Formula IV x79. Since assembly of the bridge is simple there is really no need to show how to assemble it so here it the EK CSQ Triple Serial Bridge with blank off. This gives me the ability to add third card if i chose to in the future but i highly doubt i will be.


    The Bridge simply screws right on the the cards do to the new CSQ design. Here is the block that would be on the Card where you can see it is threaded.


    And assembled here is what everything looks like for Legion's GPU power.


    Lastly this is how Legion sits at the Moment but tons will be changing soon so keep watching for it.(Ignore the red and black cables)


    Thanks Guys for looking and i will do my best to get you updates when possible.

    Take Care


    MybadOmen

  17. #17
    Xtreme Member
    Join Date
    Feb 2012
    Location
    USA
    Posts
    105
    UPDATE!

    "Modding Top of the case (Rad Support) to fit the EK XTX360 & 6 Enermax Cluster Fans"


    Hiya guys i am back with another update ,I know going slow but it will get there. Anyway when i started planning this build which i never really actually plan a build but i did know i wanted an EK XTX360 Rad on Top & the EK XTX240 down Bottom with Push/Pull Enermax Clusters. 6 on top and 4 on Bottom plus my Intake and Exhaust fans of course.

    Well after a bit of not thinking of it and working on other things i decided to fit the XTX360 in place (Those not aware its the thickest of the EK line Rads.In this order XT/XTC/XTX) . Seeing my Mass Effect 3 build had the XTC420 up top and is a Switch 810 and the NEW Phantom 820 is the same size and was made for water cooling with holes up top for a 360 or 420 rad i figured i would drop in the XTX 360 with room to spare.

    Well when i got the EK XTX360 out of the box and seen how huge it was next to the case i had a feeling i was in for a fun time getting it in. Well right off i bolted it in and it was was to far back and way to low.There was no way possible to get fittings on without some major modding which i went ahead and started.

    Its Kind of hard to explain as i forgot to take photos before i went to work but i will try to explain the problem of the Rad fitting.

    In this Photo if you look on top of the case the top dips down almost an inch and it is directly centered bringing the Rad to close to the motherboard and rear PCI cutouts of the case.


    Here is just another Photo showing how low the Rad is sitting as well as how close to the motherboard it is not to mention the rear fitting threads are literally sitting on the PCI bracket cutouts of the case.


    Goal of this Mod: To Fit the EK XTX360 up top , To move it forward and a little of an inch forward from the back. Do the Mod without sacrificing the built in Hue lights, Access to to G1/4 Threads on the rad. And of course to keep everything clean looking in the end.

    Here is a good shot showing the issue at hand (Sorry found these photos after )


    Ok just the brunt of the work will be in this update the details and making it pretty will come in another when i know all the cutting is done.
    [B]

    Lets Get Started:

    First i had to get a new piece of metal ready to make the new Rad support (Raised and Moved) so i got out some i believe 24 gauge sheet metal and went over to once again another antique tool which is still doing its job like the day it was new. (I love working with Old tools)

    Old School Sheet Metal Sheer


    This shot is showing what has to go. Its just not happening for me.


    And next for the Not so old school tools. I love Using the Plasma cutter the thing is the bomb.I am now cutting out the area i showed in the photo above with the white square.
    [B]


    Next was time to take out the RotoZip with the angle head attachment which is one of my favorite modding tools and remove the paint that's in the area i will be spot welding. (Another tool i haven't got to play with much)For case modding its ideal compared to welding in my opinion.


    Here is the new Rad top being welded together using the Spot welder /Tack Welder or whatever you know it as, I circled it for those that dont know what a spot welder is. This is a 220volt one but you can also get a smaller 110 one also.


    Well like i said this update will just be the brunt part of the work. Cleaning it up and cutting out slots for better airflow around the fans is next as well as painting etc. All part of a Process and want to just get what i can while i have the use of these great tools for the day.

    As you can see crude but in the end will serve the purpose perfect and be awesome.


    Here you can see i have it marked out for more cutting and Dremel work when i get home. I will also smooth it out more and use a filler of some sort to make it look factory when finished.


    Smoothed a out a little more as i had a little extra time and worked on straightening the inside edge a bit more.


    And Last thing for this update as its getting late and i also did some other fun stuff during the day is to Punch out the 2 holes i need for the rad ports . Just in case i need them.I used a small Knock out tool to do it. You may have seen Bill Owen use the large one for Punching through cases to put in 120mm fans etc in some of his videos.


    New Update soon showing the top all finished.

    Hope you enjoyed the Update and thank you for watching


    MybadOmen

  18. #18
    NooB MOD
    Join Date
    Jan 2006
    Location
    South Africa
    Posts
    5,799
    Subscribed, I like where this is going
    Xtreme SUPERCOMPUTER
    Nov 1 - Nov 8 Join Now!


    Quote Originally Posted by Jowy Atreides View Post
    Intel is about to get athlon'd
    Athlon64 3700+ KACAE 0605APAW @ 3455MHz 314x11 1.92v/Vapochill || Core 2 Duo E8500 Q807 @ 6060MHz 638x9.5 1.95v LN2 @ -120'c || Athlon64 FX-55 CABCE 0516WPMW @ 3916MHz 261x15 1.802v/LN2 @ -40c || DFI LP UT CFX3200-DR || DFI LP UT NF4 SLI-DR || DFI LP UT NF4 Ultra D || Sapphire X1950XT || 2x256MB Kingston HyperX BH-5 @ 290MHz 2-2-2-5 3.94v || 2x256MB G.Skill TCCD @ 350MHz 3-4-4-8 3.1v || 2x256MB Kingston HyperX BH-5 @ 294MHz 2-2-2-5 3.94v

  19. #19
    Xtreme Member
    Join Date
    Feb 2012
    Location
    USA
    Posts
    105
    Update


    Hiya Guys again,

    Well if you look at the last update you can see we left off with a New top for my Phantom 820 Legion build making many changes to comfortably fir an EK XTX360 Rad with 6 Enermax Cluster Fans.


    Ok so the job was done but it was very crude cut and it was def not optimized for airflow and that's where this update comes in.

    Here you can see the basic shape is there but still a mess to deal with. Plus if i bolt a rad on the way it is it will restrict at least 25% or more of the airflow from the Fans.


    So i grabbed one of my Dremel's and of course my awesome Smith & Wesson Safety Glasses from Mnpctech and got to work.


    And after a little time with the Dremel its time to dig out my beat up files and do some hand filing. (Probably not necessary but im pretty picky)


    Now you can see why it was so important i did all that Dremel and filing work. If you look now all of the Fans power will be pushing and Pulling air through the Top rad. Cluster Fans from Enermax are powerful yes but also pretty silent when they run but they def push allot of airflow.


    As you can see from this Photo i went from not being able to even fit the rad or get to the fittings to now fit the Rad with 6 Fans and plenty of room to get to the fittings. And yet the Hue lighting is still there also.


    Next it was time to try to weld around the rim where the metal was cut to make it look a little better and for a little more strength . Si i grabbed my Mig on low power and tried doing my best to fill the holes from the metal we used which was scrap and tried to fill the cap between the 2 metals to later smooth out.

    Me Ready to go !


    This is what i am stuck with unless i use body filler which since this will never be seen i dont want body filler in my PC where it will crack when moving it. (Might add something to make it cleaner later because even though its not seen its still bugging me.

    By looking at the Photo you can also see how much its moved to the right and forward.


    Photo from Underneath :


    And Rad sitting in place (Not tight) but there for measurements.


    And that's it for this update guys still tons to do Modding the 5.25 bays will probably be next for better airflow of the bottom front fan.

    Until Next Update Take care and Thank You for Looking and all your Support.

    MybadOmen

  20. #20
    Xtreme Addict
    Join Date
    Dec 2007
    Location
    Earth
    Posts
    1,787
    She's a beauty. Nice work man


    Real quick off topic if you don't mind
    I found your review of the primochill intensifier dyes. Any updates? Are the colors fading, any clogging, etc? I tested their old "dye bomb" years ago and it was a horrible fail.
    Sandy Bridge 2500k @ 4.5ghz 1.28v | MSI p67a-gd65 B3 Mobo | Samsung ddr3 8gb |
    Swiftech apogee drive II | Coolgate 120| GTX660ti w/heat killer gpu x| Seasonic x650 PSU

    QX9650 @ 4ghz | P5K-E/WIFI-AP Mobo | Hyperx ddr2 1066 4gb | EVGA GTX560ti 448 core FTW @ 900mhz | OCZ 700w Modular PSU |
    DD MC-TDX CPU block | DD Maze5 GPU block | Black Ice Xtreme II 240 Rad | Laing D5 Pump

  21. #21
    Xtreme Member
    Join Date
    Feb 2012
    Location
    USA
    Posts
    105
    Intensifier Coolant System is brand new. Nothing like the old dye bombs.

    Also:

    Progress to date on "Legion" will try to add more photos of the actually Using the tools etc soon. It still has to come apart a few more times before starting the theme. But i have a vision of it now and i am on a roll.

    Hope you like were its heading:


  22. #22
    Xtreme Member
    Join Date
    Feb 2012
    Location
    USA
    Posts
    105
    Hiya Fellow Modders/Overclockers or just others that Love PC's like i do.

    Well i know its been a while since i posted some updates but i have been doing allot to Legion but just still settling on some special parts and some of them being Prototypes at the moment so waiting on them as well.

    Anyway here are some small updates i can post of what i have been doing.when i got the chance. I also have photos of a bunch of other things i will post soon as i can.

    First off i was deciding on what color of Primochill's New 1/2" Rigid Tubing i was going to go with. I waited along time for this system to be released and decided i am going to go with the clear since i will be most likely running a milky white colored coolant. (Also still in Prototype stage).I will also be running the New Primochill Rigid Acrylic Tubing Cpmression fittings Nickel in color along side the EK fittings in the Build.

    Primochill Rigid Acrylic Tubing 1/2" (Decided on the Clear) although was a tough decision.


    Next i did a bunch more work with the new Mod/Smart Kobra Max Extensions. This is the best sleeving i ever used on a Mod. It is super super tight to the wire.What i actually did because i have a fully Modular PSU is got the 24" Extensions and cut and re pinned every wire on My PSU using the Kobra Max wire and sleeve from the extensions and i love it just look how clean and tight the stuff is.

    Here is what the Mod/Smart Kobra Max extension material and wire looks like.


    Next part i knew was going to be a real hassle but i wanted the fan controller area and the USB area's both done in white. but i wanted it done right with no paint on anything else so with a razor knife you can actually cut the strips that light up and the chrome trim off by simple looking underneath and cutting just where they melt the pins over. After cutting these you can slide the trim and LED windows out very carefully and simply use a tiny bit of superglue to put the back in.

    Here is is all Taken apart (Circuit boards not in the photo sorry)


    And Prepped and Painted with Plastic Paint . For those would would like to know how to spray small parts like this without peeling etc later its pretty easy. First wash the parts with Dawn dish soap. (before sanding as sanding before washing will just rub oils into the part) After washing sand lightly with roughly a 400 500 grit wet sandpaper clean it all off with 70% + rubbing alcohol and paint with a Plastic paint like Krylon Fusion my favorite or if you choose to use a regular paint make sure to use adhesion promoter first. Most plastic paints already have this and a flex additive included.

    Anyway part Painted


    And see how amazing something so small can look when finished? Yes allot of work but you will feel proud and really love the look when its completed. I think one of the biggest things about building a nice Mod is the tiny details.

    Painted and assembled Fan controller


    Here is just a shot of what it looked like before i recently tore it back down to start Modding the case itself some more.


    And this is what i have been working on now which you will see more of in the next update is the 5.25 bays. I love that 220mm fan wide open so i am working on making some different tray ideas for holding 1 HDD and 1 to 2 SSD's and that's all.

    Just showing the area i am working on now for next Updates coming up.


    Sorry for the long wait guys and hope i don't disappoint but i am doing what i can at the moment and also keeping you guys updated the best i can.

    Take Care my Friends,

    MybadOmen

  23. #23
    Administrator
    Join Date
    Nov 2007
    Location
    Stockton, CA
    Posts
    3,568
    Very nice work MBO !!

  24. #24
    Xtreme Member
    Join Date
    Feb 2012
    Location
    USA
    Posts
    105
    UPDATE !

    Side Panel Mod:


    Hiya guys this update is just a quick Mod of the right hand side Panel for my Legion build. Since i just got used to running my plotter i decided to use it again but on something bigger and with allot more detail so here is the Plotter ready to go with Masking.


    And here are the results after editing the photo to make it possible to be cut with a blade. (Name for it is welding) Also in this Photo the masking has been weeded which simply means i picked off all the little pieces that i wanted paint to be.


    Since i am using Fusion paint which has an adhesion Promoter already built in prep work was rather simple. First i washed the panel in my Tub with Dawn dish soap and then let it dry and wiped it all down with 70% Alcohol which leaves a nice clean surface for the paint. Prep work matters more then anything as bad Prep work with cause paint to peel ,Fish eye and all sorts of things that can easily be avoided.


    Next is a horrible photo sorry but it shows the masking applied. After applying i get any bubbles out that are near any edges which is extremly important or paint will get in and destroy the final results.This was a pain to do with the shape of the Panel and the size of the Masking that is extremely sticky.


    Next Simply apply a nice Masking tape around the rest of the Panel to avoid any over spray.


    Just a close up trying to show some of the detail.


    And another horrible photo, but all i am showing is i painted the panel. This also can be a little tricky when using masking. If you use to much paint it will leave an edge all around your image which will look not that great. One other thing to note is timing is critical when removing the Masking. If removed to late it can tear the paint and if removed to early it can be a mess. I usually do like 3 really light coats for this kind of painting and then remove the masking right as the paint starts to tack up very carefully. Anyway here is the horrible photo lol.


    And finally when the custom Masking is removed this is what you end up with if done right. A beautiful side panel done in paint and not much experience needed to do a Mod like this, basically just time and of course someone with a Plotter to make you the masking.


    Really Hope you guys like this update so far, Not sure if the side panel is done yet or not until i start putting things together more .

    Take Care and Keep watching for upcoming Updates.....


    MybadOmen

  25. #25
    Xtreme Member
    Join Date
    Feb 2012
    Location
    USA
    Posts
    105
    UPDATE!

    Just a couple of updates and i would like to give a huge Thank you to EKWB and AVEXIR for their support in this build making this update and others even possible.

    First Update/Guide is Installing EK's new Universal Dominator Ram Adapters and X2 CSQ Ram Blocks to a set of AVEXIR Core Series 2400mhz C10 Ram the good stuff (Hynix) :


    To start here is what the AVEXIR Core Series Ram looks like and it lights Up with flashing Blue lights which i am not fond of and def don't fit this build.(But they would be sweet in a Blue themed build)


    The nice Hynix set not the Elpida's they also come in


    Ok Lets get started with the Update/Guide Now and this should apply for any ram you decide to use:

    First use a blow dryer or Heatgun to free the thermal pads holding the stock heat sinks on the Ram,Be careful with using to much heat or you will damage the ram but use enough that you don't ruin the stock heatsinks in case you want to re install them some day.


    After heating Slightly pull apart as shown in the Photo, if its not coming apart add more heat but be gentle and patient:


    Here you will see with the AVEXIR Core series a light bar will also come out and you can see the Thermal Pad that holds the Heatsinks on (Its tough stuff to get off)


    And the Ram now Naked ,Sexy


    Next we open the EK Ram Dominator Module Adapter Kit and here are the contents: 4 nice looking EK Heatsinks with the EK logo , 4 strips of Thermal Pads, All screws needed to Install and as always they supply the tools and last is the directions which if following this guide you dont really need


    Ok next step is to cut the Thermal Pads to fit over each Ram Module (Some people stretch the thermal Pads but i prefer to cut them)


    Now after all the thermal pads are applied (AND DO NOT FORGET TO REMOVE PLASTIC ON BOTH SIDES OF THE THERMAL PADS) Sorry for caps but it is that important. After all pads are on and plastic is removed Place the ram onto the EK heatsink as shown,Tight to the top and centered.


    Next simply Put the top on carefully without moving the pads around and install the correct 3 screws to secure the ram into the Heatsinks.


    And its that simple you now have any ram ready to use EK's Dominator Series Blocks


    Next i will just show quickly as its pretty simple to actually install the blocks to the ram.Here is the Box and the Contents when buying a block. This particular block is the CSQ Nickel Plexi x2 block (Meaning its for 2 sticks that are sitting in slots right next to each other) If running 2 sticks in Dual channel on an 1155 socket board etc you would want the X4 block as you would have spacing between the ram slots.


    Simply Apply the enclosed Thermal Pad to the Block (remembering to remove both plastics)


    Install your Ram onto your Motherboard before putting the block on the ram and then use the enclosed hardware and tool to secure the blocks to the ram.


    And when done the blocks really give a great result for one in looks and 2 they are great for when going for very high Ram clocks with high voltages.


    Hope you enjoyed this Update/Guide and more to come soon and again Thank You EKWB and AVEXIR.


    MybadOmen

Page 1 of 2 12 LastLast

Bookmarks

Bookmarks

Posting Permissions

  • You may not post new threads
  • You may not post replies
  • You may not post attachments
  • You may not edit your posts
  •