


====================[ Intro ]====================
Hello Everyone! Welcome to my humble build log!
First things first... I'm going to say first a lot in this first sentence!This is my first post on Xtremesystems' forums, my first super-detailed worklog, my first "all the way down the rabbit hole" custom case mod, and my first foray into a lot of the modding techniques I'll be undertaking in this build. I'm super-excited about all of it!
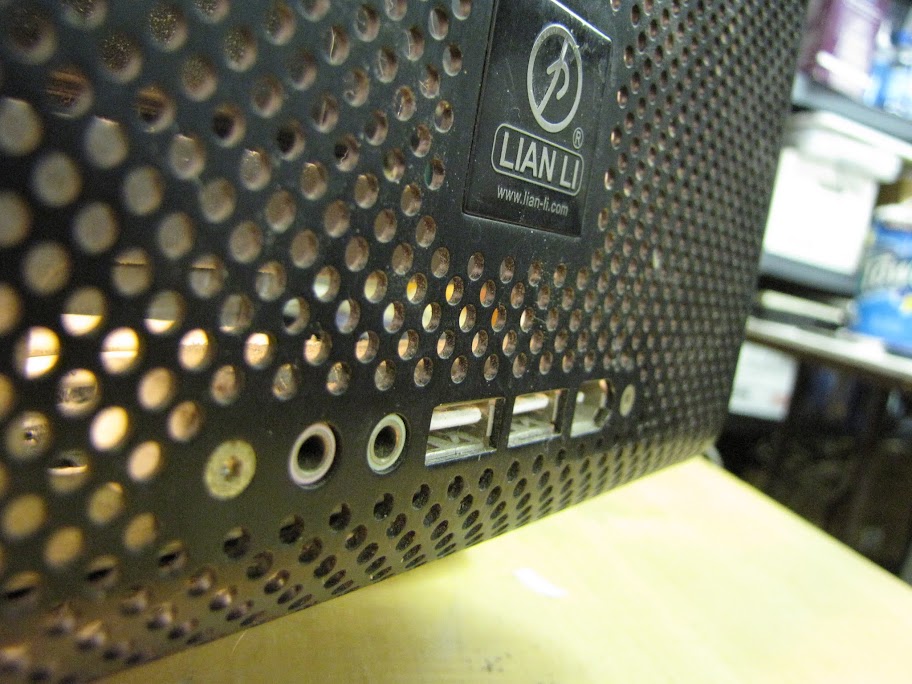
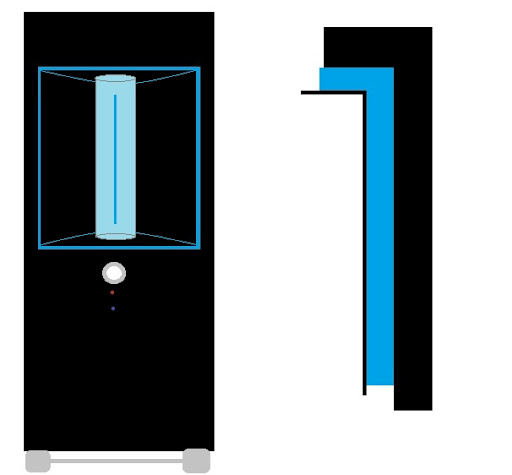
The goal of Project Prism is, as you might expect, to build a new custom modded and water cooled computer. The inspiration for this project started with my case, a Lian-Li PC-v2000b that I purchased way back in 2005. To this day, it is still regarded as one of the classic 'best' modding cases... simple and understated, tons of room, unique, etc. I seriously love working with this case, and as such, I've kept it throughout all of my mods. This build log will be somewhat of a 'rags to riches' story, as I'll start with the old system in it's state of disrepair, and gradually improve until I end with a (hopefully) impressive looking end product. I had originally planned on sticking with a black and blue motif, but after playing with lighting and such, I was inspired to stick to a more solid black and chrome approach, so that I have flexibility with colors in lighting. Thus the rename from "Azuremight" to "Prism".
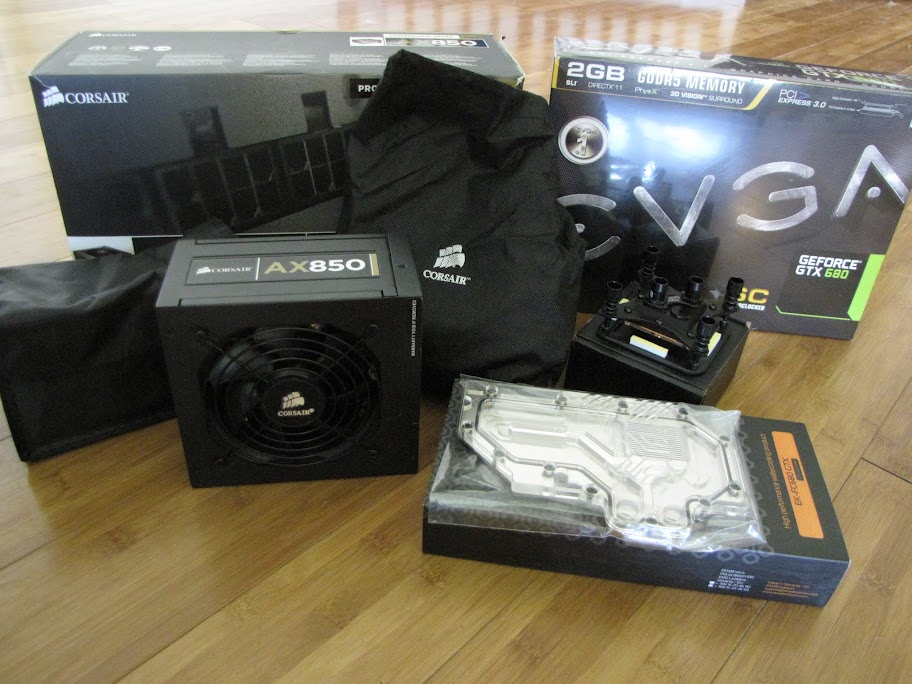
Before I get too far into the build log and progress, here's the parts I'll be using:
Case: Lian-Li PC-v2000b
Processor: Intel Core i7-3770K
Motherboard: EVGA z77 FTW (waiting for release still...)
Graphics: EVGA GTX 680 SC+
RAM: 16GB of Samsung MV-3V4G3D/US
PSU: Corsair AX850 Gold
Storage: OCZ Agility 3 SSD, 2x 2TB WD Caviar drives (Raid 1)
As for the cooling components:
Radiators: 2x XSPC RX480 Quad Radiators
CPU Block: Swiftech Apogee HD
GPU Block: EK-Waterblocks GTX680 full cover Nickel-plated
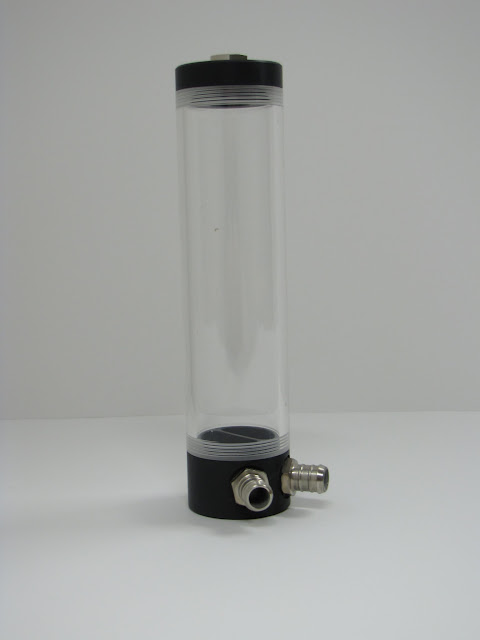
Reservoir: EK-Multioption RES 200
Fans: 10x Scythe Gentle Typhoon AP-15's (8 on radiators, 2 misc)
Pumps: EK-DDC Dual v2 top with two Swiftech MCP35X pumps
Fittings: Tons of Bitspower Shining Silver compression fittings, and some Monsoon free-center fittings
Current Status
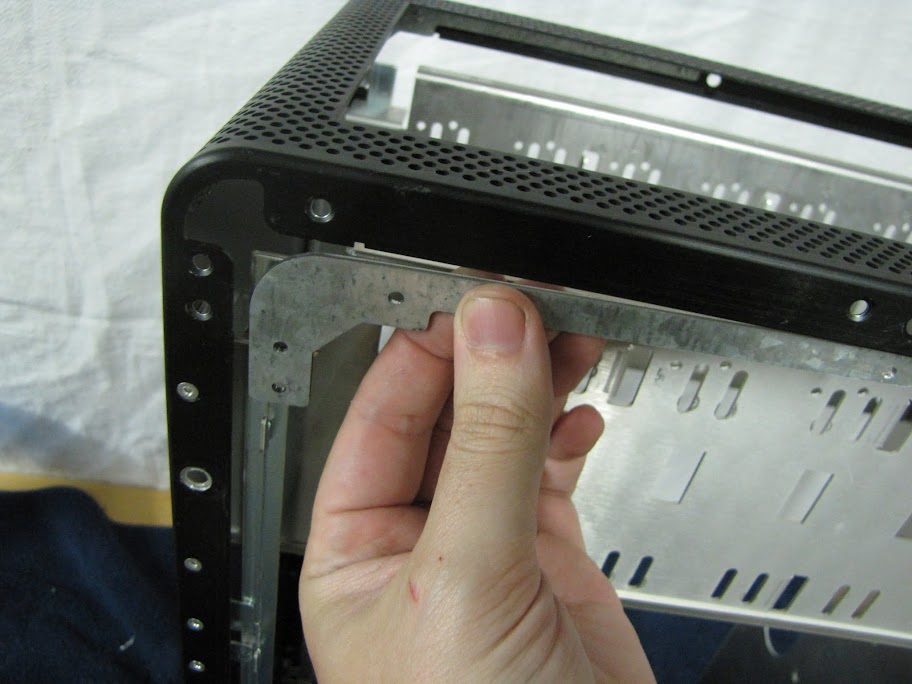
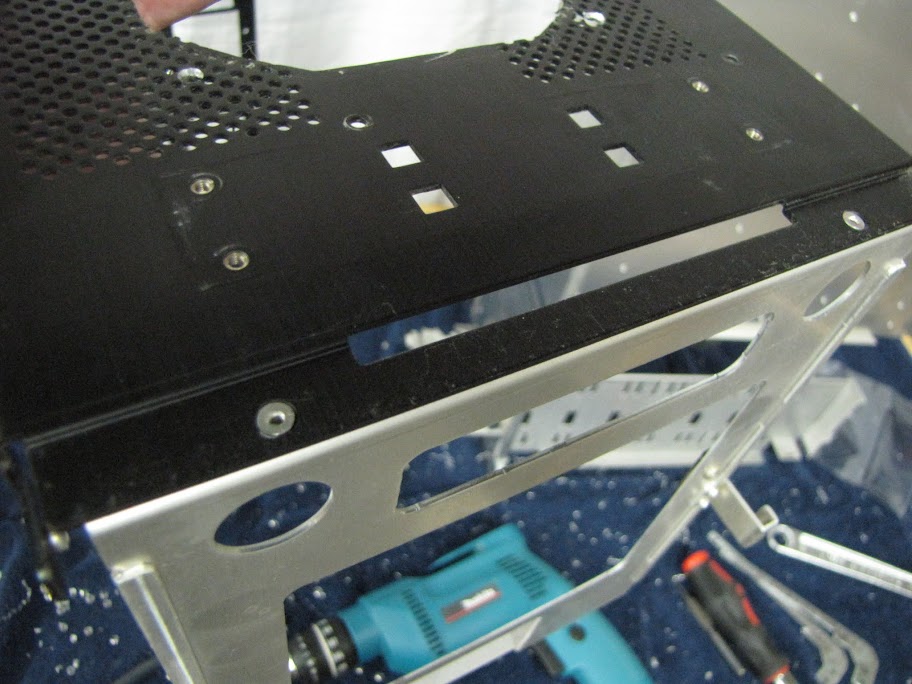
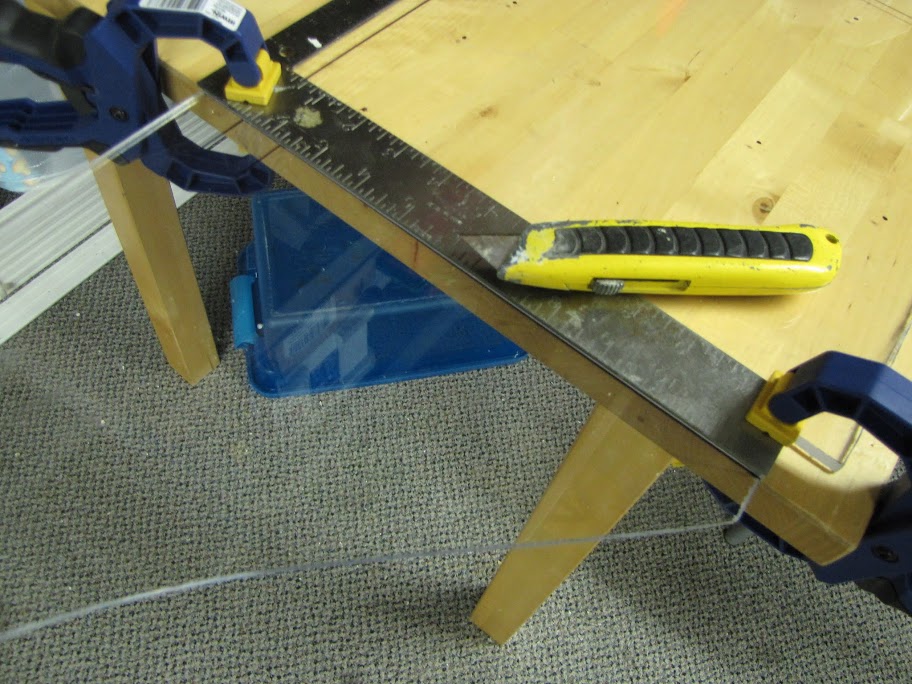
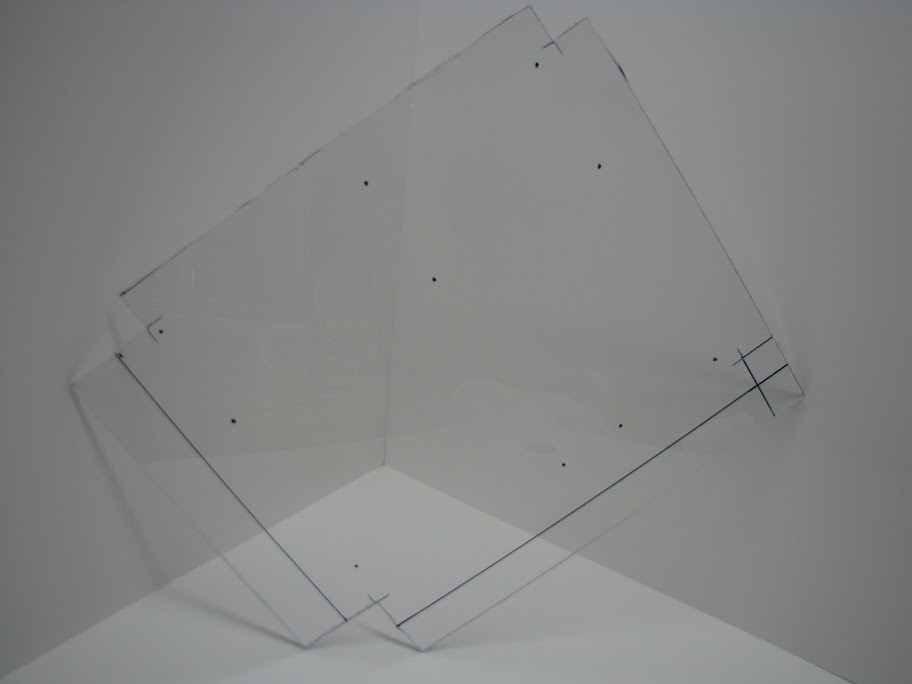
- Second case wall design cut
- Top and Front design in progress
If you would like an easy format for reviewing all the posts, check out my website at Omnifront.net. It's in a much more readable format there, and you can even subscribe to an RSS feed!
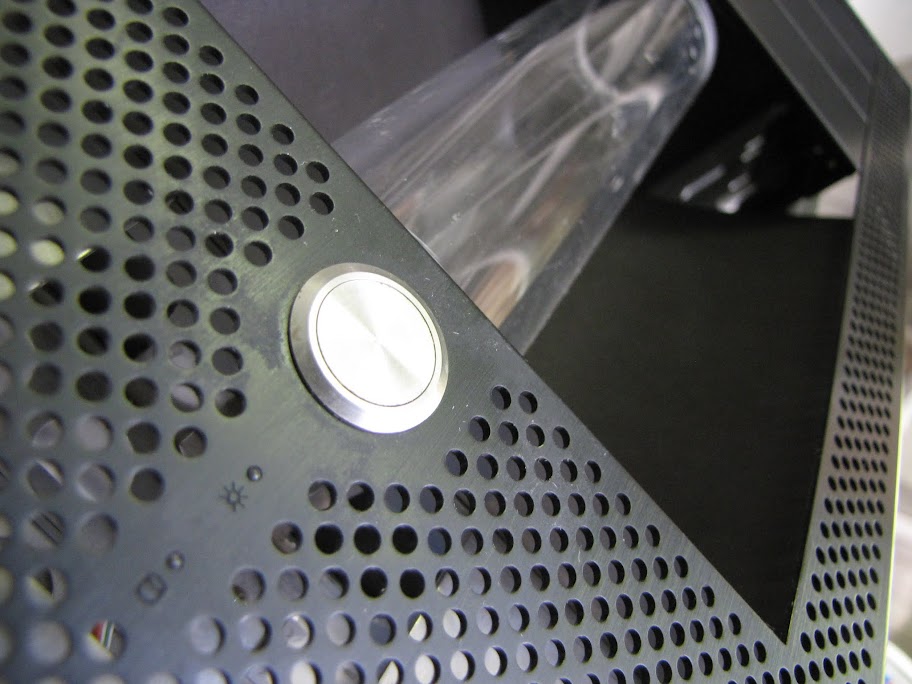
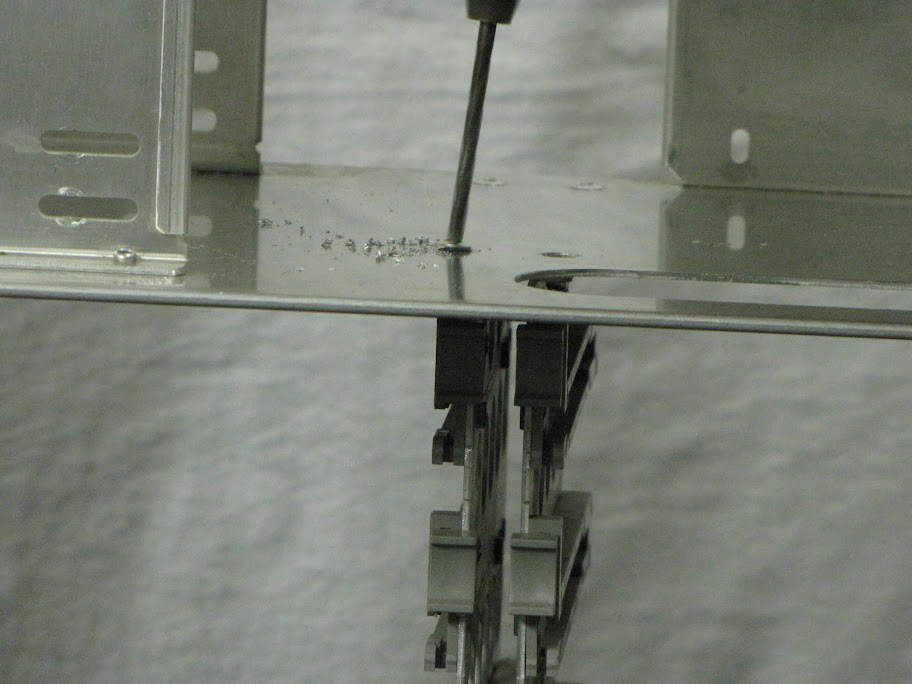
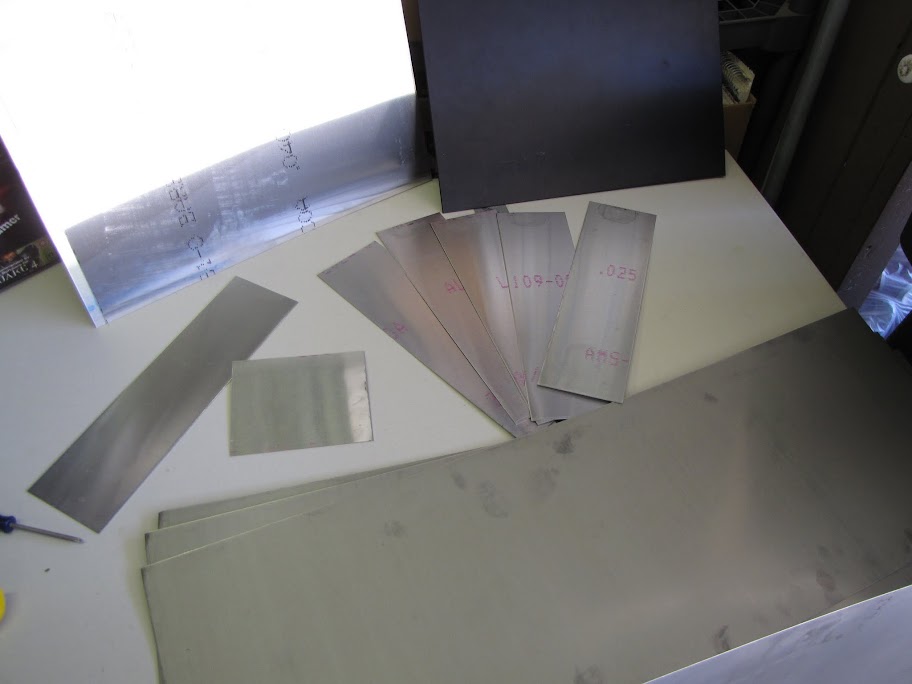
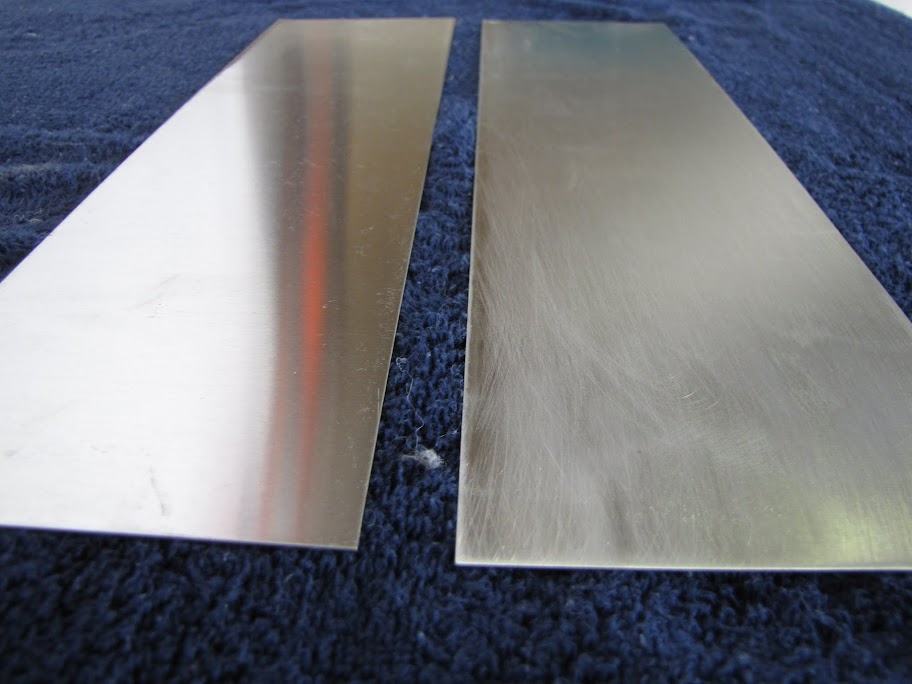
Random Photos of progress:
Also, a special thanks to my sponsors, for believing in this build and all that it can become!
Bitspower is sending a 'surprise' package of equipment, very excited to see what shows up!
Hughes is a client of mine for my day job, but they graciously supplied me with all the extra Aluminum I want, and access to pressure molds should I want them! Sweet!
====================[ /Intro ]====================
====================[ History ]====================
Before I get into what's coming, first, a history lesson of my computer. I'll start by posting some classic pictures... the 'evolution' of my rig, if you will, so you can get a feel of where this classic watercooling case has been, and it will put all the more context into where it's going. Enjoy!
First, Azuremight v1. It was my first shot at watercooling a system. It housed a P4 2.4Ghz running on an ASUS P4v533 motherboard, with a whopping 4GB of RAMBUS RDRAM. That's right. RAMBUS. That dates this computer around 2005 or so. It was... well... a nightmare, as this set of photos will show you:
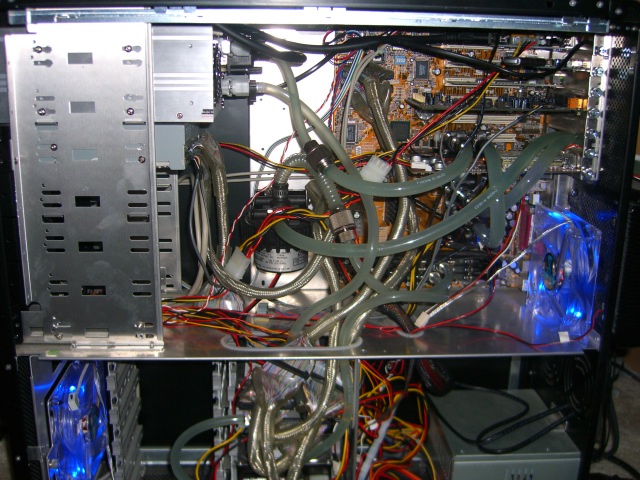
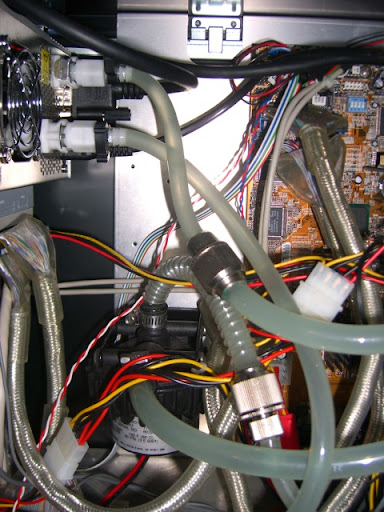
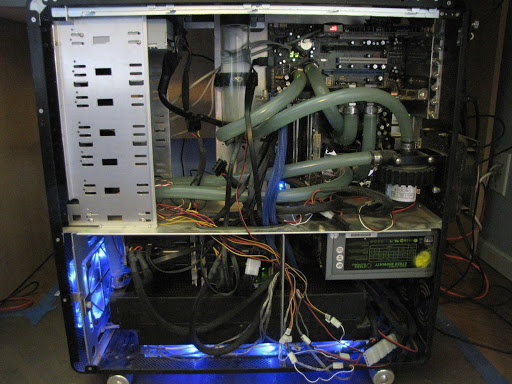
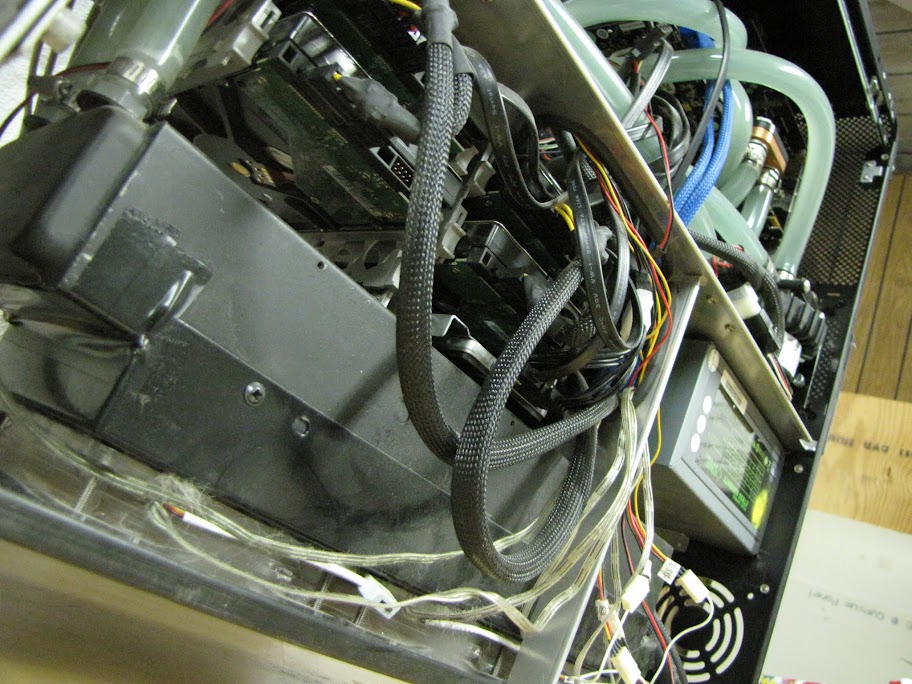
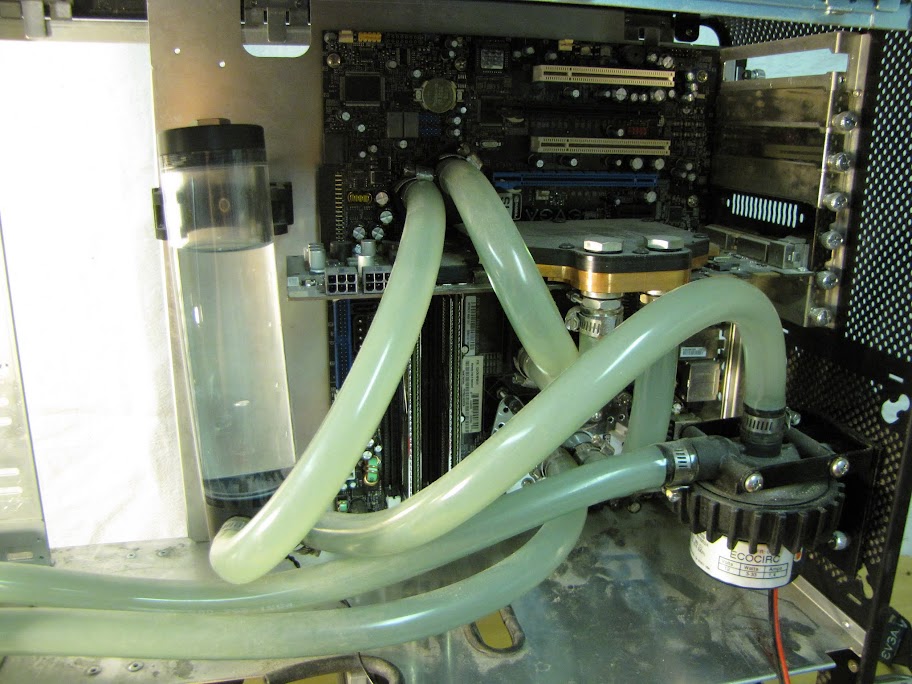
Inside the maw of the beast:
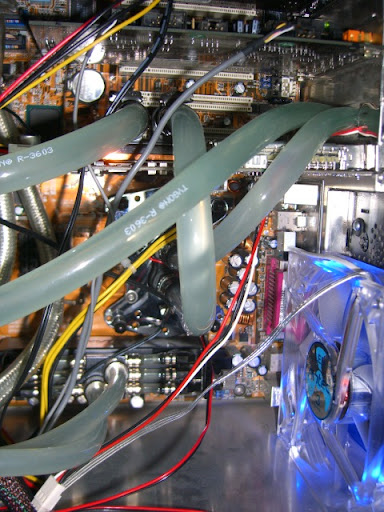
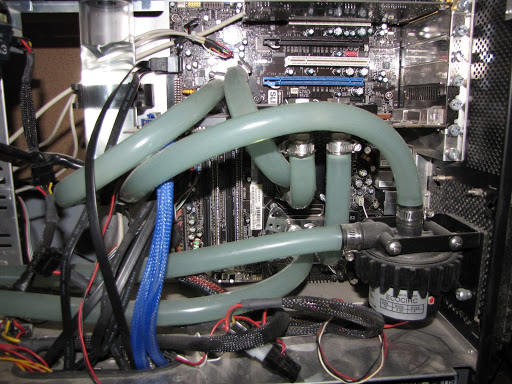
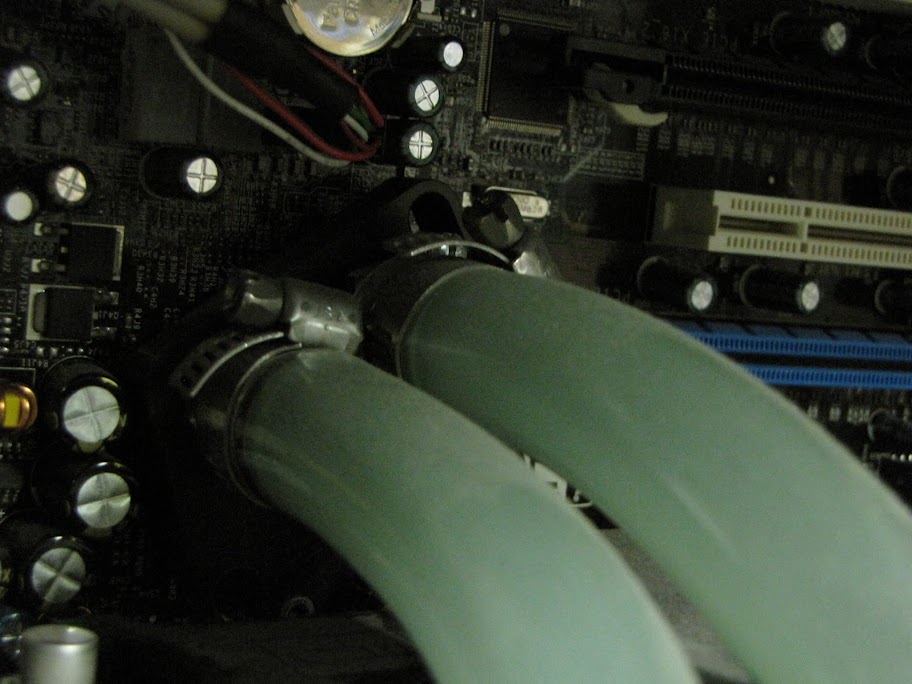
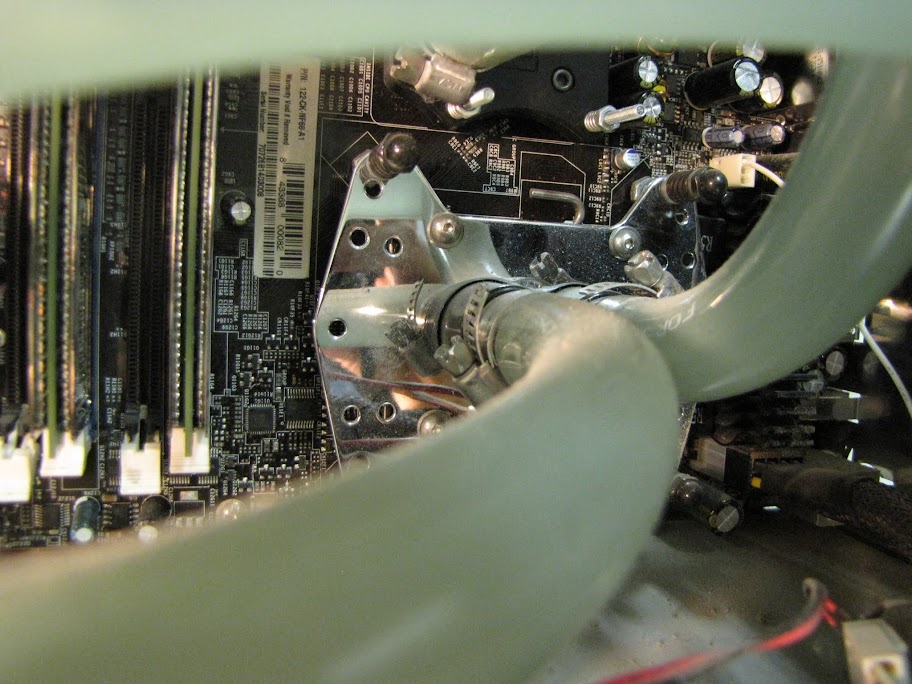
A closeup, showing the P4, my Ram cooler from Koolance, the Radeon 9800 AIW, and the ghetto tubes going out the back of an unused PCI slot:
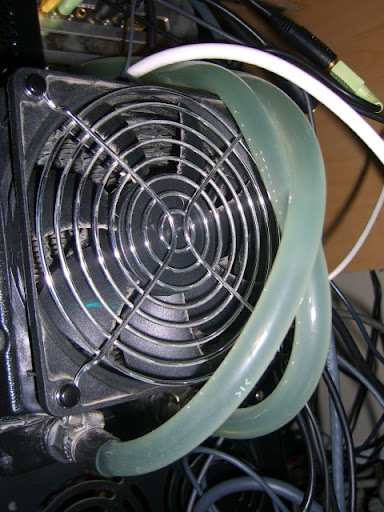
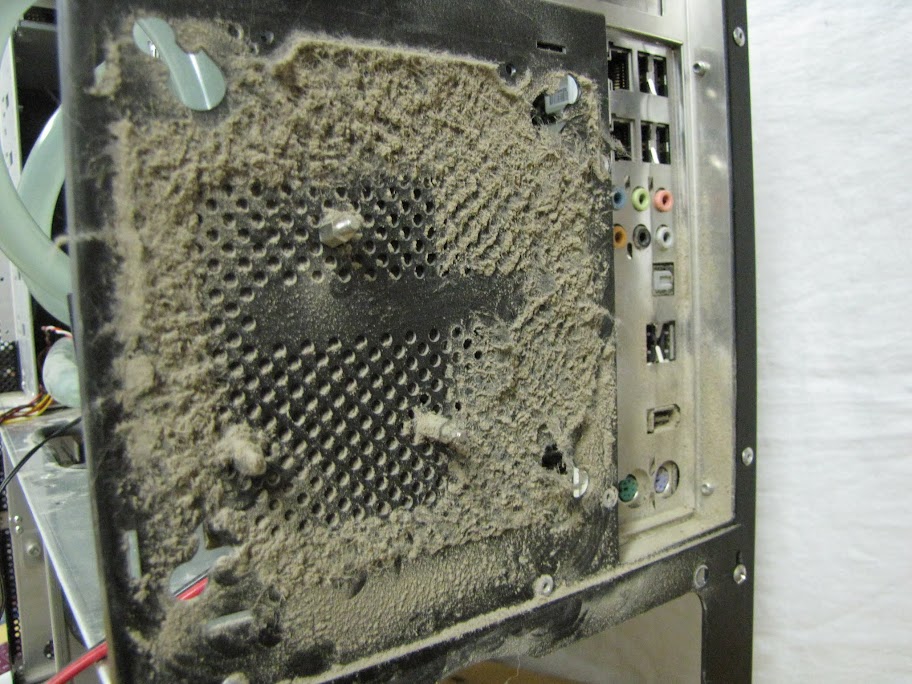
The rear of the case, sporting a 1986 Chevette heater core with a brandless fan tacked on the back (by twisty ties, no less!):
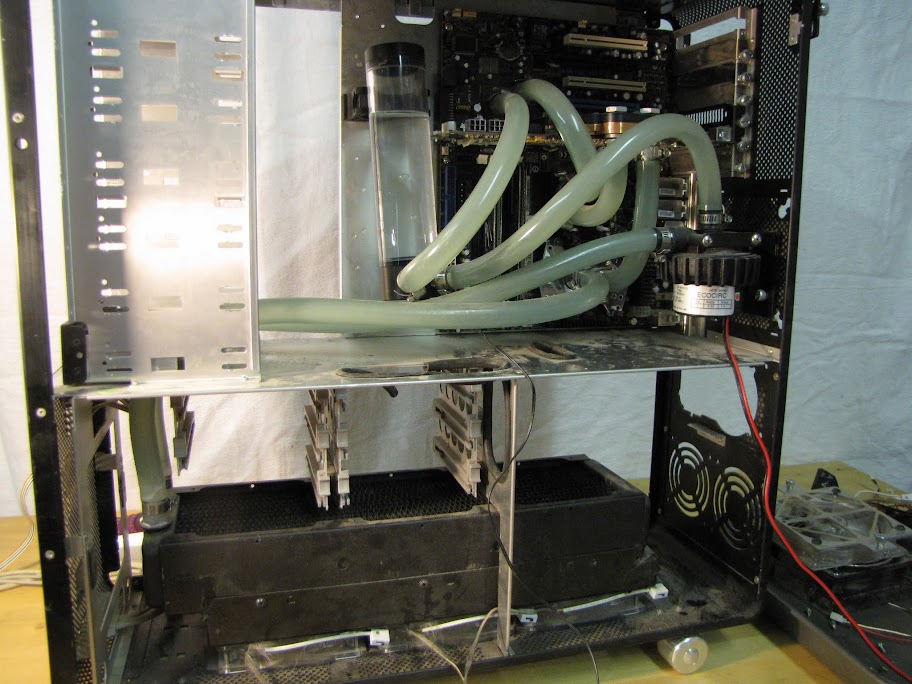
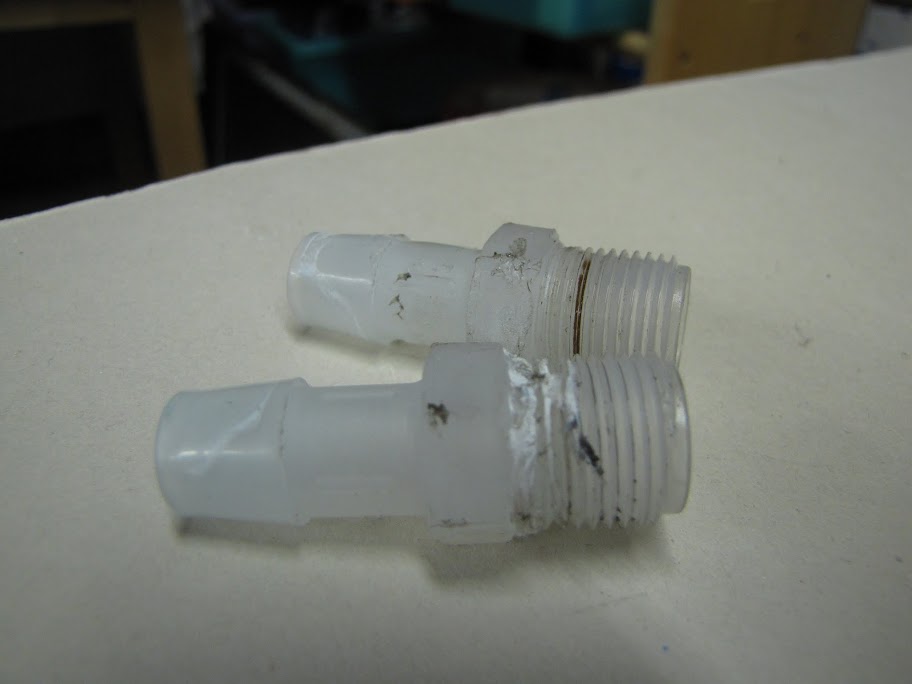
Another shot of the insides, showing the DD12V-D5 pump, and the back of a Coolermaster pump/reservoir/monitor all in one unit, along with the ugly 1/2" ID to 1/4"ID up/down converters to tie the whole mess together into one monstrous loop:
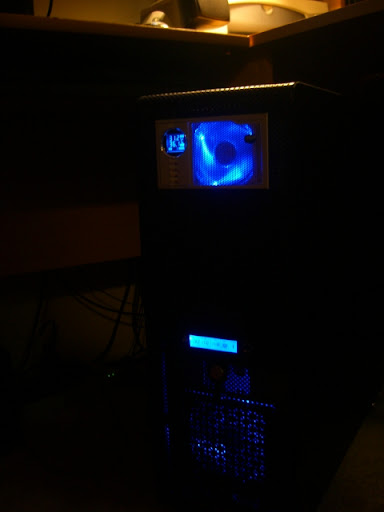
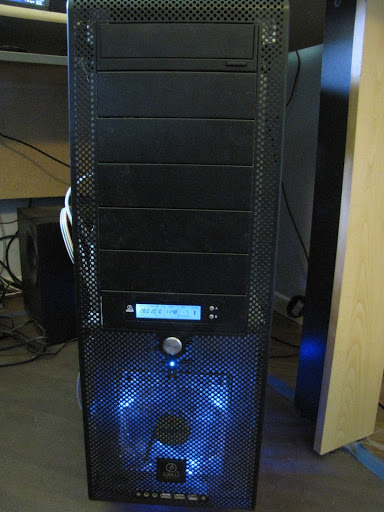
And finally, the case all closed up. The blue is great and all, but it's probably best that I didn't have any case windows... eh?
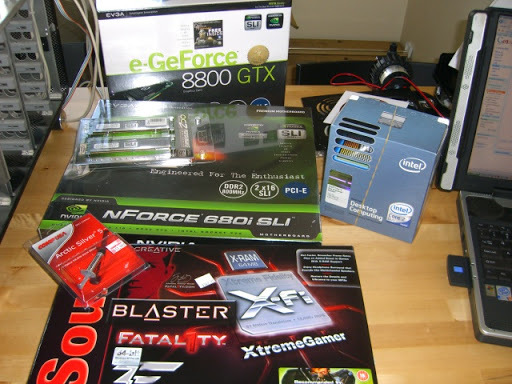
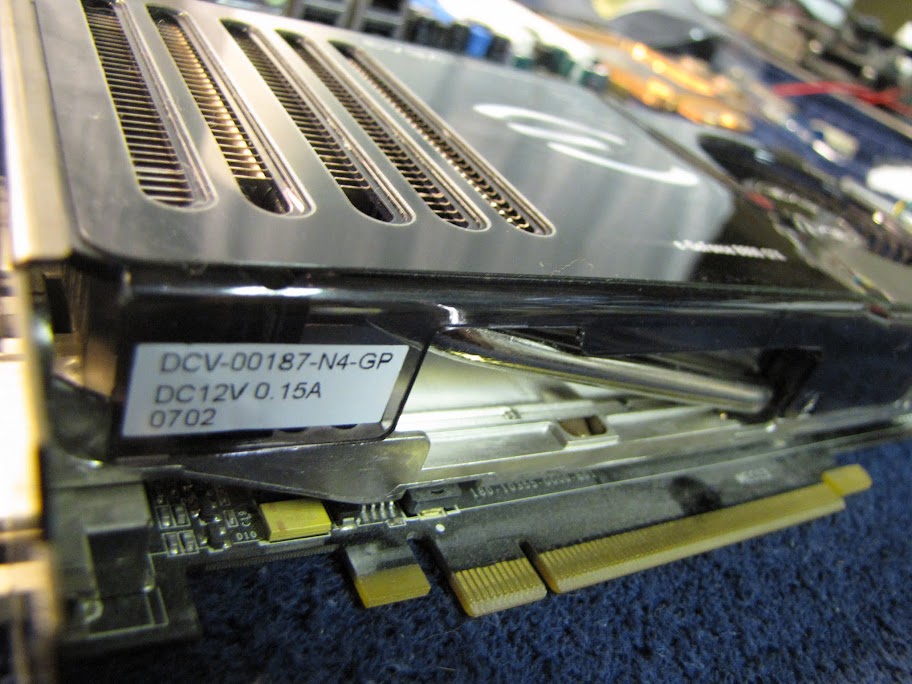
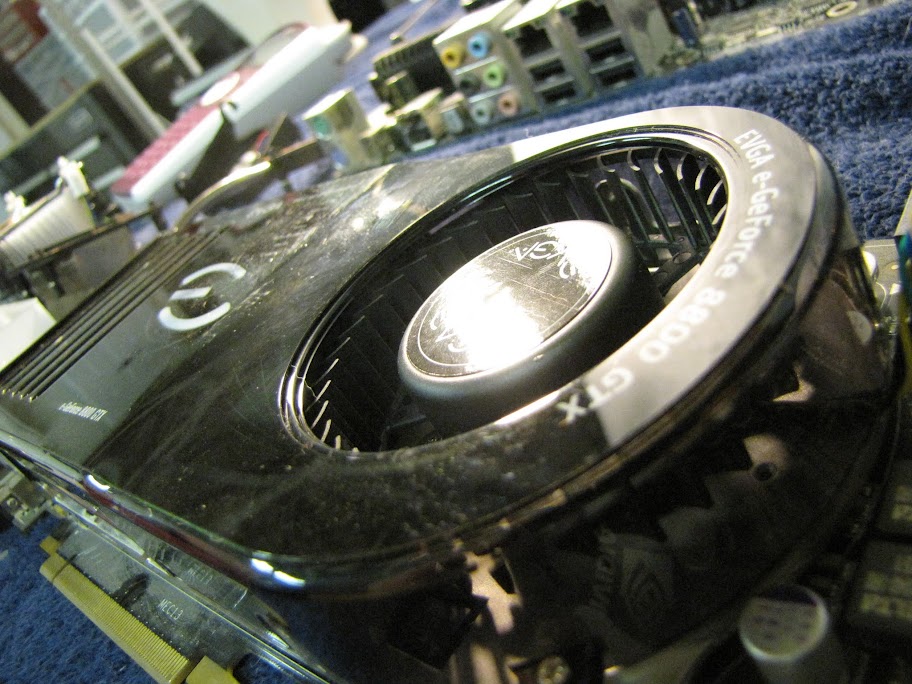
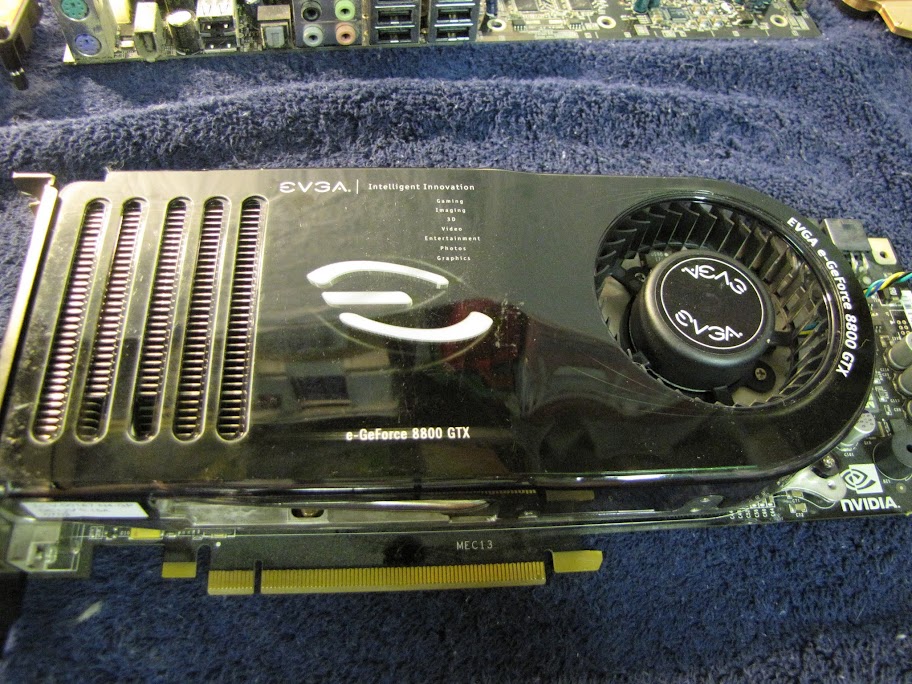
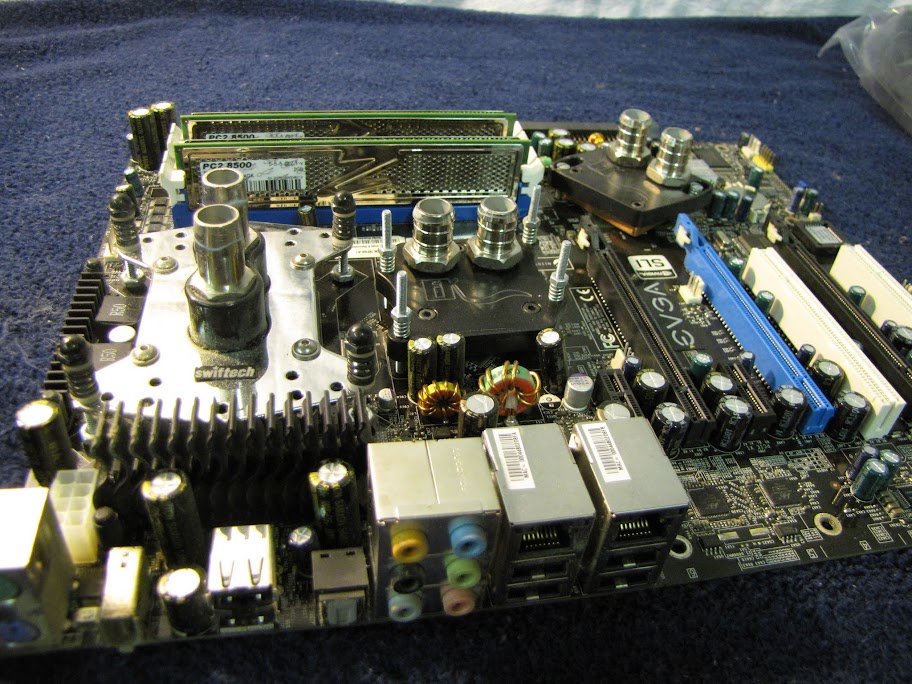
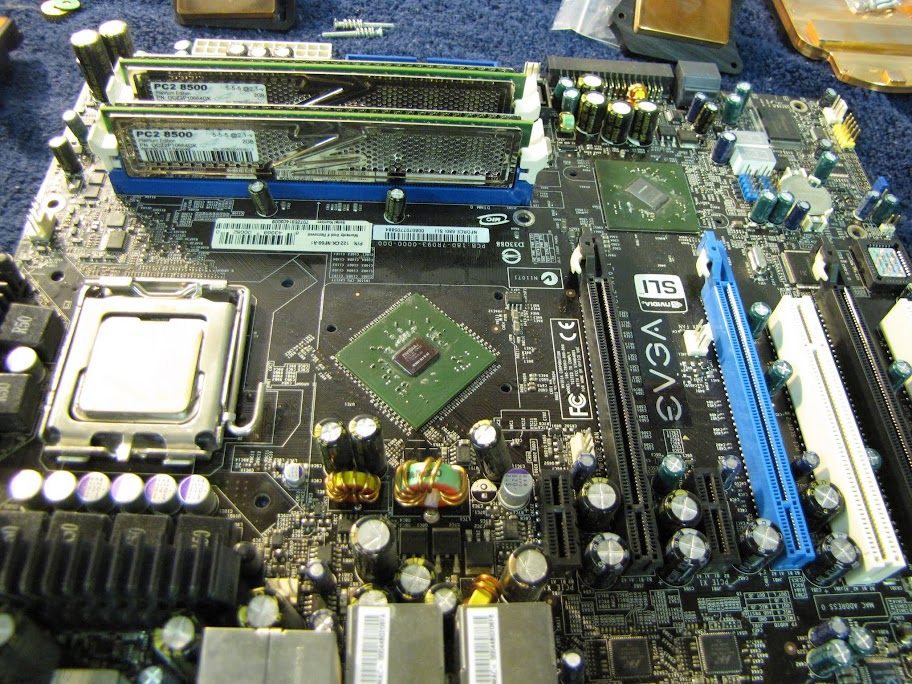
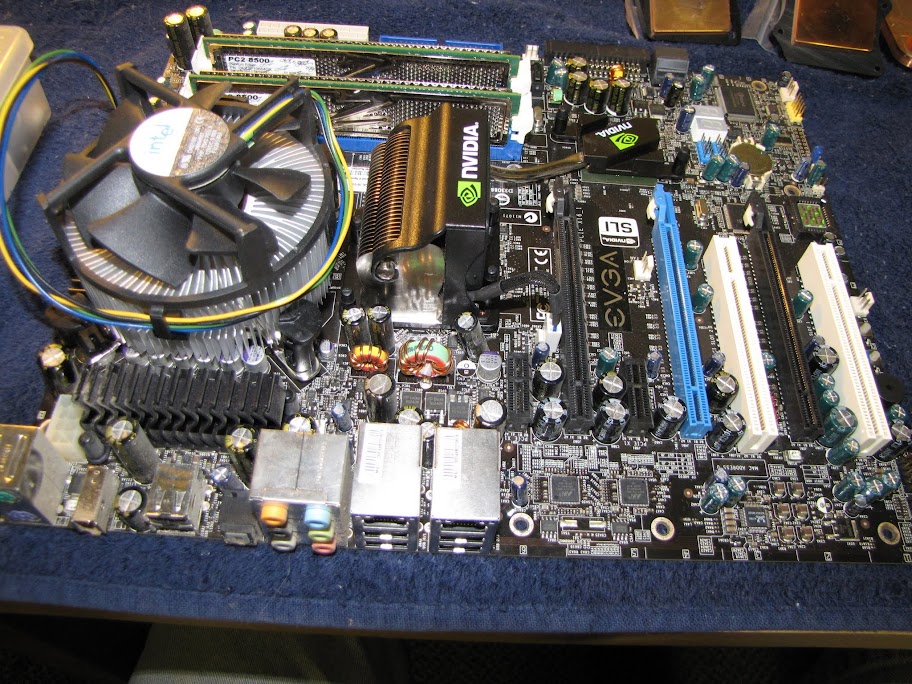
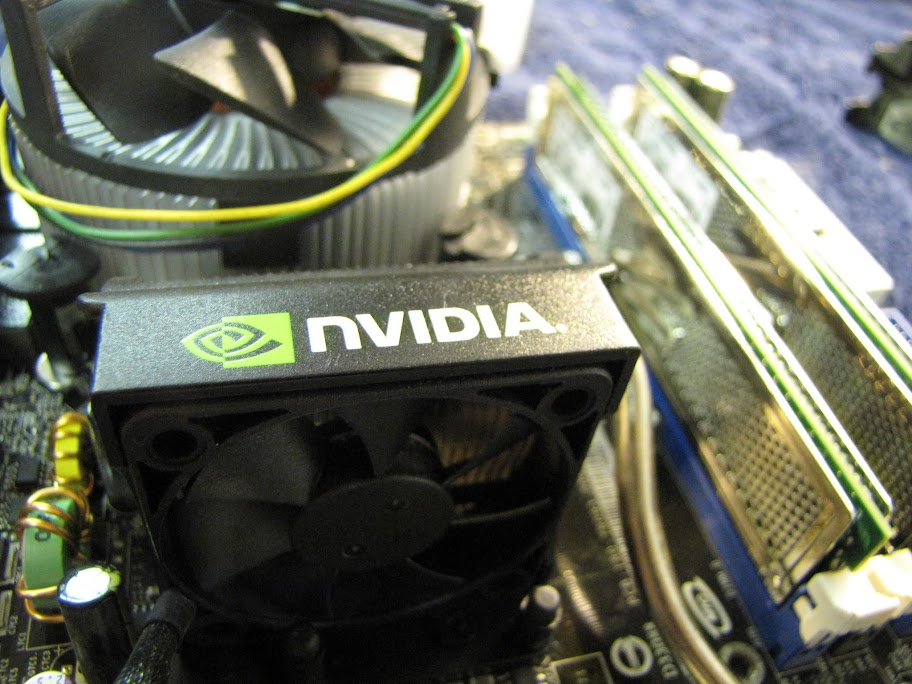
Up next, Azuremight v2! The bold foray into case modding. I bought all new components, including an 8800GTX graphics card, EVGA 680i motherboard, Core2Duo E6600 (which was a beast of an overclocker, mind you), and some premium OCZ 'SLI' memory... whatever the hell that meant. I also planned on getting an EK waterblock for the GPU/northbridge, a switftech for the CPU, and a Thermochill PA120.3 radiator/grill/radbox for cooling:
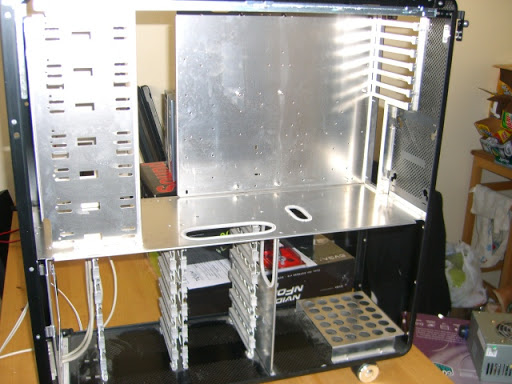
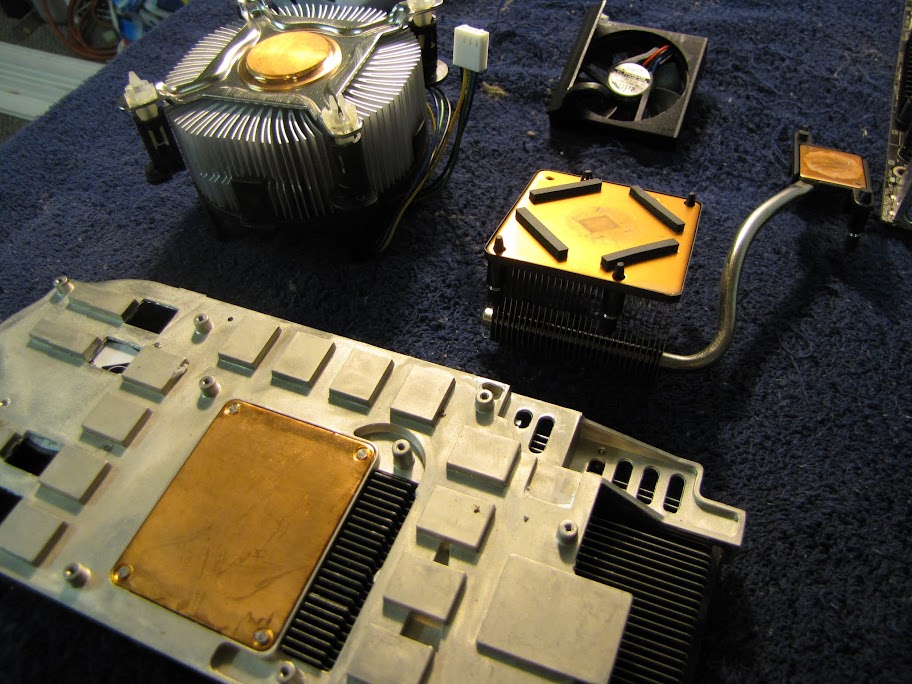
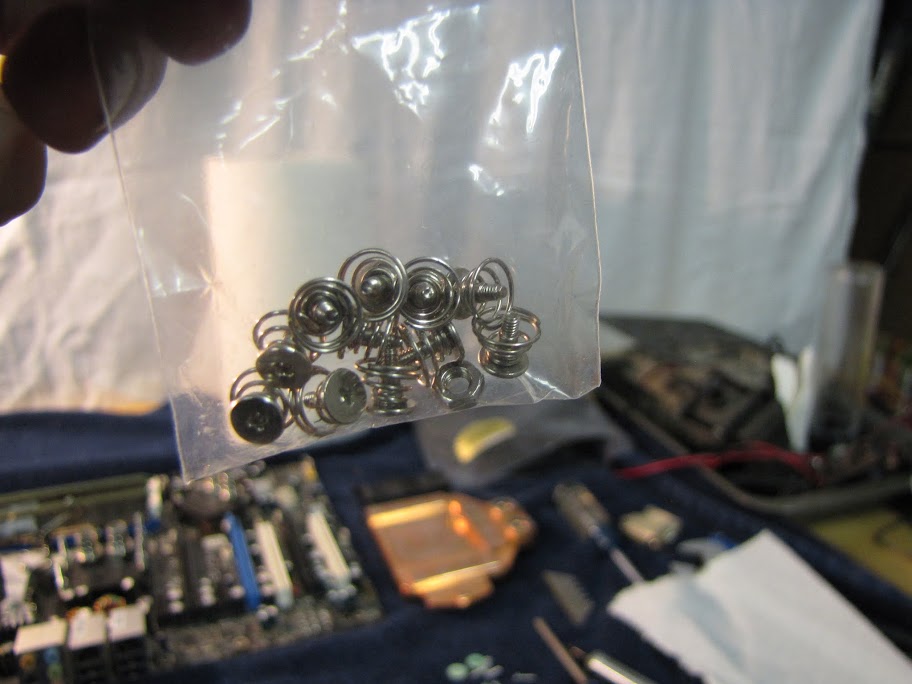
I did a complete teardown of the case. I love this case so much... so big, so many options on where to put things:
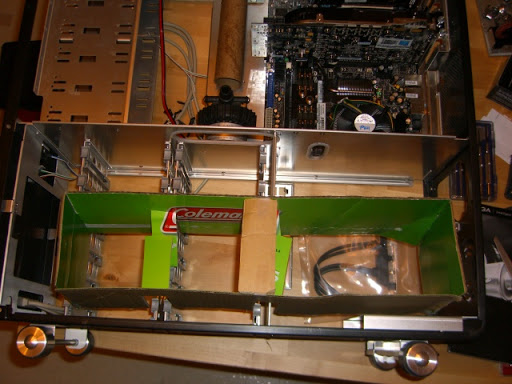
I actually did a little (admittedly ghetto) planning this time, instead of just throwing things at it until they all fit:
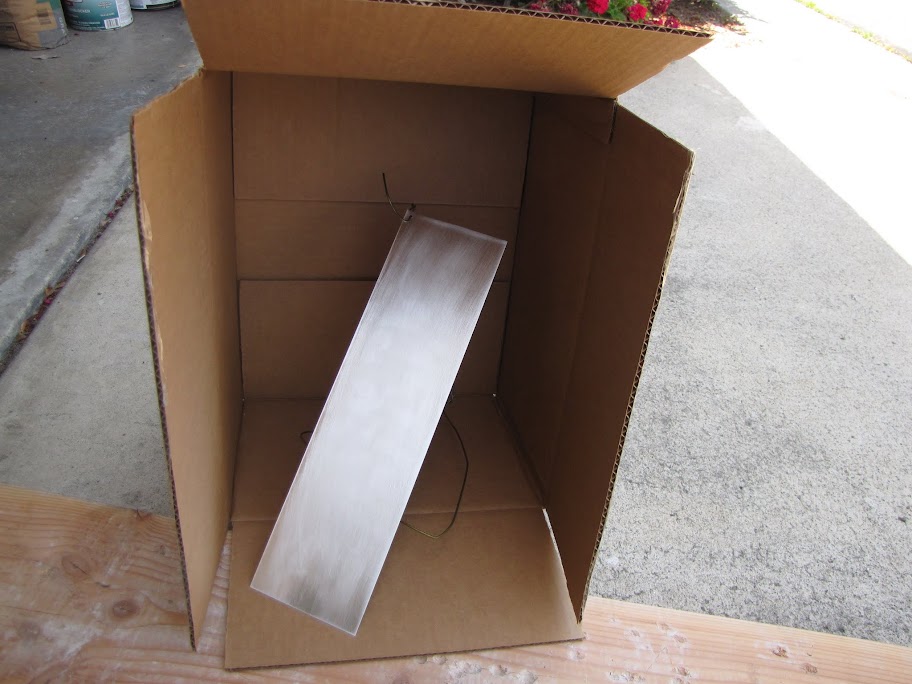
(Yes, that's an empty paper towel tube to emulate my EK-250 Reservoir and a cut up cardboard box roughly the size of my Thermochill PA120.3 radiator. I used them prior to buying, to make sure they would fit. I know. Ghetto. :P)
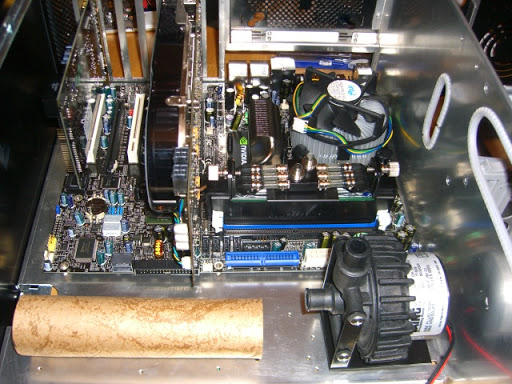
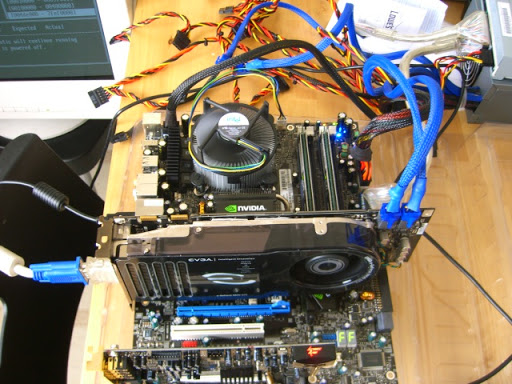
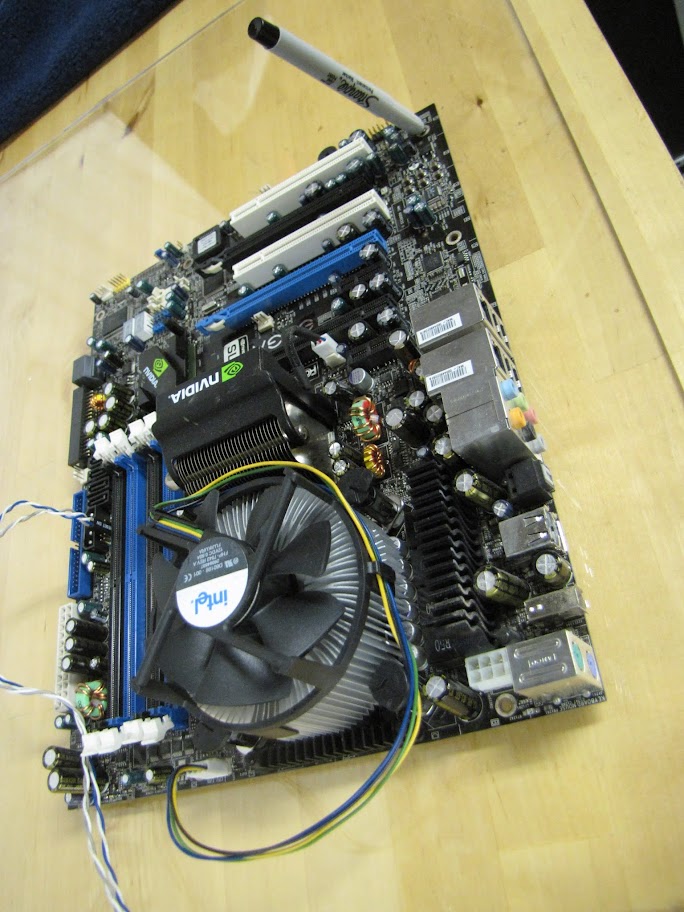
I benched everything pre-watercooling too... just to make sure the components actually worked, and also to get some temps to compare against, validating that all my hard work actually netted me some gain. :P
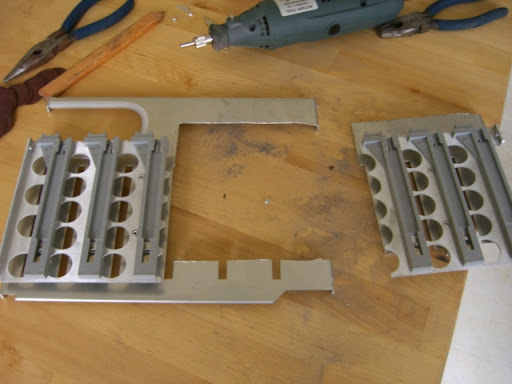
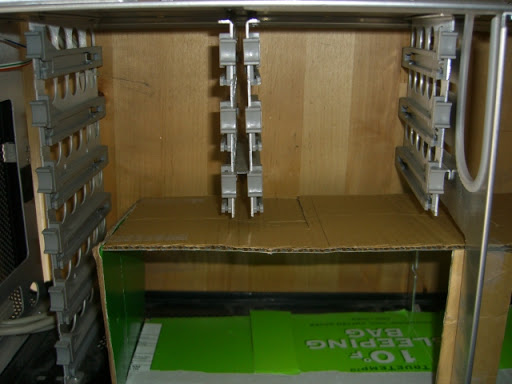
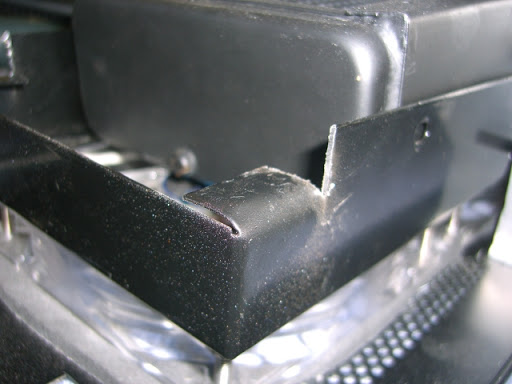
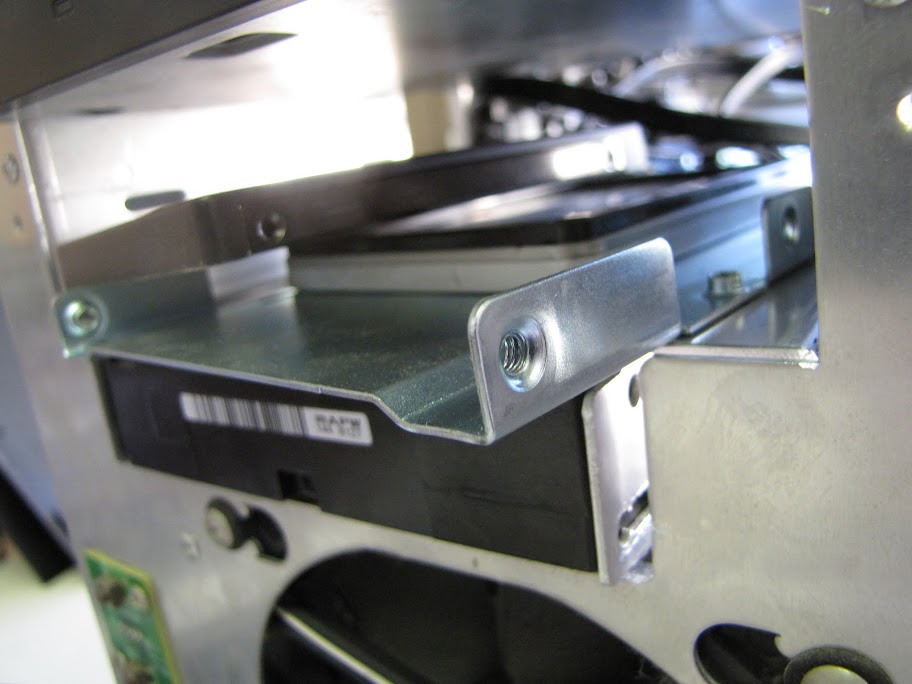
Dremel time! First, I hacked up the hard drive cages down below, where I planned on putting my Radiator. Rather than strait up removing them, I envisioned them hanging above, leaving me a place to put them while still fitting in the radiator:
Nice, totally works!
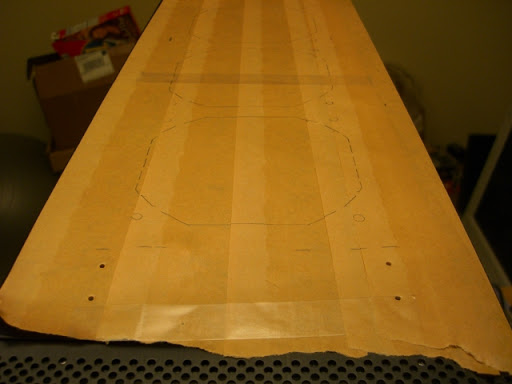
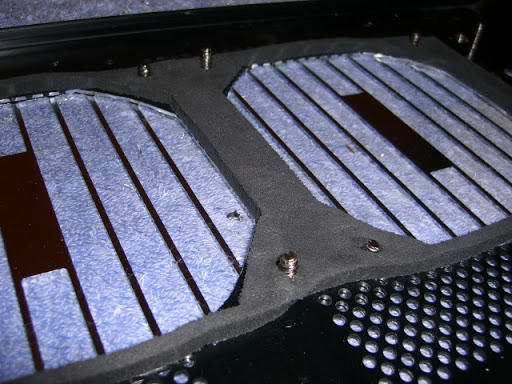
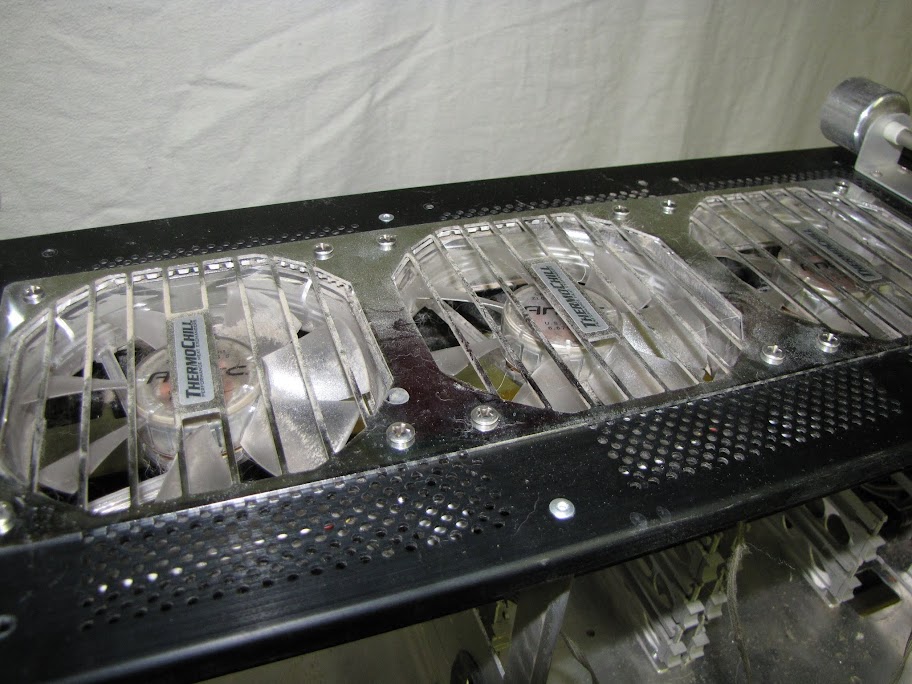
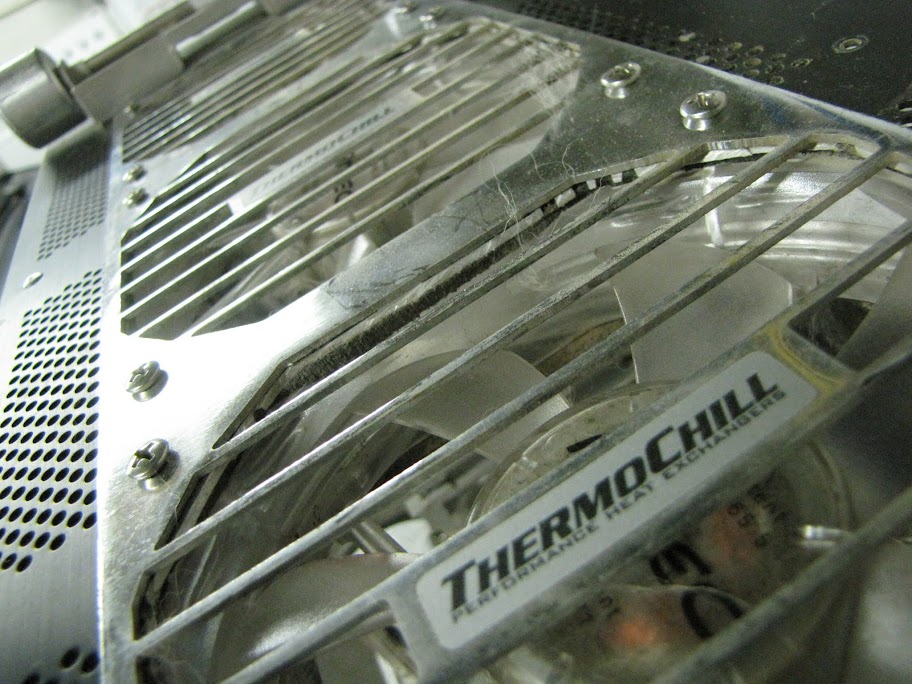
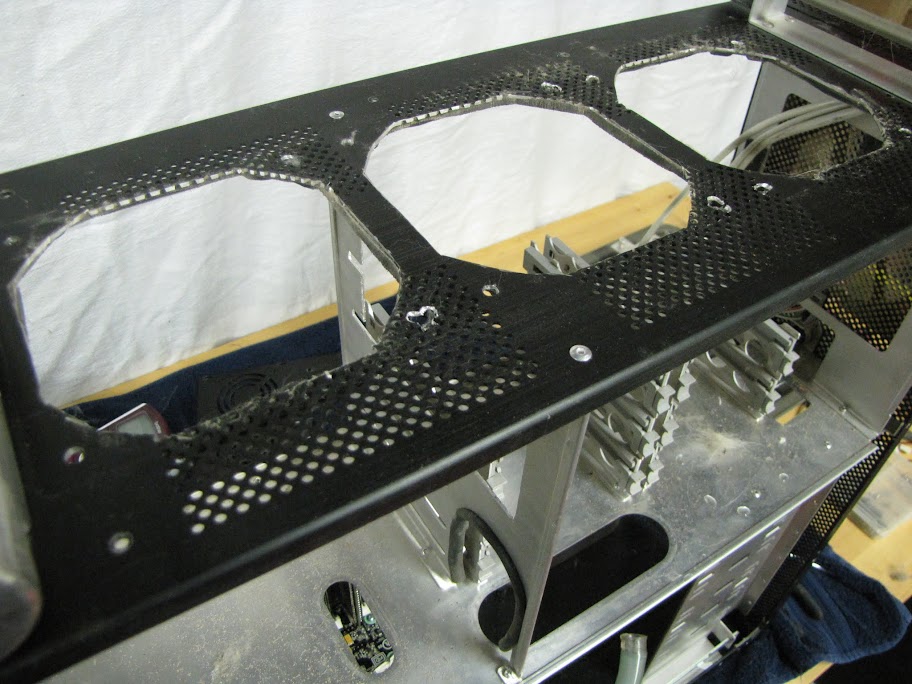
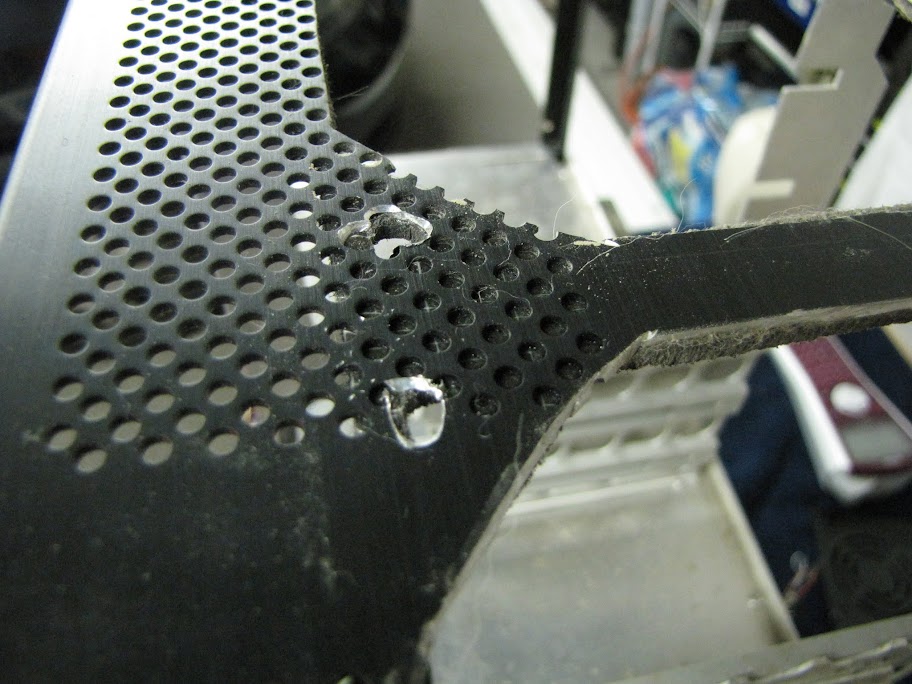
Next, I taped off the bottom of the case and used the Thermochill Radgrill 120.3 as a template for cutting fan holes:
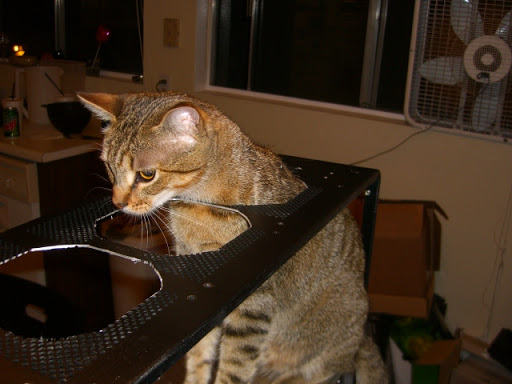
Here's my boss, inspecting my shoddy craftmanship. What, no sanding??
Now, I fitted the Radgrill to the bottom, applied some of the sound dampening foam, and made sure the self-tapping fan screws would fit through with enough threading to hold the fans in place:
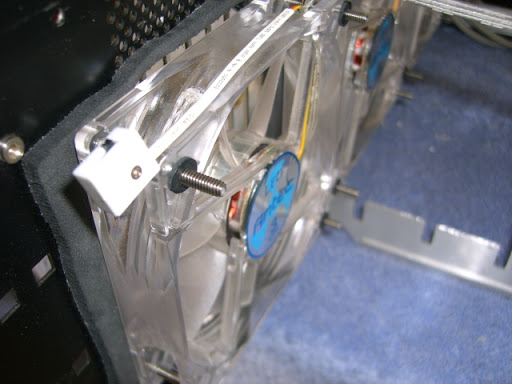
I decided to scrap the self-tapping screws in favor of some longer bolts from a local hardware store... that way, I could sandwich the whole kit (Radgrill, Radbox, fans, and radiator) together against the case, keeping it nice and snug with rubber washers and sound dampening neoprene between layers:
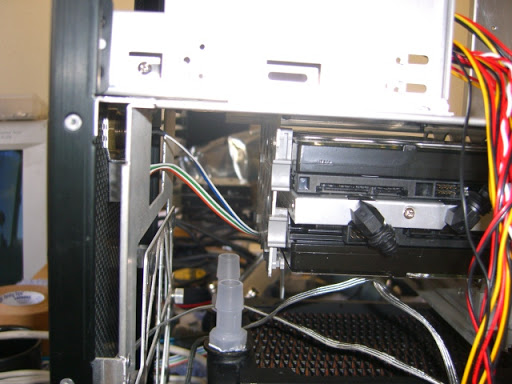
Awesome, totally worked... but what's this?
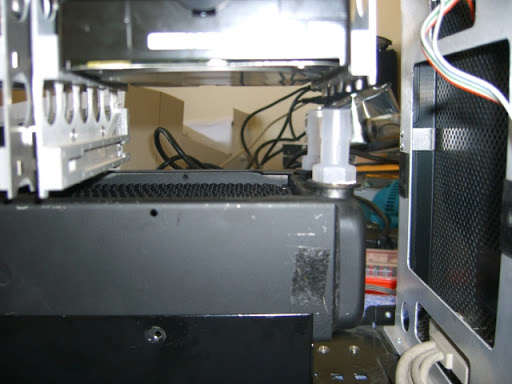
DAMNIT. The radiator ports line up with the hanging hard drive cage, making it impossible to hook them up. Great job self, way to measure. /facepalm. /flipdesk. Time for more dremeling. Nothing a bit of modding won't fix:
(as a side note, I patched up that hole with some certifiably ghetto electrical tape, to make sure all of my air pressure was going through the radiator, and not out of the gaping hole in the back.)
Much better:
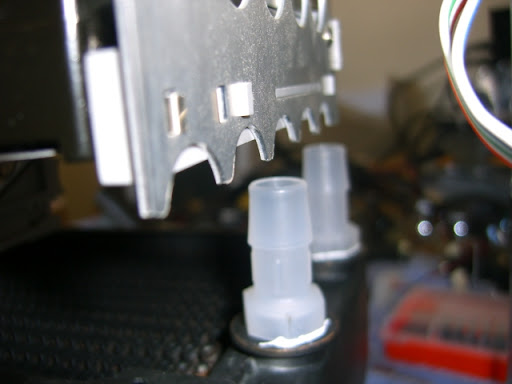
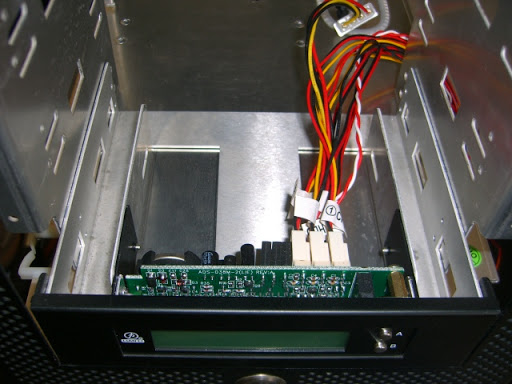
Now, where are those tubes going to come up? Not much clearance between the ports and the mid-plate separating the bottom of the case from the motherboard section, where all the tubing needs to go. Quite a stretch to the factory-cut holes in the middle of the mid-plate too. Looking at my Lian-Li fan controller gave me an idea:
Dremel time! I marked off the holes in the fan controller with a pencil, then got to work. I wasn't too worried about the irregularity of the hole cuts, as I was planning on using some rubber tubing as an 'edge-guard':
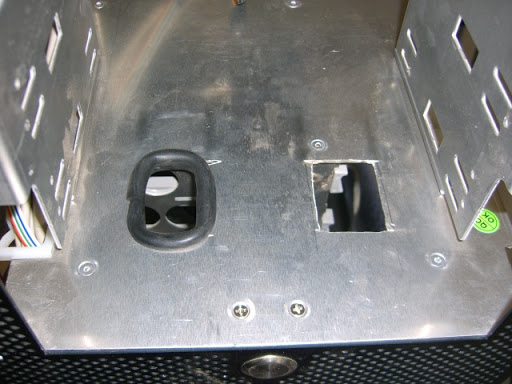
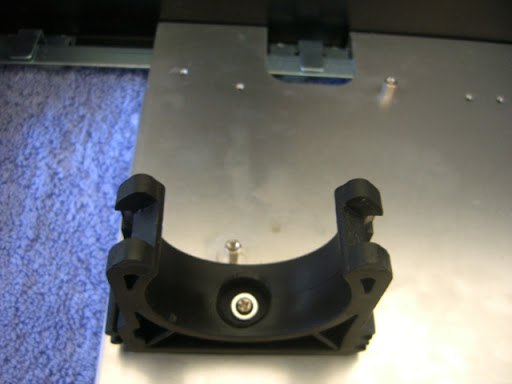
For my reservoir placement, I actually got really lucky. I was wondering how I was going to attach it to the motherboard plate, when I noticed there was a pre-drilled hole already in about the place I was thinking of mounting the reservoir. Works like a charm!
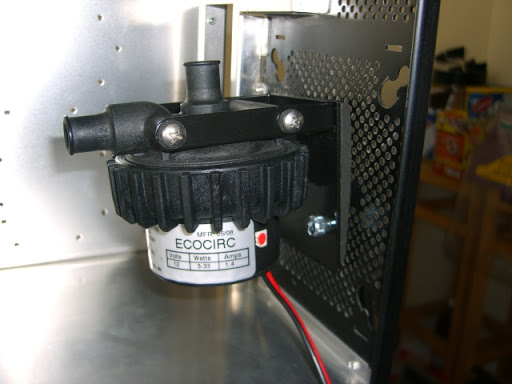
Now that my reservoir was sitting where I previously had my pump... the pump needed a new home, and preferably not too far away from my other components to cut down on tubing. Ended up deciding on this location:
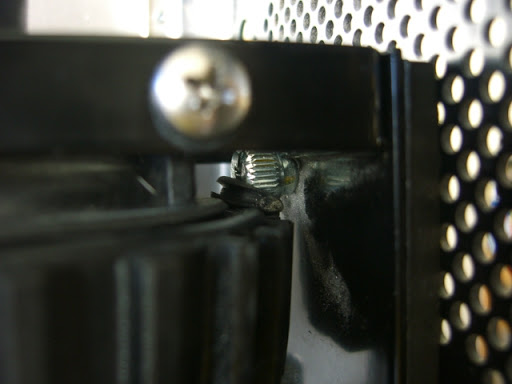
I attached it using a creative conglomeration of motherboard standoffs and thumb screws. One of the thumb screws ended up being a little close to the pump, to the point where I thought it might cause a vibrating/rattling noise, so I buffered it with an extra rubber washer I had. I know. Ghetto.
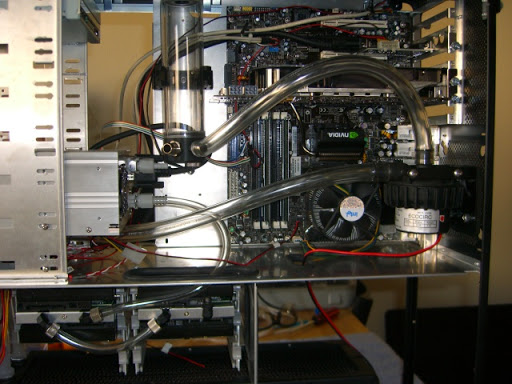
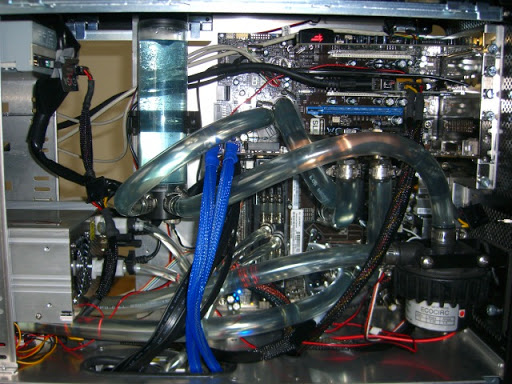
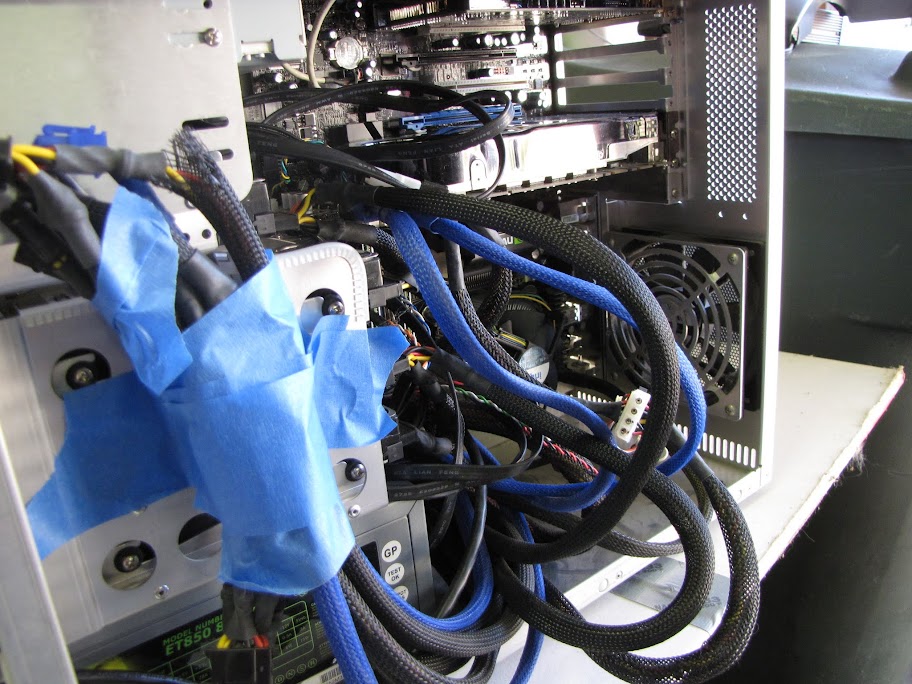
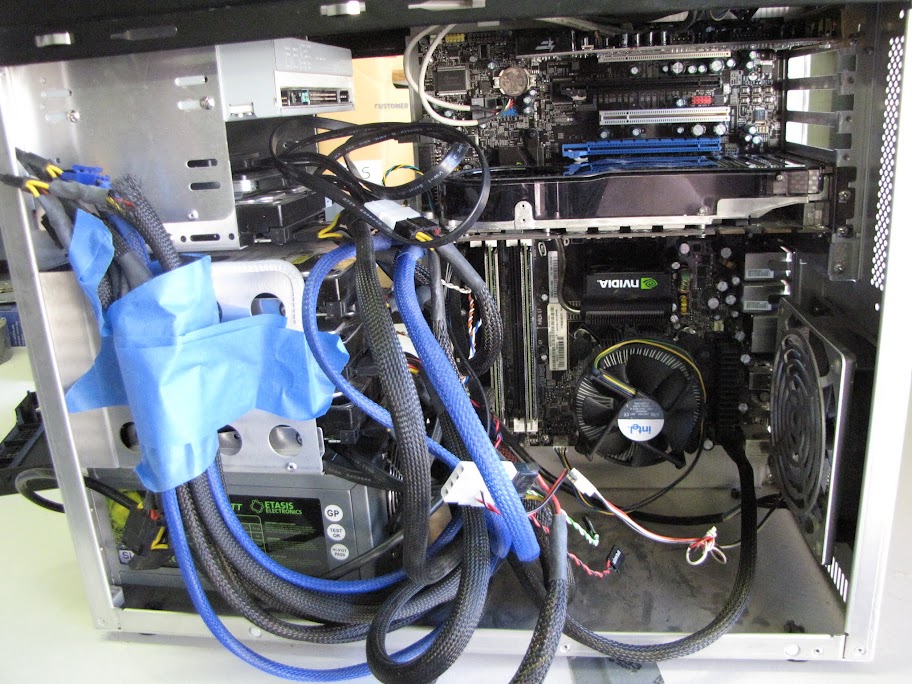
Now we were finally getting somewhere. With all the components assigned a home, it was time to do some tube routing and such. I decided on a path of res>pump>radiator> and figured I would take it from there. You can see I still planned on using my Coolermaster, but now it was it's own loop, just for the hard drives and memory:
Excessive, I know, but I already had all the hardware. Why the heck not? :P
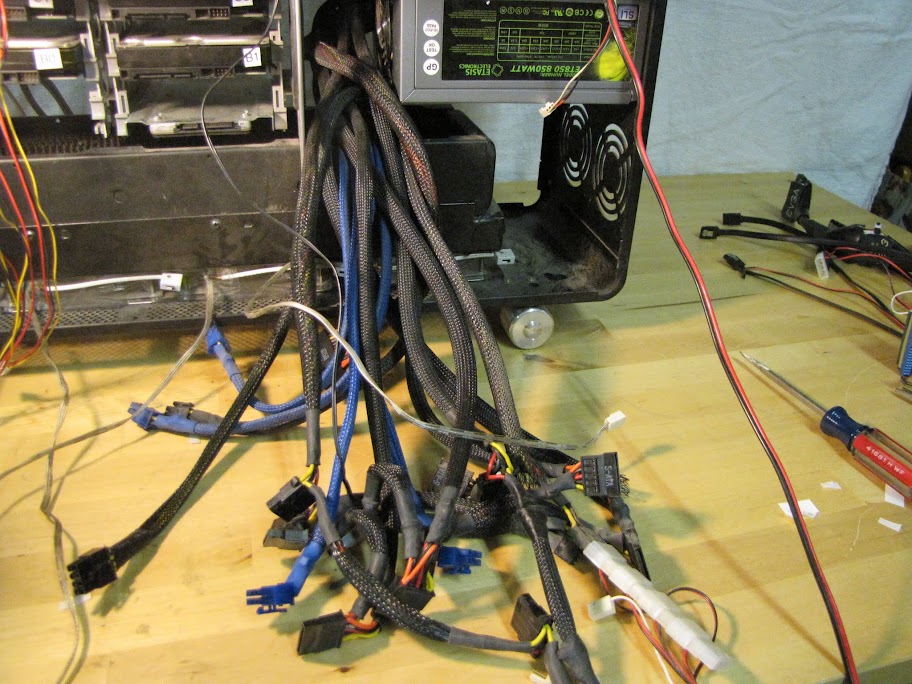
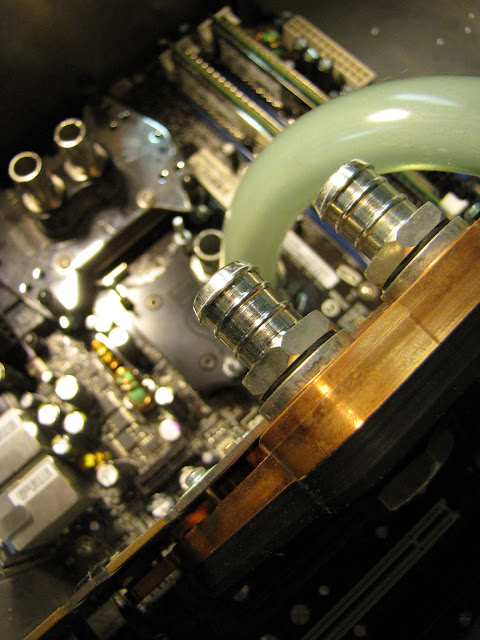
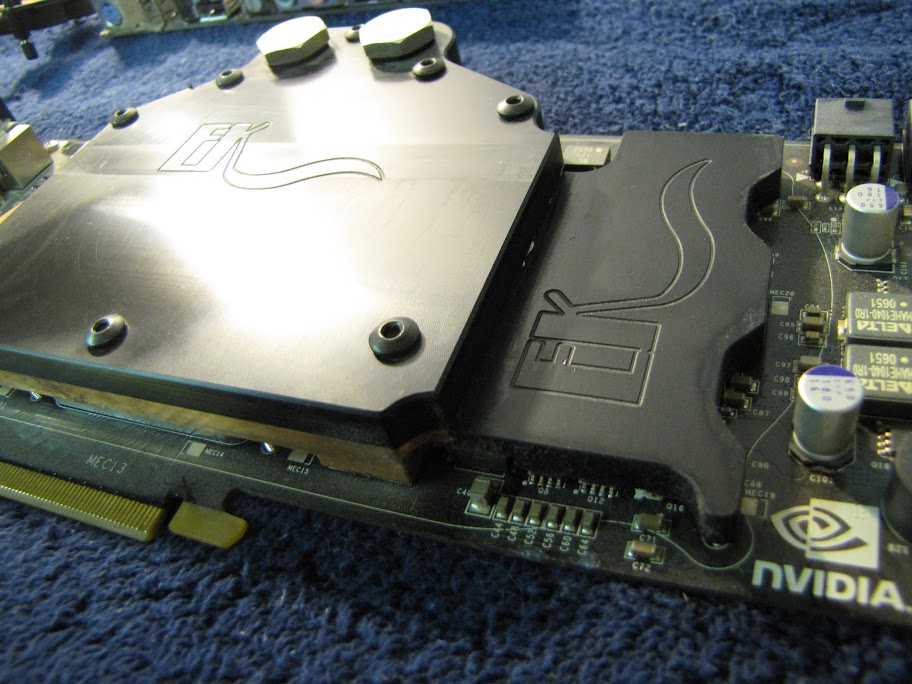
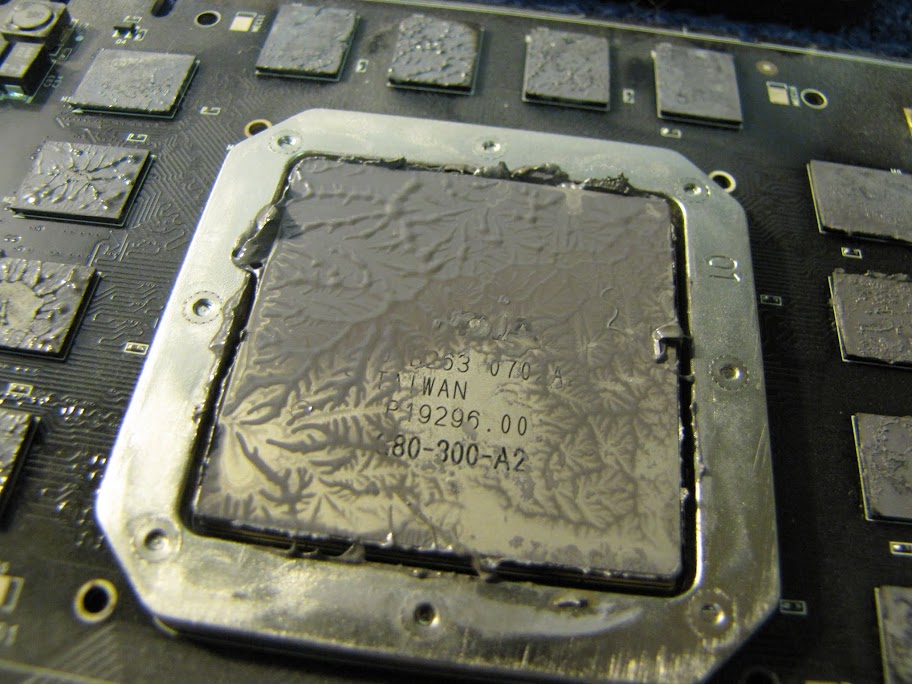
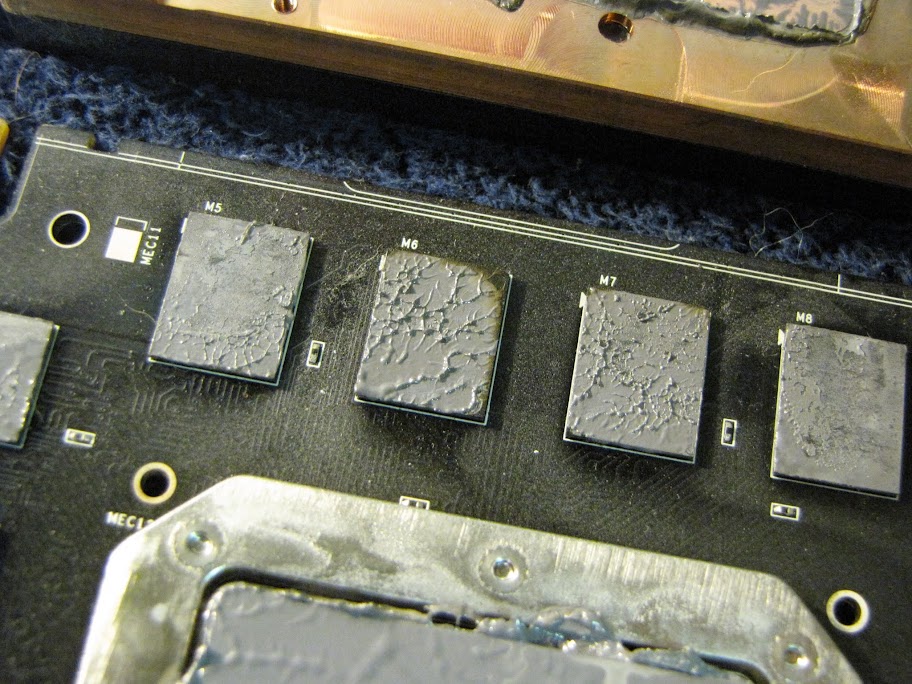
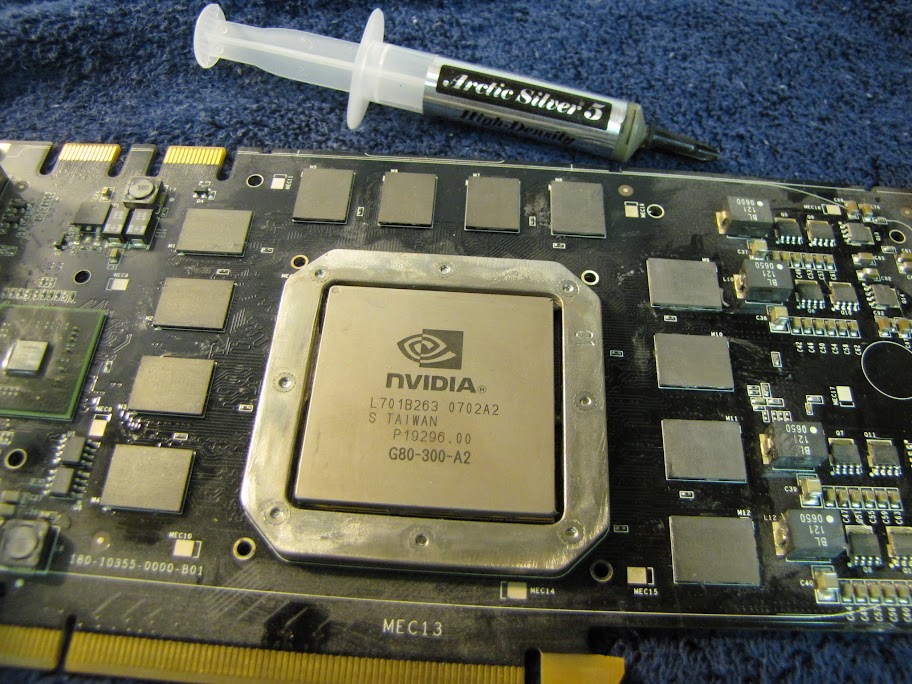
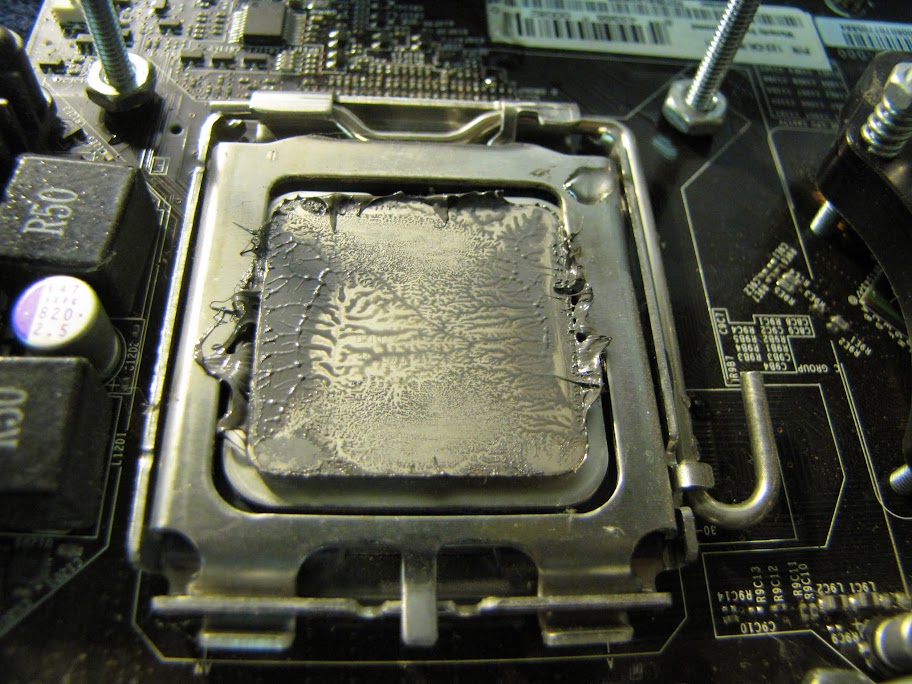
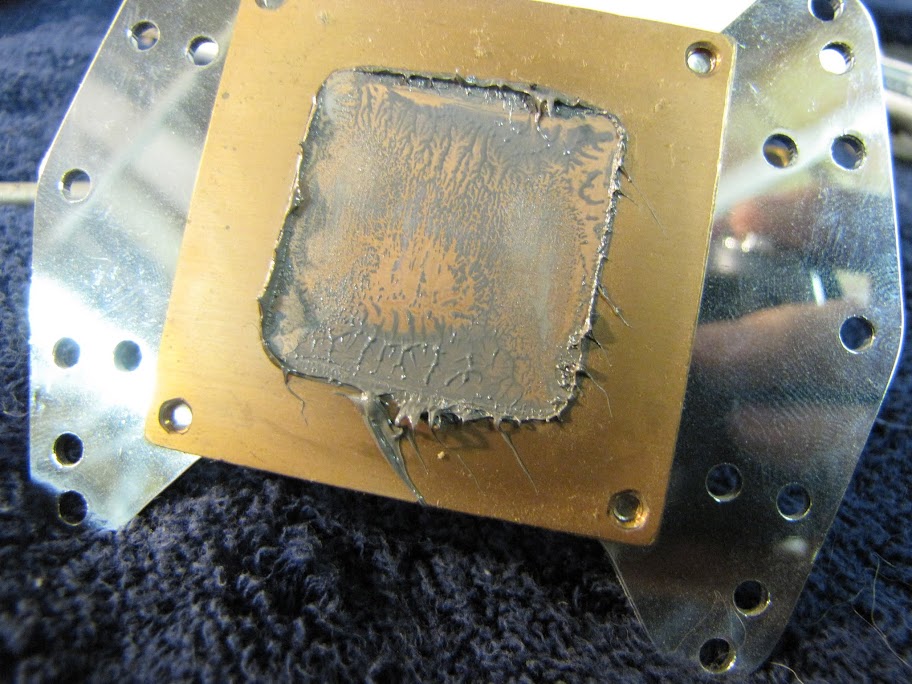
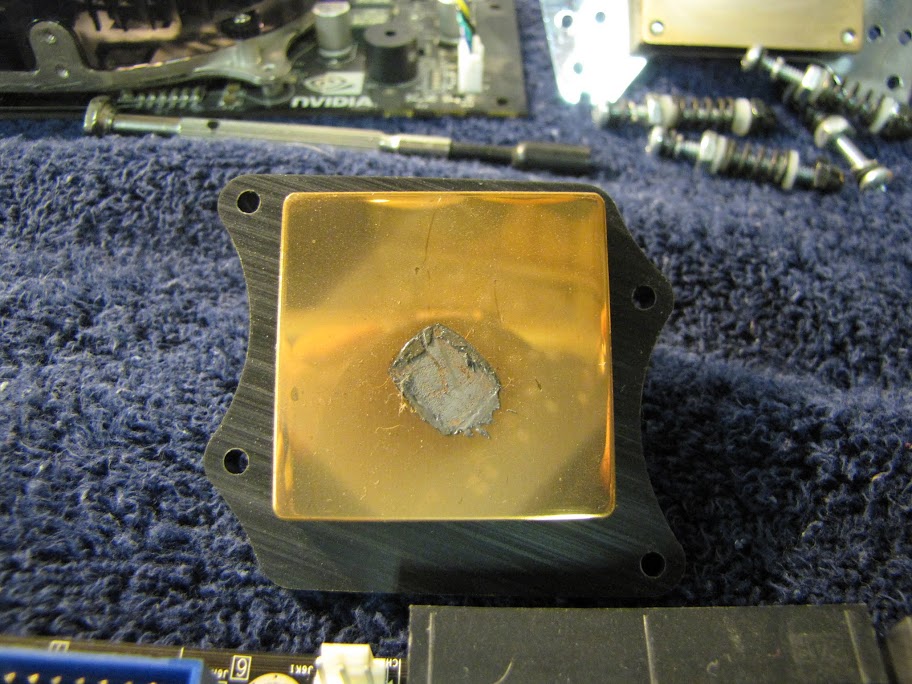
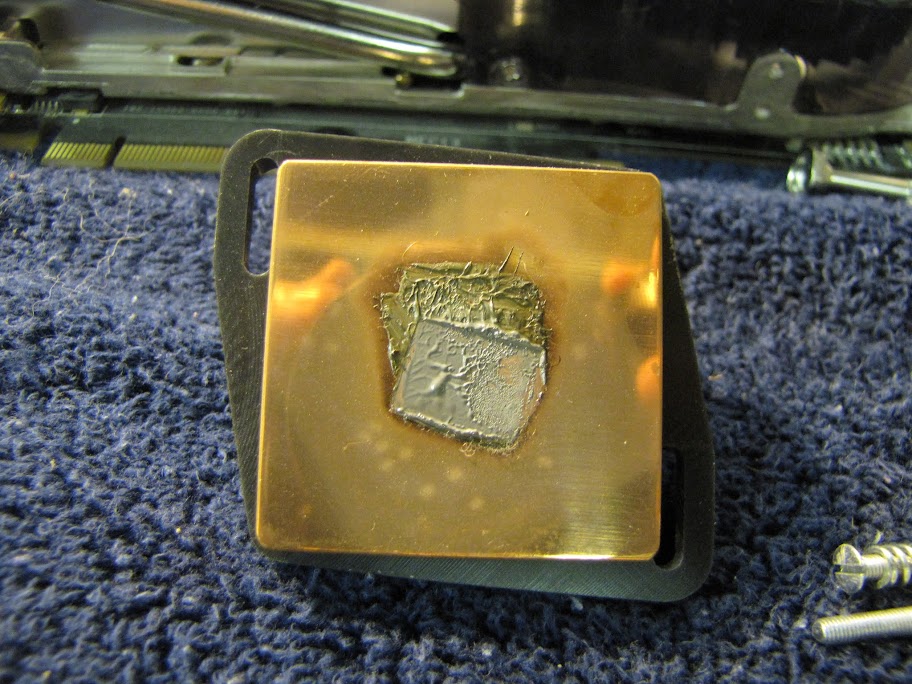
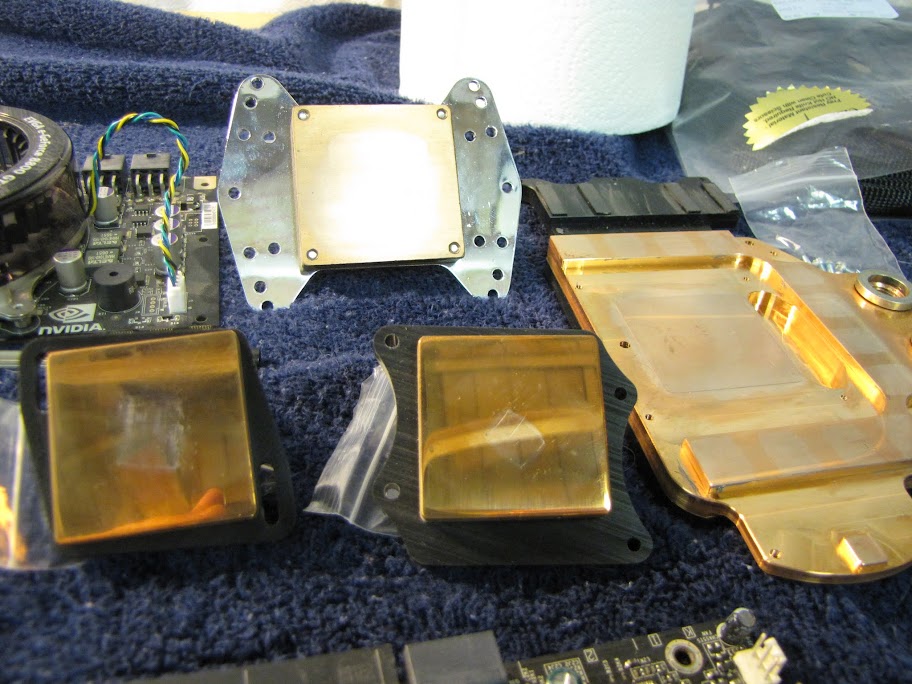
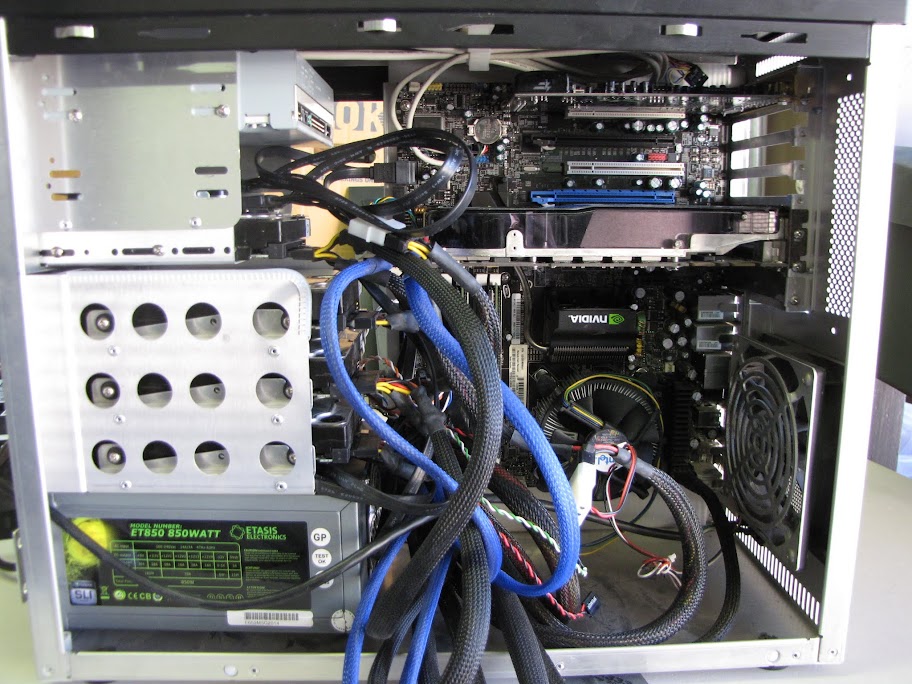
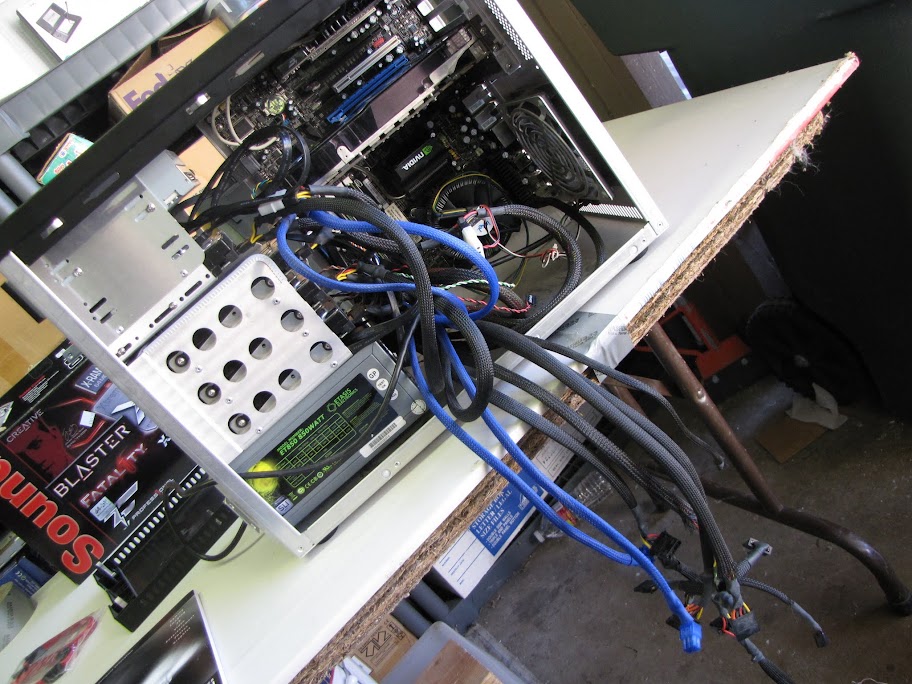
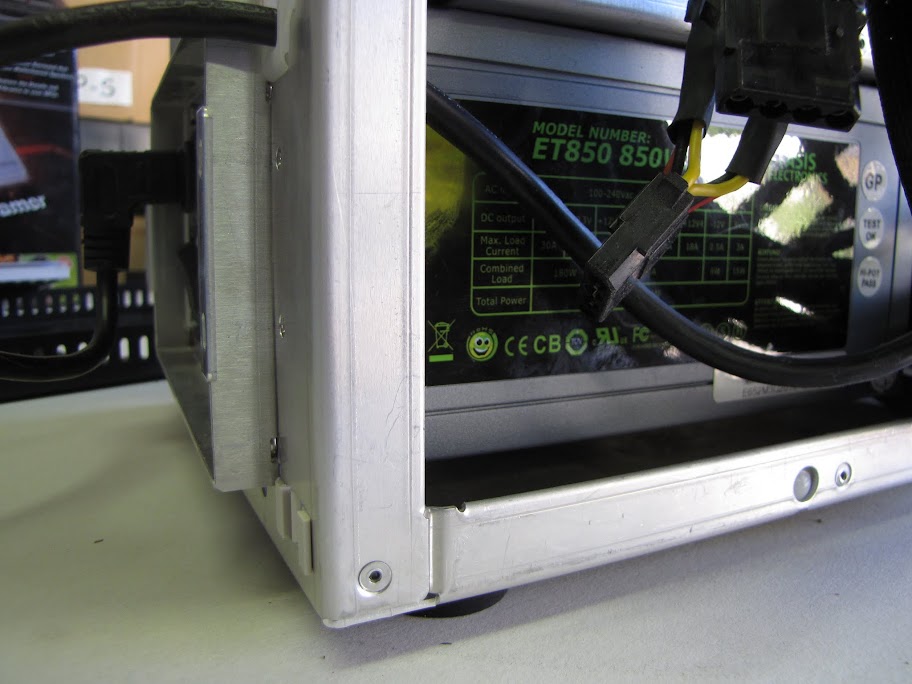
I skipped a few steps here... but I proceeded to sleeve all of my ET850 power supply (man, what a massive pain in the butt that was) and apply the water blocks to my CPU/GPU/Northbridge. For the blocks, I used a Swiftech Apogee for the CPU, an EK full cover block for the GPU, and an EK block for the northbridge as well.
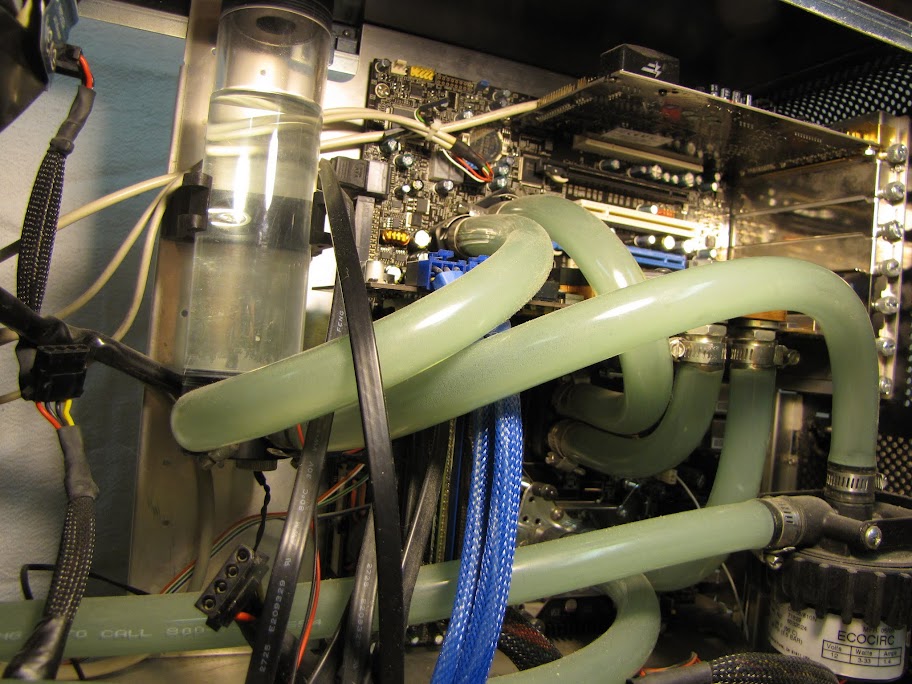
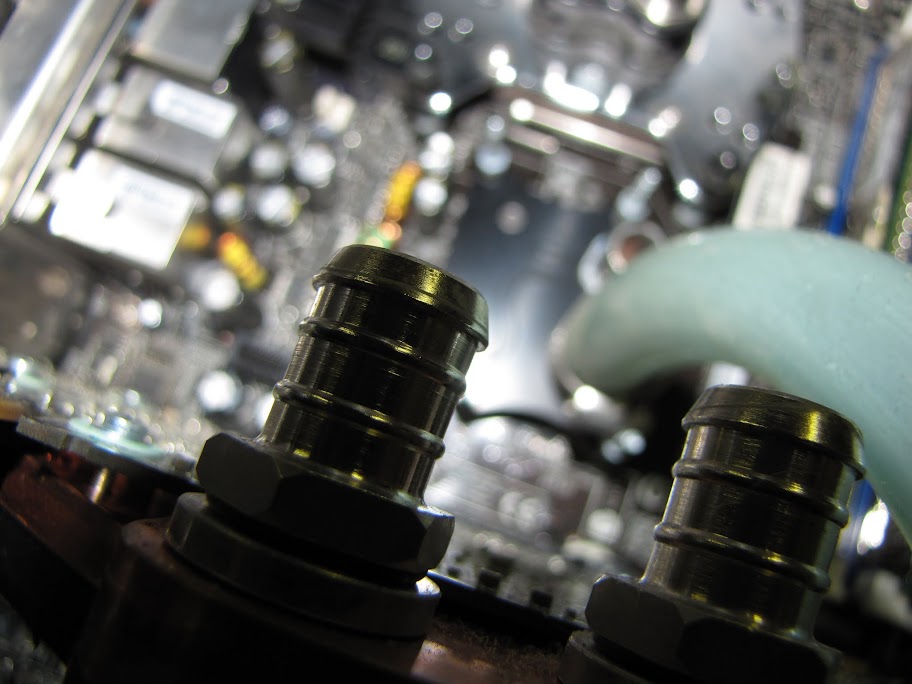
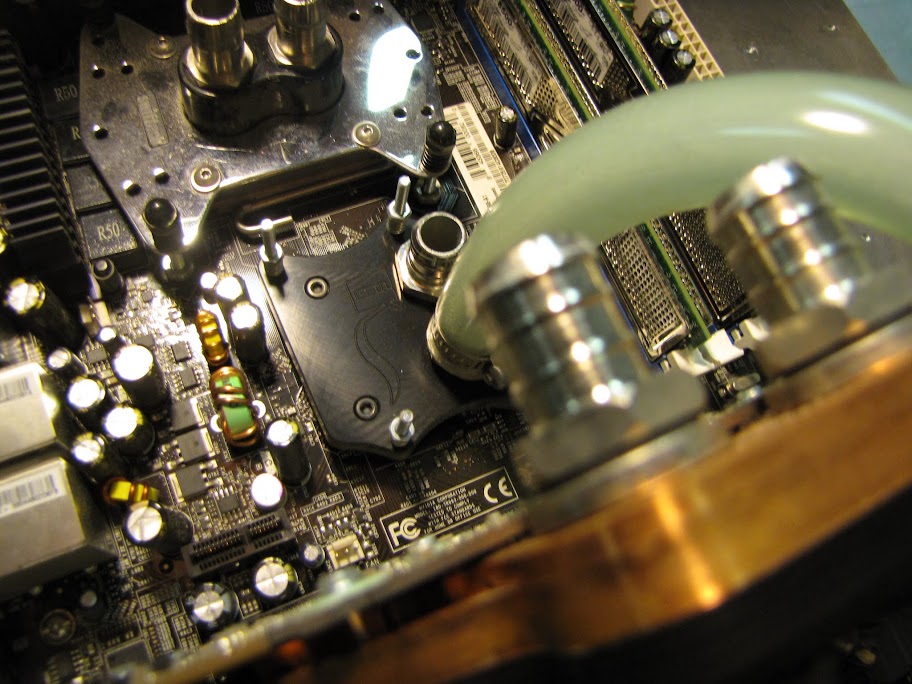
Now, for the finished product:
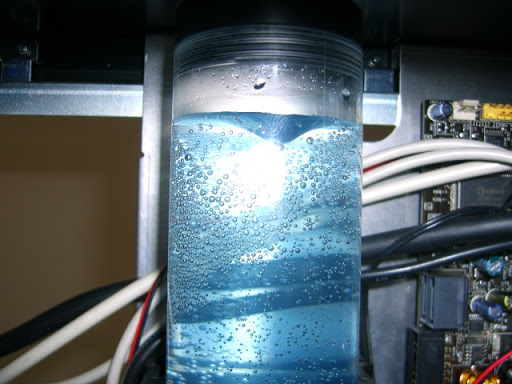
Nice vortex going, so the water pressure must be doing ok:
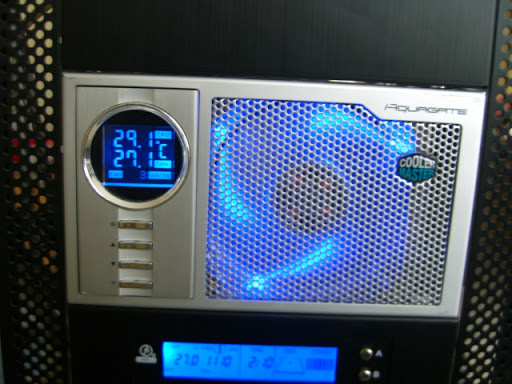
Temps doing good after 24 hours of torture testing in an apartment on a summer day with no air conditioning:
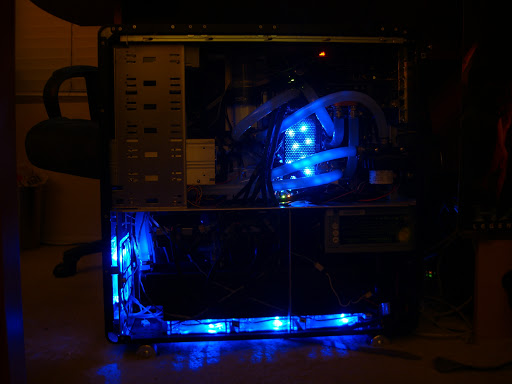
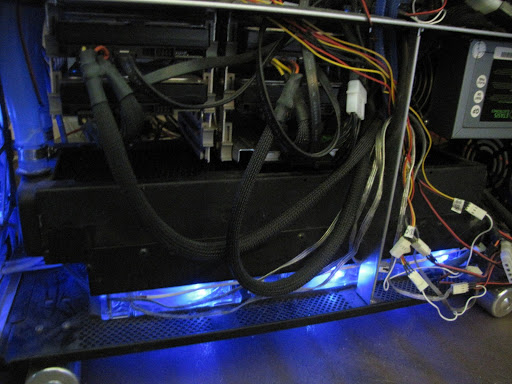
And finally, some night shots to show the 'ground lighting' effects the fans give. Nifty!
====================[ /History ]====================
In the interim between completion and now, a few changes have been made (undocumented, sadly) including:
- Overclocking the E6600 from 2.4Ghz to 4.2Ghz, stable, without topping 50C
- Overclocking the 8800GTX by about 15% without any voltage mods
- Removing the Coolermaster/HDD/RAM loop. It got noisy, and wasn't doing much.
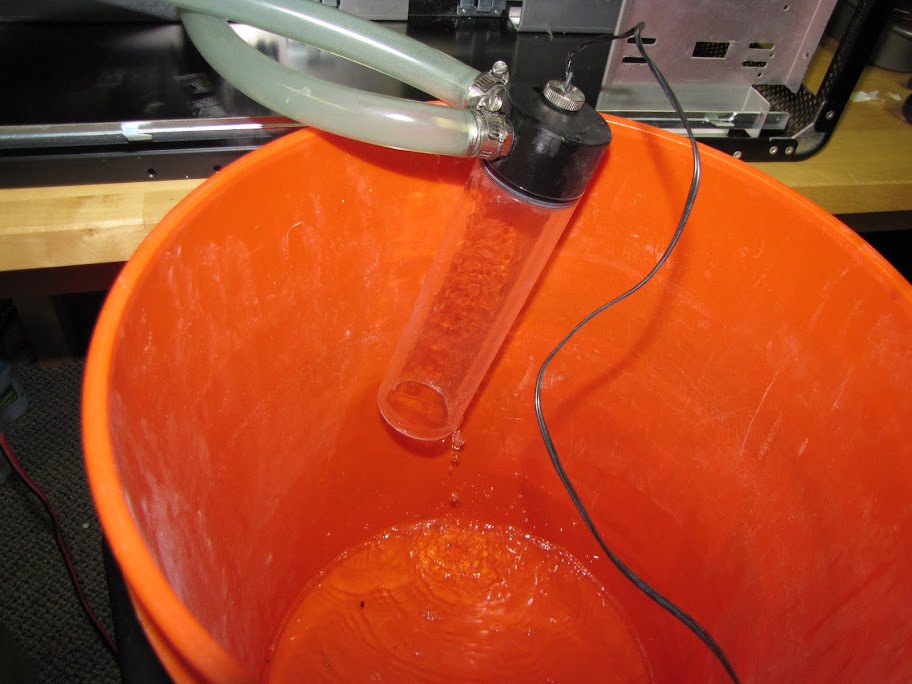
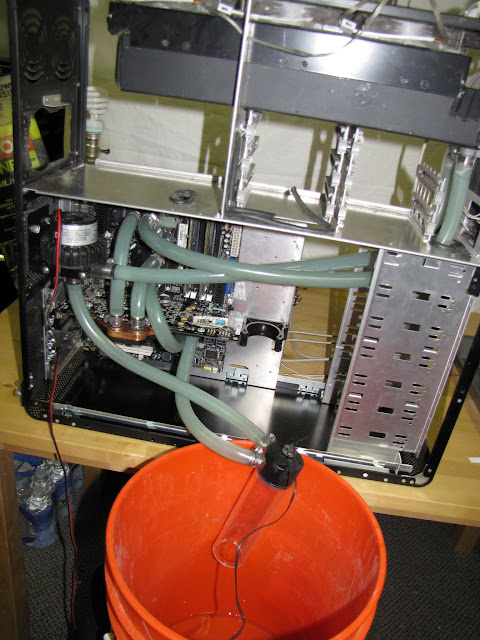
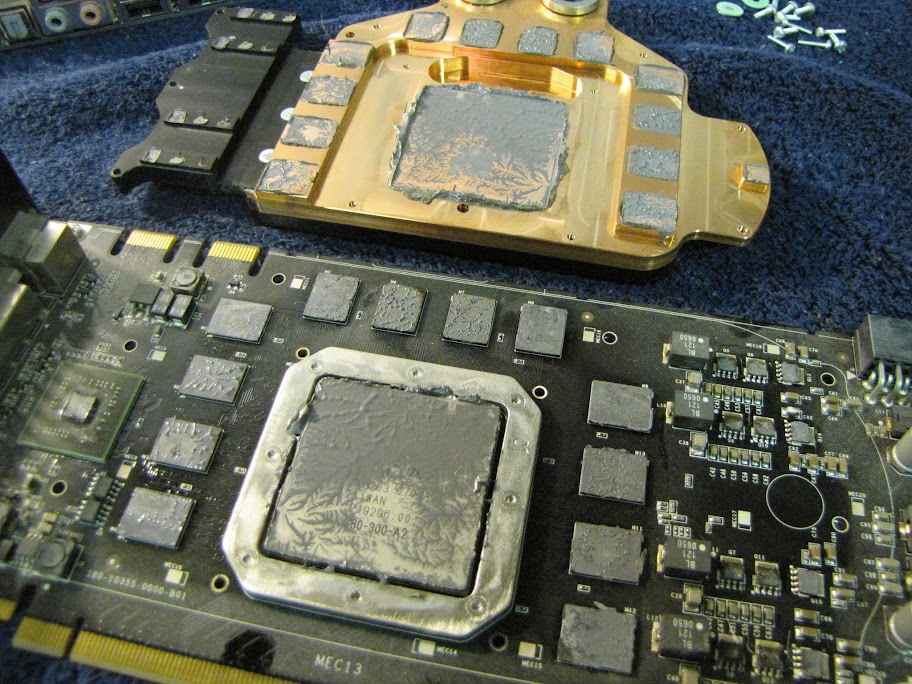
- Replacing the coolant mixture several times, always with the same mix of distilled water and Pentosin G11 (a recommendation made here ages ago that I have kept.)
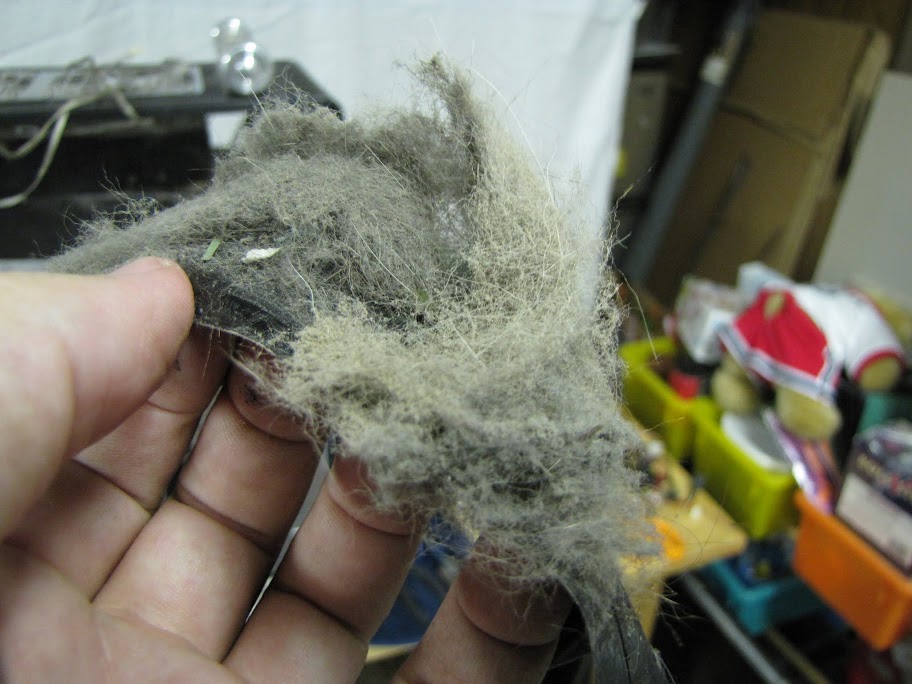
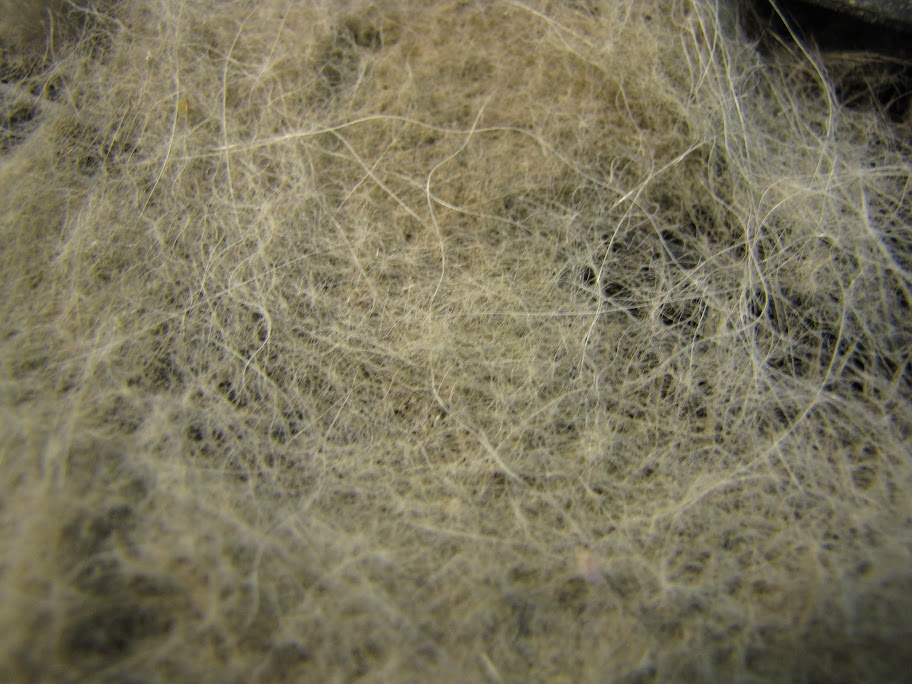
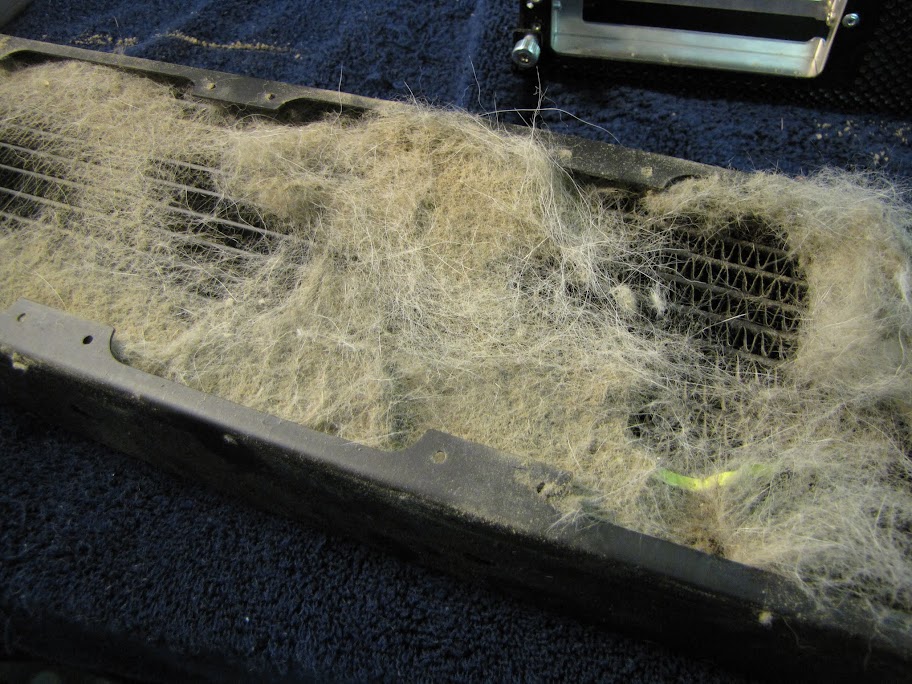
That completes the history lesson. Azuremight v2 is still in service as of this posting, and has been performing dutifully for well on 4.5 years now. The components have grown old, and barely keep 60fps in modern games. The case is dusty and dinged up, but as functional as ever. Next post... the plans for tearing it all apart, and starting from scratch, but keeping the same old tried-and-true Lian-Li PC-v2000B.
See you soon!


 Reply With Quote


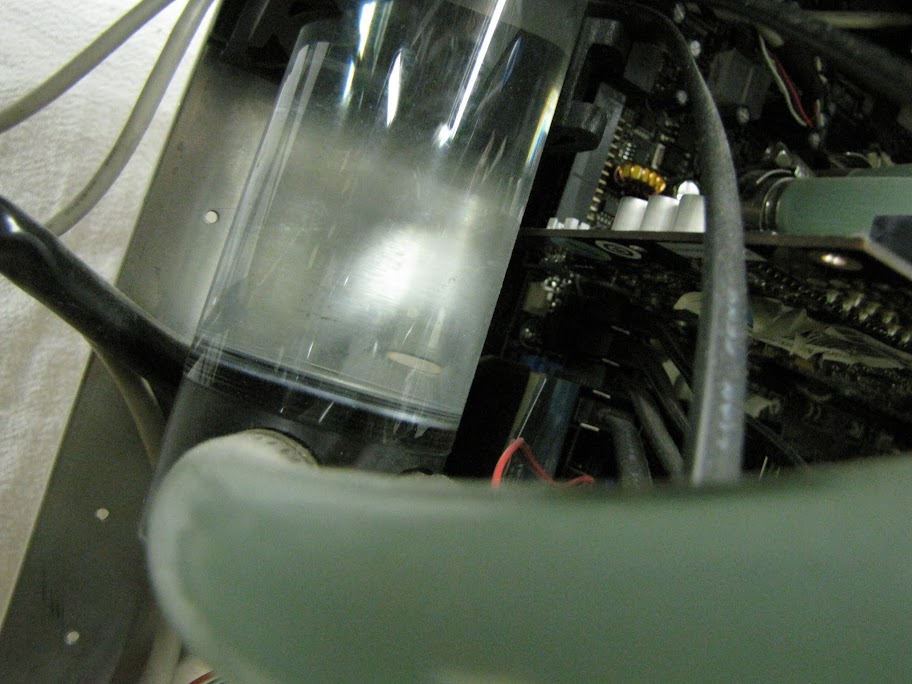

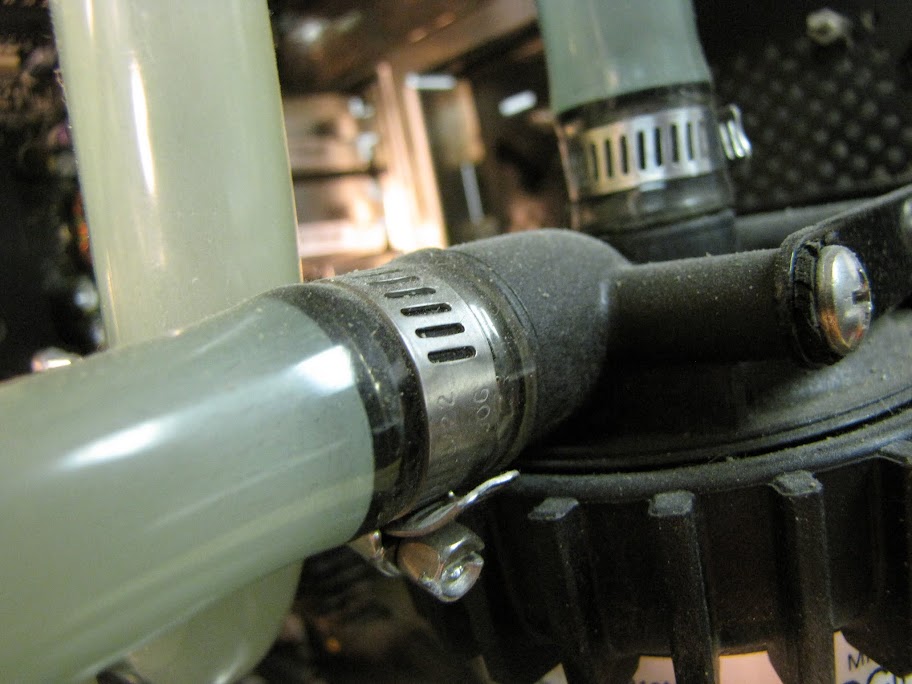


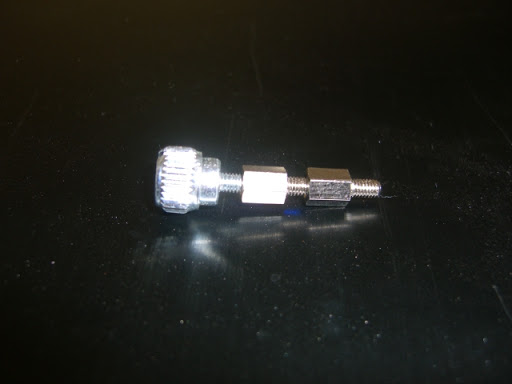
 At least I used teflon tape, like a good plumber.
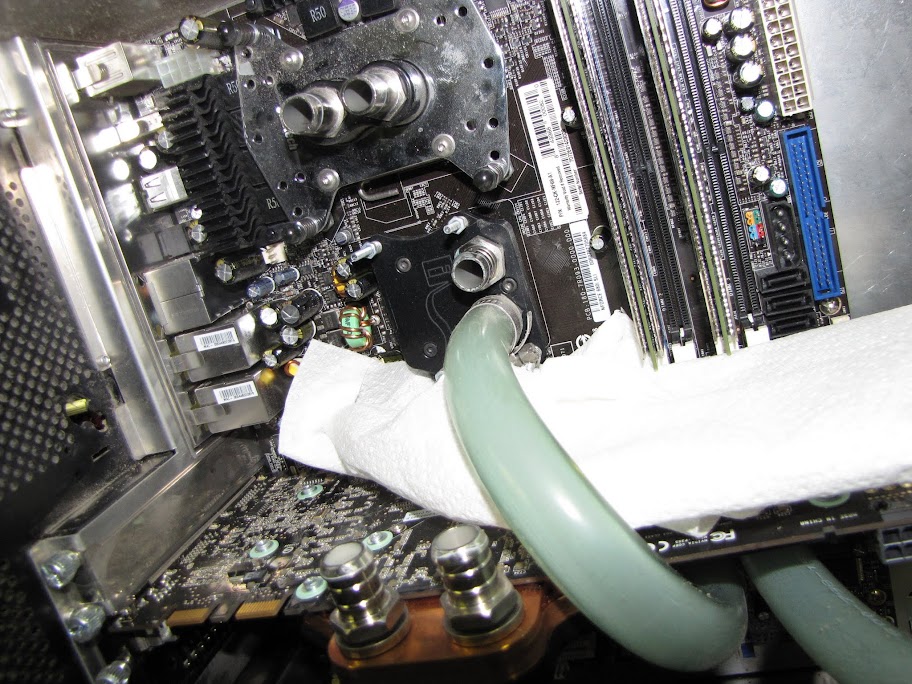


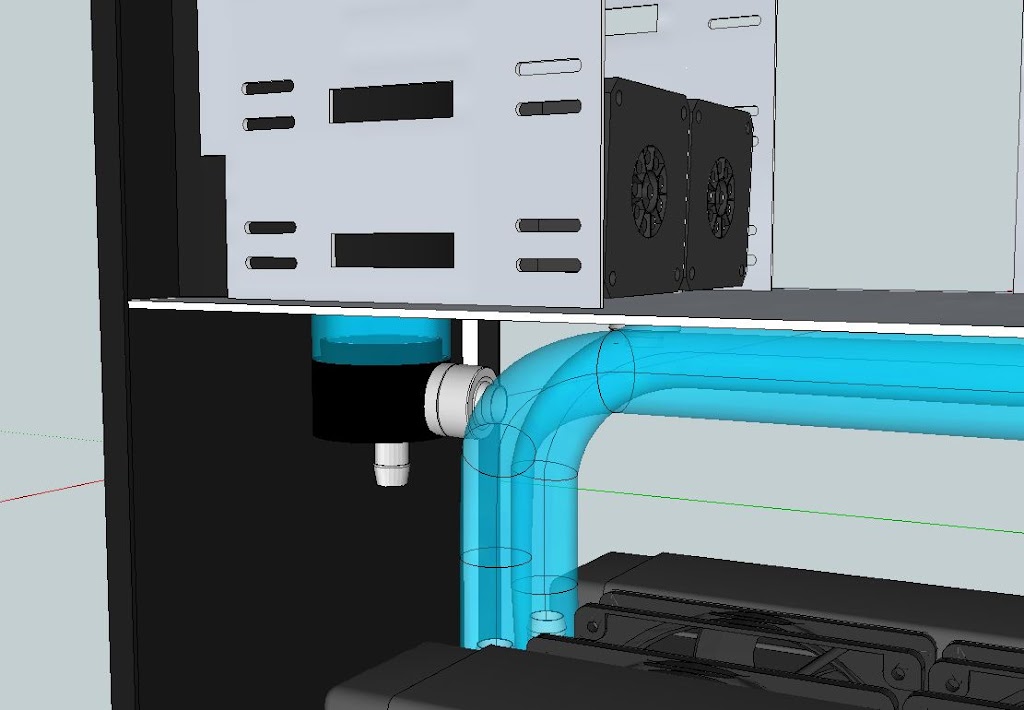
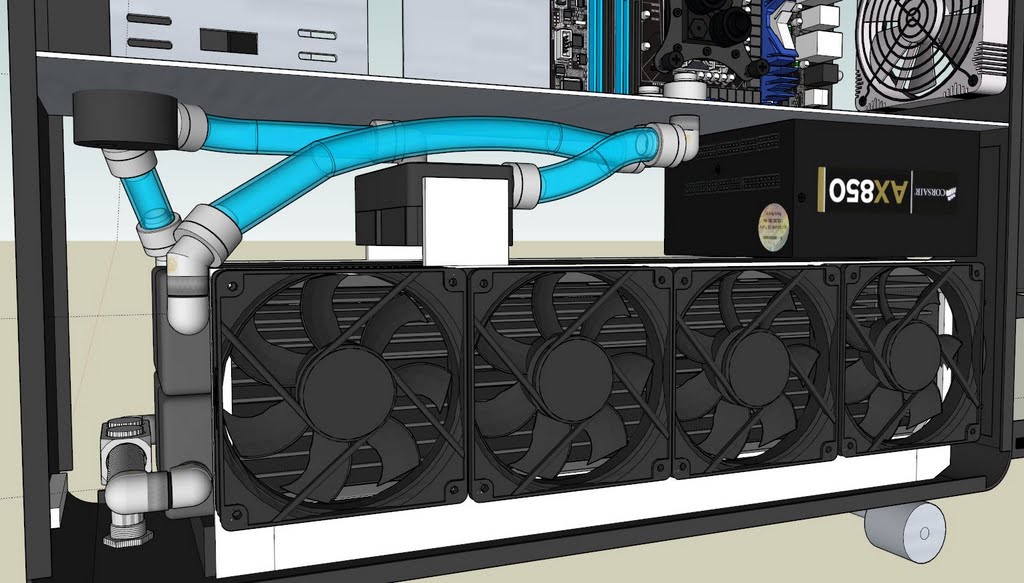
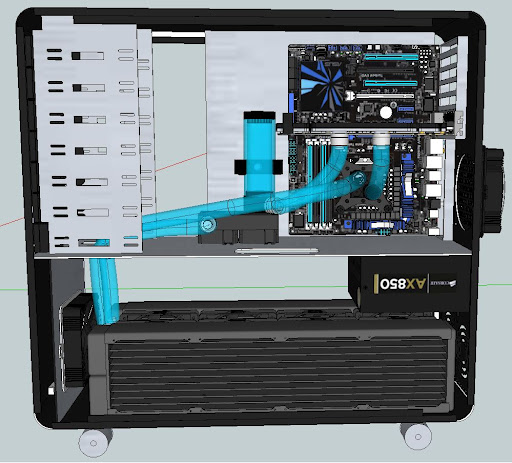
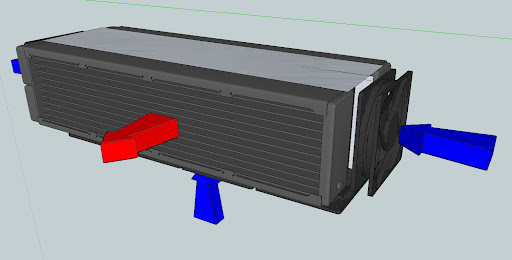
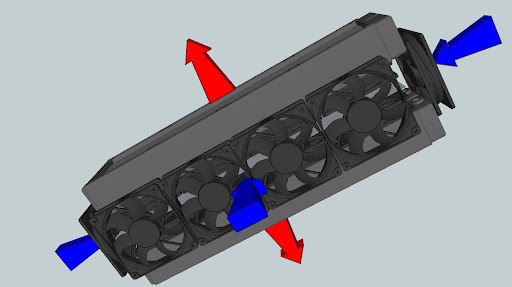
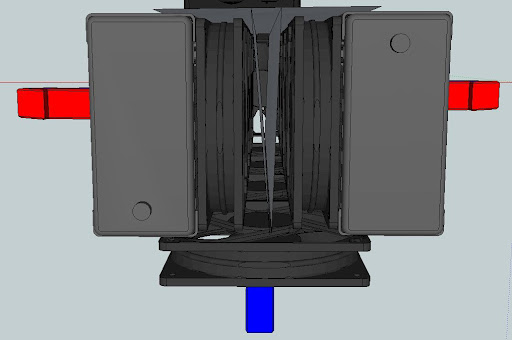
 I've been rotating it around, flipping it here and there... nothing seems to be granting me that 'AHA!' moment yet. Looking for a way to keep a lot of the tubing symmetrical and clean, keep the pump upright or on it's side, and connect it all in the order Res > Pump > Radiator. I know line order doesn't matter as far as termperature or flow restriction is concerned too much... but I've found it's a heck of a lot easier to fill the lines if the pump is immediately after the reservoir.


Bookmarks