


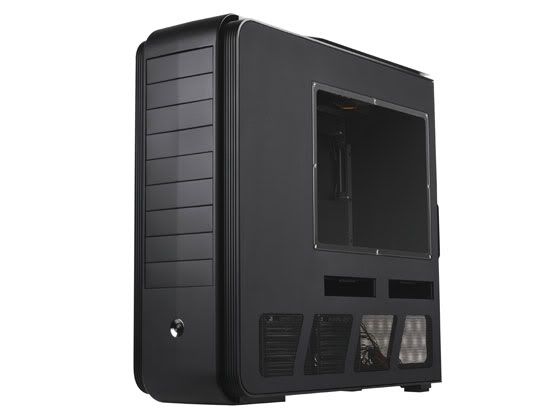
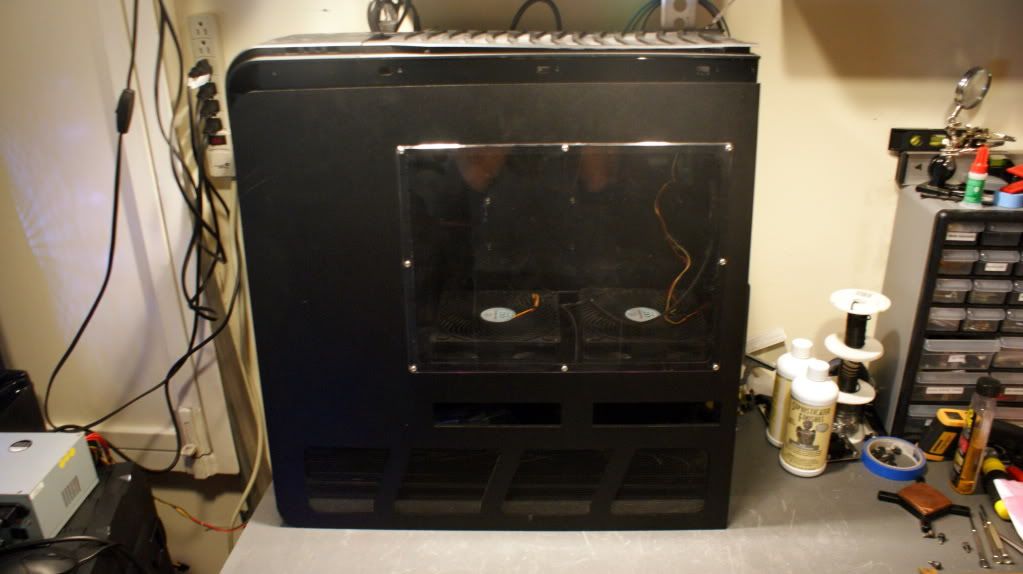
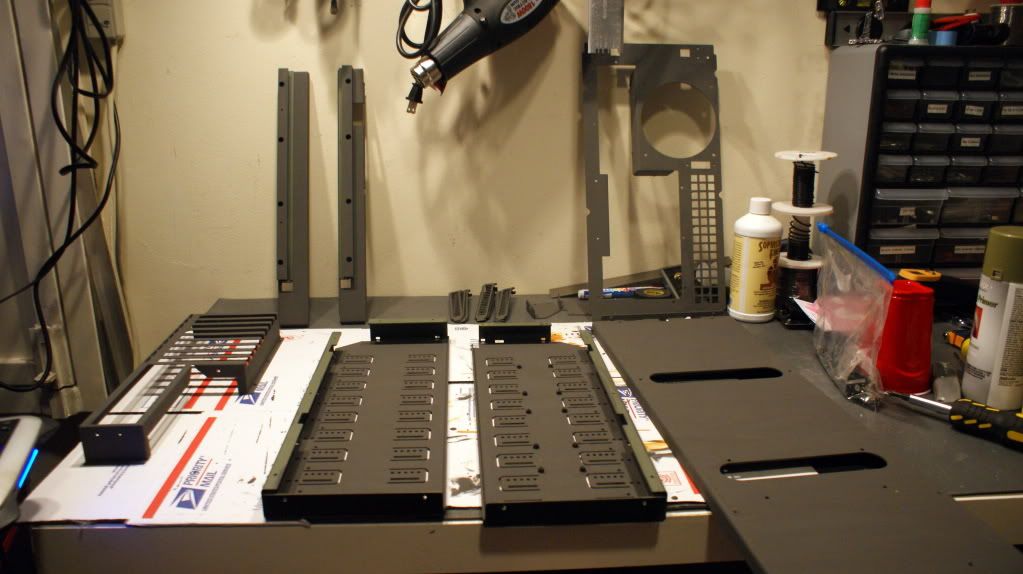
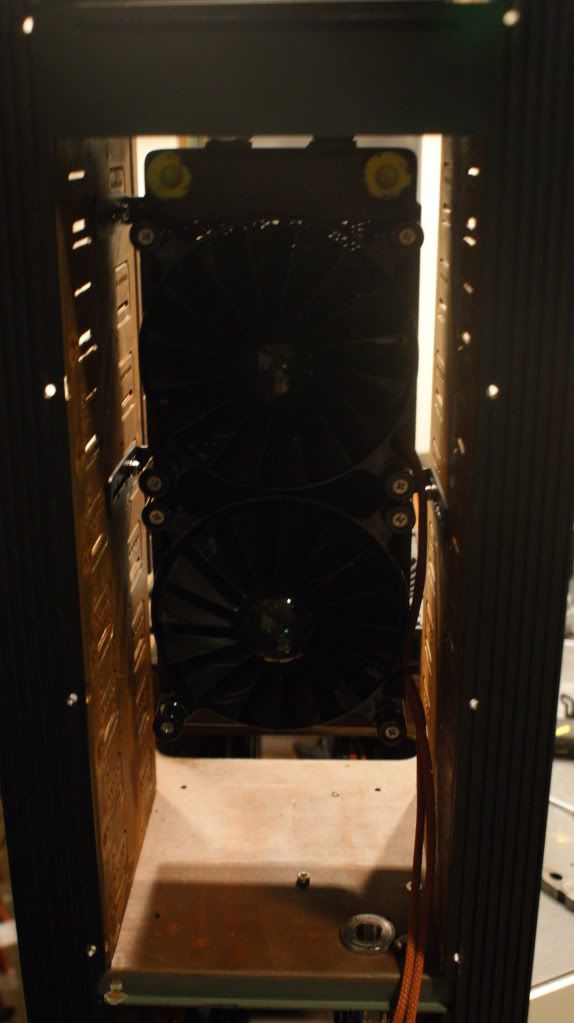
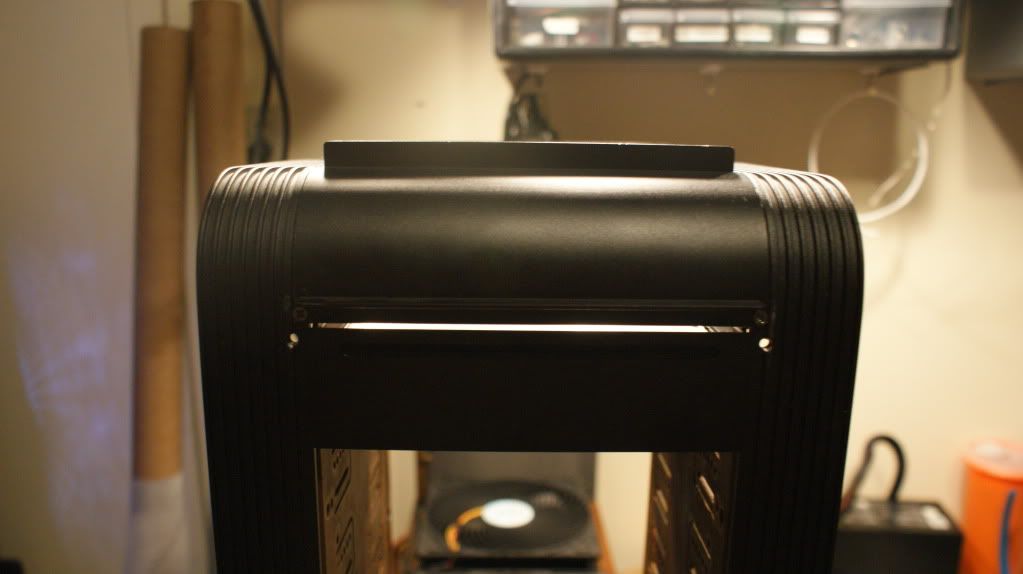
Time for a good Steampunk mod. And what better case to use than the awesome Silverstone TJ11!
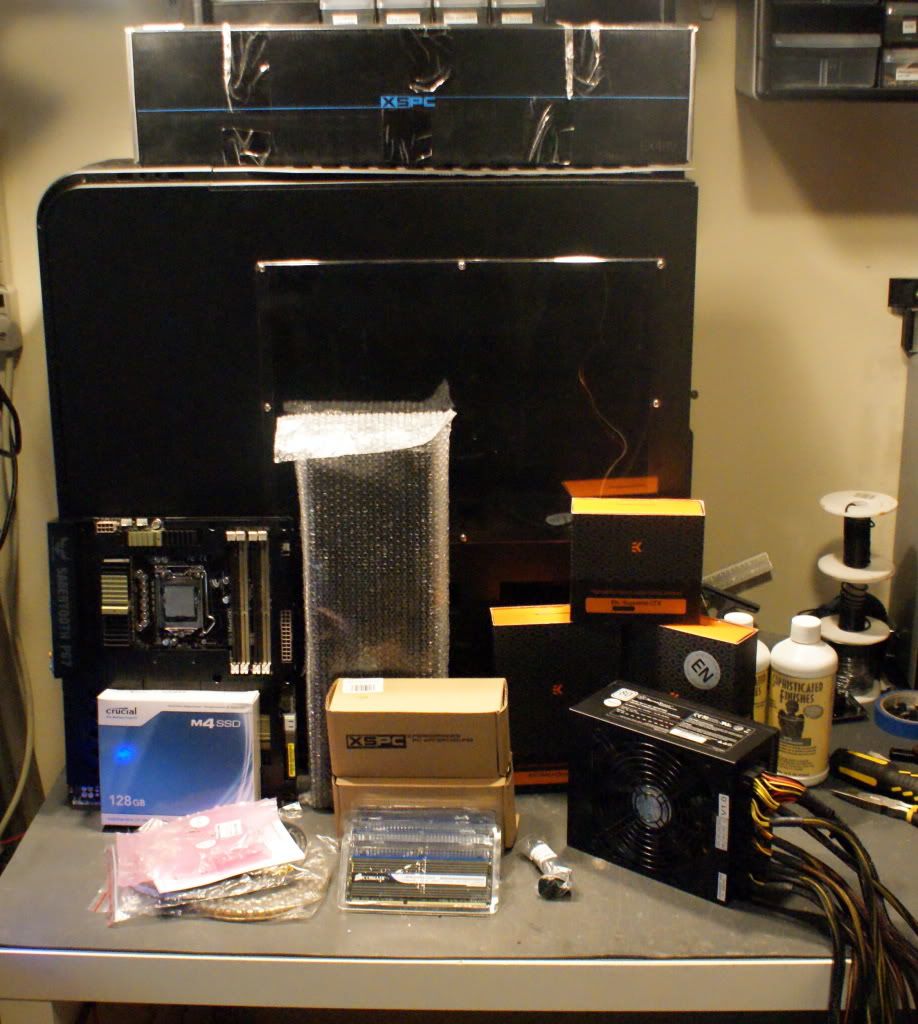
Big shutout to my sponsors!!
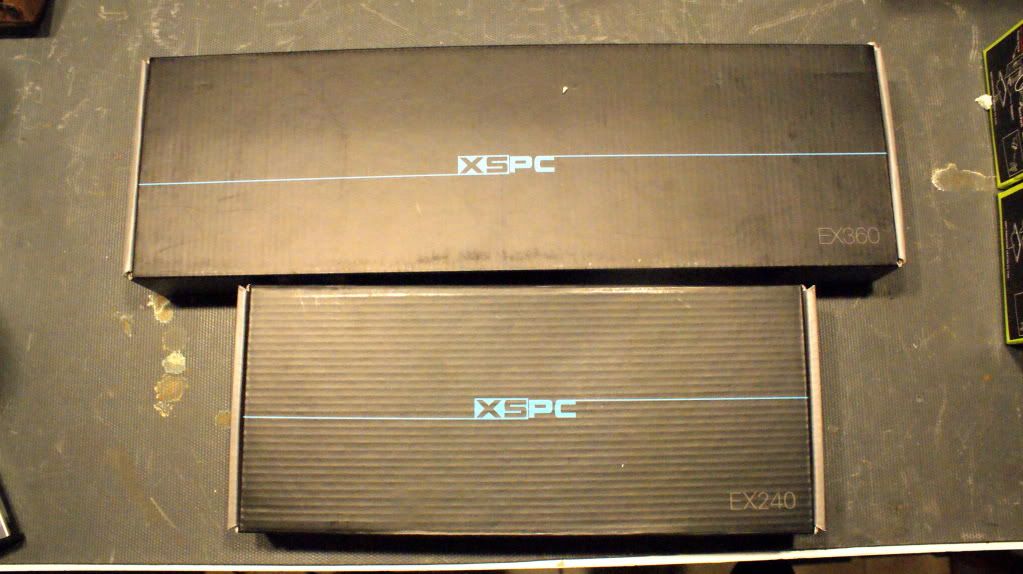
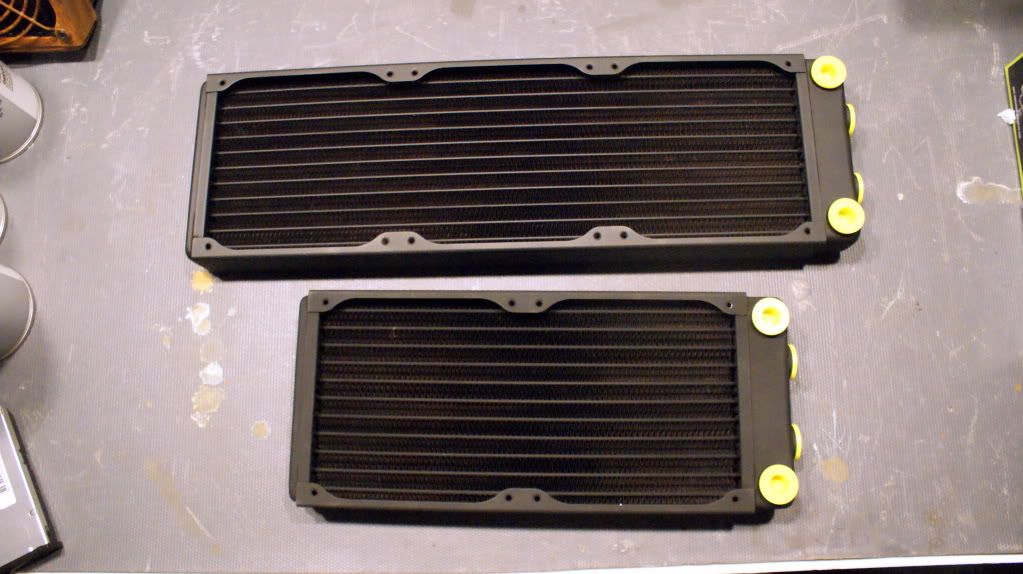
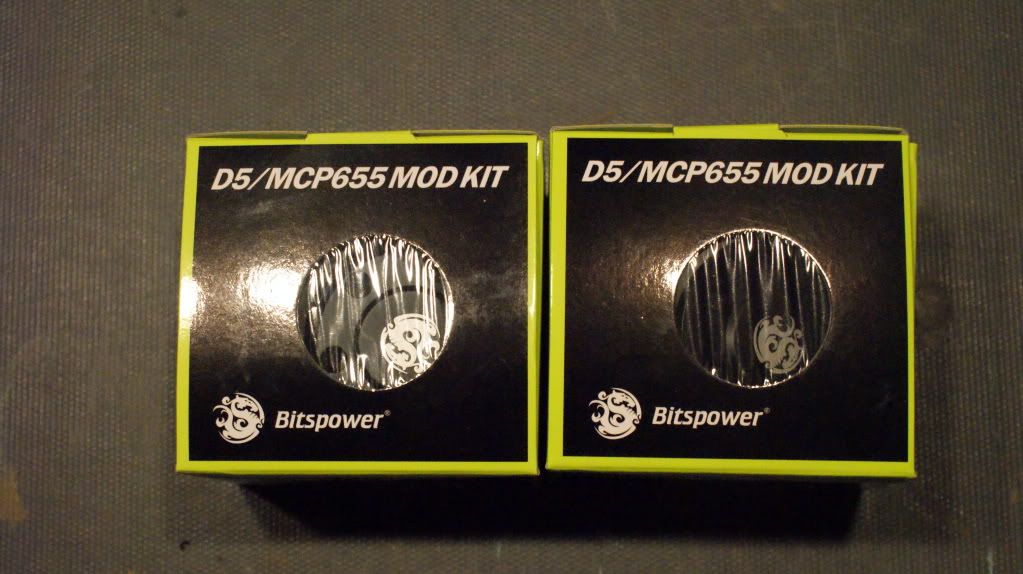
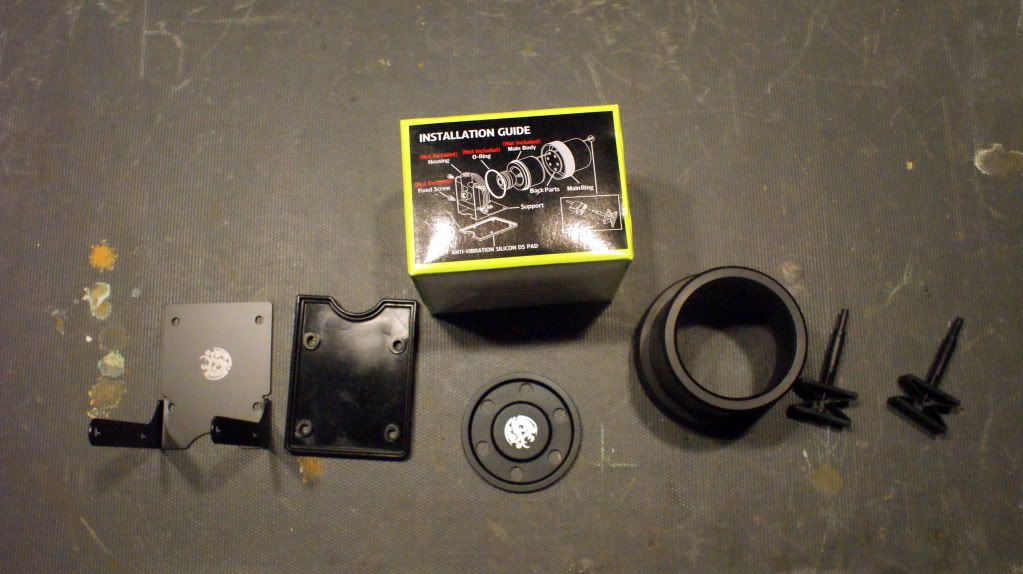
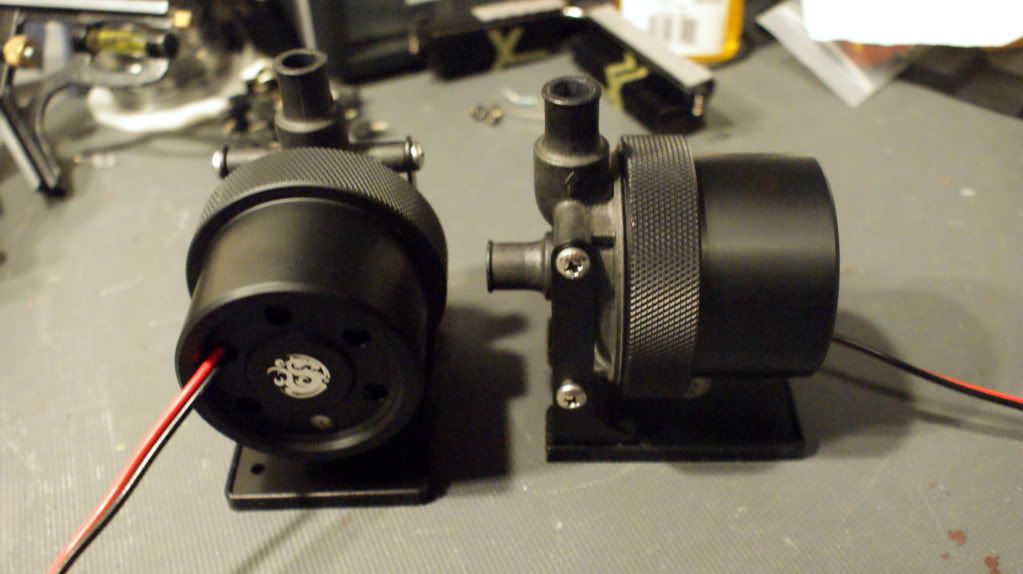
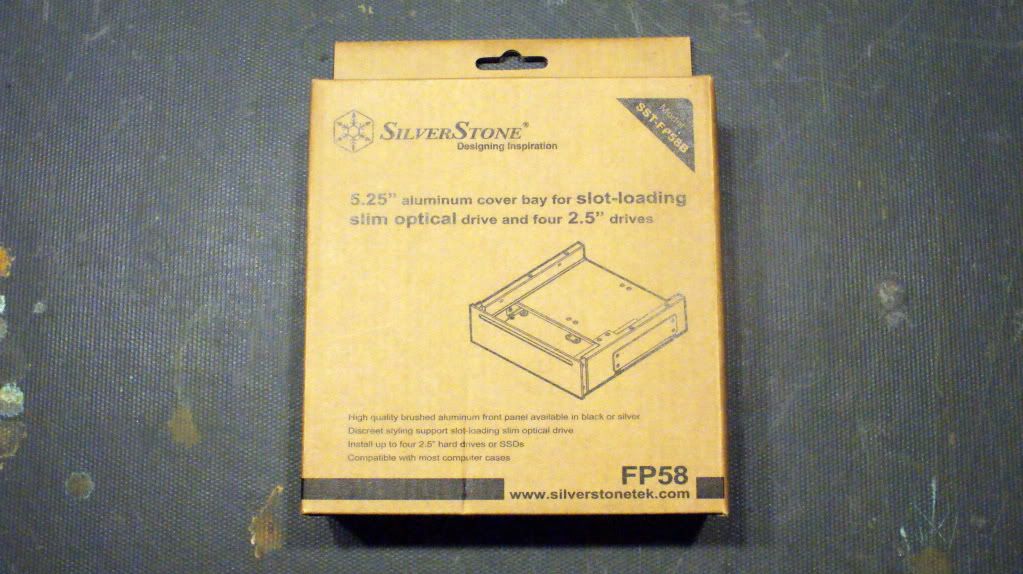
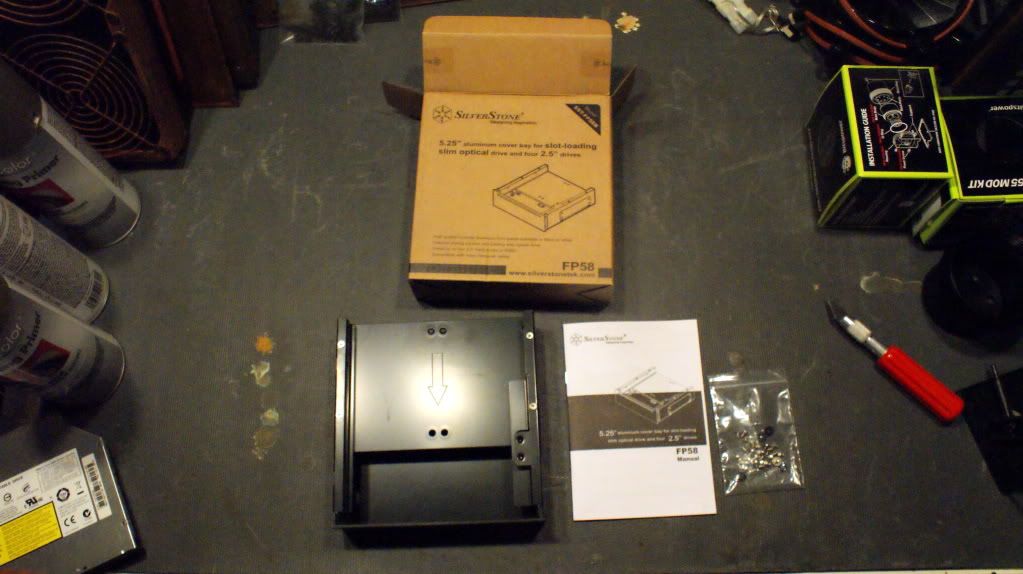
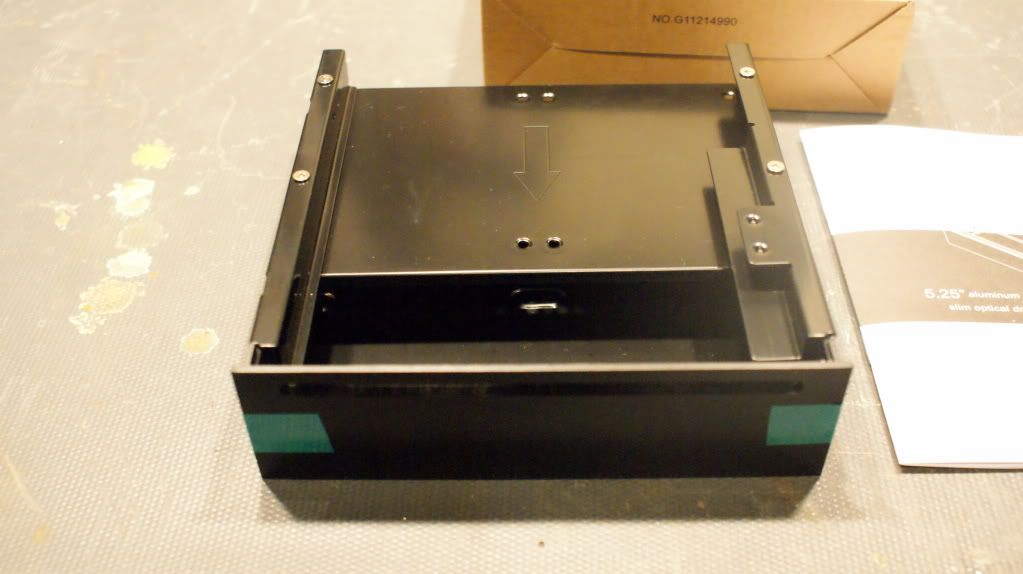
Performance-PCs is providing me with the BP mod kits, 240 and 360 rads and the Silverstone slim DVD bay.
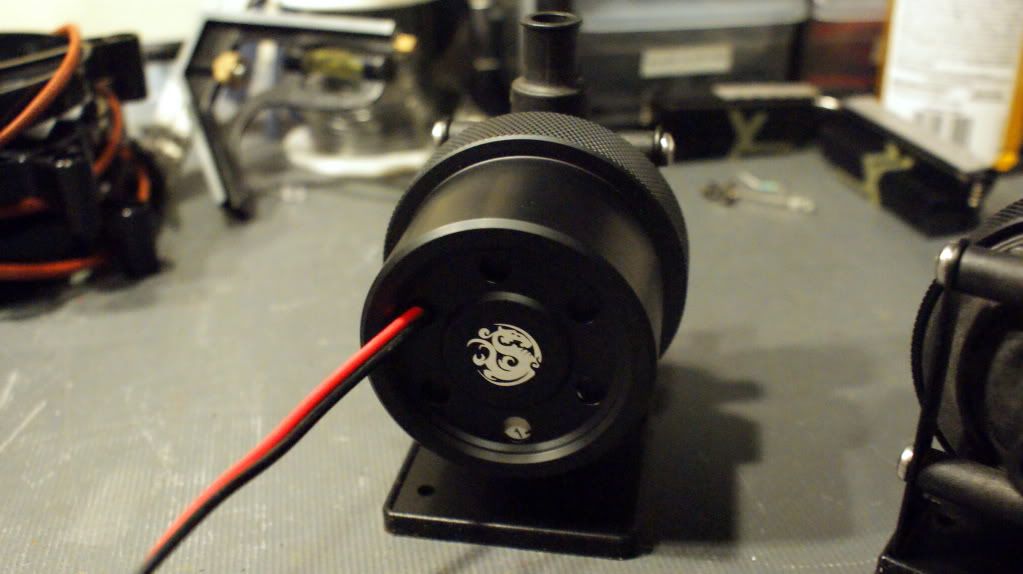
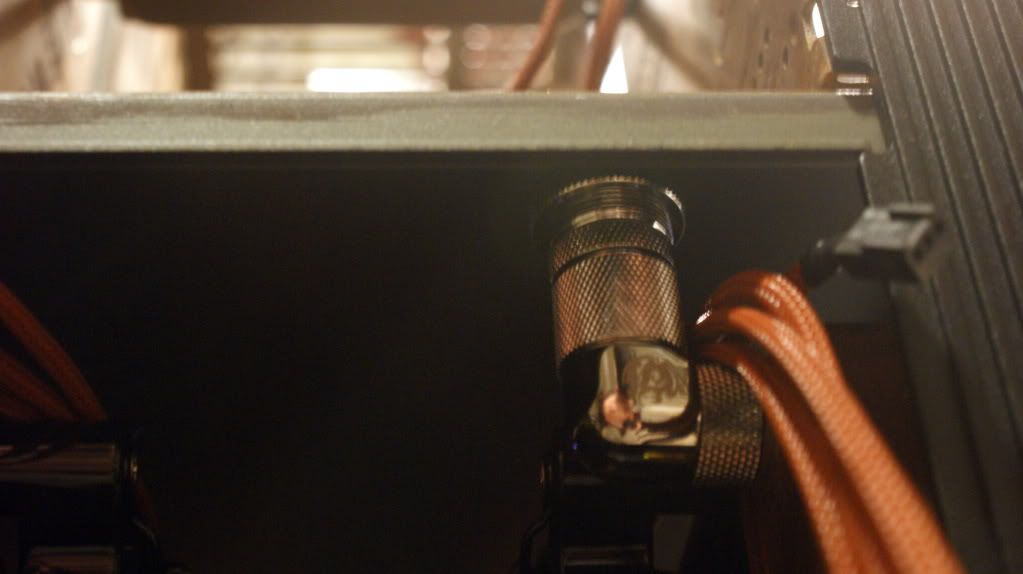
EKWB is providing me with a EK-Multioption 250 Res and 90 degree fittings.
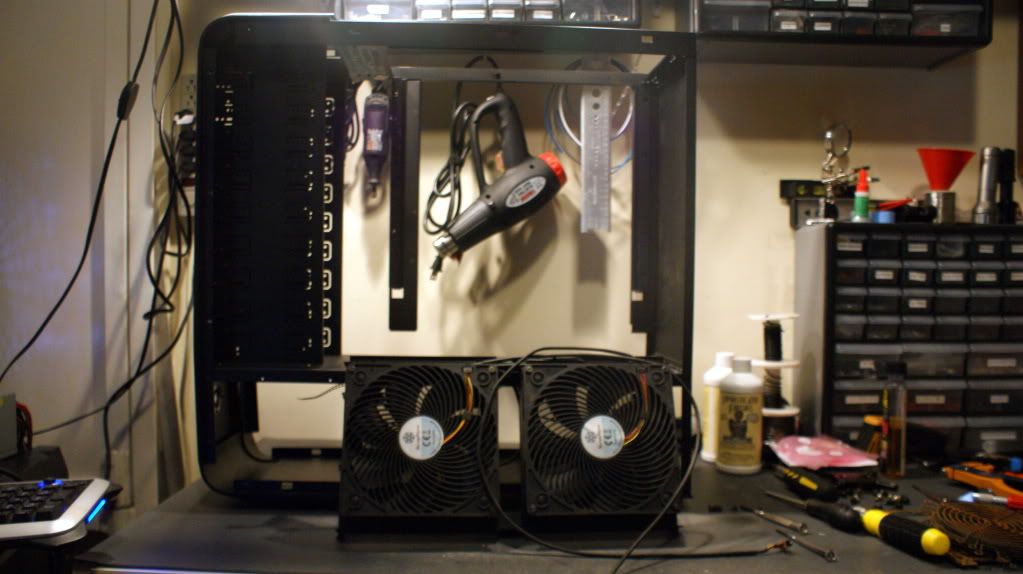
Hardware
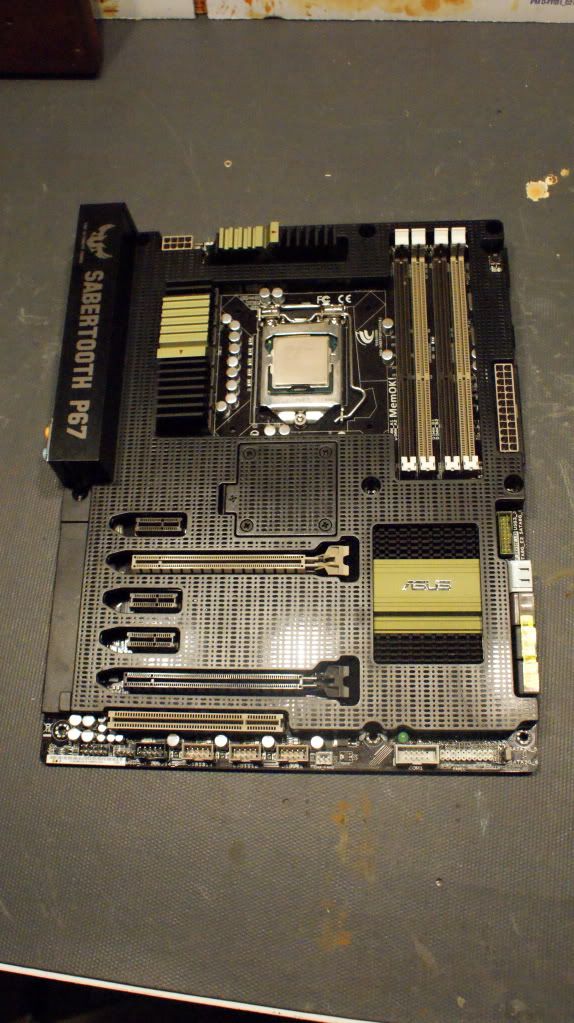
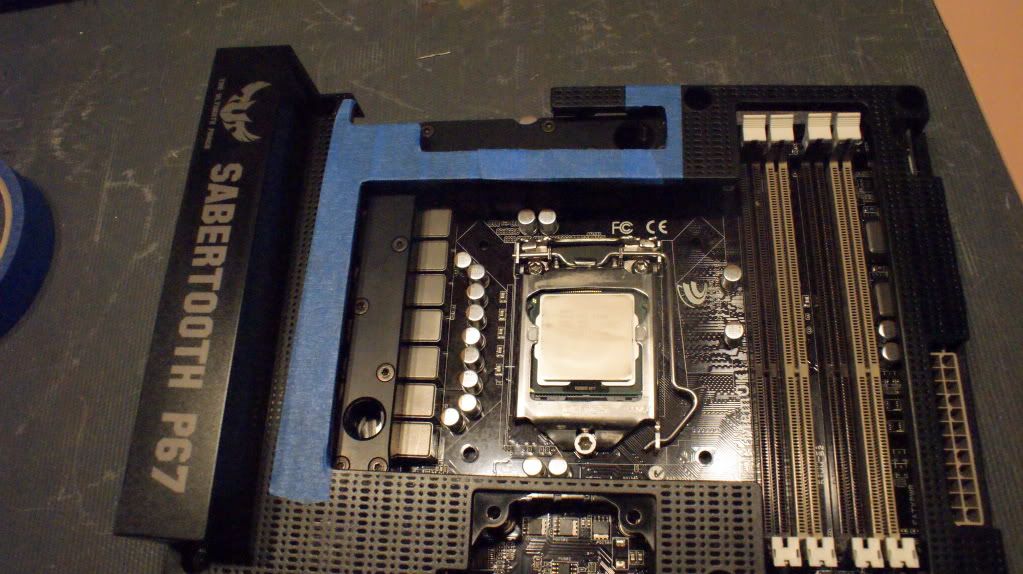
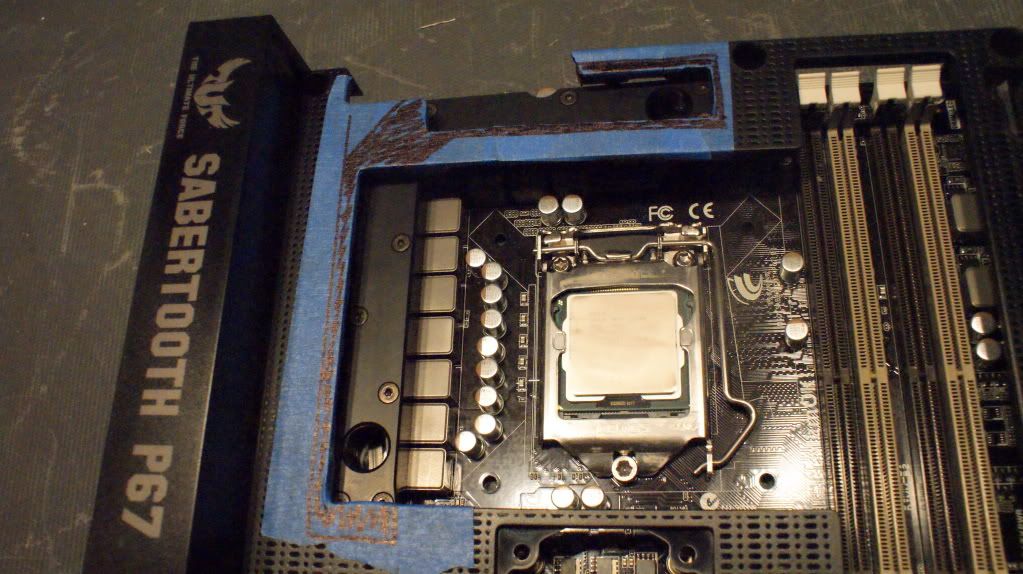
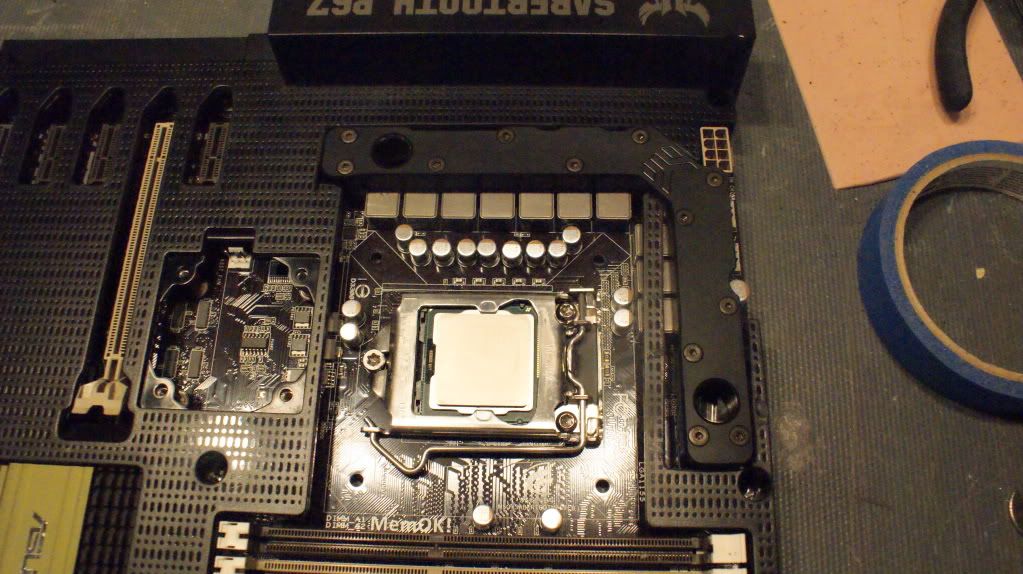
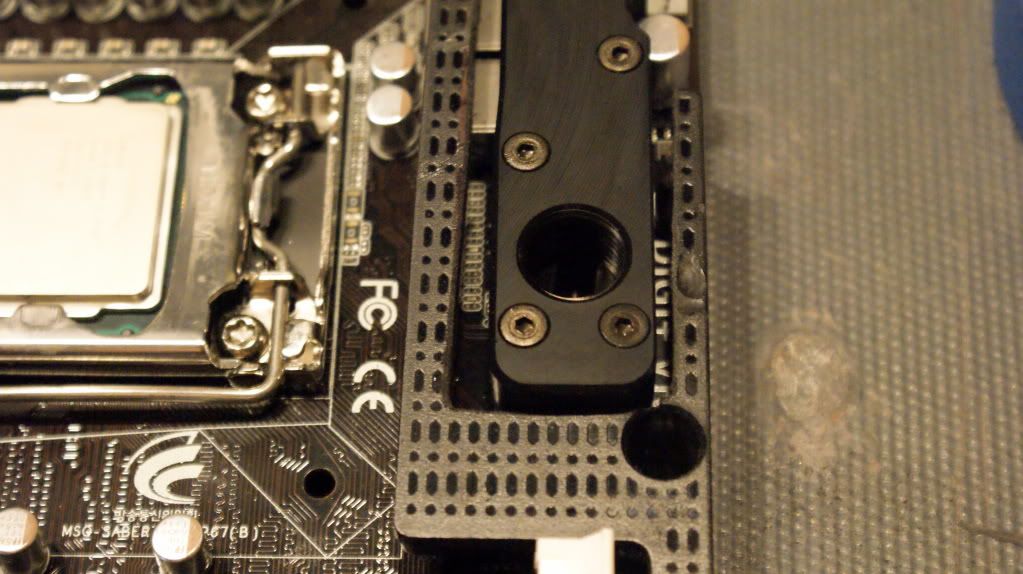
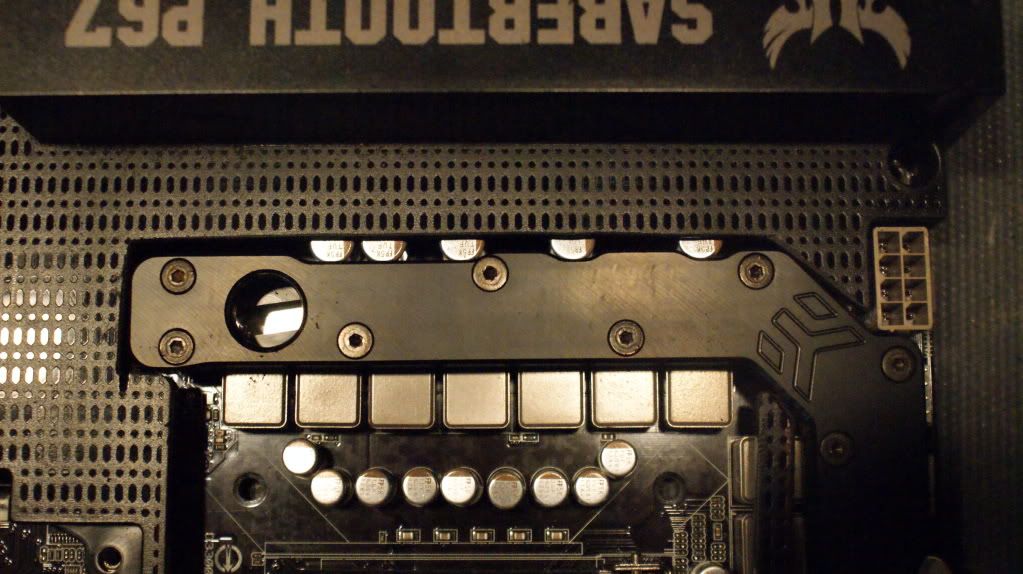
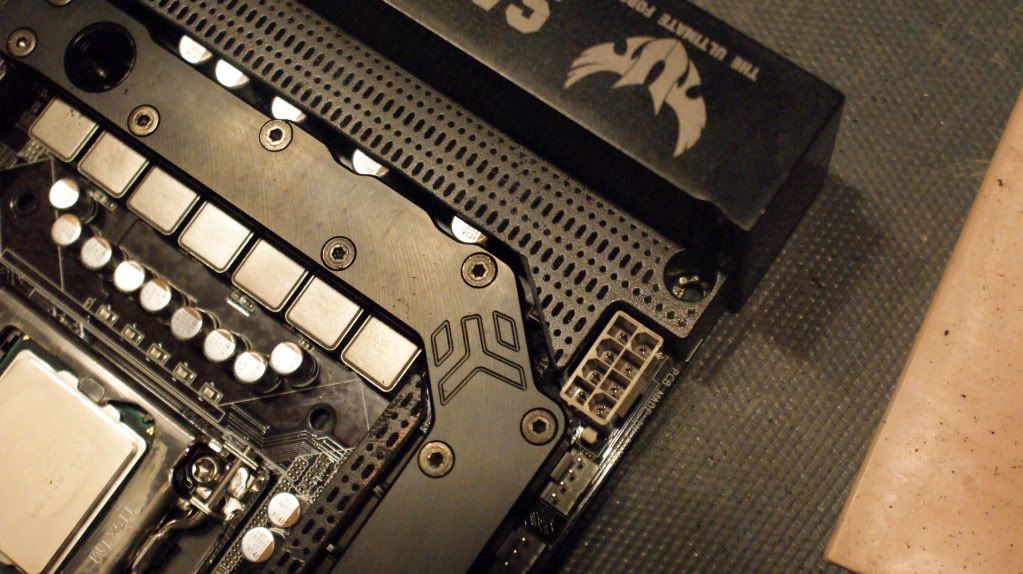
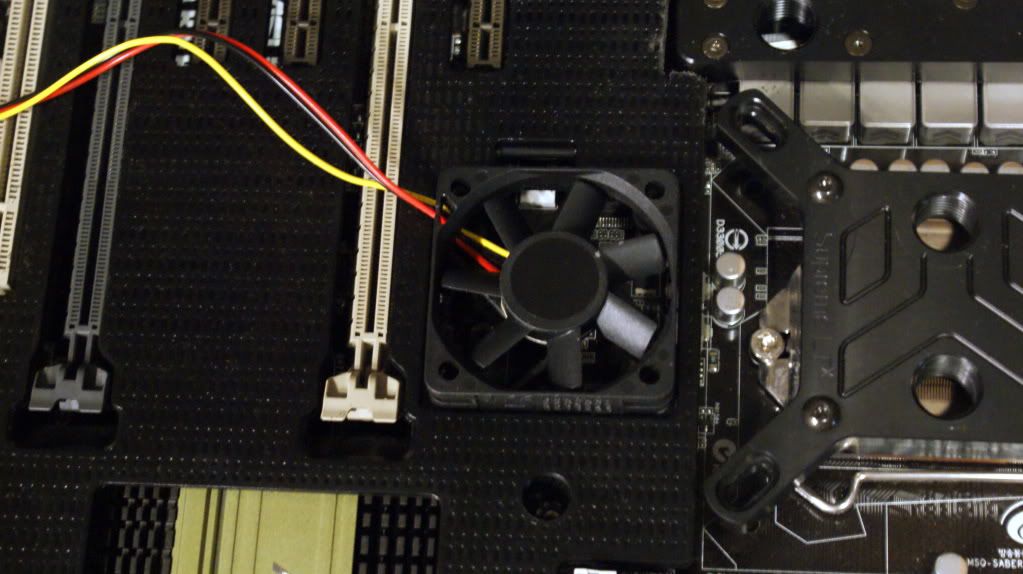
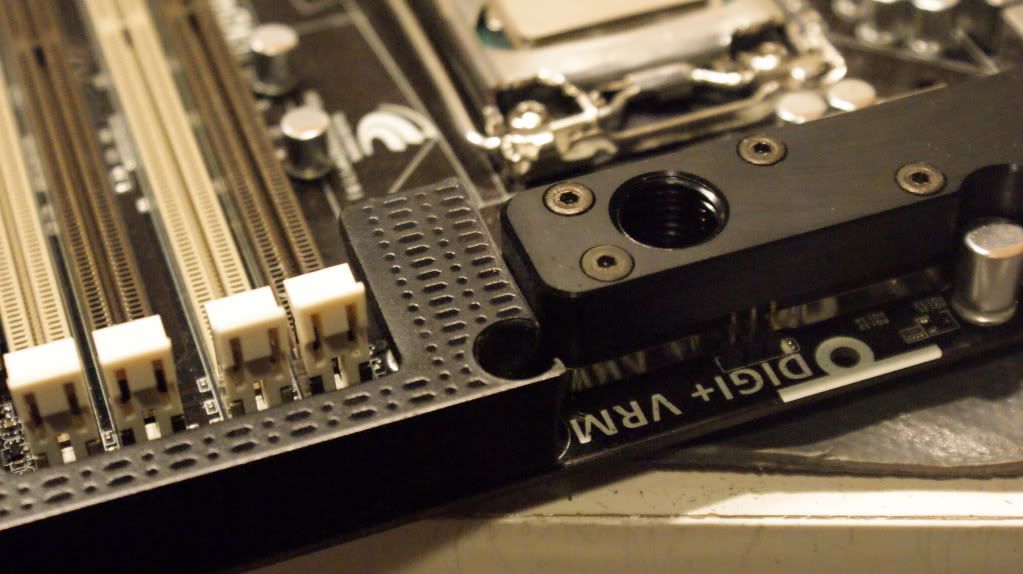
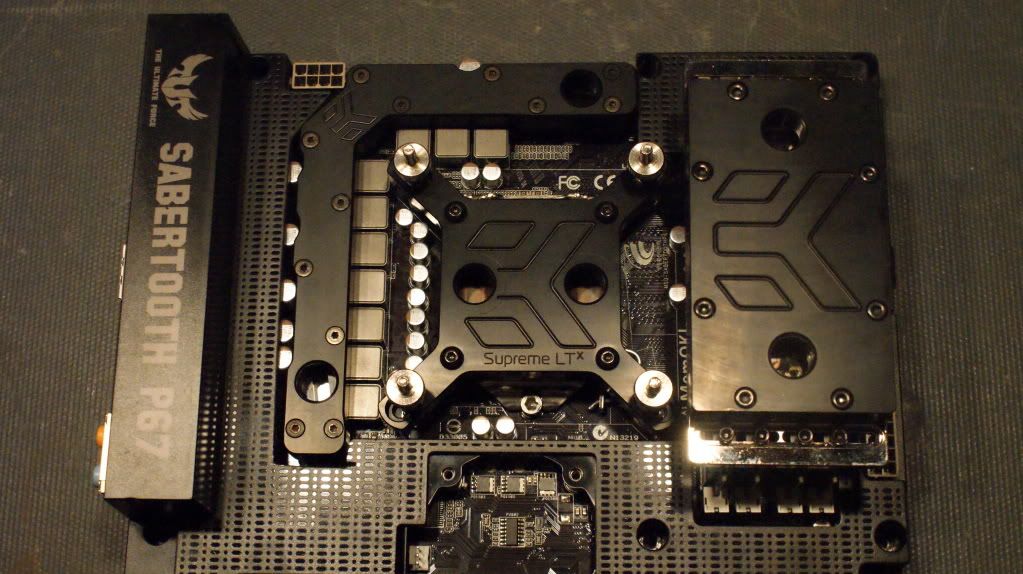
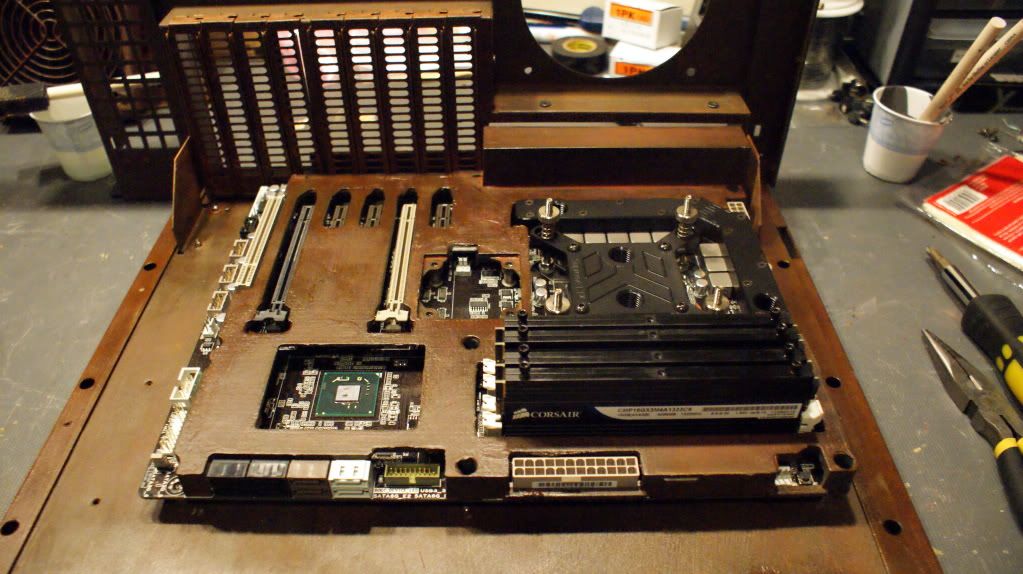
Mobo: Asus Sabertooth P67
CPU: Intel i5 2500K
GPU: Unknown
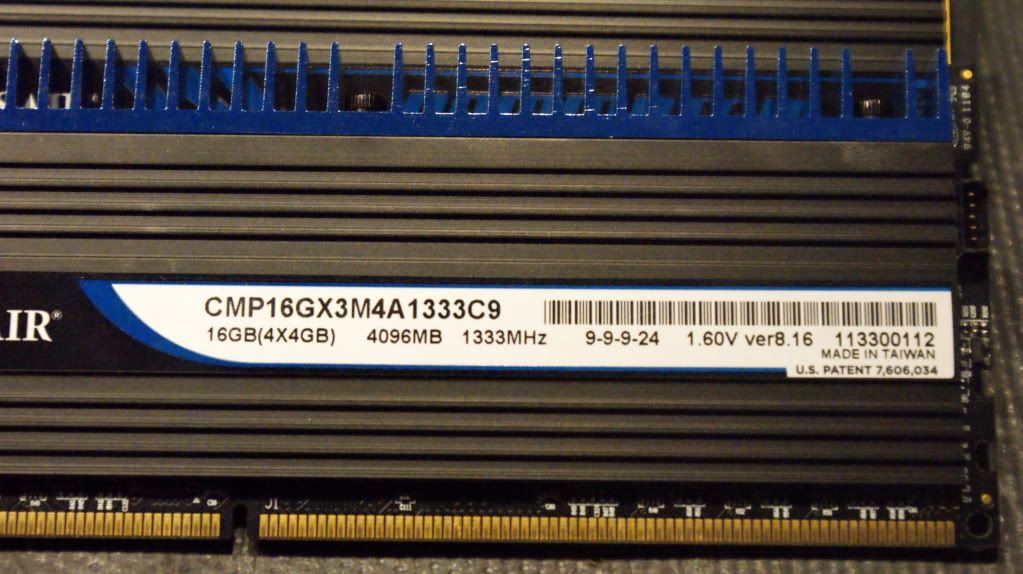
RAM: 16GB Corsair Dominator 1333
SSD: Curcial M4 128 GB
PSU: Silverstone Strider 1200W
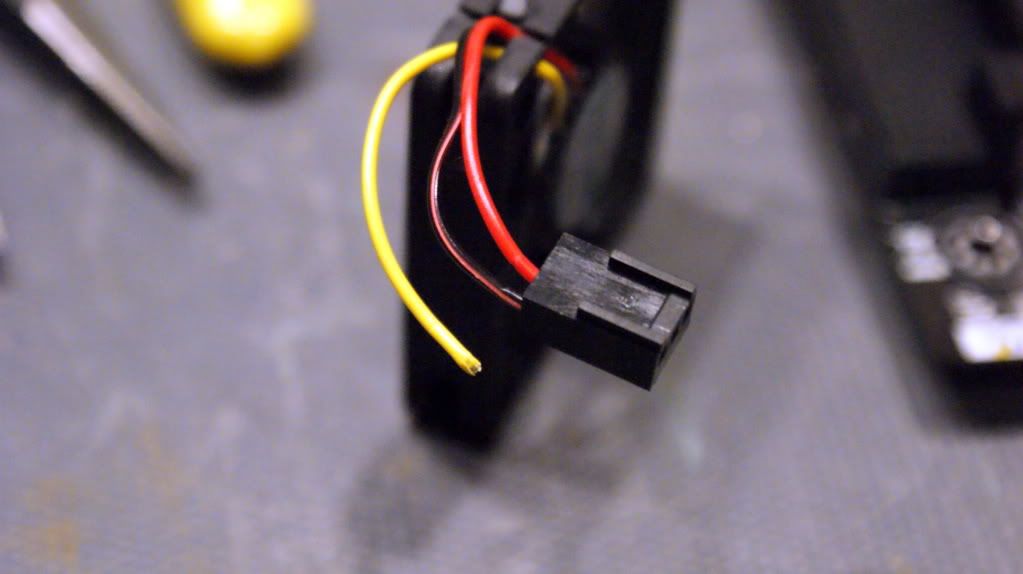
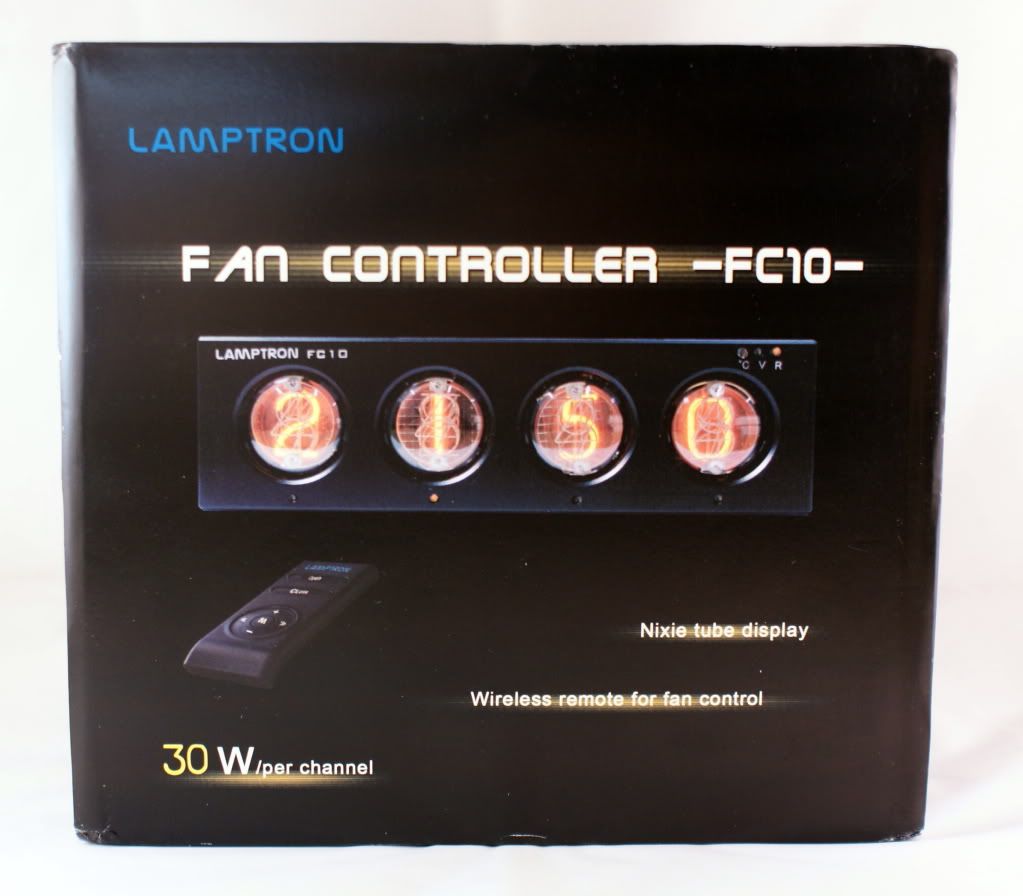
Fan Controller: Lamptron FC10
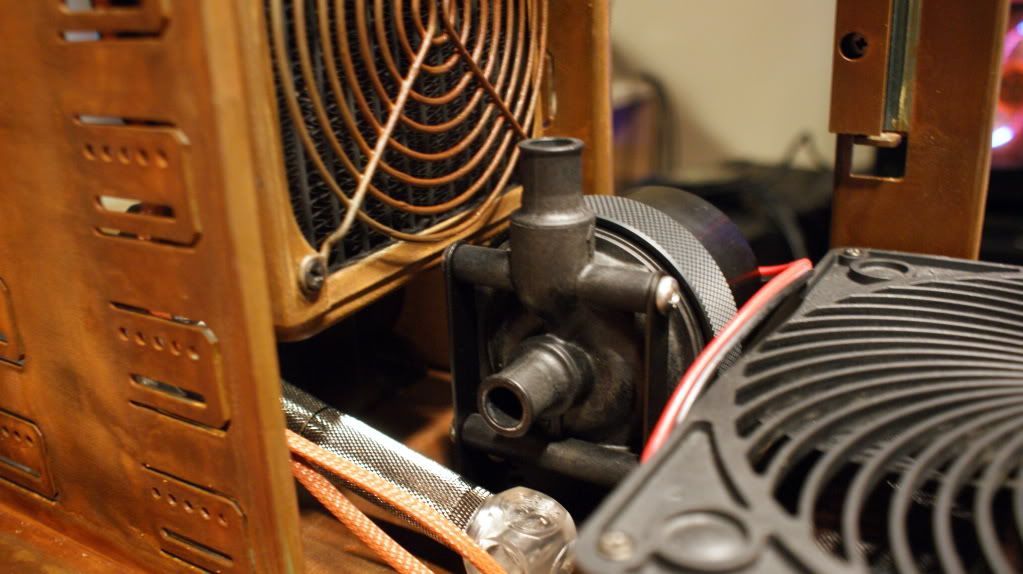
Cooling
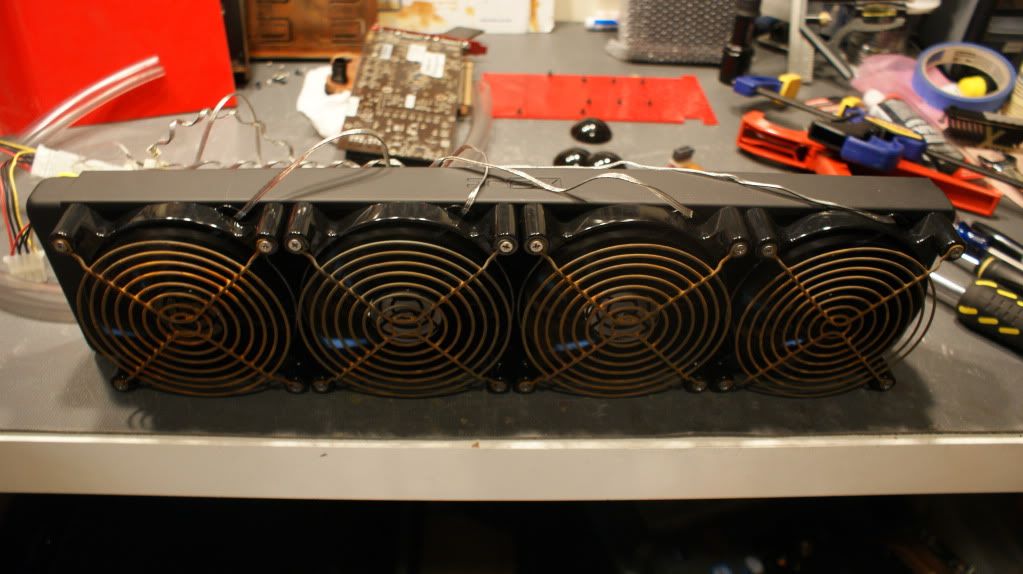
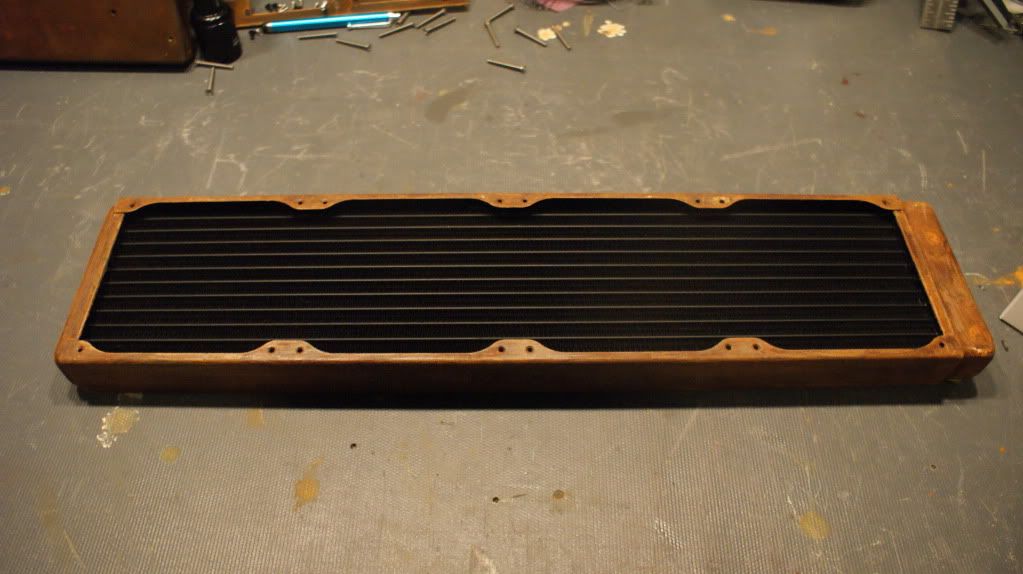
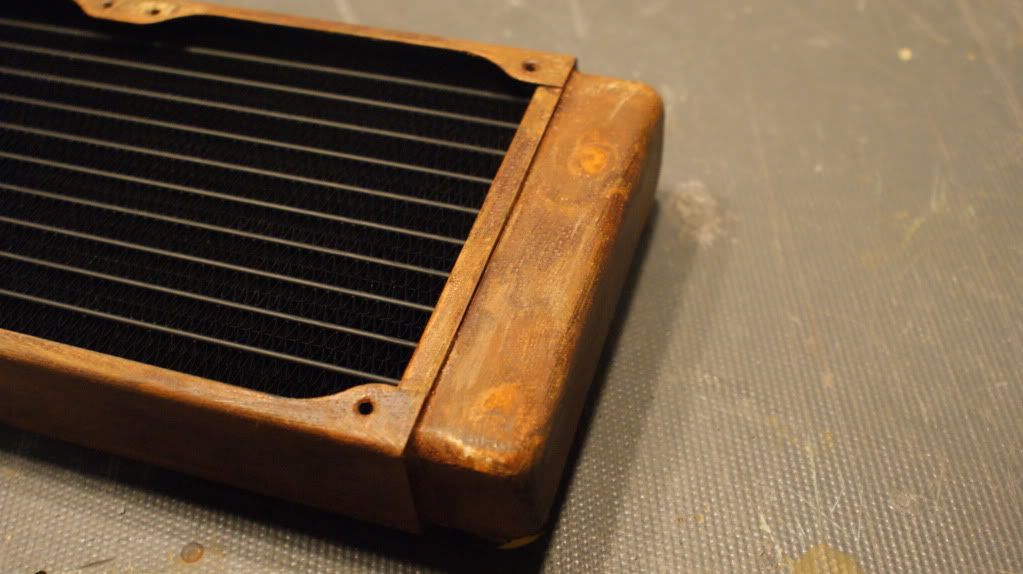
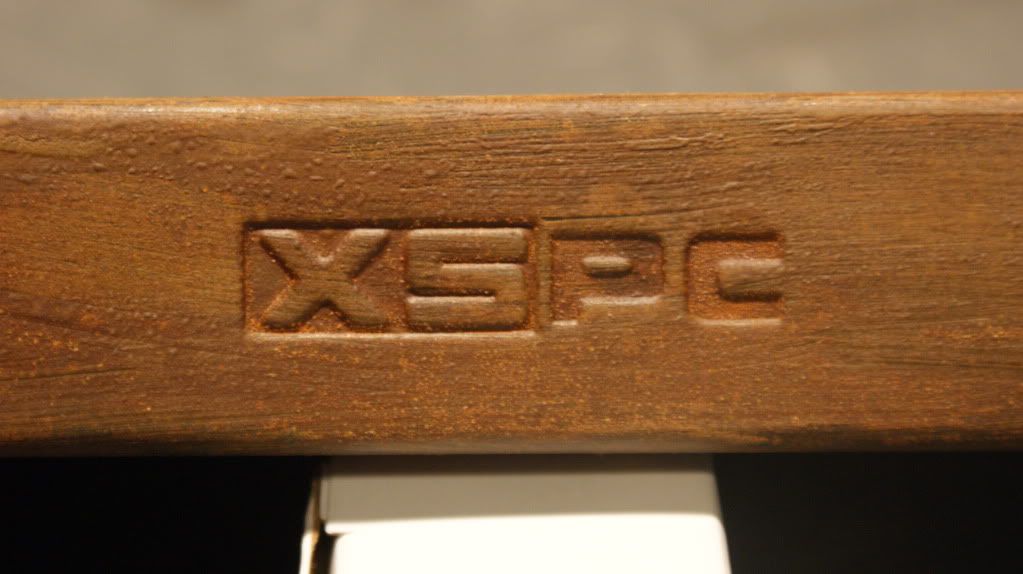
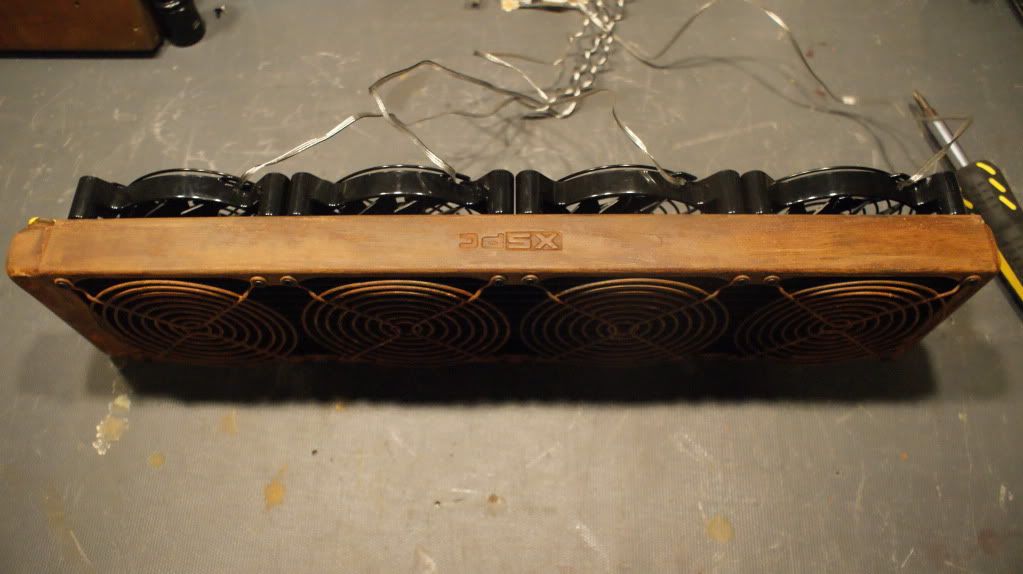
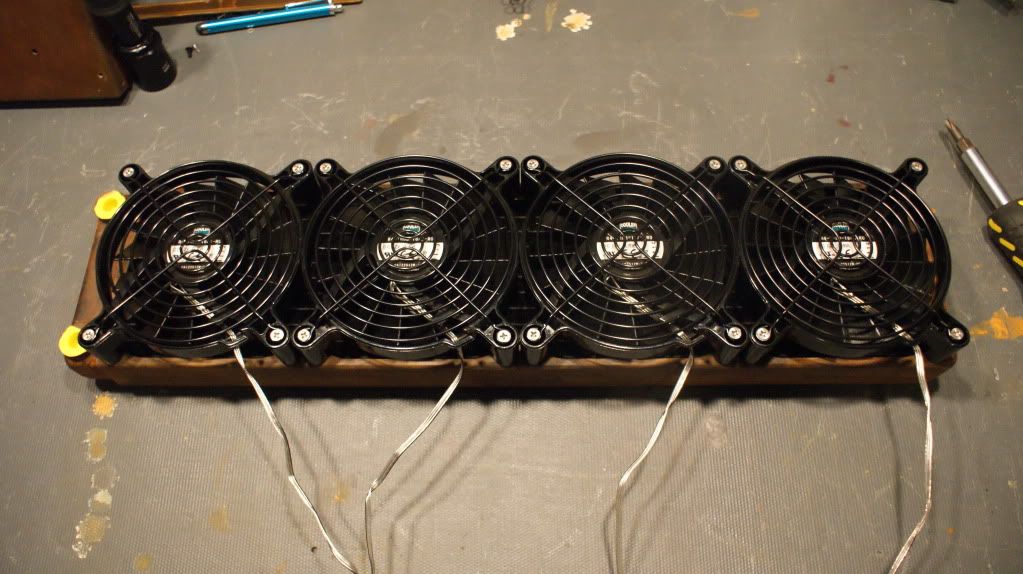
XSPC EX480
EK-CoolStream 360
Another 360 rad
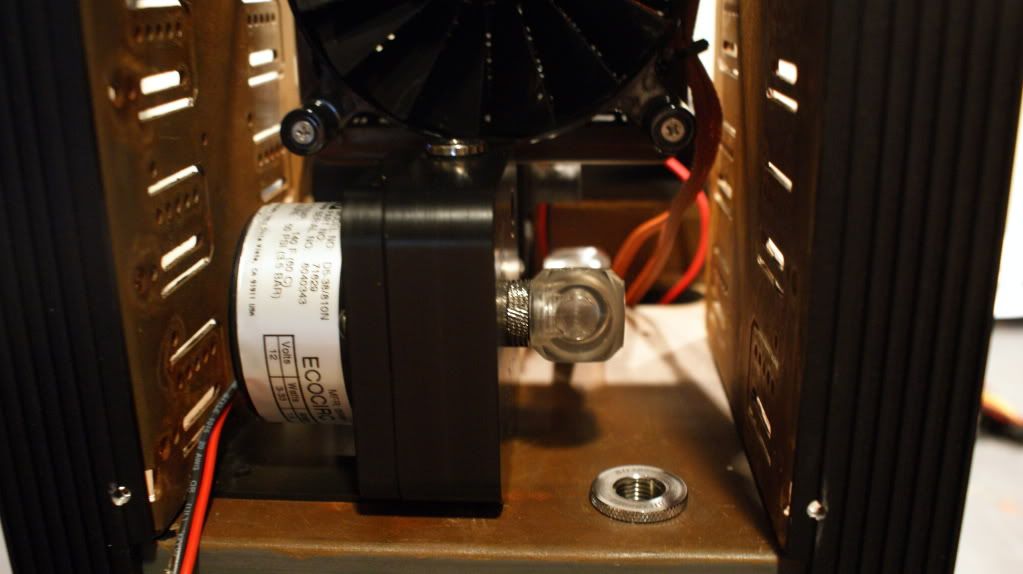
EK-Multioption 150 or 250
EK-RAM Dominator
EK-MOSFET Sabertooth P67
EK-Supreme LTX
2x XSPC 120mm radiator stand
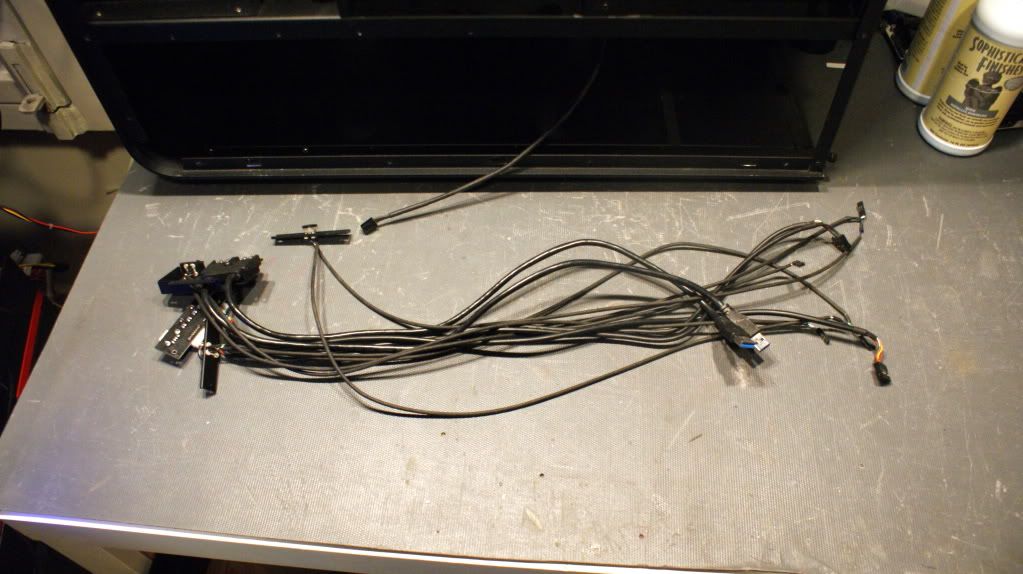
Misc
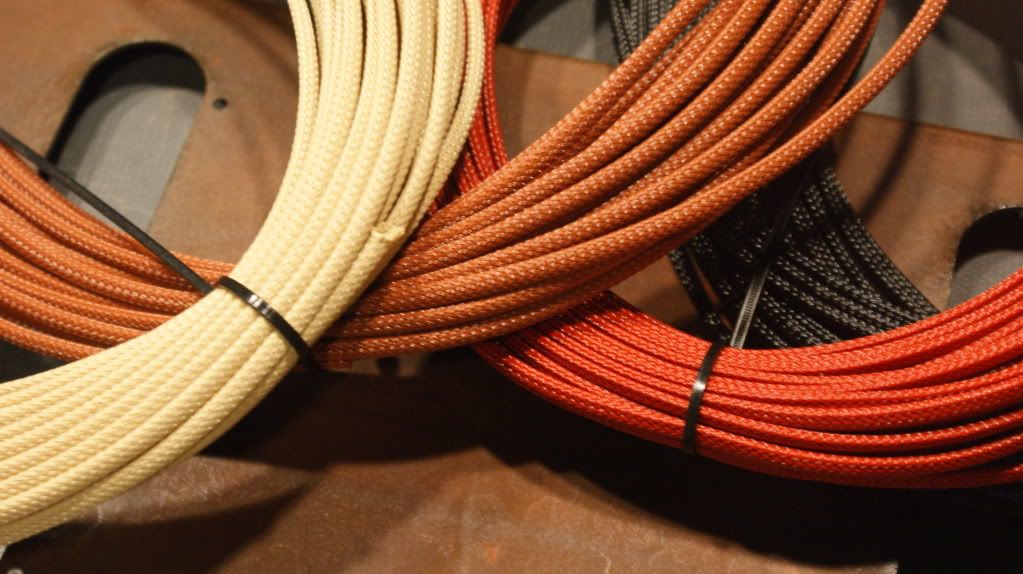
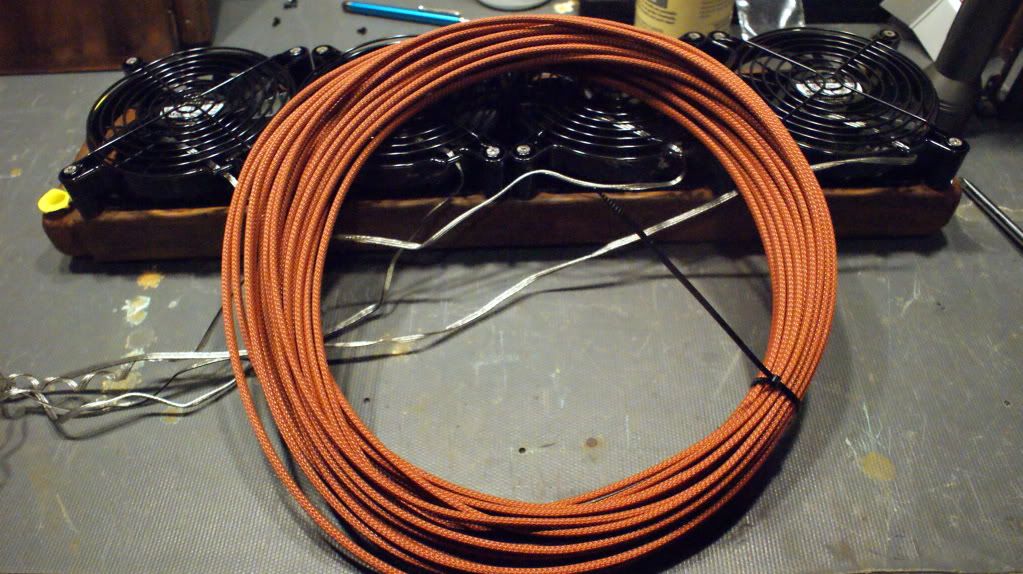
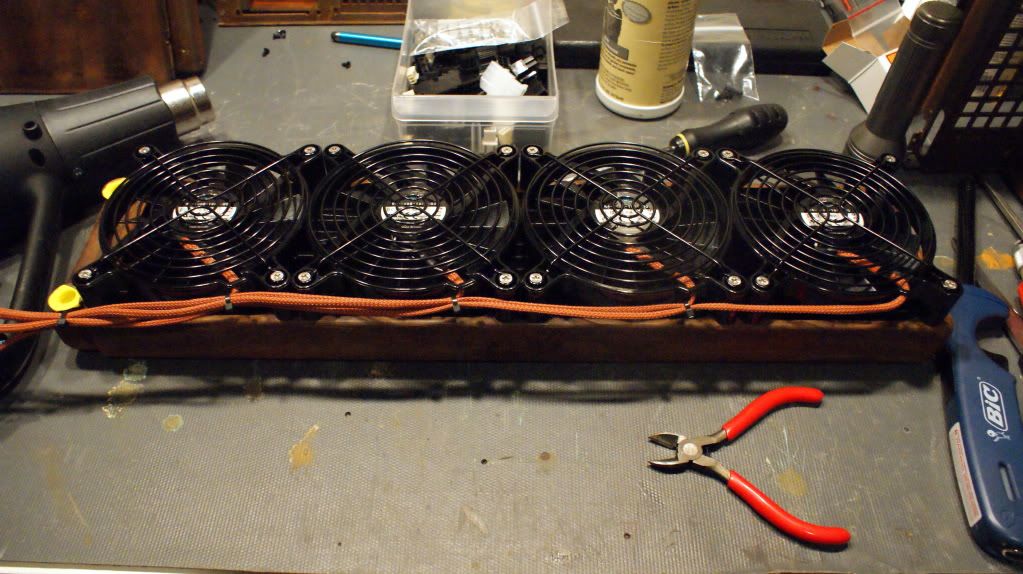
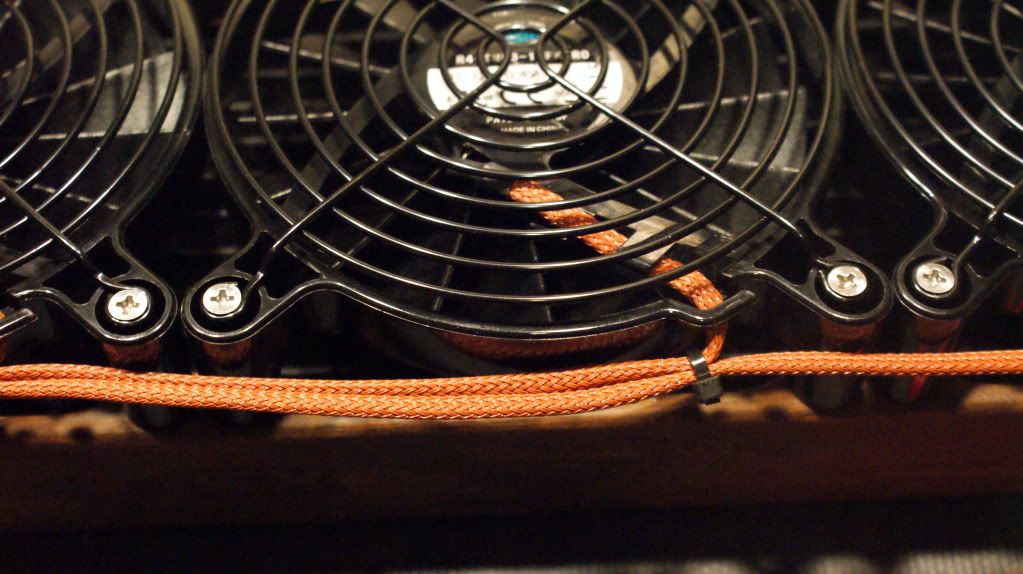
Sleeving: MDPC-X
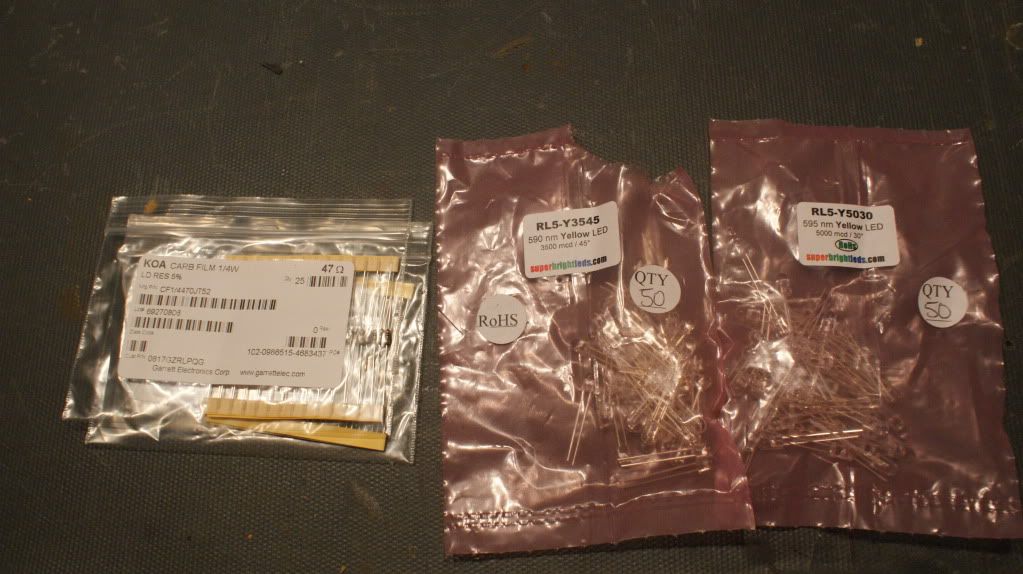
Yellow SMD LED Strips
Yellow LED bulbs
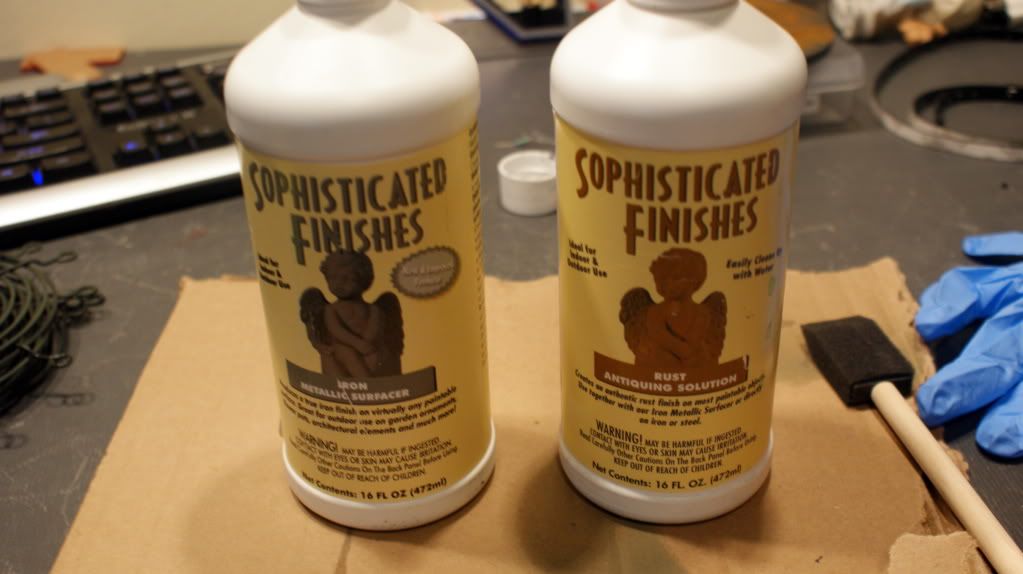
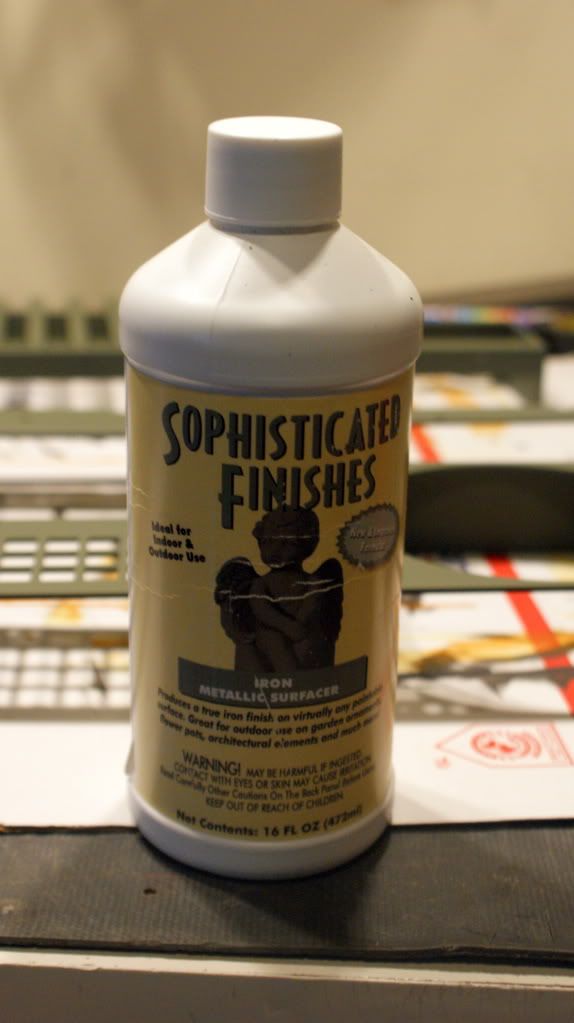
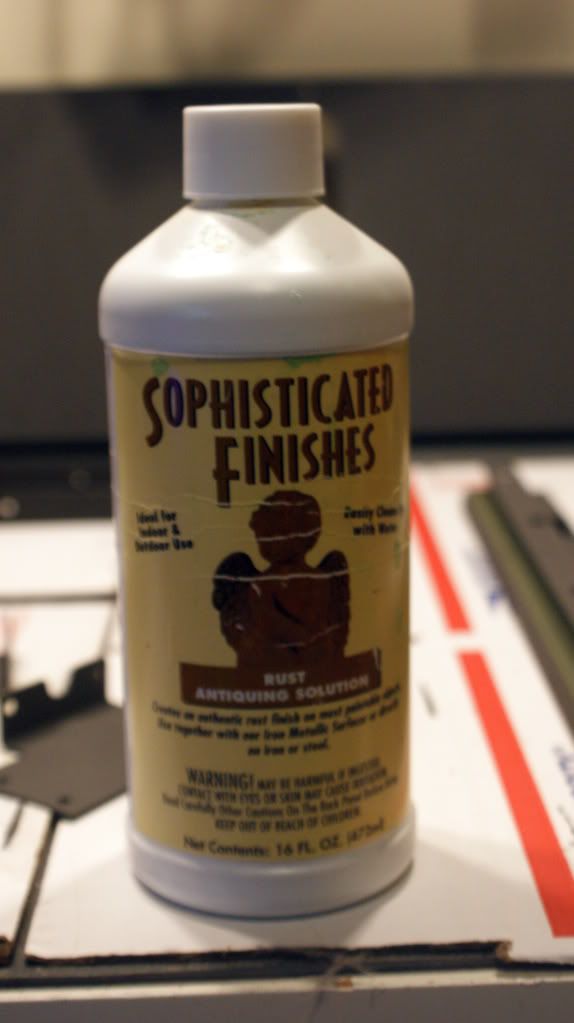
Sophisticated Finishes Rust Effect Kit
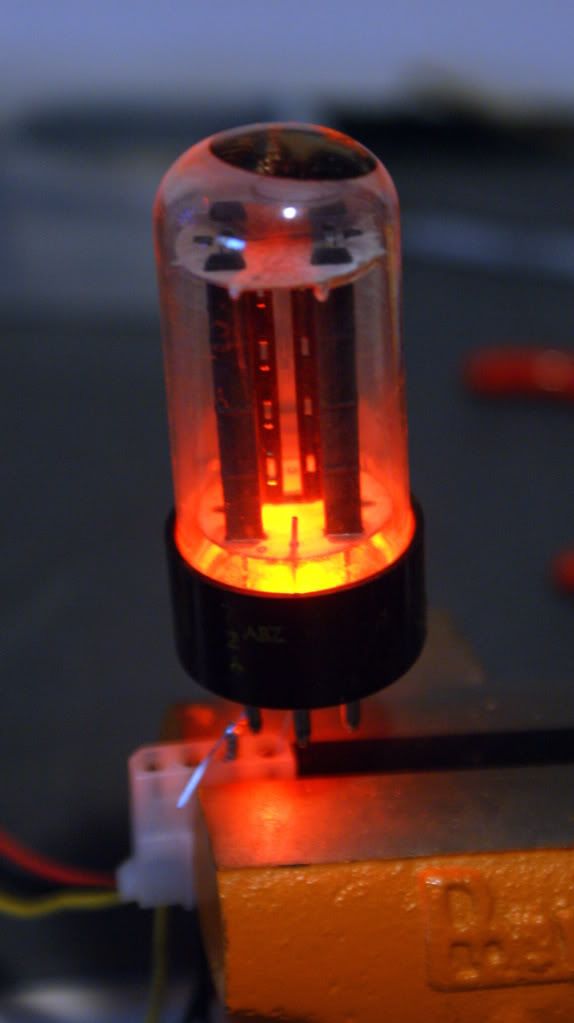
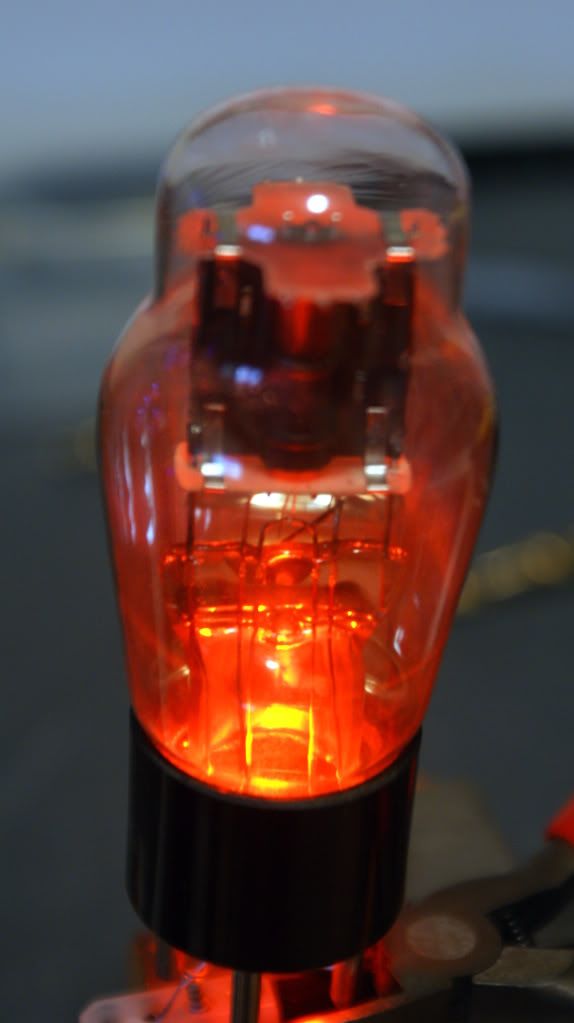
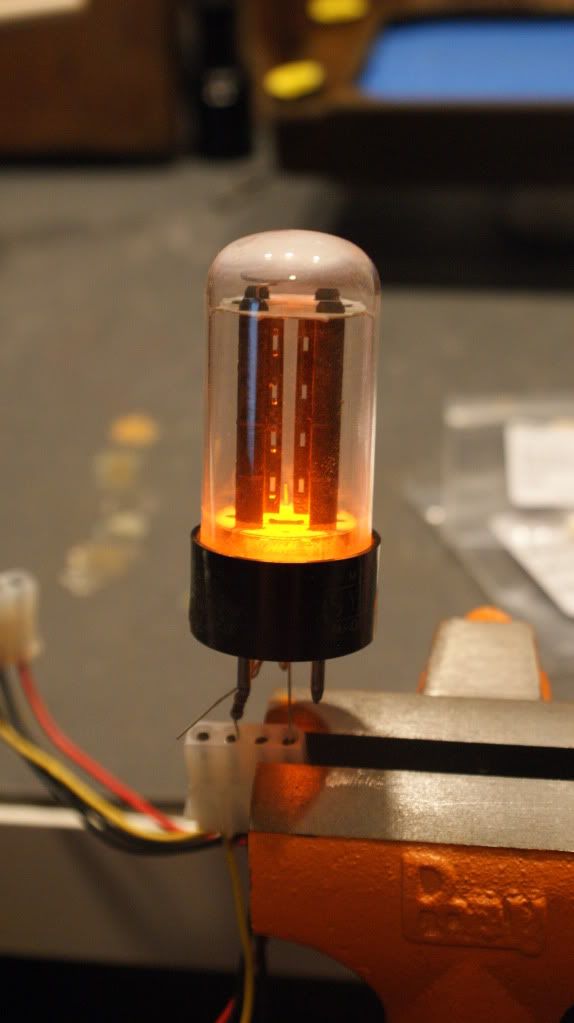
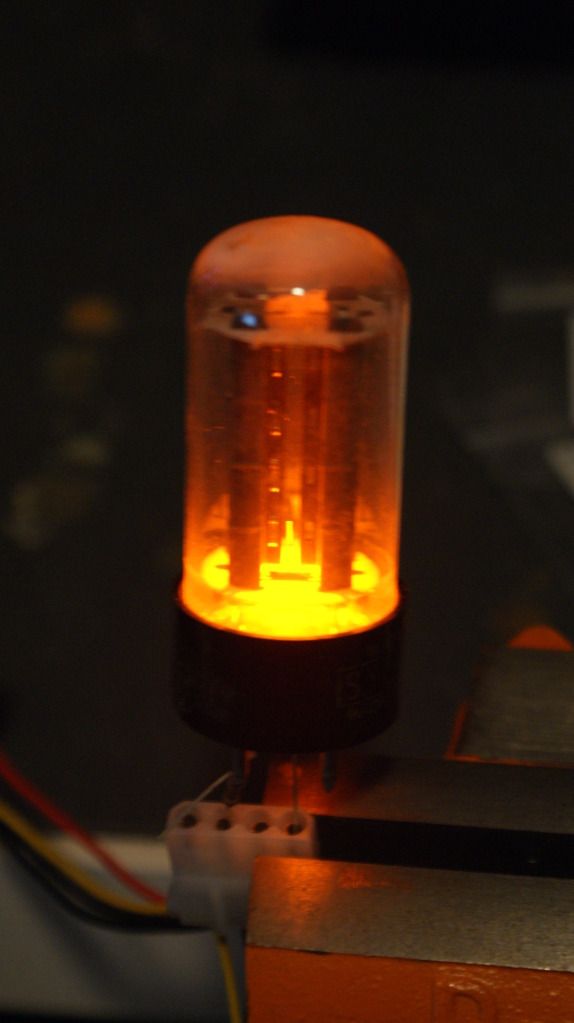
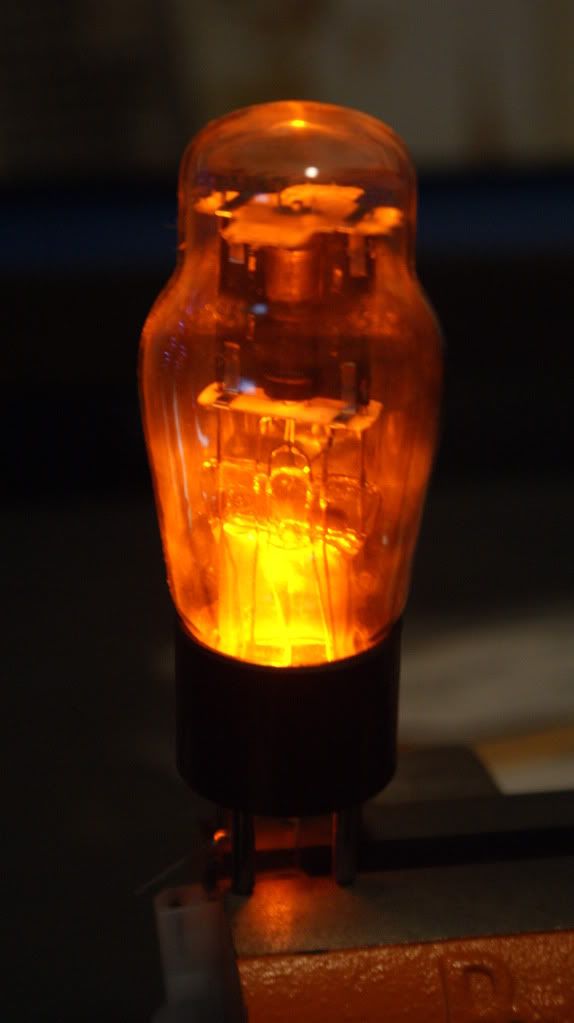
Old Vacuum Tubes
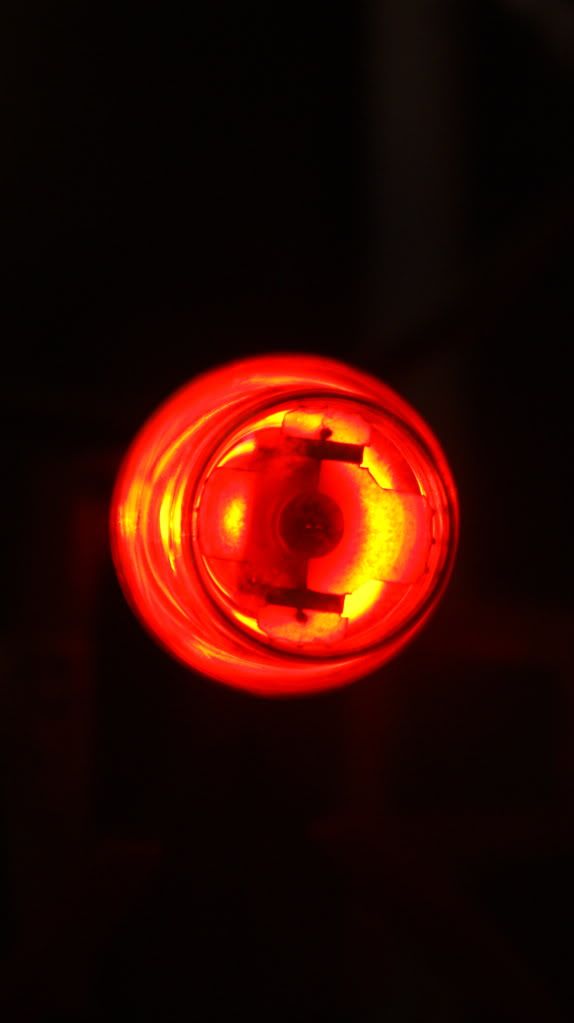
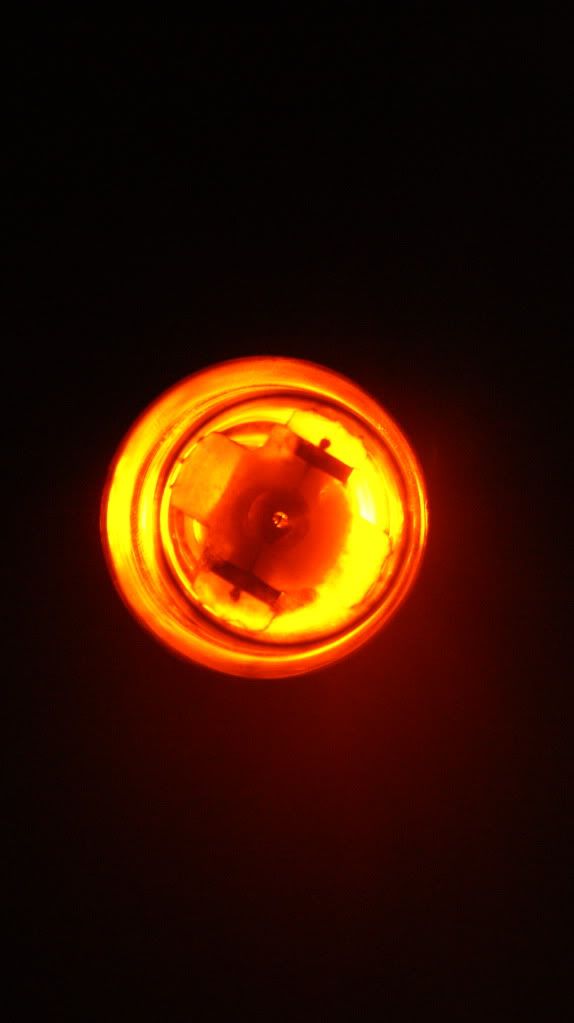
Lets start working! The first thing I did was do some testing with LEDs in the Vacuum tubes. Here is what they look like with an Orange LED in them. Orange is not the final color, yellow is but at the time I didn't have the Yellow LEDs in yet.
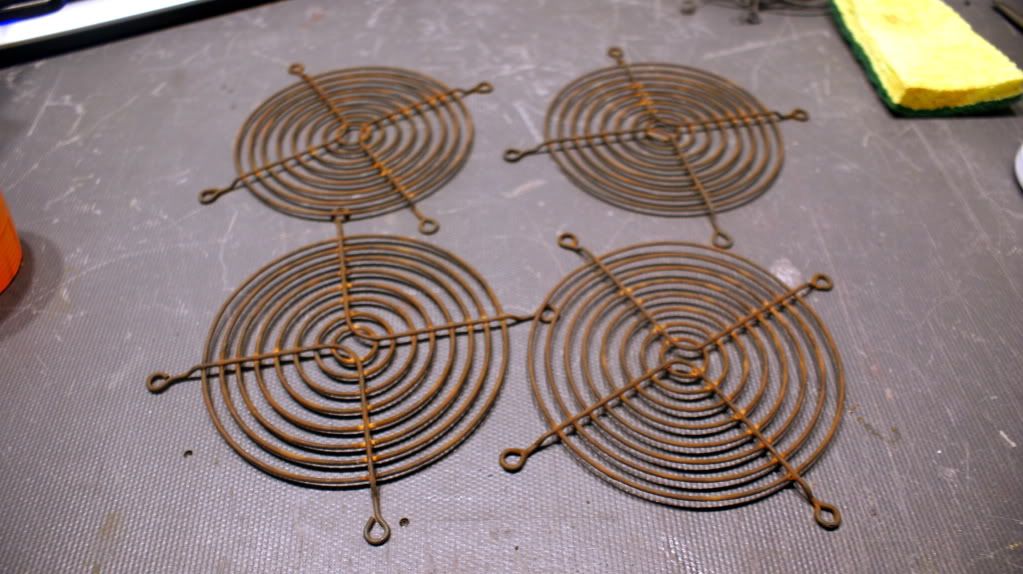
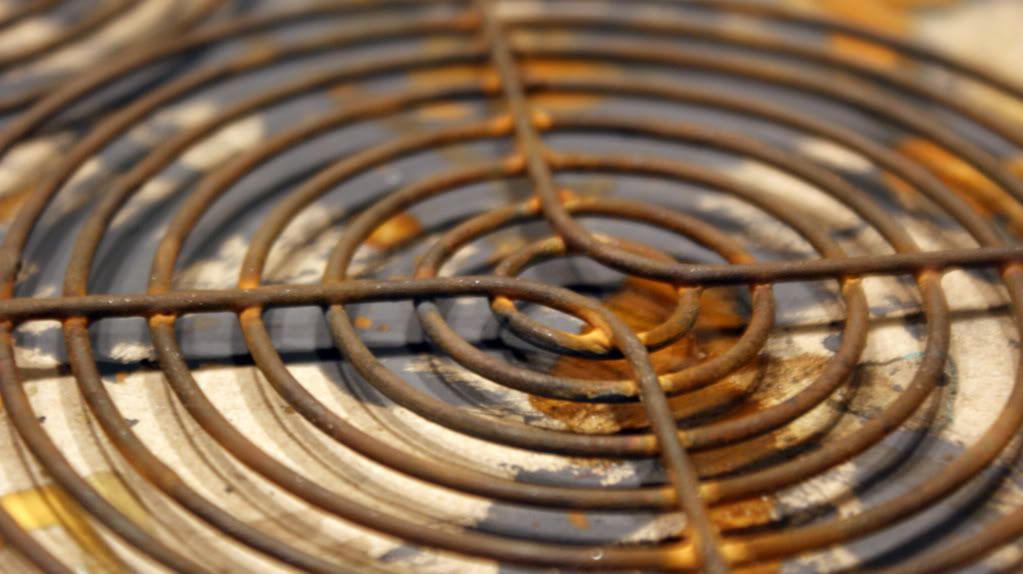
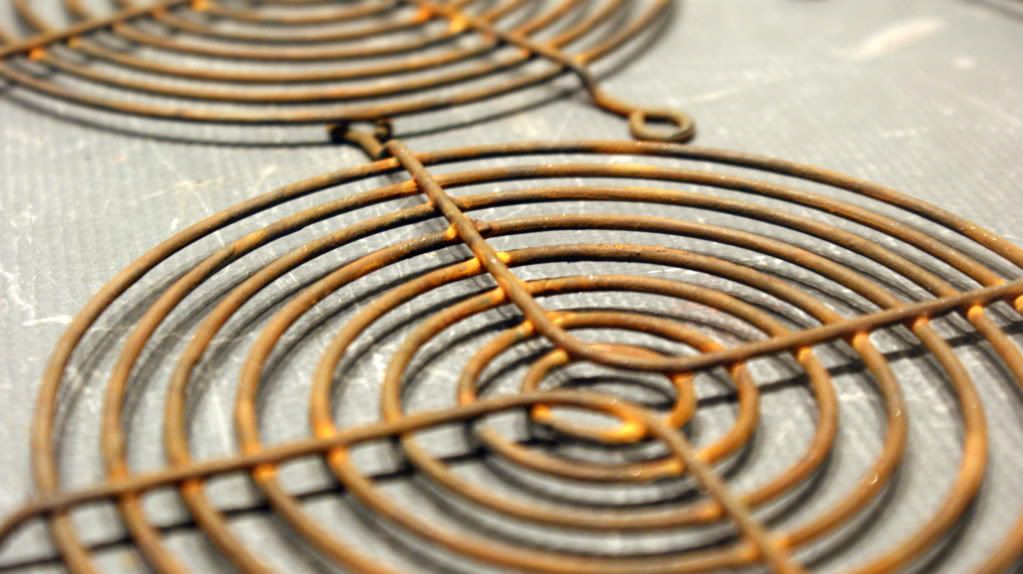
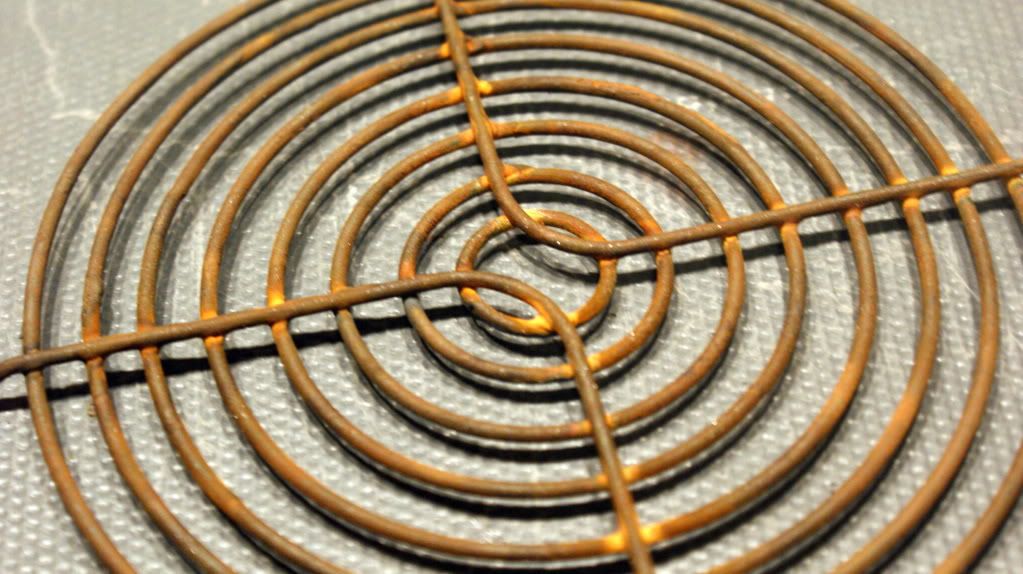
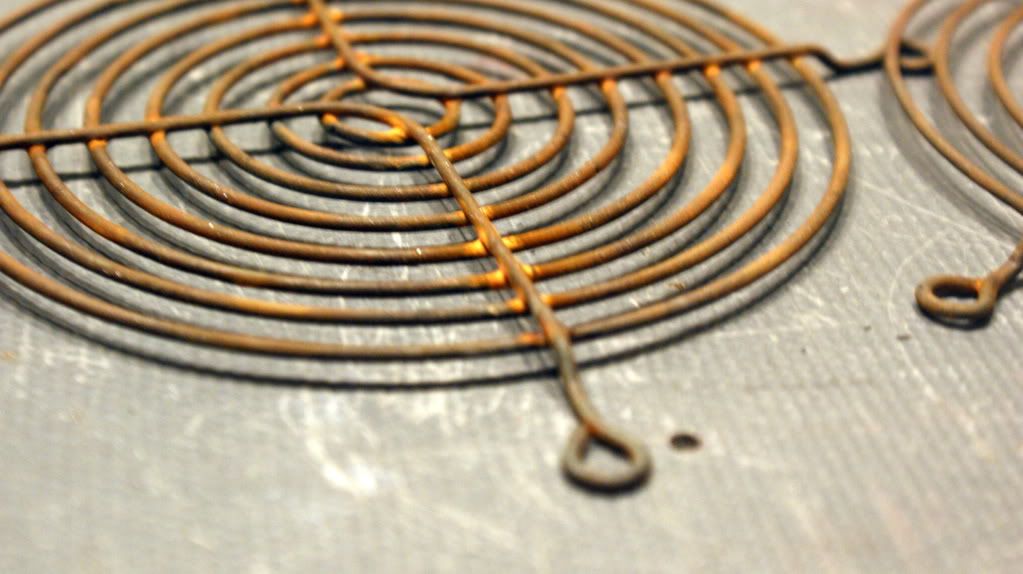
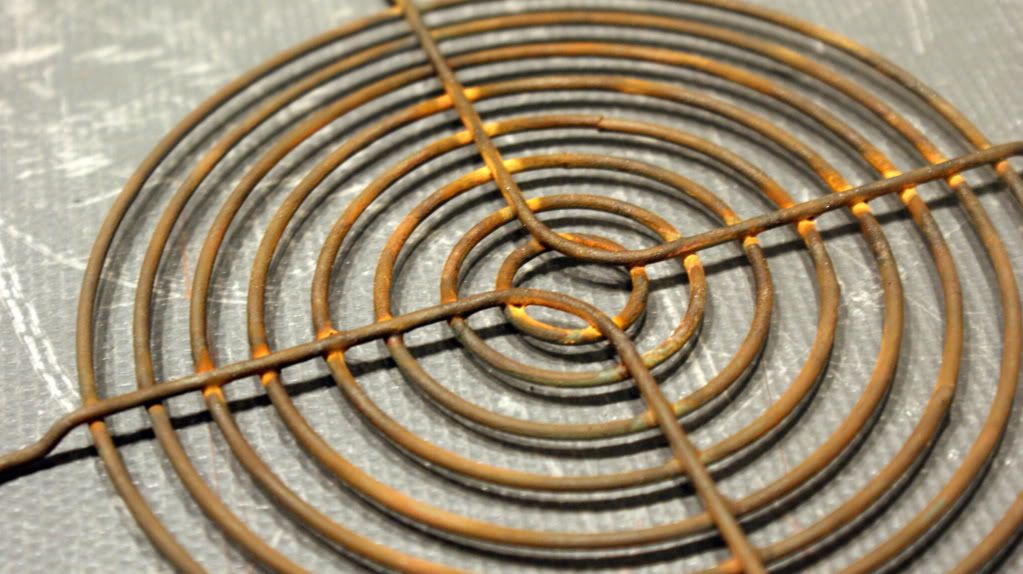
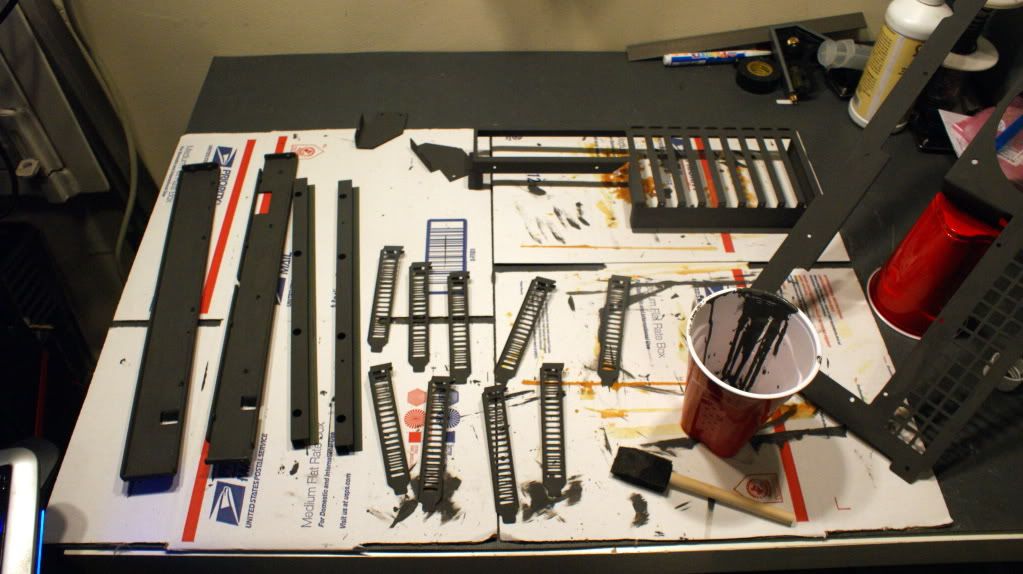
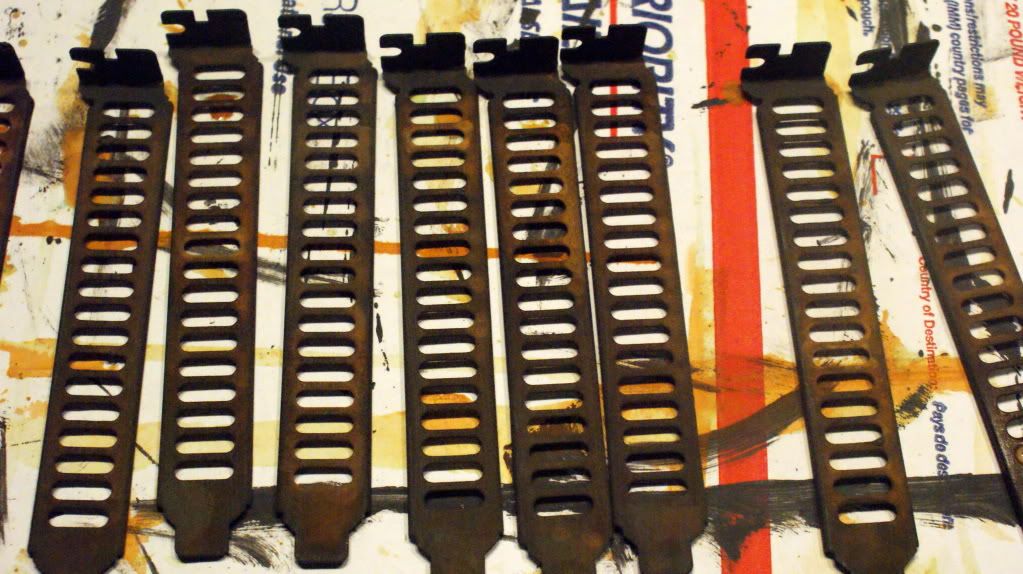
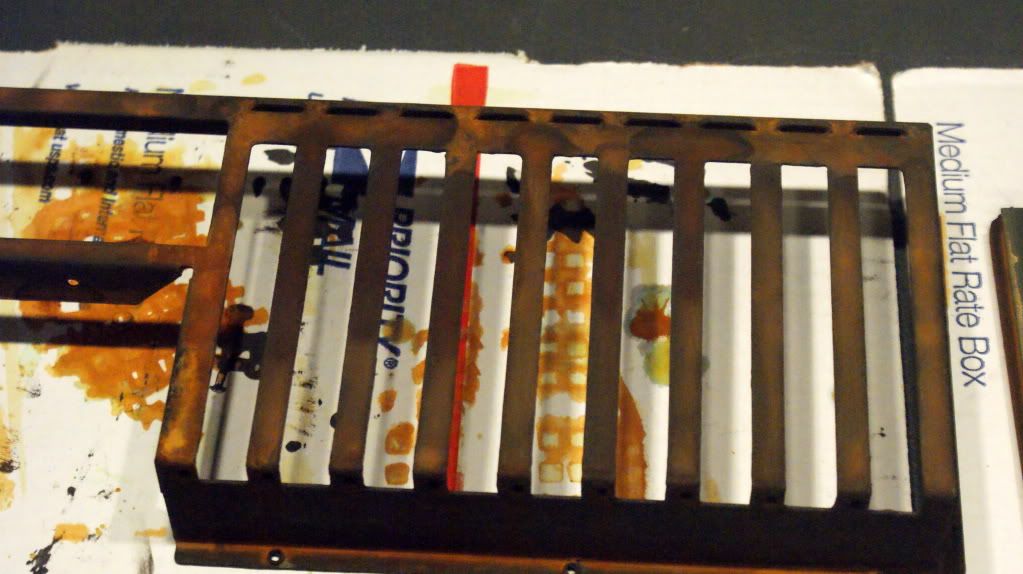
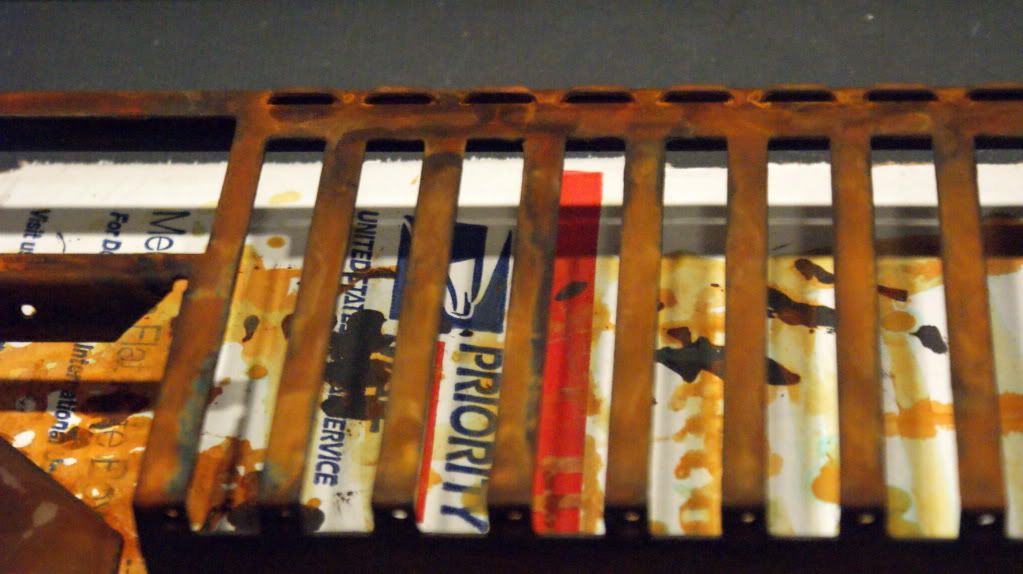
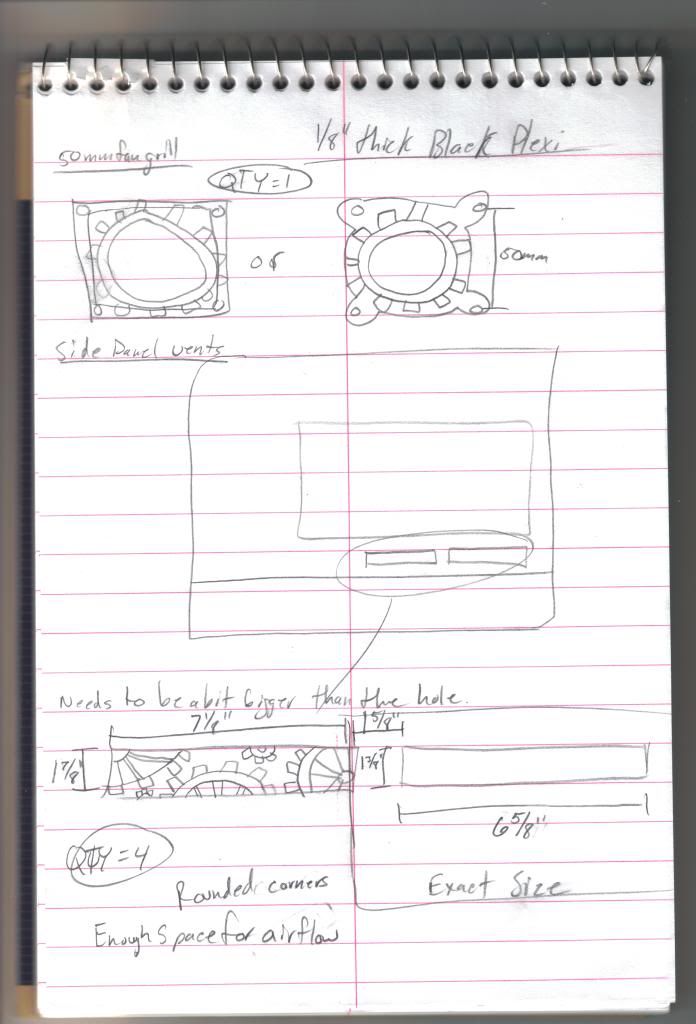
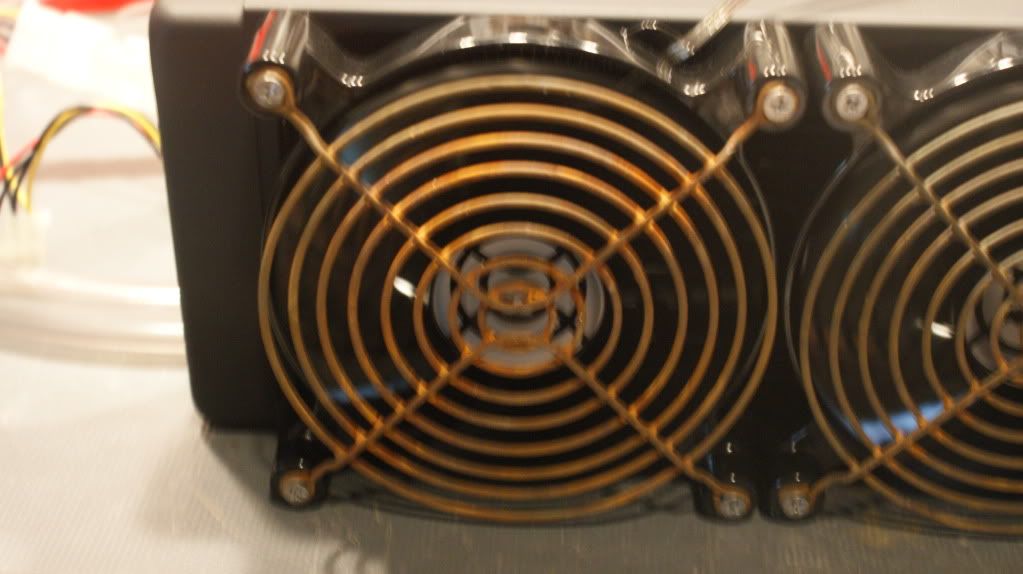
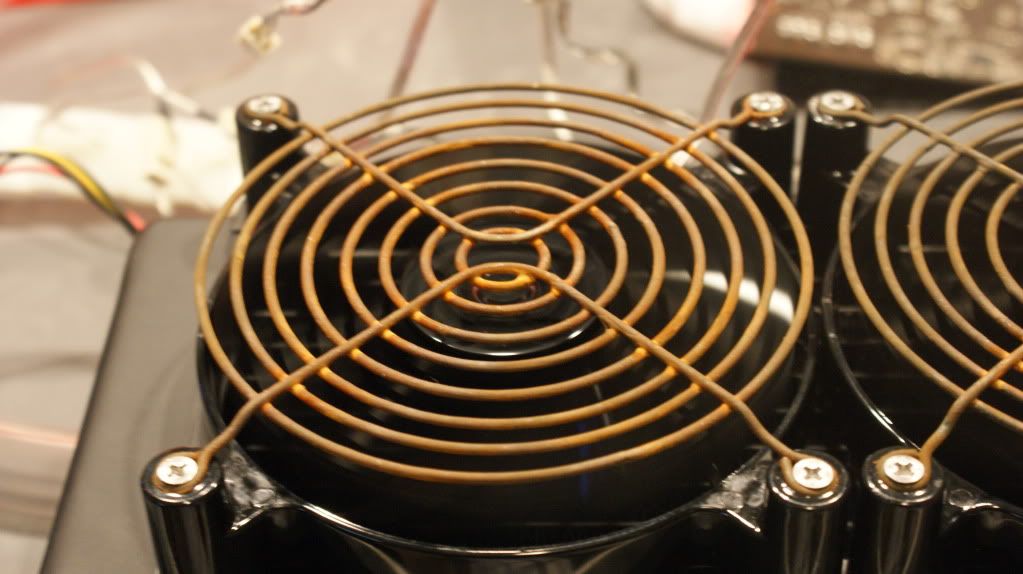
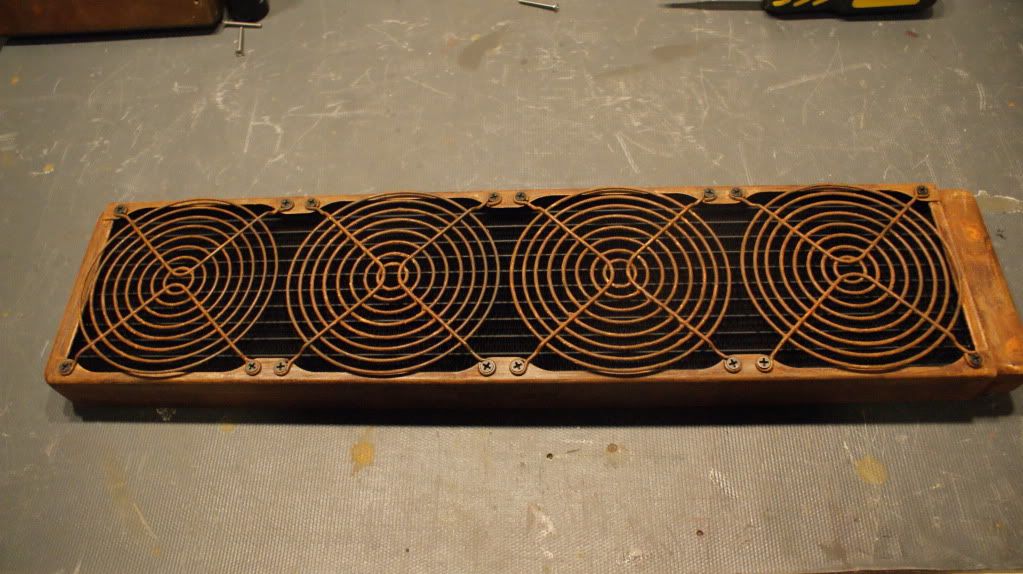
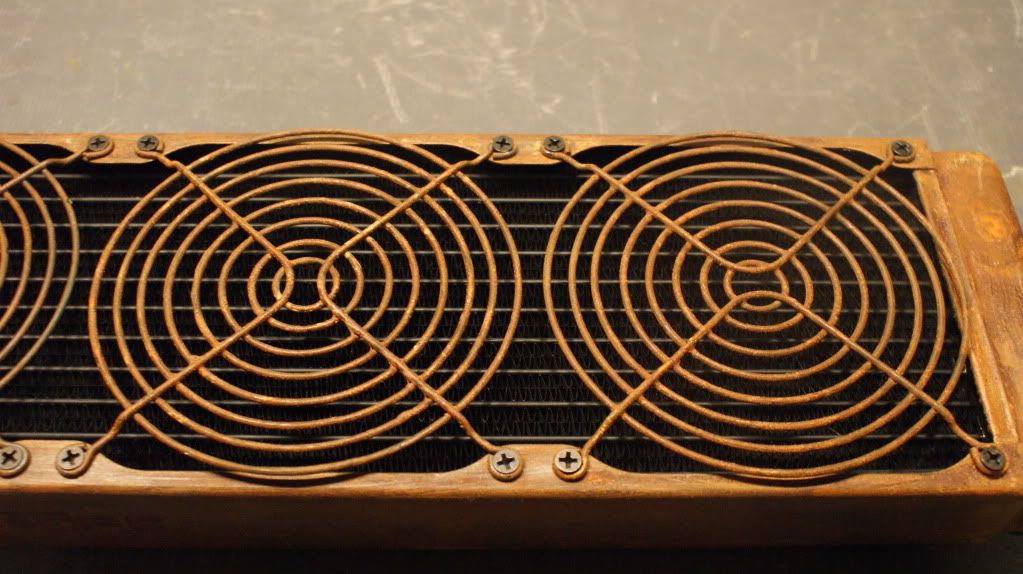
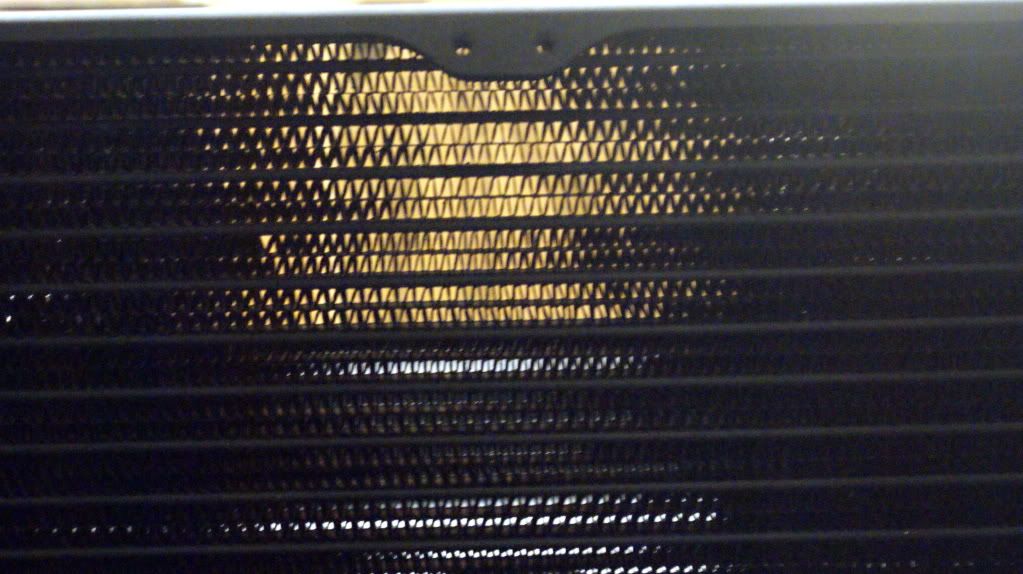
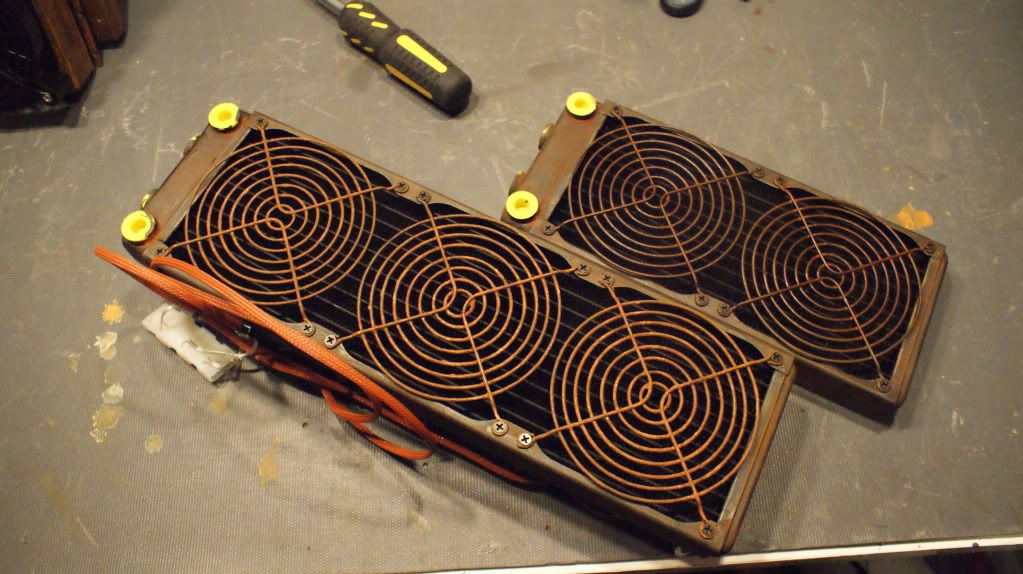
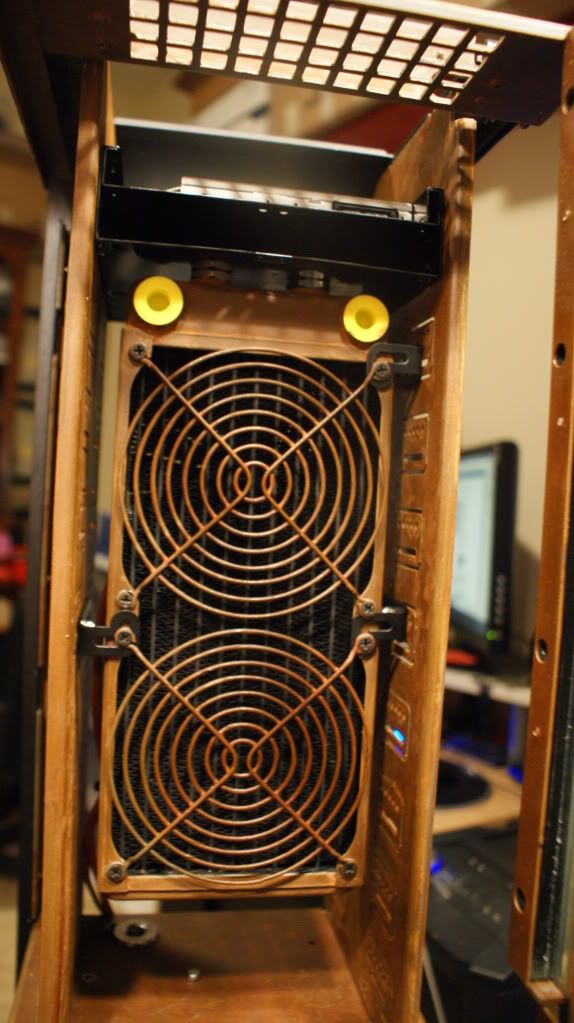
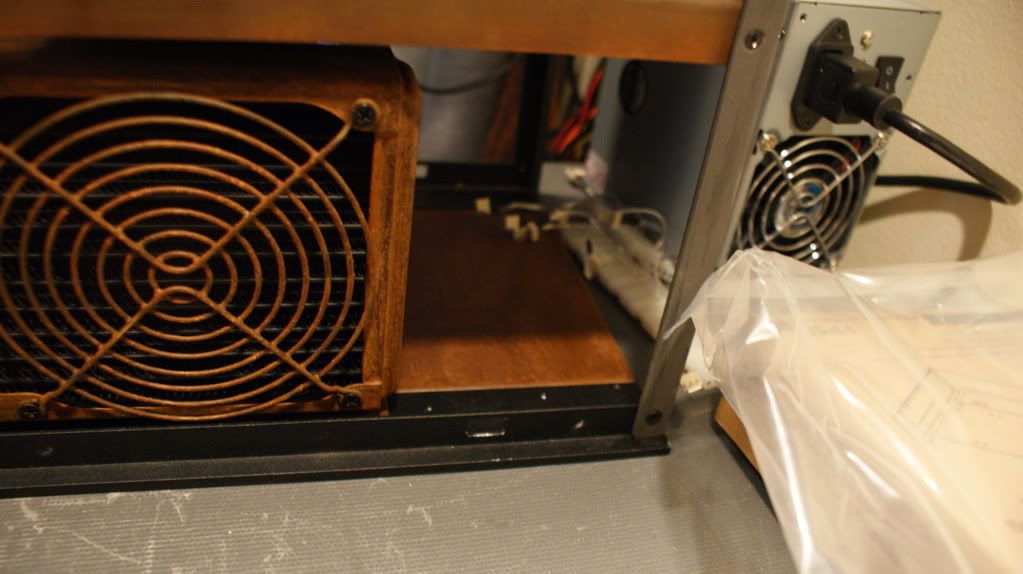
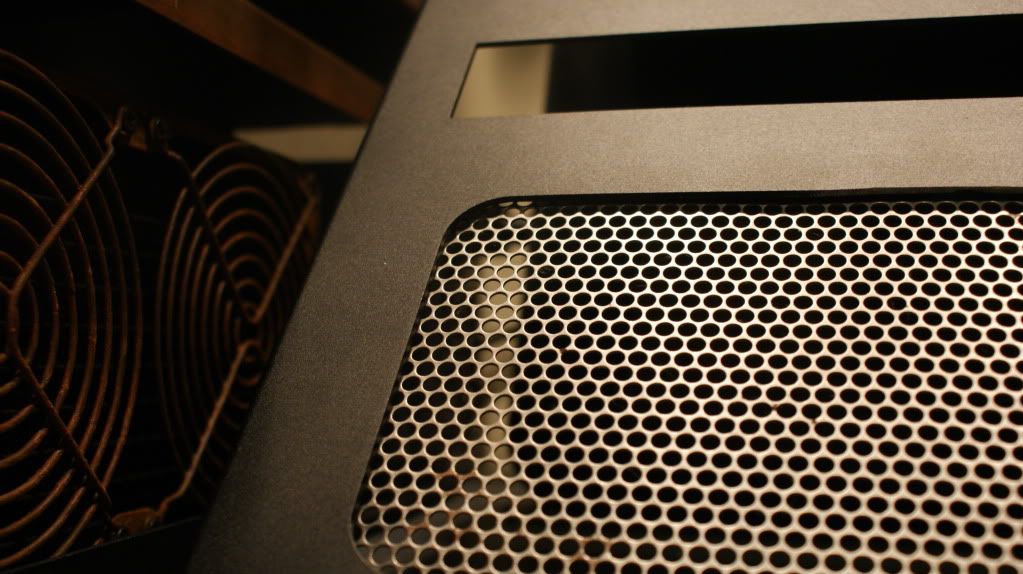
Next up was to see how the rust effect paint would workout. First lets try some fan grills.
The Paint
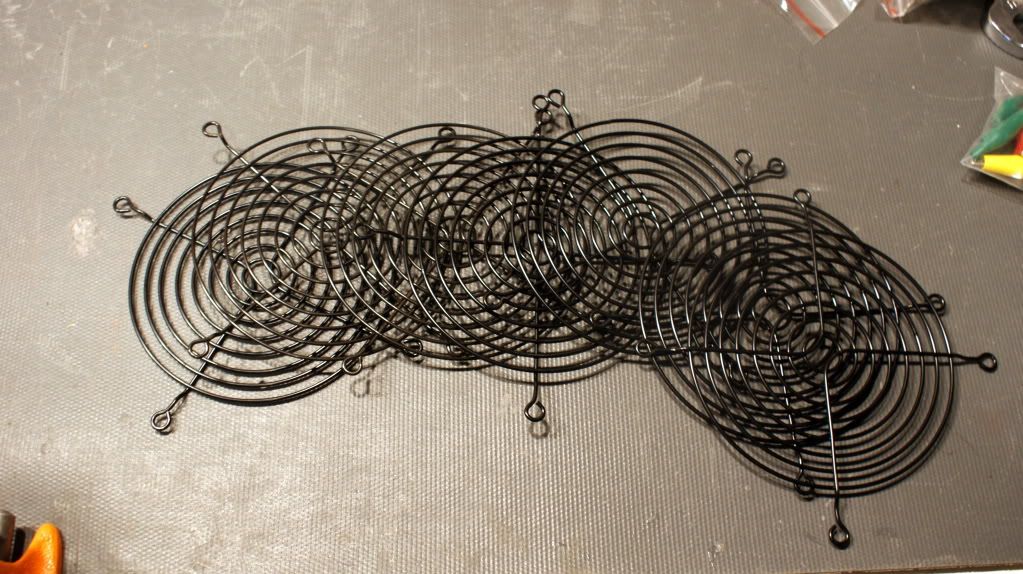
The Grills
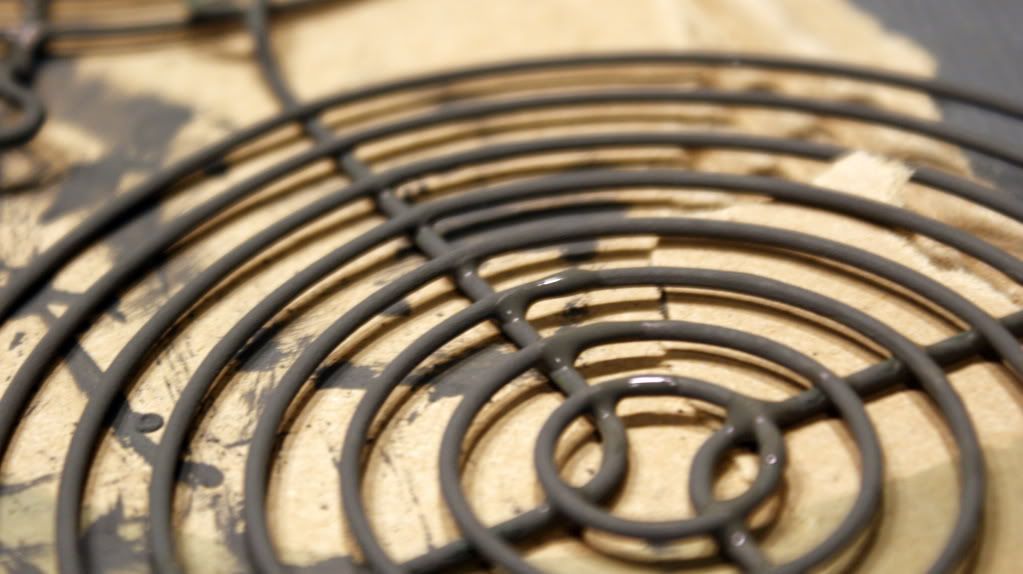
Primer and Iron paint
Rust Paint
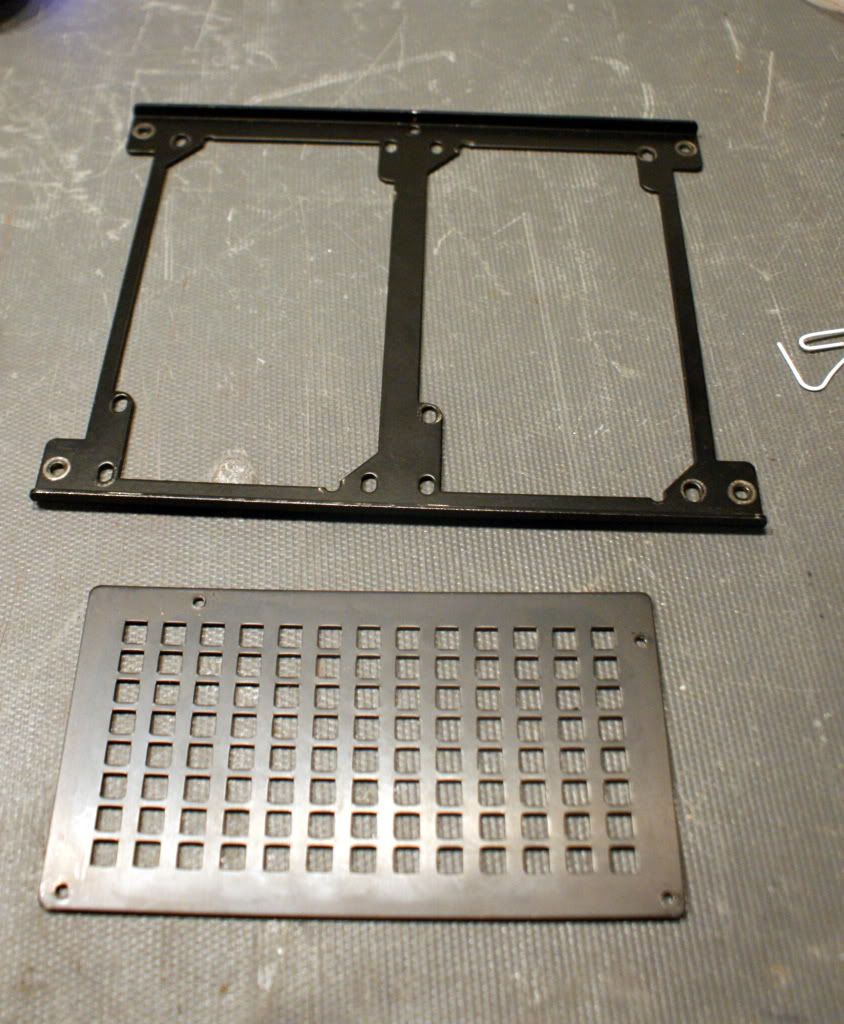
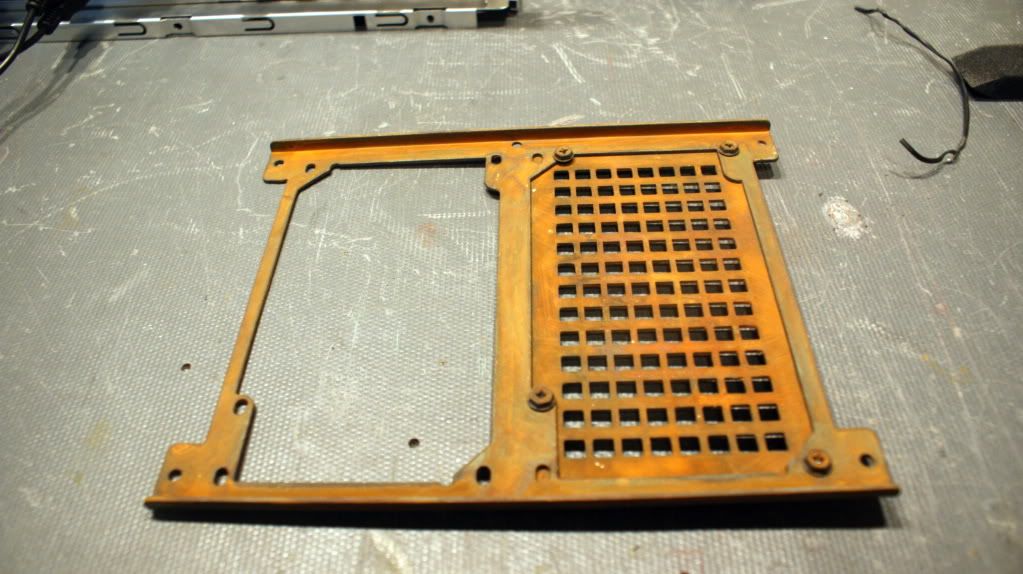
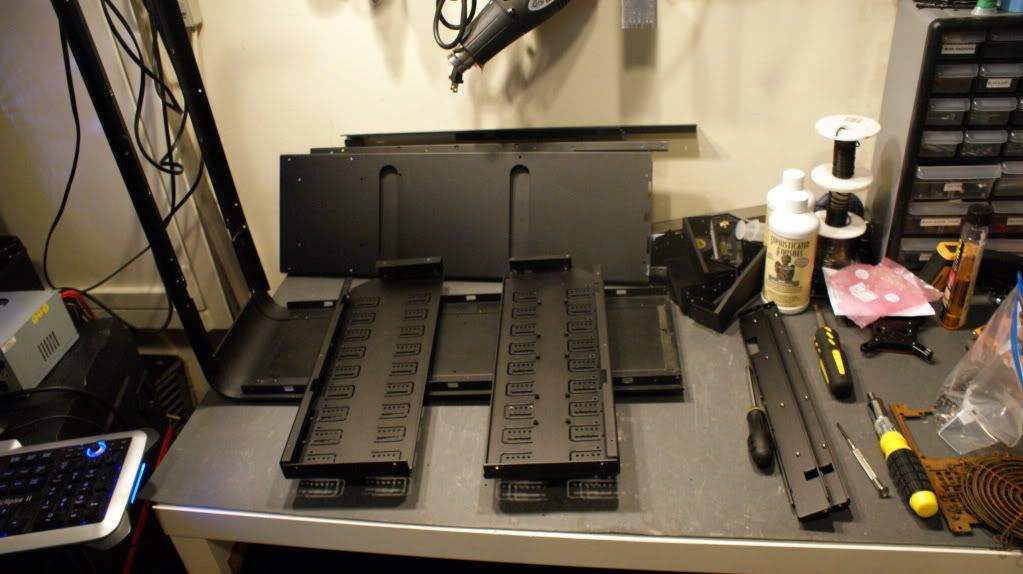
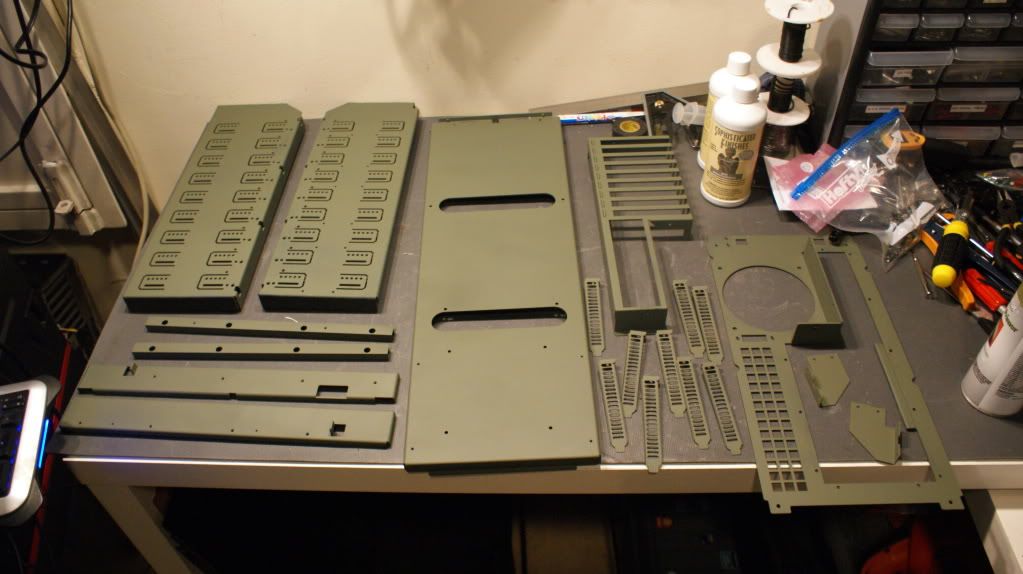
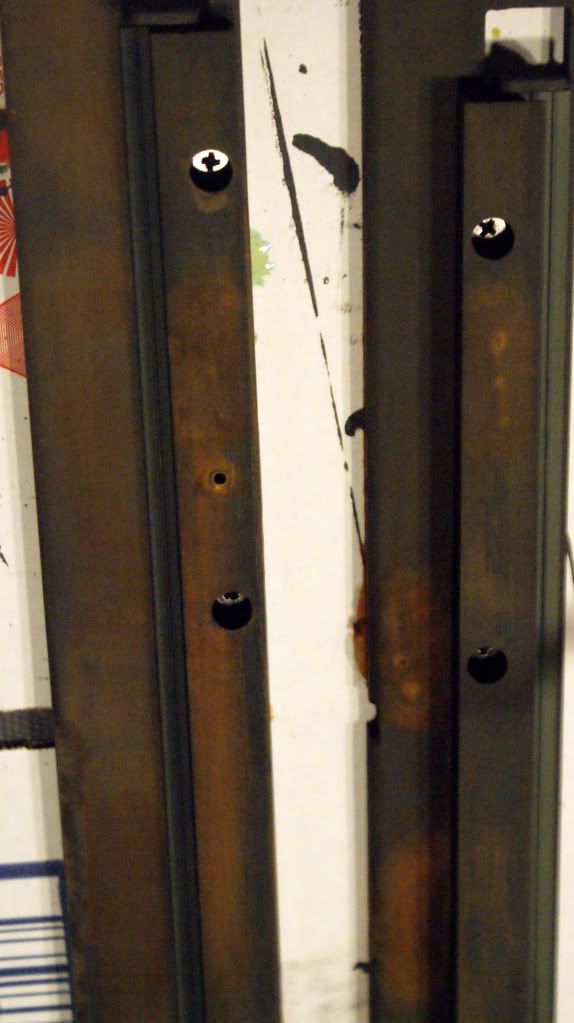
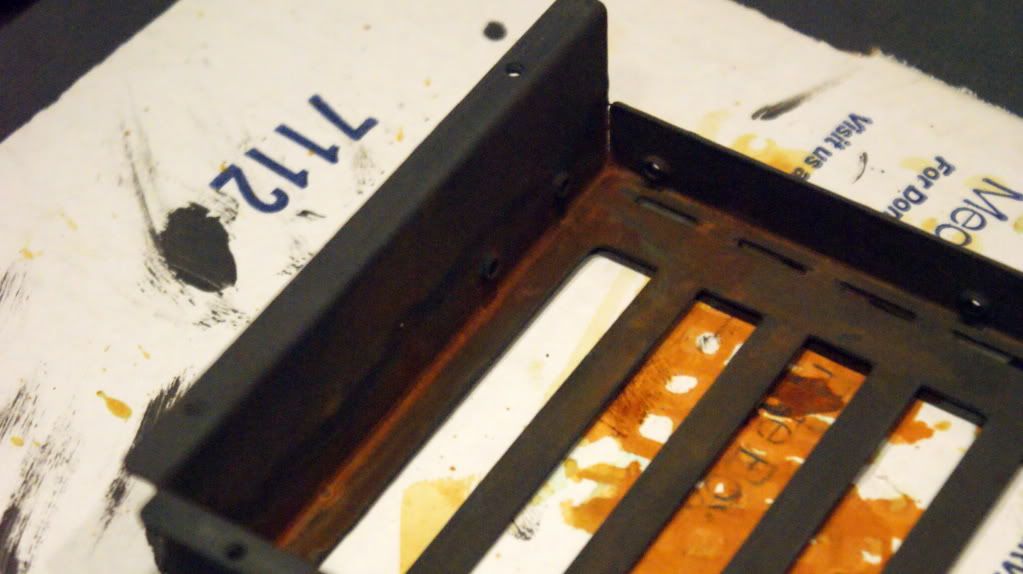
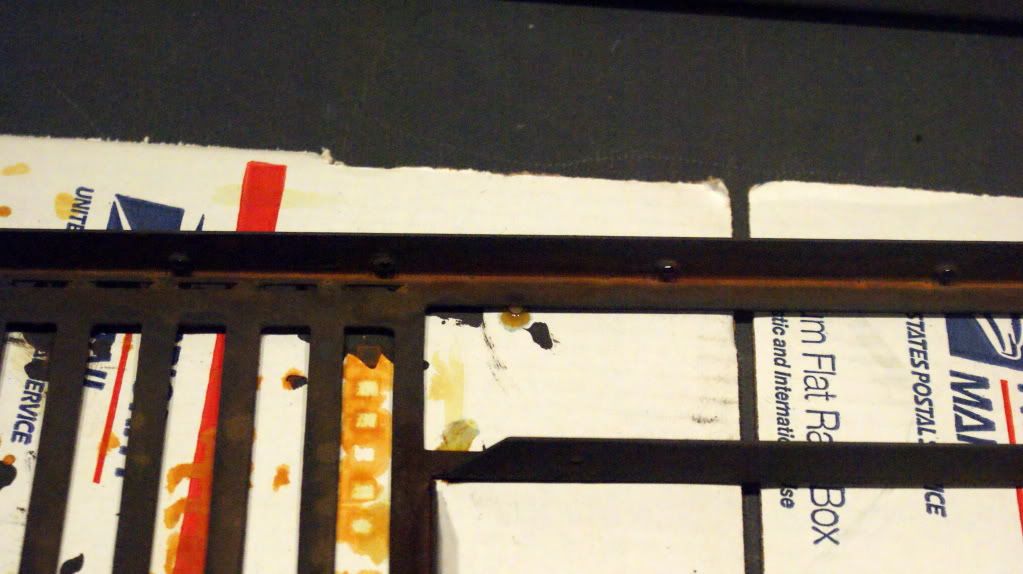
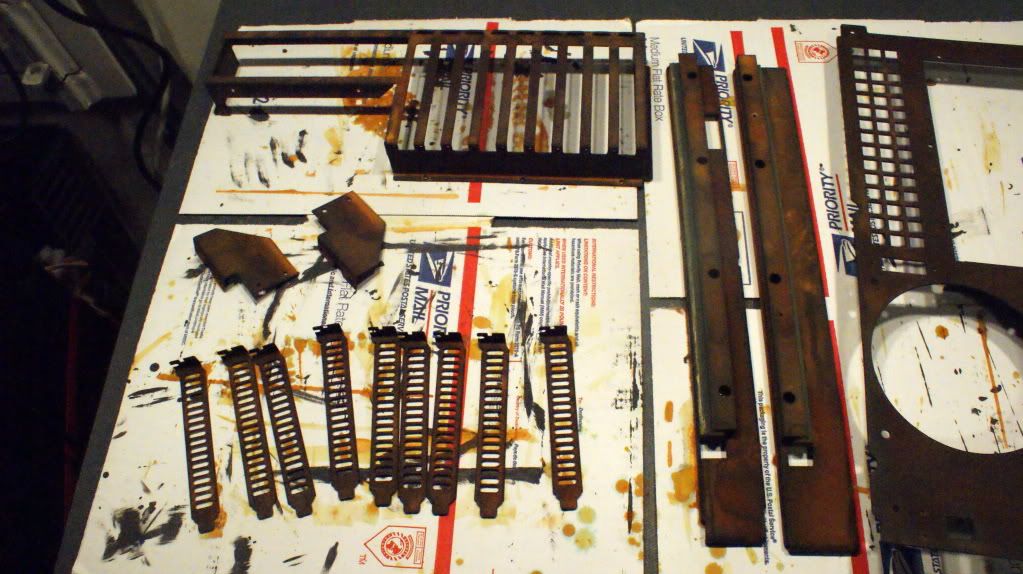
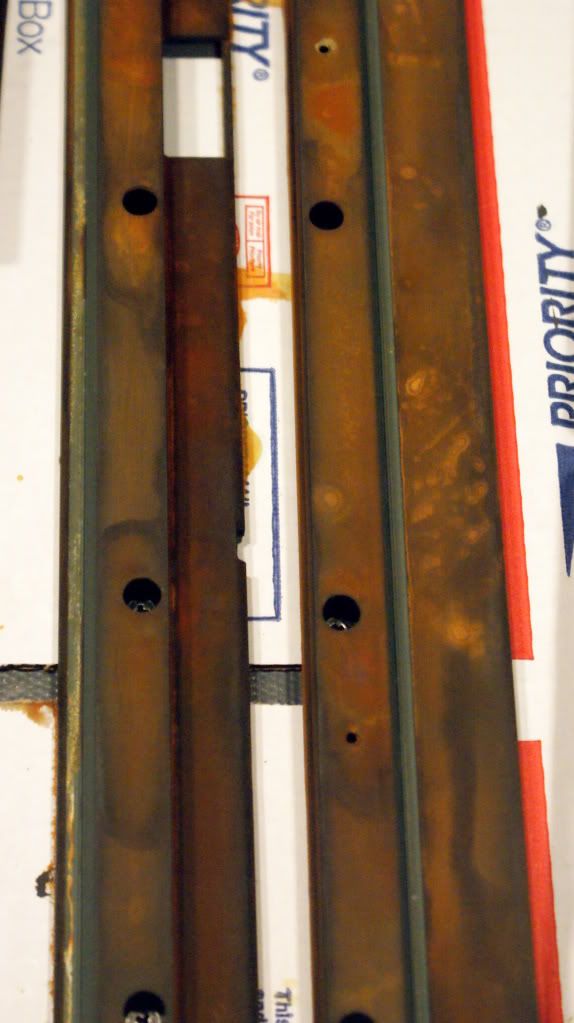
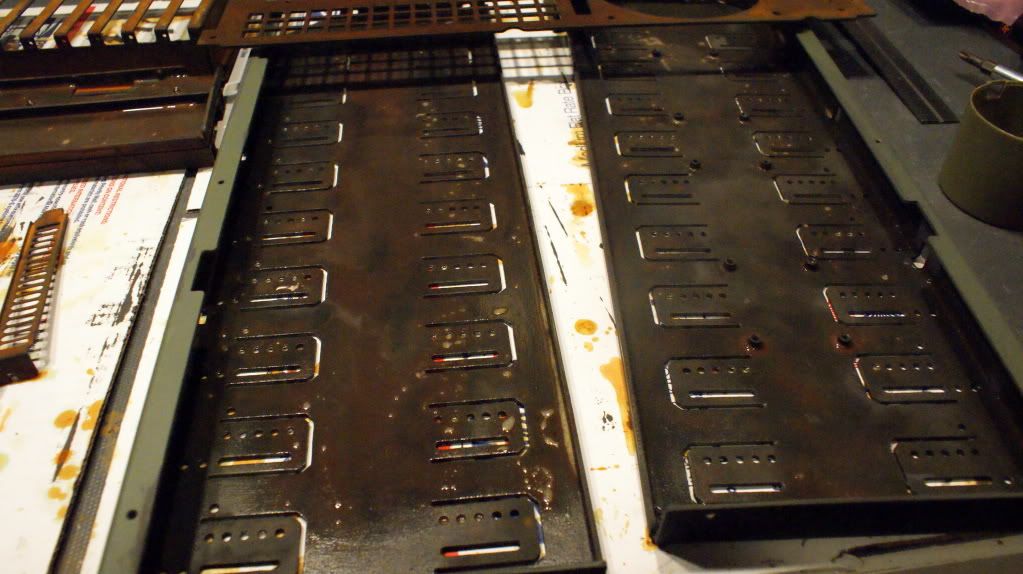
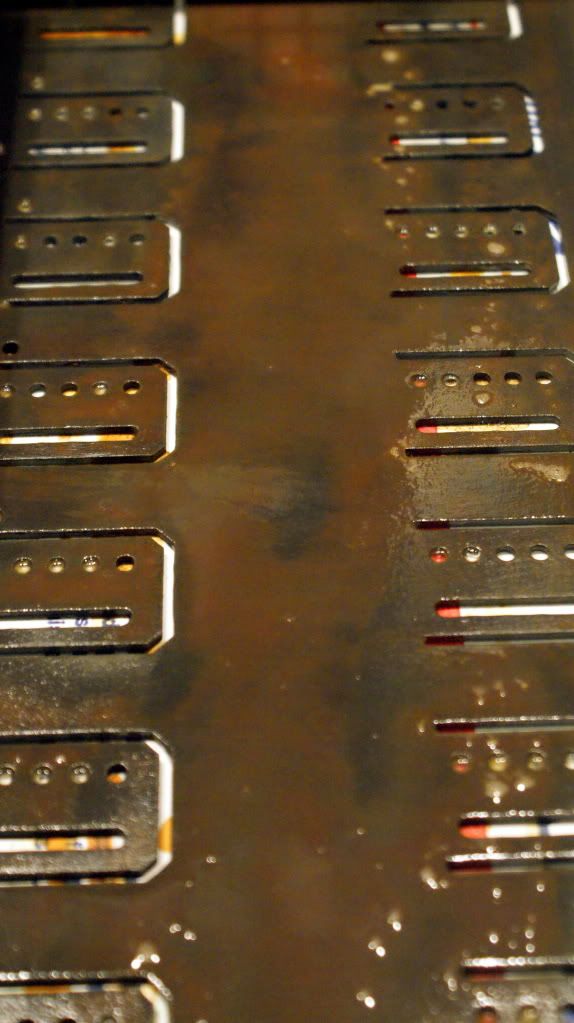
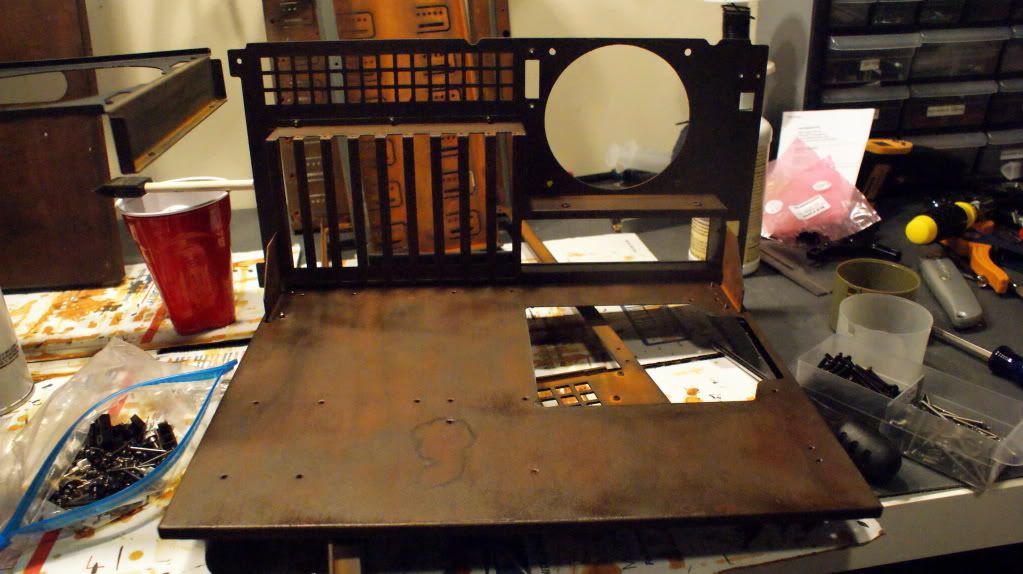
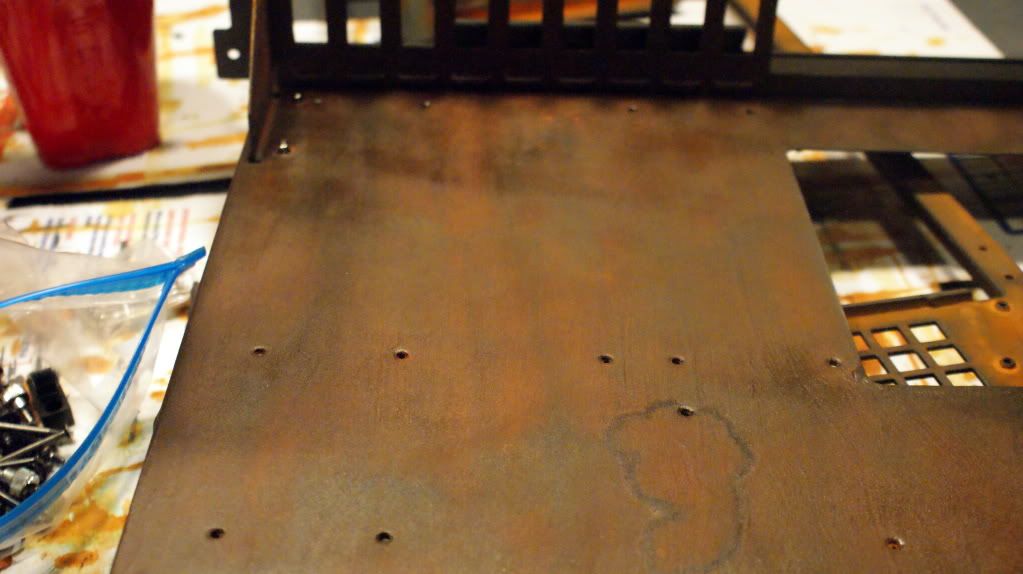
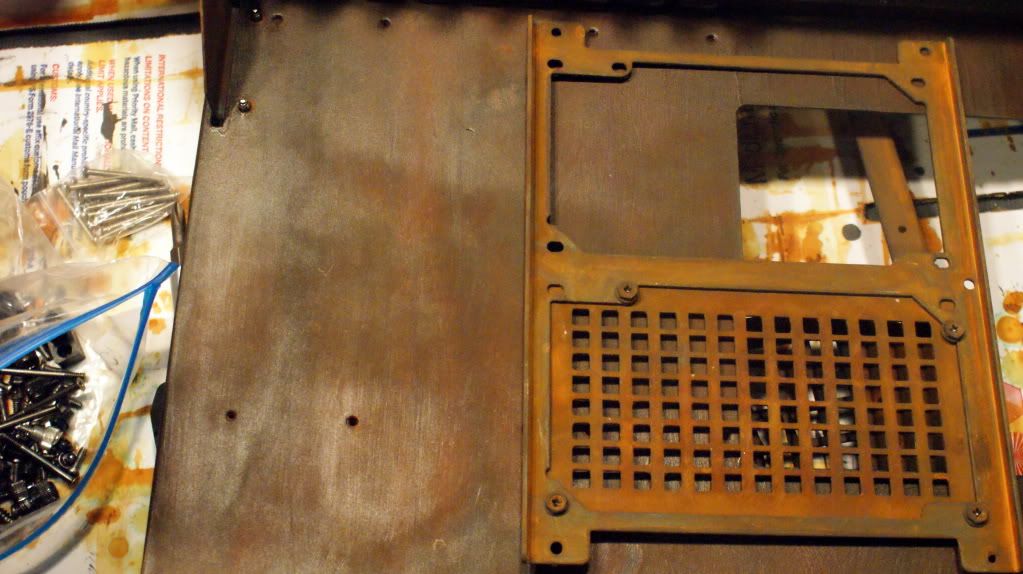
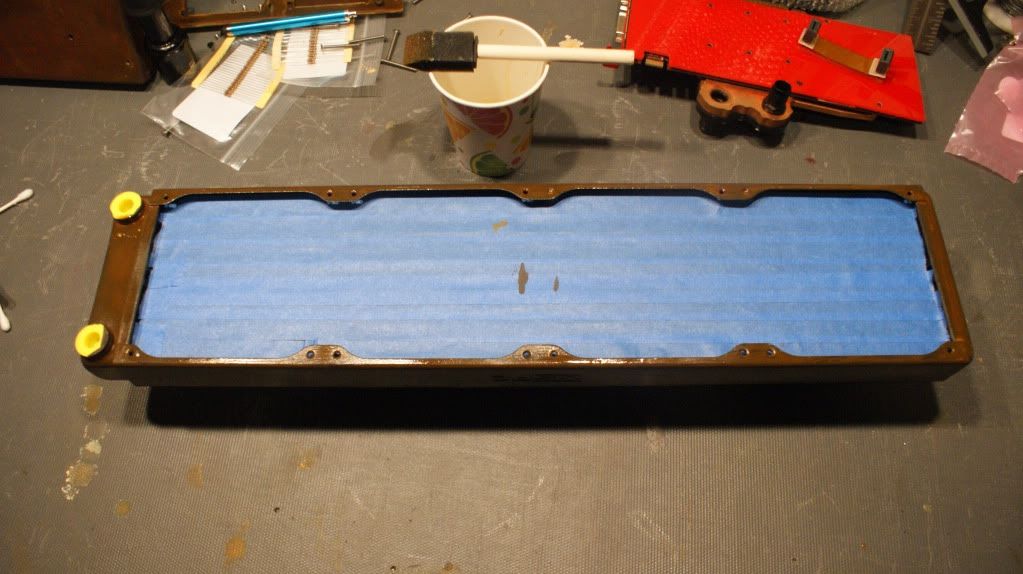
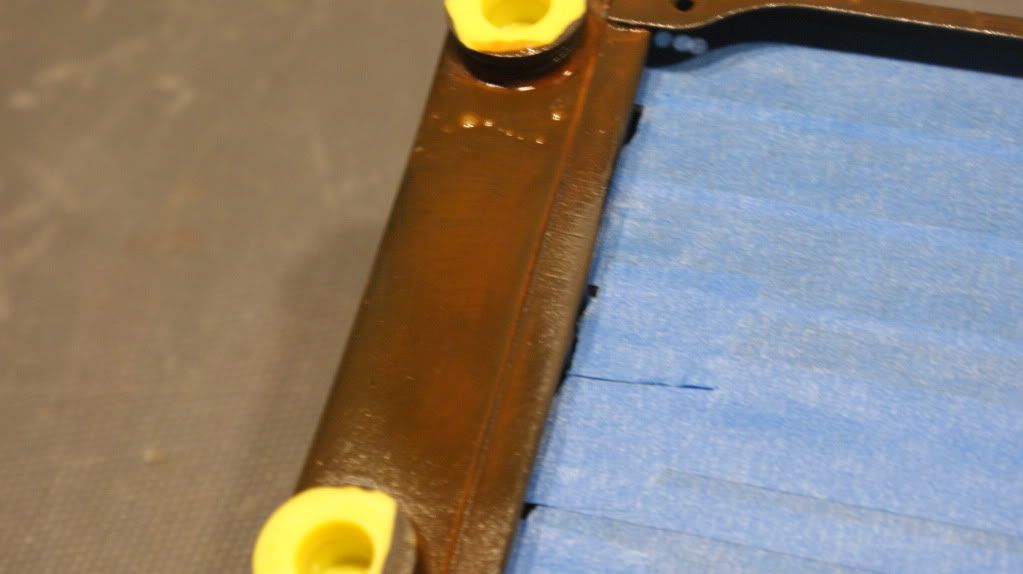
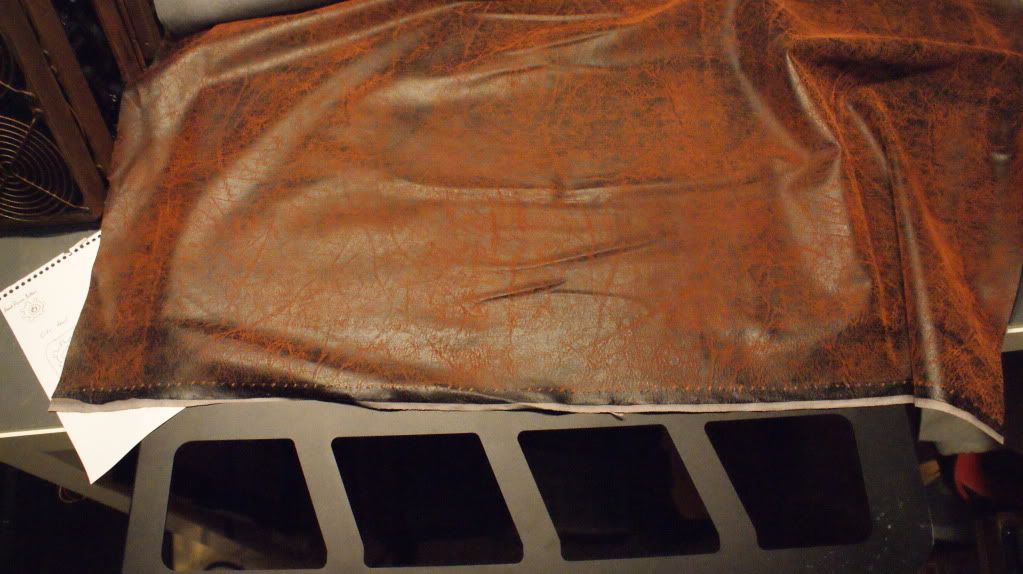
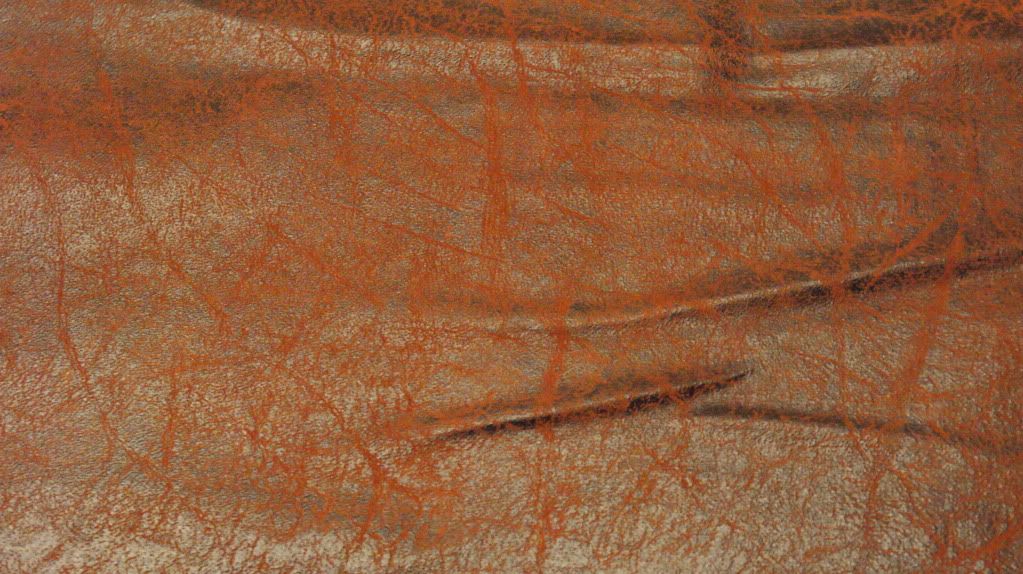
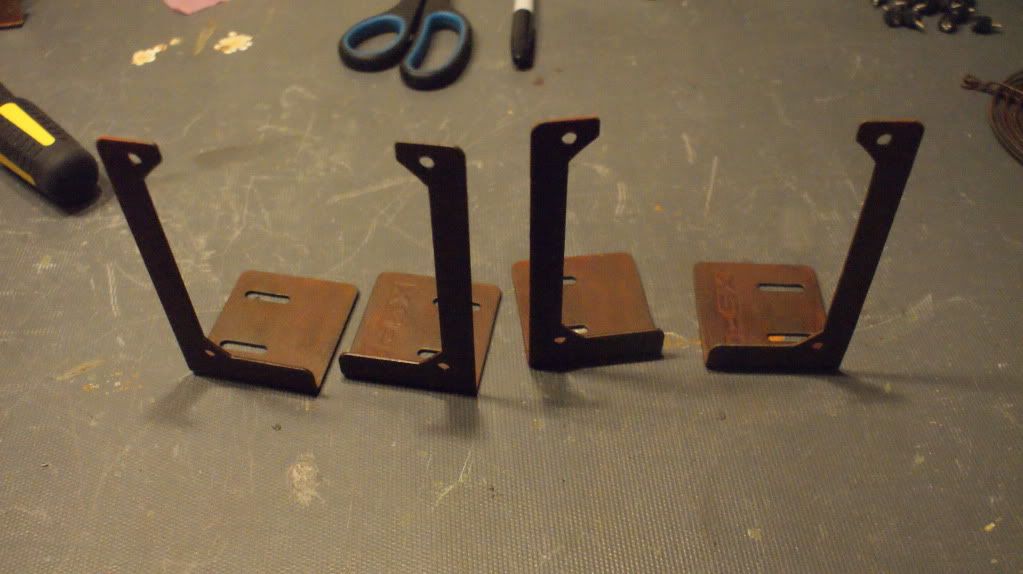
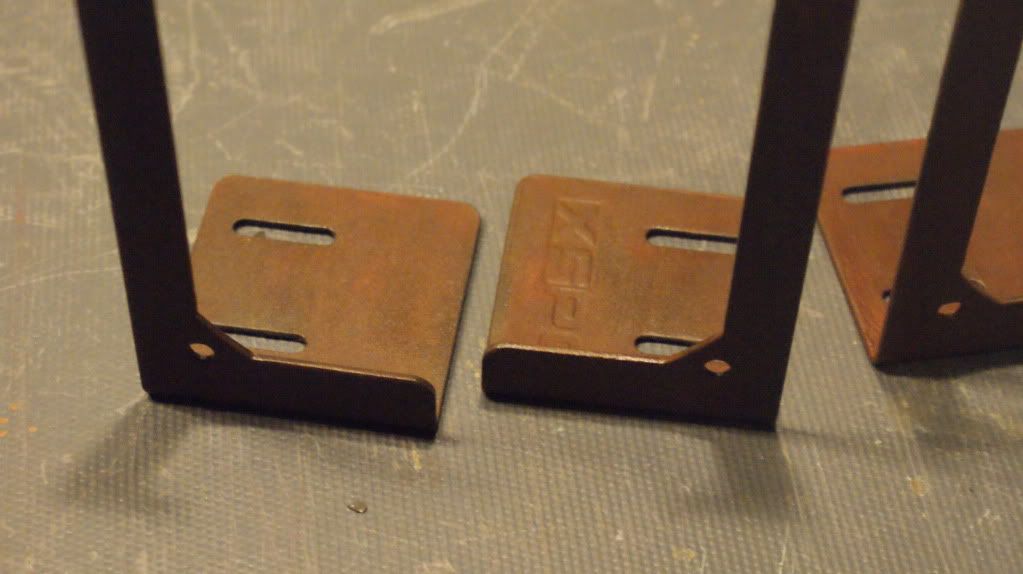
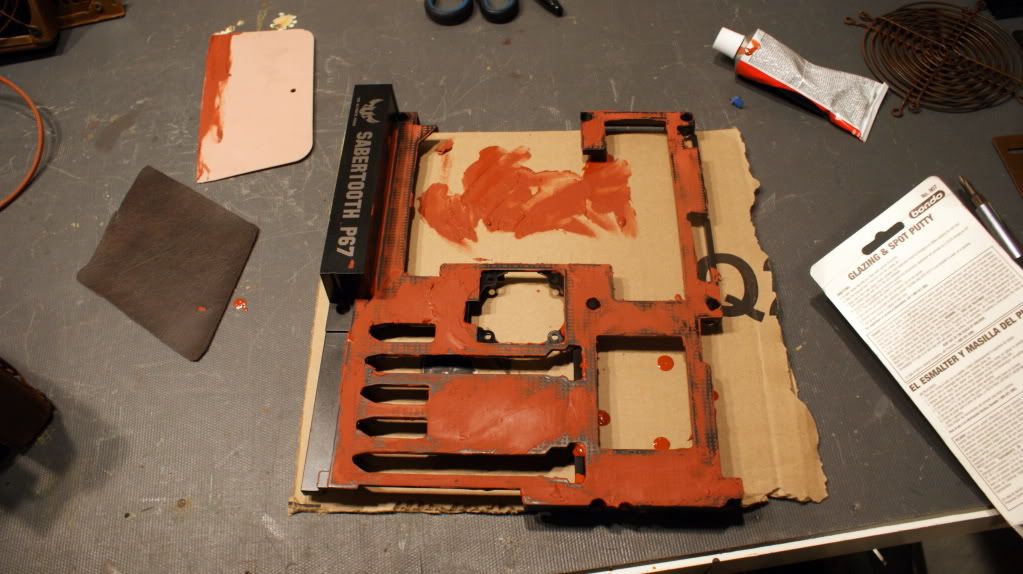
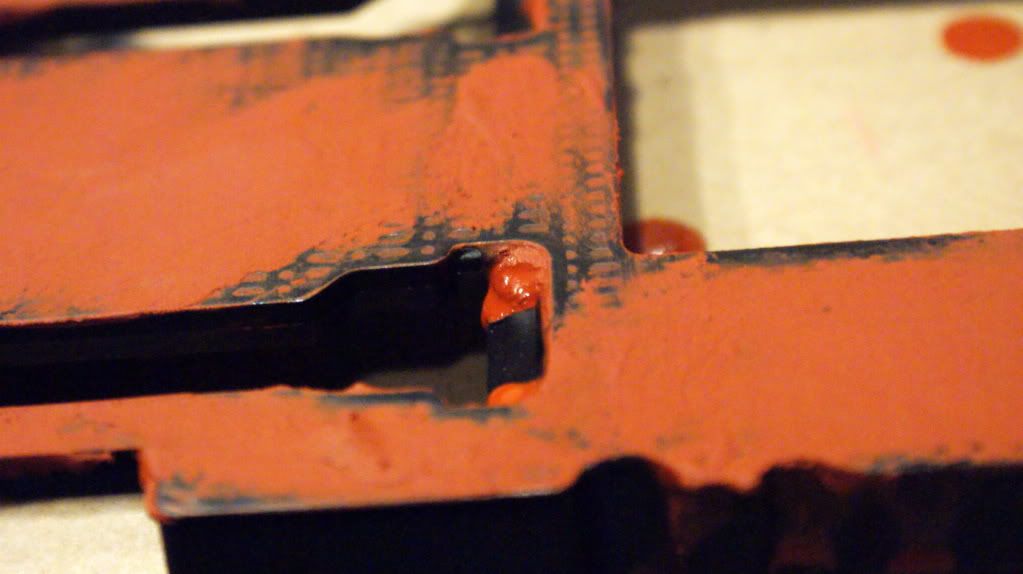
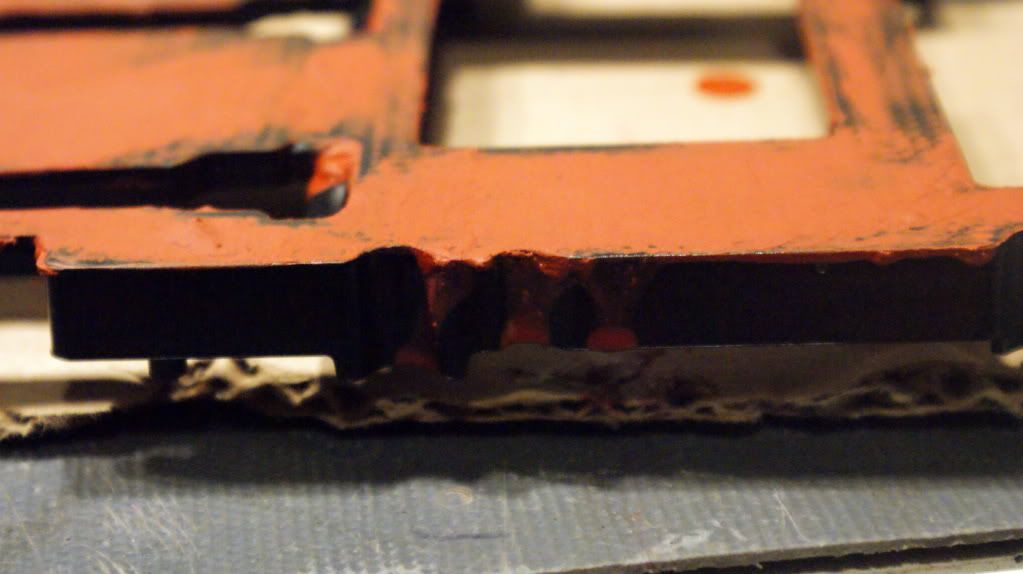
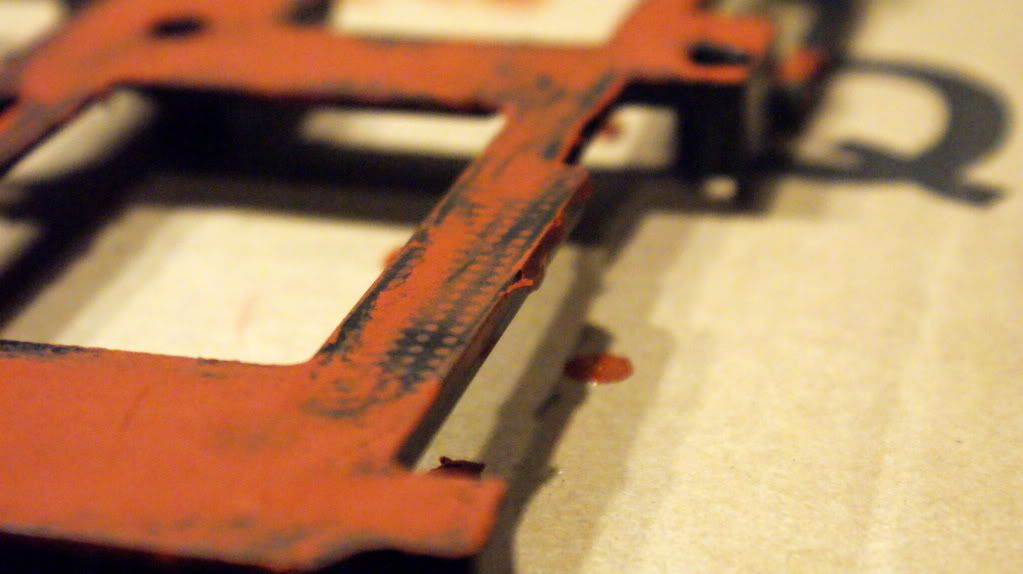
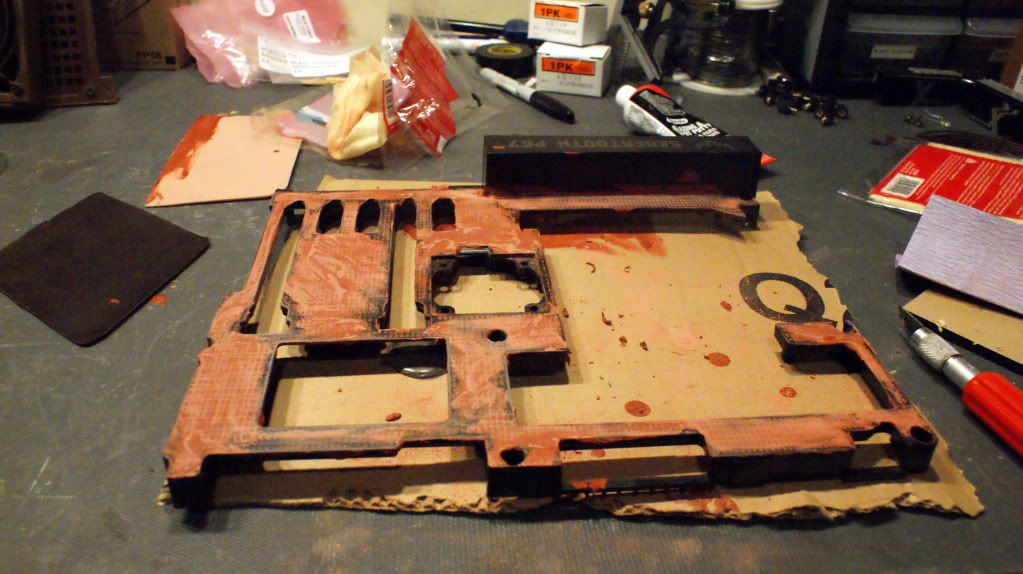
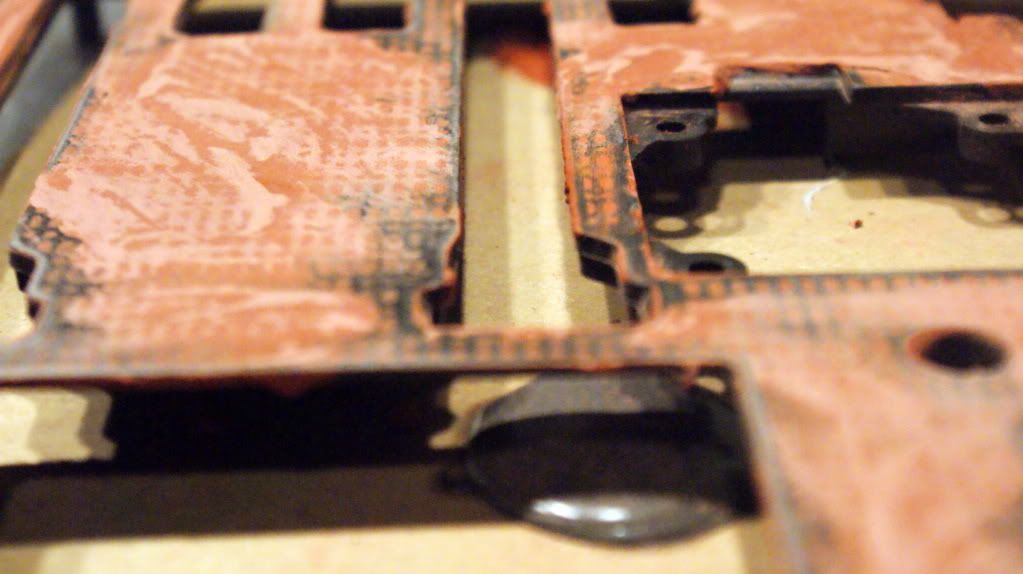
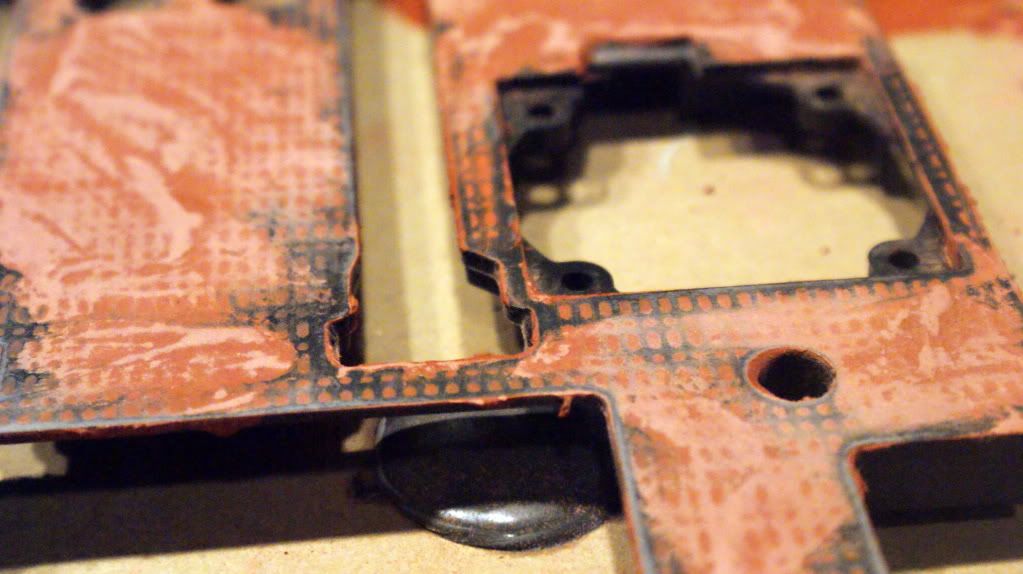
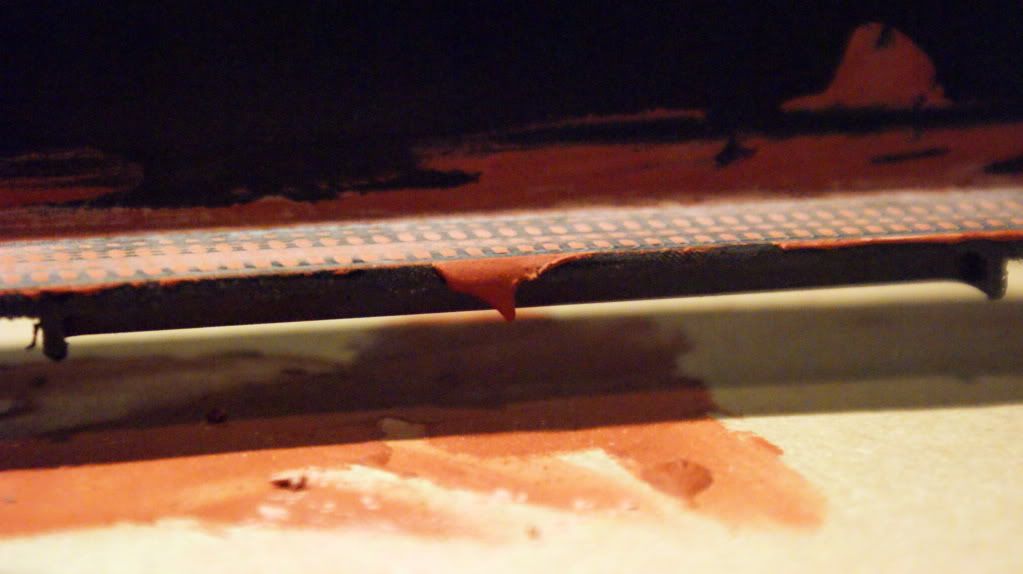
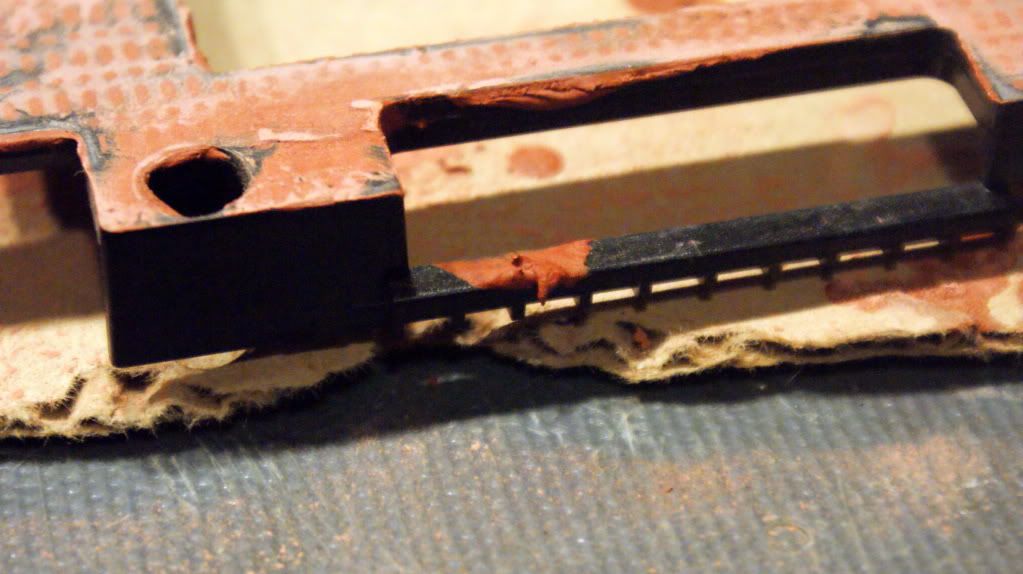
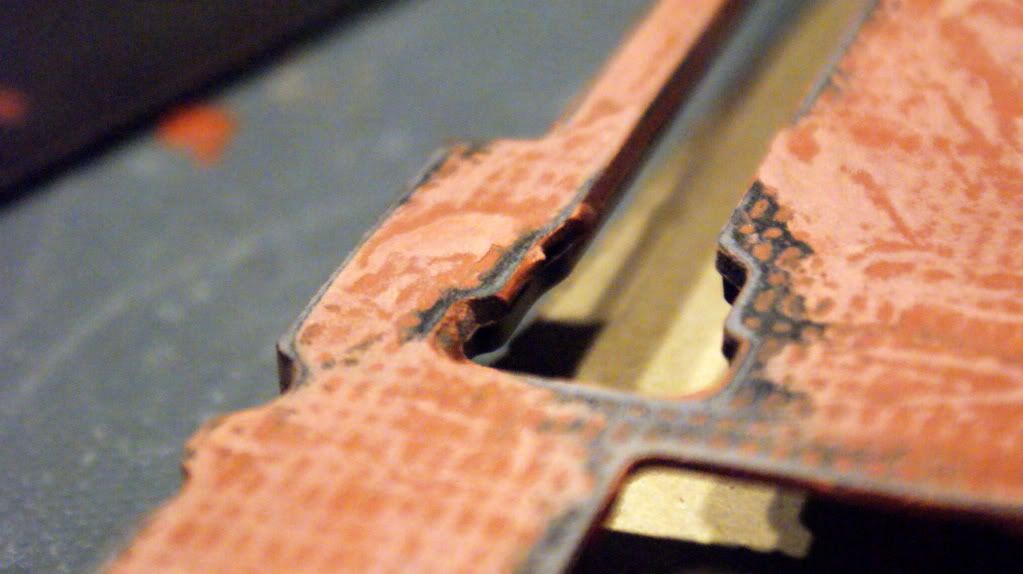
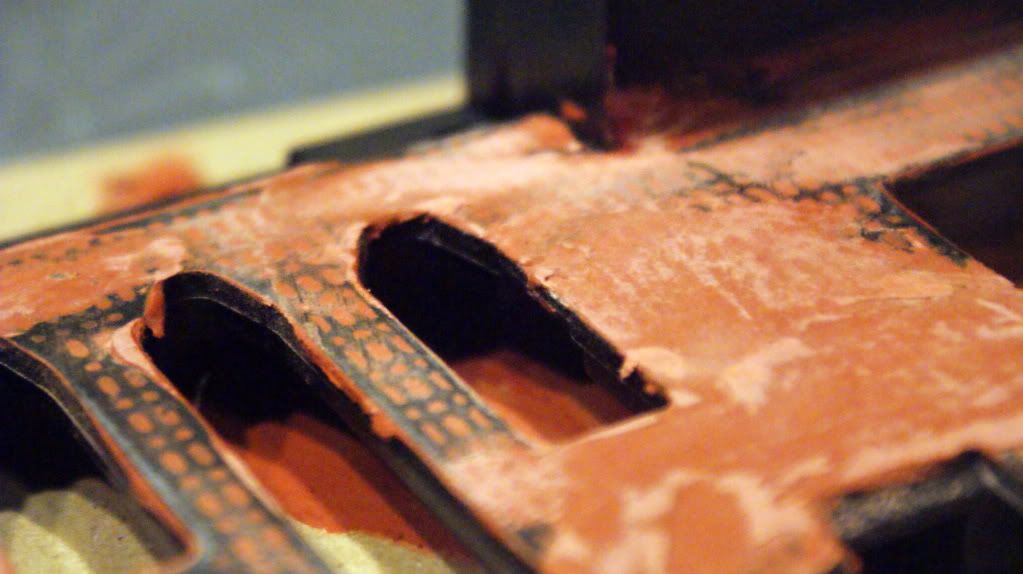
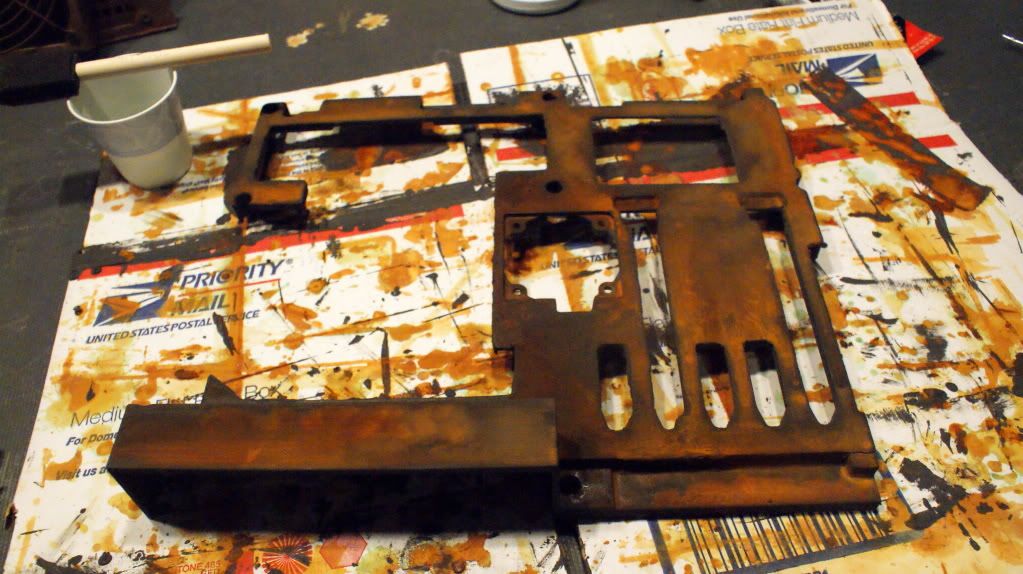
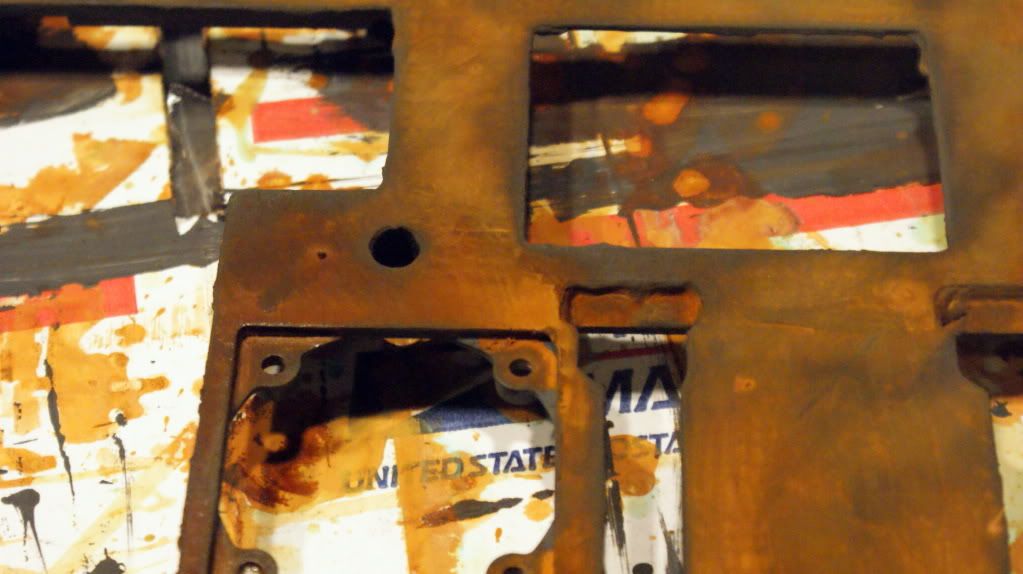
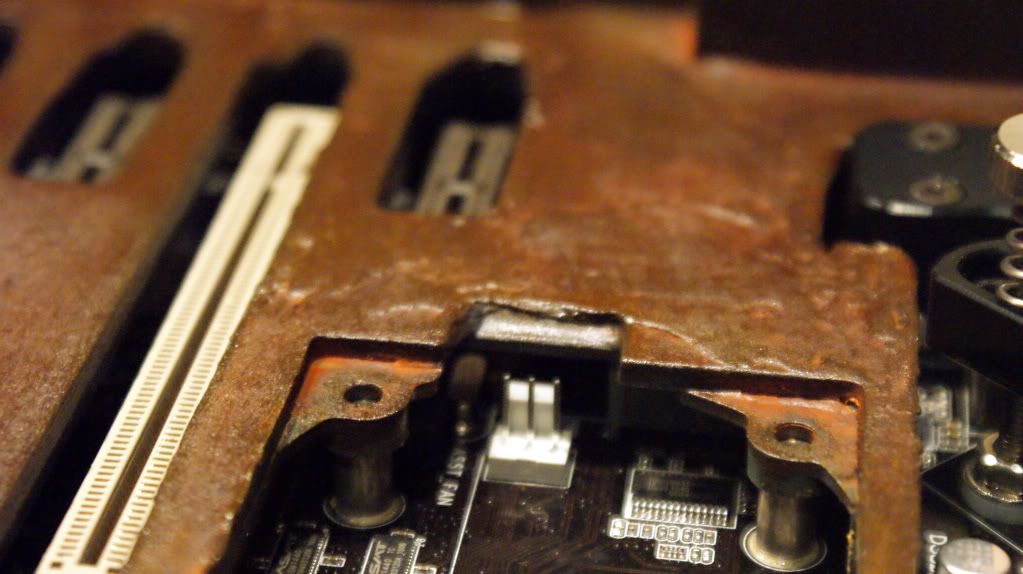
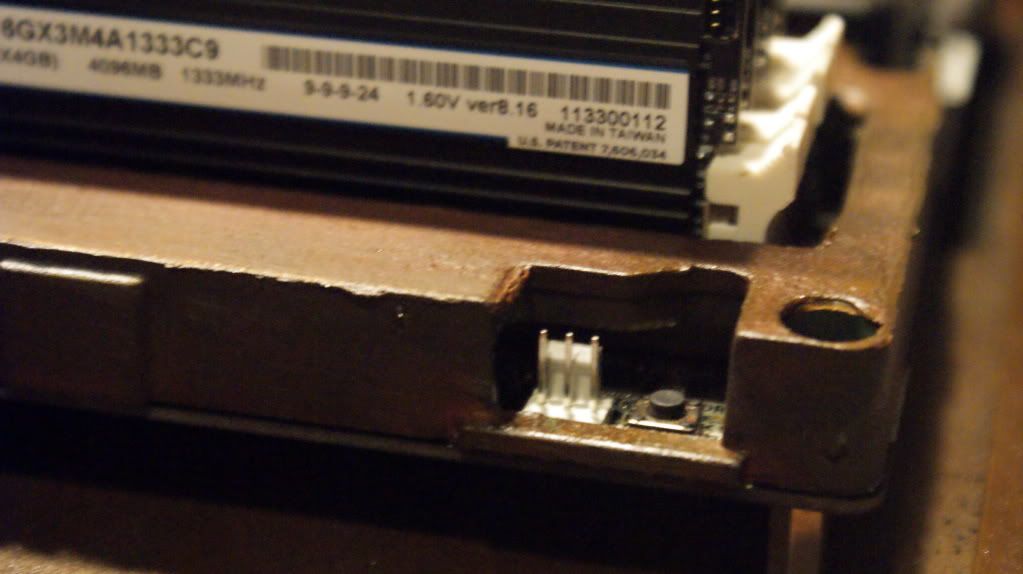
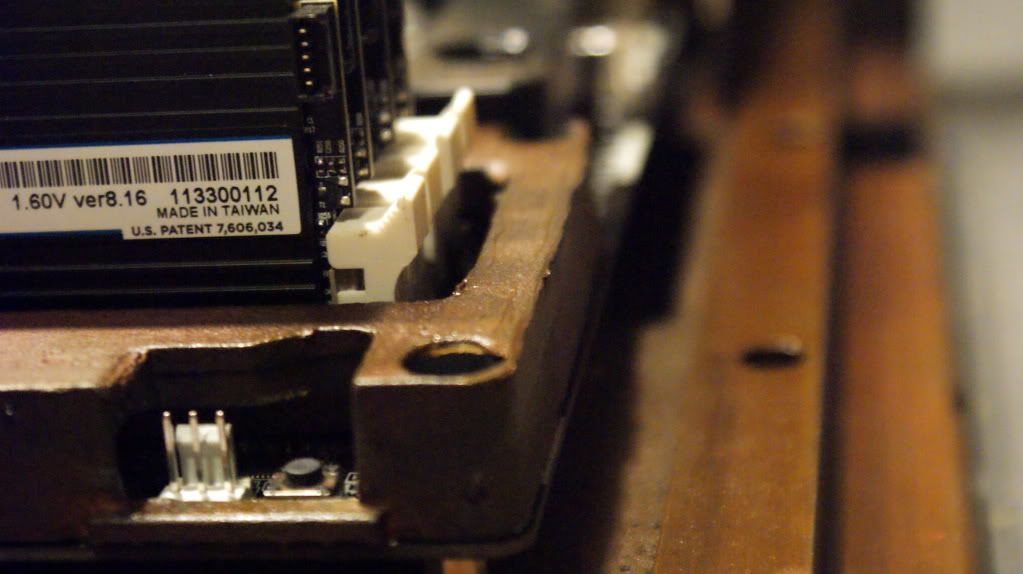
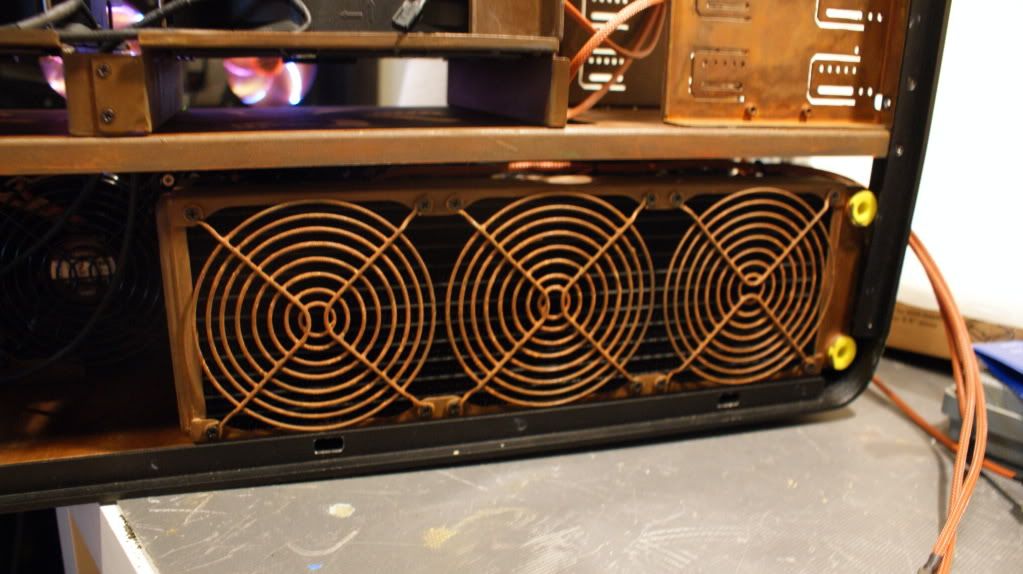
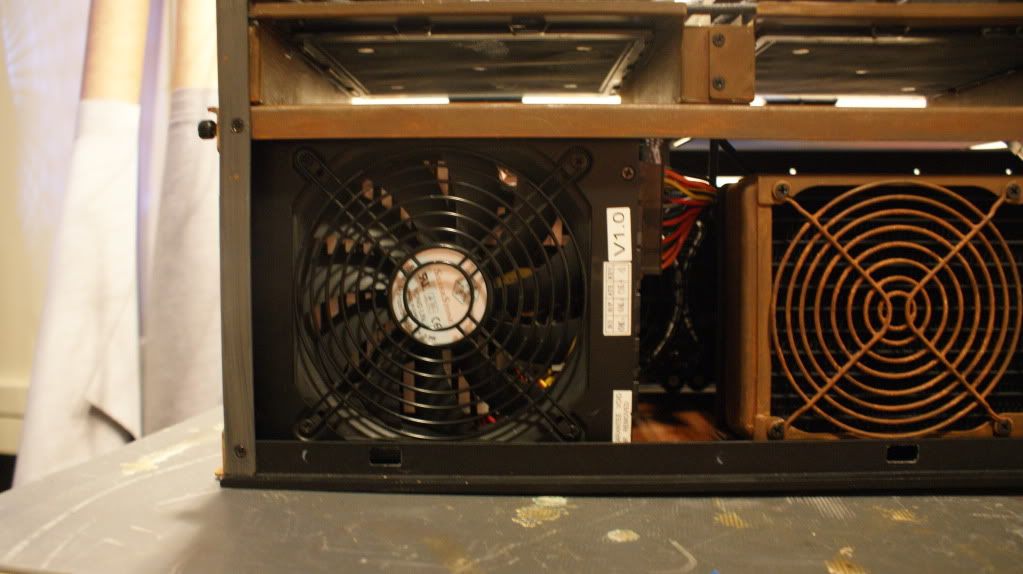
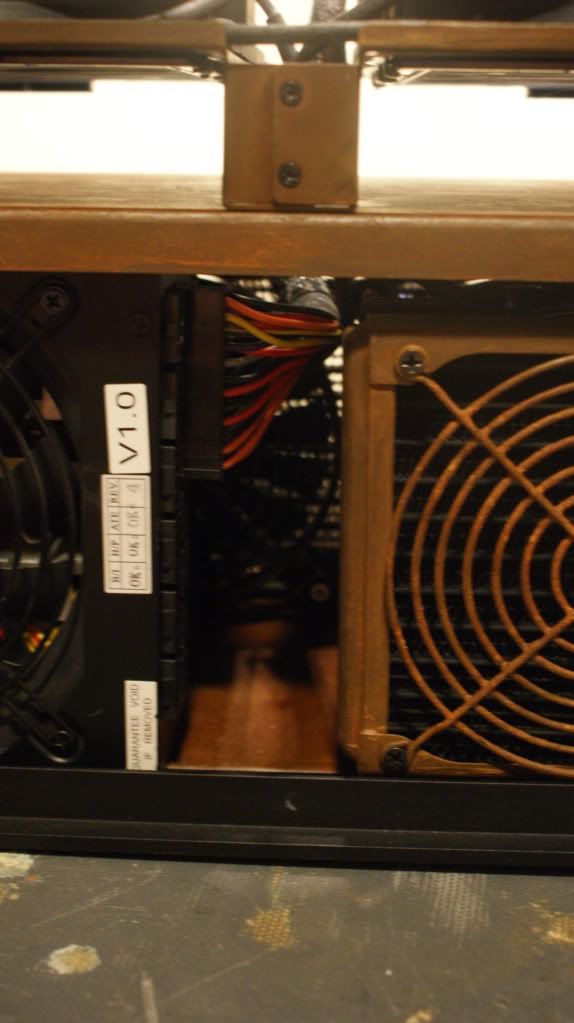
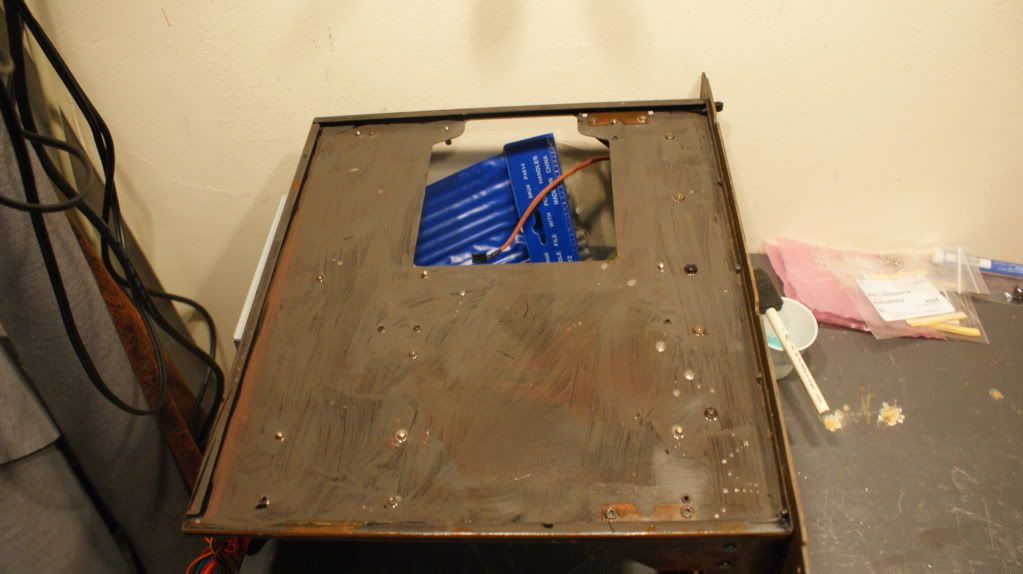
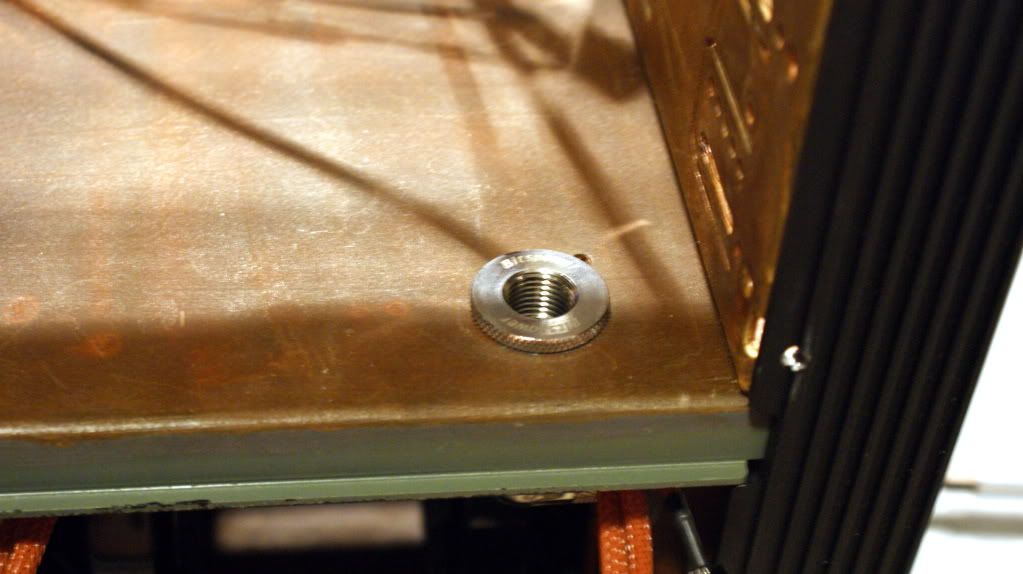
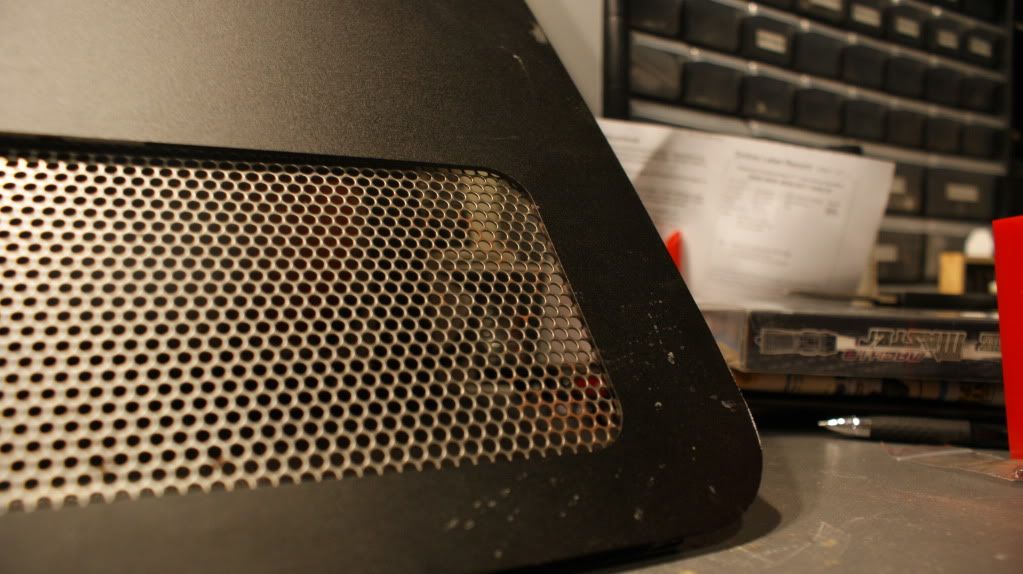
Since that test was successful I thought I should try an actual piece of the case. The dual PSU bracket seemed like a good test subject.
And the result
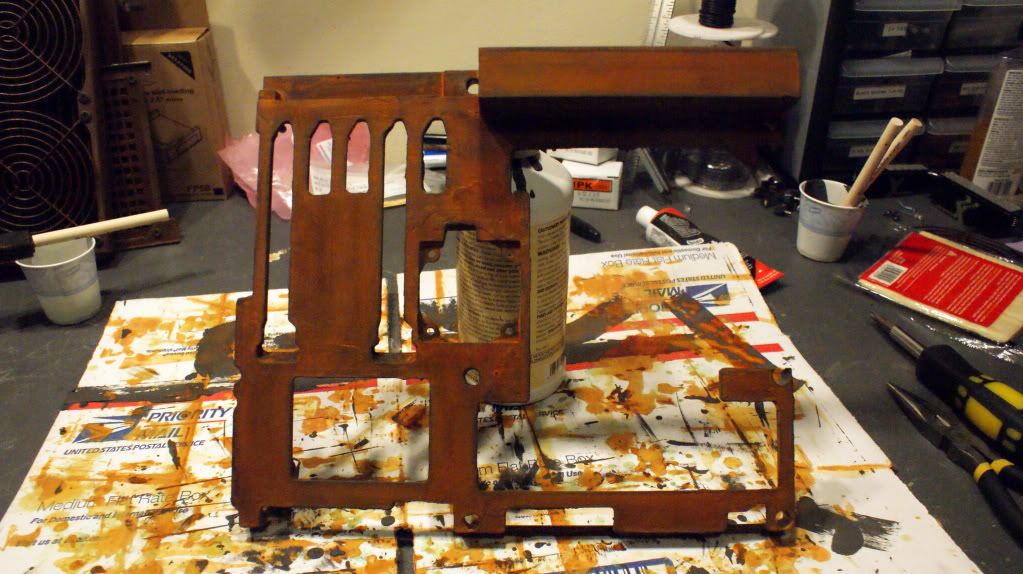
I am very confident in the results so I started doing more, but that's in the next update. Stay tuned by subscribing so you can see all the updates!
Cheers till then,
Fuga


 Reply With Quote


 I still don't know 100% what I'm getting. They are expensive and money is a bit tight right now.
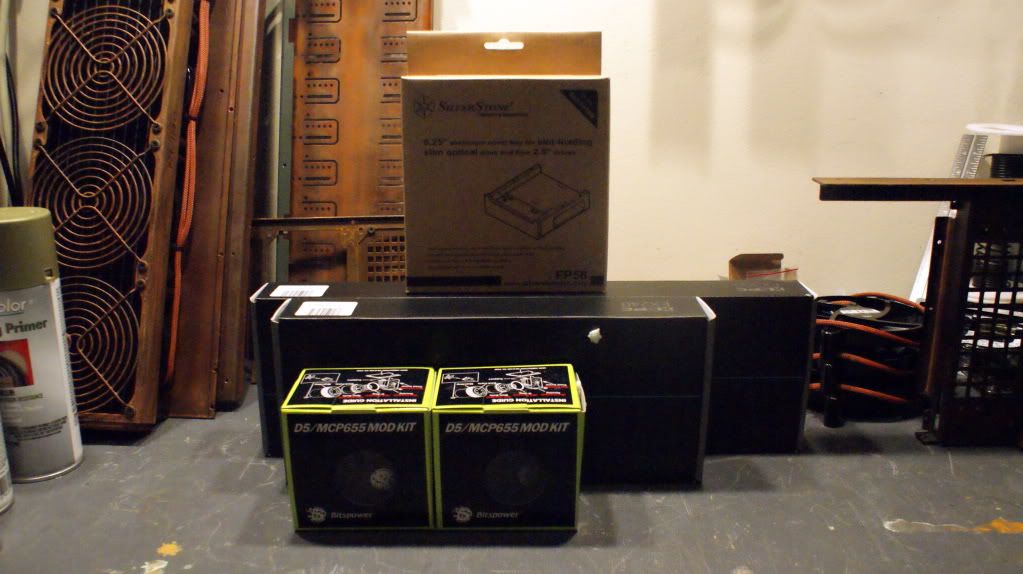


Bookmarks