


Project Index
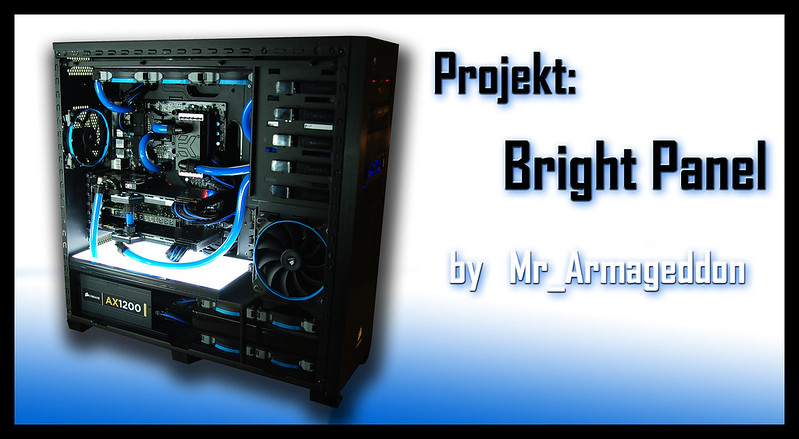
01) Project Into & Build Components
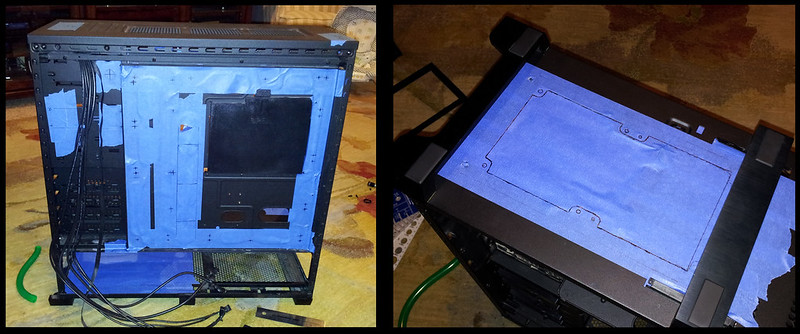
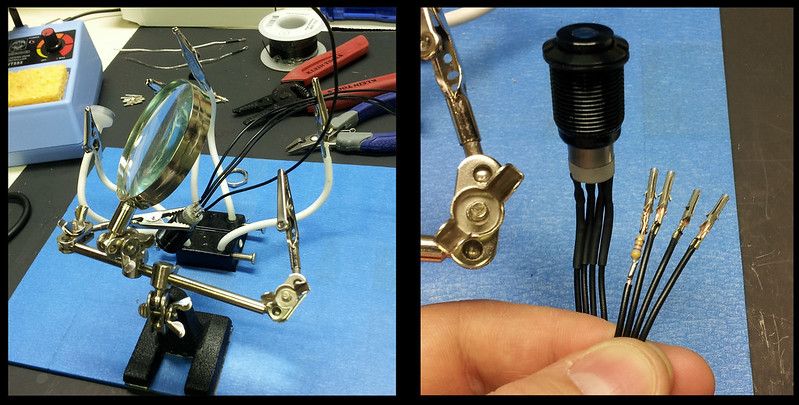
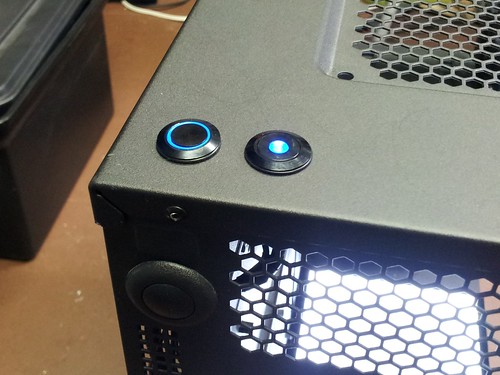
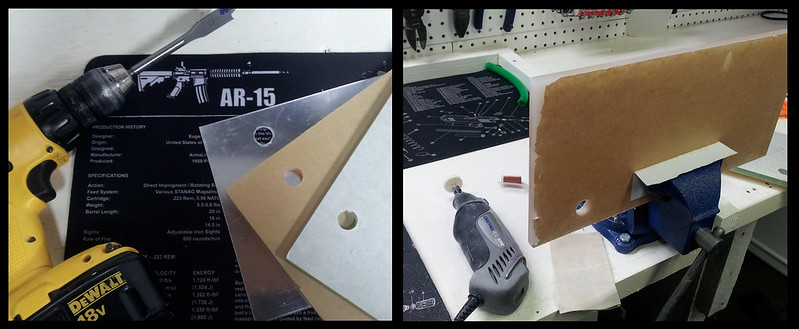
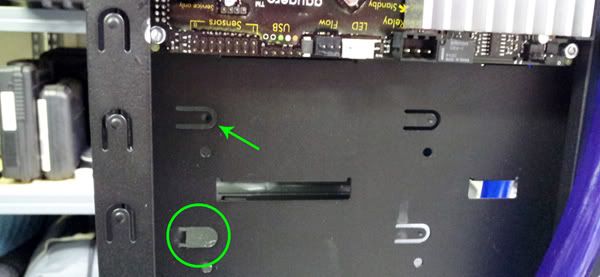
02) My Workspace, Case Cutting, Illuminated Vandal Switches
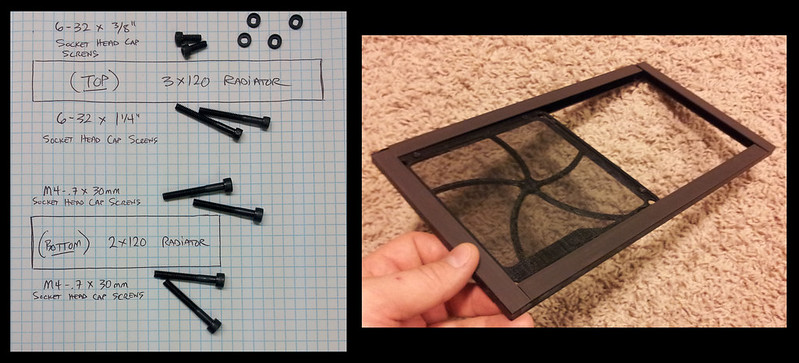
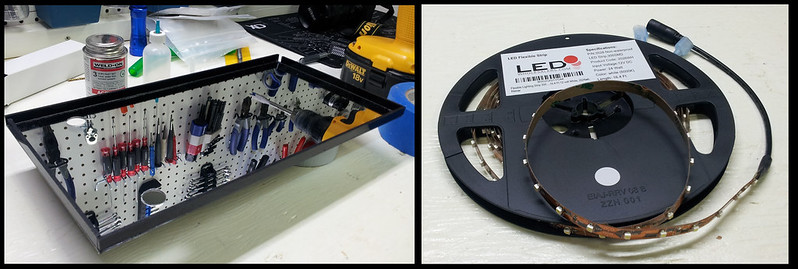
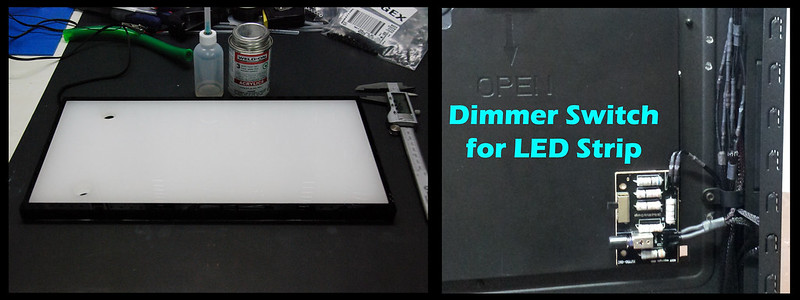
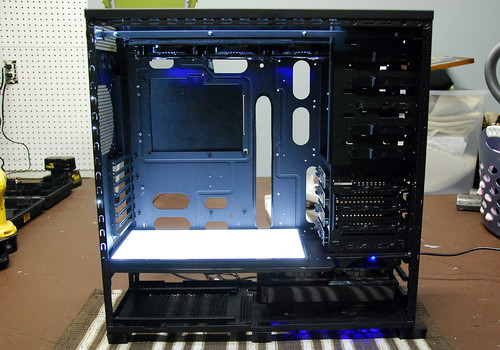
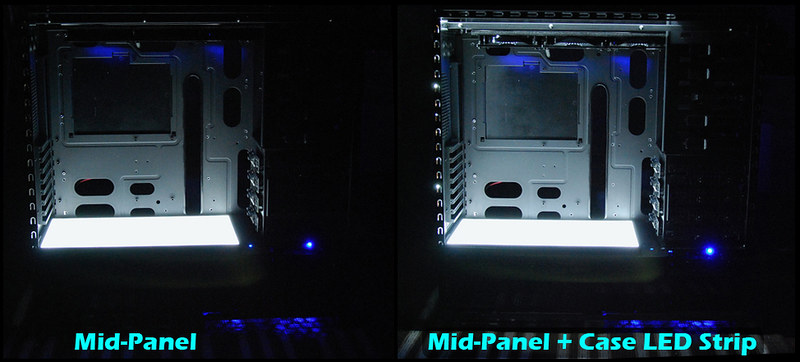
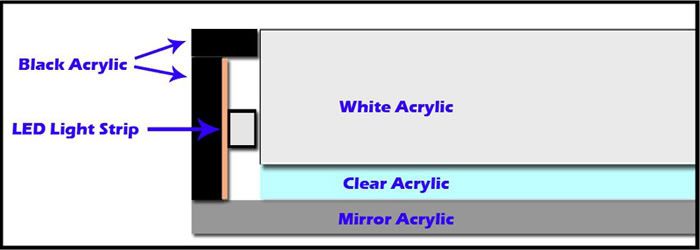
03) Illuminated Mid-Panel Construction
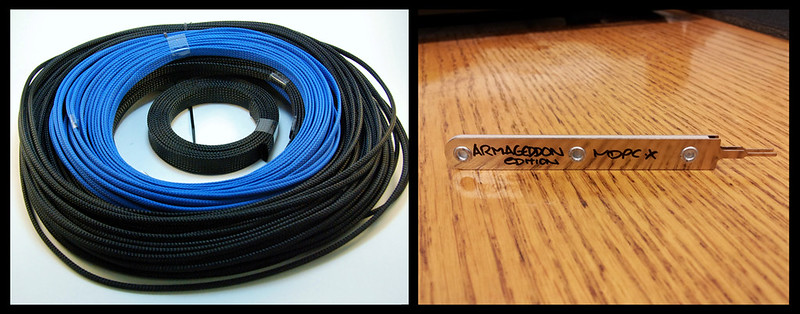
04) Sleeving Materials have Arrived
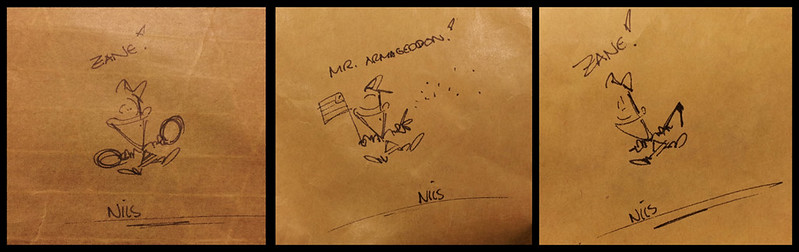
05) My "Helper"
06) Sleeving Tools
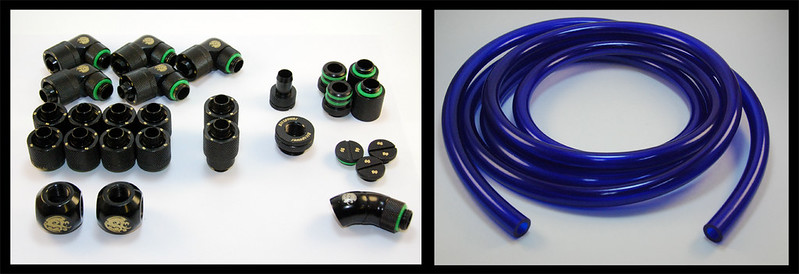
07) Component P0rn
08) Component P0rn Continued...
09) Illuminated Mid-Panel "Cut Away" View
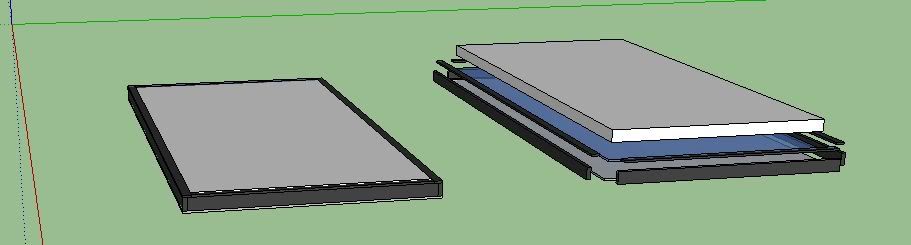
10) Illuminated Mid-Panel "Exploded" 3D View
11) PSU Cable Sleeving
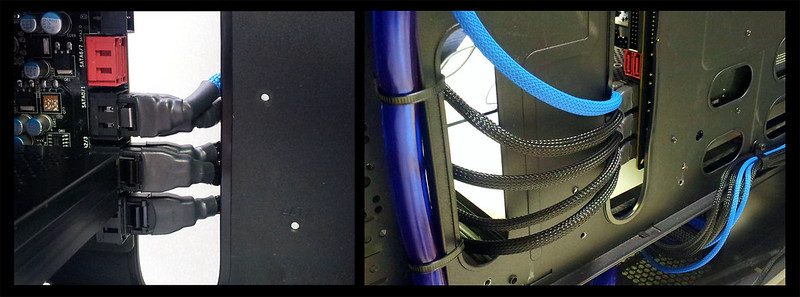
12) SATA Cable Sleeving
13) SATA Cable Sleeving Continued...
14) New Components Have Arrived
15) Corsair Sleeved Cables Mini-Review, and More Sleeving…
16) Sleeving... COMPLETED!
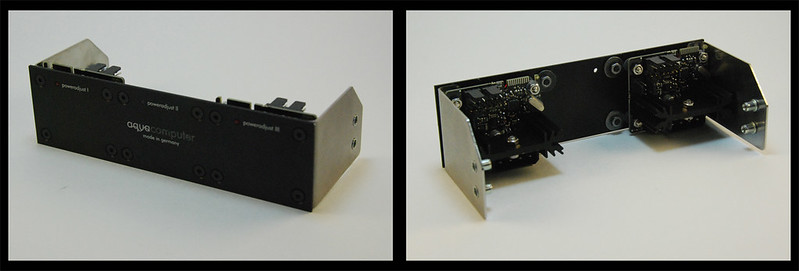
17) AquaComputer PowerAdjust 2
18) Homeade Oak Longbow (reason for project delays)
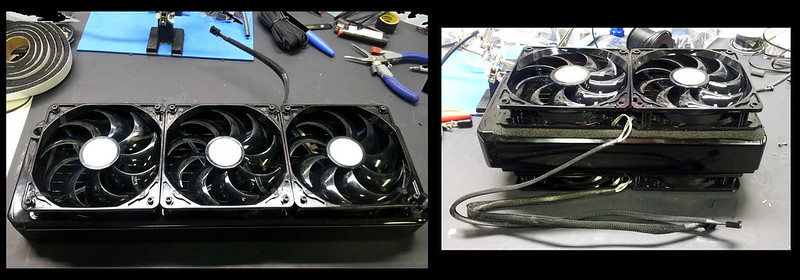
19) New Corsiar "Air Series" Fans
20) New Fans are INSTALLED!
21) Corsair Fans Performance Data
22) Switch to Mayhem Pastel liquid and Blue Berry dye
23) New Durelene Tubing
24) New Tubing & Liquid
25) PowerAdjust 2 / Pump Setup
26) Fan Extensions & Leaking Res
27) Fan Controller Review / Walkthrough - Corsair Link
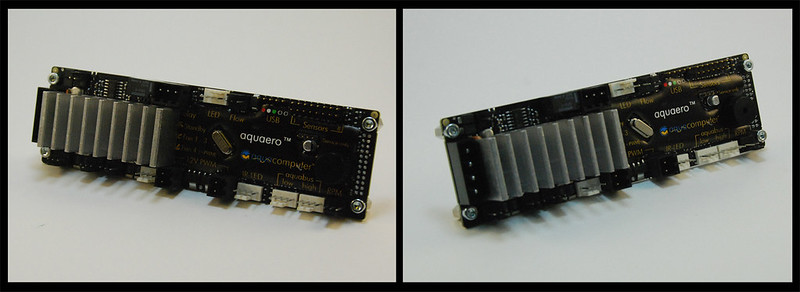
28) Fan Controller Review / Walkthrough - AqauComputer Aquaero 5 LT
29) New Res, FINISHED the Build
30) Final Build Pics
I am starting a new bulid log, because my old one would have been way to difficult to modify / edit with all the new changes and case mods I am working on.
Component wise, not much will change, but I am adding some cool upgrades like enhanced case lighting via an illuminated mid-panel, and an AquaComputer monitoring / control system, custom sleeving, etc. Here is an early design of what I am shooting for, built in Google SketchUp.
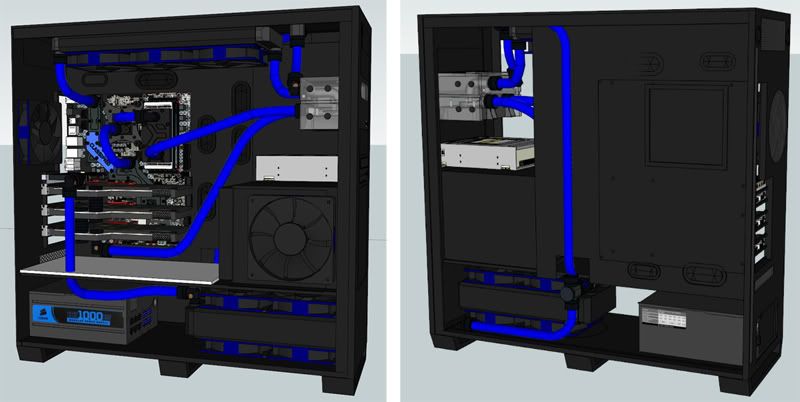
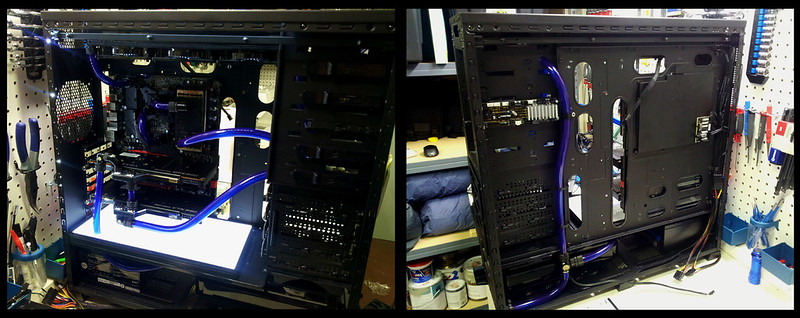
It will be a liquid cooled PC with one giant loop, using 2 pumps in series. I am using the Corsair Obsidian 800D, and this case is a monster. I love the all black look, inside and out. I had to make a few minor modifications for the two loop system to work, but the mod went great, and I am pleased with the results.
Here is the Parts List:
* Case: Corsair Obsidian 800D Full ATX
* Power Supply: Silverstone ST1000-P
* Motherbord: EVGA X58 Classified 3
* CPU: Intel i7 Core 970
* RAM: 12GB Corsair Dominator @ 1600MHz
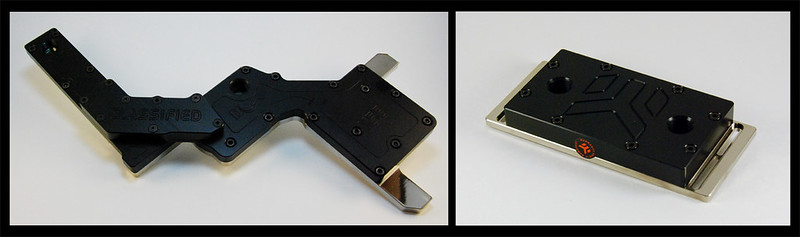
* GPU: 1 EVGA GTX 580 Hydro Copper 2
* GPU: 2 EVGA GTX 580 Hydro Copper 2
* GPU: 3 EVGA 9800GT (Dedicated PhysX, and to power side LCD monitors when SLI in enabled)
* Sound Card: Creative X-Fi Titanium Fatal1ty Edition
* Hard Drive 1: Intel X-25m 160GB SSD (Operating System & Programs)
* Hard Drive 2: WD Black 1TB (Game/Steam Installs)
* Hard Drive 3: Seagate 500GB (User Files)
* Hard Drive 4: Seagate 2TB (Storage)
* Optical Drive: Asus Blu-Ray / DVD+R
* Fan Pump Controller: AquaComputer Aquaero5
* Pump Controller: AquaComputer Power Adjust Ultimate x2
Section 01
* Tubing: PrimoFlex Pro LRT UV Blue Tubing -3/8in. ID X 5/8in. OD (10ft)
* Coolant: Distilled Water w/ Kill Coil & PT Nuke
* Reservoir: XSPC Acrylic Dual 5.25in. Reservoir
* Pump: Swiftech MCP350 12 VDC Pump
* Radiator: HardWare Labs X-Flow Extreme III
* CPU Block: Swiftech APOGEE HD
* MoBo Block: EK-EVGA X58 Classified Full Board Waterblock
* Fittings: Bitspower Matte Black... and lots of them
* Fans: Cooler Master R4 120mm Blue LED Fan R4-L2R-20AC-GP (x3)
Section 02
* Tubing: PrimoFlex Pro LRT UV Blue Tubing -3/8in. ID X 5/8in. OD (10ft)
* Coolant: Distilled Water w/ Kill Coil & PT Nuke
* Reservoir: XSPC Acrylic Dual 5.25in. Reservoir
* Pump: Swiftech MCP350 12 VDC Pump
* Radiator: HardWare Labs GTX240
* GPU Block: The EVGA GTX 580 Hydro Coppers come with a custom Swiftech WB pre-installed
* Fittings: Bitspower Matte Black... and lots of them
* Fans: Cooler Master R4 120mm Blue LED Fan R4-L2R-20AC-GP (x4 - Push/Pull)
***Note Regarding EVGA Warranty****
I have been wanting to re-do my build for a while now, and a faulty USB controller on my EVGA X58 finally pushed me to get it done. EVGA's customer support and Warranty programs are amazing! They cross-shipped me the motherboard, and actually upgraded me to the newest version (of the X58 platform). I try to buy all my GPUs and Motherboards from them, and after that experience, I will continue to do so.
I have a bunch more pictures from the work I have started on this week, so stay tuned

 Reply With Quote
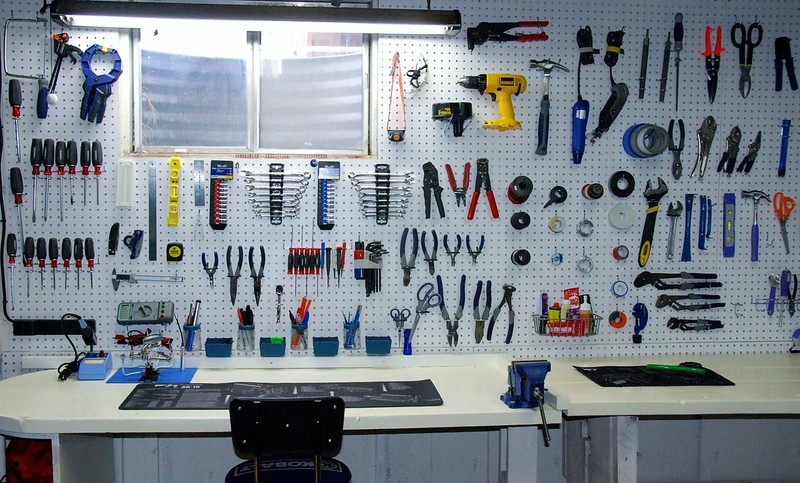


 not to mention my hands are usually too tired to even attempt sleeving my new round SATA cables. Stupid shovel work...
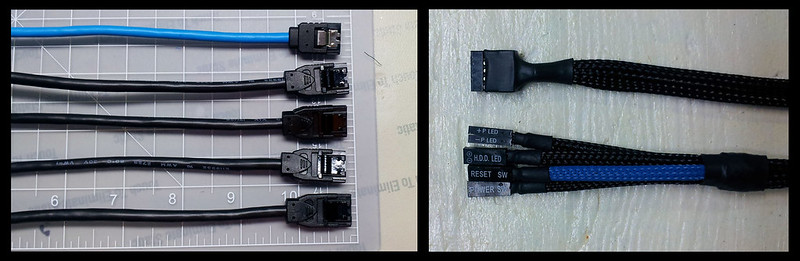


Bookmarks