


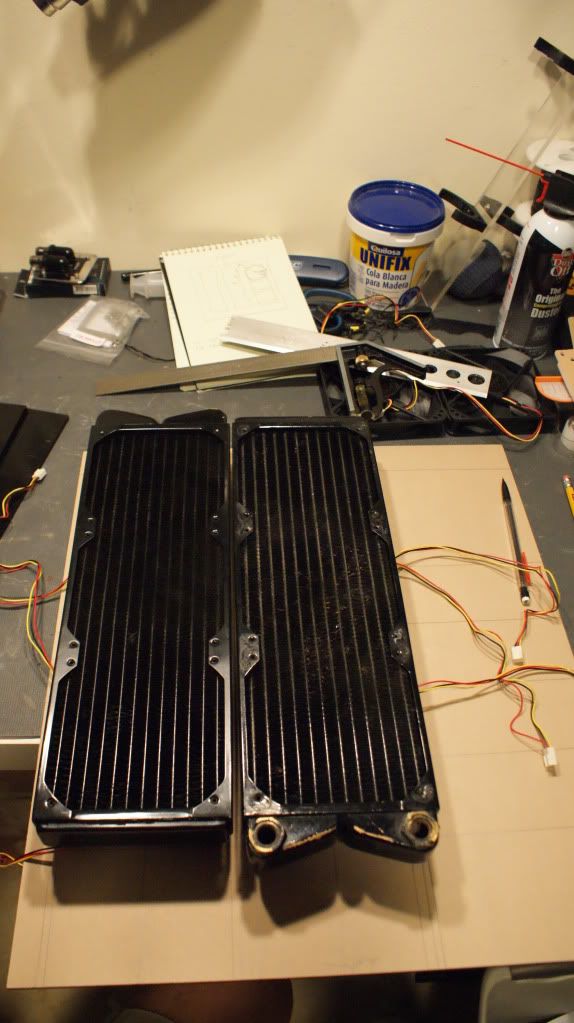
So I am getting a test bench from and Italian maker but it has no watercooling options. So I got to thinking about a radiator stand because the test bench is a mini test bench, no WC options.
I saw the Phobya stand and I really really liked it. Which fits 3x 3.120 rads or a 4x180 rad, but its $90. And they have a smaller one, which fits 2x 2.120 rads and its $60.
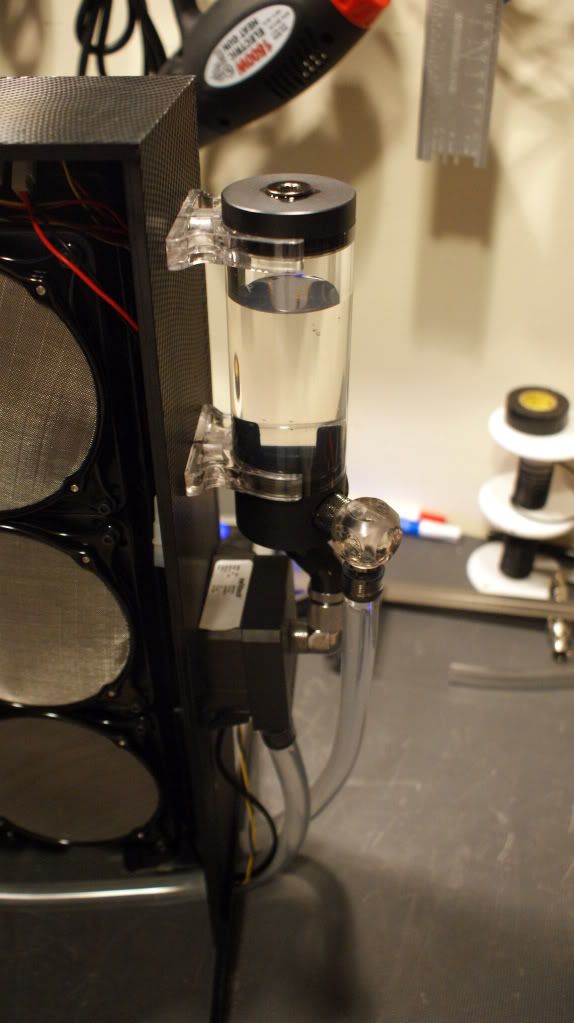
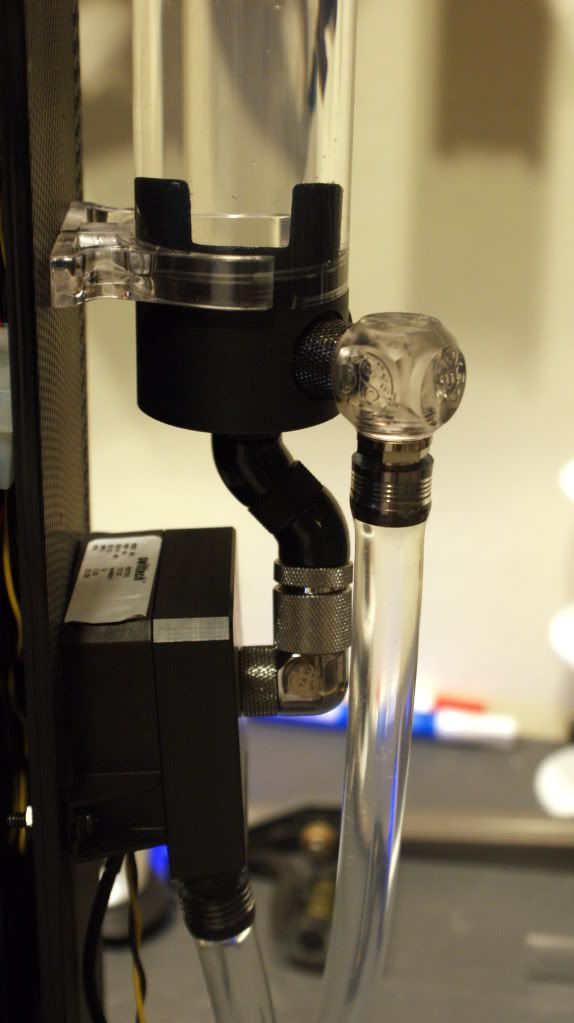
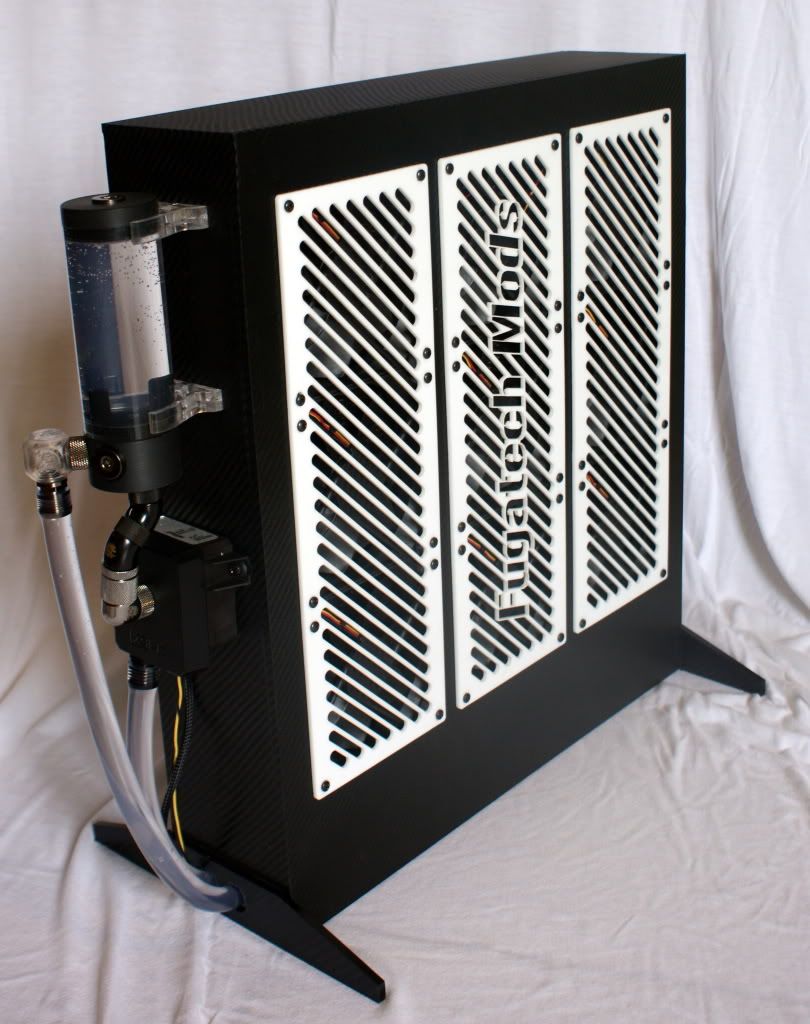
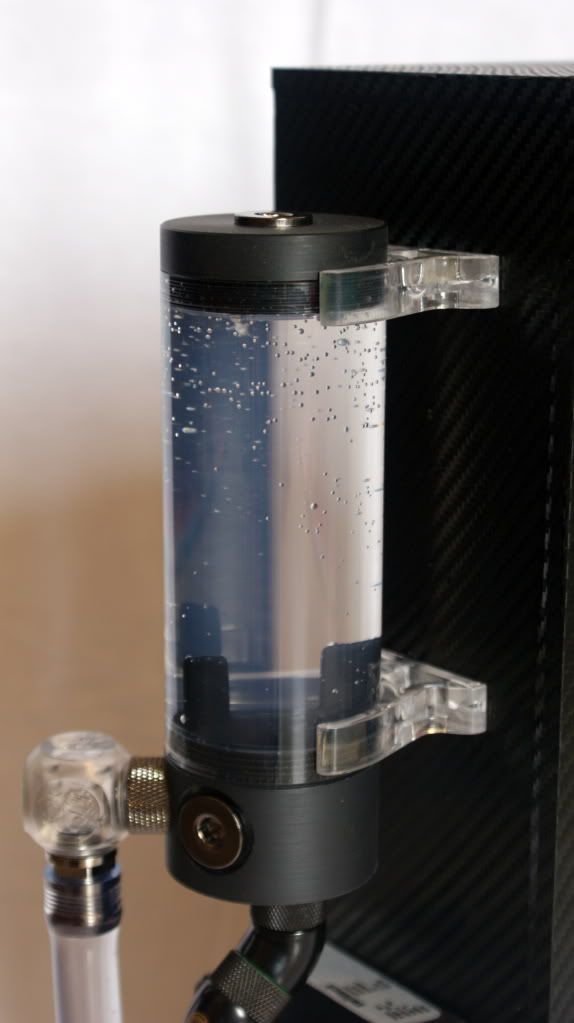
They have options which are great. You can mount your res and pump to the outside or inside of the rad stand.
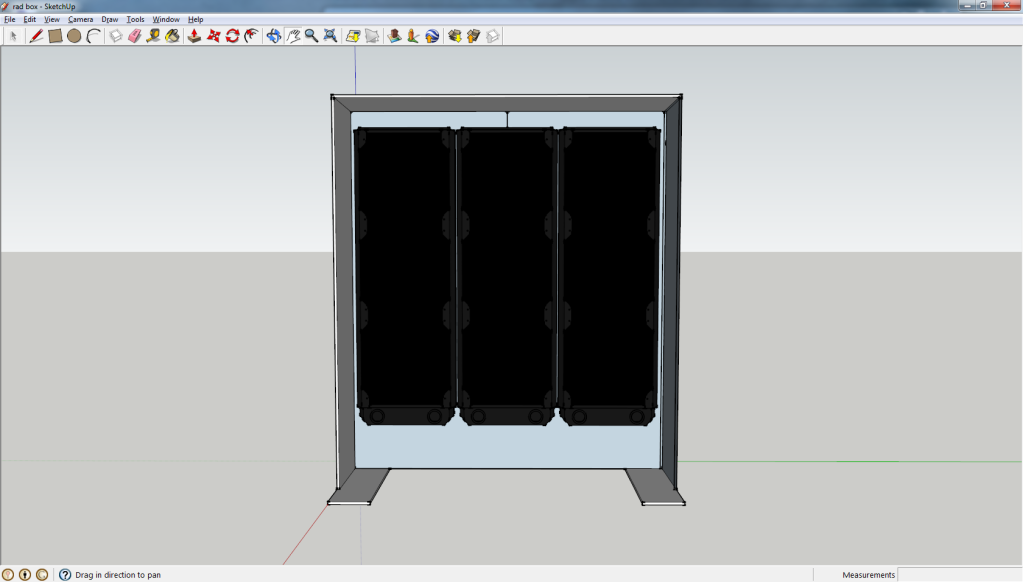
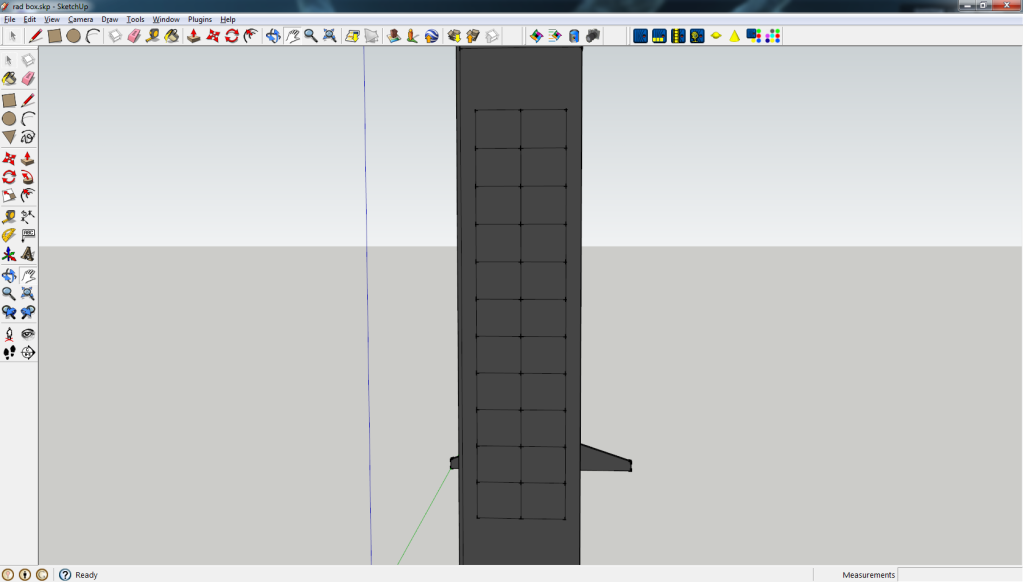
So why can't I make it out of pelxi? So after a few hours in sketchup. I came up with this.
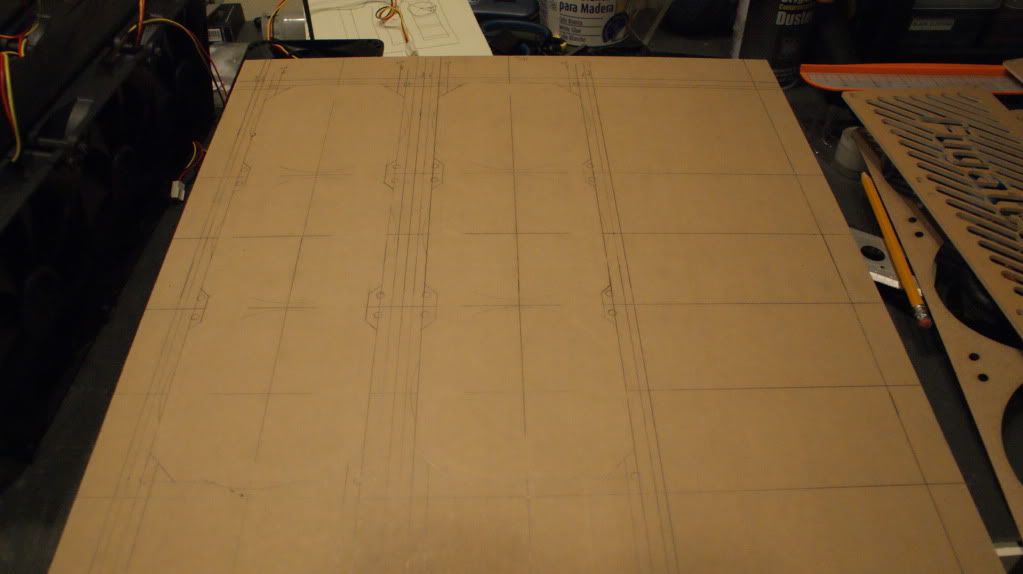
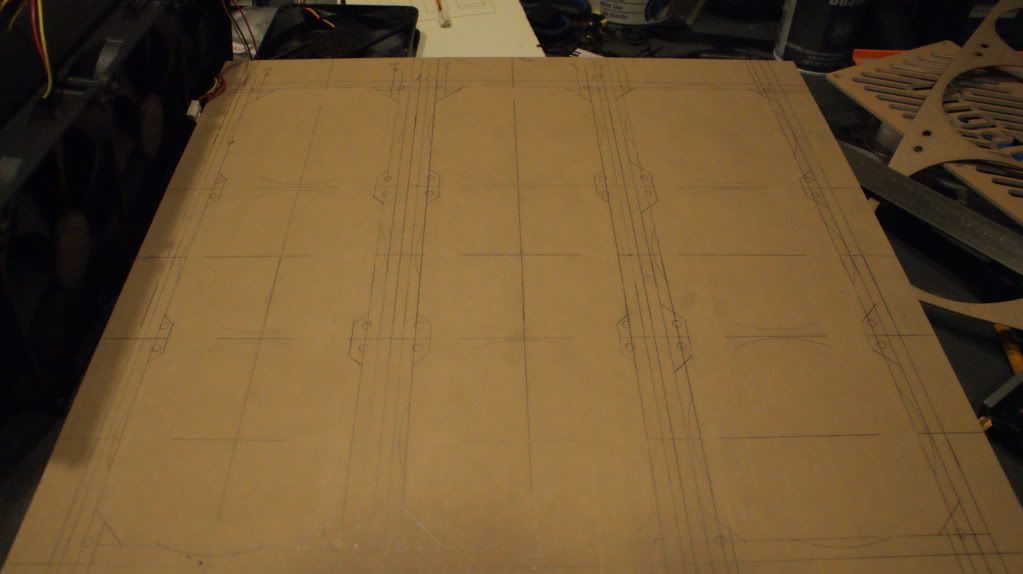
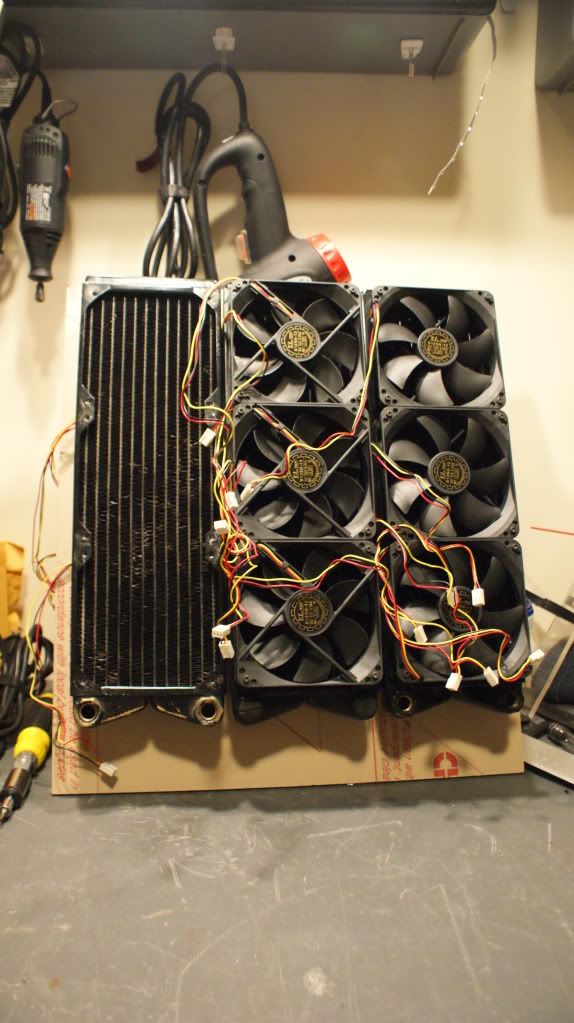
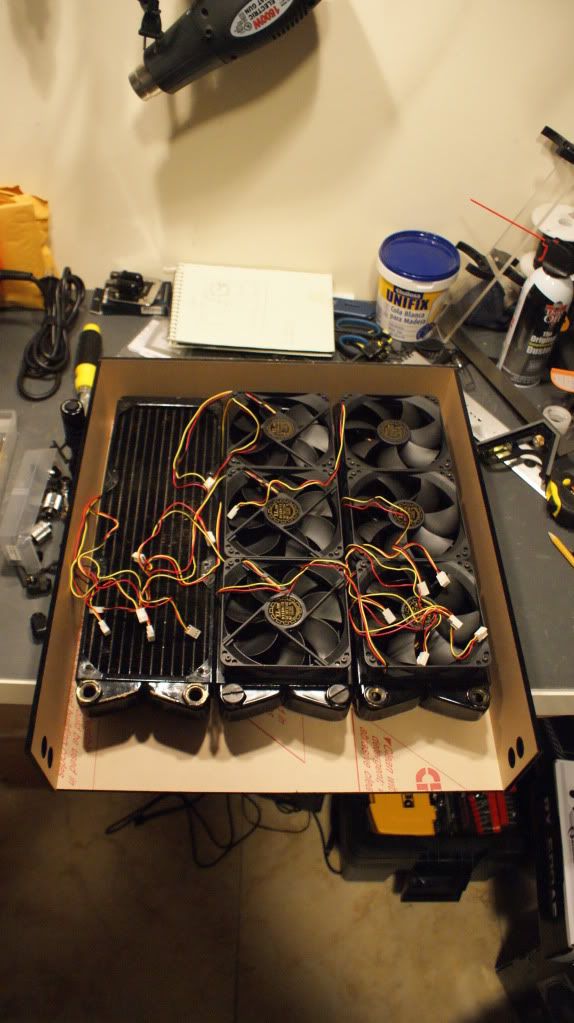
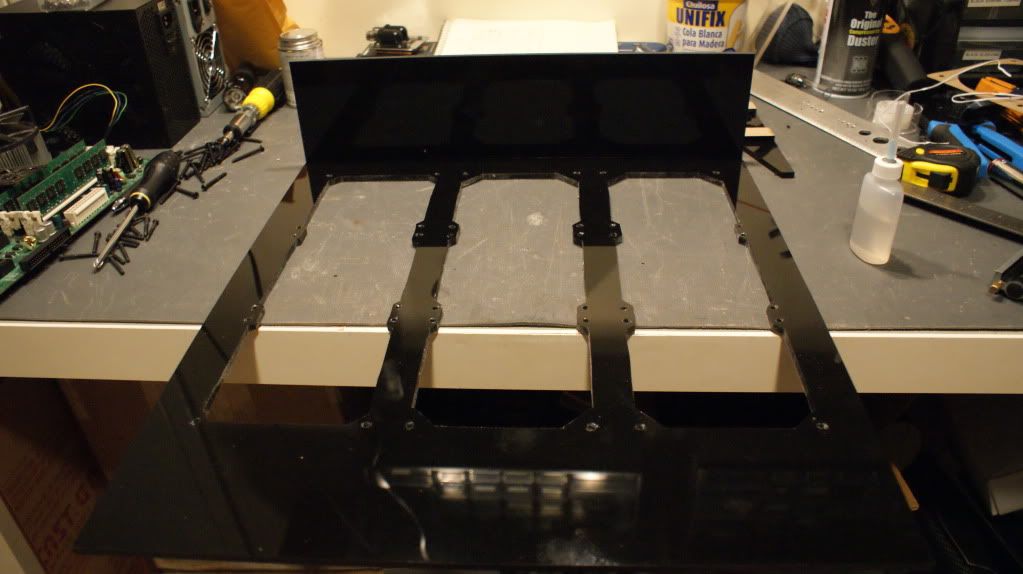
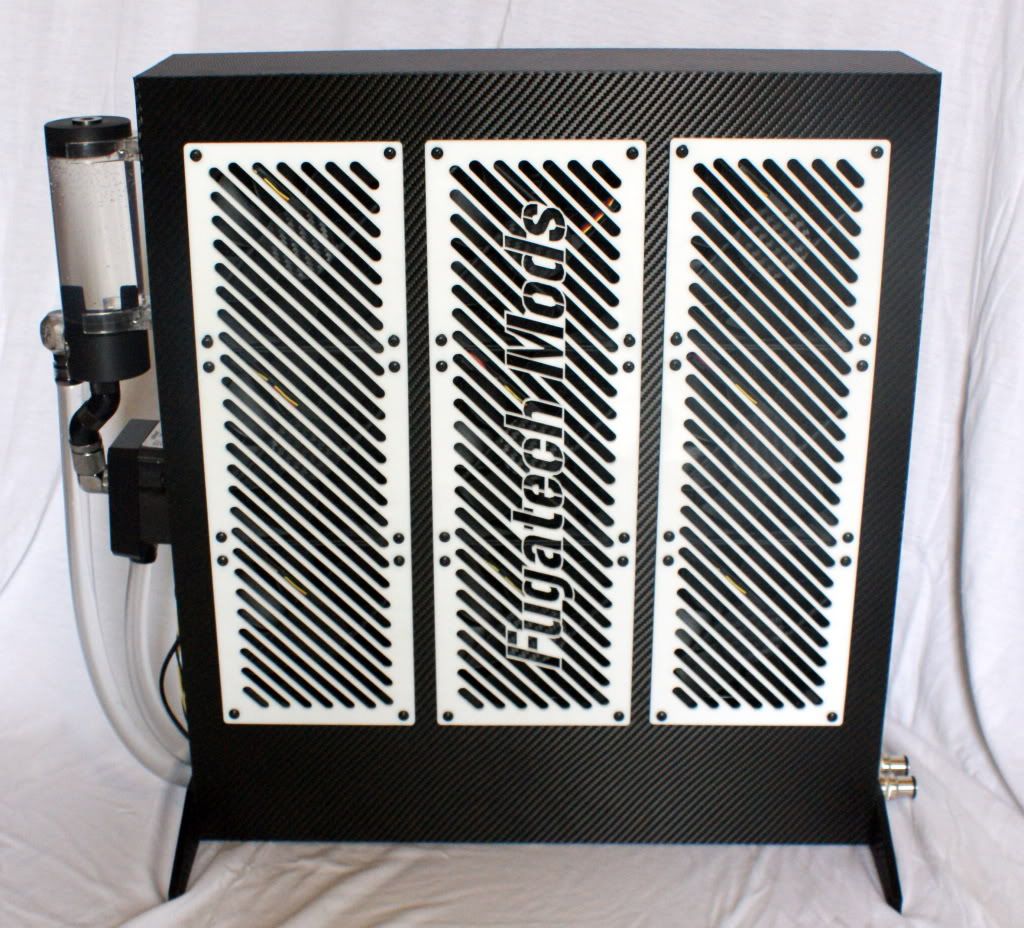
Inside the rad stand. You can see where the Rads go.
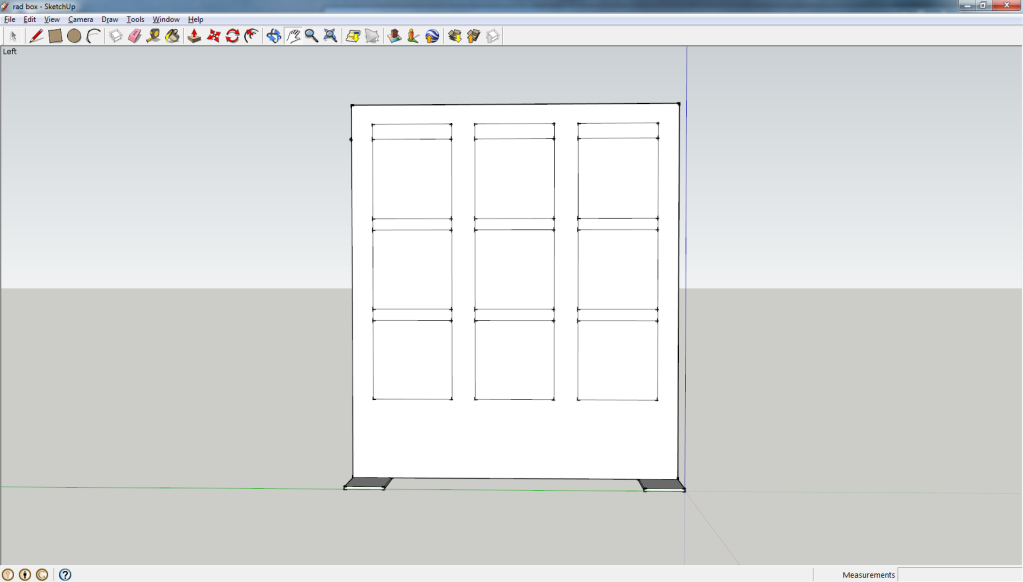
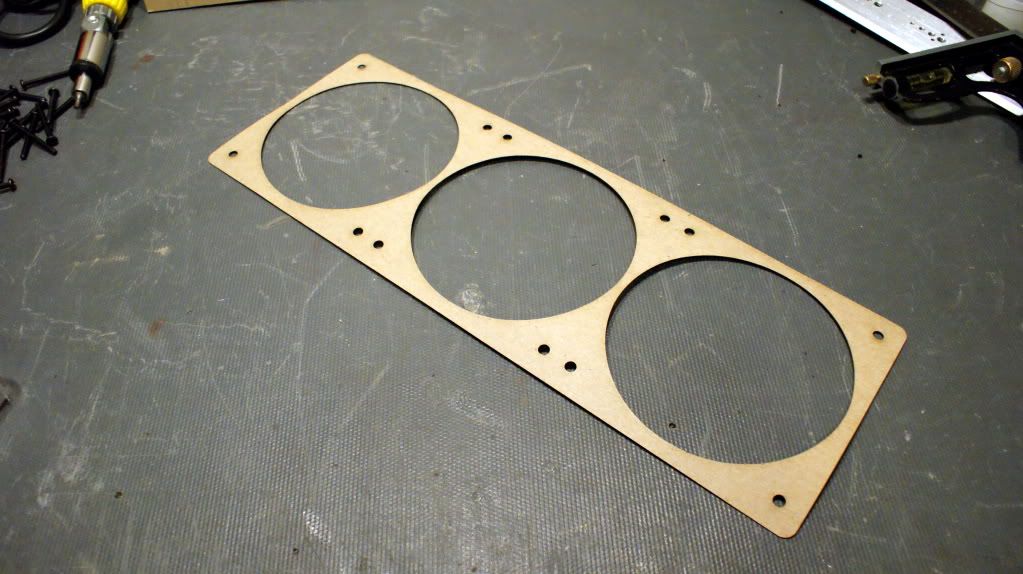
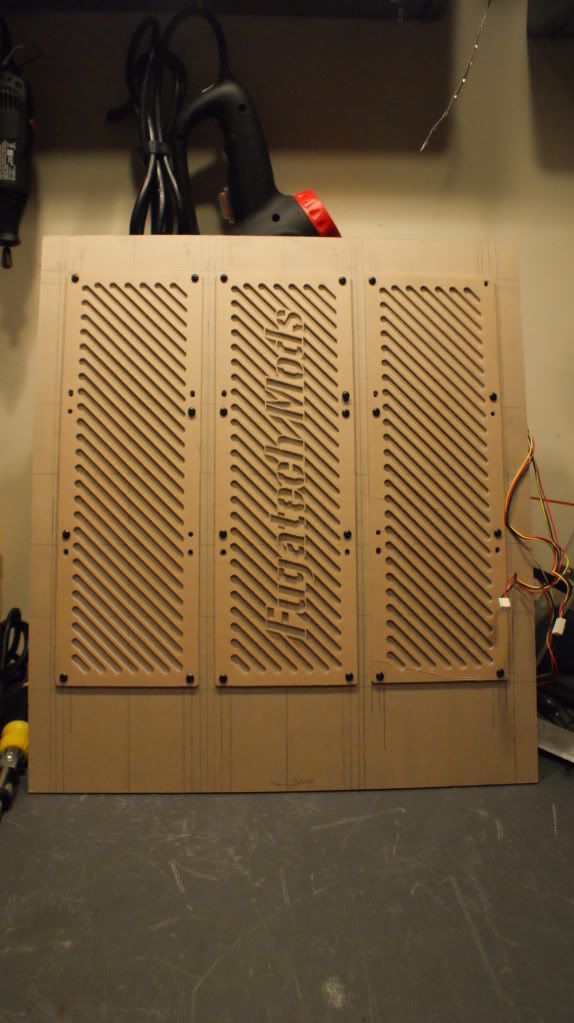
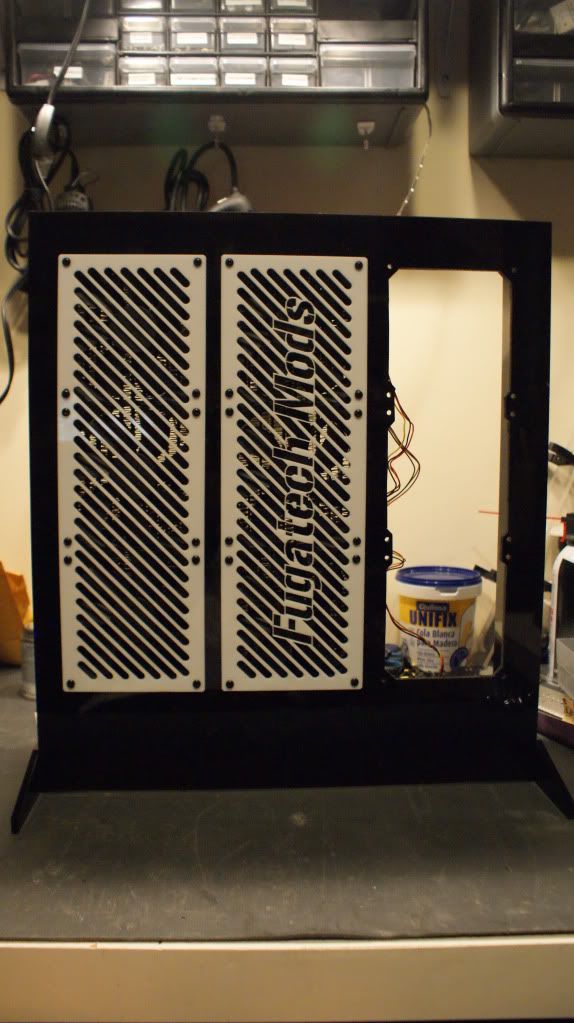
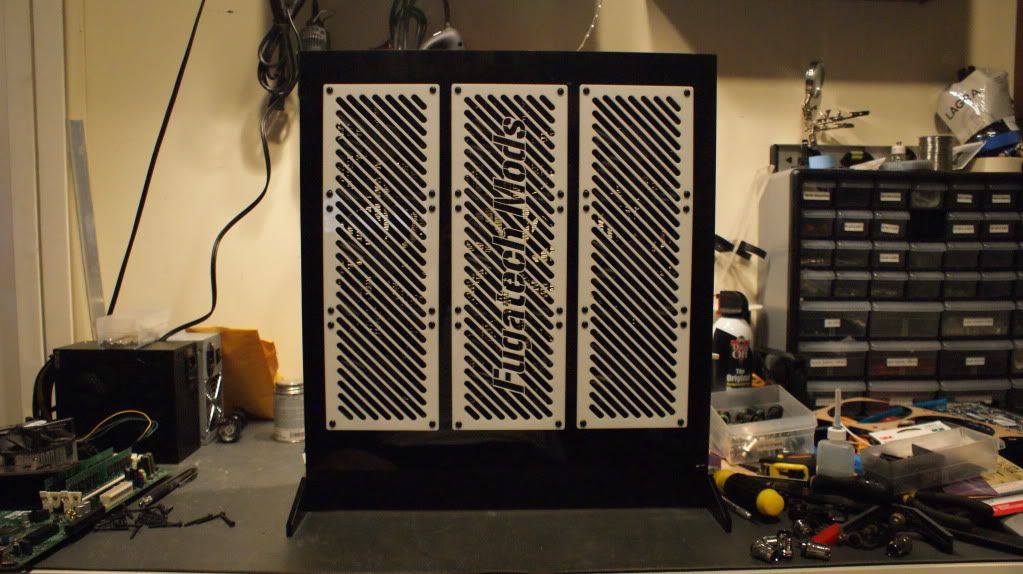
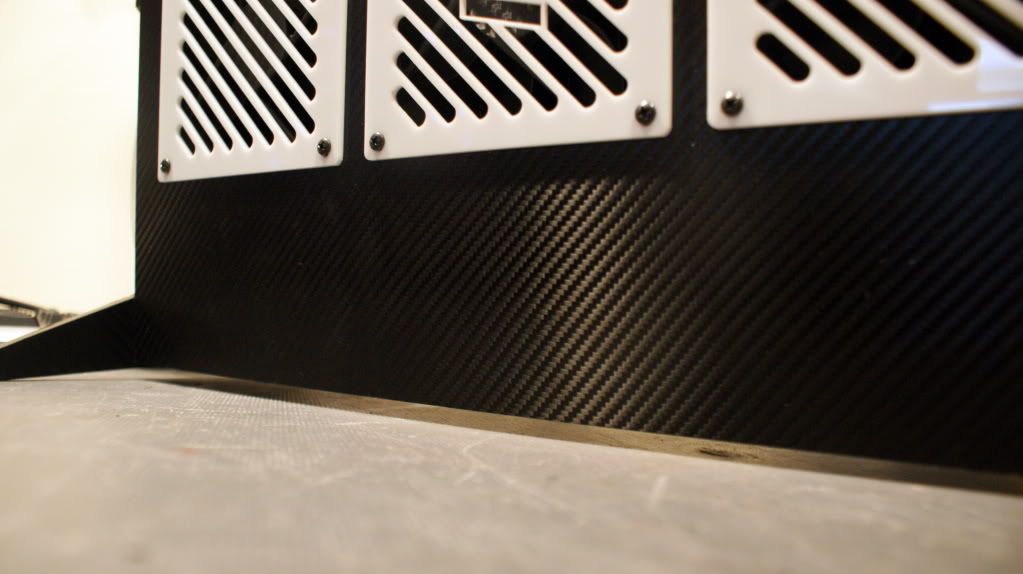
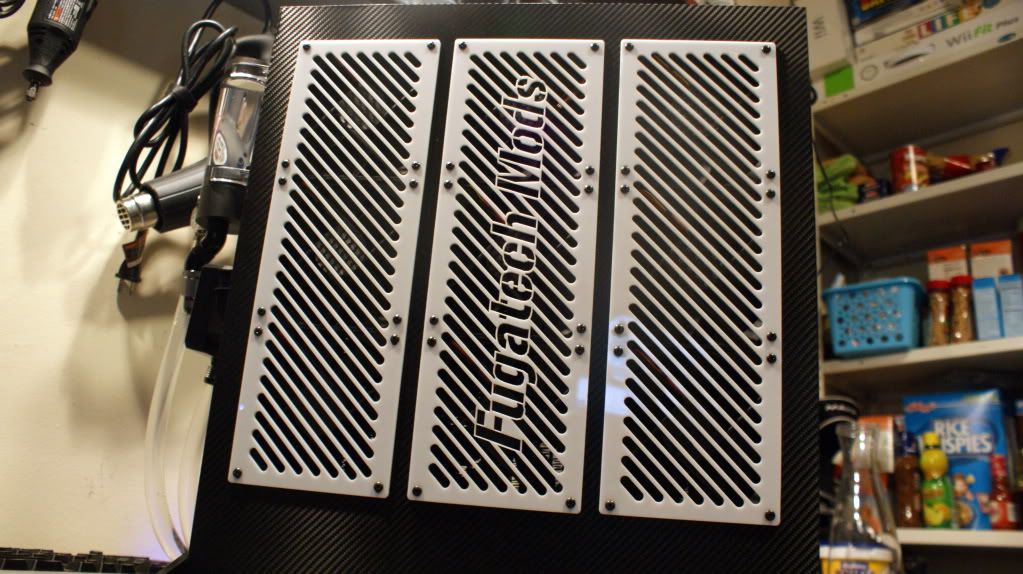
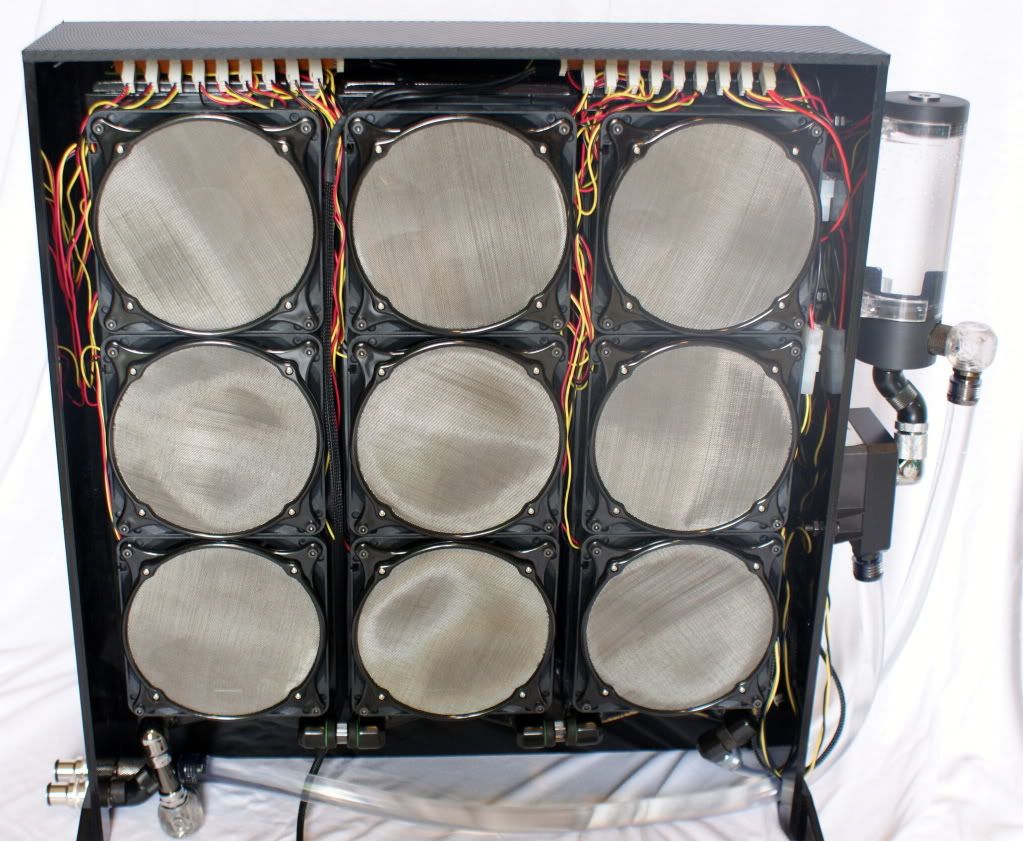
Outside the rad stand. Here you can see where the fan holes need to go.
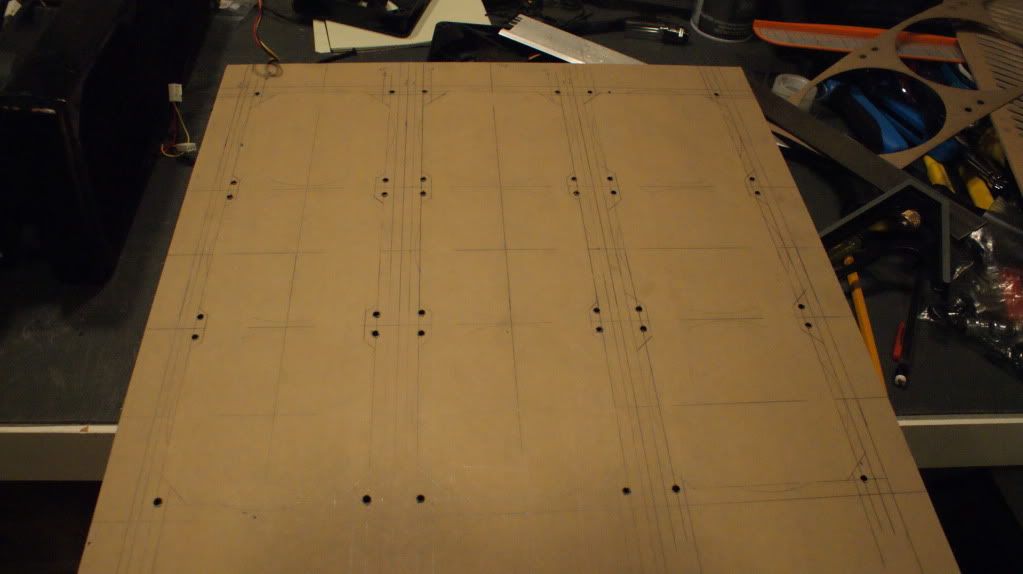
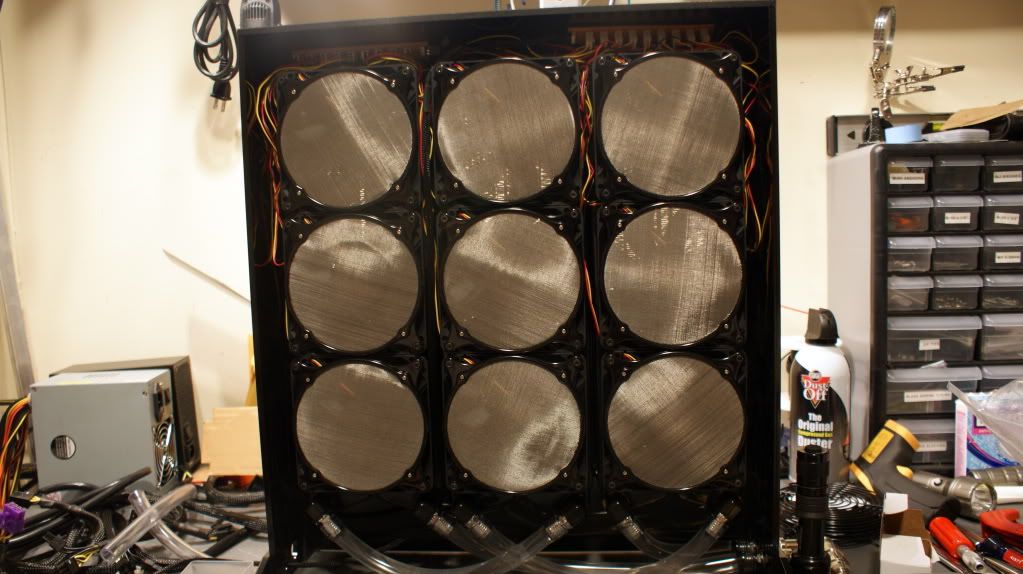
I actually think I may be able to just cut the openings by hand and then just use some modders mesh to cover the holes. That will be way cheaper in the long run as I won't have to ship the plexi out and pay for a laser cutter and I can do it in 1 big piece.
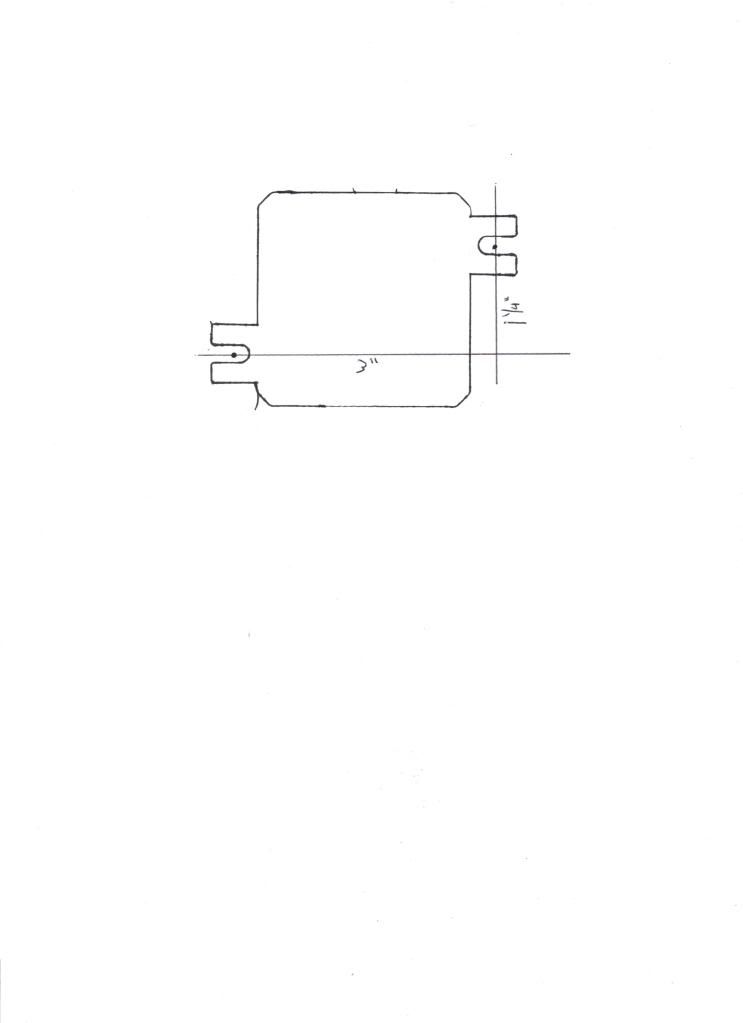
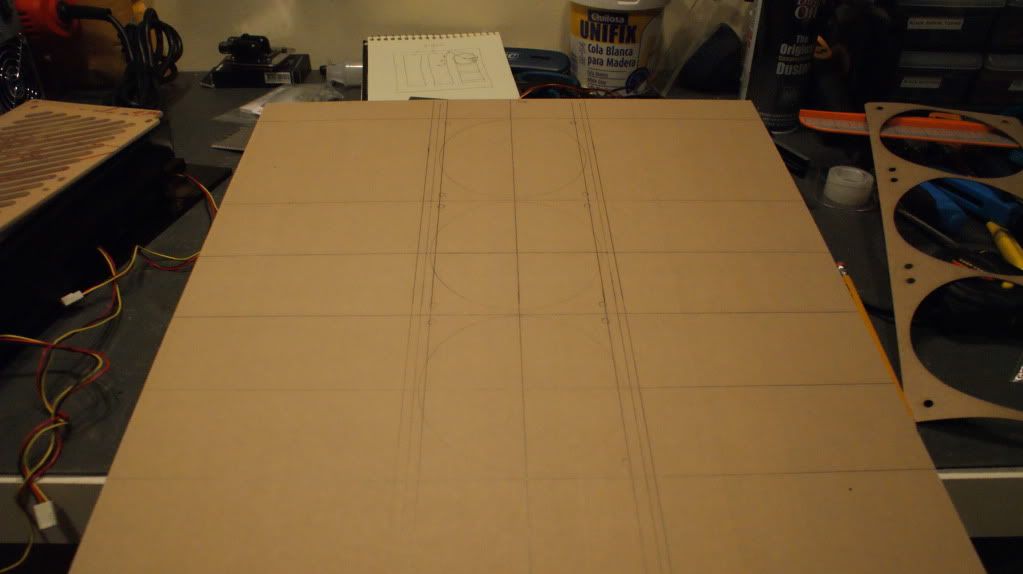
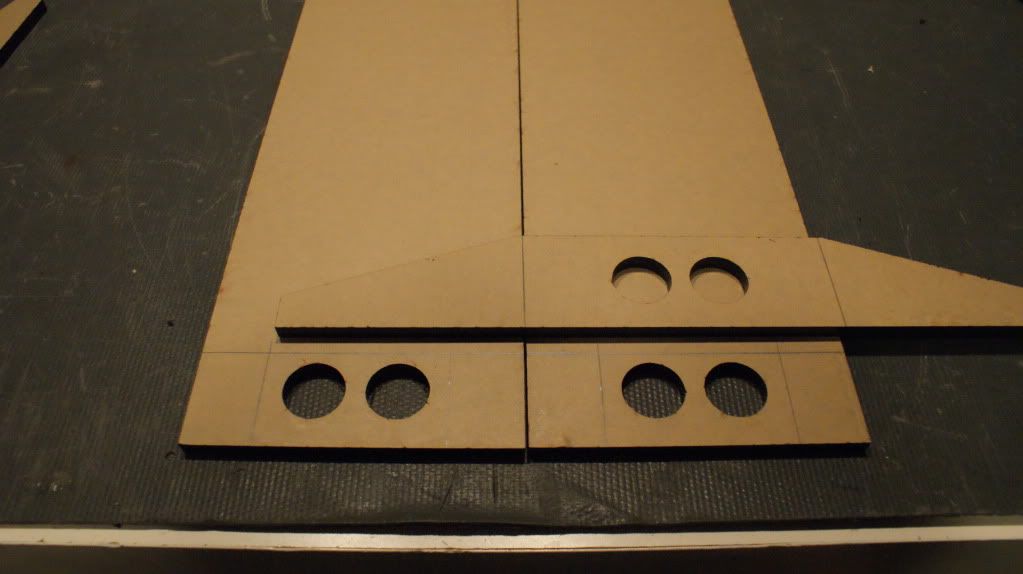
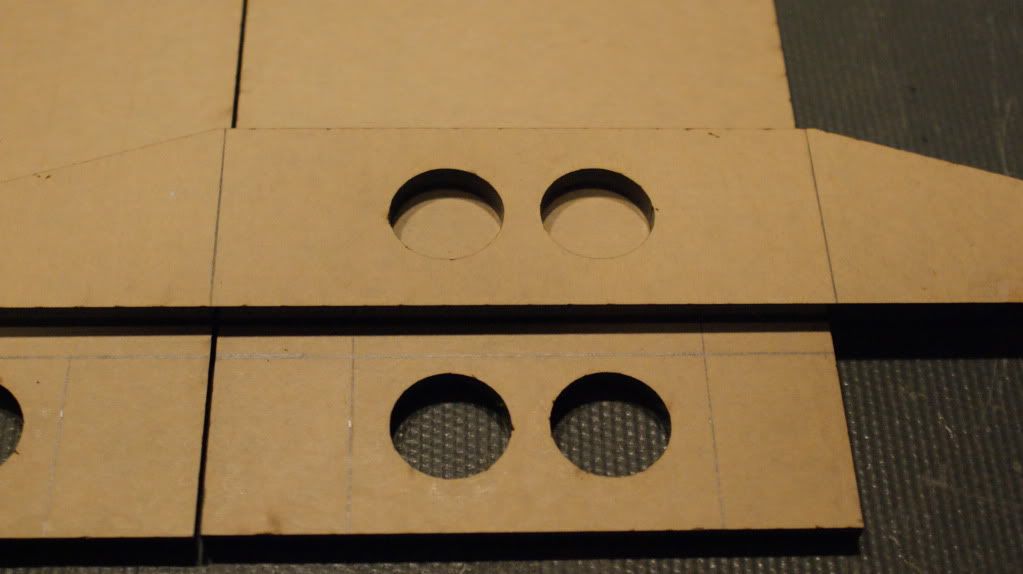
Here is how I will cut the fan holes. All I did was make an X across where the fan hole needs to be (mounting hole to hole) and then drew a 2 5/8" hole there. Delete the parts that are outside the fan hole and there you have nice rounded corners. Should be easy enough to make if I take my time.
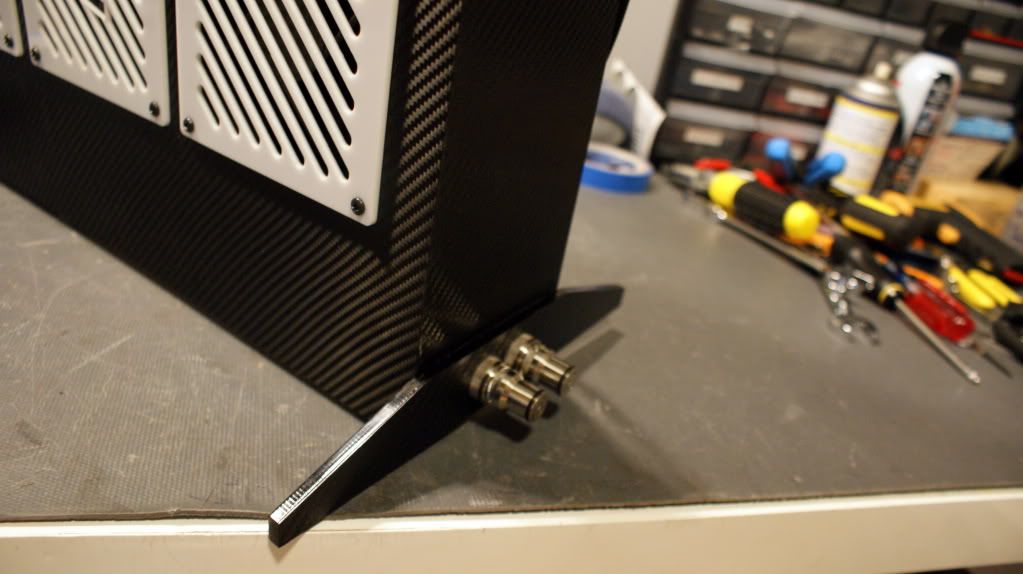
As of right now the feet are 8" long and 2" wide.
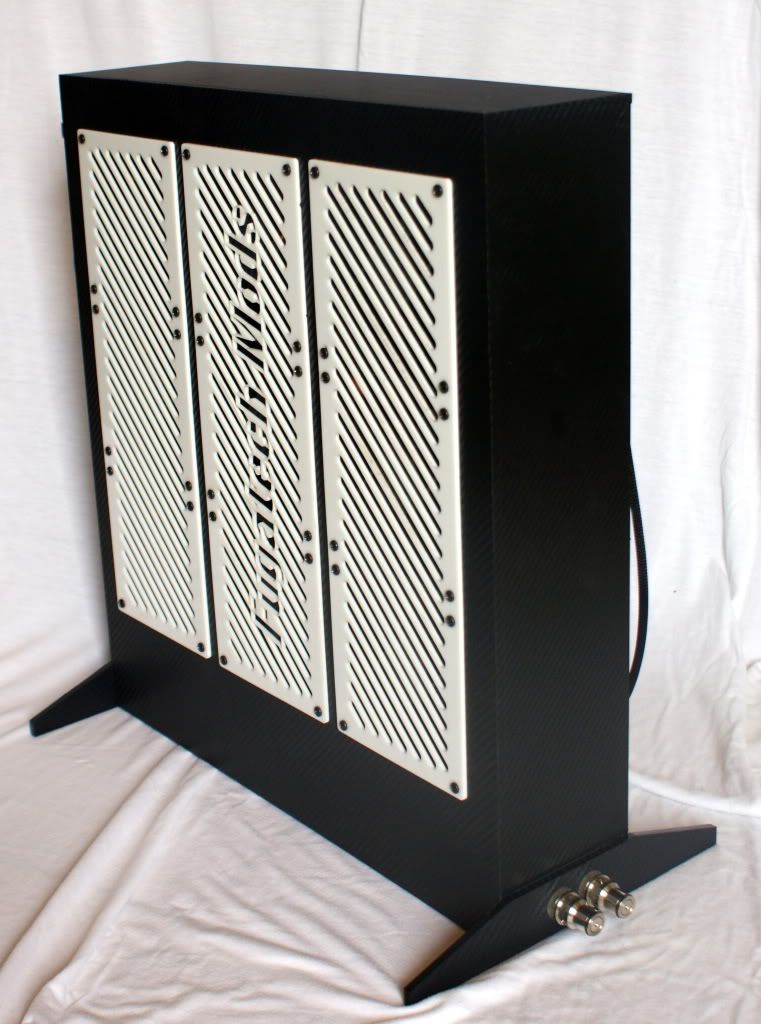
Total dimensions are :
1' 7" tall
1' 5" wide
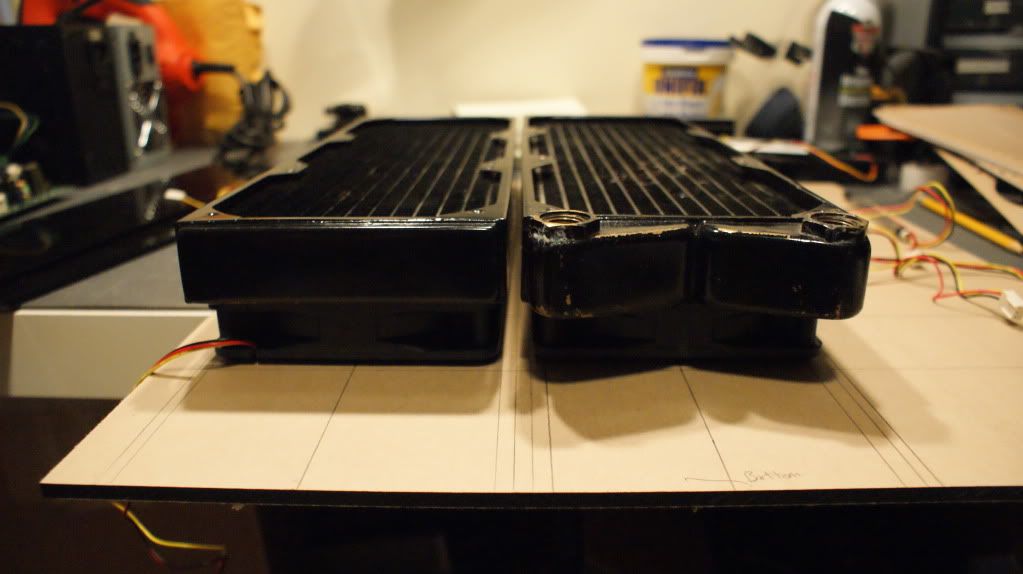
4" deep (might make this 5 for thicker rads)
All materials are 1/4" thick acrylic.
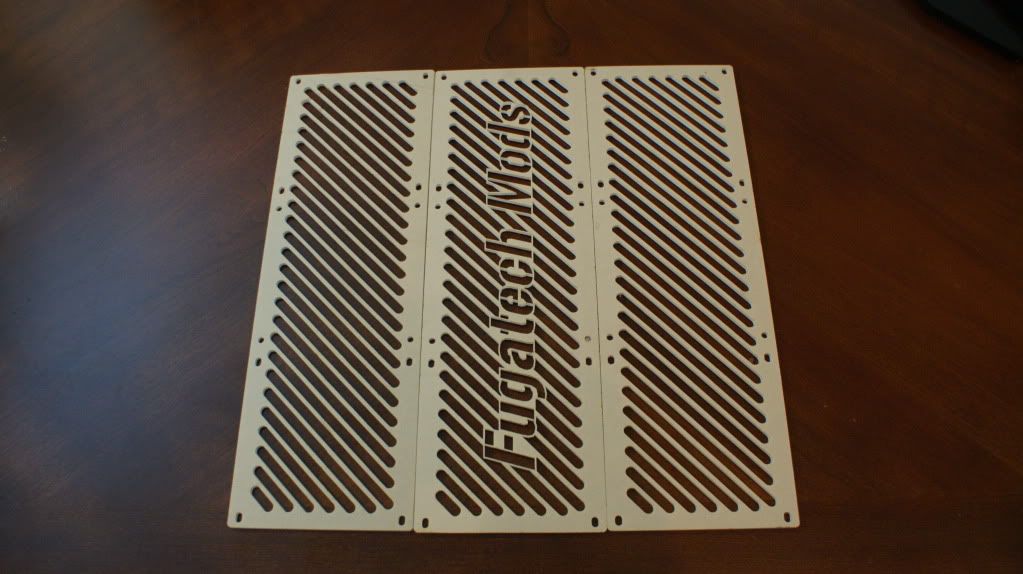
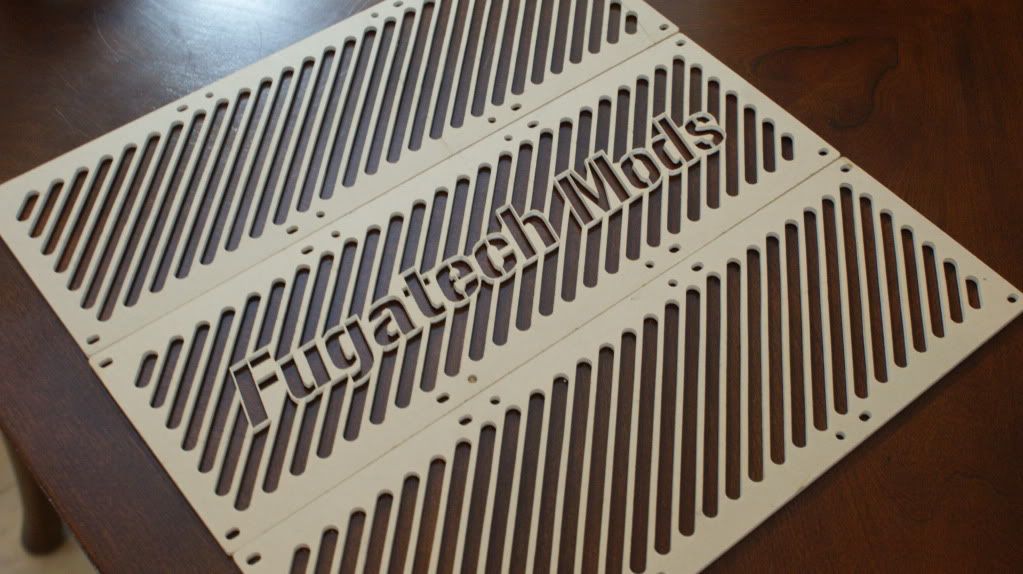
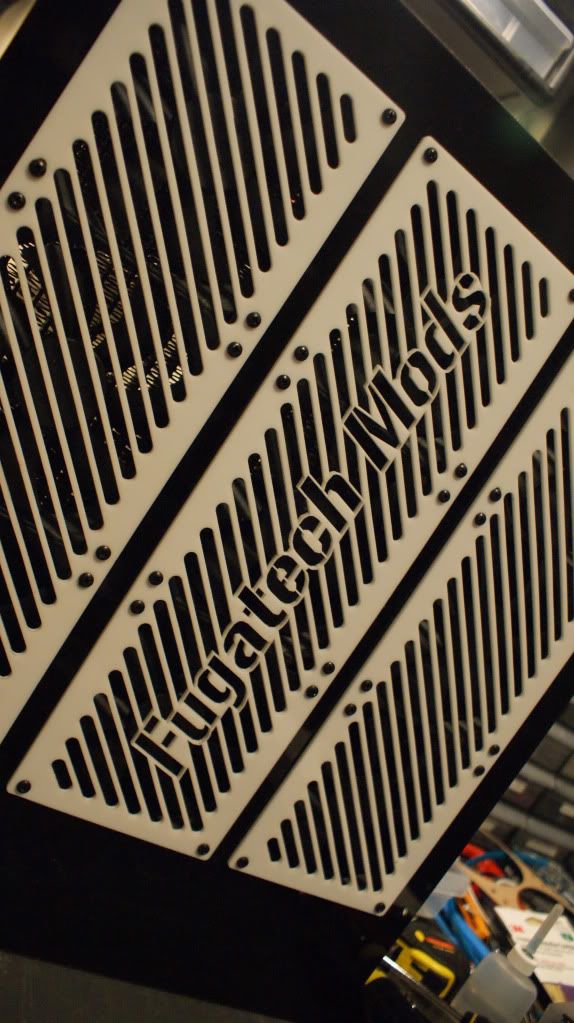
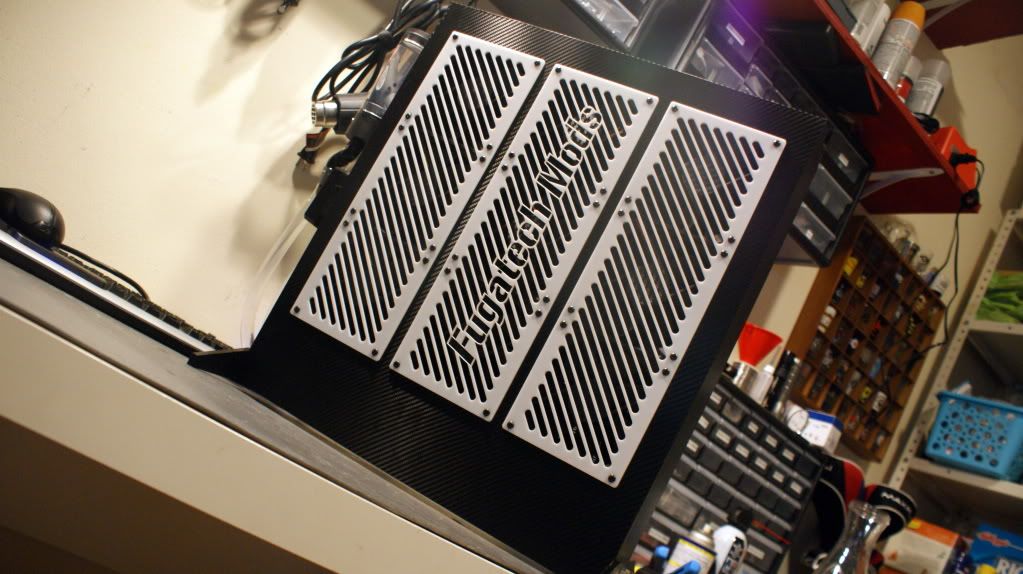
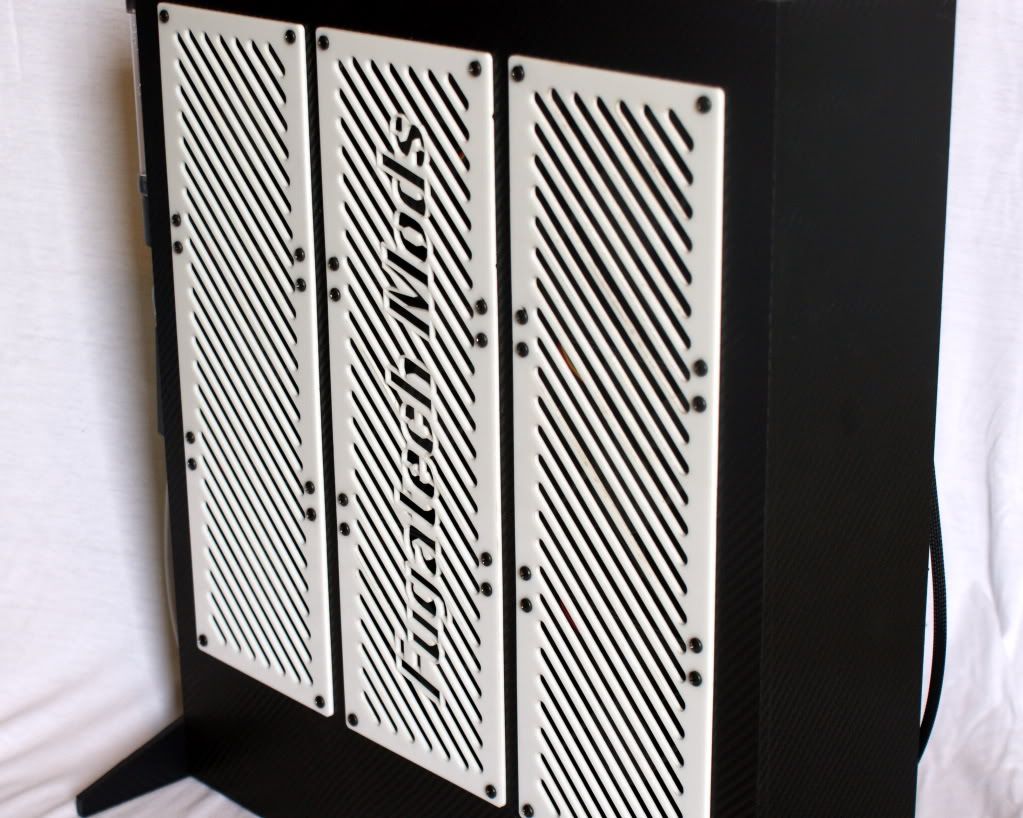
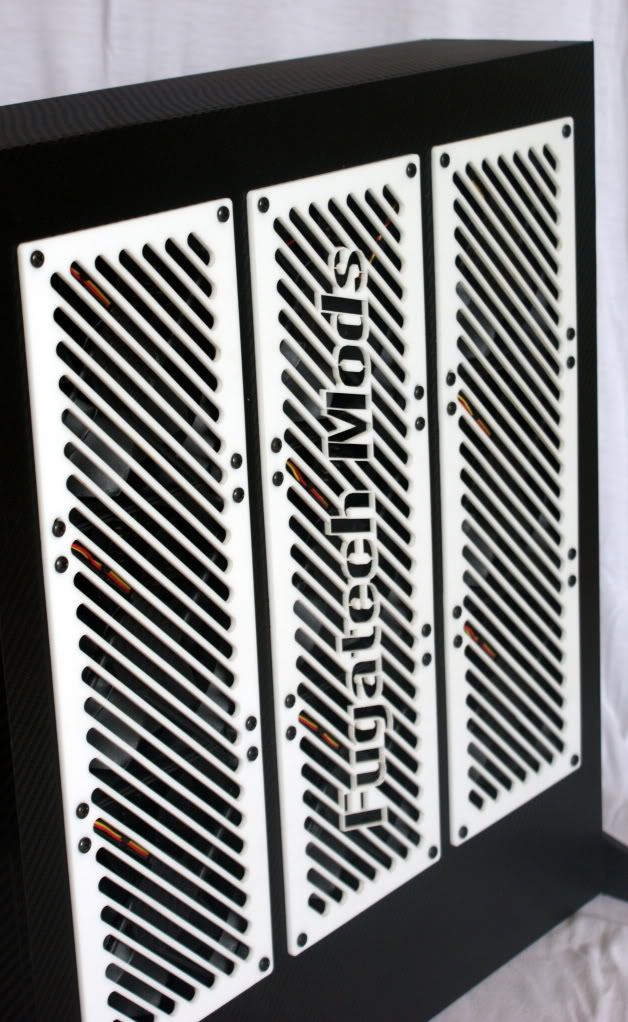
So I'm going back to the acrylic idea. 1/4" is more than thick enough to handle the weight of the rads. + I will have rad grills made to give it some more strength.
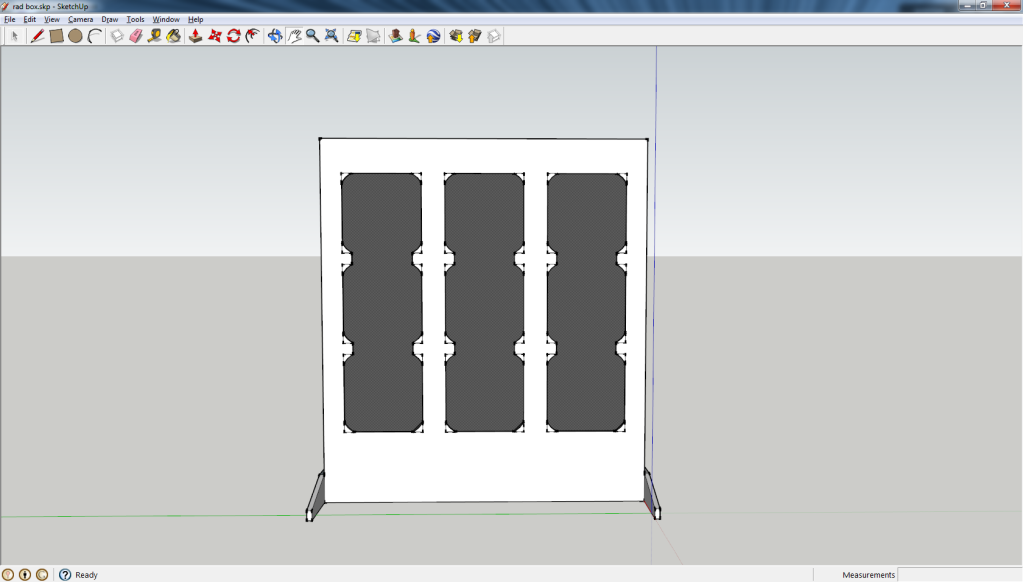
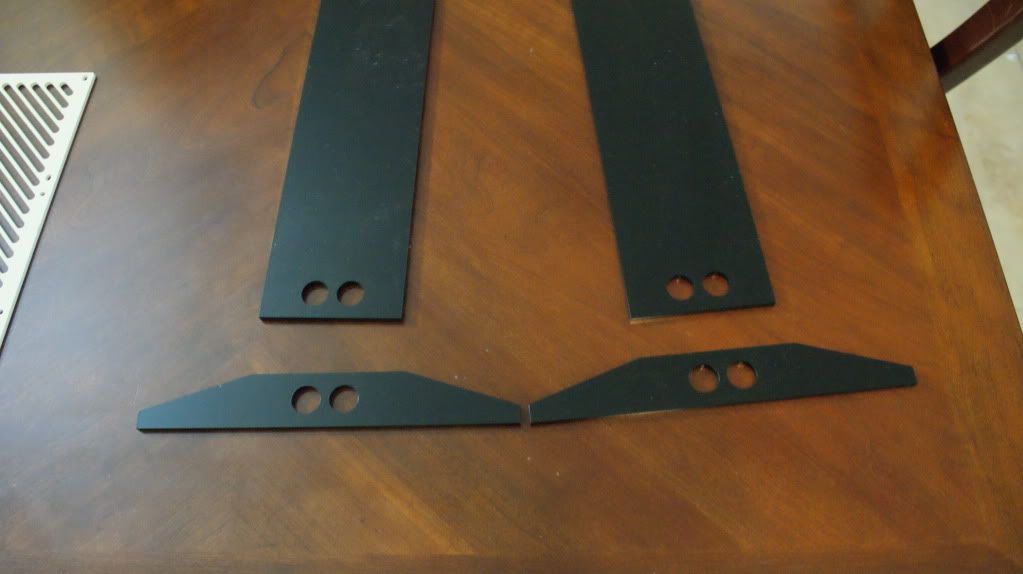
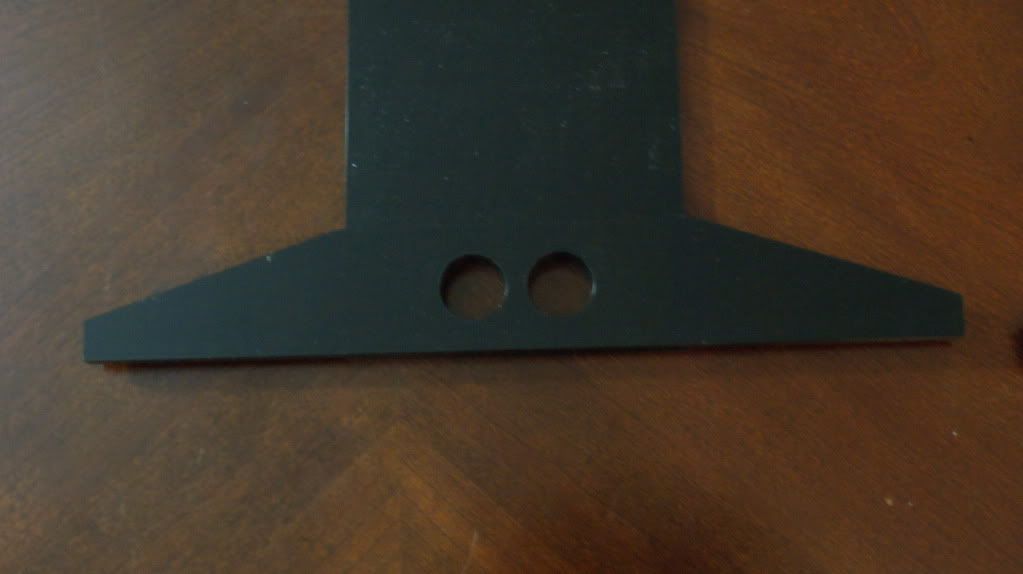
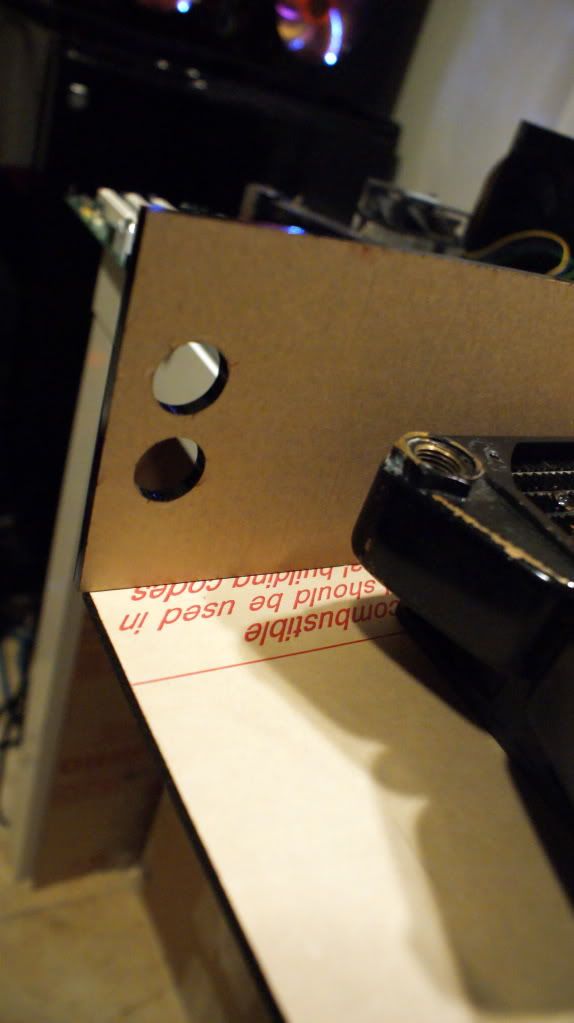
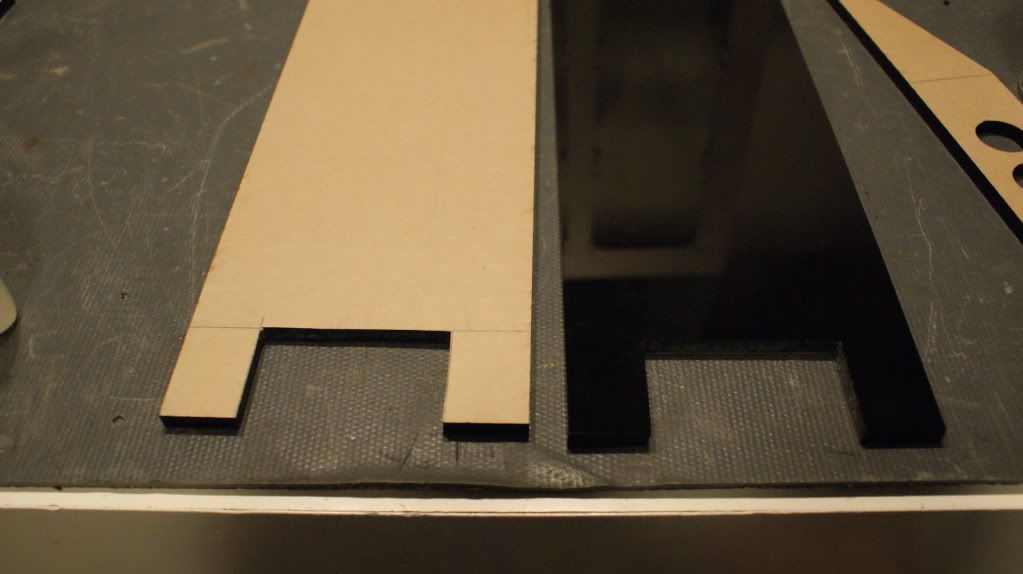
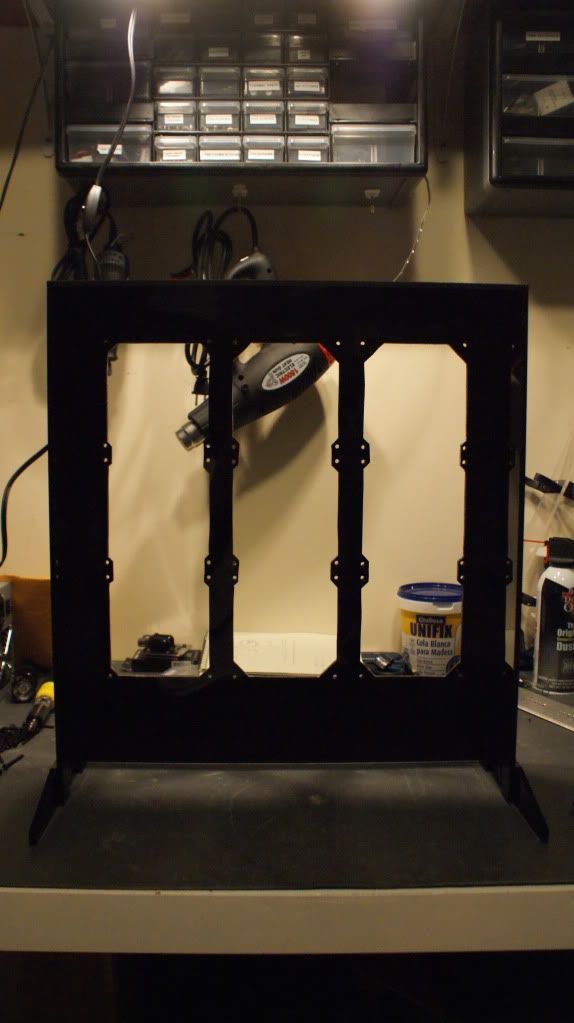
The new feet. I'm 100% sure these will keep it sanding.
And the cutouts for the rads.
I got replies for the aluminum and just having the main pieces cut will cost over $140 so alu is out.
I just sent some emails to plexi companies to get work done. Hopefully I'll have a reply tomorrow.
Comments and advice welcomed. Cheers till then.


 Reply With Quote
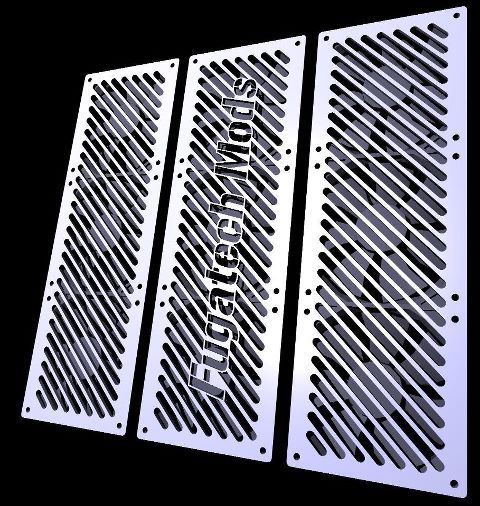


Bookmarks