


Greetings From Greece
Another journey begins for Barf (and as usual it starts when another project is in the works!). I seem to have a problem:facepalm:... I need two projects going on or else i get restless and start modding household items... you will soon see what i mean...
Having not bought into the 1155 P67/Z68 chipset, i feel left out being stuck with an x58 board and i7 920 (3 years old almost:thumbdown, and as such i decided to buy myself a present
(many presents to be honest
Sponsored by:
Big shout out to Freddy from Highflow for the sponsorship!
The Hardware:
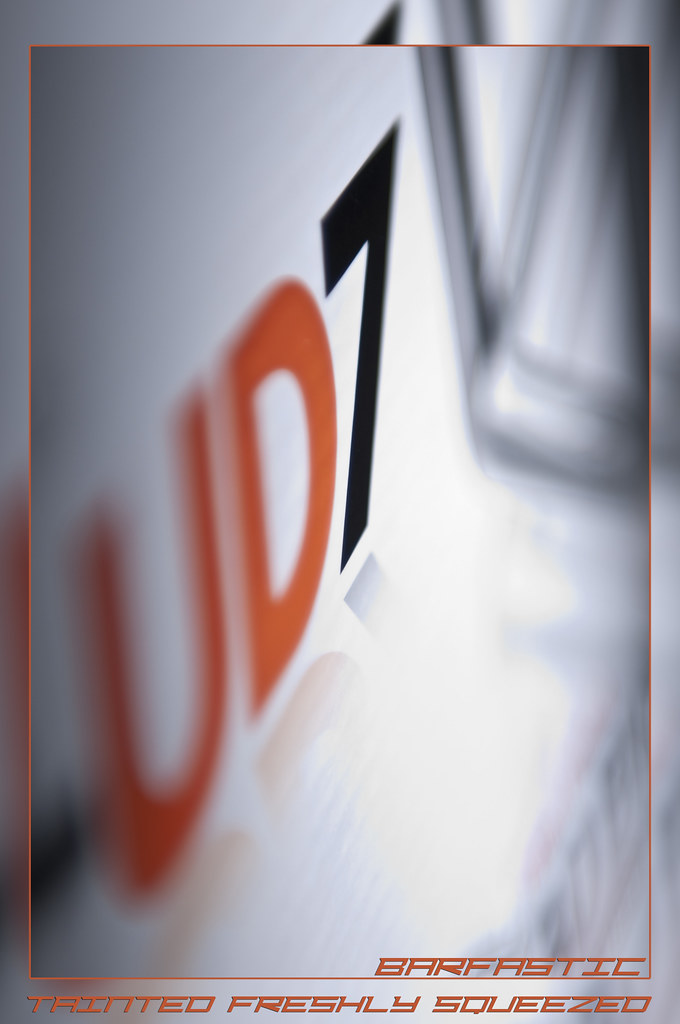
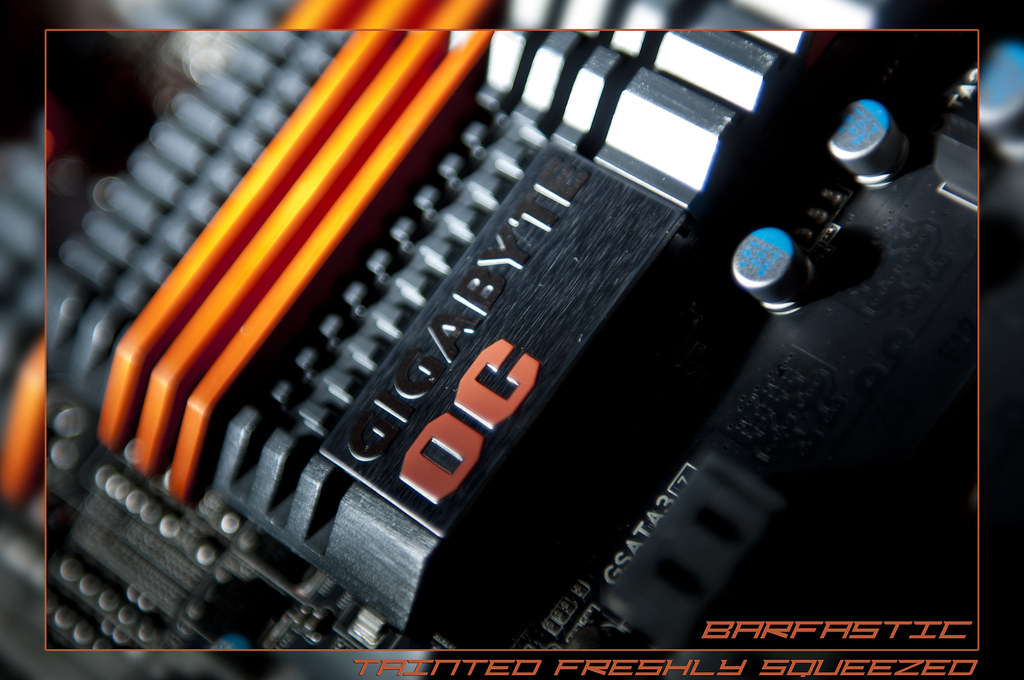
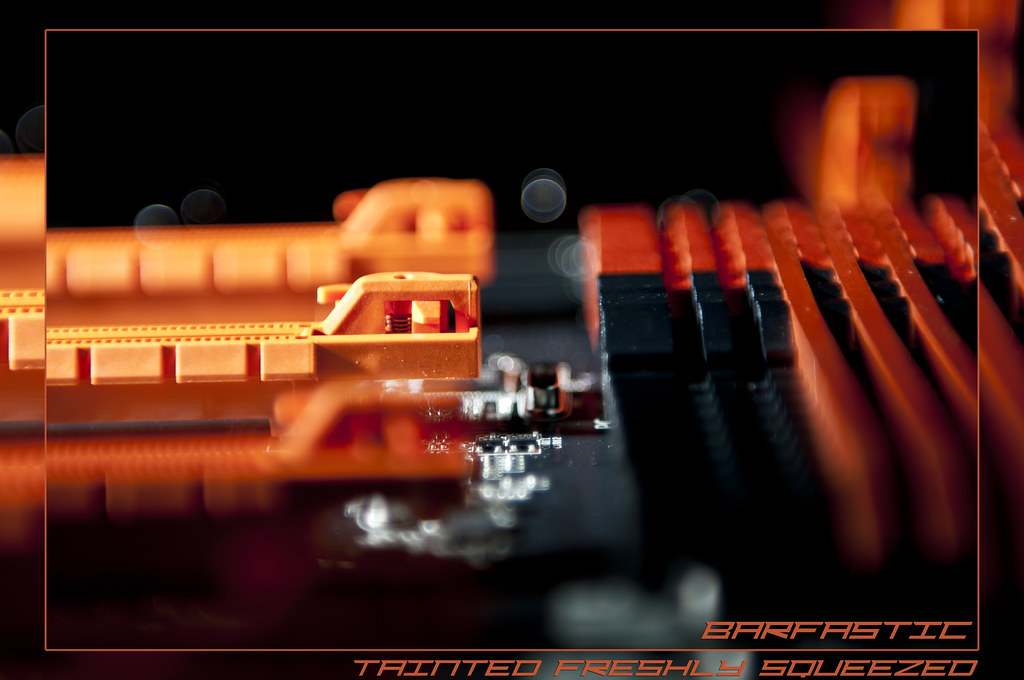
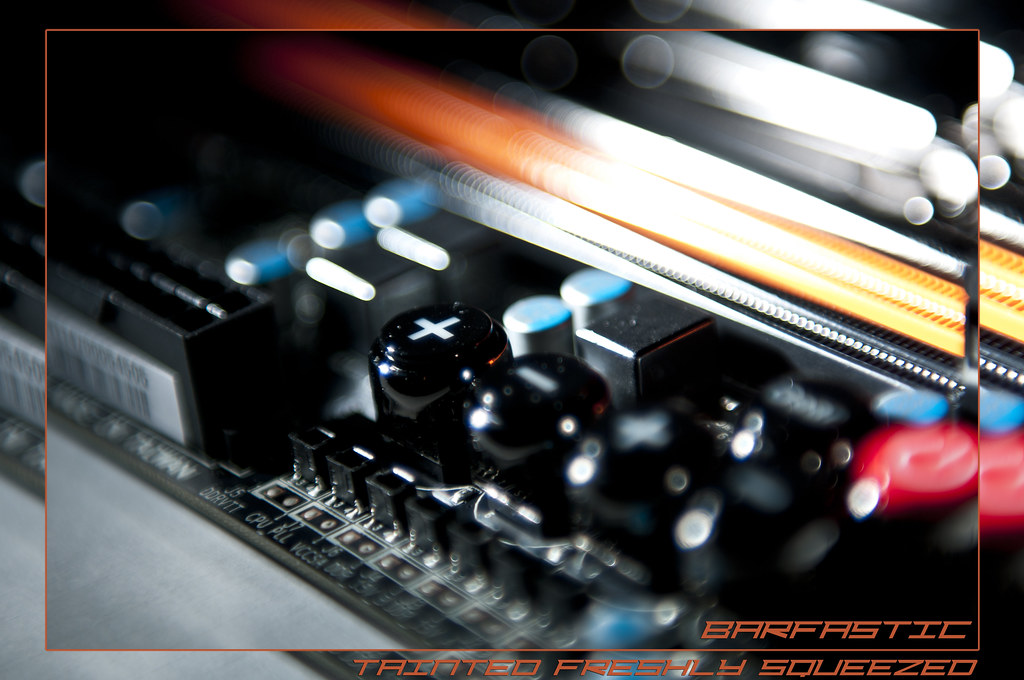
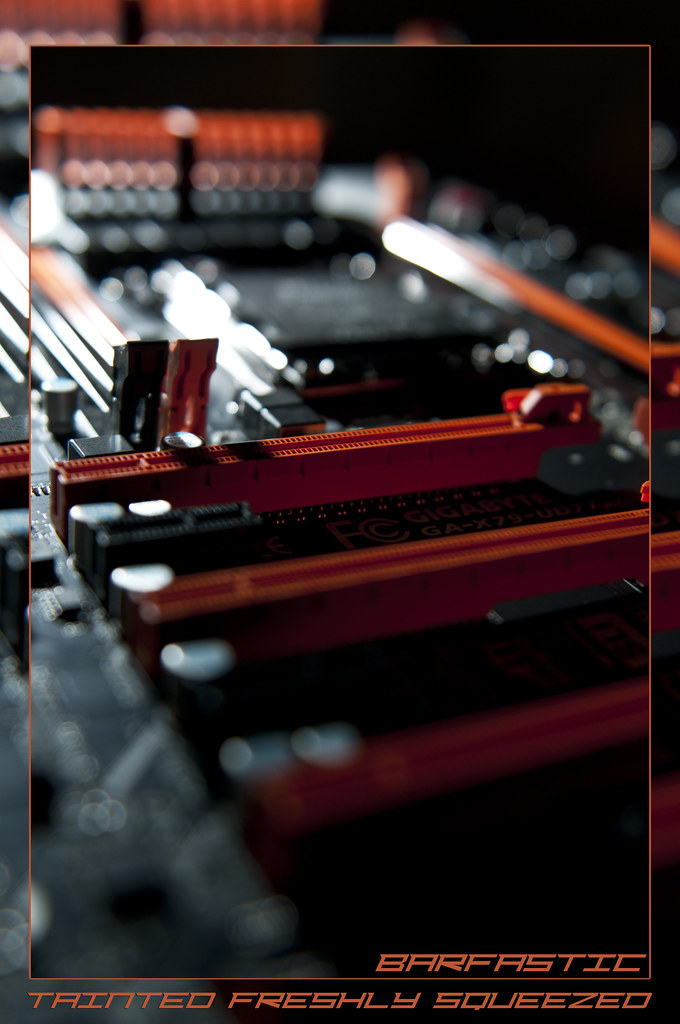
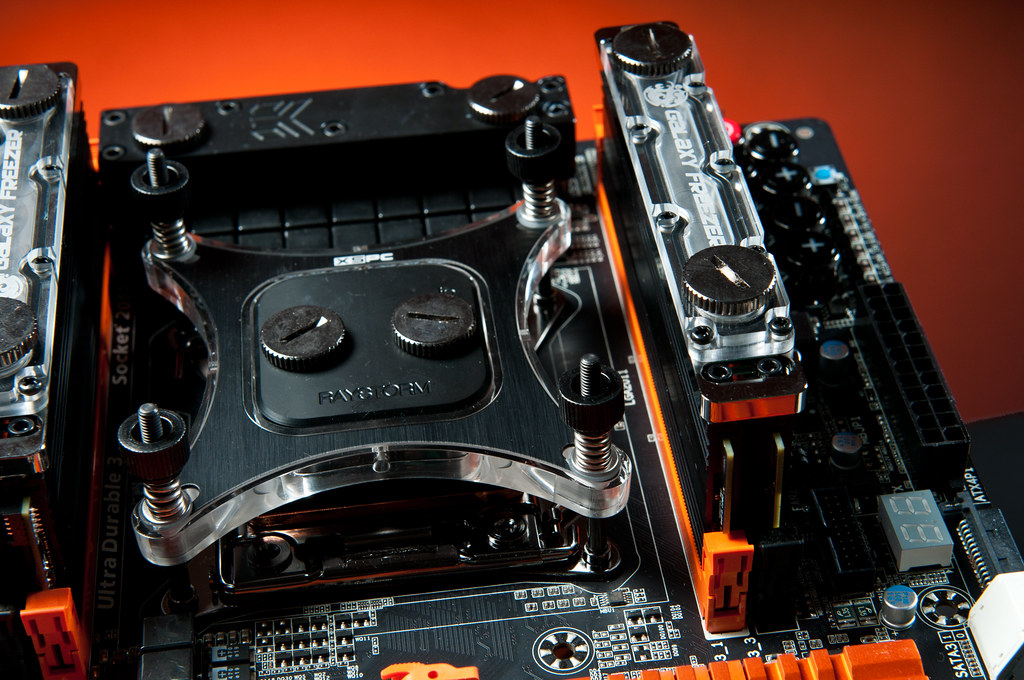
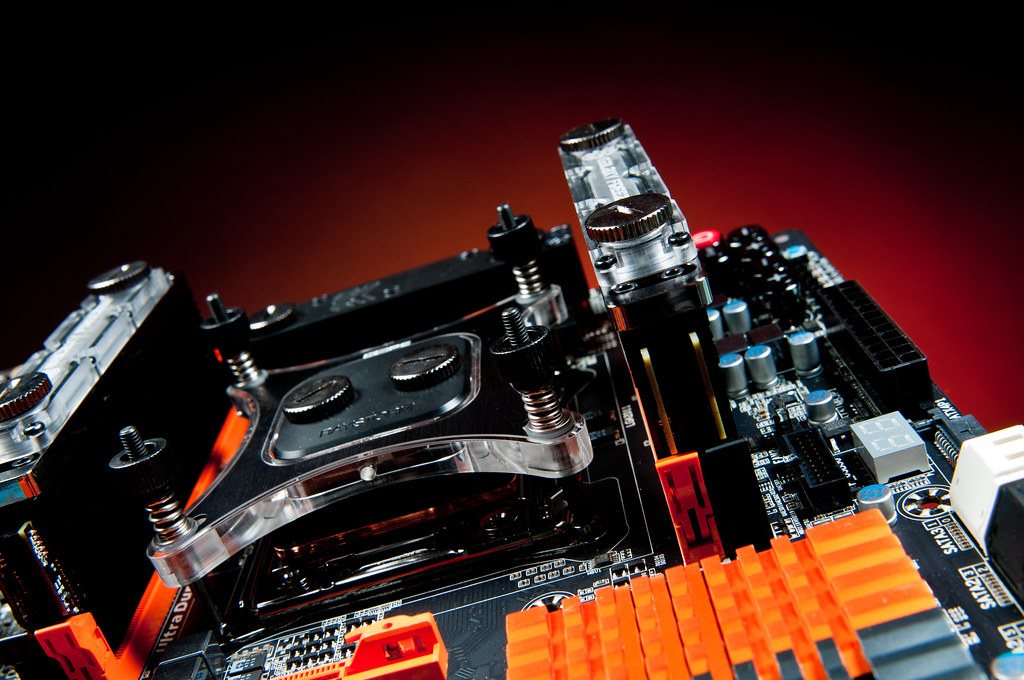
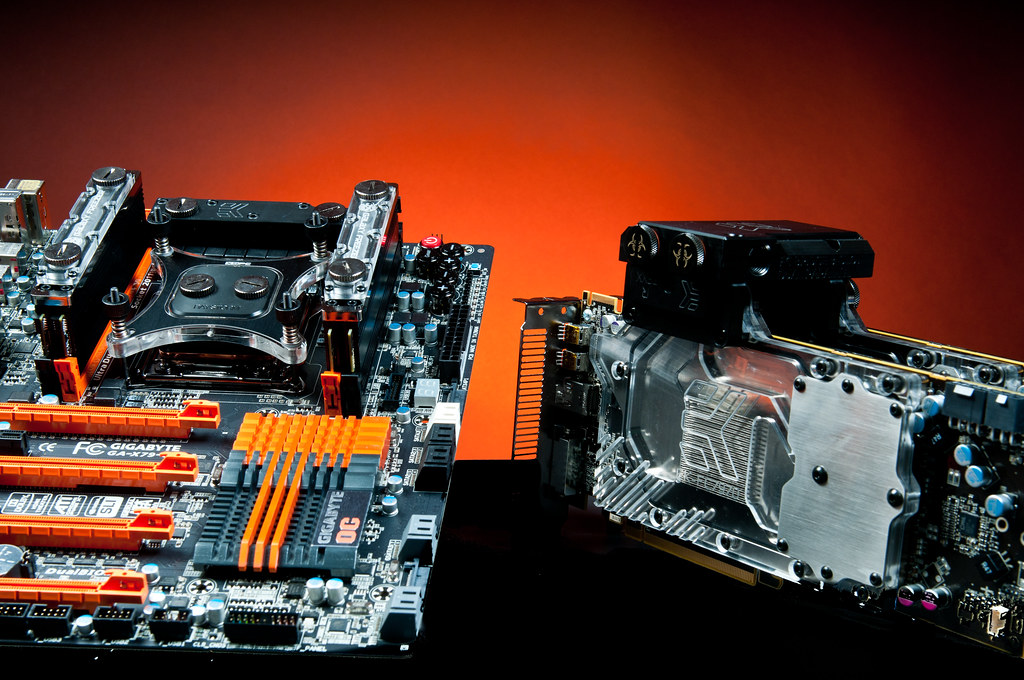
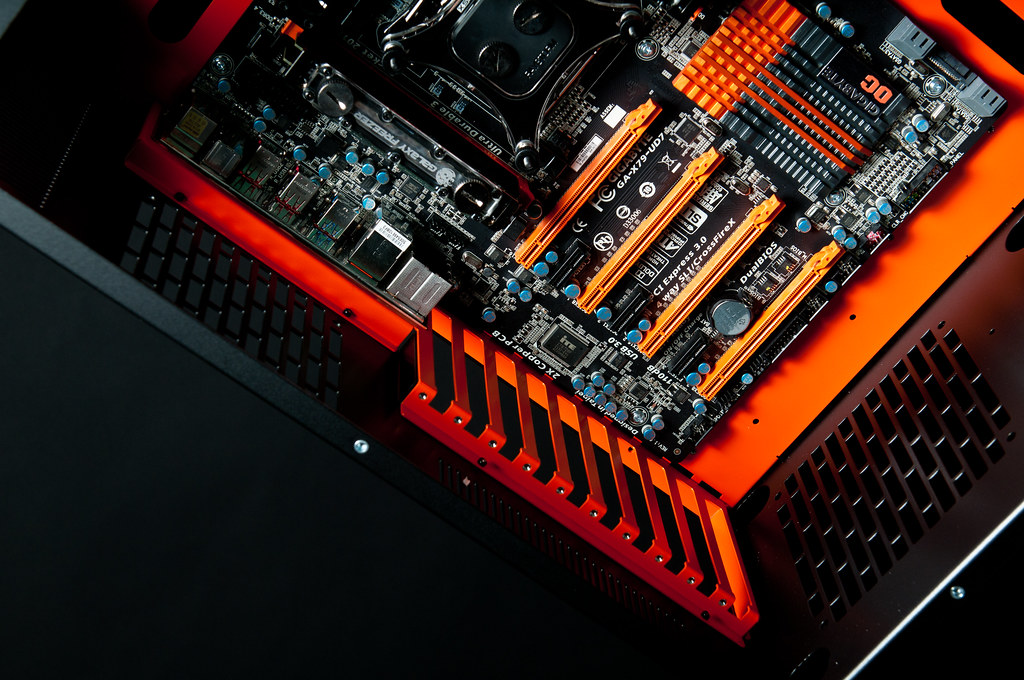
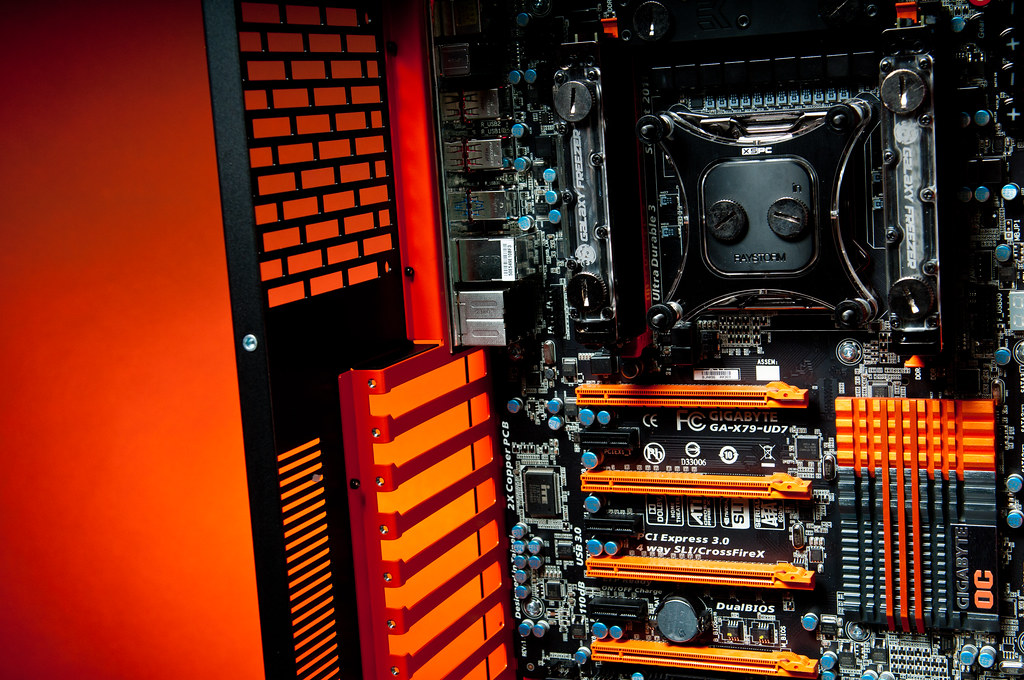
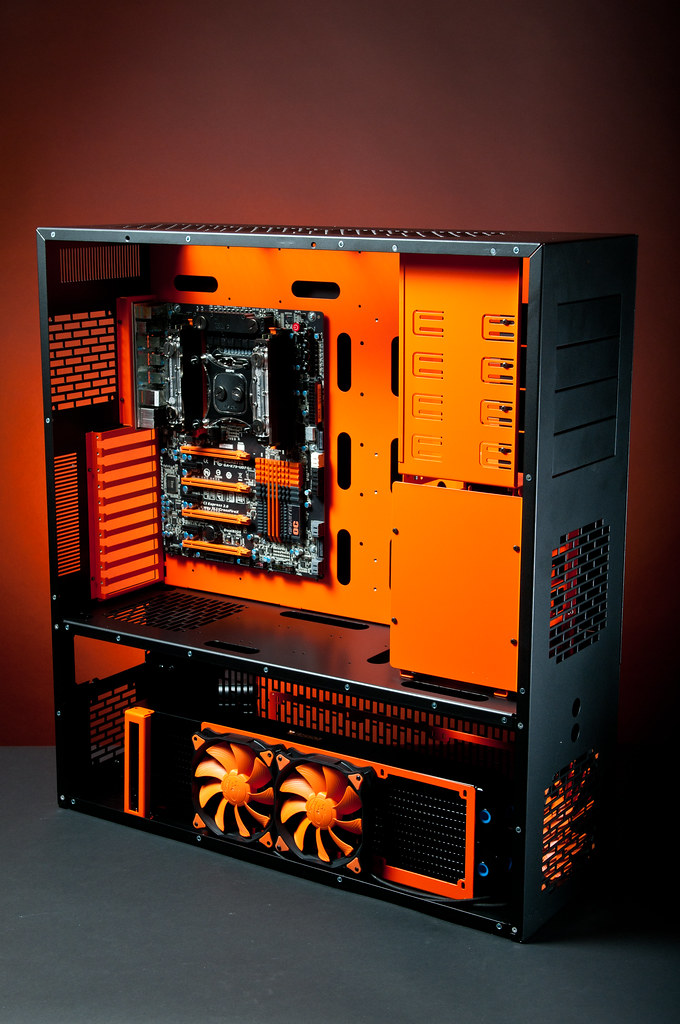
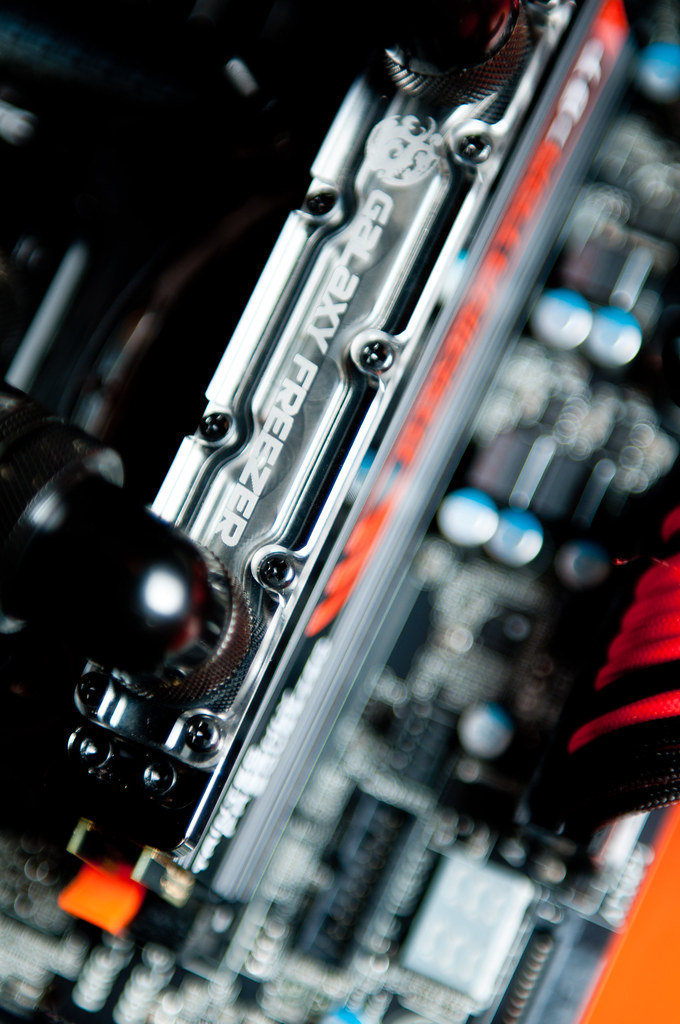
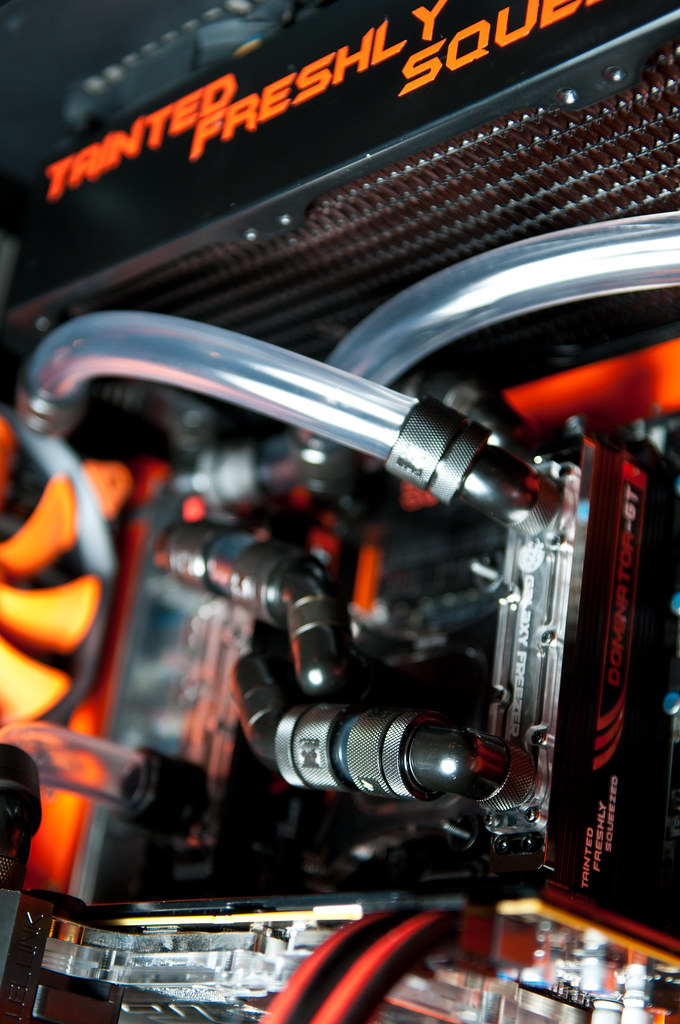
Gigabyte X79 UD7
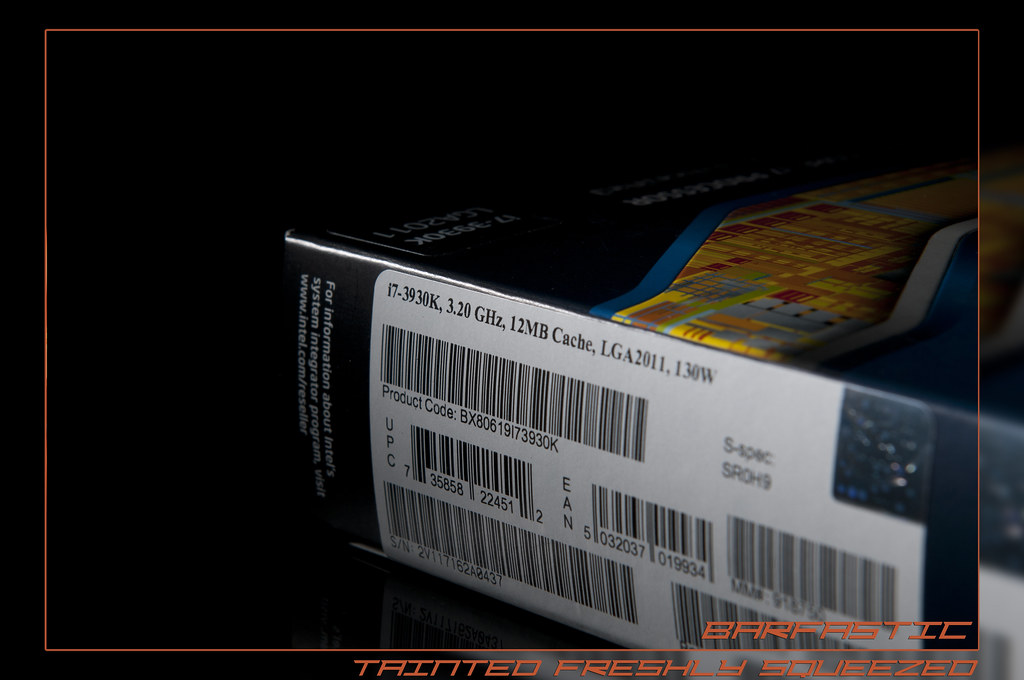
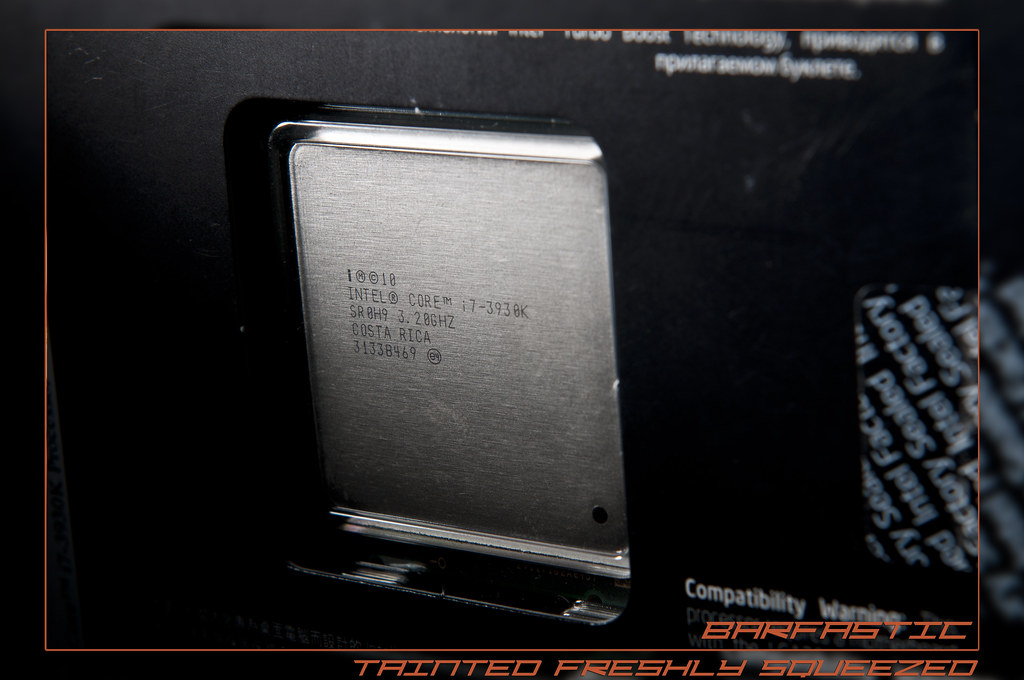
Intel Core i7 3930K
Corsair DDR3-2133 16GB Quad Kit
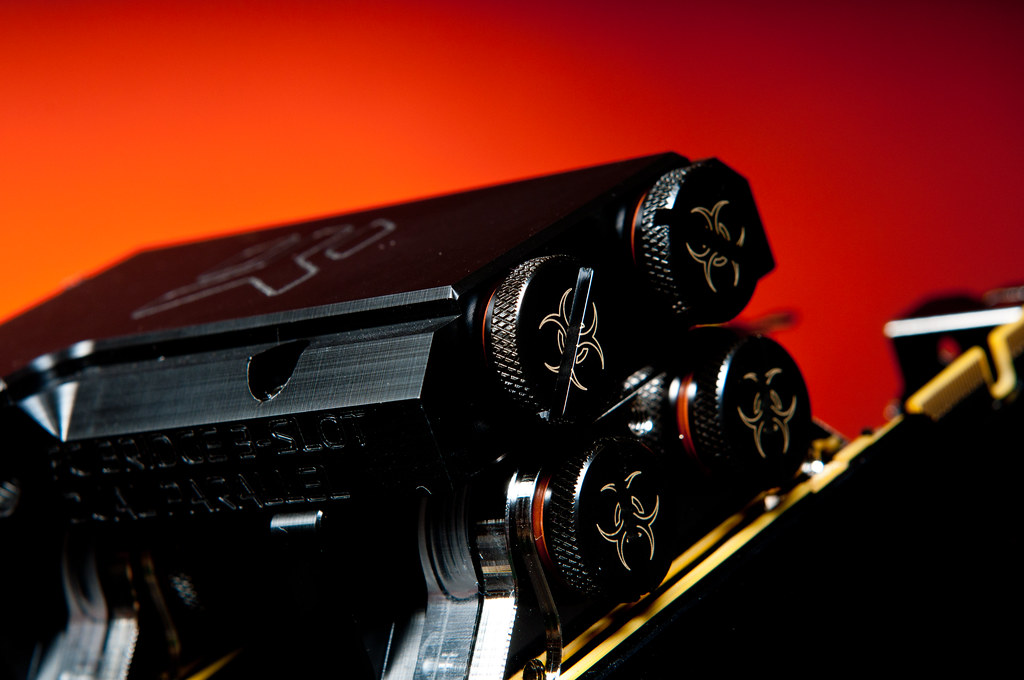
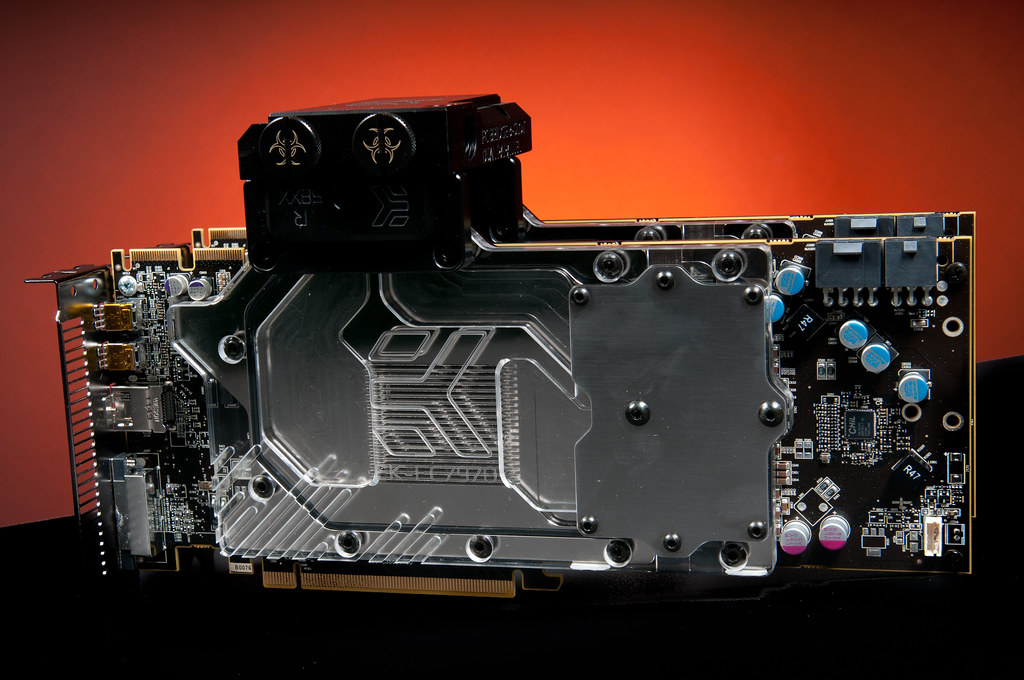
2X HD 6970 Crossfire
2X 120GB SSD Raid0 (Intel 510's)
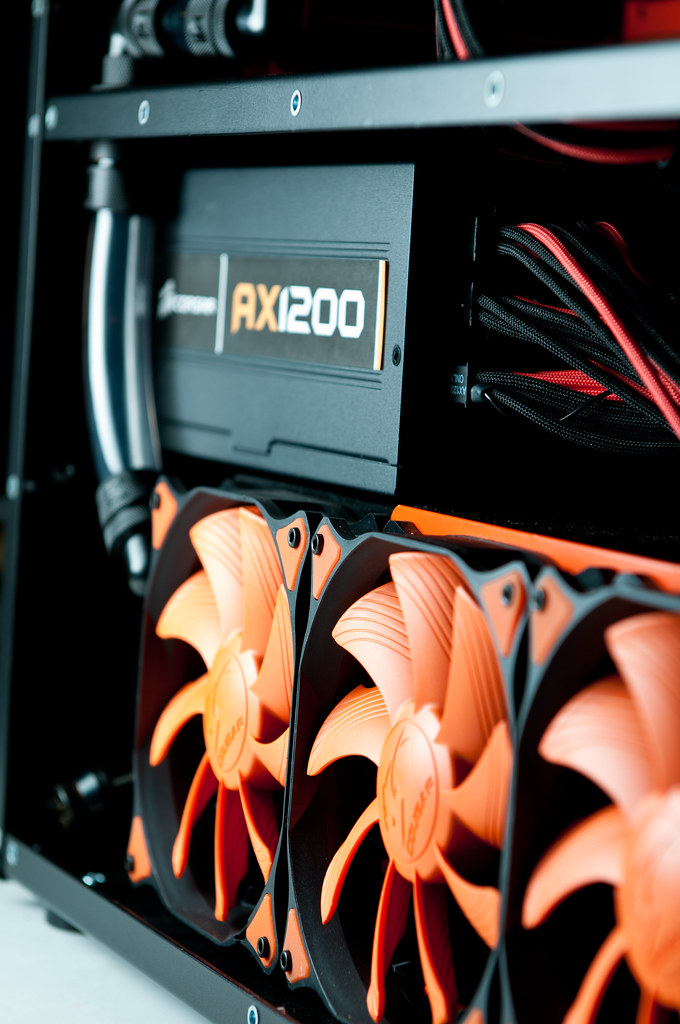
Corsair AX1200 Power Supply
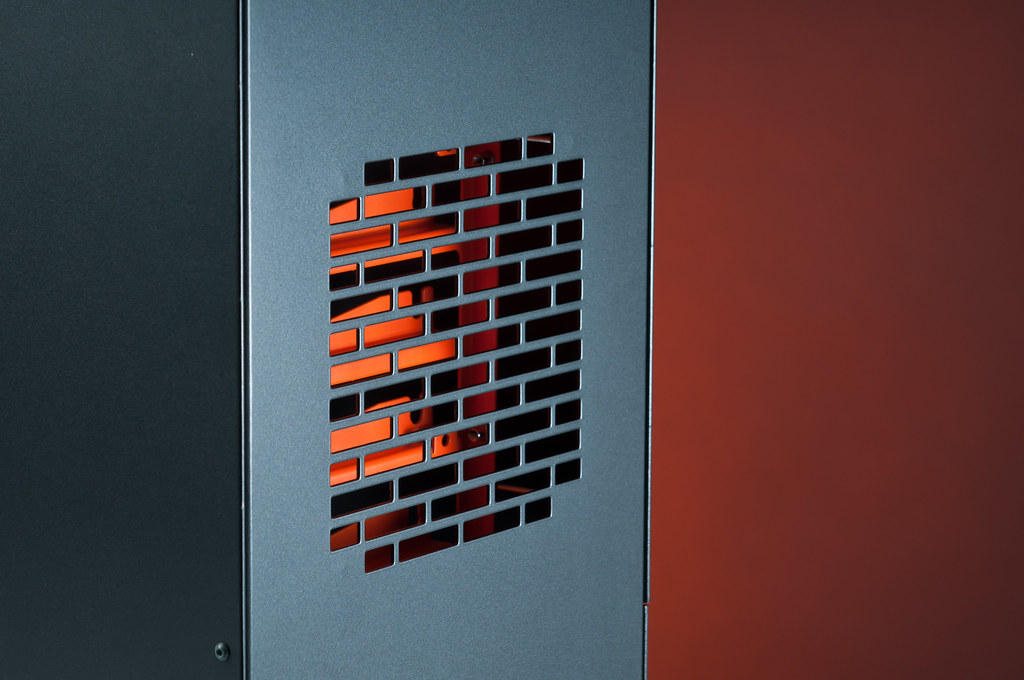
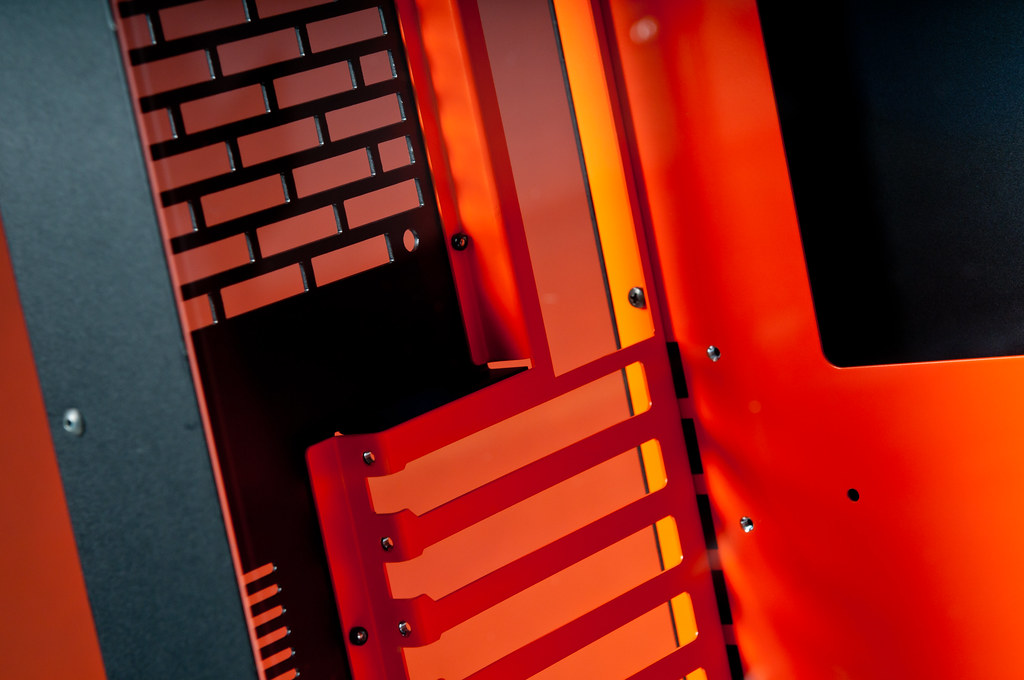
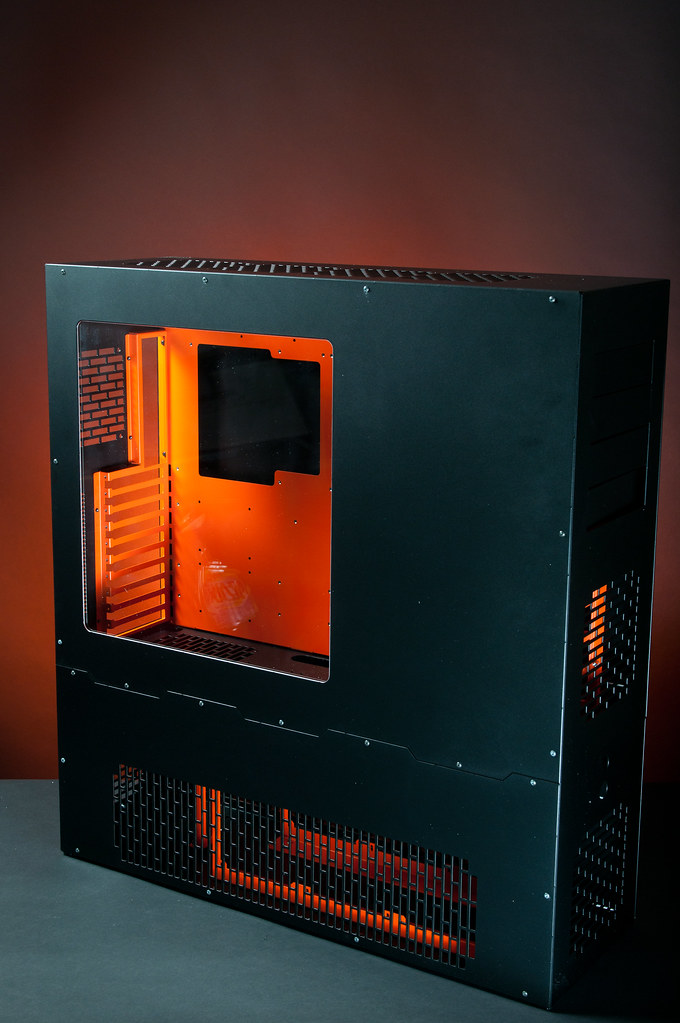
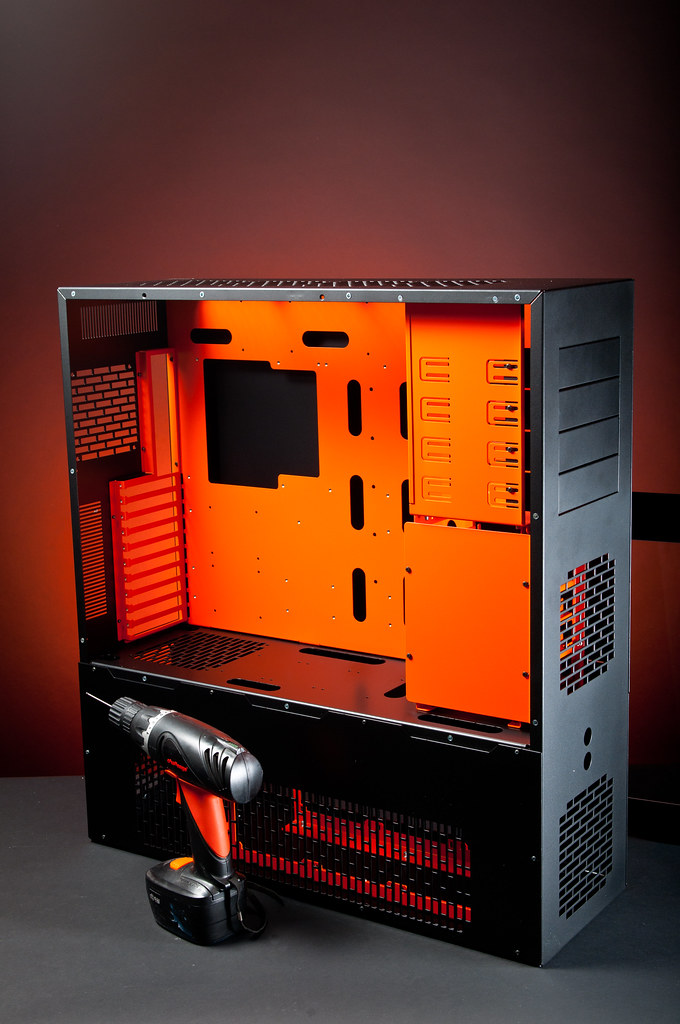
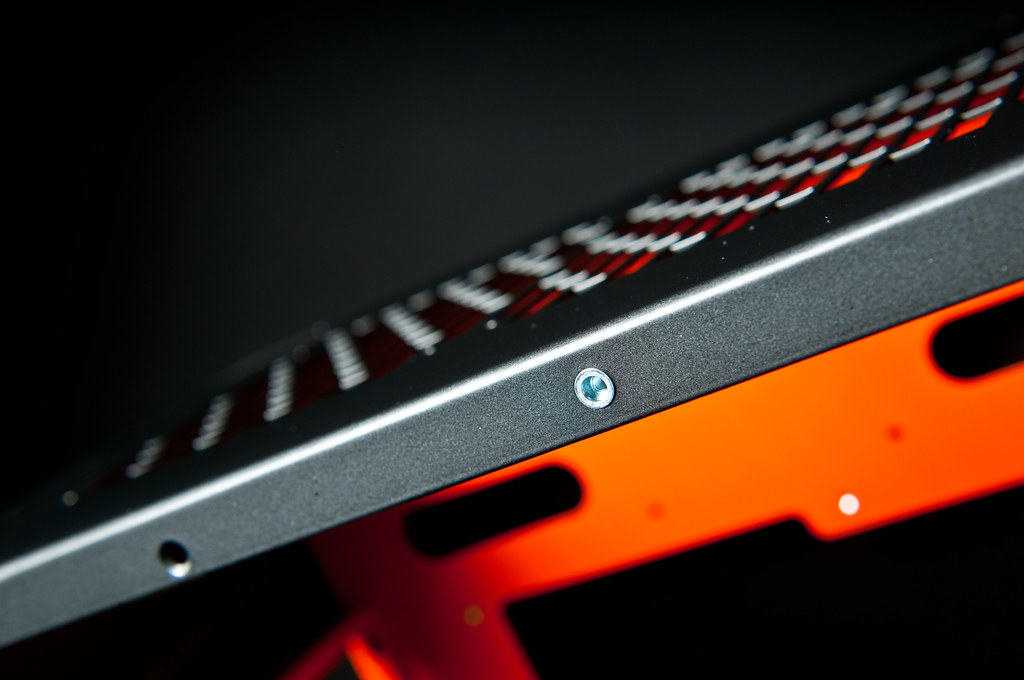
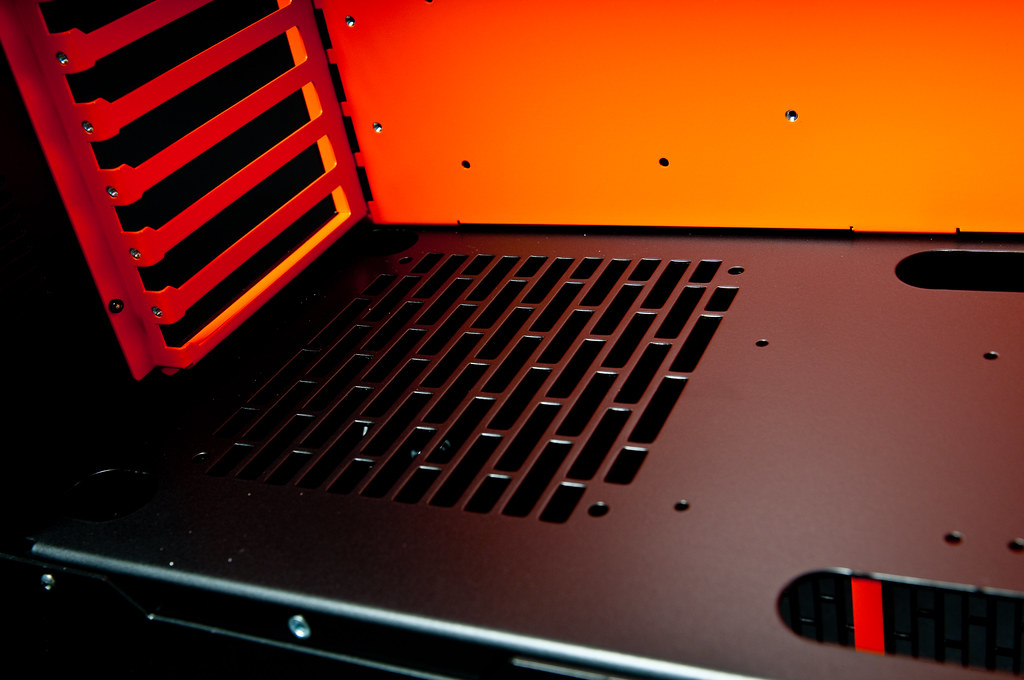
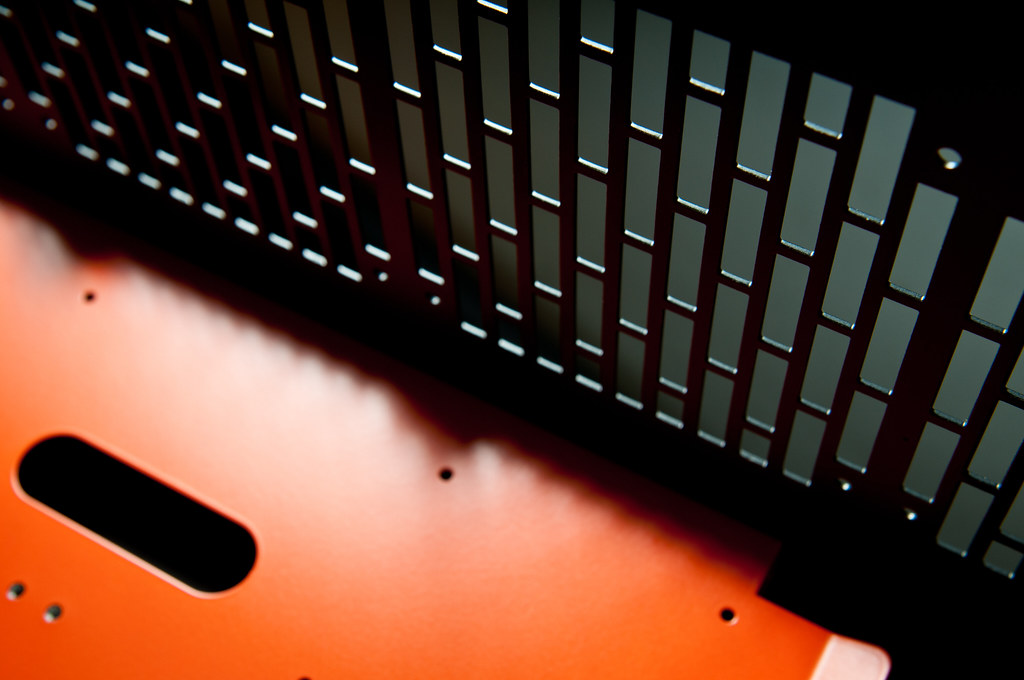
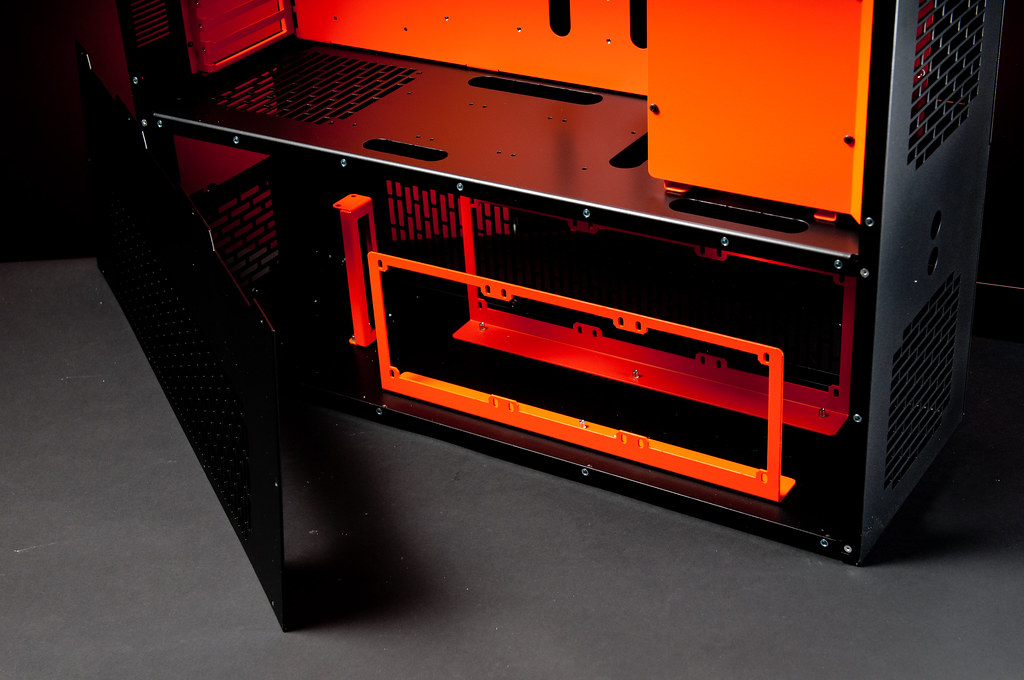
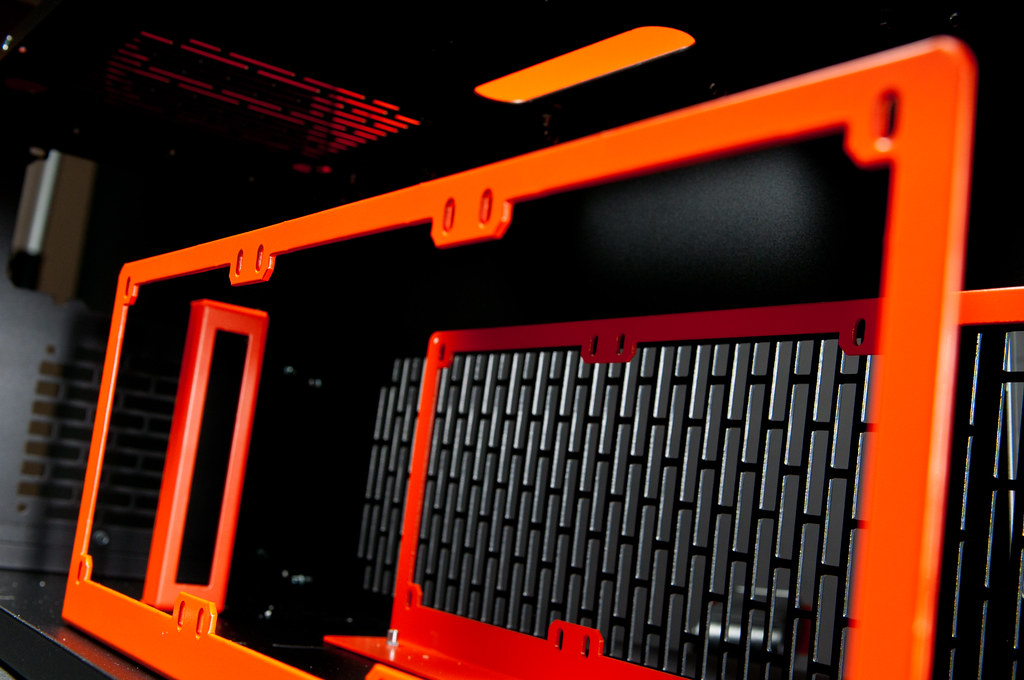
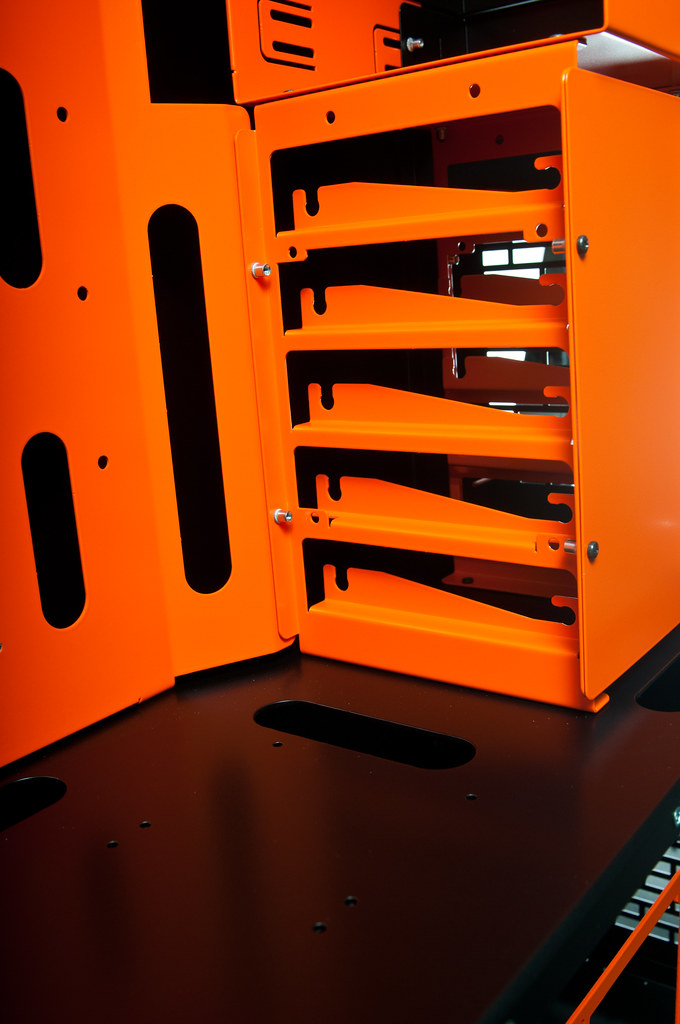
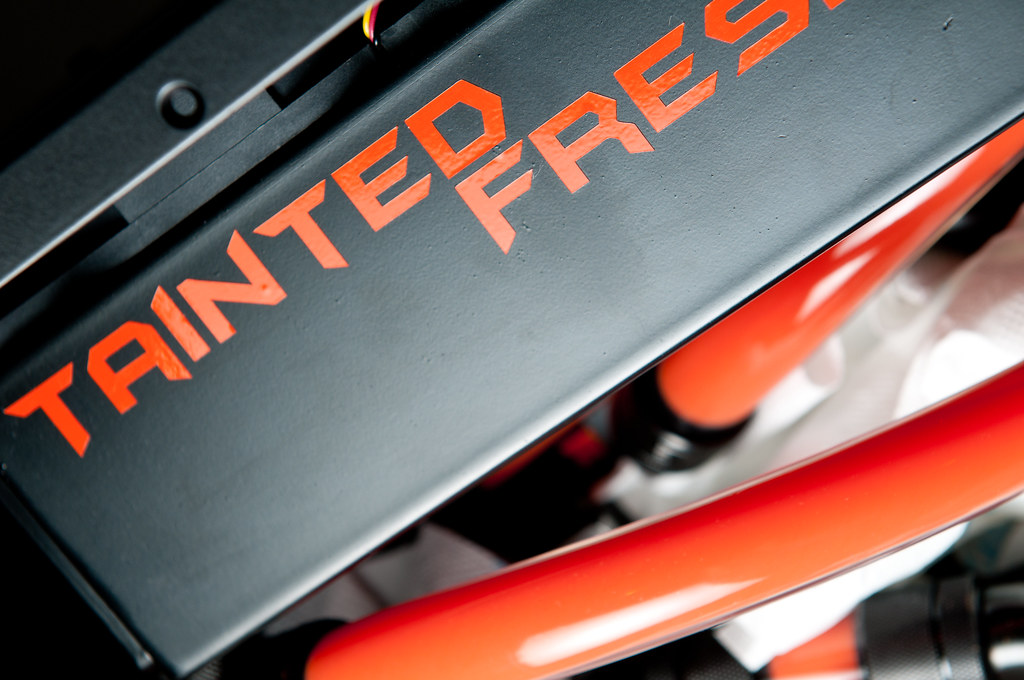
Case: LD PC-V8 Black/Orange
The Cooling:
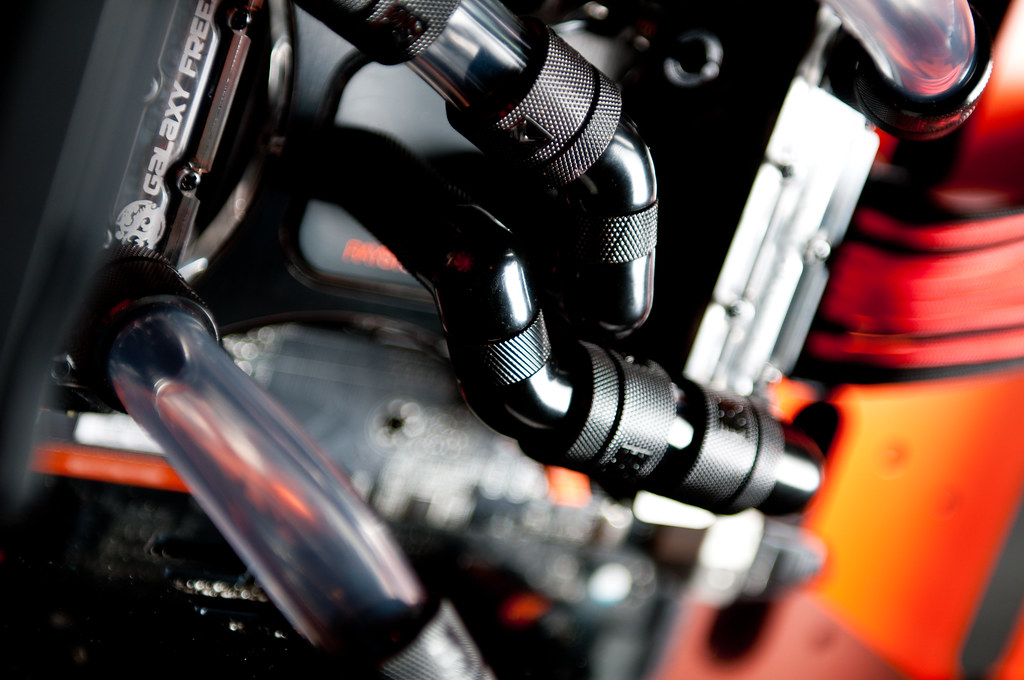
2X Koolance 30 FPI 120.4
1X Koolance 30 FPI 120.3
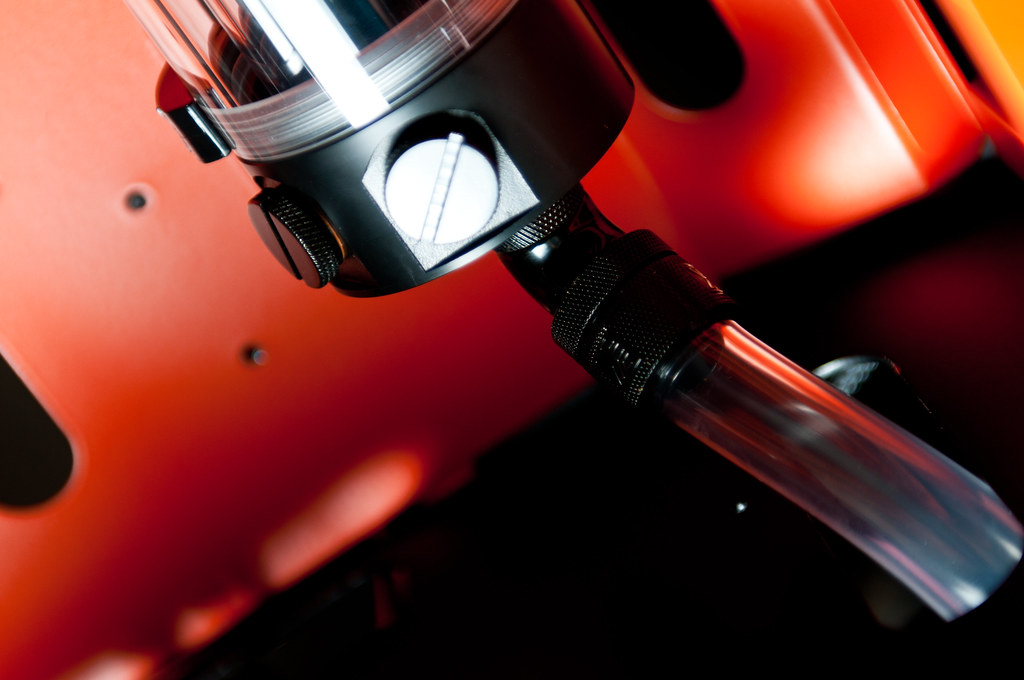
2X Laing DDC Ultra
EK Dual Laing Top
2X Bitspower Dual Ram Blocks
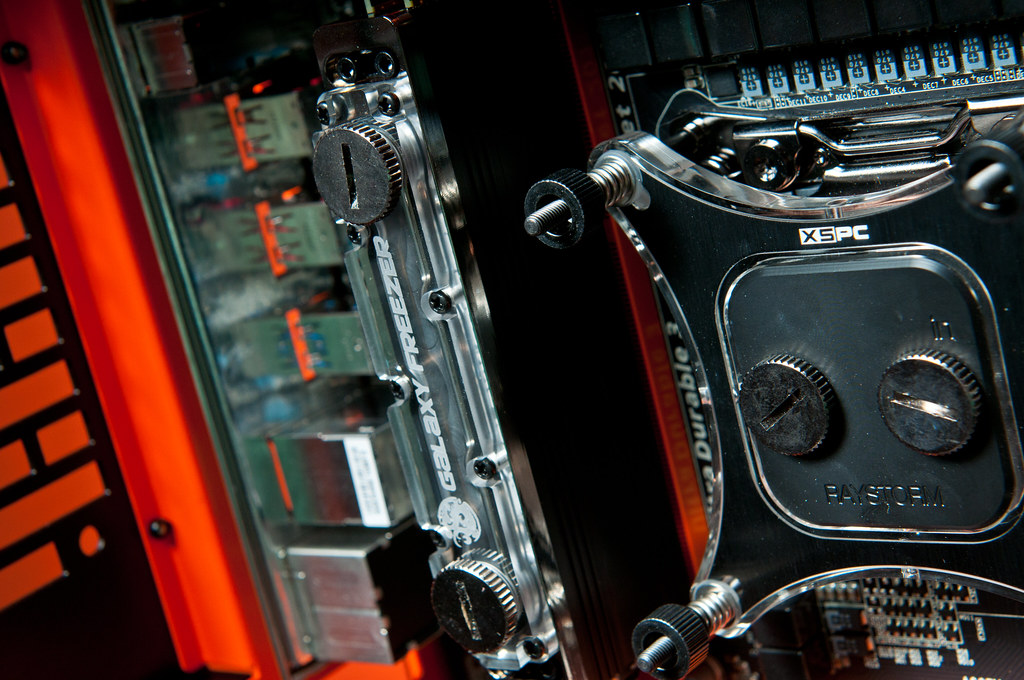
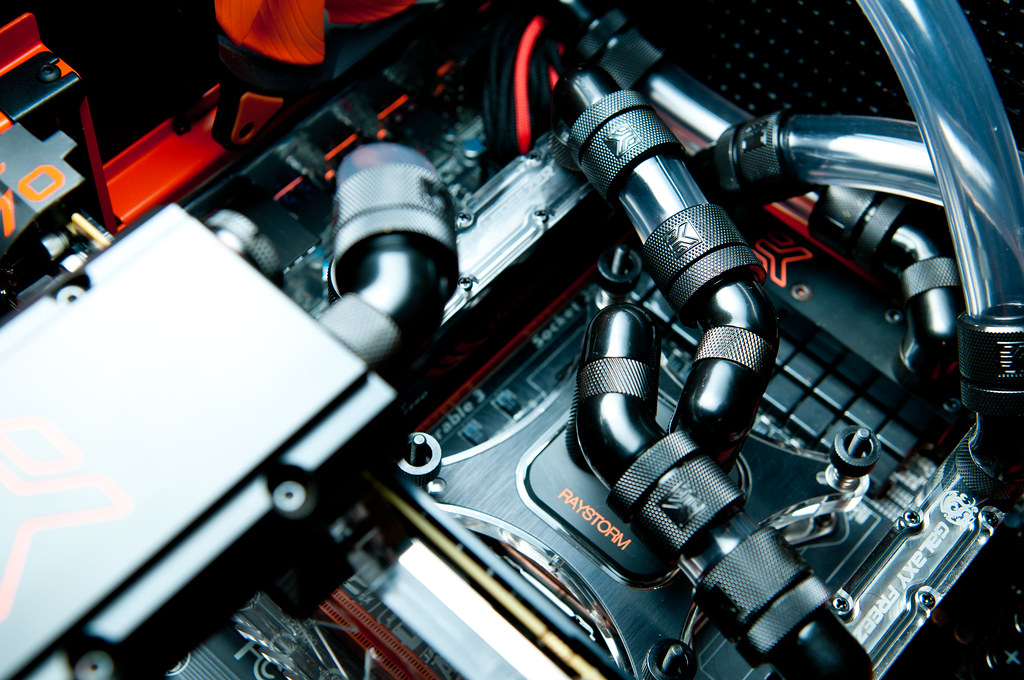
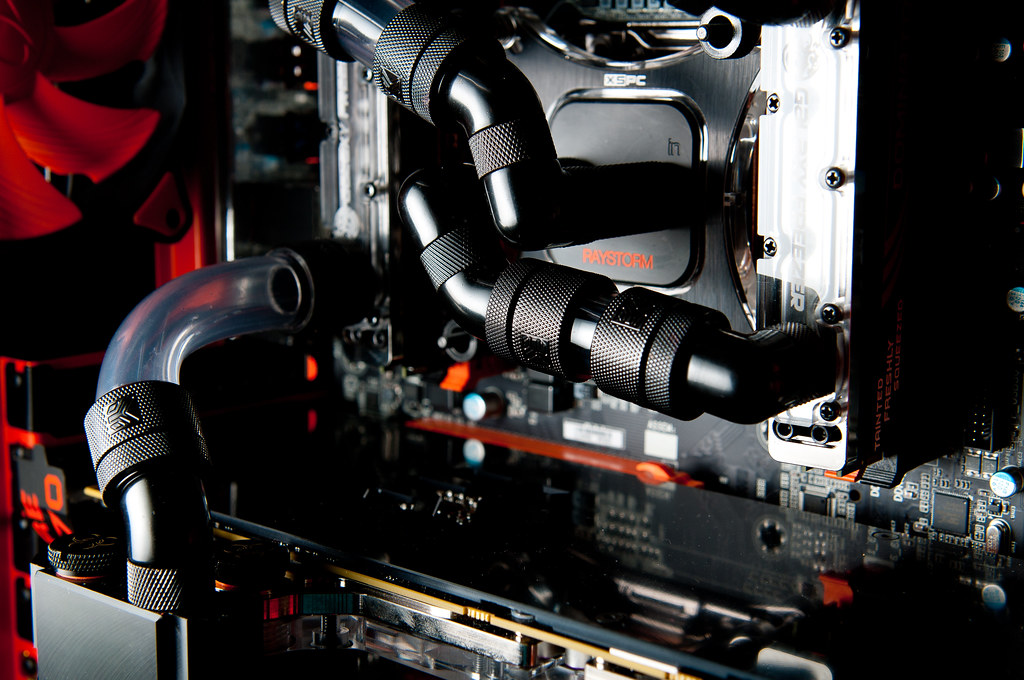
EK Block for X79 UD7
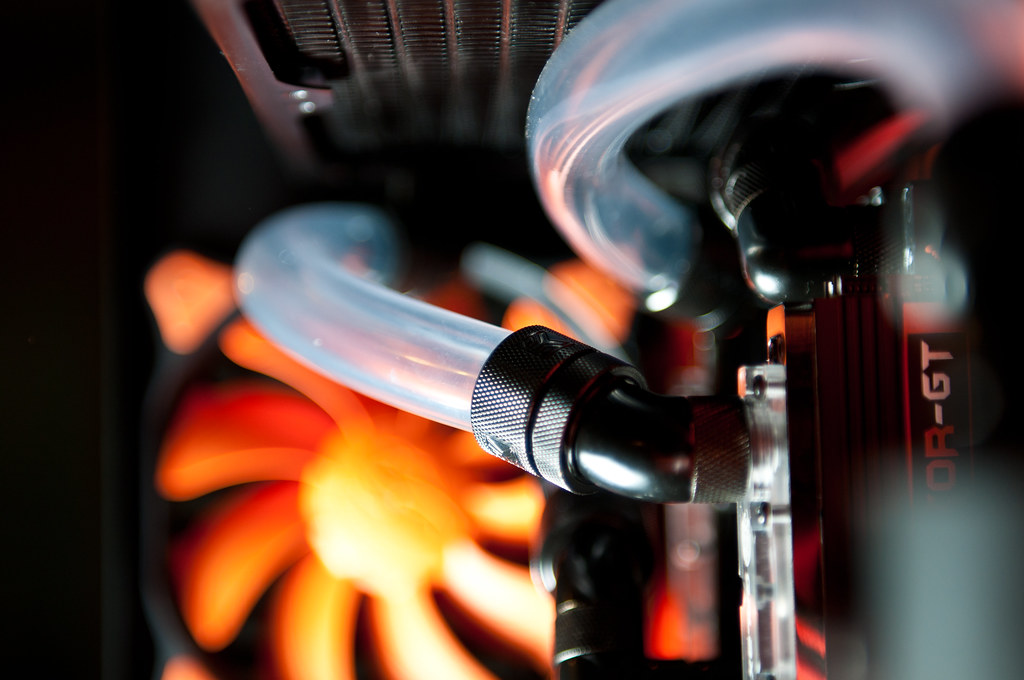
2X EK FC 6970 Nickel
XSPC Rasa CPU Block
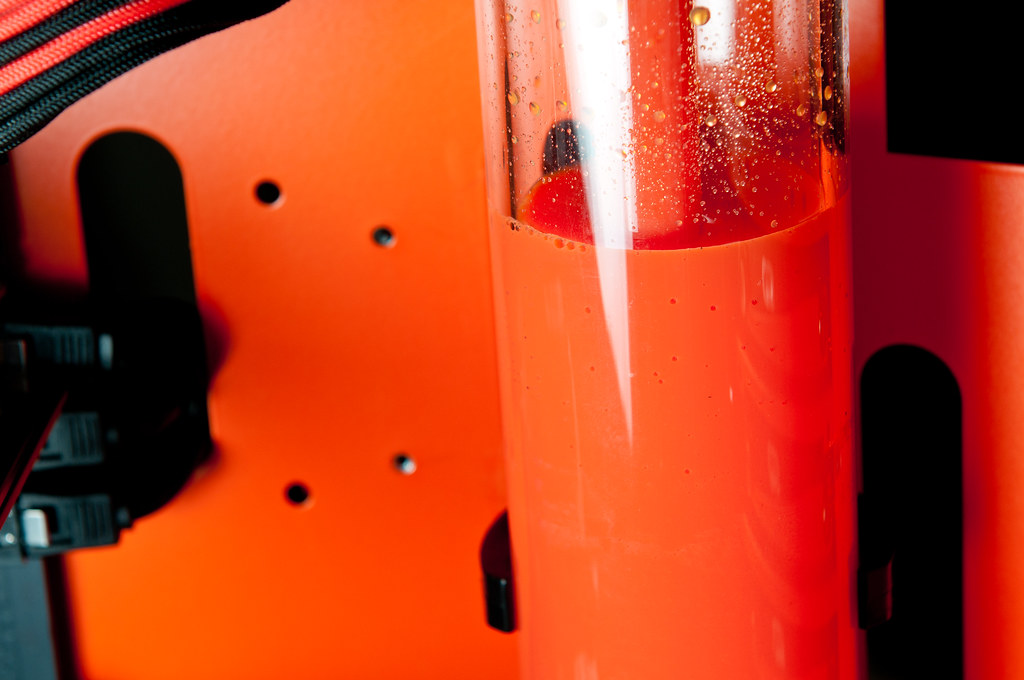
80mm Koolance Cylinder Reservoir
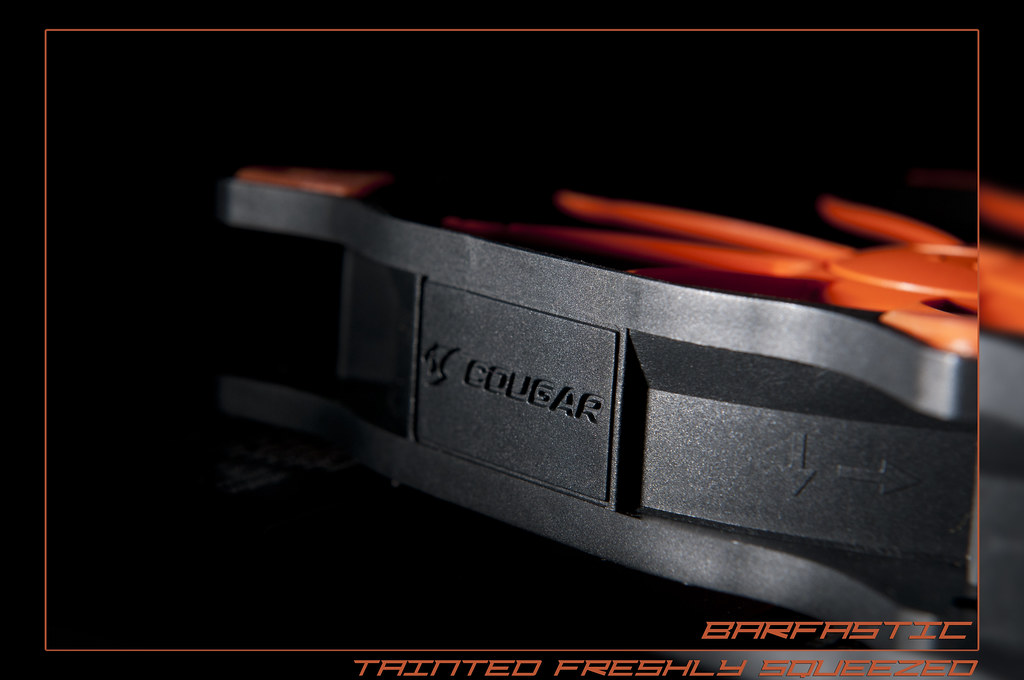
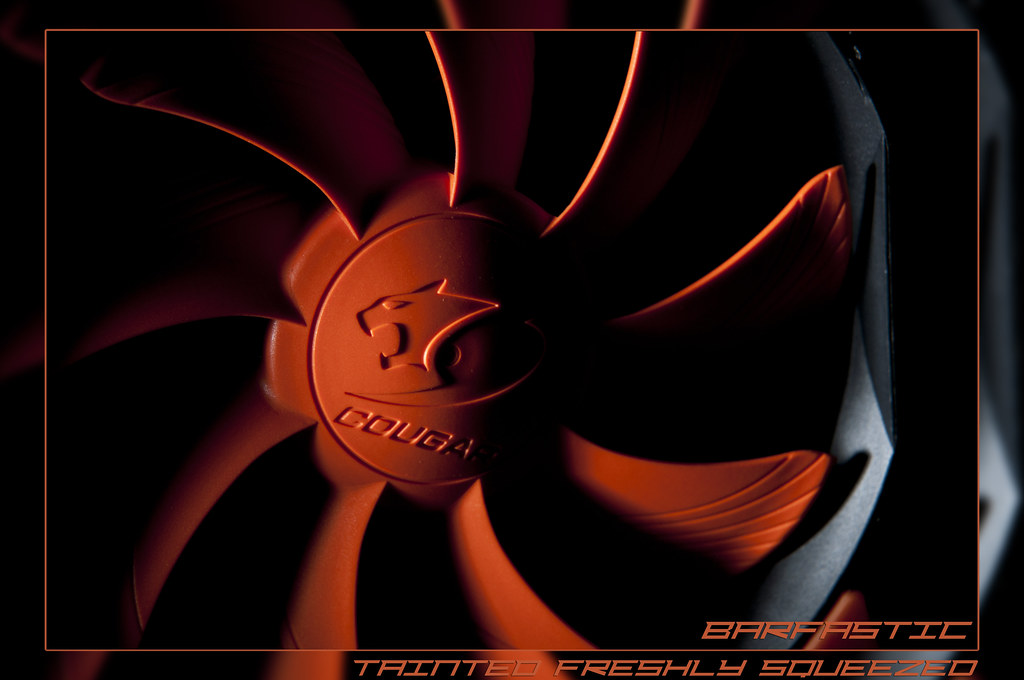
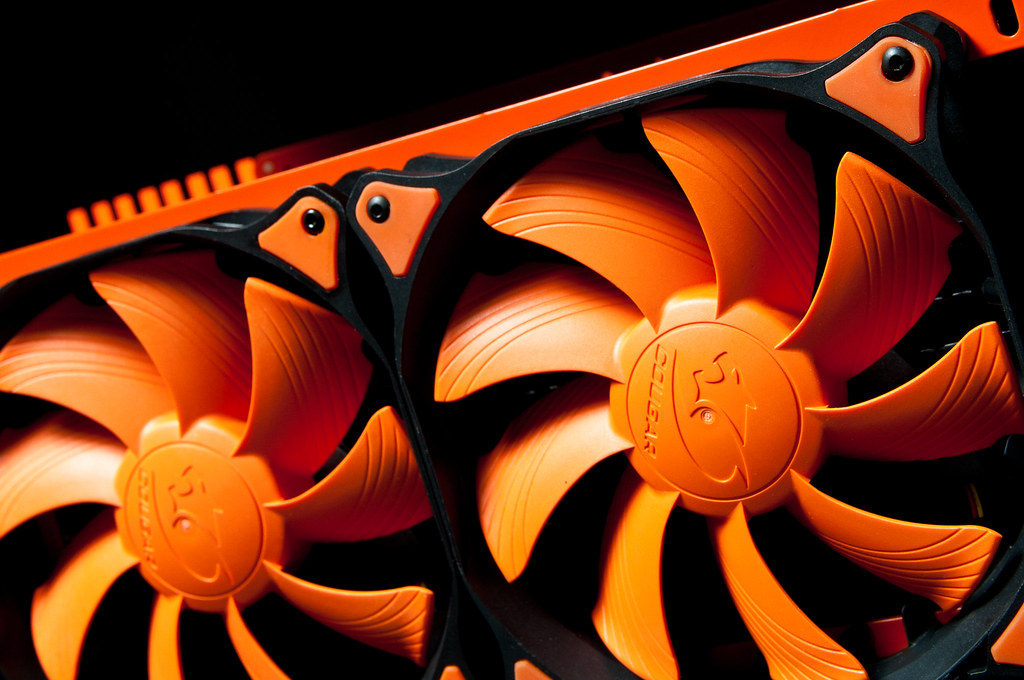
Cougar 120mm Fans
Enzotech (1/2 - 3/4) Compression
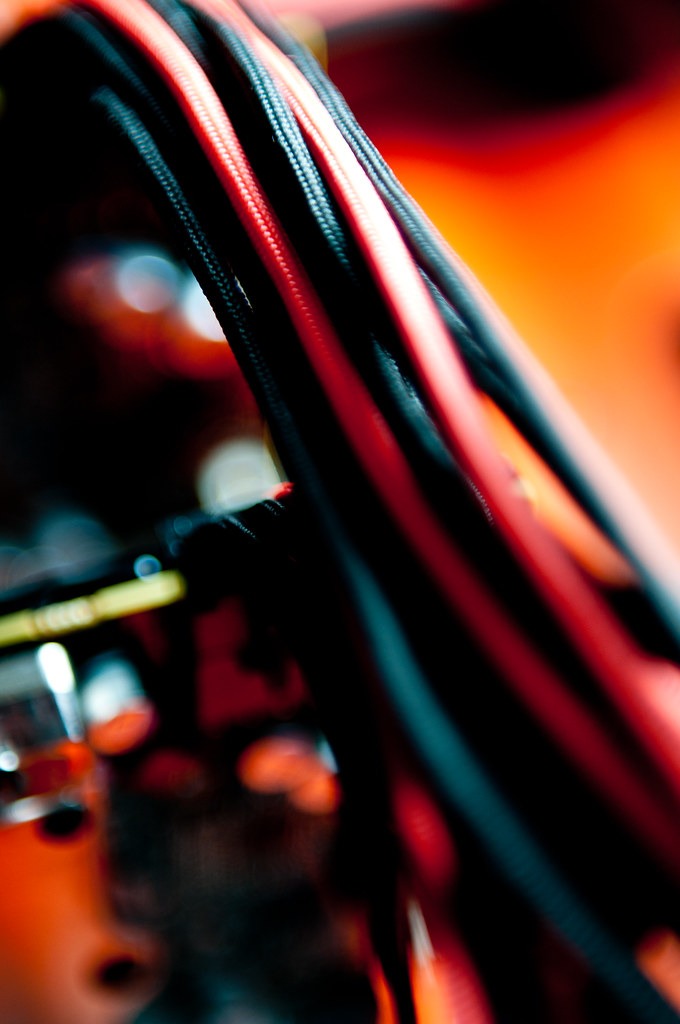
Tygon Tubing
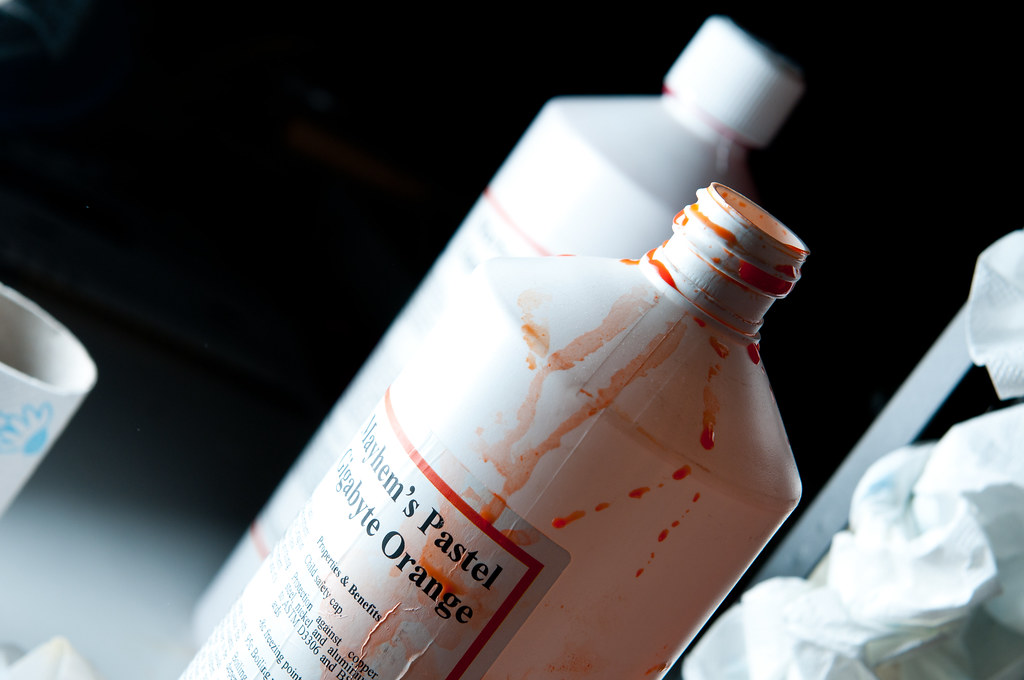
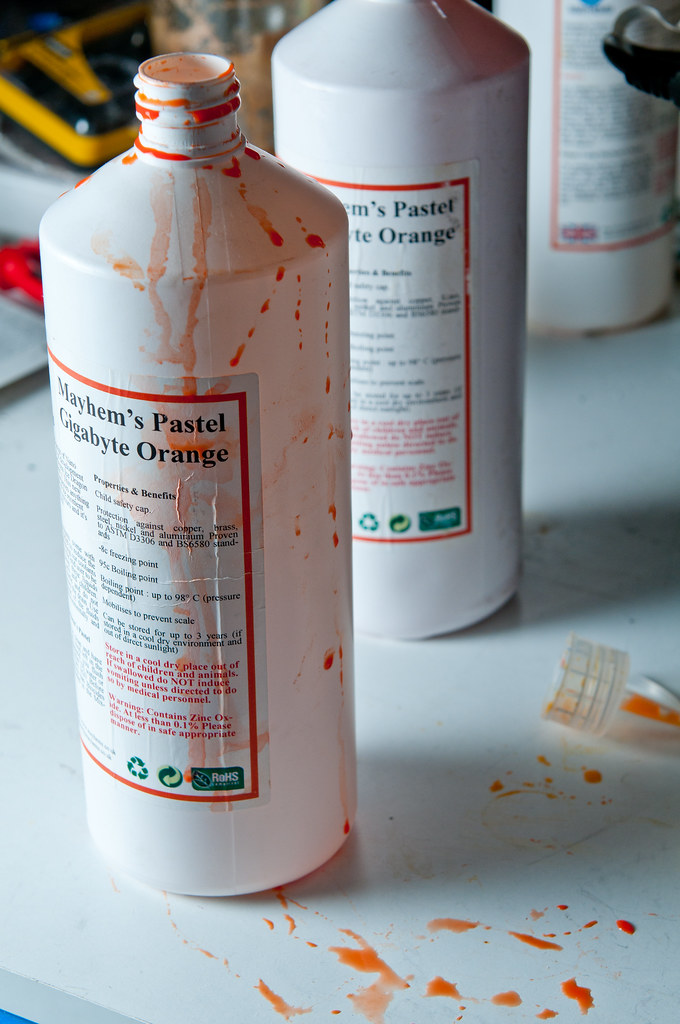
Mayhems Orange Pastel Liquid
So may i present to you.... A few pictures of the star of this build.
The board is an absolute BEAUTY:hail:.
Until next time
Happy Modding!


 Reply With Quote


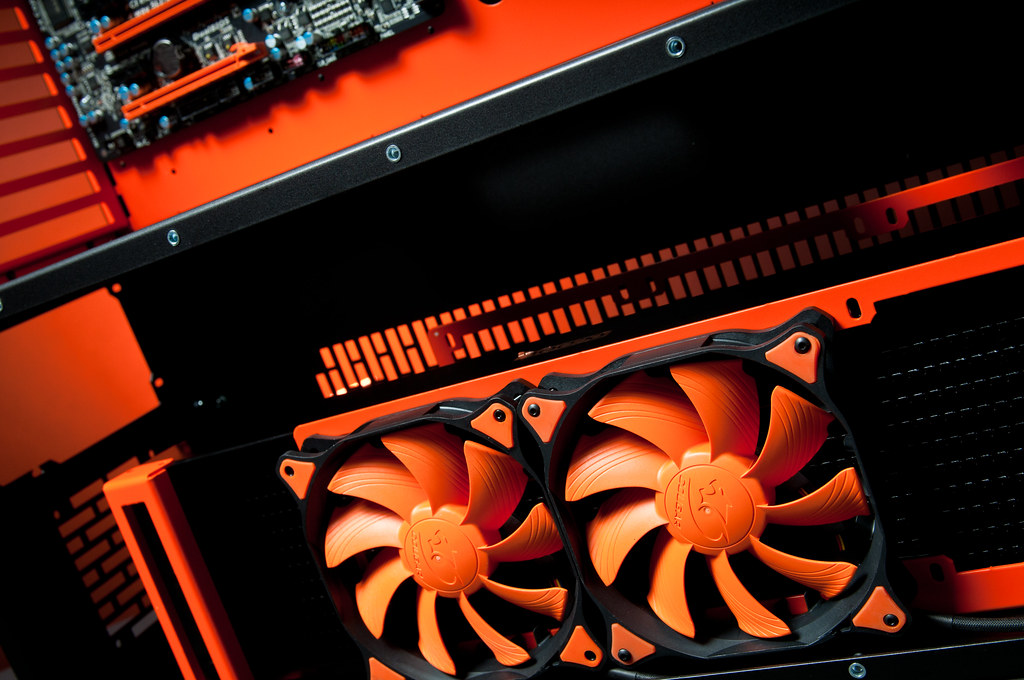

 no worries though, installed the fans and the rad...


Bookmarks