-
Project : Evolution : TJ07 : By Avathar77
So I have finally started to make a project log!
Before I start with this build let me show you what I had before.
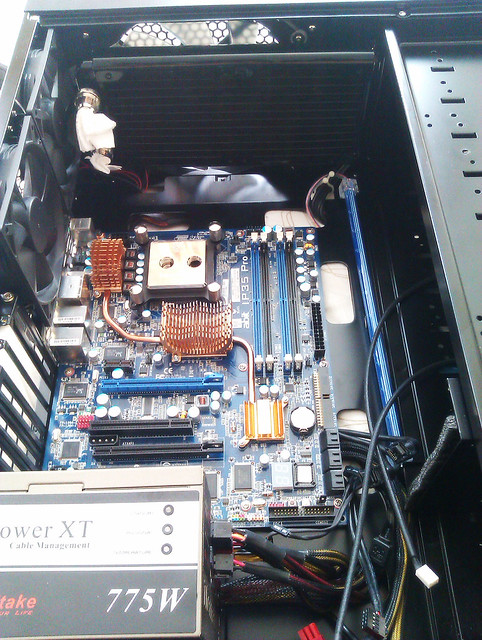
CPU : Intel Q6600 @ 3.2GHz
Motherboard : Gigabyte GA P35C DS3R
RAM : 4GB OCZ Reaper PC2 8500 @ 1066MHz
GPU : Gigabyte GTX460 1GB OC
HDD : Samsung F3 1TB
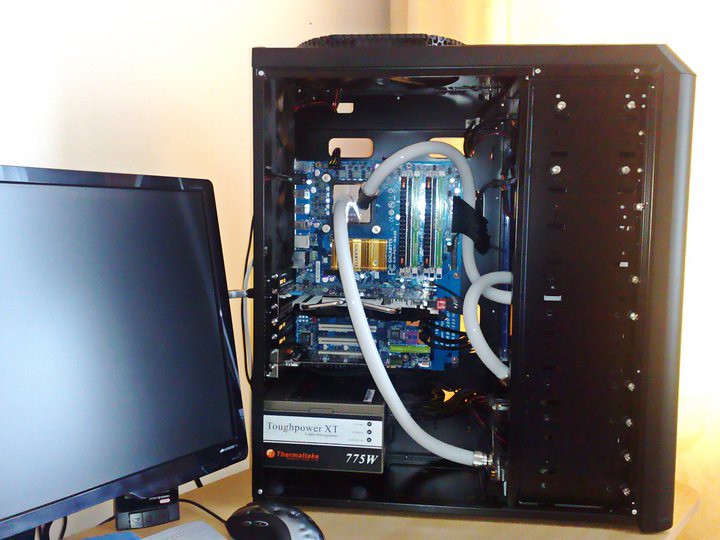
PSU : Themaltake Toughpower XT 775W Modular
DVD RW : Sony Ad7241S LightScribe
Case : Antec 1200
Monitor : Benq G2420HDBL 24" LED
Keyboard : Advend Wireless Keyboard
Mouse : Logitech MX-518
Watercooling components
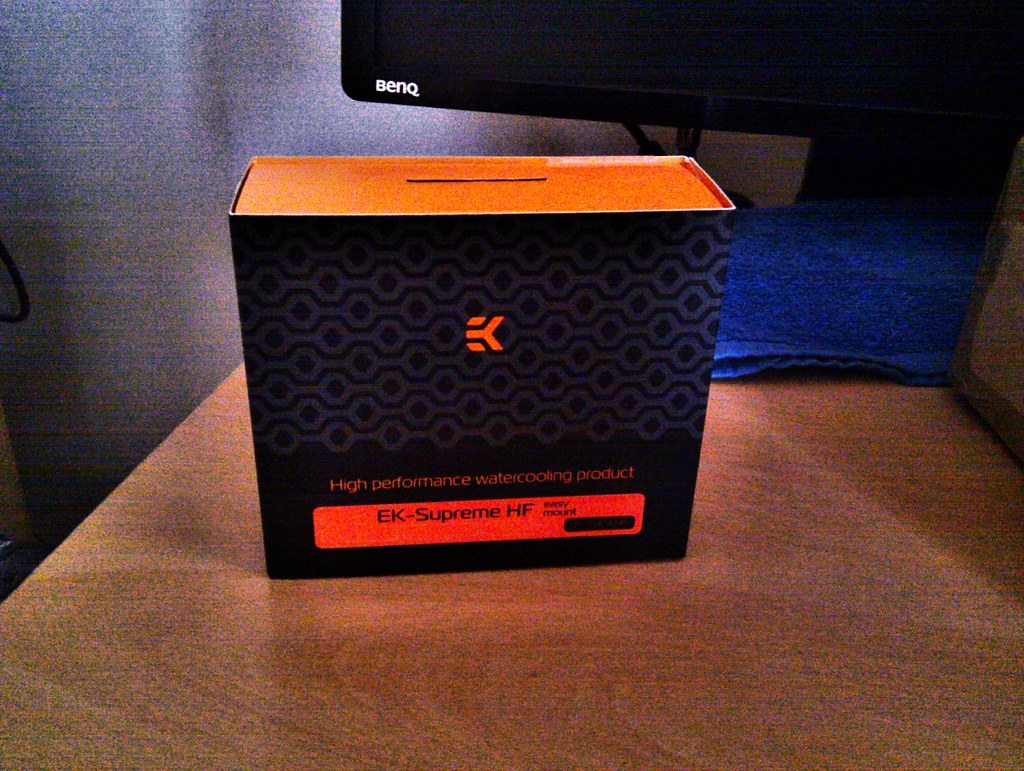
CPU block : EK Supreme HF Full Nickel
Rad : XSPC RS Series 240mm Dual Radiator : RS240
Pump : Laing DDC-1+ Ultra Pump 600 L/hr 18W (MCP355) : DDC-1+ T
Pump top/Res : XSPC Laing DDC 200ml Reservoir Pump Top : Plexi
Tubes : Masterkleer 1/2" ID - 3/4" OD (13-19mm) Flexible Tubing : White / UV Blue 3m
Fans : Arctic Cooling Arctic F12 3-pin 120mm High Performance Case Fan x 3
Fittings : 1/2" ID - 3/4" OD Silver Compression Fittings x 6
Fittings : 1/4" Thread 45° Rotary Adapter with 1/4" Inner Thread : Silver
Petra's Tech PT Nuke Concentrated Biocide 10ml
Distilled water 5l(£4.99 from local chemist)
After that, did some minor changes to hardware.
Changed the motherboard, upgraded GPU
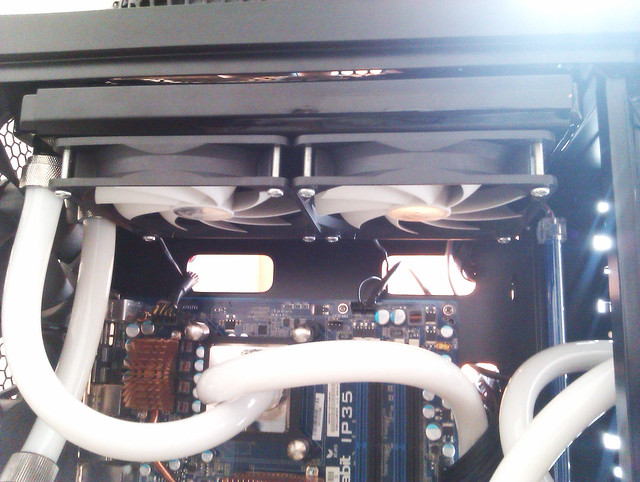
I've always wanted an Abit IP35Pro board  so even if they were out of business, when I saw this board in the bay I just couldn't resist it!
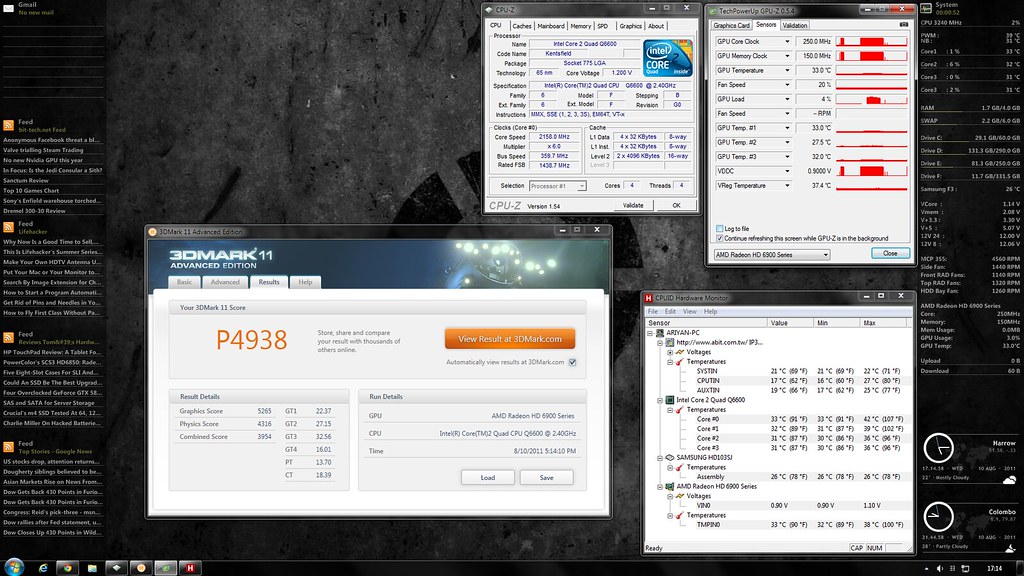
Sold my HD5770 and GTX460 and went for a HD6950.
Unlocked and overclocked it!
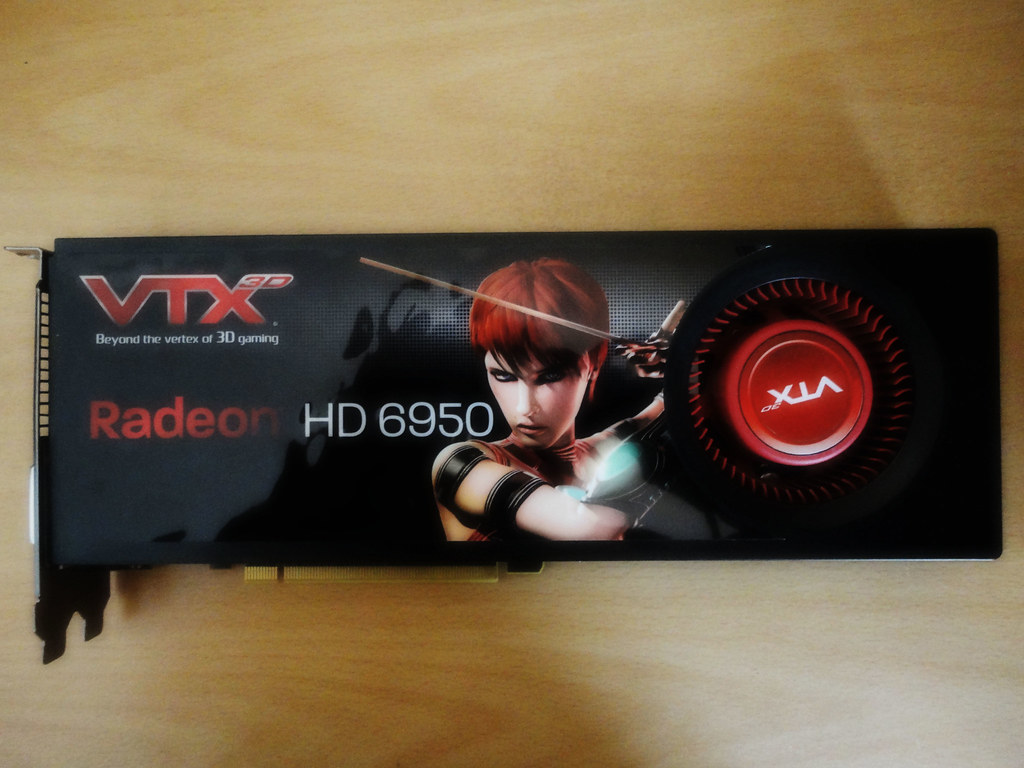
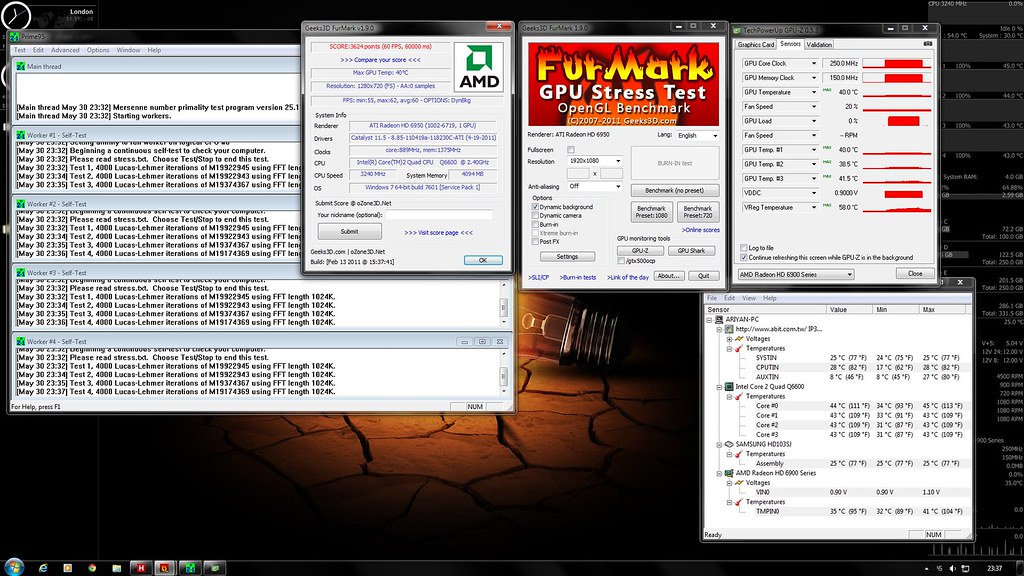
But then I saw the temperatures of the 6950! at idle it was sitting at 50C and at load with OCCT or Furmark it was reaching 80C - 85C 
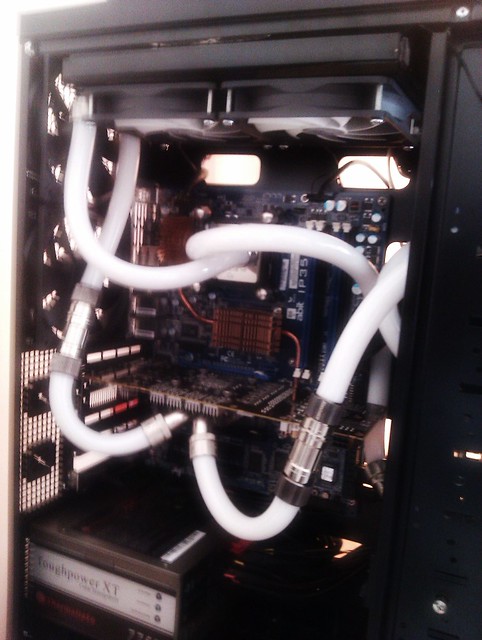
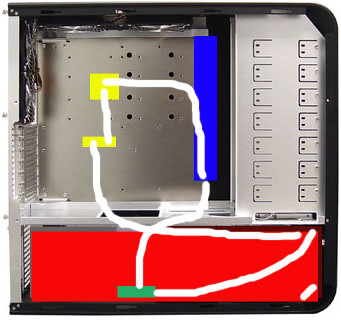
Did some research on adding a second RAD to the Antec 1200, there were 2 options.
1. Add 240mm RAD to the read fans
2. Add 240mm slim rad to the top
External RADs were out of the question as I wanted every thing inside the case.
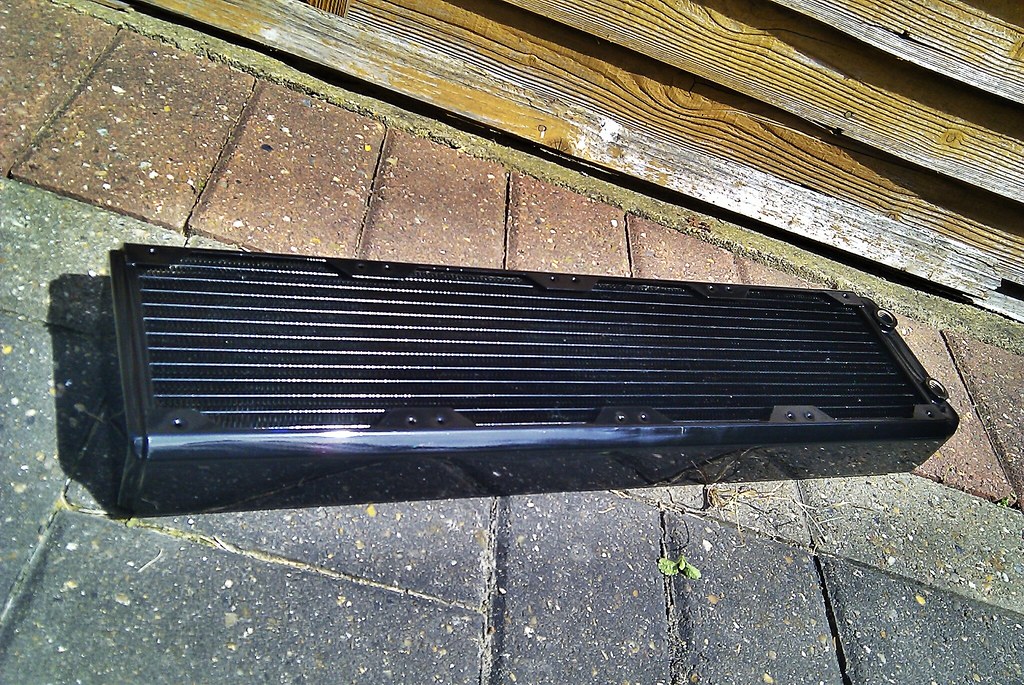
Found a Hardware Labs GT240 Stealth RAD for a bargain in the bay and garbed it!
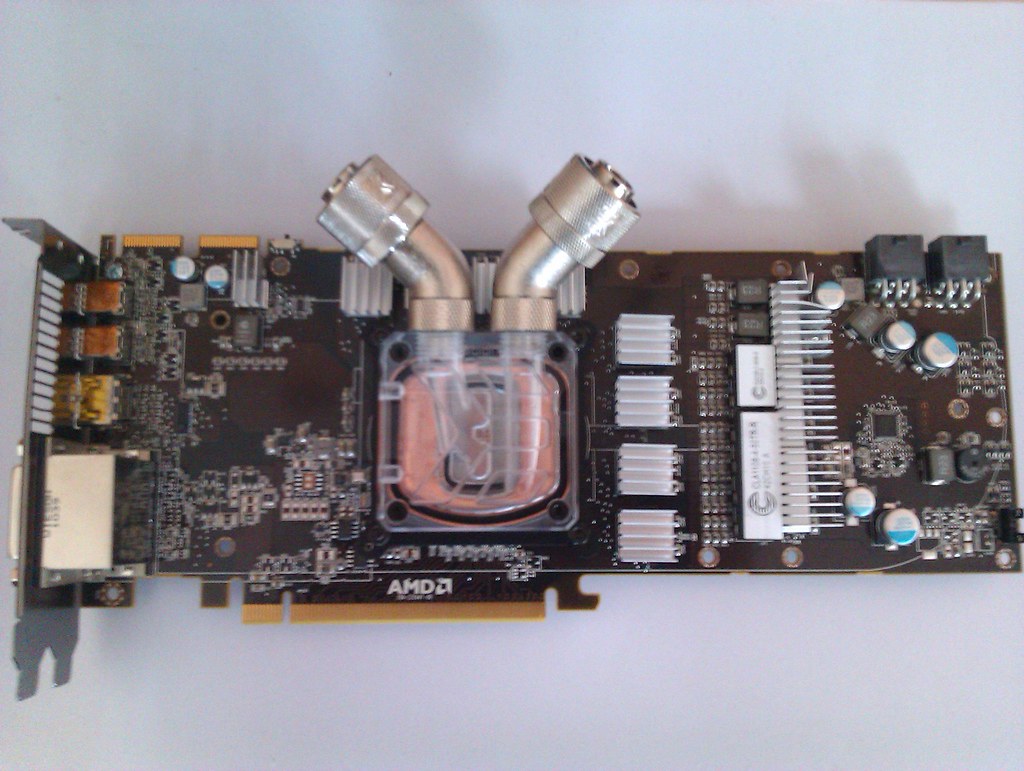
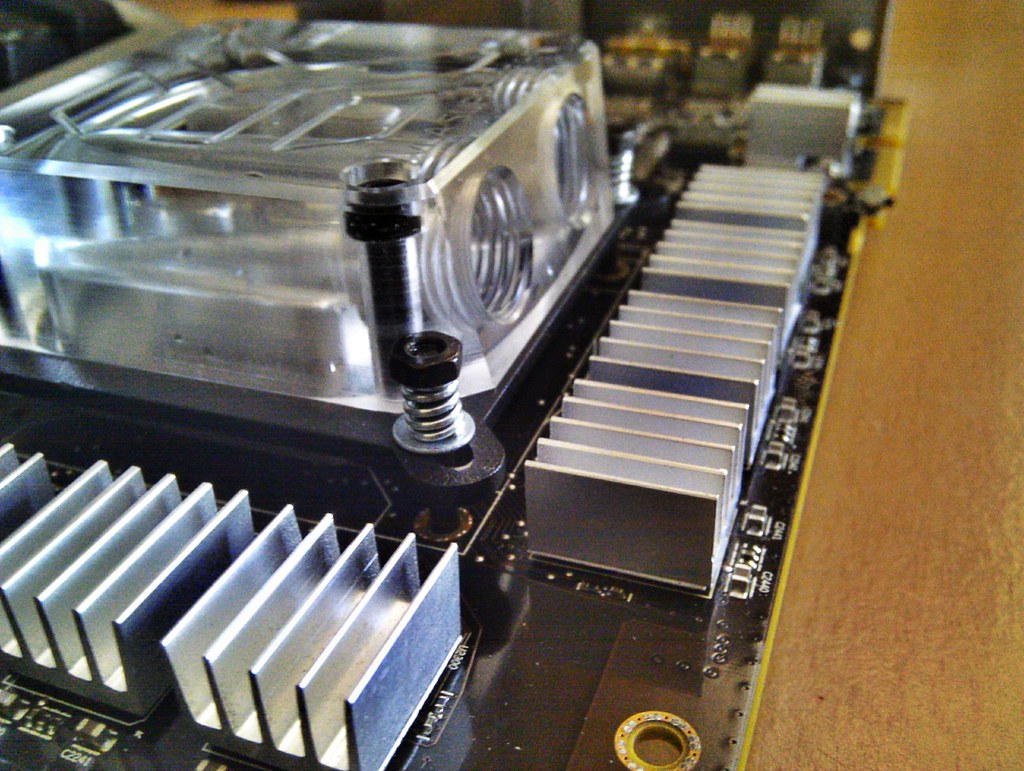
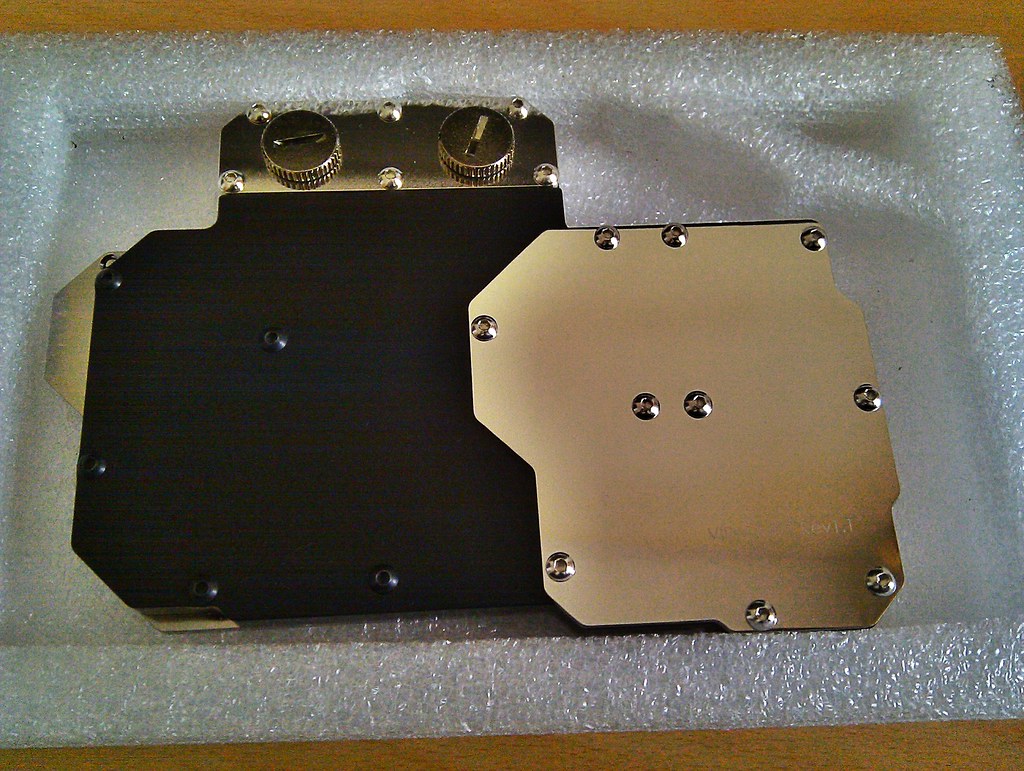
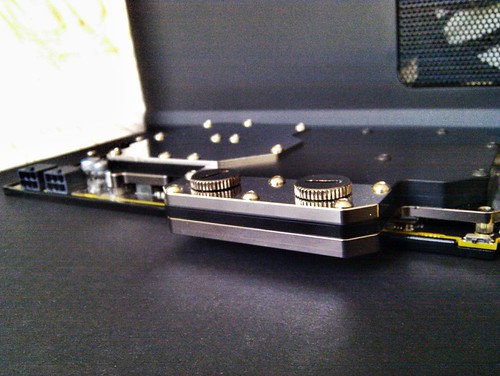
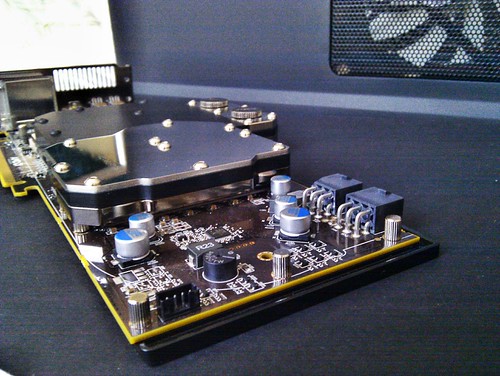
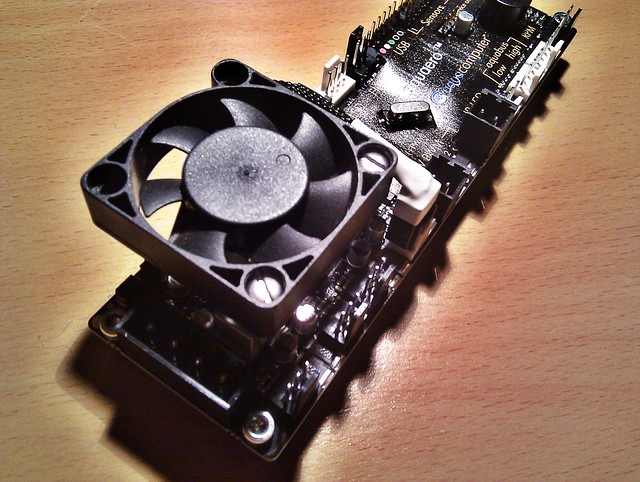
As for the GPU block, I got a new EK VGA Supreme HF Core Only block

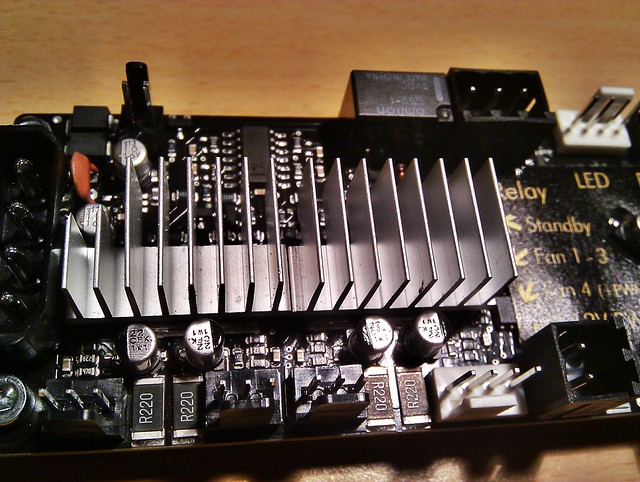
I was looking for some enzotech ram sinks but they were out of stock every where, so I found some aluminium heatsinks from my old Arctic Cooling Accelero twin Turbo cooler! Just had to use some thermal tape and there you go!
Had to bend few fins from the VRM sinks as they were touching a capacitor and one of the heat sinks had to be cut off to fit to the single VRM near the top left side.
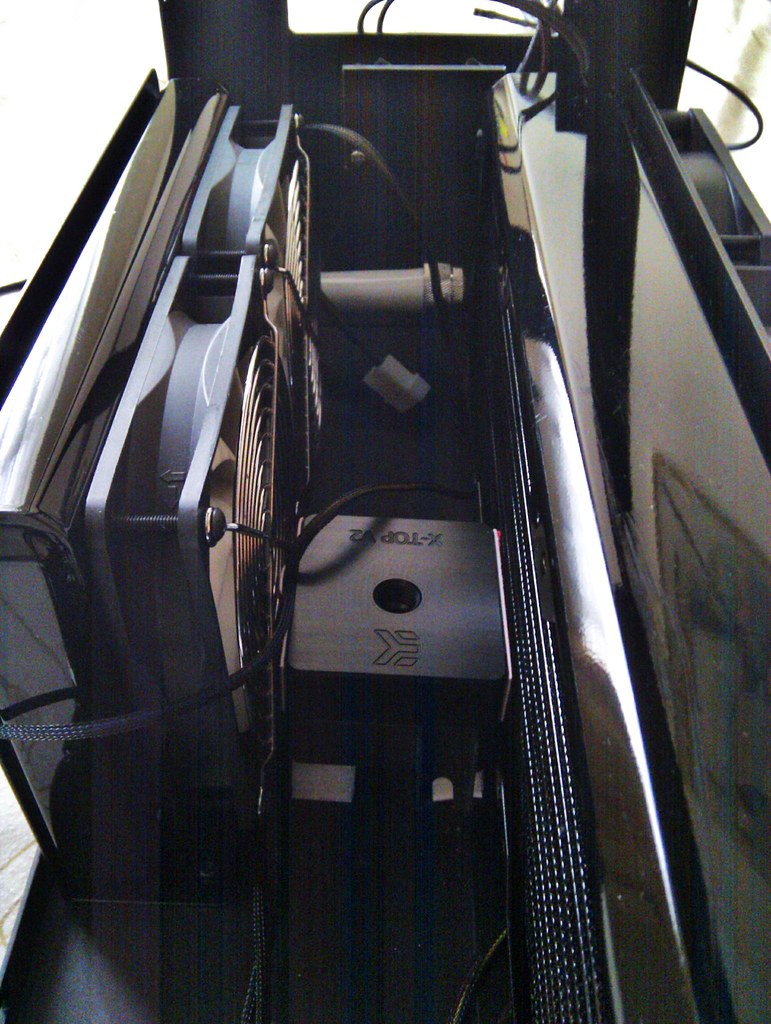
Fixed just 1 drive cage at the bottom 3x 5.25 slots, and fixed the watercooling platform which came with the Antec 1200 case as a support for the Pump/Res combo and RS240 RAD at the front of the case.
Got some new Noctua SFlex Fans for the RS240 too! They were sooo silent!
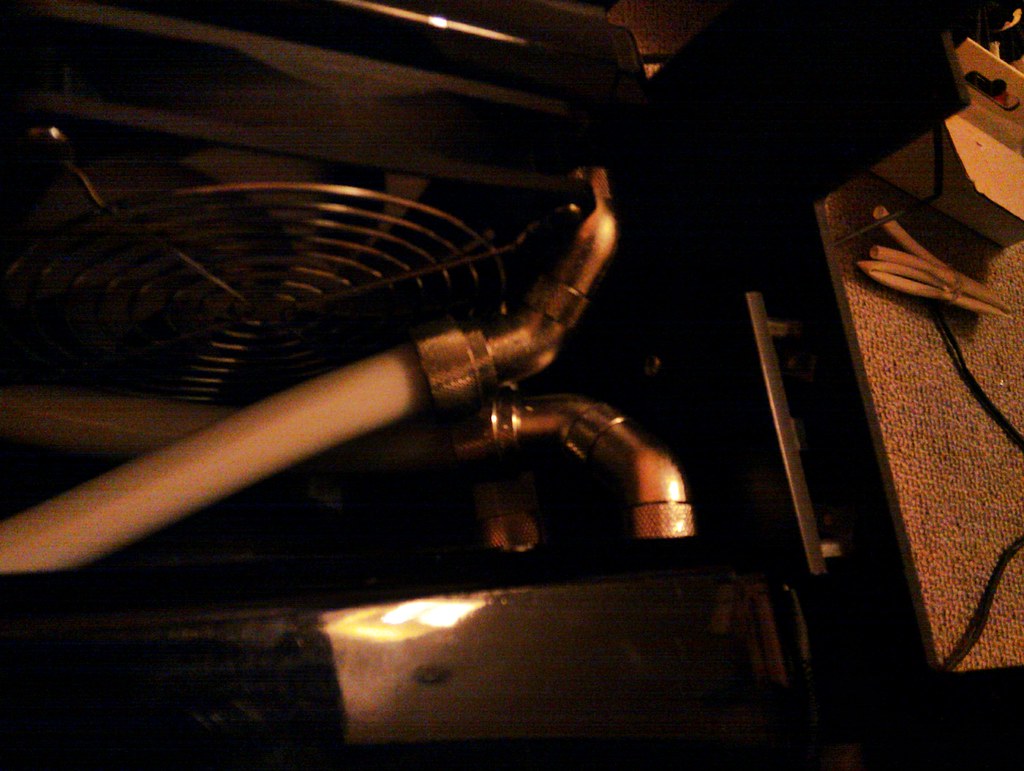
GT240 Stealth RAD went to the top as I needed more space to fit the F12 fans.
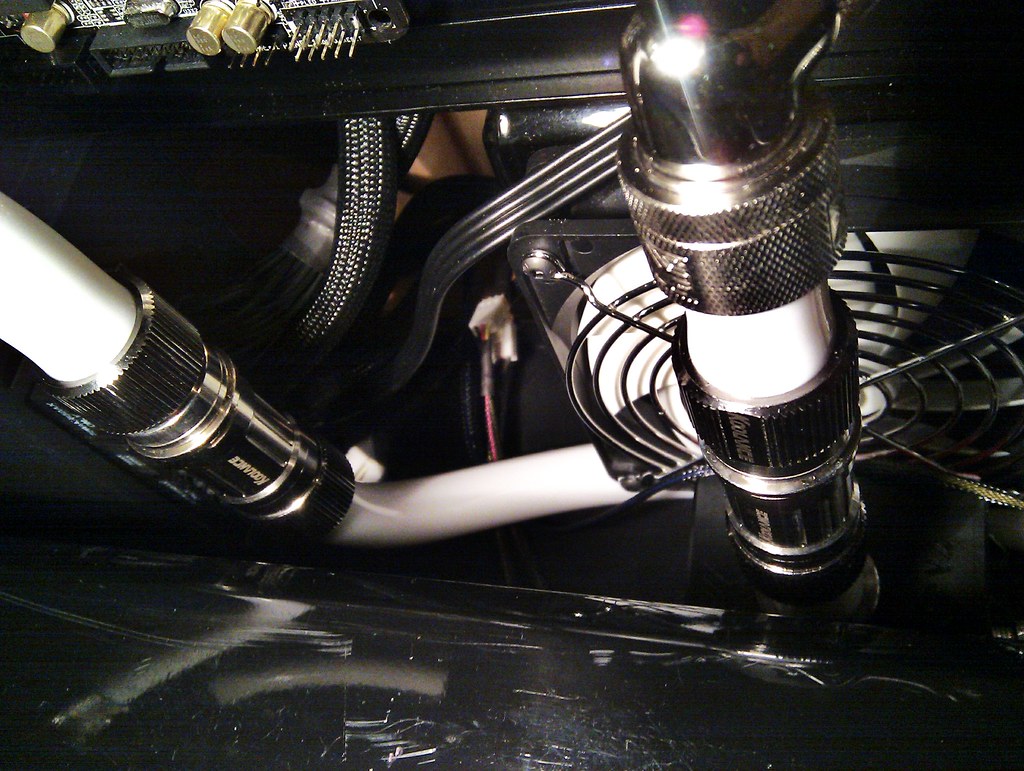
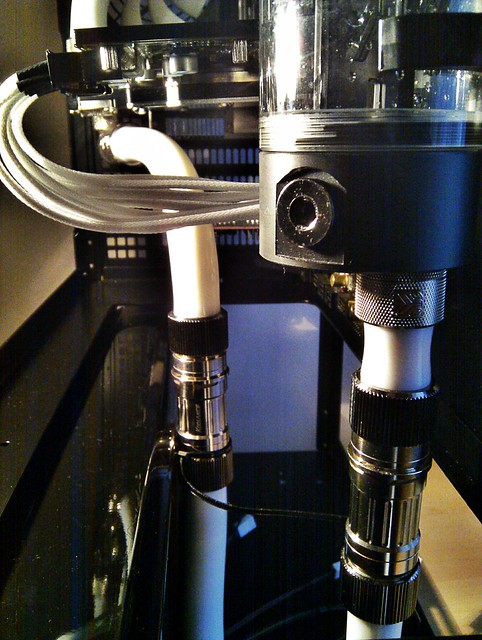
Also got some Koolance VL4 Quick Disconnects!
Put them in the loop so I can remove the GPU easily.
I usually change the GPU more frequently so I thought this would help! They helped when draining the loop as well.
Temps were very good!
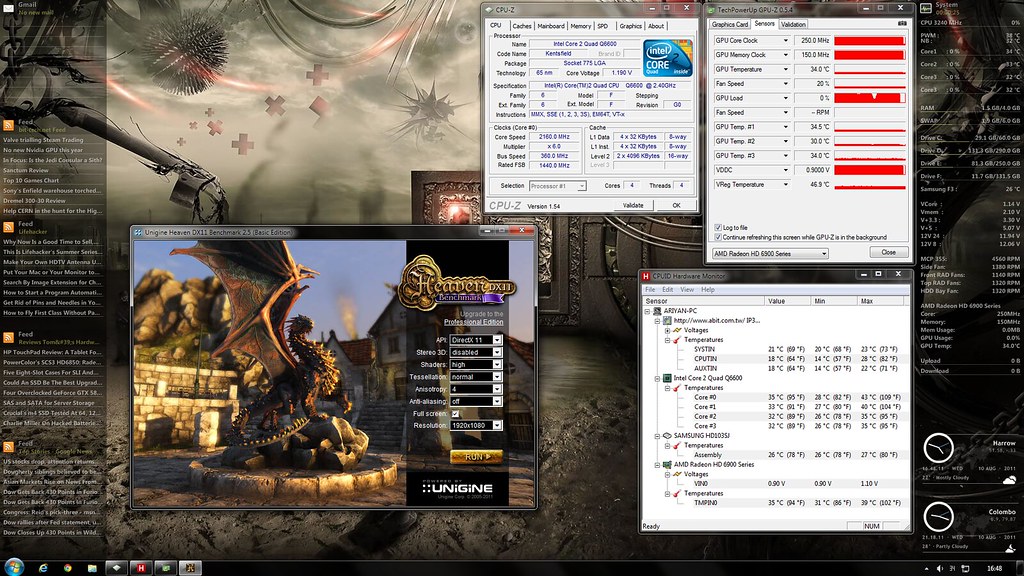

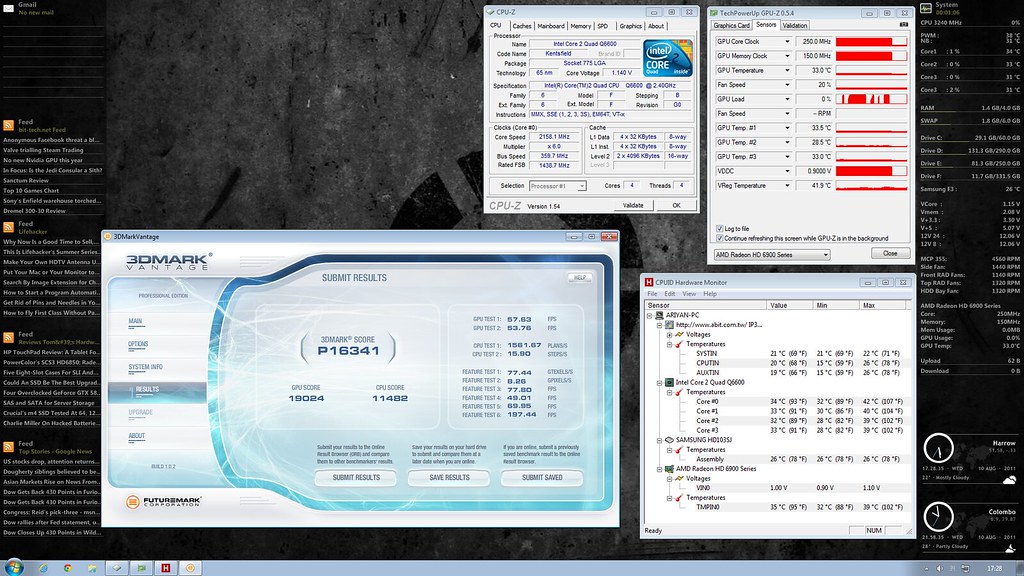
This was during the summer heat wave when my room temp was 24C-25C!
Ahhh those were good days
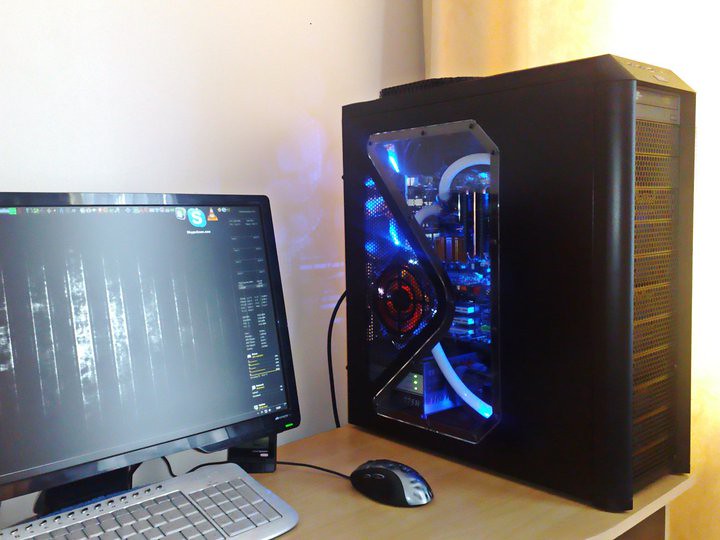
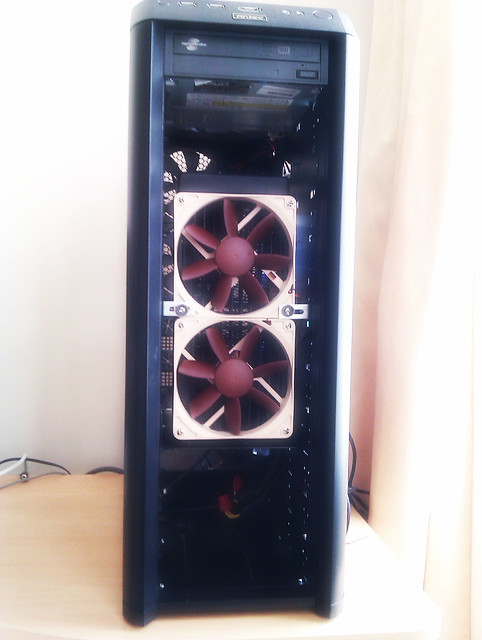
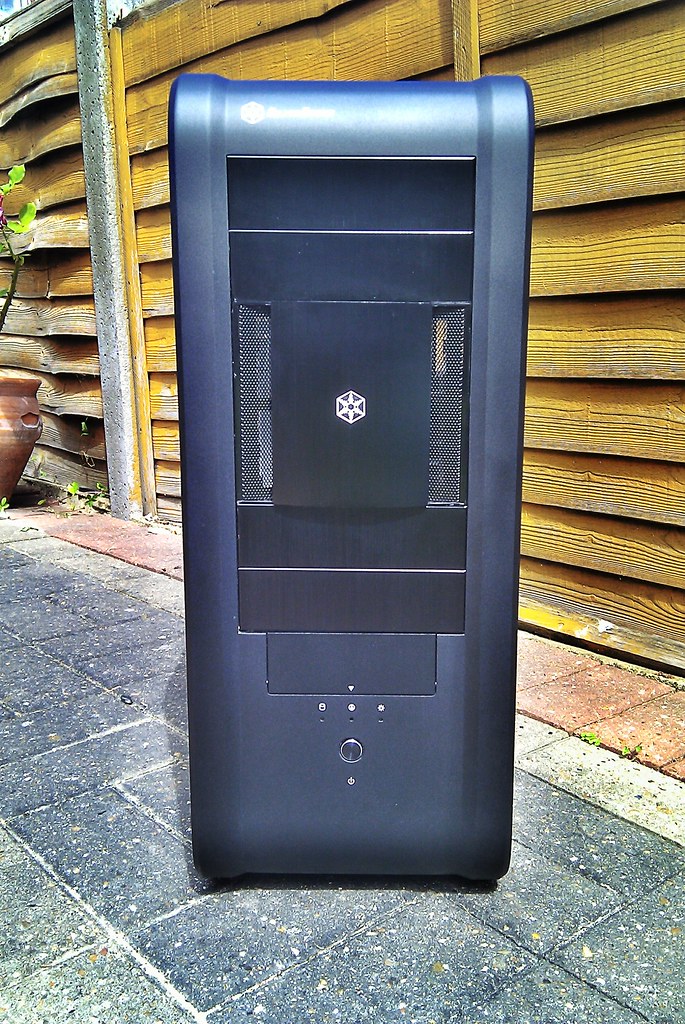
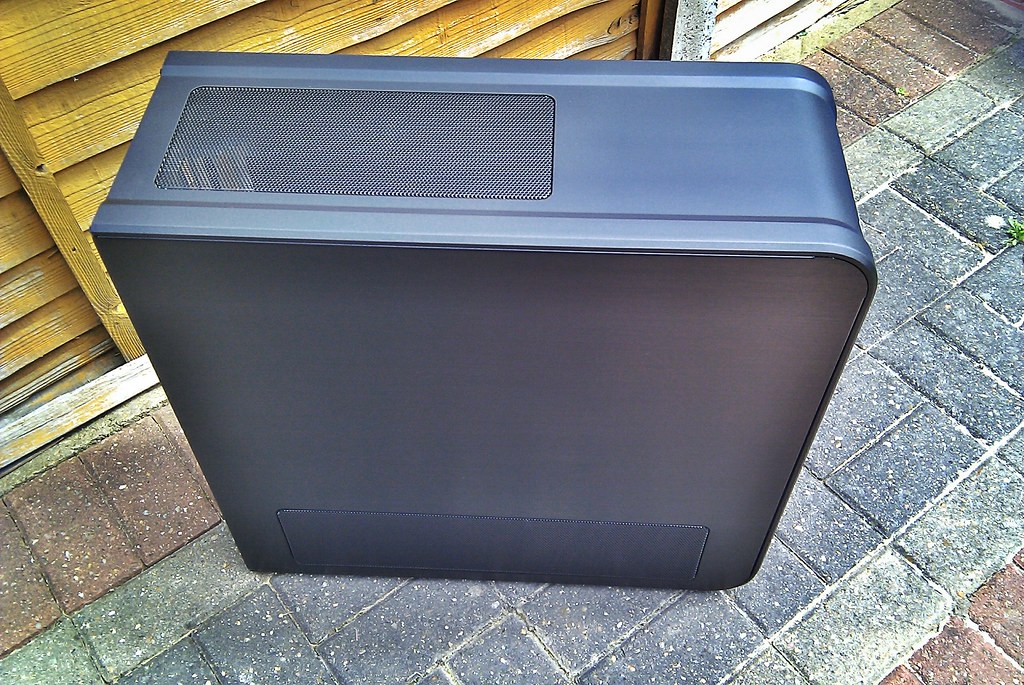
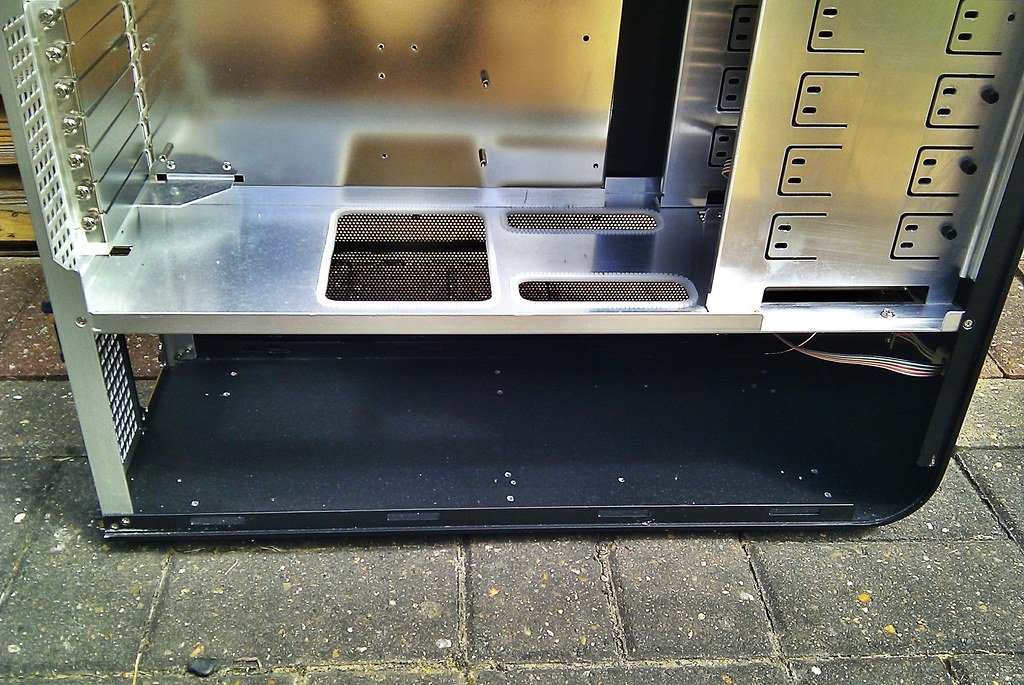
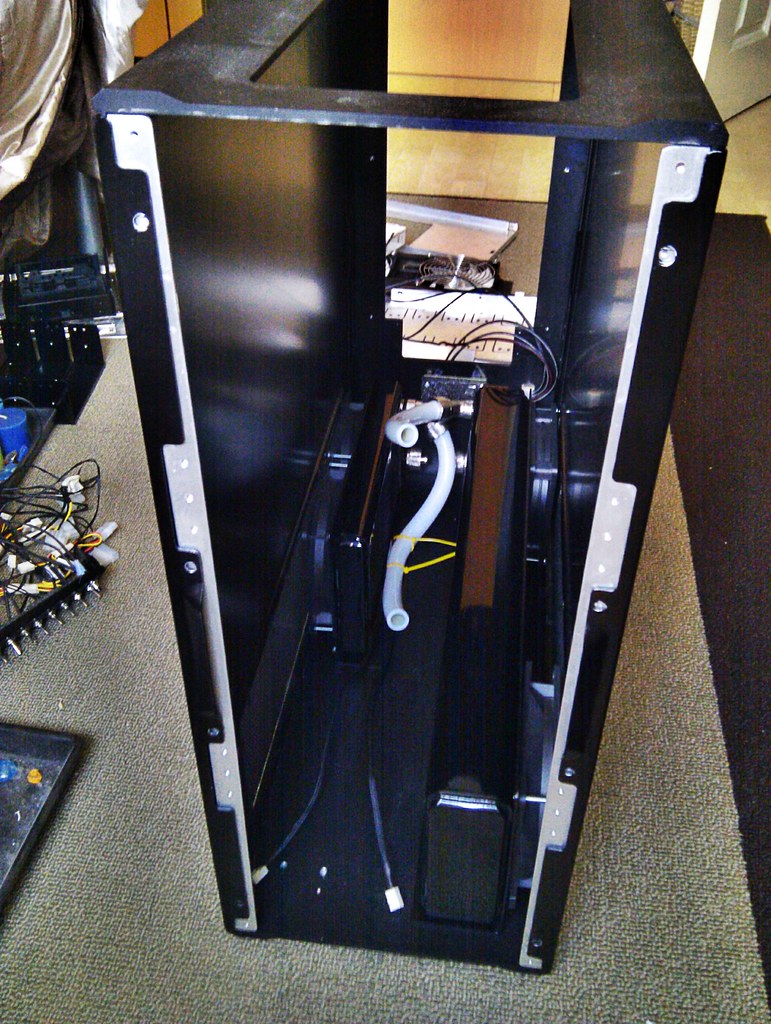
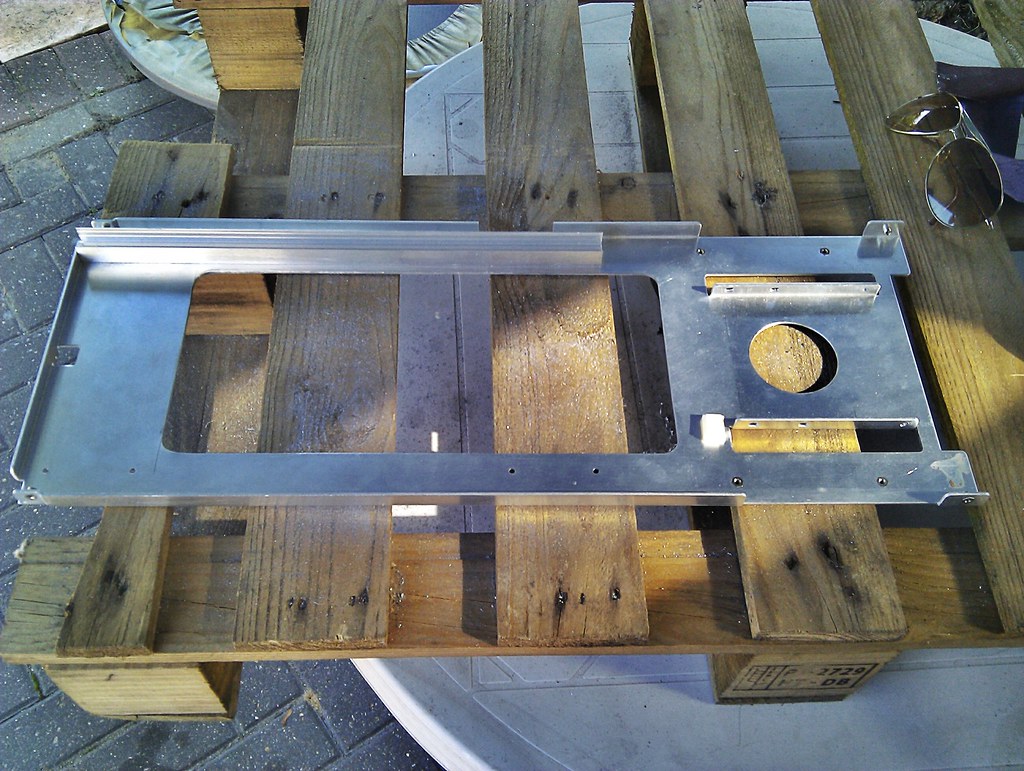
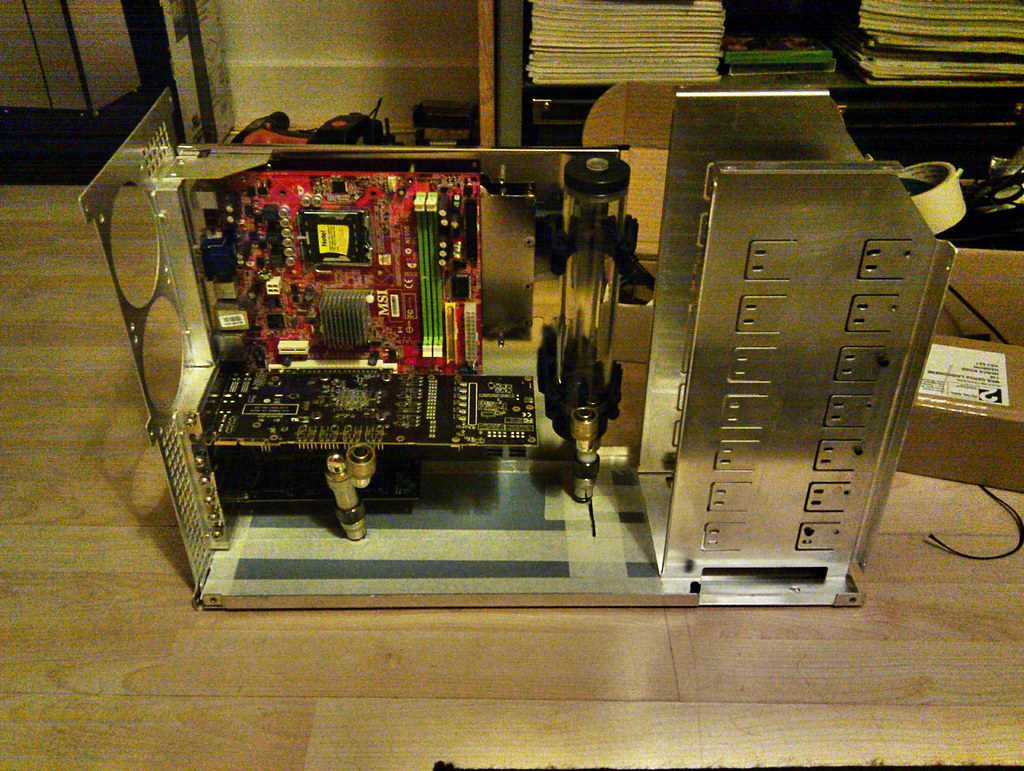
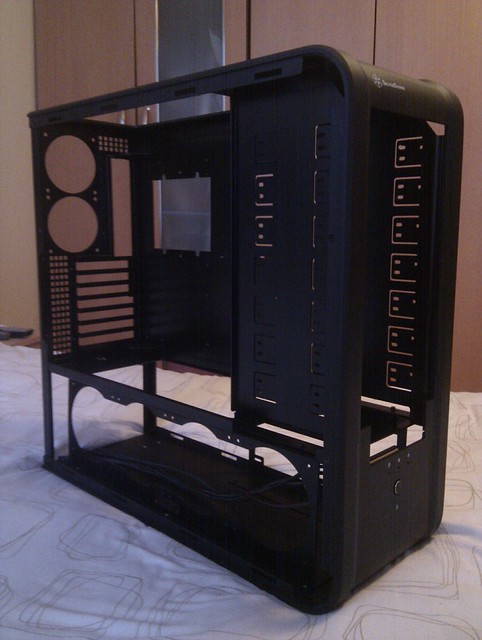
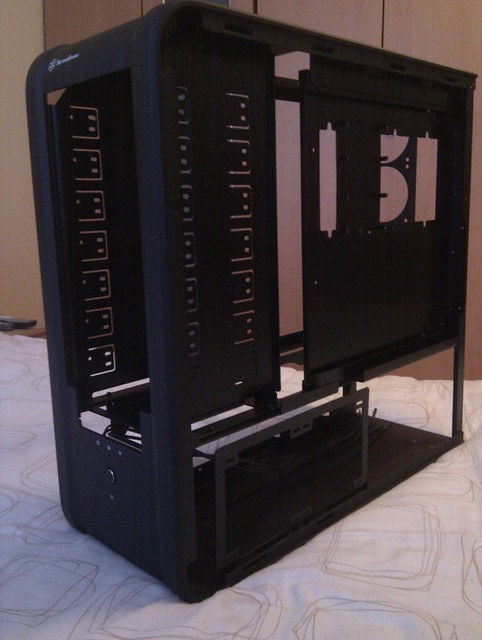
Here is the new case, when I say "new", I got it second hand. But it is in very good condition apart from the bottom compartment where the RADs have been fitted.
Case is with out a side window at stock, but I am going to cut a window, have not finalised on what side, size or shape yet!
It didn't have the hard drive cages at the bottom. But it did come with the Silverstone CFP51 Unit, which converts 3 x 5.25 bays to a 4x3.5" HDD cage with a 120mm fan!I was planing on putting 2 RADs on the bottom compartment so I didn't need the drive cages and CFP51 was a plus! But I just have to see if I am going to use it or not 

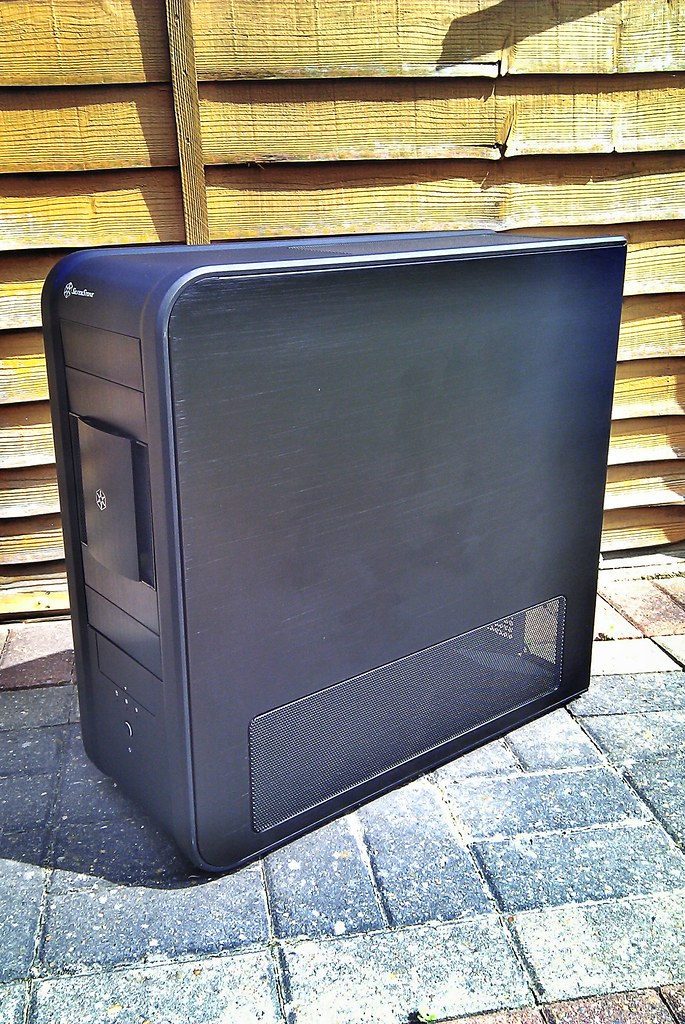

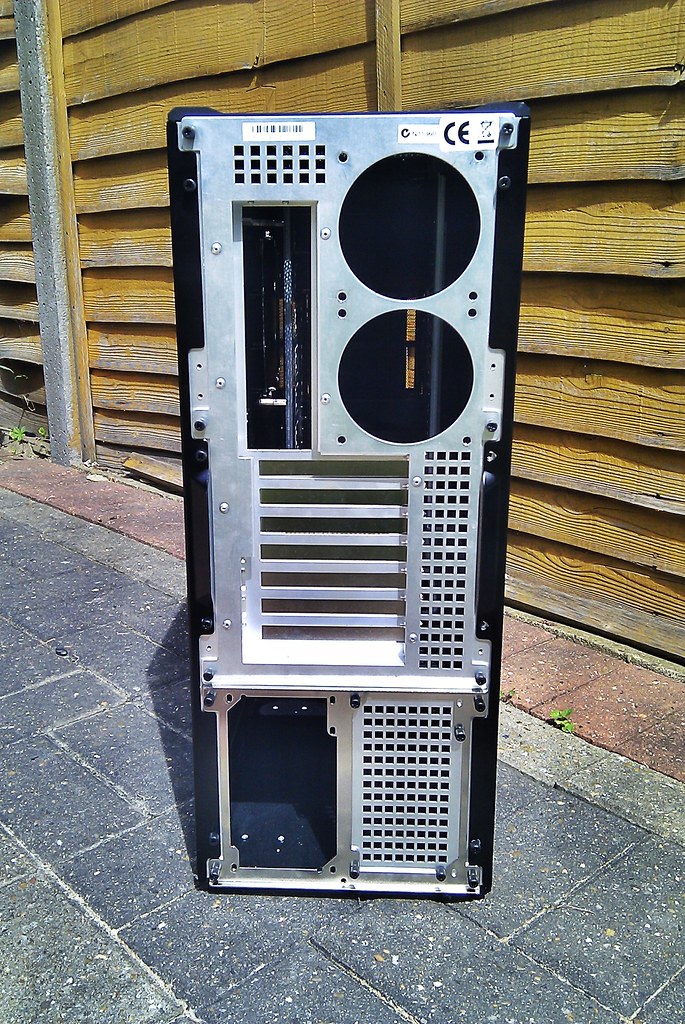
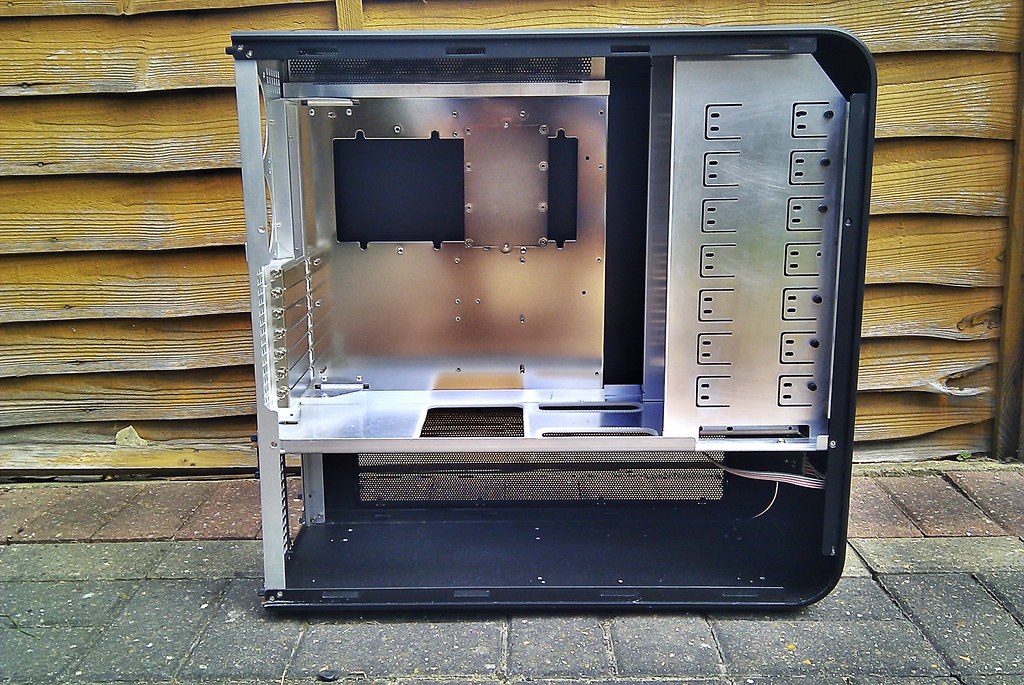
Yep it is the one with the "Big Hole" in the Mobo tray!
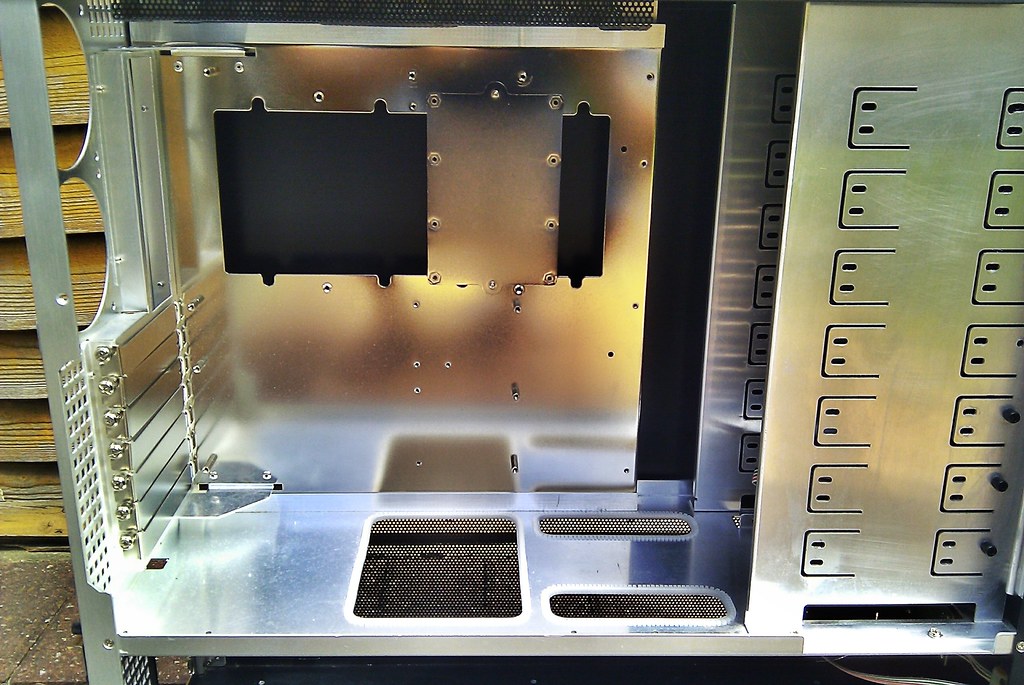
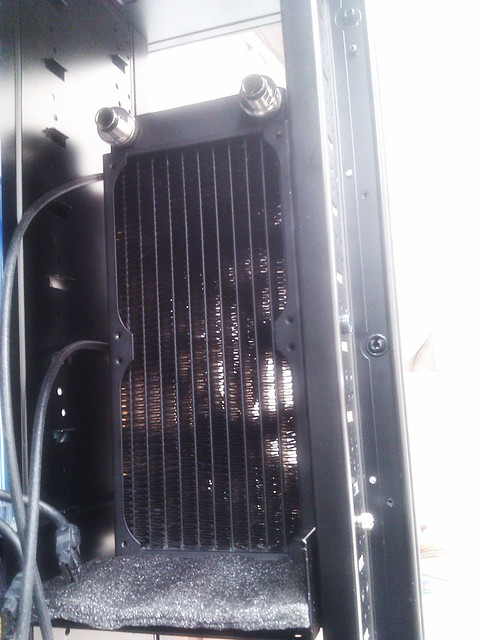
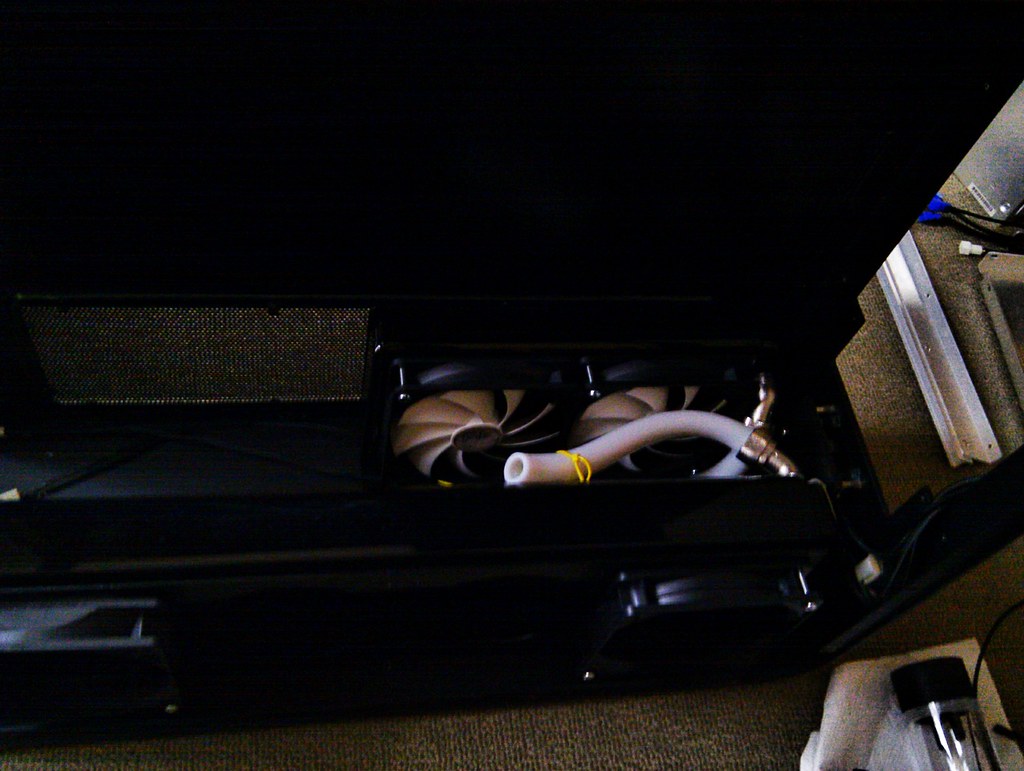
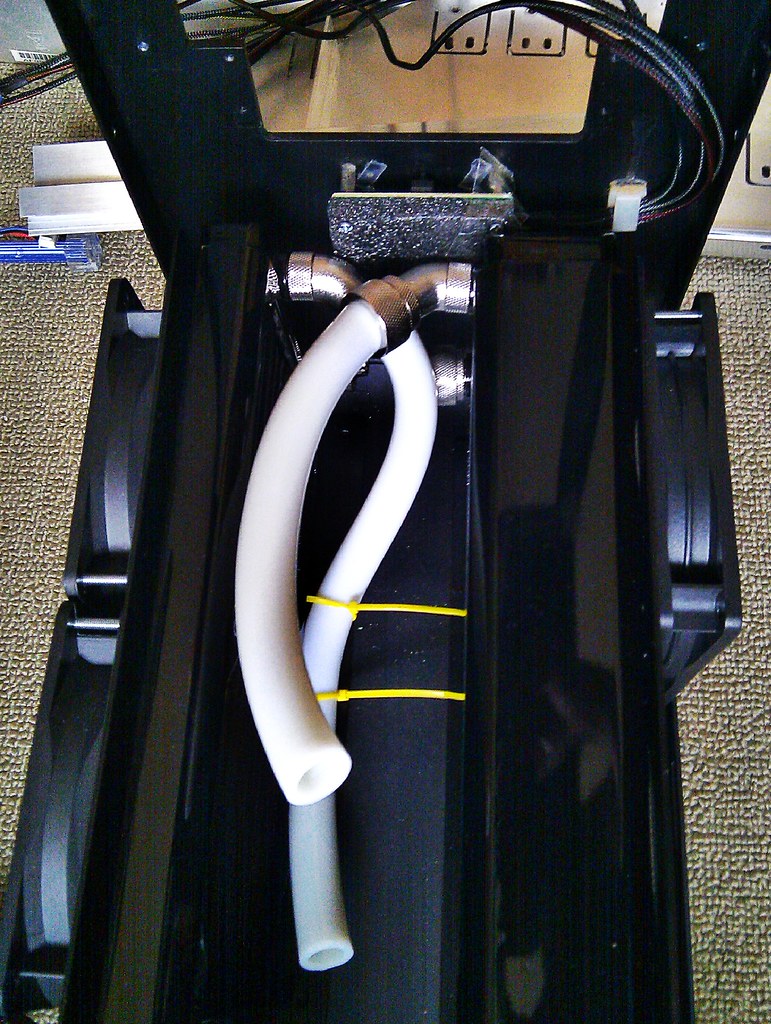
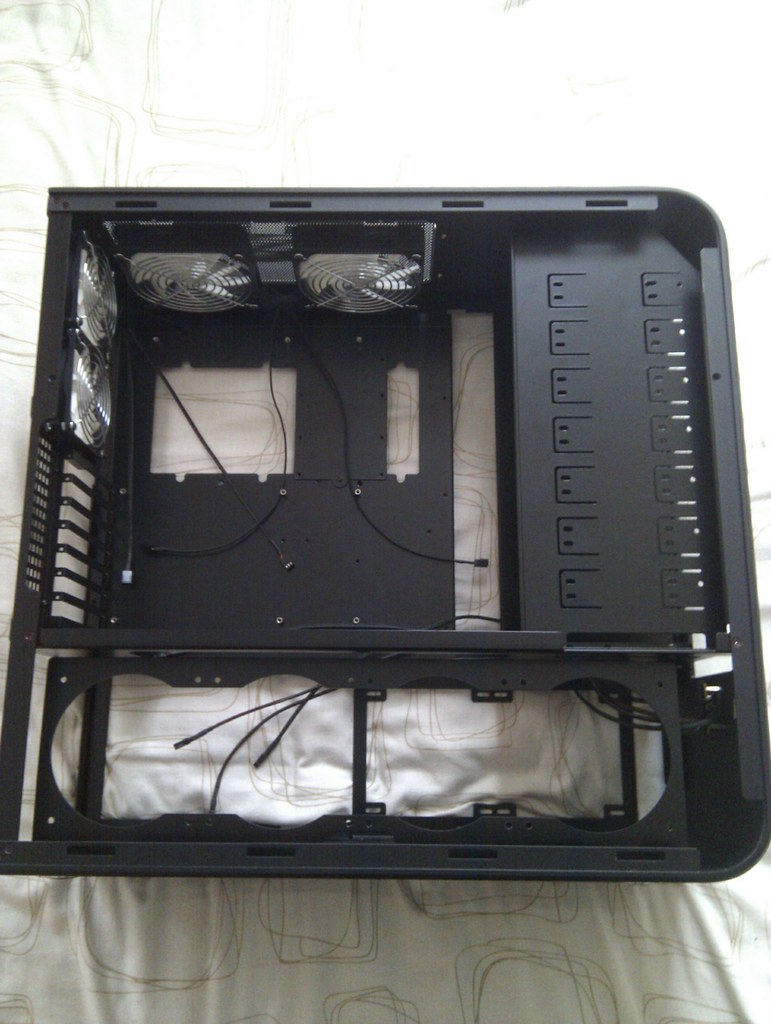
You can see from the below image where the previous owner have fixed the RADs!
So I took apart the whole loop. In preparation for the new case upgrade.But I stumbled upon some problems!
First it was the Silver kill coil.
Went in like this
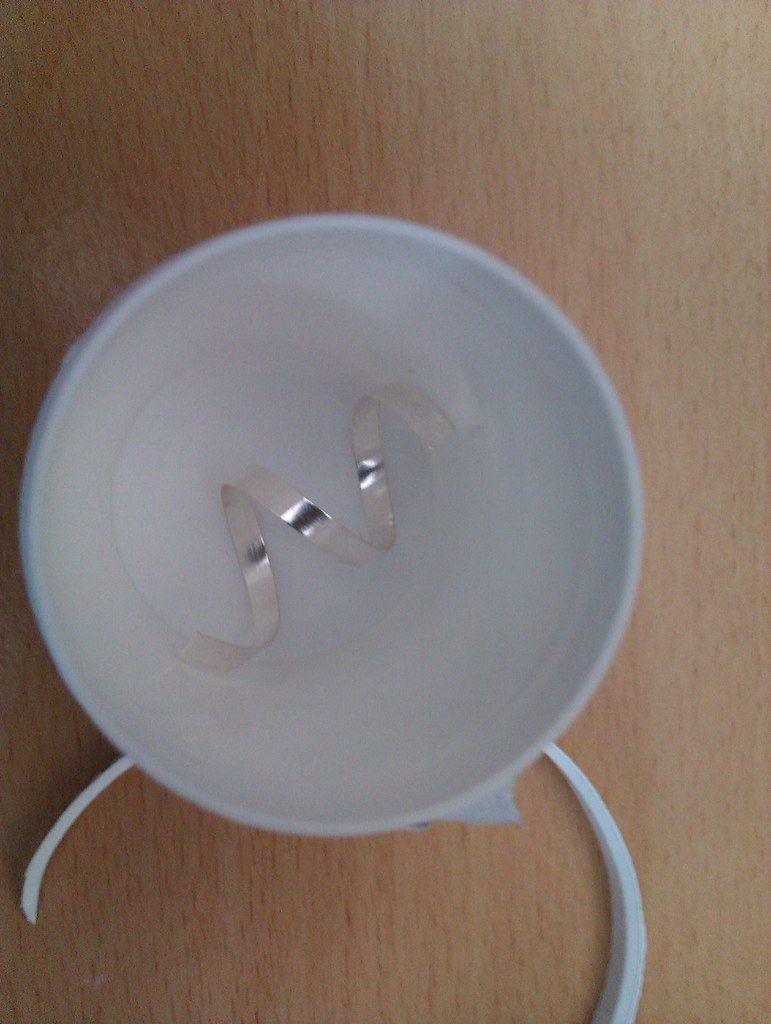
and came out like this, after just 3 months of use!
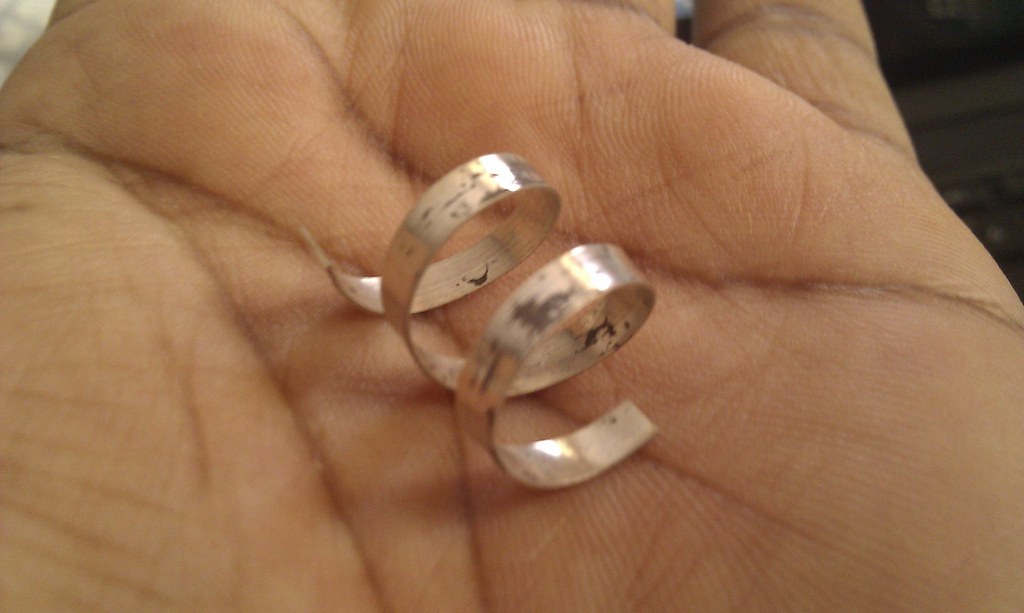
It was much worse actually, I cleaned it, so most of the "stuff" has gone. But these black marks feel bumpy and would not go even if I scratch them!After contacting the manufacturer and the place where I bought it, I was issued a choice of refund or replacement.I opted for a REFUND!
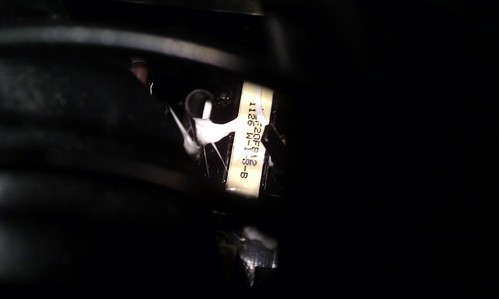
Here is my second and most worrying problem.
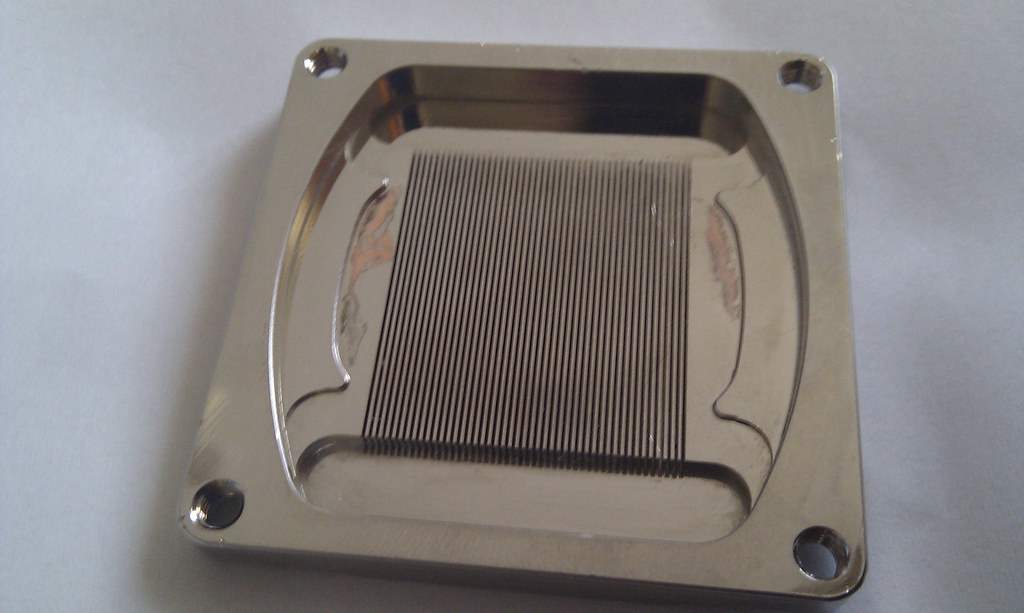

My Ek Full Nickel Supreme HF Water block which was just under 11 months in distilled water + silver kill coil, was having the "Nickel Flacking Issue".
Contacted Ek directly.They were very helpful, even refunded my postage costs, but a little bit slow on return postage. It took about 2 weeks for me the get the new "EN" block from the day they shipped it to me(only took 2 days for it to get there when I posted it)
Anyway, 2 weeks later I got the replacement "EN" full nickel block.It is still with me not even opened, I have not made up my mind on using it or not.
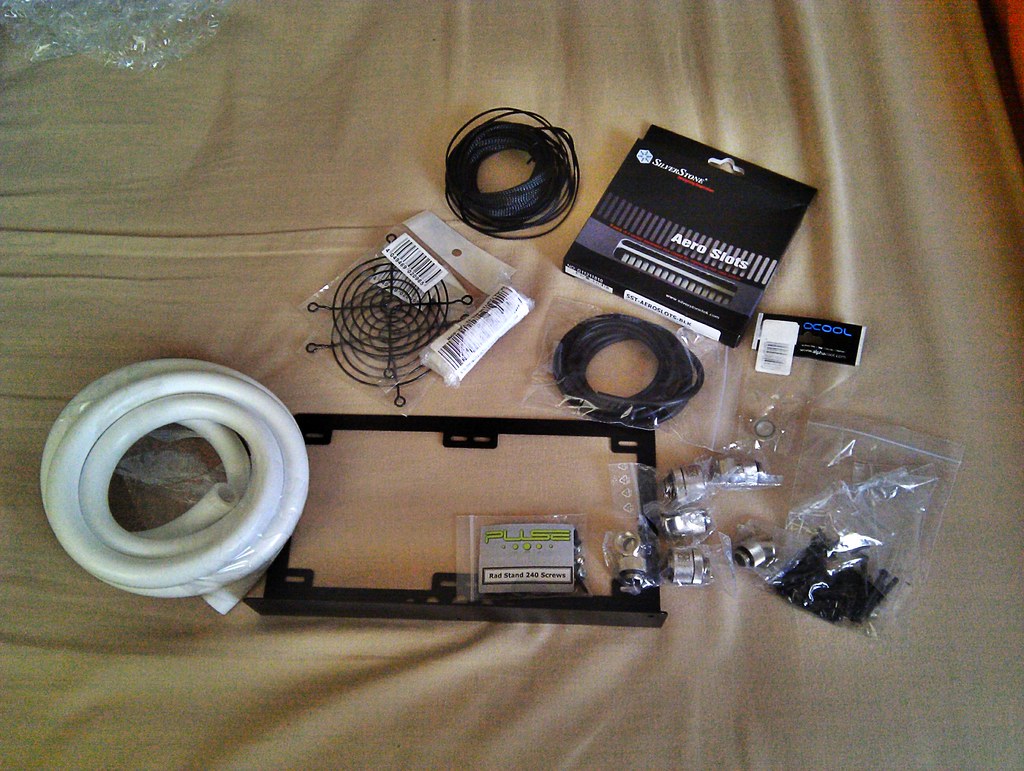
I got some more stuff for the build
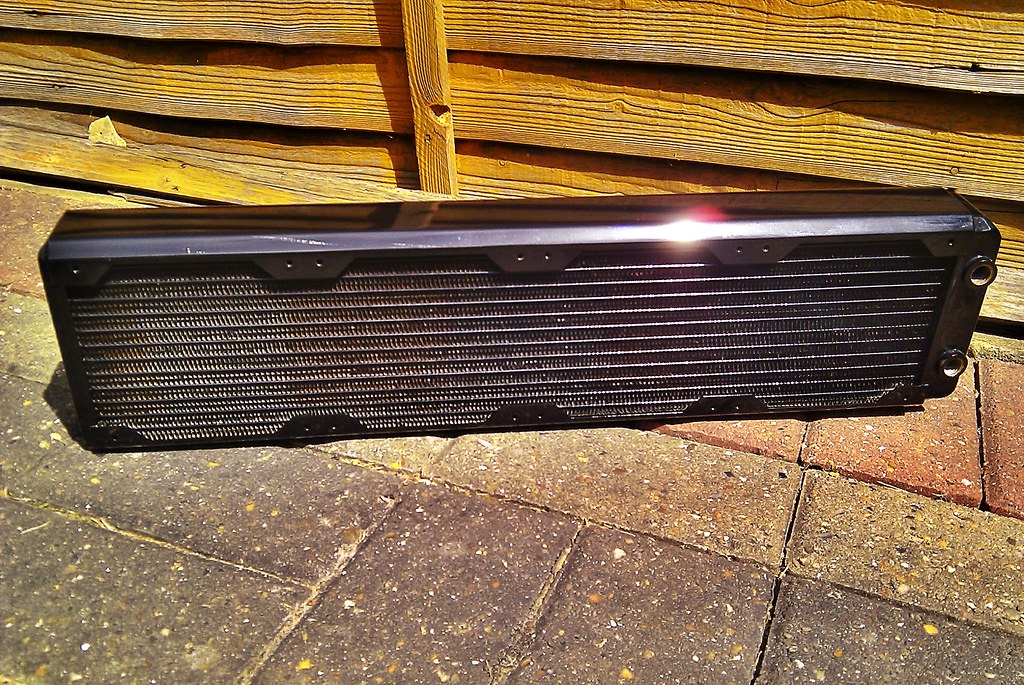
Hardware Labs BlackIce GTX480 RAD
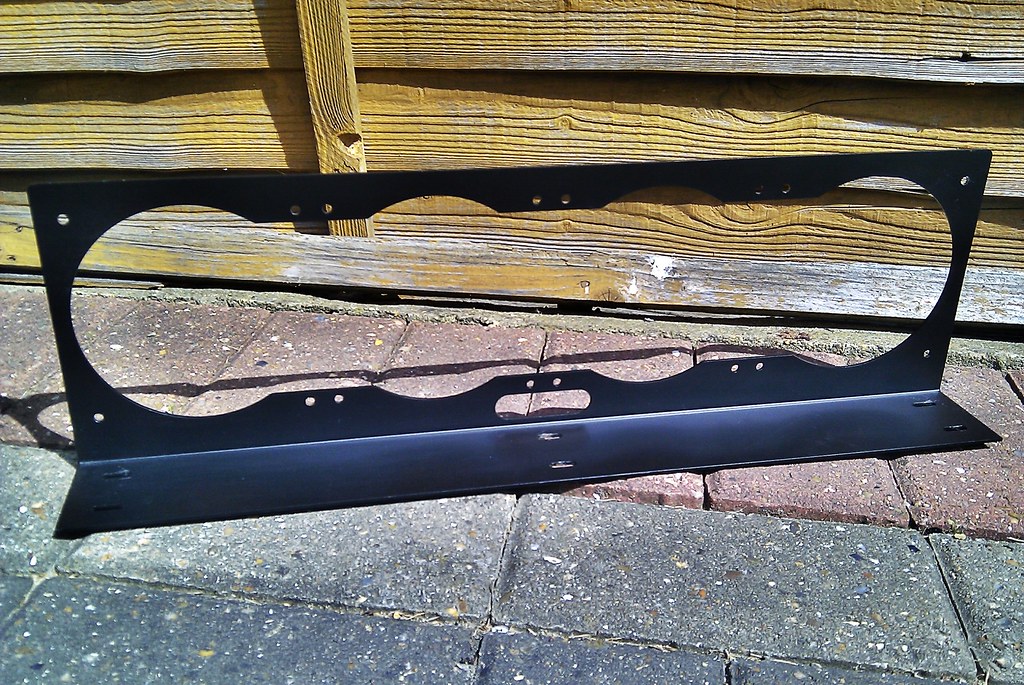
480RAD Stand
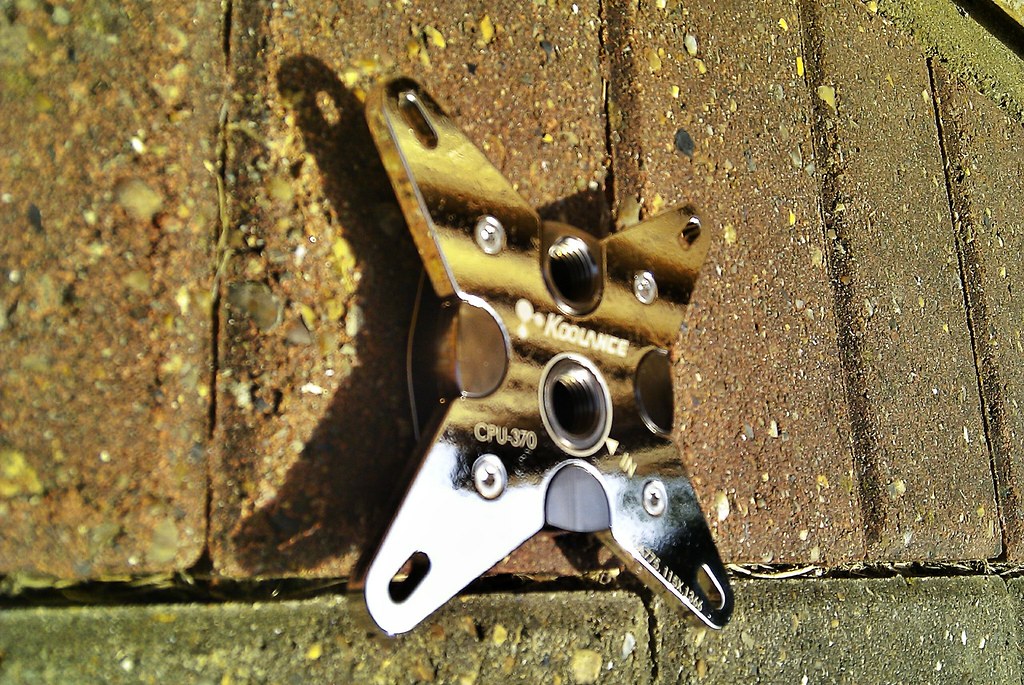
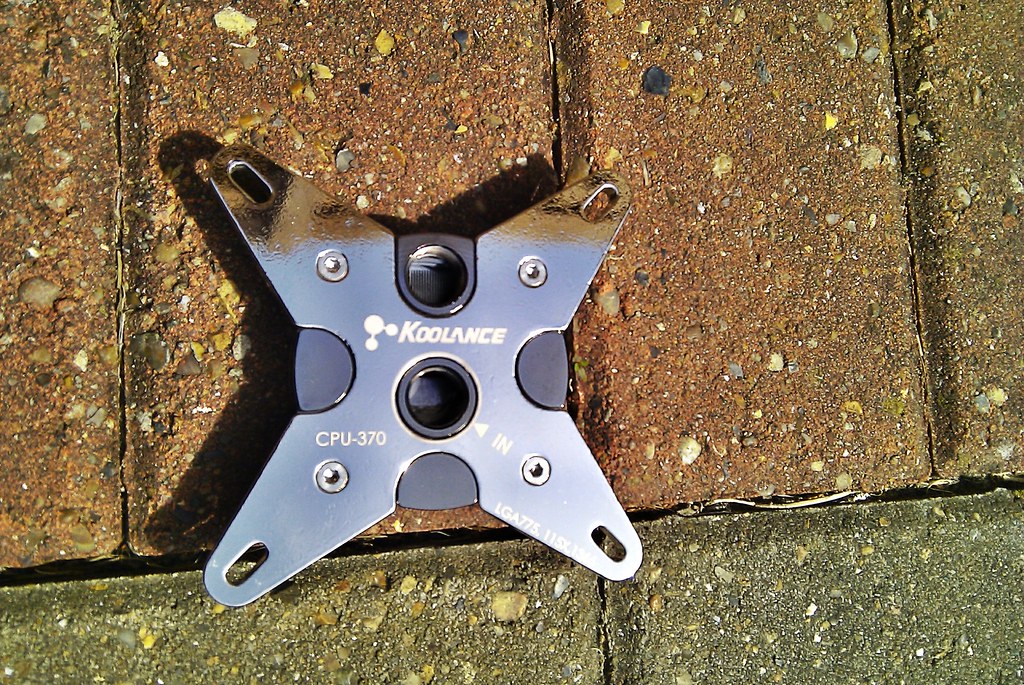
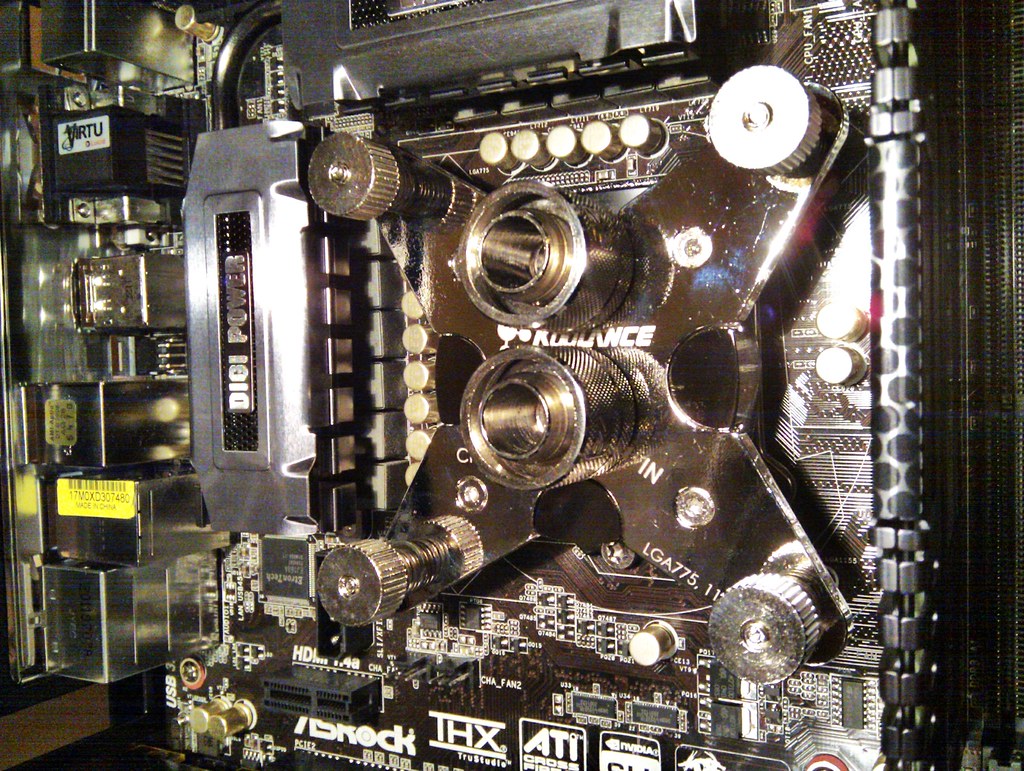
Koolance CPU 370 CPU Block Going to use either this or the new replacement block from EK
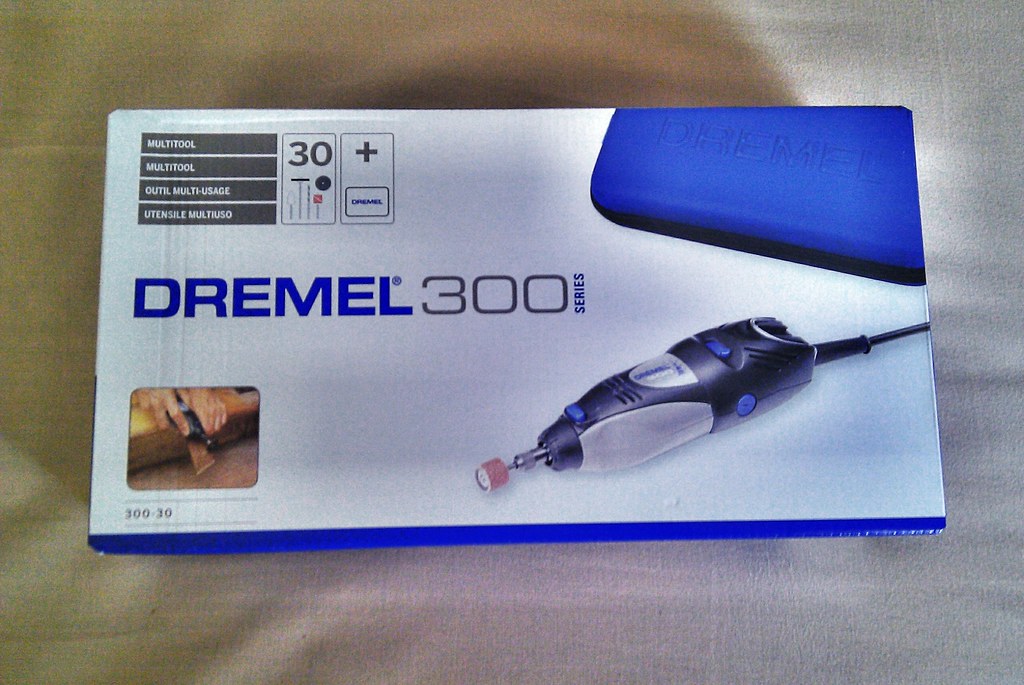
All important Dremel300-30!
Some more stuff
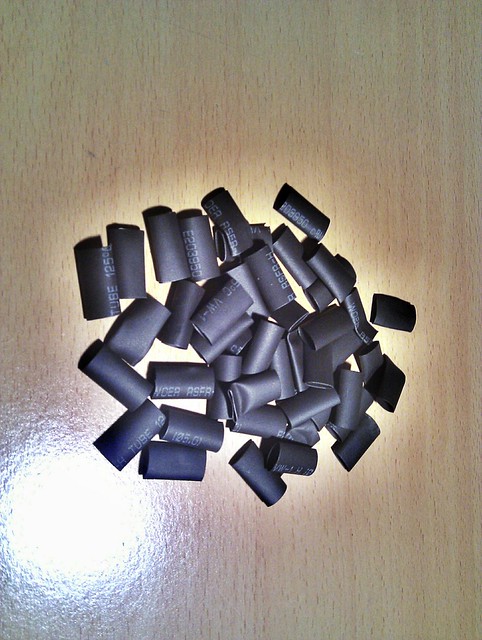
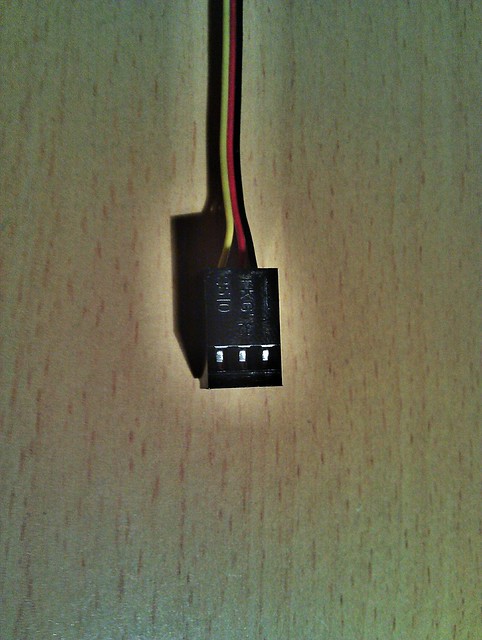
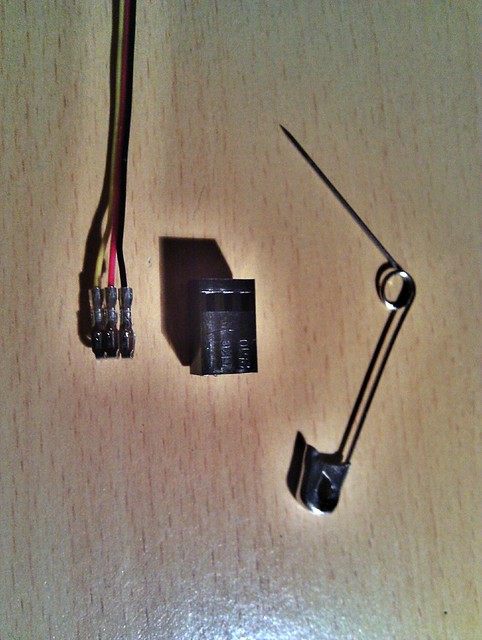
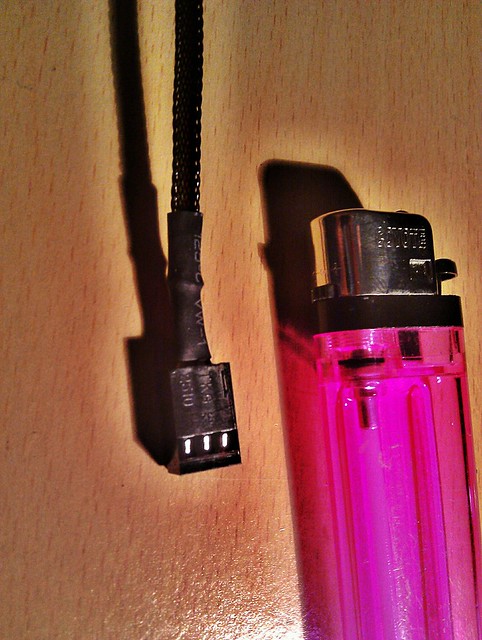
Started braiding fan cables.
This was my first attempt!
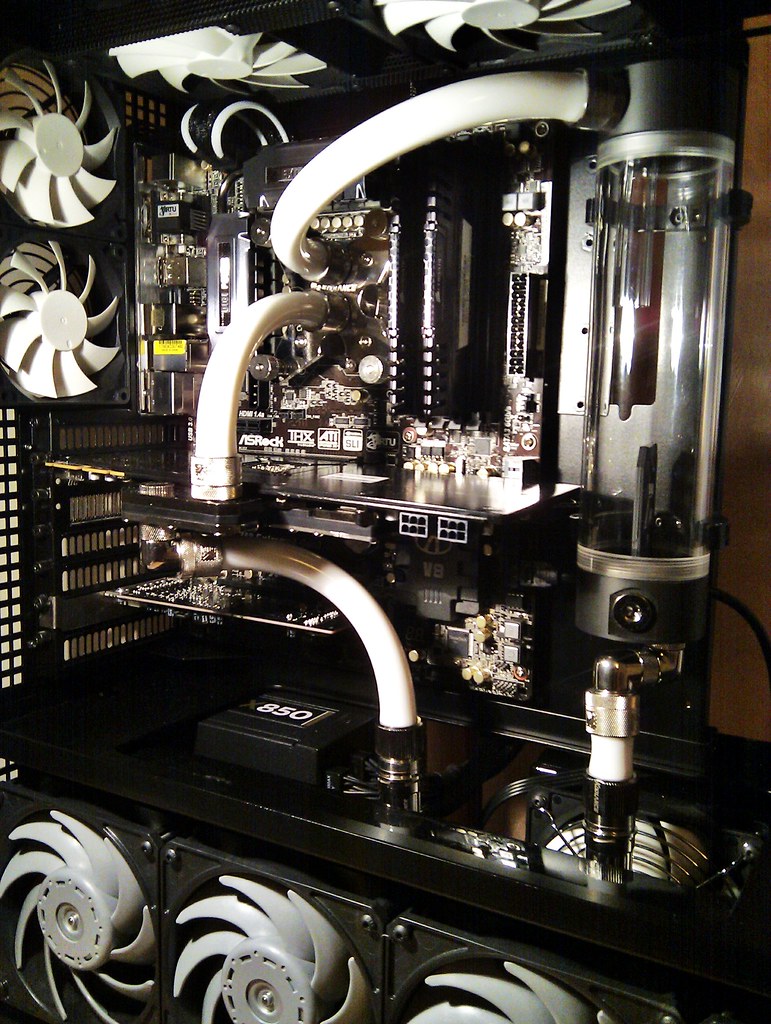
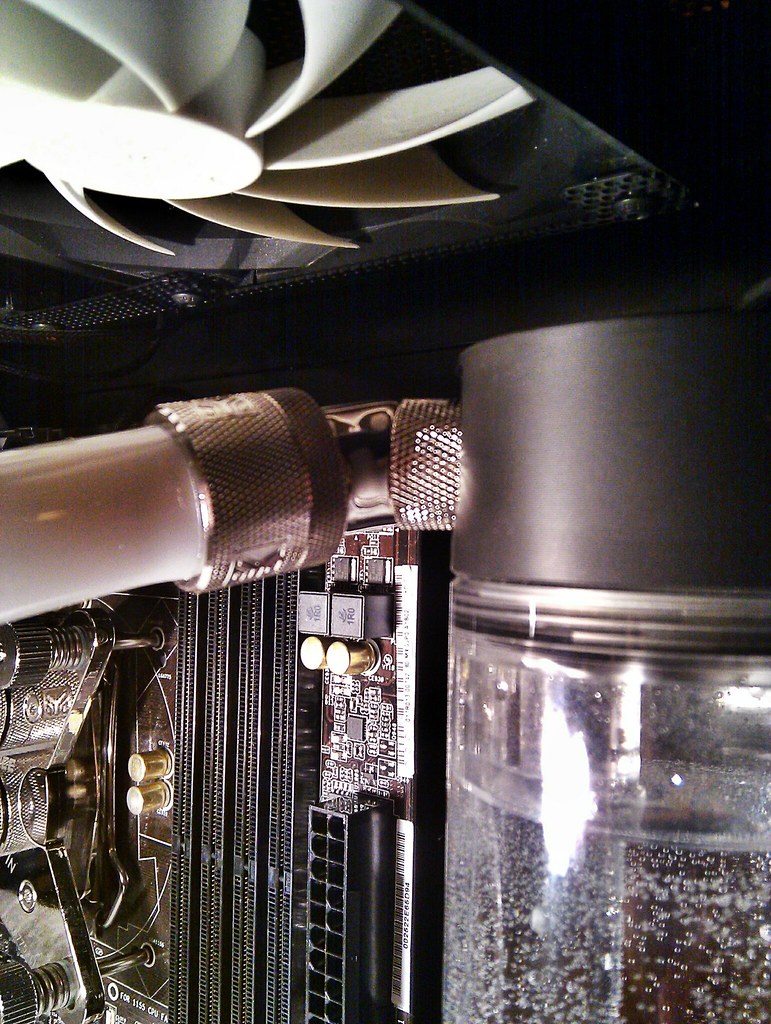
This is how the tube route going to be
Res -> Pump -> 240 RAD -> 480 RAD -> GPU -> CPU - > Res
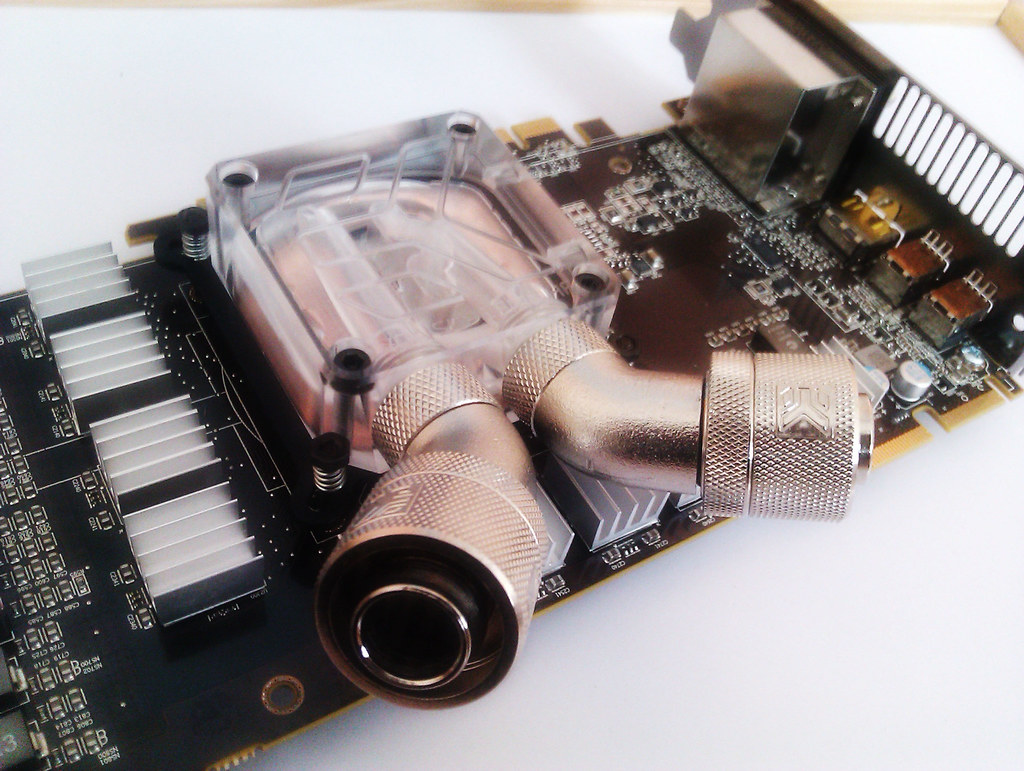
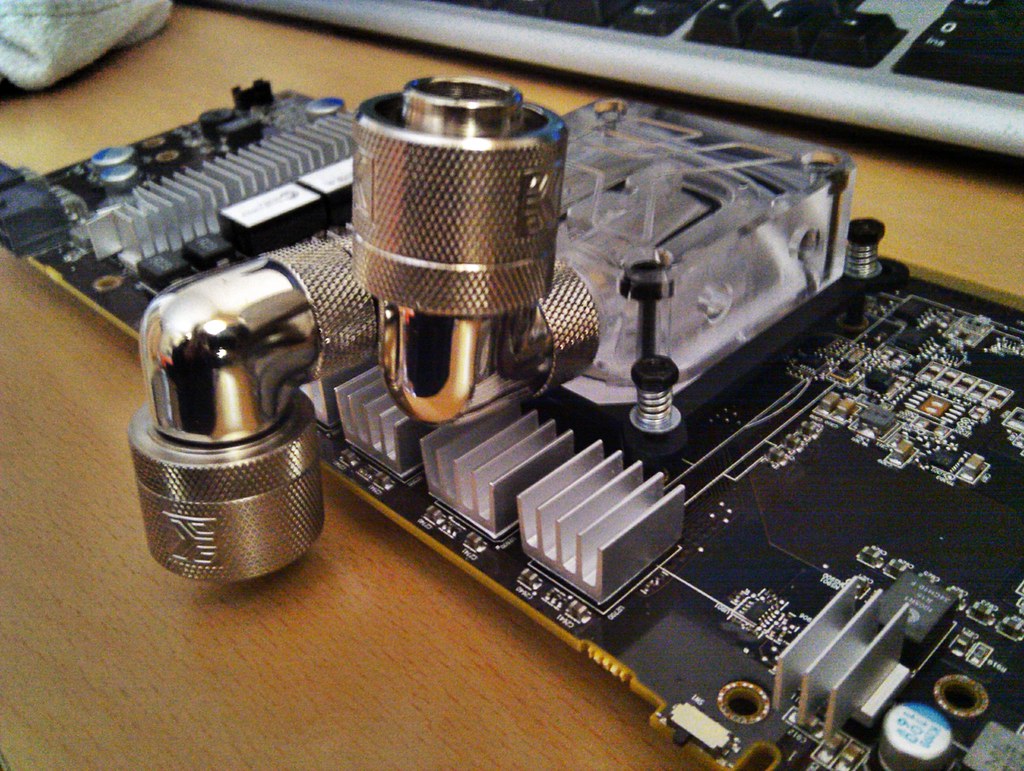
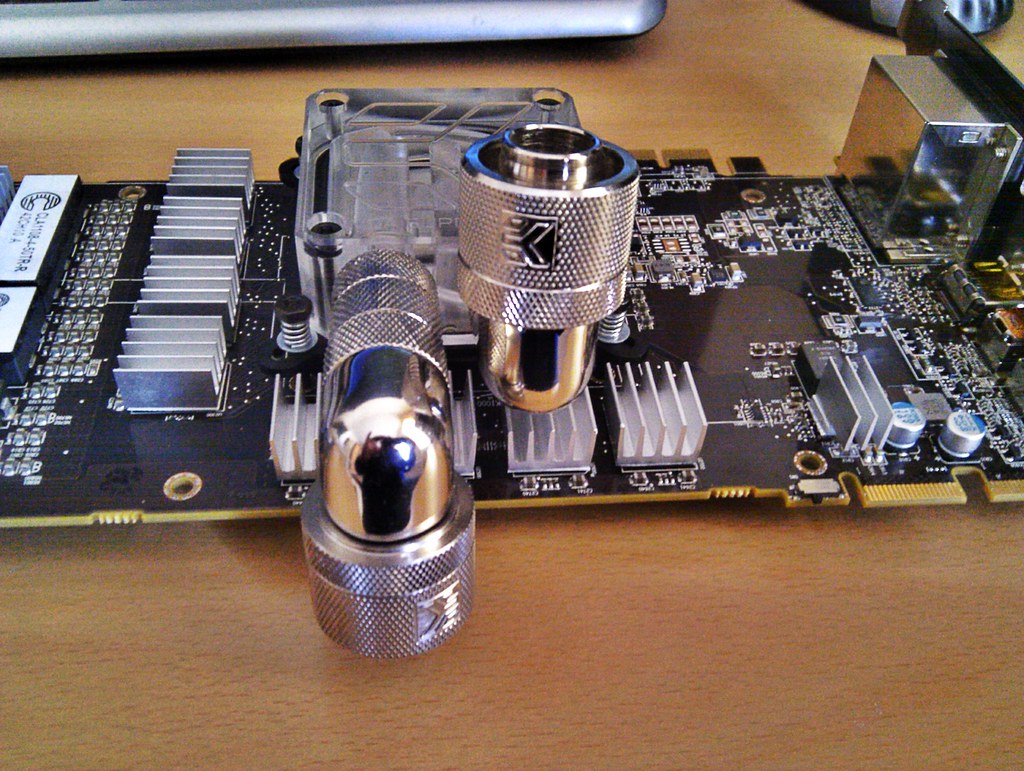
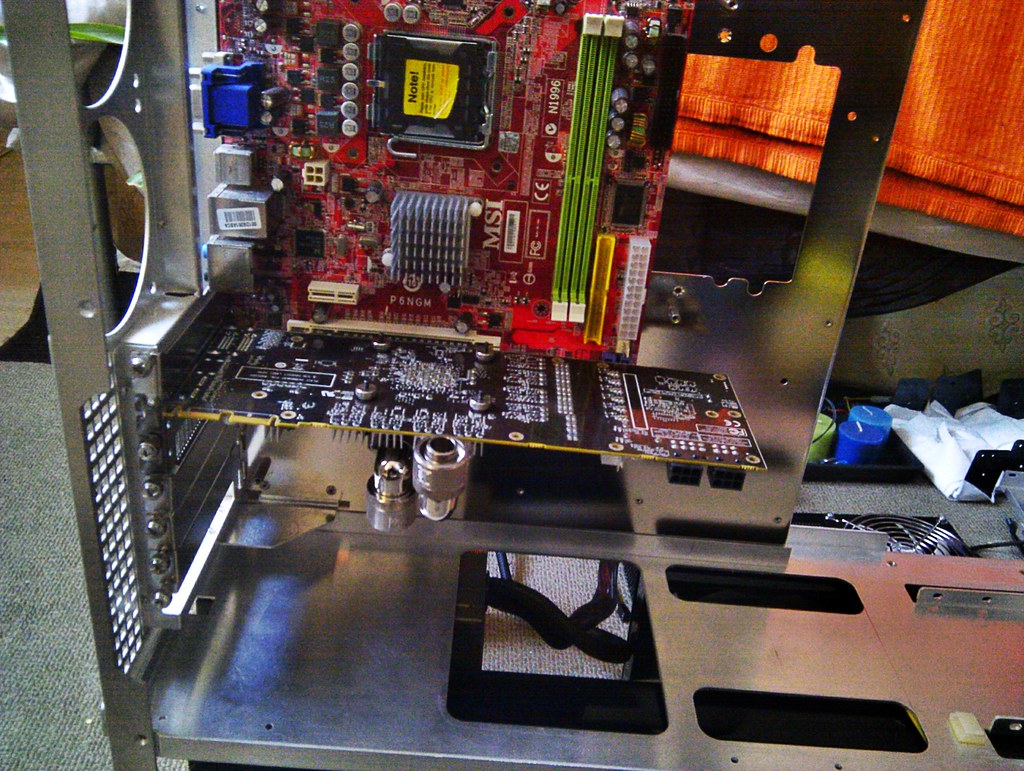
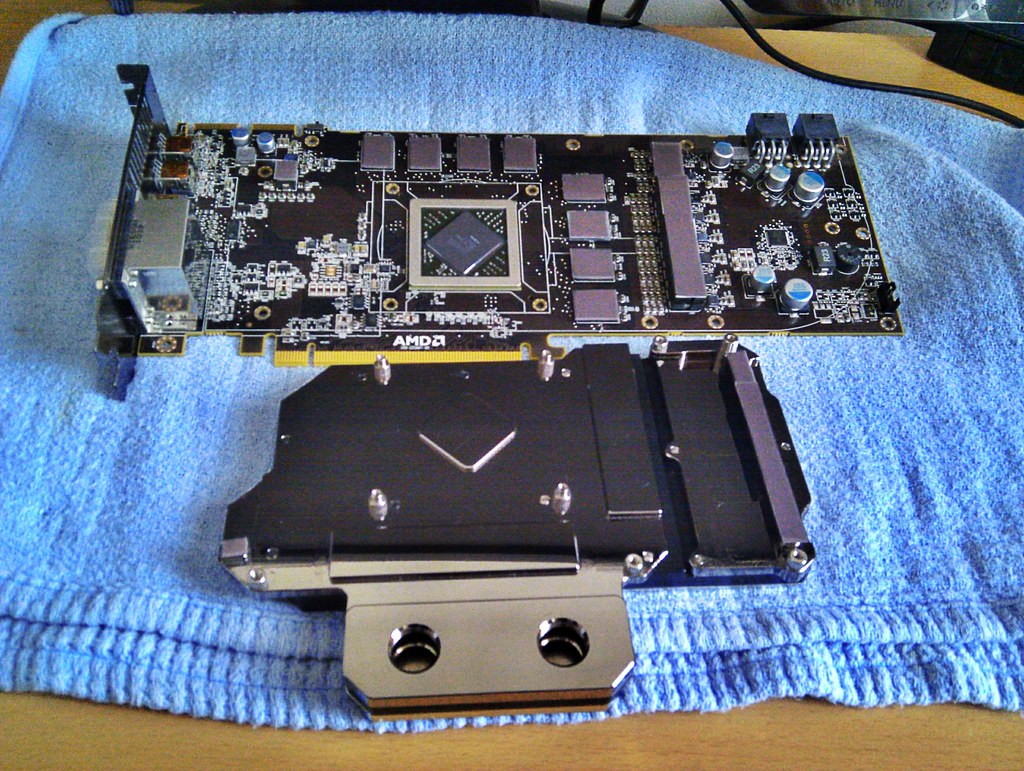
Cleaned the EK VGA Supreme HF GPU Core only Block.
Fit it back to HD6950.
Inlet and outlet are fixed in the EK Core only block.
Port nearer to the display outputs is the Inlet and the port nearer to the power connectors is the Outlet.
Used the EK 90 degree rotary adaptors this time and an extension (rotary) fitting to by pass the GPU PCB.

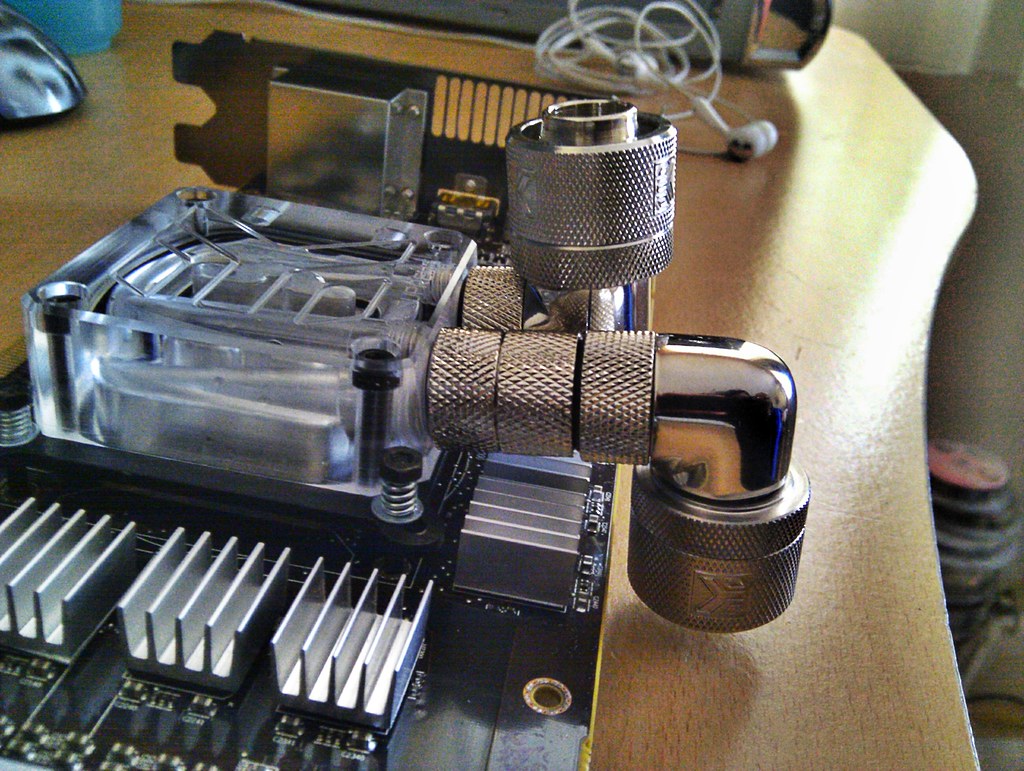
Also placed the 480 and 240 RADs on the case floor with the RAD stands and some fans(and fan husks) to check the spacing and the tubing arrangement.
Wanted to cover the TJ07 switch panel with something so I used some foam pads I have.
Braided the cables on that switch panel as well.
Also used some cable ties to hold the tubes in place.
I think I can place the pump between the 2 RADs.
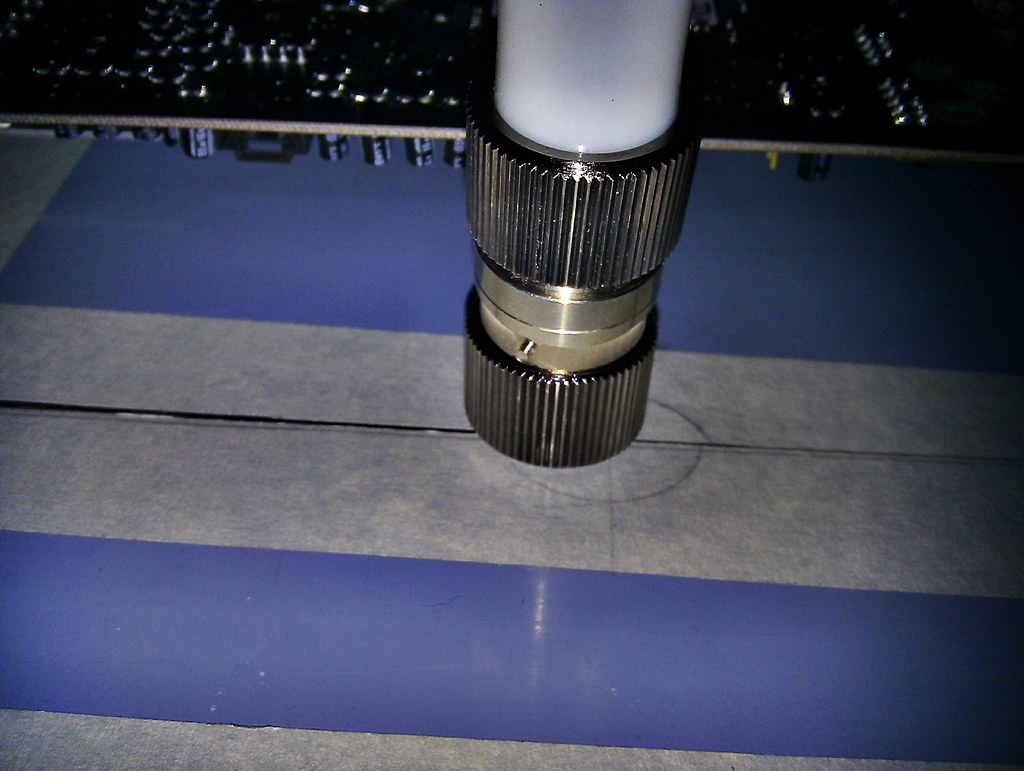
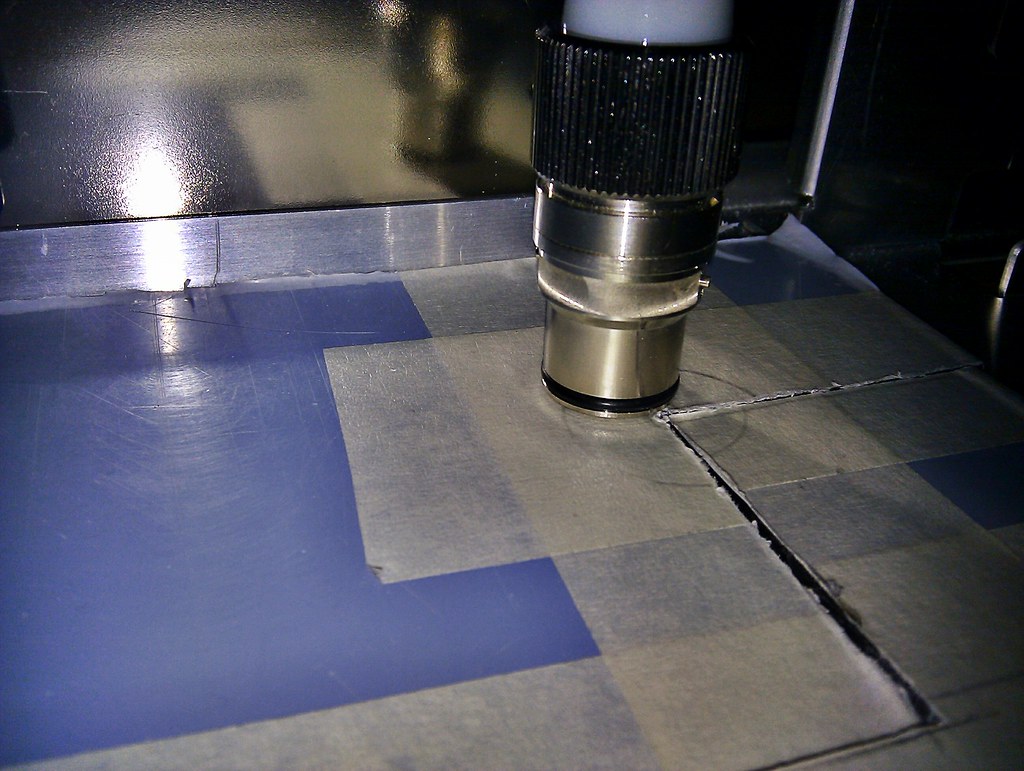
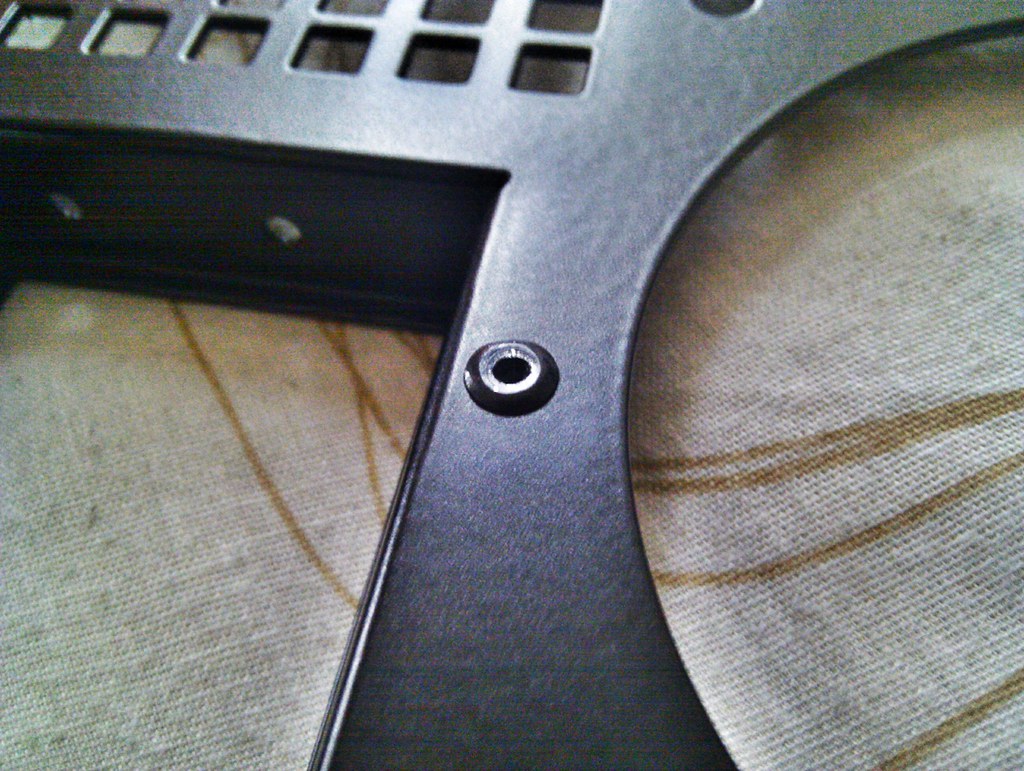
On with the modding part with Dremel!
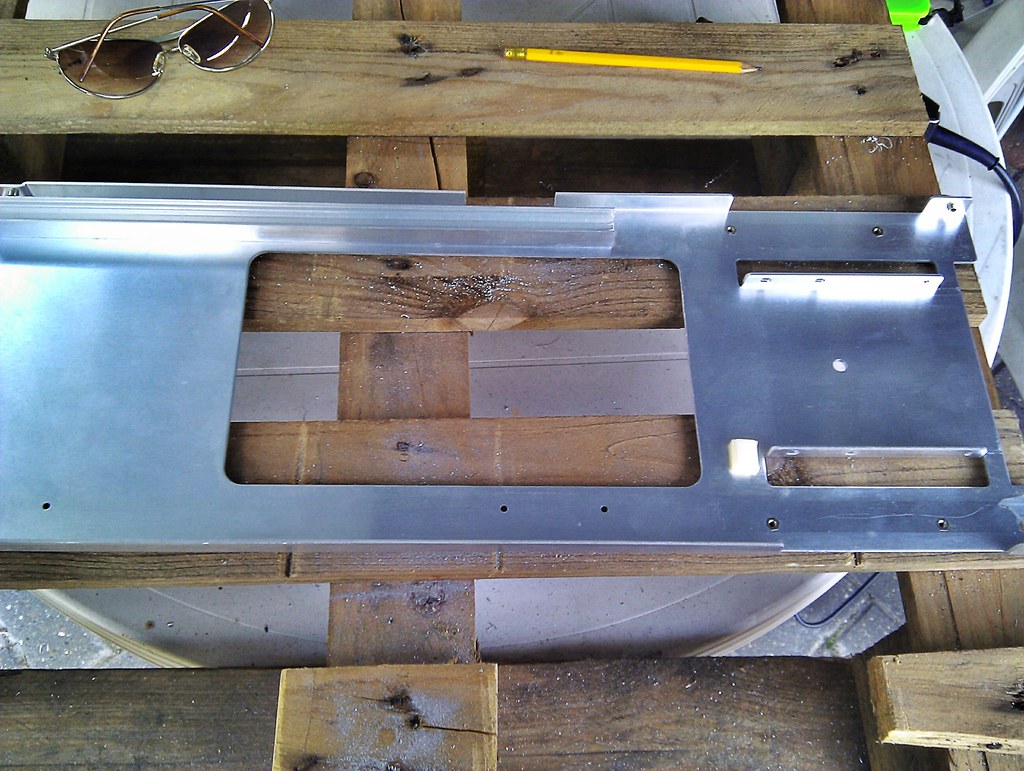
I wanted to drill a hole in the front part of the stock mid plate, so I can route the cables from the fan controller and SATA and/ or power cables through.
But the USB front header part which comes with the TJ07 case is fixed to a metal part which extends and it needed to be cut.
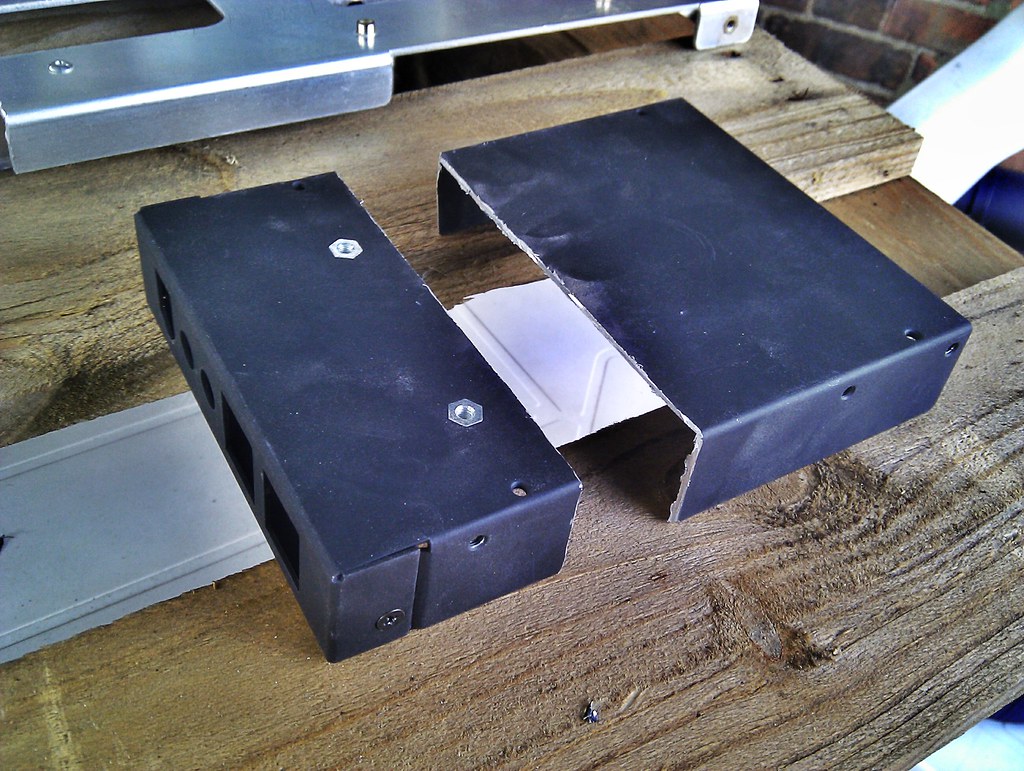
This is where the hole is going to be drilled.
My drill is a 9.6 V rechargeable cordless one and it is rubish at this work.
Or the 2mm thick aluminium of the TJ07 is very though! Because I could only do this from a full charge till it goes dead!

So I plugged the drill back to charge and got on with some more Dremel work.
This time I wanted to cut a small piece from the mid plate so I can route the 24 pin and 8 pin cables.
I think this might be too small, I may have to make it big later.
But one thing I did realise is the amount of dust and small aluminium particles that shoots off from the cutting process is immense!
I didn't have protective eye gear on so I had to stop when I felt a sharp pain in my left eye as some thing defiantly went in!
After that I called it a day and went to the shower, and fortunately I can still see
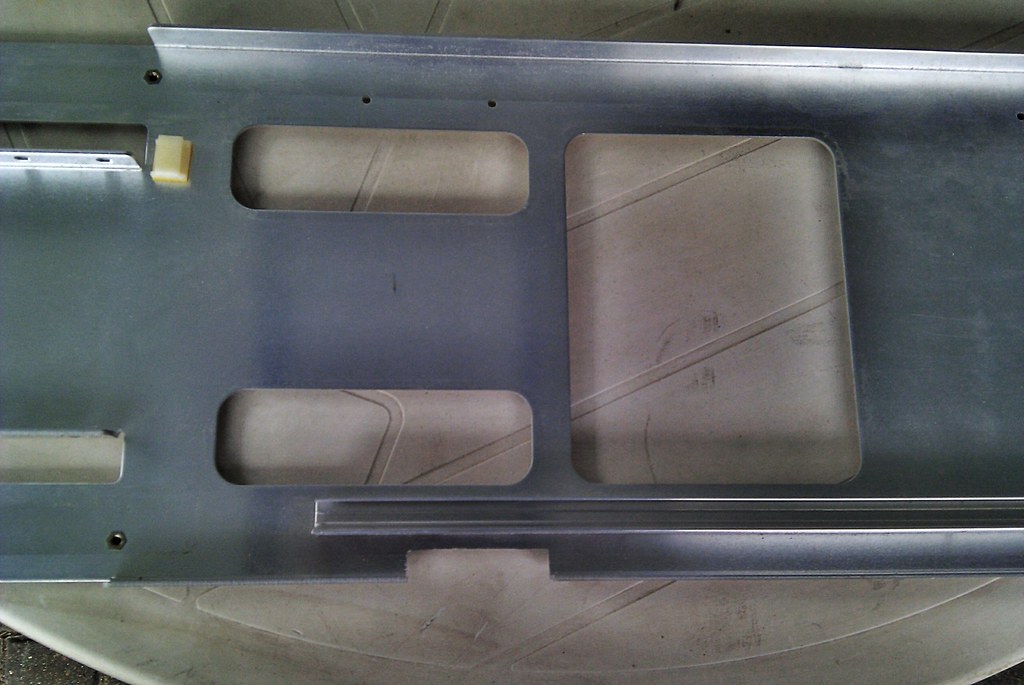
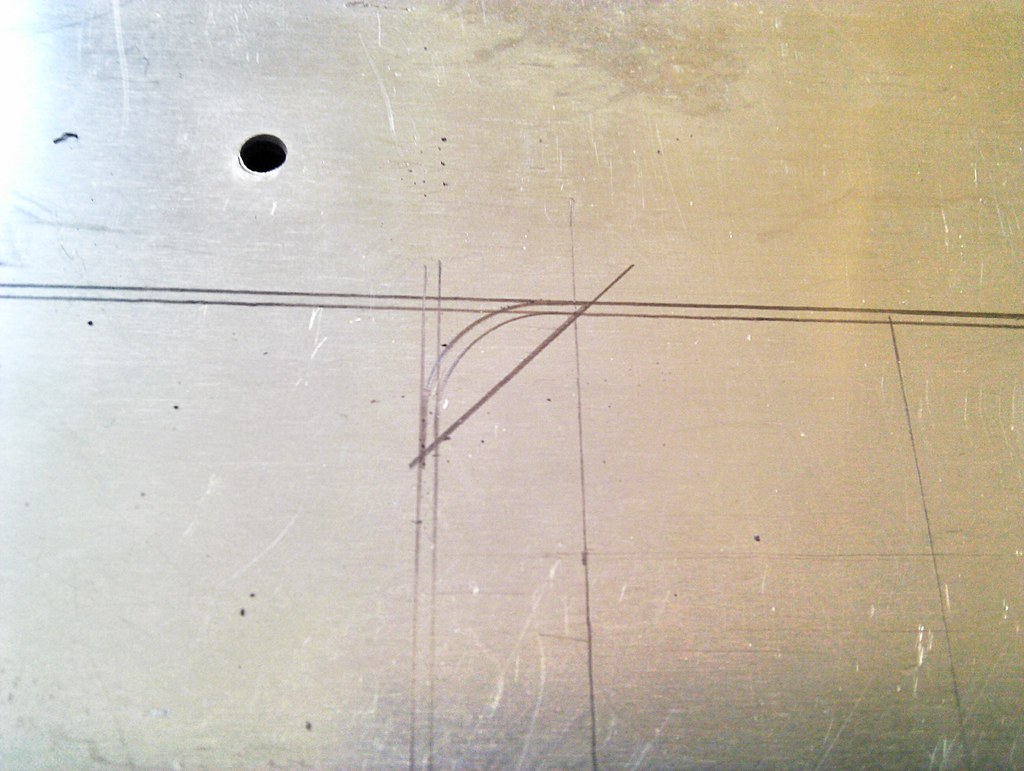
I also wanted to make a big opening in the middle part of the mid plate.
This would help route the tube from the RES which is going to be fixed to to the mobo plate by the mother board and tube going to the GPU.
This time I was wearing my old Aviator Sunglasses 
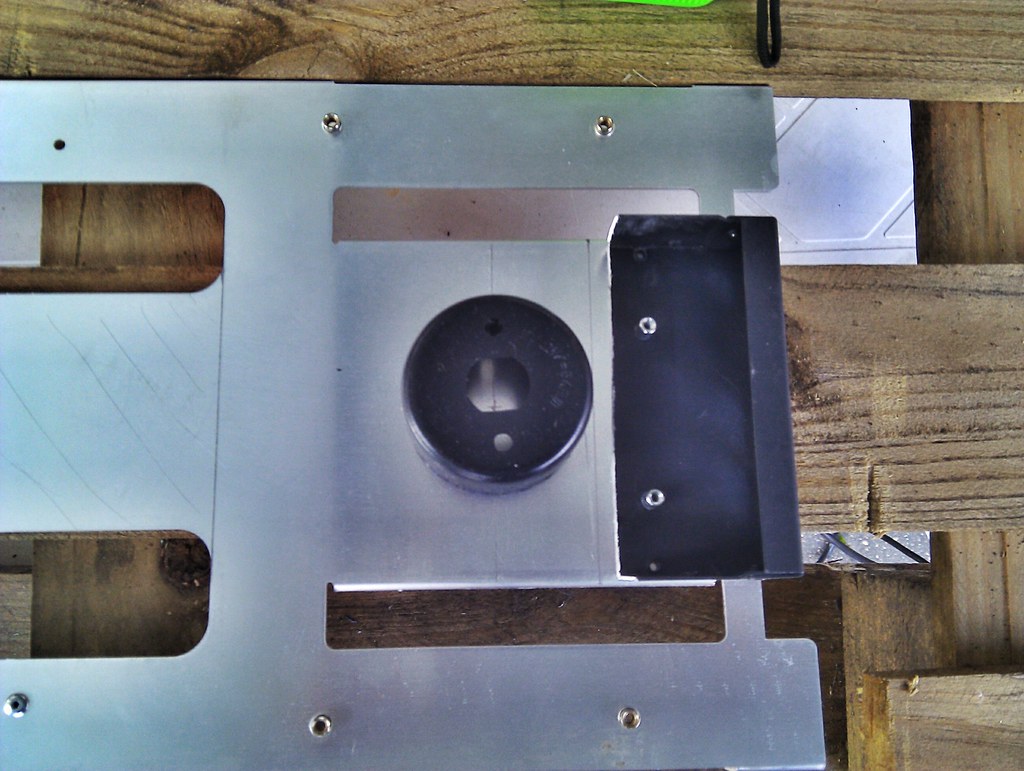
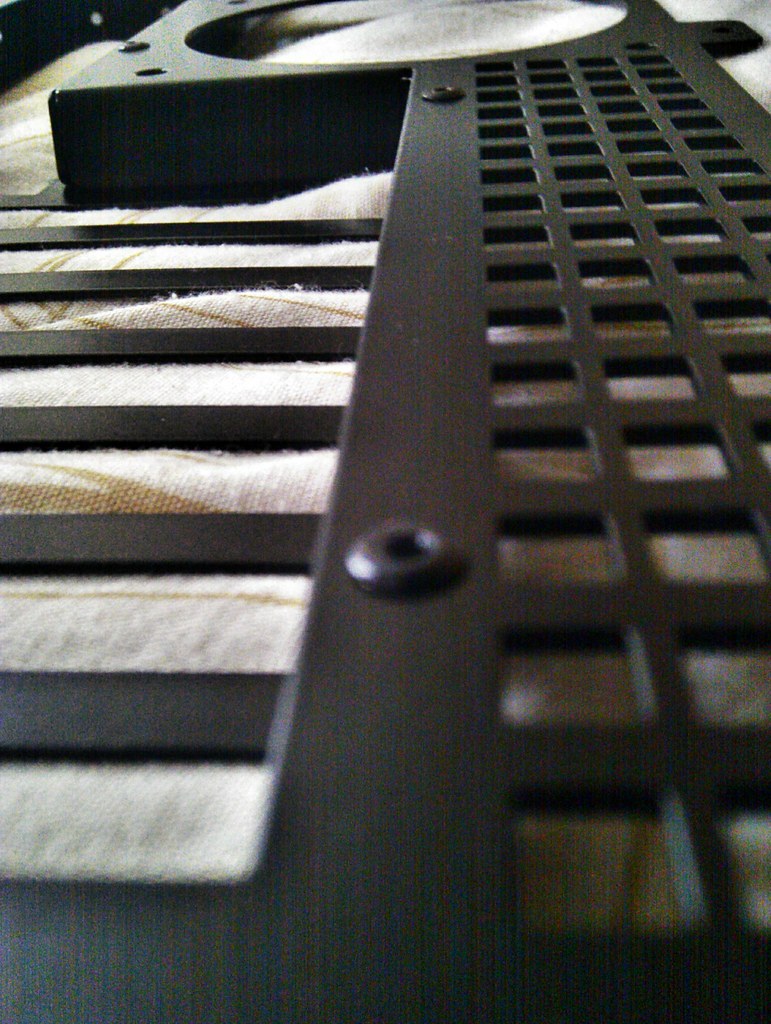
Finished drilling the hole.
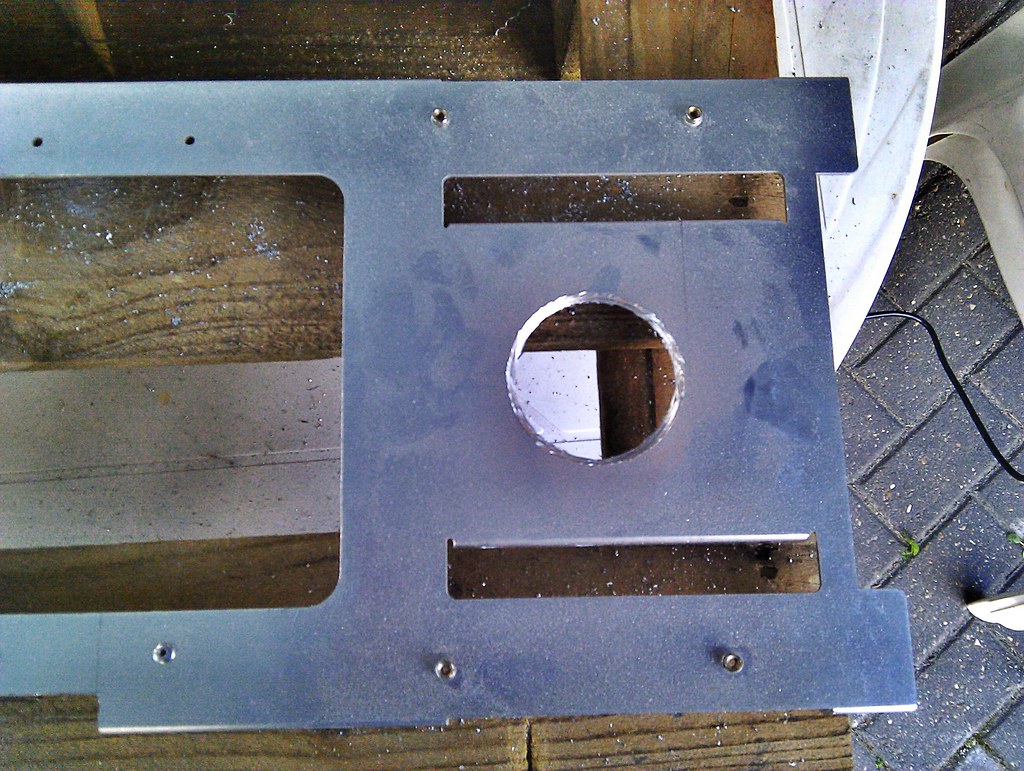
Drill with the attached hole saw bit wouldn't cut through so I had to use the Dermel to cut small insertions and finished the hole.
later used the sanding disks to get a better finish.
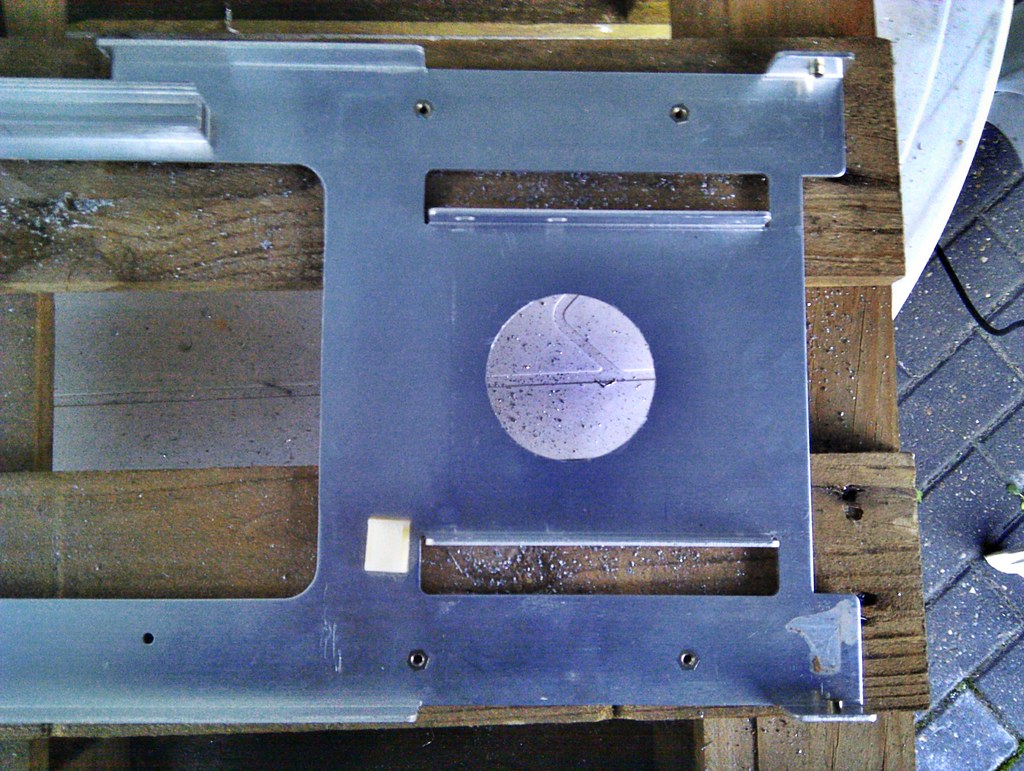
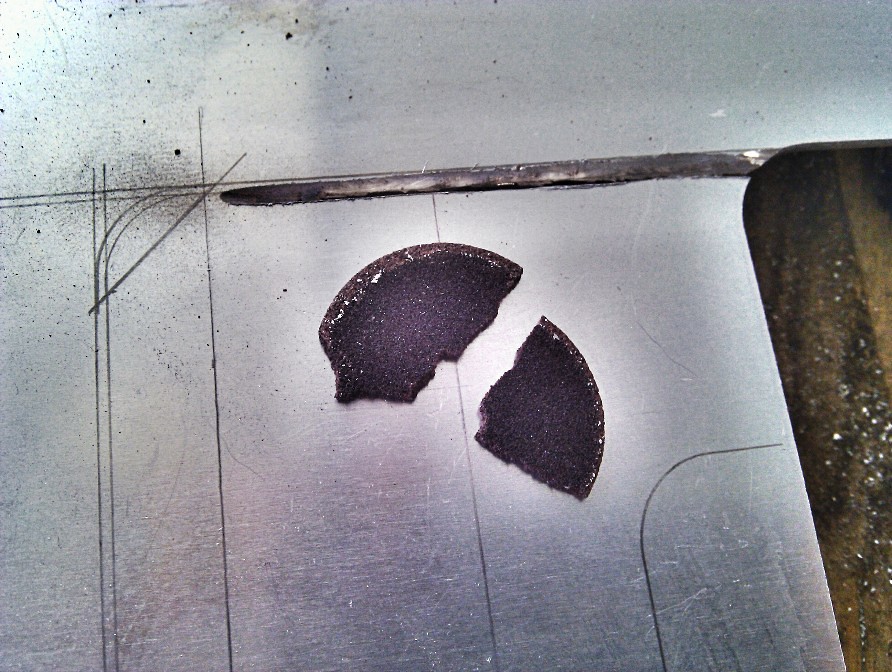
But this is what happened to one of the cutting disks!
I heard something going pass my ear at great speed and when I stopped the Dremel to have a look, one part of the cutting disk has broken off!
I am already wearing a pair of sunglasses and doing the modding stuff and now I have to dig out my old Halloween masks? 
Note to self : Be very careful with Dremel!
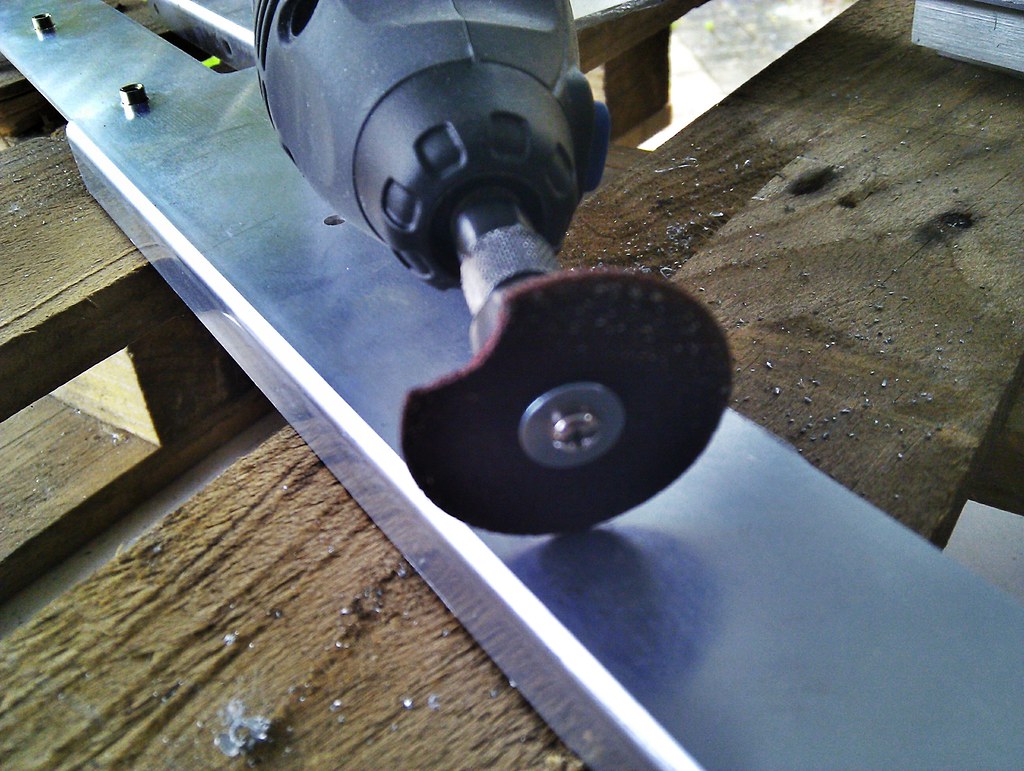
Want to extend the opening in the mid plate bit more to the back.
And this is what happens to the second disk
I must be doing some thing wrong!
Kept on going with a new disk and with my head far away from Dremel
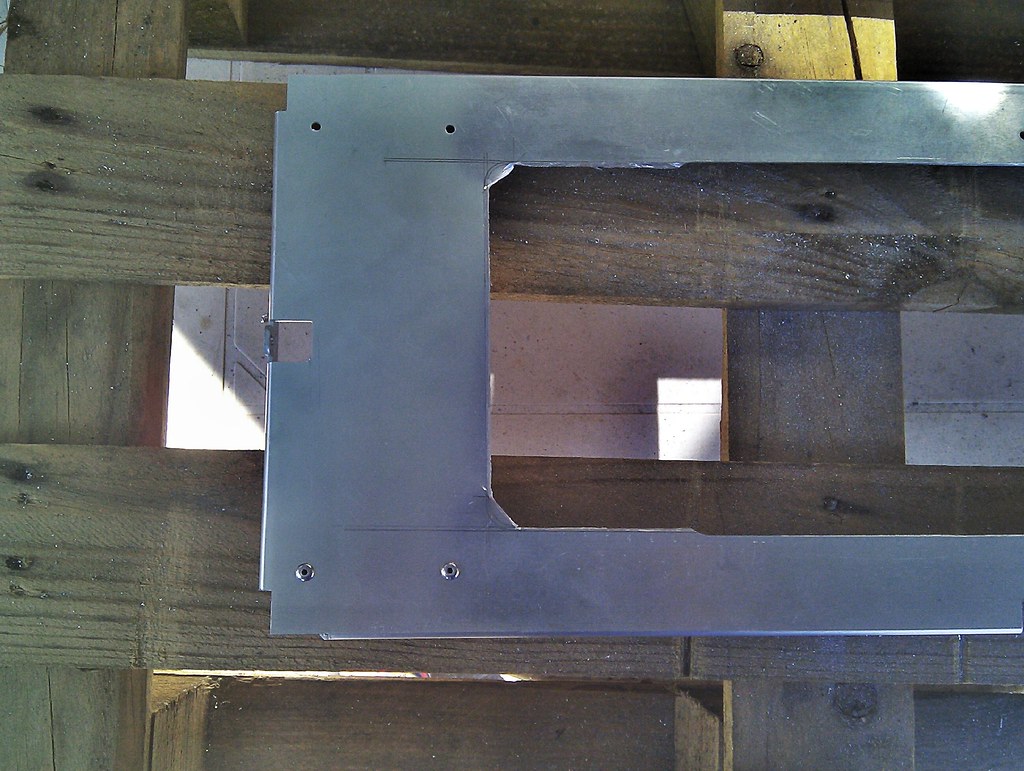
With a little bit of grinding
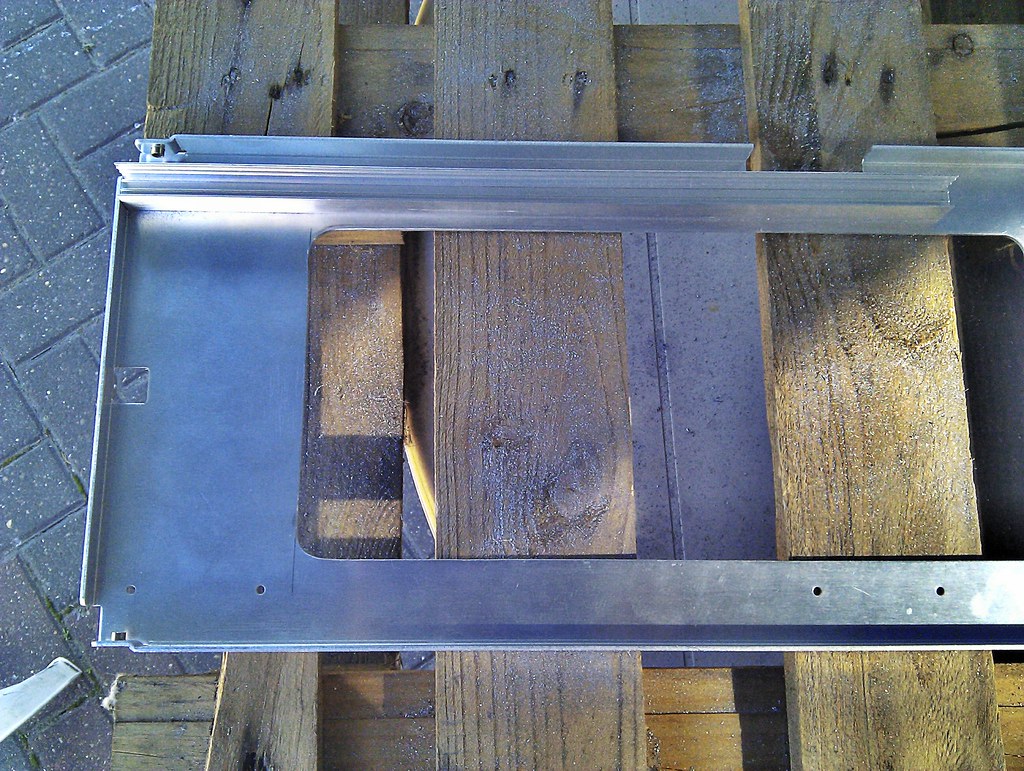
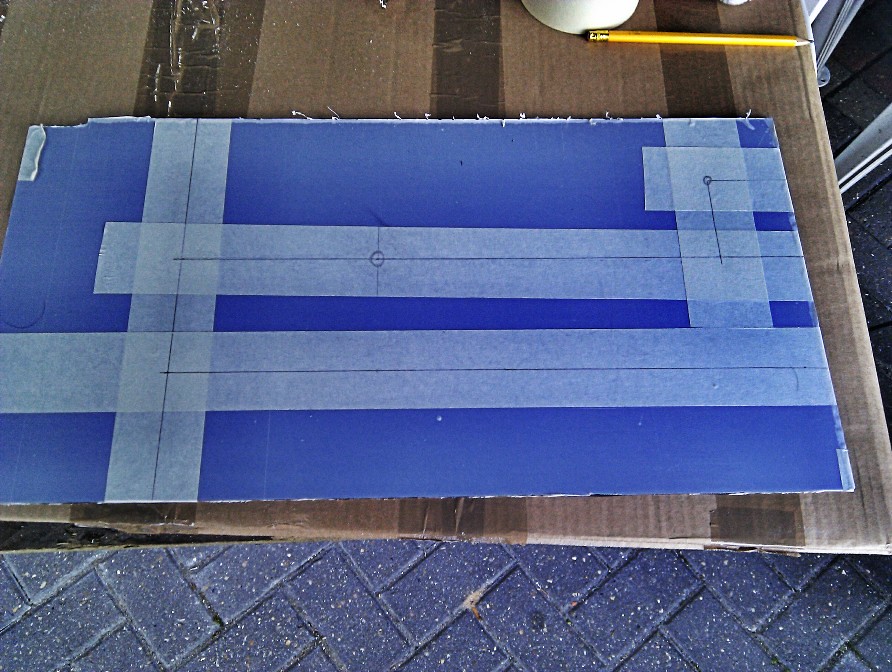
Plexi Work!
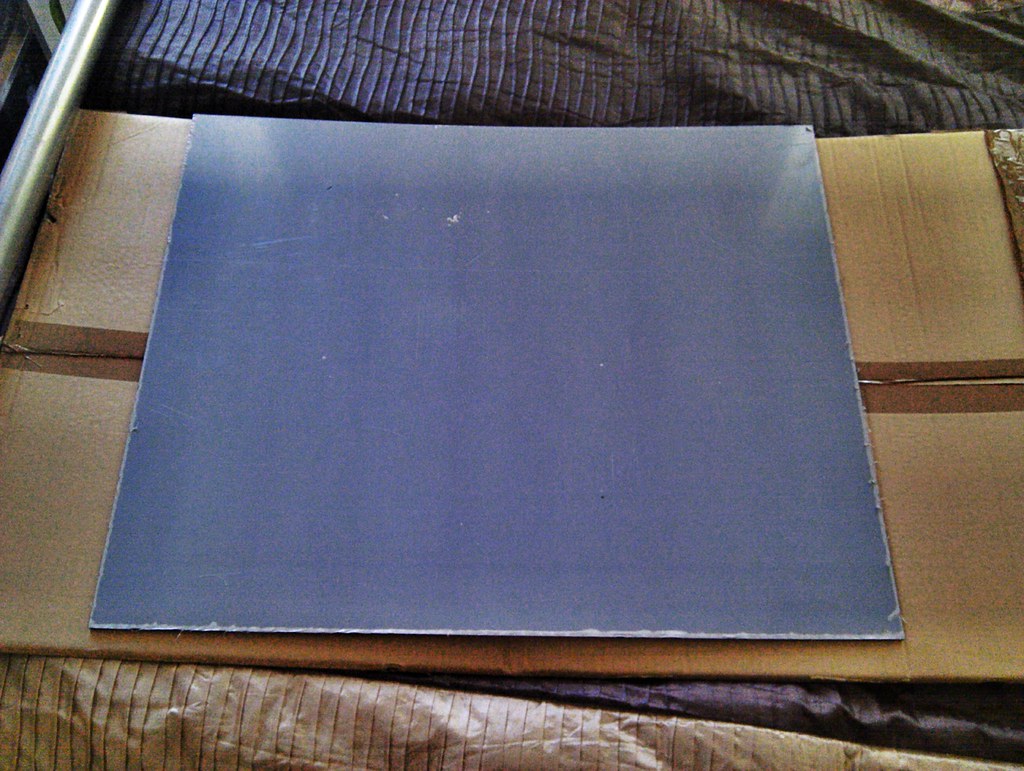
Ordered a piece of plexi and I got a huge one
That was the last one they had and at no extra cost!
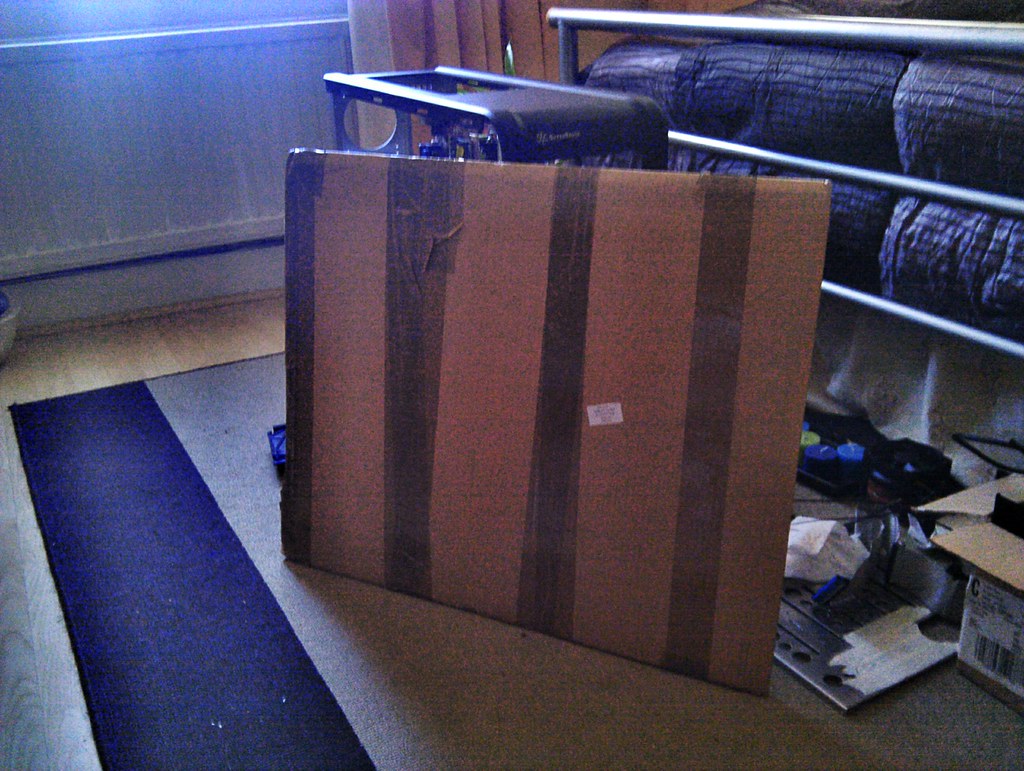
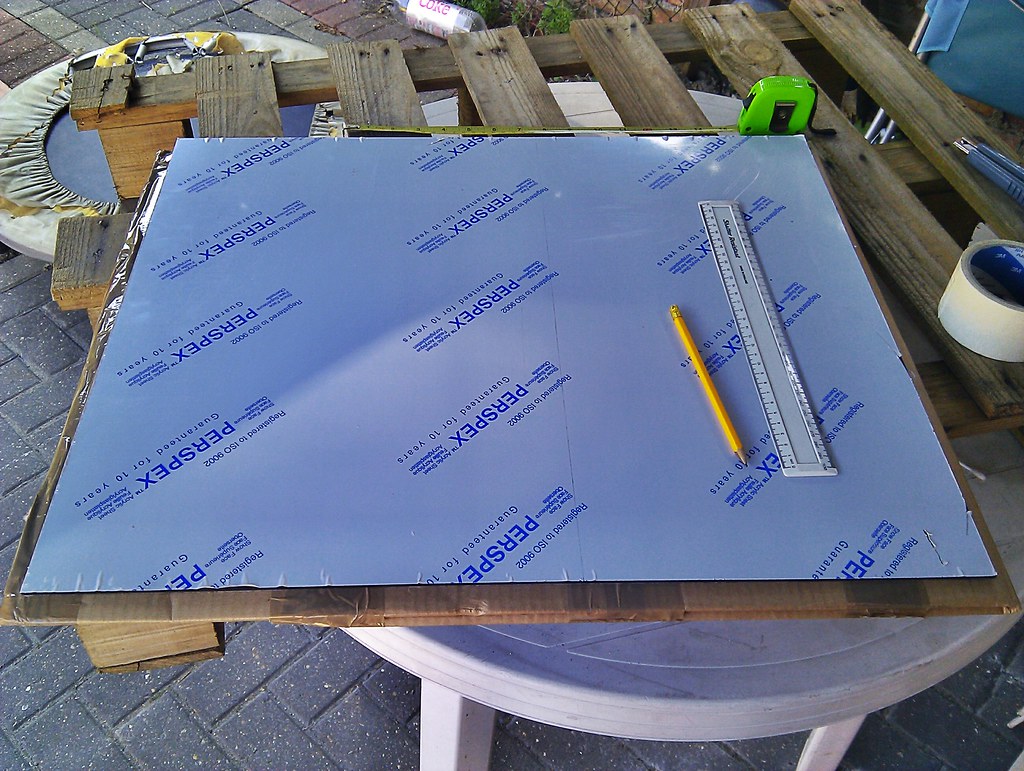
3mm 500 x 600 mm Black Tinted
Plan was to use the plexi to create a Mid Plate and Side window of the case.
I know aluminium blank mid plates are easily available but my set up needed some thing else. Besides I didn't like the look of those mid plates or the standard window.
First I used my Dremel to cut a big enough piece for the side window.
I used the remaining part to make a mid plate - or at least I tried to
I am going to use 2 Koolance Quick Disconnects. I first had them in the Antec 1200 case so that I can remove the GPU with out draining the loop.
GPU is the most upgraded/changed part of my PC, so I thought this would help. But they became very handy when draining the loop as well!

So this time I thought I would include the 2 QDCs so that I can drain the loop much easier.
2 tubes will be going through the mid plate, one from 480 RAD to the GPU and the other from RES to the Pump.
2 QDCs will be placed between these places to it is easier to remove the whole motherboard tray!
Cleaning, Draining and upgrading GPU can be done easier this way.
QDCs are VL4, not the VL4N version, so there is some amount of liquid (about 5-10ml) when I remove the connectors of a QDC. But with some cloth or kitchen towel I have done it with out spilling a single drop!
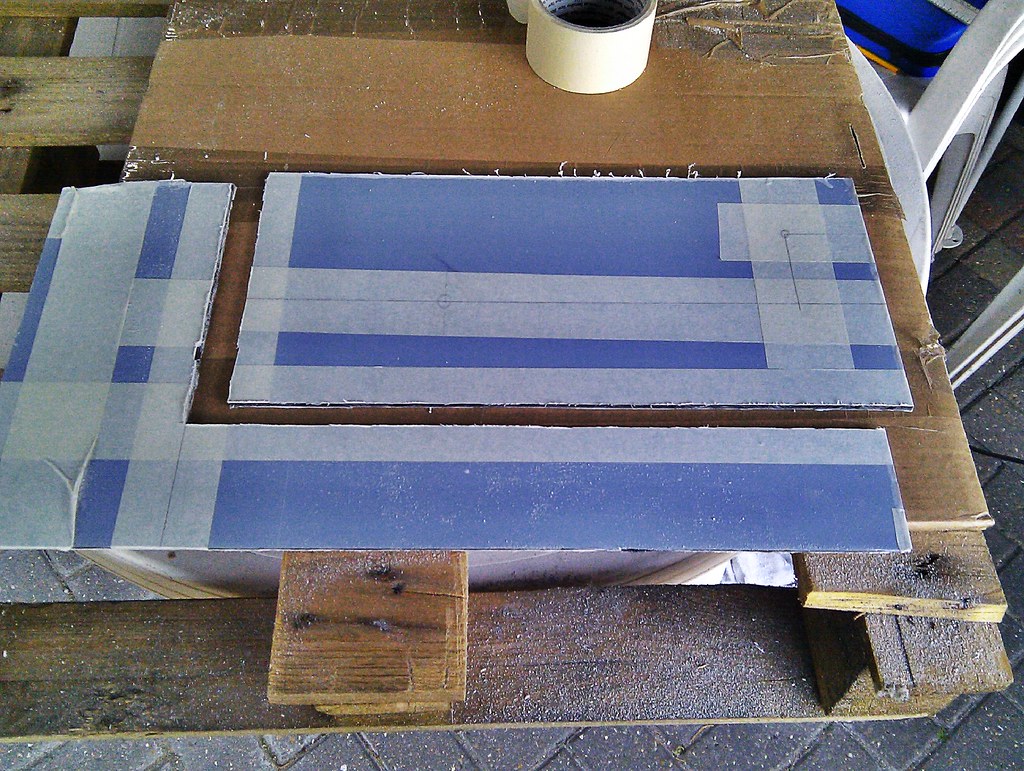
This is the result
(Motherboard is a dead one I am using to get the measurements)
It didn't turn out all as I expected!
I was doing it as a trial any way but I was hoping it would work at the first go
My measurements were a bit off.
and I have not compensated enough for the thickness of the cutting disk and sanding! Lesson learned!
Plan was to have 2 parts for the mid plate with half circular cut outs where the QDCs pass through.
That way I can remove the part near the window side and disconnect the QDCs!
I have a new plan now more on that later!
I drilled all rivets and separated the parts for Powder Coating.
Took all of them after giving them a good clean and wash, but had to come back again as I forgot the PSU cover! Mrs Avathar was not happy 
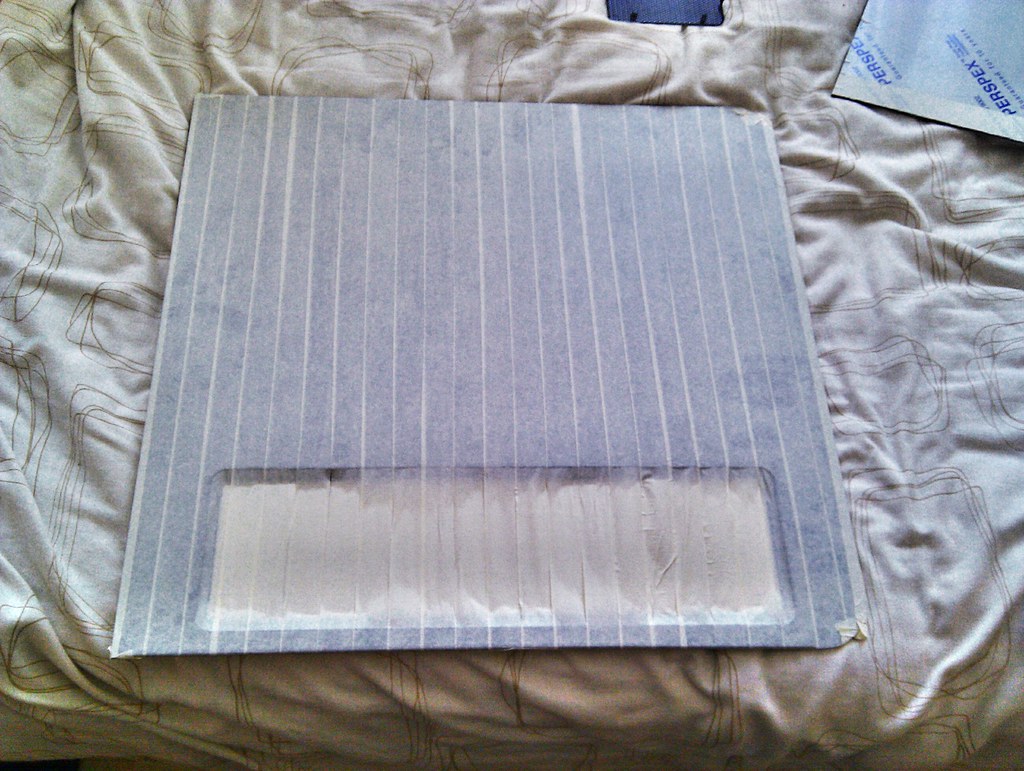
and Taped the Side panel to cut a window!
I still have to wait for some more cutting disks, I could have started with the remaining disks but weather was not good to work out side
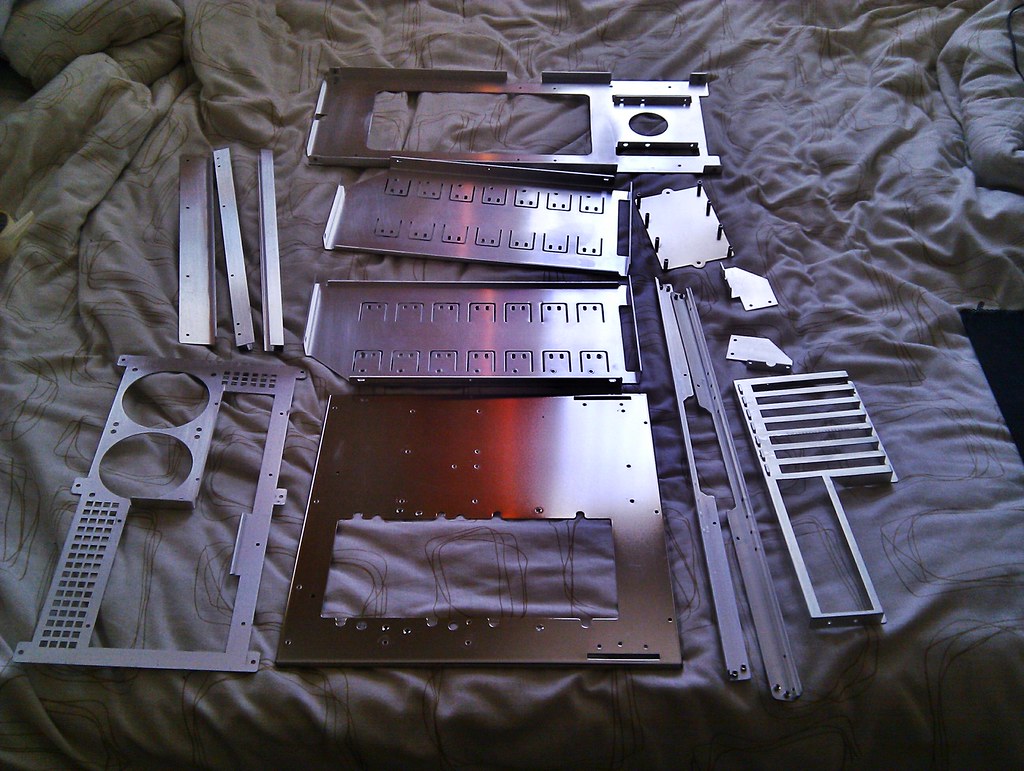
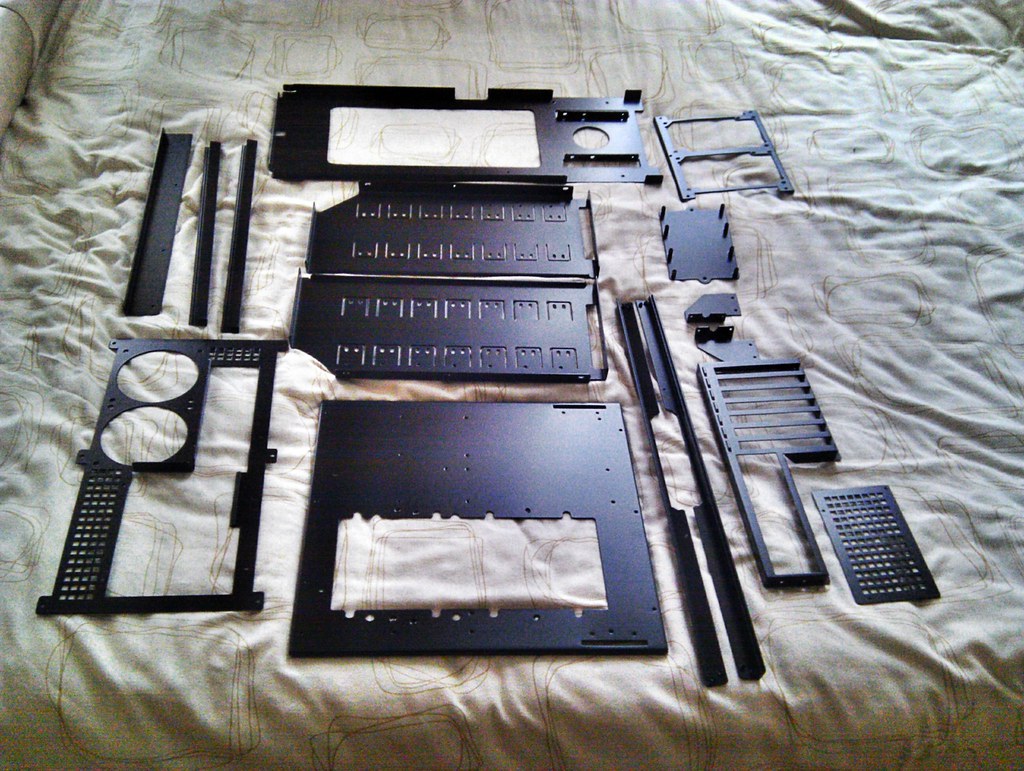
These are the internals all powder coated.
Cant take any detailed pics as today was a very dark and rainy day. But powder coating came up better than I thought!
Rivet gun and 3.2 rivets.

Paint on the rivets are going off easily so I had to be careful when fitting them.
Did some more work but couldn't take any more pics as it was already dark. Oh how much I miss the summer!
Got some new toys
I got them some time ago(ordered a day after AMD bulldozer release) but didn't upload any pics.
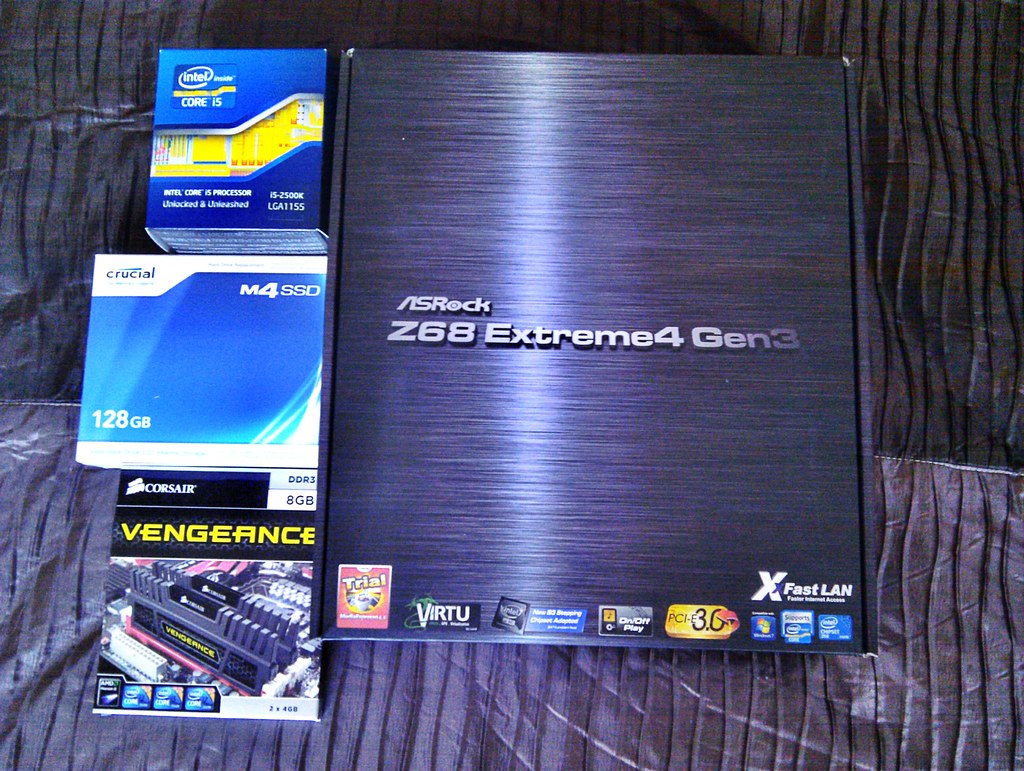
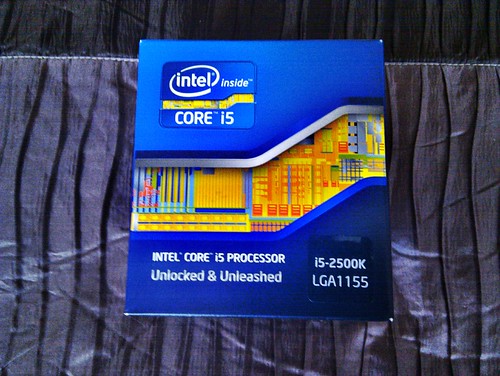
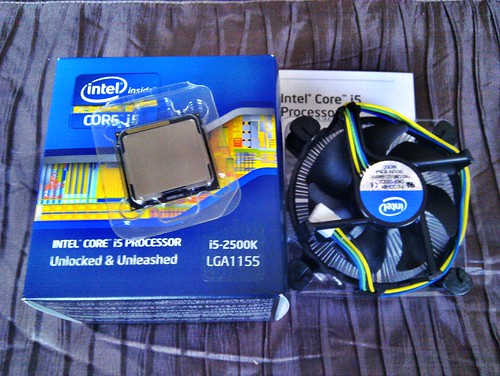
i5 2500k
I was indecisive of 2600k or 2500k but as I have little to no use of HT and by the reviews I read, it will hinder the overclock and/or gaming performance, I settled for a 2500k
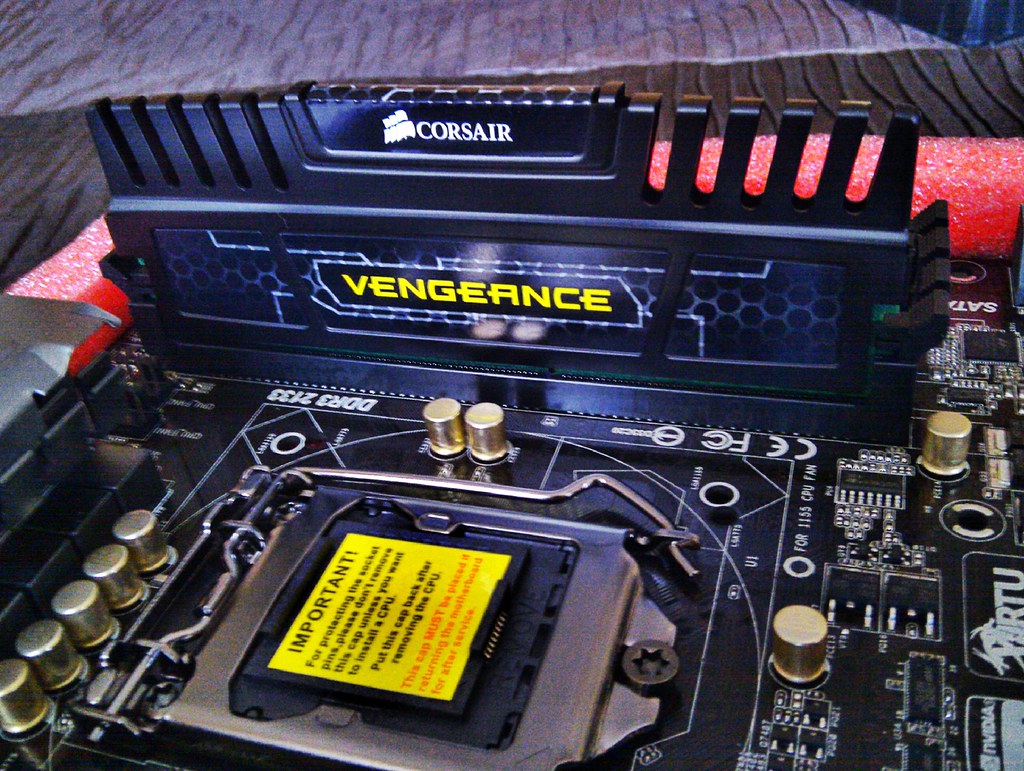
CPU HSF is tiny compared to the Q6600 stock HSF that I am used to
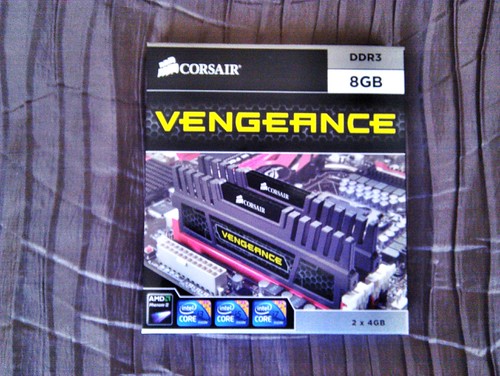
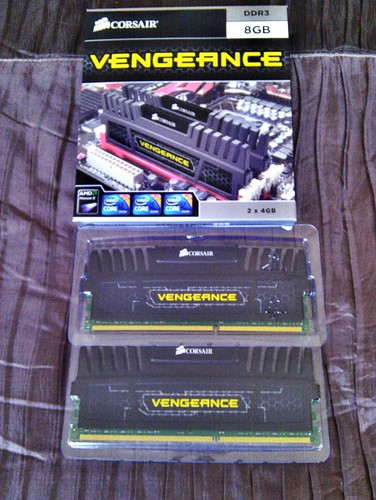
My choices were between this and the two low profile variants(White and jet black) of vengeance ram.
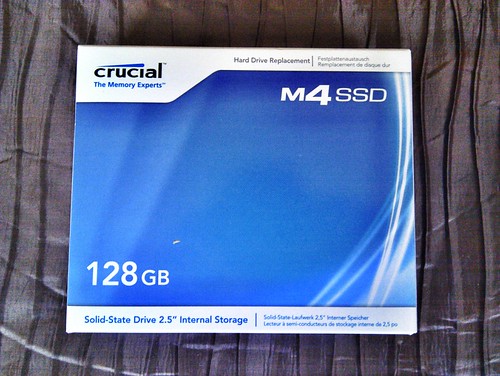
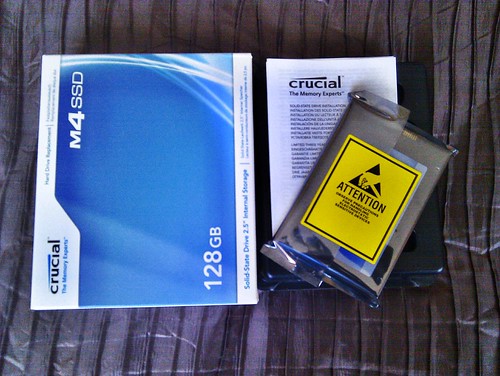
Original plan was to have 2 of these SSDs!
1 for the OS and My documents and the other for Games.
I have a 1 TB NAS drive down stairs, near the router so no HDD sounds.
But my unfortunate encounter with the PSU meant I had to allocate some money from the build to a new PSU.
So sadly only have funds for a single 128 GB SSD now, I am still undecided on putting back my 1TB Samsung F3 as the secondary drive for now.
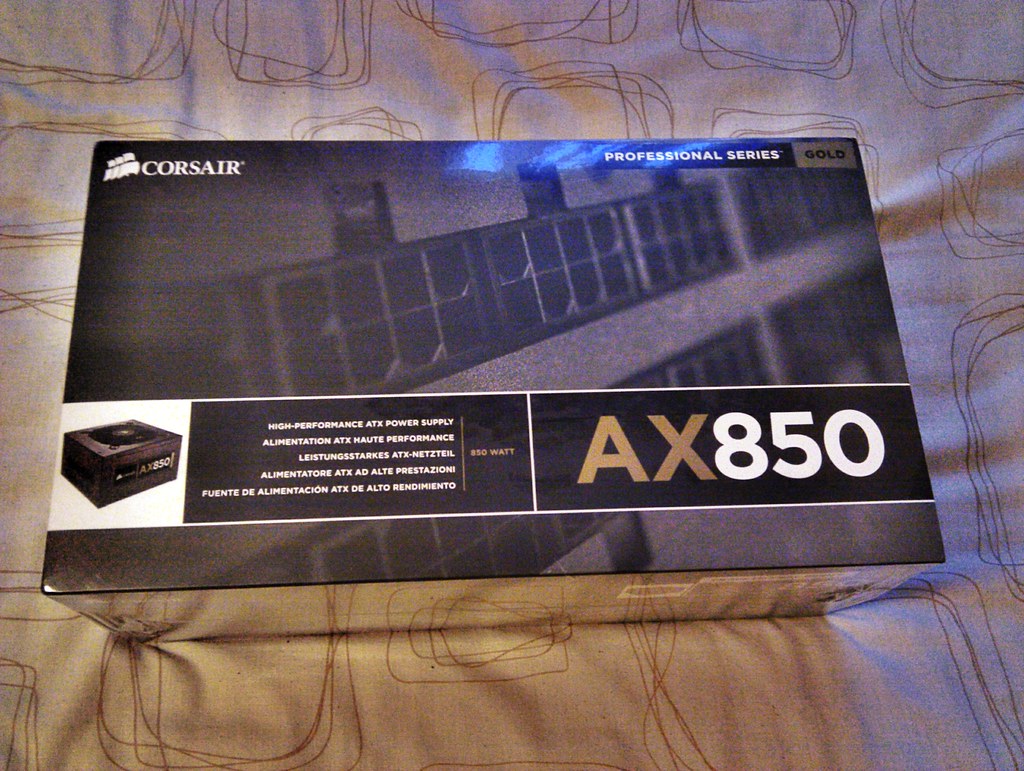
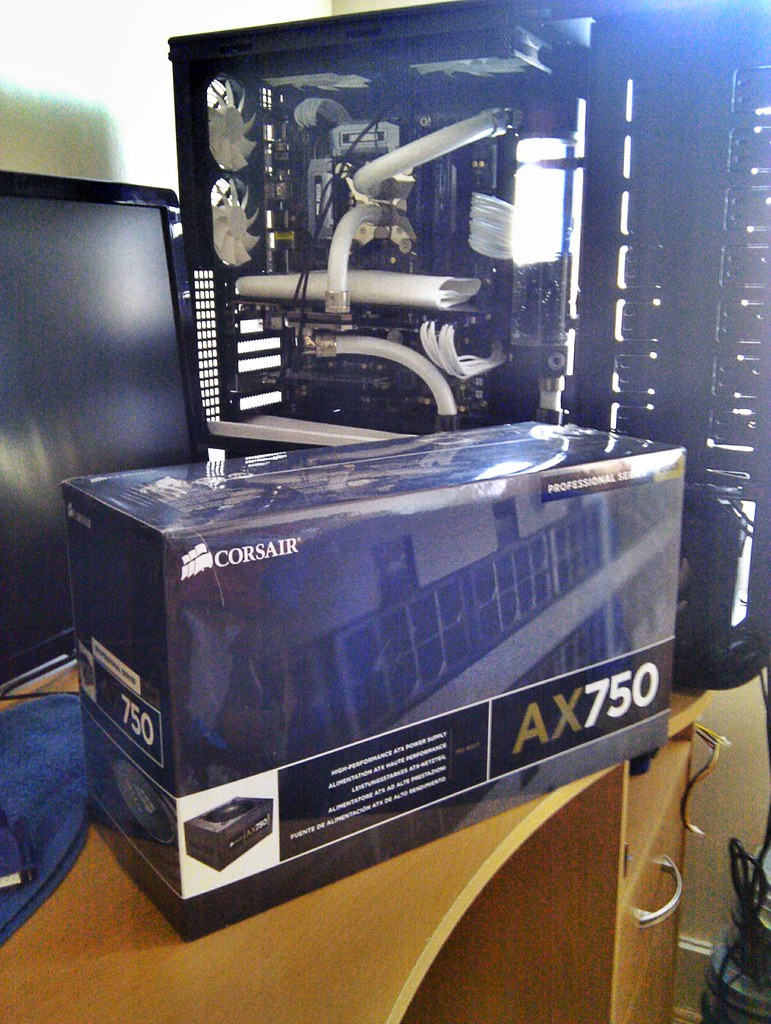
Corsair AX850 PSU! 80 puls Gold rated.
Amazing build quality and lots of cables.
I was worried and reading the reviews again and again because the fan would not spin! Only spints up for a second when turning on and off, but it turns out that is "normal"
EK Multipption X2 250 Advanced
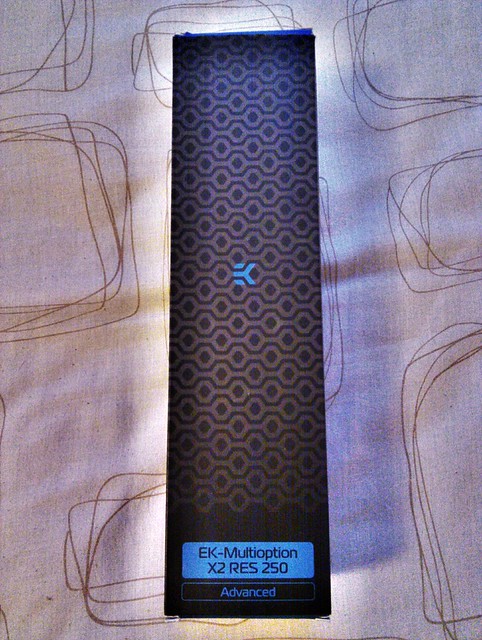
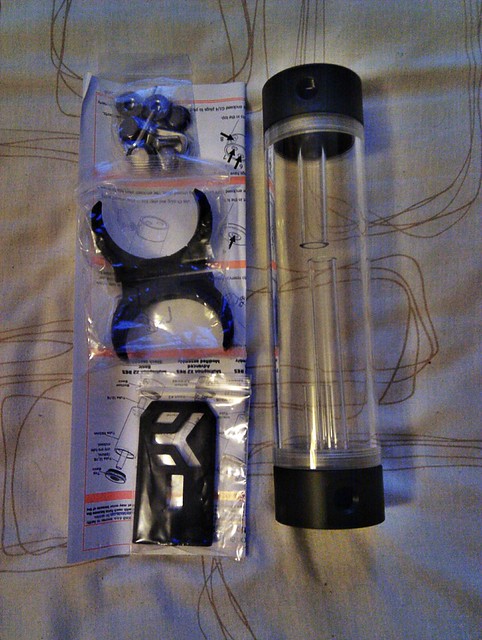
This is the best bit IMO
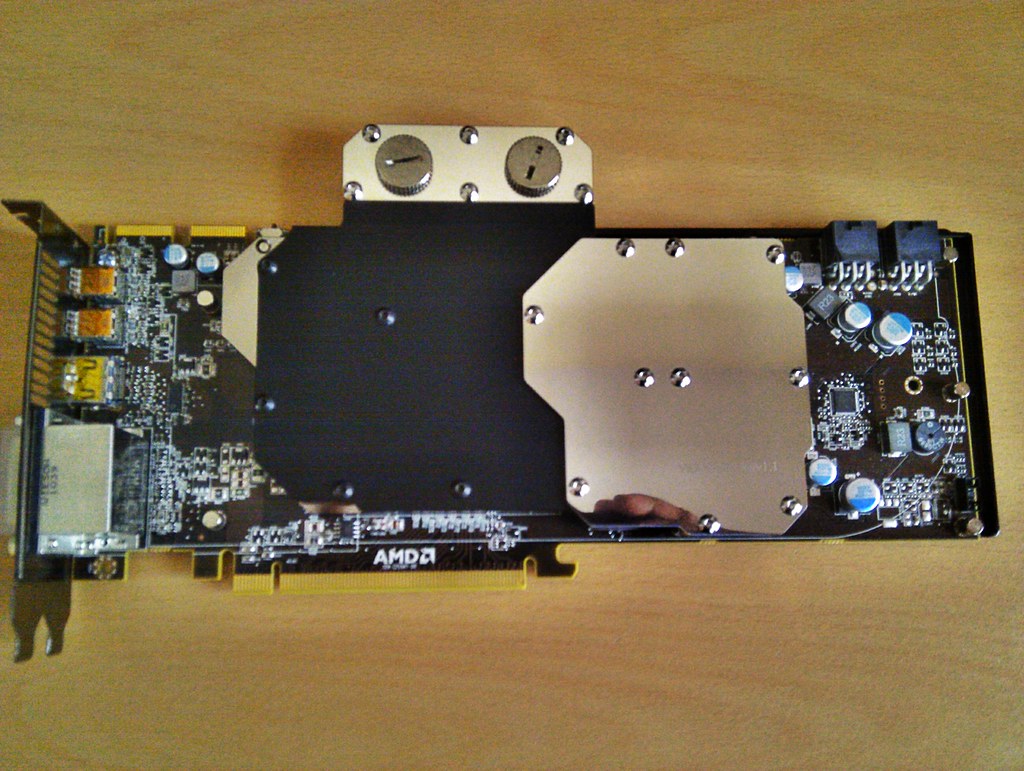
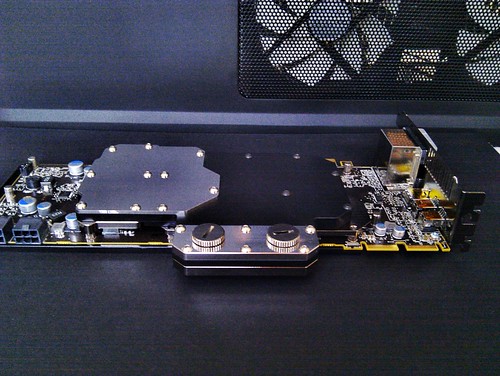
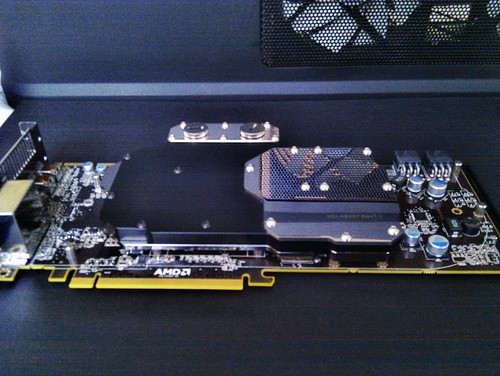
Koolance VID-AR697 Rev 1.1 for my Unlocked HD6950!
So yeah alot of changes from the initial plan
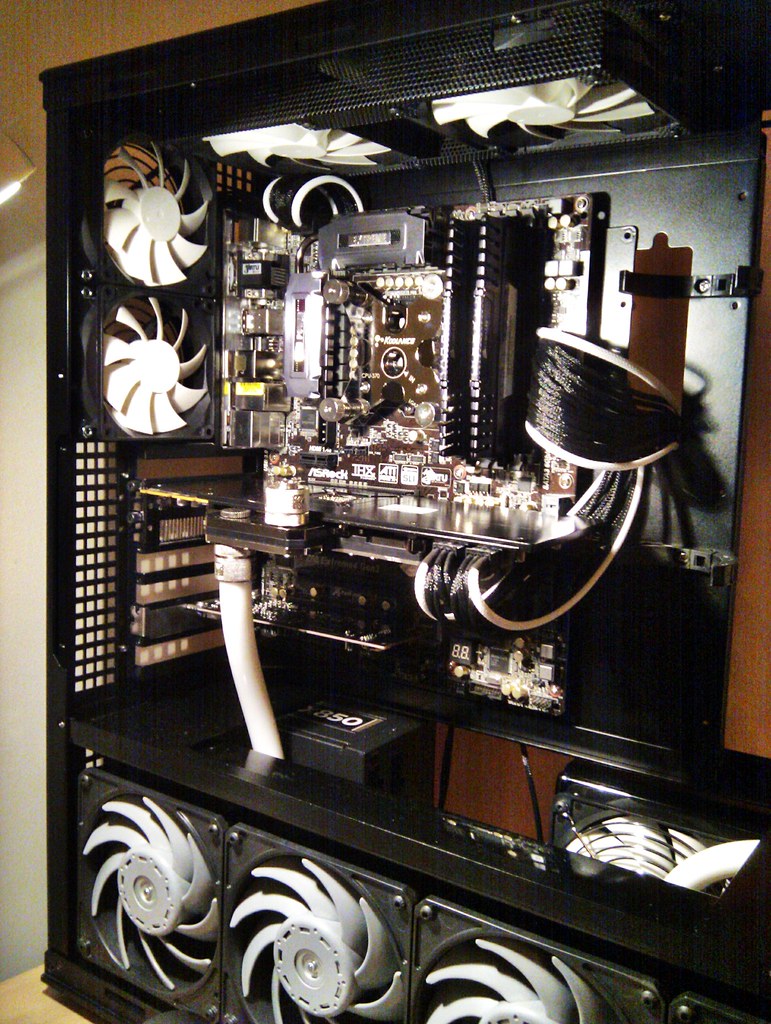
I started by assembling the case
I used Arctic F9 fans for the two rear 92mm fans and F12 fans for the two top 120mm fans.
Also fixed the 480 and 240 RAD Stands.
Had to remove the already installed core only GPU block and clean the GPU.

Cut the thermal tape and ready to apply MX-2
And all done!
This is how I am going to put the 2 RADs and the pump.
Whether the MCP355 is strong enough for the task is yet to be seen! I do hope it will.
It took me 2 attempts to get the tube between the 2 RADs fit correctly.
Pump is sitting on 4 "Feet" made out of foam to absorb vibration (if any), also it allows air flow under the pump.
Foam feet also helps when detaching the QDC which is going to be connected between the RES and the Pump.
Connecting the tubes to the RADs was difficult than I thought.
I had to use 2 x 45degree angled rotary adaptors on each RAD.
Here is the Star of the show!
Koolance CPU-370.
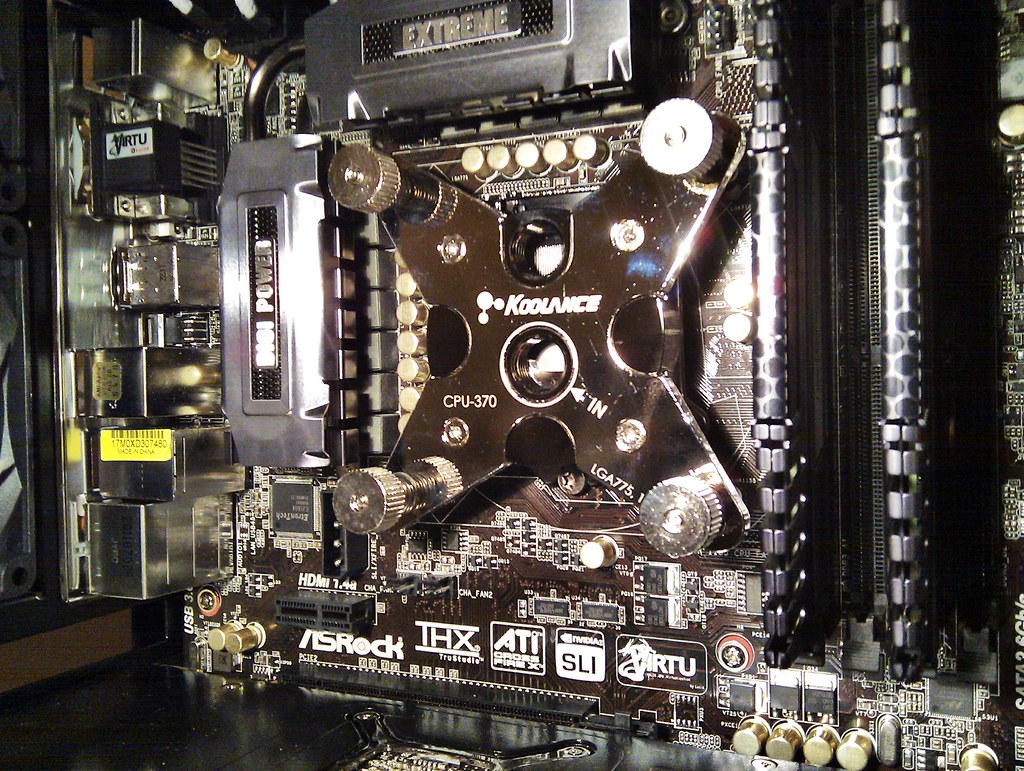
I do like Koolance blocks but not their compression fittings!
BitsPower is nice but don't have a house to mortgage or sell
That makes way to EK fittings.
Fixed the the AP-14s for the GTX480 RAD in push and 2 more Arctic F12s for the GTS240 RAD also in push.
Removed the fan grill on top and rear fans as I thought they look better this way.
Placed the New PSU and tried out the 8-pin, 24-pin and 2 x 6-pin power extensions. Didn't want to go overboard with braiding the extensions - only the outer wires are braided in white.
Tubing on the CPU block.
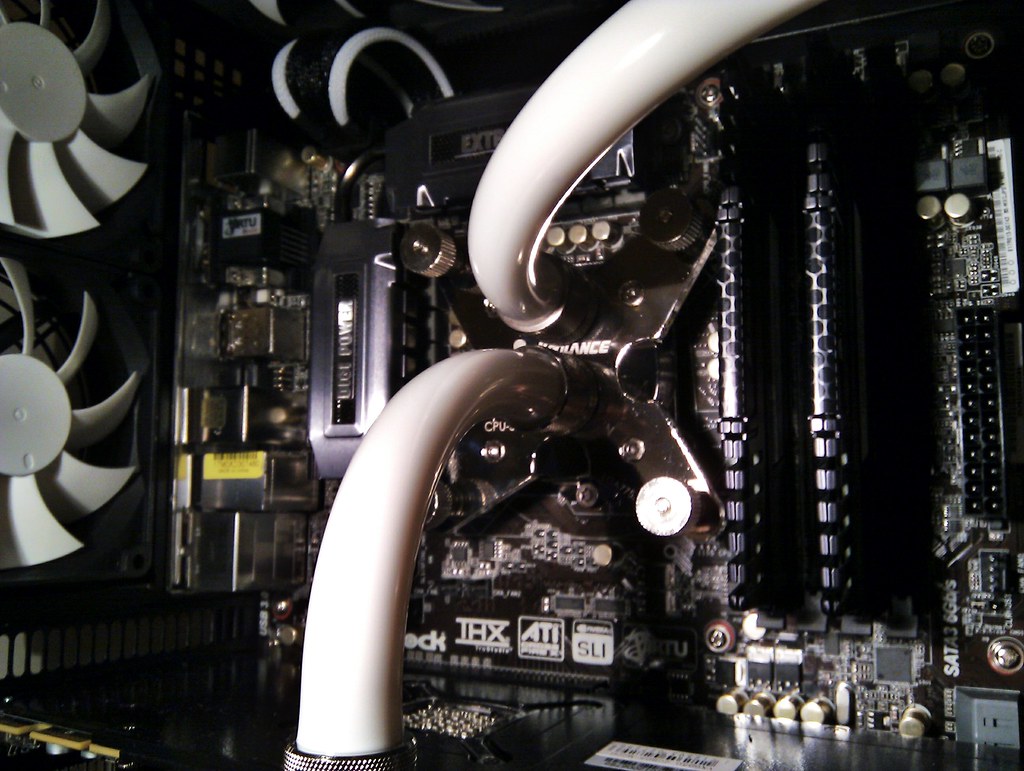
2 x Koolance VL4 compression fittings!
One from RES to Pump and the other from 480RAD to GPU.
By using these QDCs I can remove the whole motherboard tray without draining the loop! Very handy for maintenance!
I had to use 2 x 90degree rotary adaptors between RES and the QDC, to get it in a straight(sh) line with the pump. I could have moved the RES by raising the RES holders with something but I couldn't find anything solid
Also used another 90degree adaptor on the GPU block.
I tried my best to not use any 90 degree adaptors as I think they will reduce the flow!
And then it was time for the filling up and leak test!
I got 2 bottles of EC6 "Clear" and had to dig out my old trusted-DIY fill bottle
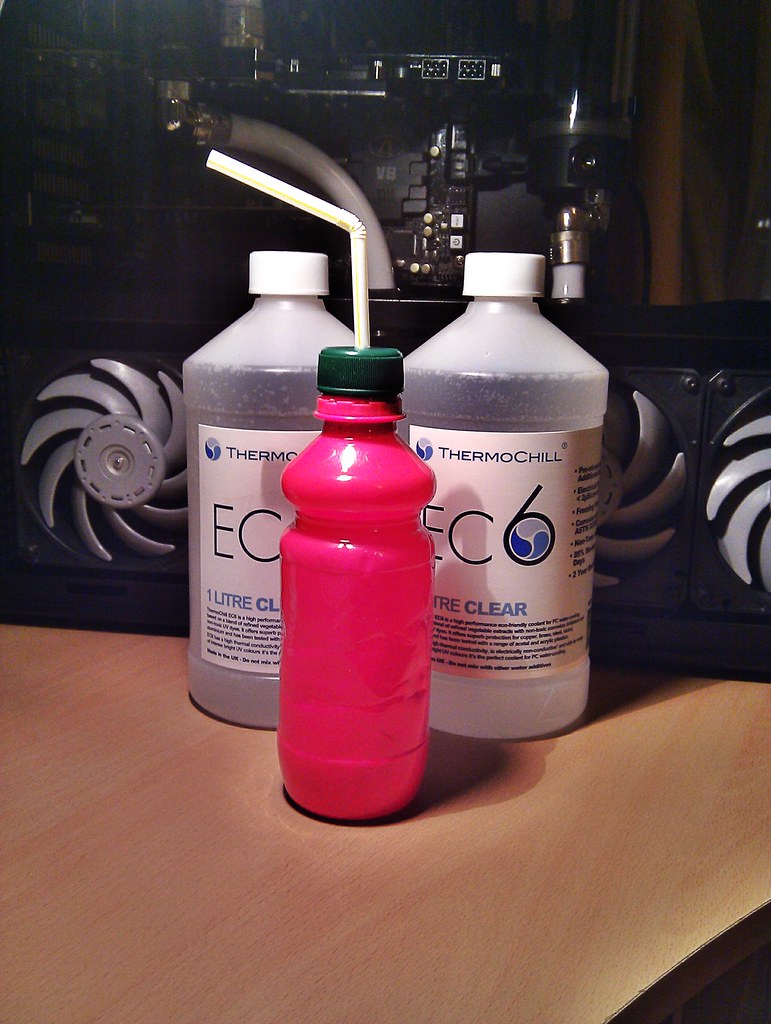
So far I have used about 1200ml of liquid.
I was just about to finish the lealk test after about 20 hours of running.
After watching a movie with my wife I came upstairs to check on the PC and saw this.
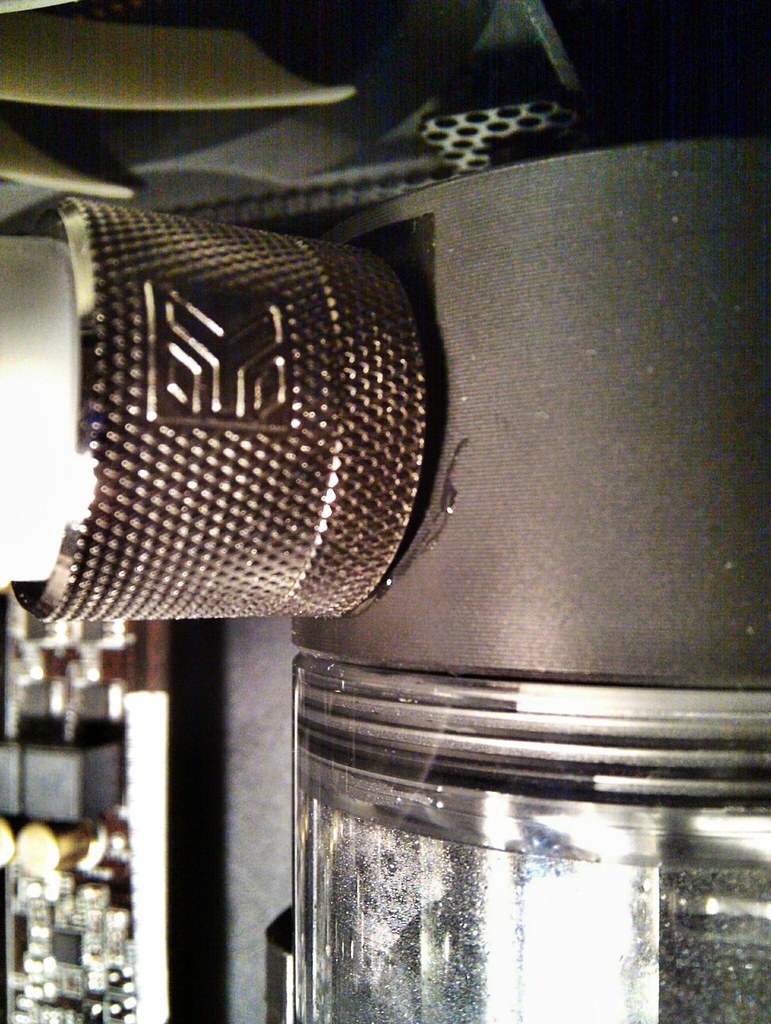
Well it was more than this but in a panic I didn't reach for the camera first
About 10-15 drops of EC6 has leaked from between the compression fitting and intake of the RES, it had gone down the RES and a small puddle of liquid was sitting on top of the Pump!
My guess is that the EK RES's top intake is not big enough to fit 1/2"ID 3/4OD fittings!
So I had to do a partial drain using the QDCs! Installing the QDCs already paid off! I would prefer not having a leak and doing the draining but it was much easier with QDCs.
After disconnecting and taking out the mobo tray, I drained the RES and replaced the compression fitting with a 45degree angled one.
Also modified the tubing coming from the RES to the pump so it is more straighter.
Doing the leak test again now, going to let it run till morning this time.
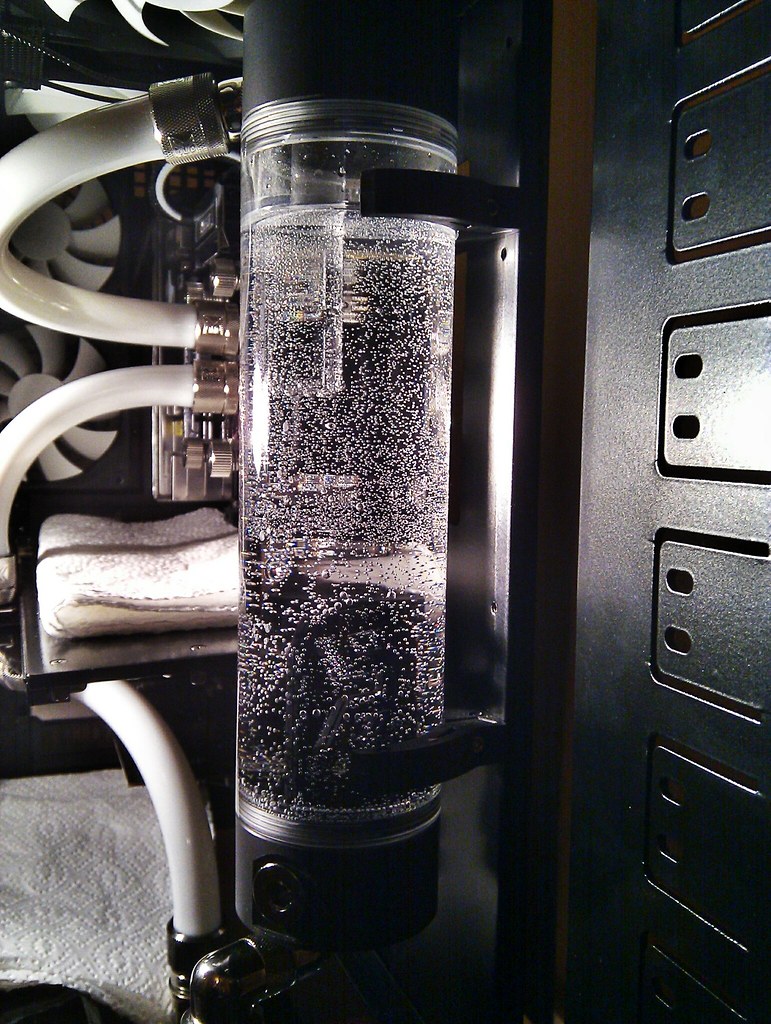
RES is filled with micro bubbles.
I don't think I will be able to finish the cable management in the back the way I wanted. I was having a go before this leak happened and I realised I may have to make some 3-pin fan extensions if I want the wires to run "pretty", or I just finish with what I have for now and do it next time.
After all, there is a reason why I called this "Evolution : TJ07"
After 4 days, all the bubbles have gone from the RES! Yey!
Samsung F3 HDD is the most loudest part in the PC when the F12 fas are at minimum speed.
I was playing around with some overclocking, but I feel Sandybridge and Z68 have taken the fun out of it! I remember how it was with my P35 and Q6600!
Now all it took was to simply set the auto 4.6 or 4.8 profile on the Mobo setting and it is on!
I tried tweaking the voltages a bit but it is already at its best I think.
Ran IBT and Prime95. IBT gave the highest temp readings so far
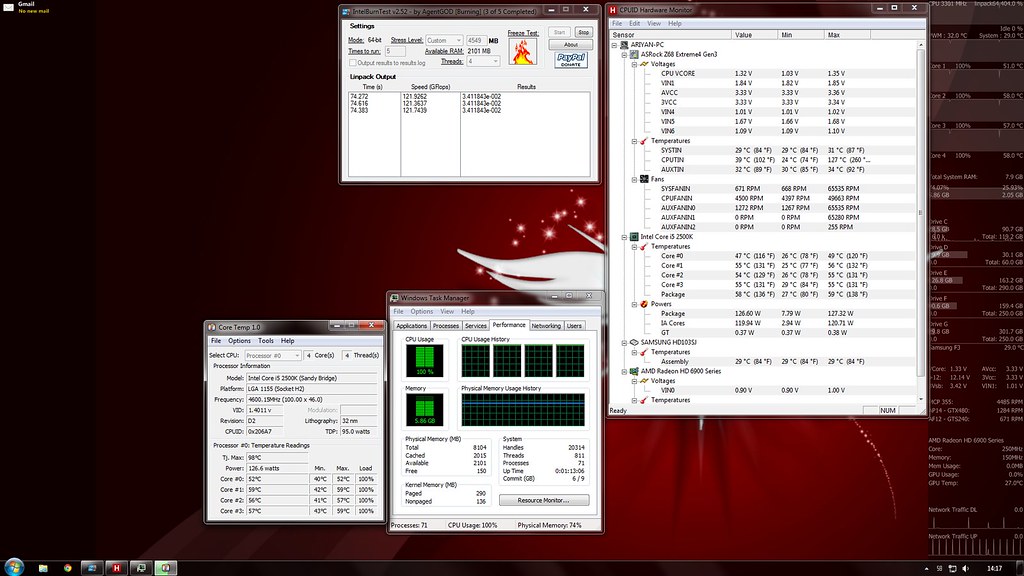
CPU @ 4.6GHz all Auto settings
Room temp 22C
F12 fans at minimum and AP14s at max because I can't hear them.
Idle 25-29C
Full Load 49-57C
CPU block is seated properly but no idea why cores reporting a big deference in temps
@Idel there is about 4C deference in the lowest core and the highest
and @load it is about 8C!
I may try to reseat the CPU block in time.
GPU OC was same as before. But had bit better results.
HD6950 unlocked shaders
Core 1000MHz Mem 1375 @ 1250mV

Some bad news now:
Seems like my luck with PSUs - or the lack of it is continuing
My brand new AX850 developed a fault just after 7 days of use!
I heard a "POP" sound! but this time there was no smoke or sparks! and no I didn't put anything inside
PC didn't start so I had to take it out and connect a backup PSU to see if every thing else is ok.
So far every thing is working fine but I dont feel safe to run the PC with a £20 650W unbranded PSU.
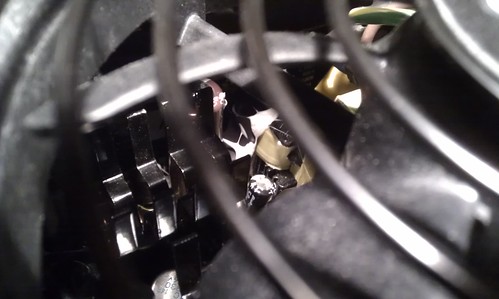
Upon inspecting the Corsair PSU, I could see some "things" splashed all over other components and even on the fan blades. I think it is a blown capacitor but I may be wrong.
it is very hard to get a good pic from my camera phone, so this will have to do.
So I have sent the PSU back to the shop and they have approved the RMA just in 1 day!
But now they don't have stock for the AX850 so I have to wait or have to get something else
Also I am thinking of doing some major changes to the build.
I may have to drain the loop again, but easy task because of the QDCs.
I am thinking of removing the GTS240 RAD. I think just the single GTX480 is enough to run the system at good temps. Most of the time I was running both RADs with all the fans off, while watching movies and browsing, and the temps only risen by 3C in the CPU.
This will also give better placement of the pump and I will be able to remove 2 of the 90 degree rotary fittings, which all together I think will improve the flow rate.
I still have to work on the side panel window, Mid plate and the front plate.
It is very cold out side now so don't feel like using the dremel outside(can't use it indoors as I might be kicked out by Mrs Avathar)
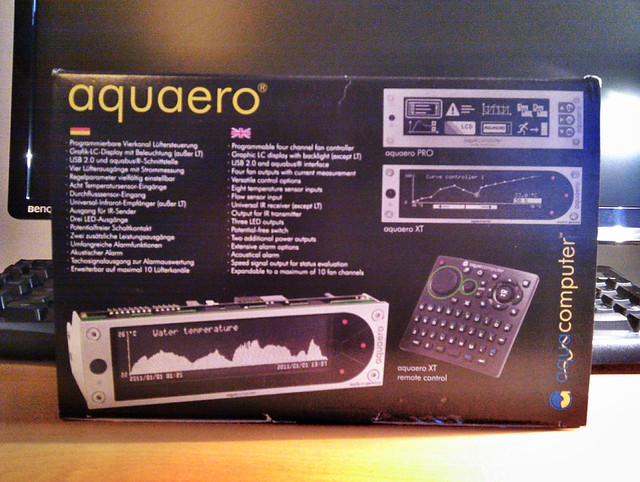
Also thinking about a new fan controller or a switch panel. I have a Zalman ZMFC 1 Plus but I would like to turn the fans off completely.
So yeah, many things to be done, and not much time to do them....
-
So much done in one post already though. How long ago did you start this project (I mean, starting when you got the TJ-07)?
If you do change the PSU to a different model, I wonder if you can re-use your sleeving and wires (assuming they are modular).
The ends being white looks pretty cool, but don't you think having more wires sleved white in the middle might look even better?
Good luck with future progress. Great work so far!
-
Thanks!
I got the TJ07 at the end of September this year, stared with the Q6600 setup. But now only the Samsung 1TB HDD, GPU and the MCP355 pump are the parts that have not been upgraded/changed
Project has been going on since, some days with lot of things done but for the past few weeks it has come to a crawling speed.
I am sill waiting on the PSU and some other stuff. Would like to get another AX850 as it is a very good unit while it worked!
I would be able to use the 24pin, 8pin and 2x6pin extensions. But I am already thinking of making them all white.
But my braiding is below the standard I want it to be Don't have a crimping tool or pin removing tools so it is very hard to do properly. I might give in and do a shameful job of buying pre braided ones instead.
-
Tags for this Thread
 Posting Permissions
- You may not post new threads
- You may not post replies
- You may not post attachments
- You may not edit your posts
-
Forum Rules


 Reply With Quote


Bookmarks