


Hi Guys,
I´m currently waiting on some materials to arrive in order to complete the last stage of diabolo (Thread also on here).
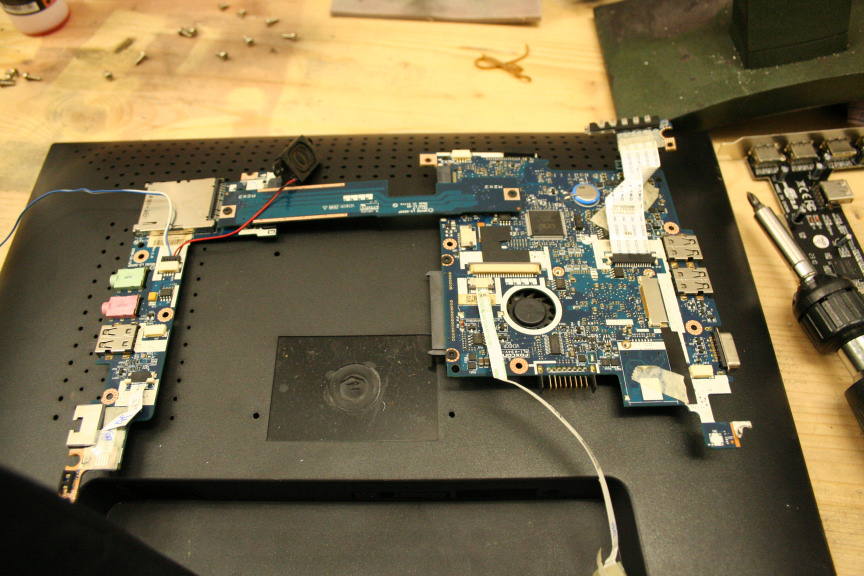
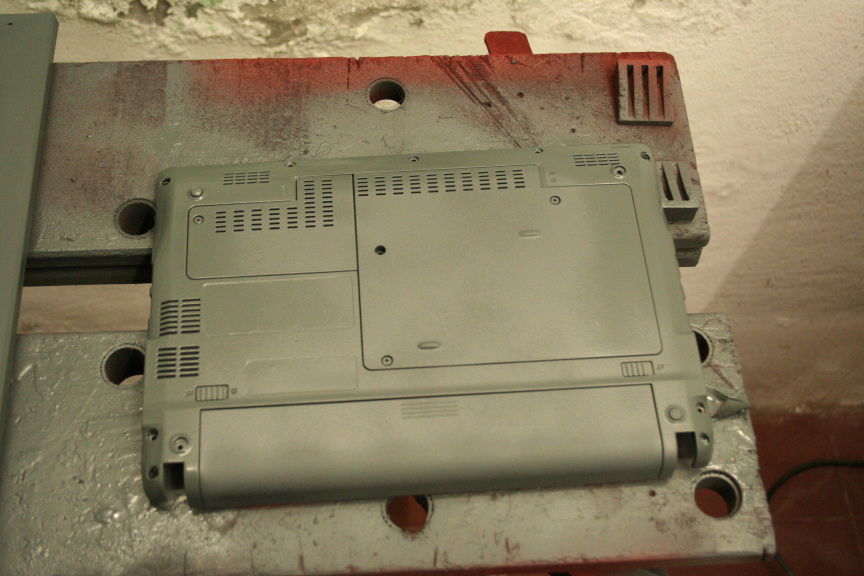
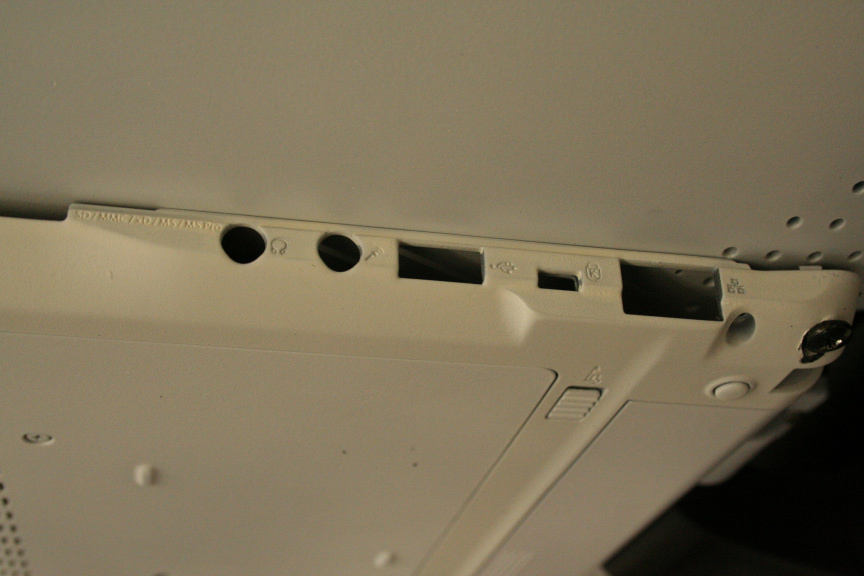
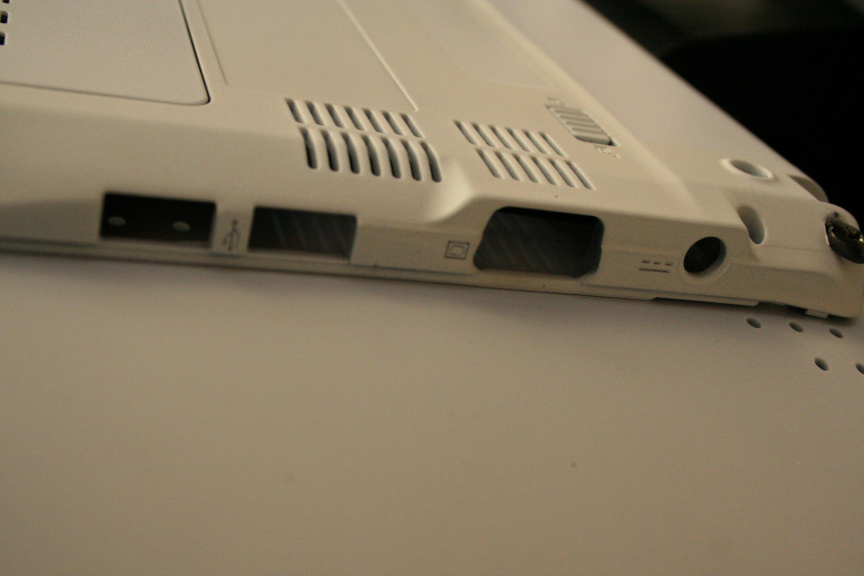
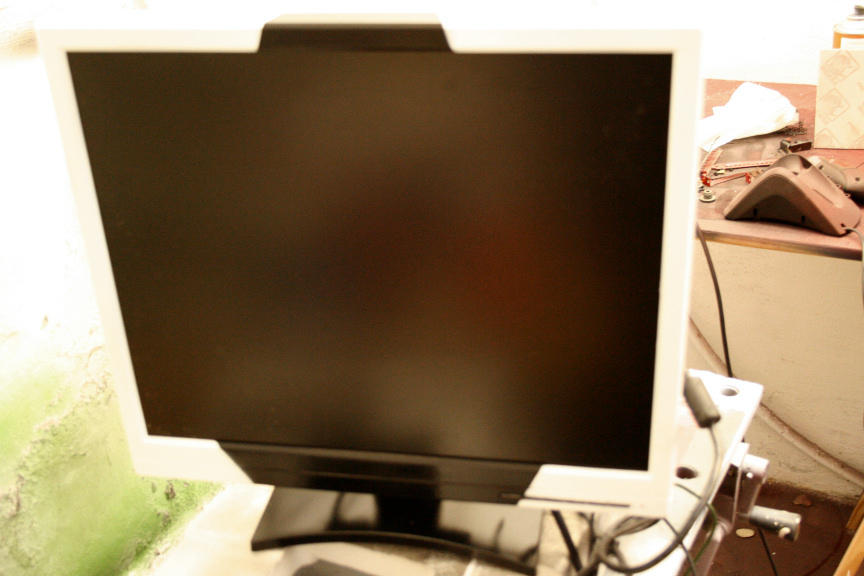
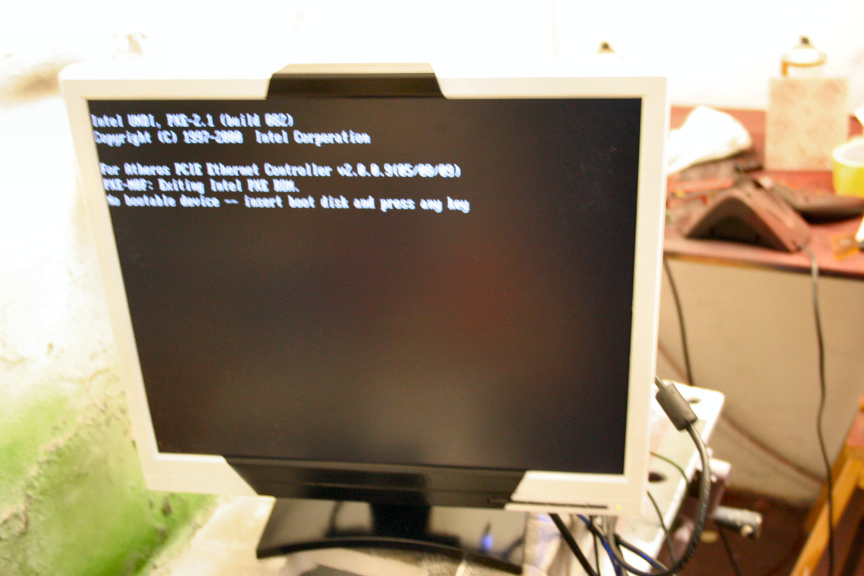
I´ve been given a netbook that was run over by a car, as you can imagine it´s pretty screwed, casing, screen, ram, hard drive, all gone, surprisingly, the motherboard didnt have any physical signs of damage, so figured, for what it´s worthed, might as well try to see if it works, so took the whole thing out and plugged it in to an external screen and a usb keyboard. Surprisingly, it starts!, went to bios to check everything, even run some startup tools with diagnostics in them, and... it checks out, seems to be in working order. Obviously, buying the parts to fix this netbook would cost as much if not more than buying a new one, and even if it didn´t, I don´t have the need for a netbook.
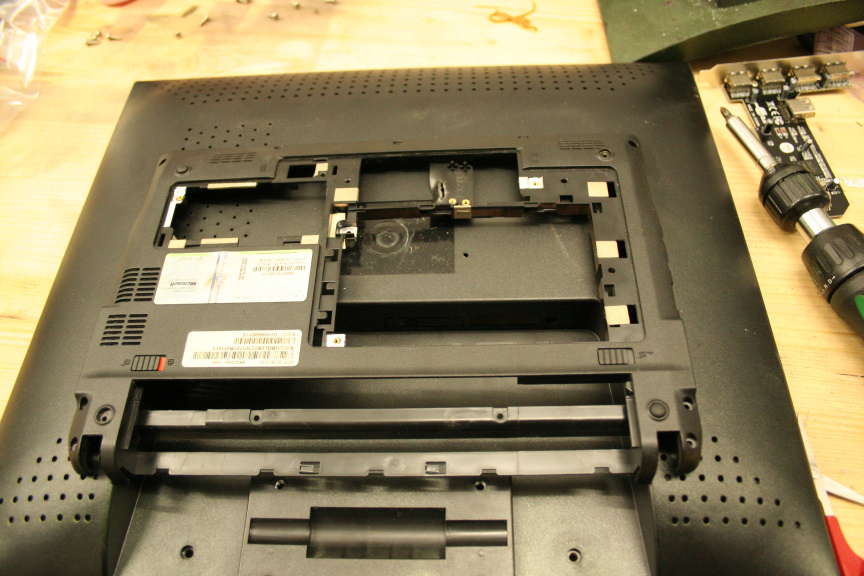
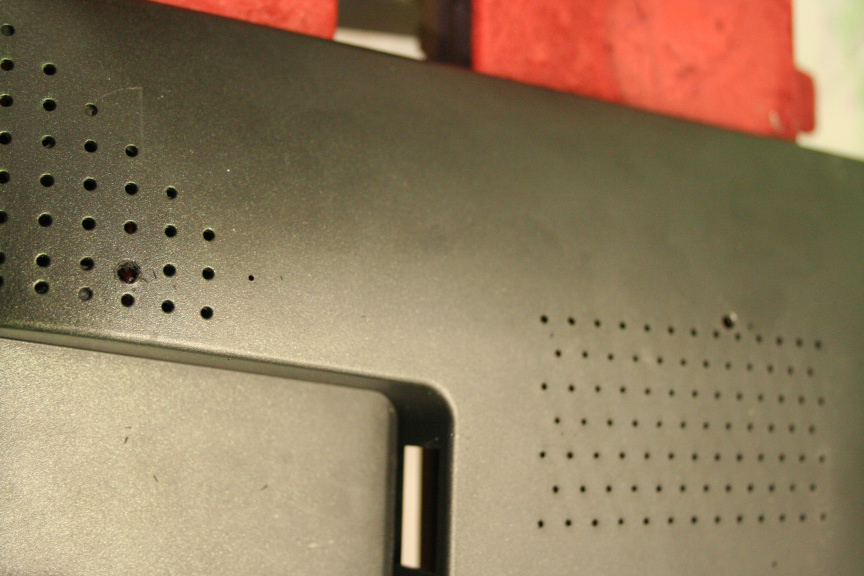
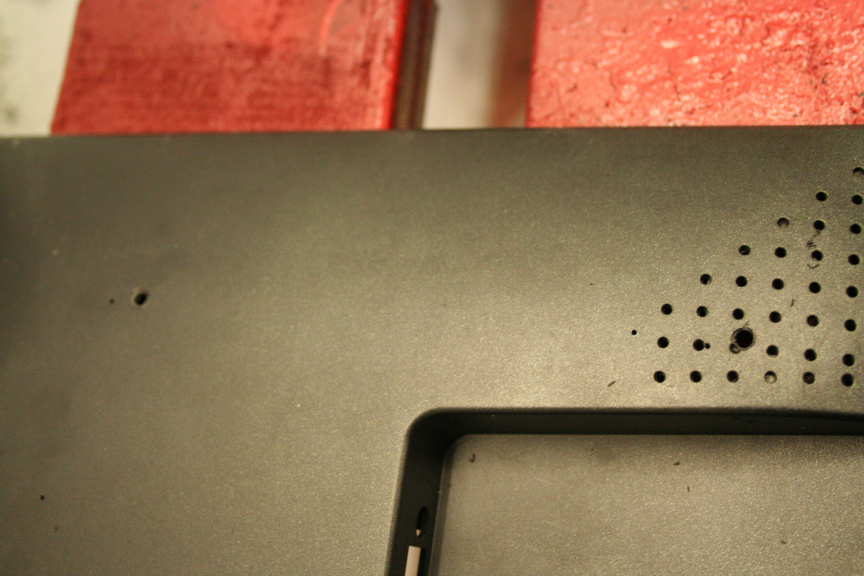
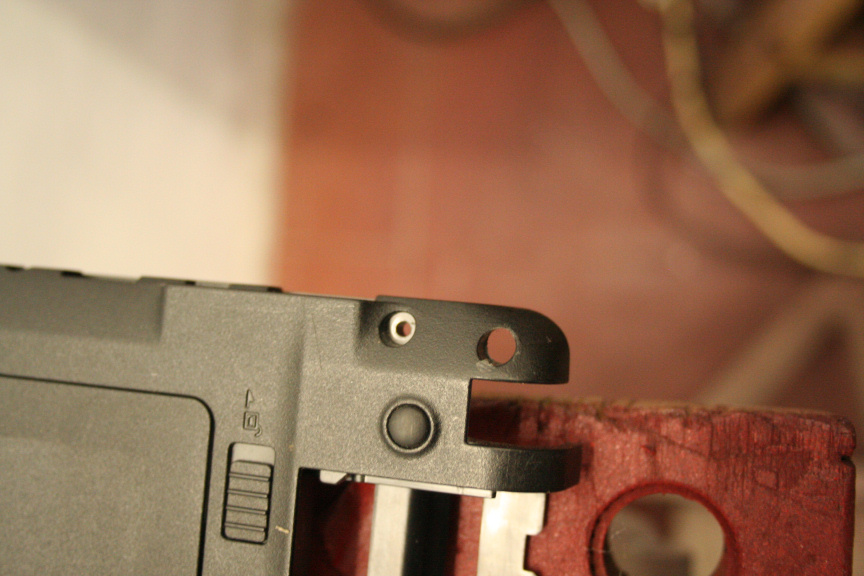
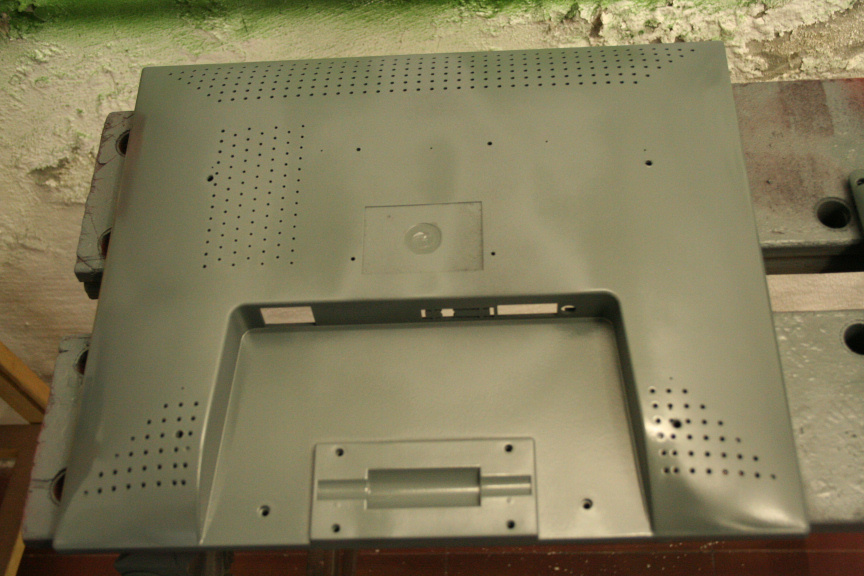
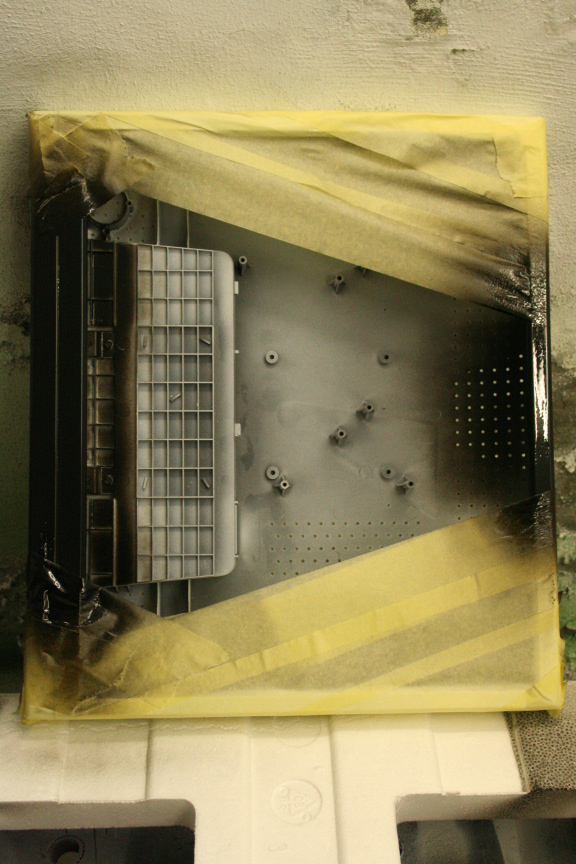
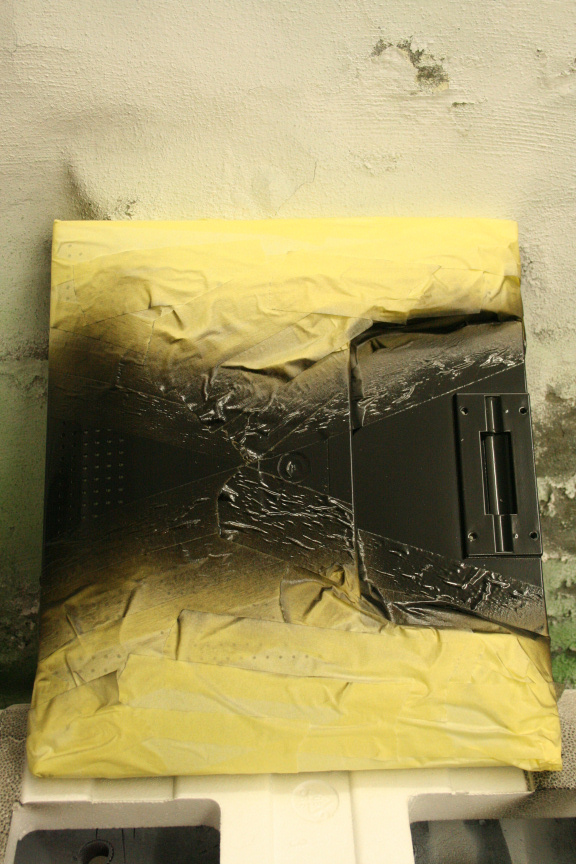
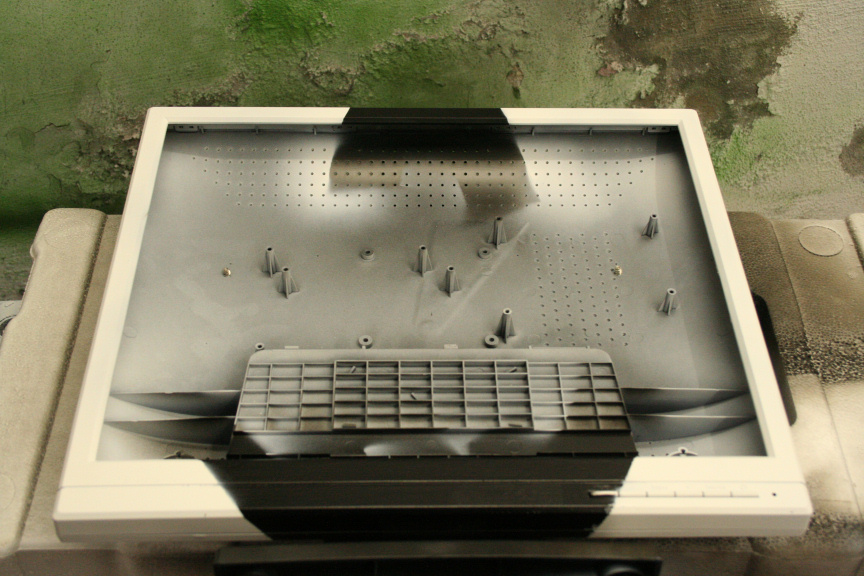
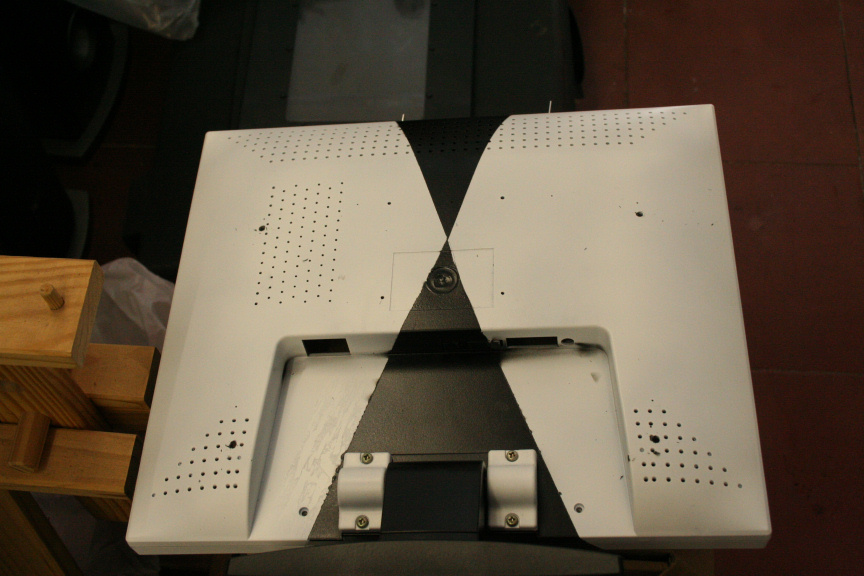
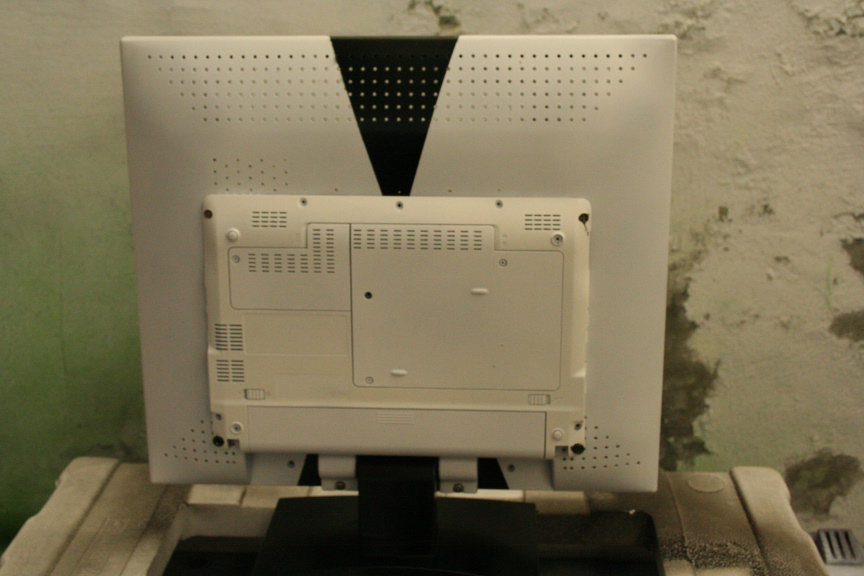
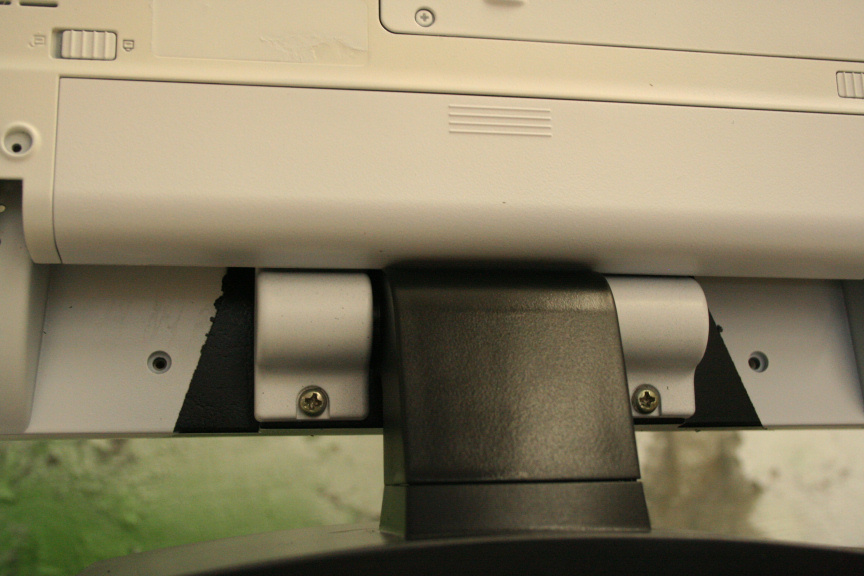
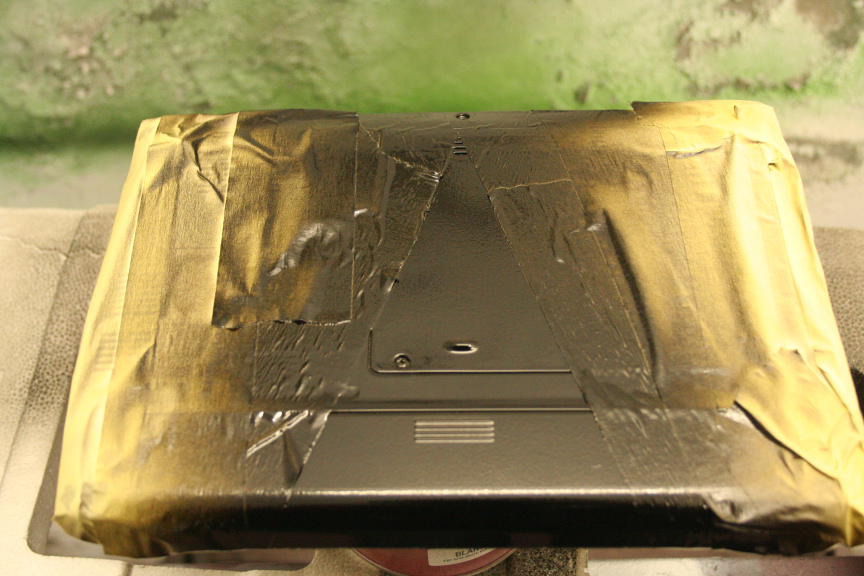
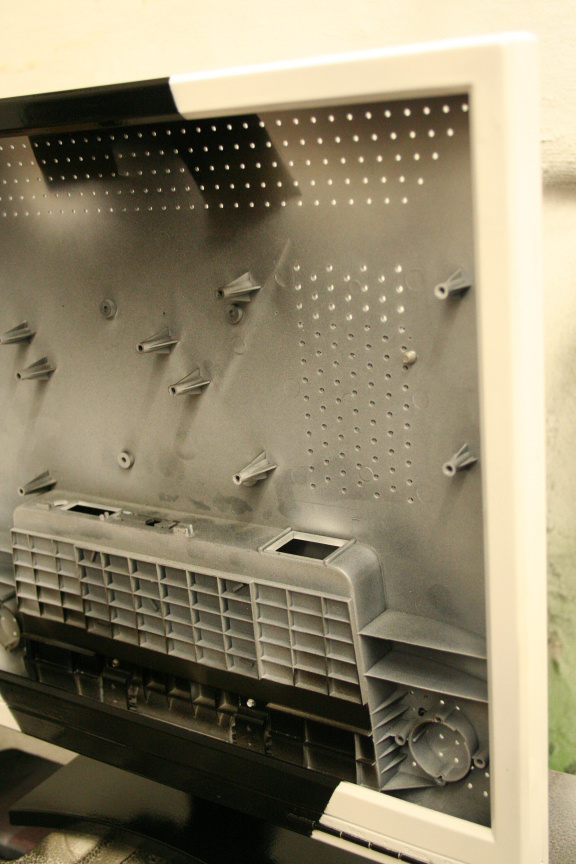
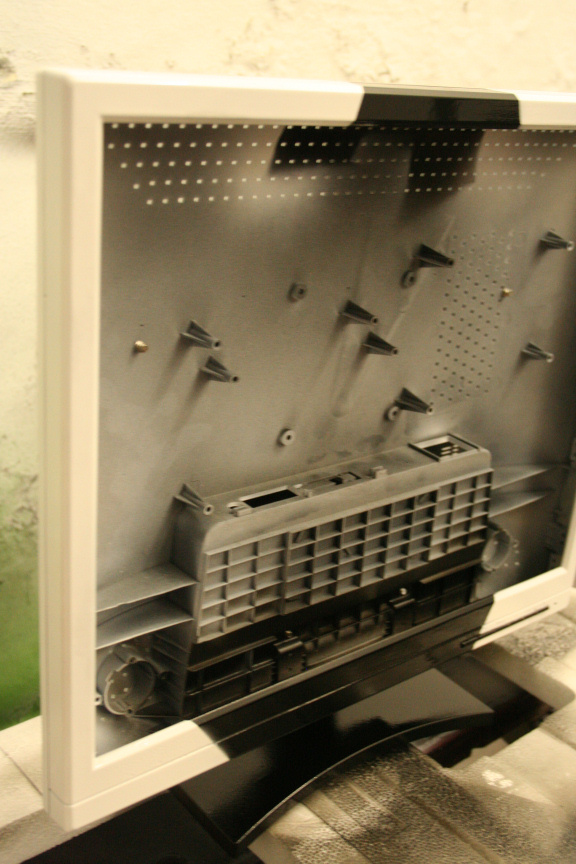
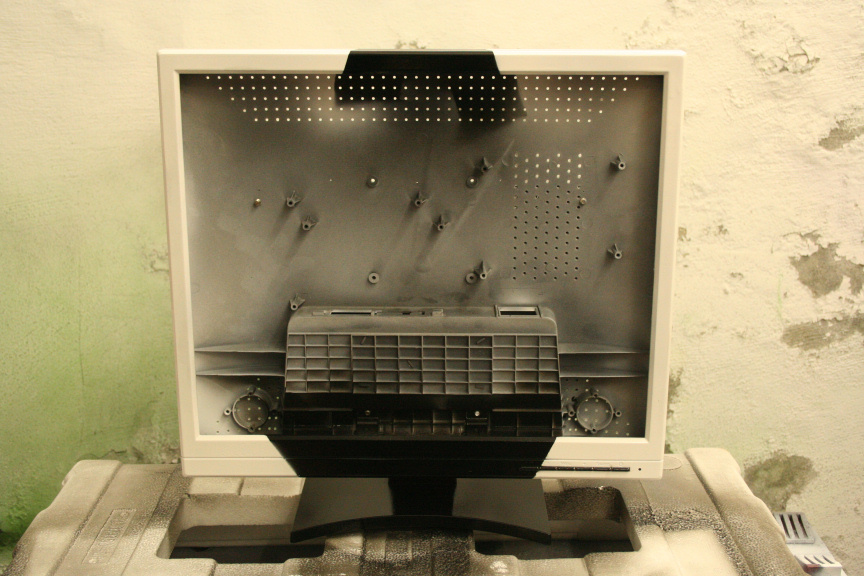
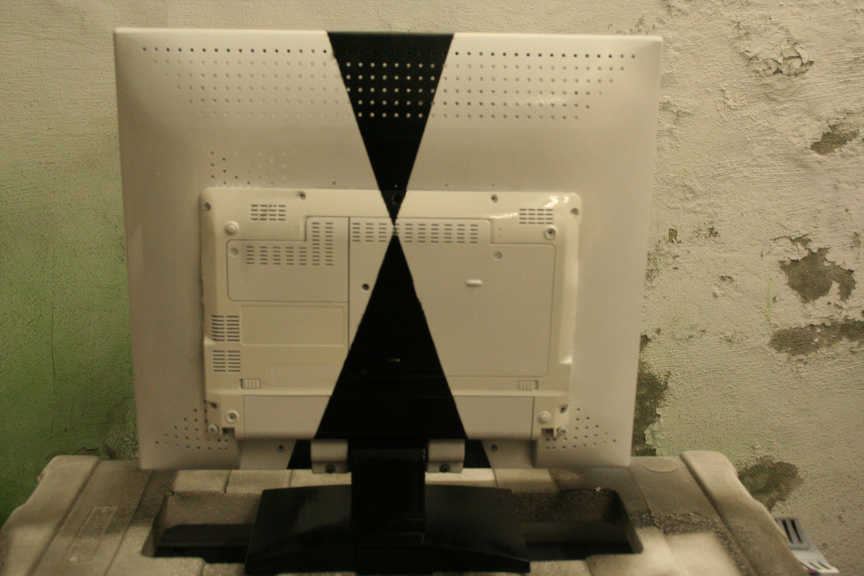
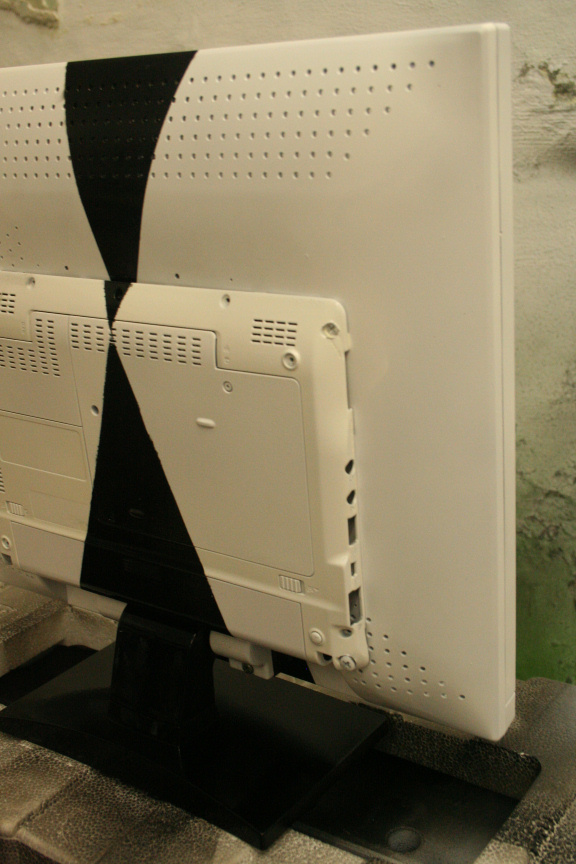
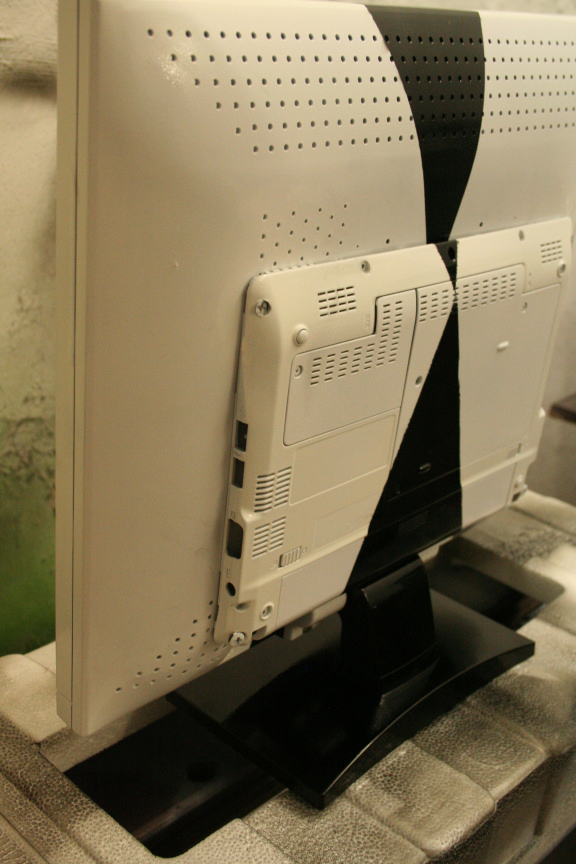
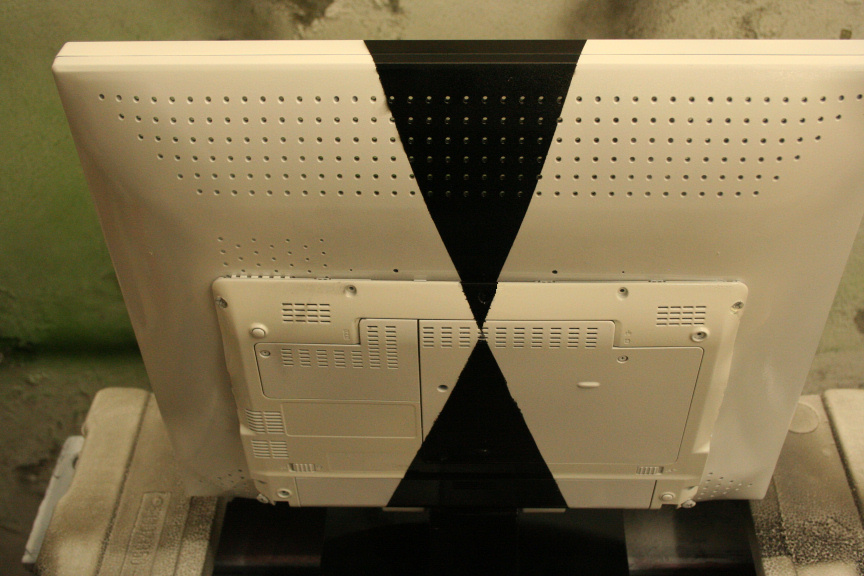
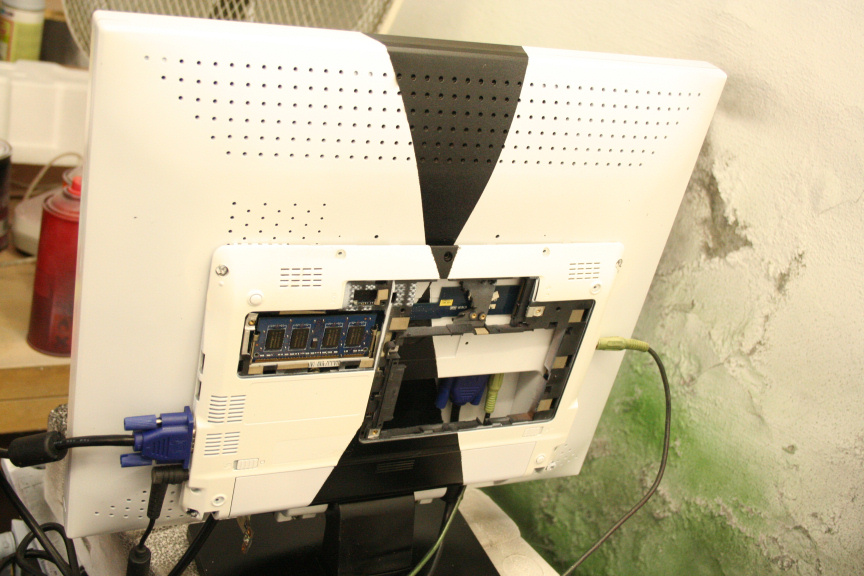
So had a look around the workplace, seeing what spares I had and figuring out what I could do with it, posted on another thread here looking for ideas, but nothing quite convinced me, and then I saw an "old-ish" 17" TFT LCD, bit dusty, but working perfectly. I though, would be cool to integrate the motherboard in to the screen and make an all in one, apple mac style. So I took it appart (the screen) and as it happens, there is enough space inside for it, but figured it would heat up to much, now the backplate of the mobo, i.e. the bottom side of the netbook, was damaged but fixable, i.e. twisted plastic but no cracks. So I fixed it, and put it on the back of the screen, and it seems like a perfect fit, so marked where the holes for the screws would need to go, just to make sure there´s no screen hardware behind them, and, yet again, it matches, quite lucky.
So I´m going to be doing that for the next few days, paint wise, I was thinking, either pearl white, or in the same style as my fallout project. Maybe radioactive green, not sure yet.
Another idea would be to reconstruct the back of the screen, add new mounting points and build the thing inside with some micro liquid cooling, which would (I think) solve any heating issues.
So yeah I will update with some pictures later on : )

 Reply With Quote
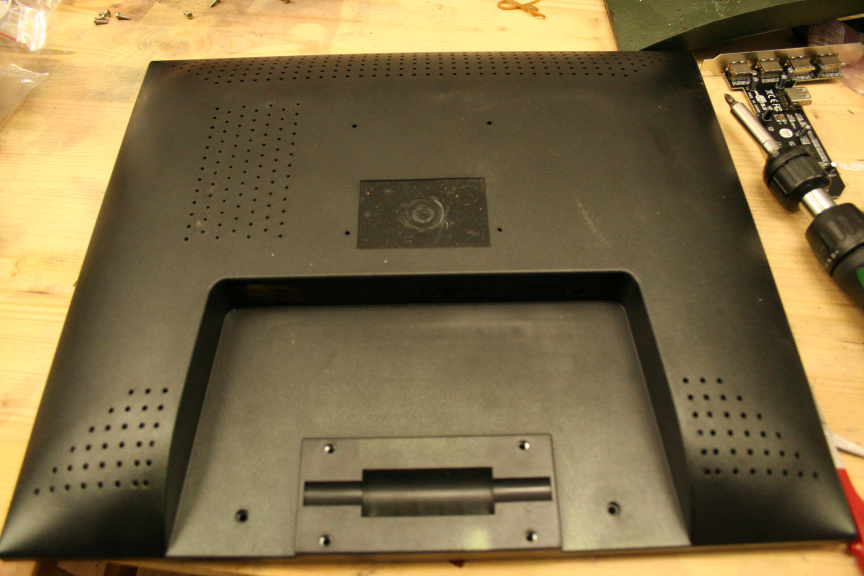


Bookmarks