


The Project
Project Milestones
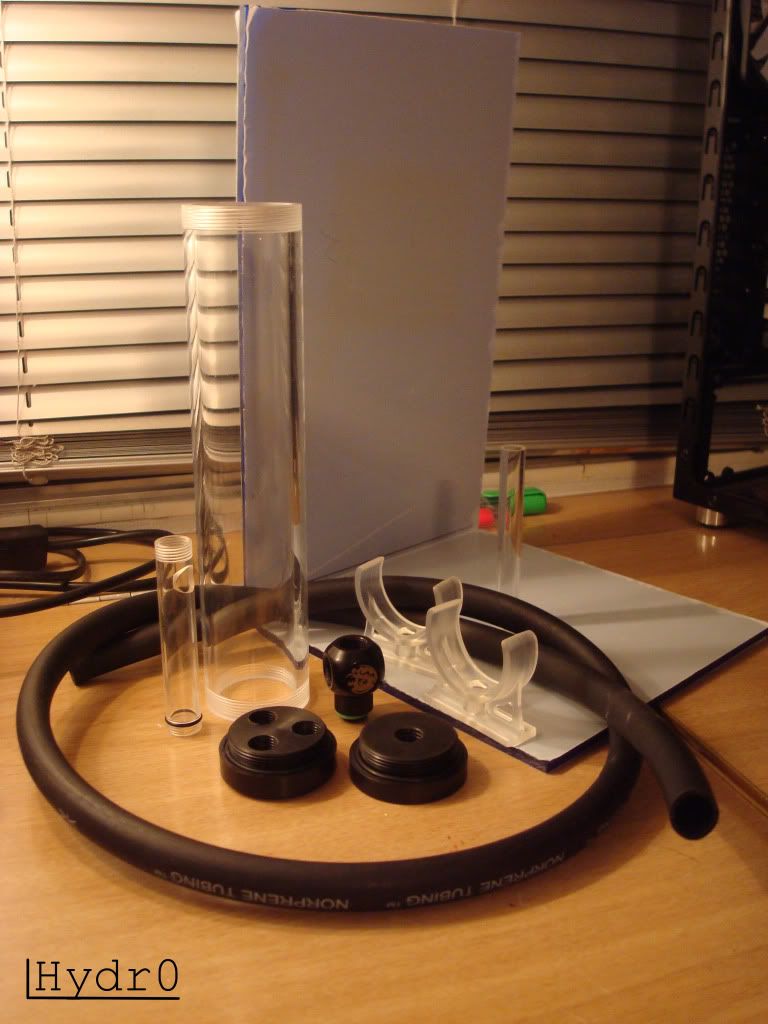
I. Gather Parts
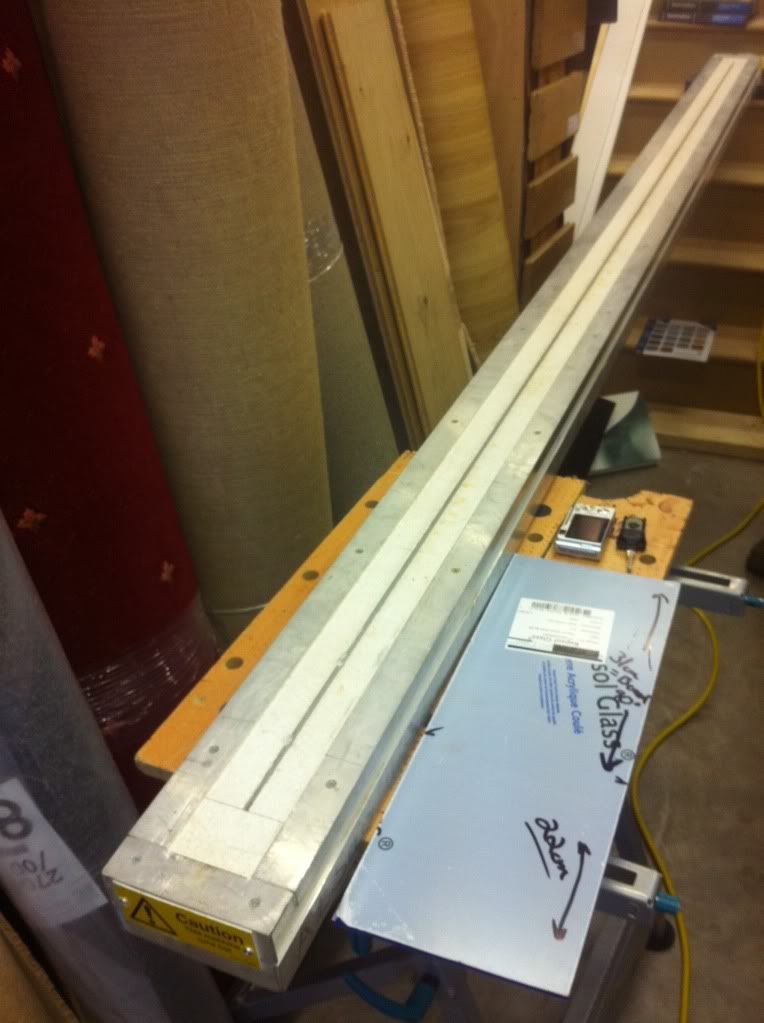
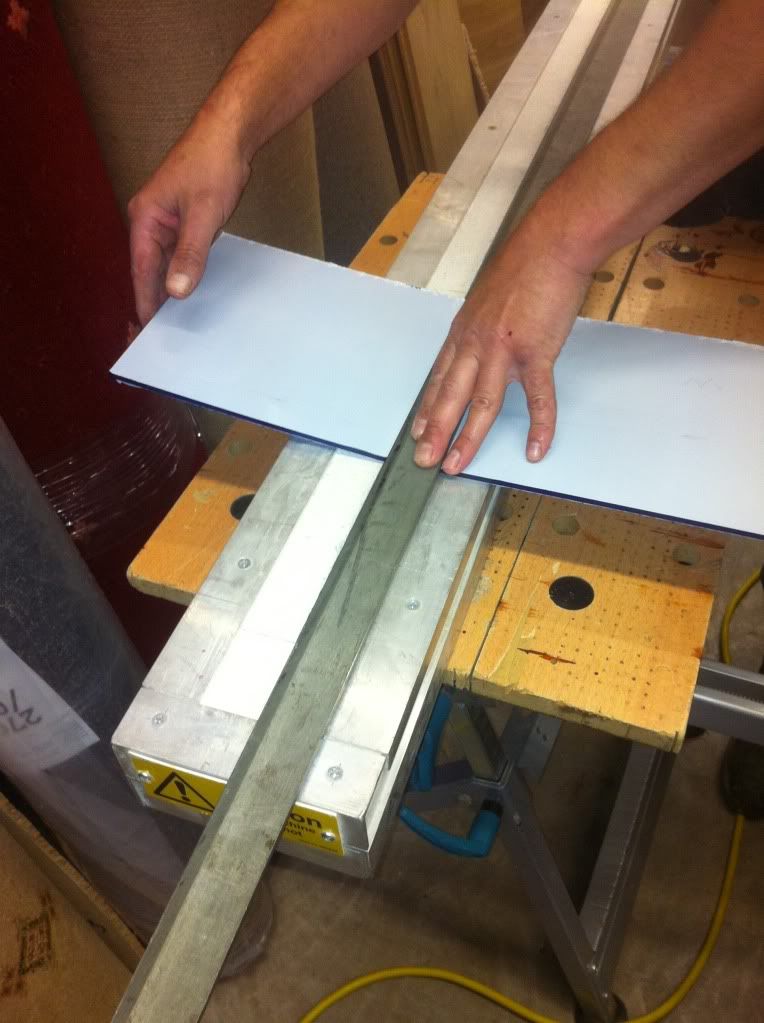
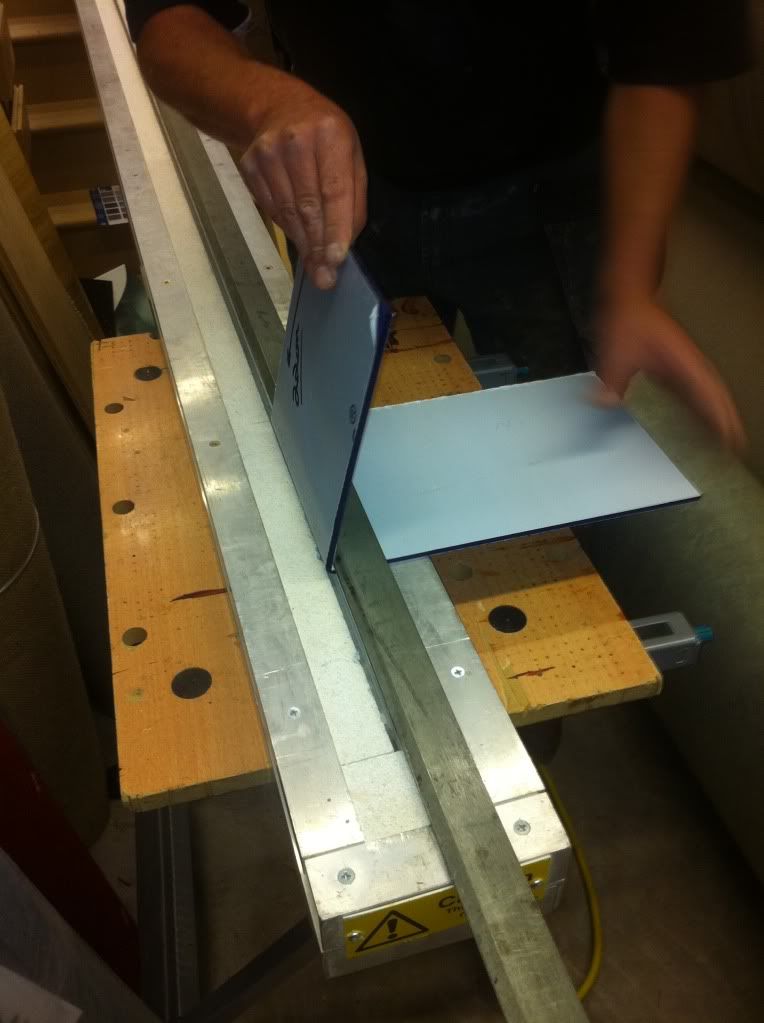
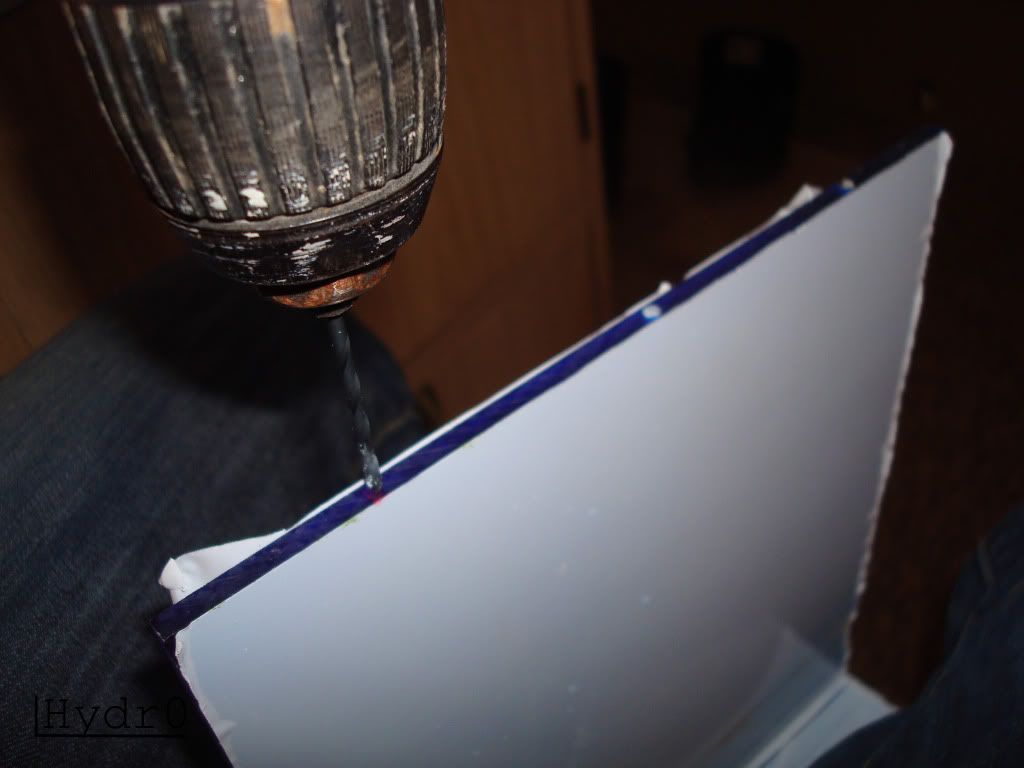
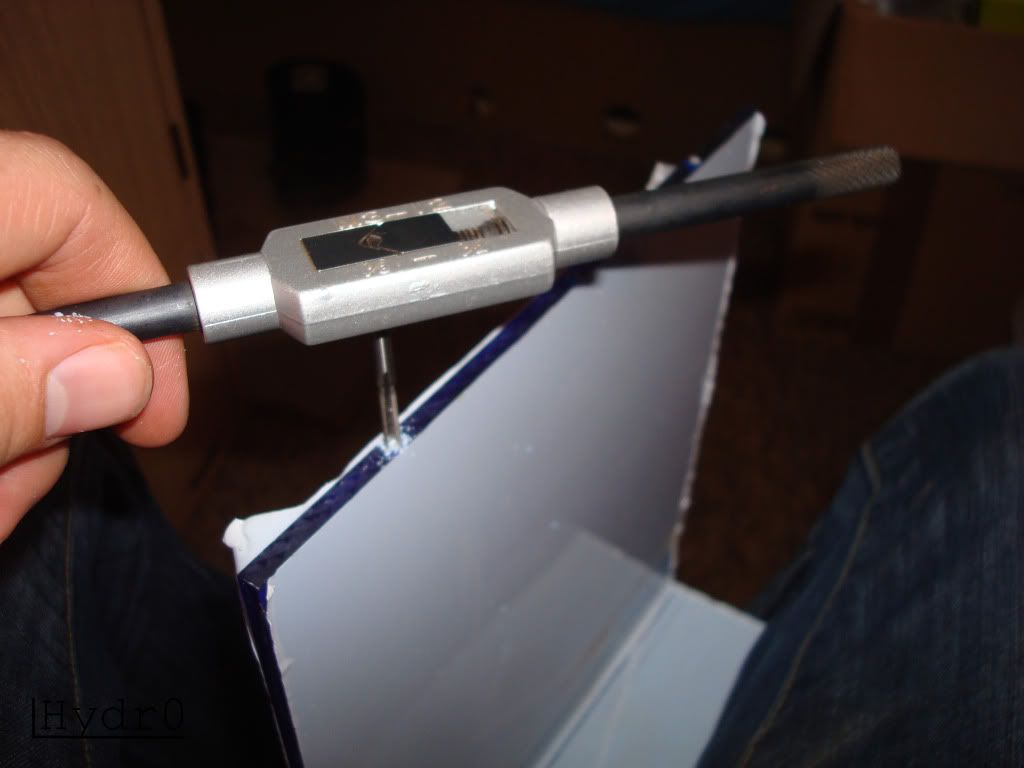
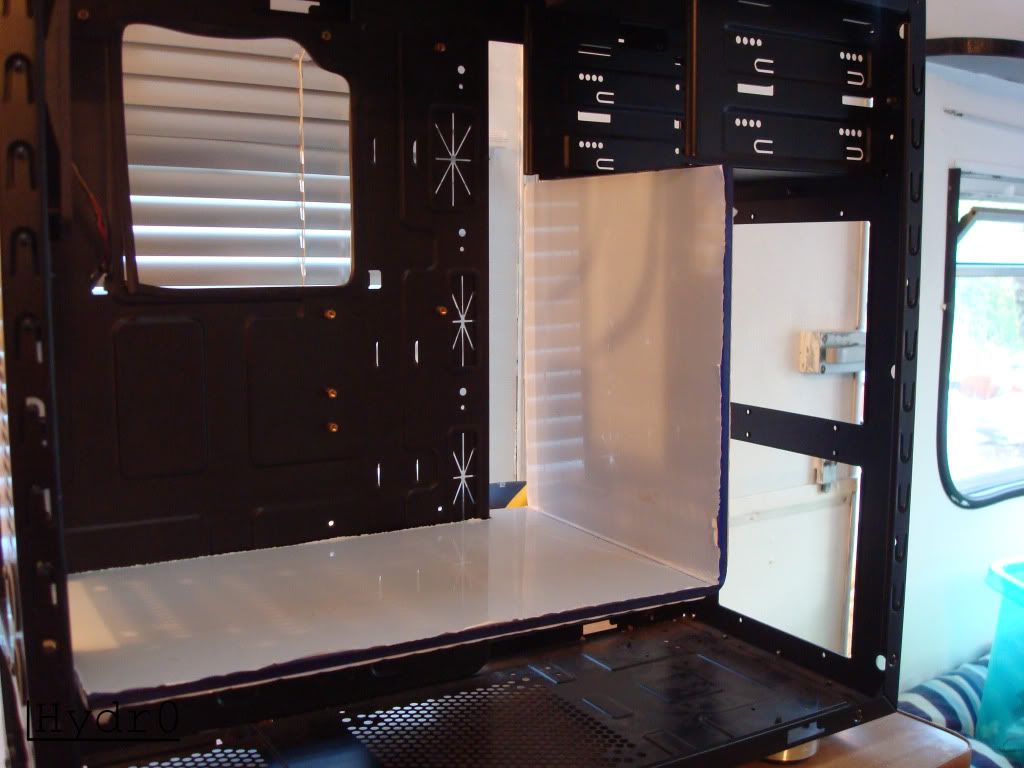
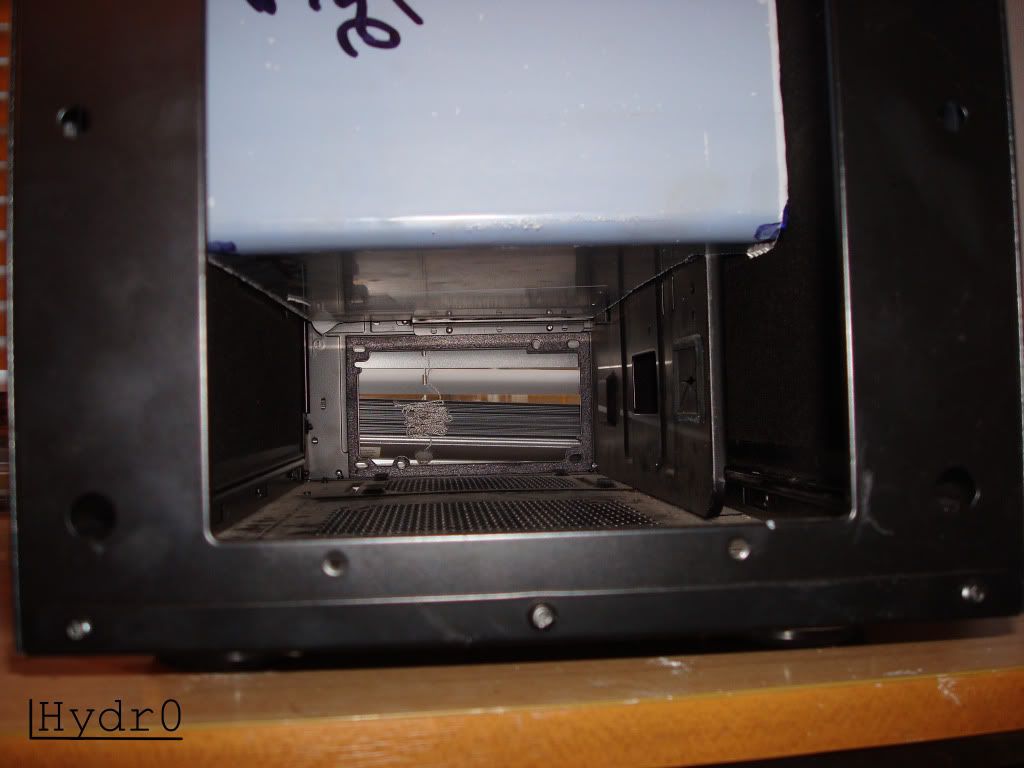
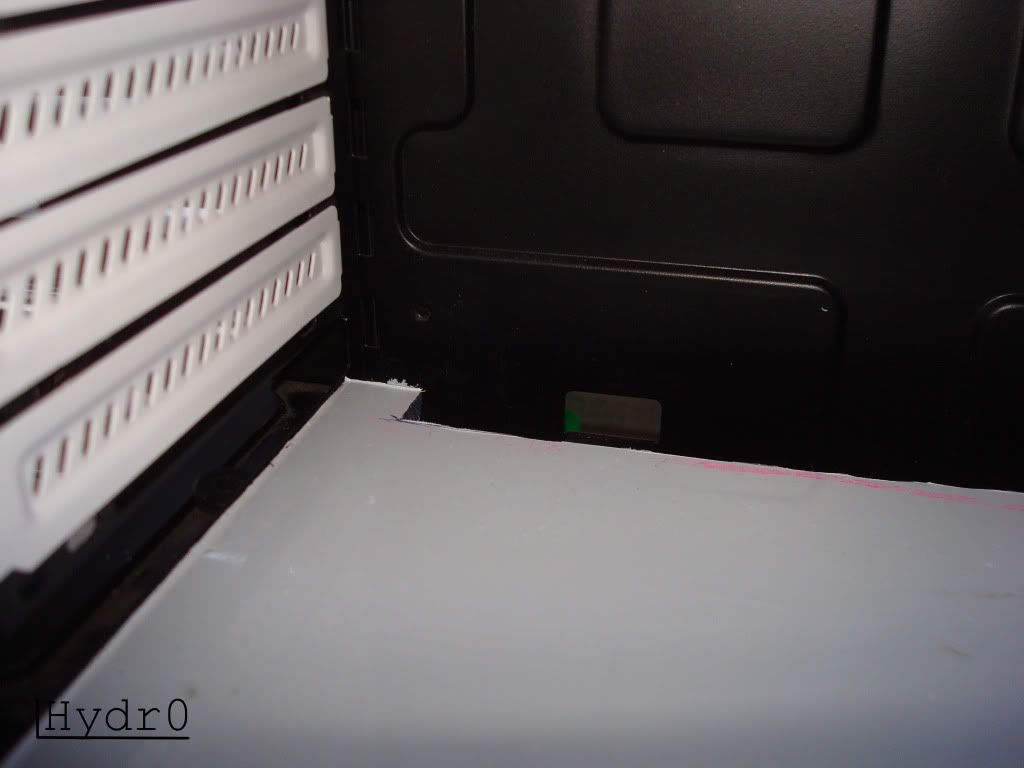
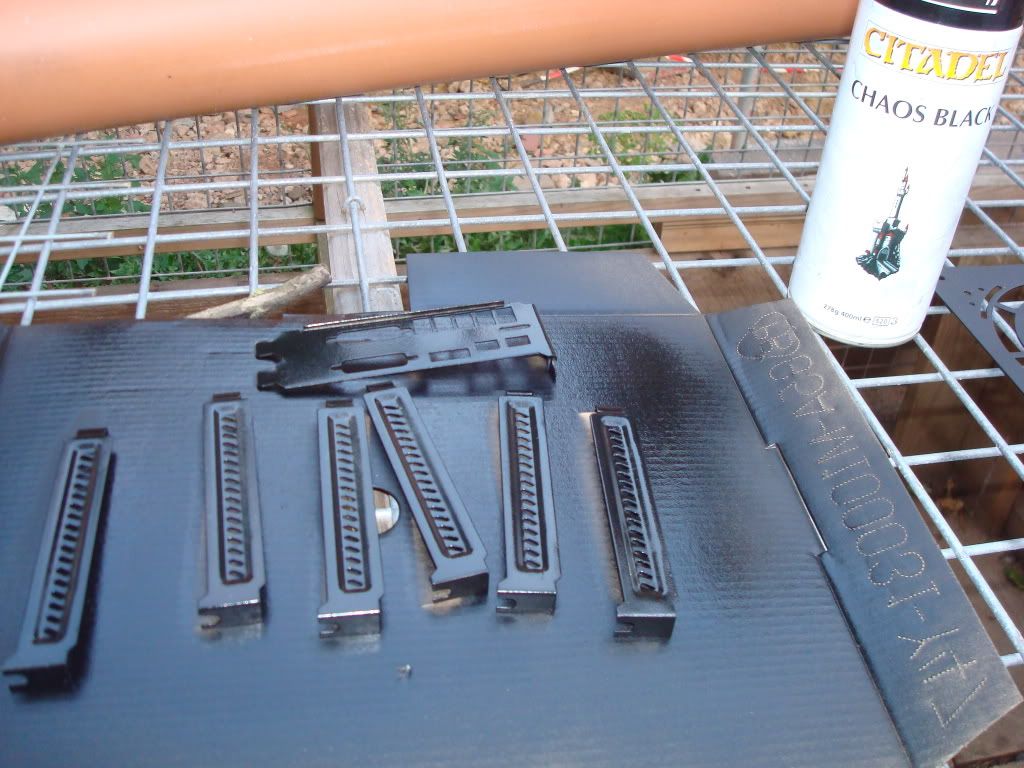
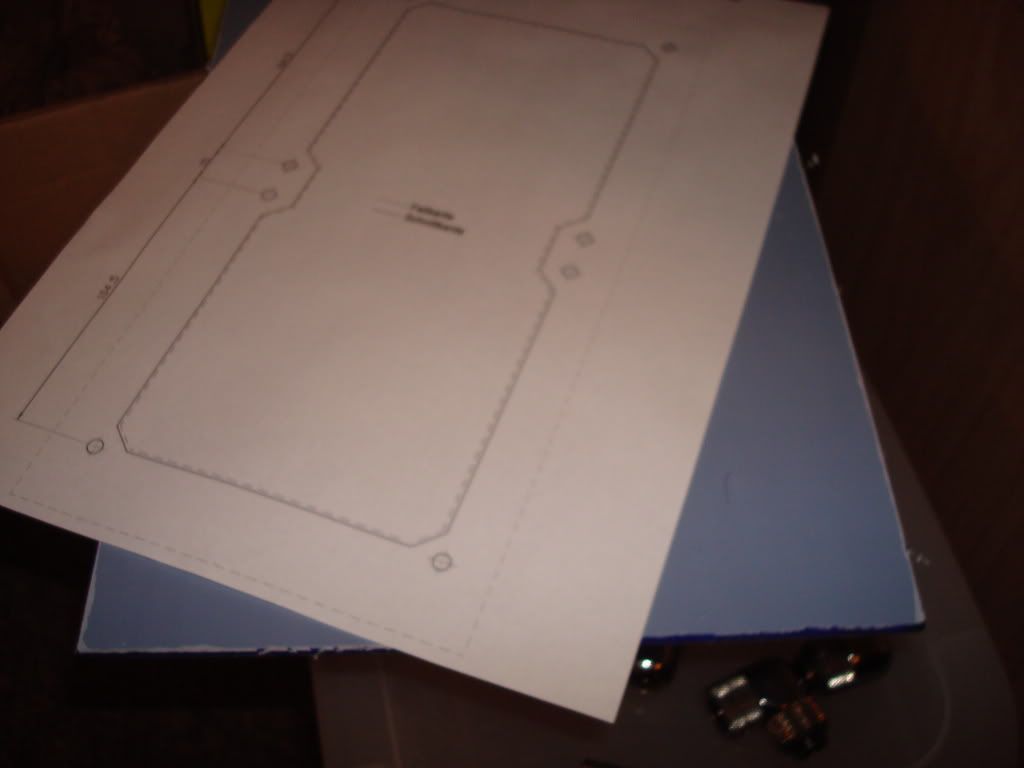
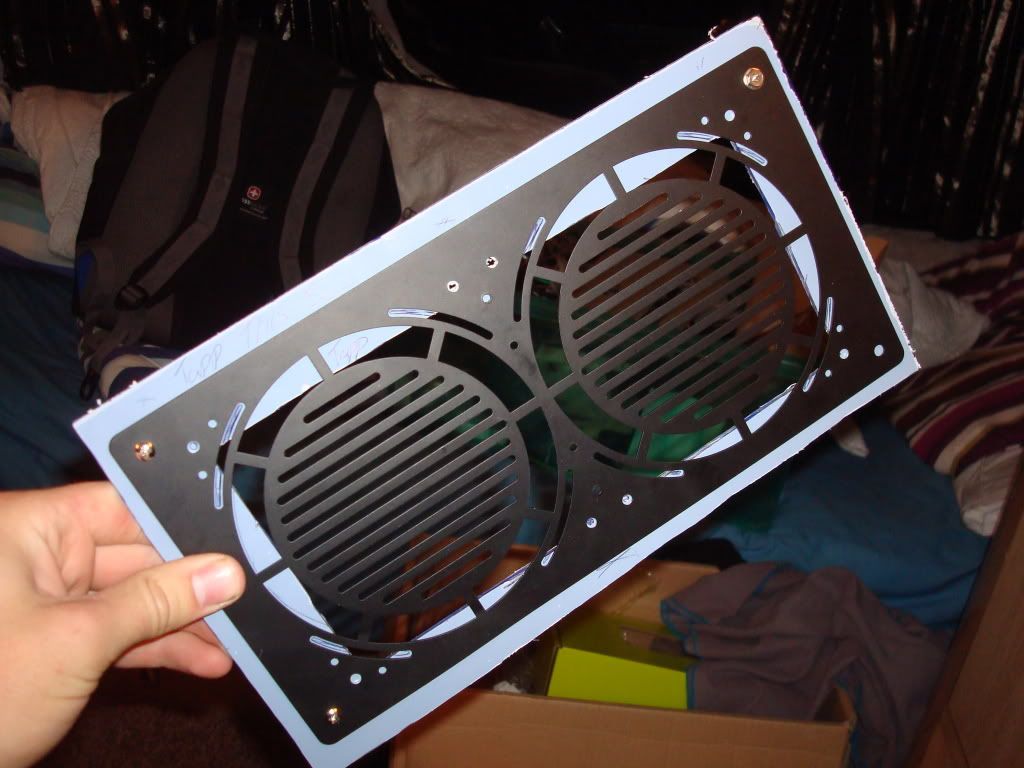
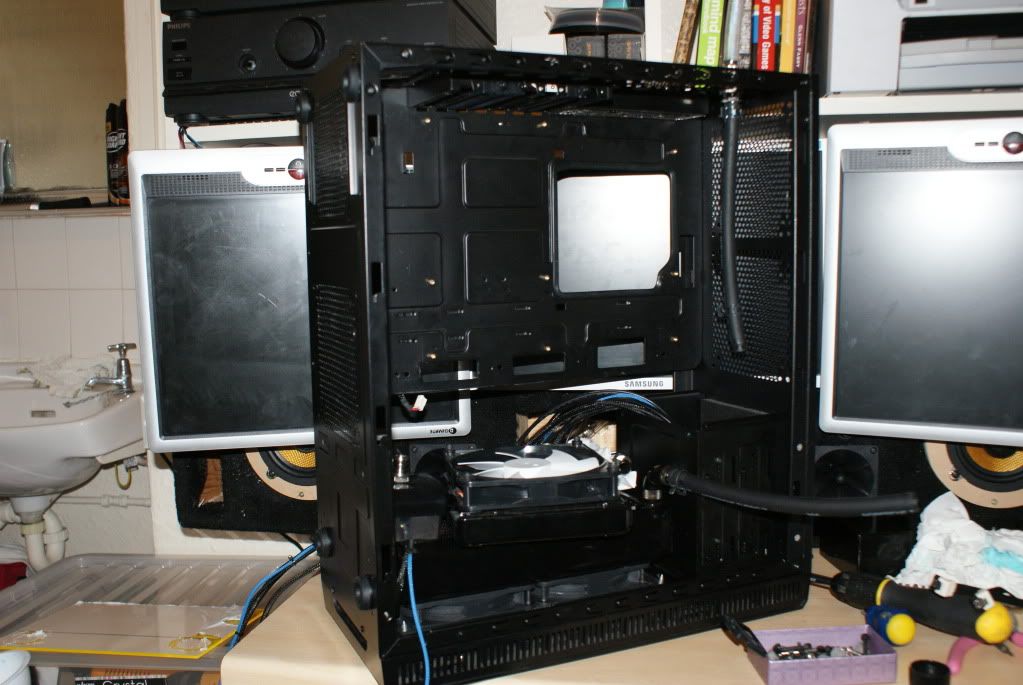
II. Case Modifications
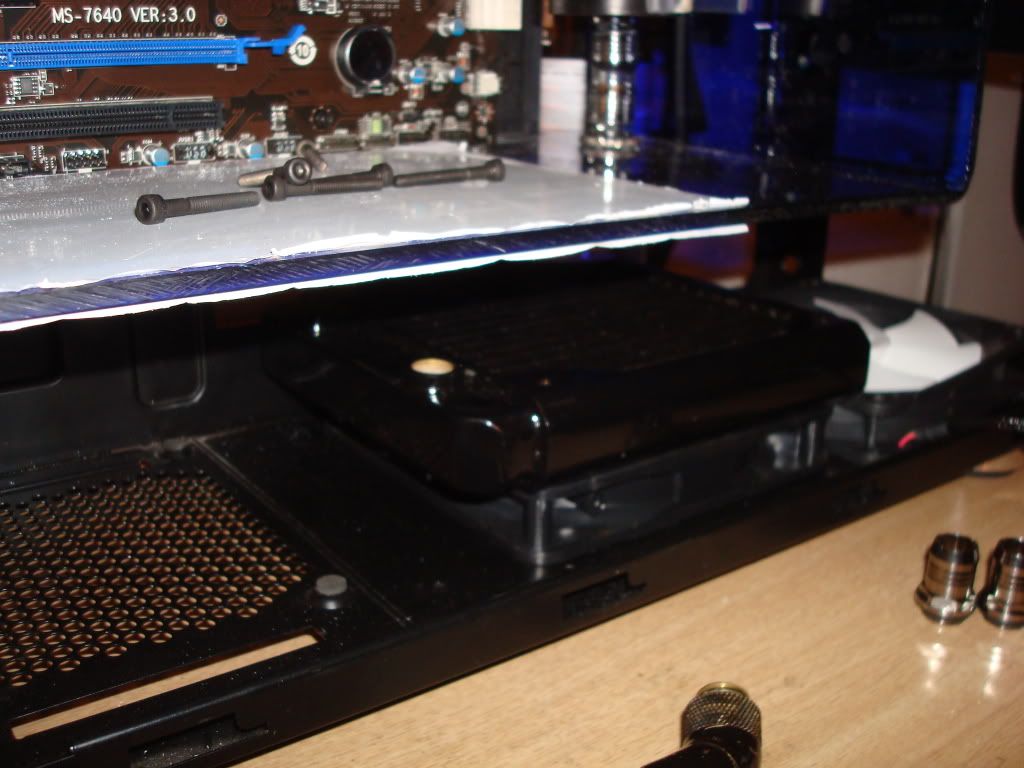
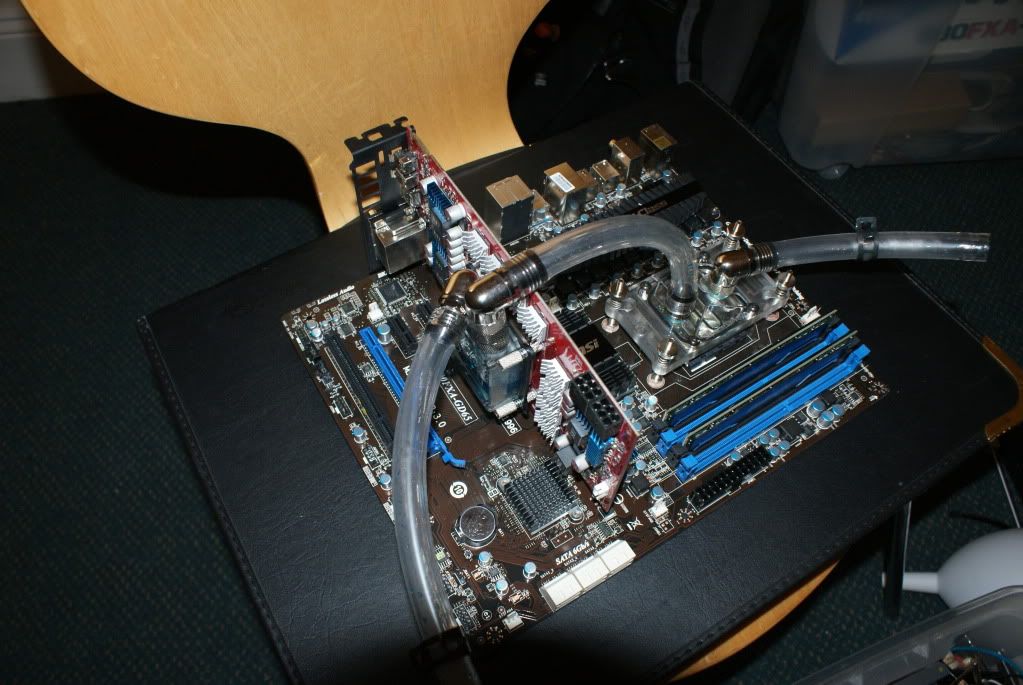
III. Begin installation
IV. Install everything
VI. Photoshoot
VII. Play
Components
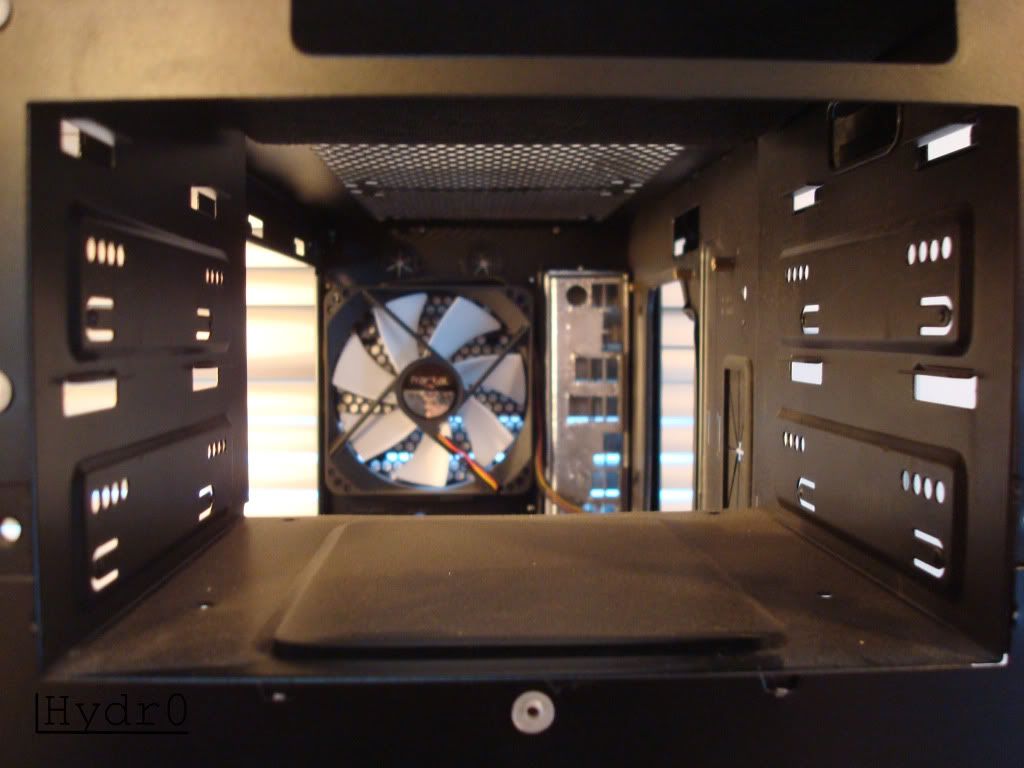
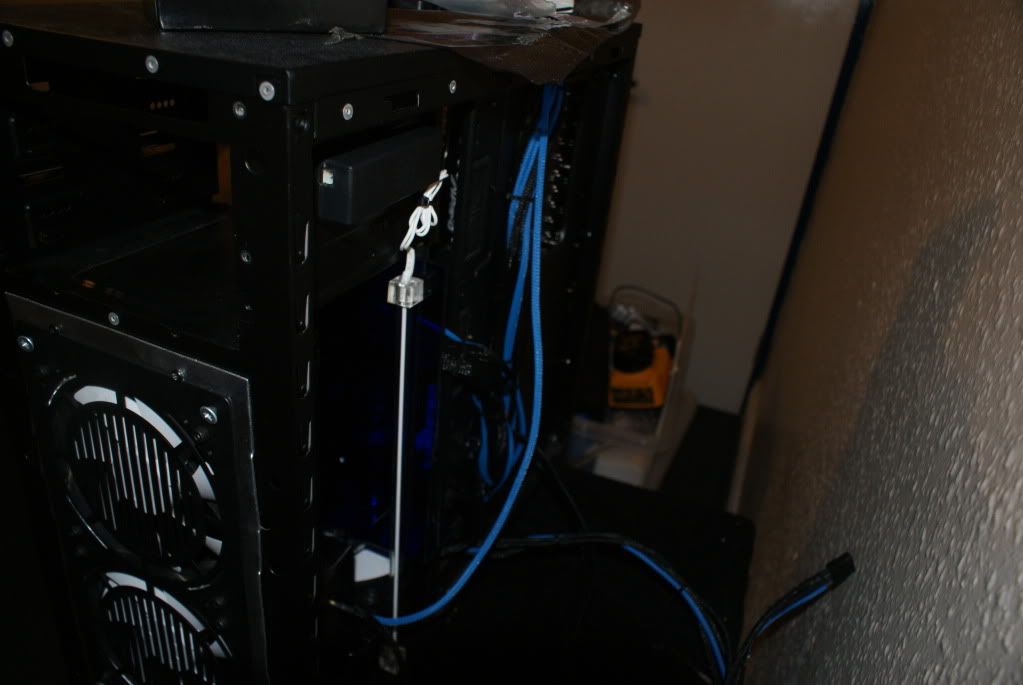
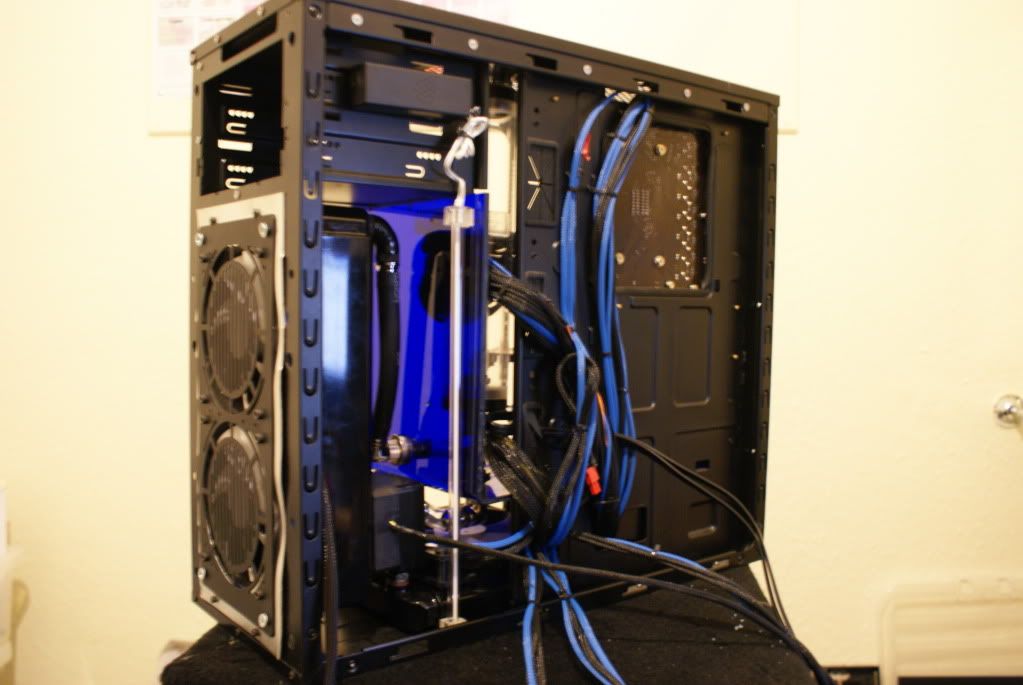
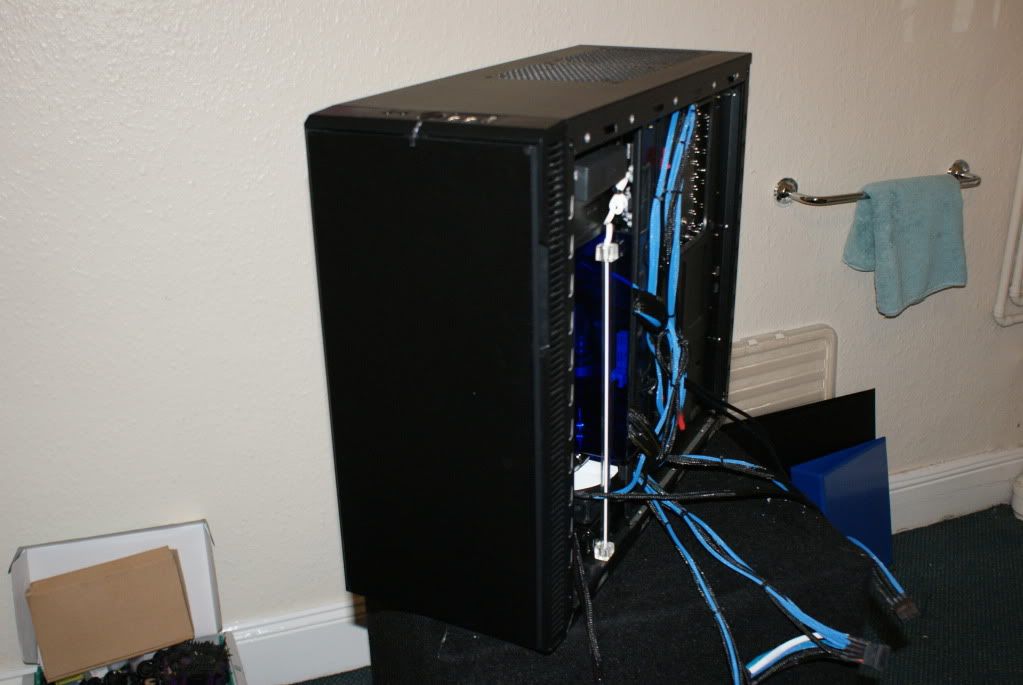
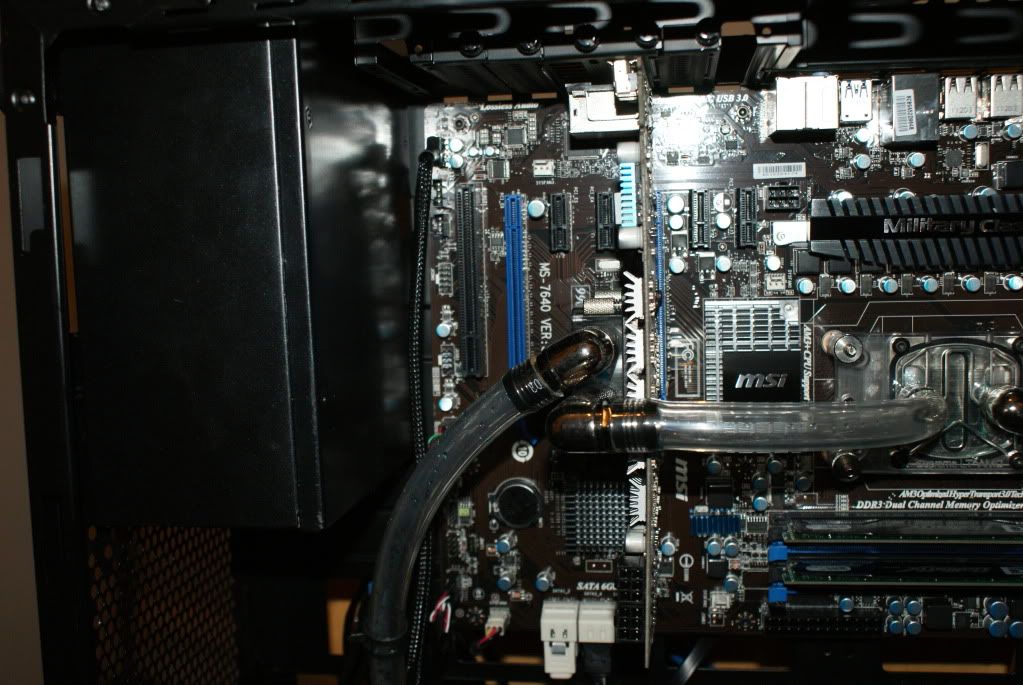
Chassis: Fractal Desgin Define R3
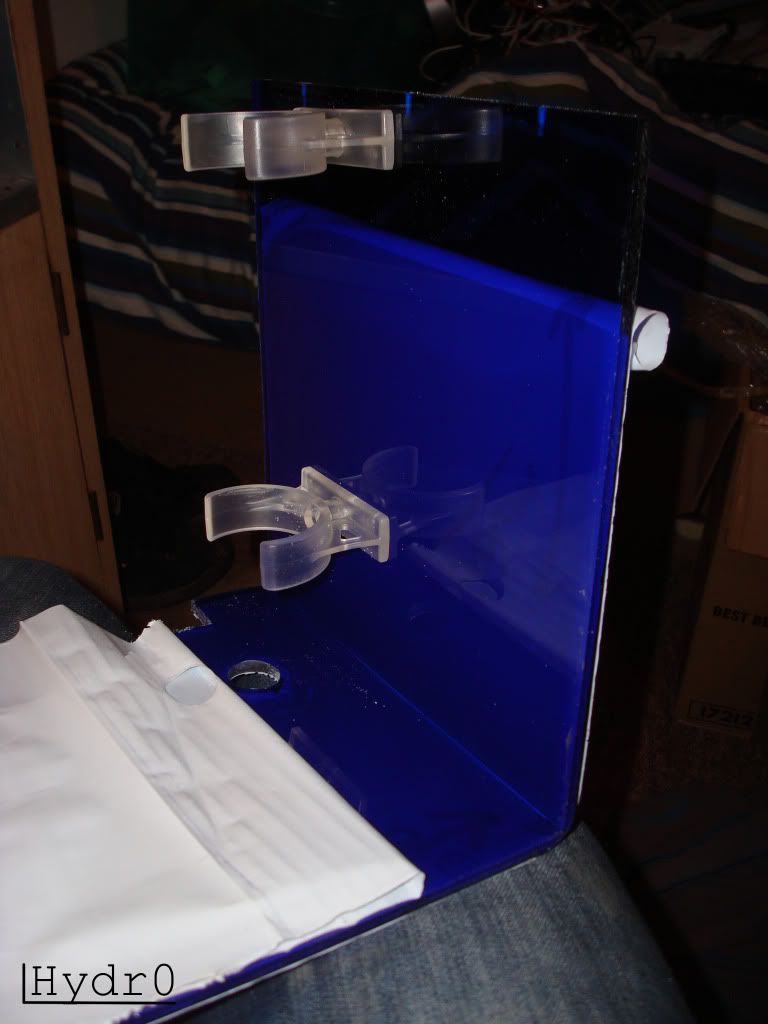
Inside: Custom Acrylic PSU / Radiator cover
Hardware
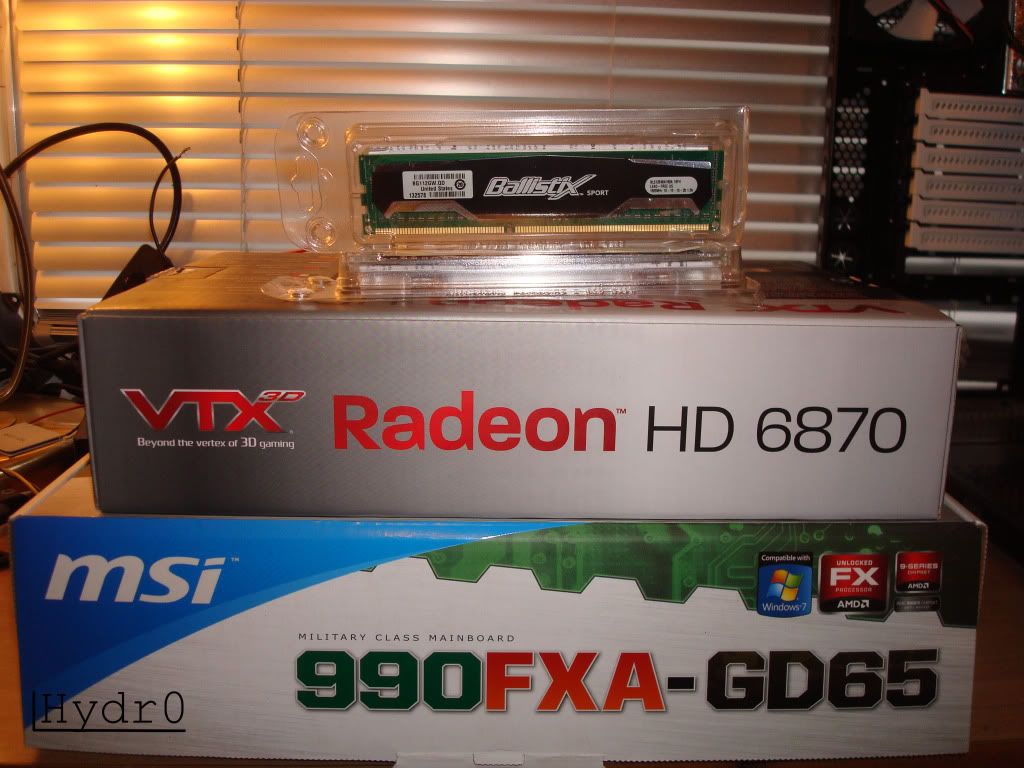
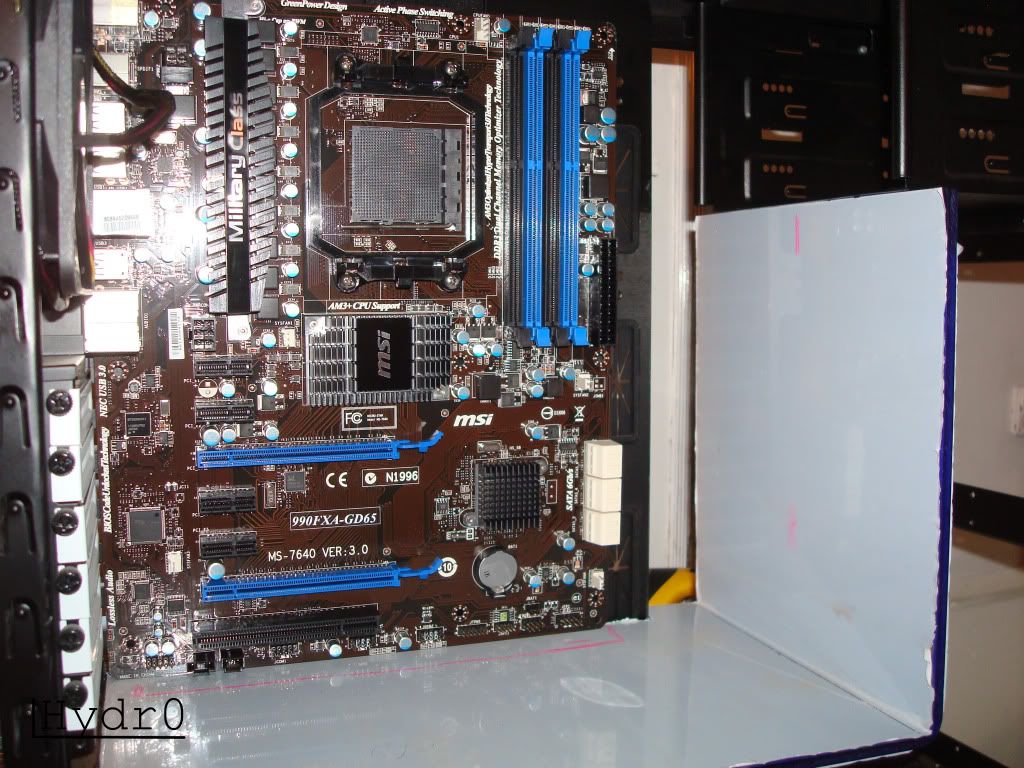
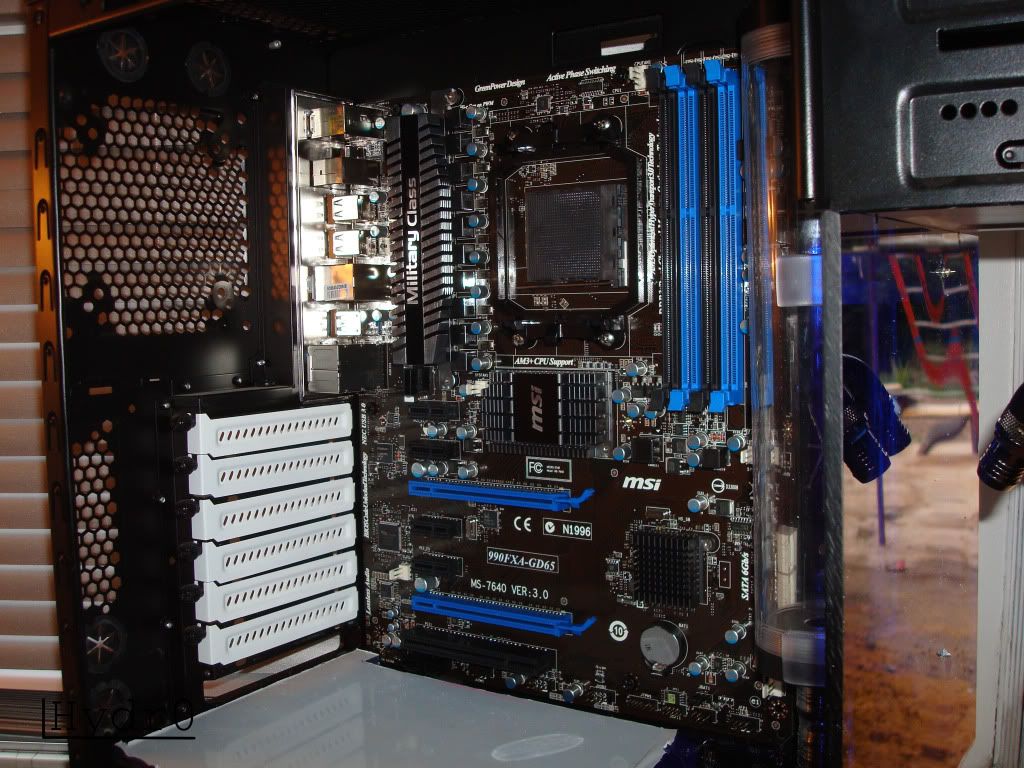
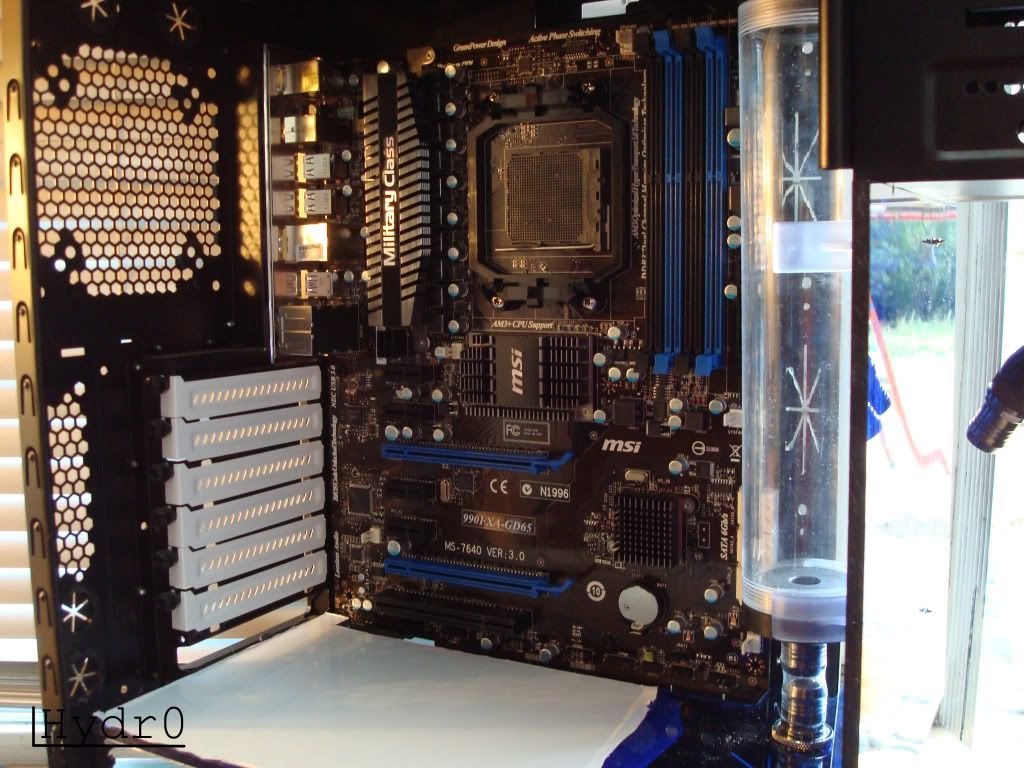
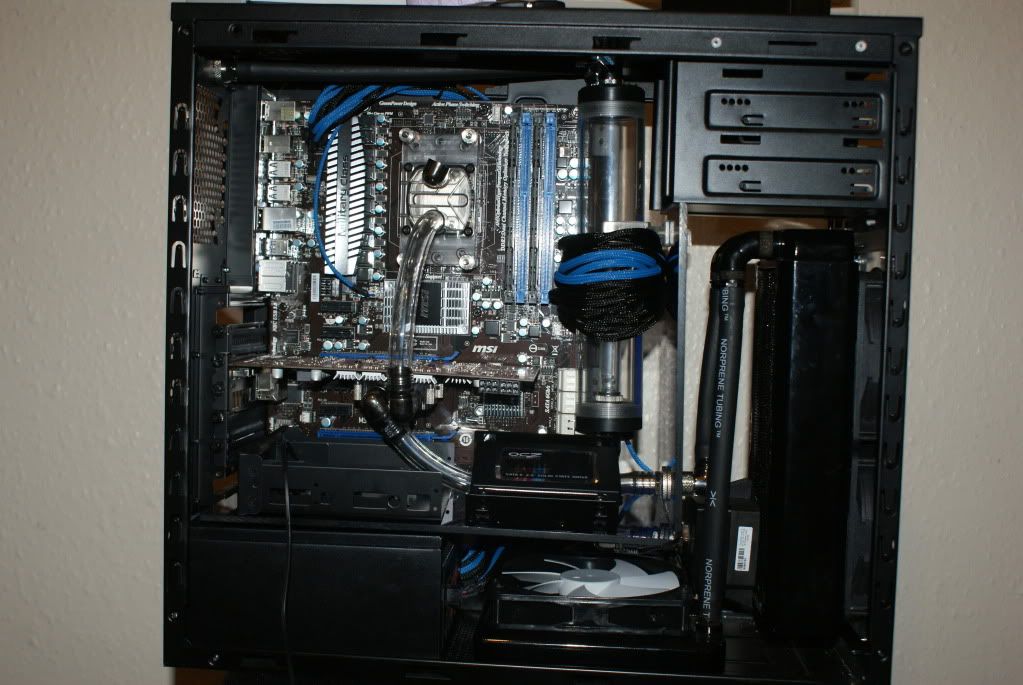
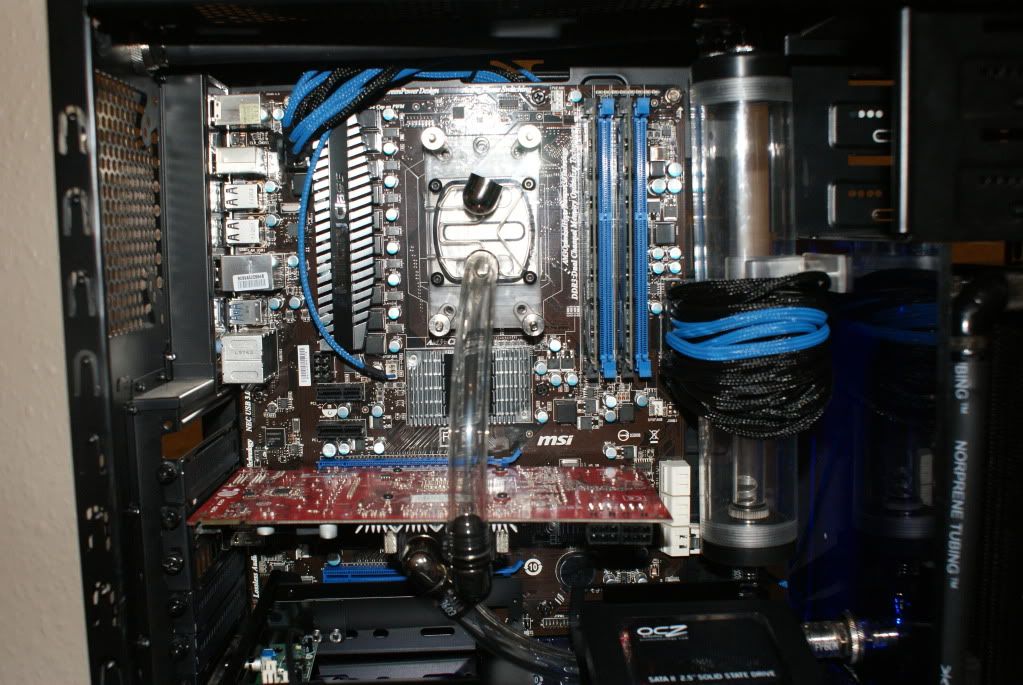
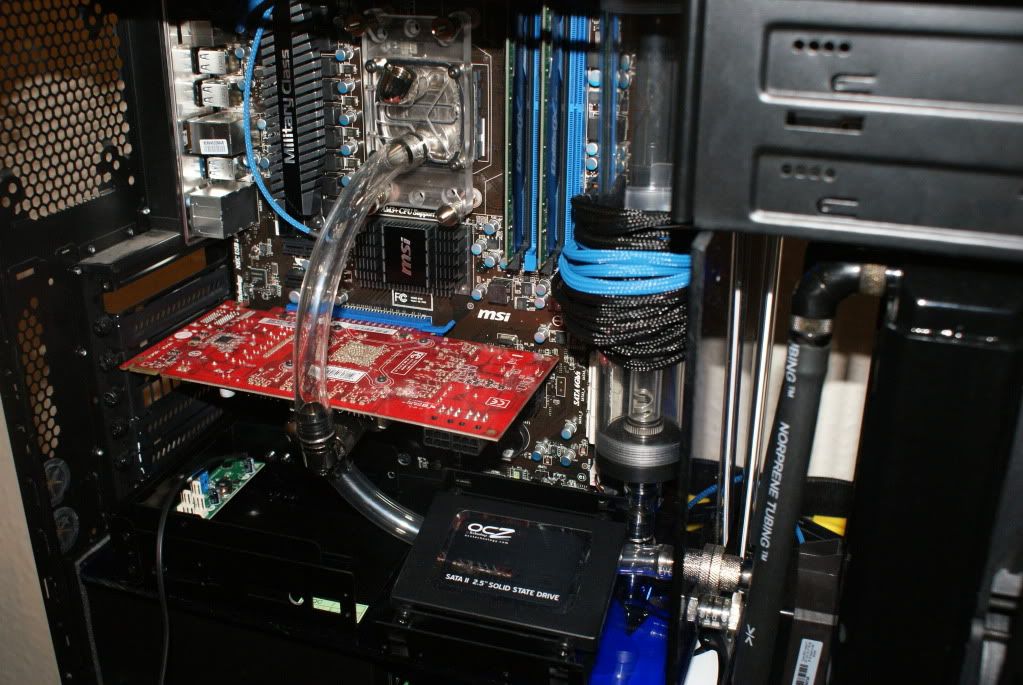
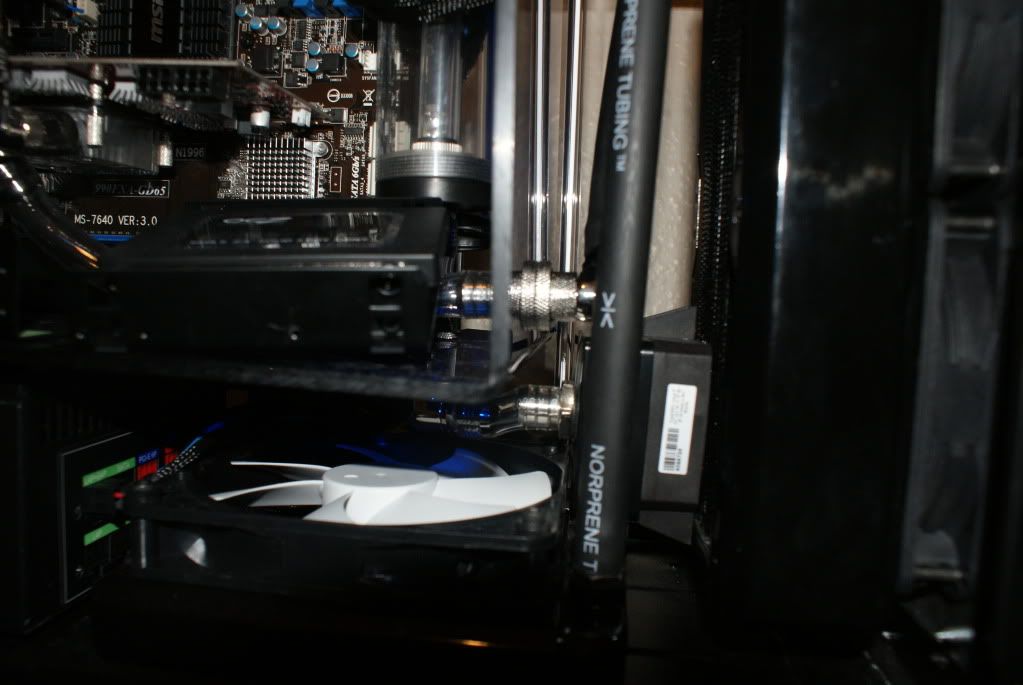
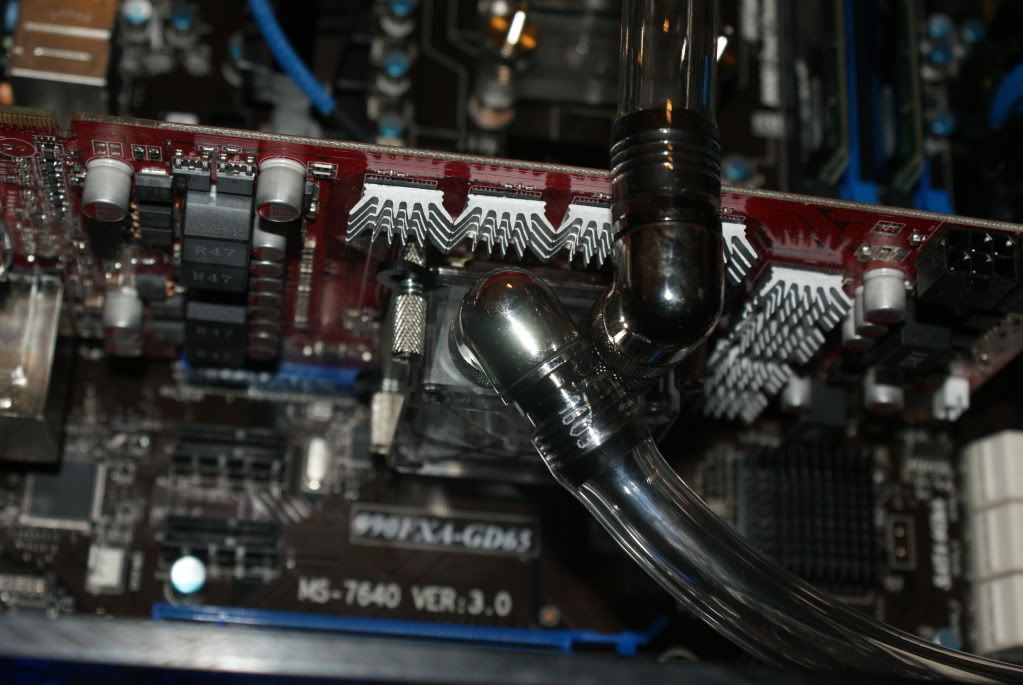
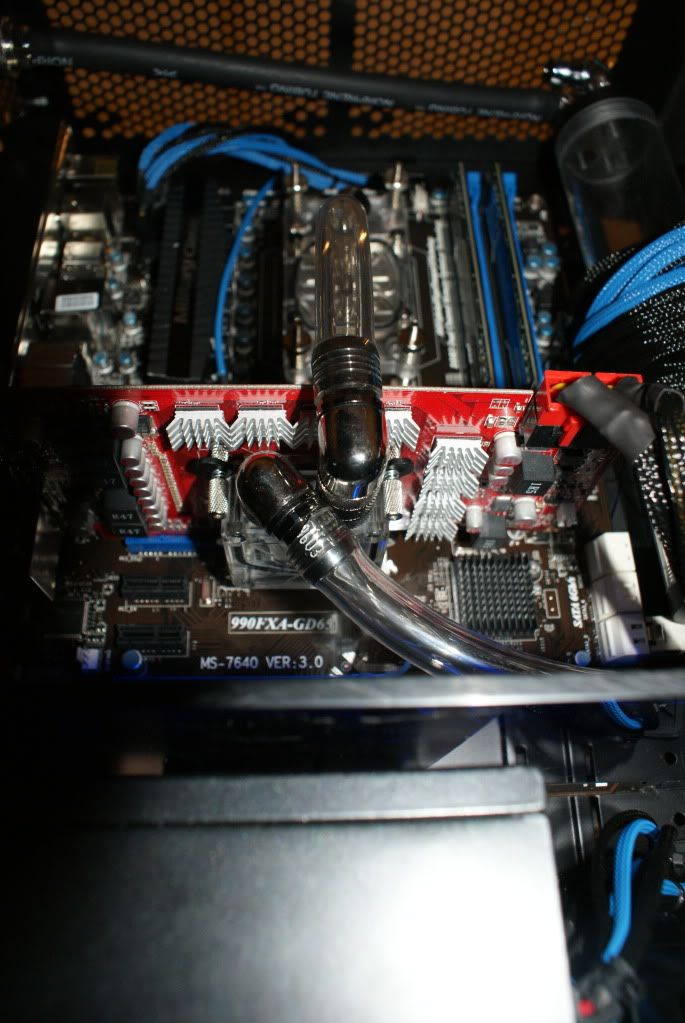
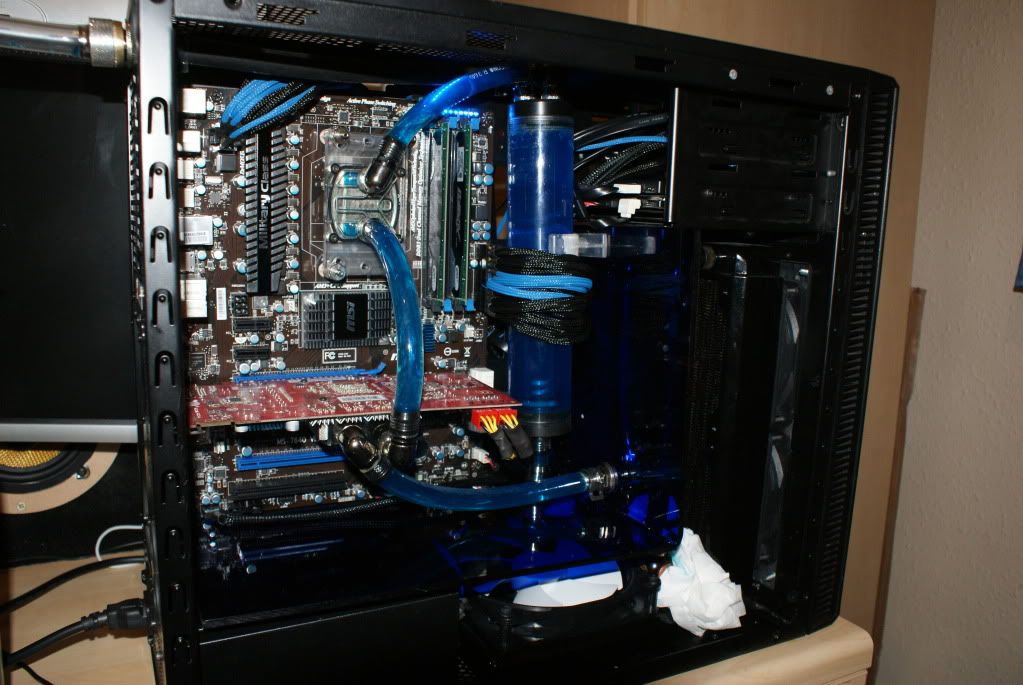
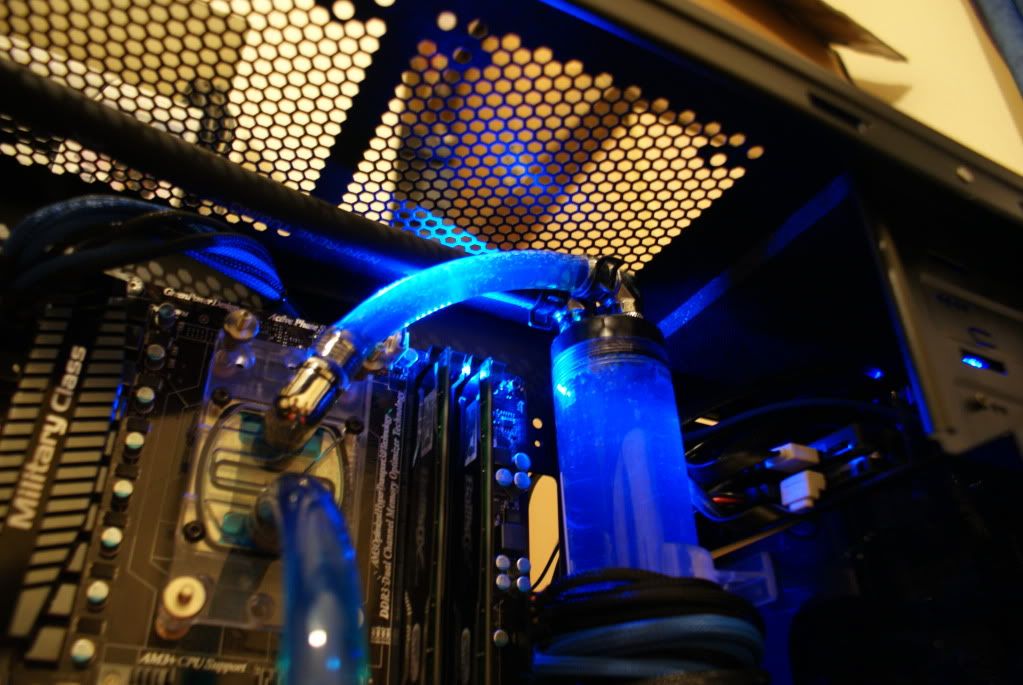
MSI 990FXA-GD65 AM3+
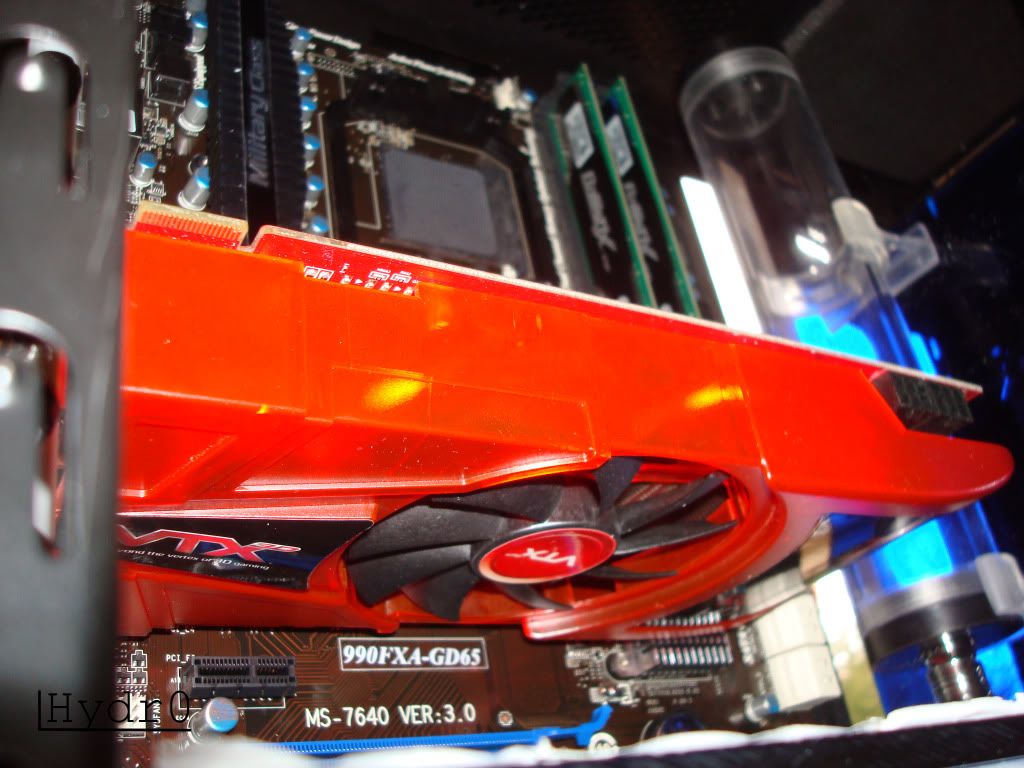
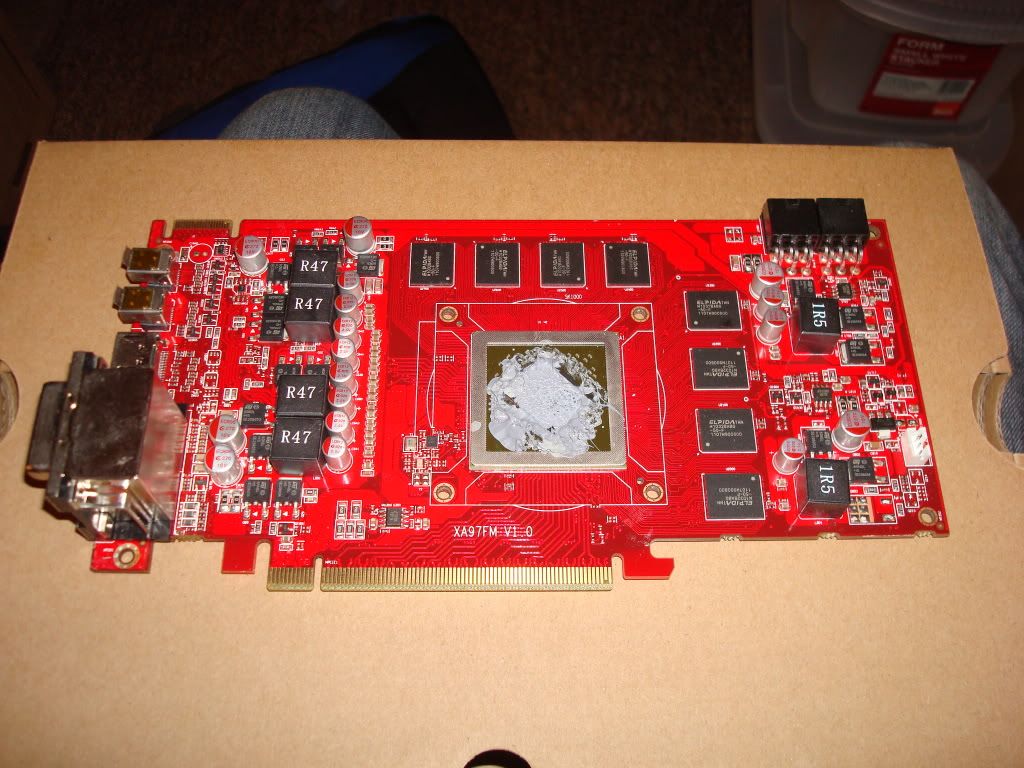
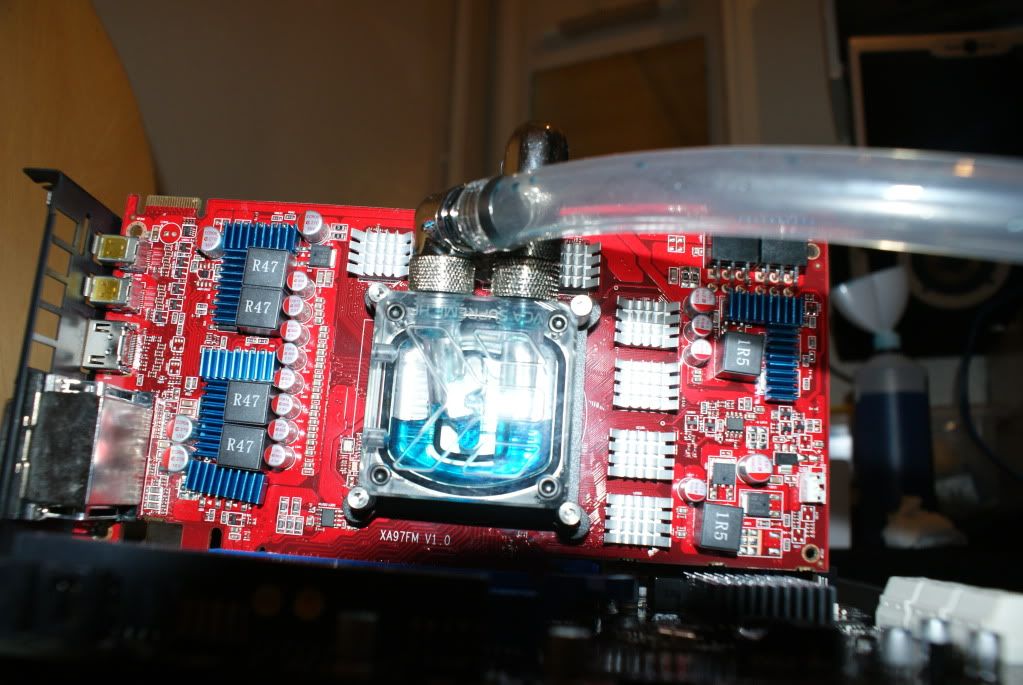
Radeon HD 6870
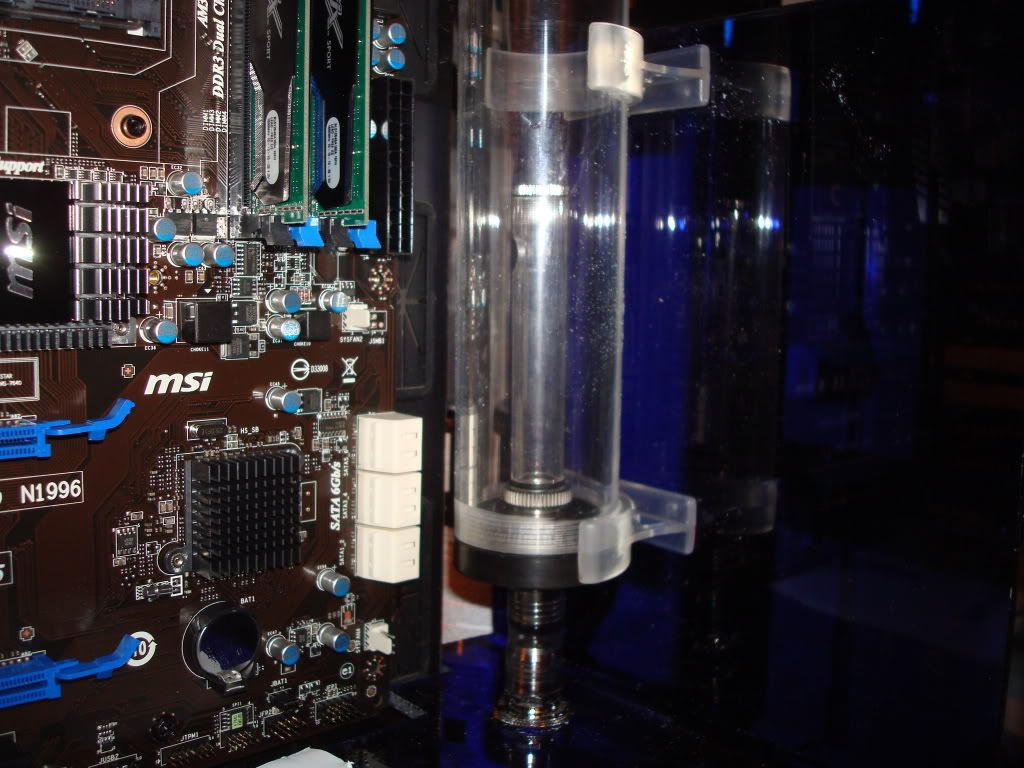
Crucial ballistix sport 16gb
850w PSU
...bulldozer
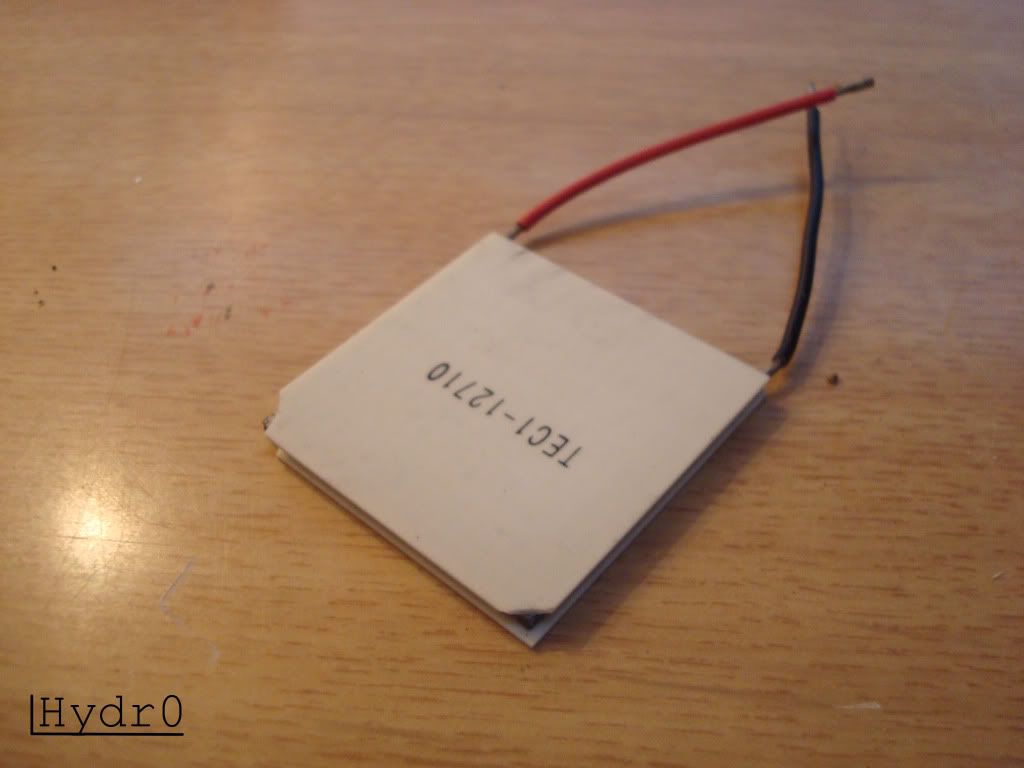
Watercooling
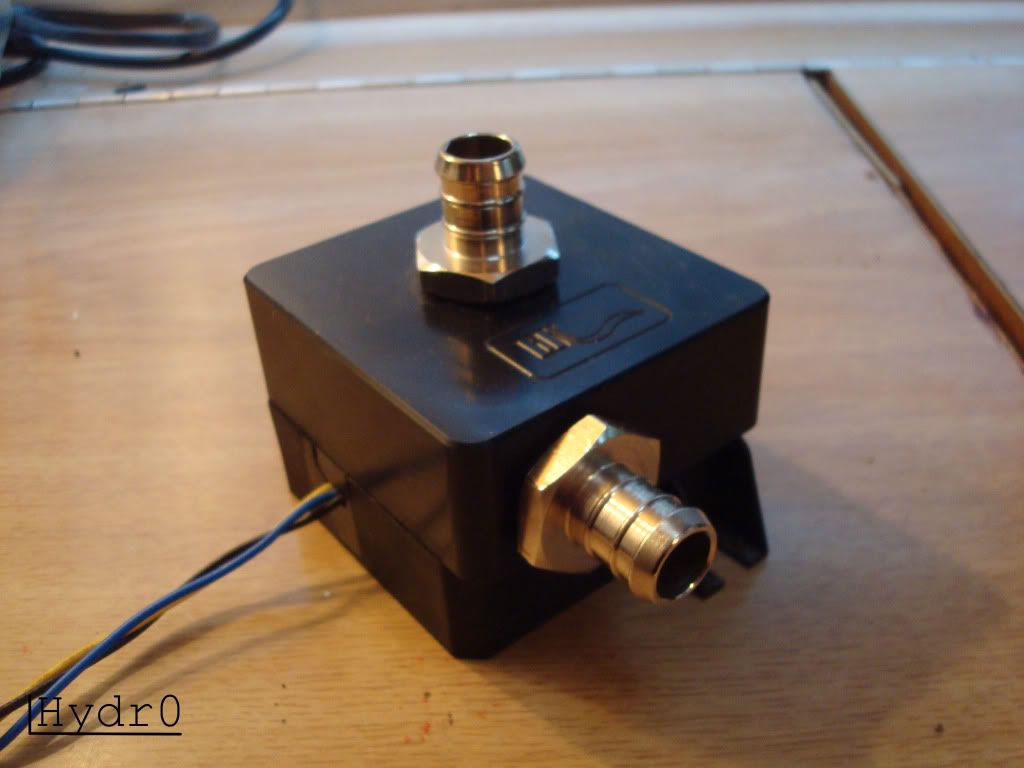
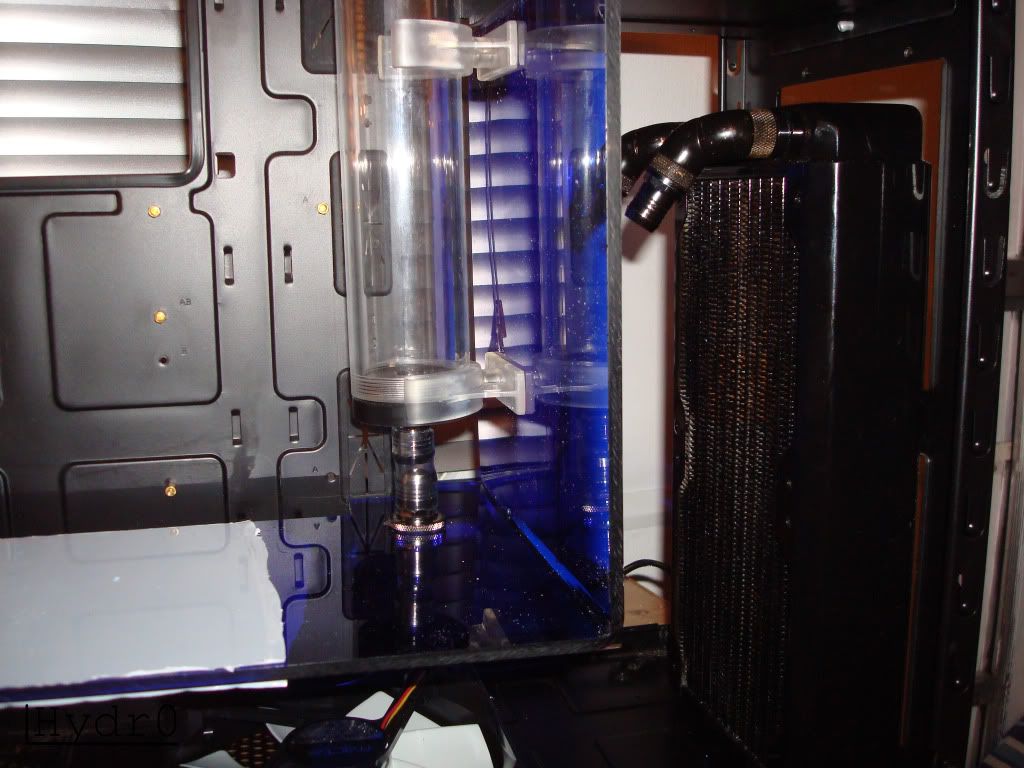
MPC355 w/ EK Waterblocks Acetal top
2x 240mm Radiators
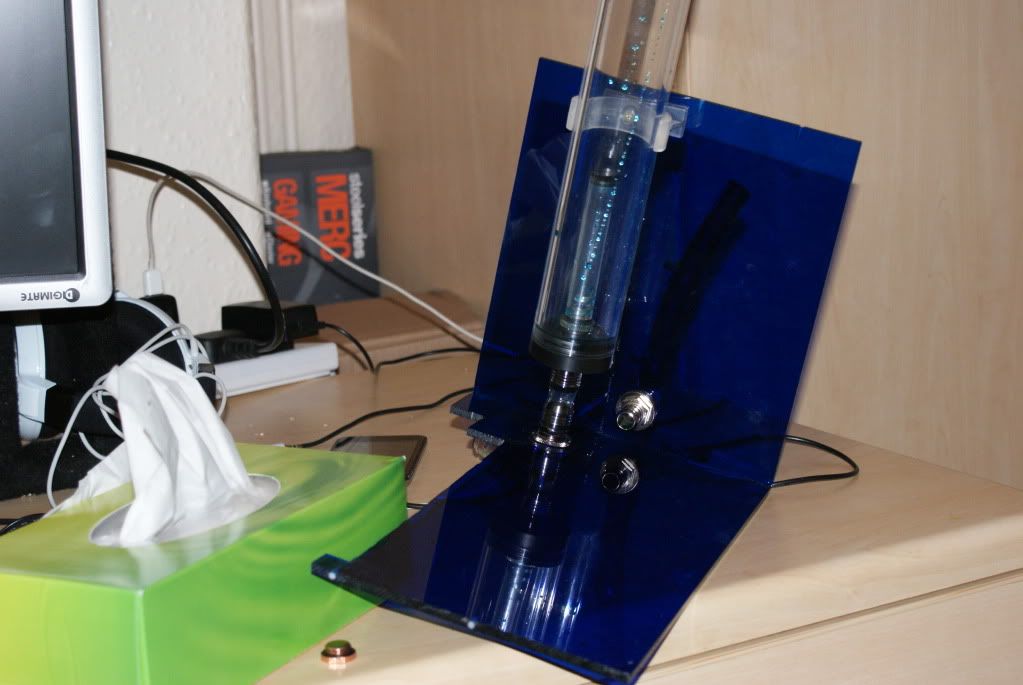
250mm Aplhacool Acetal resevior
Fractal Design Fans
EK Waterblocks LTX AMD Nickel
EK Waterblocks HD 6870 Nickel
Killcoil
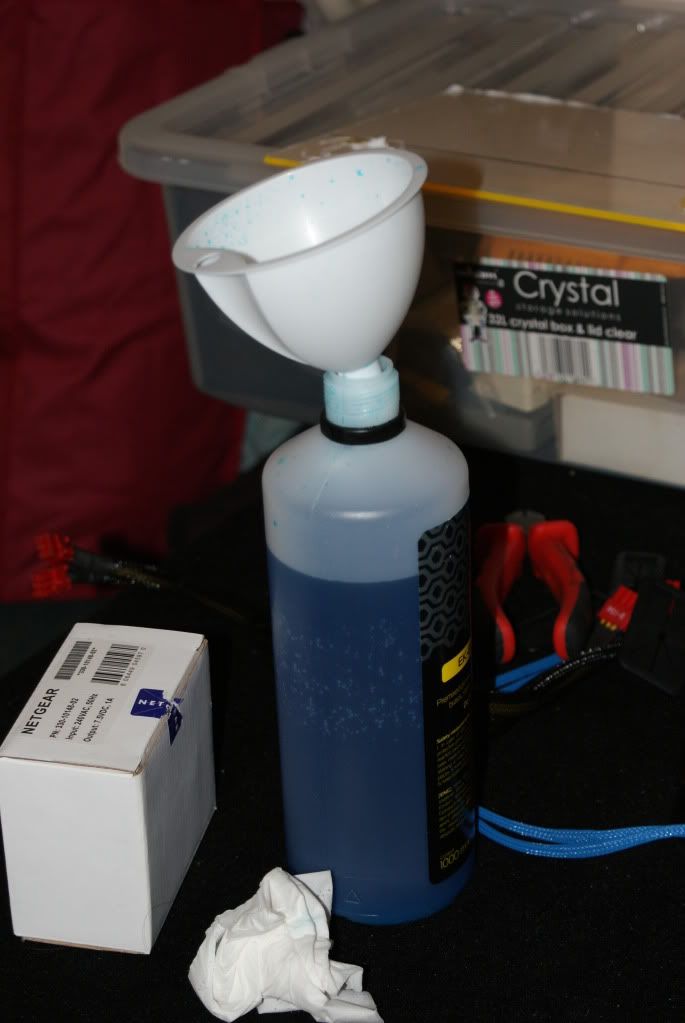
Coolant
De-ionised Water
Tubing
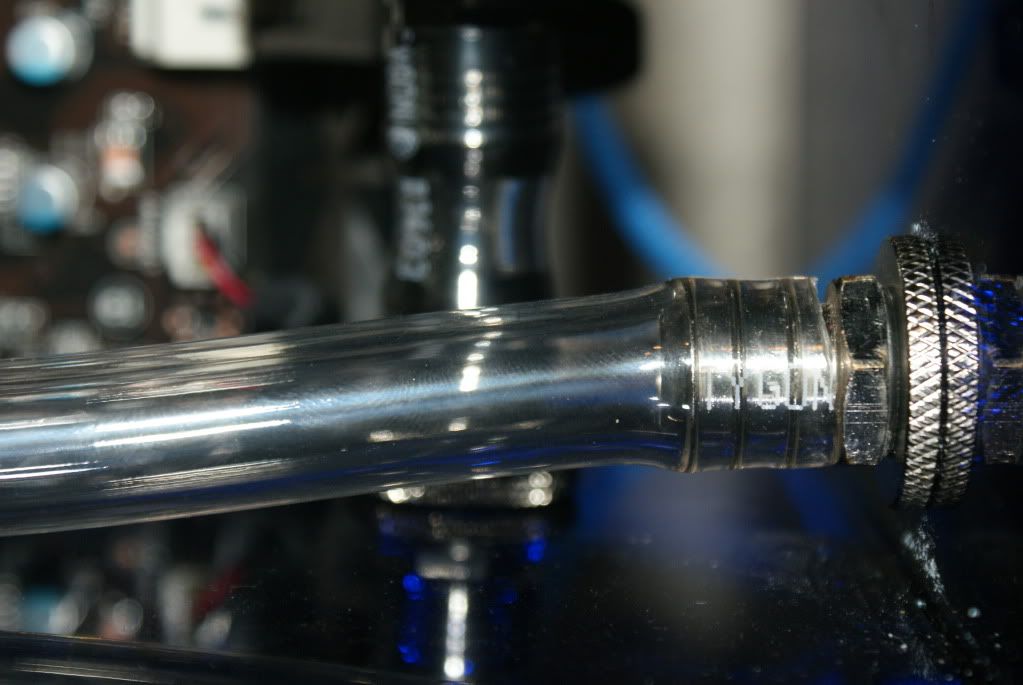
Tygon R 8mm Clear
Tygon R 1/2" Black
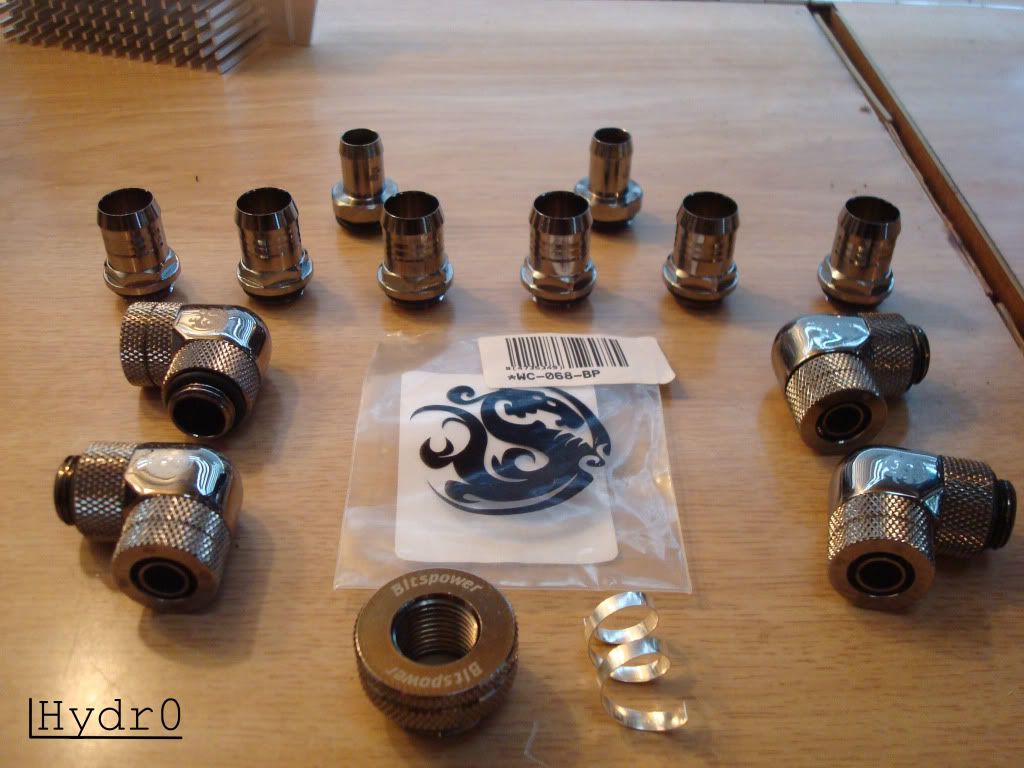
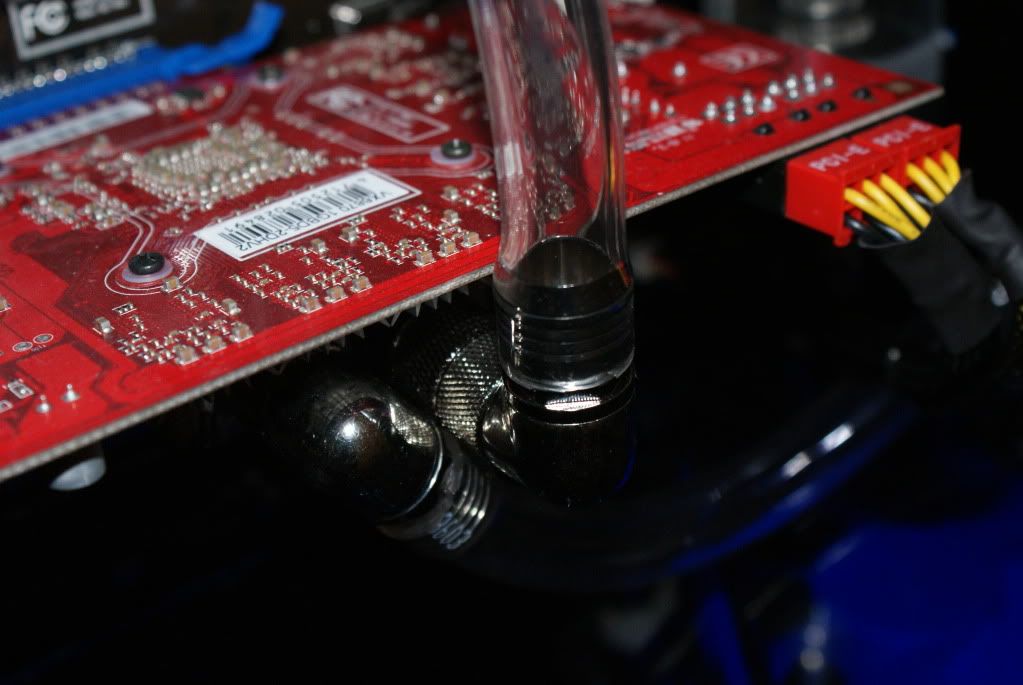
Fittings
Bitspower Matt Black Q piece
Bitspower Black Sparkle for all 1/2"
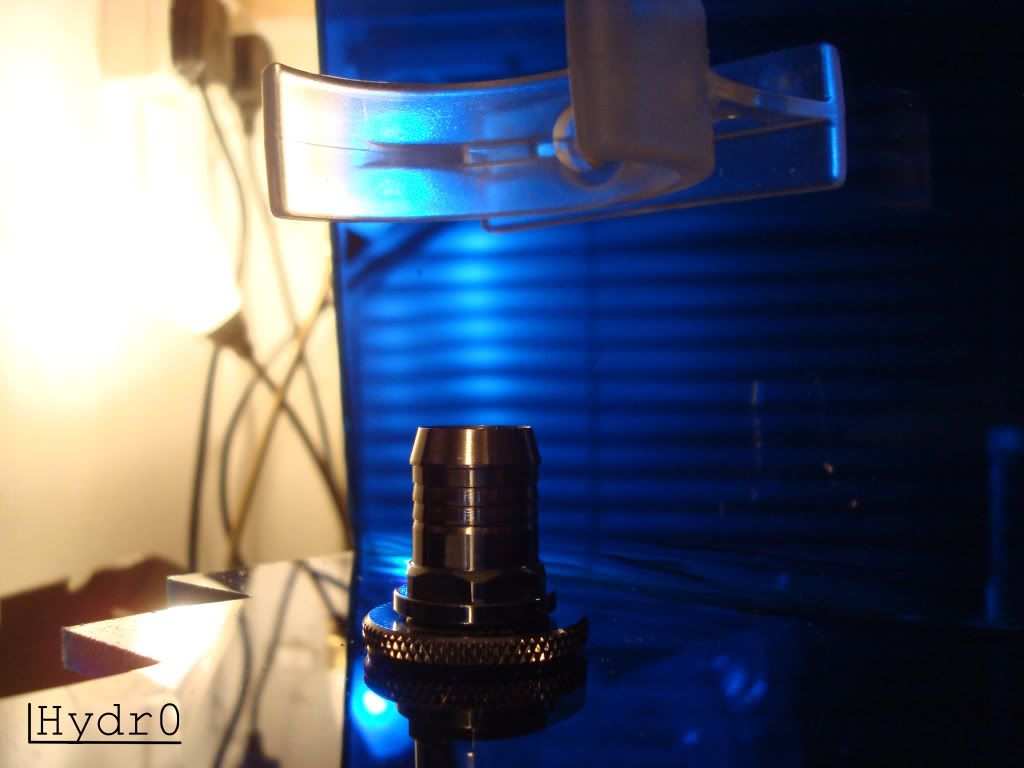
Bitspower Silver Shining for all 8mm
Sponsors
more to come. Hx


 Reply With Quote
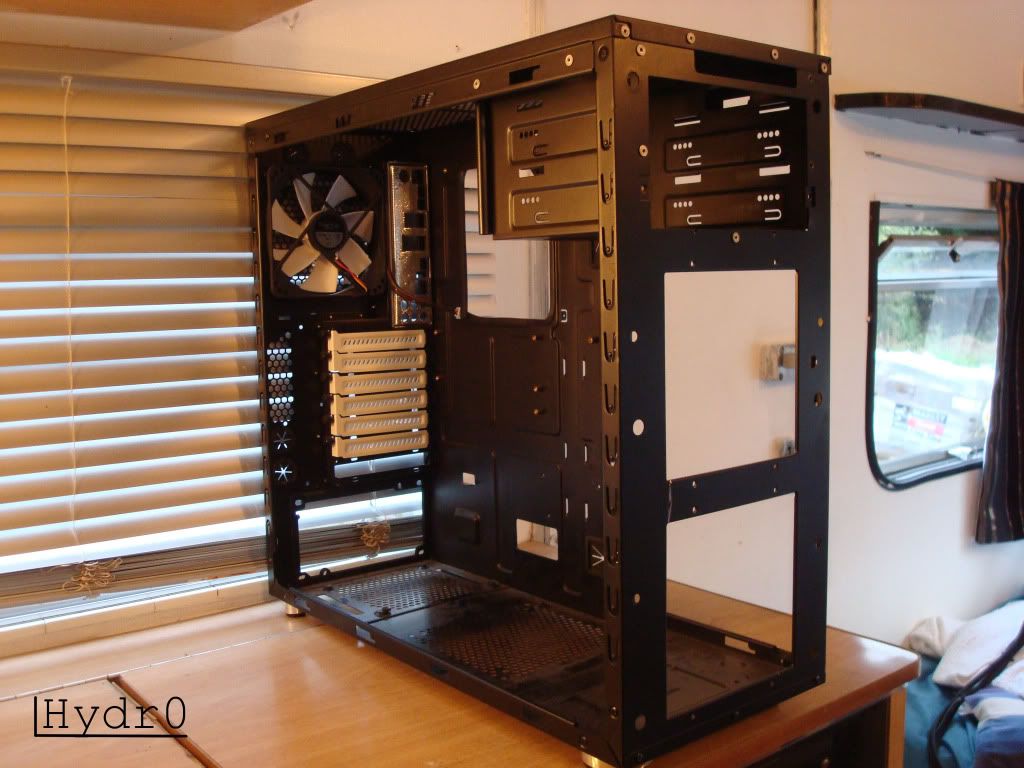


Bookmarks