Page 1 of 5 1234 ... LastLast
Results 1 to 25 of 120

Thread: Project : L3p L4n

  1. #1
    Xtreme Member
    Join Date
    Apr 2010
    Location
    Holland
    Posts
    265

    Project : L3p L4n


    Finally my next build
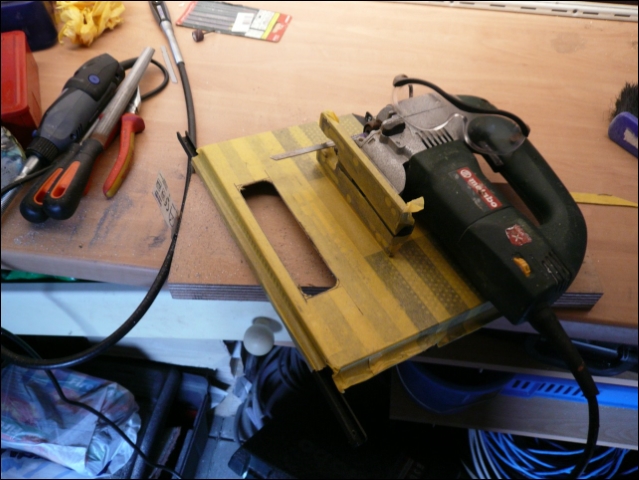
    This time not a scratch build, but a "normal" casemod.

    Before i came in touch with the world of modding and watercooling i played a lot with HTPC's
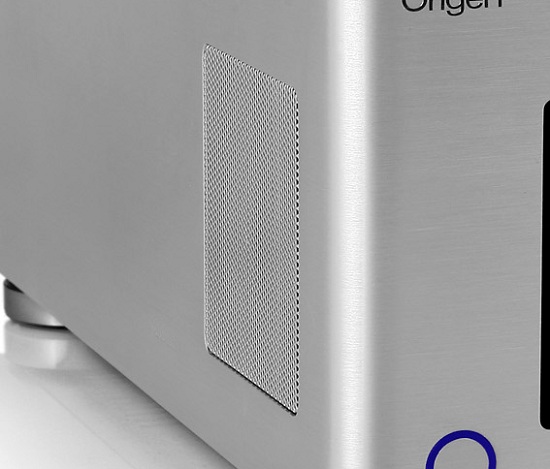
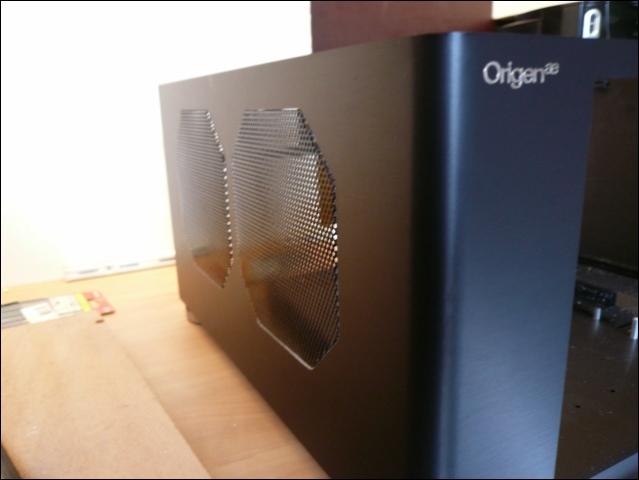
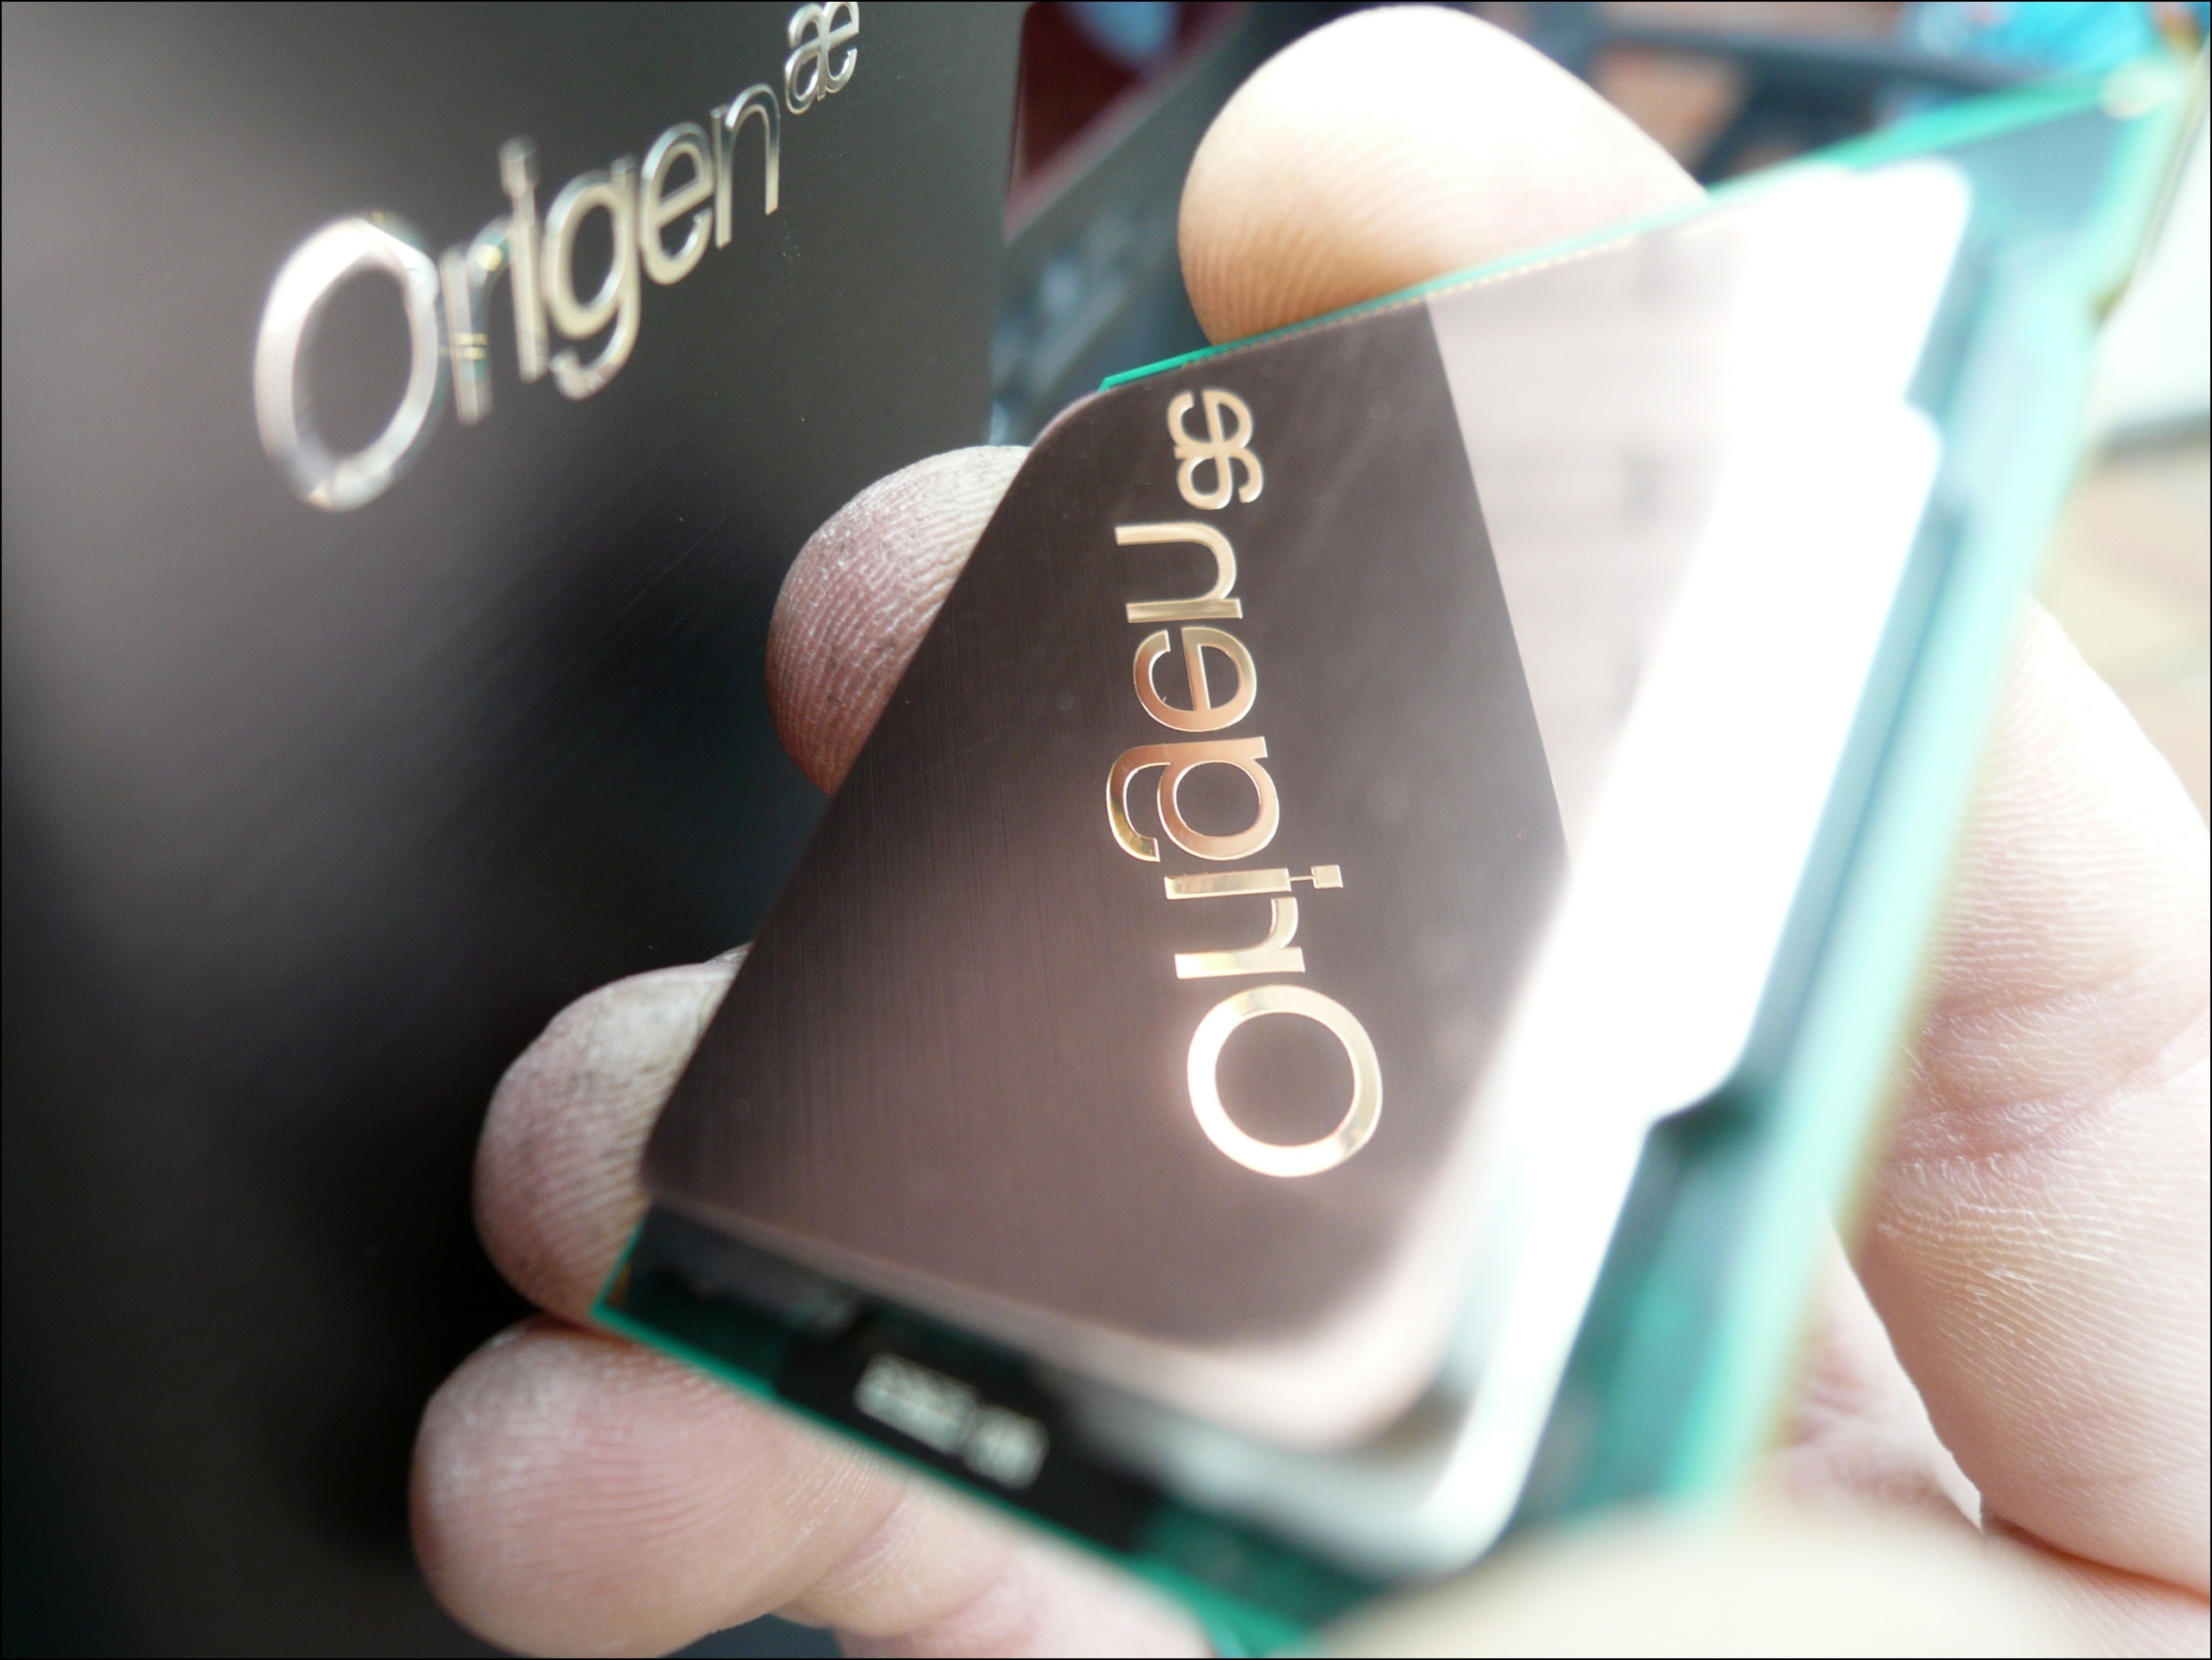
    Back then i fell in love with all the cases of Origen AE.
    Every time i was on their site, i just had to watch the topmodel.
    I knew it was just too expensive for me, also personally i think the 12" touchscreen is useless for an htpc.
    But still ... it looks so nice....

    Because i won some prizes with "L3p D3sk" in the Coolermaster compo,
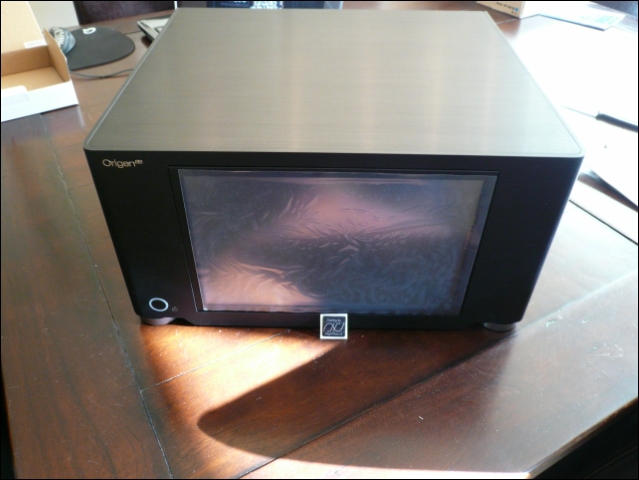
    and because it was time to prepare my next build i took the step to go for the Origen S21T.
    Also because i wanted to build something that is more easy to take to lans then my previous build ^^
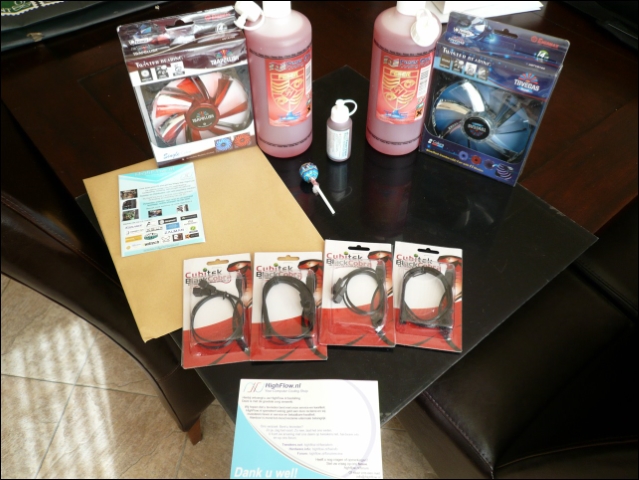
    Off course this all wouldn't have been possible without the help of Freddy from Highflow.nl
    I have also chosen this case because i didn't see it being modded much yet.

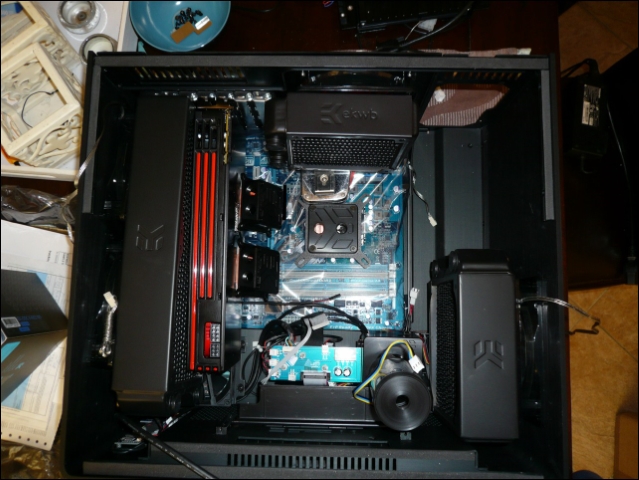
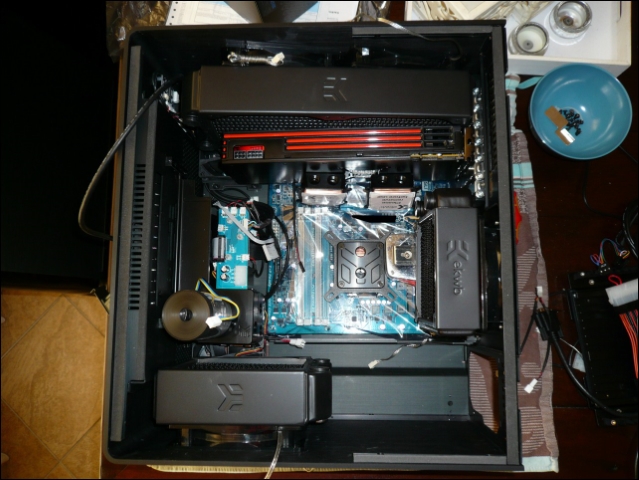
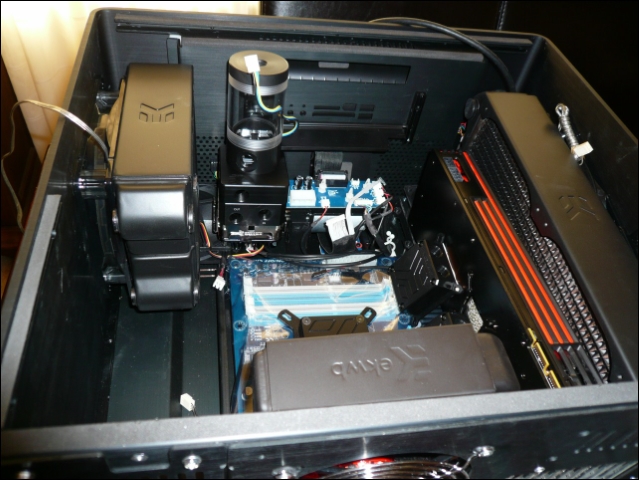
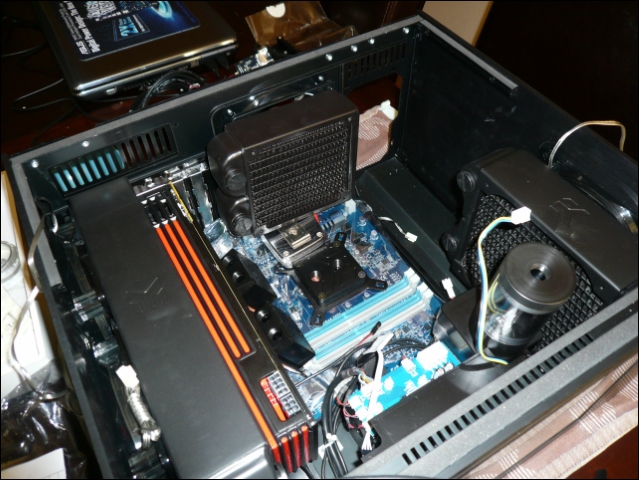
    So it won't become an Htpc but a real watercooled gamer pc


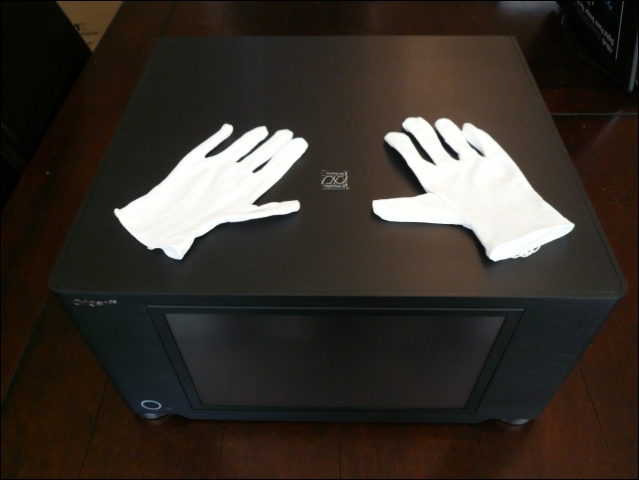
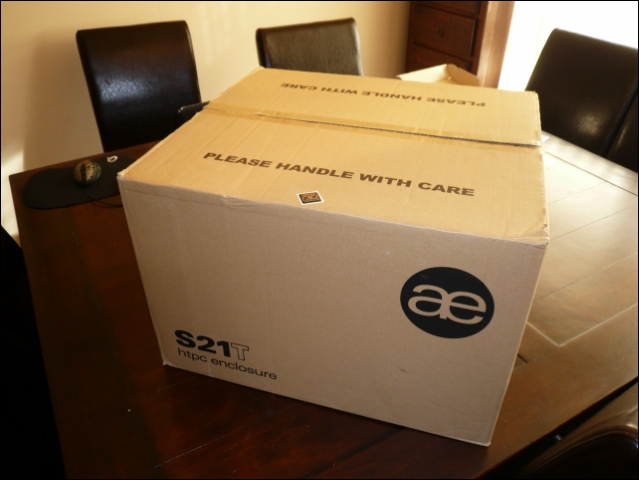
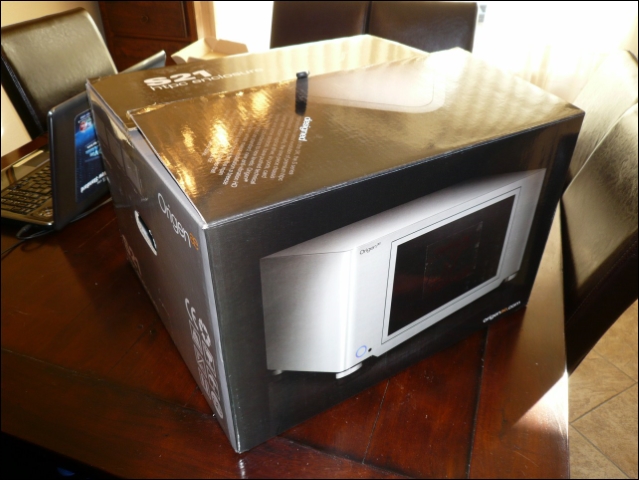
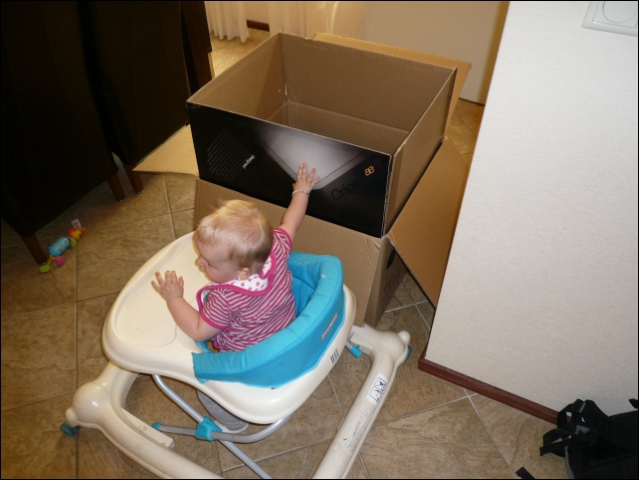
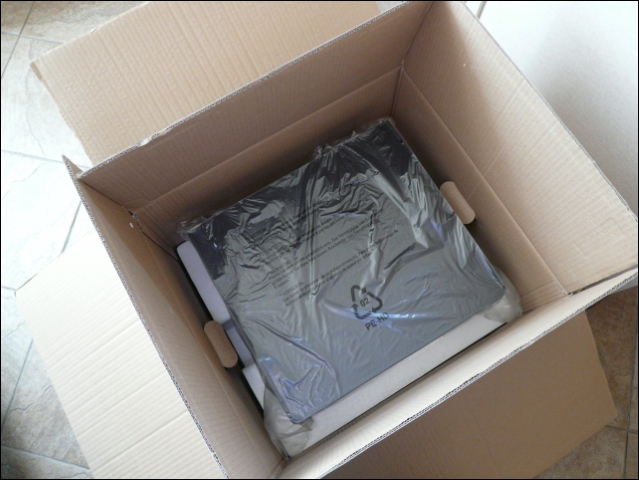
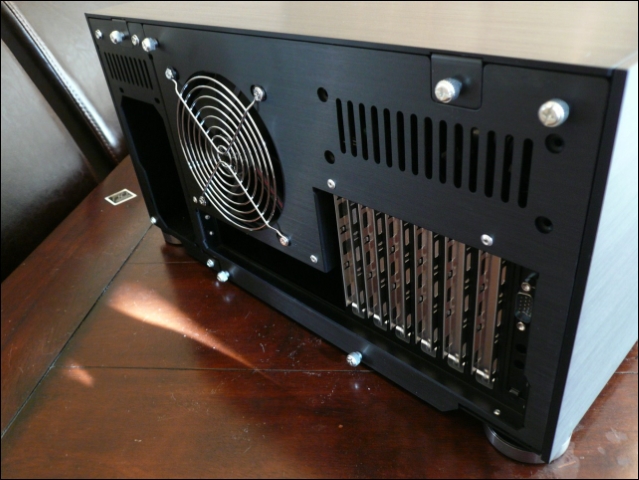
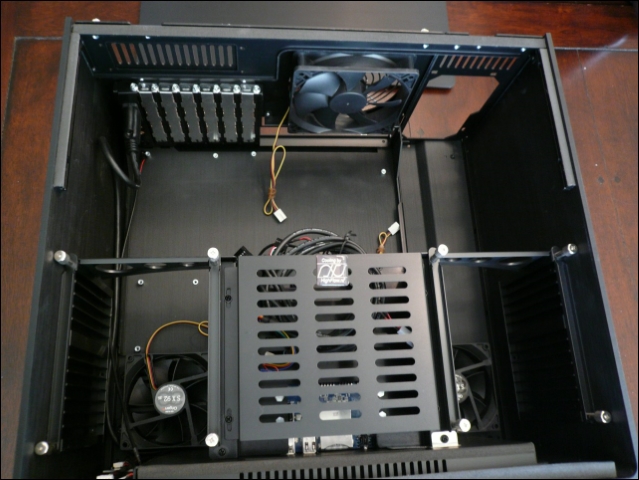
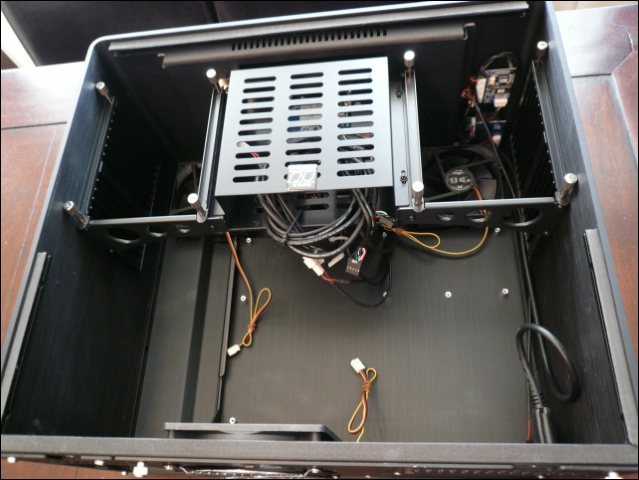
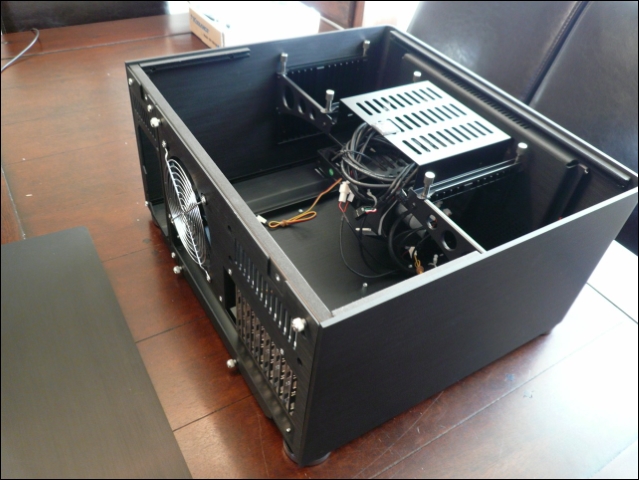
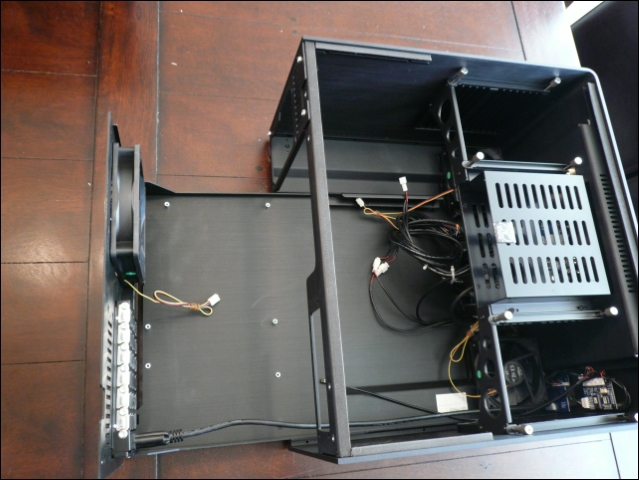
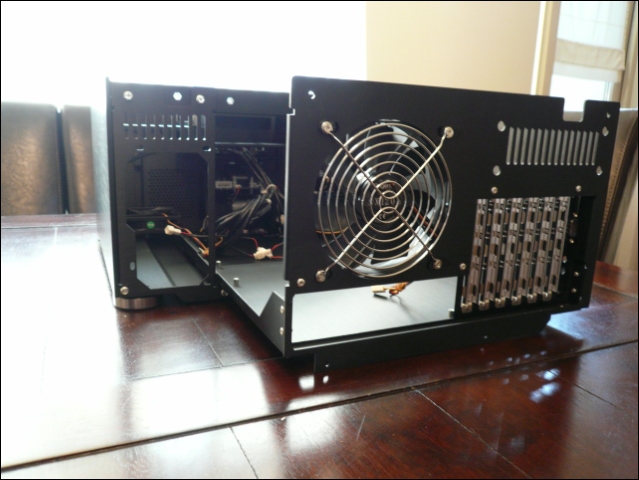
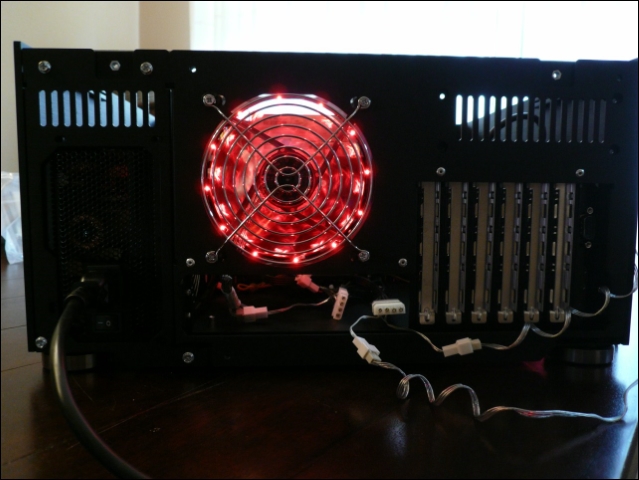
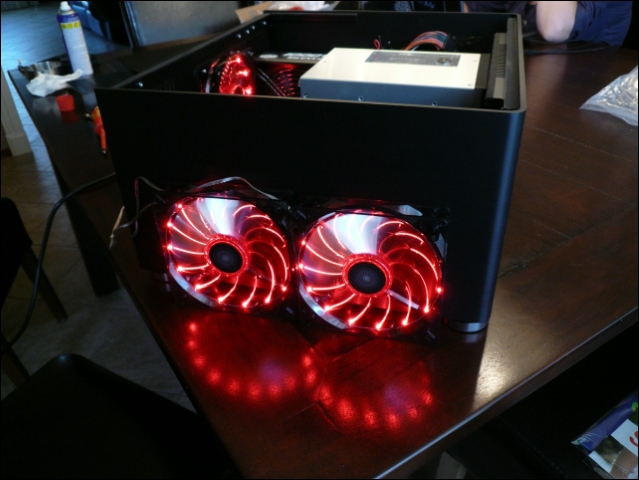
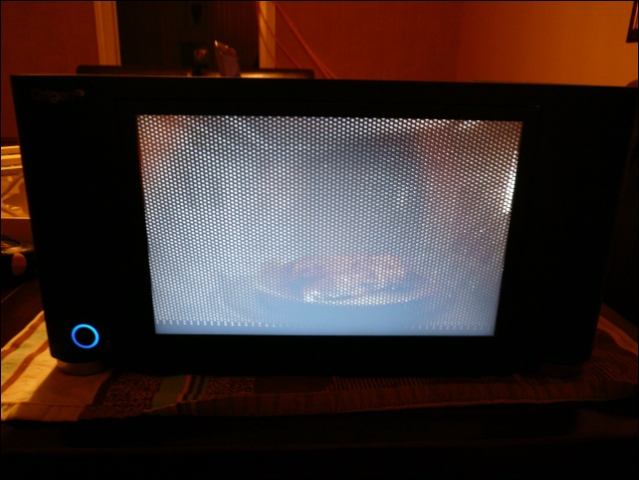
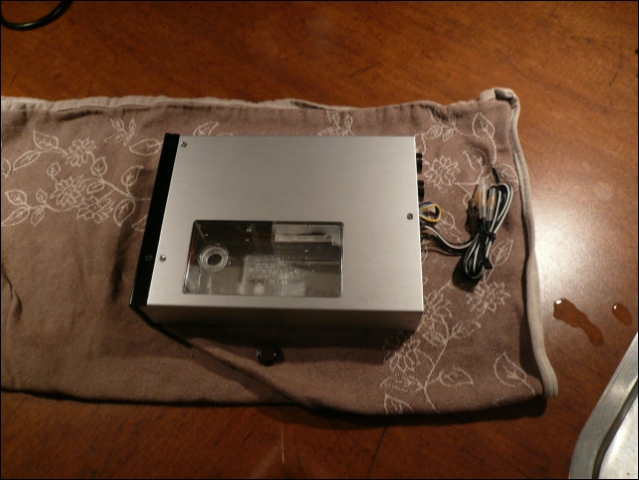
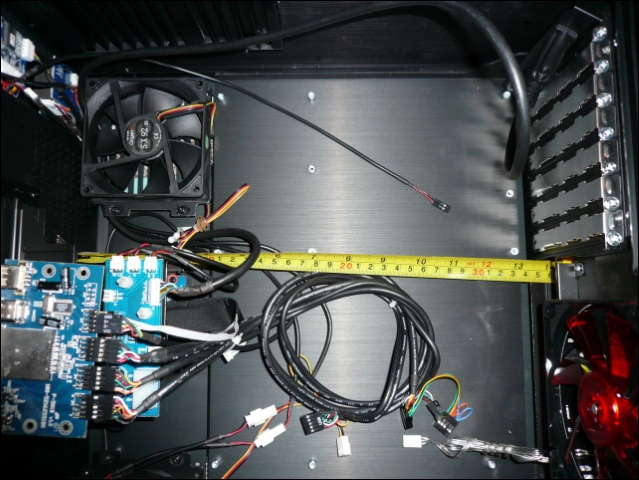
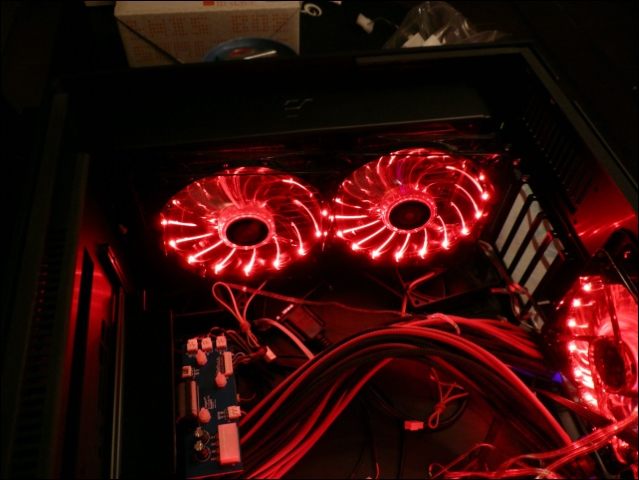
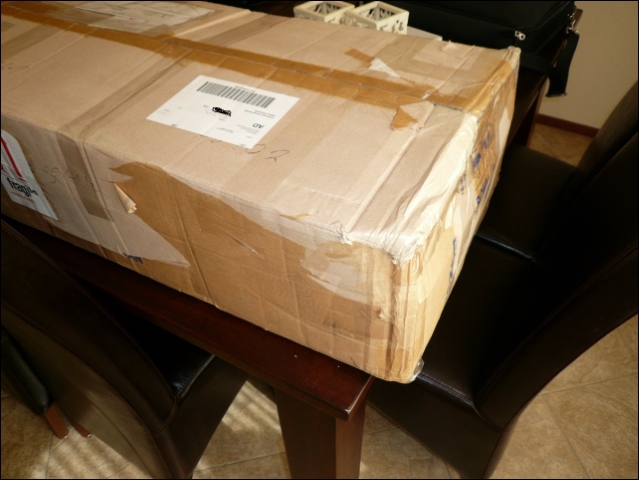
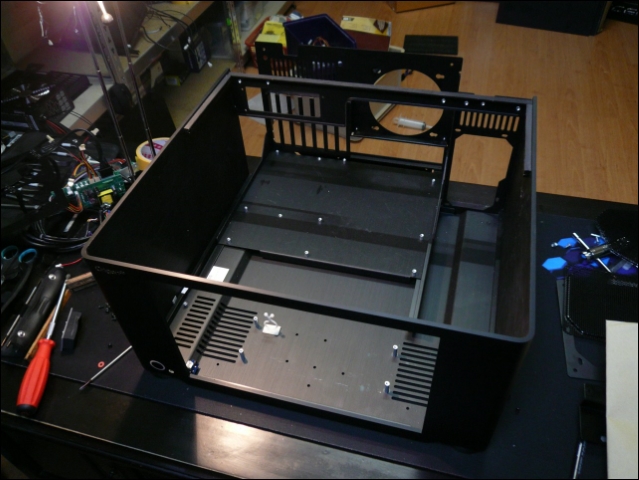
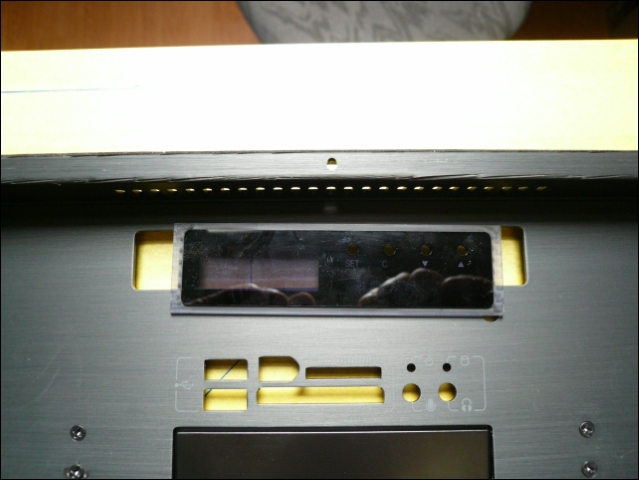
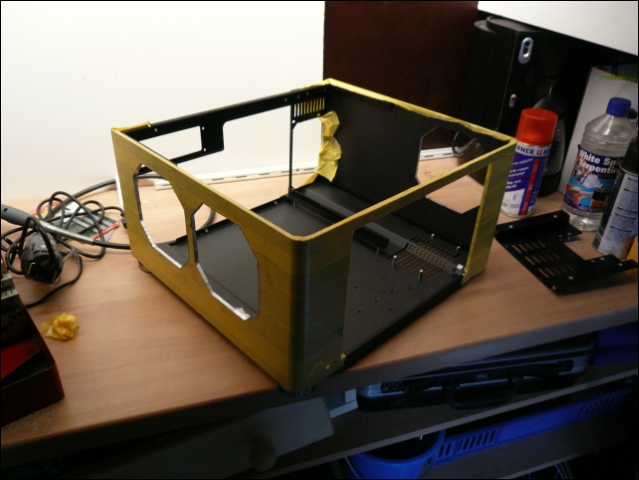
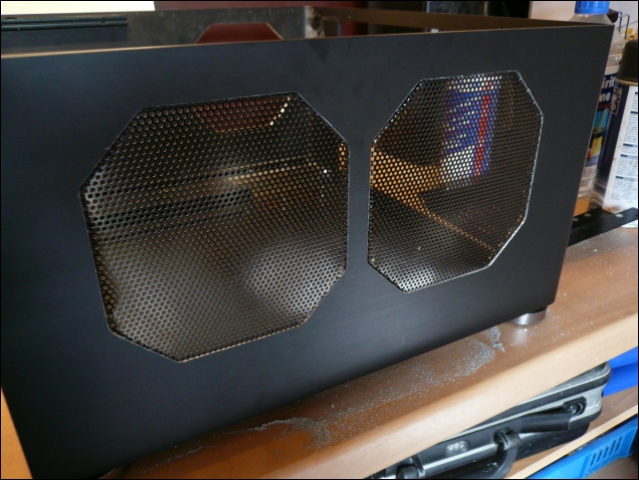
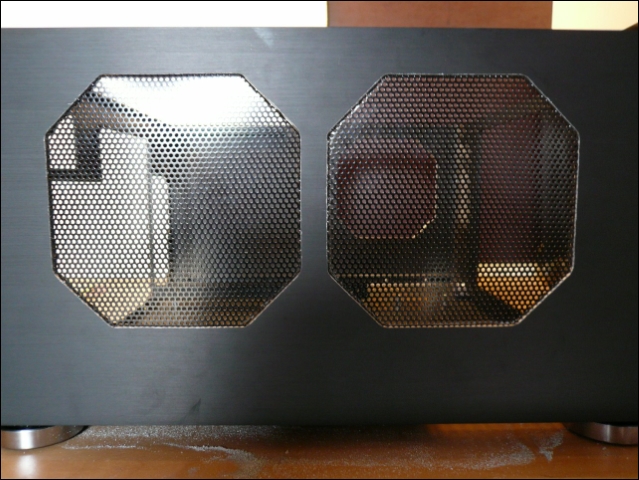
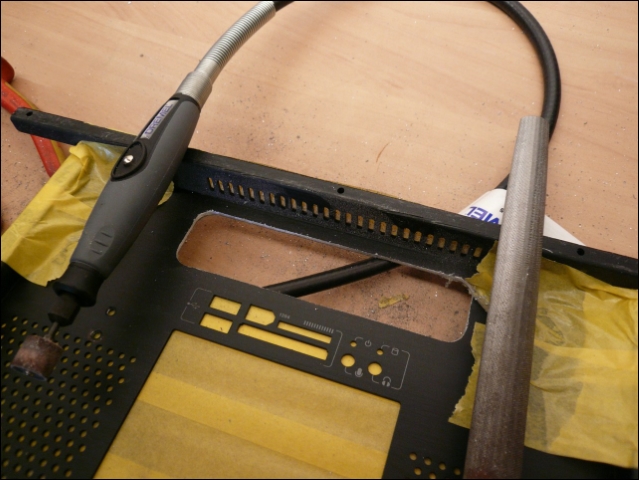
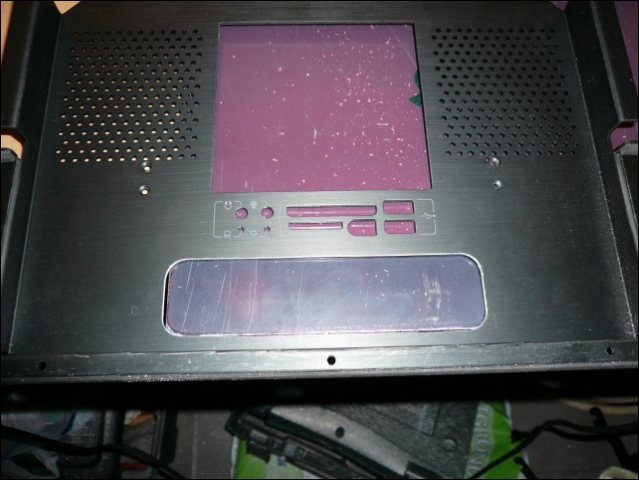
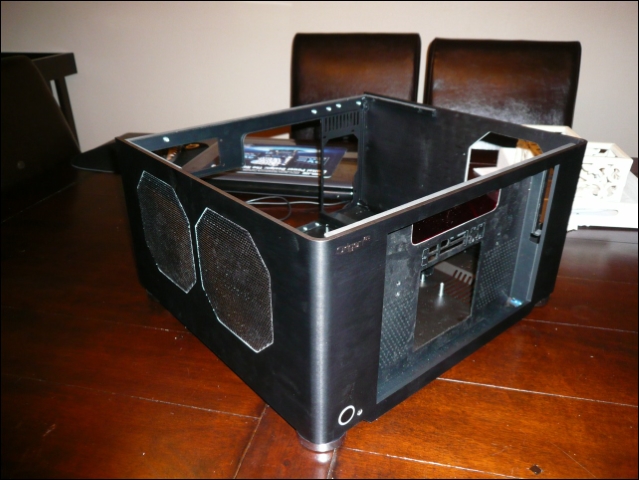
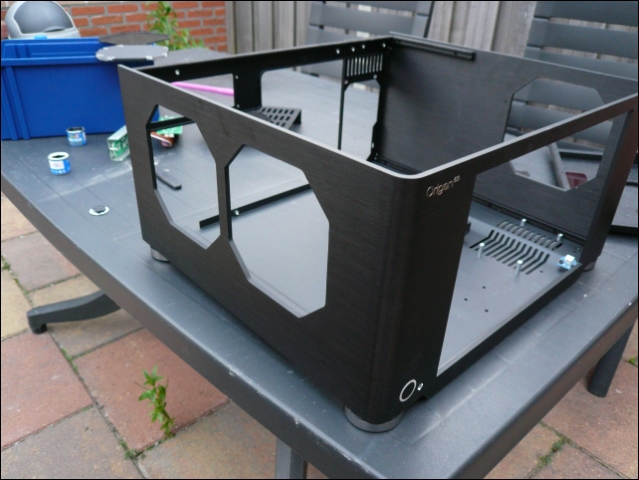
    Received the case 2 days ago.
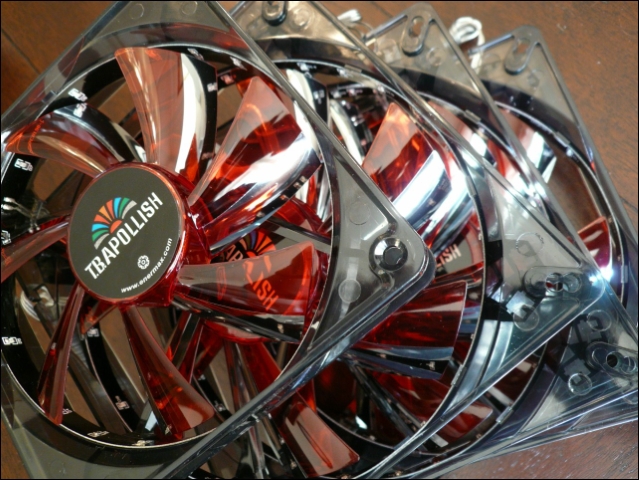
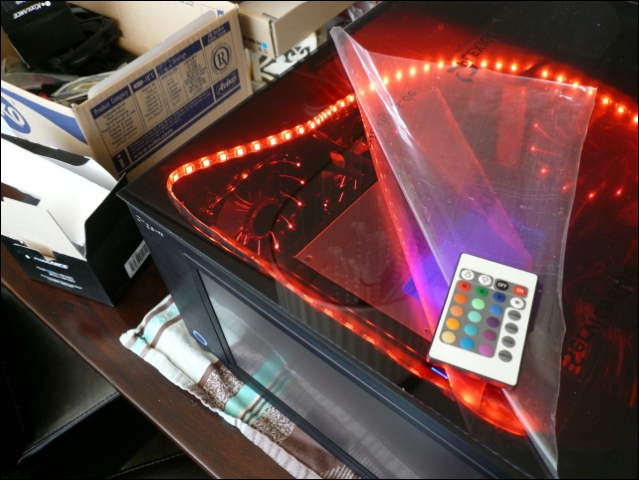
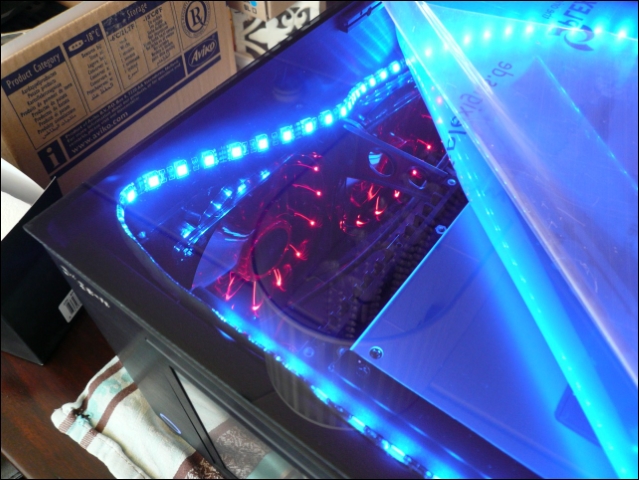
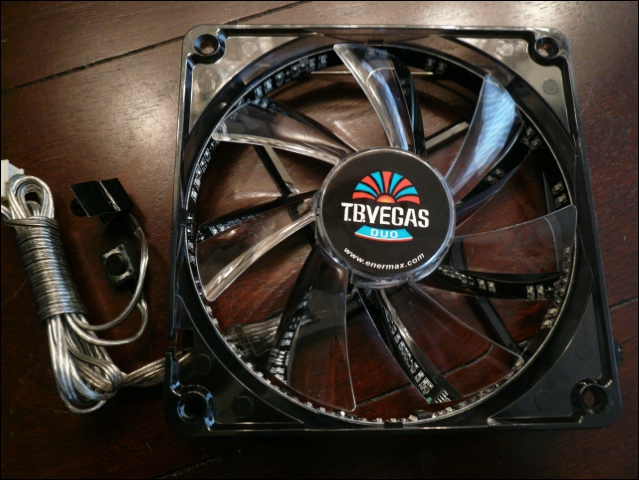
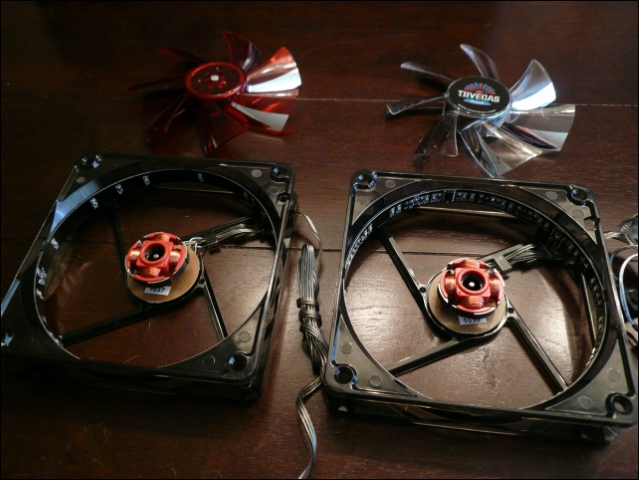
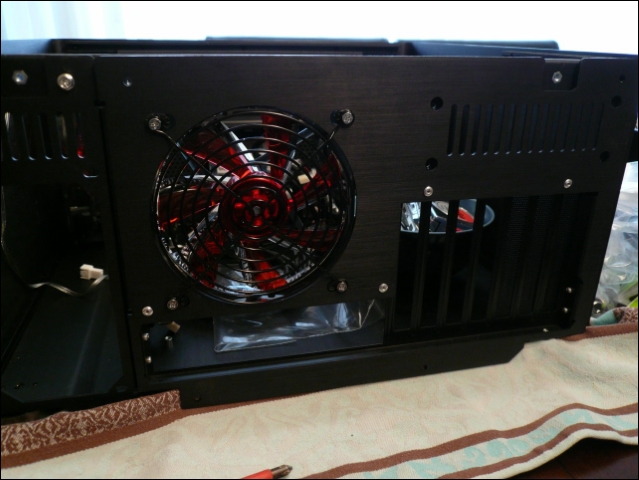
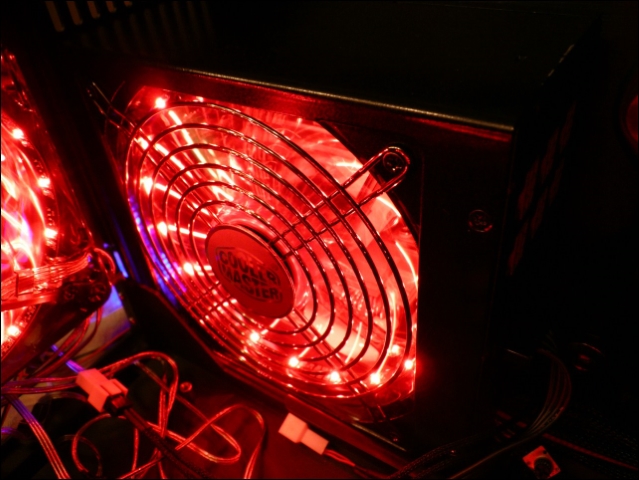
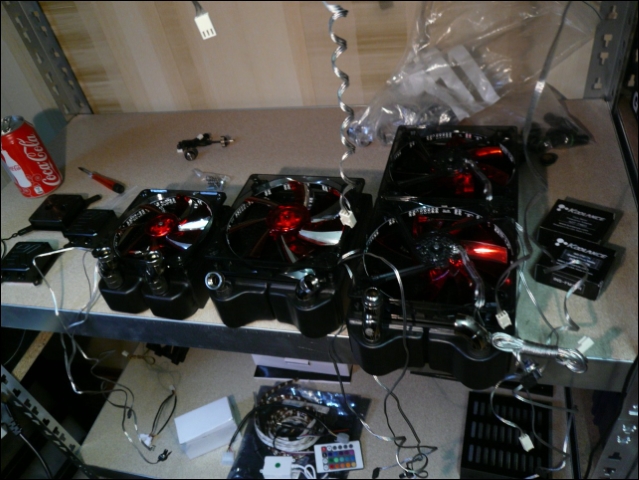
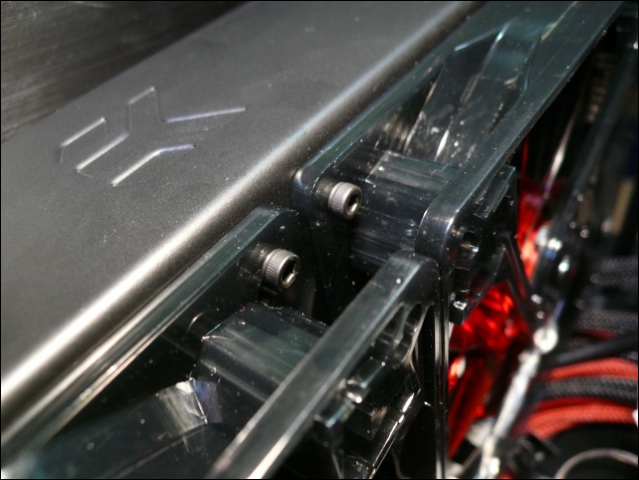
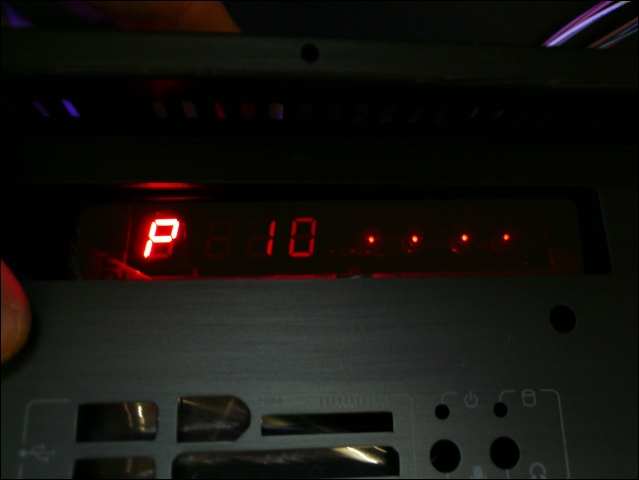
    Just had to see how the touchscreen moves and what the red Enermax fans look like in the case


    The hardware that will probably be used in this case:

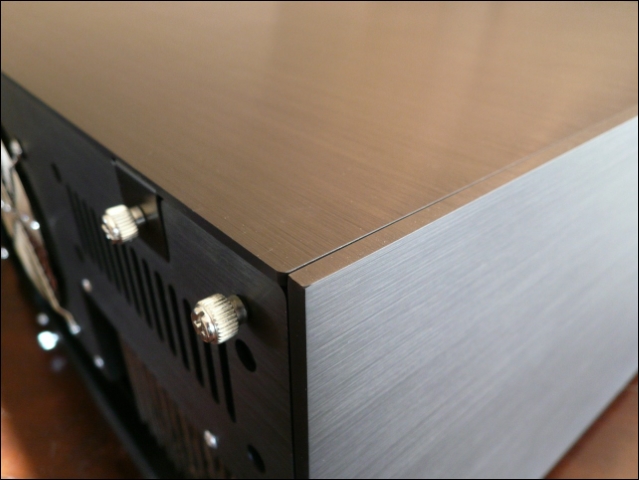
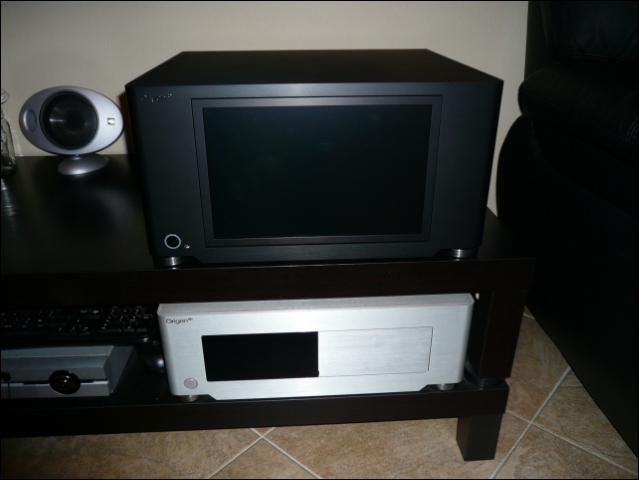
    Origen AE S21T Black
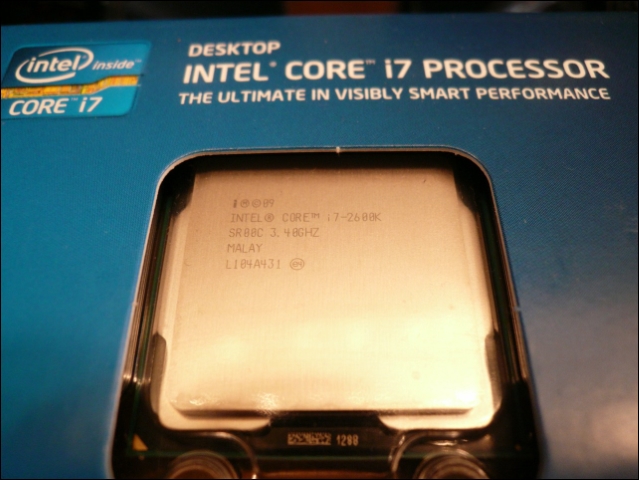
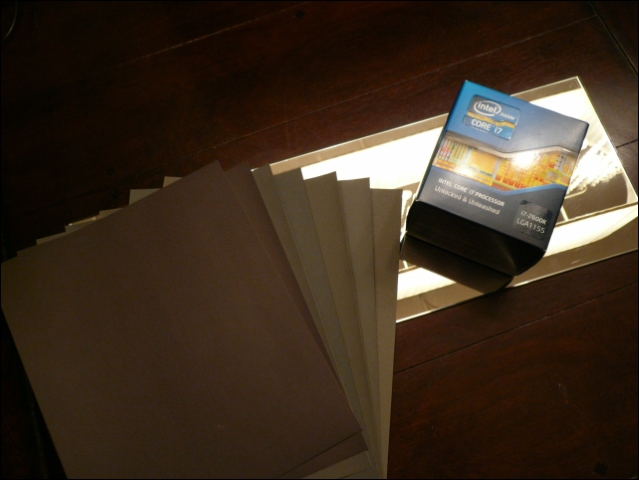
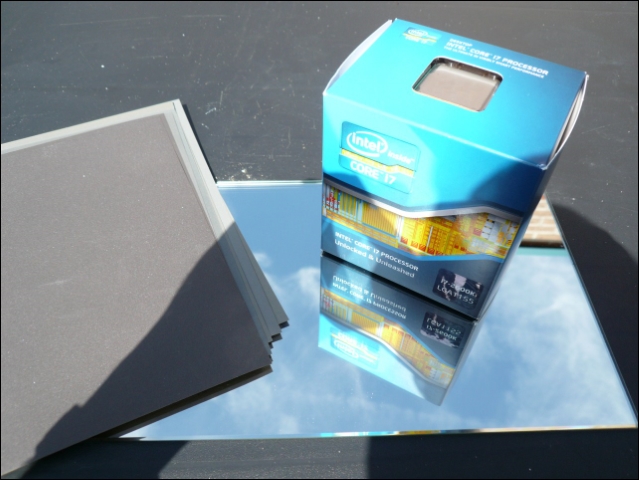
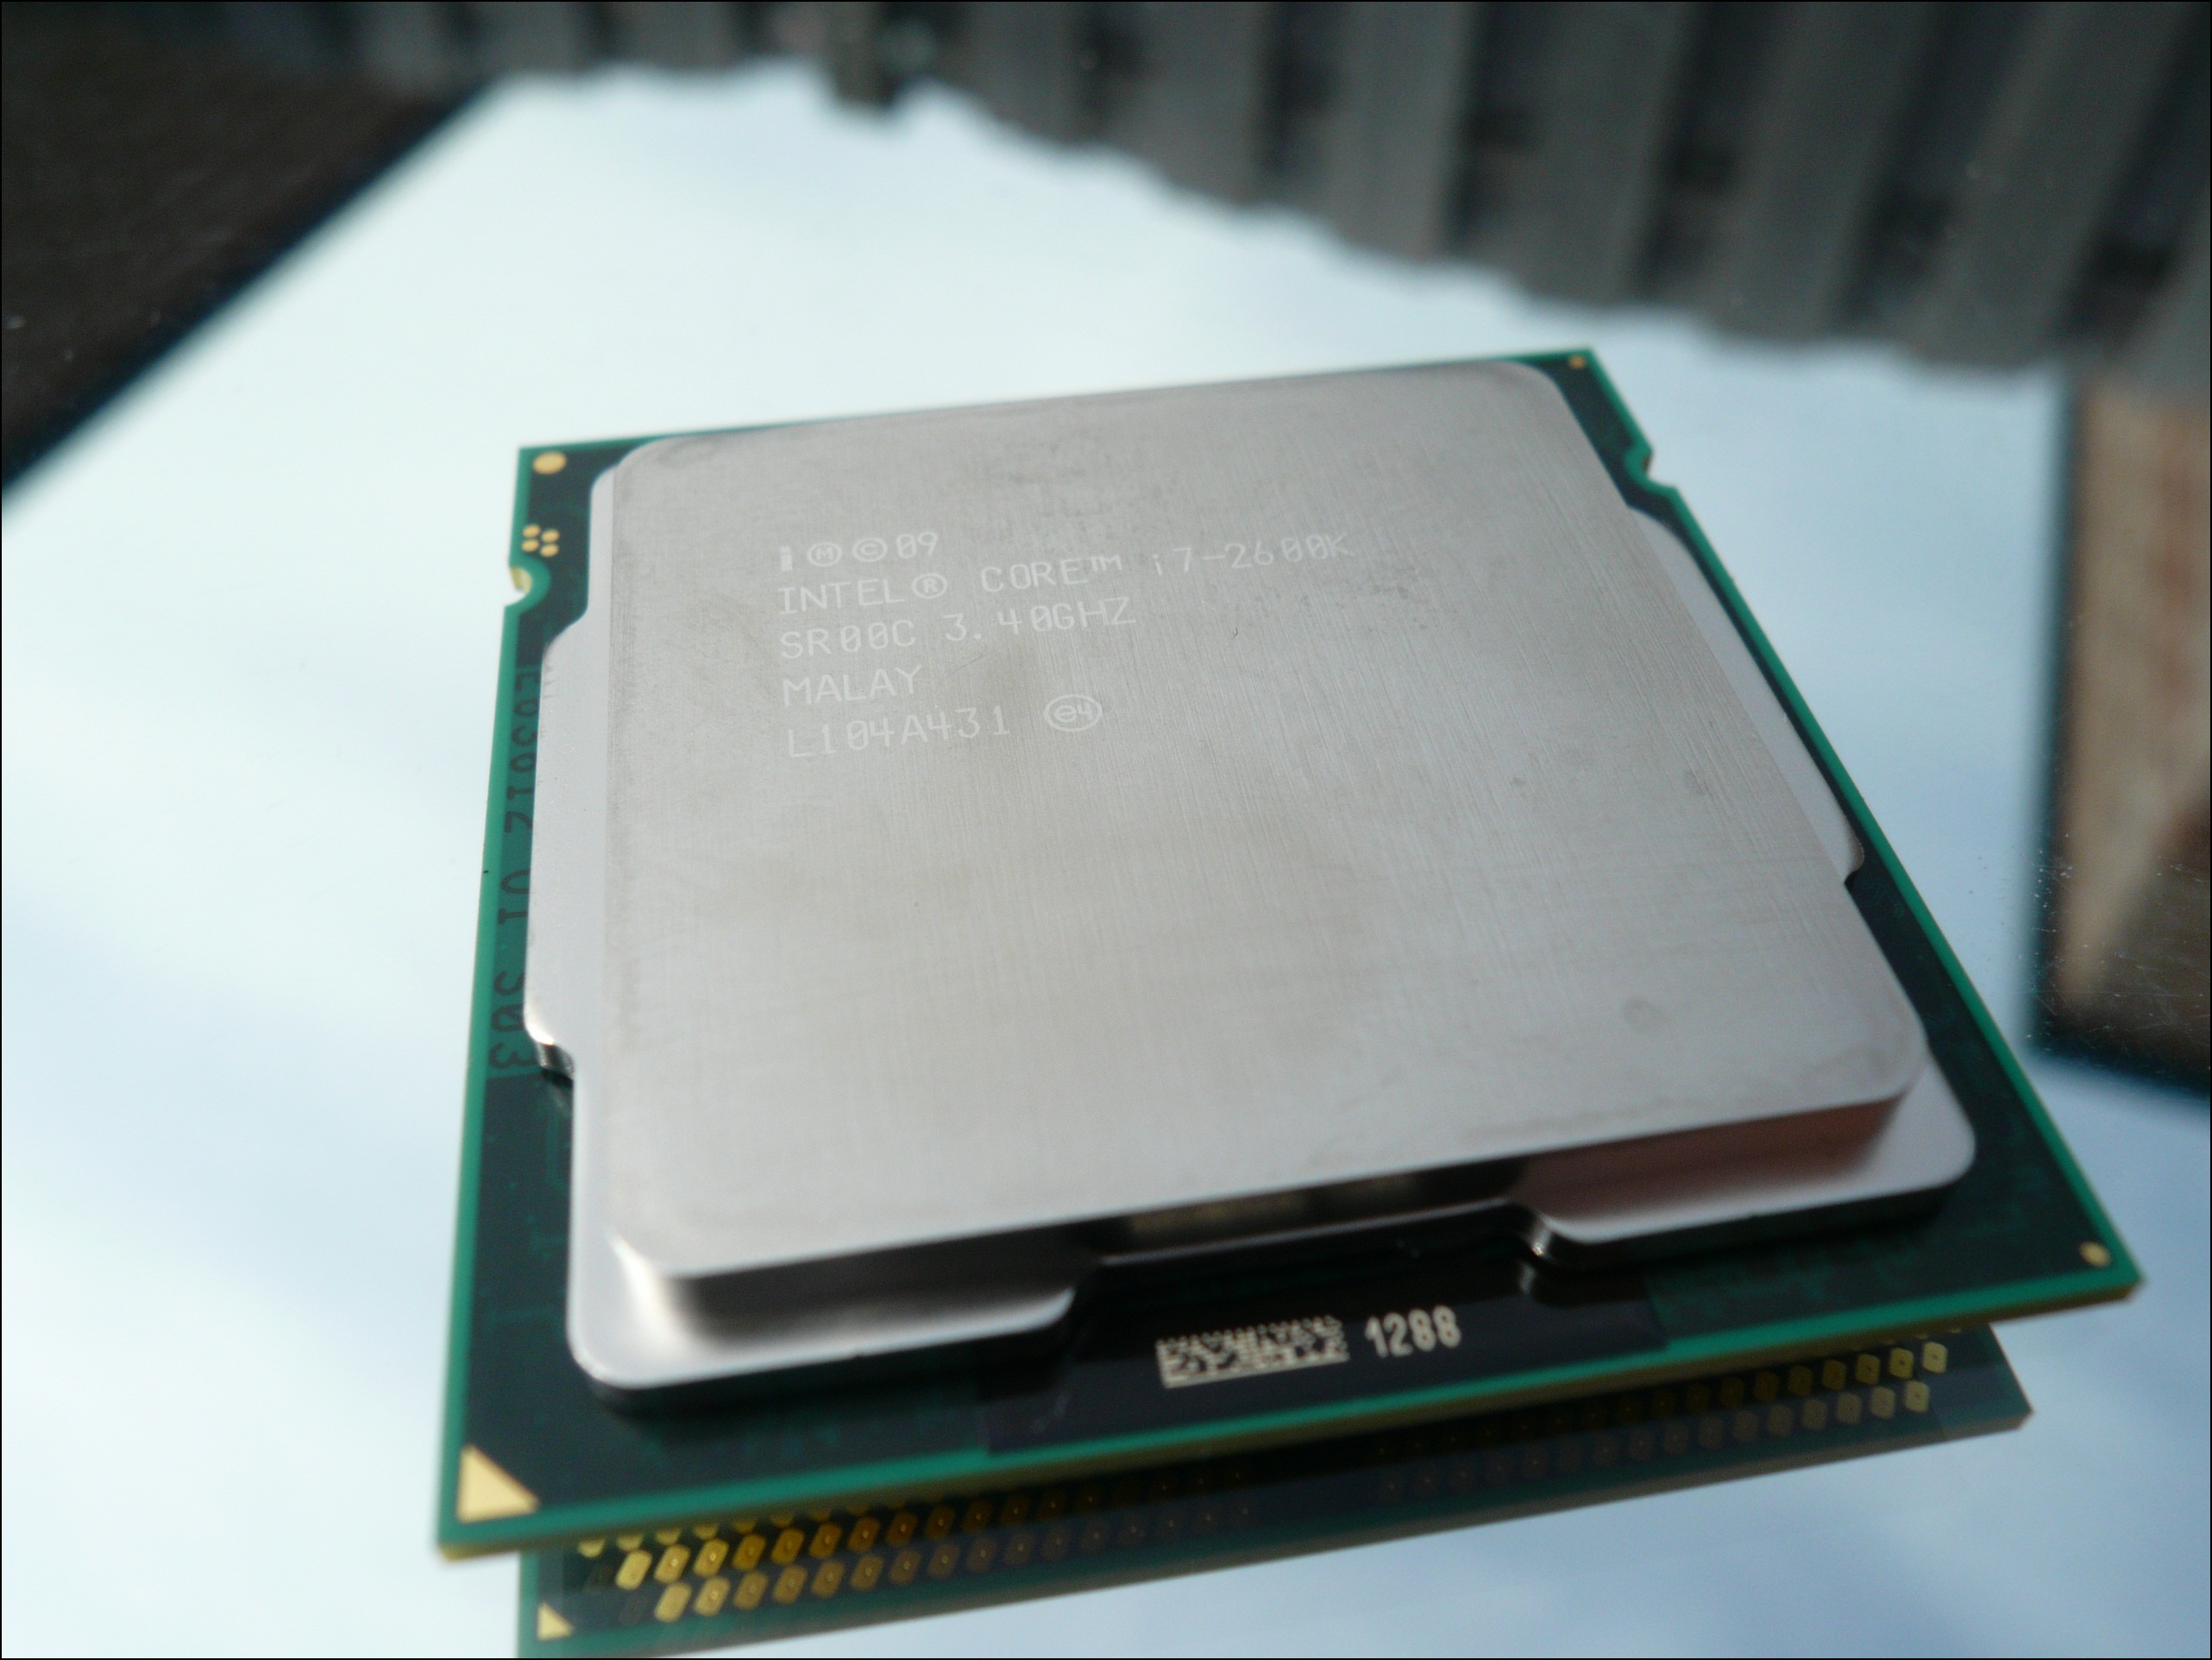
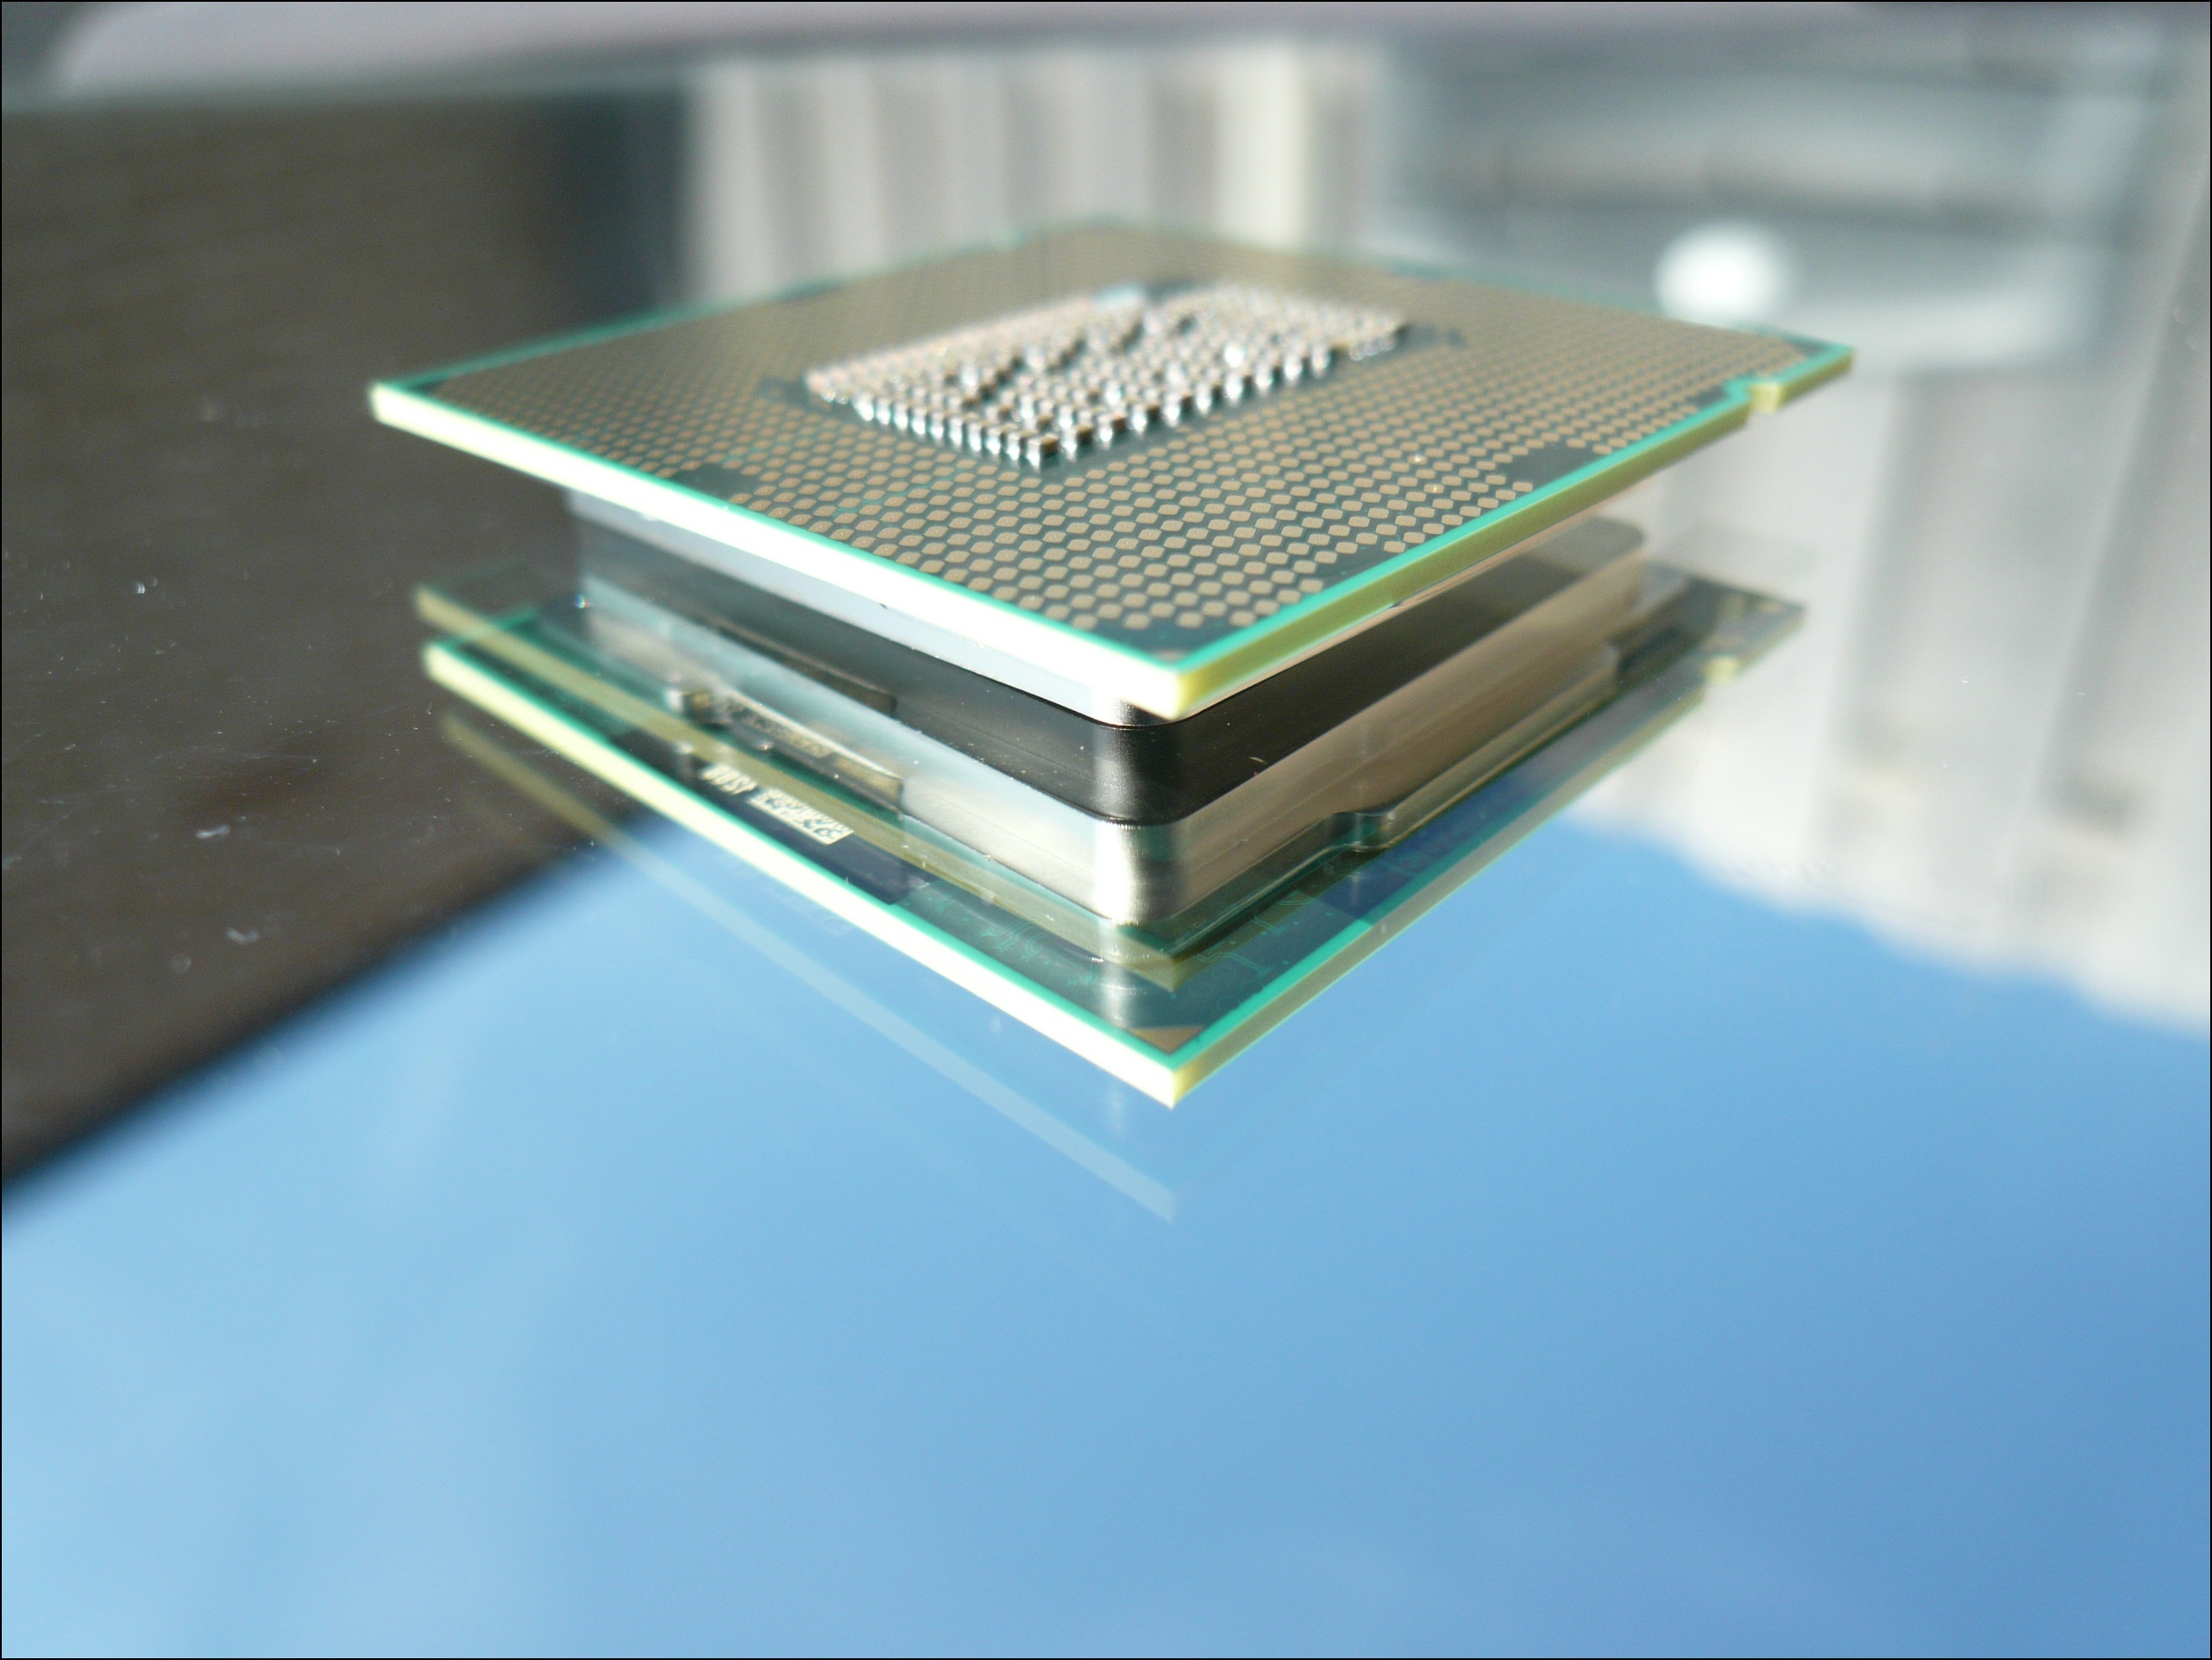
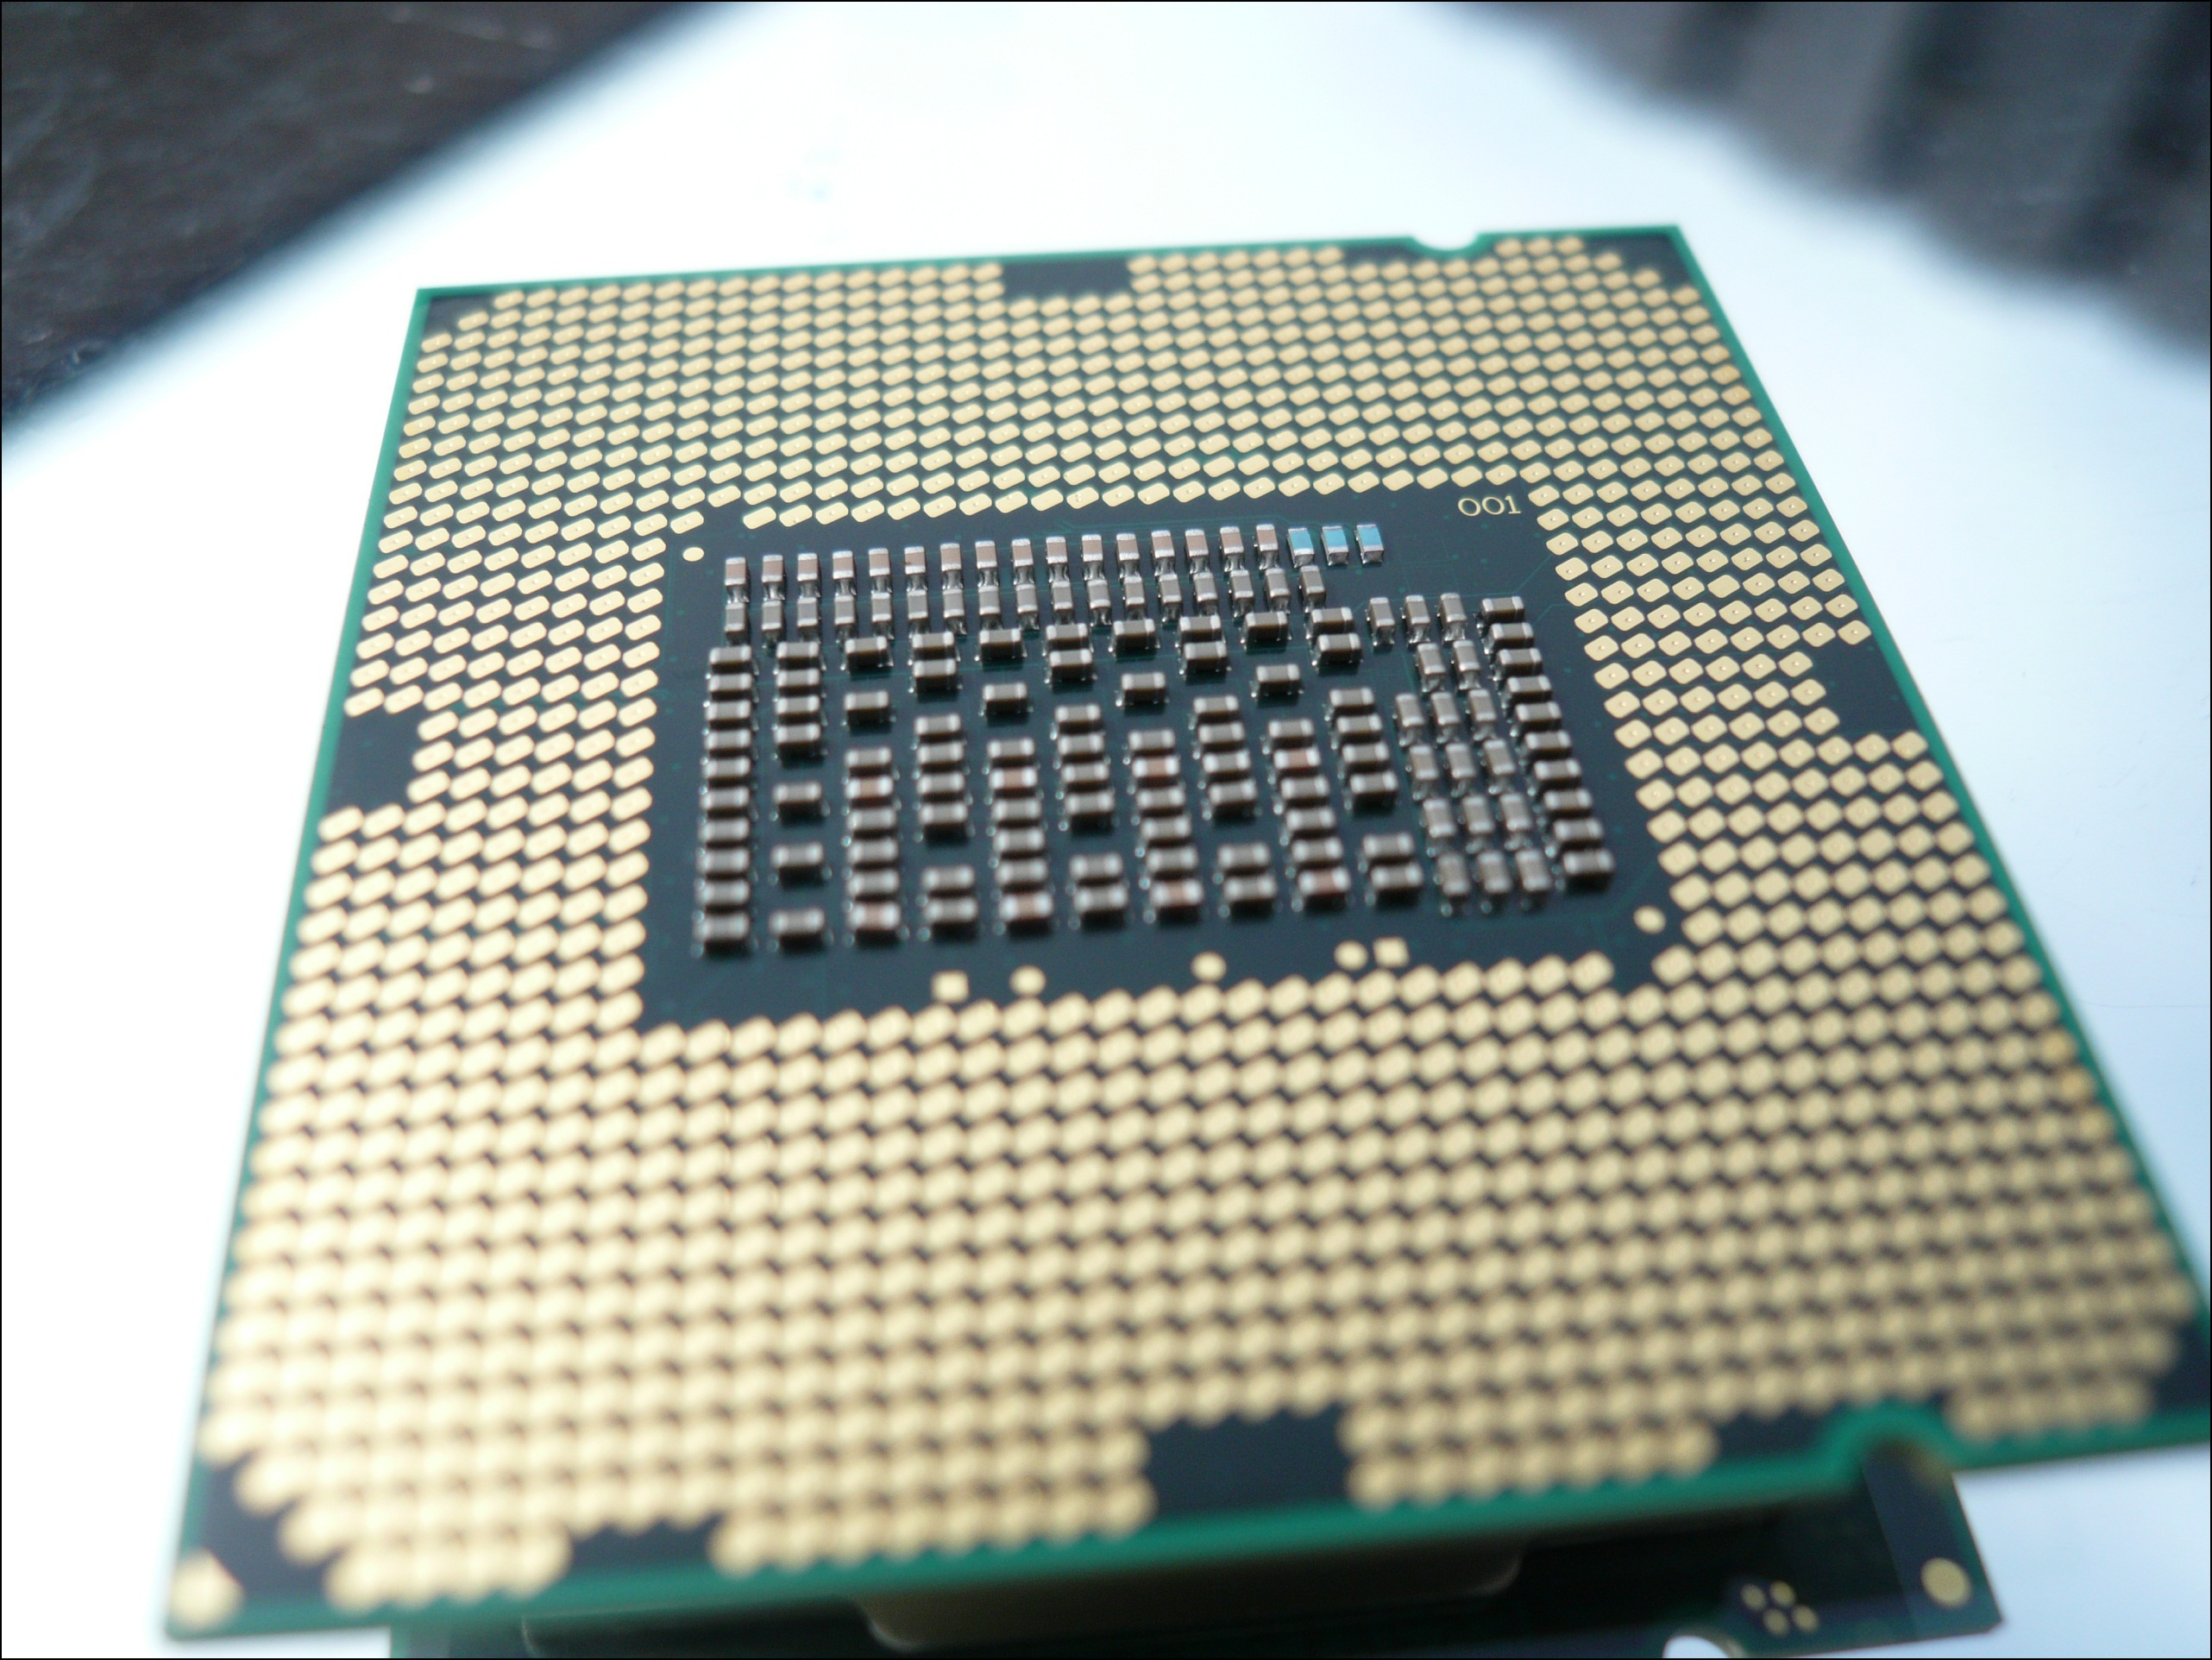
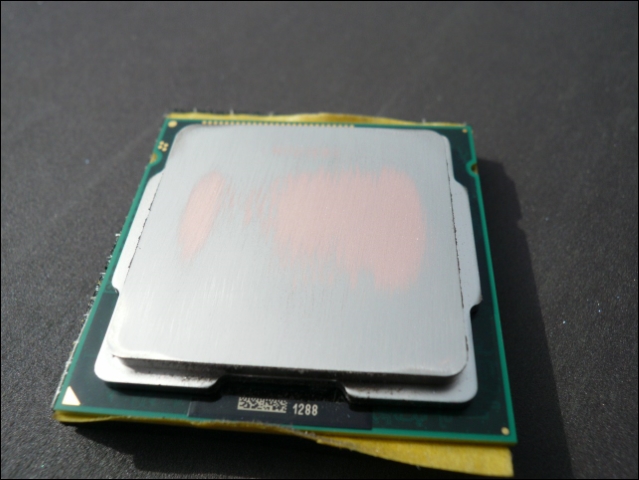
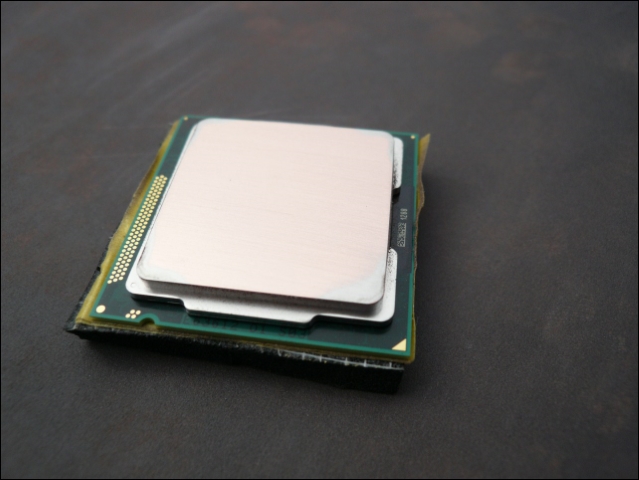
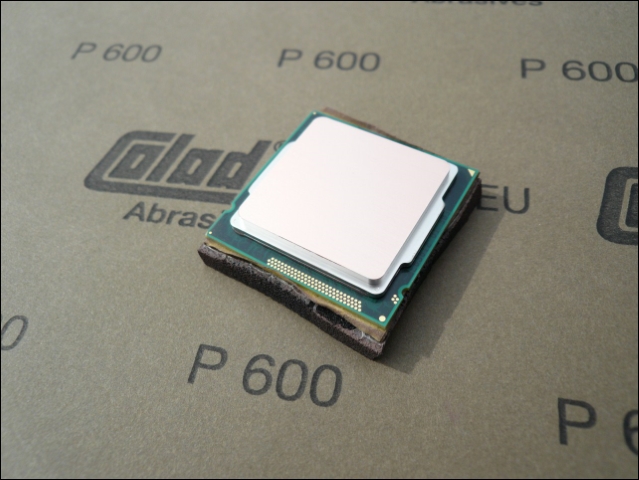
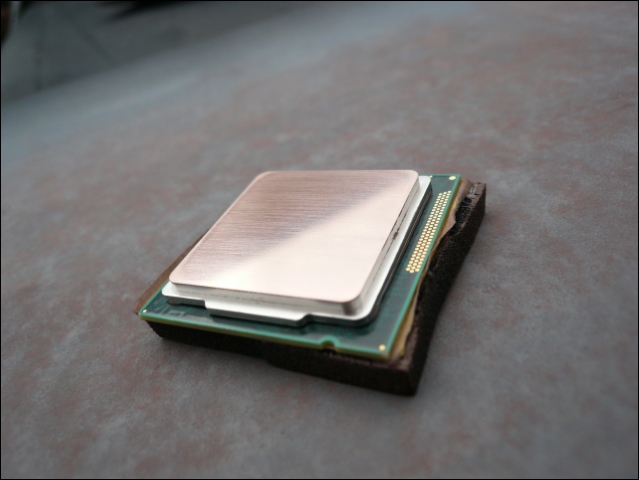
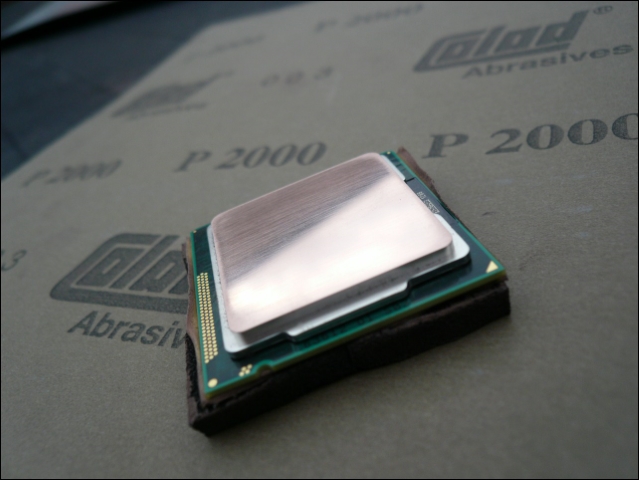
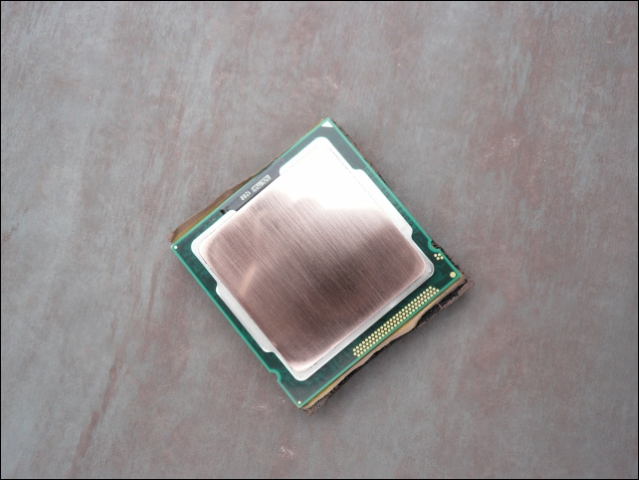
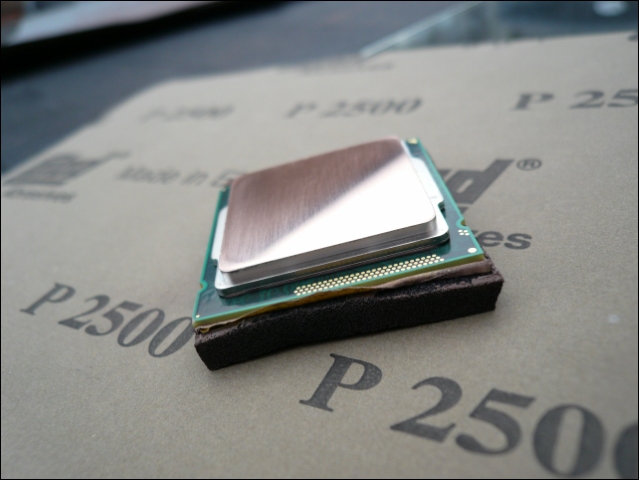
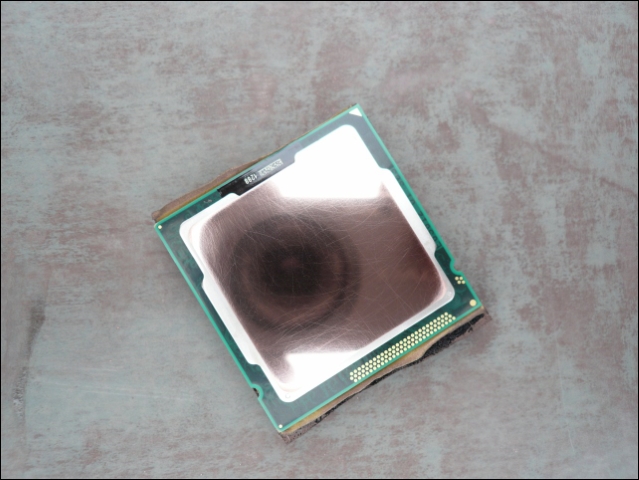
    Intel Core i7 2600K
    Asus ROG Maximus IV GENE-Z
    Asus ROG MARS II 2DIS/3GD5
    Corsair Dominator GT 16GB 2133Mhz CL9 Quad Kit
    Corsair Force GT 180GB 2X
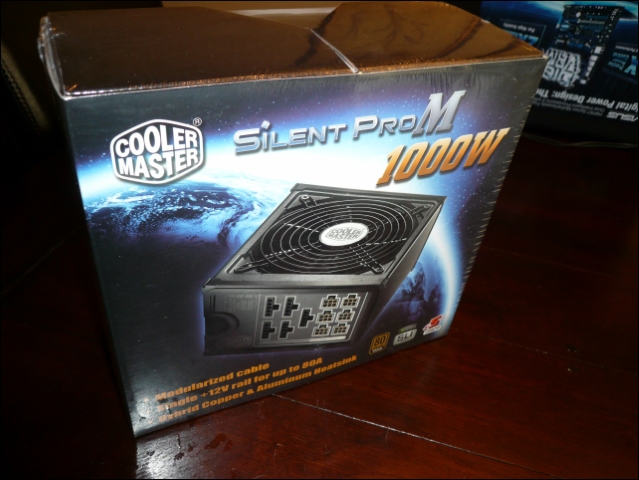
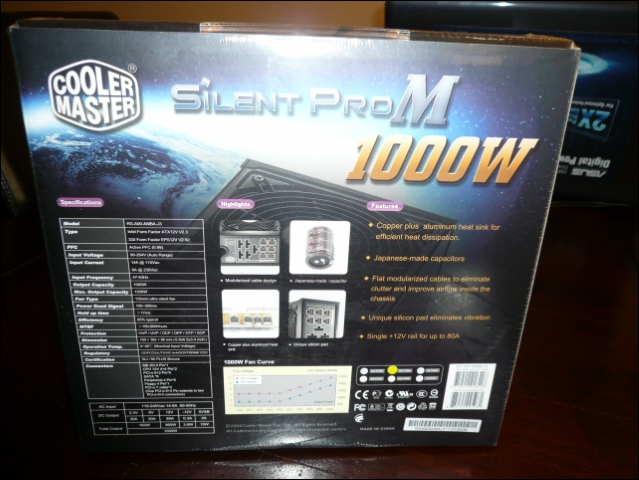
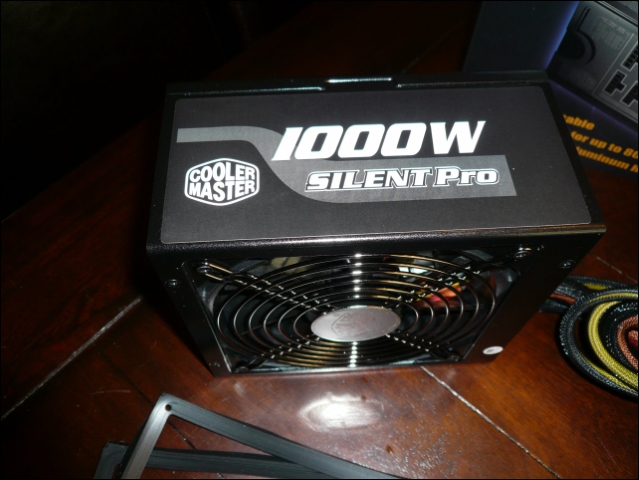
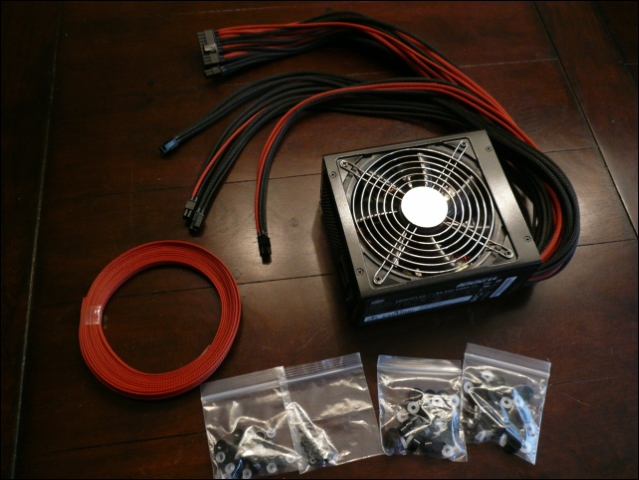
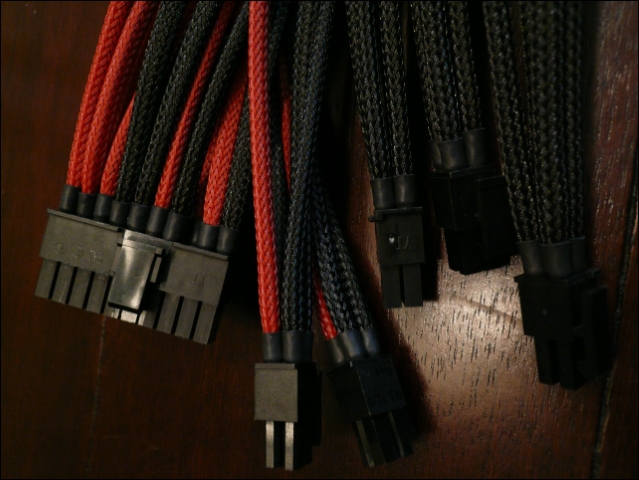
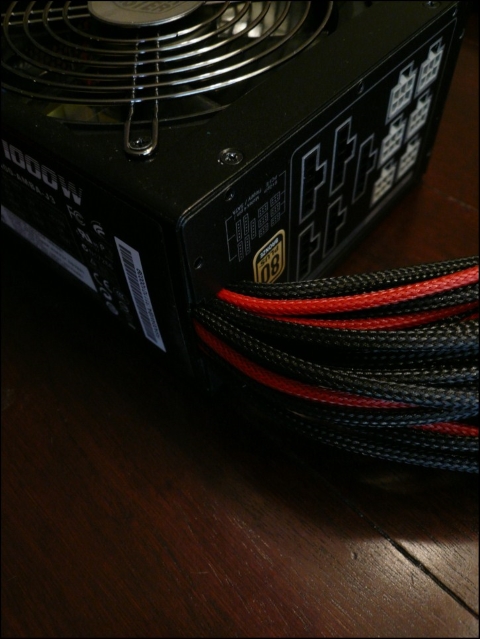
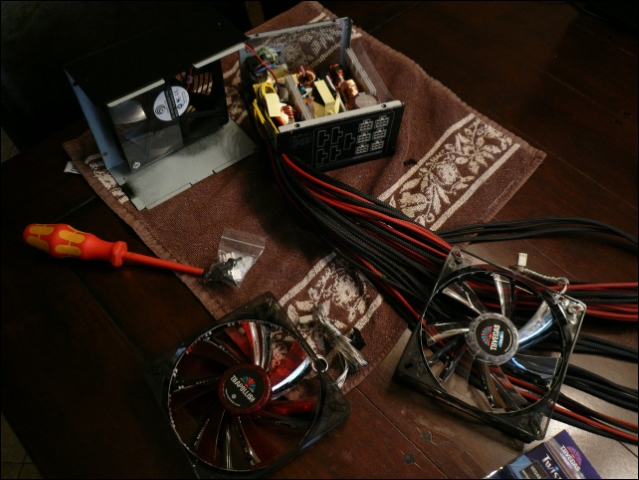
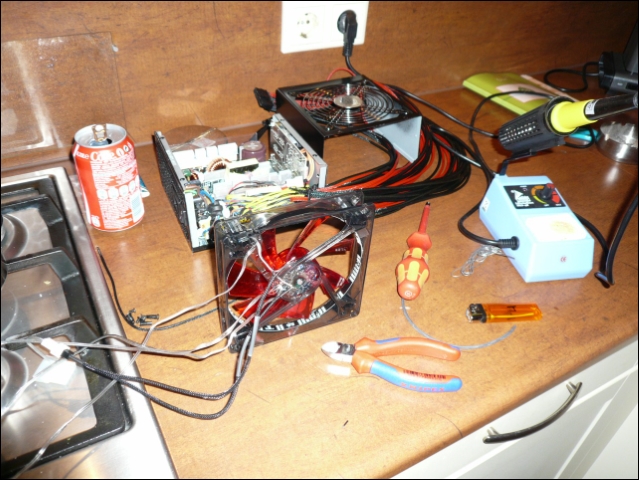
    Cooler Master Silent Pro M1000 (MDPC Color-X sleeved)

    Asus ROG Mars II Custom Fullcover POM/Copper/Alu waterblock by Mr3D & Quepee

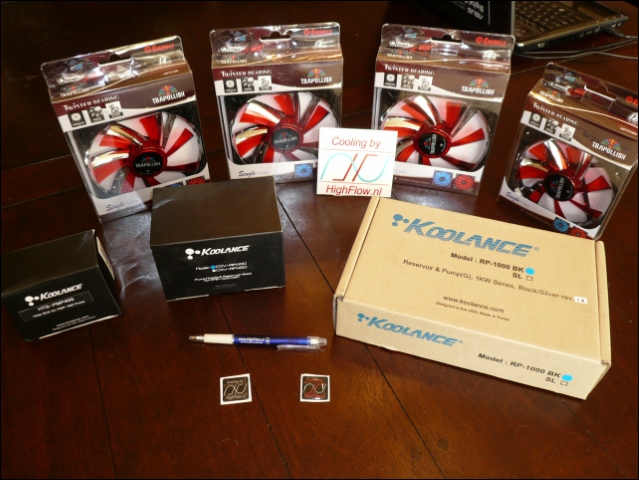
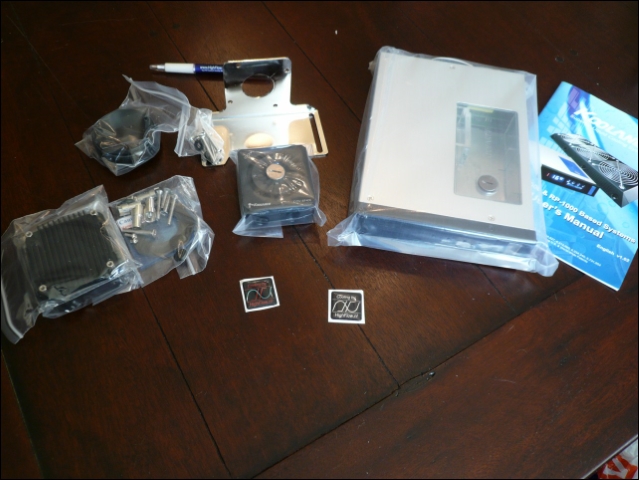
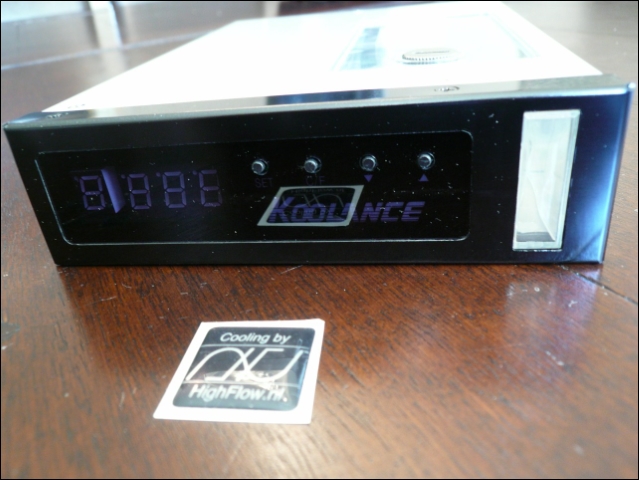
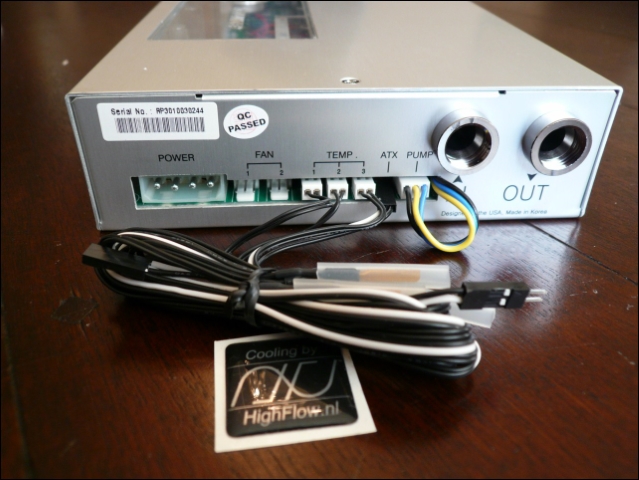
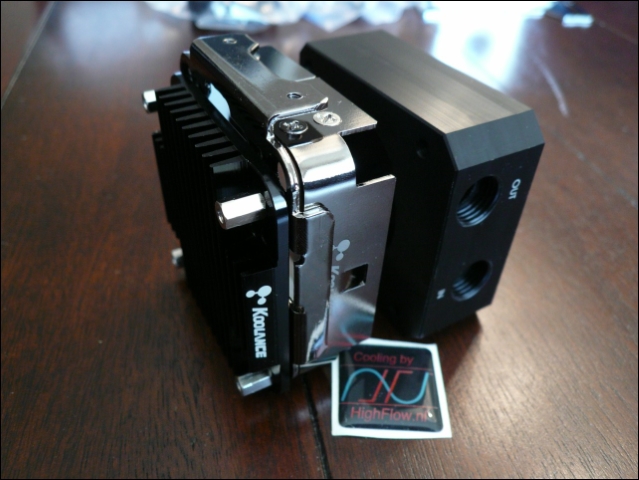
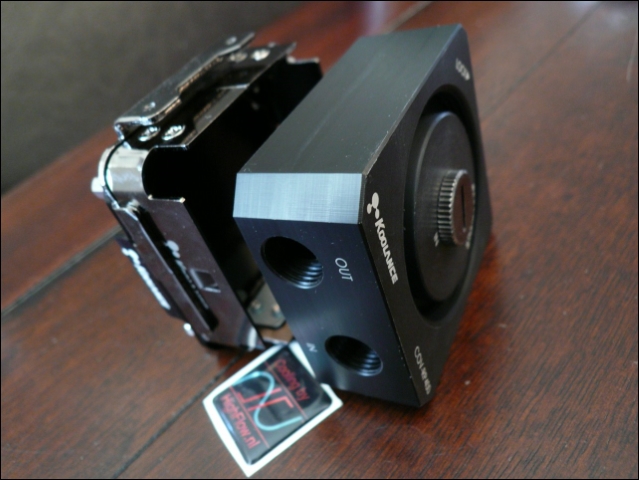
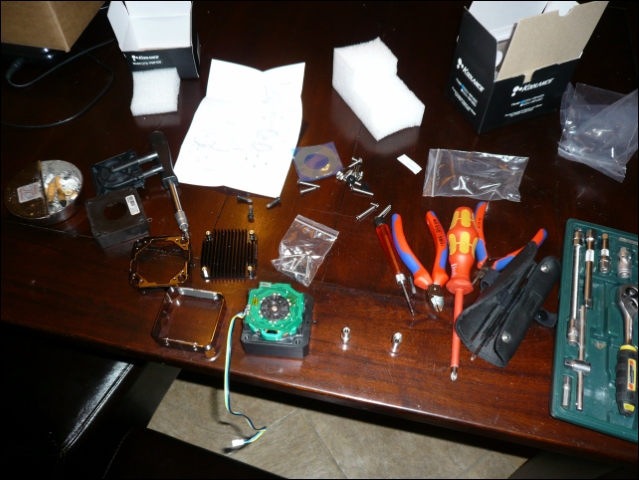
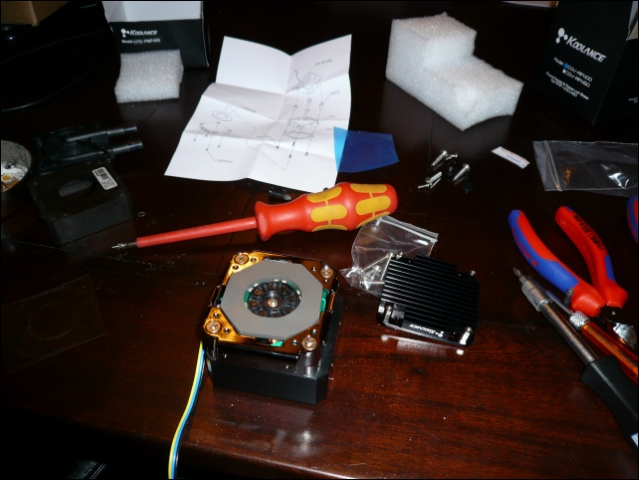
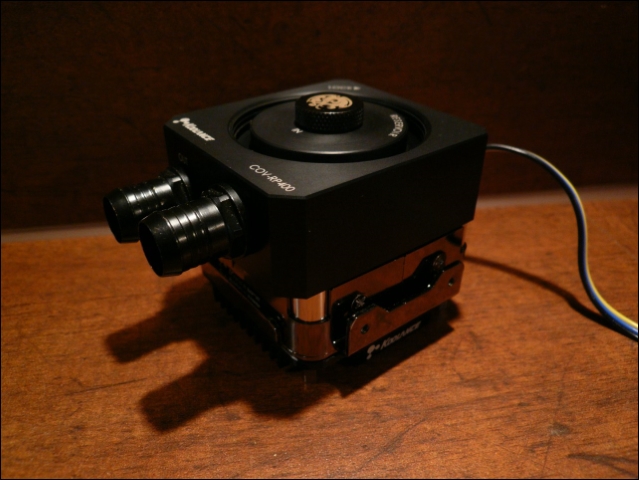
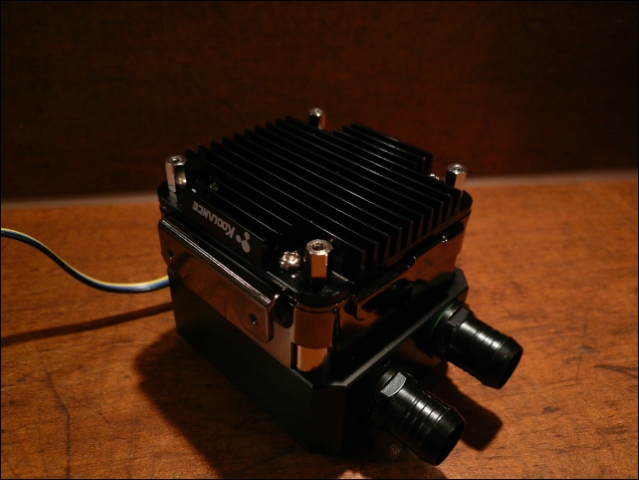
    Koolance Reservoir/Pump/Controller RP-1000BK Black
    Koolance Heat Sink for PMP-400
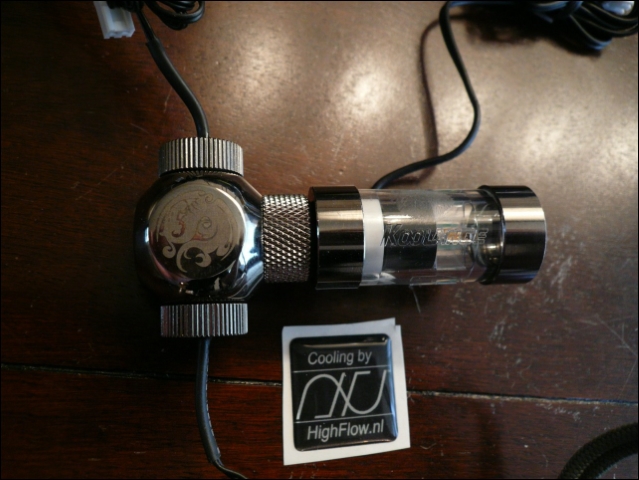
    Koolance INS-FM17 Coolant Flow Meter & Adapter Board INS-FM17

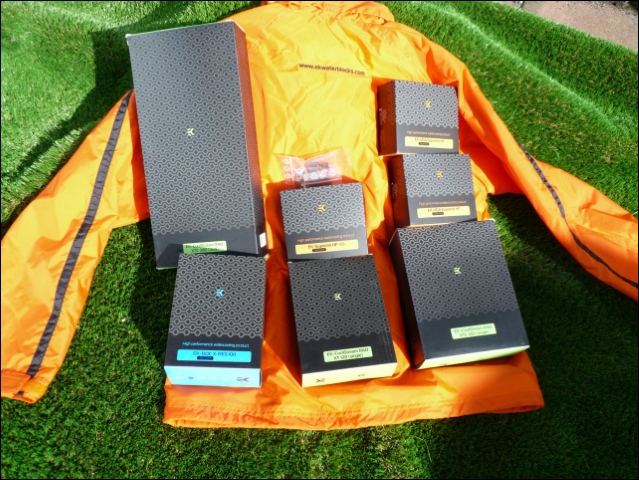
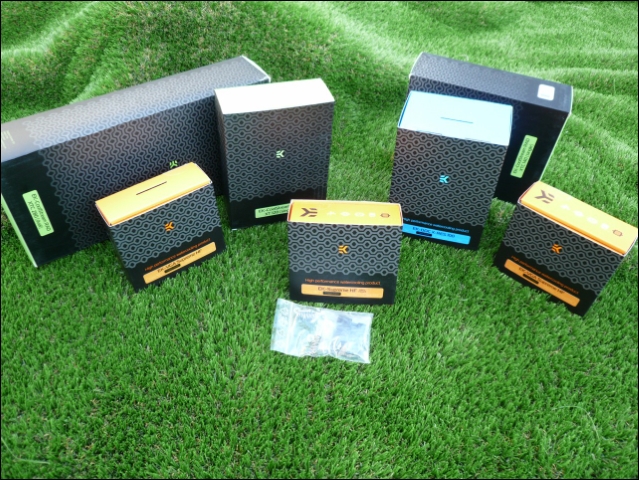
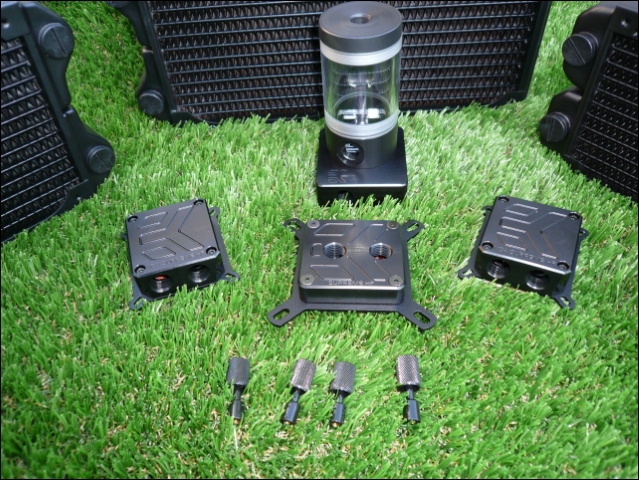
    EK-CoolStream RAD XT (120)
    EK-CoolStream RAD XTC (140)
    EK-CoolStream RAD XTC (280)
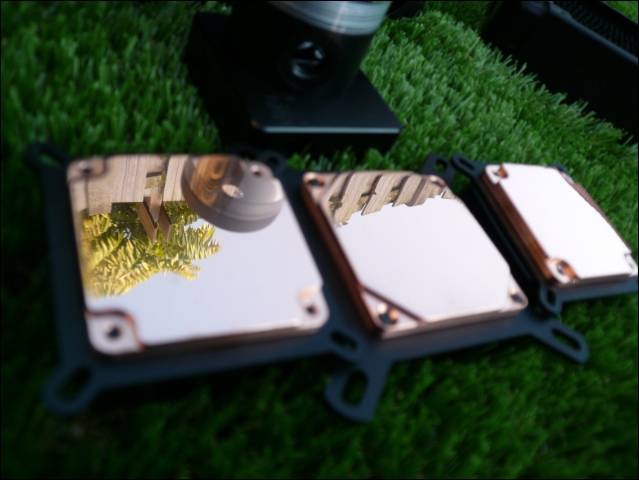
    EK-Supreme HF - Acetal
    EK-DDC X-RES 100 - Acetal
    EK-MOSFET Max IV Gene - Acetal
    EK-Ekoolant Blood RED 2x

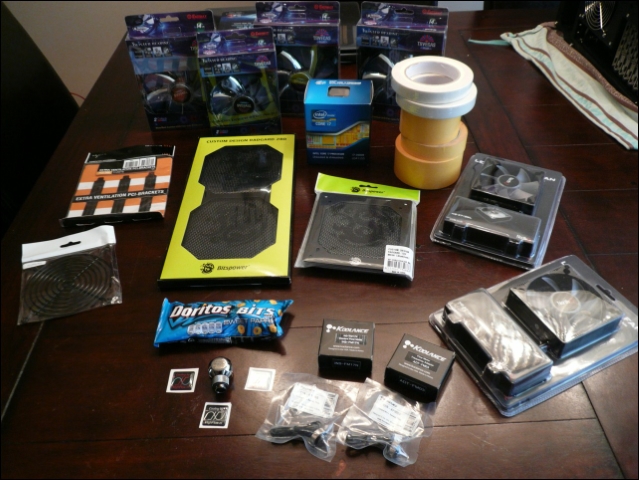
    4 x Enermax T.B. Vegas Duo UCTVD14A 140mm Fan - Blue/Red- 1500RPM
    1 x Enermax T.B. Vegas Duo UCTVD12A 120mm Fan - Blue/Red- 1700RPM

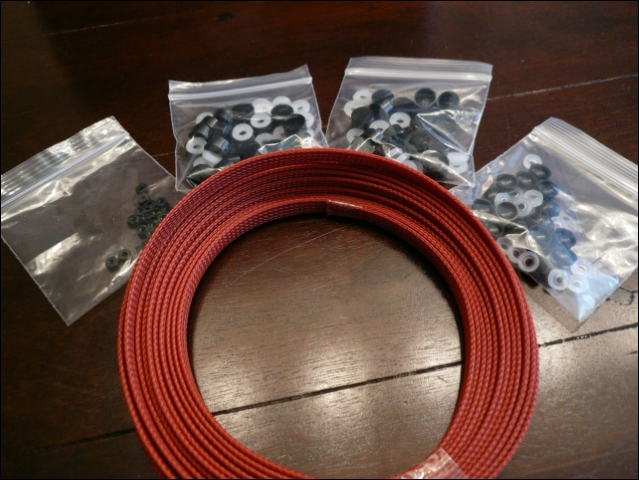
    Lots of Bitspower Crystal links and Bitspower C48's
    Bitspower Rad and Fan Guards

    TteSports Challenger Ultimate Gaming Keyboard
    TteSports Shock One Gaming Headset
    TteSports Black Element Gaming Mouse
    TteSports Ladon Gaming Mouse Pad
    TteSports Battle Dragon Bag


    Sponsors


    Last edited by l3p; 08-19-2012 at 08:30 AM.

  2. #2
    Xtreme Member
    Join Date
    Mar 2010
    Posts
    187
    I love that case. Looks so clean. Should be a good build. GL.

  3. #3
    Xtreme Member
    Join Date
    Apr 2010
    Location
    Holland
    Posts
    265
    Here all the first unpacking photo's.

    So first of all i want to thank Freddy from Highflow.nl
    He will be the main sponsor of this project again.


    I want to use the grey plexi for the top window.
    The other plexi is just for playing with it and to find out about different colors.


    And the rest of the stuff.


    Enermax Vegas fans @ 800 RPM, i hope they will do.
    At least they are very silent.


    The Koolance stuff still in plastic.


    The Koolance Reservoir/Pump/Fancontroller/Pumpcontroller.
    Will be completely disassembled later on.


    And the Koolance Top + Heat sink (For the looks :P )


    Last edited by l3p; 07-02-2011 at 02:40 AM.

  4. #4
    Xtreme Member
    Join Date
    Apr 2010
    Location
    Holland
    Posts
    265
    Then the unpacking of the case i've been waiting for for over 4 years
    The blacke Origen AE S21T


    She was oh so helpful ...


    Marco from Cooler Master Nederland thanks for this silent but powerful PSU !


    Now we can test some things


    Here i will create fan holes to cool the radiators.


    Again, thanks Freddy !


    Bought these from colleague Kier aka Richard 2 x 1 Meter RGB led with controller
    Wonderful stuff for modders, also if you want to find out what colours would be best


    The idea was to make a complete red theme, but im in doubt now.


    To be one step ahead :P


    Till the next update
    Last edited by l3p; 07-02-2011 at 02:40 AM.

  5. #5
    I am Xtreme
    Join Date
    Oct 2005
    Location
    Grande Prairie, AB, CAN
    Posts
    6,140
    Really interested on how you plan to watercool this thing. OriginAE HTPC cases are fantastic. Definitely would be my choice of case if I were to build an HTPC today.

  6. #6
    Xtreme Member
    Join Date
    Apr 2010
    Location
    Holland
    Posts
    265
    The pump!

    This will be the place for the Koolance controller for the pump and fans. I will remove the logo by the way


    Tested it before i disassemble it.
    It works


    Pretty compact.


    Couldn't get the tubes off without cutting them.


    Getting the top on it.


    And the heat sink. (Yes... only for the looks :P)


    Done !


    And a small movie of the controller in action. Maybe i will disable that beep, or atleast make it less loud.


    Last edited by l3p; 07-02-2011 at 02:41 AM.

  7. #7
    Xtreme Member
    Join Date
    Apr 2010
    Location
    Holland
    Posts
    265
    First of all .. my own site and so the L3p d3sk pictures are back online
    Thanks for all the help Bo and tweakers.net crew !

    And received some material !
    I'm very happy with it, no i can also measure some more.
    You can´t see it very well on photo´s but it´s very narrow all inside.
    The Gpu´s are 29.5cm


    Didn't have a mouse yet for this build so ordered this one from the asus shop.
    Think it'll look good next to it


    And the the very nice package from EKWB !
    Also got the raincoat, no-one wanted it there, but since im from Holland ... :P


    Going to use the EK Top/Res instead of the Koolance top, this cause of the limited space i have.
    The Koolance heatsink will remain.


    Thanks Gregor and EKWB !


    Used the hardware from the CM compo to fit some more in.
    As you can see, not much space.


  8. #8
    World Champion - IRONMODS
    Join Date
    Sep 2007
    Location
    Northern Japan
    Posts
    2,029
    Did you switch GPUs to the red side? Or are you still planning to run 580GTX x2?
    Quote Originally Posted by Massman
    My definition of 'efficient' is 'it does not suck monkeyballs'. Yes, I set bars low.
    [CENTER]The post counter is not an intelligence meter!

    MAX11L - "It's like a console...with the suck turned down and the awesome turned up" -tet5uo
    Heat Team IRONMODS

  9. #9
    Xtreme Member
    Join Date
    Apr 2010
    Location
    Holland
    Posts
    265
    I certainly didn't switch, just wanted to show how small it is with a 30 cm long Ati 6970.
    Still going to use the 2 x matrix

  10. #10
    Registered User
    Join Date
    Oct 2008
    Posts
    63
    Incredible, for sure I will monitor this project .. will be inspiring for me.
    CPU: Q6600 MOBO: Maximus Formula RAM: 4gb VGA: 4850 HDD: C300 64gb TELA: 22" CASE: CM 690II Advanced | PSU: 750z-af
    Steam | Xfire | BFBC2
    www.hallaor.com

  11. #11
    Xtreme Member
    Join Date
    Apr 2010
    Location
    Holland
    Posts
    265
    Small update.

    Got some good news from Asus.
    Just 2 weeks before the hardware will arrive !
    Can't wait :P

    I've been talking a lot to Kier lately.
    We also exchange a lot of hardware and WC products.
    Also we ordered @ MDPC-x together, told him i didn't have much time the coming 3 weeks. So he said, send me the PSU with the rest, i'm bored. (Before he started his TJ11 project)

    So ... Made by Kier


    One week later this was on my table


    Also extra sleeve for the sata cables and some mounting stuff, the rest will follow.


    Richard .. thanks a lot my friend, no one who can do this faster and better

    And the second order @ Highflow.


    For the Koolance controller. 2 x Koolance temp sensor and 1 x Koolance flowsensor


    Hope it'll go to 5Ghz


    For in the bottom of the case. 92mm brushed aluminium fans.


    And tape, lots of tape to protect the case later on.


    Because i only know since a few weeks i have to cool down 2 Matrix cards i ordered fans with 1500 rpm now, think 800 rpm won't be enough.
    Luckily i could change the red blades without a problem.


    Rear fan replaced, also a black fanguard, screws will come later.


    Lets change the PSU too.


    Had to change the wiring, the leds didnt work on the low voltage the psu gave to the fan.


    So a seperate 12V for the leds now.


    All red and 1500 rpm now (max)


    Even now still in doubt if i will do the fans on the outside and rads inside or rads outside and fans inside.
    Casewindows in the top will be tinted so all the light is no problem.


    For future purposes the leds are changeable with one push on the button


    So again, thanks Freddy for the nice discount !

  12. #12
    Registered User
    Join Date
    Oct 2008
    Posts
    63
    oww.. nice...
    CPU: Q6600 MOBO: Maximus Formula RAM: 4gb VGA: 4850 HDD: C300 64gb TELA: 22" CASE: CM 690II Advanced | PSU: 750z-af
    Steam | Xfire | BFBC2
    www.hallaor.com

  13. #13
    Xtreme Member
    Join Date
    Apr 2010
    Location
    Holland
    Posts
    265
    Thanks !

  14. #14
    Xtreme Member
    Join Date
    Nov 2010
    Location
    Brazil
    Posts
    161
    this is so nice! Compact builds are the best
    PC:
    MOBO: Maximus VI Extreme
    CPU: Core i7-4770k
    RAM: 2x4gb Dominator Platinum 2133
    GPU: GeForce GTX Titan

    Greetings from Brazil!

  15. #15
    Xtreme Member
    Join Date
    Apr 2010
    Location
    Holland
    Posts
    265
    Finally bought my first dremel
    (Bargain sale somewhere)


    And for all the small future damage i will create with it on different cases :P


  16. #16
    Registered User
    Join Date
    Oct 2008
    Posts
    63
    ours, now the project will proceed ...

    wiating for more updates...
    CPU: Q6600 MOBO: Maximus Formula RAM: 4gb VGA: 4850 HDD: C300 64gb TELA: 22" CASE: CM 690II Advanced | PSU: 750z-af
    Steam | Xfire | BFBC2
    www.hallaor.com

  17. #17
    Registered User
    Join Date
    Jul 2010
    Posts
    36
    Good stuf you got there

    Keep us updated ;D

  18. #18
    Xtreme Member
    Join Date
    Apr 2010
    Location
    Holland
    Posts
    265
    My vacation has started and didn't do anything on the case yet
    I did practise some.

    From the start i had the idea to make the fan/rad guard just like the S21T's little brother.


    I'm already walking with that idea for 2 weeks now how to do that.
    The case is 5mm thick, brushed and black anodized aluminium.
    So i guess i can't restore the smallest scratch.
    Today i just tried to make such a fan hole in a piece of 6mm thick aluminium.


    First had to do some shopping again. (The dremel virus even got me before i started working with it)


    piece of 6mm thick garbage measured out.


    Still no idea how or what, but i've got to do it with these tools.


    Forget about a dremel in 6mm alu :P so lets prepare for the jigsaw.


    Only had a bad quality metalsaw, the woodsaw worked better :/


    After sawing, the dremel works out fine.


    Grinding the edges from the Bitspower radguard. (Starting to love the dremel )


    Bending the edges a little more.


    Tapped the radguard in it's place, in the case itself i will use kit / black glue to hold it in it's place even better.


    Painted it black for the picture.
    In this picture the guard needed a few more taps.


    And this is how i want it .... X 3
    Next time further on with how i will fasten the rads/fans.


  19. #19
    Xtreme Member
    Join Date
    Apr 2010
    Location
    Holland
    Posts
    265
    Been busy yesterday with the mod-attic again (Wife's ... :P )


    Also been thinking all day how to fix the radiators to the case on the inside without being able to see it on the outside.


    Going to use Velcro around the radiators and going to support them with a few layers of 5mm thick rubbertape.


  20. #20
    Xtreme Member
    Join Date
    Apr 2010
    Location
    Holland
    Posts
    265
    Update.

    First of all the nice package from
    www.highflow.nl
    The footprint on the box did scare the out of me but nothing was damaged


    Because i replaced the PSU fan, i needed another fan, also one to replace the fan blades


    Going for Feser Red, liked the colour more. Also some Red Dye to make it darker.


    Some extension cables from Cubitek


    And ... a cpu lapping kit


    Thanks for the nice discount Freddy, this wouldn't be possible without you!


    Got me some new sawing blades for the 5mm aluminium.


    And assembled the fans to the rads.


    Finally could use the black M3 allen bolts.


    Want to change this somehow


    I think i'll use Bitspower mesh there too.


    Fast sketch-up for the radiator placement


    And the case almost completely disassembled.


    Hope i'll ever get it working again :P


    And taped it with extra smooth tape. (I'll cry if I'll scratch it :P )


    Still need to think of something for it.


    Blood red acrylic it'll be


    Even Origen AE works with a black marker when they damage something


    Back to the fanholes.
    Pre-drilling first.
    Don't mind the drill's brand


    Also taped the jigsaw.


    Ready to go.


    And the first hole is there.


    Two to go.


    And the third!


    Now finish the nice round edges.
    Wanted to use the dremel, but got myself my file again, needs to be as straight as possible.


    More tomorrow!

  21. #21
    Registered User
    Join Date
    Oct 2008
    Posts
    63
    hmmm nice... good work. waiting for more updates...
    CPU: Q6600 MOBO: Maximus Formula RAM: 4gb VGA: 4850 HDD: C300 64gb TELA: 22" CASE: CM 690II Advanced | PSU: 750z-af
    Steam | Xfire | BFBC2
    www.hallaor.com

  22. #22
    Xtreme Member
    Join Date
    Apr 2011
    Location
    Alberta Canada
    Posts
    288
    I've never seen this case before but it looks very nice, keep those pics coming...
    My toys...
    Asus X79 Deluxe | i7 4820K | Koolance CPU-380I w/Triple Rad/Swiftech Pump | RipjawsX 16GB 1866MHz | eVGA GTX 780 TRI-SLI | X-Fi Surround 5.1 Pro USB | Intel 530 120GB *2 RAID 0, Intel 510 250GB, Samsung 840 Pro 120GB, Samsung 840 500GB, Kingston V300 240GB | Corsair AX1200i | In Win D-Frame Orange | Win 8.1 Pro 64
    Asus Sabertooth Z77 | i7 3770K | NH-C12P SE14 | Vengeance 32GB LP | eVGA GT 240 | X-Fi Titanium Fatality | LSI SAS 9211-4i | Intel 330 120GB, Seagate 500GB *2, Samsung 200GB, WD 320GB *4 RAID 10, 500GB, Raptor 74GB | Antec TPQ-1200W | Corsair 650D | Win 8.1 Pro 64
    Asus Sabertooth P67 | i7 2600K | NH-U12P SE2 | Vengeance Pro 16GB 1866MHz | eVGA GTX 680 | Sound via HDMI | Intel 330 60GB, Samsung 840 Pro 120GB, WD VRaptor 300GB, 150GB *2 | Antec HCG-750W | Lian Li PC-60FNWB | Win 8.1 Pro 64
    Asus P8H77-M/CSM | i3 3220 | Shuriken | Vengeance 16GB LP | eVGA GT 610 | Sound Blaster Play | Hauppauge WinTV-HVR-1600 & HD PVR | Asus PCE-AC66 | Kingston V100 128GB, WD 1GB, 500GB, Seagate 2TB | Enermax Liberty 500W | Fractal Design Core 1000 | Win 8 Pro 64 w/Media Center
    Asus P8H77-M/CSM | i3 3220T | Hyper 212 Evo | Vengeance 8GB | eVGA 210 | Hauppauge WinTV-PVR-250 | Intel 330 60GB, WD 750GB, 250GB | Enermax Liberty 500W | Antec 300 | Win 7 Premium 32

    Axial SCX10 2012 Jeep Wrangler Unlimited Rubicon Modified

  23. #23
    Xtreme Member
    Join Date
    Apr 2010
    Location
    Holland
    Posts
    265
    *Update*

    Been polishing for 2 hours on the 3 holes to make it as straight as possible with nice round corners.


    But finally they fit!


    Tape can be removed.


    Still need to paint the blank aluminum corners.


    Need to be careful with the sawdust, so cleaned it first.


    And further on with the plexi front for the Koolance controller.
    Taping it first.


    Drawing the round corners.


    Started off with the dremel again, but the jigsaw won again


    And again polishing.


    Marking the plexi.


    And again polishing it.


    And it fits.
    Next job like this im going to look for a lasercutting company near me


    Further on tomorrow!

  24. #24
    Xtreme Member
    Join Date
    Apr 2010
    Location
    Holland
    Posts
    265
    Small update from Picasso :P

    Carefully removed the tiny sharp edge with an old knife.
    This way I get a sloping edge of +/- 0.3 mm.


    Selected the right "black" out of 4 colours to get the best matching colour.
    It became Revell mat black #6


    The edges of the Bitspower mesh with Revell shiny black #7


    Actually not my kind of job, too shaky


    But i did it!


    Tomorrow the fanguards back in.


    And waste some time on this


  25. #25
    Xtreme Member
    Join Date
    Apr 2010
    Location
    Holland
    Posts
    265
    Lovely weather yesterday, so went out to lap my Cpu

    This time I'm going to lap it faster then normal.
    How to with extensive explanation can be found here:
    http://www.l3p.nl/other-builds-mods/cpu-lapping/


    Cpu still WITH warranty here


    All you need..


    Finding a way to protect the backside of the Cpu since Intel doesn’t
    give a nice protection cap any more on boxed s1155 Cpu’s.


    So we use marking / painters tape.


    I’m using some rubber tape too.
    This way you have a better grip and don’t get sore fingers.


    Starting with P400.
    Only a few “wipes” and … gone warranty.
    The sanding with P400 is the most important and longest step.
    Some people tape the sandpaper to the mirror, but if you hold it tight with your other hand you don’t have to.
    Just go from left to right on the paper.
    Don’t press on the cpu, just use the weight of your hand.
    Every 2 minutes turn the cpu 90° clockwise.


    2 Minutes with P400.
    Nothing to see yet.


    7 Minutes with P400.
    You can see clearly this Cpu isn’t flat.


    Another 3 Minutes with P400.
    Total 10 Minutes.


    Another 10 Minutes with P400.
    Total 20 Minutes.


    And another 10 Minutes with P400.
    Total 30 Minutes.


    You can see the IHS is completely flat copper now.
    Now the real polishing comes.


    10 Minutes with P600.
    Total 40 Minutes.


    Skipping P800.
    Straightly to P1000.


    10 Minutes with P1000.
    Total 50 Minutes.
    You can see it’s already starting to mirror.


    Further on with P1500.


    10 Minutes with P1500.
    Total 1 hour.


    P2000.


    10 Minutes with P2000
    Total 1 hours and 10 Minutes


    Now we need to change our strategy.
    First of all clean the mirror and the cpu.
    This is because the old copper particles can ruin your polish job by rubbing them into the IHS.
    Now you don’t go from left to right with the cpu.
    Just move in a circle for 2 minutes and then turn the cpu 90° clockwise again.


    10 Minutes with P2500.
    Total 1 hours and 20 Minutes.


    You can see the copper dust already starts to oxidise.


    5 Minutes with P2500.
    Total 1 hours and 25 Minutes.
    Almost done. :P


    Another 5 Minutes with P2500
    Total One and a half hour!


    Pictures are clickable for full resolution.


    Back to the case tomorrow

Page 1 of 5 1234 ... LastLast

Bookmarks

Bookmarks

Posting Permissions

  • You may not post new threads
  • You may not post replies
  • You may not post attachments
  • You may not edit your posts
  •