

Was it the GTX580 that you had to solder on?


Was it the GTX580 that you had to solder on?
-
"Language cuts the grooves in which our thoughts must move" | Frank Herbert, The Santaroga Barrier
2600K | GTX 580 SLI | Asus MIV Gene-Z | 16GB @ 1600 | Silverstone Strider 1200W Gold | Crucial C300 64 | Crucial M4 64 | Intel X25-M 160 G2 | OCZ Vertex 60 | Hitachi 2TB | WD 320

yes
I had the cards on my test bench for several hours before I started having problems. I had even fixed the solder up a bit nicer too
[CENTER]The post counter is not an intelligence meter!Originally Posted by Massman
MAX11L - "It's like a console...with the suck turned down and the awesome turned up" -tet5uo
Heat Team IRONMODS
Yeah, I know....it's been a little while since my last update. I ordered some tools, including a Jigsaw and a finishing sander from Sears, and its taking a bit to get here.
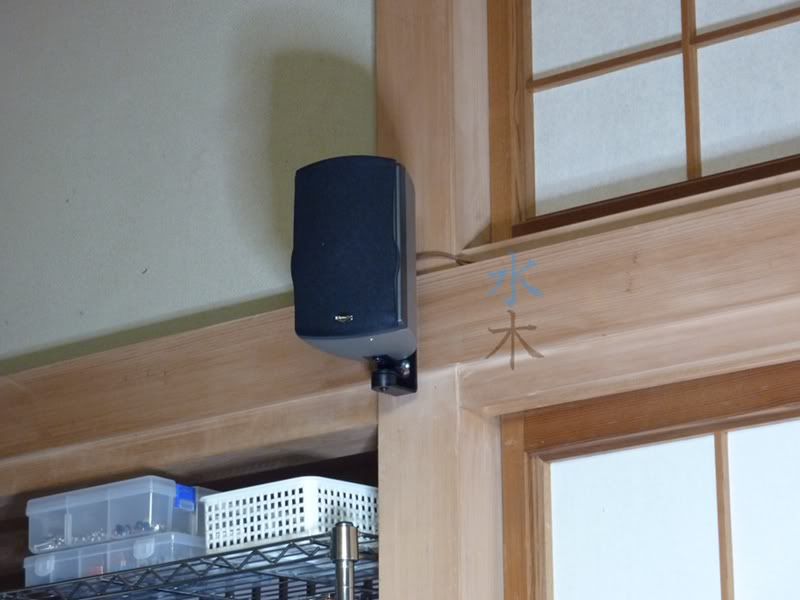
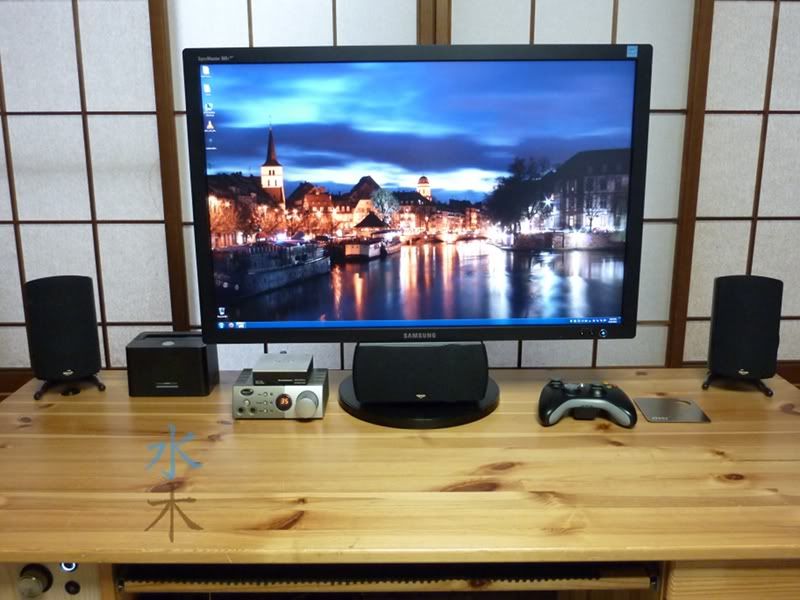
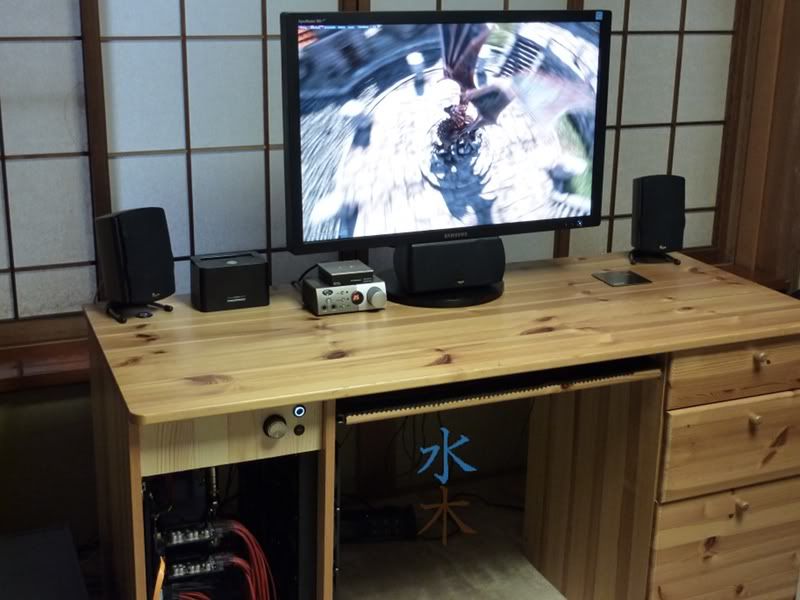
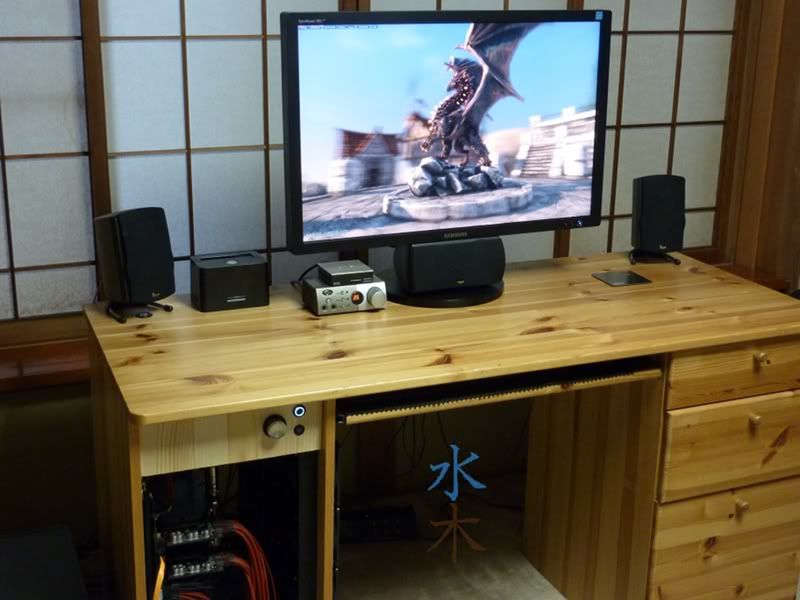
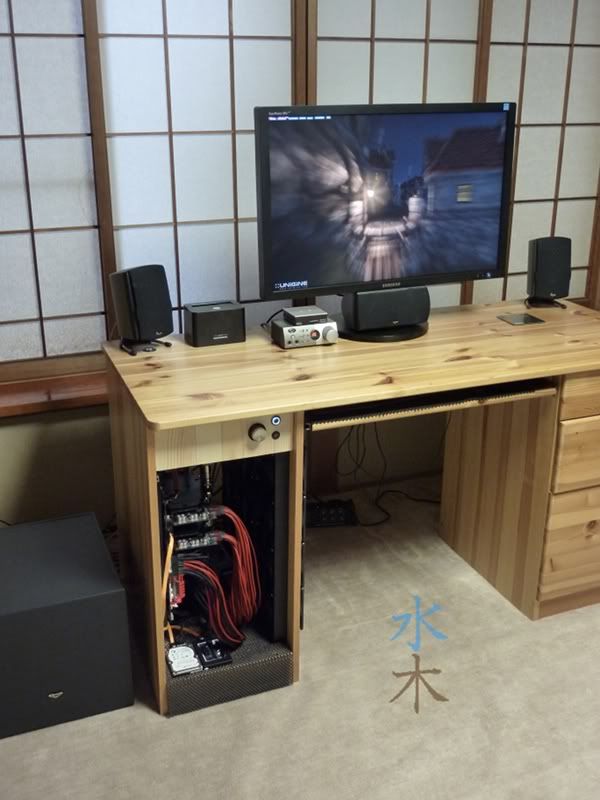
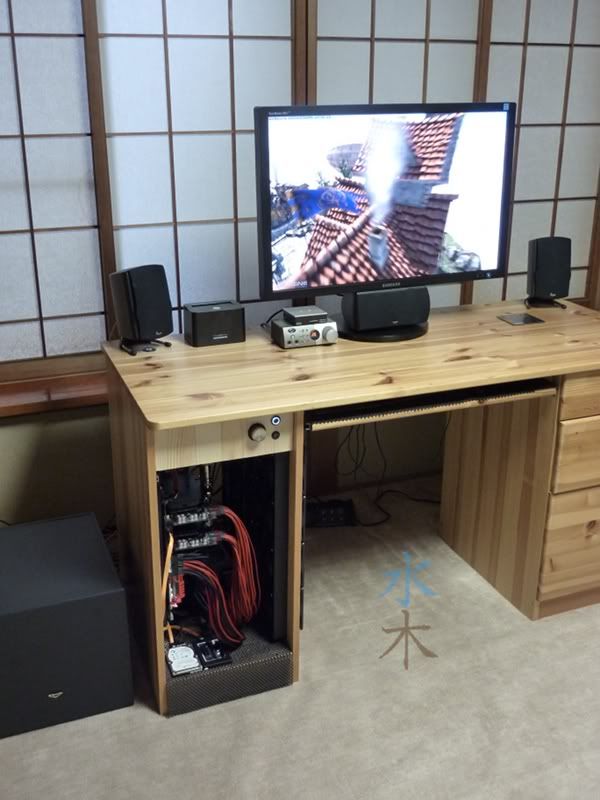
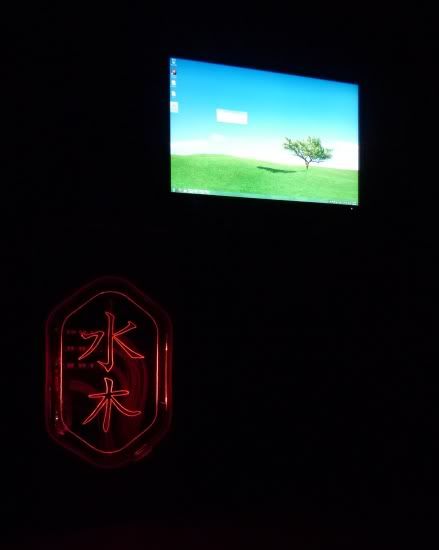
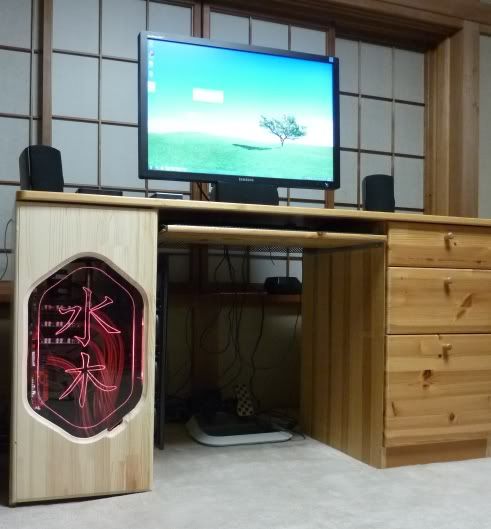
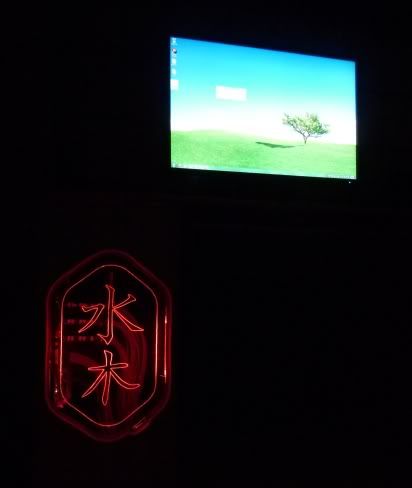
So, I've had a little time to setup my new monitor and speakers, and also work on some of the details.
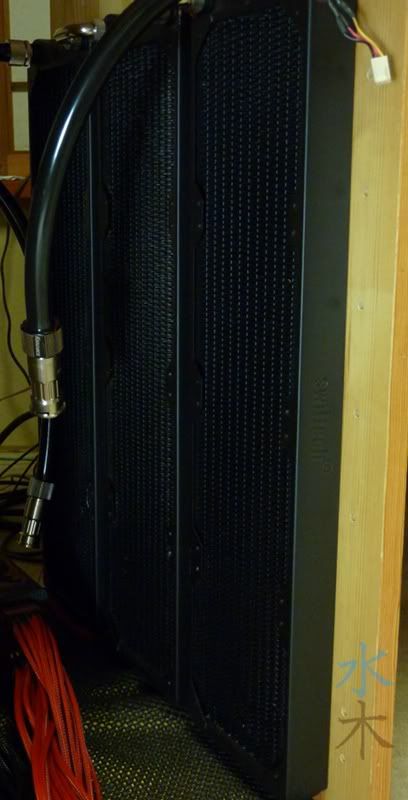
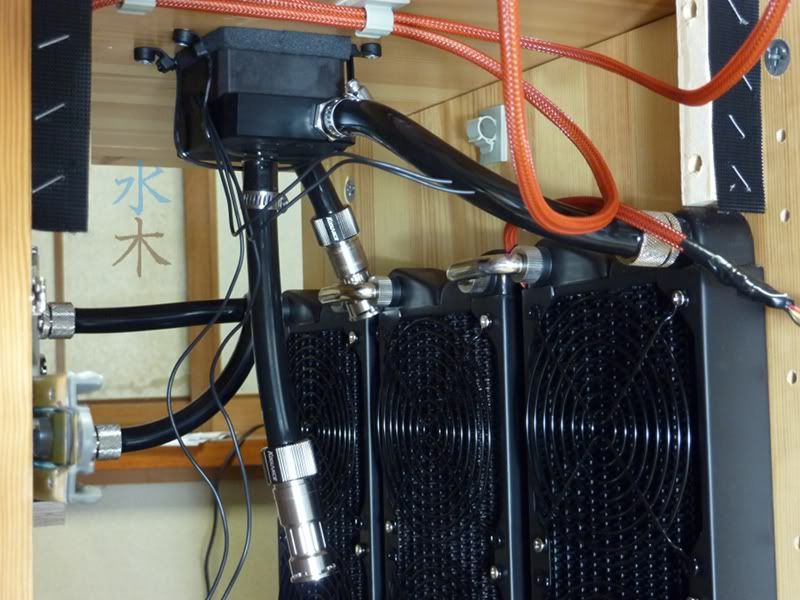
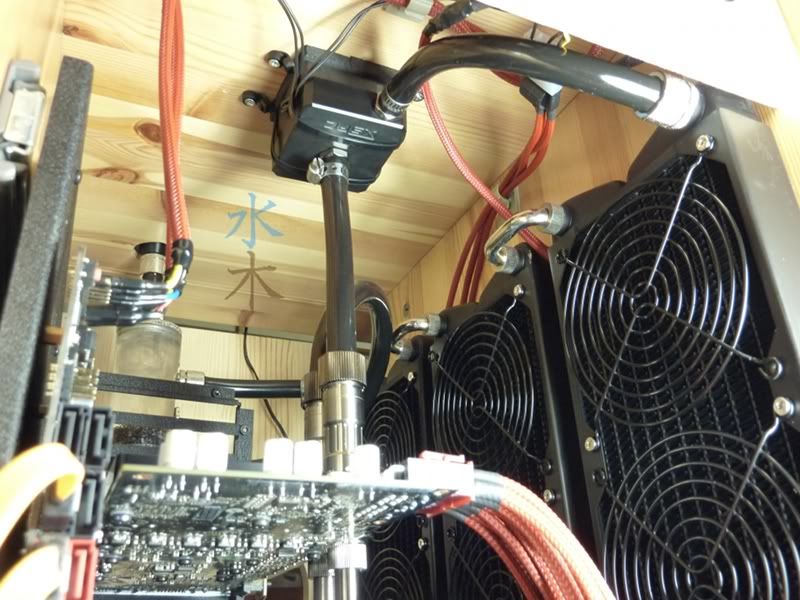
I've already bumped the rads on the inside a couple times and do not want to continue banging them up, so I had ordered a few fan grills from jab-tech. While they arrived over a week ago, I just finally got around to putting them on. The problem you see is these non-standard M3.5 holes on the Swiftech rads. Does anyone know where I can order some of these online....I've already spent several hours scouring 5 local HW stores to no avail
I've got a temp solution in place, but if someone can help me find a better solution online, I'd appreciate it. Black M3.5 screws are preferred
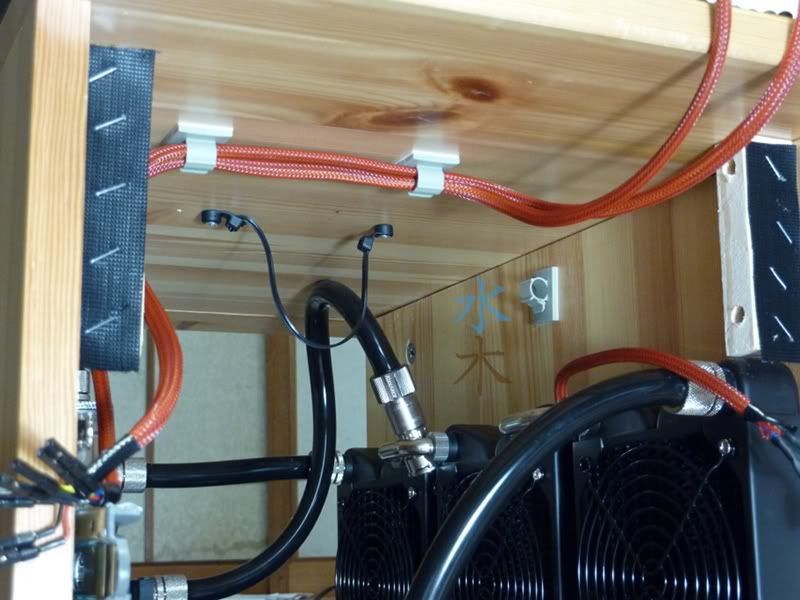
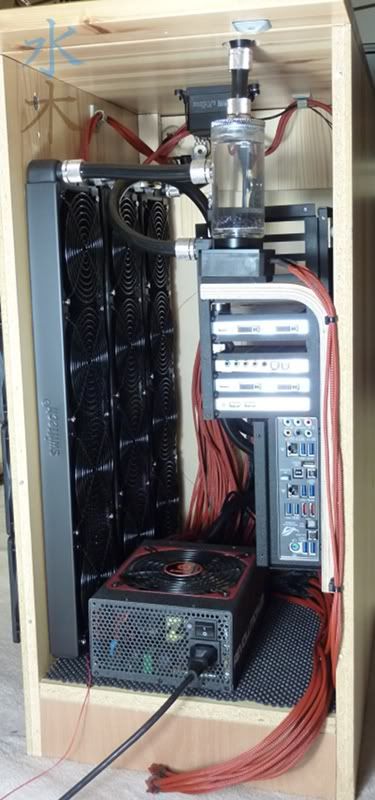
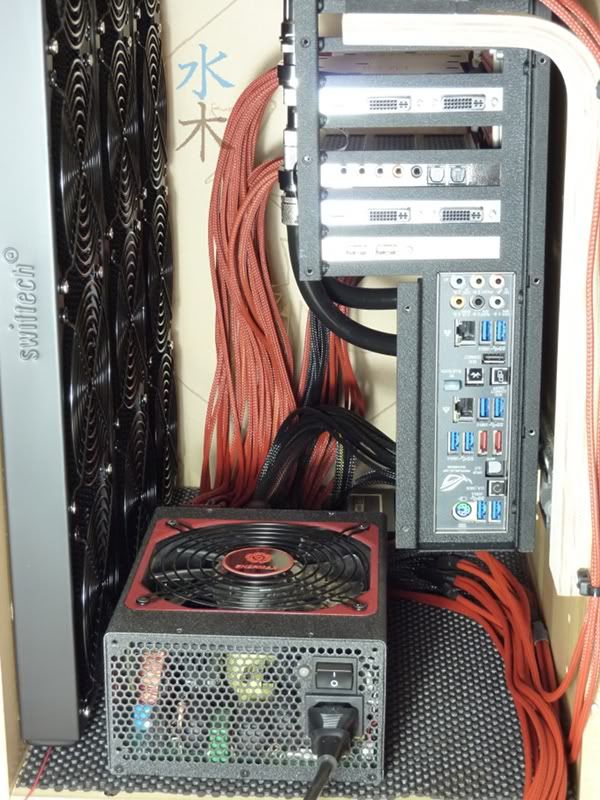
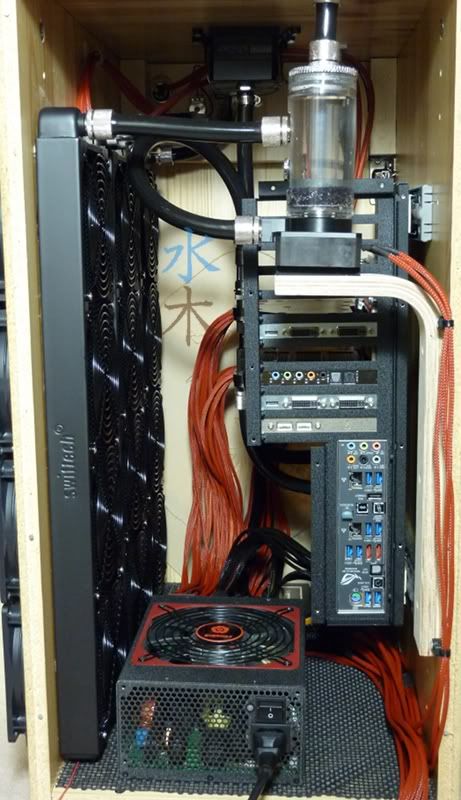
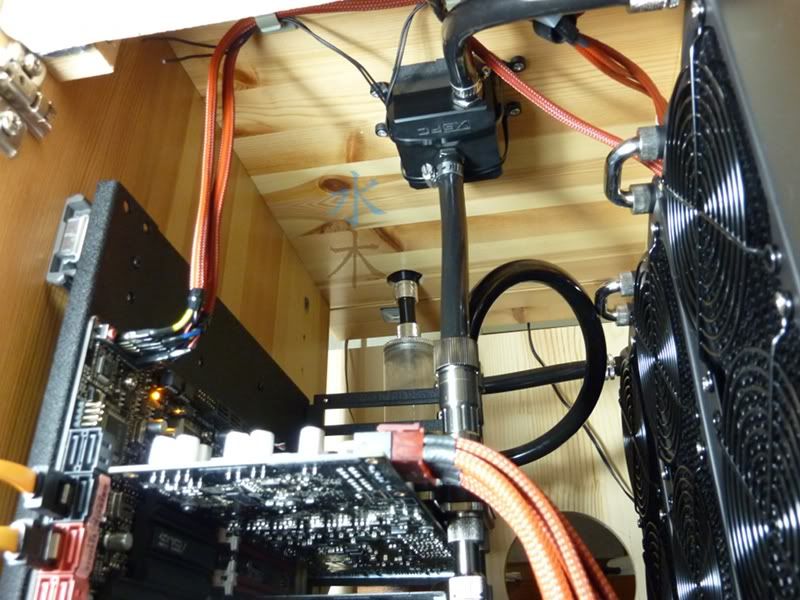
Yesterday I remembered I had an extra pump sitting on my shelf that had never been used. It's an OEM 10W DDC from bmaverick that's never been used. I also have an old XSPC pump top that was not in use....I realized that an additional pump in this build would be nice for redundancy, so I hooked this one up at 7V for that purpose.
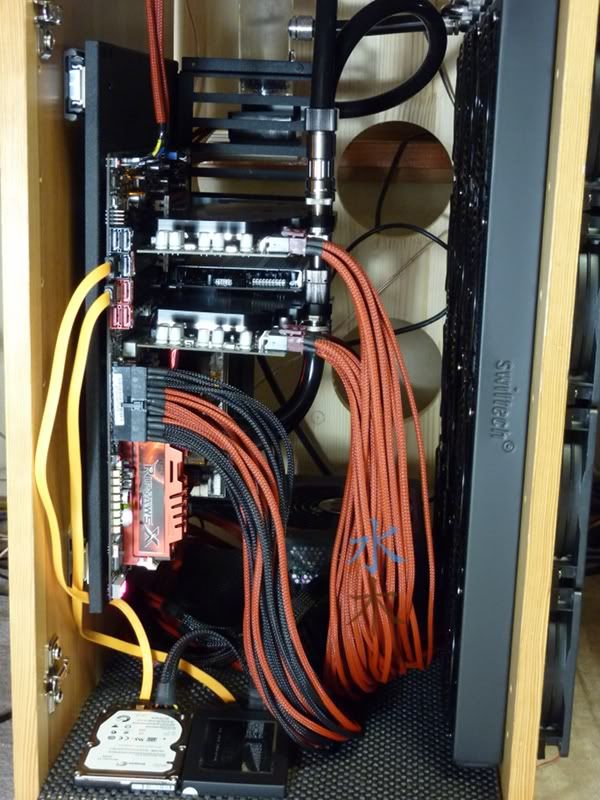
I also worked on rewireing and re-sleeving some of the accessory cables.
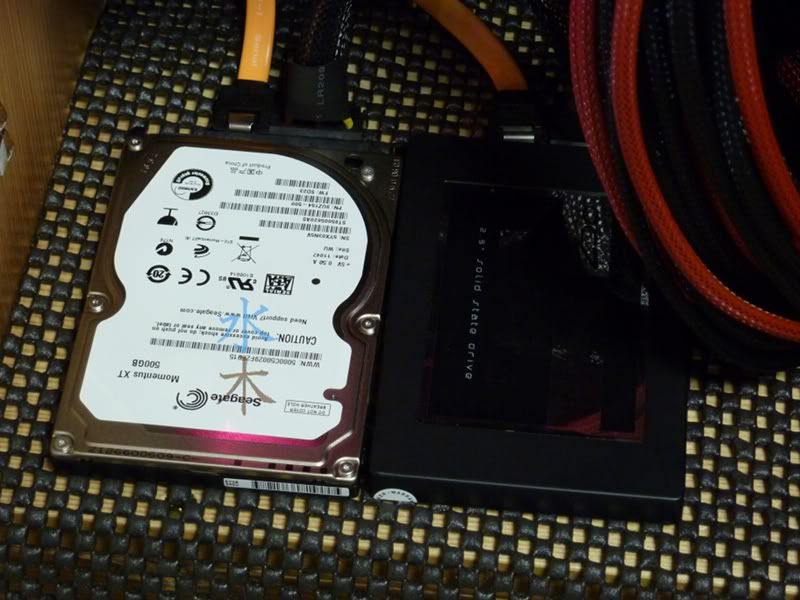
Including the SATA power connectors for the two drives. I also got my Vertex 3 drive cloned, and its running great!
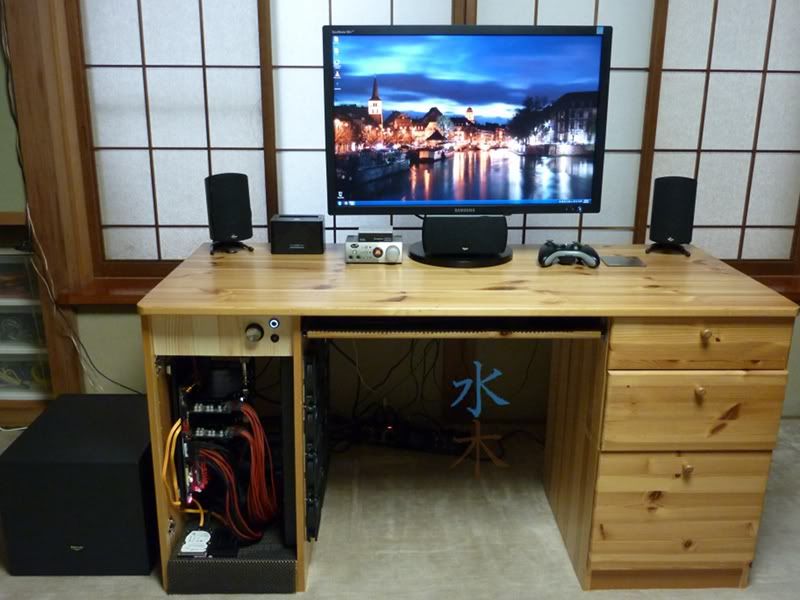
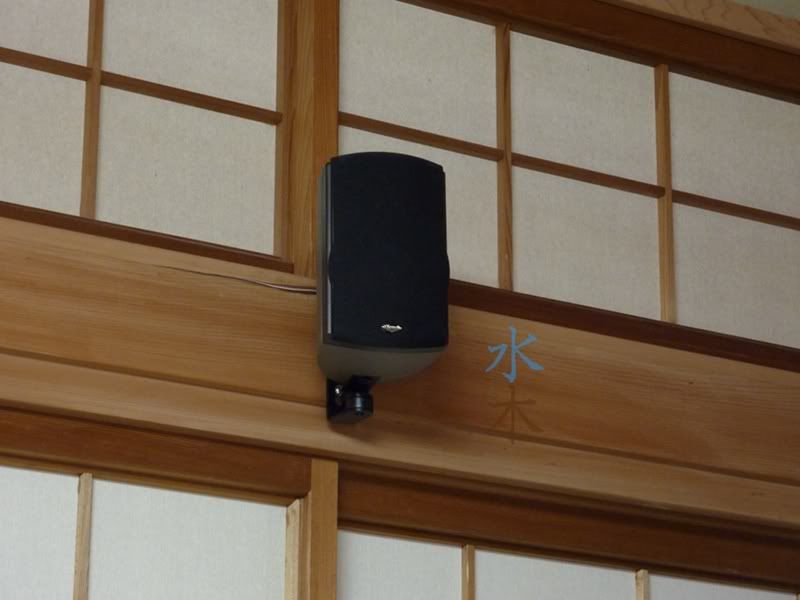
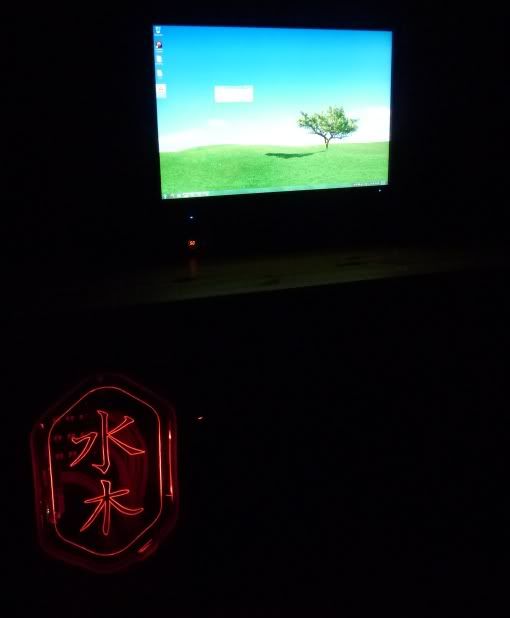
Like I said before, I've also spent some time getting my new monitor & speakers set up.
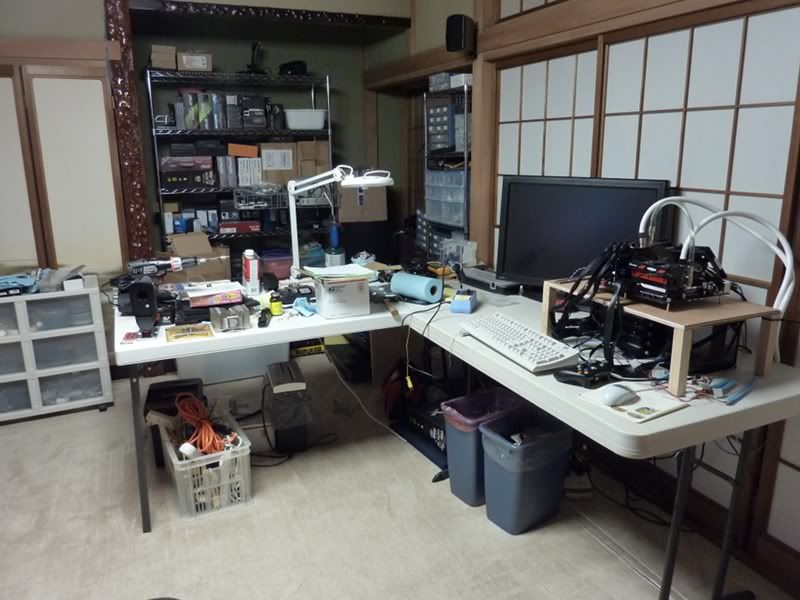
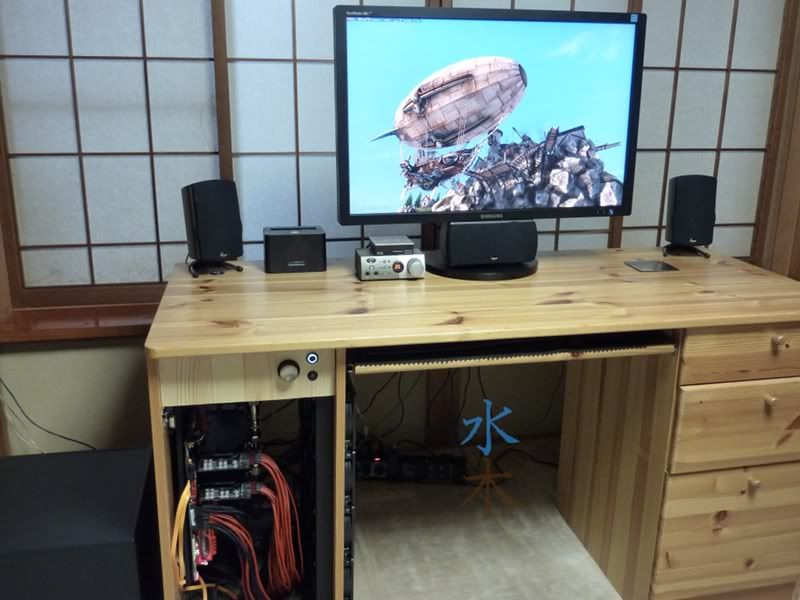
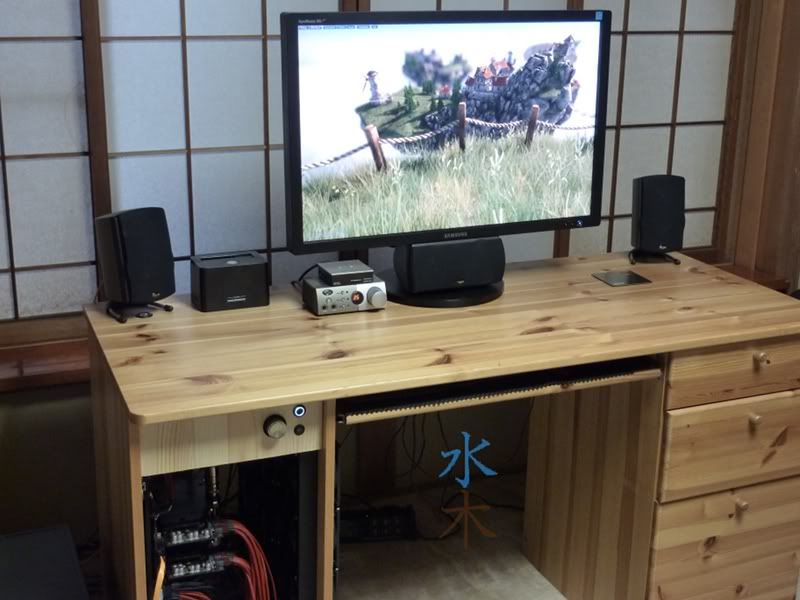
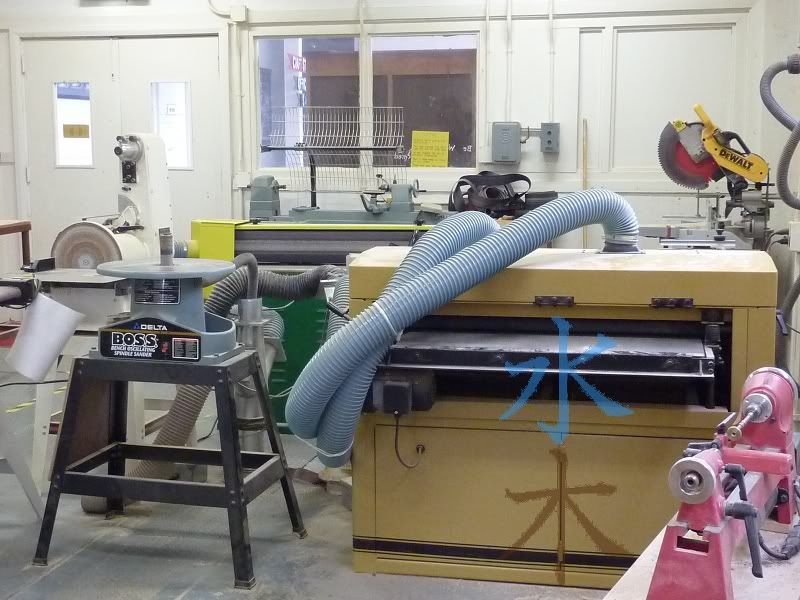
This is what the other side of the room looks like tonight.....that's my benching station, workbench & storage area.
[CENTER]The post counter is not an intelligence meter!
MAX11L - "It's like a console...with the suck turned down and the awesome turned up" -tet5uo
Heat Team IRONMODS
Nice looking setup..this is coming along nice!
Nice result.
BTW, you may consider building next one in shape of kotatsu for your gf, just remember to put in 3x gtx480, to generate some heat in winter
Good one Churchy

[CENTER]The post counter is not an intelligence meter!
MAX11L - "It's like a console...with the suck turned down and the awesome turned up" -tet5uo
Heat Team IRONMODS
Hmm, but jokes aside, when i think of table as pc idea .. it has big wide surface. I wonder how table surface made from sheet of metal with many metallic watertubes soldered at it from below might serve as passive rad. Of course, no fins will lessen it's effectiveness, but it should make up some with it's big area (of course, if surface won't get too cluttered in use, but just keyboard/mouse/display stand should leave enough open area imho). What are average water temps in loop? Some 30-35C? - so shouldn't be uncomfortable to touch/work on such slightly heated up too, no?
Sheesh, over a month without an update....whats the deal?!?
Well, I ordered some tools from Sears.com and they ship to APO addresses via USPS "Parcel Post", but fail to mention that in the shipping info. Anyhow, I just finally got my package from them, which included a new jigsaw and some router bits. Which is whats been holding up progress on this build.
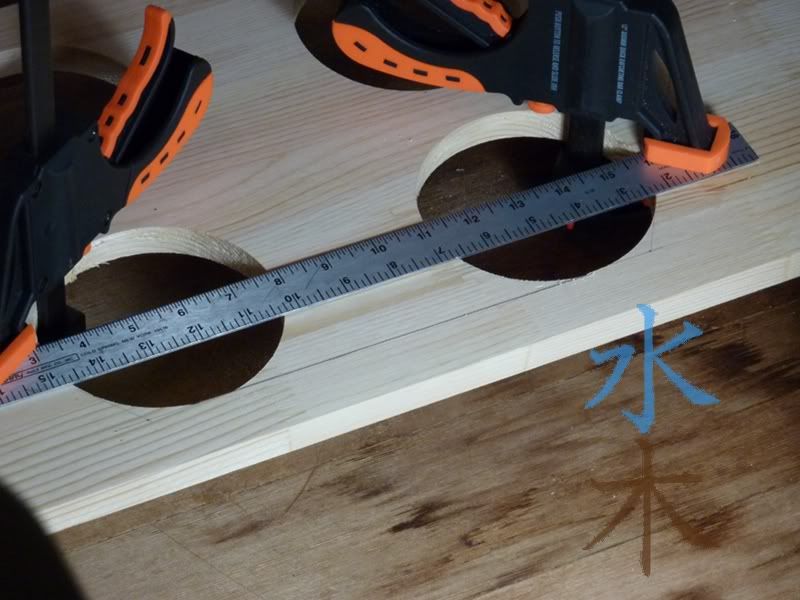
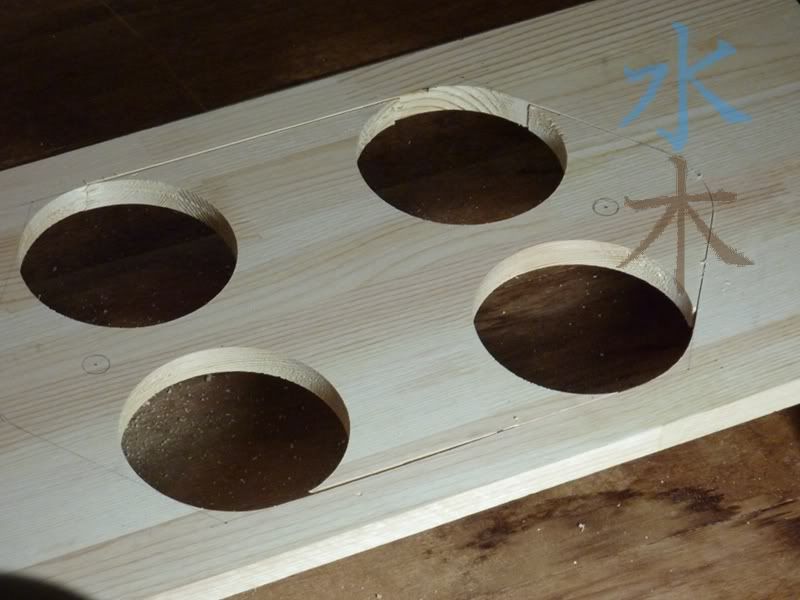
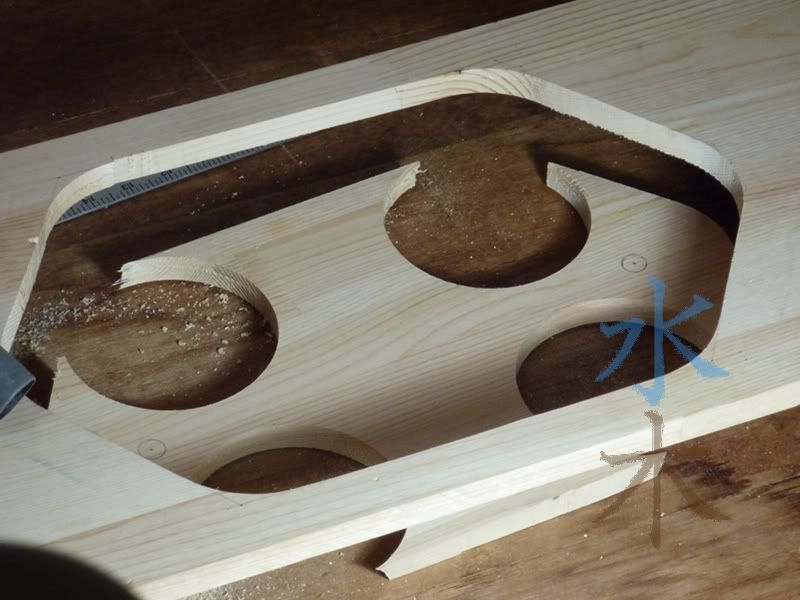
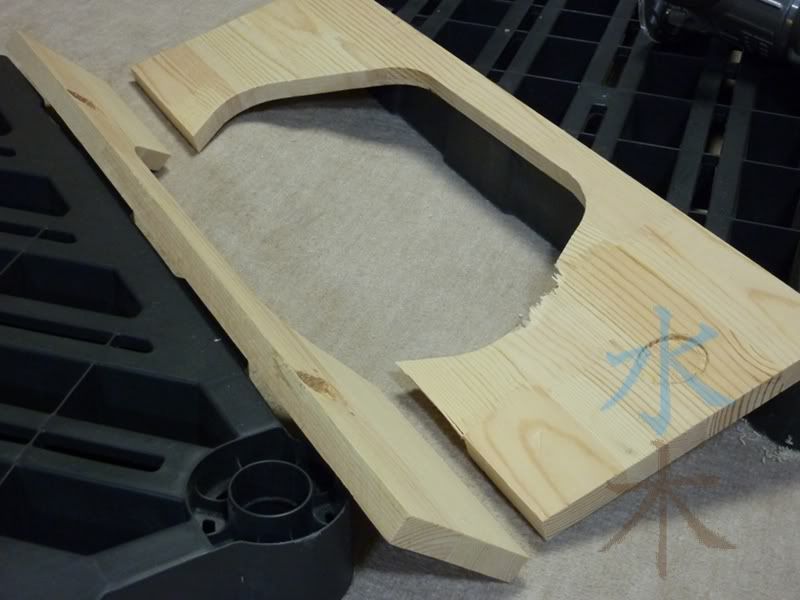
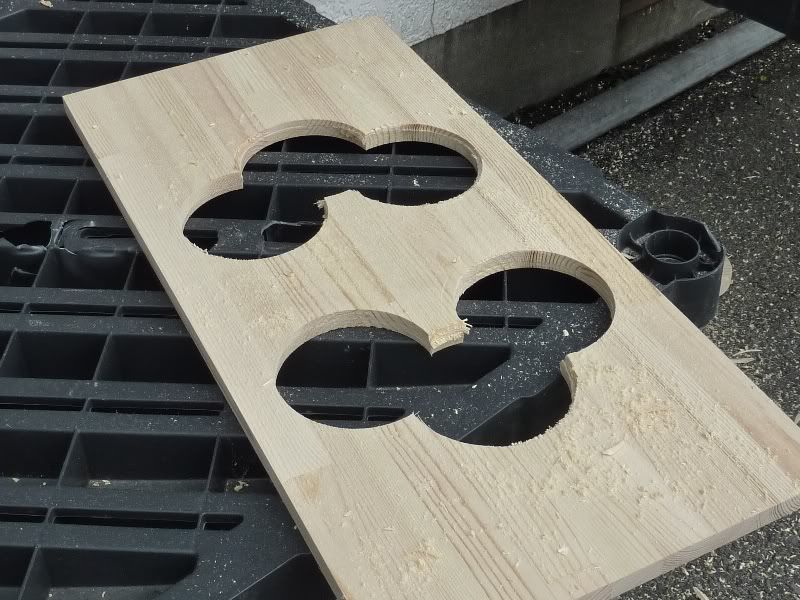
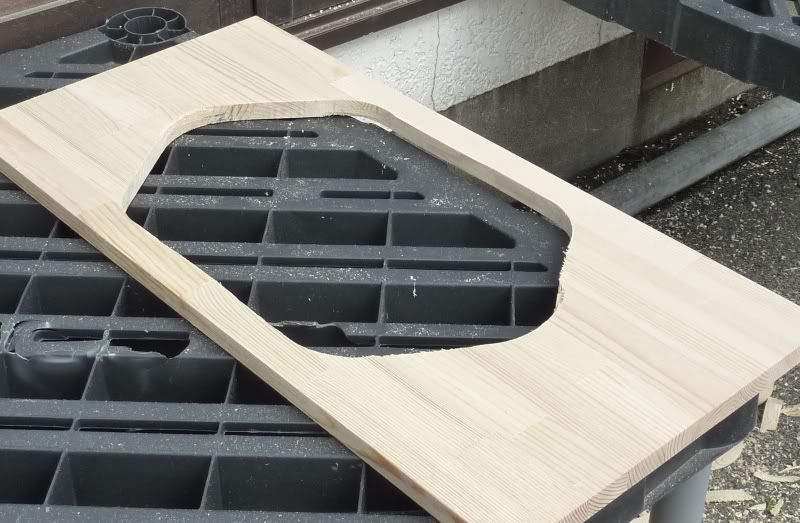
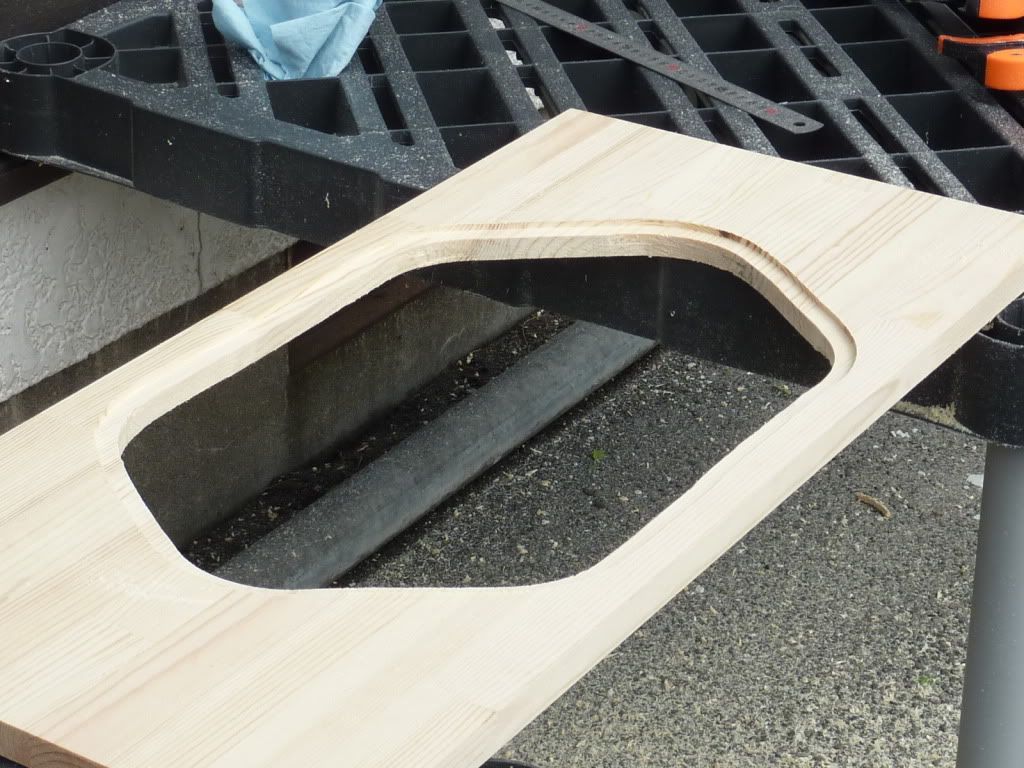
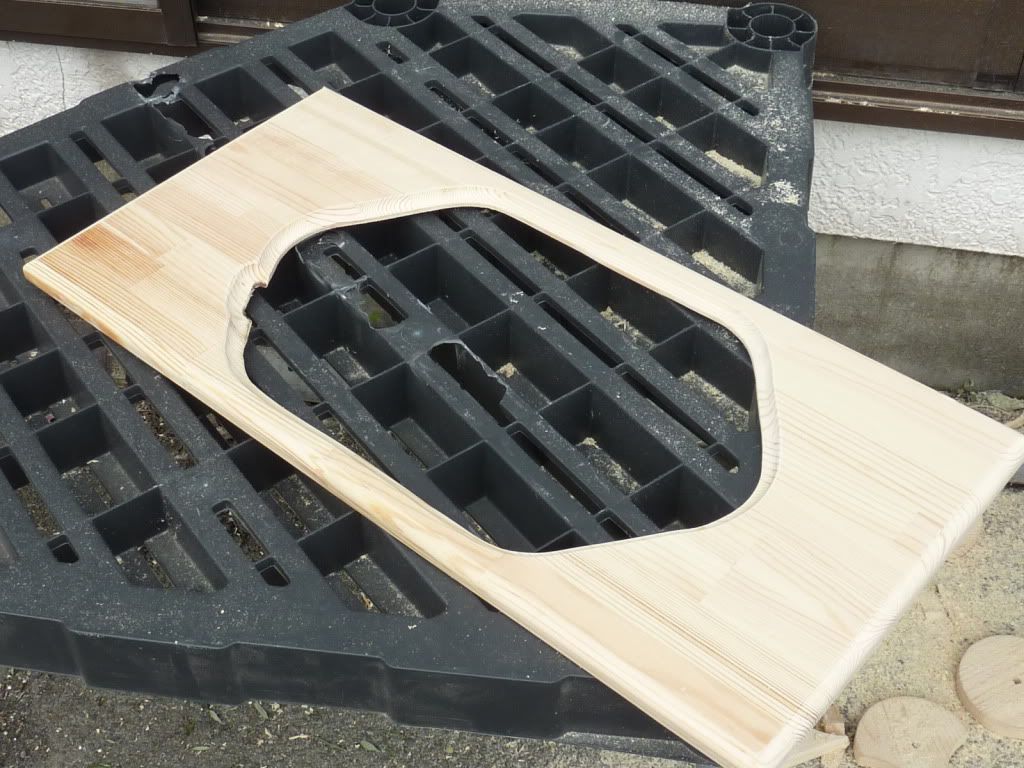
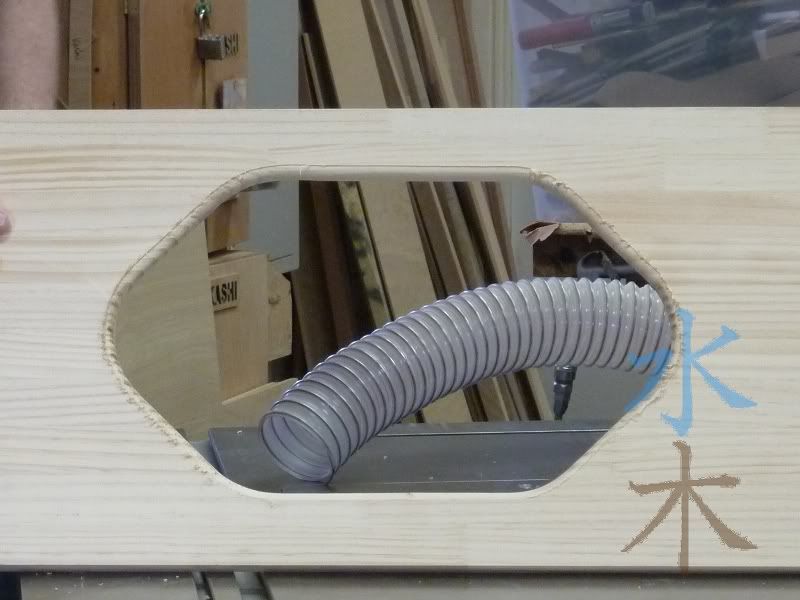
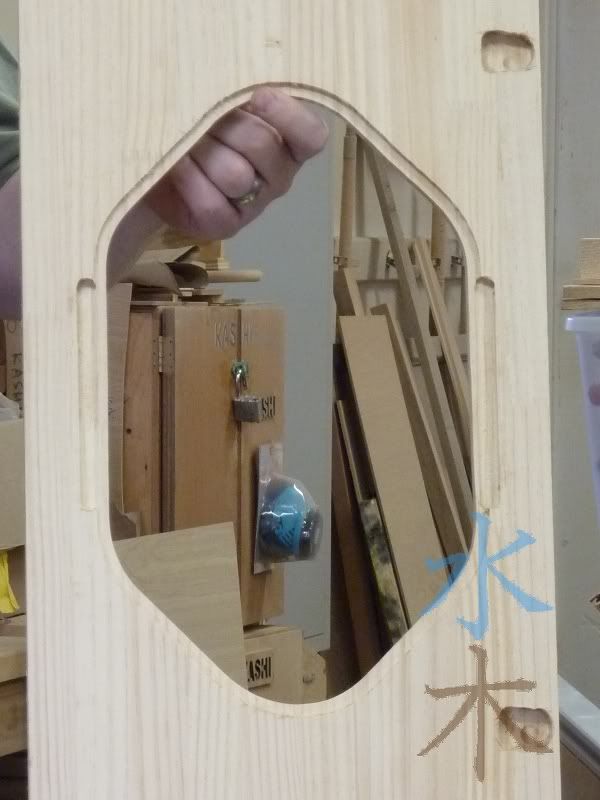
So I set to work on the front door again, cutting out the window opening to the desired shape & size. I used a ruler to guide me on the straight parts.
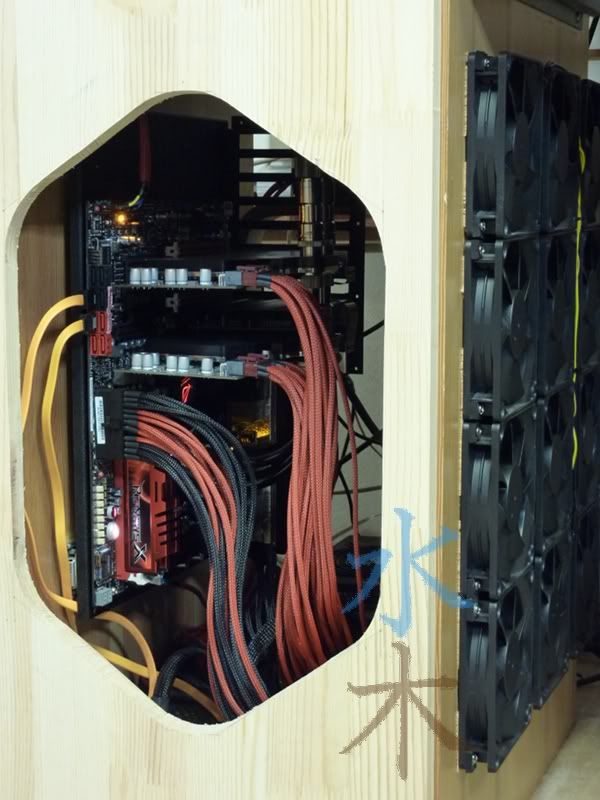
Then threw it up on the desk to make sure I was happy with the result
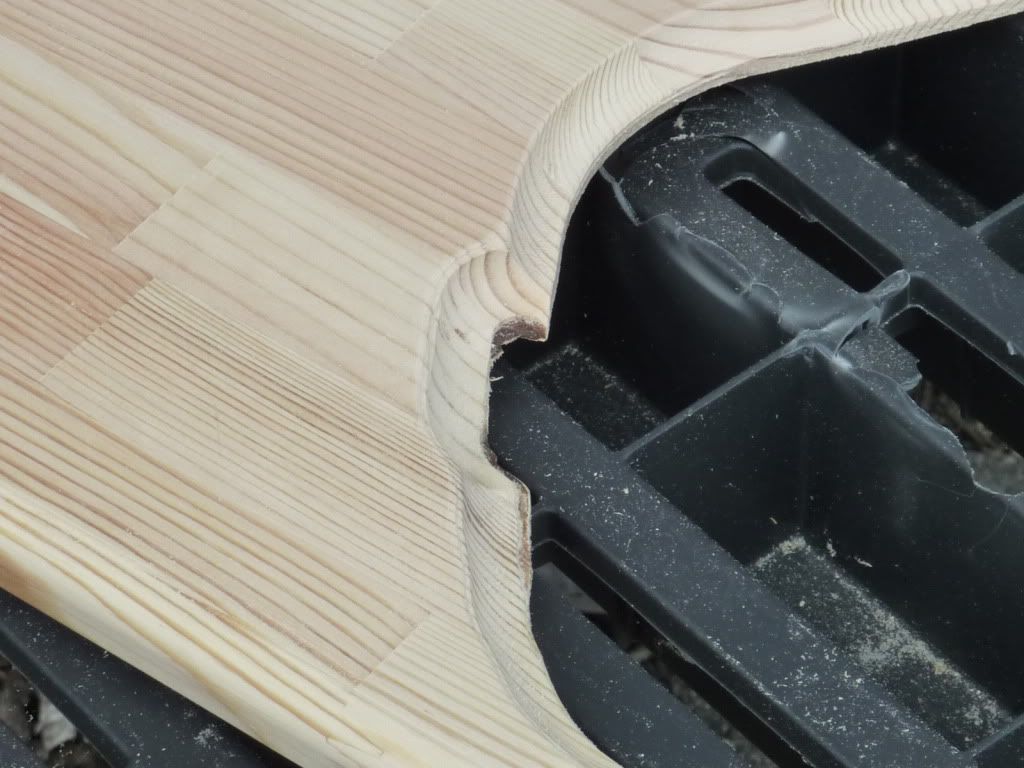
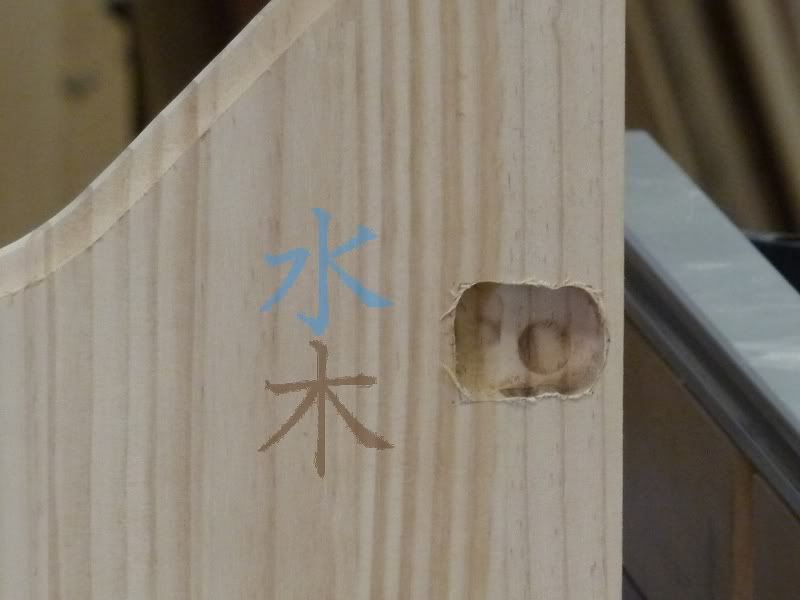
After taking it back down and removing the hinges so I could start routing it for the window and disaster struck! :-/
Anyhow, I'll have to start over with the door later
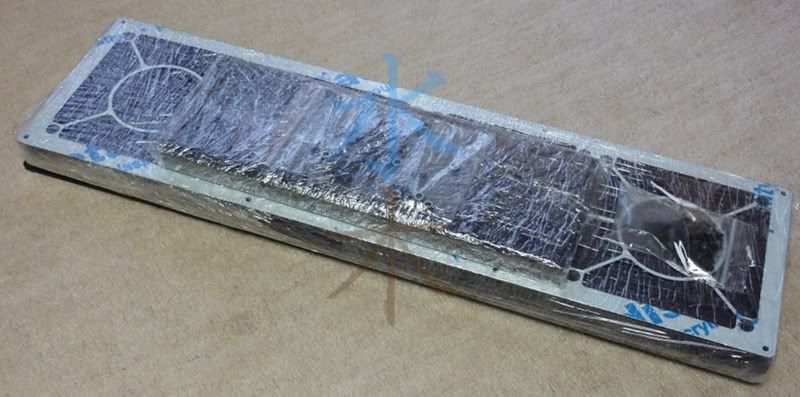
But, I also had a nice little package arrive from Portugal....
Whats this
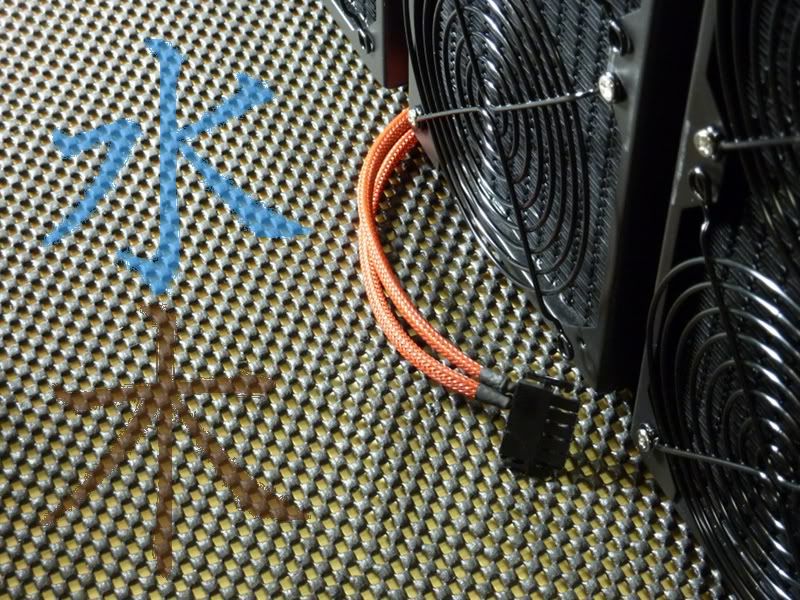
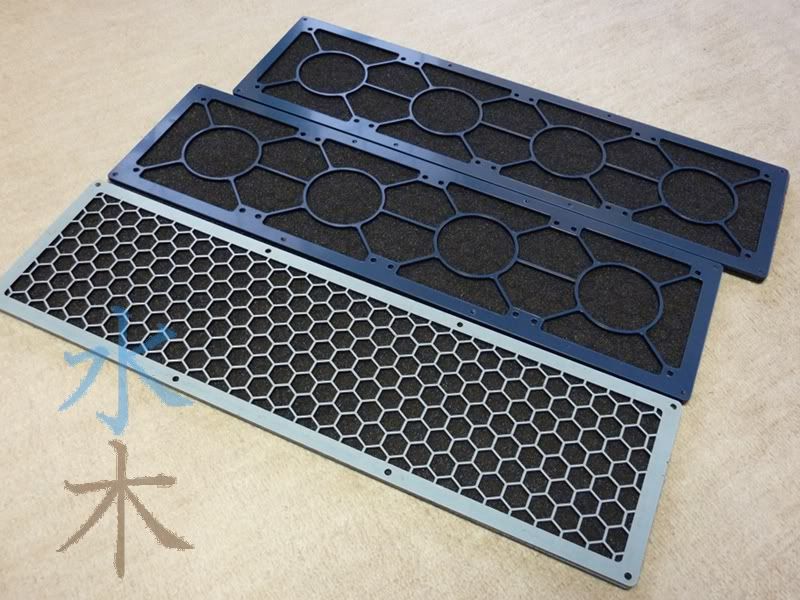
:baby: Oh yeah! My new fan grills slash dust filters
Coldzero Team saw my mod earlier and offered to send me a few things. For now, I'll just show off the filters, I'll save the other goodies for later
Thanks Coldzero Team!
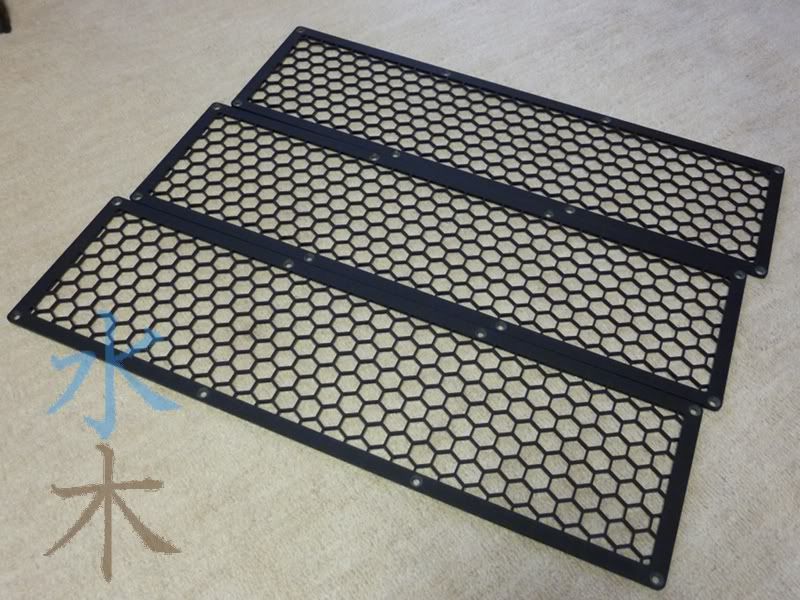
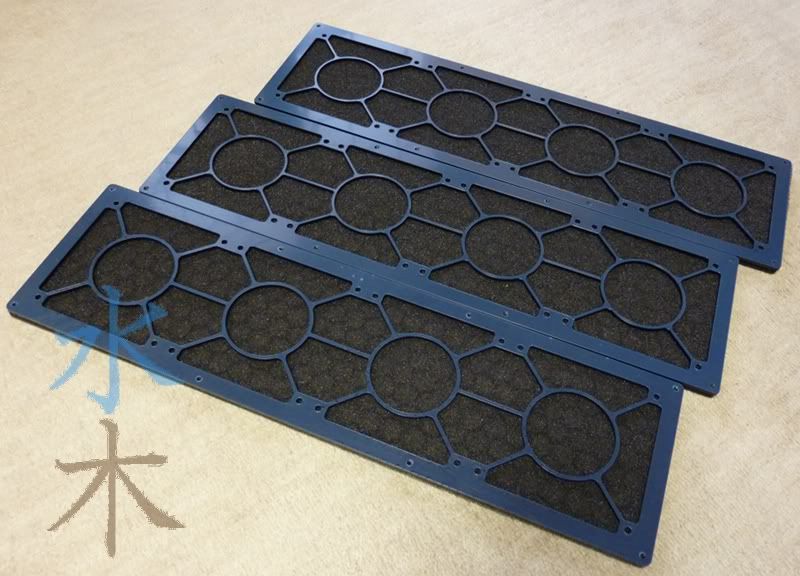
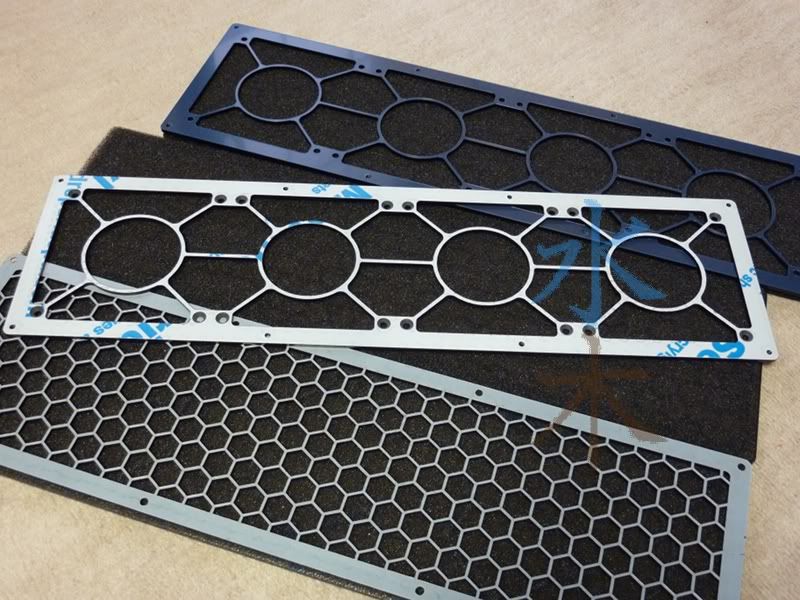
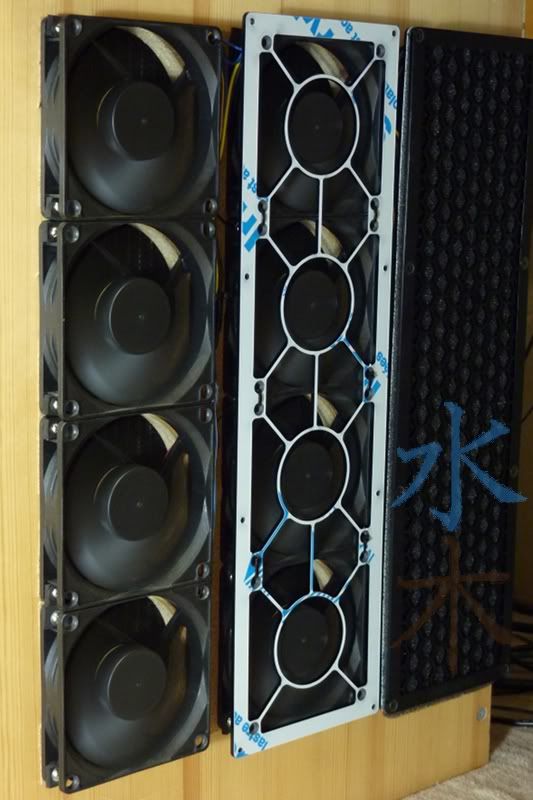
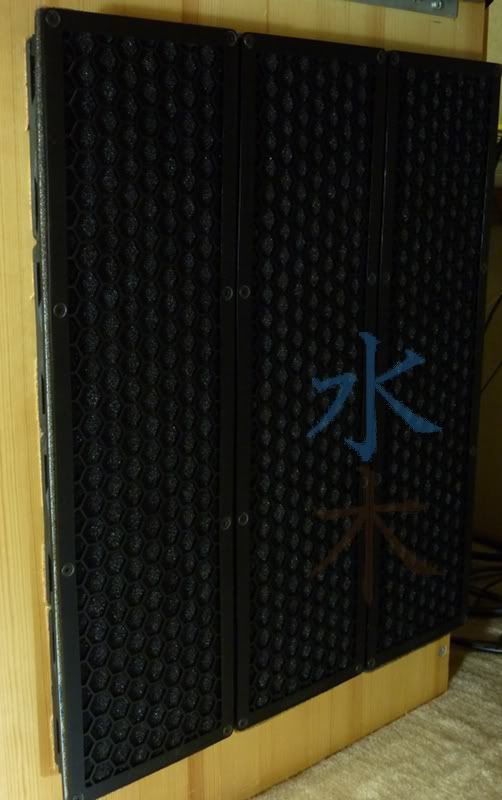
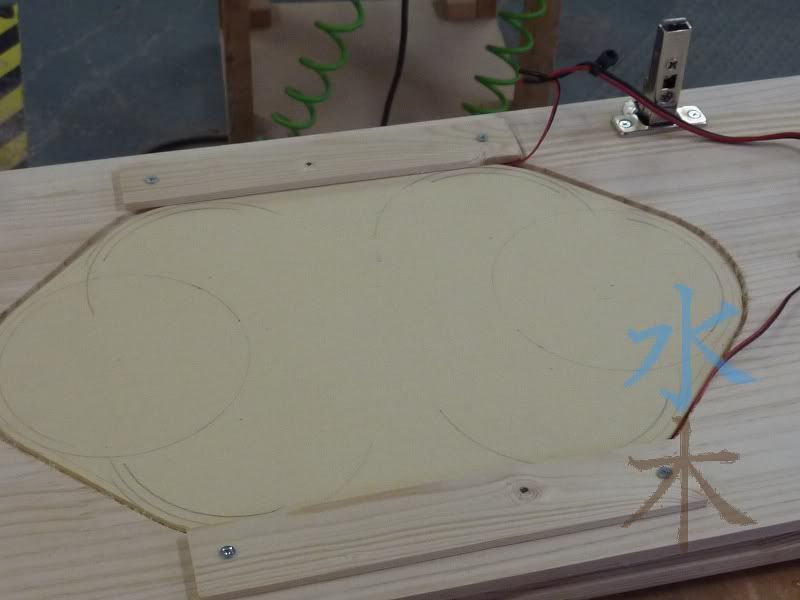
These things are amazingly nice quality. Its a two step process getting them fitted, step one you attach the bottom piece to the fans, step two is to sandwich the filter material with the top piece which screws into the bottom piece with countersunk hex head machine screws (yes, the bottom piece has been tapped for these screws to attach). Anyhow, really impressed with the quality and simplicity of the design. The shot below gives you a good idea of the process. I had to attach the lower piece with zip ties since the holes had already been drilled out as detailed earlier.
I'm headed out for a vacation next week, so my next update won't be until mid August...until then, happy modding/overclocking
Last edited by miahallen; 07-29-2011 at 11:57 AM.
[CENTER]The post counter is not an intelligence meter!
MAX11L - "It's like a console...with the suck turned down and the awesome turned up" -tet5uo
Heat Team IRONMODS
Well, I'm back from my vacation and back on day shift at work. Both factor in better to progress on this build
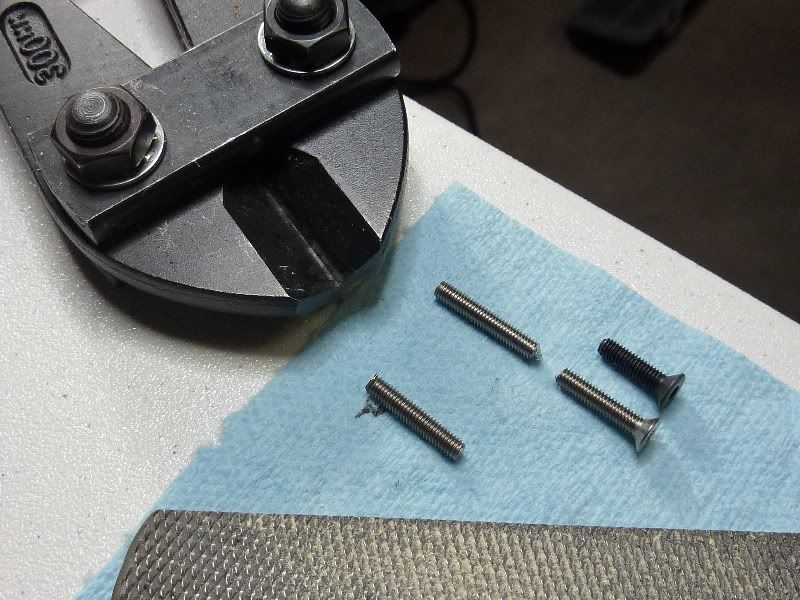
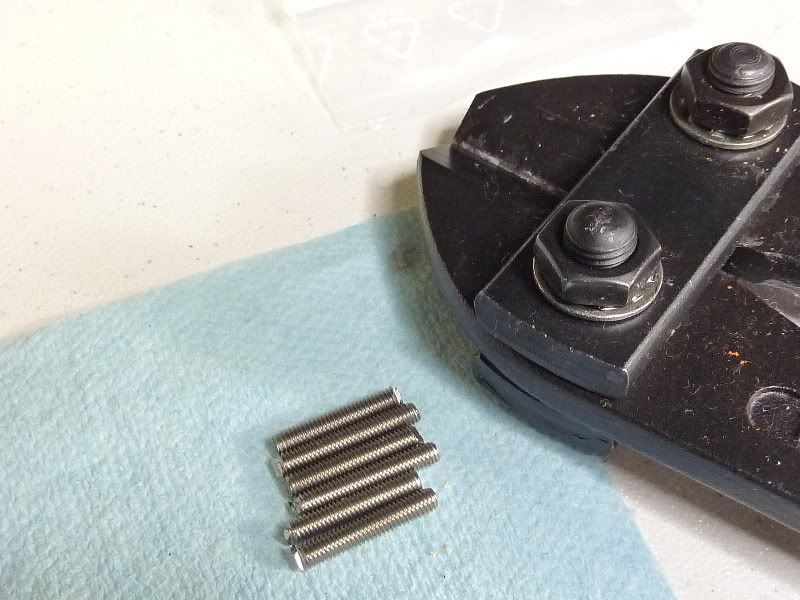
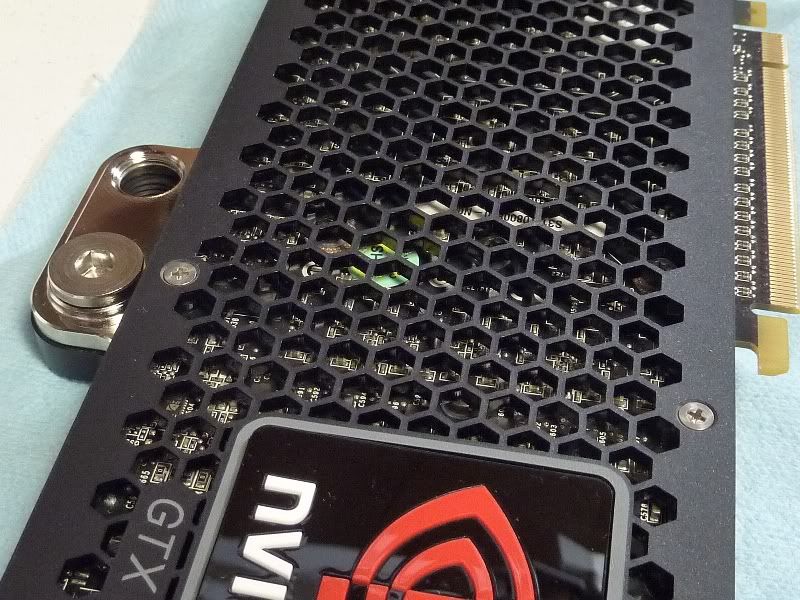
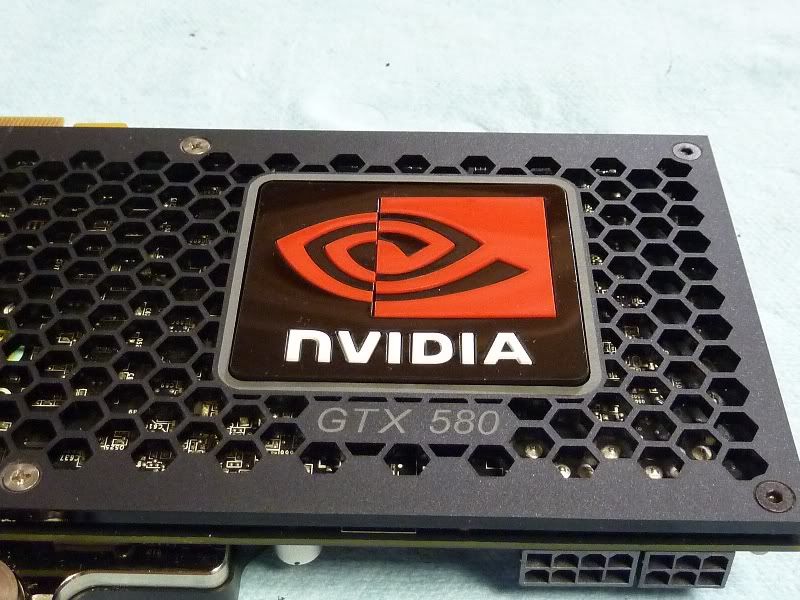
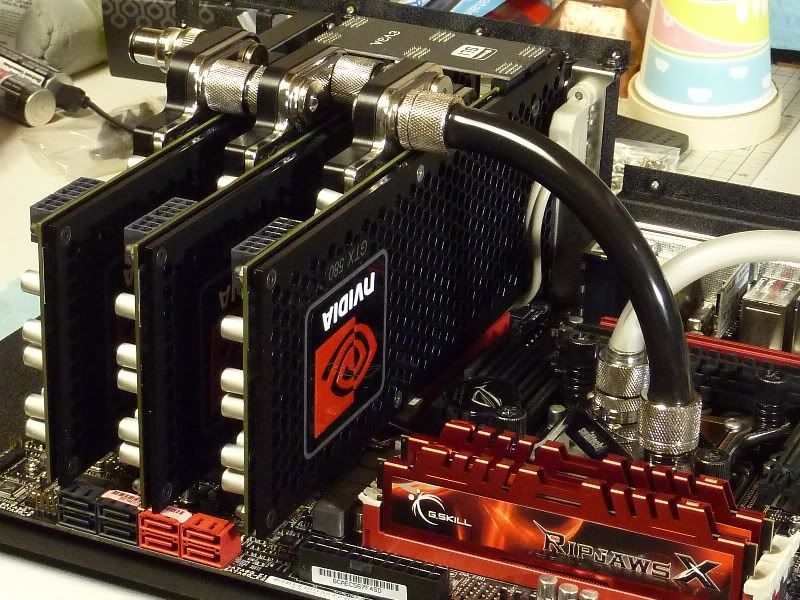
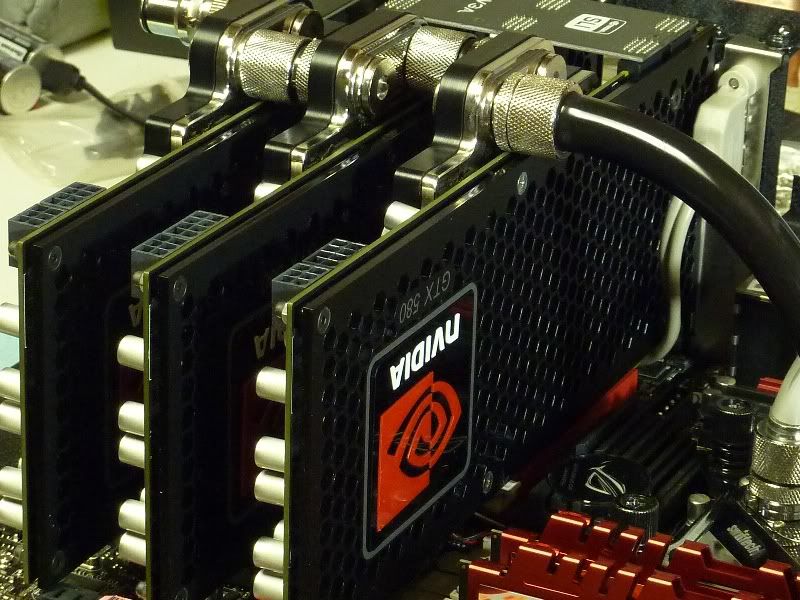
As I mentioned earlier...the kind folks over at Team ColdZero sent me some other special pieces....some beautifully crafted GTX 580 backplates. These things are gorgeous! Only one issue, two of the 6 screws they included were not long enough to get into the EK water block on the front. So I had to improvise.
Since these will never really be seen anyway, I was not too concerned with the aesthetics. So this should work fine, Although I could always take my sharpie to them later.
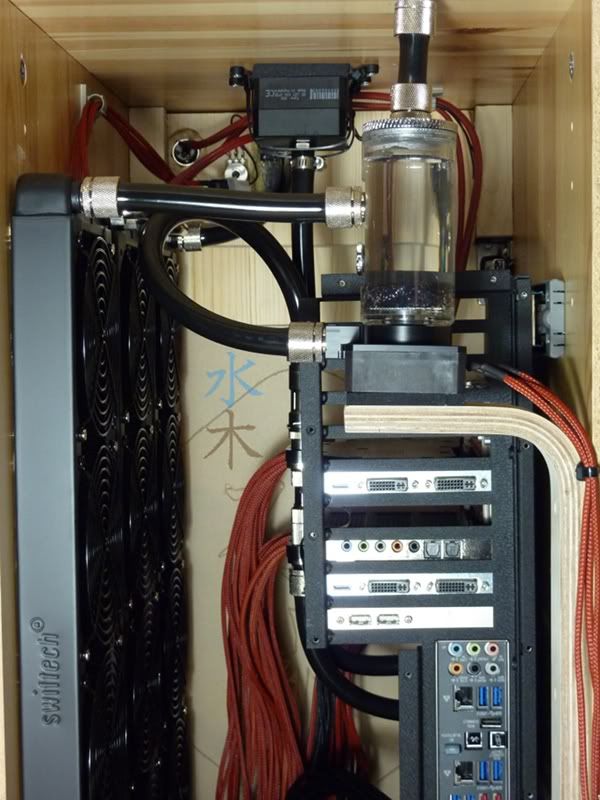
I also gave serial one more go, but these Bitspower QDC fittings are not long enough and they started leaking pretty quickly.
So I put the EK bridge back on and ditched the X-Fi for now....I'm in the market for a low profile PCIe card, any suggestions?
Moving on. I got another piece of wood to give the door another try.
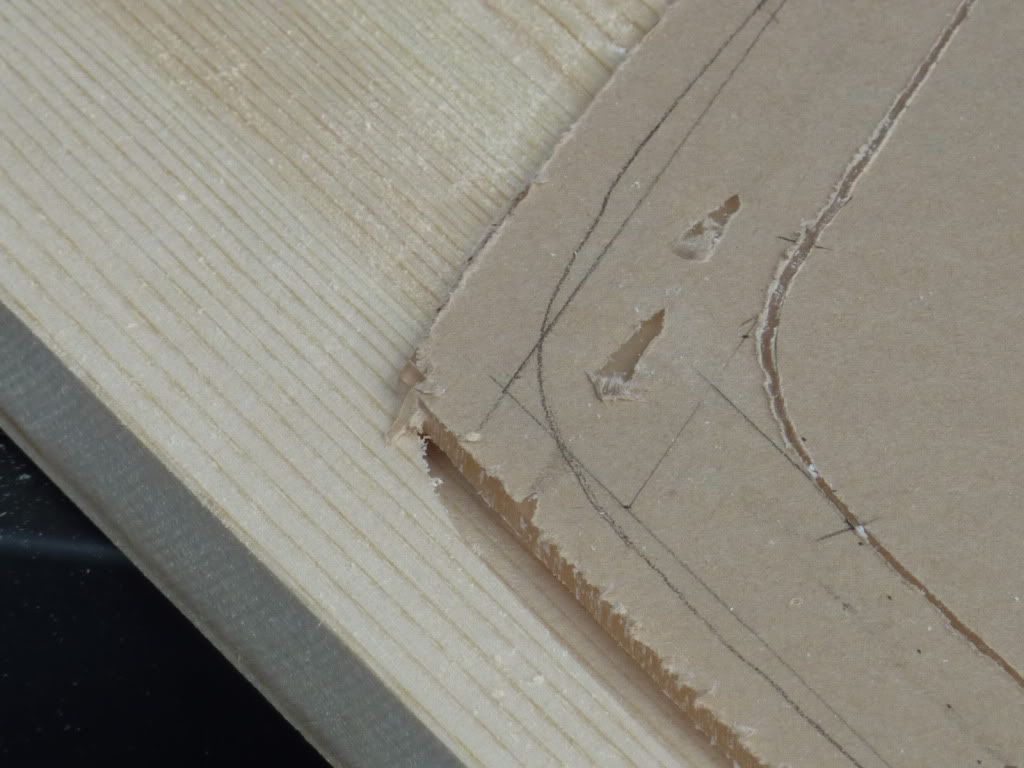
I mentioned before that this is the first thing I've ever used a router on. This is the backside of the door and I created this groove to set the window into.
Then I had to trim the window to fit. I used my Jigsaw at a very low speed with a fine metal blade.
Almost there.
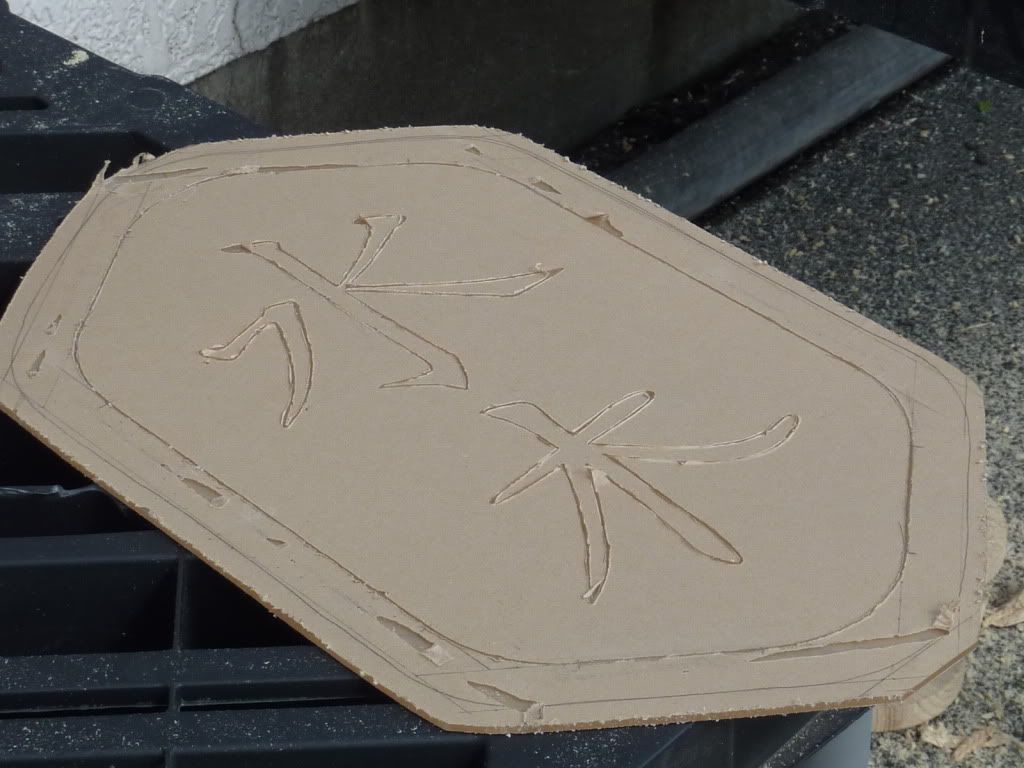
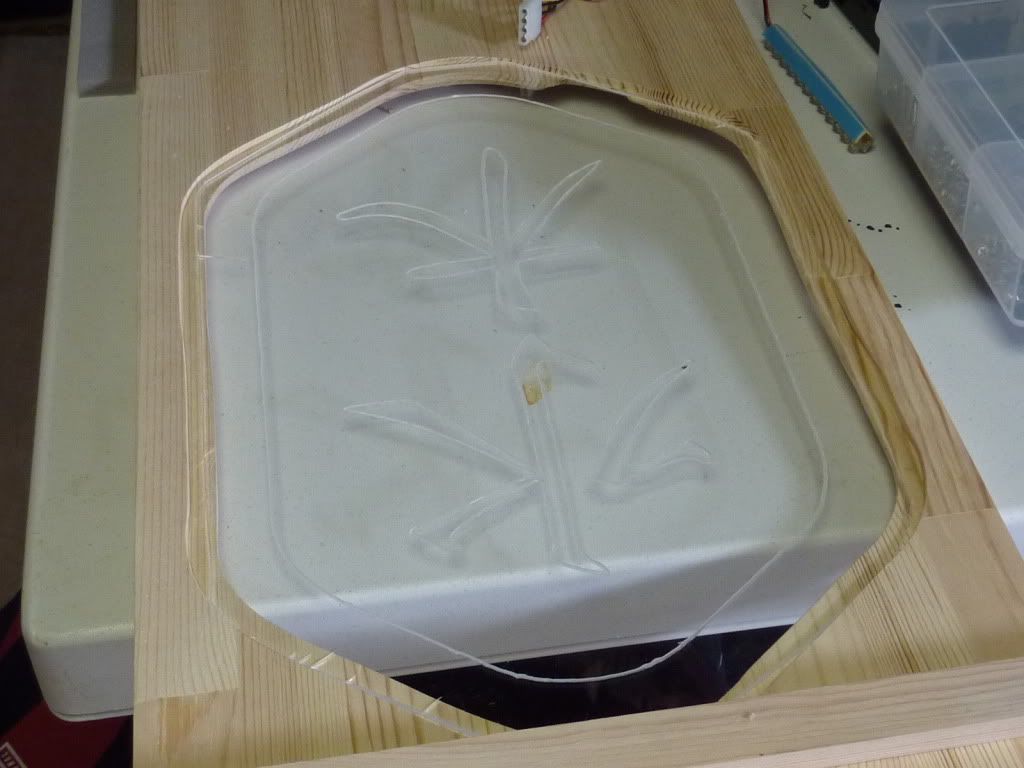
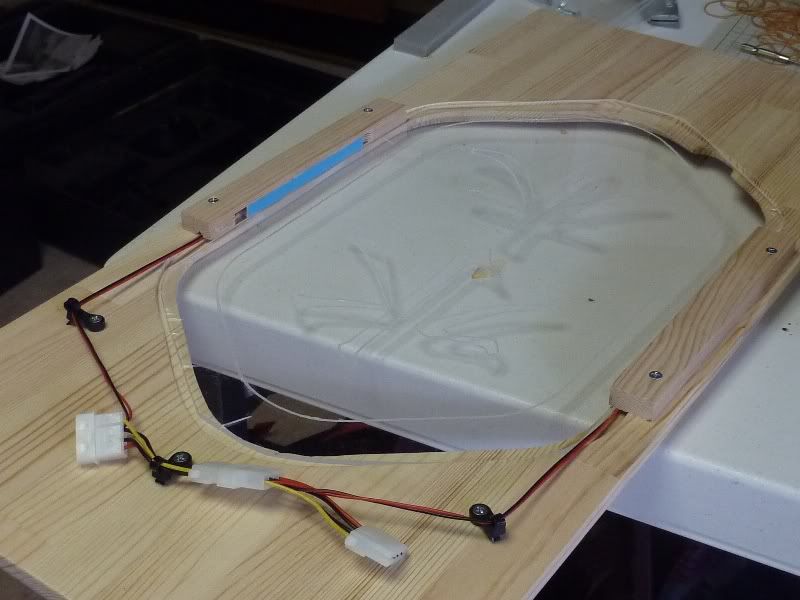
Next I had to figure out how I would position the LEDs for edge lighting.
Then I tried to route the front side of the window opening and my noobiness with wood-working started showing through again
So, I decided to push ahead and see what it would look like with this messed up door, I'll have to try a 3rd time later.
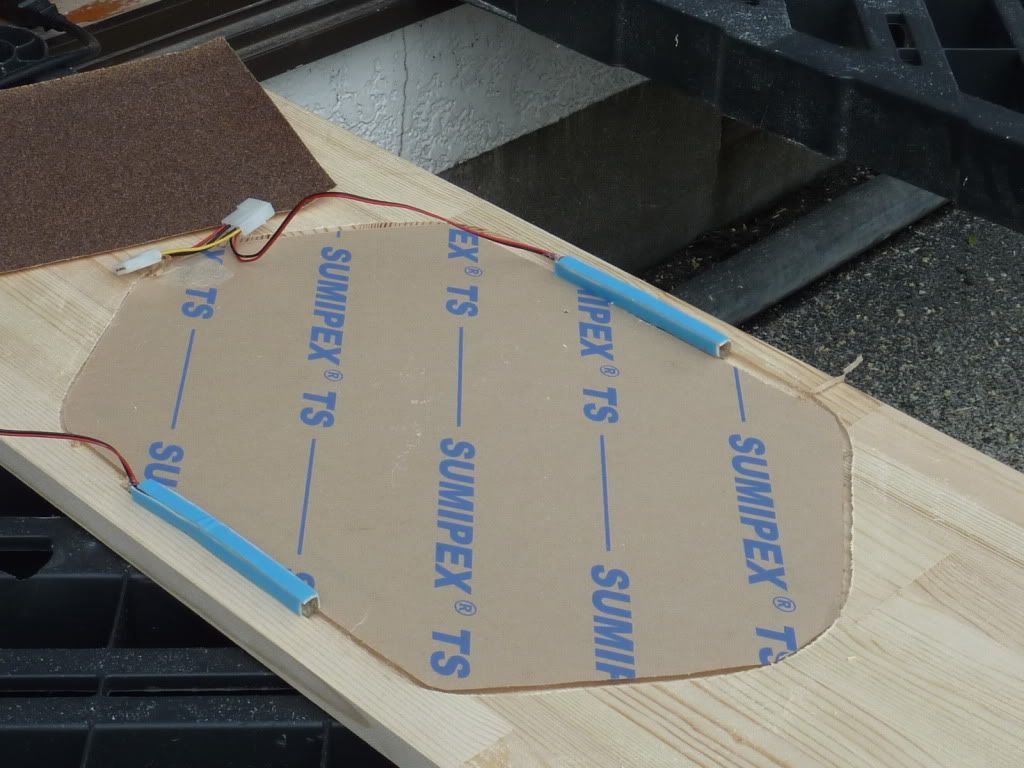
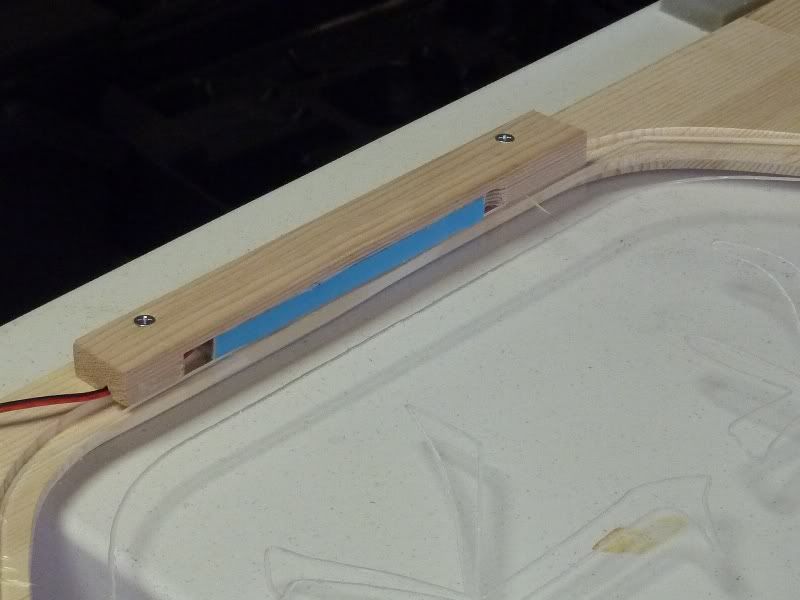
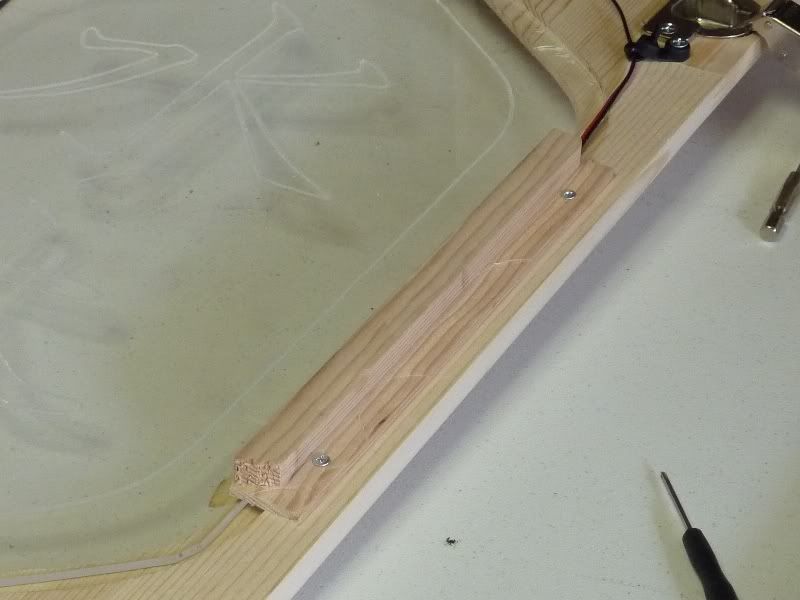
Next I had to figure out a way to hold the LEDs in position.
This seemed to be OK, so I tacked down the wiring.
But, on the first time fitting, the door would not shut due to the bulk of the LED brackets. So I trimmed them down a bit.
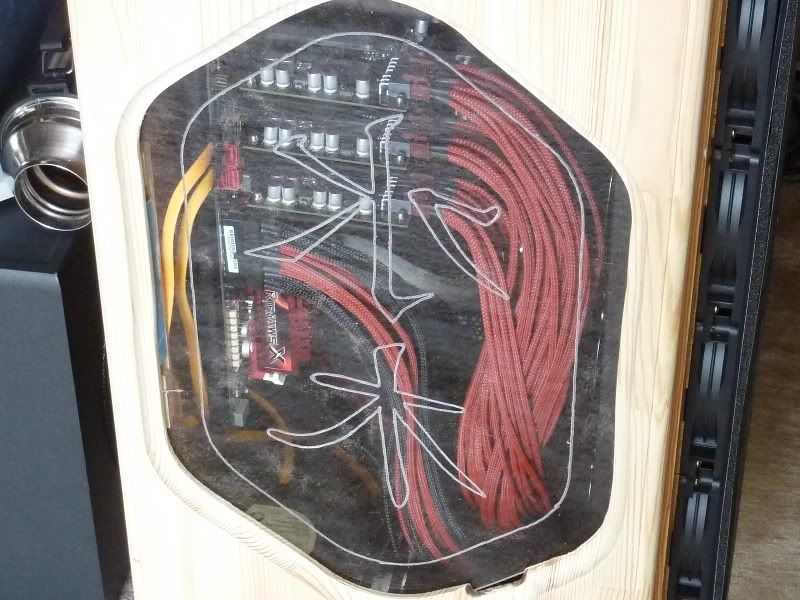
So, here is the first successful fitting......errrr......ummmm....maybe not. Dang it, put the plexi in backwards. LOL
Alright, all fixed up and lighting wired in

[CENTER]The post counter is not an intelligence meter!
MAX11L - "It's like a console...with the suck turned down and the awesome turned up" -tet5uo
Heat Team IRONMODS
Hmm, i wonder if something can be wood-ified look-wise with all those black gadgets on table.
Just read the whole worklog, dunno how I missed this one, must be the exams rush I'm into these few months, looks fantastic! And yeah, like the churchy's suggestion!
Btw, what is that little silver thingy on the left of the monitor? Headphone amp? DAC?
Good luck! Subbed!
Just read the whole worklog, dunno how I missed this one, must be the exams rush I'm into these few months, looks fantastic! And yeah, like the churchy's suggestion!
Btw, what is that little silver thingy on the left of the monitor? Headphone amp? DAC?
Good luck! Subbed!
Thanks churchy & fr0wn3r...the silver thing is the volume control for the Promedia surround sound.
If you guys have specific suggestions on the "woodifization" process, I'm all ears.....but I'm not sure I know exactly what you mean. And, as you can see....my wood working skills aren't that great, so go easy on me
A couple of updates to report too.
First off. Based on the QDC failures I've run into, I removed them from my loop and I'm getting them all RMA'd from Koolance. But I don't think I'll be putting them back into the loop due to my theory on their failures.
Secondly, I've upgraded the PSU to a Corsair AX1200 and I'm planning to mod some BitFenix single sleeved extensions for it. I'll mod them from extensions into the actual modular plugs for the AX1200. I'll probably also cut them to custom length.
Last edited by miahallen; 09-07-2011 at 04:19 PM.
[CENTER]The post counter is not an intelligence meter!
MAX11L - "It's like a console...with the suck turned down and the awesome turned up" -tet5uo
Heat Team IRONMODS
Thanks for the answer, thought it's a an amp or DAC and that your friend audiophile had spread the virus of audiophilia on you.
Anyway, woodification can be done with those veneer sheets (think I used the right word) that you can find in carpentry supply stores. They're made of either real wood or wood like synthetic materials and should be no problem to find a right color, texture and wood pattern to match it with the rest of your case mod/desk. Just type the "wood veneer" in dr Google and go to images, you'll see tons of the stuff. It will make it look really stylish! Not that it isn't already.
Oh yeah, and sorry for double post, dunno how it happened. Had some trouble posting yesterday, guess it's the result of it...
Ah, I see...good idea. I'll think about that
[CENTER]The post counter is not an intelligence meter!
MAX11L - "It's like a console...with the suck turned down and the awesome turned up" -tet5uo
Heat Team IRONMODS
If i'm right about identifying what's what in table pic, you have on table two speakers, sub below monitor, some amp or alike to control volume of those, some external HDD mount gadget and gamepad. How about try to group volume control thingie/hdd mount gadget below monitor/by subwoofer, add some hook behind monitor to hang gamepad, when not in use. And maybe yes, to add some wooden look for those two speakers. I'd add also another hook behind monitor to keep there headphones as well. Or move those gadgets you need to easily access _in_place_ of sub, and put sub somewhere else (hmm, below table surface?).
Result = mostly clear/empty wooden surface with just monitor with group of gadgets below it in middle, and mostly blending in two speakers in corners.
"Cleanliness is next to godliness" (c) Gattaca
Good ideas
The HDD thing is temporary....it's going away soon as I just needed it for a project which is finished now.
The volume control for the sound system also now has a USB3.0 hub sitting on top of it.
I like the idea of putting wood veneer on the speakers
[CENTER]The post counter is not an intelligence meter!
MAX11L - "It's like a console...with the suck turned down and the awesome turned up" -tet5uo
Heat Team IRONMODS
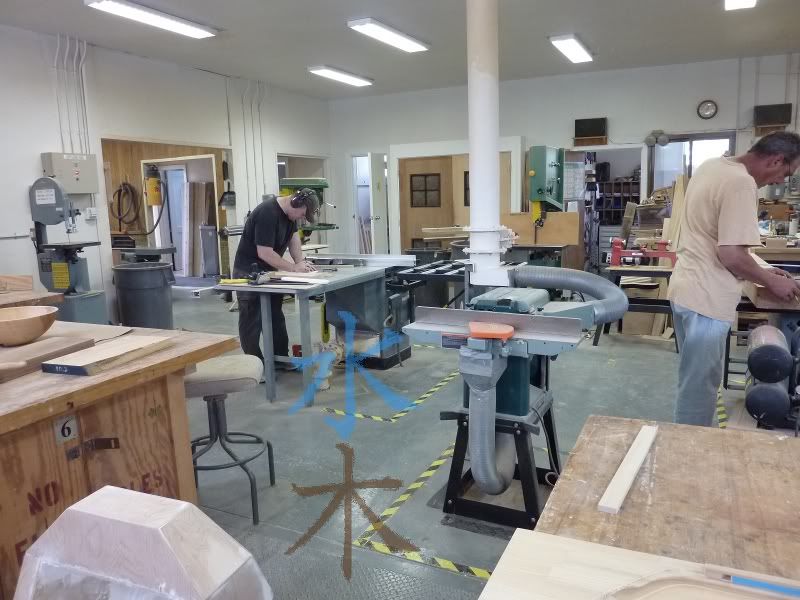
OK, I finally got a chance to work in a real wood shop with some proper equipment. This is the wood shop on Misawa AFB which is a two hour drive from my home.
This was the inside of the 2nd door....just to see where I left off.
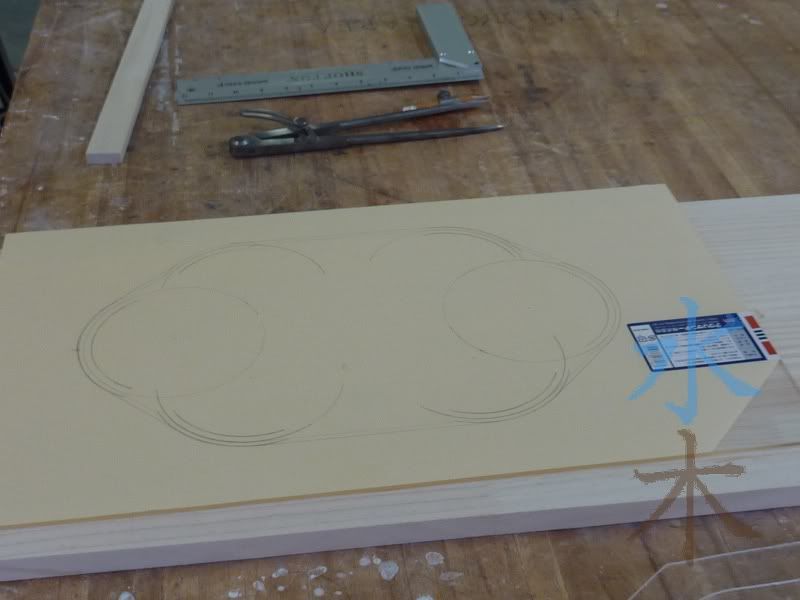
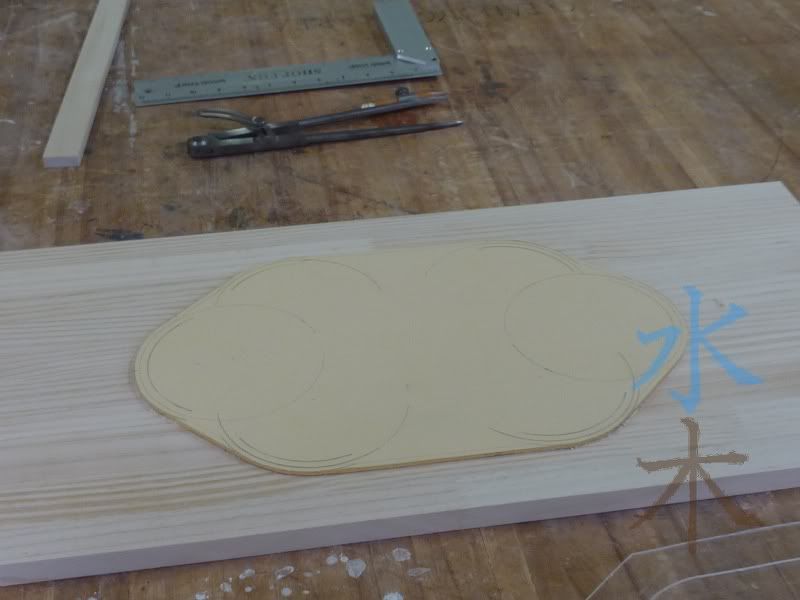
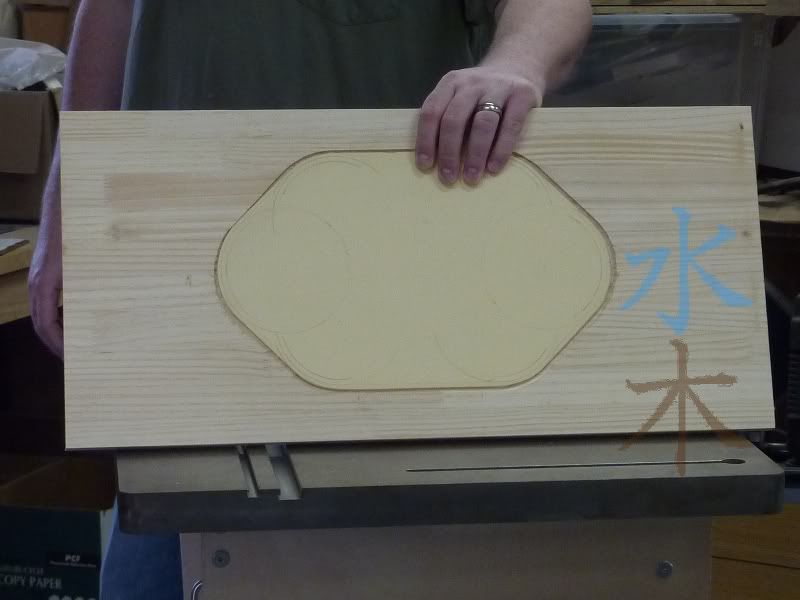
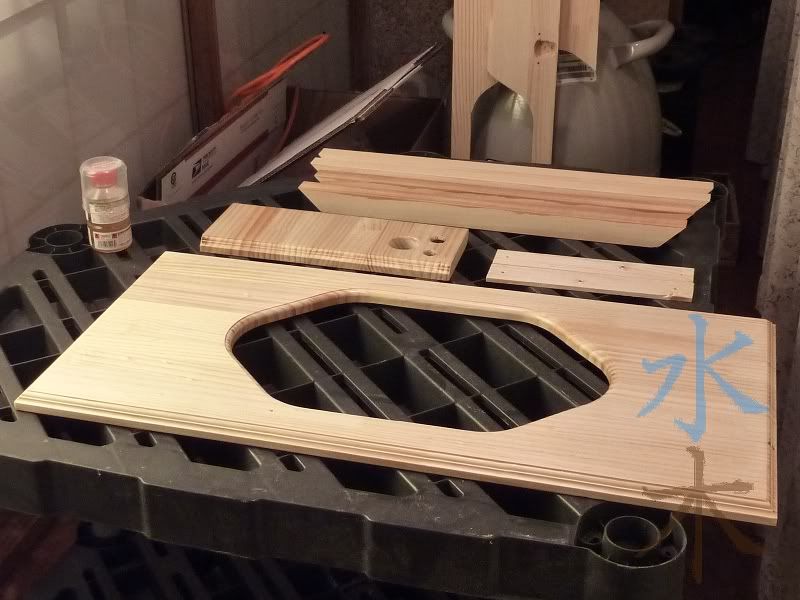
I started by marking up the new plexi sheet. I wanted to redo the window because of the cracks I made sawing the first one with my jigsaw.
Then I cut it down to size with a band saw.
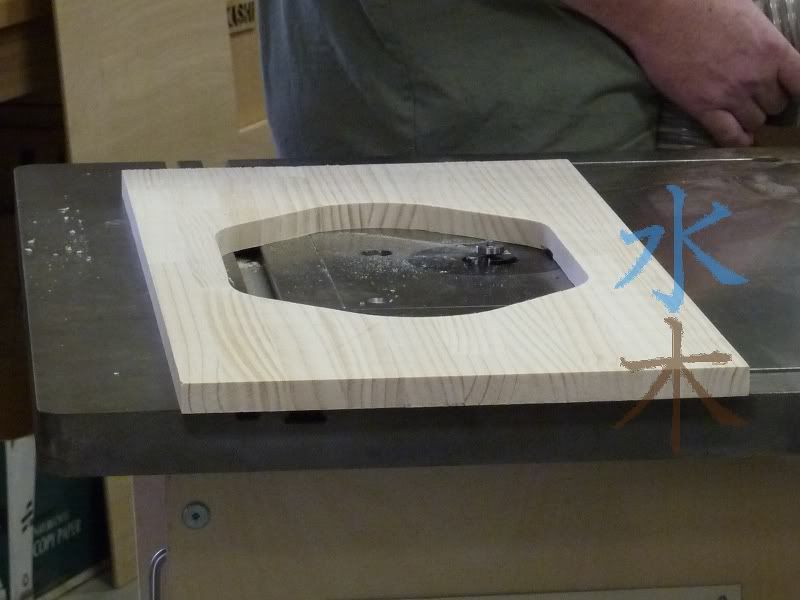
Then I cut the new door with a scroll saw.
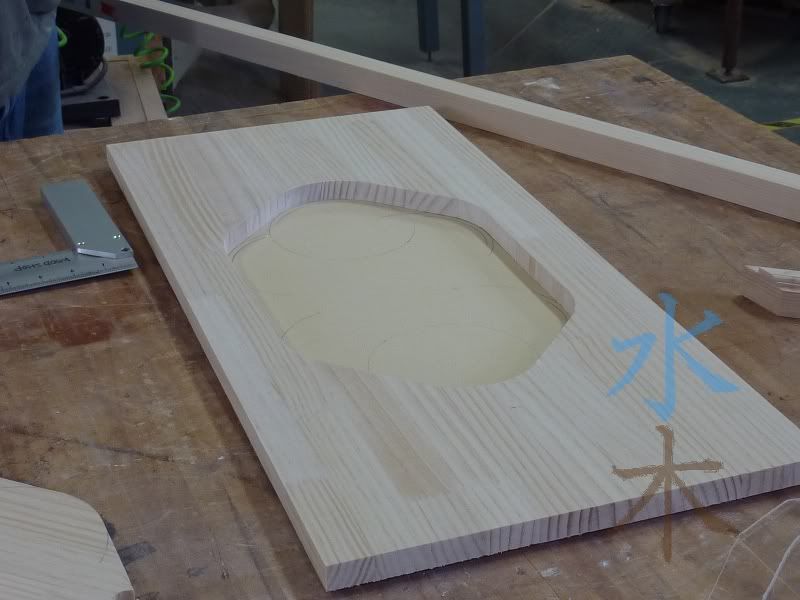
Next I used the table router with a rabbit bit to create a channel to inset the plexi on the back side of the door.
A pretty decent fit.
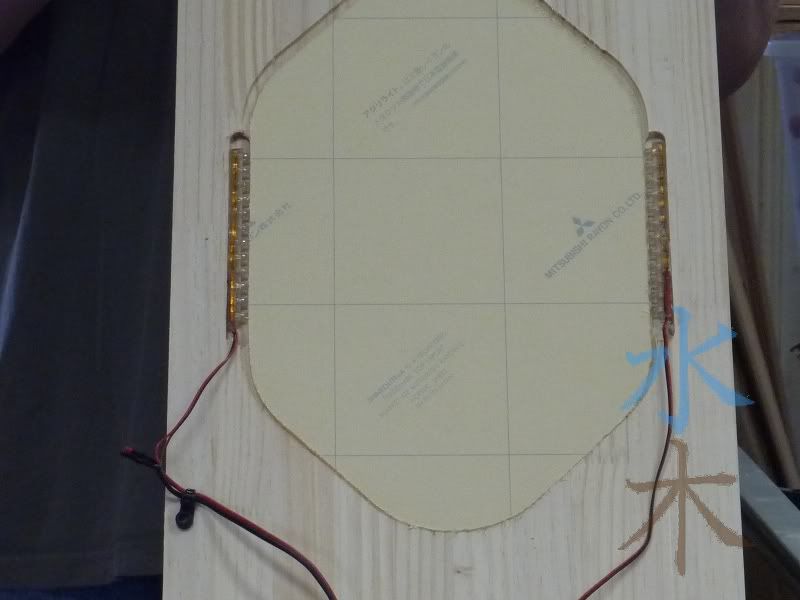
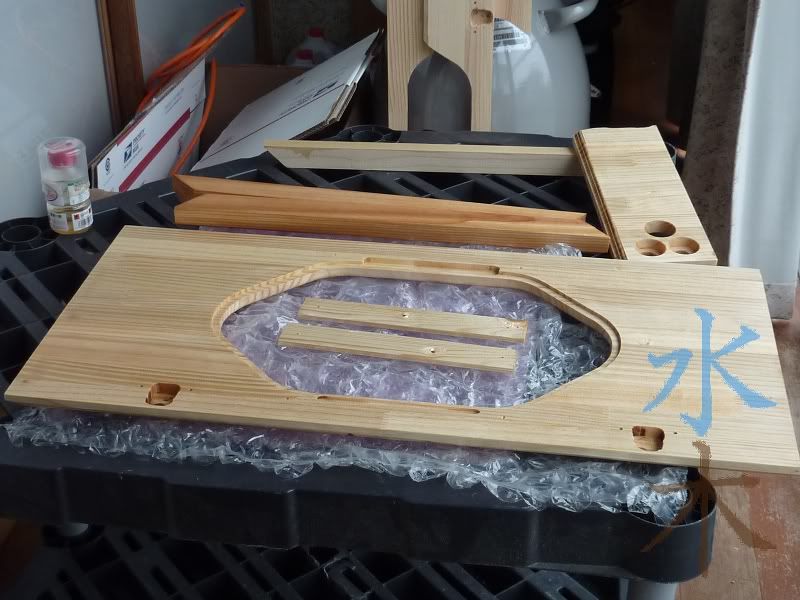
Next I used a straight bit on the table router to create two channels flanking the window to inset the LEDs.
Then I used a roundover bit on the front side of the door around the window.
Then I very slowly and steadily used the straight bit to carve out the holes for the hinges.
Then I used some slim pieces to cover up the LEDs on the back and assist with securing the plexi.
I missed a picture here after routing the outside of the door front with an old school bit for some character. I also missed a picture of the new front panel I made for the fan control knob and the power buttons. Then I hand sanded all the pieces. The angle cut pieces are for a facade I'm building for the fans...but that will be in a future update when I finished building it.
First coat of lacquer.
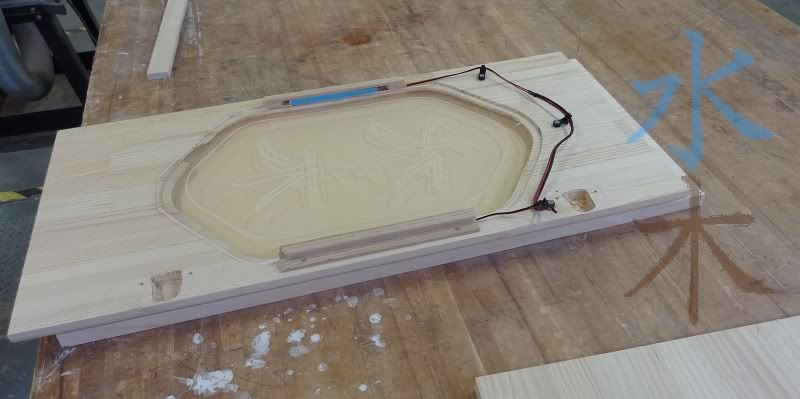
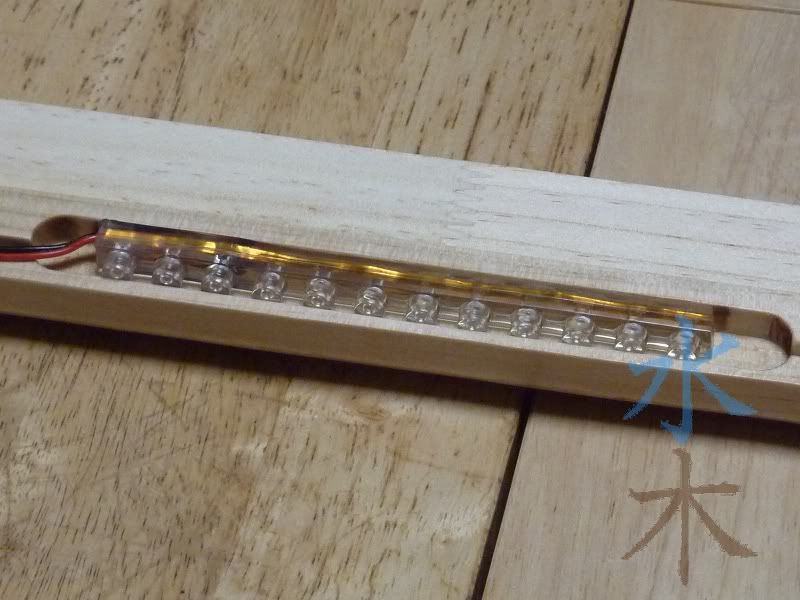
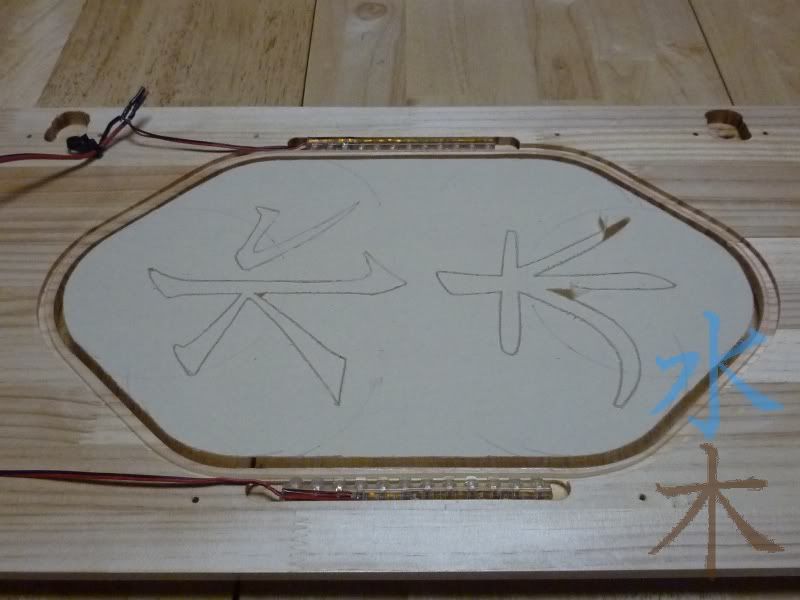
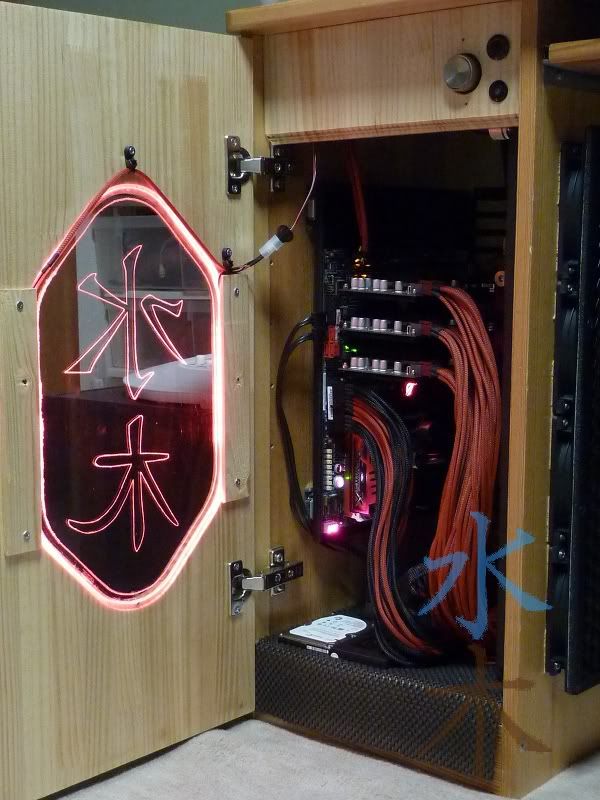
Fitting the LEDs
Put the hinges on.
wire up and sleeve the LED wiring.
Wire up the new front panel.
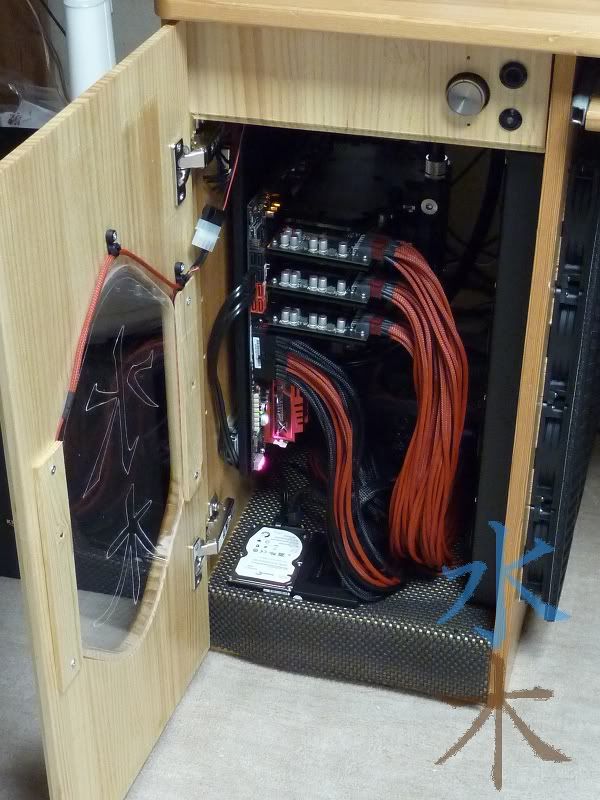
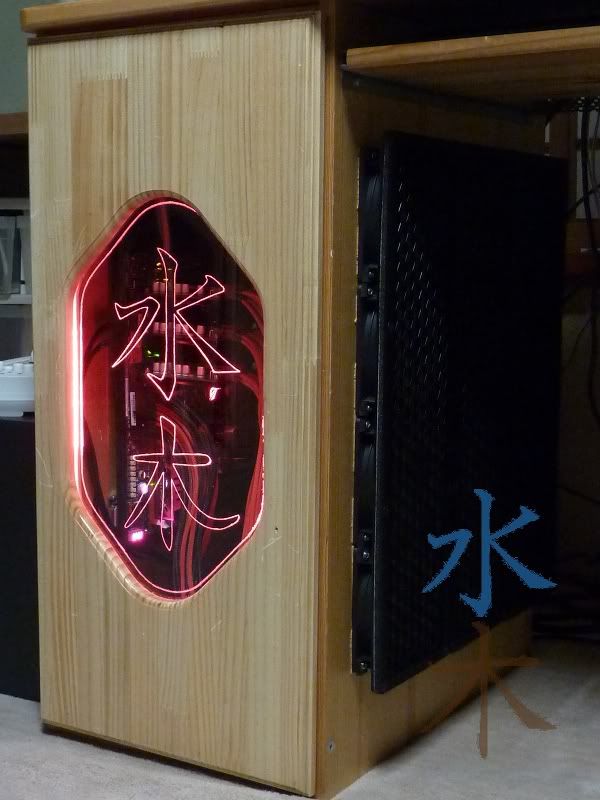
Install everything....you'll notice two small holes above and below the fan control knob...ooops
The new window is slightly smaller because I wanted to give the door a little more strength. Still looks good IMO
What do you think?
[CENTER]The post counter is not an intelligence meter!
MAX11L - "It's like a console...with the suck turned down and the awesome turned up" -tet5uo
Heat Team IRONMODS
What i think? When you will make door darker as that of rest of table?
I think it will darken with a little more age...but the camera definitely make is look farther off than in real life
In person you wouldn't notice as much
[CENTER]The post counter is not an intelligence meter!
MAX11L - "It's like a console...with the suck turned down and the awesome turned up" -tet5uo
Heat Team IRONMODS
Also utilitarian looking door hinges look a bit out of place near otherwise neat compartment with sleeved cables and alike PC hardware, when door opened. But no clue to what they might get replaced or how hidden. And don't know if it's worth to do anything at all, as they are hidden out of view through window when door is closed. I thought to suggest to line up with narrow piece of wood (hmm, or mesh?) sides/perimeter of fan square, but there again, not much people looking below table to care about wasting time on looks of fan sides there
I think you missed this part
The angle cut pieces are for a facade I'm building for the fans...but that will be in a future update when I finished building it.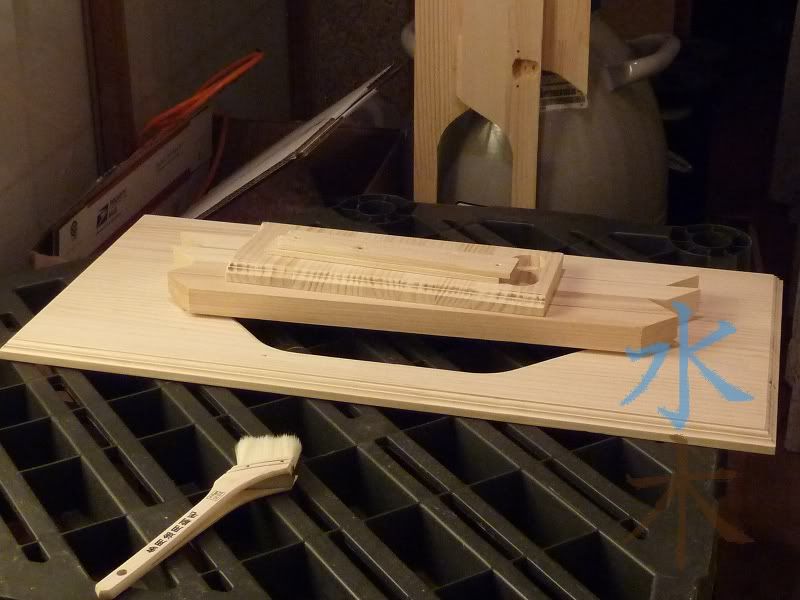
[CENTER]The post counter is not an intelligence meter!
MAX11L - "It's like a console...with the suck turned down and the awesome turned up" -tet5uo
Heat Team IRONMODS
nice i see a classic ld25
Yes sirThe good stuff is way too expensive here

[CENTER]The post counter is not an intelligence meter!
MAX11L - "It's like a console...with the suck turned down and the awesome turned up" -tet5uo
Heat Team IRONMODS
Hey guys, I got nominated for bit-tech's MOTM!
Vote for me please
[CENTER]The post counter is not an intelligence meter!
MAX11L - "It's like a console...with the suck turned down and the awesome turned up" -tet5uo
Heat Team IRONMODS
 Posting Permissions


 Reply With Quote


Bookmarks