Page 1 of 5 1234 ... LastLast
Results 1 to 25 of 112

Thread: Project: Chokolate Temptation

  1. #1
    Xtreme Member
    Join Date
    Jan 2011
    Posts
    122

    Project: Chokolate Temptation


    Hello Everyone!

    I am starting a new major project and what I had in mind is a small but powerful and also very goodlooking mini-ITX systems. My plans for the system is to use the Fractal Array R2 mini-ITX Chassis
    together with an BeQuiet SFX PSU wich will be modified with an extra PCI-e cable and some other major mods. As you may already have understood, I will sleeve PSU ... Of course! The theme of the
    whole thing will be chocolate ... do not misunderstand me this will be a purely aesthetic construction that will have with the wonderful tasting and smelling chocolate's color to do. The Fractalchassi itself has the perfect size and it has many possibilities for modifications and difficult custom water cooling installations. It is also small but very clean and neat in the whole look and therefor which got my interest in it. I have at this stage is already planned to do a complete watercoolingsystem that will require some modifications, nerves of steel and to say the least a lot of patience. PSU itself is perfect for the purpose, it has the right amount of power needed and it does not take much space, it will blend in very well with the rest of the system when...as I said singelsleeve it. I hope you will like my latest project at least but not last it's time to enjoy the project in front of the screen with a chocolatebar in your hand! Bon apetit !


    Hardware:
    Chassi: Fractal Array R2
    Nätaggregat: Be quiet SFX 350w
    Moderkort: ?
    Processor: ?
    Ramminne: ?
    Grafikkort: ?
    SSD: ?

    Watercooling:
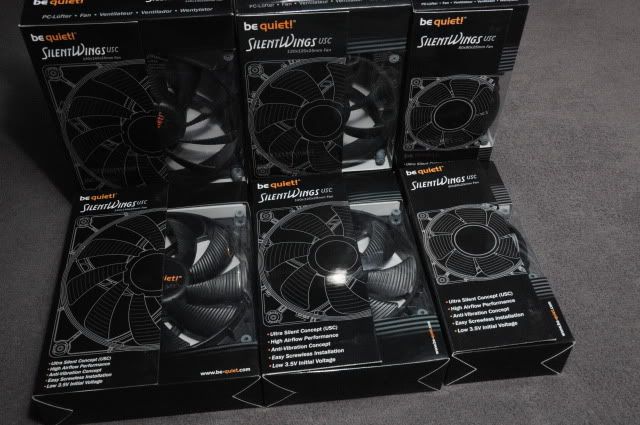
    Fans: Bequiet Silentwings(2x140mm, 2x120mm, 2x80mm)
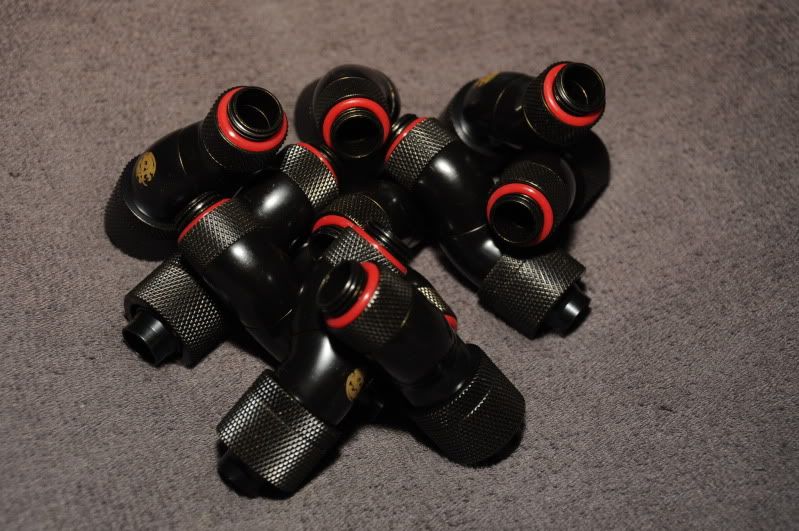
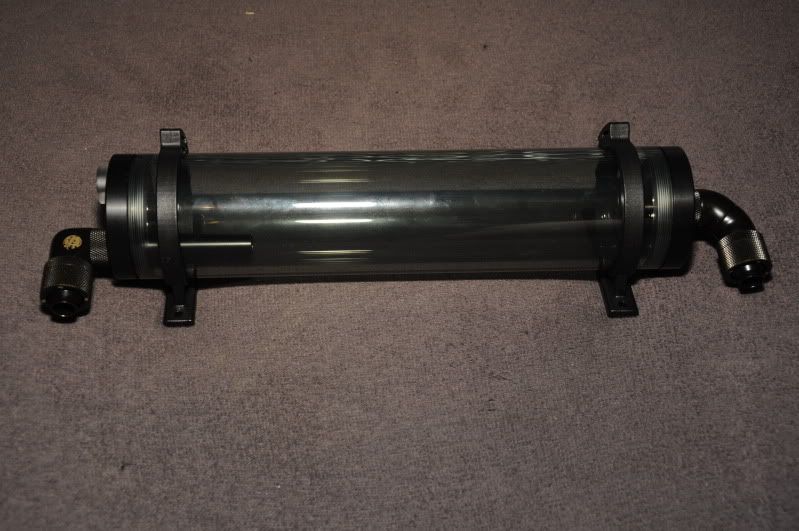
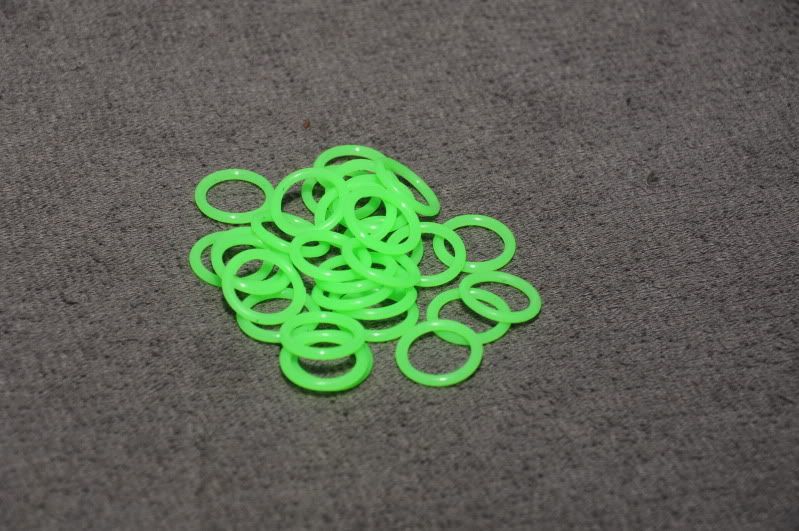
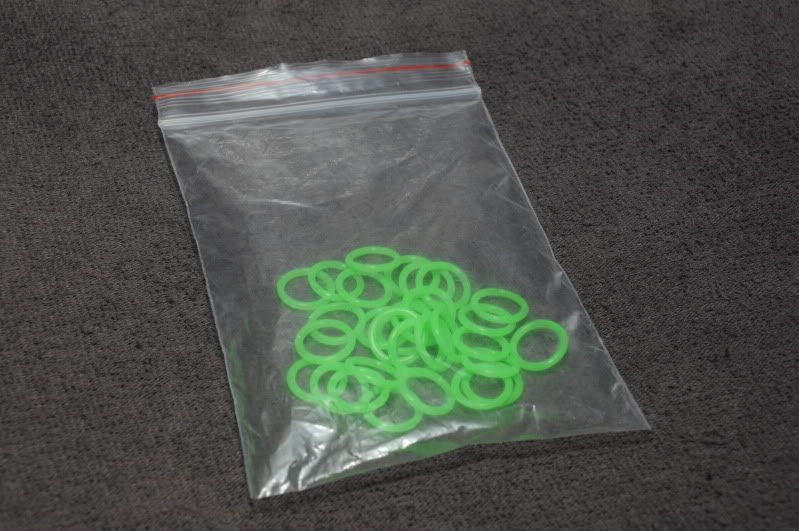
    Radiator:
    CPU-Block:
    SB/NB-block:
    RAM-Block: Bitspower Galaxy Freezer 2
    GPU-Block:
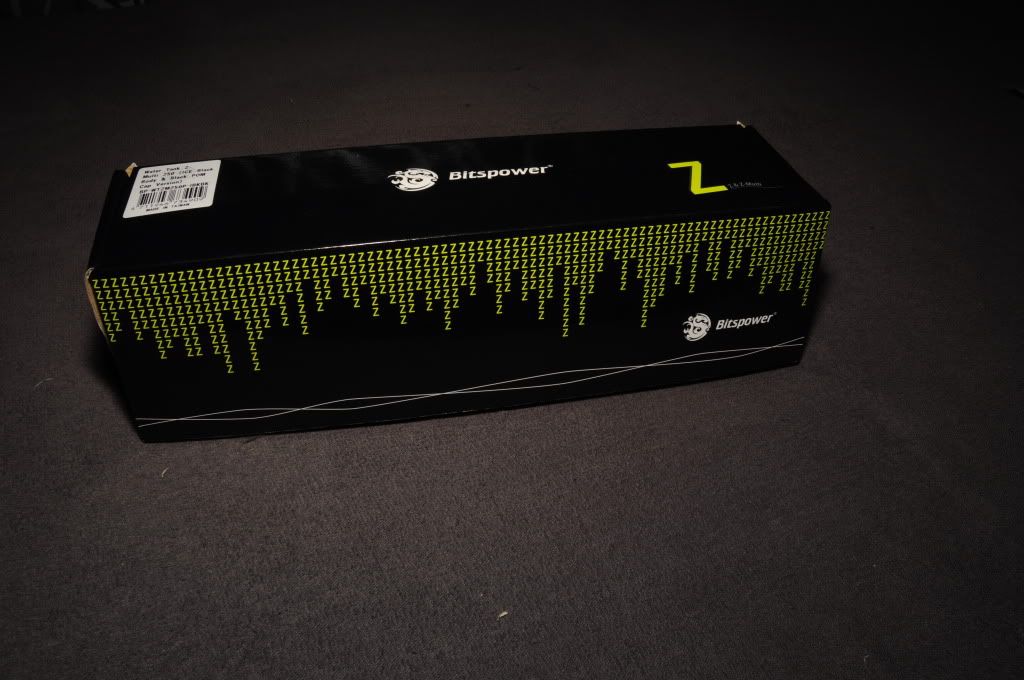
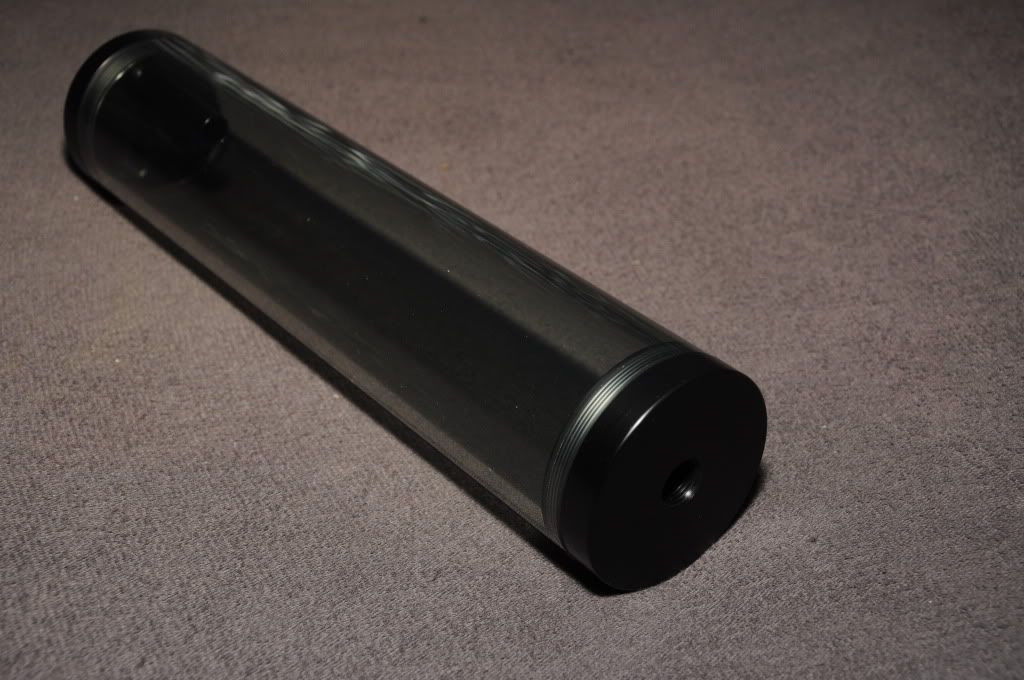
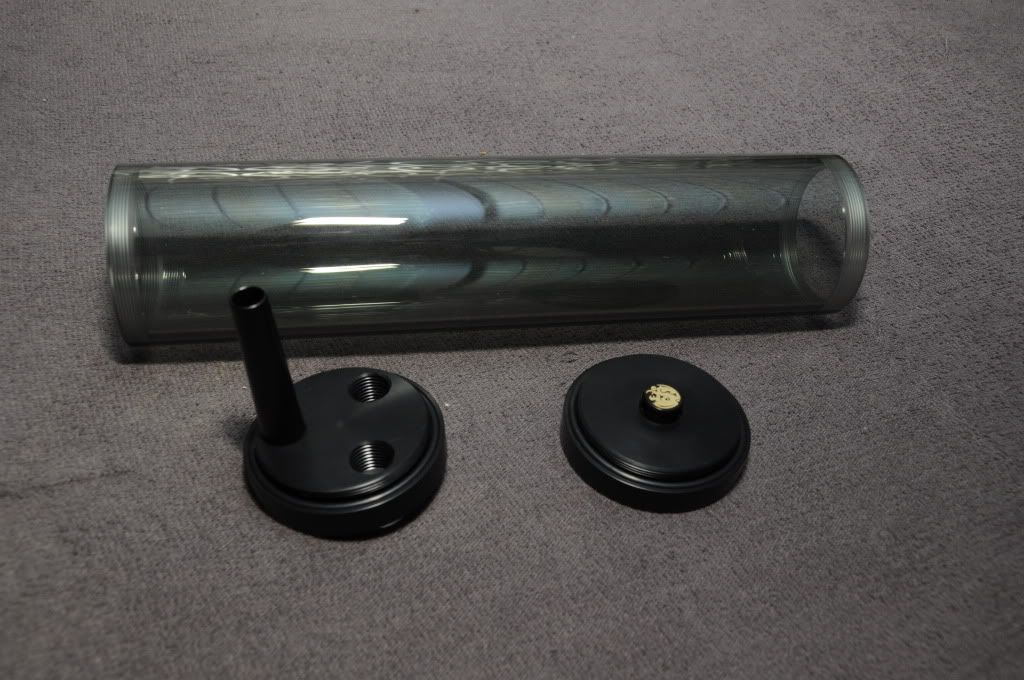
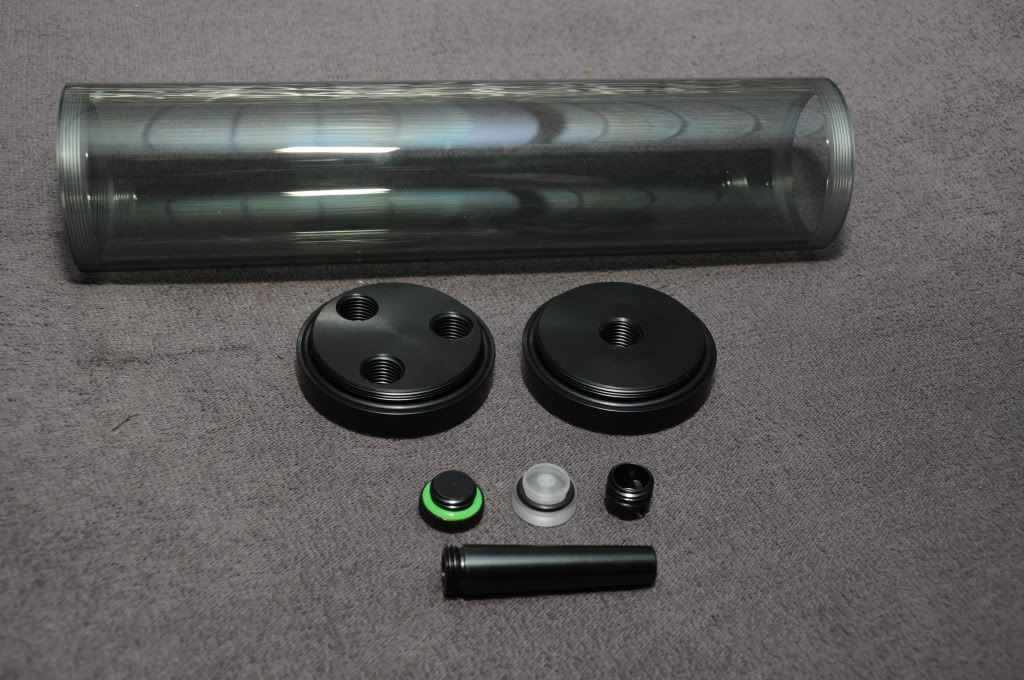
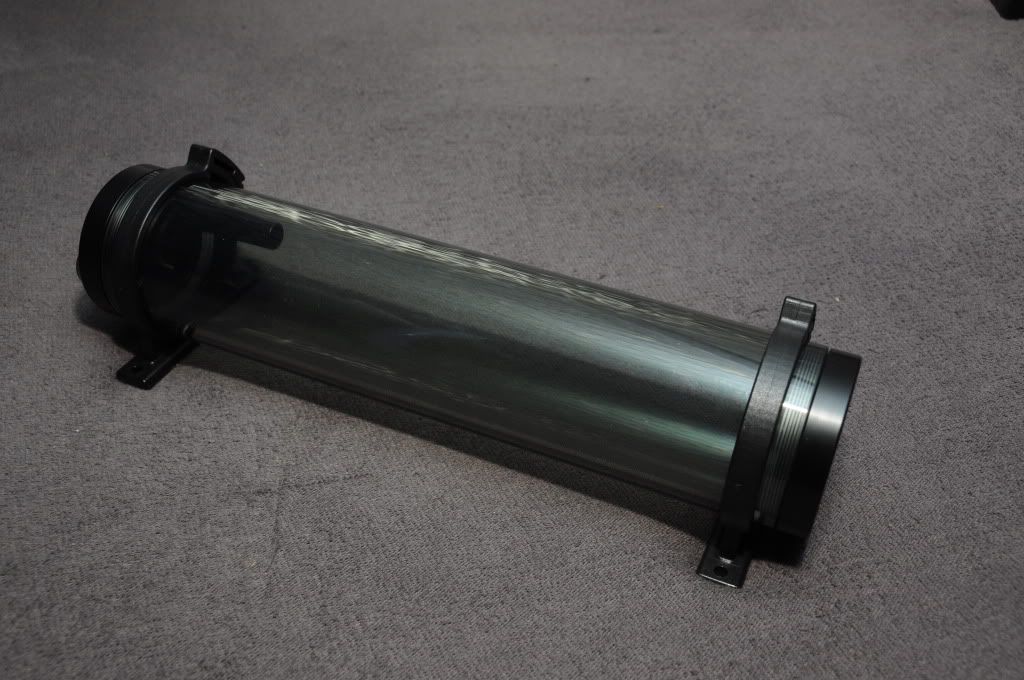
    Reservoir: Bitspower Water Tank Z-Multi 250 (ICE Black Body & Black POM Cap Version)
    Fittings: Bitspower
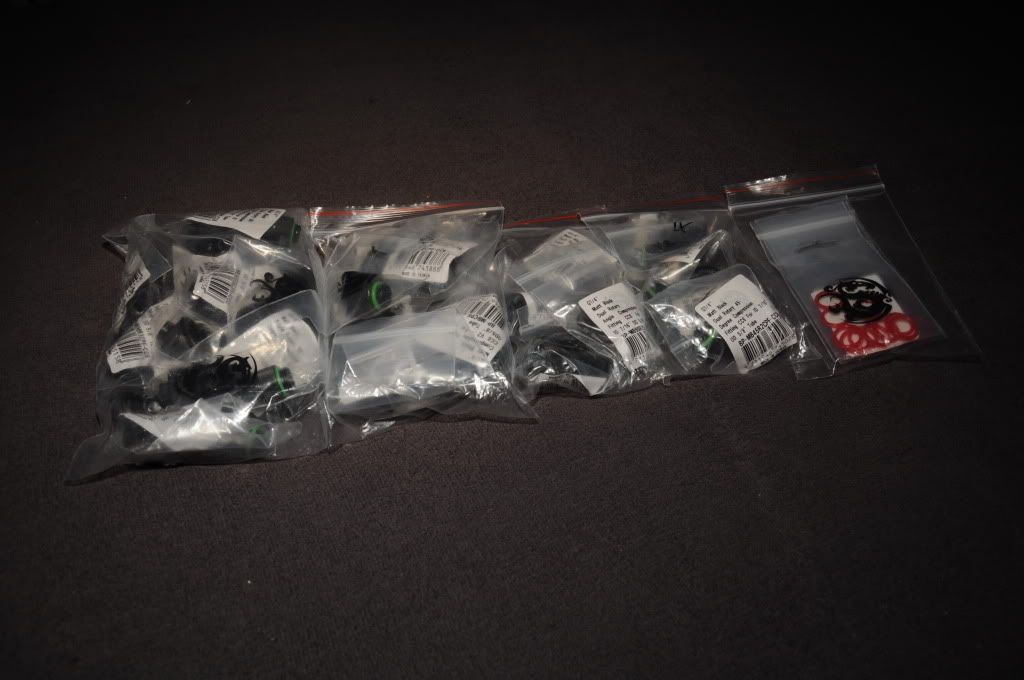
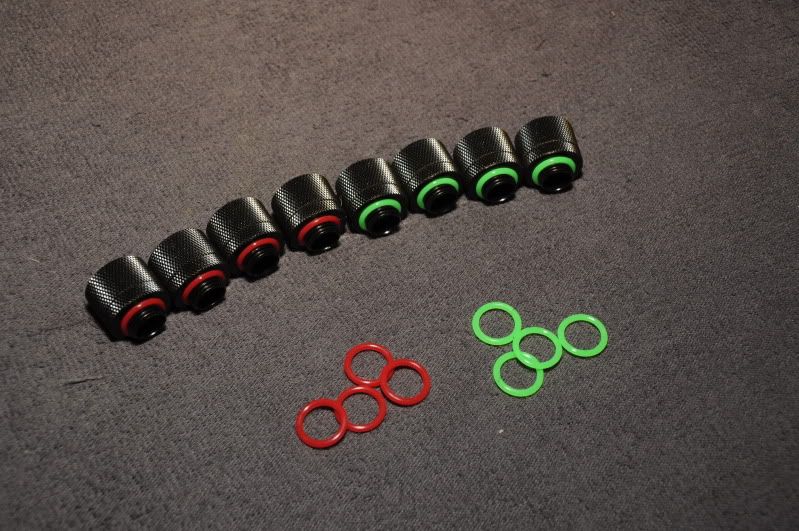
    8x Bitspower Matt Black Compression Fitting CC6 (G1/4", ID 7/16" OD 5/8")
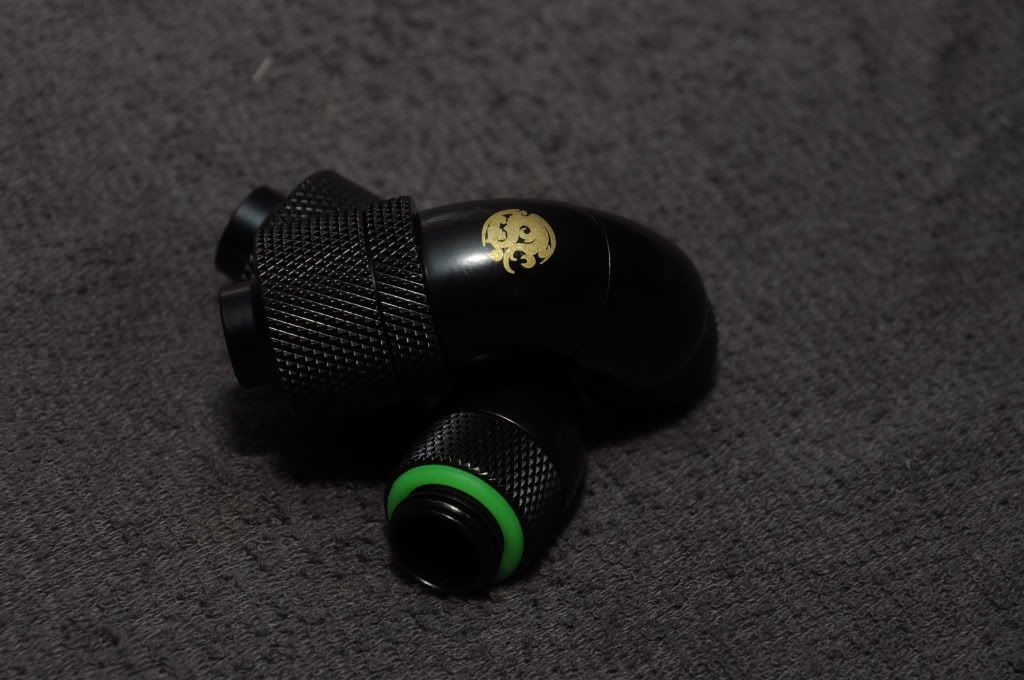
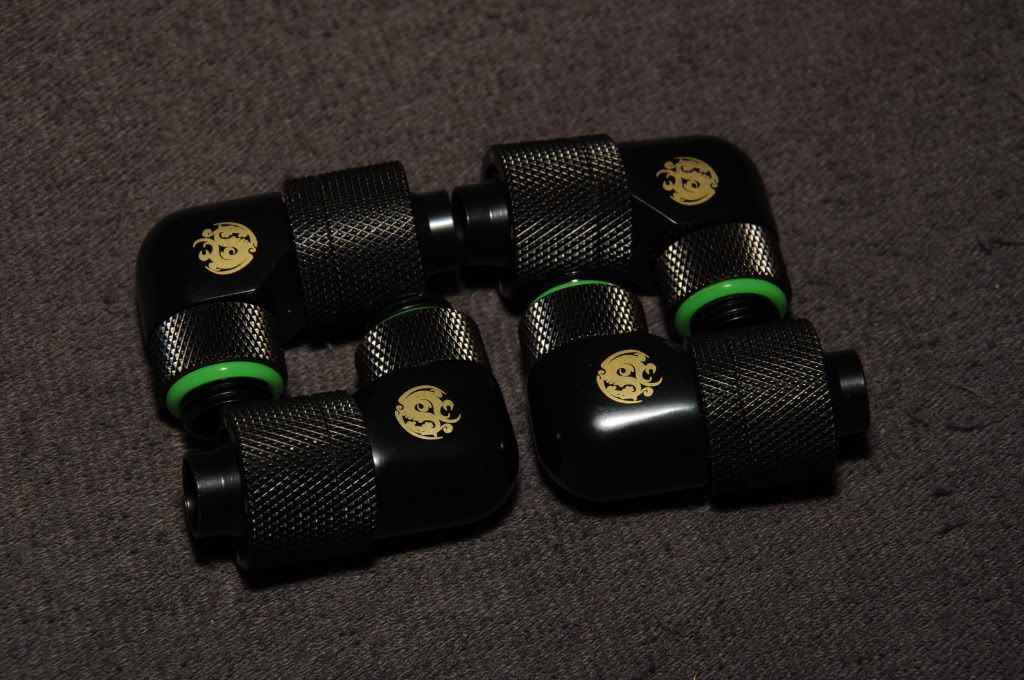
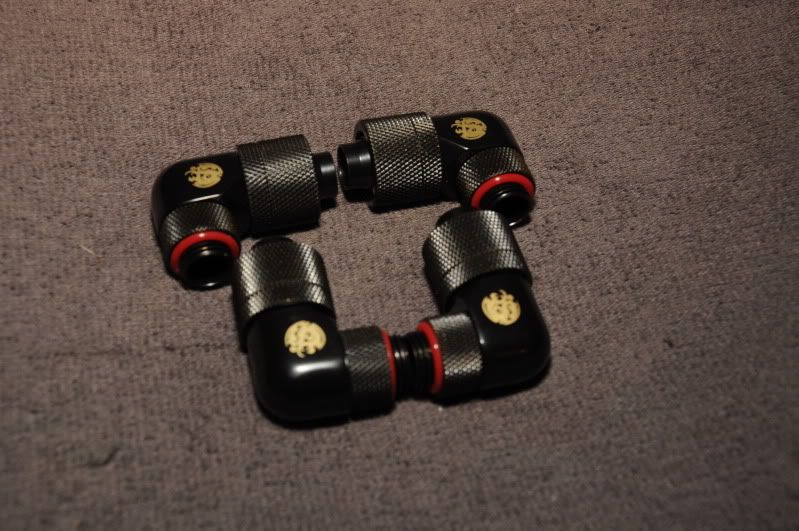
    4x Bitspower Matt Black Dual Rotary Angle Compression Fitting CC6 (G1/4", ID 7/16" OD 5/8")
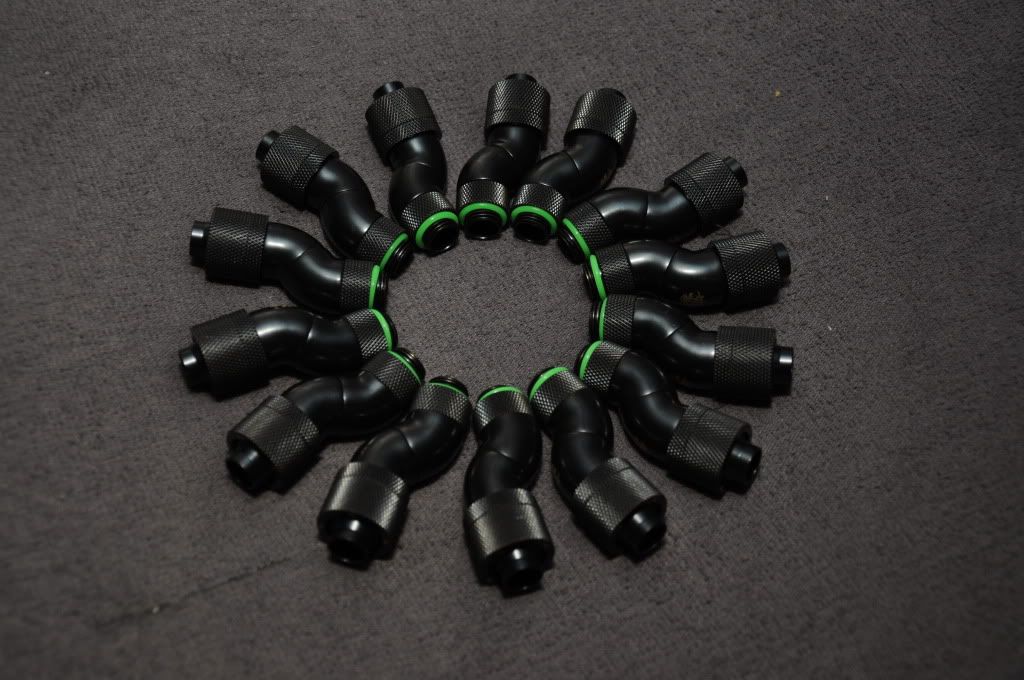
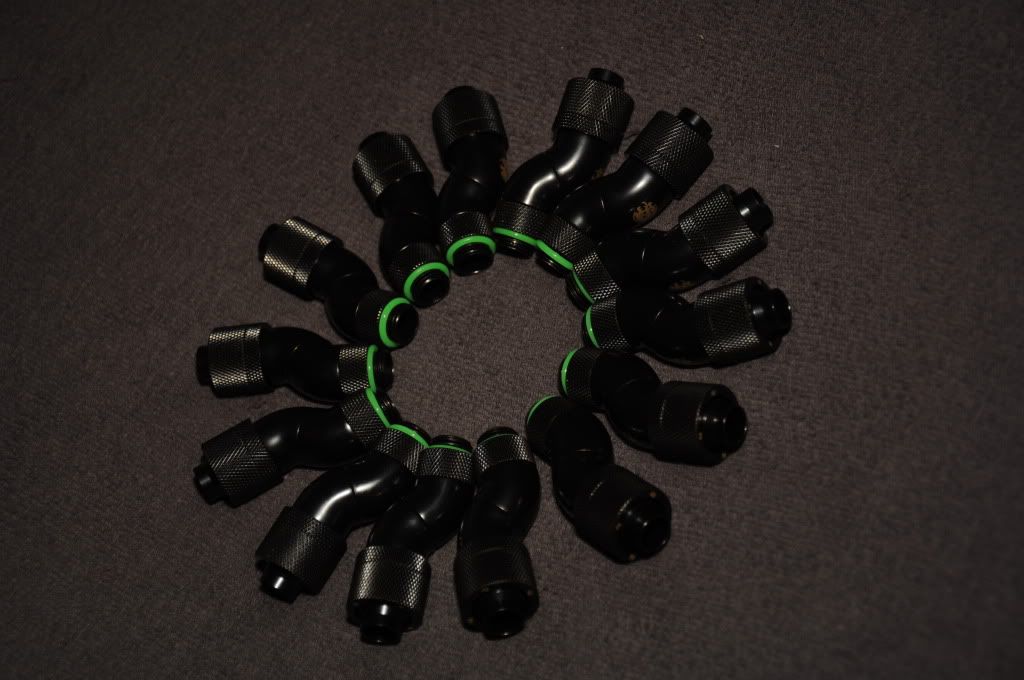
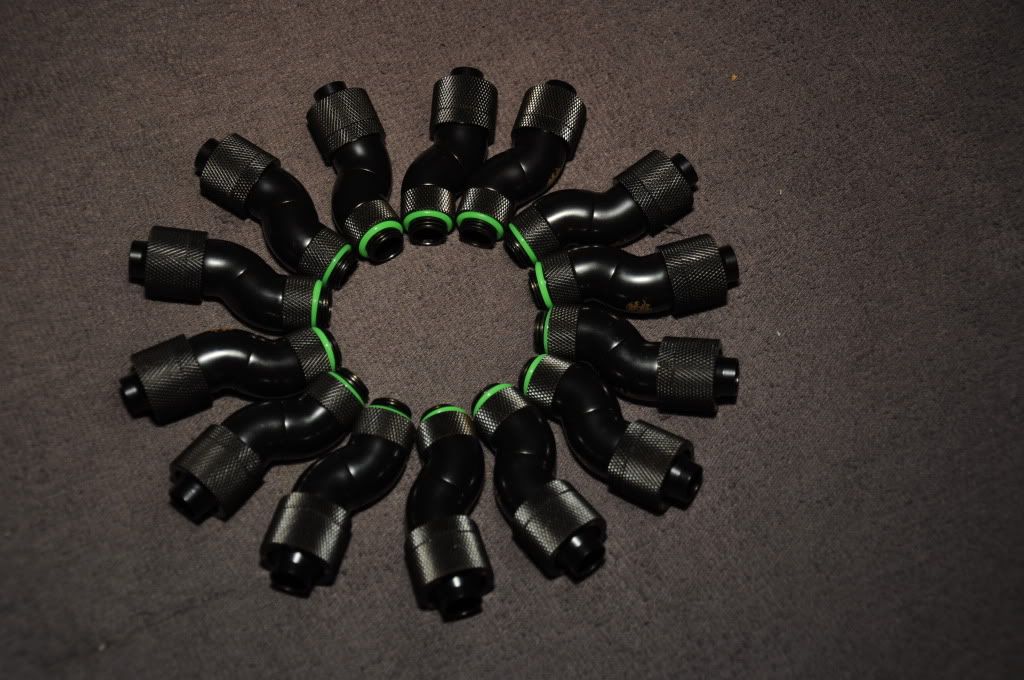
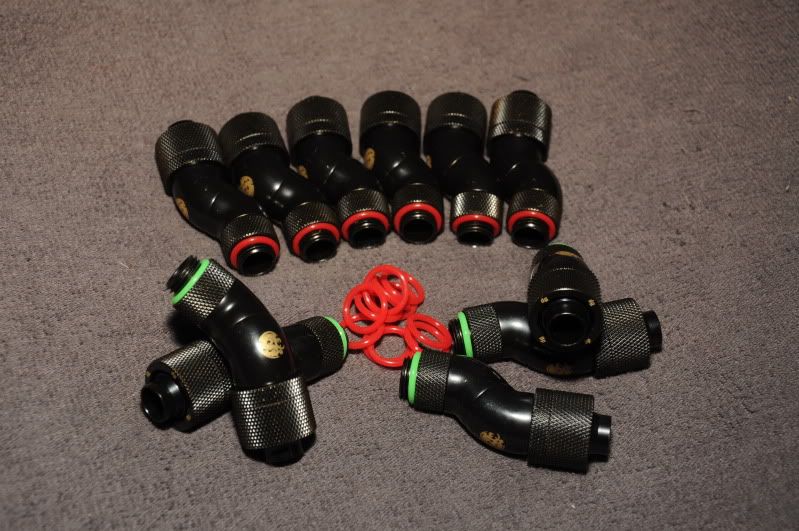
    14x Bitspower Matt Black Triple Rotary 90-Degree Compression Fitting CC6 (G1/4", ID 7/16" OD 5/8")
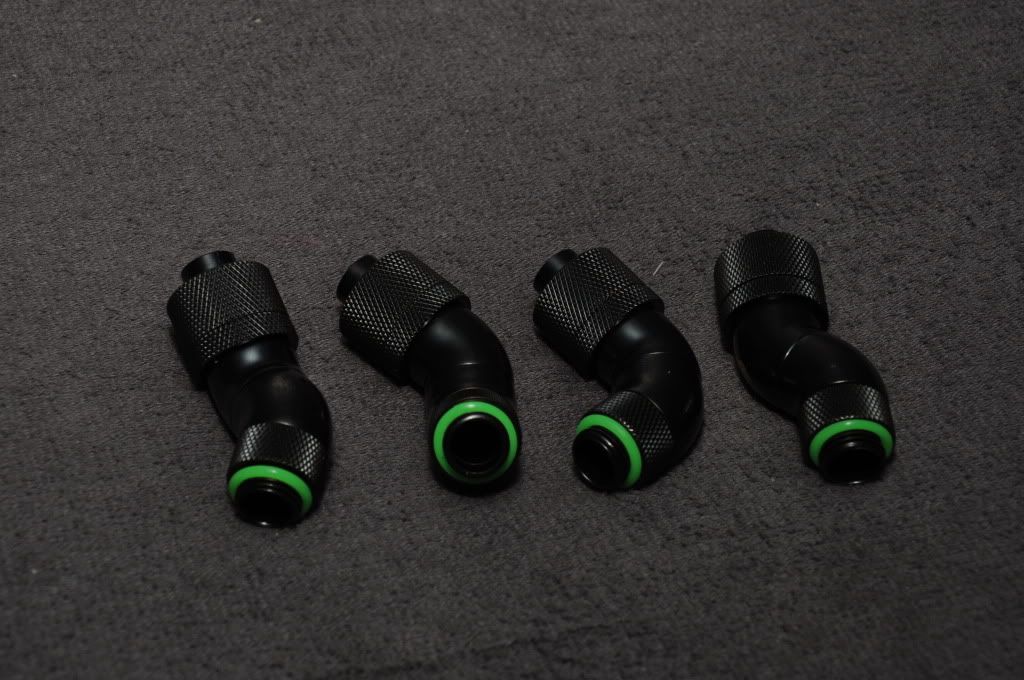
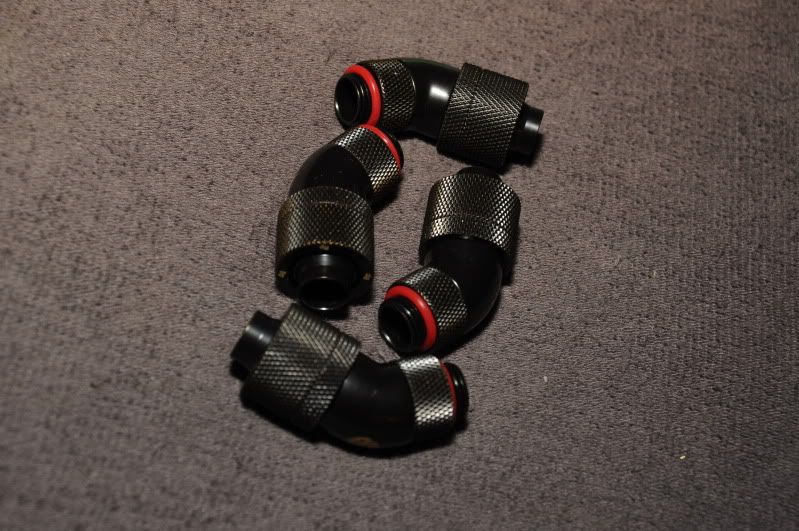
    4x Bitspower Matt Black Dual Rotary 45-Degree Compression Fitting CC6 (G1/4", ID 7/16" OD 5/8")
    Hose:
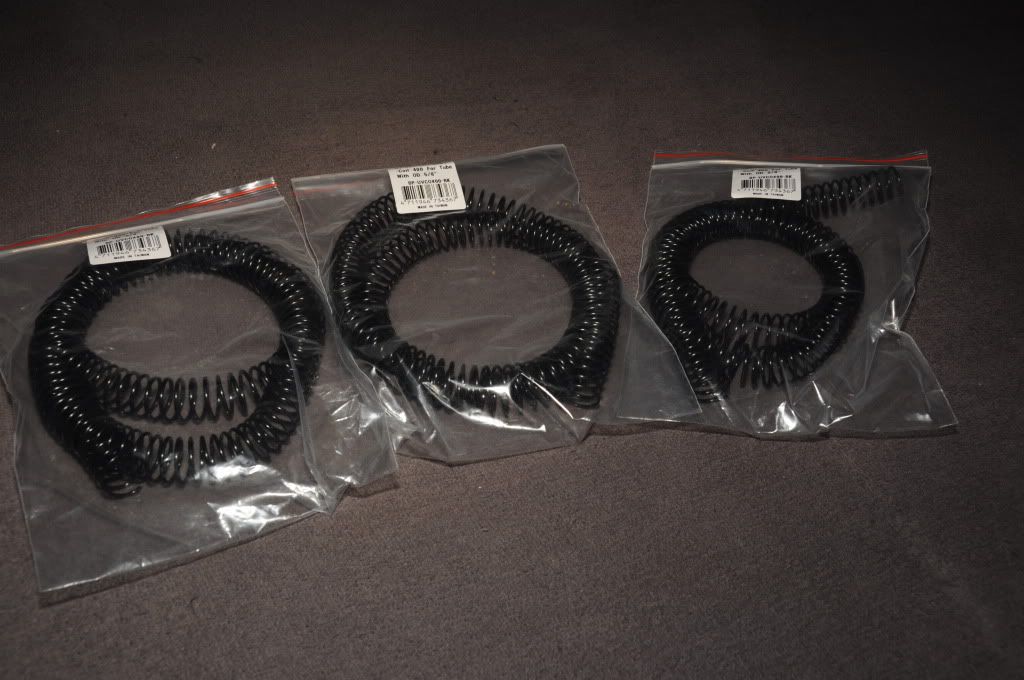
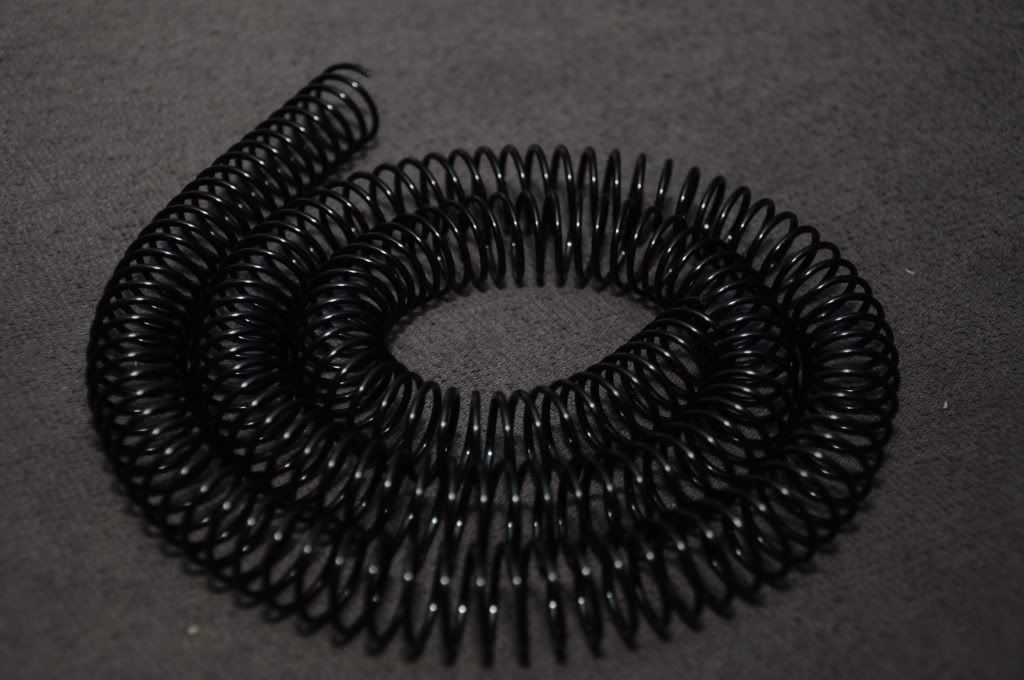
    Coils: Bitspower UV-Reactive Smart-Coil 400 OD 5/8"
    Orings: Bitspower Red Color O-Ring Set For G1/4" 30x
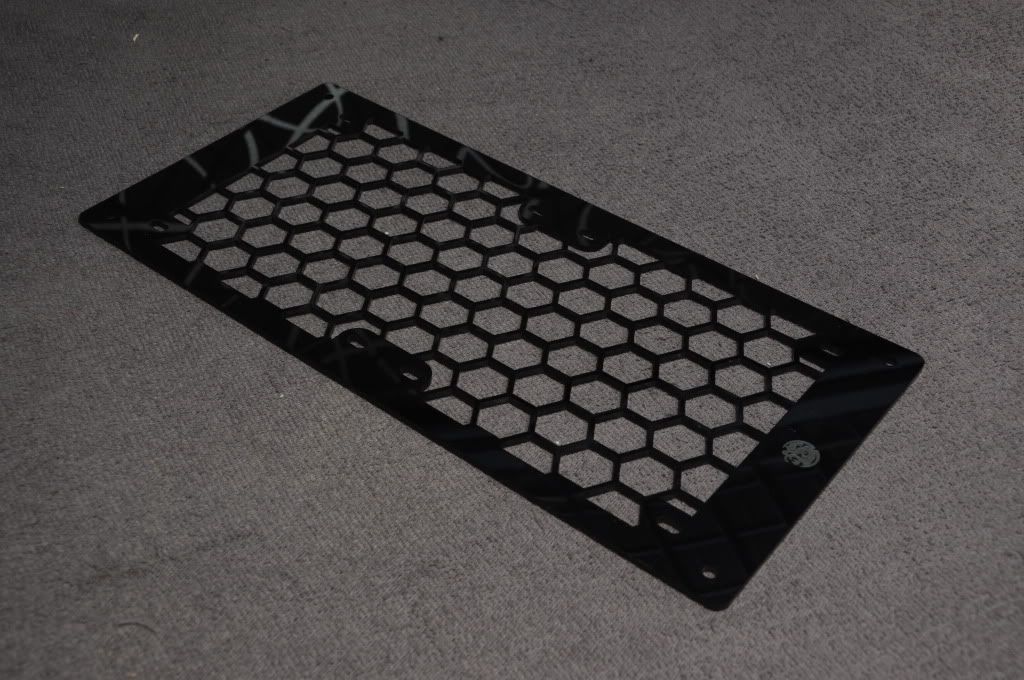
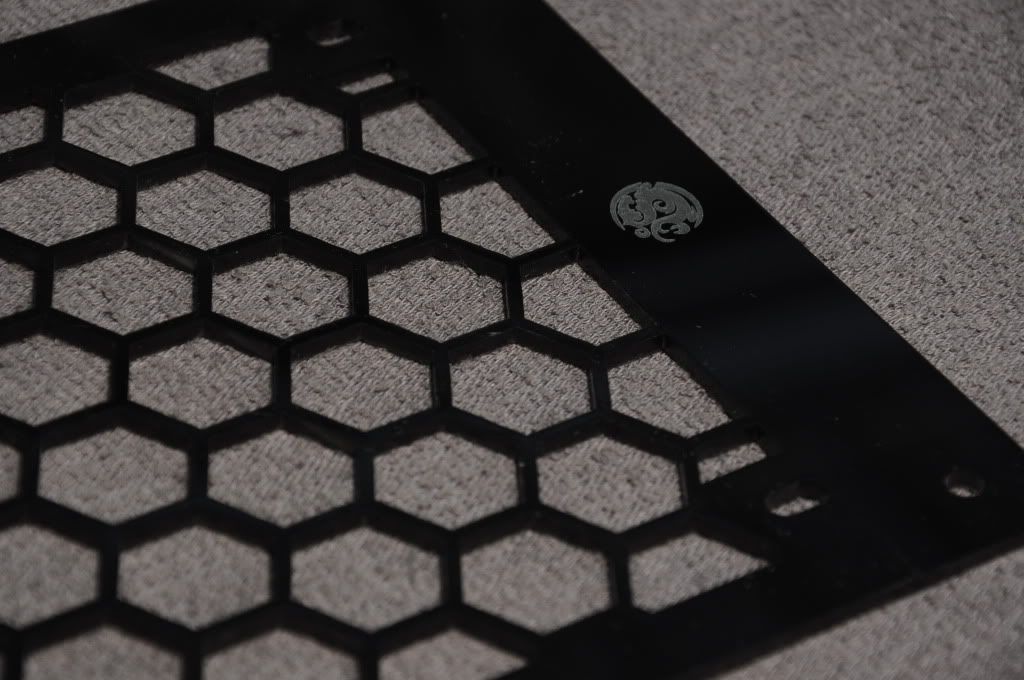
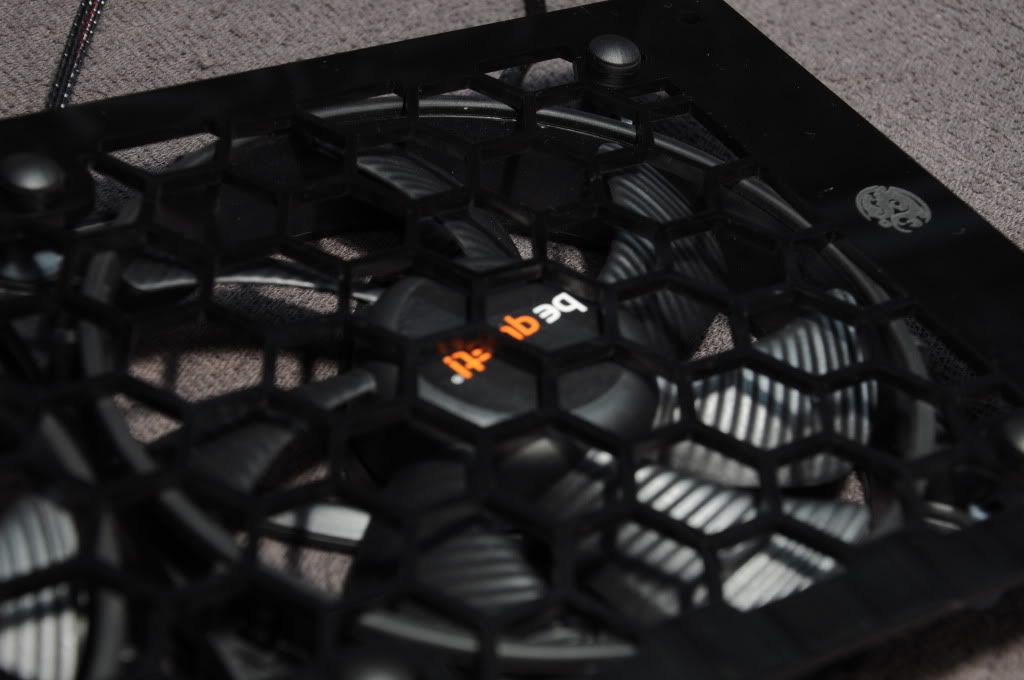
    Radiatorgard: Bitspower Custom Design Radgard II 240 Acrylic UV Reactiv - Honneycomb

    Chokolate Temptation is proudly sposored by:
    Fractal Design
    BeQuiet
    Bitspower
    Lamptron
    Djungelapa
    Last edited by kskz_91; 07-22-2011 at 04:00 PM.

  2. #2
    Xtreme Member
    Join Date
    Jan 2011
    Posts
    122
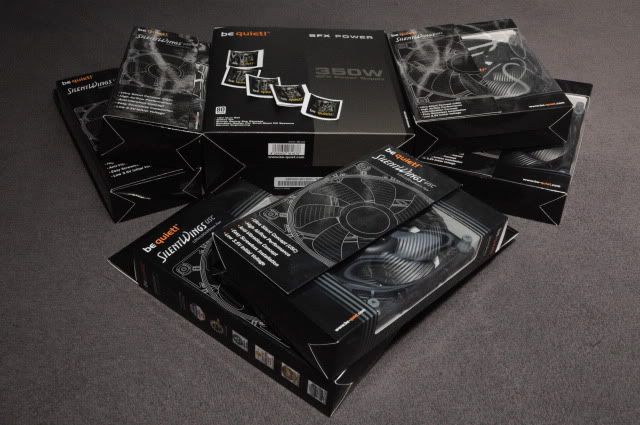
    Now it's finally time for a large PictureBomb. My first package from one of my sponsors Bequiet is here!
    I was sponsored by following:
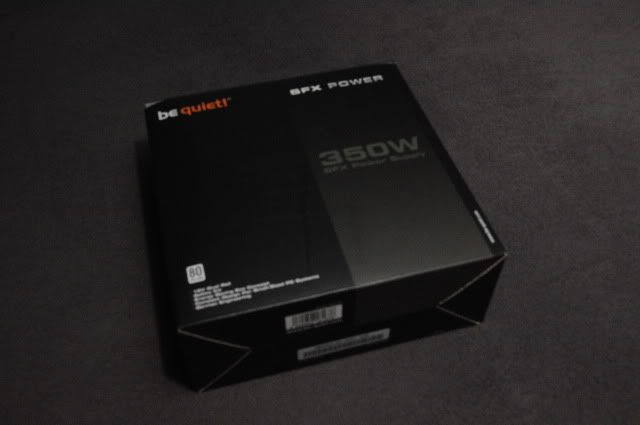
    1st BeQuiet SFX POWER 350W
    2st BeQuiet Silent Wings UCS 140mm
    2st BeQuiet Silent Wings UCS 120mm
    2st BeQuiet Silent Wings UCS 80mm

    Thank you BeQuiet for the support!


    PSU


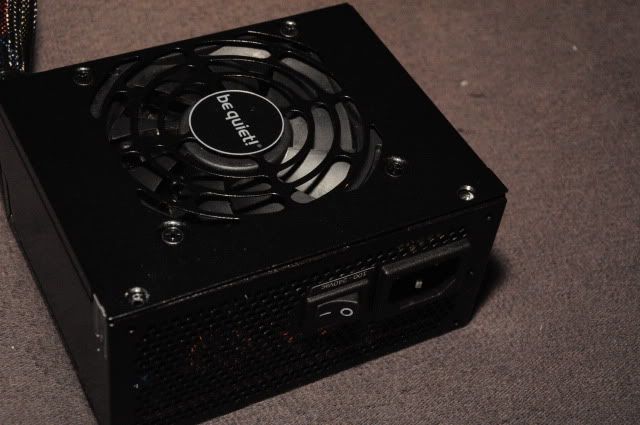
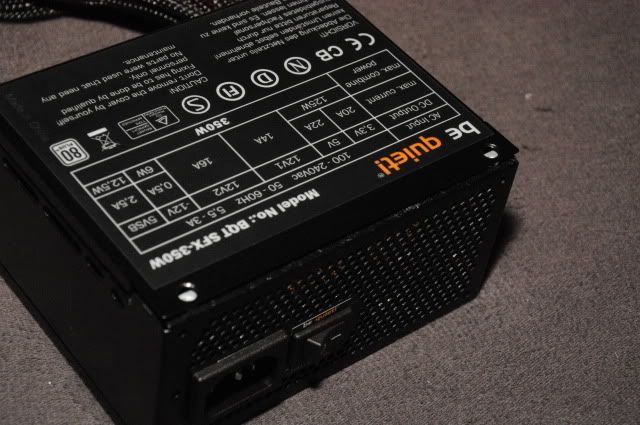
    I could not believe how small it really was, there is also some accessories as for an ordinary PSU...


    BeQuiet <3


    The Fans:


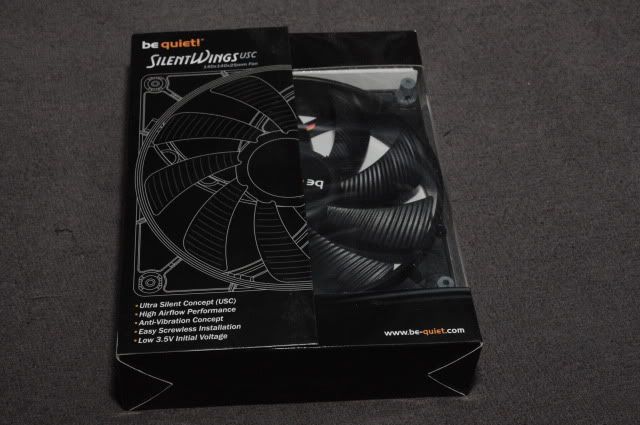
    Front, neatly wrapped with a face that can be opened in the form of a flap that is attached with Velcro tape


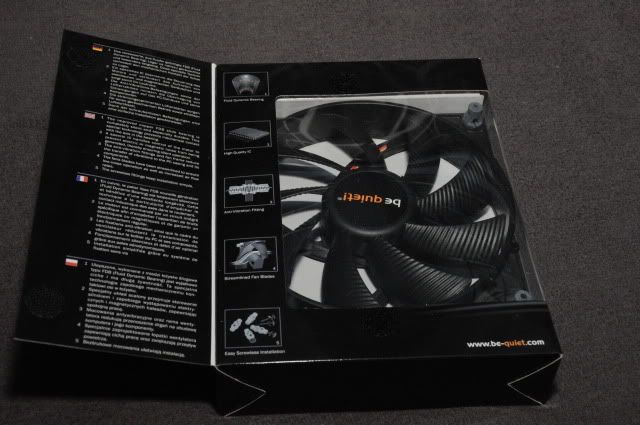
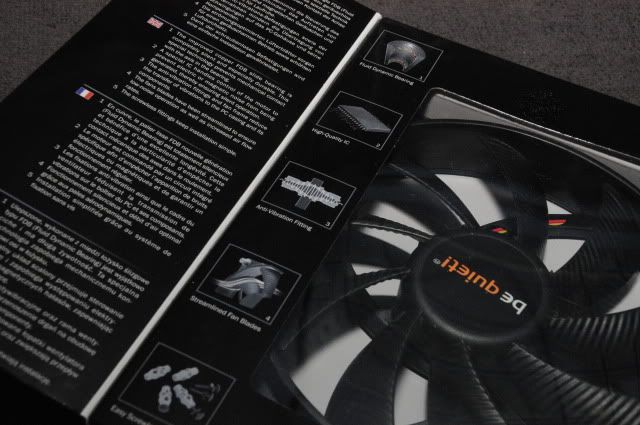
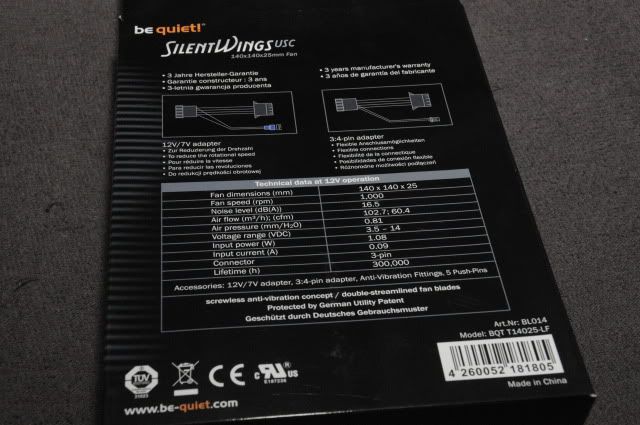
    Behind the door which is hiding some information out of their special features.


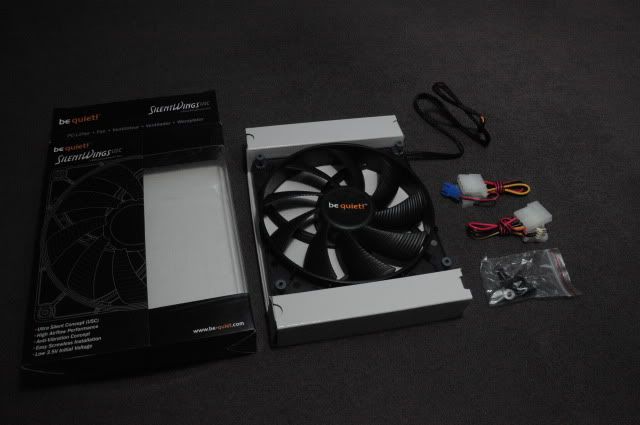
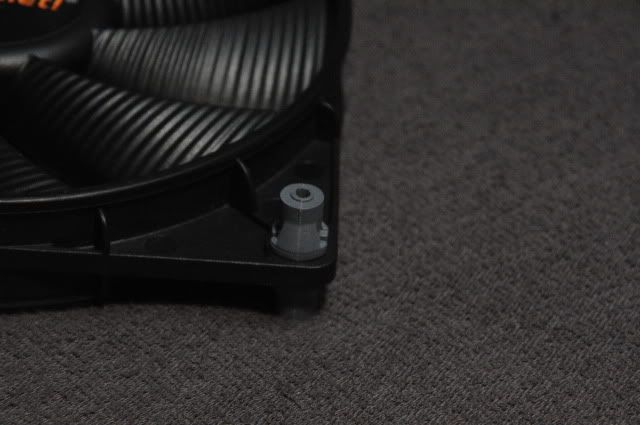
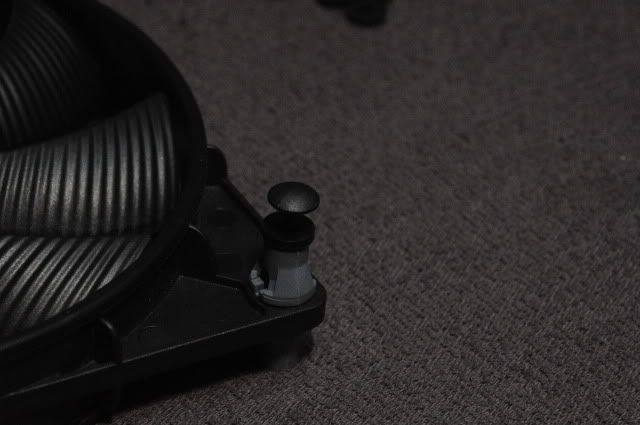
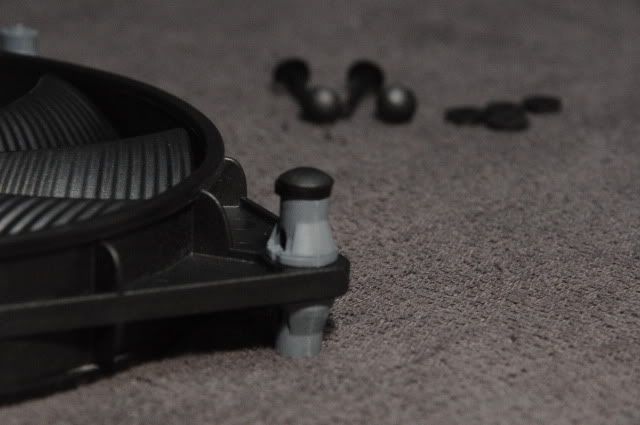
    Out of the box with some accessories, really awesome fans with a wonderful fastening device! Why does not all fans have theese :O??


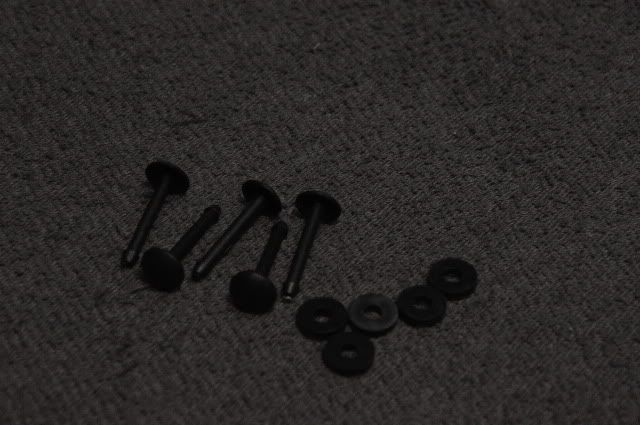
    5 Push Sticks and 5 Rubber Bushings, one extra of both if you break or loose it


    The clamp is made out of rubber


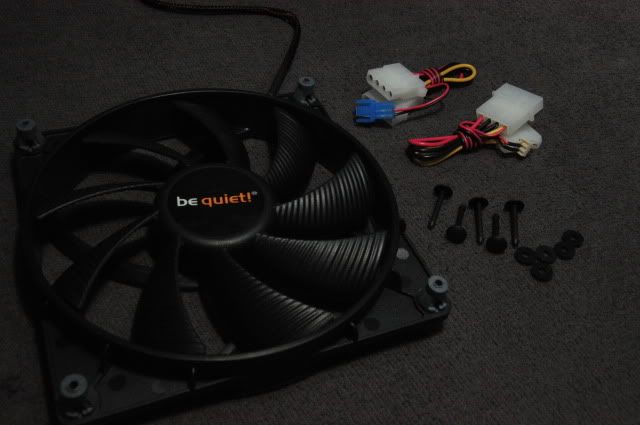
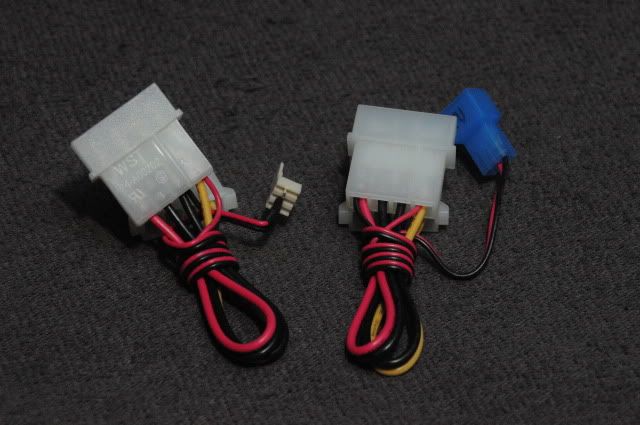
    12/7v and a 3-4pin molexadapters


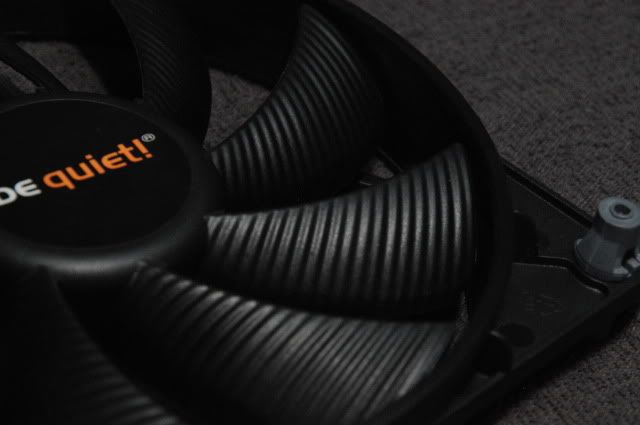
    Closeup of the special and very stylish fan blades


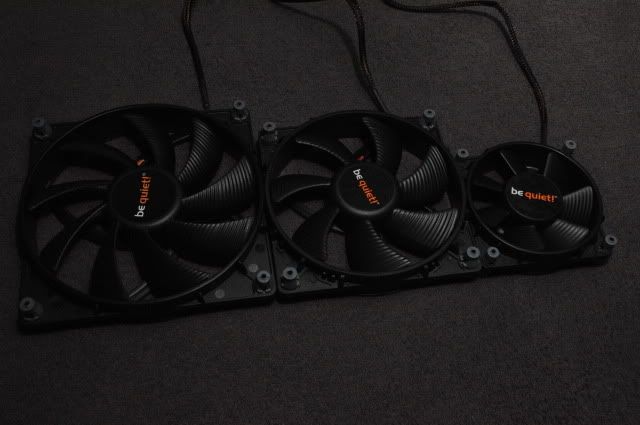
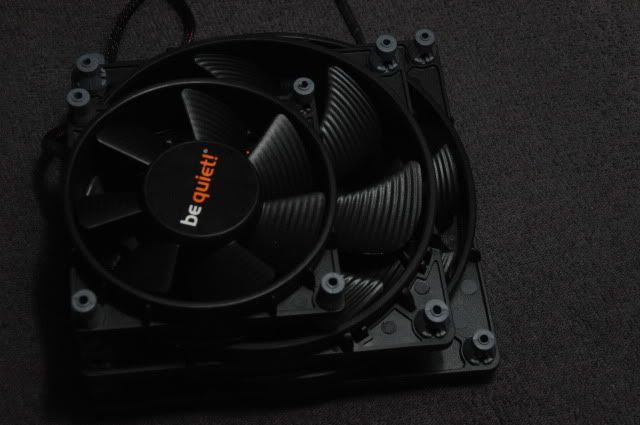
    Least but not last the size differences


    I have got mesasges from BitsPower and Lamptron that they have sent off my packages so they should to come soon...I guess ... So far, I will make an extra 6pin cable and open the small PSU and plan modification out of it, There will be an update with images either later today or tomorrow do not forget to subscribe and comment!


    /KoSoVaR!
    Last edited by kskz_91; 06-22-2011 at 04:39 PM.

  3. #3
    Registered User
    Join Date
    Nov 2009
    Location
    USA
    Posts
    86
    Great, I'll be watching. I have seen a similar fan - connect system on an older Lian Li case I used to have. Looks good.
    Phenom II 945 (95w)@3.5Ghz
    Geil BlackDragon 1066 2x2GB
    Gigabyte 790X UD4P
    WD 640GB Black
    Gigabyte GTX 470
    Corsair HX620-Hiper Anubis case
    Windows 7 Home 64bit
    Samsung 27" monitor

  4. #4
    Xtreme Member
    Join Date
    Jan 2011
    Posts
    122
    Quote Originally Posted by audioave10 View Post
    Great, I'll be watching. I have seen a similar fan - connect system on an older Lian Li case I used to have. Looks good.
    You are welcome , Ahaa have you ? ahaa okey thats great ! Thanks!
  5. #5
    Registered User
    Join Date
    Apr 2011
    Posts
    114
    Any idea what platform (Sandy Bridge, Nehalem, AMD) you are leaning toward?

  6. #6
    Xtreme Member
    Join Date
    Jan 2011
    Posts
    122
    Quote Originally Posted by Beriphent View Post
    Any idea what platform (Sandy Bridge, Nehalem, AMD) you are leaning toward?
    sandy bridge of course , i think it would be nice with:
    Zotac Z68-ITX WIFI
    Intel Core i5 2500K
    Dominator GT DDR3 8gb

  7. #7
    Xtreme Member
    Join Date
    Jan 2011
    Posts
    122
    I Thought it was time for another update, I'm sorry I did not make it yesterday, I was quite busy with other things in the household, but better late than never right?

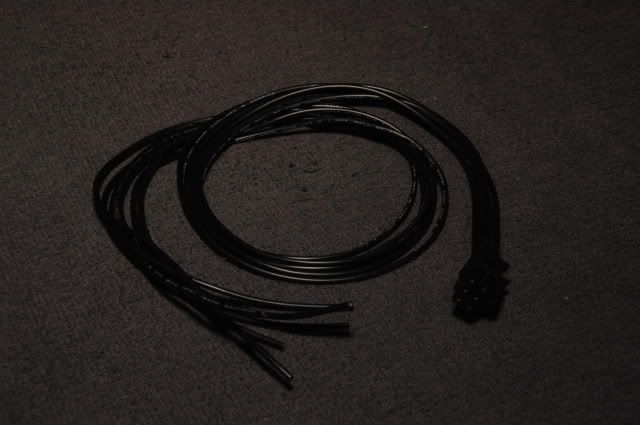
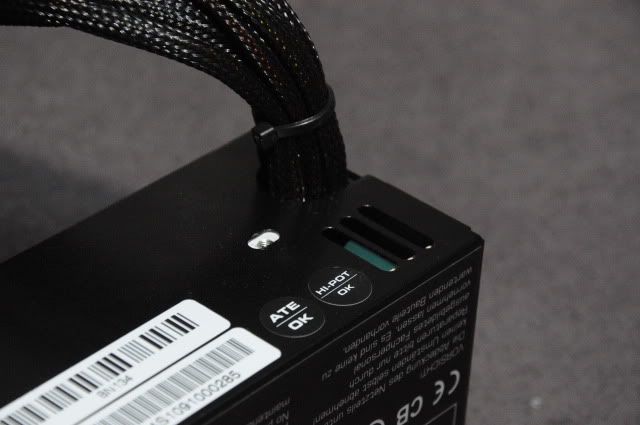
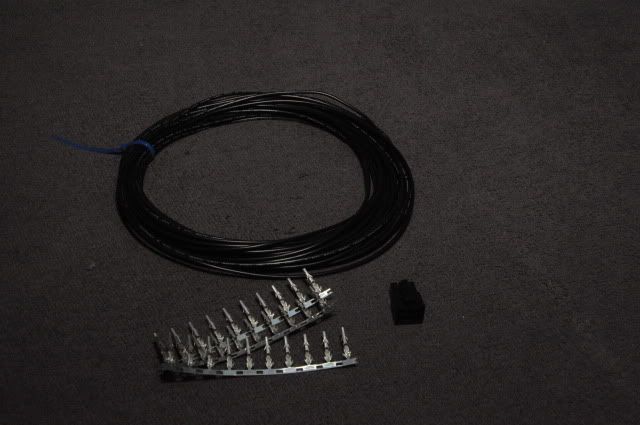
    I intend to begin a little bit on the PSU. I got some Cable, Pins and some 6-pin connector some while ago and I thank Stefan from djungelapa for this! I started the day with makeing a 6-pin cable, which went quite smoothly with the non-optimal crimping tool that I had borrowed from the workshop


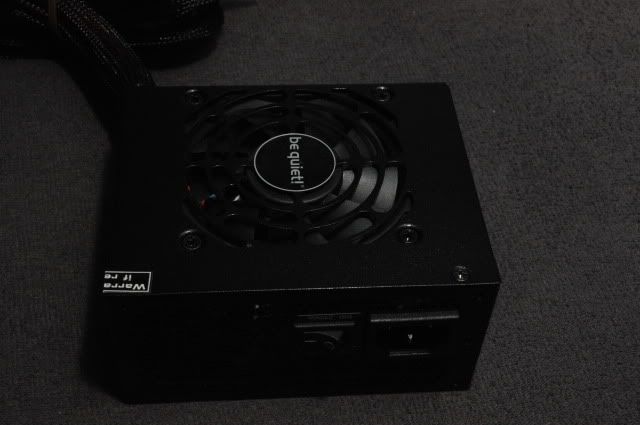
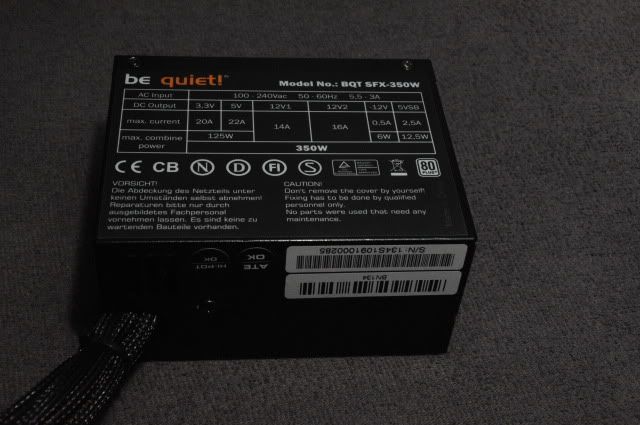
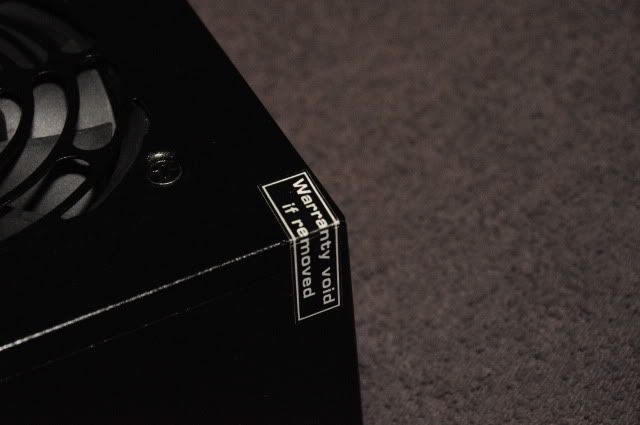
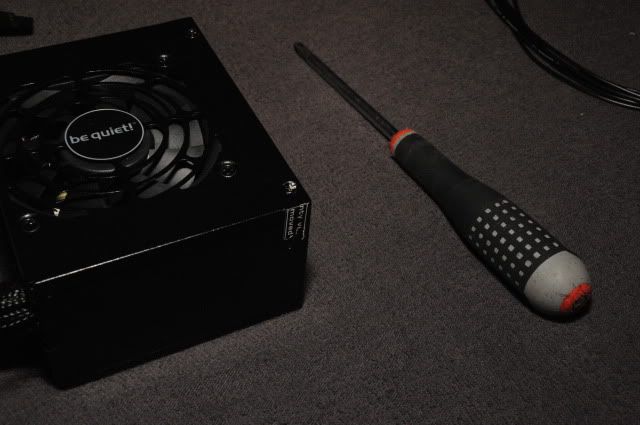
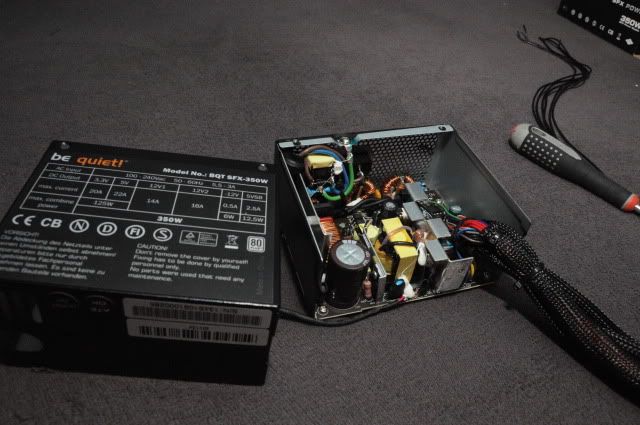
    Then it was time to open the PSU, and yes what can I say ... 5 screws later, it was opened
    Warranty is for wimps: P


    Two screws on each side and one at the back where all the wires going outand done!


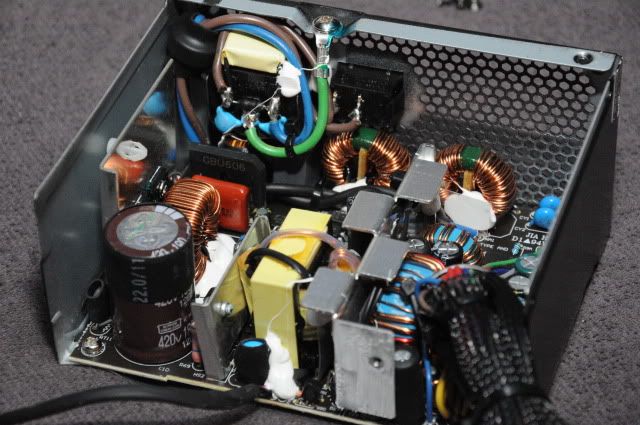
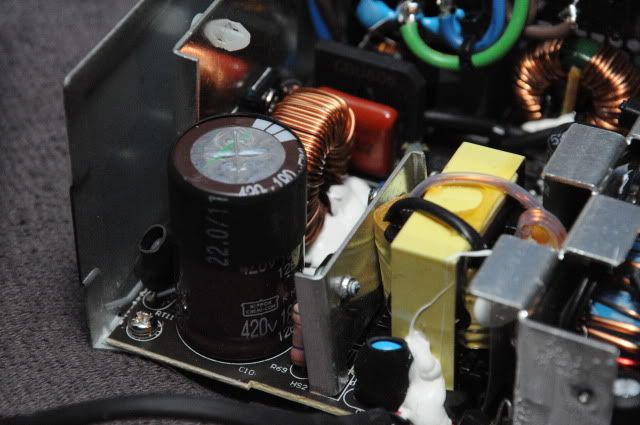
    Finally! I was very careful not to touch anything on the inside as I have previously received less pleasant electric shock from a different PSU.


    420V 180Degrees, not bad things thow for a such small PSU


    That's all for this time, I'll be back with updates as soon as i have something new to show up!
    Feel free to coment !

  8. #8
    Registered User
    Join Date
    Oct 2008
    Posts
    63
    oww.. nice... waiting for more updates...
    CPU: Q6600 MOBO: Maximus Formula RAM: 4gb VGA: 4850 HDD: C300 64gb TELA: 22" CASE: CM 690II Advanced | PSU: 750z-af
    Steam | Xfire | BFBC2
    www.hallaor.com

  9. #9
    Xtreme Member
    Join Date
    Jan 2011
    Posts
    122
    Quote Originally Posted by hallaor View Post
    oww.. nice... waiting for more updates...
    an update will come as soon as i have made some progress, im still whating for my pakages from the sponsors wich hopefully will come next week on monday

  10. #10
    Registered User
    Join Date
    Apr 2011
    Posts
    114
    I like the background choice you use for the photos. I have noticed a trend lately that many people in their worklogs are trying to make professional photos with pure white background, but unfortunately very few can do a perfectly white background right. So I really enjoy these type of backgrounds that are earthy/neutral colors so it blends better with what you are photographing... keep it up.
    Last edited by Beriphent; 06-24-2011 at 07:38 PM.

  11. #11
    Xtreme Member
    Join Date
    Jan 2011
    Posts
    122
    Quote Originally Posted by Beriphent View Post
    I like the background choice you use for the photos. I have noticed a trend lately that many people in their worklogs are trying to make professional photos with pure white background, but unfortunately very few can do a perfectly white background right. So I really enjoy these type of backgrounds that are earthy/neutral colors so it blends better with what you are photographing... keep it up.
    thank you mate , i like brown and it blends in with the theme of my project very well, yeah i know its so darn boring... some photos are good but other are as you say a little bit failed, i actually do it too , i like to photo with brown and marineblue backgrounds...red too..but its mutch harder to do that with redish colours, the red background easely fade and becomes orangelikely, thanks dont forget to subscribe

  12. #12
    Xtreme Member
    Join Date
    Jan 2011
    Posts
    122
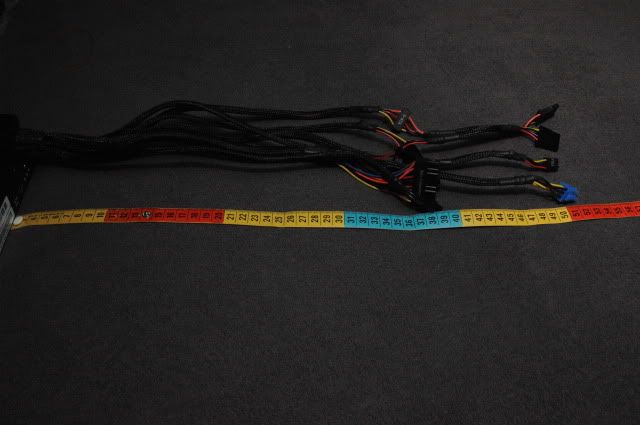
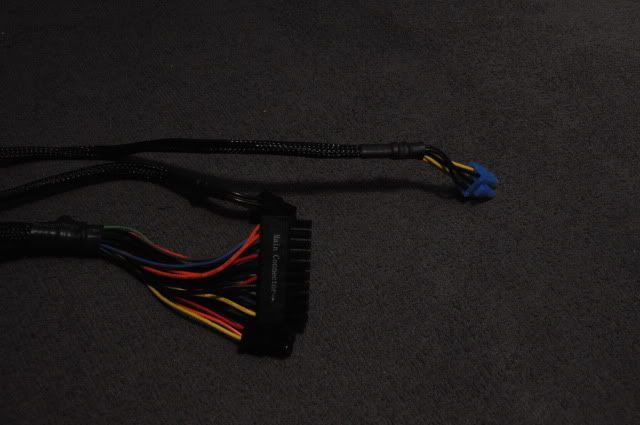
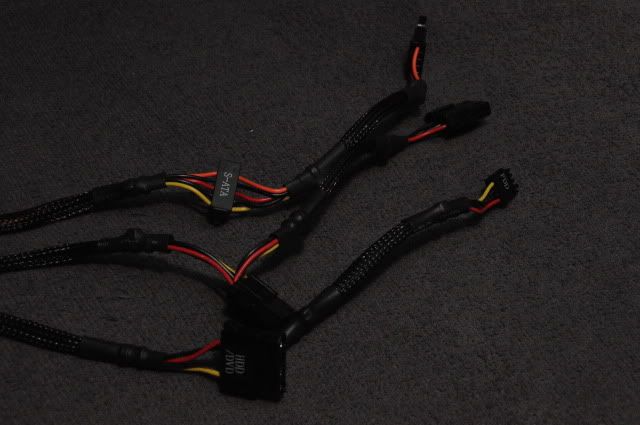
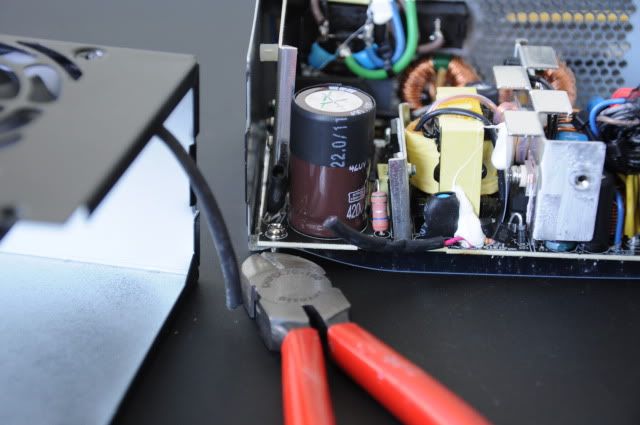
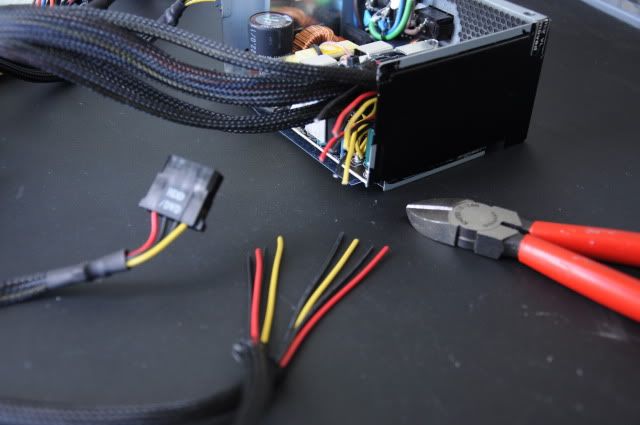
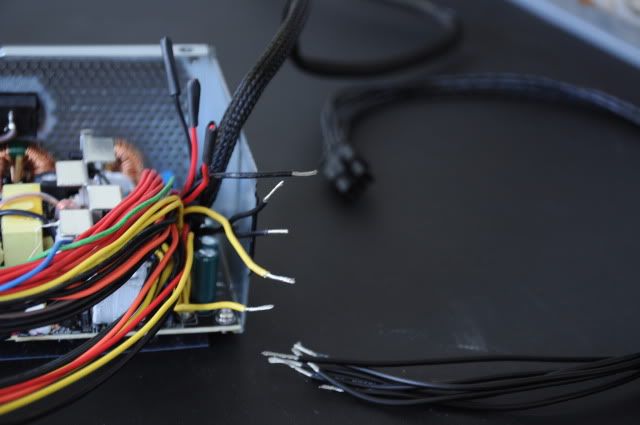
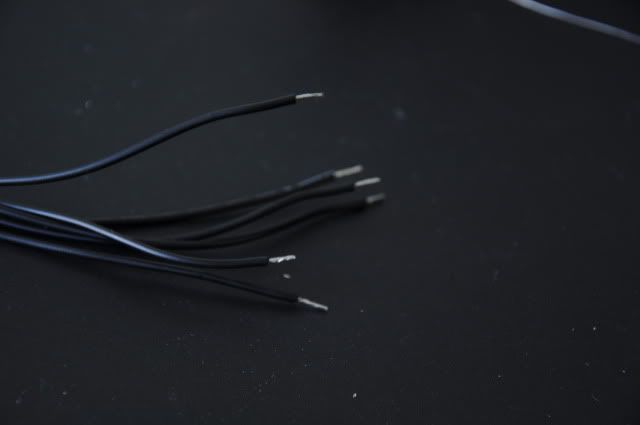
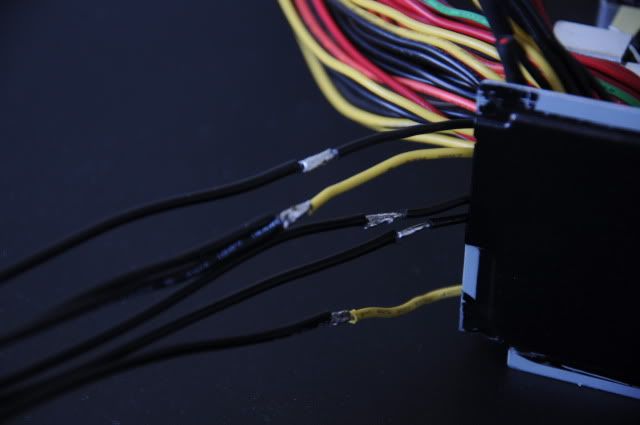
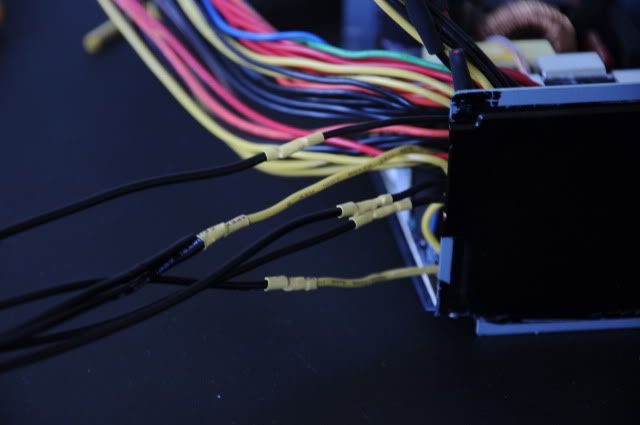
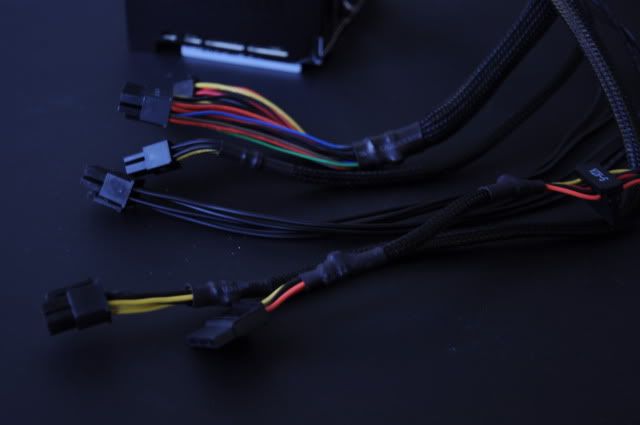
    Today I have worked a bit on the project, it was time to clean out some wires from the PSU and add my second 6-pin cable that I made ​​earlier, it went well without any problems at all,I will also fix the sata cable later because I want an extra 4-pin Molex connector along the end of the kable for my fan controller ... I will be ordering some connectors and cable-management-clips for organizing the cables in the small case soon

    I started the day by cutting off the wire to the fan to not bother me while working with the PSU


    Then I cut off the two molex cables because I dont want to have lots of unnecessary cables lying everywhere inside the case later...


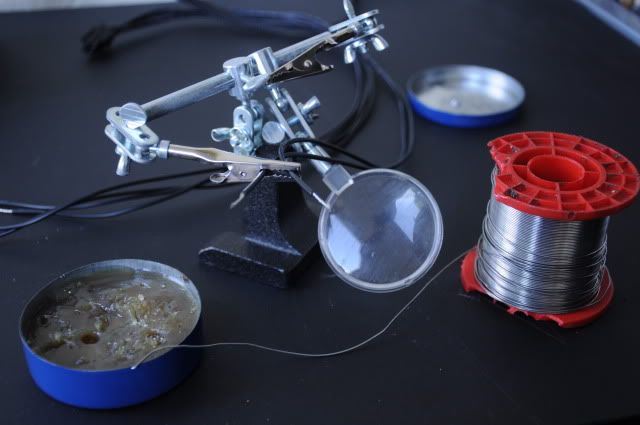
    Then I prepared the cables before soldering, with scaling them of and dip them into some soldering paste.


    A solderstand is your best solderfriend!


    The cables have been soldered and they are ready to be soldered together with those from the PSU


    And done!


    Dont forget a pice of protecting heatshrink!


    Grouppic with less cable clutter, its always a delight for non-modular PSU:s!


    Peace for now!
    /KoSoVaR

  13. #13
    Xtreme Member
    Join Date
    Mar 2010
    Posts
    187
    Nice work..

  14. #14
    Xtreme Member
    Join Date
    Jan 2011
    Posts
    122
    Quote Originally Posted by DARK_01 View Post
    Nice work..
    thank you

  15. #15
    Xtreme Member
    Join Date
    Jan 2011
    Posts
    122
    I have a little news to go out with ... I have talked with Nick from Mayhem Dye now for a day now after the Bit-Tech-user "jamsand" said to me that i should ask them if they could make me a special coolant for my project and purposes as I myself more than anything rather like. After a little talk with Nick who owns the company he was willing to start produce a brown coolant for me, it will take about 2 weeks to get it manufactured and tested to ensure that it will work to have inside my watercooling system without any trouble at all.

    I thank once again Nick from MAYHEM DYE!


    I have also opened a thread on sweclocker some while ago te get help how to find or make bruwn coolant from other coolant out there (In swedish, Use google translate addon or web translater if you are intrested in reading that discussion)
    http://www.sweclockers.com/forum/5-m...ings-systemet/

    Some coolants can be mixed with eachother, but I say one thing ... Do not do that! Especially not with Feser's ... I was also in contact with them and they said that there will be strong chemical reactions that can cause problems with water cooling system if you mix their pre-mixed coolant with each other. I could buy a Red from primo chill and put in a green Dye but I do not think it will be the way I want it, why the figure of things when it could be that simple as this?

    I will return with information about two weeks when my coolant is fully tested, I will of course make updated from time to time of course!

    Take care so long!

  16. #16
    Xtreme Member
    Join Date
    Jan 2011
    Posts
    122
    Im coming with an quick update to the people!
    I have a package on its way to me from Stefan (www.djungelapa.se)
    Who is sponsoring me with:
    -Cable clamps in various sizes
    -Sata Contacts 180degrees
    -Sleeve, and not just any sleeve... limited edition fabric sleeve
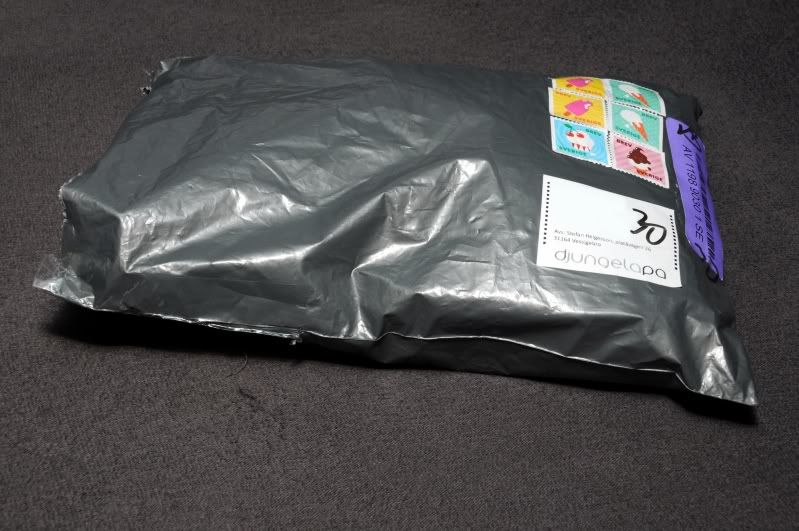
    Thanks to Stefan From Djungelapa for his support in my projects!

  17. #17
    Xtreme Member
    Join Date
    Jan 2011
    Posts
    122
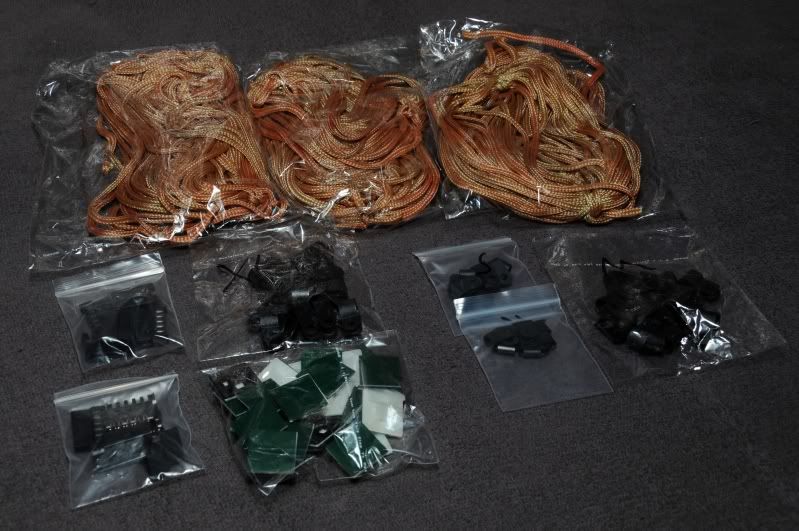
    Now my stuff from Stefan has arrived! And I have finally rest a bit now and took some pictures after a 14-hour very hot and tiring day at the workshop: /. Made some custom soundconstruction and pollishing onto our familycarproject (Volkswagen Sharan -02 RDX Design Project).
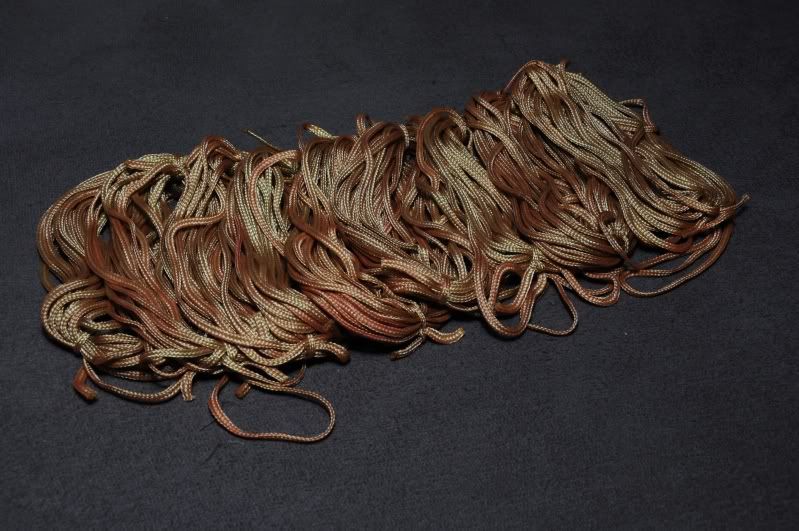
    Now it is time for the pictures I thought, but first I'll tell you about it sleeve that Stefan has been colored for me ... It was not as we thought when the brown color lost power and did not go in so mutch, but it does not make things worse, as this was an experiment,we didnt have great expectations that there would be 100% good because it is difficult to dye polyester and the Fabriclooky sleeve can melt easely, but it turned out to be awsome, the sleeve changes color at different lightdirections lika a chameleonpaint does, from bright brown-gold to red! I will give this to someone as a price or something later on...
    Moreover I got my other goodies which will use well in the project, now is the time for some pictures!

    The pacage itself


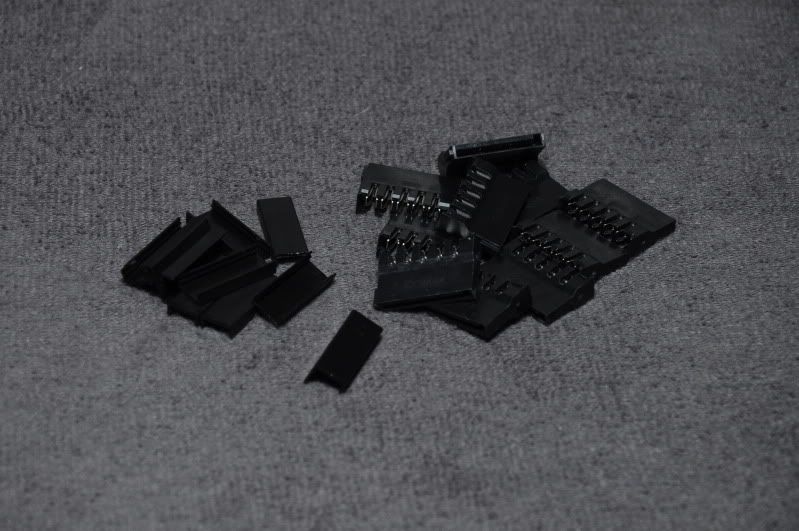
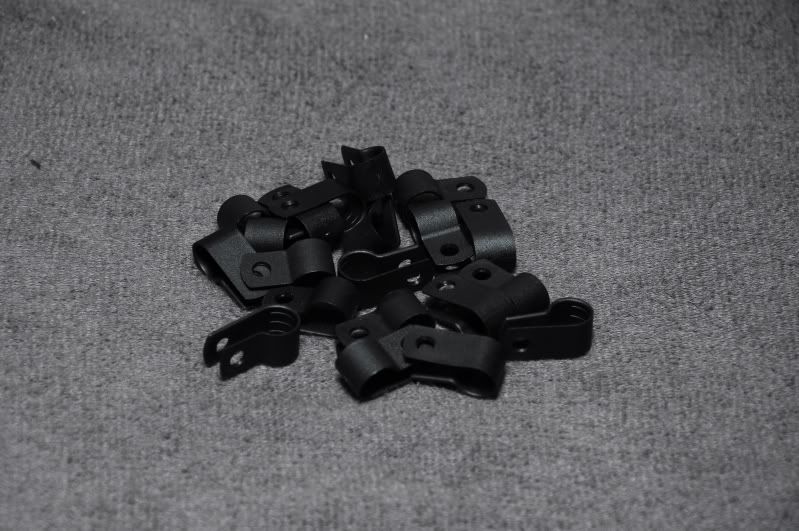
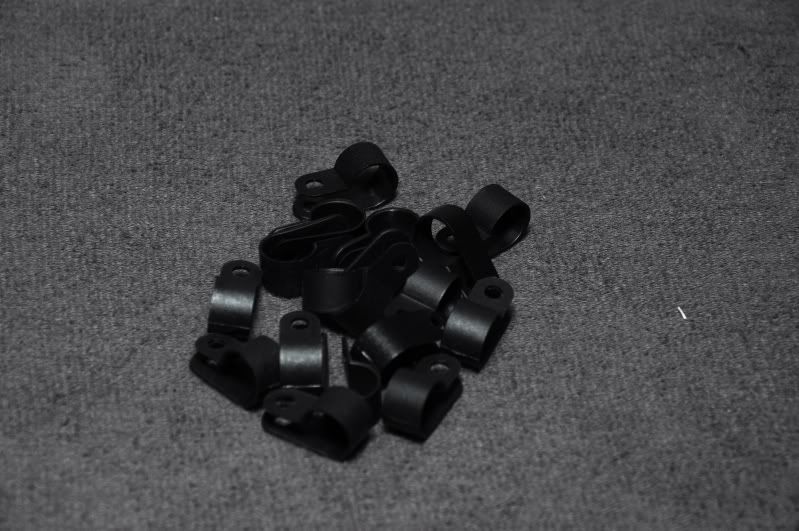
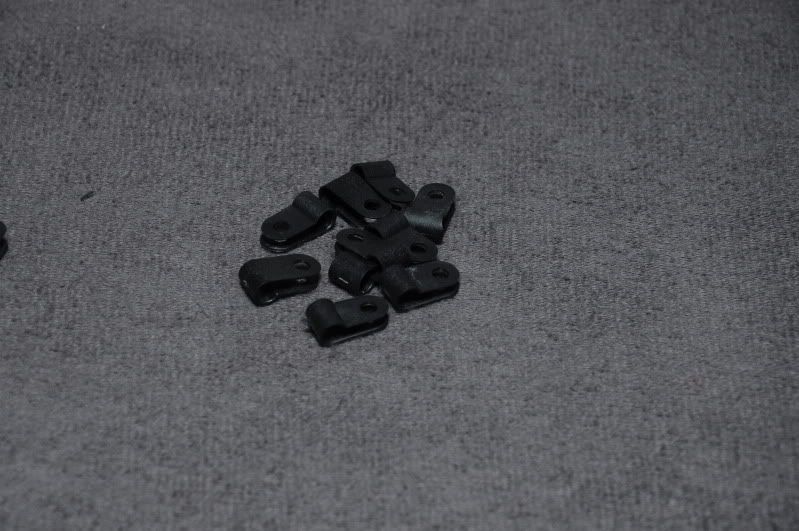
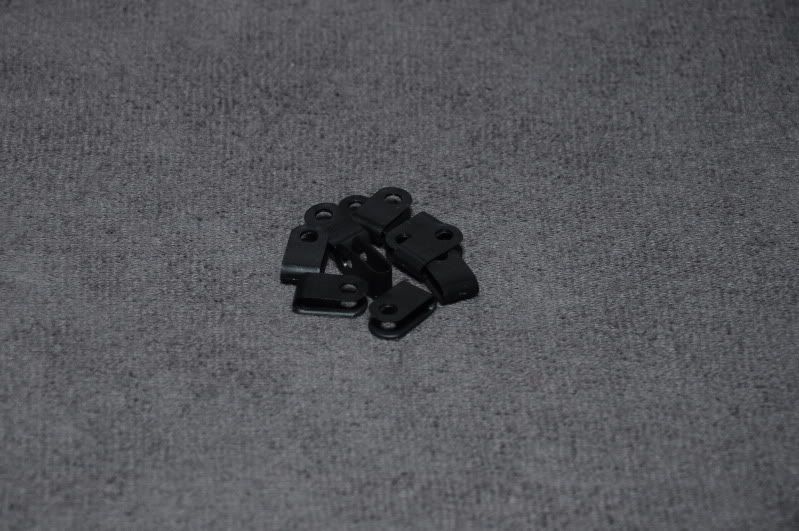
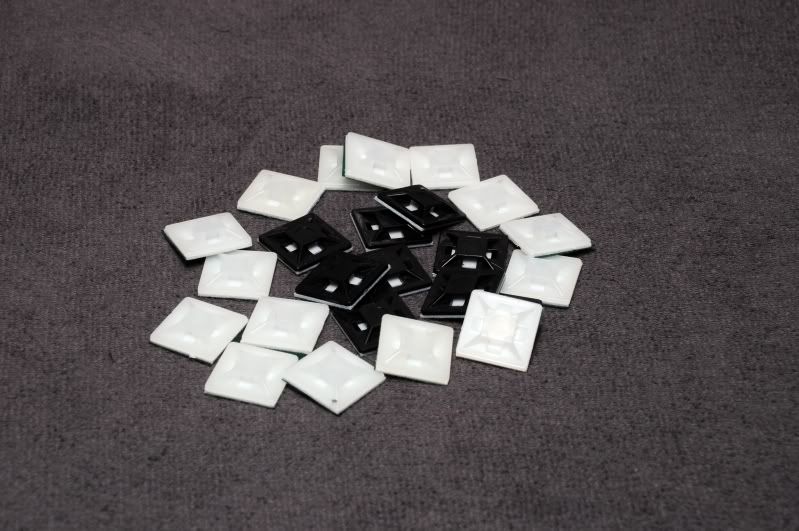
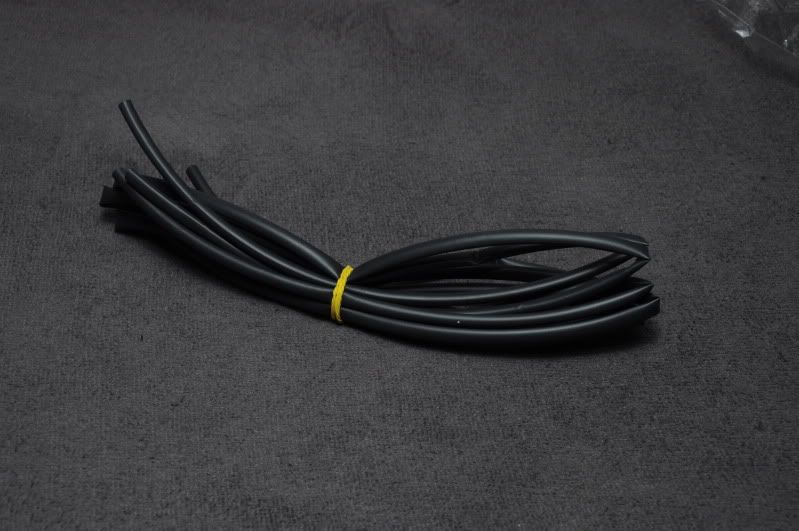
    It contained: 90m of experimental sleeve, 180 degrees Sataconectors and one 90degrees conectorlid, some cable management clips in diferent sizes and 3metres of black heatshrink!


    The experimental-sleeve, you can se that it changes color at some places...


    The Sataconnectors


    XL cable management clips


    M cable management clips


    S cable management clips


    XS cable management clips


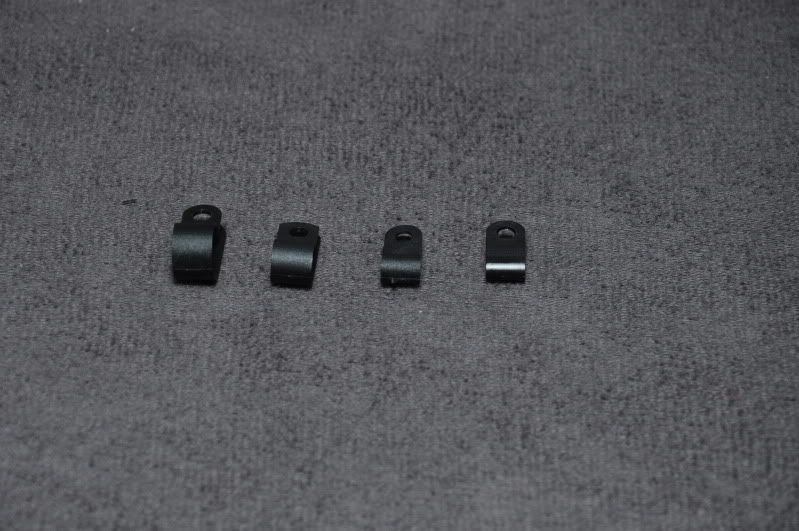
    The size diference of them together


    Regular cable management clips for use with stripes


    And the black heatshrink(3m)


    That's all for today's update !

  18. #18
    Xtreme Member
    Join Date
    Jan 2011
    Posts
    122
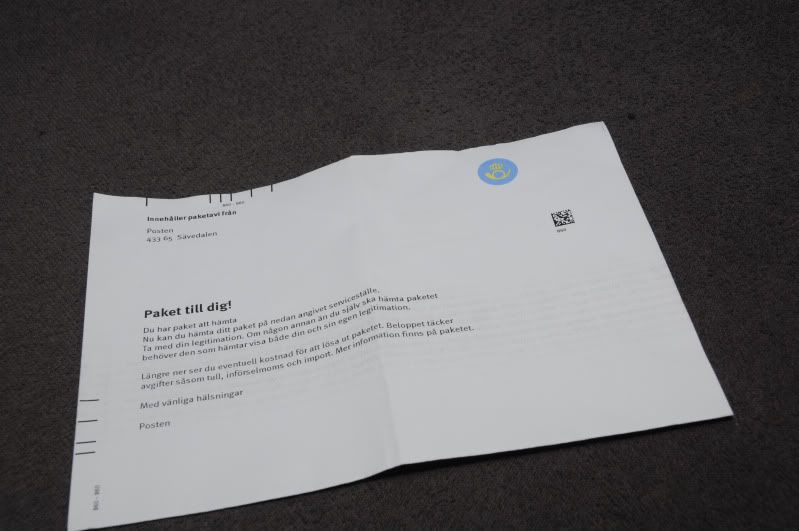
    My pacage from...i dont really know who :S? Arrived today, not at home but at the postoffice... To bad i couldnt go and get it because i worked late today aswell by polishing a custumers Hyunday, my twinbrother had went out with some friends so he couldnt tell me if i got something or eaven go and get the pacage for me because we just are identical with eachother :P


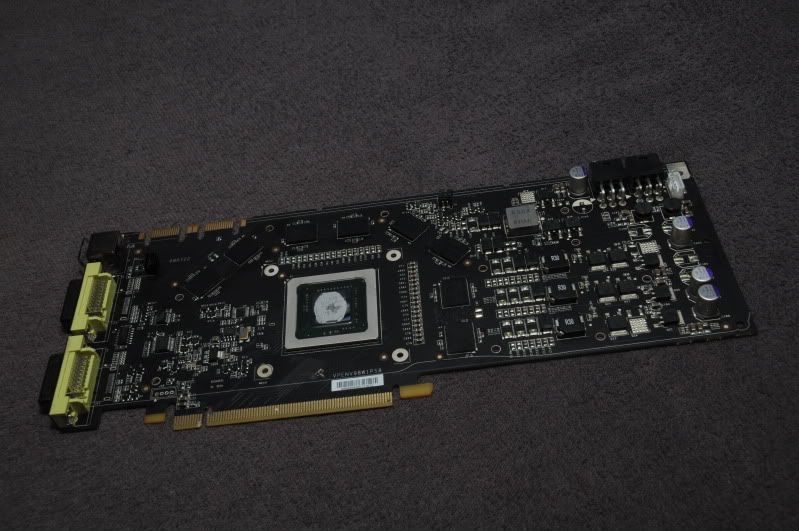
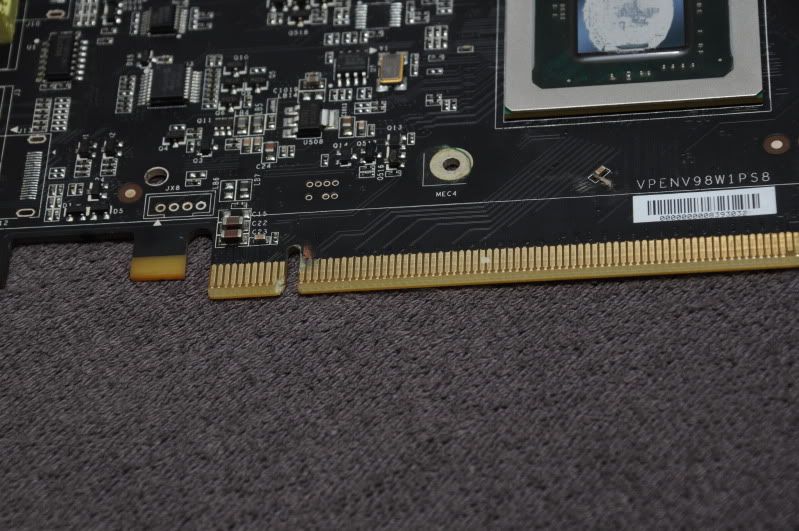
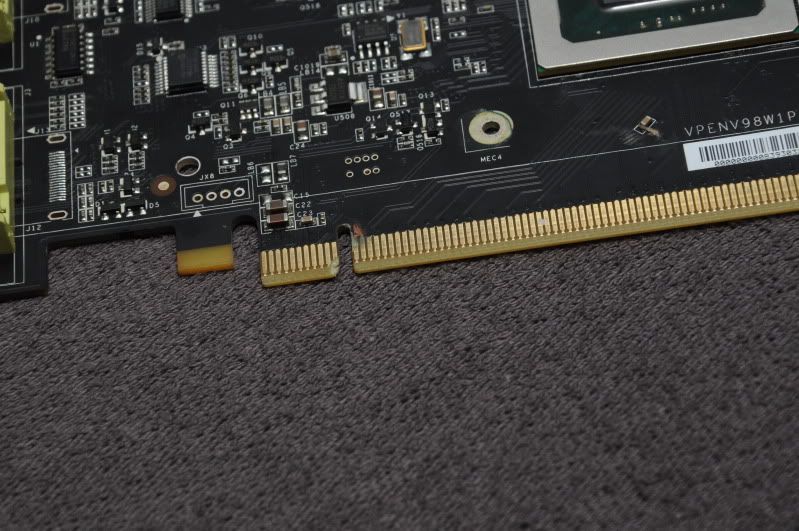
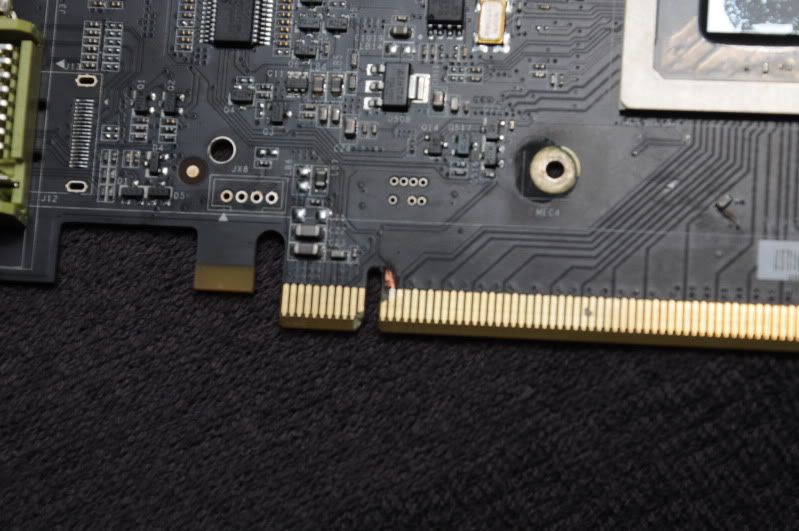
    Then i got a problem...not with my project but an graphics card, its an XFX 9800GTX+ 512mb that i sold to a newbie who maneged to brake a pci-e pin when he tried to install in in a regular (PCI) slot, what a dumbass!...that guy threted me to take it back when he broke it...that darn son of a b****! I dont really know how to fix it, what i know is that i need to solder it frome the little bit of the pins who is left to the graphics card somewere,I sanded a little bit on the pcb to se where it should be connected and it seems like its a ground because i think its conected to a big coopar base thats reaches out on a big area around the the whole graphicscard, its lika a mainbase of something, thats why i think its an ground... Here are some pics of the card and the damage itself.


  19. #19
    Registered User
    Join Date
    Feb 2009
    Location
    Netherlands
    Posts
    9
    you sold it , he broke it, and now you'r stuck with it?

    that's not a good thing man

    good luck with your case mod looks it's gonna be aswome
    Amd FX8120 @4,7 GHZ

    12 gb corsair vengeance
    6870 Crossfire
    40gb Intel SSD Riad 0
    1TB usseles data

  20. #20
    Xtreme Member
    Join Date
    Jan 2011
    Posts
    122
    Quote Originally Posted by freakya View Post
    you sold it , he broke it, and now you'r stuck with it?

    that's not a good thing man

    good luck with your case mod looks it's gonna be aswome
    yeah thats right, thar son of a *****!
    Nahh it isnt :/
    Thanx man , it will sure be !

  21. #21
    Xtreme Member
    Join Date
    Apr 2010
    Posts
    160
    Is the 2nd pin also ripped off? It looks awful close

    Just googled this, and it may help
    http://www.xboxscene.com/articles/fi...e-nosolder.php

    Seems like these newbie "hackers" screw up like this all the time...
    Excessive and overwhelming tactical response

  22. #22
    Xtreme Member
    Join Date
    Jan 2011
    Posts
    122
    Quote Originally Posted by anachlores View Post
    Is the 2nd pin also ripped off? It looks awful close

    Just googled this, and it may help
    http://www.xboxscene.com/articles/fi...e-nosolder.php

    Seems like these newbie "hackers" screw up like this all the time...
    Yeah ist the first one from the big pciadapter which is broken and the last one on the small adapter, thanks man i will try something out

  23. #23
    Xtreme Member
    Join Date
    Jan 2011
    Posts
    122
    Now it will finally be an update. I have whaited a long time for this pakage and I'm very exited! My package from Bits Power was picked up yesterday afternoon but unfortunately I only had time to photoshoot the whole thing and then go to bed for the night ... due to a job interview. My twin brother uploaded the pictures on my photobucket while I was asleep, thanks brow!
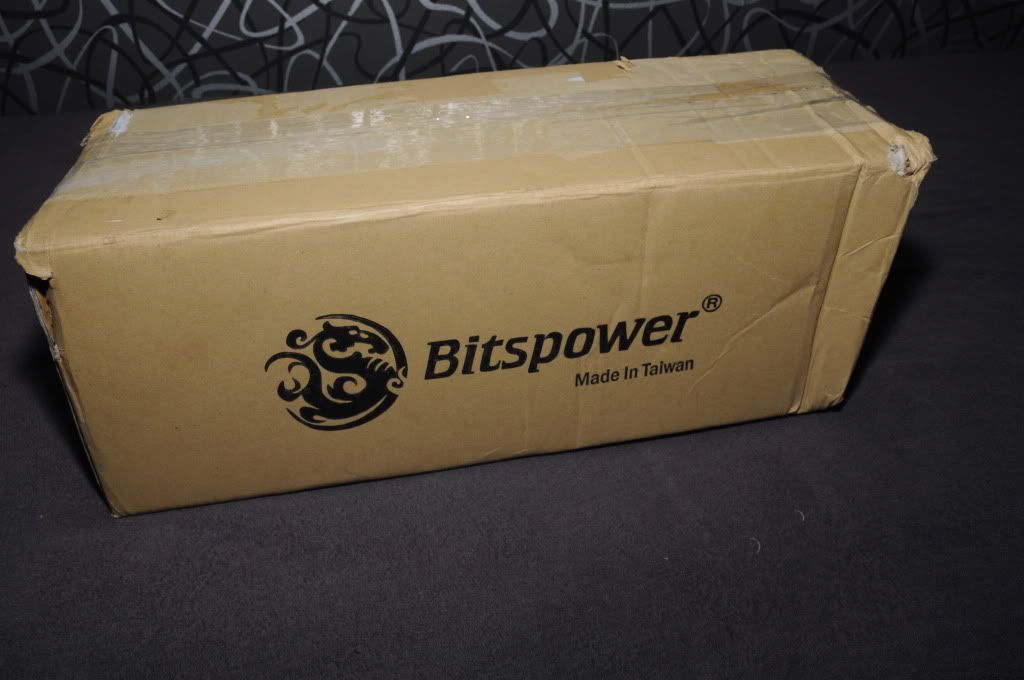
    With the package well at home I had to run back and forth to two different post offices because they were confused where I should be allowed to get it, an hour after the misery I took the package from the nearest postoffice closer to the workshop and drove back, every bit surprising that the package weighed just over 3.8KG was not as heavy as I thought it would be.

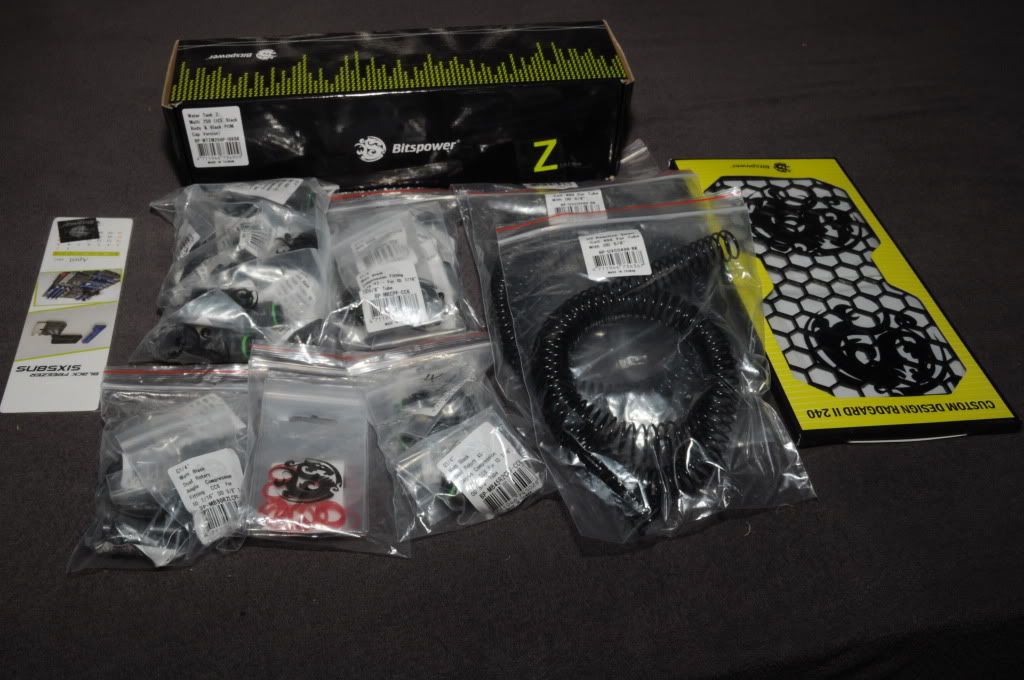
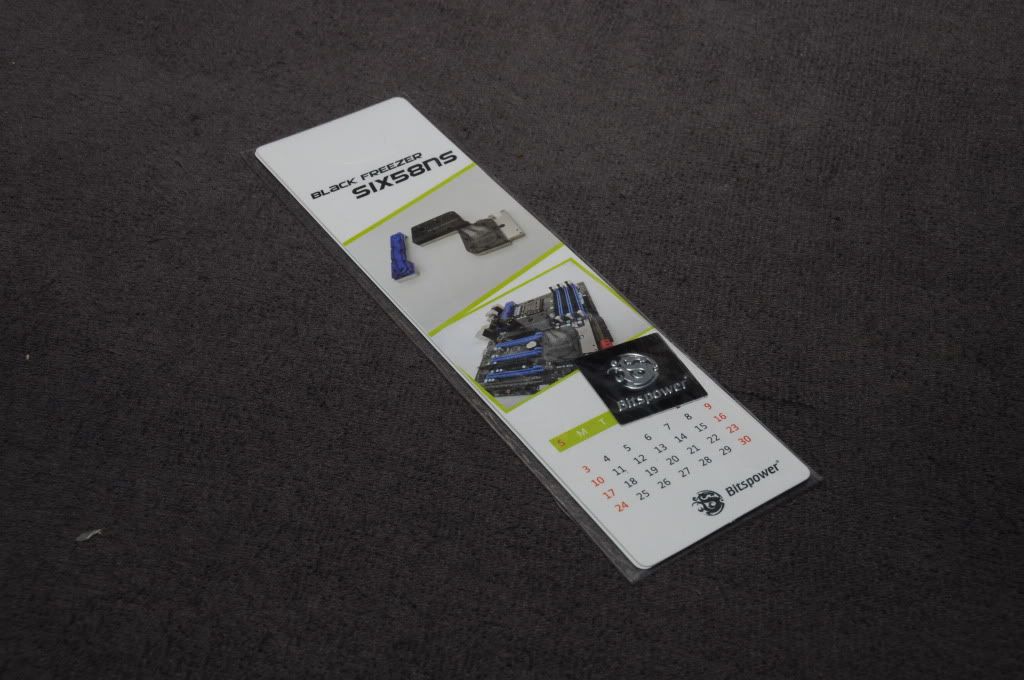
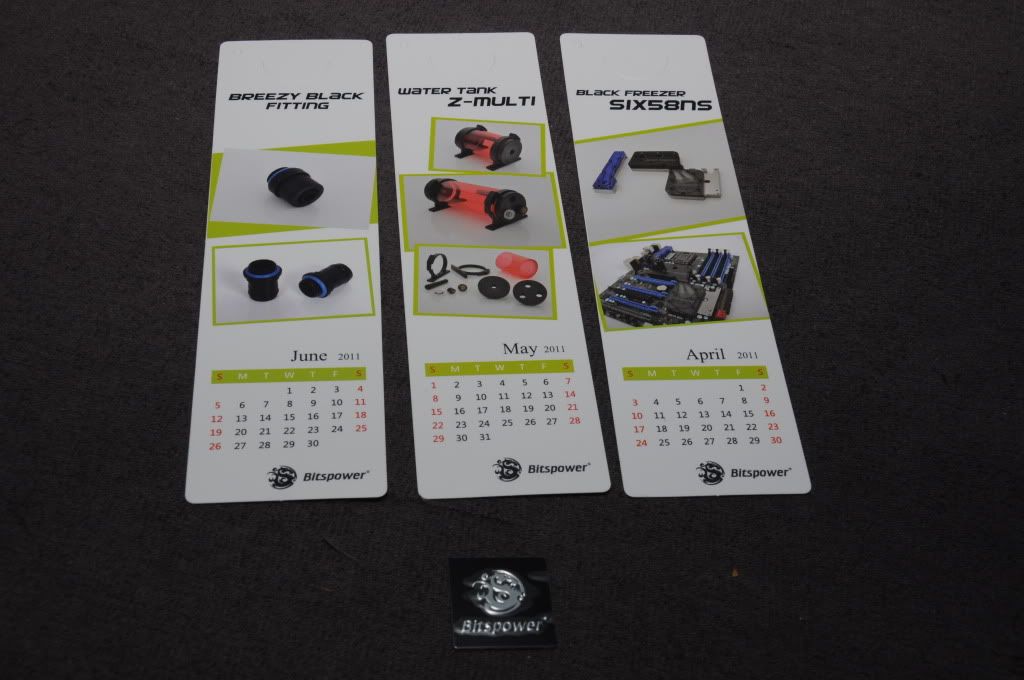
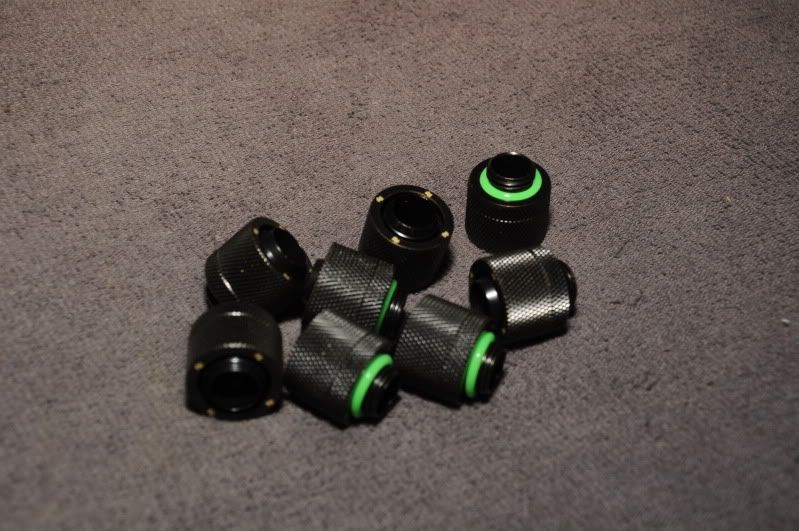
    I was sponsored by Bitspower with the following:

    Fittings:
    8x BP-MBCPF-CC6 (G1/4" Matt Black Compression Fitting CC6 For ID 7/16" OD 5/8" Tube)
    4x BP-MB90R2LCPF-CC6 (G1/4" Matt Black Dual Rotary Angle Compression Fitting CC6 For ID 7/16" OD 5/8" Tube)
    14x BP-MB90R3CPF-CC6 (G1/4" Matt Black Triple Rotary 90-Degree Compression Fitting CC6 For ID 7/16" OD 5/8" Tube)
    4x BP-MB45R2CPF-CC6 (G1/4" Matt Black Dual Rotary 45-Degree Compression Fitting CC6 For ID 7/16" OD 5/8" Tube)
    Orings:
    3x BP-WTP-O10-DRD (Red Color O-Ring Set For G1/4" (10PCS))
    Coils:
    3x BP-UVCO400-BK (UV-Reactive Smart-Coil 400 For Tube With OD 5/8")
    Reservoir:
    1x BP-WTZM250P-IBKBK (Water Tank Z-Multi 250 (ICE Black Body & Black POM Cap Version)
    Radguard:
    1x BP-CDRGT240ACBK-HC(CUSTOM DESIGN RADGARD II 240 Acrylic UV Reactiv - HONEYCOMB)
    Memoryblock:
    1x BP-WBDM2AC-CL (GALAXY FREEZER DIMM2)

    Seems that they forgot to send me the Galaxy Freezer II, which will surely be fixed

    I thank Bits Power for their support in this project and I love their great quality parts
    !

    Took some pictures, as I said, Here you go...enjoy!

    The large package, with the wonderful logo!


    All of its contents and a lot of plastic that went in to the bin


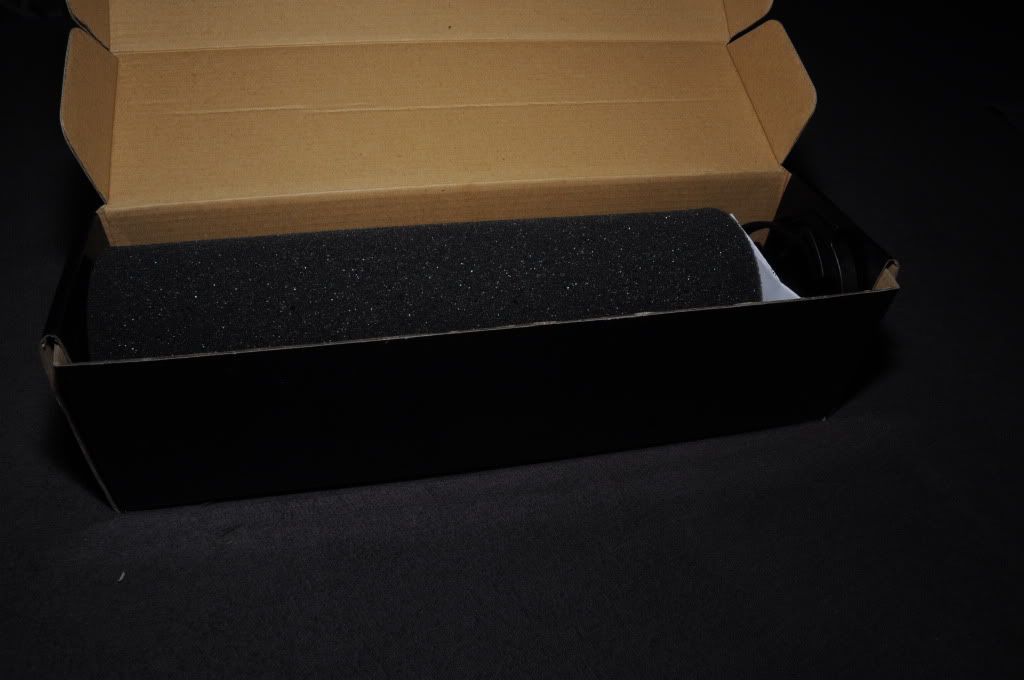
    The first is ... The reservoir!


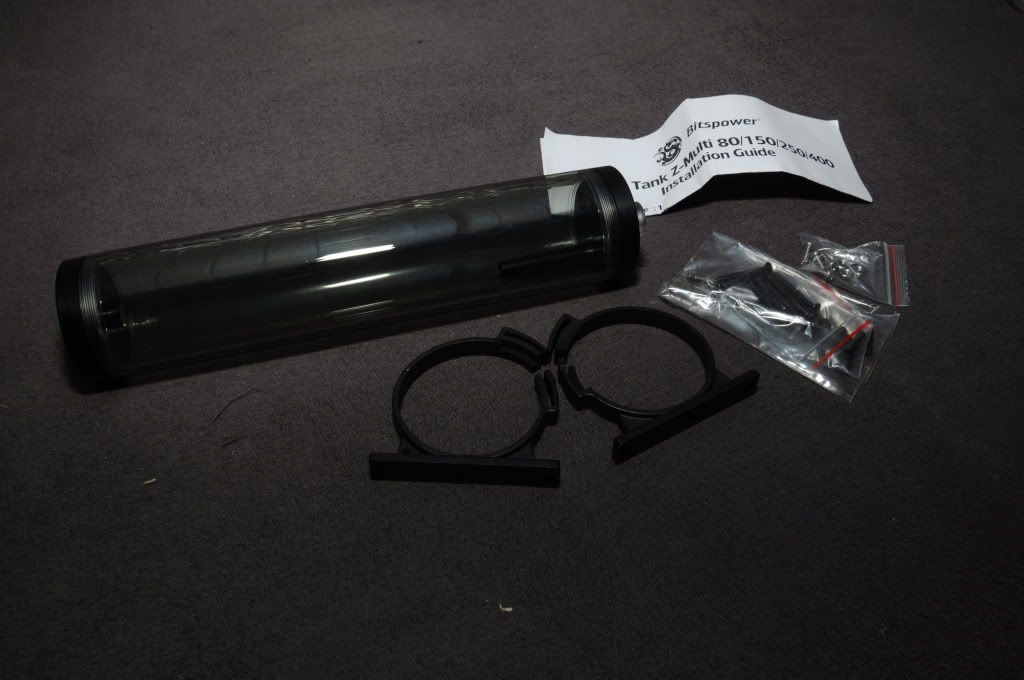
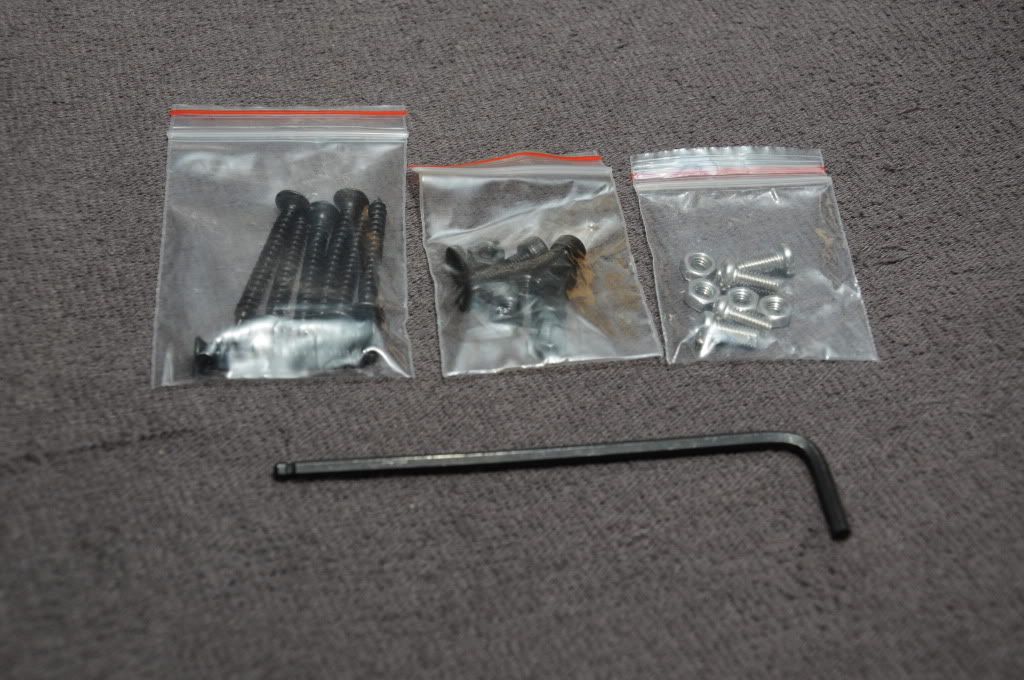
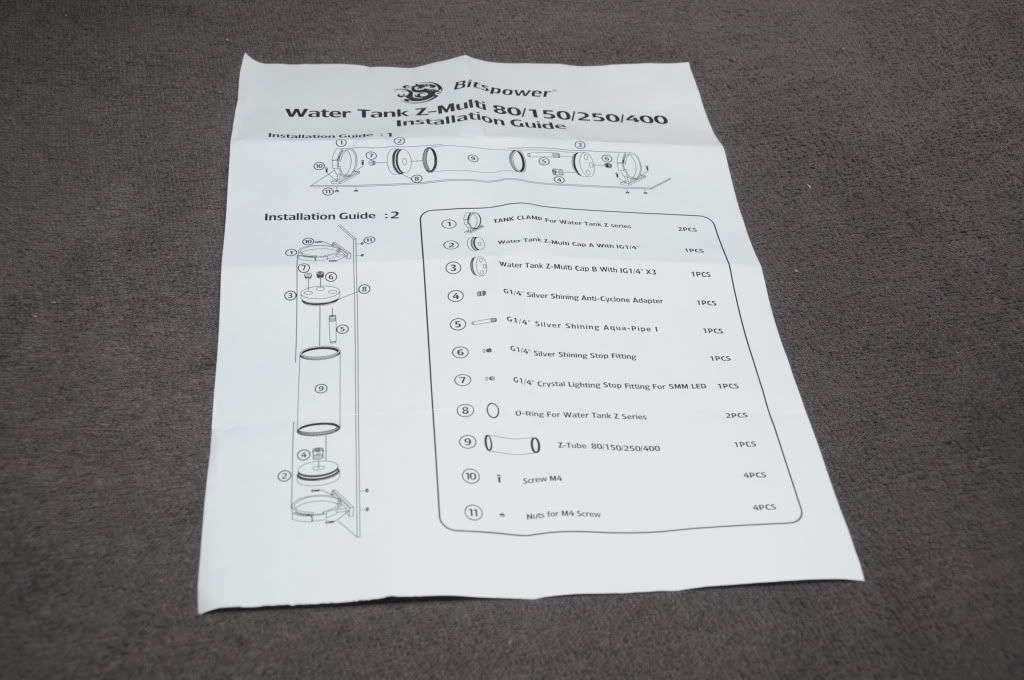
    All that you had within: Reservoir, Clamps, 3 pack of screws (such as black and chrome), Insextool and a instalations guide, great content, simply!


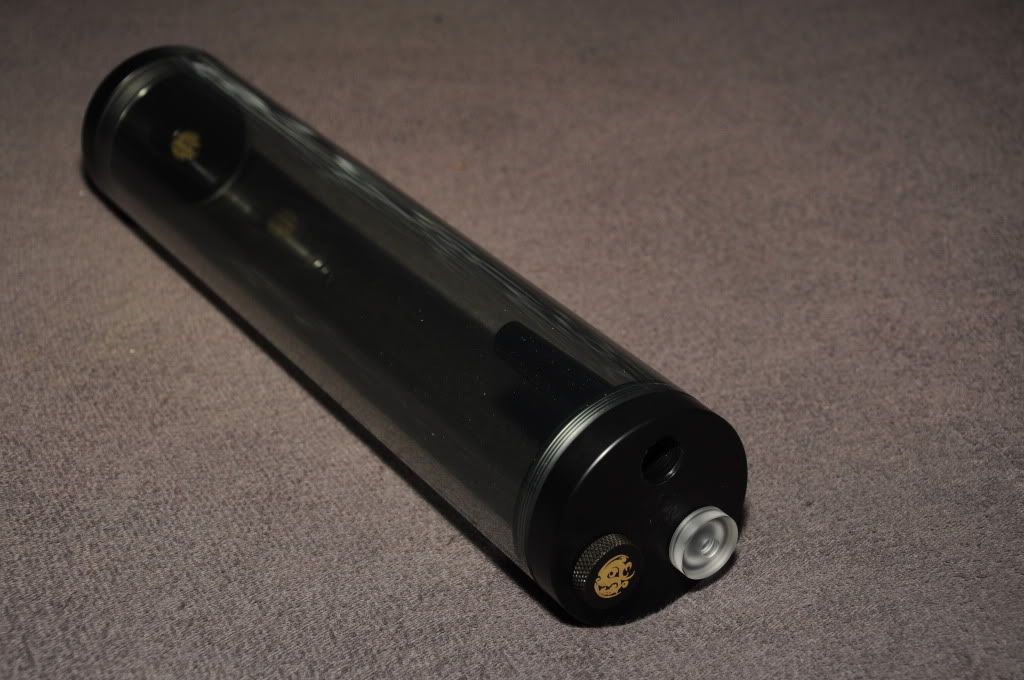
    Good variety of inputs and outputs!


    Both lids are bolted away, talk about good jobquality like inside and out!


    I could also remove them inner parts if you need to change anything etc!


    The reservoir does very well with the clips, which seemed pretty stable


    The screws and the insextool


    A Instalations guide, which explains everything very well


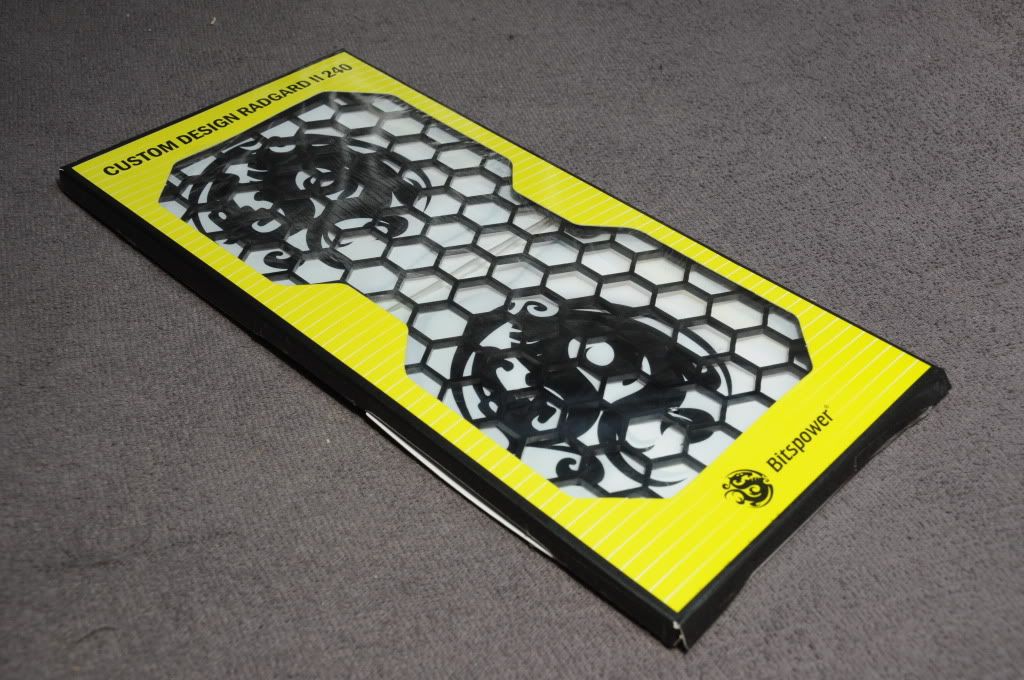
    Enough pictures of the reservoir, time for the Radguard

    The package itself


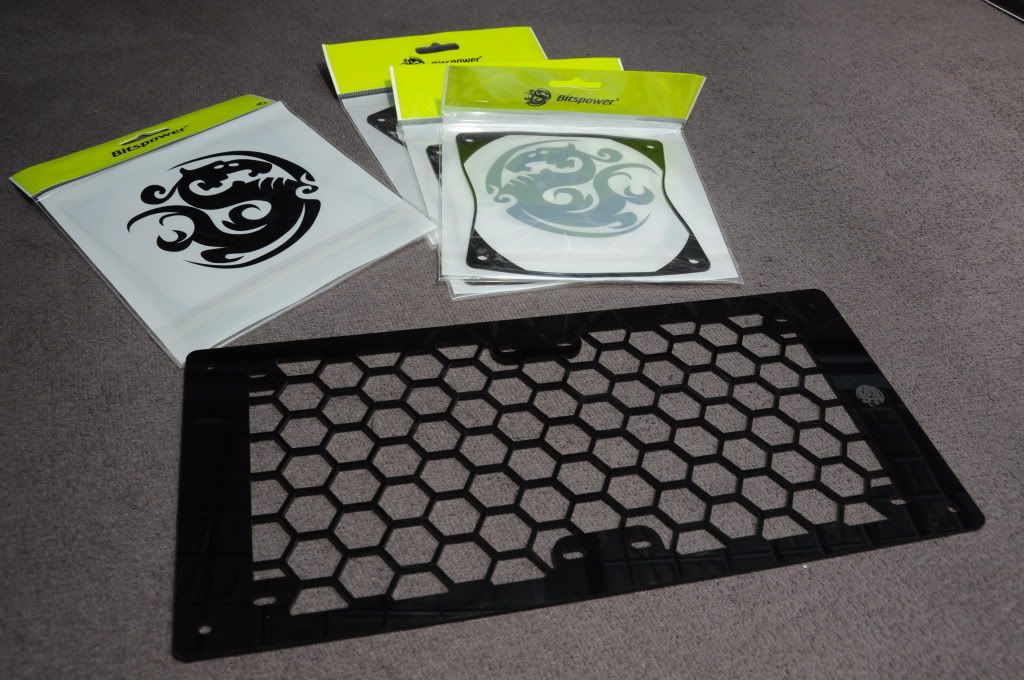
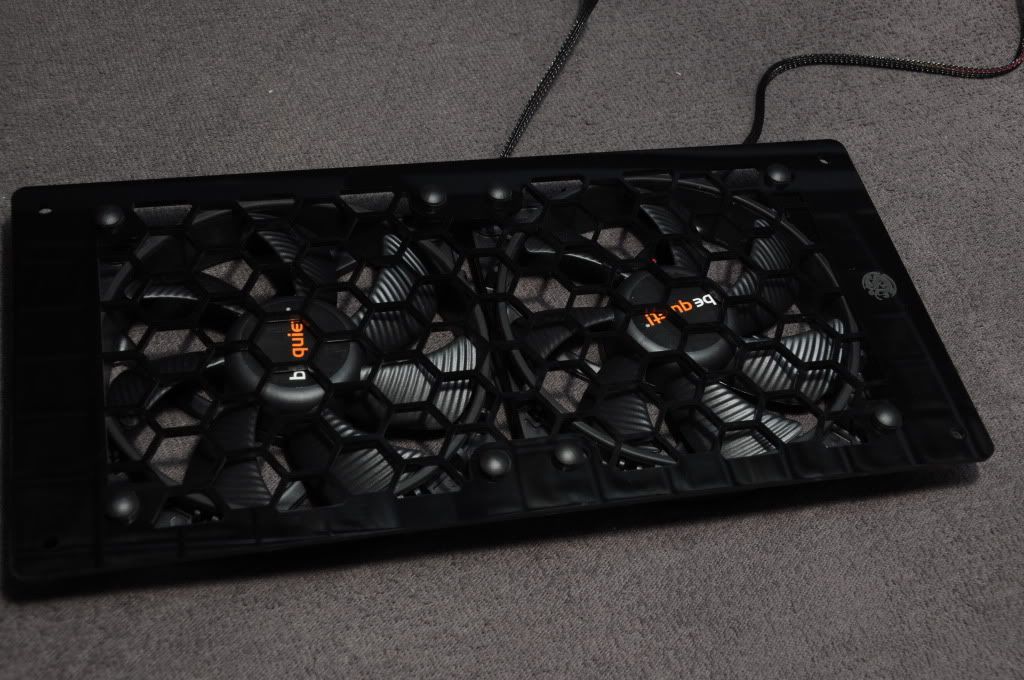
    When I took out the radguard, I saw that it had more things inside the package which I noticed recently when I checked the back och the pacage. Inside there was 4 rubbergaskets for the fans ... Surprise!


    Close-up of those who are curious


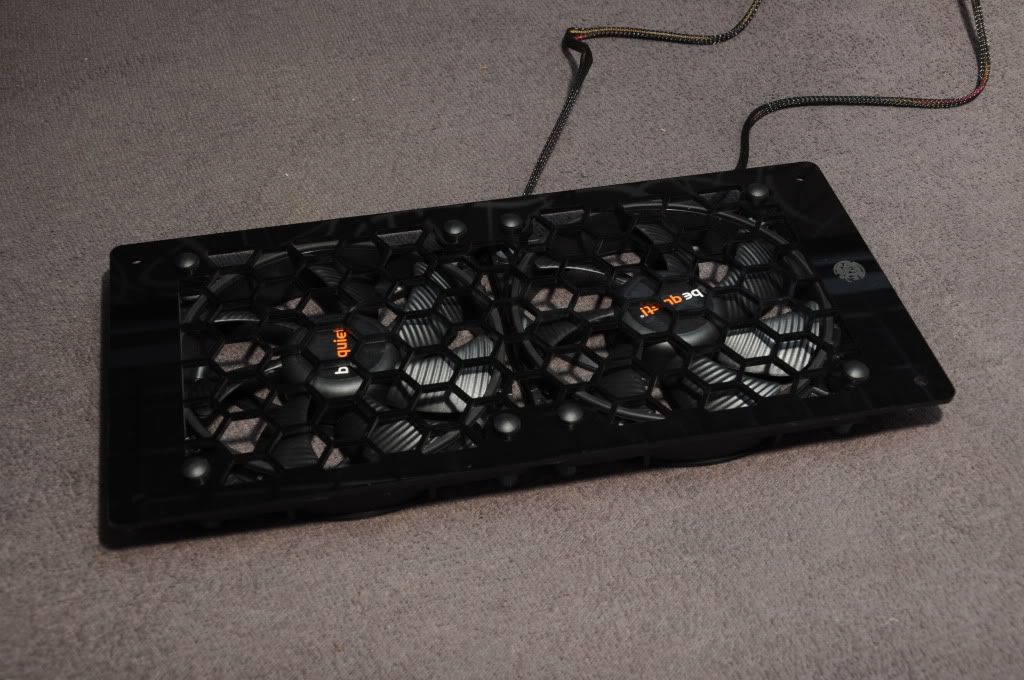
    I tried how it would look like with 2 120mm fans ... looks really promising!I have to ask my mom to get me some brown tights for me to act lika a dustfilter,i want this building to be as dustproof and clean as possible


    The Black Smart Coils


    Finally the Fittings!, Different bags with different kinds of fittings


    You can always play with fittings, after a bit of imagination it turned out to be an Bitspower Sun!


    A little different forms that triple Rotary nipples can take shape ... anyone more than me who thinks of trasformers now?


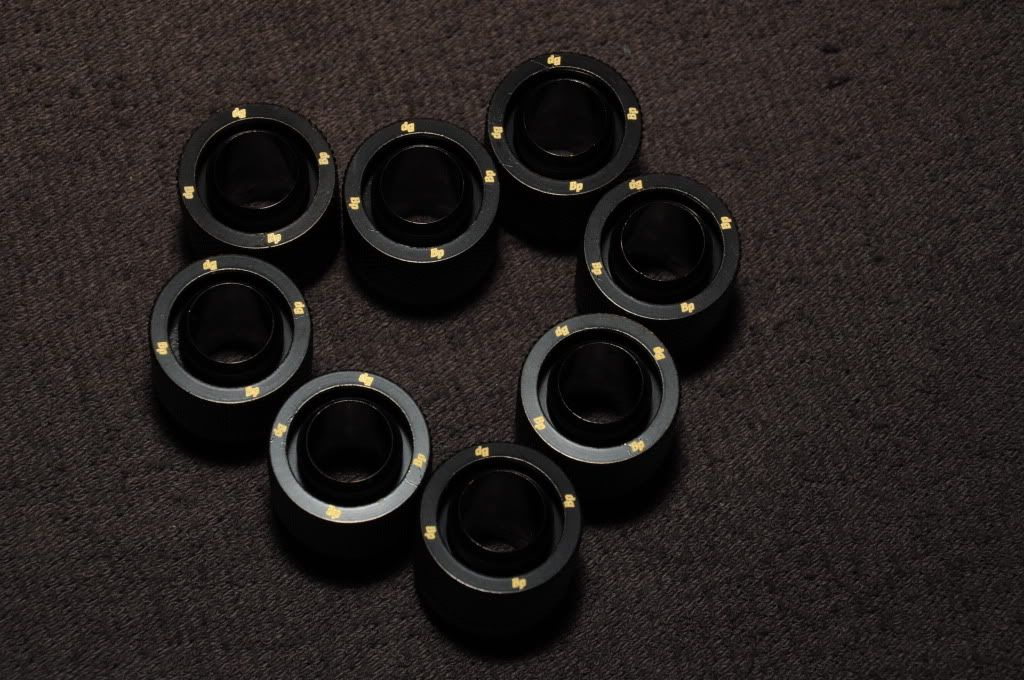
    Copmressionfittings know all how it looks, added a little detail picture!You just have to love their products!


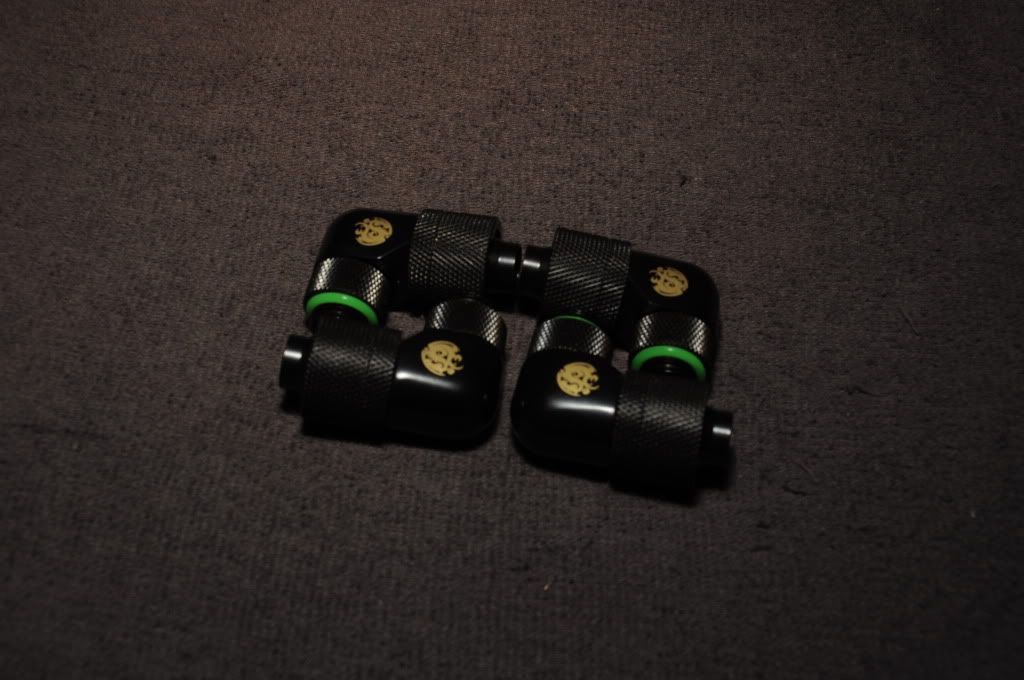
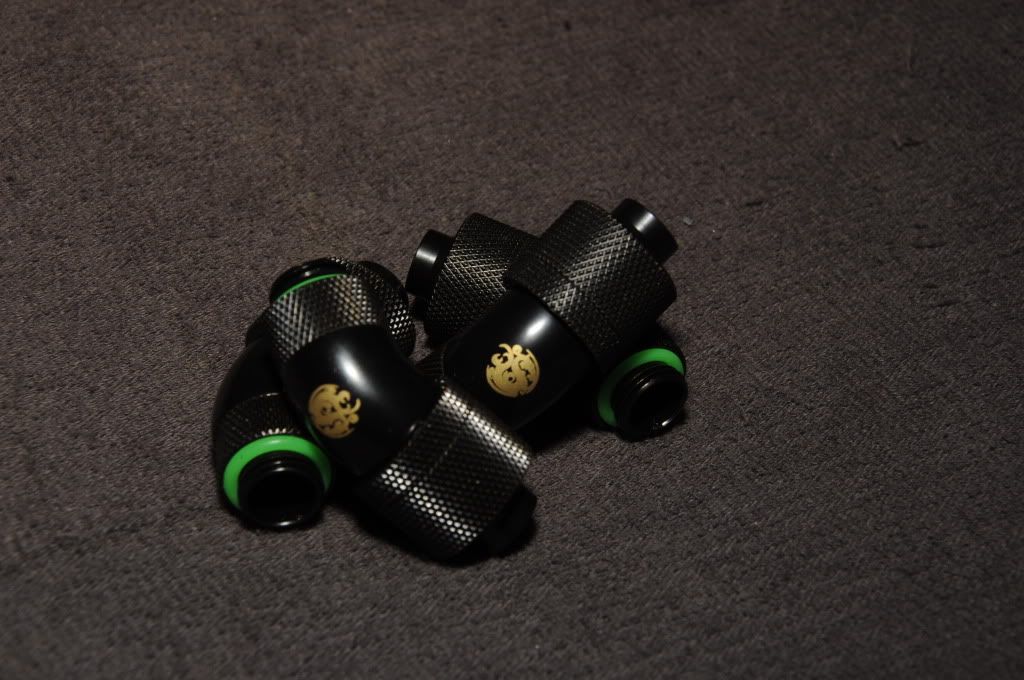
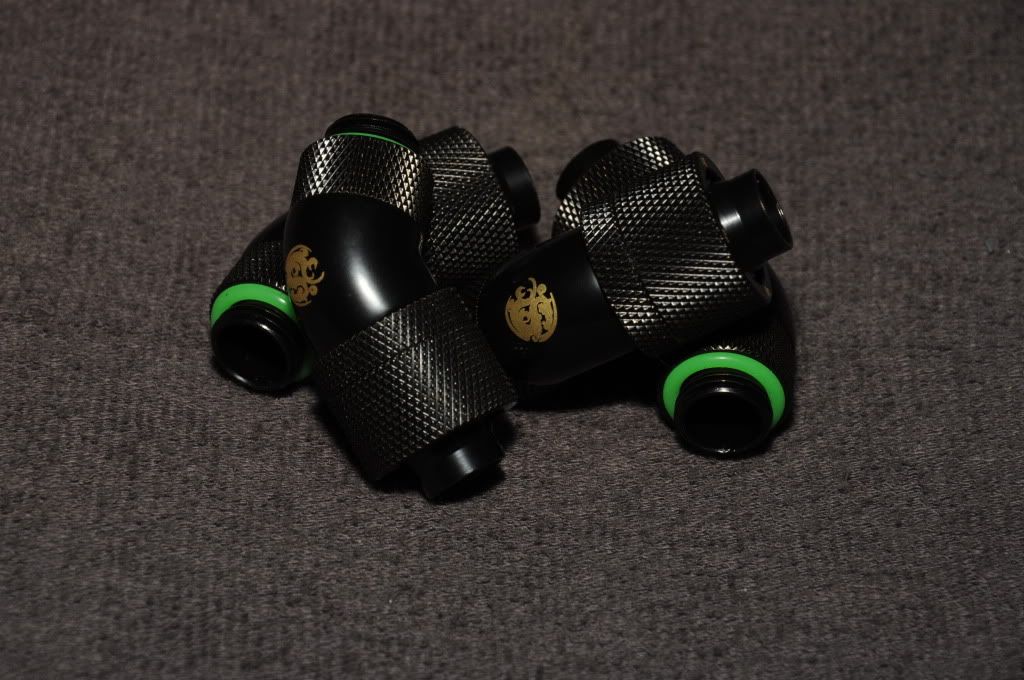
    90degree Doubble Rotary fittings


    Doubble rotary fittings


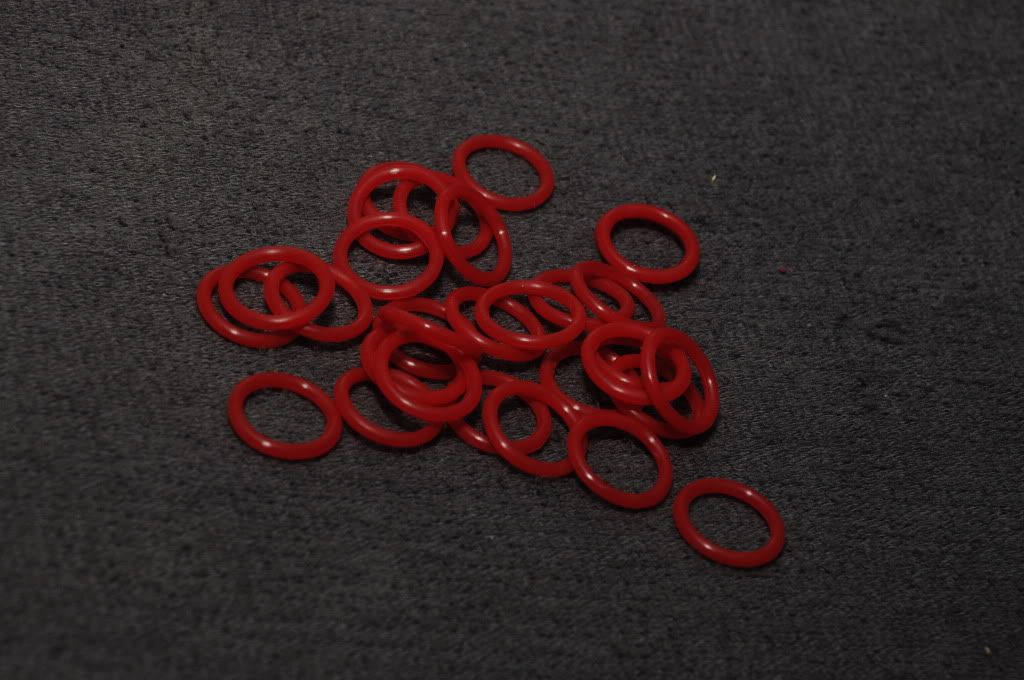
    Last but not least, my Orings!


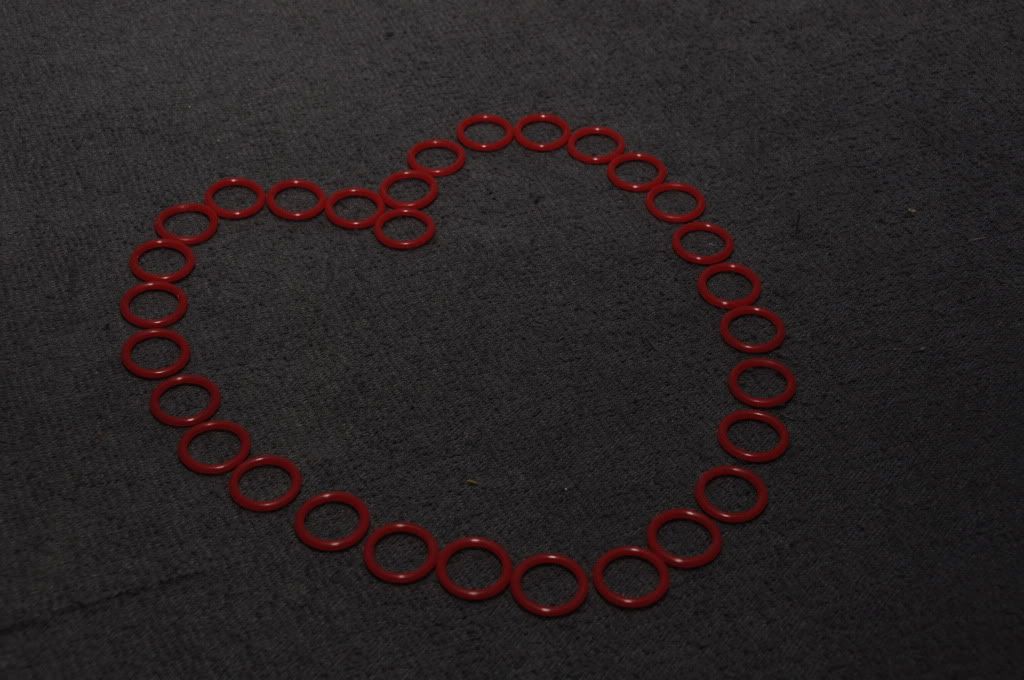
    My projects always includes a good heart!


    Thanks for the support Bitspower!


  24. #24
    Xtreme Member
    Join Date
    Jan 2011
    Posts
    122
    I was bored at home after being at a job interview, and worked a little in the workshop today so I took my spare time to replace the O-rings on my fittings, which put them at the factory is always green and it cuts a little of the colortheme, the closest I could find was red so I had to simply run with it, after a period carefulnes with an ordinary knife, I had replaced all of the green to red O-rings. The green ones will be for sale because i dont need them (30x G 1/4 O-rings).
    More pictures and more words is what I always go on with and which I probably will continue on even this post, I hope you do not think it's disturbing in some way !
    Time for some pictures then ...

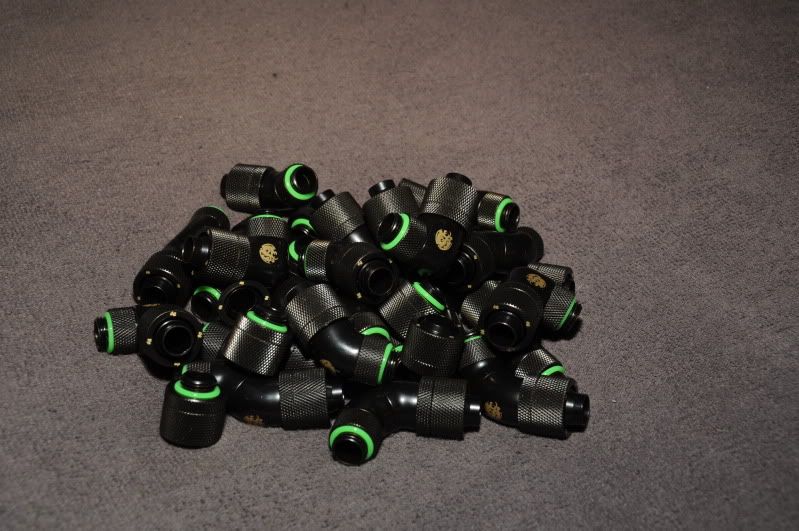
    Took out all the fittings from thier bags and laid them out on a big pile ... can't say more that this is a wonderful sight ... isn't it???


    Then I started with the Compressionfittings which I somehow thought was easiest?


    After that it was the 90degree Doubble Rotary Fittings turn to change thier underwear, worked like charm!


    And so on...


    I was a little tempted to test fitting on the reservoir, seems to be quite well lokking


    Those O-rings that were left over were simply packed and protected


  25. #25
    Xtreme Member
    Join Date
    Feb 2010
    Location
    Barcelona, Spain
    Posts
    210
    Right now I can't see any pic.

Page 1 of 5 1234 ... LastLast

Bookmarks

Bookmarks

Posting Permissions

  • You may not post new threads
  • You may not post replies
  • You may not post attachments
  • You may not edit your posts
  •