


So, I saw some threads here and thought, "I'll have me some of that!"
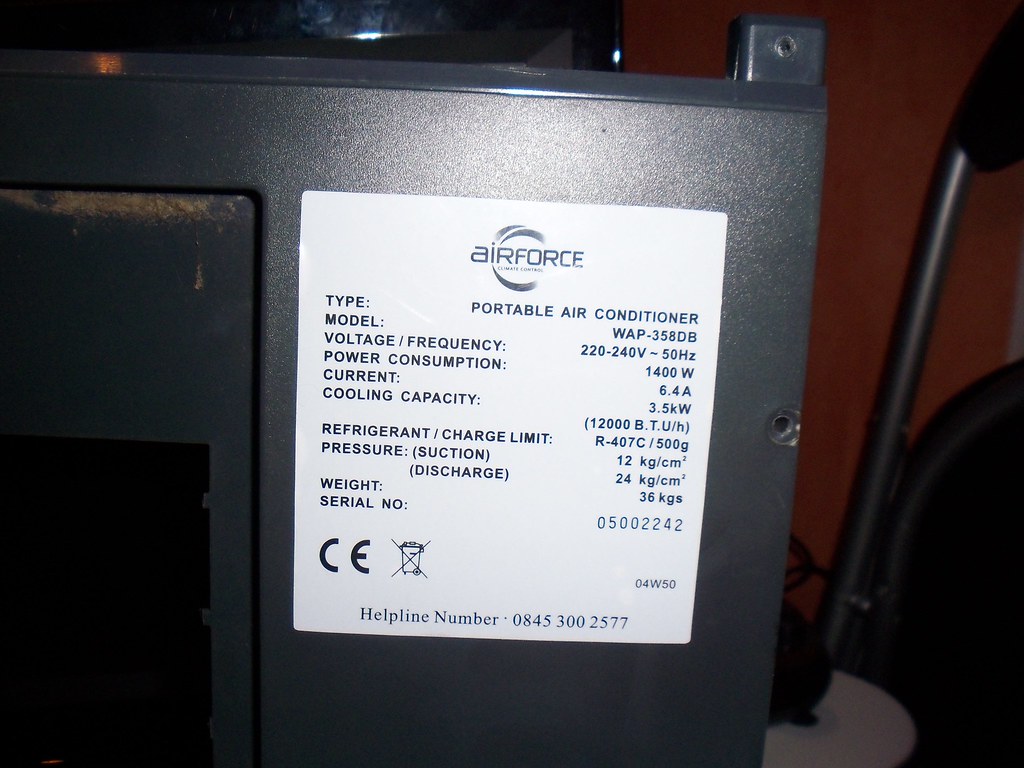
I have a 12,000 BTU aircon that I no longer use and have commenced dis-assembly...
I was going to try to be clever and put a variable resistor in place of the thermistor to make it think it always needed to run the compressor. Then I decided to just lengthen the wire and stuff the thermistor in the "warm air" exhaust. Problem solved.
Specs:
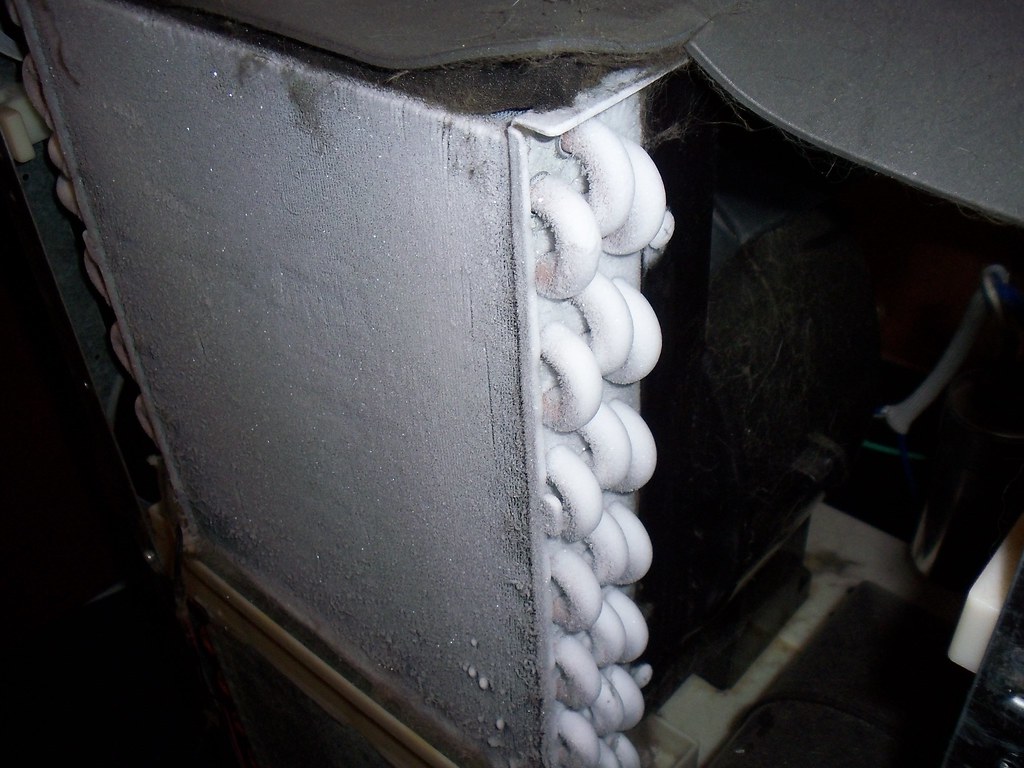
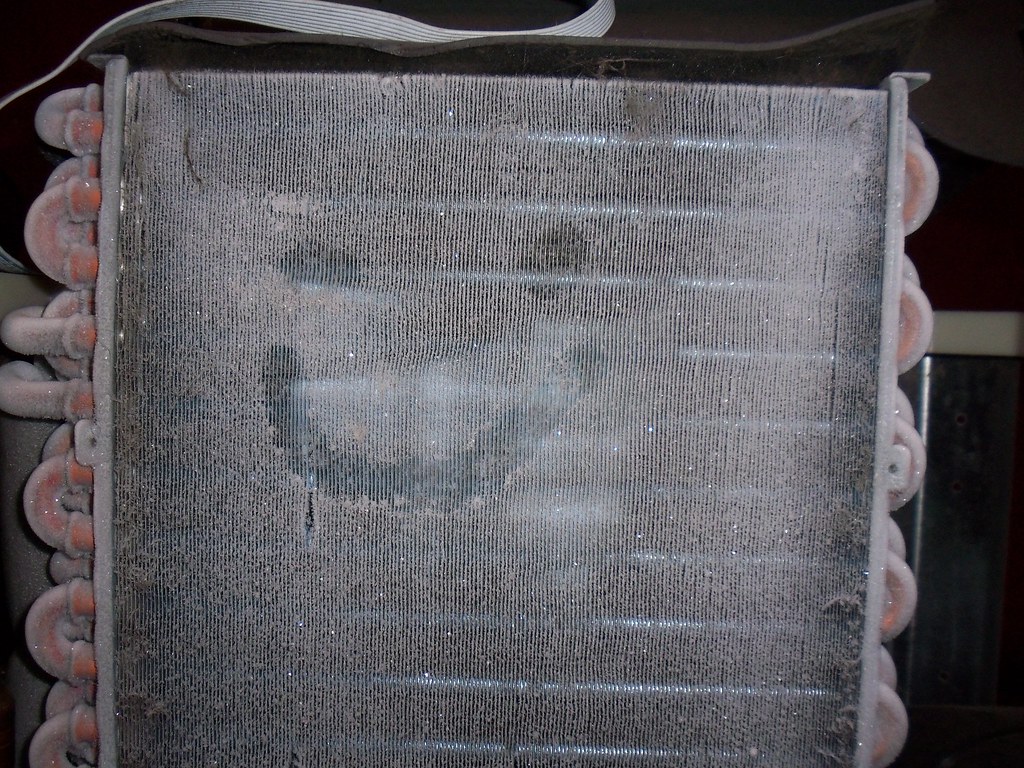
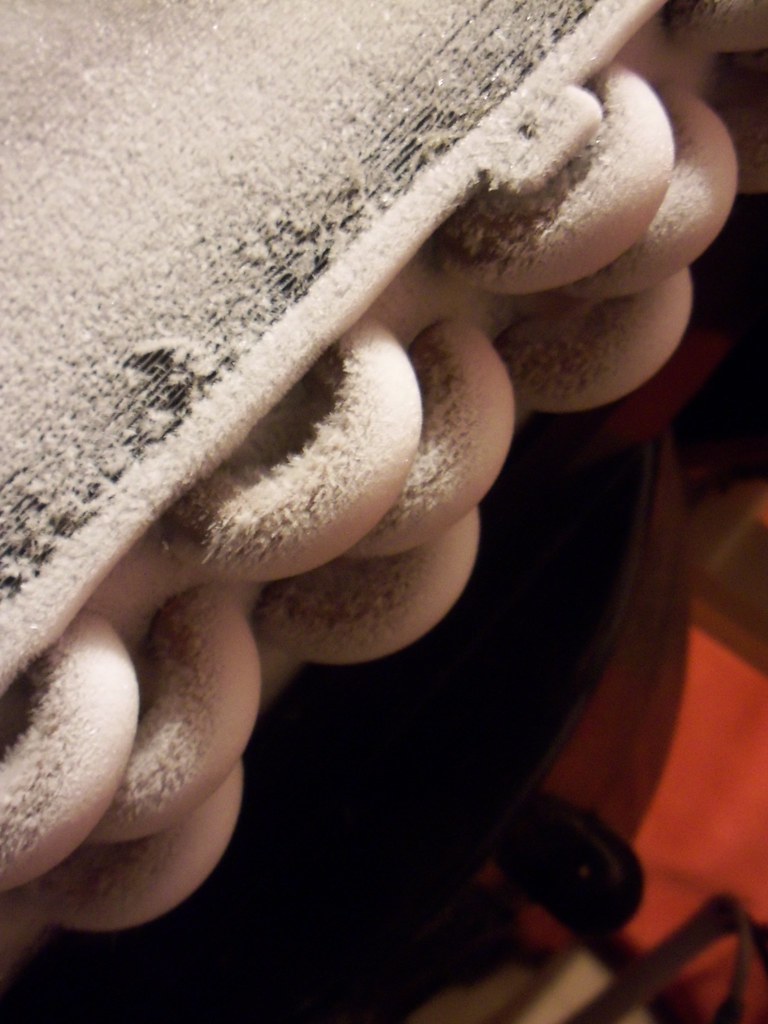
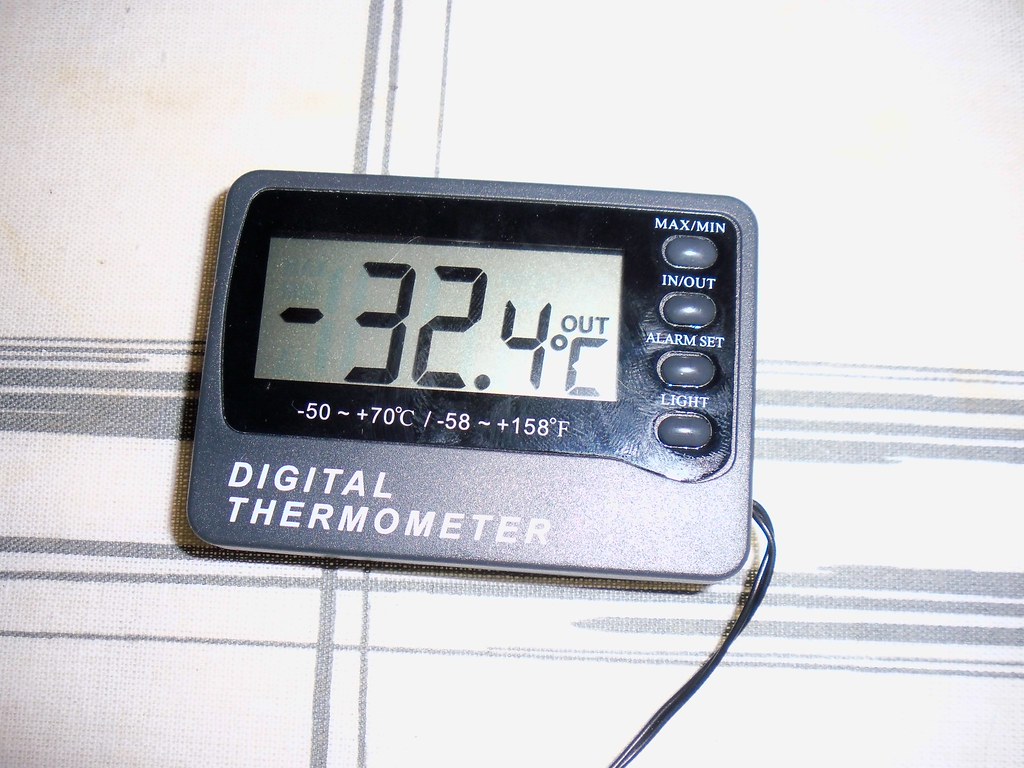
Coldness:
My amazing artistic skills:
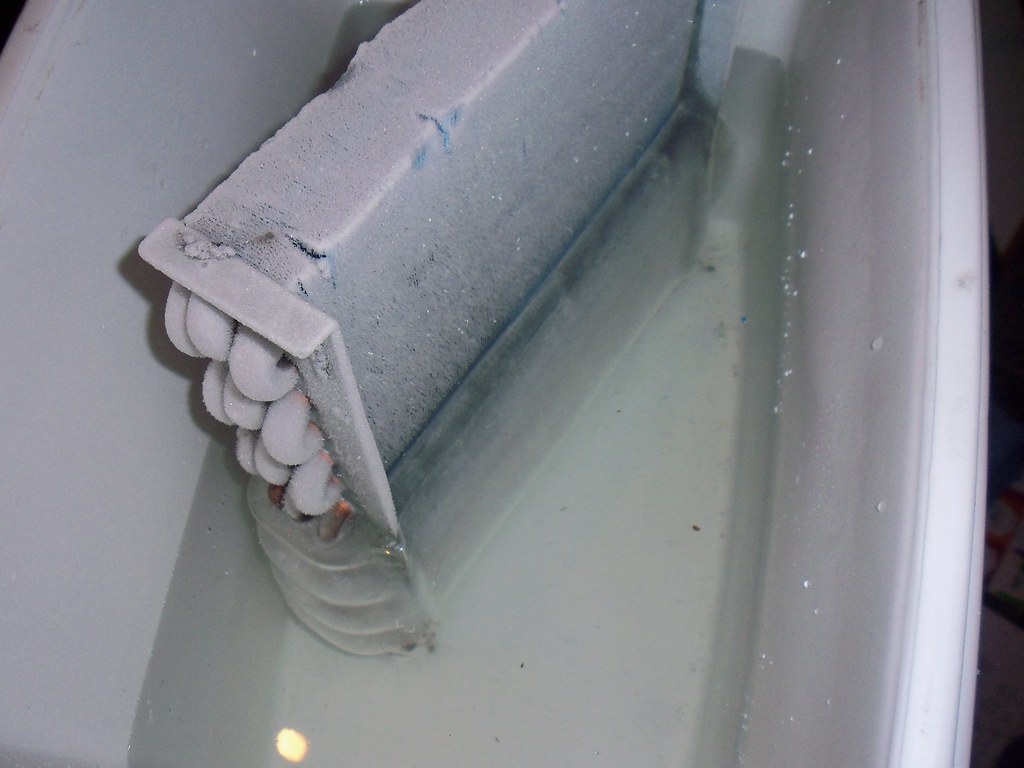
More coldness:
I couldn't find a fuse so I used a screwdriver bit for added safety:
Now, I gather from mooching at other threads the theory is to get some sort of coolbox like this: http://www.amazon.co.uk/-/dp/B000TAOVY2?tag=invihand-21
Place this frozen radiator inside it, then fill that with water/ethanol....
For the cooling loop side, do I dump a 360 rad in there as well or do I actually pump that water/ethanol mix around the PC?
If I just pump the water/ethanol mix around, I'm going to have to be careful about algae growth and dust/dirt getting into the coolant, and therefore regularly replace it right?
Is convection and the flow of coolant enough within the coolbox?
The cold side rad is in a kind of awkward position, but is attached by copper pipes, I guess I just have to be very careful not to snap these?
Thanks for any suggestions

 Reply With Quote
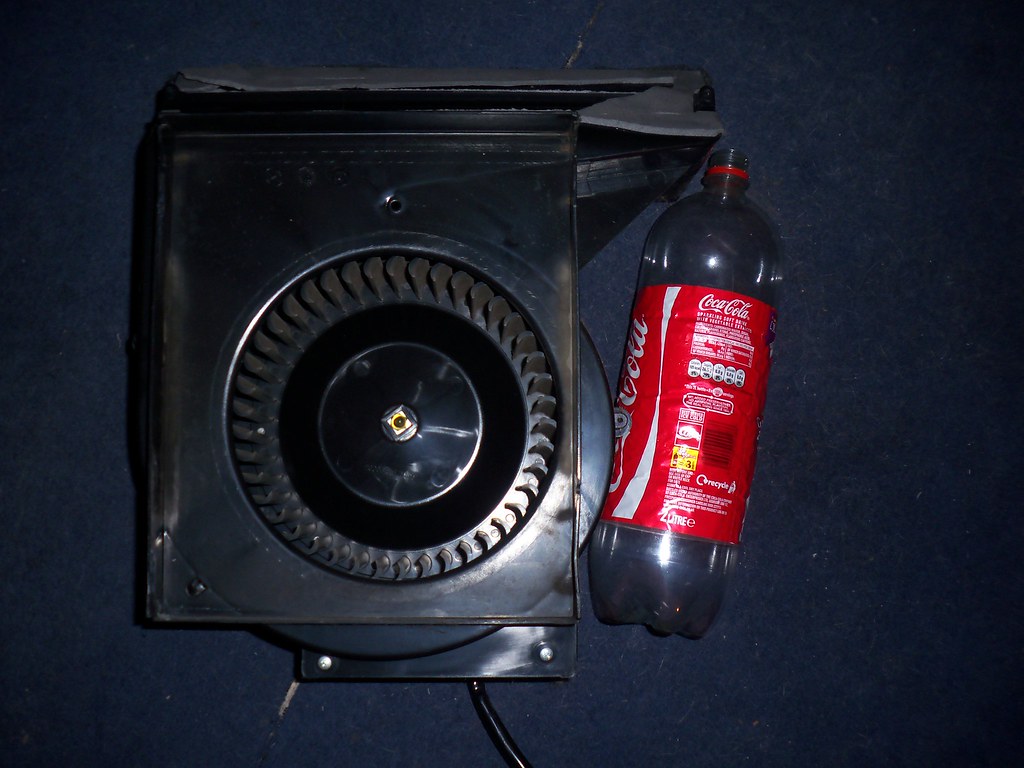


 .
. 


Bookmarks