

Nice!


Nice!
* My Case Labs STH10 Build Log *
Computer System:
CPU = Intel i7 3770K
MOBO = Asus Maximus V Extreme
GPU = EVGA GeForce GTX 480 @ 880MHz|1760MHz|4200MHz @ 1.125v
RAM = 8GB Dominator GT's
SSD = Samsung 830 Series 256GB
PSU = SeaSonic X-1250W
SC = X-Fi Fatality Pro
CASE = Case Labs STH10
LCD = NEC MultiSync 1970GX 19"
OS = Windows 7 Ultimate 64-bit
Watercooling System:
CPU = EK Supremacy Nickel+Acetal
GPU = EK FC-480 GTX Nickel+Acetal
MB = EK-FB Asus M5E Nickel+Acetal
RES = EK-RES X3 250
PUMP = Dual Koolance PMP-450's w/ EK-D5 Dual Top CSQ
RAD = Dual HWLabs SR-1 560's w/Gentle Typhoon 1850rpm Fans
LIQUID = Distilled Water w/Petra's Pure Silver Killcoil

I'm looking forward to see your next update bro!
Where are those photos
anyone know of a US made rad mount I can use in a TJ 07?
"Thing is, I no longer consider you a member but, rather a parasite...one that should be expunged."
++1Originally Posted by darthbeavis

Asus Rampage III Formula
I7 970 (200x23=4610)
EK Supreme HF Copper
Swiftech 420 QP w/ (4) Scythe GT AP-15 (1850 RPM)
Swiftech 355 w/ ek X-Top v2
(3) Asus 5850 (1050/1250/1.3v)
(3) EK 5850 FC
Swiftech 220 QP w/ (2) Scythe GT AP-15 (1850 RPM)
Swiftech 355 w/ ek X-Top v2
Cosair HX850
(3) 2GB Gskill F3-12800CL7T-6GBPI
(1) Intel X25-M G2
(3) WD Black 1TB

+1
looking nice mate!
Another thing I find funny is AMD/Intel would snipe any of our Moms on a grocery run if it meant good quarterly results, and you are forever whining about what feser did?
what fan spacing is the Phobya rad mount?
"Thing is, I no longer consider you a member but, rather a parasite...one that should be expunged."


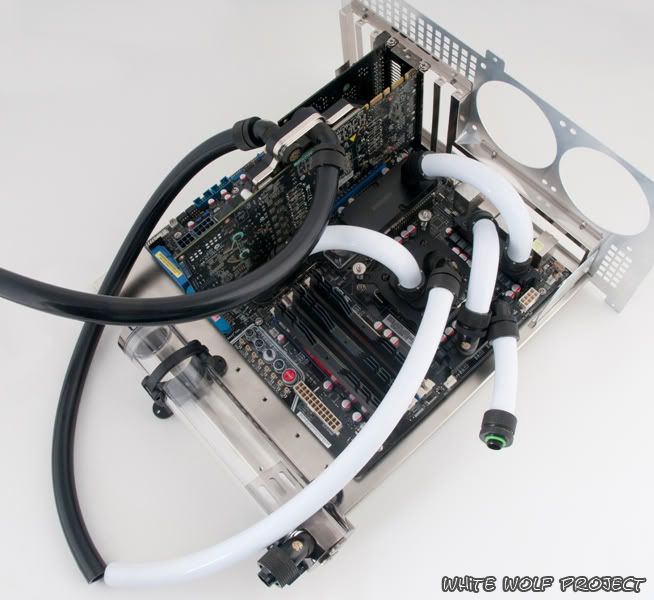
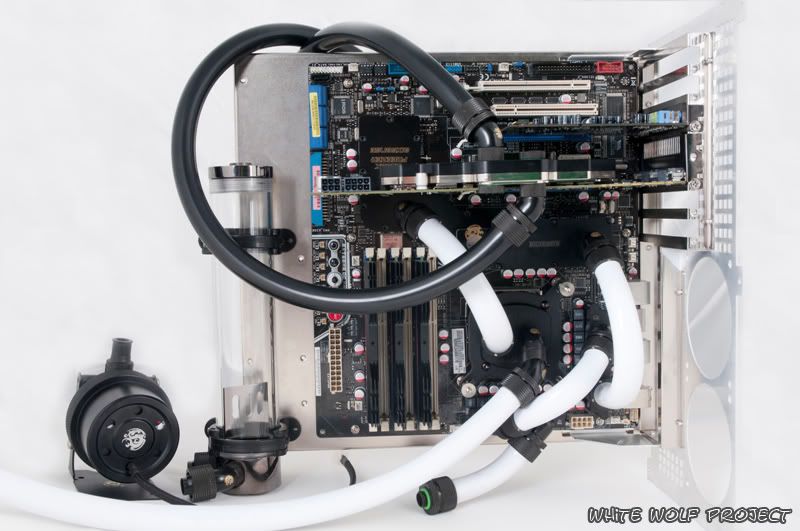
Great tubing routes, very low profile
Signatures make my posts look huge... but I'm not humble enough to completely remove my signature, so I kept this note explaining it.
Wow, very tidy job on the tube routing. And them fittings sure looks sexy. Really nice work
He buy it from a local shop in Portugal
Hey guys!
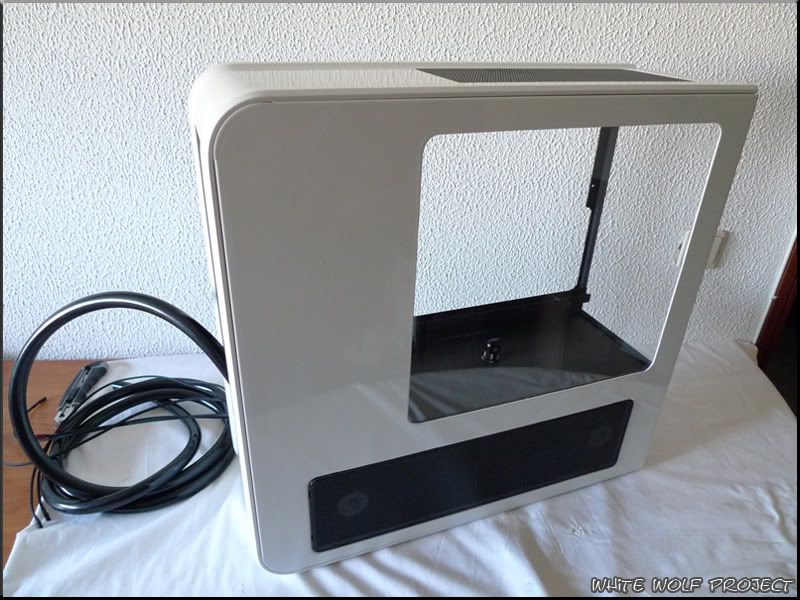
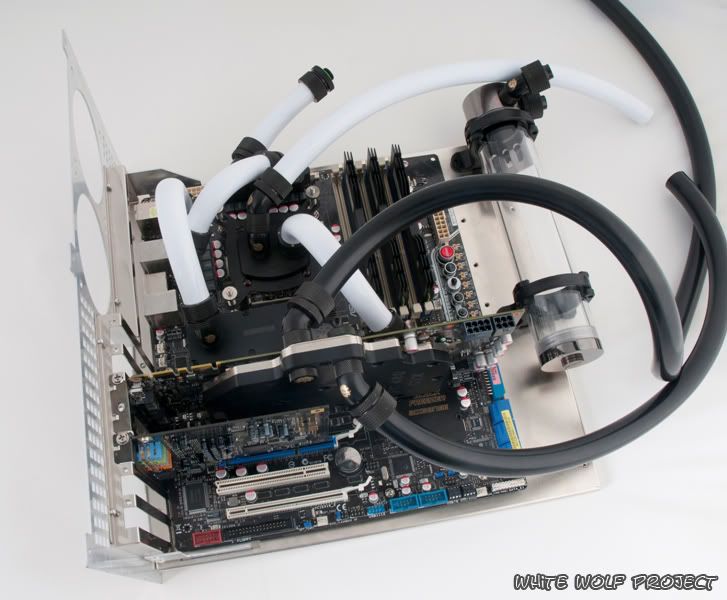
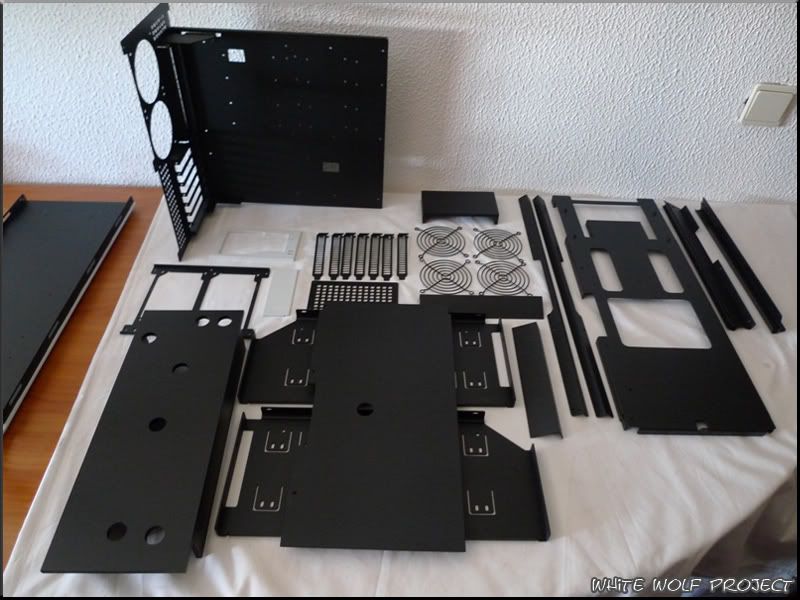
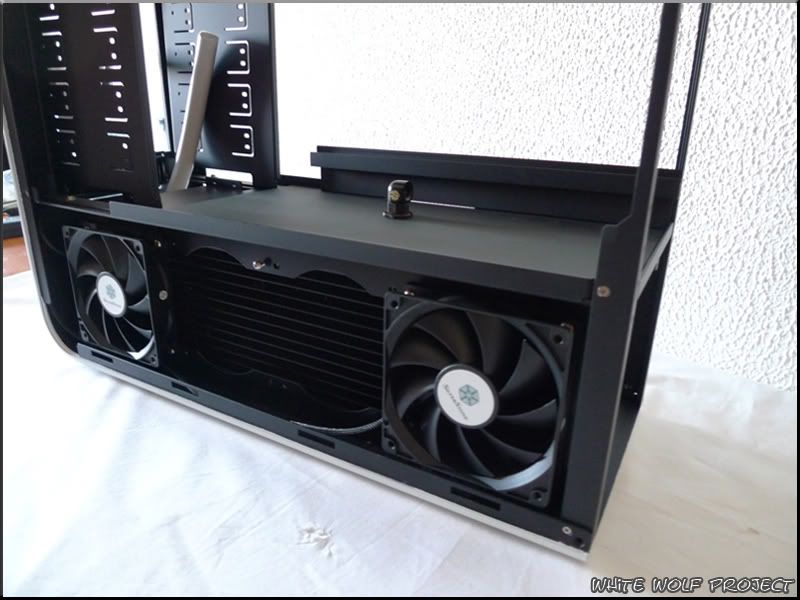
First of all let me say I'm sorry for the absence of updates on this project but I was on vacation and I was completely isolated from the "modern world". To satisfy you guys I put together a couple of photos of the almost finished project. The case is at the bodyshop atm ready to be powdercoated.
I hope you like it!
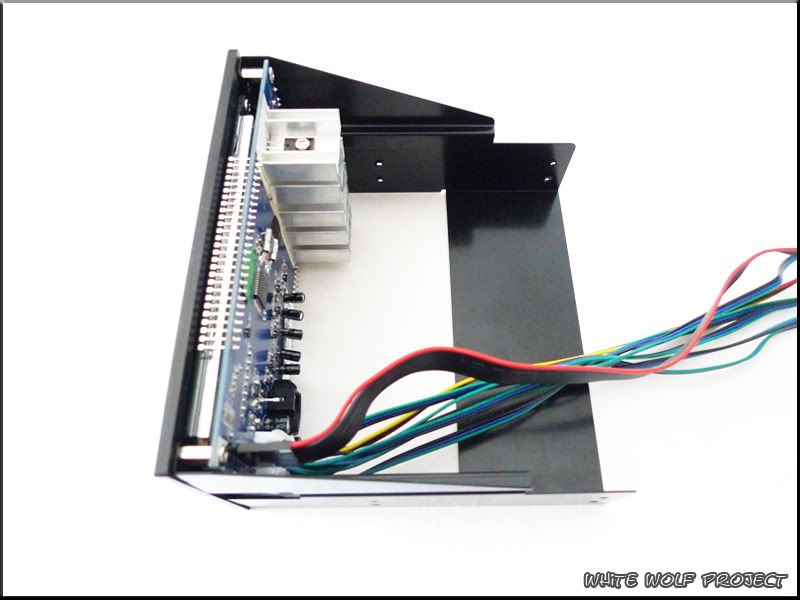
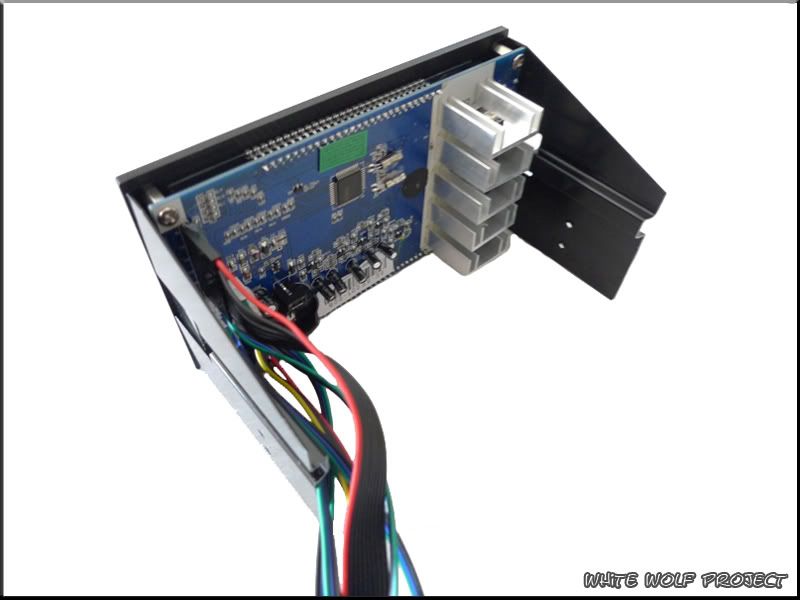
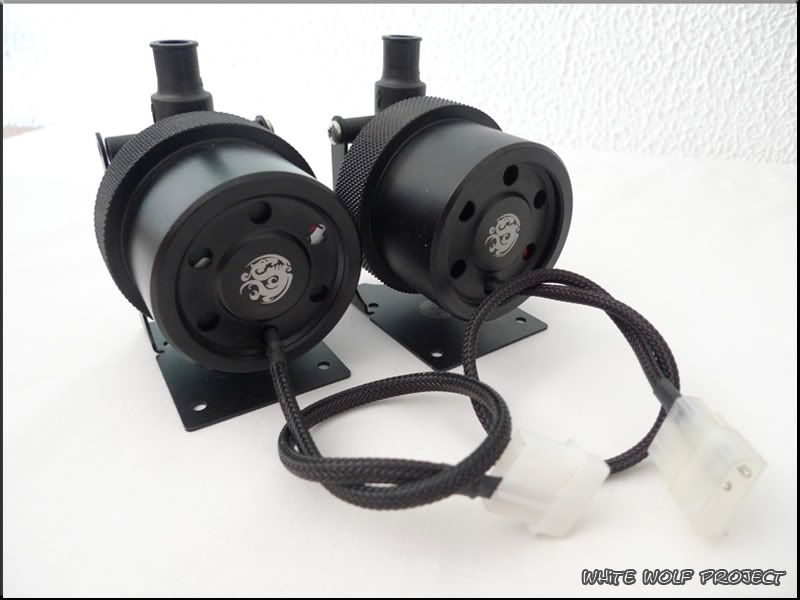
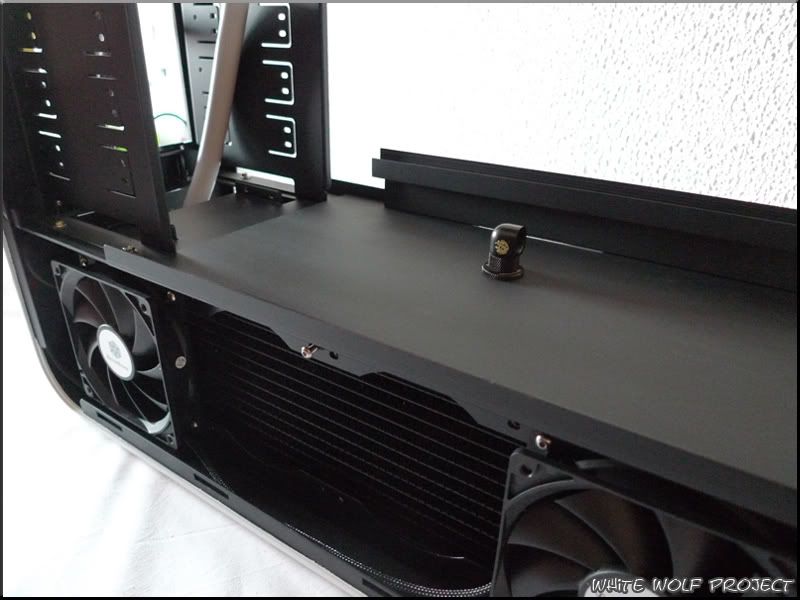
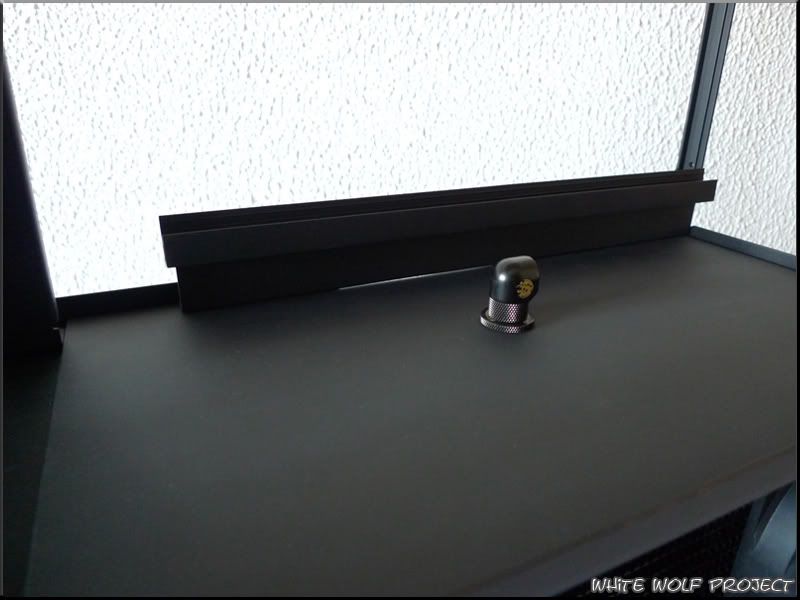
Shortening the fan controller so it fits in the 5.25" bay once the inner cover is placed:
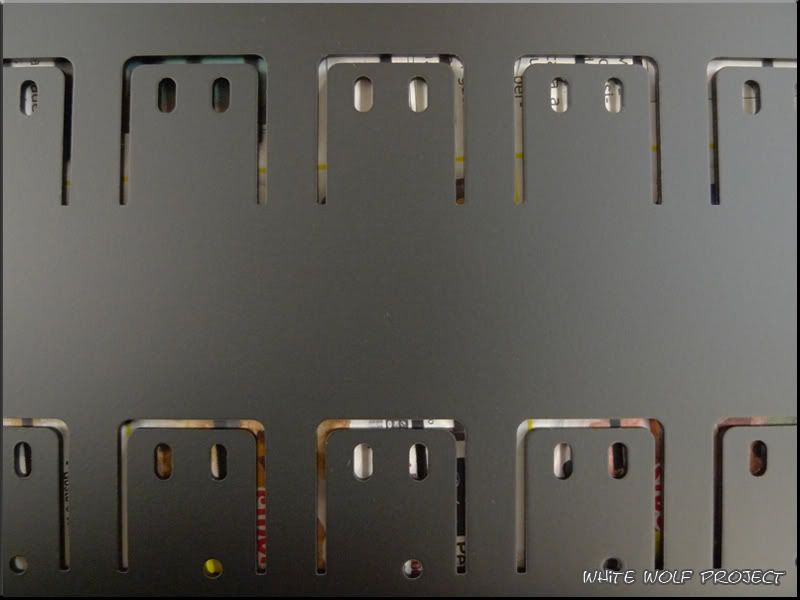
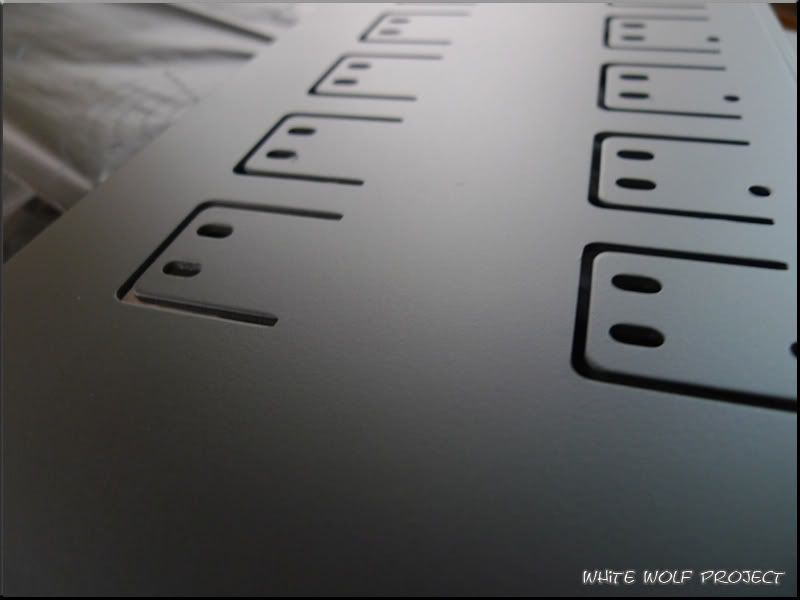
The side panel completely tapped and ready to be cut to make a window:
Later I'll post some more detailed photos of the cut
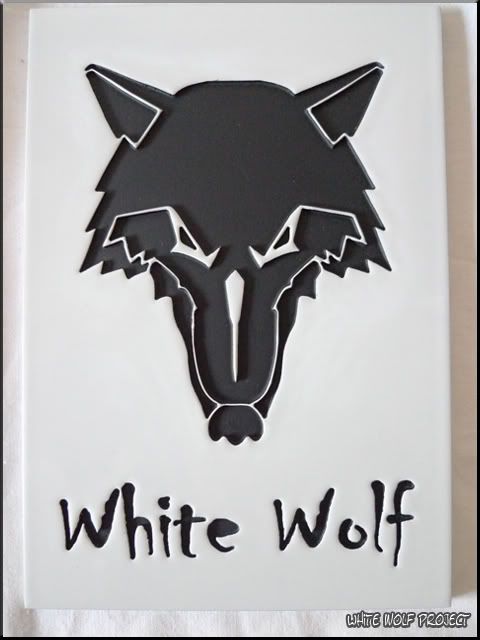
Time to go Pro again
I hope you guys like this update and later i'll post some photos of my sleeved PSU =D
Last edited by Wolfskin07; 08-10-2010 at 01:54 AM.
Keep going bro...it will be very nice when it will be fninished.
The tube between the mosfets... ever consider changing that to black tubing? I can see it working nicely.
Signatures make my posts look huge... but I'm not humble enough to completely remove my signature, so I kept this note explaining it.
Looking real nice there! Does anyone know if there's going to be a revised TJ07 as NewEgg doesn't even have the "Auto Notify" active and Frozen CPU has them for an absurd marked up price of 369.99!
Systemlord
* My Case Labs STH10 Build Log *
Computer System:
CPU = Intel i7 3770K
MOBO = Asus Maximus V Extreme
GPU = EVGA GeForce GTX 480 @ 880MHz|1760MHz|4200MHz @ 1.125v
RAM = 8GB Dominator GT's
SSD = Samsung 830 Series 256GB
PSU = SeaSonic X-1250W
SC = X-Fi Fatality Pro
CASE = Case Labs STH10
LCD = NEC MultiSync 1970GX 19"
OS = Windows 7 Ultimate 64-bit
Watercooling System:
CPU = EK Supremacy Nickel+Acetal
GPU = EK FC-480 GTX Nickel+Acetal
MB = EK-FB Asus M5E Nickel+Acetal
RES = EK-RES X3 250
PUMP = Dual Koolance PMP-450's w/ EK-D5 Dual Top CSQ
RAD = Dual HWLabs SR-1 560's w/Gentle Typhoon 1850rpm Fans
LIQUID = Distilled Water w/Petra's Pure Silver Killcoil
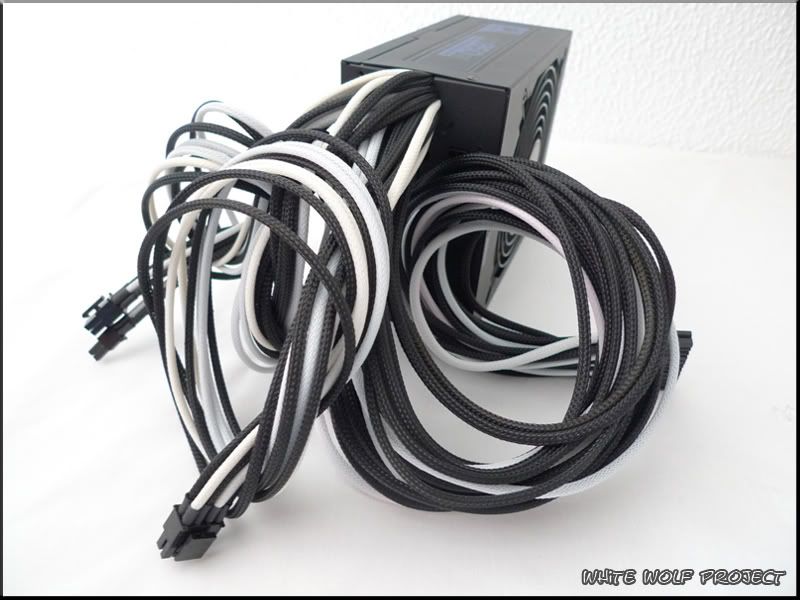
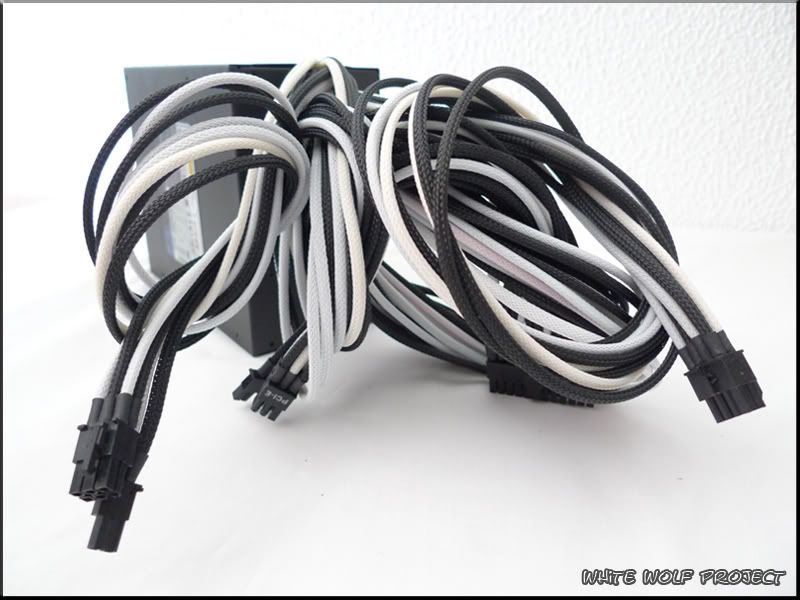
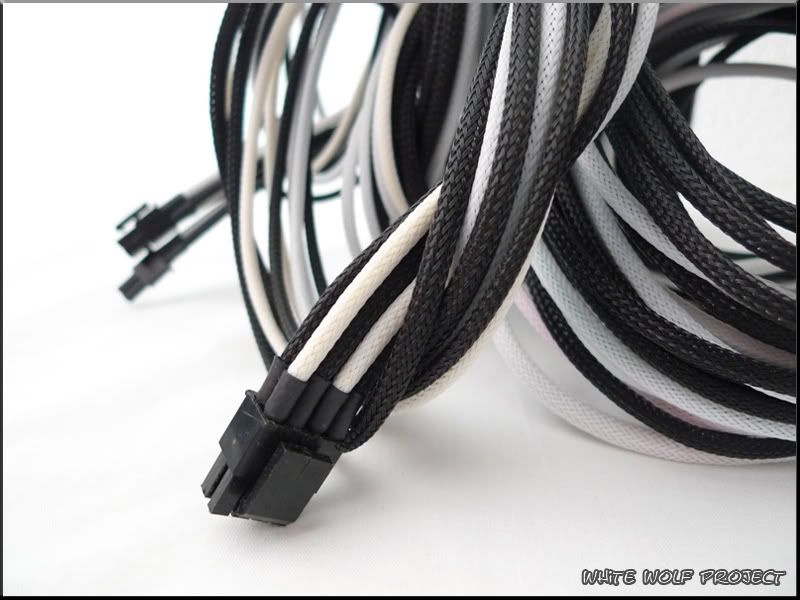
The PSU main cables sleeved and ready! a BIG THX to Carlos for surprising me with his superb work!
I hope you like it!
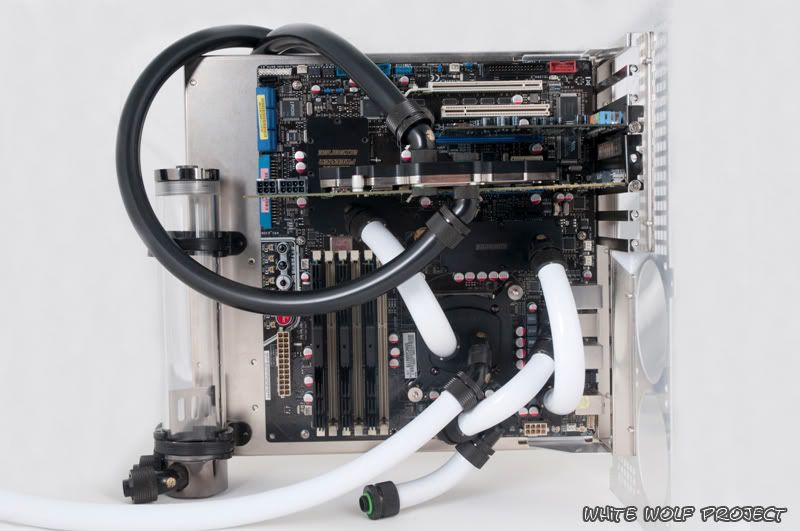
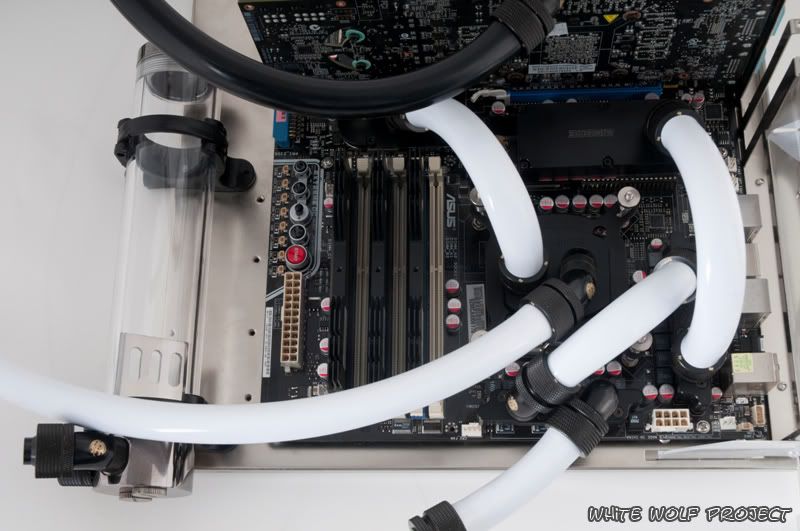
I haven't mate! But I kinda like it this way and it serves a second goal: to identify the separate loops. But thank you for your suggestion. I will think about it in a future upgrade =P
Damm sexy bro
Yeah that's a good point, but I'm suggesting it because that area looks a little cluttered and either the MOSFET or the input line could be black to simplify it a bit.
Signatures make my posts look huge... but I'm not humble enough to completely remove my signature, so I kept this note explaining it.
Once the CPU inlet tube gets connected to the pump it will be less cluttered because the tube will rise and distance itself from the others a bit (=
But thx for the input!
Hey guys! It's been a long day and I have some photos to show the work done today
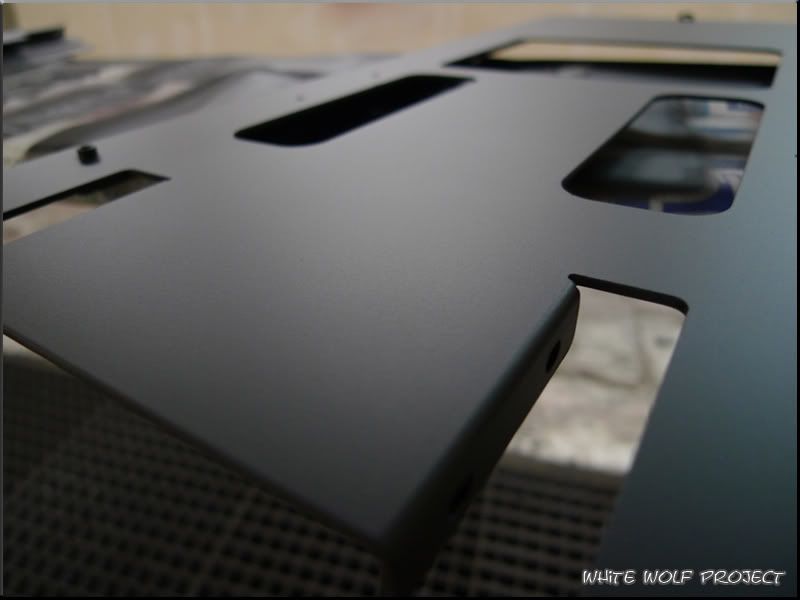
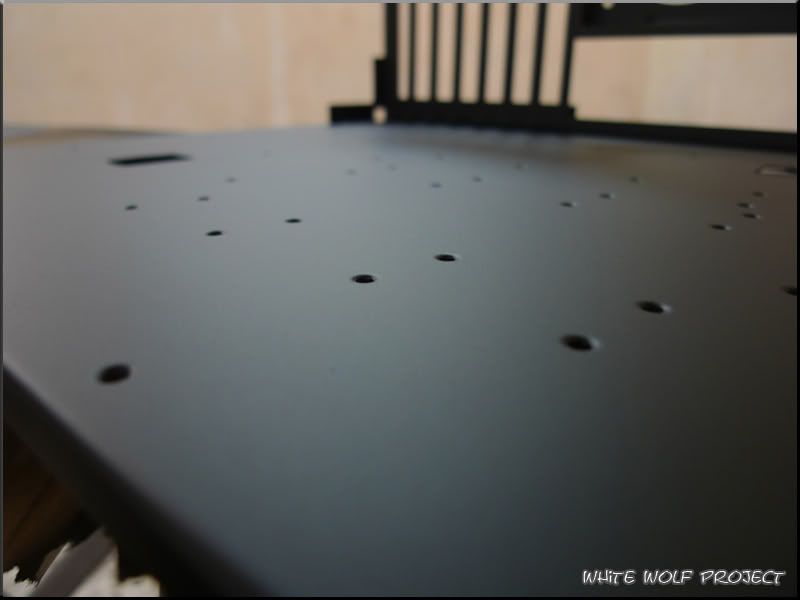
After sanding and applying the primary it looks like this!
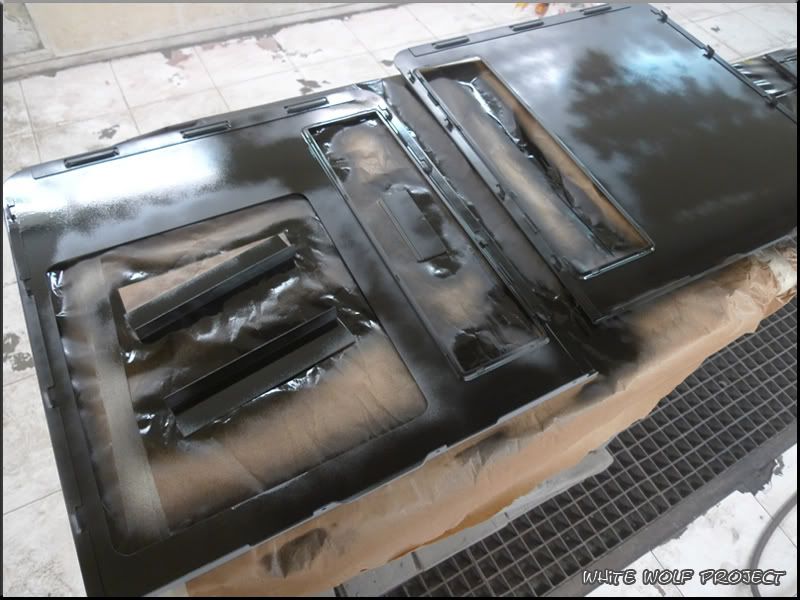
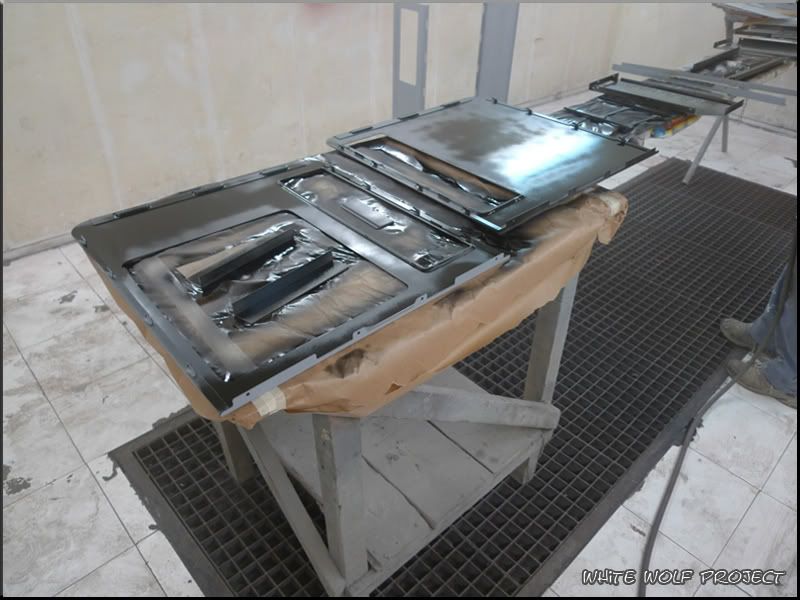
Some parts painted black and waiting for the paint to dry
After 2 coats of paint and drying this is the result
Here's the tricky part of the paint job:
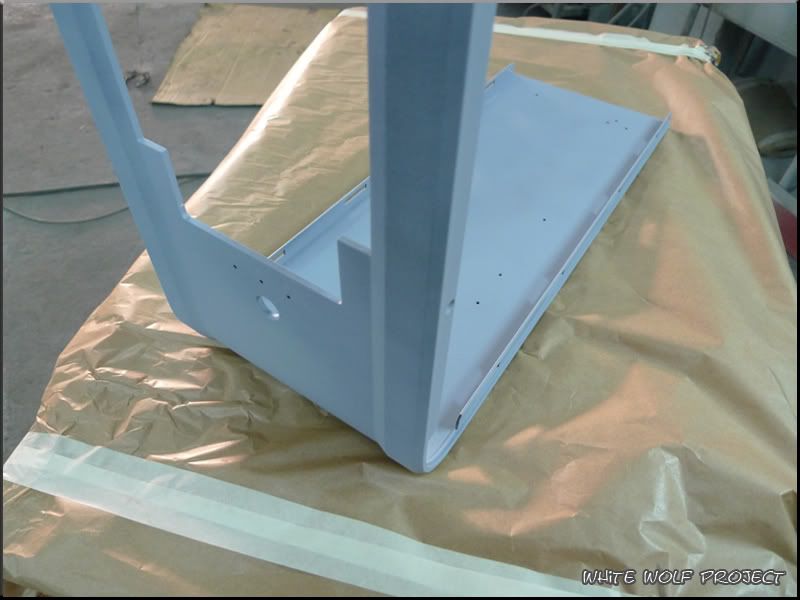
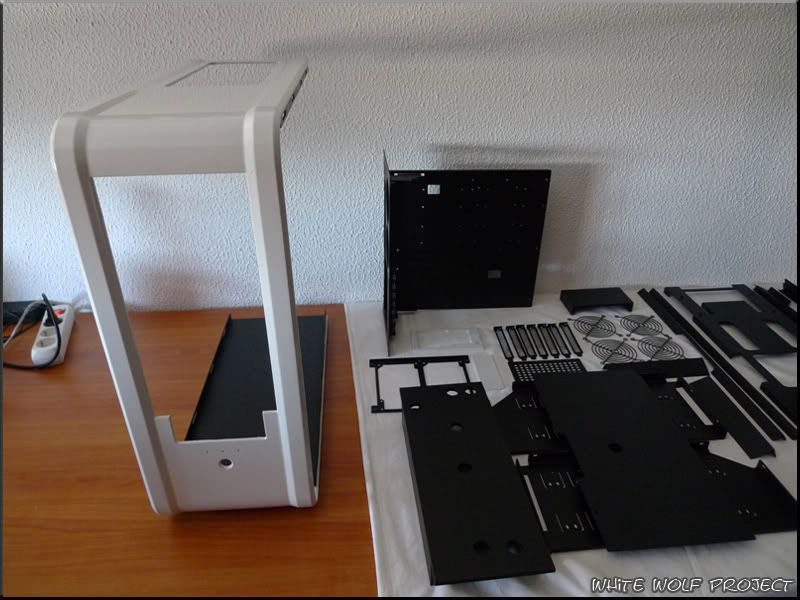
The unibody and some other parts painted black inside and White outside. In the photos the black had already been applied and we were ready to apply the white paint
The white paint stayed in the dryer all night because we applied it in the evening so I'll show you some photos of the unibody and the other parts ready to be mounted
whiiiteeeee
The case is partially assembled and I can tell you it's looking good!!
Vary nice paint job Wolf!
-Systemlord
* My Case Labs STH10 Build Log *
Computer System:
CPU = Intel i7 3770K
MOBO = Asus Maximus V Extreme
GPU = EVGA GeForce GTX 480 @ 880MHz|1760MHz|4200MHz @ 1.125v
RAM = 8GB Dominator GT's
SSD = Samsung 830 Series 256GB
PSU = SeaSonic X-1250W
SC = X-Fi Fatality Pro
CASE = Case Labs STH10
LCD = NEC MultiSync 1970GX 19"
OS = Windows 7 Ultimate 64-bit
Watercooling System:
CPU = EK Supremacy Nickel+Acetal
GPU = EK FC-480 GTX Nickel+Acetal
MB = EK-FB Asus M5E Nickel+Acetal
RES = EK-RES X3 250
PUMP = Dual Koolance PMP-450's w/ EK-D5 Dual Top CSQ
RAD = Dual HWLabs SR-1 560's w/Gentle Typhoon 1850rpm Fans
LIQUID = Distilled Water w/Petra's Pure Silver Killcoil
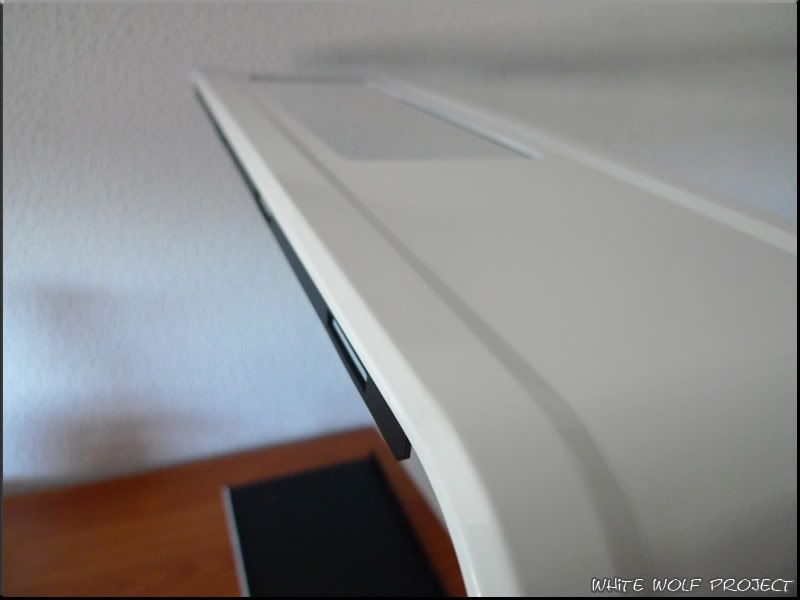
This was painted just like a car! In an auto body shop!
If the cost is not a problem i suggest you to search a best service and be done by professionals to insure you a good job it's always better than a spray paint
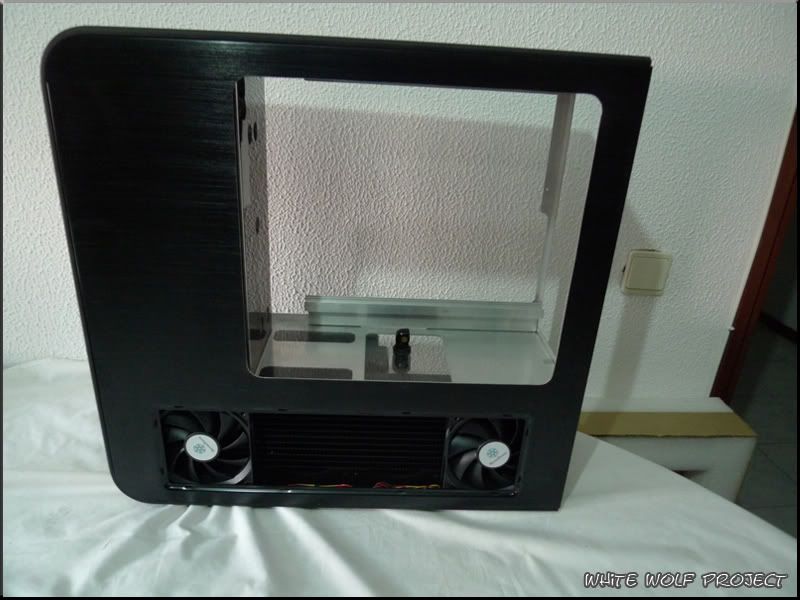
Another small update for you guys.
The case is now assembled and the front panel is finally painted! Also the side Window now has the acrylic glued to it
Some photos of the inside
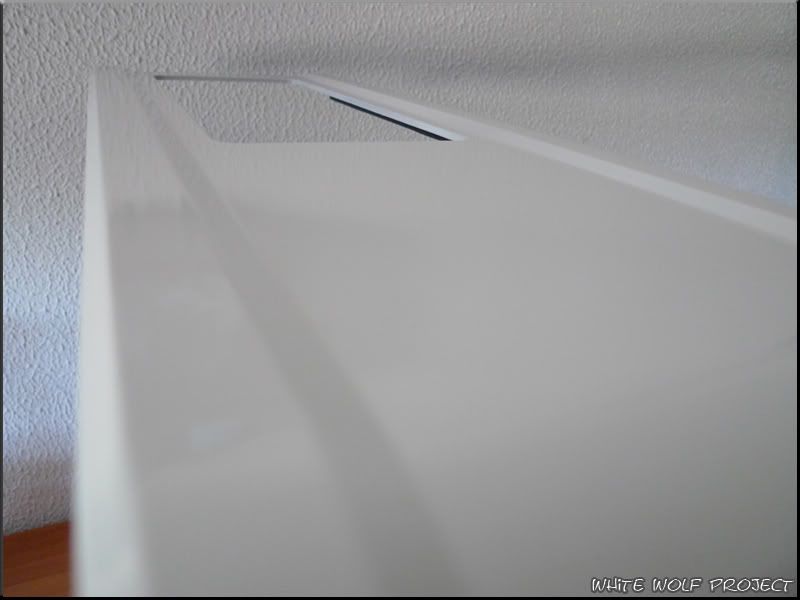
We had a hard time perfecting the paint on the front panel but it paid of BIG TIME!
More to come soon....stay tuned!
nice! - really like that front panel
paint job looks fantastic too
≠ 4770K - R9 290X Crossfire
www.overclockers.co.uk


 Reply With Quote


Bookmarks