Page 1 of 10 1234 ... LastLast
Results 1 to 25 of 242

Thread: Project Slumber Parties UPDATED 11-19-09 10:05PM

  1. #1
    Xtreme Enthusiast
    Join Date
    Oct 2009
    Location
    Arlington, TX
    Posts
    581

    Project Slumber Parties UPDATED 12-16-10 Leak testing

    This is my first post here on the forum. I've only ran across it recently. So I'm going to copy over my worklog from [H]Forum.

    The History behind the build:
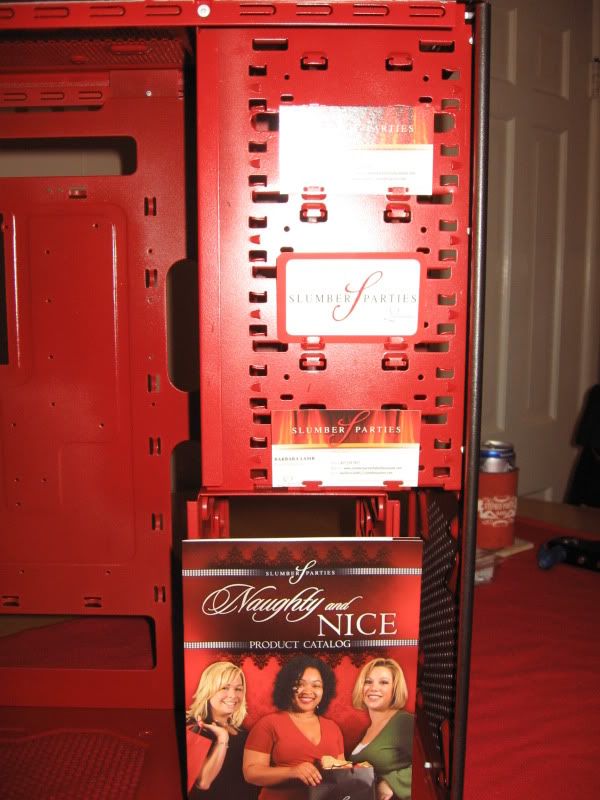
    Well the title is what it is. My fiance has Transverse Myelitis and has been wheelchair bound since the age of 2. She started her own business as a distributor for Slumber Parties (The 18+ Women only girls night out parties) back in Oct 08. Since then April 09 we went through and redid the office in Ikea products using the red and black/brown units. Later this year around I would say August I decided to make the leap to I7 and finally try out watercooling.

    Considering here in TX with the game rig I was running dual EVGA 9800GTX KO cards on stock cooling @ 100% fan with Riva Tuner it only took 5 minutes to increase room temps by at least 3* So needless to say my game rig was used for 3-4 hours max for gaming and about 10 hours for benchmarking Max. The rest of the time it was shut off waiting for the cooler season.

    The basis of the build is off the red, black, and white theme which follows the business.

    Key build items are:
    Cooler Master Haf932
    Foxconn Bloodrage (water cooled version)
    I7 920 DO
    Corsair Dominator GT 3X2 6GB Kit 2000MHZ
    Enermax Revolutions 1050W psu
    MDPC Sleeving
    NZXT Sentry Panel
    Swiftech XT
    Swiftech MCP355 X2
    XSPC RX360 Rad
    XSPC RX480 Rad
    FrozenQ 250ML Red Helix res X2
    Feser 3/8ID 1/2OD Compression Fittings Ceramic coated in Matte Black
    OCZ Vertex 2 120GB SSD
    WD 250 GB Sata for XP install and misc
    WD 750 GB Sata for game installs
    4 12" White Cathod tubes
    XSPC Res Tops X2
    XFX HD5870
    EK Block for GPU
    BFG 9800 GT (PhysX Dedication)
    X-FI Fatal1ty Titanium
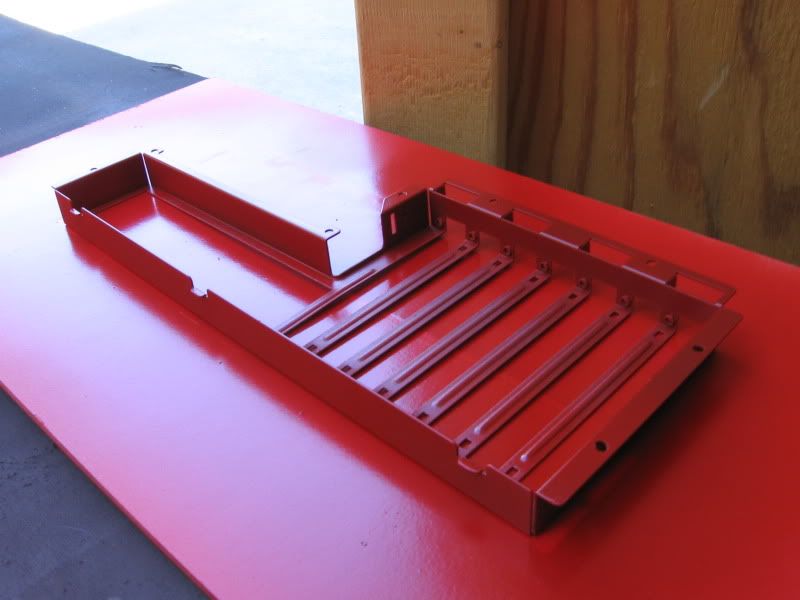
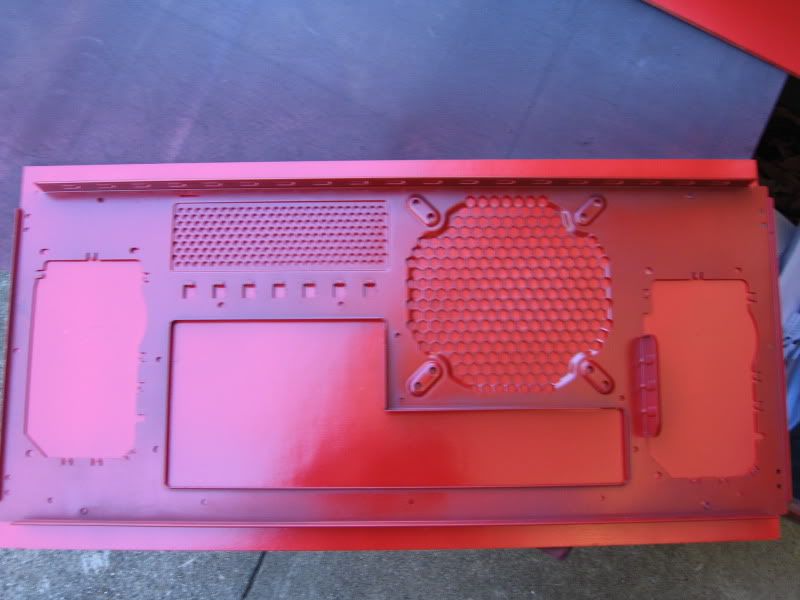
    Custom powder coated and accented Case with cnc work
    Primoflex White tubing with red anti kink coils
    Custom spray paint by Hugo Montero of Cangogh in New Orleans
    Saitek Cyborg R.A.T. 7 mouse
    Saitek Cyborg keyboard
    Saitek X-52
    Acr Labs ForceRS wheel shifter and pedals w/clutch

    Still to purchase
    More MDPC-X Sleeving
    Samsung F3 1TB Sata drive
    Sony Bravia 32EX400 32" lcd tv

    So anyway without further ramblings I introduce Project Slumber Parties:

    Keep in mind its a straight copy and paste from [H]Forum

    09-21-2009, 11:05 PM


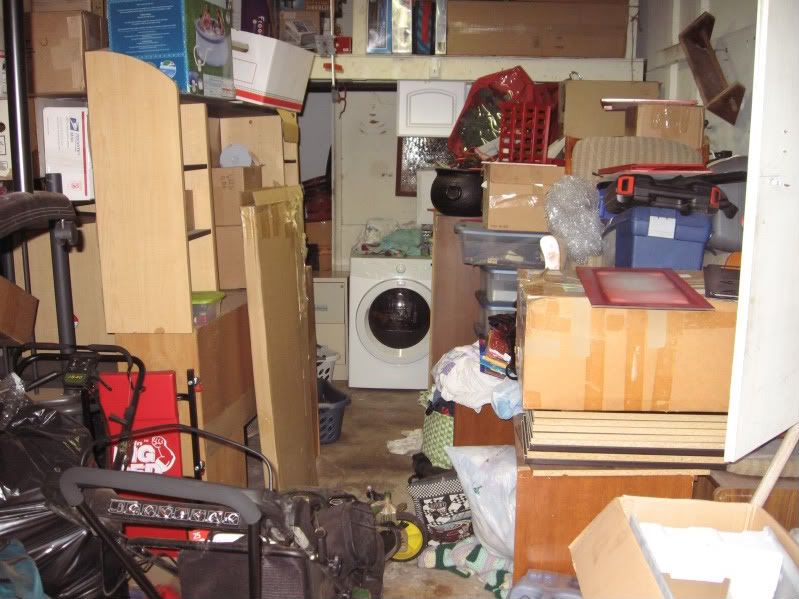
    So my fiance does slumber parties. The office is full of $3,000 of Ikea Besta and Inreda stuff to match the colors of the business. I've been wanting to ditch the PITA Antec 900 thats served as my server box for ever and always wanted to mod a case. So I moved my server hardware into my game case an ABS A+ El Diablo. (I'm going to be modding this one later to match the Red/Black theme also)

    This is my first time going water cooled so I honestly have alot of reading to do. I have plenty of time as I haven't gotten my board, cpu, or gpu/s yet. I've also never painted a computer chassis before.

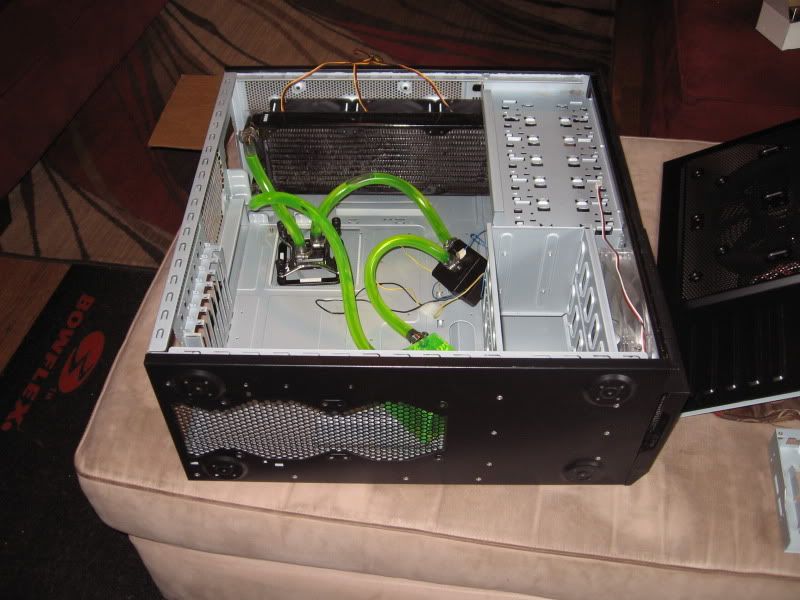
    I picked up a Cooler Master Sphere HAF 932 and a cpu loop with a tripple rad from someone here on HF. Needless to say that transaction hasn't made me happy. I'll just let the pictures do the talking.

    Below are the photos I was shown when I agreed to make the purchase:


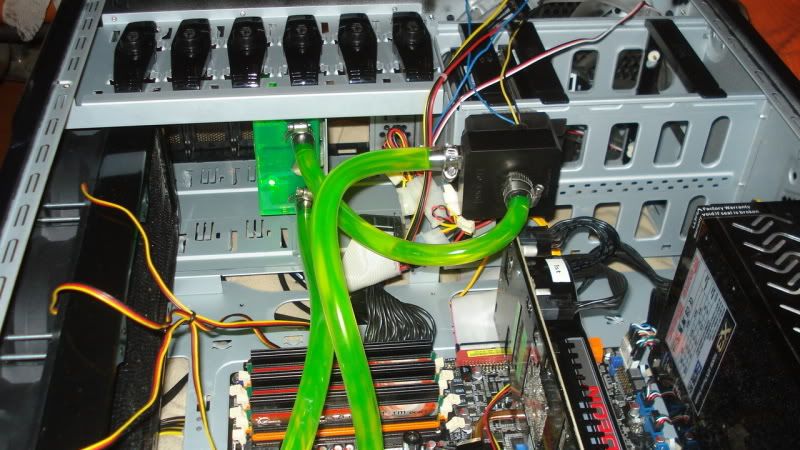
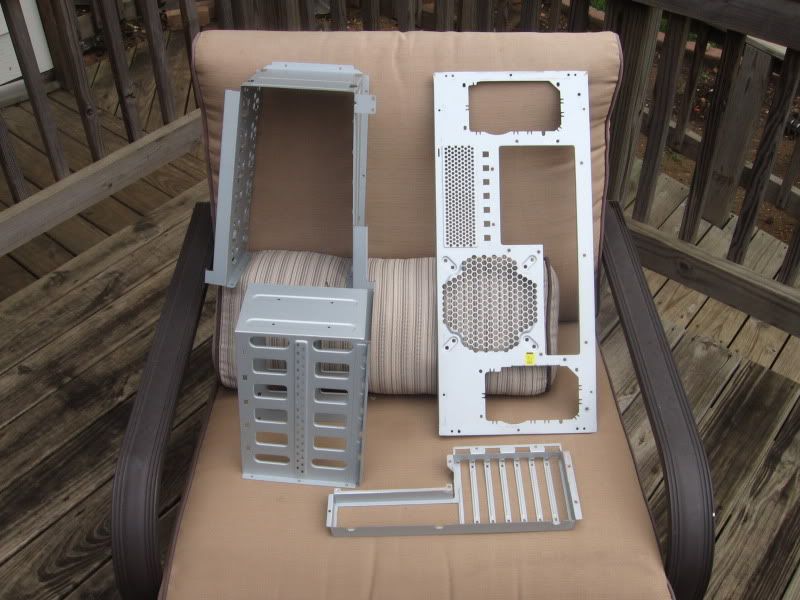
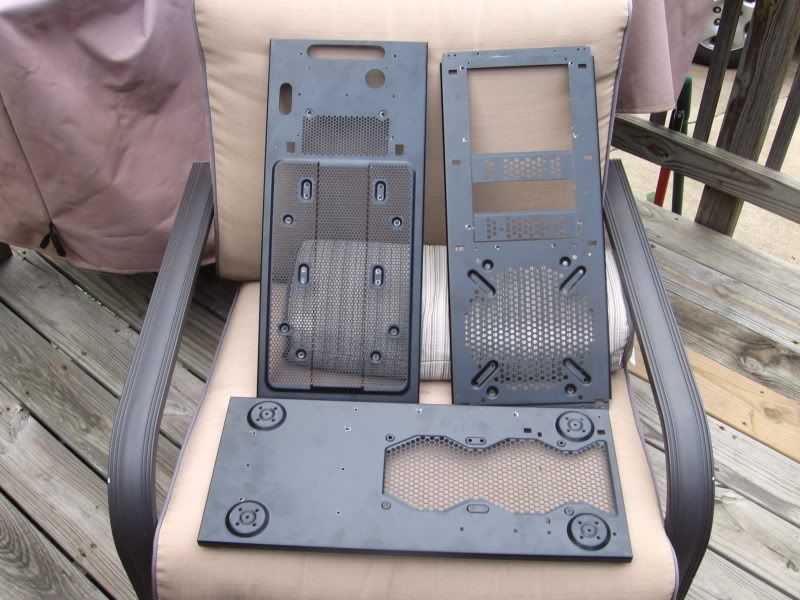
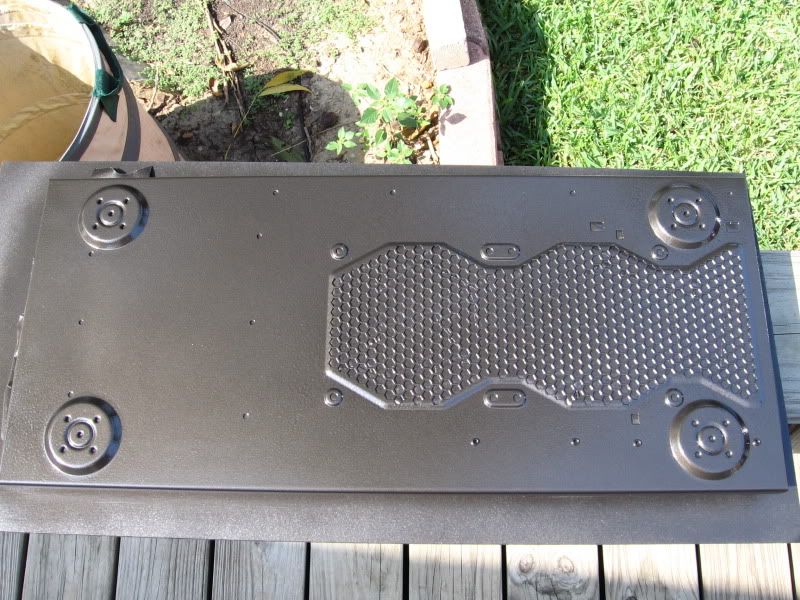
    The following is what I received but wasn't informed of prior to purchase. So its what I have to work with:
    Project Slumber Parties Gallery

    Moving on with the worklog:


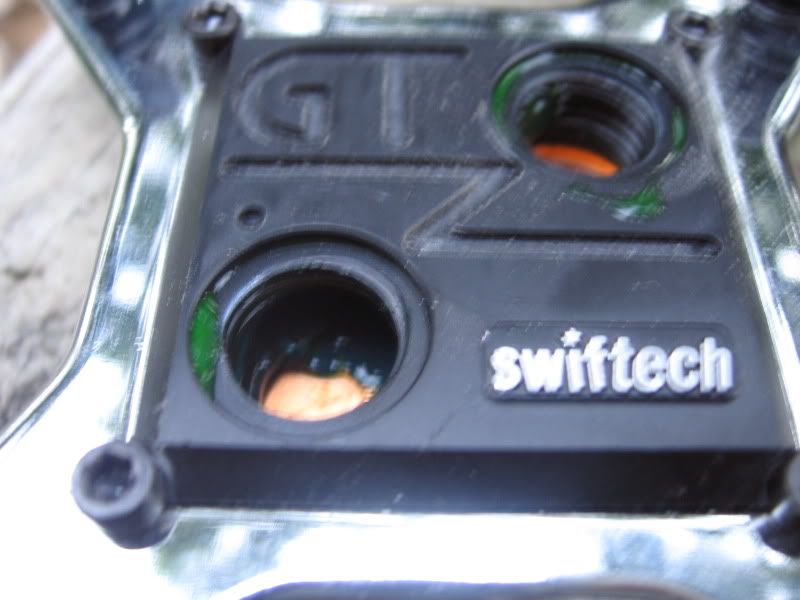
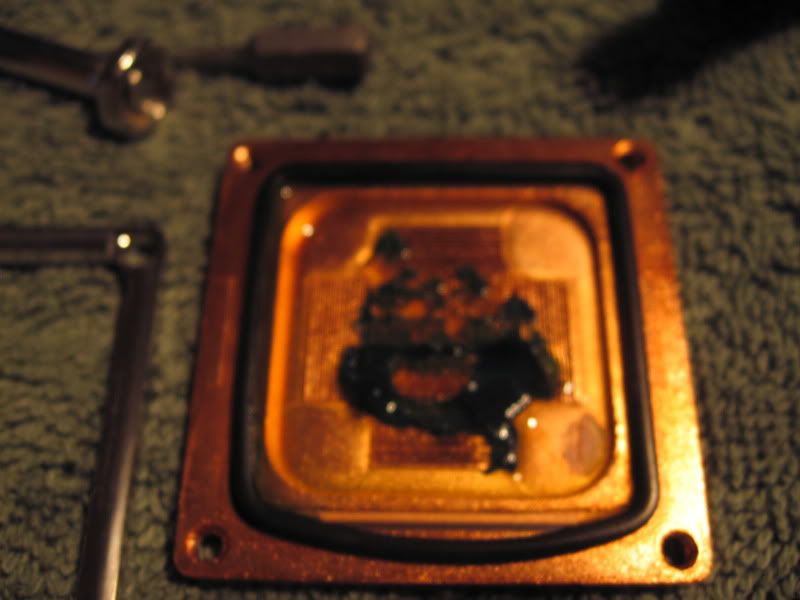
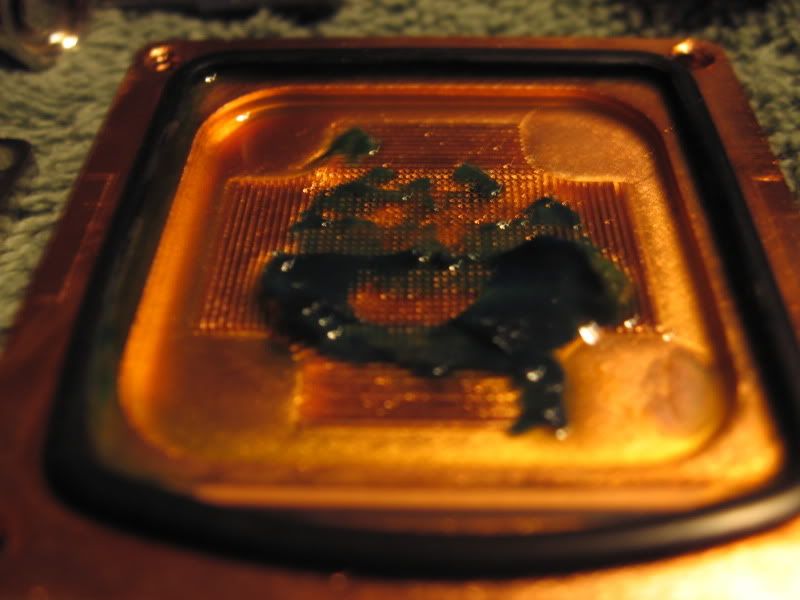
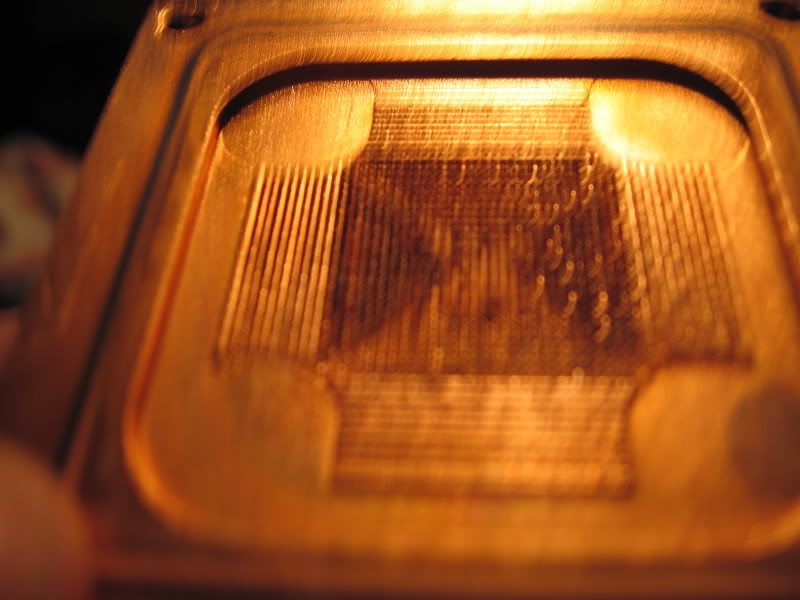
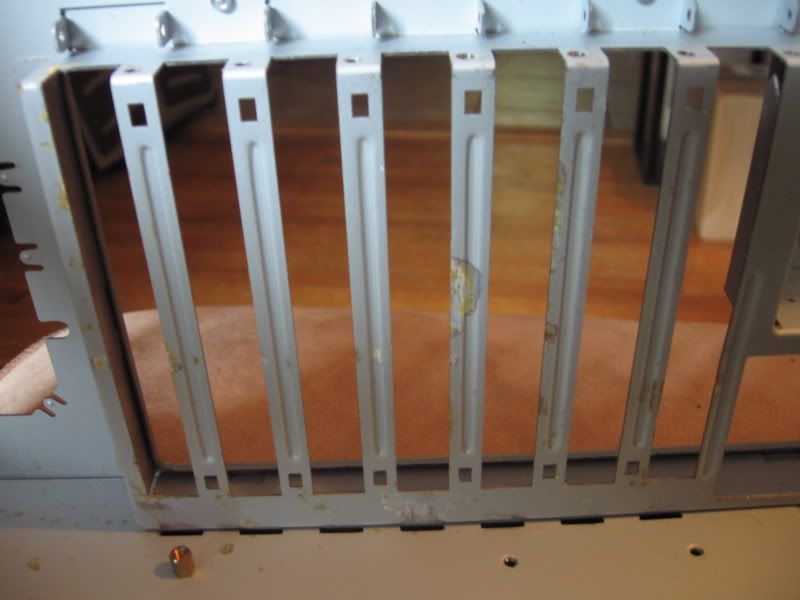
    What on earth is the goup that collected on the cpu block?


    This substance was actually like a putty substance. I just rubbed it off under the bathroom sink. Then after I patted it dry was left with this:


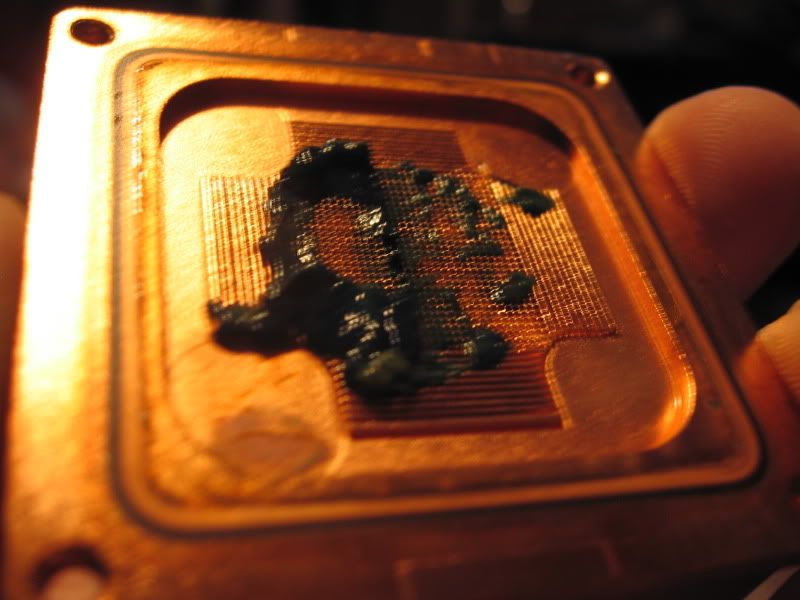
    So I put on a magnifying headset with light and grabbed a needle. This stuff Seemed more like dried algea as it came off in fuzzy sheets.

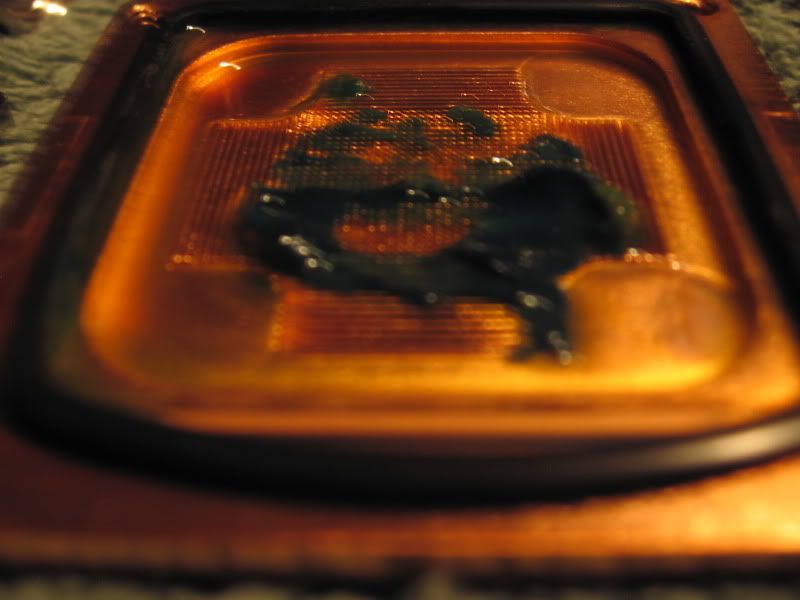
    This was after an hour and a half:


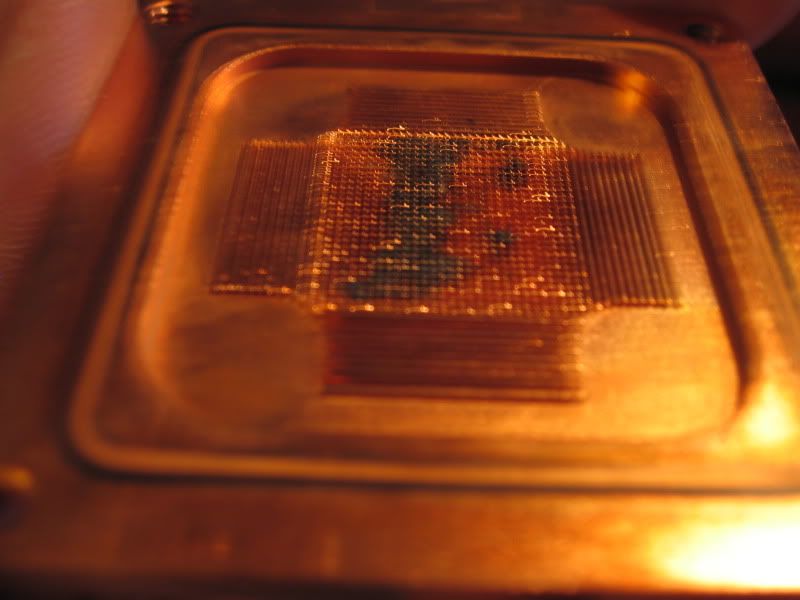
    There is still some minor crap there that I will clean later. I wanted to make sure I could get the foreign crap off.

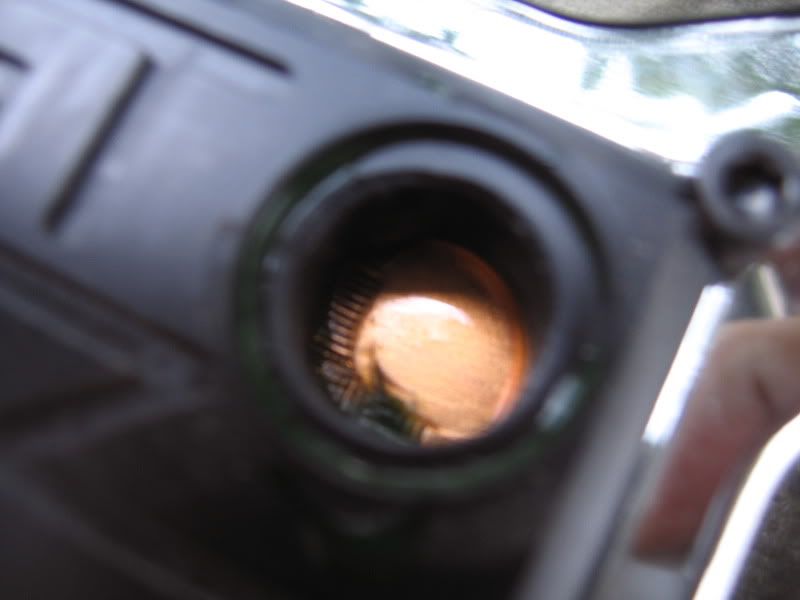
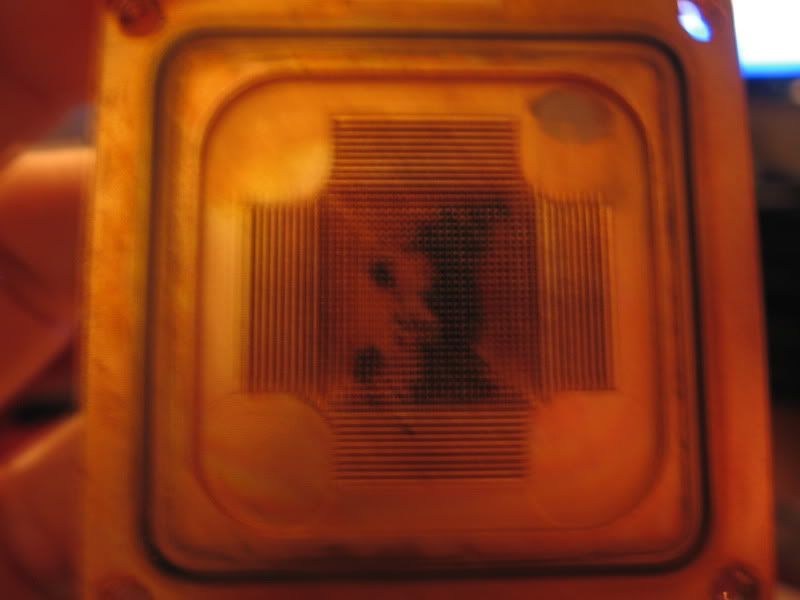
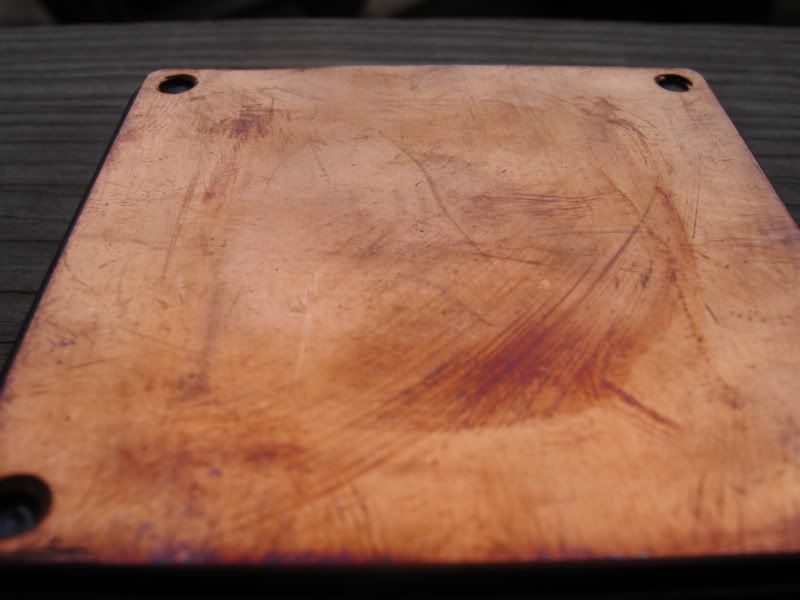
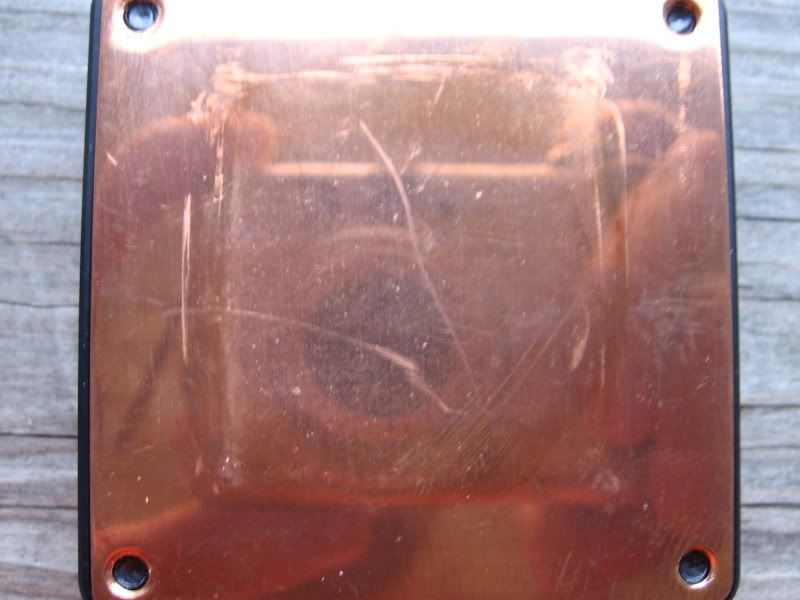
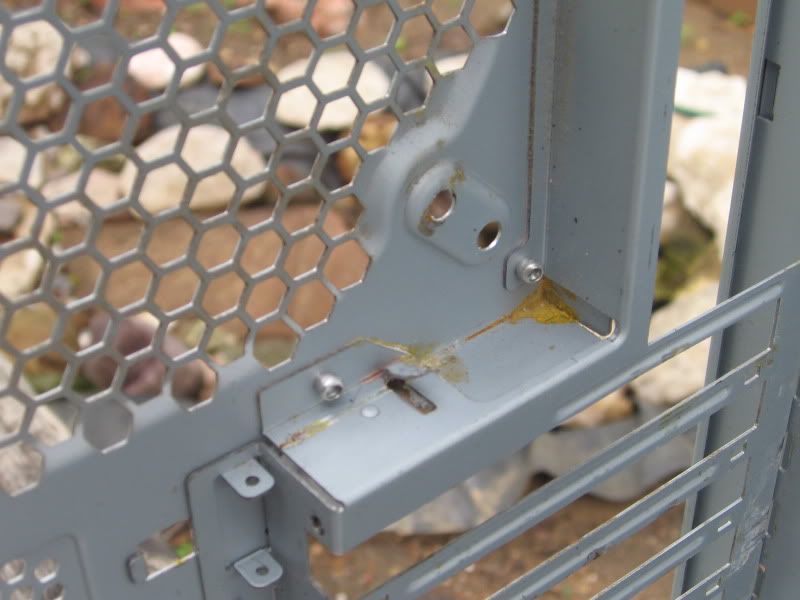
    Now flipping over the copper block we have another nice surprise:


    This must have been from shipping considering I asked to have crushed newspaper stuffed in the case to keep things from moving around. The cpu block was just stuffed in the cpu section of the mobo backplate when I pulled the case out of the box. Which in turn put the copper block against metal so it could rattle and slide while it is shipped. (See below picture) Now I get to read up on lapping also.

    Granted The pump and res were tapped down and the 6 gigs of gskill ram and box of case accesories were tapped and bubble wrapped together.
    What nice find did I have of that ram with red heatsinks? Thermal paste smeared all over two of them on one side. Considering there was thermal paste on the inside of the anti static bag they were in.

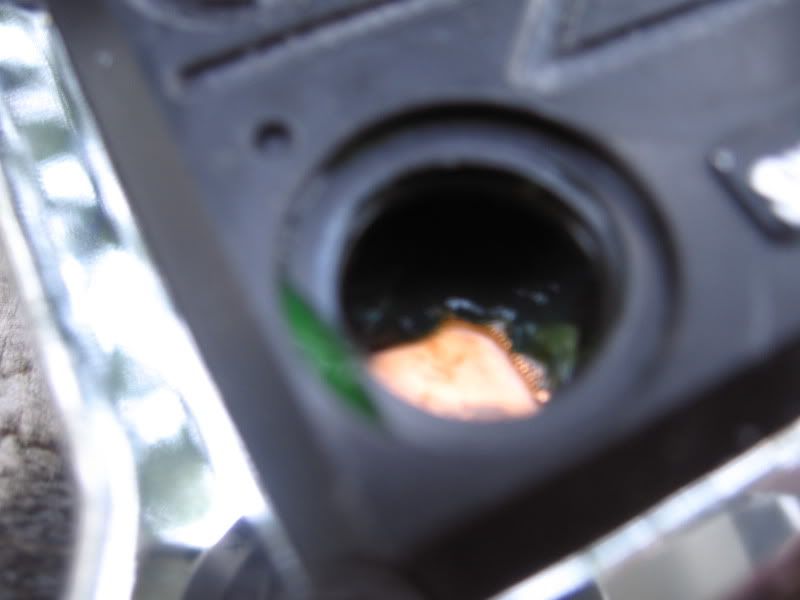
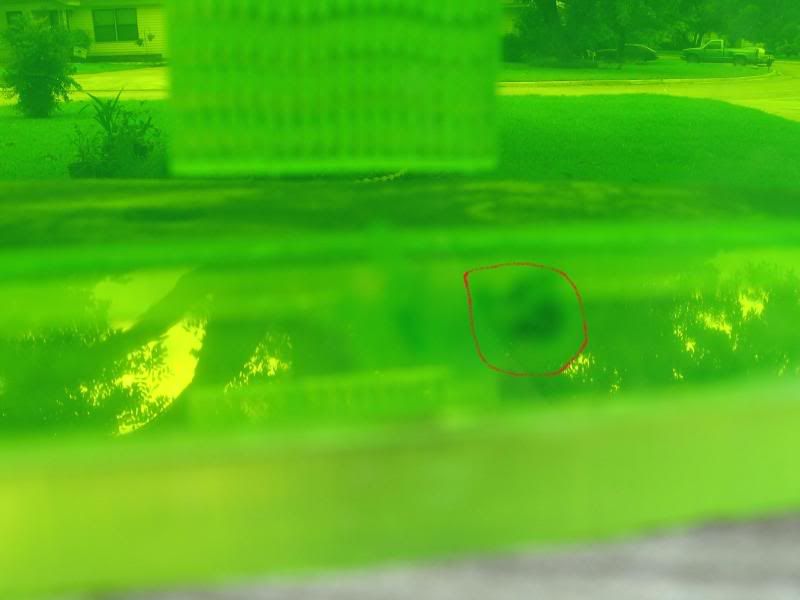
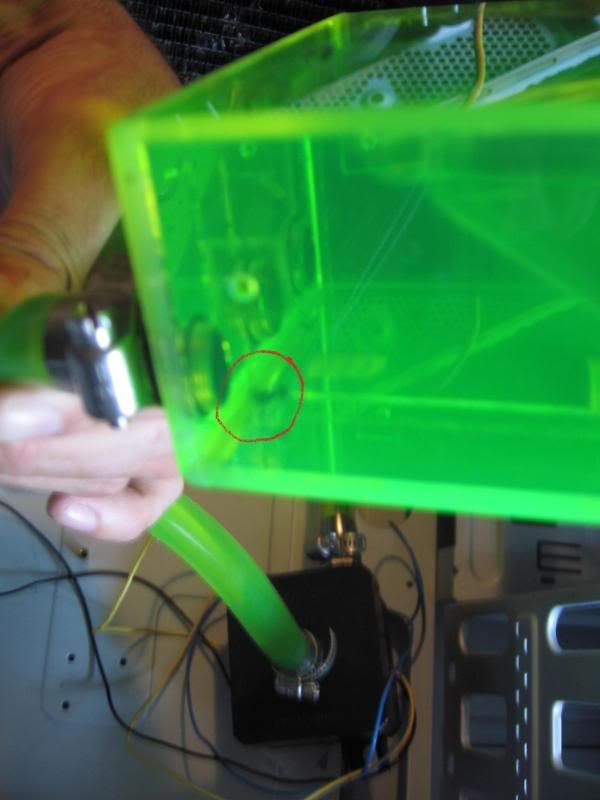
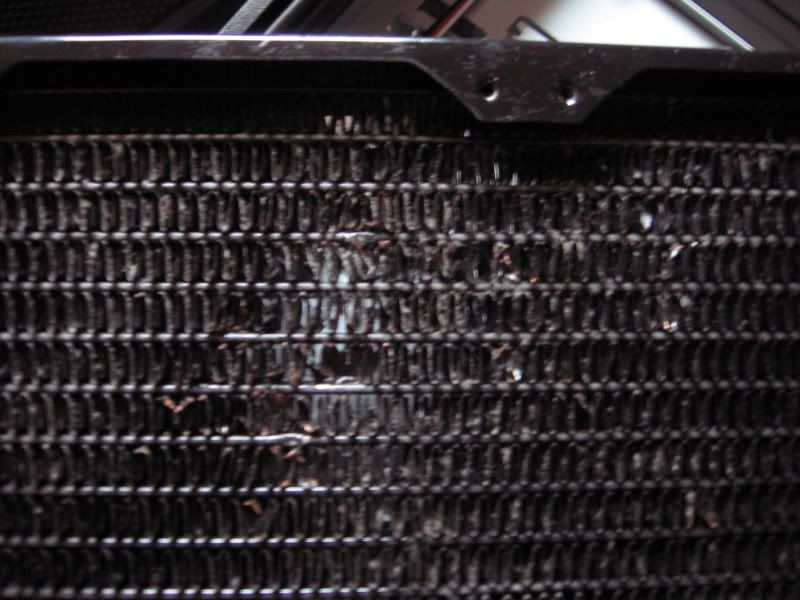
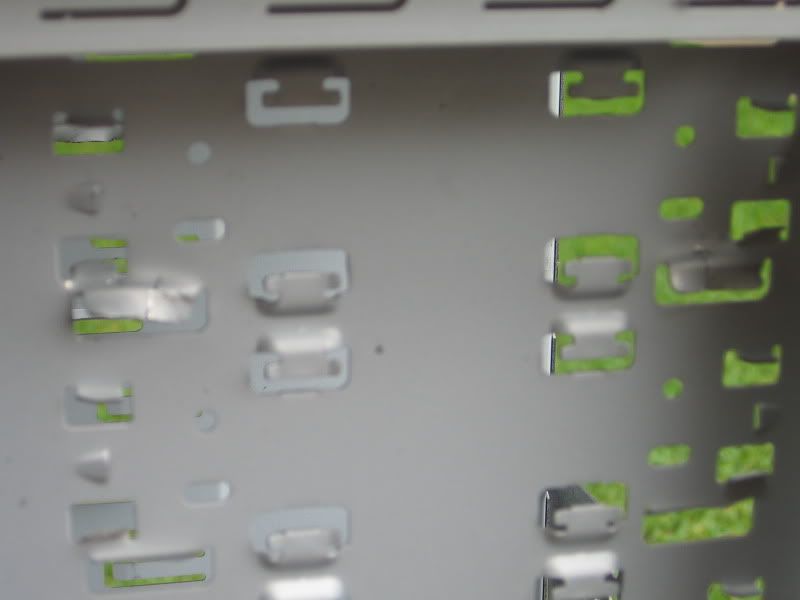
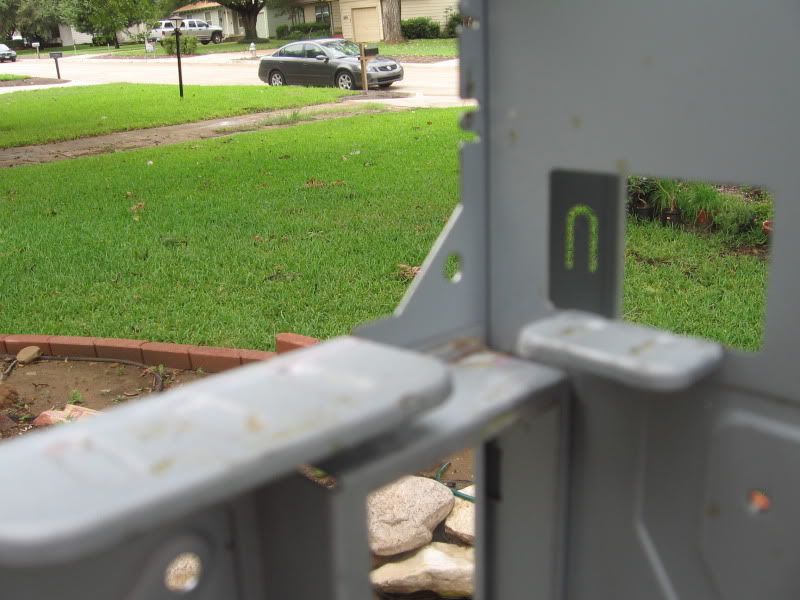
    While I was moving the Cooling setup I noticed Some fuzzy green particles floating around in the system:


    Is this crap normal? I'm guessing its a form of algae.

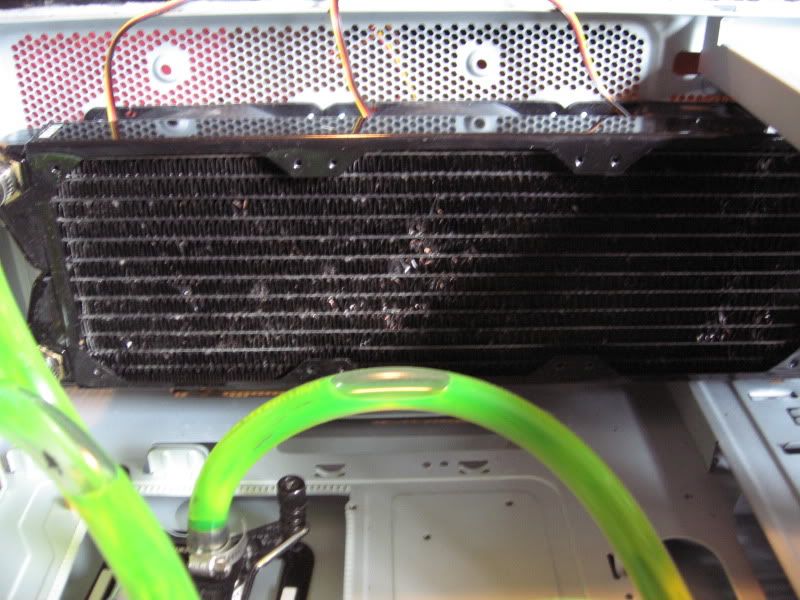
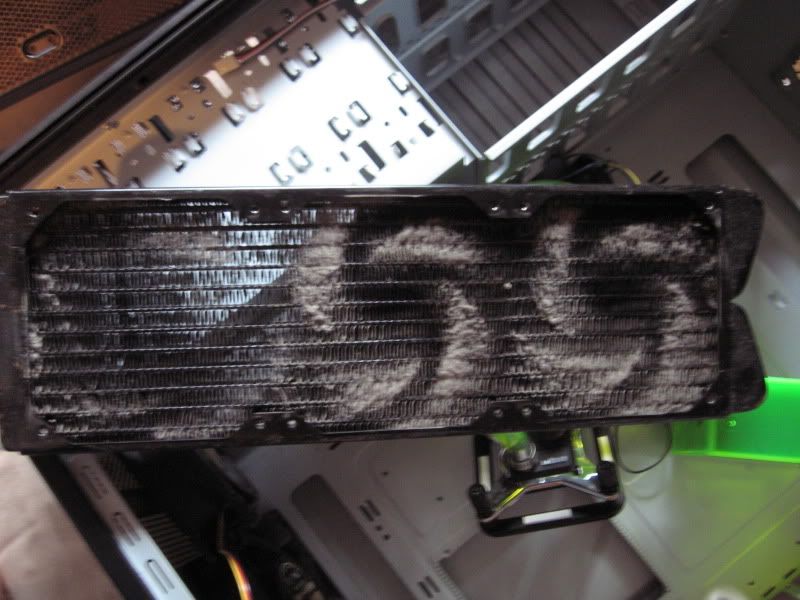
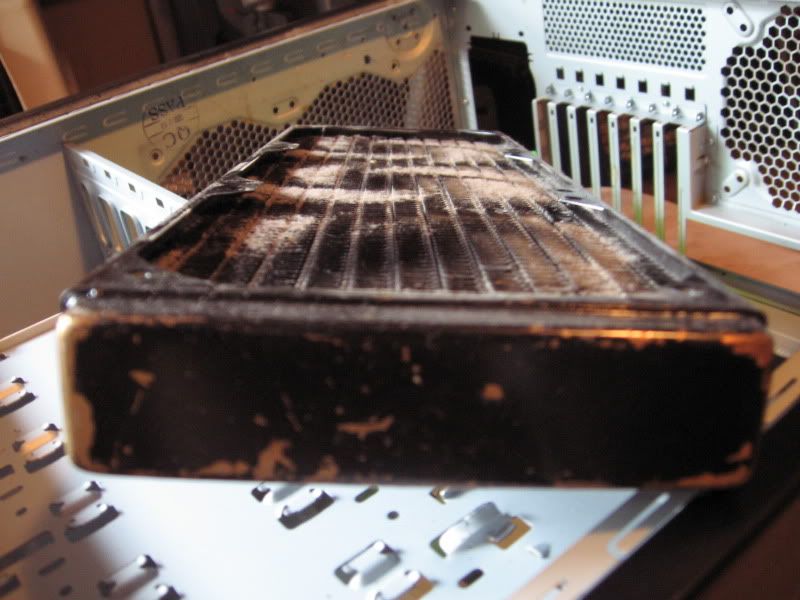
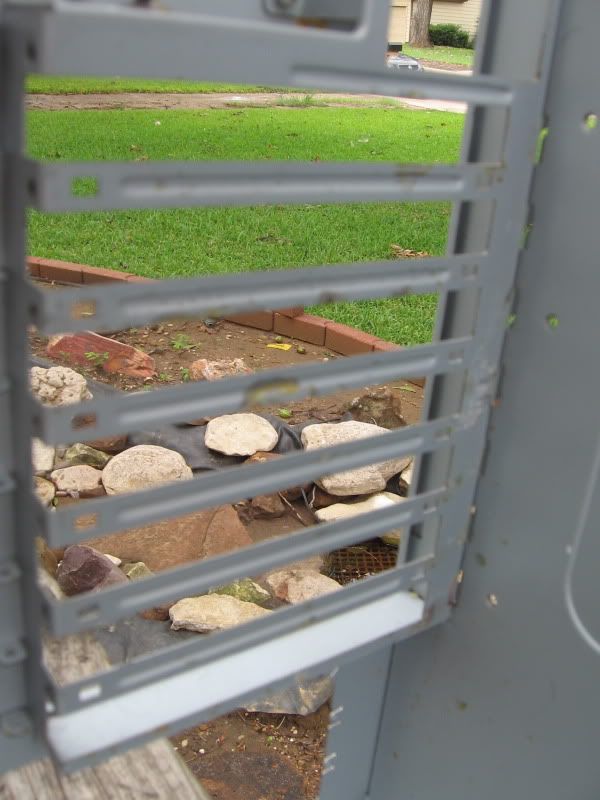
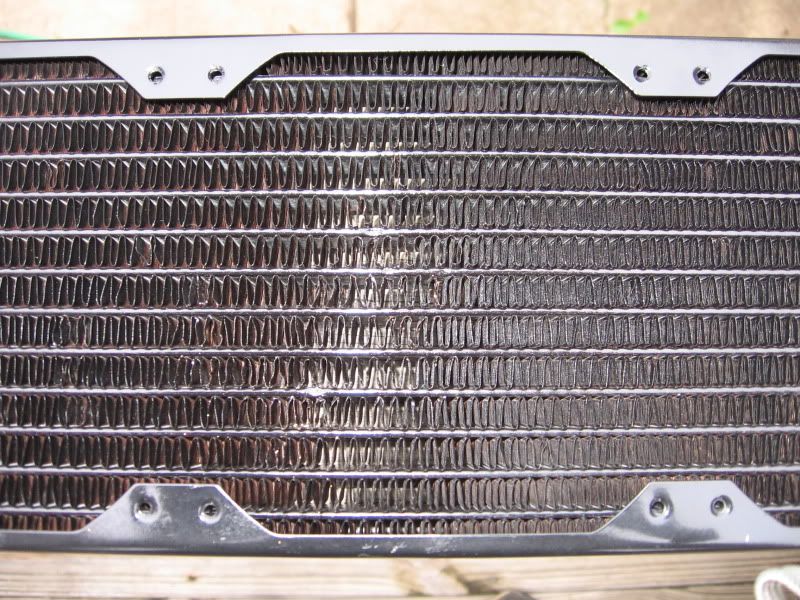
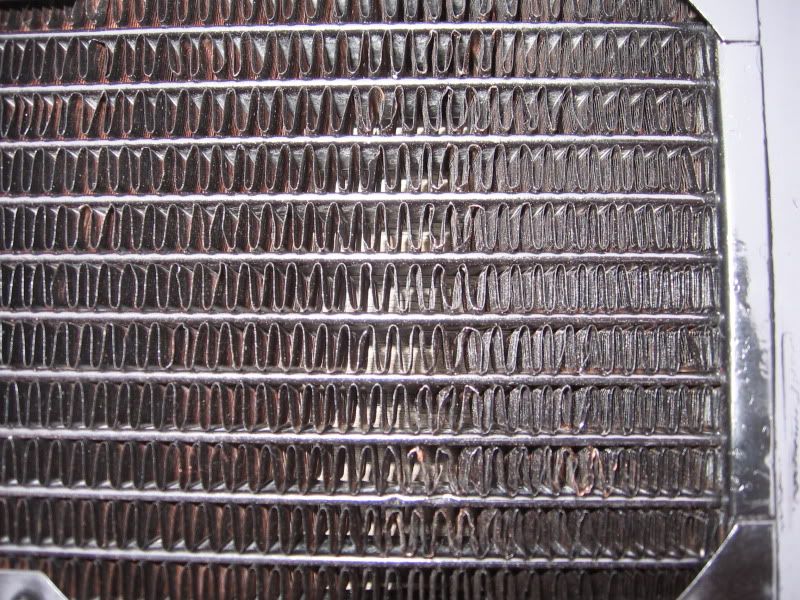
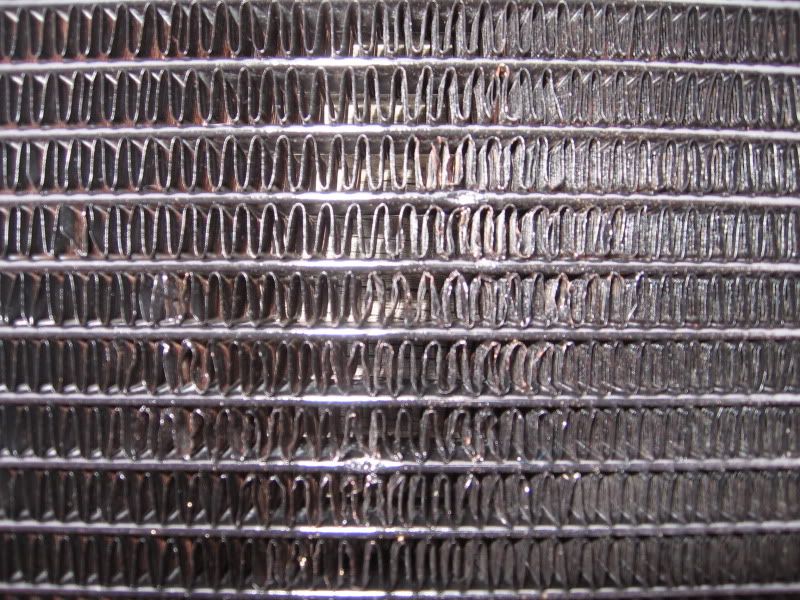
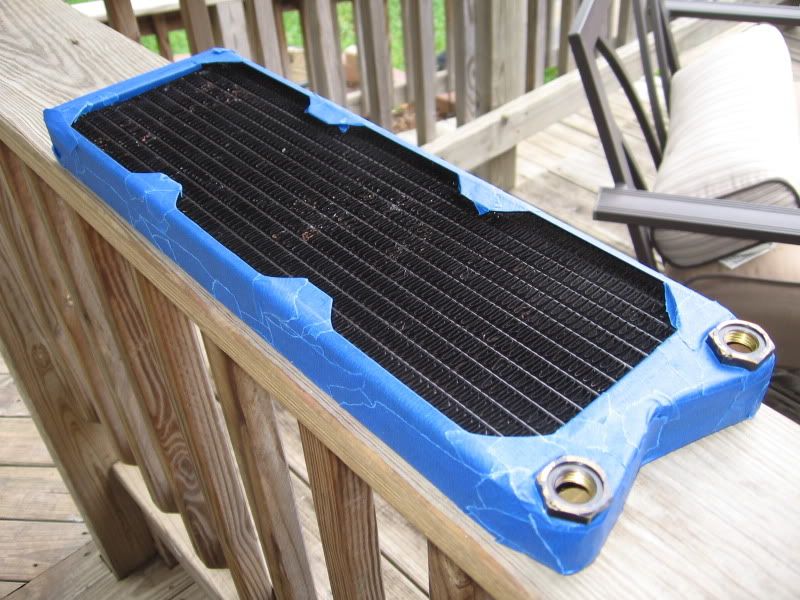
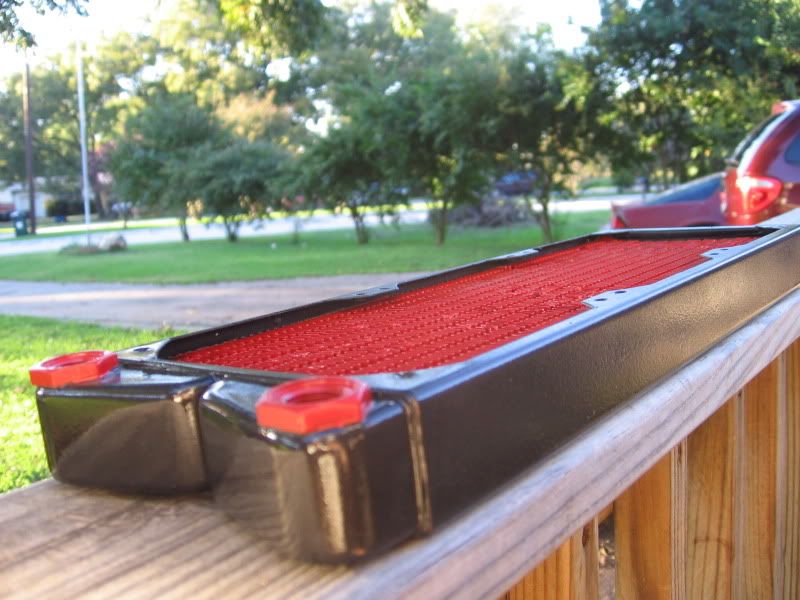
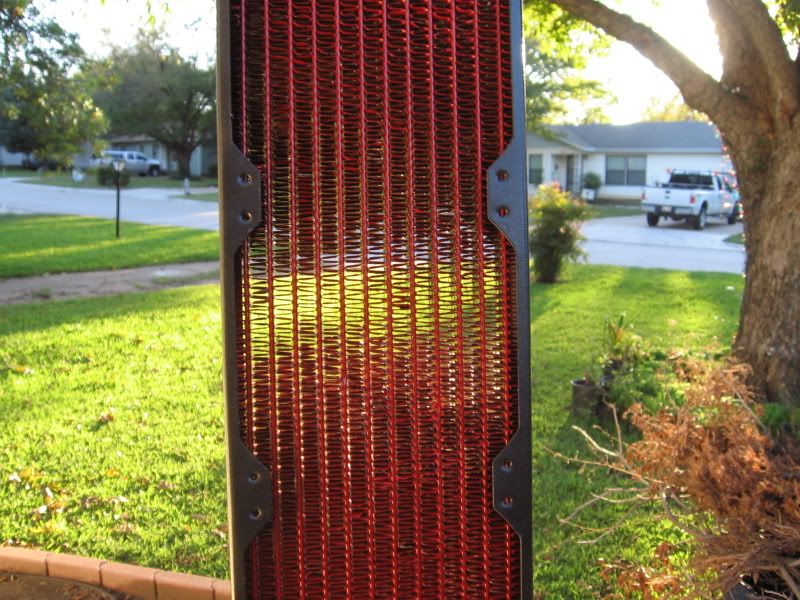
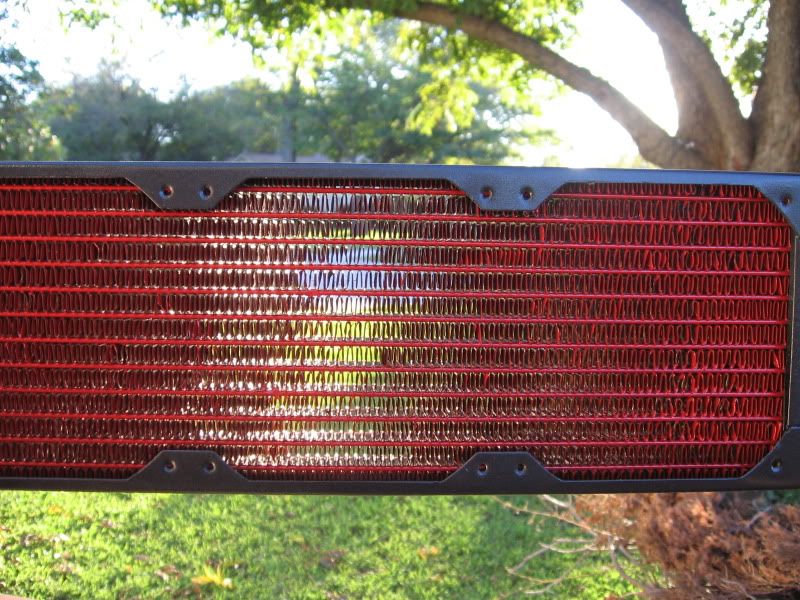
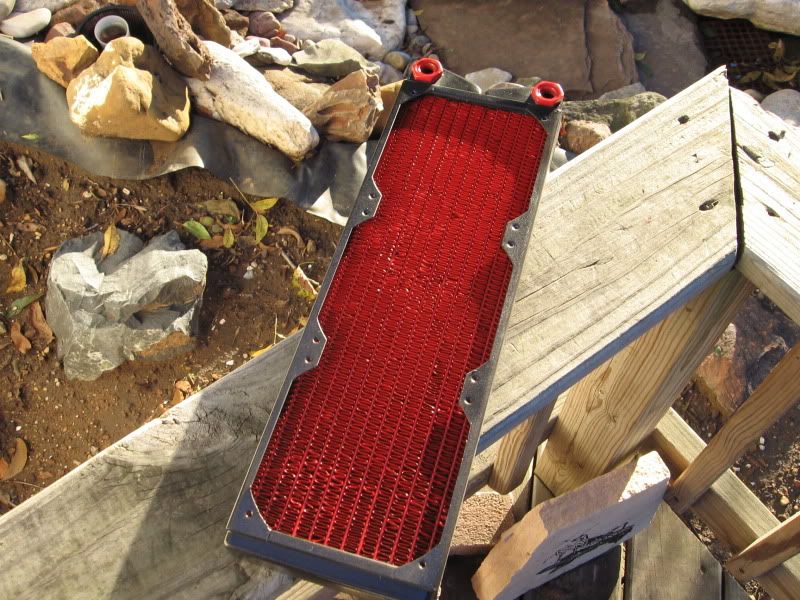
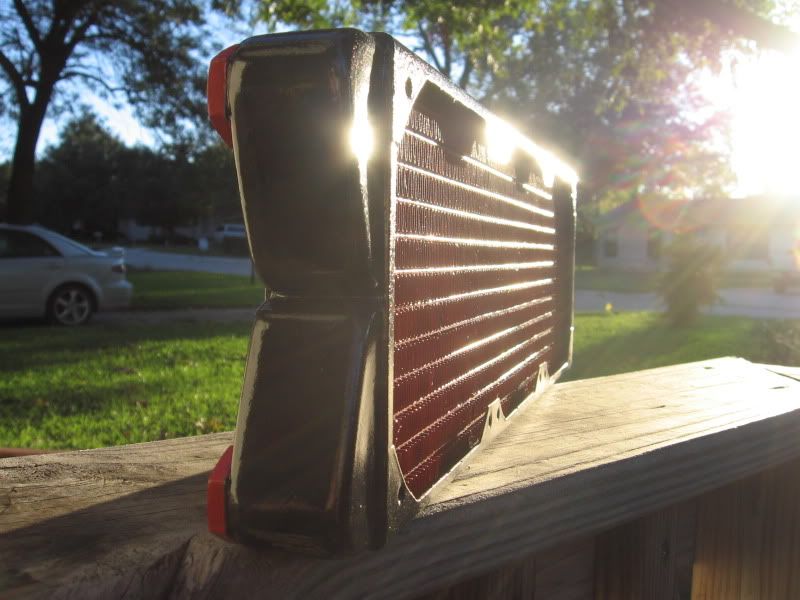
    Now for the Rad I was rather pissed off when I saw the following as I wasn't informed of this nice little bit of findings either:
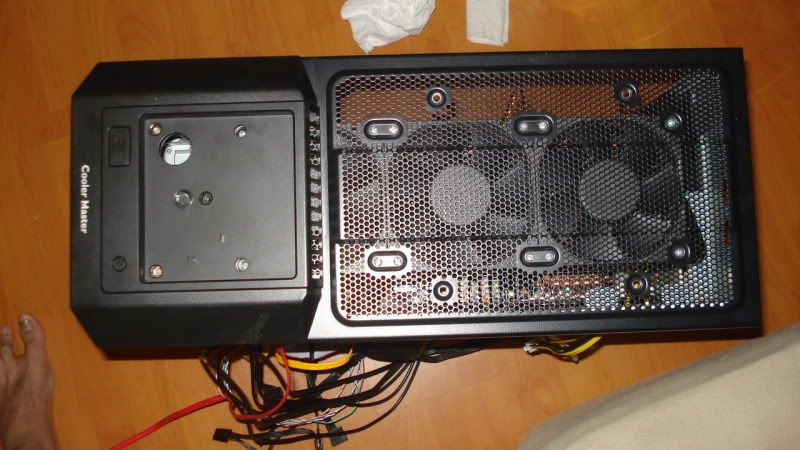
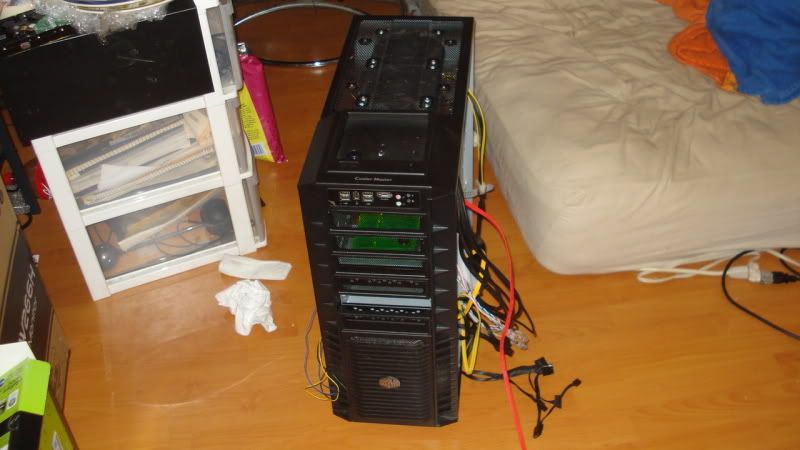
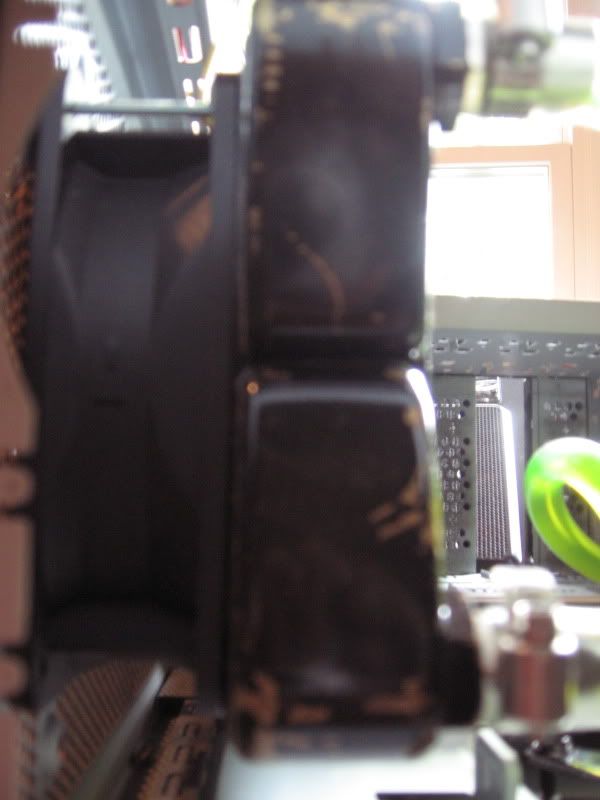
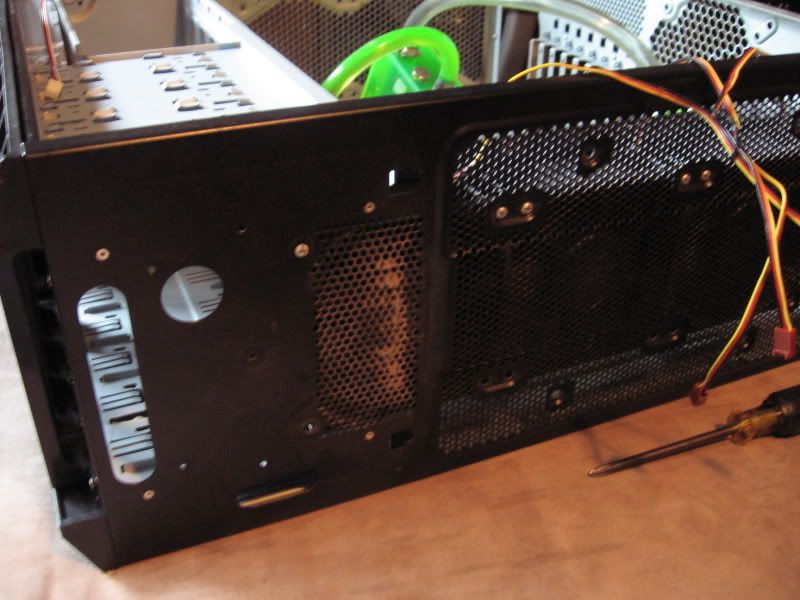
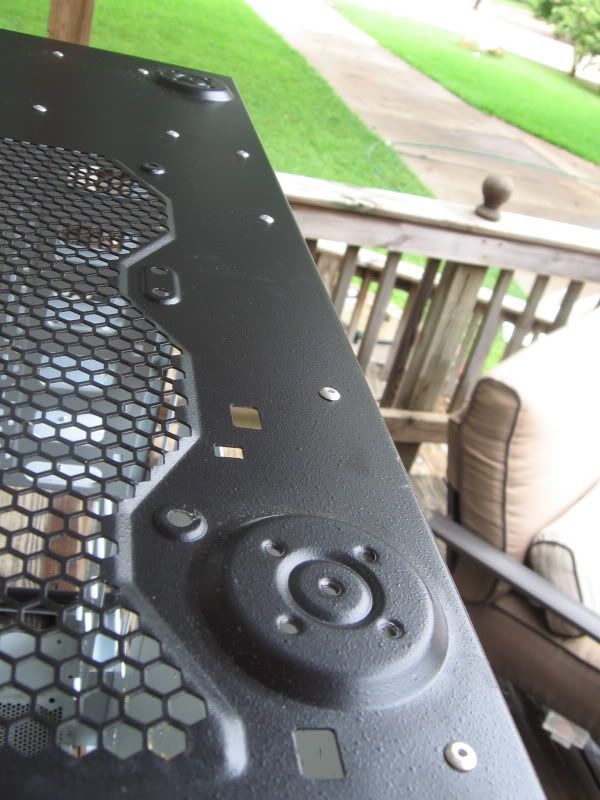
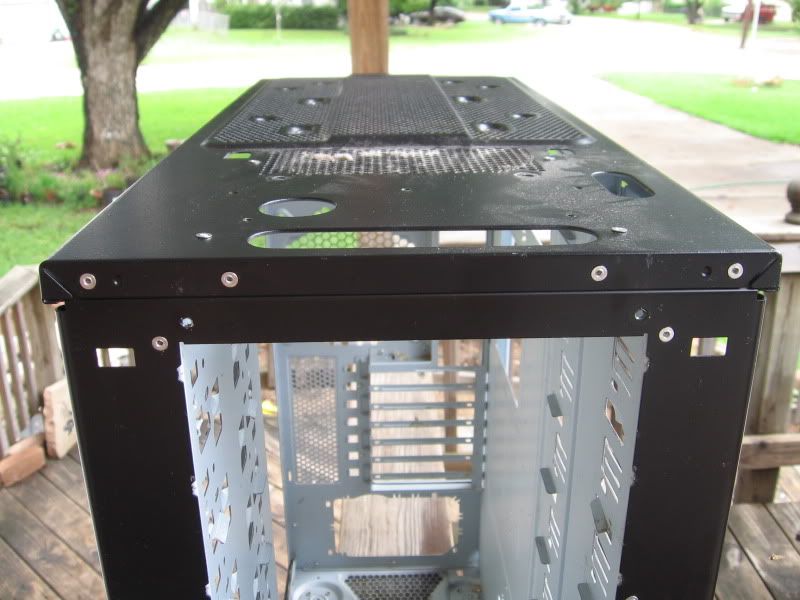
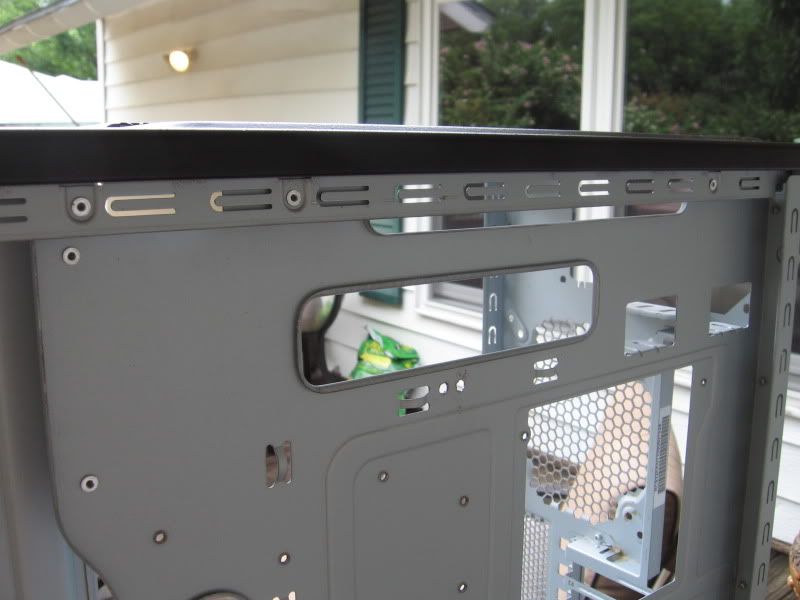
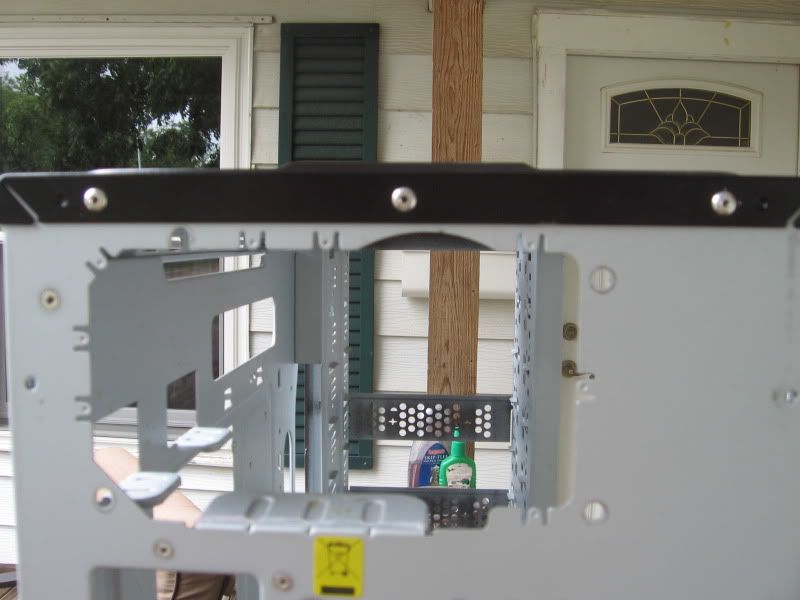
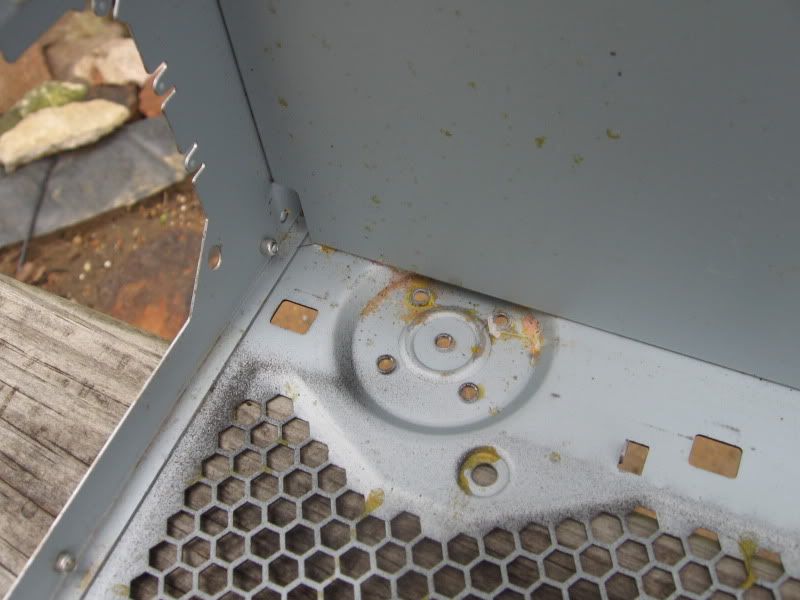
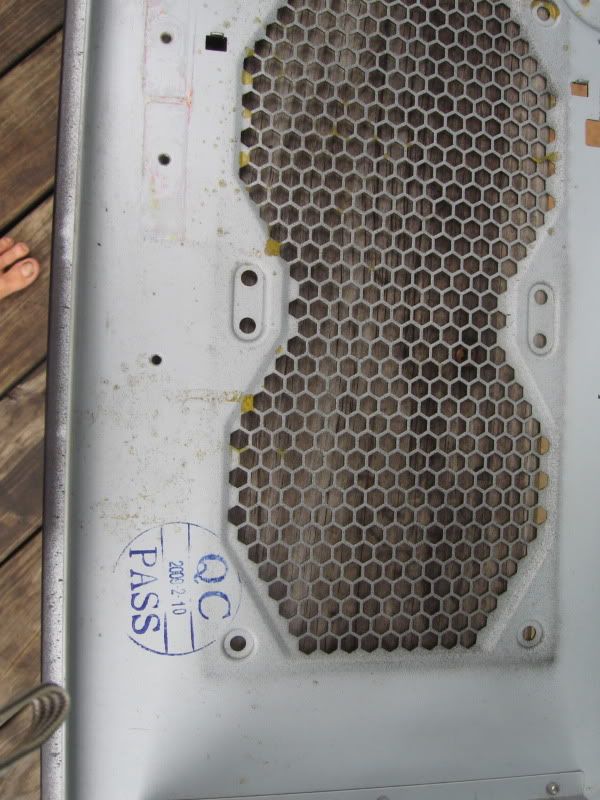
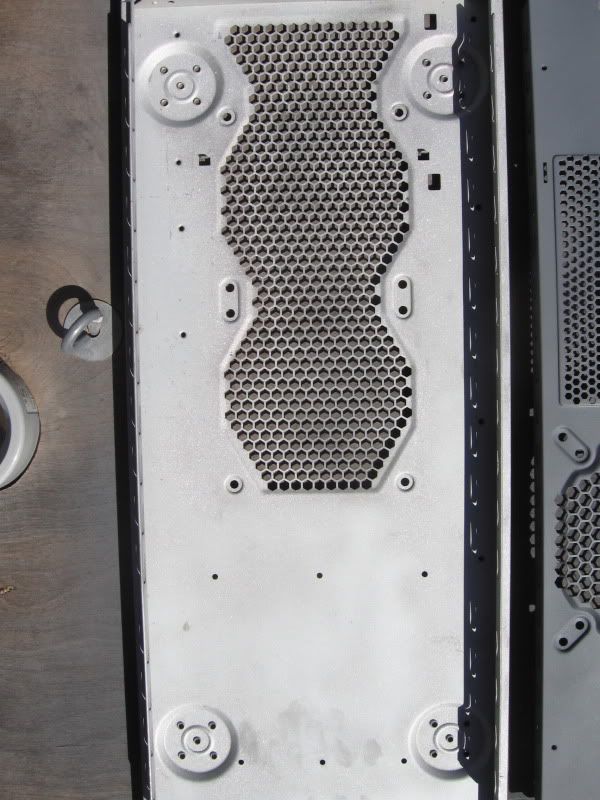
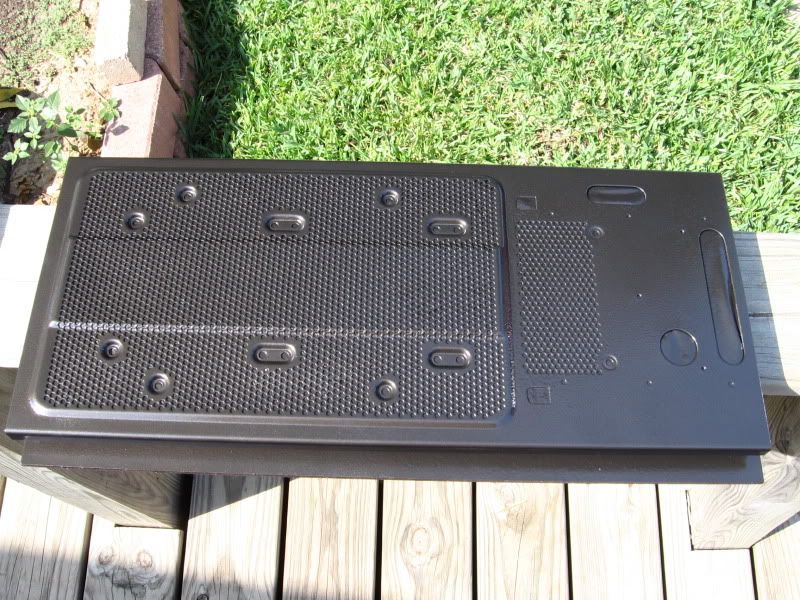
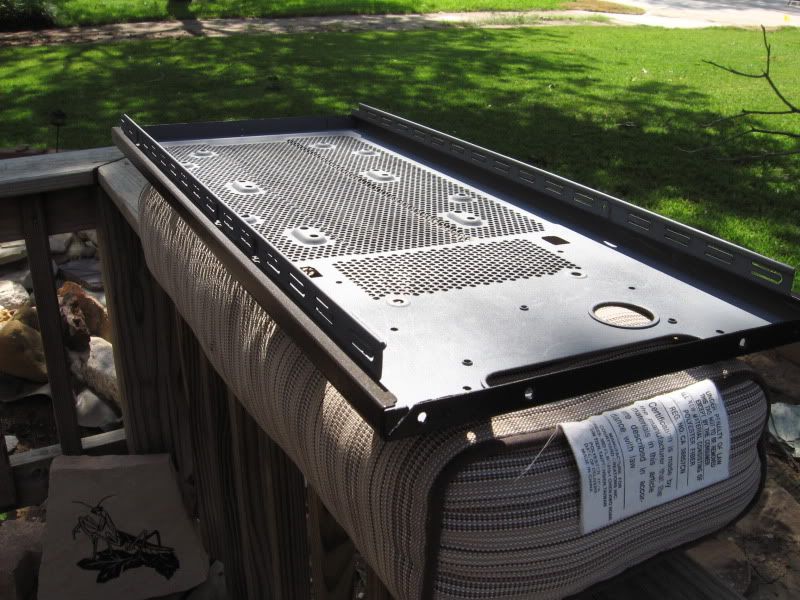
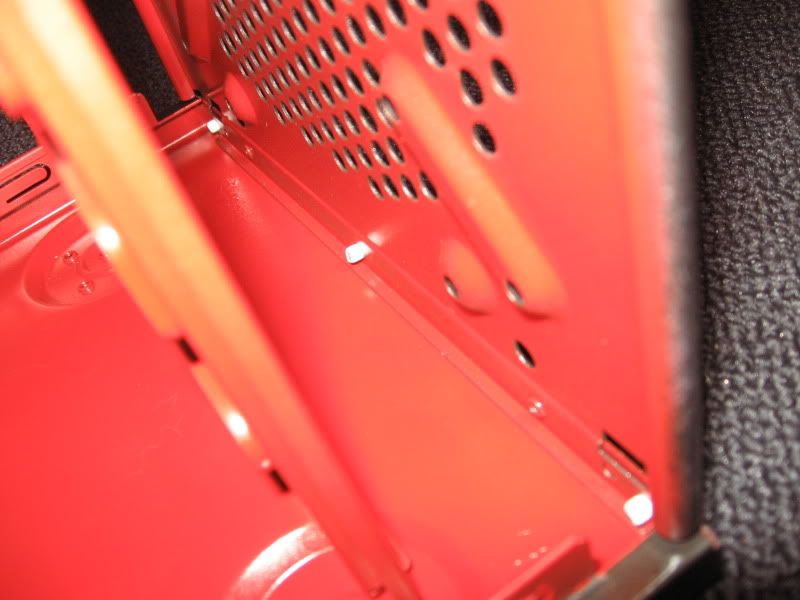
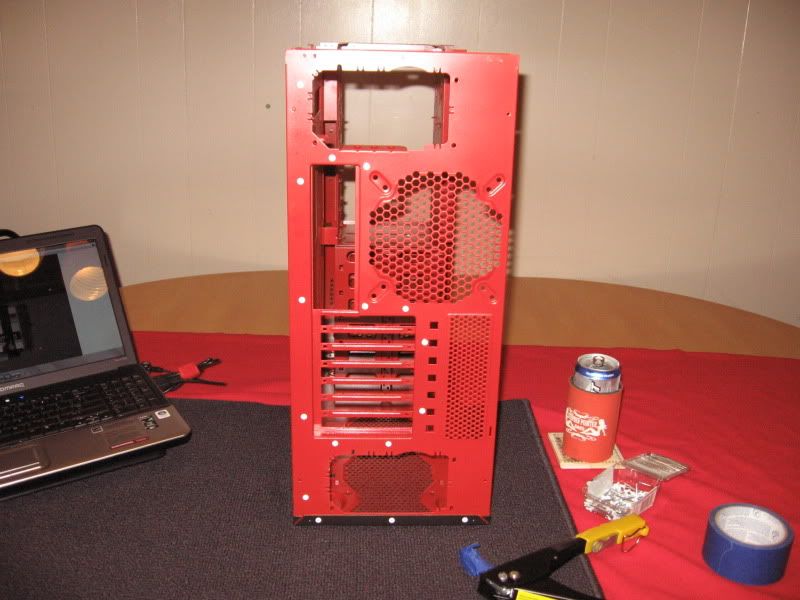


    Down to the case:

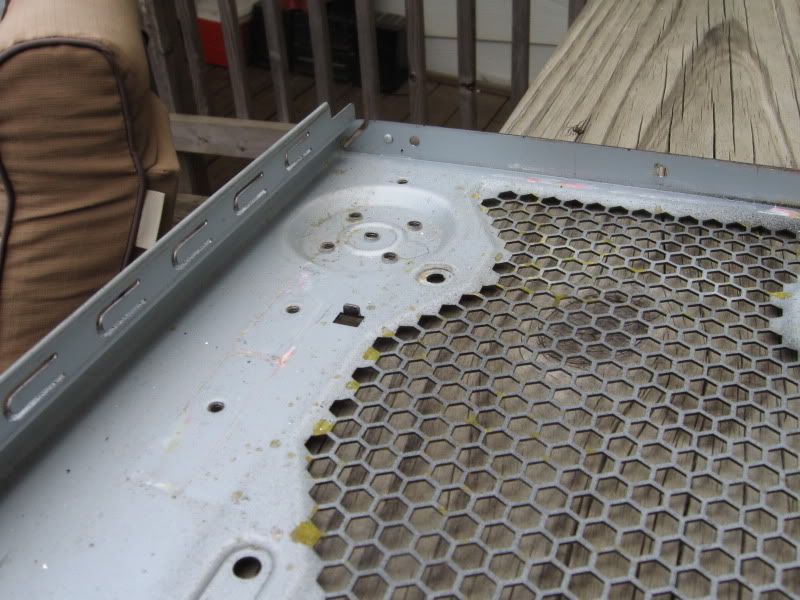
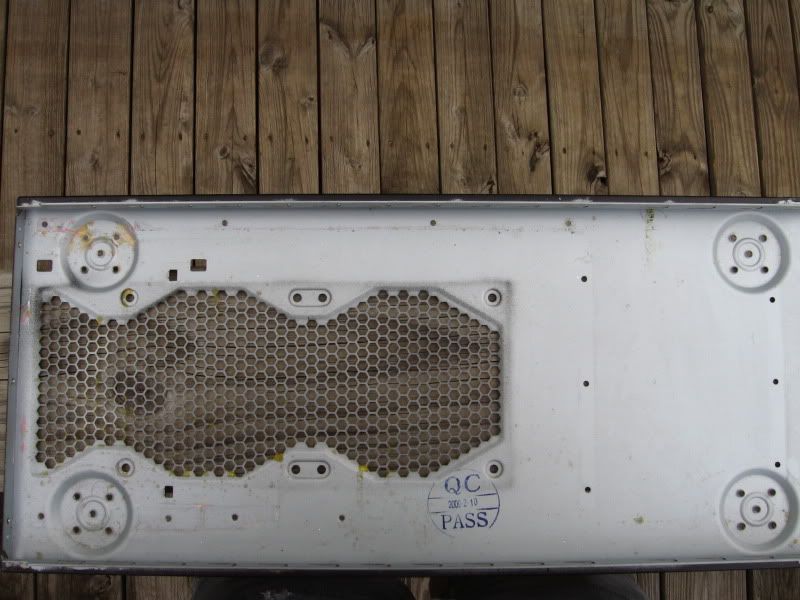
    Wow dust buildup. Just wait thats nothing:


    Wow and a can of air is what $3 bucks. I paid $397 dollars for beat up and banged up stuff unanounced to me and it doesn't even arrive clean. Pretty sad. I've never sent anything dirty to a buyer on this forum or any other hardware forum let alone on ebay.


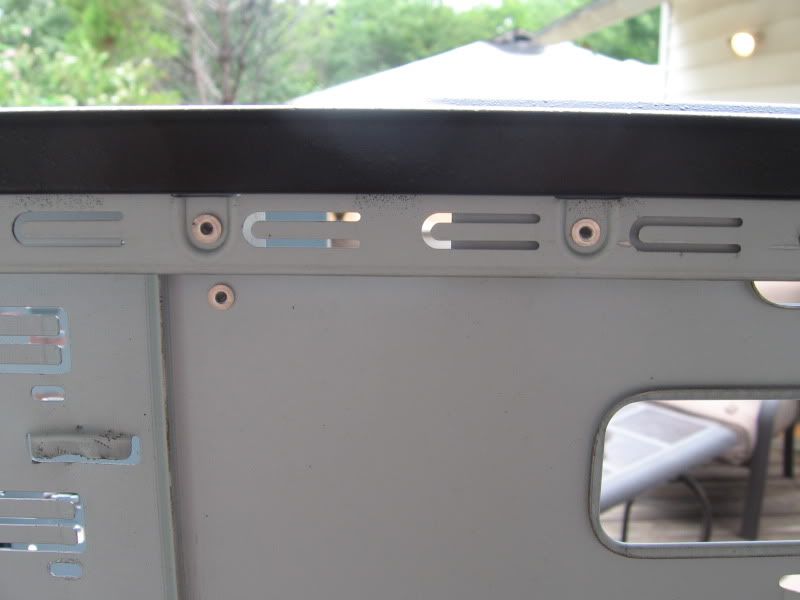
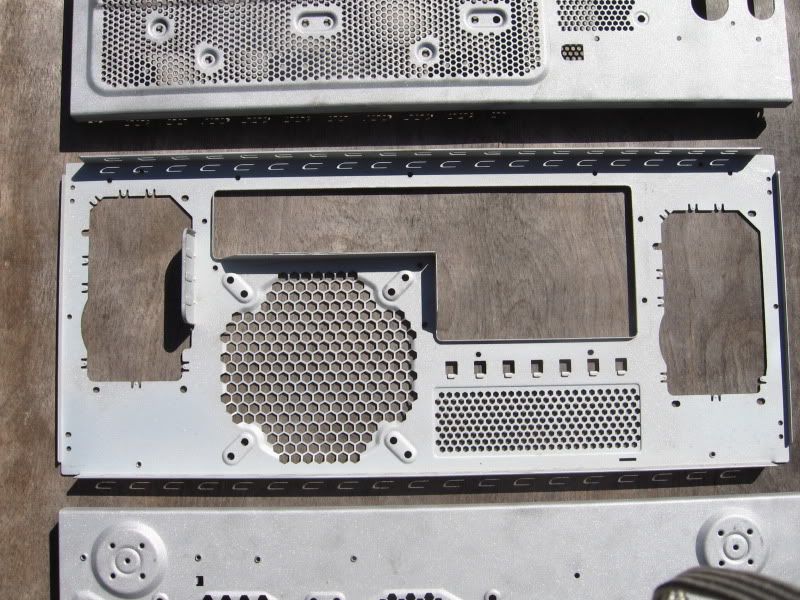
    Oh look its the missing bay cover still missing from the initial pic where I asked if he had it and was told yes its sitting right by him in a drawer and he insured me it would be sent along with all the plates. Hell I only got maybe 3 of the IO Plates.
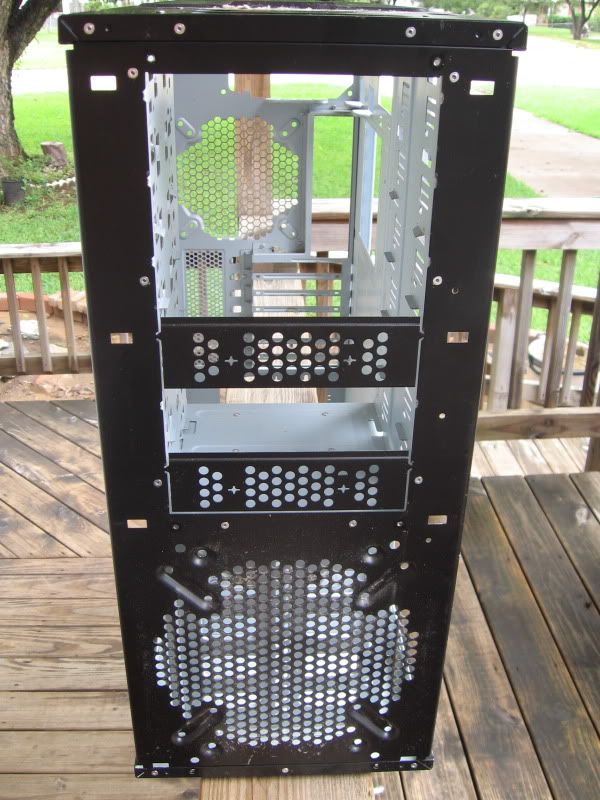
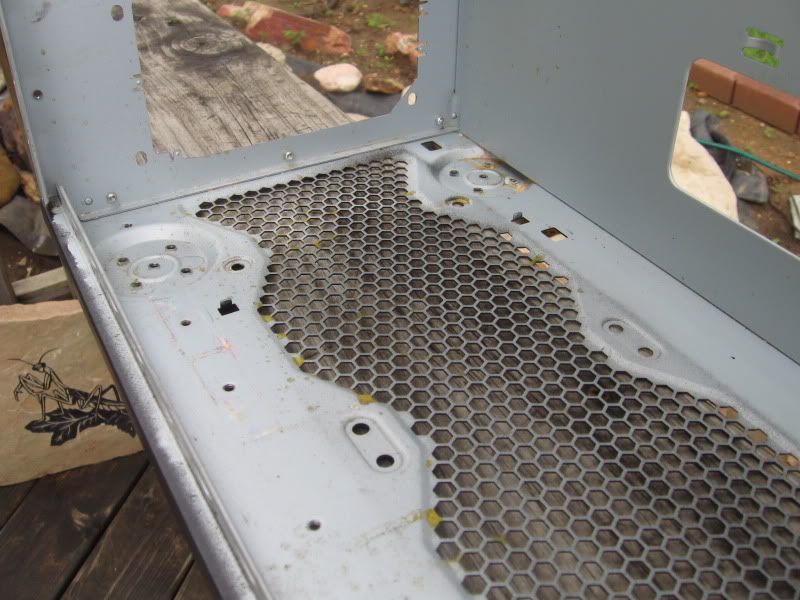
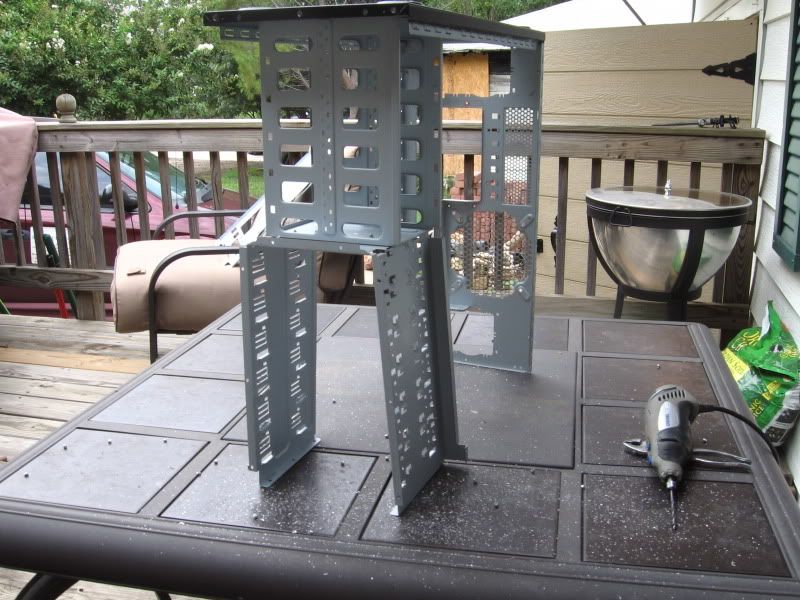
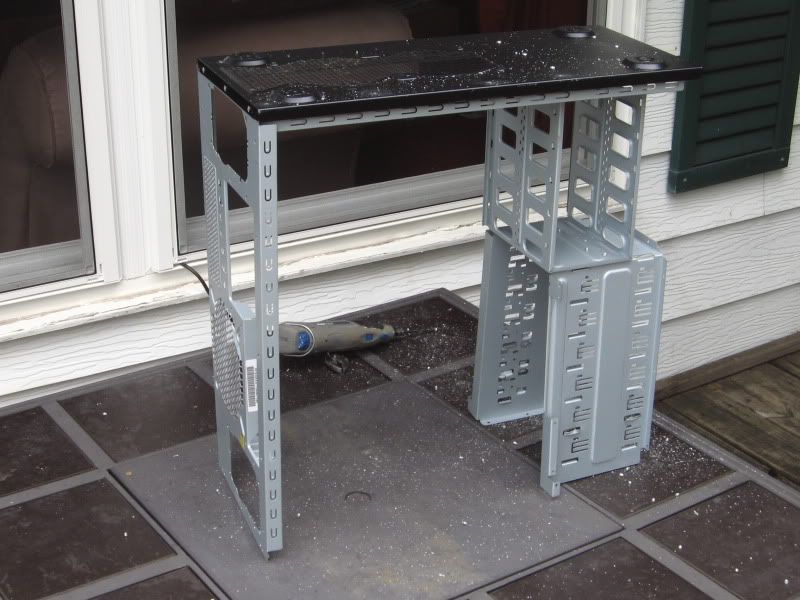
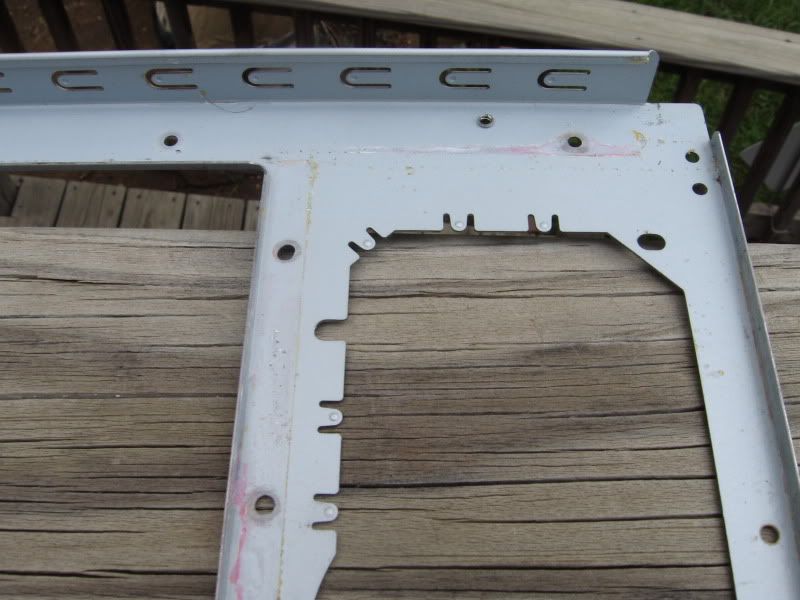
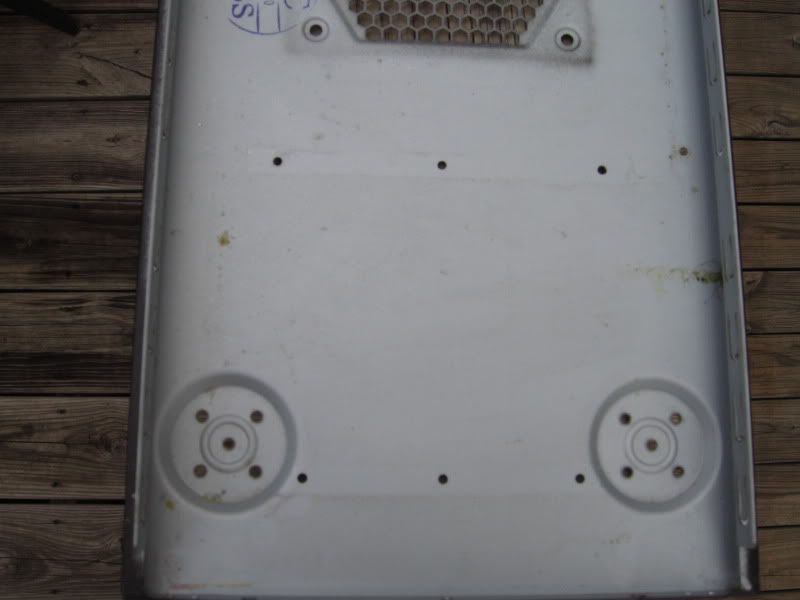
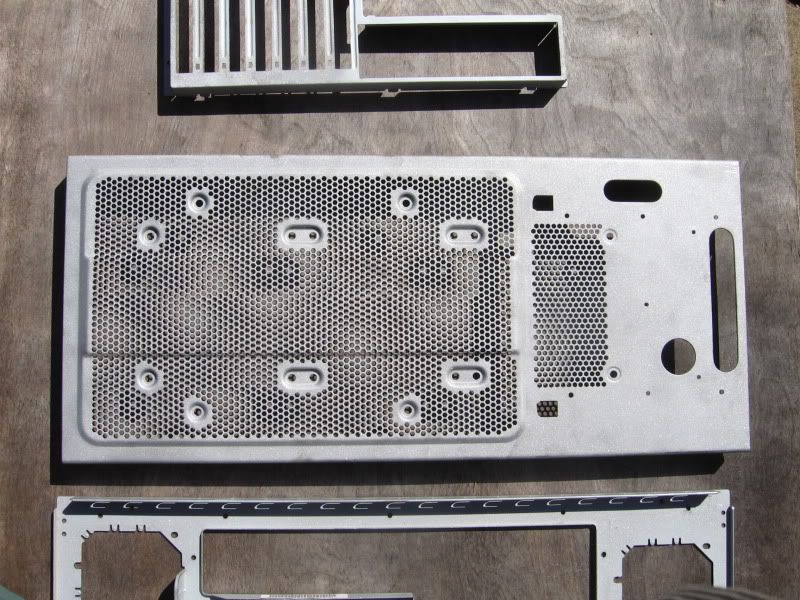
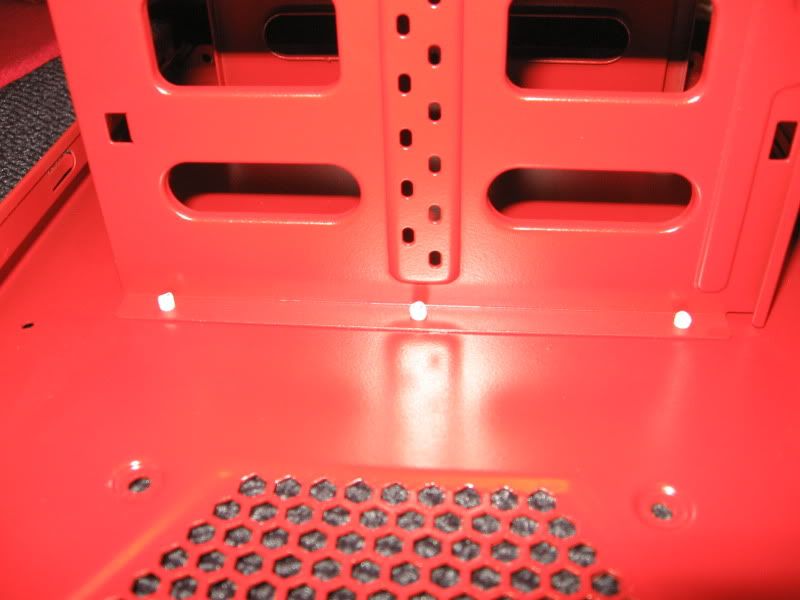
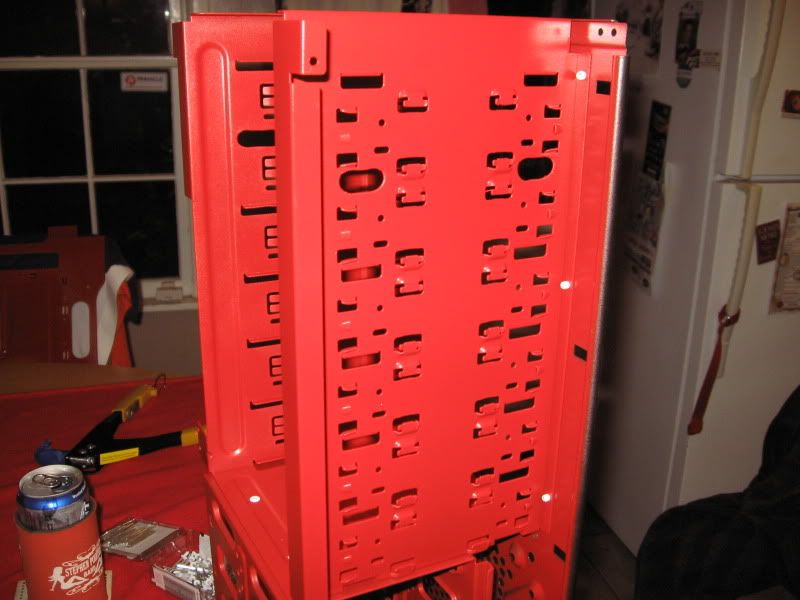
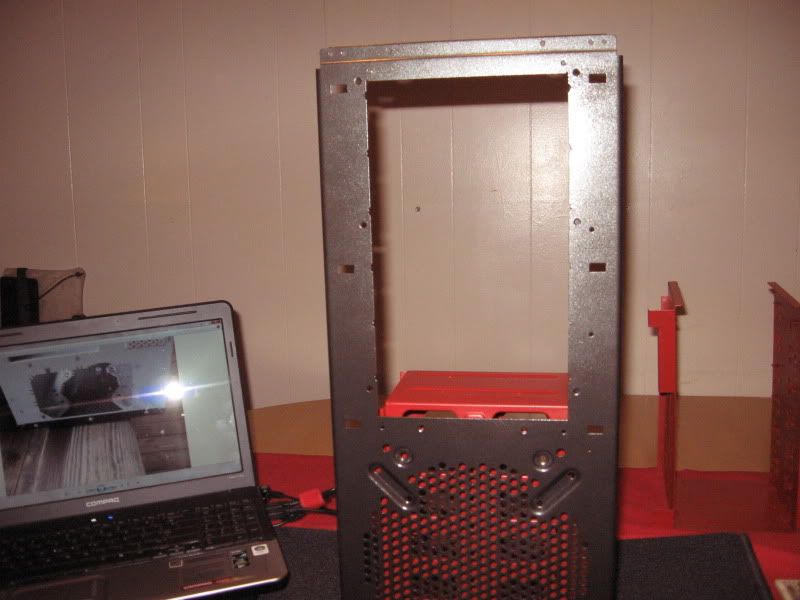
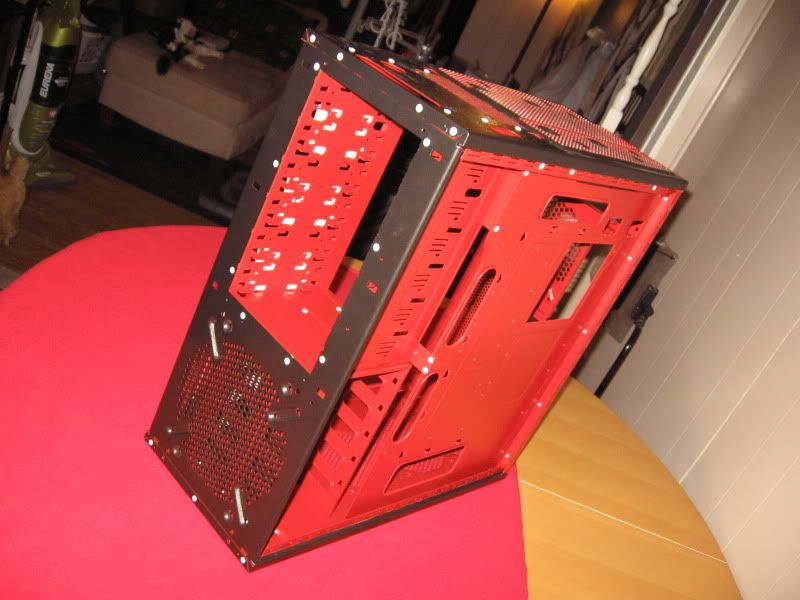
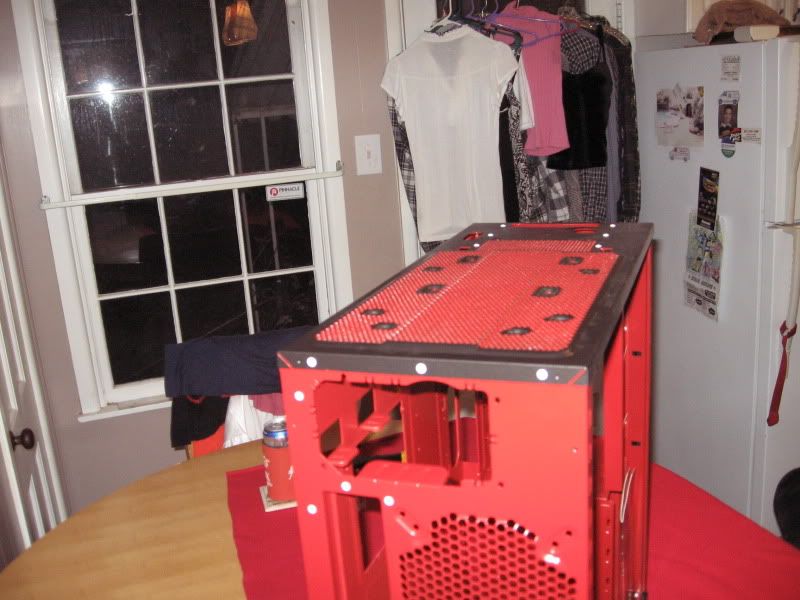
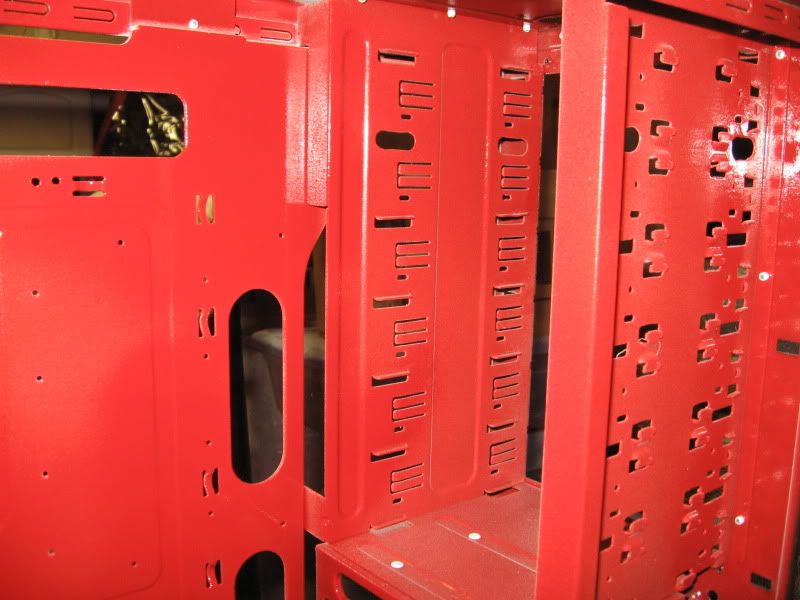
    Bare chassis:


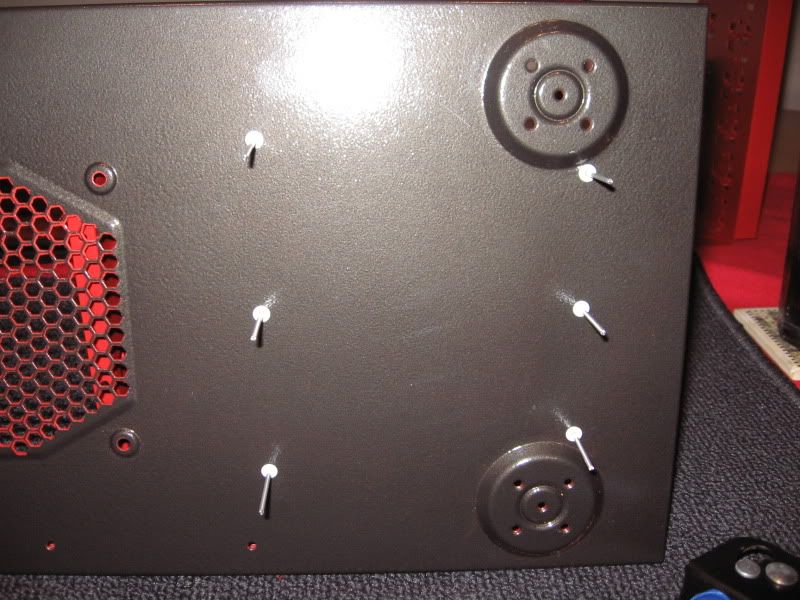
    I made sure since I am drilling out the rivets and having the chassis powder coated to make sure I have a log of rivet locations:


    [IMG]http://i75.photobucket.com/albums/i320/scgt1/Slumber%20Parties%20Case/UpperRearPanelOuterRivetLoc
    ations.jpg[/IMG]

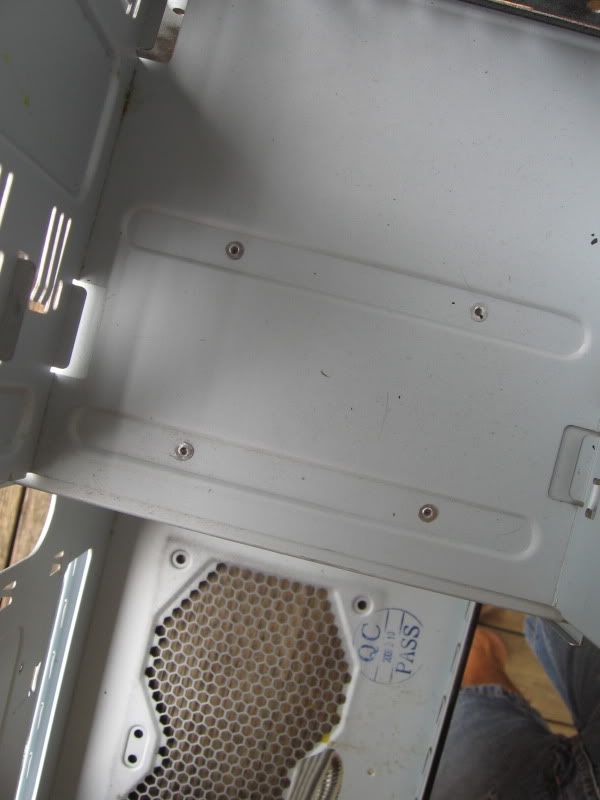
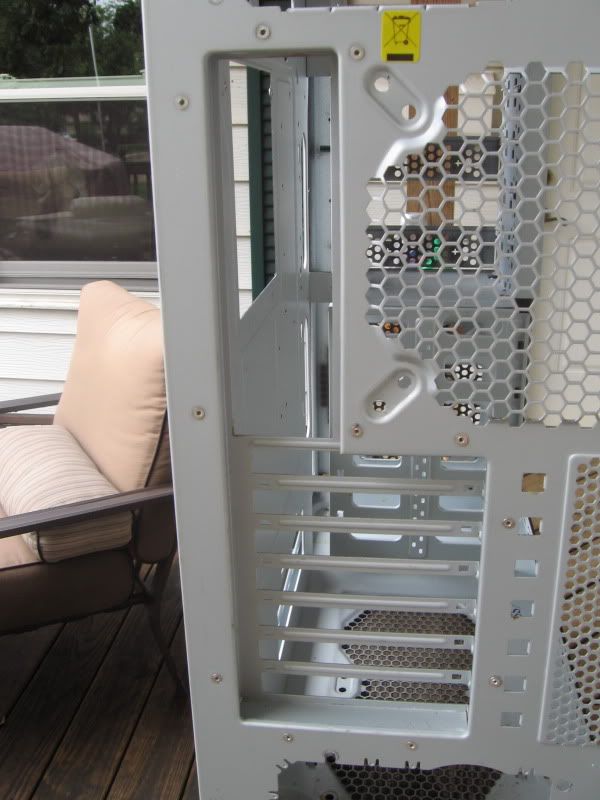
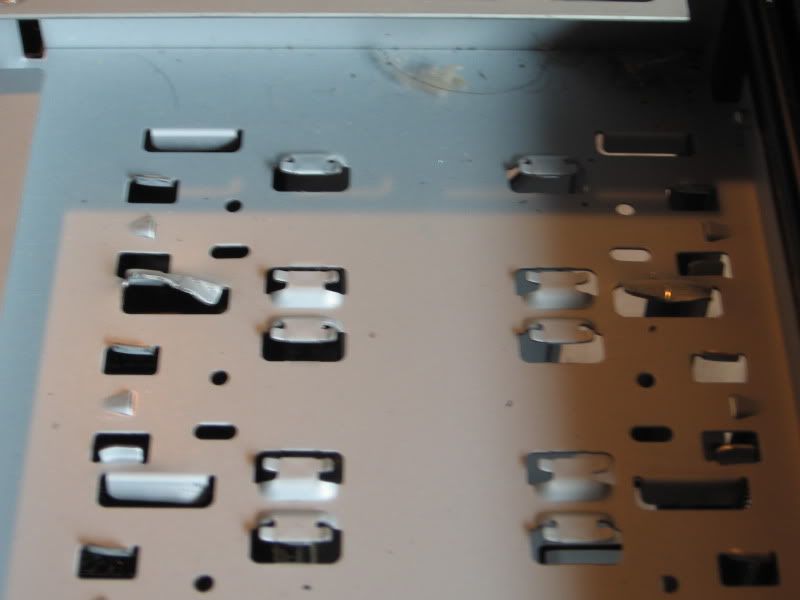
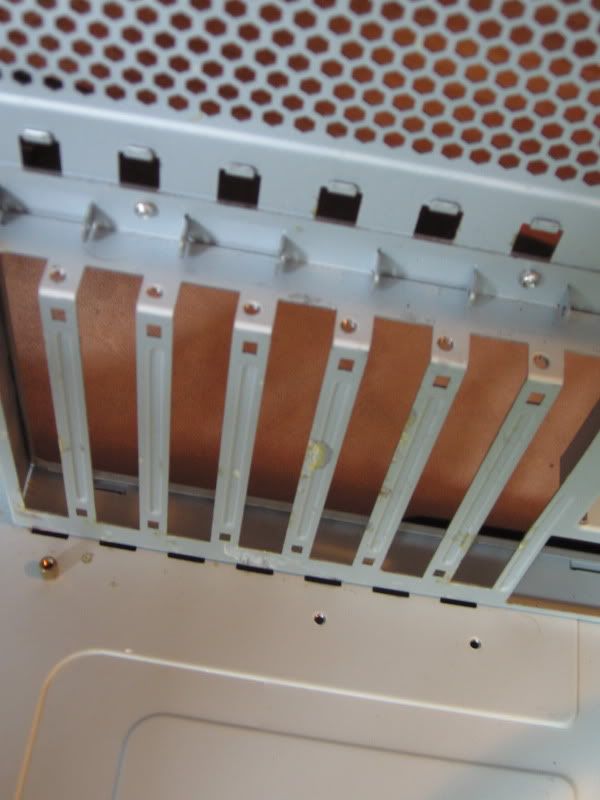
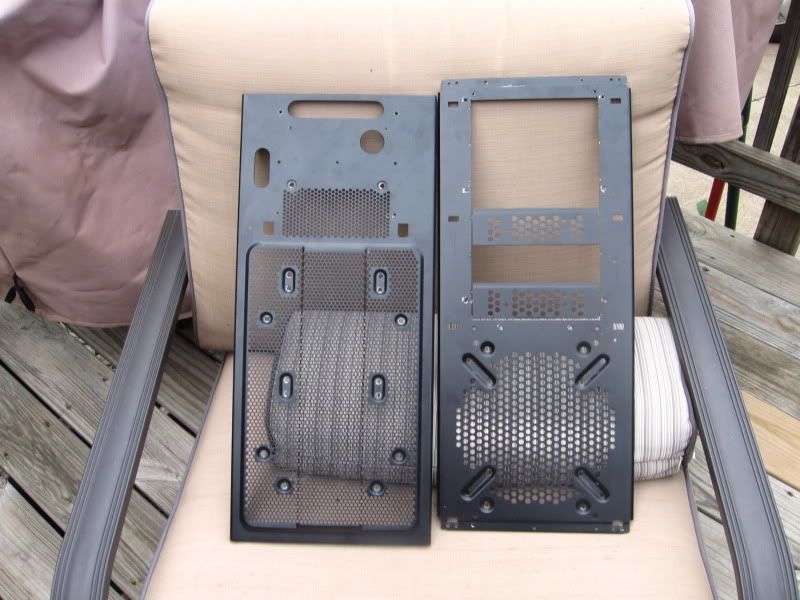
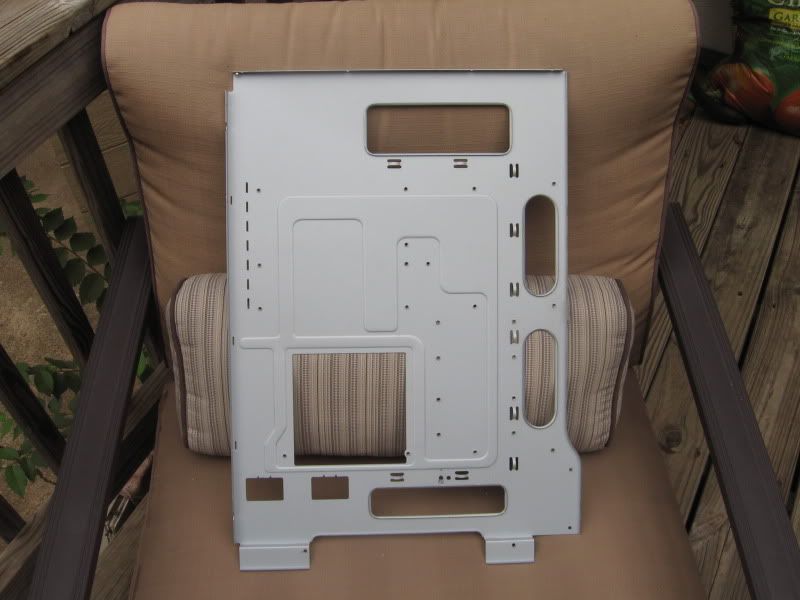
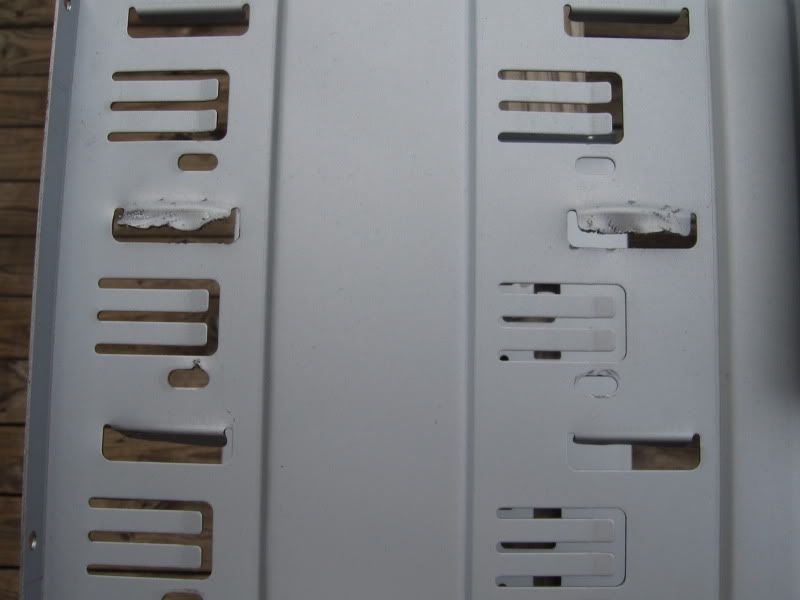
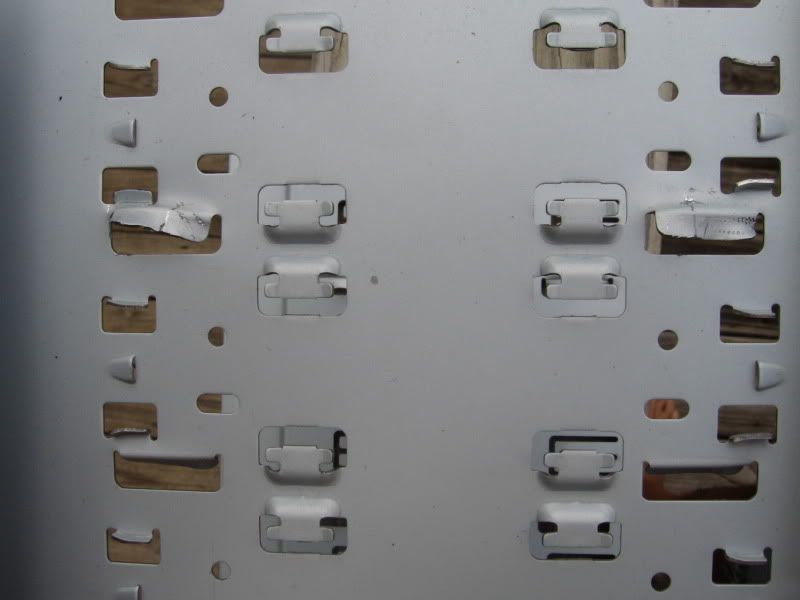
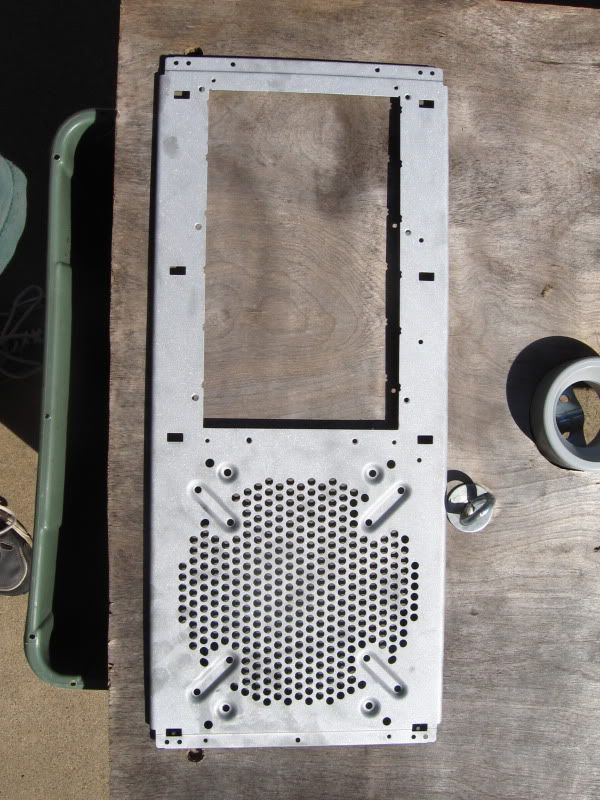
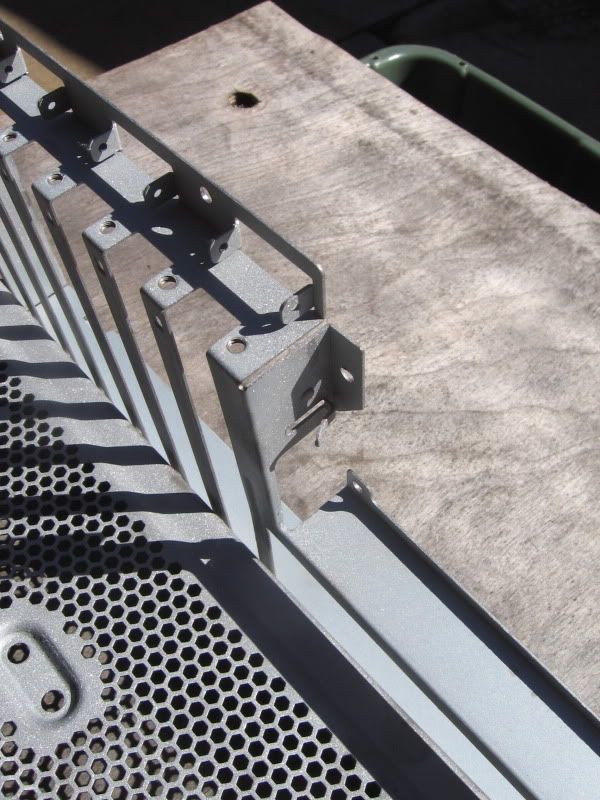
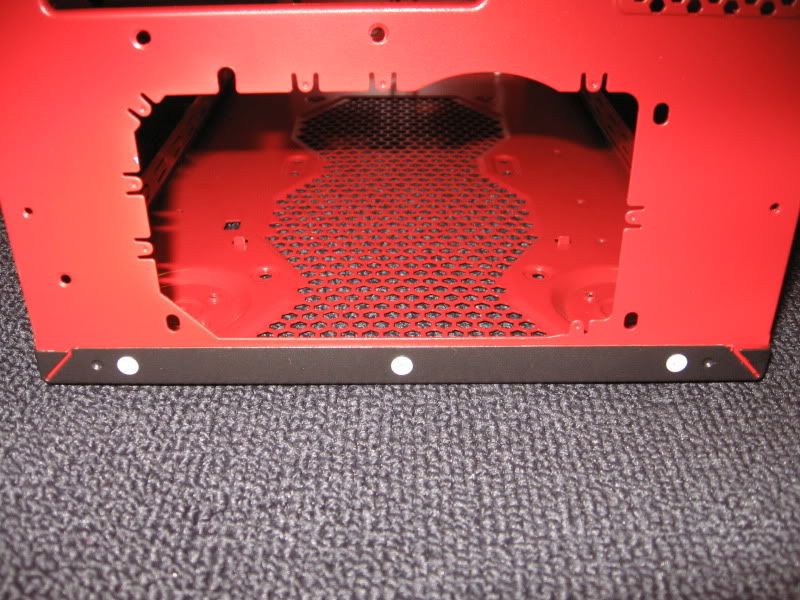
    Now with a close look over the case we have the following mangled drive hold offs that will get attention later on:


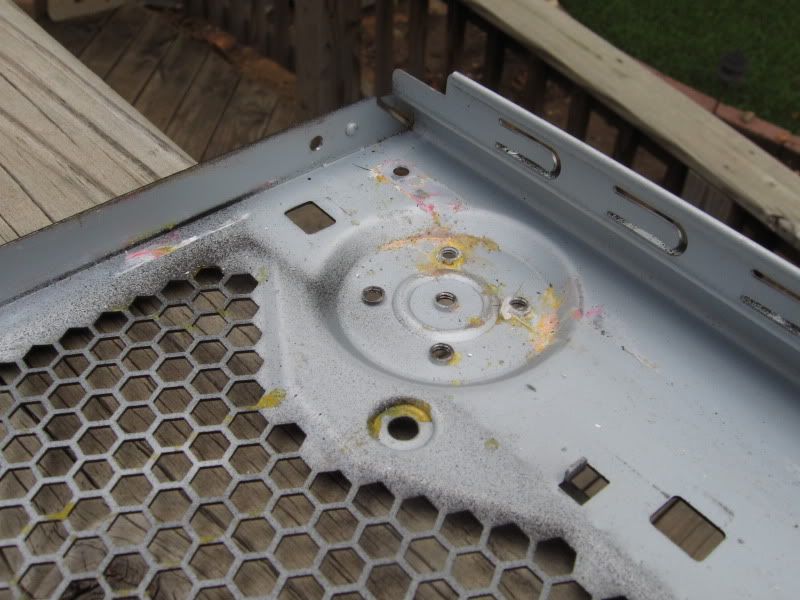
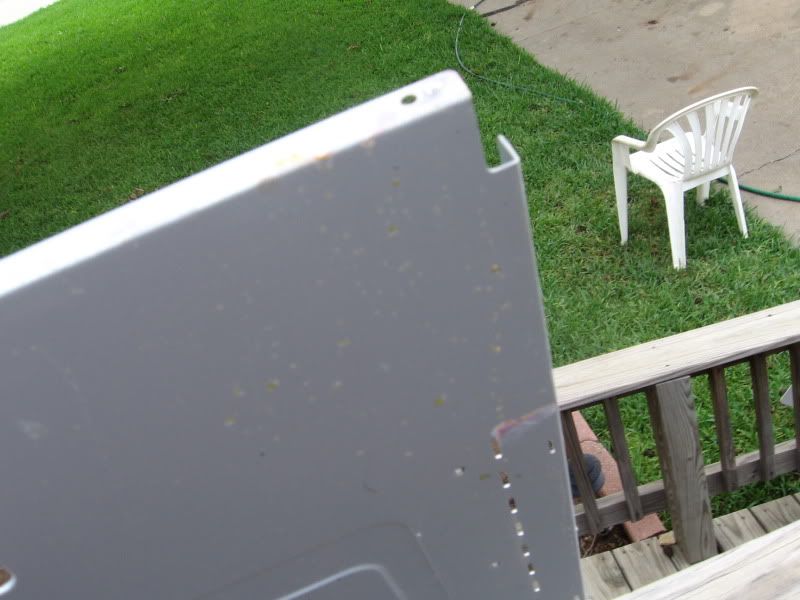
    Water damage out the rear:


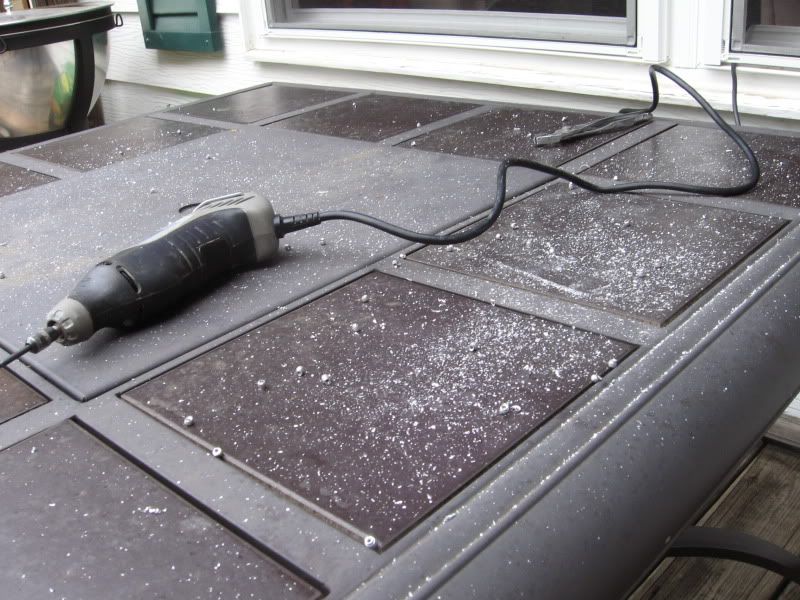
    NEXT UP DRILLING RIVITS:

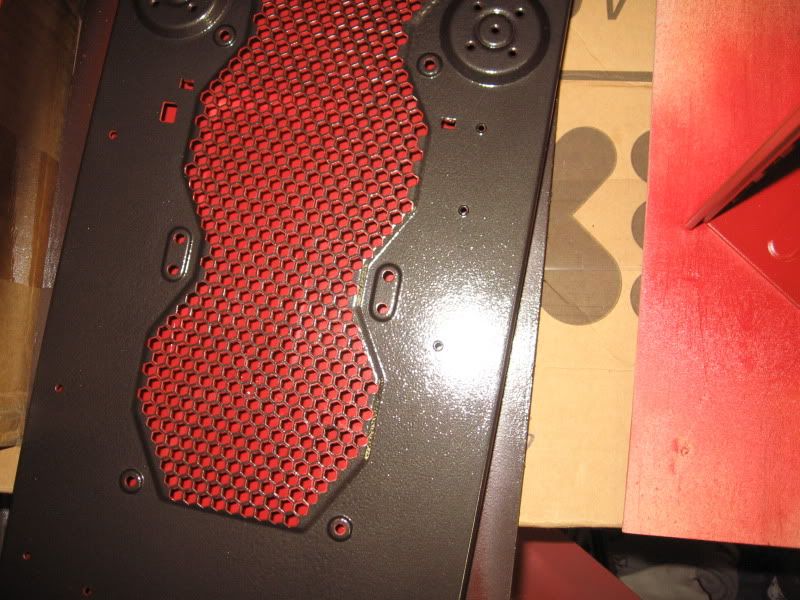
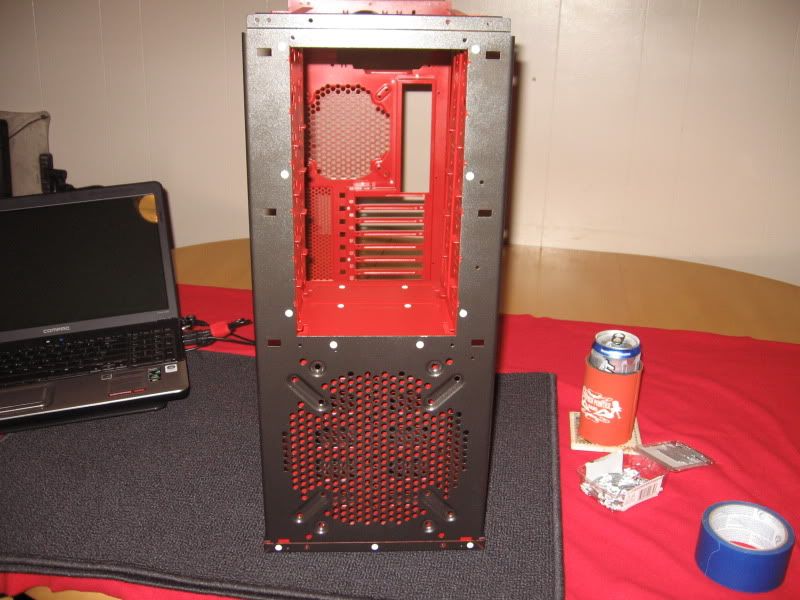
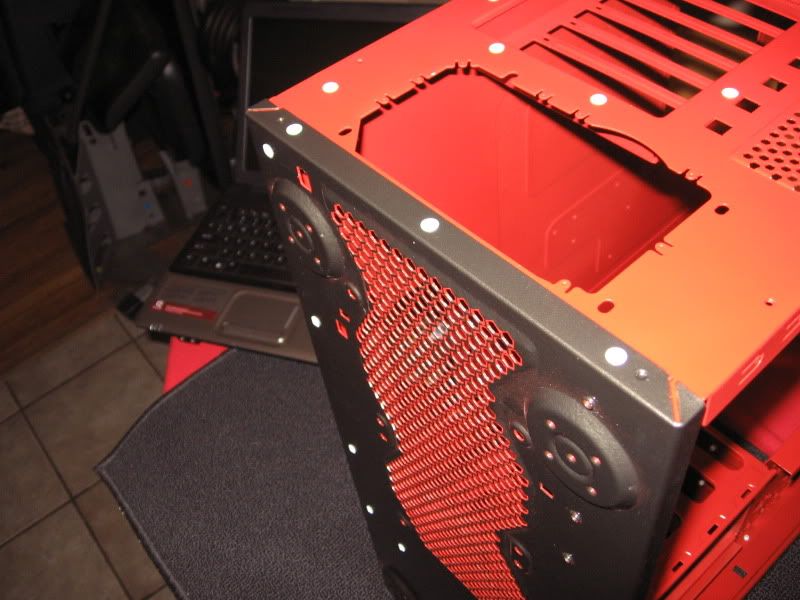
    As with any other worklog please post thoughts and ideas for the buildup. I'm looking at going Blackoutside with the HAF on the window panel accenting the inside red color. Might be accenting other items on the exterior also such as the fan grill on the front of the case. Haven't decided that stuff yet.
    Last edited by scgt1; 12-16-2010 at 12:10 AM.

  2. #2
    Xtreme Enthusiast
    Join Date
    Oct 2009
    Location
    Arlington, TX
    Posts
    581
    10-01-2009, 03:19 PM

    I've fallen way behind on updating this thread. I will post progress later this evening.
    I've decided to go with painting the case considering it can't be powdercoated in two colors and the haff top and bottom exterior are also the interior. So that pretty much screws any ability to do the inside red and the outside black. But an update will follow this evening.

    10-06-2009, 08:53 AM

    REMEMBER CLICK IMAGES FOR FULL SIZE VERSIONS!!!

    Ok so I pulled the ol Dremel out and found the appropriate sized metal bit for the job. I've never drilled out case rivits before so wasn't quite sure what I was getting myself into. So I set it at 4 for the speed that way its not hauling ass and trying to chop a finger off. I wasn't too affraid of scratching the paint now since it was screwed before I even received it. I still don't get how the hell you scratch the hell out of a case when you have styrofoam (sp) on the front and back of the case and your sliding it in a cardboard box. I guess it can happen.


    So since the rain has been holding off I decided to take advantage of it since its been sprinkling off and on as it has been for the last week here in TX. Below we have it half way tore down and drilled out:


    Now we have everything drilled out:


    The nice aftermath:


    Now we have closer looks at the water damage and neglectful modding done to the case:


    NEXT UP BEAD BLASTING That is if I even took pictures opppss I'll have to see.
    Last edited by scgt1; 01-02-2010 at 10:21 PM.

  3. #3
    Xtreme Enthusiast
    Join Date
    Oct 2009
    Location
    Arlington, TX
    Posts
    581
    10-14-2009, 02:24 PM

    wOW WHAT A LAZZY ASS. I know I've stated more updates coming, but I just haven't found the time or keep forgetting to while I'm on here. The painting process of the case chasis is almost complete. I have serious modding to do to the window panel and possibly the other panel also. So they are at stand stills and still raw steel. I've been lazy (who would have thought) with taking pictures as of late so during the painting process there may be a shot here and there, but its nothing seriously insane like the above workup. I left off with bead blasting being my next post. As I can see above this message window. Thats sad.

    Since then I've done alot of work and have spent I would say 48 hours wet sanding and painting multiple coats. I wanted to make sure I have the paint fairly thick for protection. I'm still contemplating on if I just want to use clear gloss or a lacquer sealer on the paint. It needs to be durable. I have a pile of cans sitting in the garage from the work. LOL Sad thing is I have one can of clear gloss laying around that I bought and I don't even know if I want to use it or not.

    I was at Lowes getting rivets to put the case back together today and strolled down the spray paint isle. Unfortunatly they don't carry Krylon which is what I started the job with and intended to finish with, but I saw one can of Valspar Clear Laquer finish that sounded promising to promote a durable finish that will resist average bumps and bangs.

    After the amount of time I spent taping off the top and bottom panels to paint the two tone I wasn't about to blast paint back off and fix a few minor imperfections. Right now the garage is packed with tons of . Including 3 desks from the Ikea Office upgrade which are going in a garage sale this weekend.

    So I have pieces of computer case laying on 1/4 plywood sections all over the garage where a solid place is that is flat. So they are safe while drying. Its been nasty lately here in DFW. For the past two weeks in fact there hasn't been any sun. Its been nothing but clouds and drizzly, fog, rain you name it. So I've been working on it when I can. I can't paint in the garage because of overspray. So it gets held off till a nicer day that isn't wet. So now I'm trying to just throw it together to get it in one piece and in a box where its safe. We all know what more then likely will happen when pulling out of a garage for a garage sale. So the time and money I've spent on this case is more valuable then perfection.

    There was problems with the air holes on the top and bottom panel with painting. I taped the inside then sprayed the outside. When I turned around and painted the inside and taped the outside. Somehow some of the interior paint is on the exterior air hole surroundings. Its seen upclose, but not from away. What is noticed from far away and from angles is a nice feature I wasn't expecting nor was I shooting for. But I'm exceptionally happy with how it looks.

    Aside from the missing paint where the colors seperate where the side panels sit from mismatched tapping. I swore they were tapped ok. Some bubbles (noticed on the inside of the top and bottom) from most likely a tad heavy coat of paint here and there and the wonderful up and down temps and humiditys here in Texas.

    I was going to wet sand the inside of the case as it seems a bit rough, but after looking at it and thinking about it. I believe it will look better with a tad rough look vs slick as a babies but. Not to mention with all the vents and grills and stamps in the steel. There really is no way to wetsand the inside of the case. The only wetsanding that was done is to the Exterior prior to painting, but after primer.

    Now what piss's me off is I took the mobo tray, hard drive rails, exterior panel doors out to where I have blasting access. Spent 3 hours blasting those items and completely forgot to blast the chrome off the GTZ to get it ready for paint. IDIOT!!! So that will be another trip. Oh well I may find something else I want to do with the case. LOL

    So If I remember of course I will get pics up with updated details. But this post was to hold those followers over. Again I'm terribly sorry for my lazzyness.


    On a side note.
    Has anyone dremeled a case before? What I mean by this is taking a side panel and cutting out words or shapes. What bits did you use? I was looking at a bit a Lowes for basically slide cutting, but I would have to get a hole started to use that bit. And have to swap back and forth many times to complete the job. What I originally thought of doing was cutting the HAF out on the window panel. I have since changed my mind on that to something much better as it is Project Slumber Parties!

    10-15-2009, 02:19 PM

    Just spent 2 hours straightening the rad fins that were mashed to hell and taping it off for painting. I promise pics are coming and more details.

    10-18-2009, 12:01 PM

    Picked up a rivet gun this weekend so the case will be going back together this afternoon. Will do a big update then

    10-20-2009, 12:13 AM

    Assembling case and logging photos for upload.

    10-28-2009, 02:33 PM

    Wow did I up or what! While sealing the case I ended up getting some runs where the sealer sprayed out odd and thick. So now I'm trying to thicken the areas around the runs to blend them in. Otherwise I have to drill the rivets and start the whole damn thing all over again. I've got a nice thick coat on it right now to start with so I don't think any damage will come to the paint job. The main concern I have with the run area (2 areas being the rear IO panel and the 5.25 drive rail inside) on the 5.25 rail is that I'm going to have some form of window in that general location and don't want the imperfection seen. If I wasn't going to be placing what I want to place there it wouldn't be too much of an issue. Since I am doing something in that location though I have to try and fix it the best I can.

    Yea and all this is after I find out that Harbor Freight sells a Powdercoating gun for $60 at that. I've spent that much in paint already. I would have rather gotten the gun and been done with this. At least I get to put my own work into it instead of a gun and oven doing it for me.

    If anyone has a technique for fixing this problem feel free to give ideas. I have to run to Walmart for some more sealer since I've used all the cans I have here. Just a note when the can gets to where it doesn't want to spray on its own anymore throw it down. Don't try for the last drop by shaking while spraying. Hell @ 12" away I still got screwed with glob spots which caused runs using the shake and spray method to remove the last of the sealer from the can.

    Working out some deals on a key component to the build involving THIS
    Last edited by scgt1; 11-19-2009 at 08:26 PM.

  4. #4
    Xtreme Enthusiast
    Join Date
    Oct 2009
    Location
    Arlington, TX
    Posts
    581
    11-06-2009, 01:44 PM

    Ok so I've done all kinds of talking out my ass about posting updates with pictures. I've been really busy between just working on the case, work around the house, my kids, my fiance's business, etc.

    Well I'm going to start by posting a recap of all the items I've been talking about, but with out pics. Since they take forever to rename and upload etc:

    So without further delay:

    AS ALWAYS CLICK THUMBNAIL FOR LARGER IMAGE


    Bead Blasted


    Painting


    Now here is the unique illusion effect I talked about earlier


    Now the radiator fins straightened out to the best of my ability with what I had to work with
    :


    Rad Prepped


    Rad Painted


    Other Mention tid bits the work space and where I've had to store parts to dry showing why I ended up throwing this together faster then expected:


    Next up case assembly
    Last edited by scgt1; 01-03-2010 at 09:38 PM.

  5. #5
    Xtreme Enthusiast
    Join Date
    Oct 2009
    Location
    Arlington, TX
    Posts
    581
    11-06-2009, 02:42 PM

    Ok last we left off with a ton of photos of the painting progress from weeks ago.

    Now we are going to overview the assembly of the case:


    Assembled


    Above you can see where the color scheme comes from and what its all about.
    Last edited by scgt1; 01-04-2010 at 10:06 AM.

  6. #6
    Xtreme Enthusiast
    Join Date
    Oct 2009
    Location
    Arlington, TX
    Posts
    581
    11-06-2009, 03:03 PM

    Now the next set I didn't take many pictures of the process.
    Now for Glazing the case for protection:


    Now some paint flaws


    While doing the glazing The cans were getting to where they wouldn't spray much anymore, but felt like they were a good third full. So I did the biggest mistake I could have ever done which is shake the can while spraying. Which in turn caused some glop spots to spray out of the can and of course cause runs.

    So with that being said I redrilled the rivets out and took the pieces out to the blaster again and started to strip the panels again to start from scratch and from scratch the right way like I was going to in the first place. POWDER COATING

    During the blasting last night the compressor motor got too hot and went into protection apparently and I had to call it a night as it was taking forever for it to cool off. I might add that my paint and glaze was much harder to remove then the factory paint job from Coolermaster. 
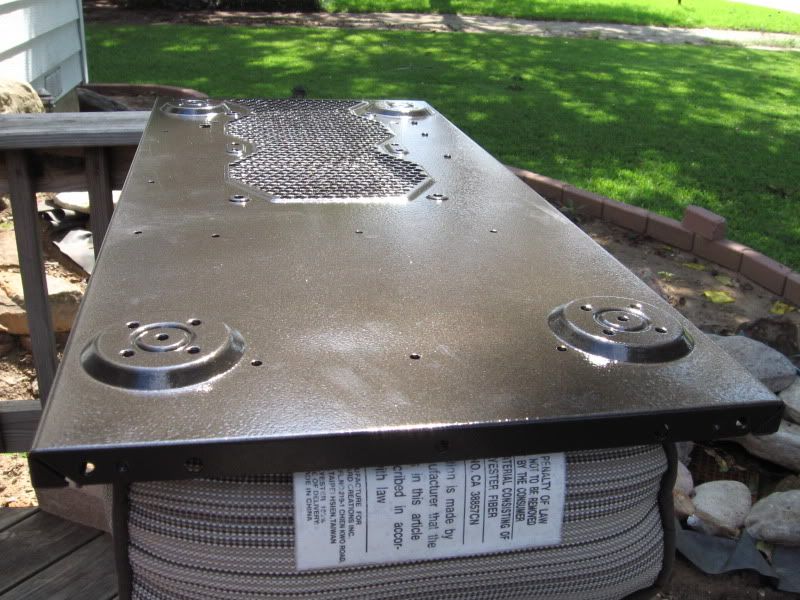
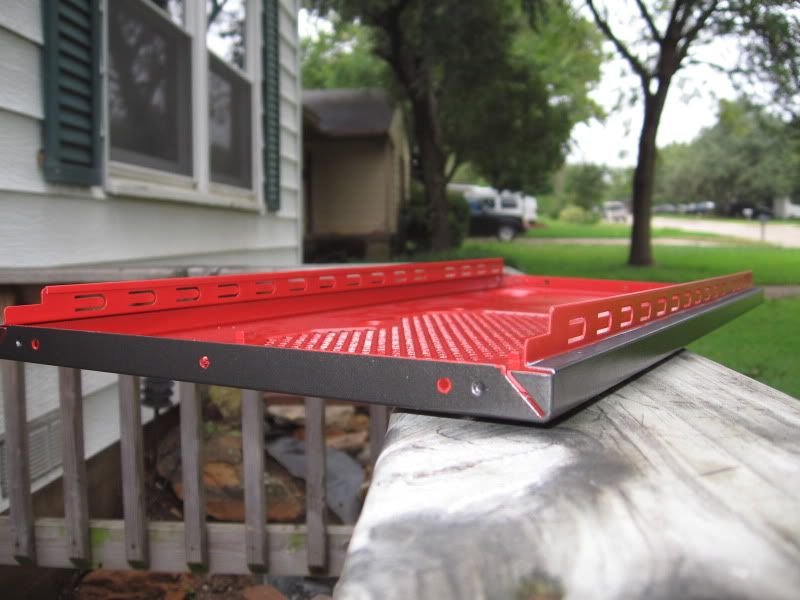
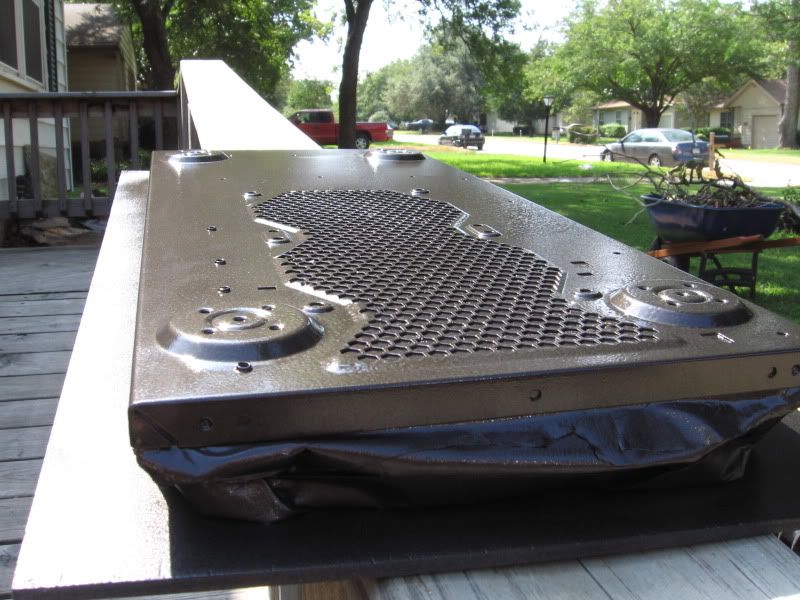
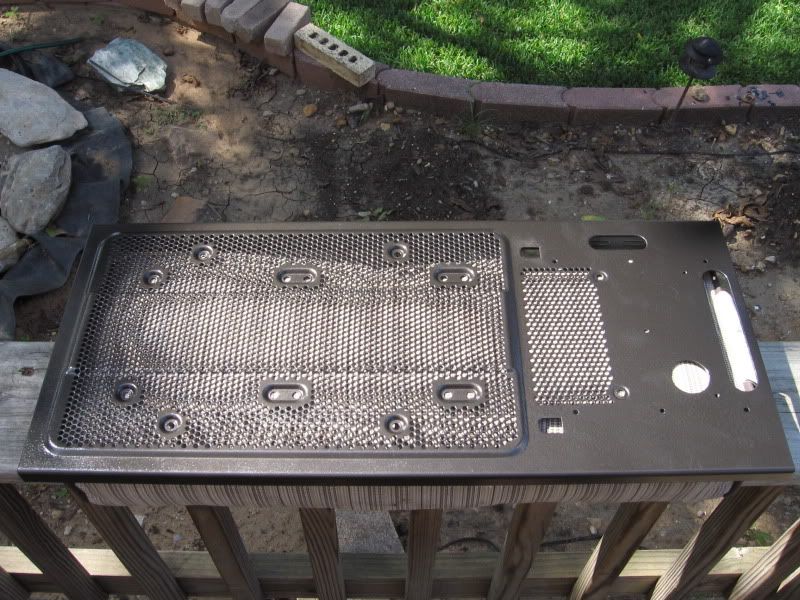
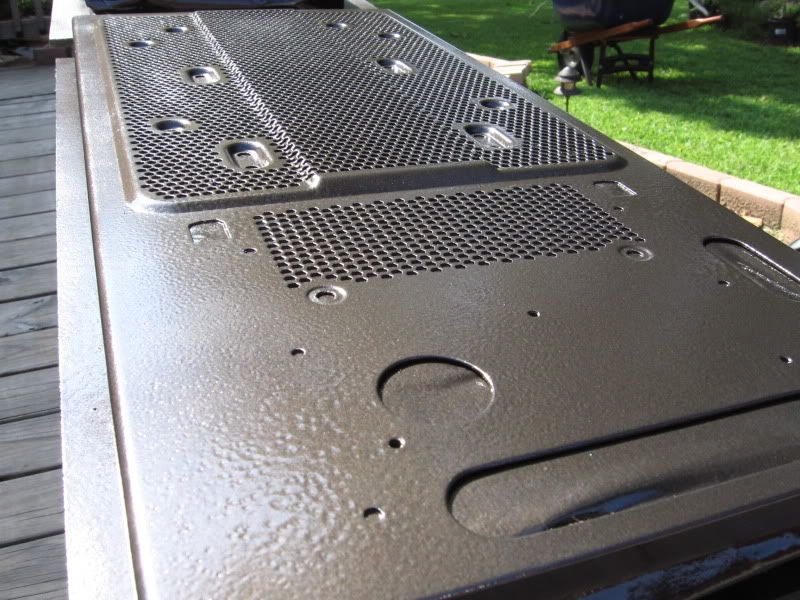
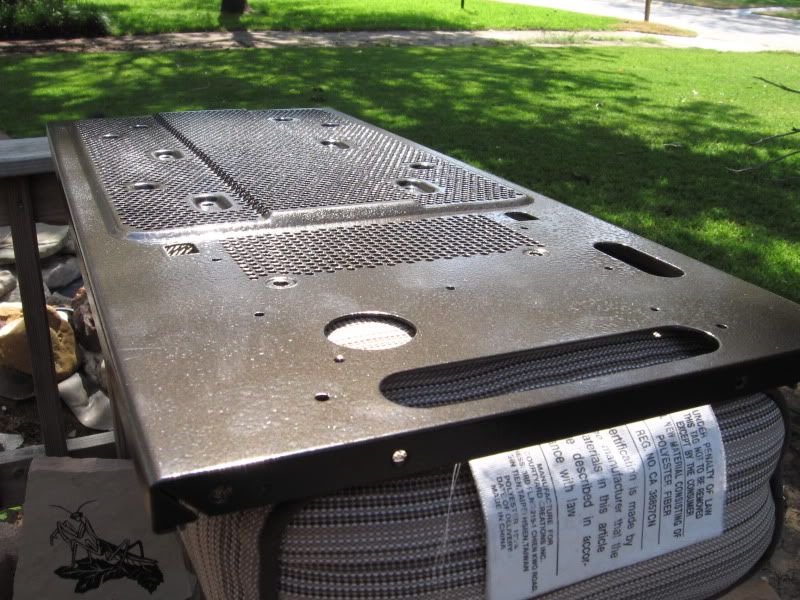
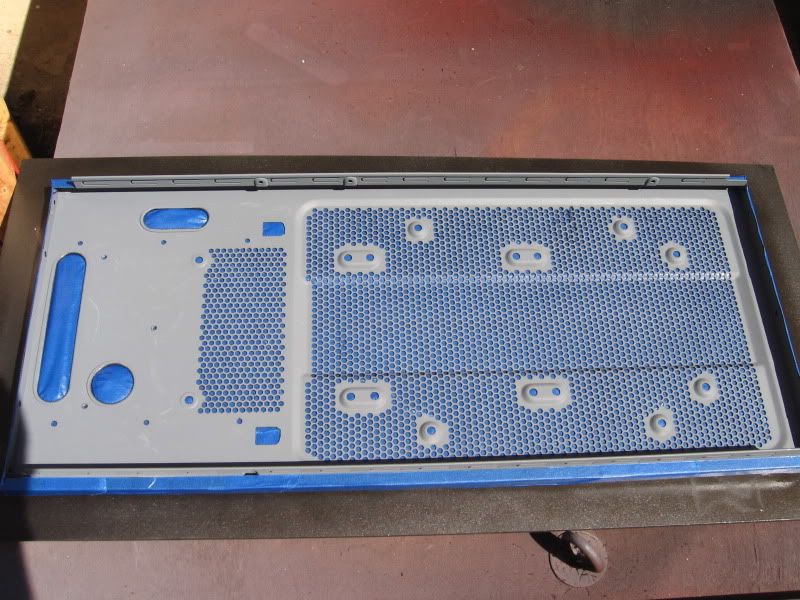
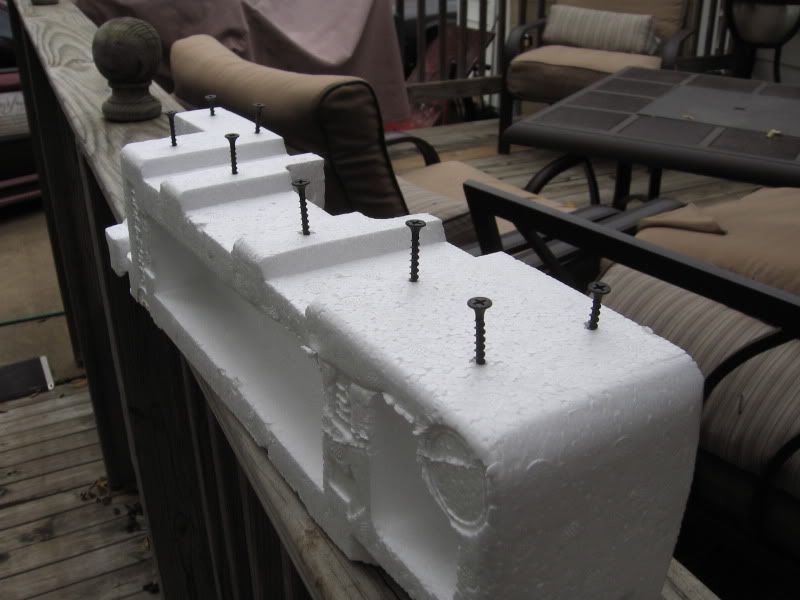
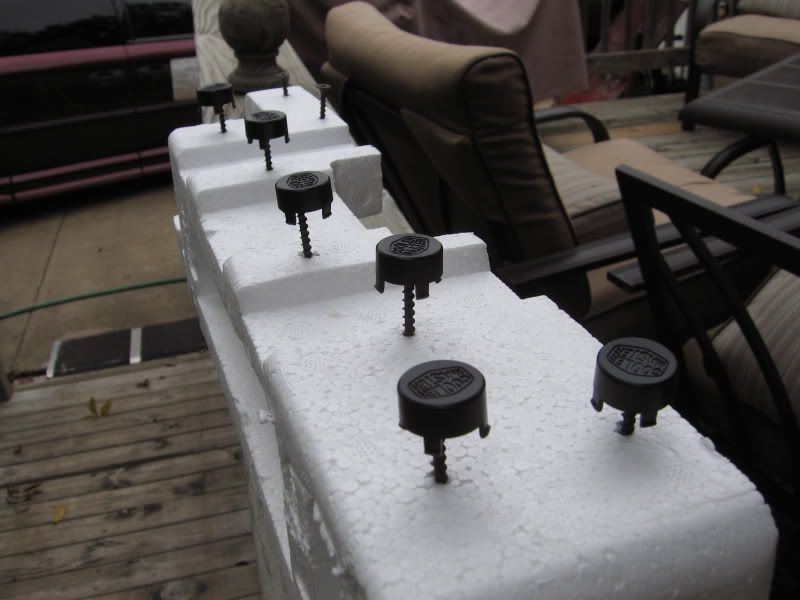
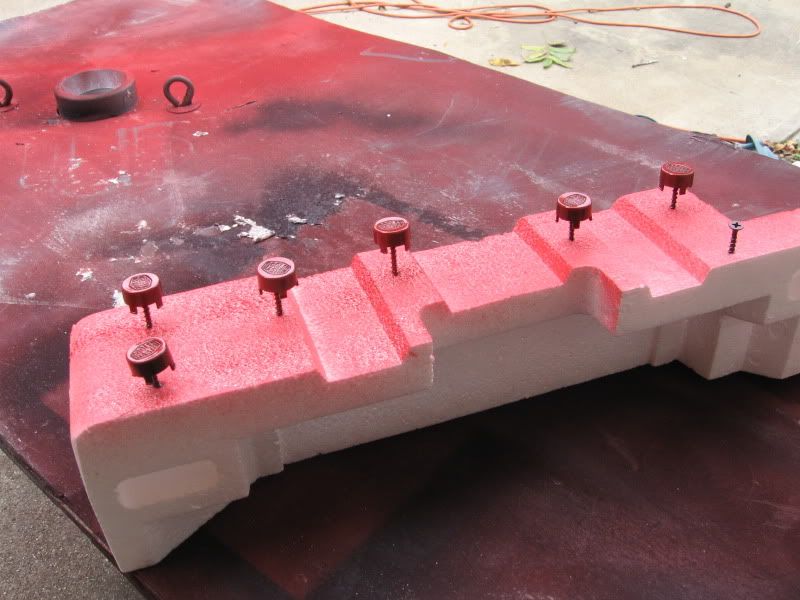
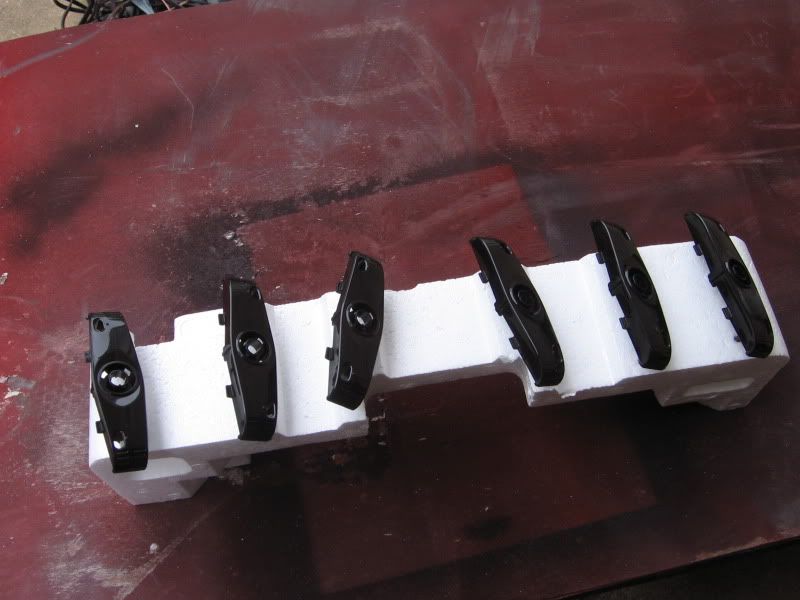
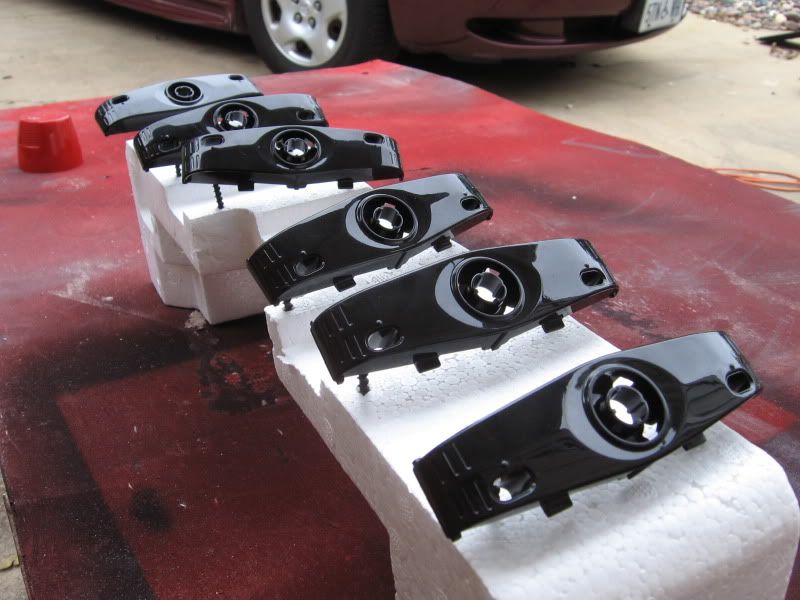
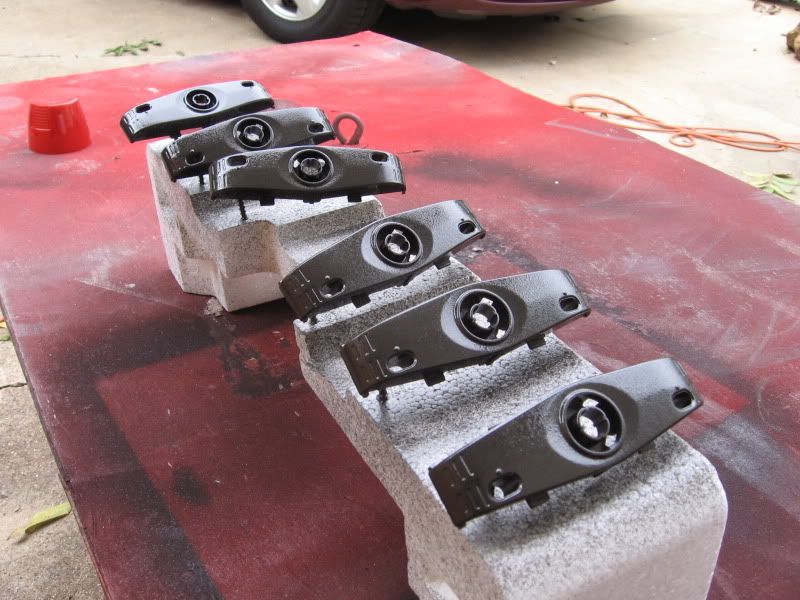
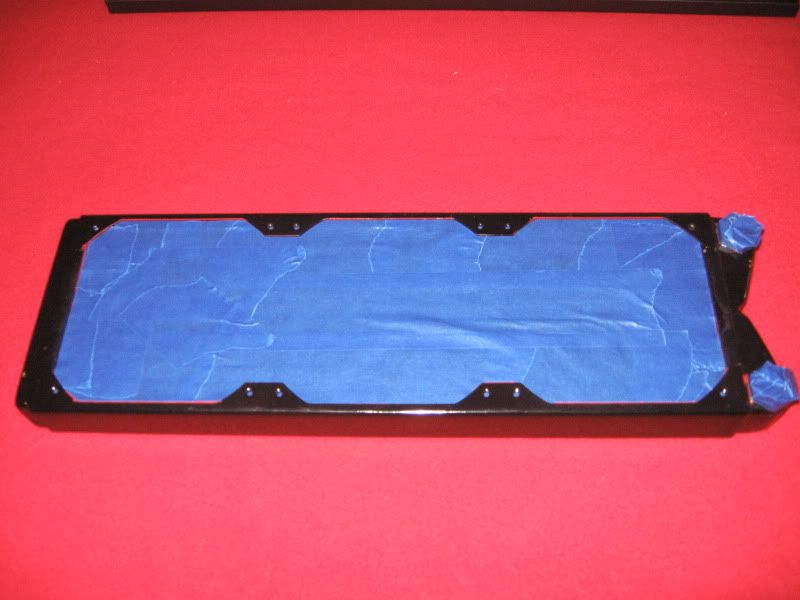
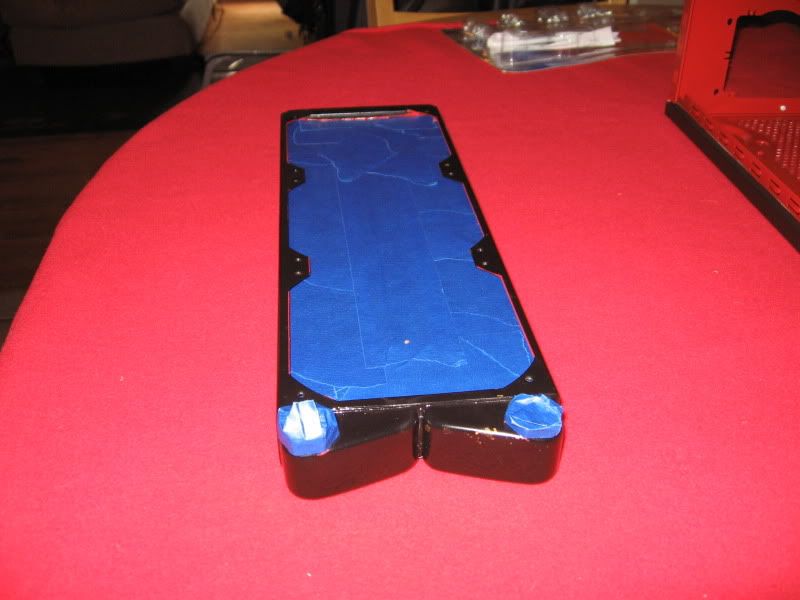
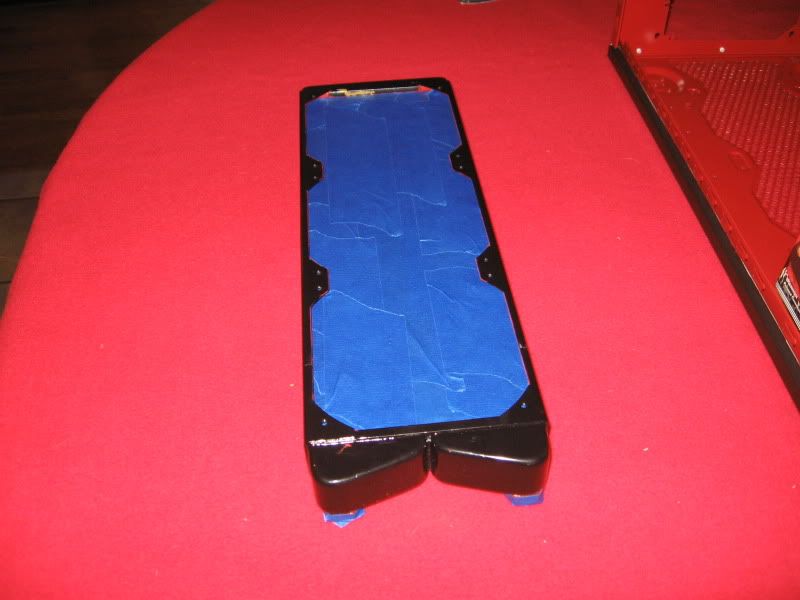
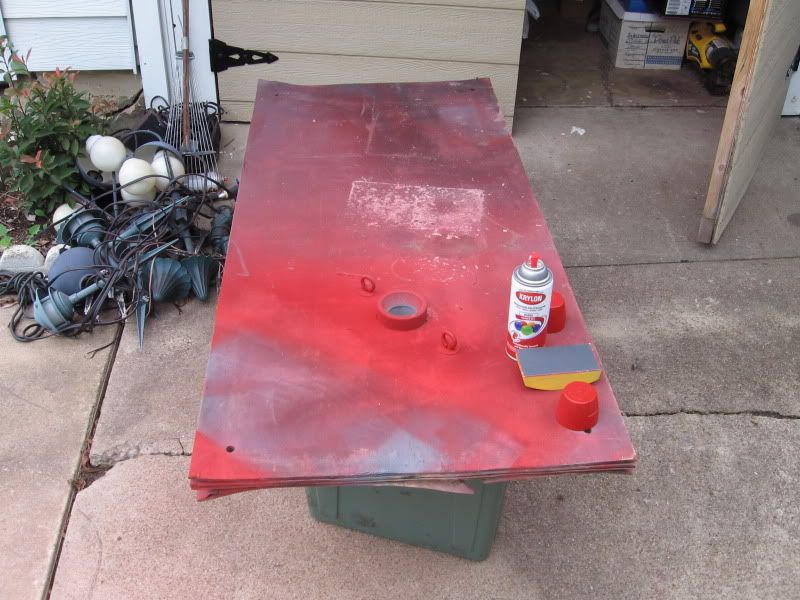
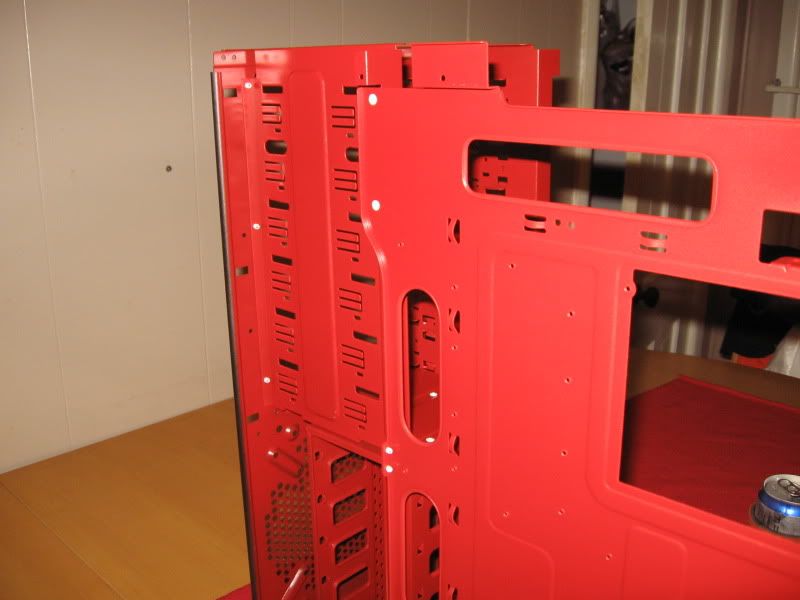
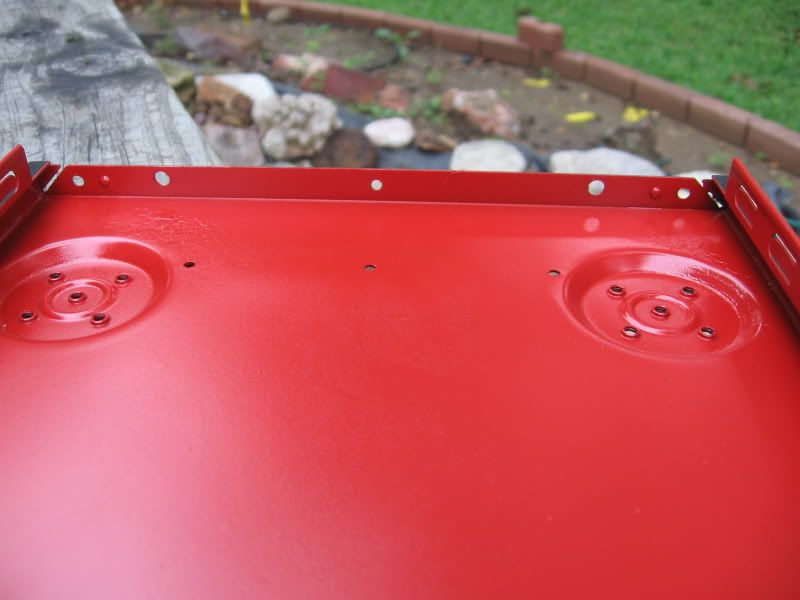
So I did one thing right anyway. Made a nice damn durable paint bonding and sealed coat.

    Unfortunatly I didn't get any pics of the damage like I thought I did. Sorry guys

    Project Slumber Parties gets dropped off at the Powder Coater in Garland Saturday morning where she will undergo the continued paint stripping/bead blasting and then powdercoating. If I'm able to take pictures then I will, but this isn't my house and its some guy I found on Craigslist that shows exceptional work and isn't expensive at all. Lets just put it this way. I wasn't done with sealing her @ $3.97 a can and I was already around $55-$60 in supply cost. This guy is going to do the job for less then that. So if he works out good I'm going to see if I can work something out with him for anyone that is interested. He has the real no kitchen oven. He has a 6 foot oven in his garage so he doesn't play around. From bike frames to wheels and car parts. He does it all if it will fit in his oven. So like I said I will see how Project Slumber Parties turns out and maybe I can work some kind of promotions deal out with him.
    Last edited by scgt1; 01-04-2010 at 03:38 PM.

  7. #7
    Xtreme Enthusiast
    Join Date
    Oct 2009
    Location
    Arlington, TX
    Posts
    581
    11-07-2009, 12:51 AM

    Bit of a teaser:

    Anyone wanna guess whats inside?

    Its a work of art I'll say that much.

    11-08-2009, 11:48 AM


    Well I dropped her off at the powder coaters yesterday.

    11-11-2009, 05:58 PM

    Ok well I ed up. I started working on the 5.25 rail locks again today. Starting with attempting to strip the paint off the round buttons that say cooler master. Well I didn't have any paint thinner and well grabbed the next best thing. Apparrently after forgetting I was soaking the in a glass it decided to well desolve the damn plastic. So now I have to hope Cooler Master will sell that item and that item only as I don't need any of the other parts.

    I can't believe I forgot about them.
    Last edited by scgt1; 01-04-2010 at 03:42 PM.

  8. #8
    Xtreme Enthusiast
    Join Date
    Oct 2009
    Location
    Arlington, TX
    Posts
    581
    WOW 330+ views and not a single comment. I'm rather disappointed. Guess you have to be up the ladder with sponsors and crap for anyone to say anything or give input and suggestions on builds. Well I'll be doing another update anyway sometime today.

  9. #9
    Xtreme Member
    Join Date
    Nov 2009
    Location
    Portugal
    Posts
    463
    Quote Originally Posted by scgt1 View Post
    WOW 330+ views and not a single comment. I'm rather disappointed. Guess you have to be up the ladder with sponsors and crap for anyone to say anything or give input and suggestions on builds. Well I'll be doing another update anyway sometime today.
    Maybe the reason is the size of the photos .. they´re just too small man ..

    Use photobucket instead

  10. #10
    Xtreme Enthusiast
    Join Date
    Oct 2009
    Location
    Arlington, TX
    Posts
    581
    Quote Originally Posted by Raiden View Post
    Maybe the reason is the size of the photos .. they´re just too small man ..

    Use photobucket instead
    They aren't small at all. If the images are clicked on you will get a medium sized image. Below that medium size image you can click the magnifier and see the full size.
    I've noted this in the posts about clicking the images to get full size views.

  11. #11
    Xtreme Member
    Join Date
    Nov 2009
    Location
    Portugal
    Posts
    463
    Quote Originally Posted by scgt1 View Post
    They aren't small at all. If the images are clicked on you will get a medium sized image. Below that medium size image you can click the magnifier and see the full size.
    I've noted this in the posts about clicking the images to get full size views.


    Yes but clicking gives too much trouble .. its easier for you to put them bigger , it gives a better and imediate perspective of your project... keep it up boy

  12. #12
    Xtreme Guru
    Join Date
    Aug 2009
    Location
    Wichita, Ks
    Posts
    3,887
    the reason no one is commenting is the fact that the format you are using for your pictures is ridiculous. i clicked two of them, and after waiting for another tab to open up, the slow as site response for that host site, and the popup begging me to join, then i see your pic. cmon man the fact that i did it TWICE is amazing. go to photobucket, and then use the IMG tags in here, so that we can see the pictures without being linked offsite for some BS. do not link offsite for pics. the number of views of this thread does show that people are willing to look at your build, and a LOT would comment, if they could see it under reasonable conditions. nobody cares about the high res pics, they are in everything man. this isnt the nineties where a high res pic brings the world to a halt...or erm did they even have those in the nineties?? dude i wouldnt even jump through these hoops to see pron....
    "Lurking" Since 1977


    Jesus Saves, God Backs-Up
    *I come to the news section to ban people, not read complaints.*-[XC]Gomeler
    Don't believe Squish, his hardware does control him!

  13. #13
    Xtreme Enthusiast
    Join Date
    Oct 2009
    Location
    Arlington, TX
    Posts
    581
    Well I've been beating my fingers to death editing the very first post. Copying the url for my images then posting them with the image tag has left me with blank spaces where photos belong. So can I get some input on the size of the first 4 working photos in the first post. I've spent a couple hours to get these photos named and where I'm hosting them. I would hate to do it all over again with photobucket.

  14. #14
    Xtreme Guru
    Join Date
    Aug 2009
    Location
    Wichita, Ks
    Posts
    3,887
    that picture size looks great, bigger would be nice, but that works very very well. much better than before. most hosting sites have a place where it already has a [IMG] tag there with the name of the file, so you select it and copy/paste...makes things much faster.at least thats how the photobucket does it. you are definitely headed in the right direction. once you get in the hang of it it is very easy
    Last edited by Computurd; 11-24-2009 at 07:33 PM.
    "Lurking" Since 1977


    Jesus Saves, God Backs-Up
    *I come to the news section to ban people, not read complaints.*-[XC]Gomeler
    Don't believe Squish, his hardware does control him!

  15. #15
    Xtreme Enthusiast
    Join Date
    Nov 2009
    Posts
    511
    agreed the pics where not fun to look at..but ur getting the hang of it and the first post is looking much nicer.. either way keep up the work and dont let anyone deteriorate your ambitions.

  16. #16
    Xtreme Guru
    Join Date
    Aug 2009
    Location
    Wichita, Ks
    Posts
    3,887
    well i would be pissed off seriously if someone sent me that. that is bs that he sent you the equipment in that condition. i would totally not get a can of air, id get a can of WHOOP ASS!! LOL
    "Lurking" Since 1977


    Jesus Saves, God Backs-Up
    *I come to the news section to ban people, not read complaints.*-[XC]Gomeler
    Don't believe Squish, his hardware does control him!

  17. #17
    Xtreme Enthusiast
    Join Date
    Oct 2009
    Location
    Arlington, TX
    Posts
    581
    Quote Originally Posted by Computurd View Post
    well i would be pissed off seriously if someone sent me that. that is bs that he sent you the equipment in that condition. i would totally not get a can of air, id get a can of WHOOP ASS!! LOL
    Yea I've since gotten $70 credited back from him. The ram I purchased for $85 and sold it for hmmm $140 I believe since the red in the heatsinks wasn't close to the build. So I have some much more appealing ram on its way via fedex that I got a steal on EVGA Forums a few days ago.

    I'll work on this thread some more from time to time. Photobucket is for multi file uploads. It keeps stalling out. The most I can upload at a time is 5 photos or it stalls and wont do anything. So the transfering of my gallery to photobucket is taking some serious time. I'll keep updating the title though reflecting when that way its noted on if the photos are more convienent.

    I've ran across a photo in the cases thread about page 4-5 that had a nice piece of acrylic with something etched in it and red lights making it noticable. I think I'm going to incorporate that into the build also since I know locally where I can get acrylic plexi cheap.

  18. #18
    Xtreme Enthusiast
    Join Date
    Oct 2009
    Location
    Arlington, TX
    Posts
    581
    Working on the thread again. I've been ubber busy with things around the house. I'm still going through fighting with phtobucket to get all the photos updated so I've updated to the first part of the 4th post with larger images. I've found that Cooler Master service sucks. More on this later after I finish the photos. It will be sometime tomorrow when I finish the current photos. Photobucket doesn't upload very well. With a 6meg connection I should have no trouble and don't anywhere else so its the way photobucket is setup.

  19. #19
    Xtreme Member
    Join Date
    May 2007
    Location
    Portland, OR.
    Posts
    326
    I think we get the idea that the case is in bad shape, and I personally could do without the 100 photos illustrating it. I kept scrolling and scrolling and scrolling hoping that perhaps there was a mod happening somewhere. Then, low and behold....PAINT!

    Look forward to see you whip that HAF into shape!
    - Autobot -
    Intel Q9400 (3.6Ghz) / Asus P5Q Deluxe / 8GB Corsair XMS2 DDR2-800
    MSI R6970 Afterburner 2GB / Asus Xonar DX
    Crucial M4 128GB SSD / Seagate 640GB SATA2 / Lite-On DVD/RW Litescribe SATA
    XFX XXX-Edition modular 650W PSU
    Enzotech / Swiftech / Koolance

  20. #20
    Xtreme Enthusiast
    Join Date
    Oct 2009
    Location
    Arlington, TX
    Posts
    581
    Finally got a panel from CM that I can use. Although it was damaged also. CM has got to be the worst computer hardware company ever. Not to mention UPS just added more to why I despise using them. I'll fill in more on this matter when I get the rest of the thread updated. I get pissed with photobucket and stop using it for a while. I basically have to upload a photo at a time or it wont upload. Thats even if I leave my 6meg connection open for it to.

  21. #21
    Xtreme Addict
    Join Date
    Jan 2007
    Location
    Michigan
    Posts
    1,785
    I felt your pain with a lot of different challenges you've faced so far with this build. And I know what you mean when people don't view your build. I think people ARE interested, but we're like children in a candy shop. When we look at build logs we want to be amazed and daydream about the different parts. We want to imagine them in our rigs so the bigger and clearer the picture, the better. It's hardware :banana::banana::banana::banana: man! Don't forget there are tons of build logs here so we're all fat, lazy, spoiled little brats with rotten teeth!!!

    You seem like a perfectionist with a good sense of "do it yourself" mentality. I think that's a good thing. Coolermaster makes some pretty nice stuff, but they seem like the skip some corners here and there. For instance, my thermaltake case that I modded didn't come with 5.25 bays, only 7.5" bays. What the heck I didn't think about that??? I contacted their support was told I couldn't even purchase bay covers for it. So my challenge was to cut new covers using a saw (eek). The point is that the small things can really change the momentum of a build. With some patience and (a lot of) determination, it can all be fixed!

    So congrats on a nice build. You've ran into many hurdles so far. I hope the end is a stunning build that you can be proud of! Powdercoating is the way to go.

    Oh and don't worry about your comments or page views. I find there are two types of modders here: 1. those that do a proficient job at modding and then enjoy using their PC, and 2. people who build a fairy tale rig that really isn't justified, but takes a year to build. Sure the latter will have more views and comments. The more people see the worklog in its infancy, the more they feel they can contribute to it. Neither way is wrong, just different types of folks.

    So don't worry about the number of comments and page views. Build up your awesome rig and share what you can. The readers are appreciative even if they don't show it.

    PS: post up the powdercoating ASAP. I spray painted my box and I wish I would have powder coated it.

    *subscribed*
    Last edited by Vinas; 01-04-2010 at 10:21 AM.
    Current: AMD Threadripper 1950X @ 4.2GHz / EK Supremacy/ 360 EK Rad, EK-DBAY D5 PWM, 32GB G.Skill 3000MHz DDR4, AMD Vega 64 Wave, Samsung nVME SSDs
    Prior Build: Core i7 7700K @ 4.9GHz / Apogee XT/120.2 Magicool rad, 16GB G.Skill 3000MHz DDR4, AMD Saphire rx580 8GB, Samsung 850 Pro SSD

    Intel 4.5GHz LinX Stable Club

    Crunch with us, the XS WCG team

  22. #22
    Registered User
    Join Date
    Dec 2009
    Location
    Clifton Park NY (Near Albany)
    Posts
    26
    I'm gonna stick around and see how this pans out. Glad you found a powder coater in your area who isn't charging an arm and a leg. I'm still looking for one in my area. Good luck on this, I'm looking forward to seeing a finished product!

  23. #23
    Xtreme Enthusiast
    Join Date
    Oct 2009
    Location
    Arlington, TX
    Posts
    581
    Quote Originally Posted by tidal View Post
    I'm gonna stick around and see how this pans out. Glad you found a powder coater in your area who isn't charging an arm and a leg. I'm still looking for one in my area. Good luck on this, I'm looking forward to seeing a finished product!
    Thanks for the comments guys. I'm working on getting more pics up I litterally have to set one pic for upload wait a minute or so then click the link to view my folder to get the pic to actually show up. If I wait for photocrap to tell me its uploaded I will more then likely wait all day. I prefered webshots. I could upload 300-400+ photos and the status bar updated properly and also would tell me when its actually done. Photobucker though.......


    But everyone wants large photos so photocrap/pain in the a$$ it is. LOL
    Don't really have photos of the powdercoat. Just what he has sent me via email. Looks damn good from what I can tell from the photos. I will hopefully be heading back up there tonight along with my window panel to Bei Fie (Member here) to have him cut some things out of the panel. Then shoot over to richardson/garland to the powdercoater and drop off the panel and some tid bits from screws to the small metal rod for the rear pci slots that holds the plastic locks in place. If I make it up to him I will take some shots. I could assemble the case tonight if I had any dough left after xmas to pay him for his work. LOL shopping for kiddos eats up money lemme tell ya. I have enough till the 9th to pay Bei Fei tonight for cutting my panel and thats about it. Oh well.


    On a side note if anyone views this thread and has loose w/c gear they don't need shoot me a message I'm looking for a 2nd loop in the future and currently seeking 1/2 ID 3/4 OD compression fittings. Not exactly sure what types ie straight angled or what ever. I'll pretty much buy up what ya got since I plan to build a new setup for the fiance so hers matches her own business and along with the 2nd loop for gpu(HD 5970) or gpus (HD5870s)
    It would help if I actually had the case so I could install everything and see what fittings I will need, but I'm sure they will get used somewhere in the mix. I can't view the for sale section here yet since I don't have 50 posts yet. Kinda sucks. I've been trading on Hardforum and Anandtech for years. I just happen across this site in Nov I believe and can't get the post count up. LOL

    Oh and if anyone has any silver to add in with distilled water for the loops that is extra lemme know about that also. I read here on the forums that uv died coolant is bad and a piece of silver and distilled water is all that is needed. Beats me. I'm new to watercooling.

  24. #24
    Xtreme Member
    Join Date
    Mar 2009
    Posts
    143
    Hey man way to go taking s**t and turning it into a dream... just got my haf as well... and i gotta say... whoever you bought that from is an absolute idiot. I guess you were born to fix his screw ups and make it even better man

    Keep on cracking man your almost there!!!!
    Current System:

    Coolermaster HAF 932
    XFX 680i LT SLI Motherboard
    Intel Core 2 Quad Q6600 @ 2.99 GHz
    4 Gb (2x 2Gb) OCZ SLI-Ready RAM
    2x XFX 8800gt XXX edition @ 690/975
    1x 300GB Western Digital Caviar HDD

  25. #25
    Xtreme Enthusiast
    Join Date
    Oct 2009
    Location
    Arlington, TX
    Posts
    581
    Finally got the photos all updated with larger links. Now for a update on the happenings to date. Ready for those Frogs to own Boise State! 30 minutes to go.

Page 1 of 10 1234 ... LastLast

Tags for this Thread

Bookmarks

Bookmarks

Posting Permissions

  • You may not post new threads
  • You may not post replies
  • You may not post attachments
  • You may not edit your posts
  •