


Time for the next project.
Preface: The first part of this worklog will cover the case, watercooling, and any other necessary mini-projects that will ultimately go into the final build (e.g. wiring and sleeving come to mind). This part of the worklog will NOT cover the actual PC hardware (motherboard, CPU/GPU) because...well, simply put I have not decided what those parts will be exactly. Last I checked we're in the middle of an Intel tick cycle, going into tock with 32nm Westmere (or is it tock going into tick?). Lynnfield is surely bang for the buck but I'm holding out for the next process shrink...so Gulftown it will most likely be.
On the GPU front, right now the clear choice is 5870/5970-class, although I may have a problem with the 5970's length. Given the current Cypress yield and stock issues, it doesn't make sense to buy this now anyway. I will be waiting until either a) 5xxx stock is replenished and prices come back down, or b) Fermi/Larrabee deliver unexpected trumps, however unlikely (b) may be.
***
CAPELLA'S goal is to be a relatively compact, accessible, functionally simple, and easily maintained watercooled barebones rig. This might mean taking advantage of a few "bolt-on" parts (e.g. UN Designs bracket fit into this category IMHO, although they are very well designed and manufactured), but I am comfortable with that. Those who choose to view bolt-ons as the death knell of "modding" are free to do so. I enjoyed working on the MM Pinnacle but to be honest, it is not a creature-friendly case (10 screws to remove a side panel? no thanks). It's also not very pretty, though that is debatable. I intend to apply what I learned to like and dislike from the Pinnacle project to guide my approach to this build.
***
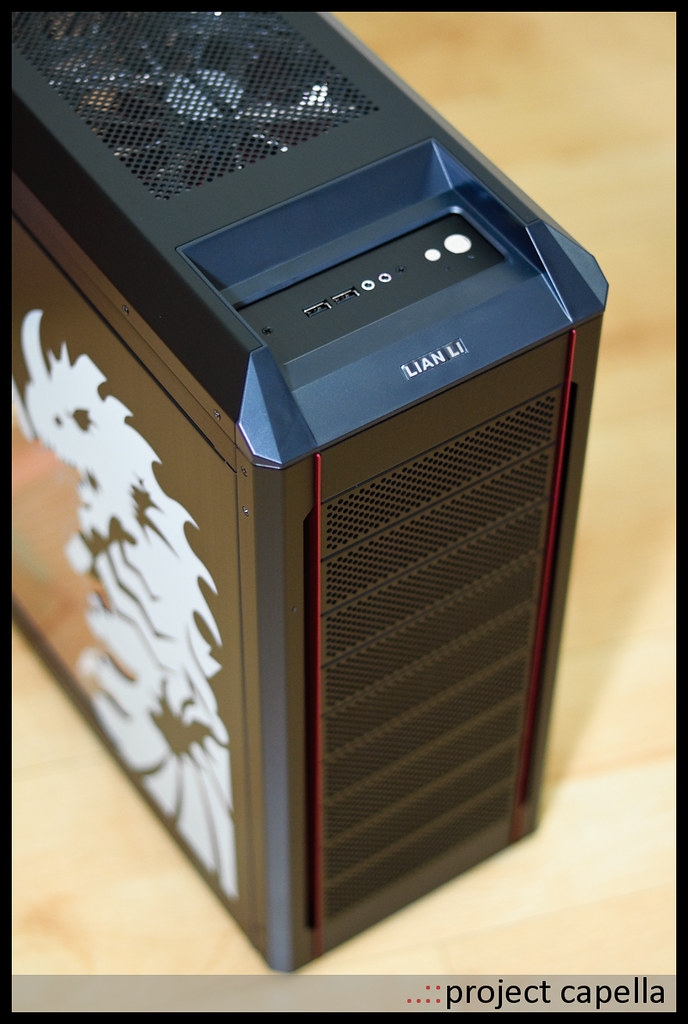
Let's start with the case: Lian Li PC-P50R
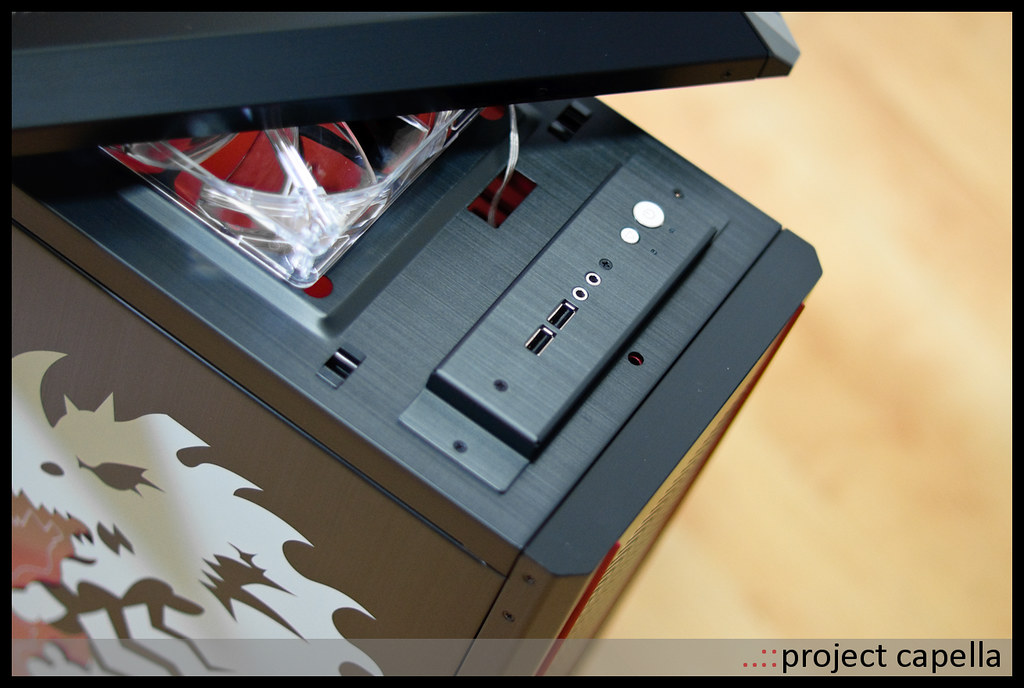
Nice red anodized trim on the aluminum front bezel. The branding sticker will have to go. There's modding potential on the top power/reset/usb plate.
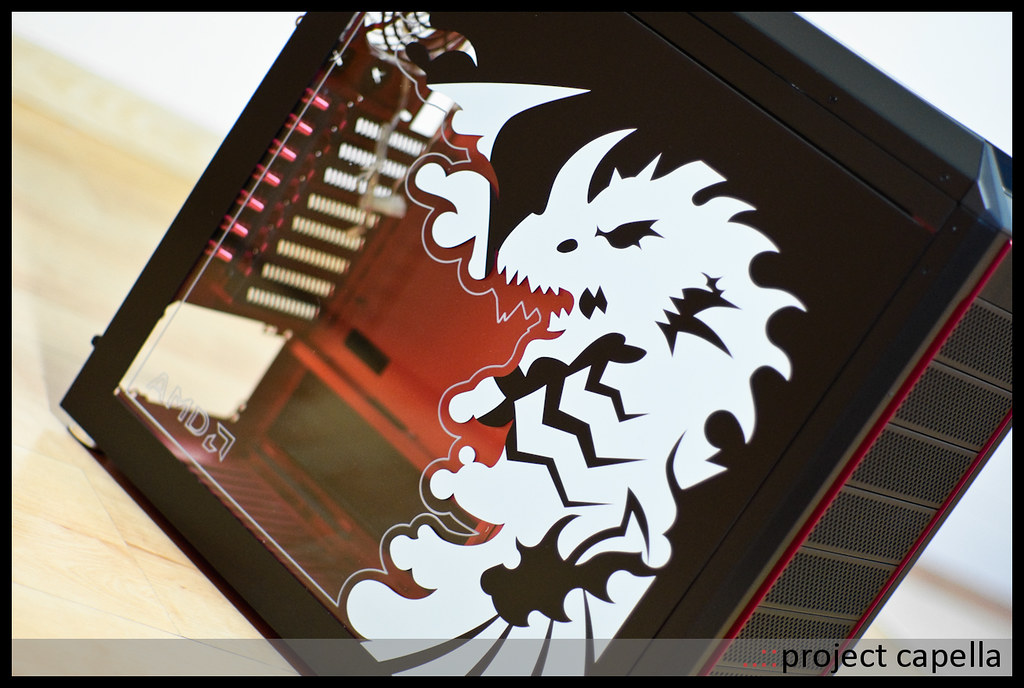
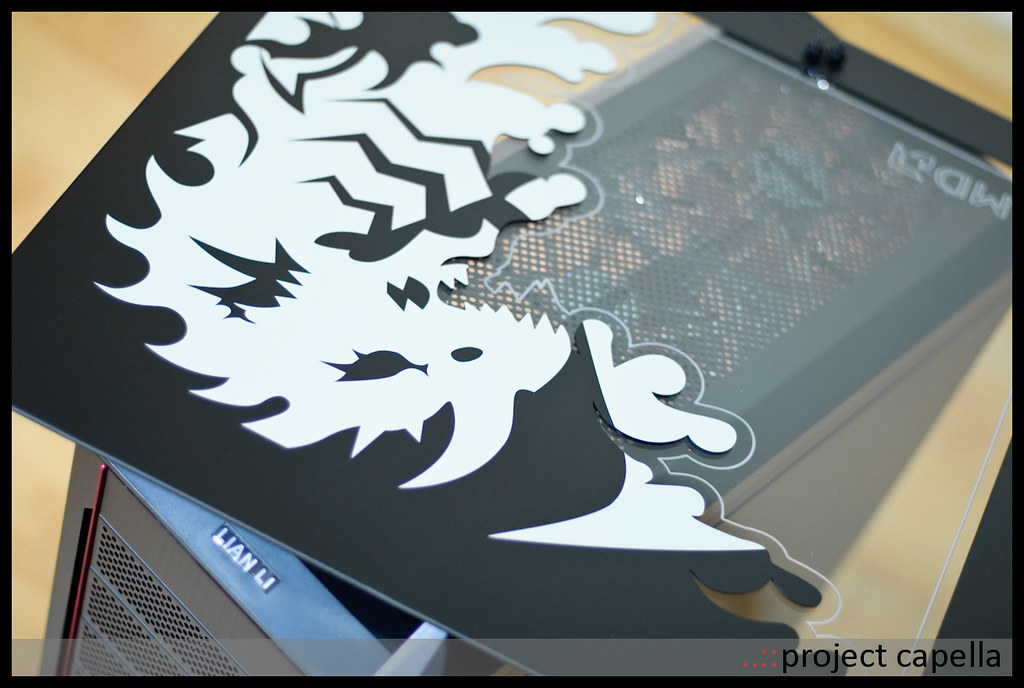
Whew, what a loud side panel. I chose this case for the red anodized interior and (unfortunately) this side panel comes standard. It's well cut and etched for sure, but I'd prefer a more subtle window. At least the AMD marking is not too out of place, it'll have an ATI GPU.
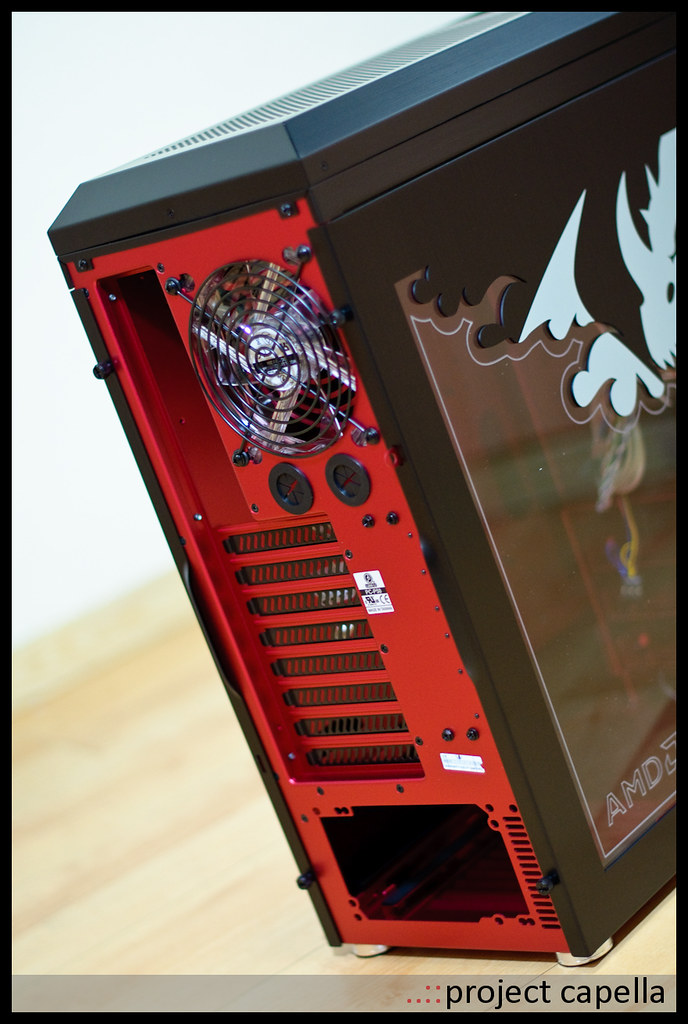
Shot of the back, including two must-go QC stickers.
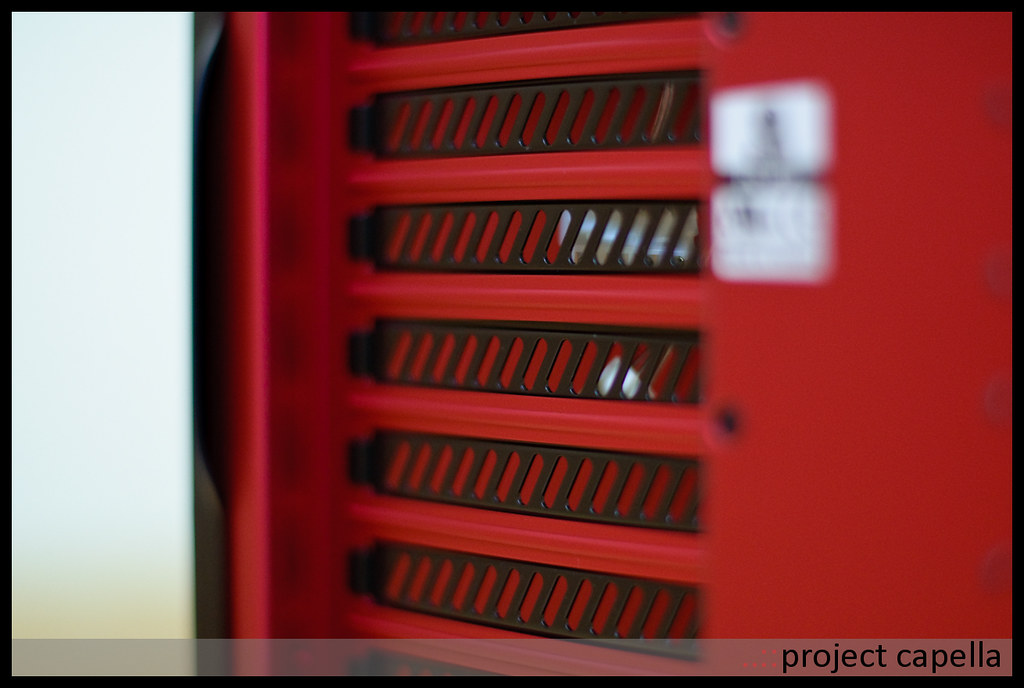
Very nice black-anodized vented slot covers.
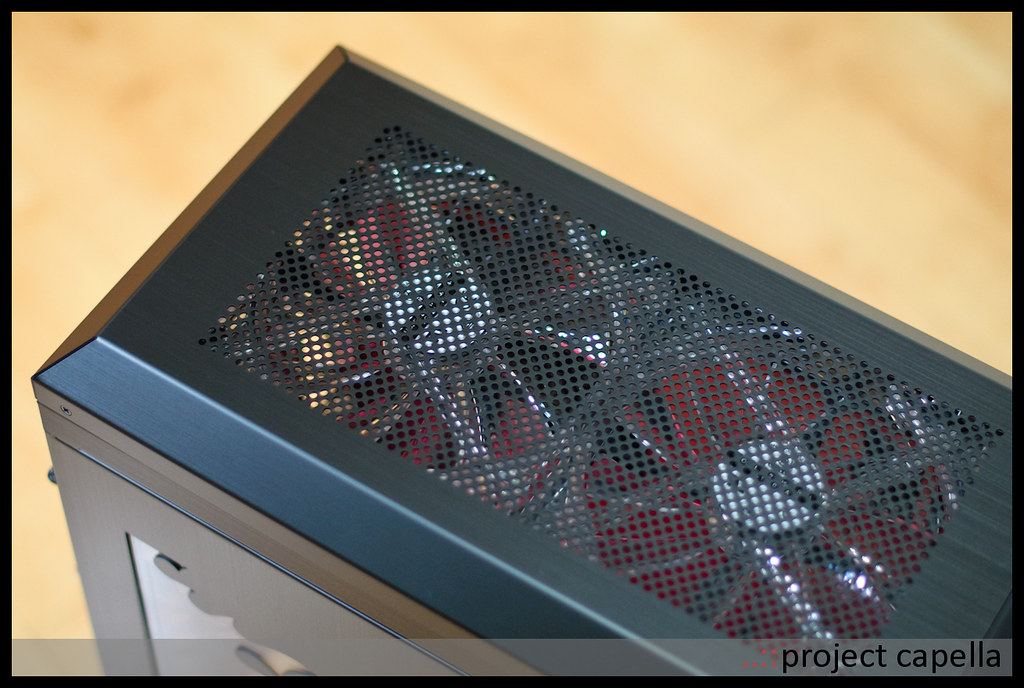
Two 140s (red LED fans) on the top exhaust. They don't sit together flush, there's a 8~9mm gap in between, so ~25mm hole-to-hole maybe? I don't think a top mounted 280 would be feasible. There would be barely any space once the motherboard is in anyway.
Top bezel pops off as easily as the front, revealing the mounted 140s and the switches/ports panel. I hope there's space up here for a fillport.
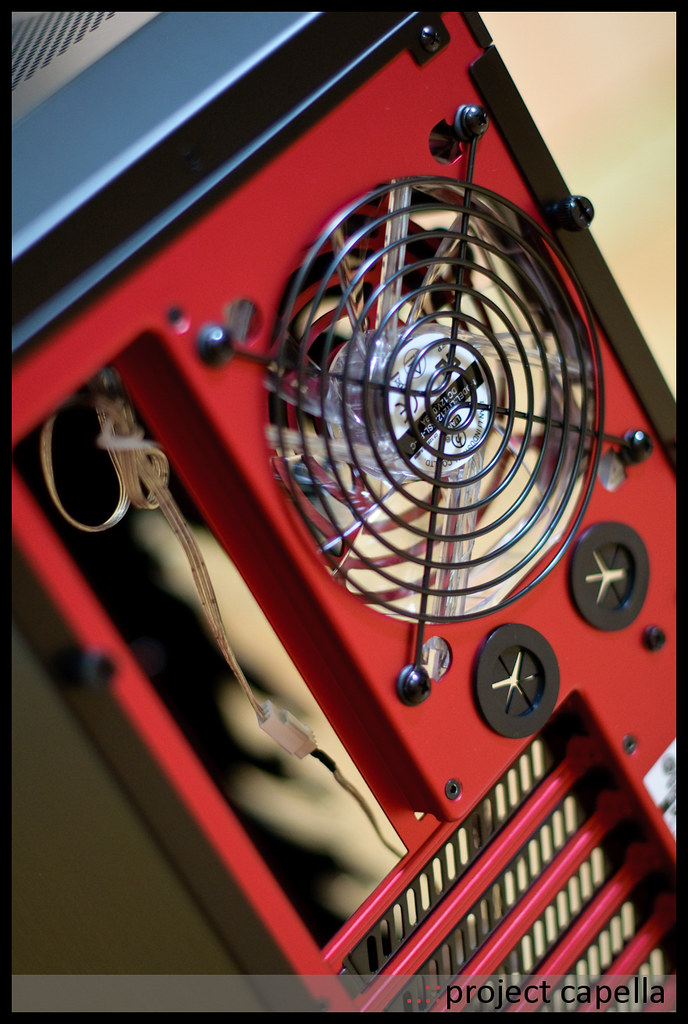
Another red-LED 120 at the rear exhaust. I'm sure it looks nice but for sure it will be replaced.
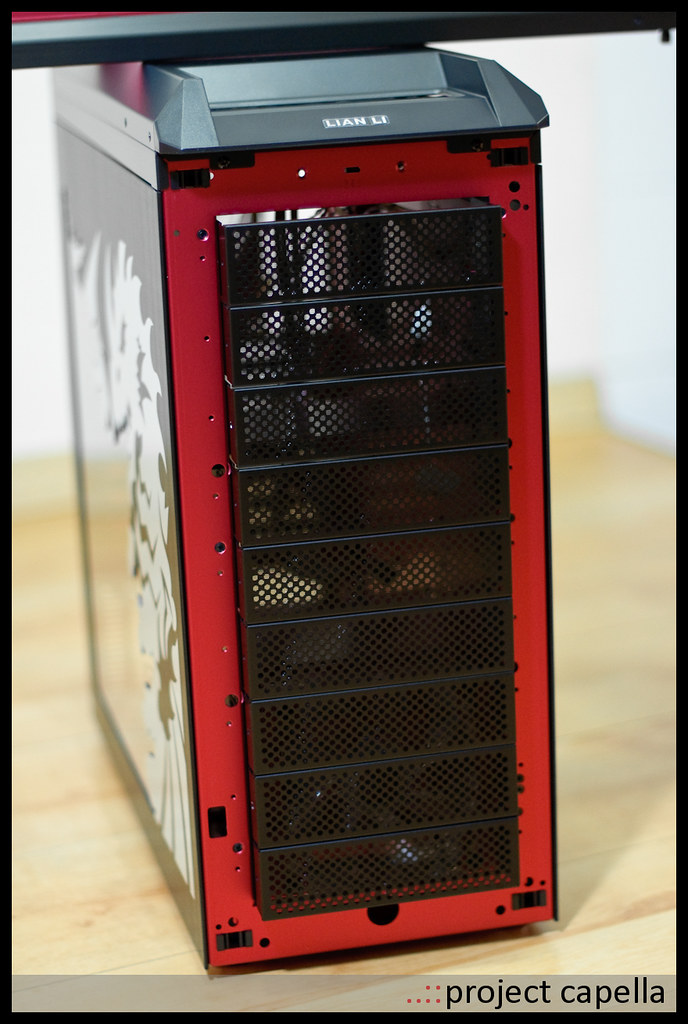
Front bezel pops off revealing the vented and filtered drive bay blanks. I have another front panel idea for this build.
Here's the side panel removed and sitting on top. Let's dive inside shall we?
PSU is bottom mounted, you can see the filtered vents at the bottom there.
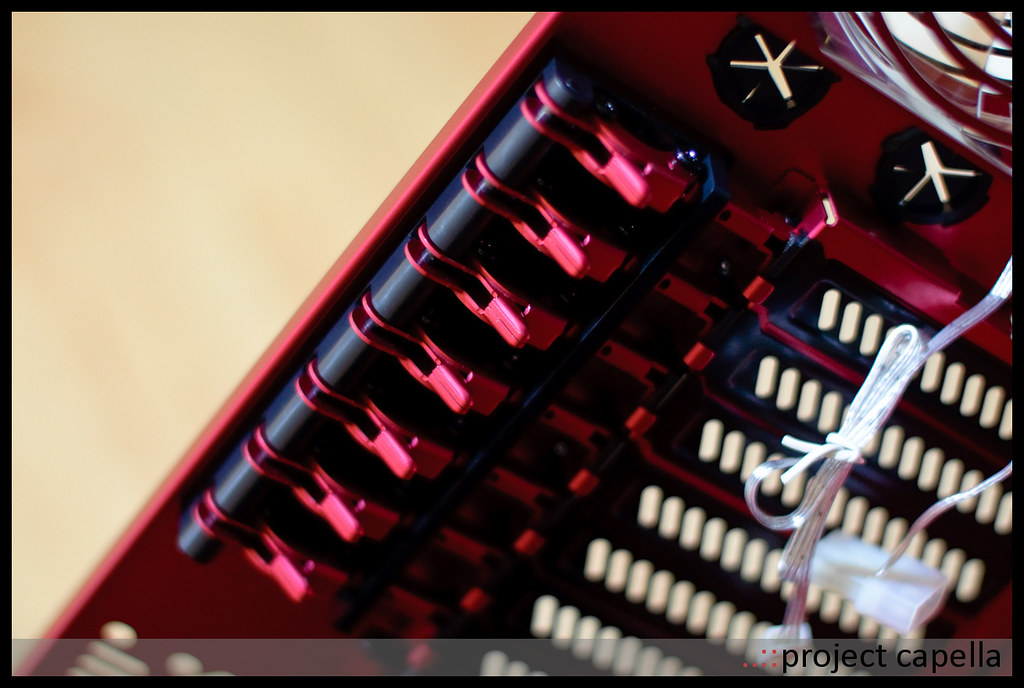
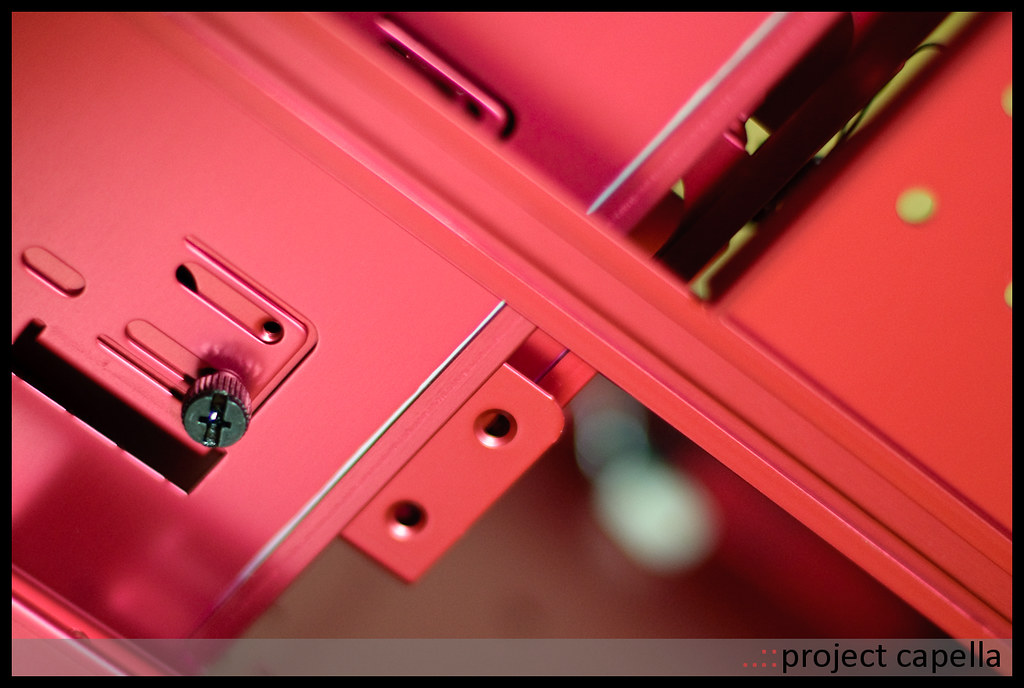
Red anodized aluminum tool-free PCI mounting clamps. Nicely designed, albeit over-engineered IMO.
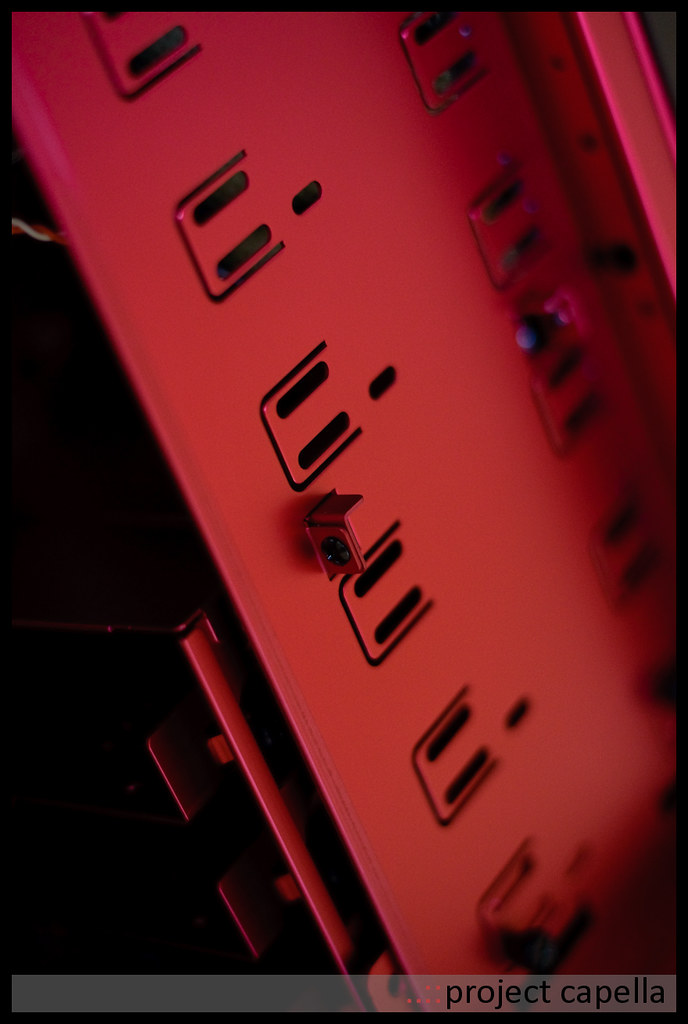
This is the side of the main 5.25" drive bays. There are these mounts on both sides, which are used to mount some sorta divider plates. Lian Li users, any idea what these dividers are supposed to do exactly? Good place to start for side-HDD mounts at least.
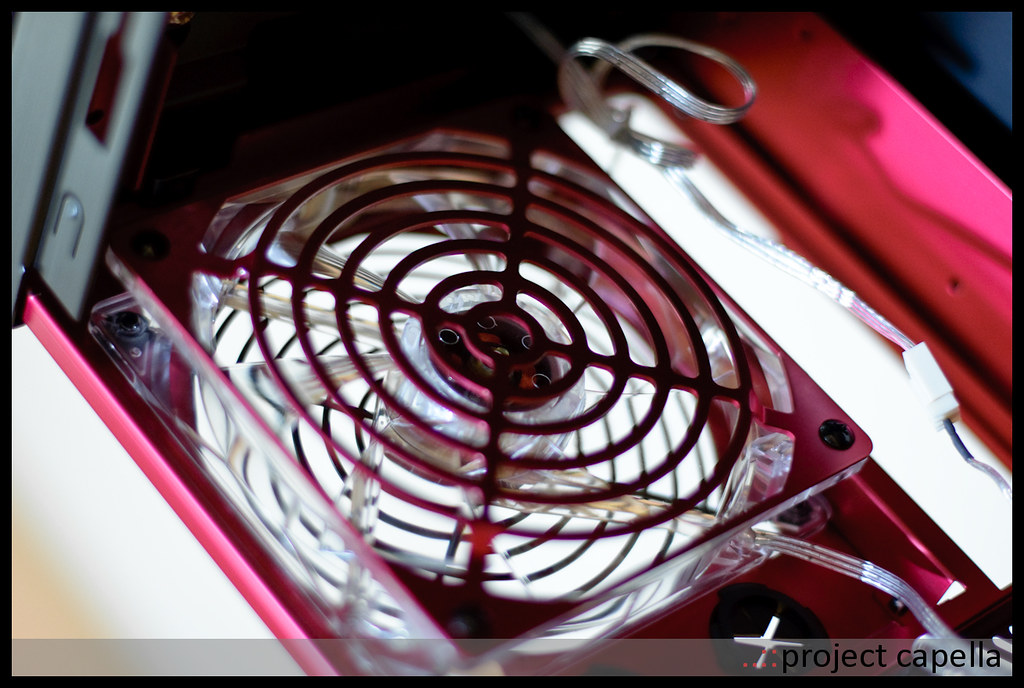
Rear 120 exhaust with a nice anodized aluminum grill, I'll definitely hold on to that.
Ahhh...caveat. The anodizing is not perfect as you can see by that gray line.
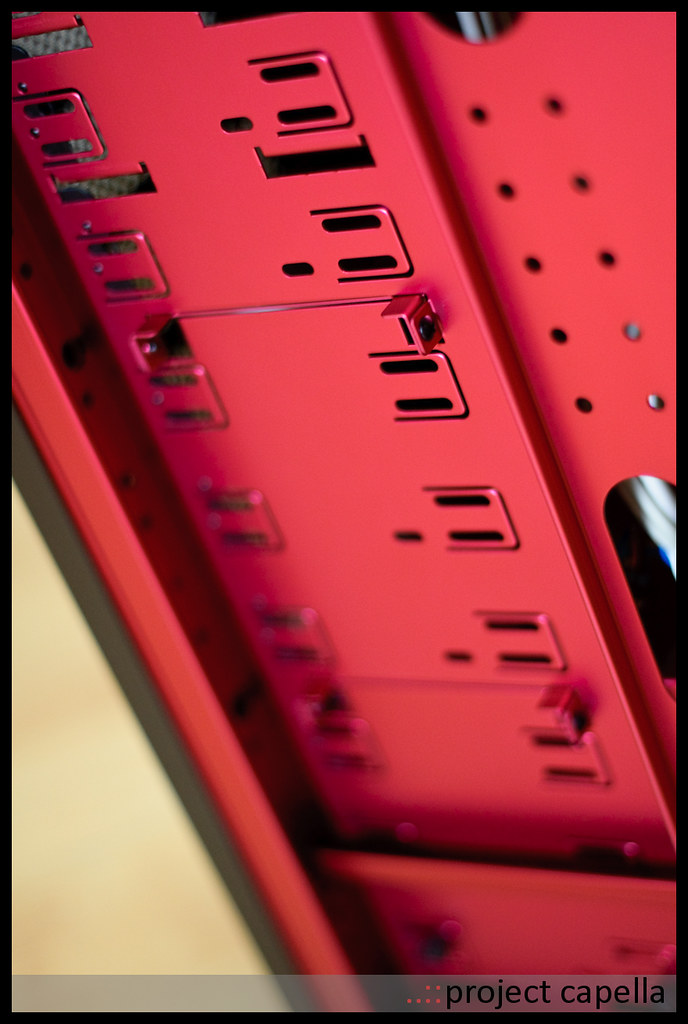
The other side of the drive bays, same mounts for the divider plates. There's maybe a 1/2" gap between the back of the motherboard tray and the side panel, so cable routing might be challenging. On a side note I did a poor job on color-matching in these photos. This one happens to be closest to the actual red.
Thanks for looking, more to come!


 Reply With Quote

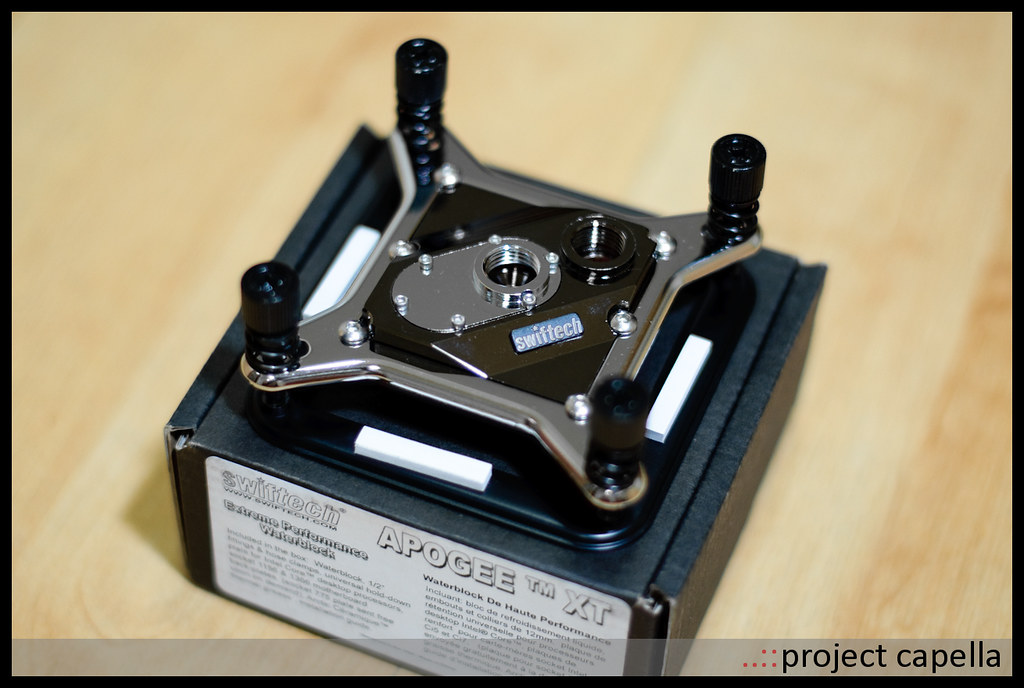


 ). Well worth it in my opinion.


 might overlap the motherboard a touch but certainly wouldn't reach the ram.


 ) on the photography aspect so I'm very glad that it is being well-received. Limited studio equipment is a shortcoming but that's a poor excuse as substitutes are plentiful. Limited space is the big issue, so I need to be more thoughtful about composition to catch what I want to catch and minimize background "noise." Sometimes that means taking multiple shots from multiple angles with multiple light setups. Other times that means contorting into a corner and shooting a burst. I appreciate the positive response as it keeps me from getting lazy in this area. Thanks.


Bookmarks