


(Upate - 02/17/2012)
I have started a new build. Check it out here.
(Upated 12/20/2010)
Here is the build log for my system. It isn't exactly a "new" build as I have been working on it for over a year. But I recently obtained the final components to complete the build as I originally intended.
(Upated 09/19/2011)
Added some "official" 3dMark 11 and Vantage scores. See post #90 for more test scores and details.
3dMark 11 (Performance): P12720
http://3dmark.com/3dm11/1853612
3dMark Vantage (Performance): P44179
http://3dmark.com/3dmv/3488671
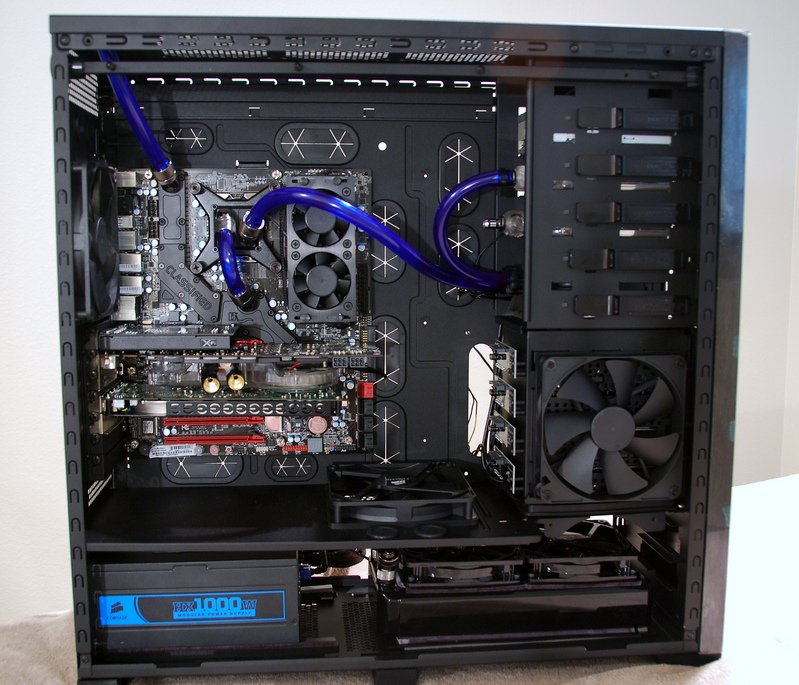
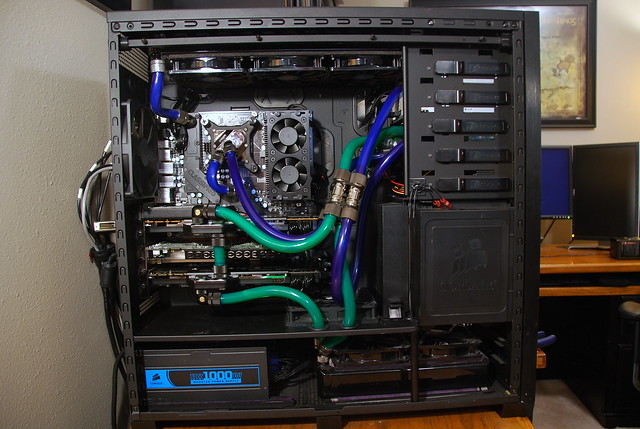
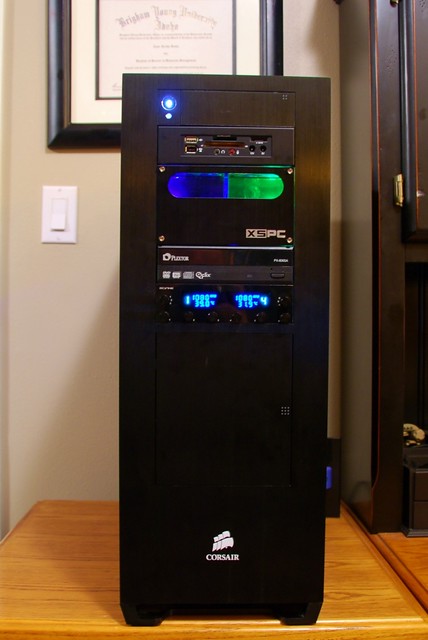
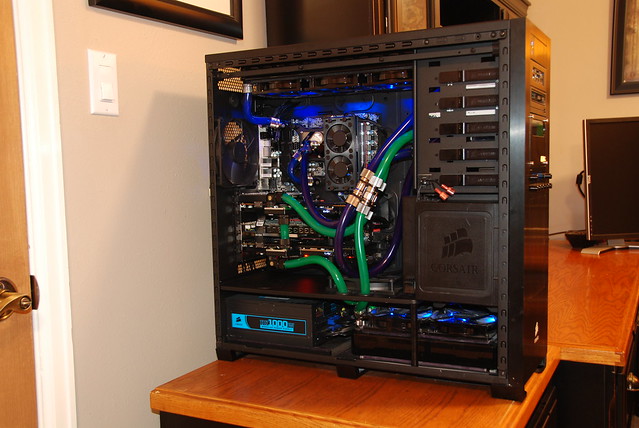
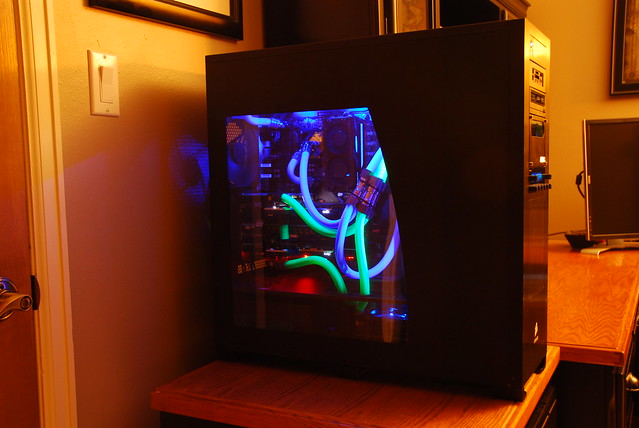
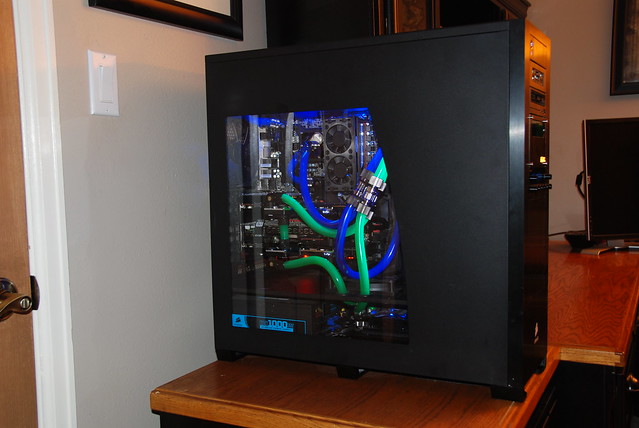
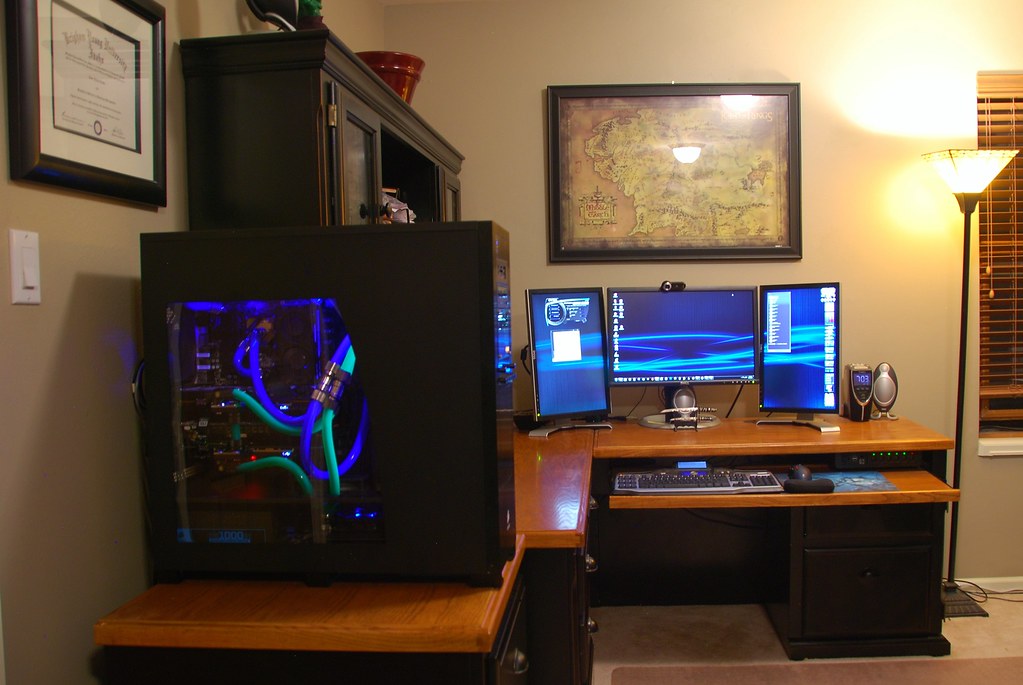
It will be a liquid cooled PC with two loops. One for the CPU & Chipset, and one for the GPUs. Housing the new build is the Corsair Obsidian 800D. This case is a monster, and I love the all black look, inside and out. I had to make a few minor modifications for the two loop system to work, but the mod went great, and I am pleased with the results.
Parts List:
* Case: Corsair Obsidian 800D Full ATX
* Power Supply: Corsair HX1000
* Motherbord: EVGA X58 Classified
* CPU: Intel i7 Core 970
* RAM: 12GB Corsair Dominator @ 1600MHz
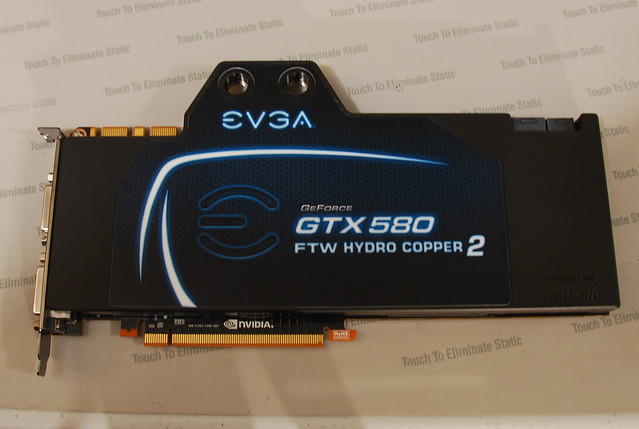
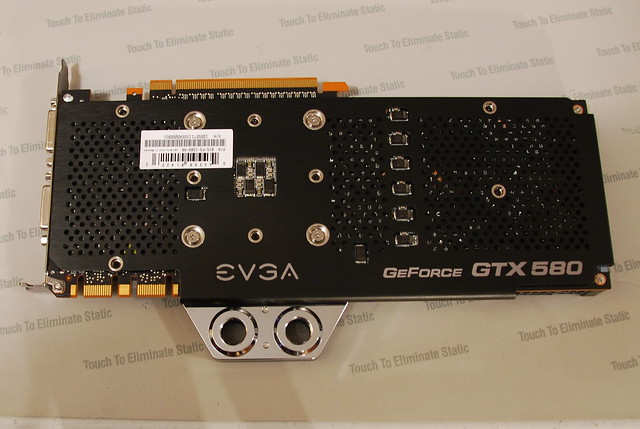
* GPU: 1 EVGA GTX 580 Hydro Copper 2
* GPU: 2 EVGA GTX 580 Hydro Copper 2
* GPU: 3 EVGA 9800GT (Dedicated PhysX, and to power side LCD monitors)
* Sound Card: Creative X-Fi Titanium Fatal1ty Edition
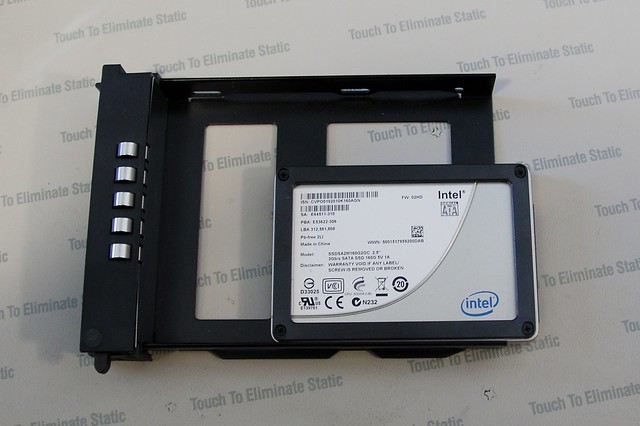
* Hard Drive 1: Intel X-25m 160GB SSD (Operating System & Programs)
* Hard Drive 2: WD Velociraptor 150GB HDD (Game/Steam Installs)
* Hard Drive 3: Seagate 500GB (User Files)
* Hard Drive 4: Seagate 1TB (Storage)
* Optical Drive: Asus Blu-Ray / DVD+R
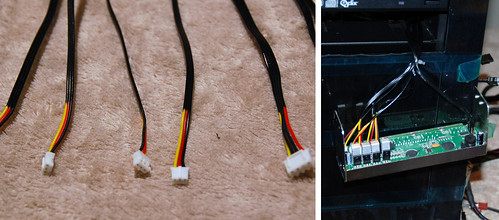
* Fan Controller: Scythe Kaze Master Pro 5.25" 6 Channel Fan Controller / Temp Display
* Card Reader: Silverstone FP35 housed in Lian Li 5.25” to 3.5” bay adapter
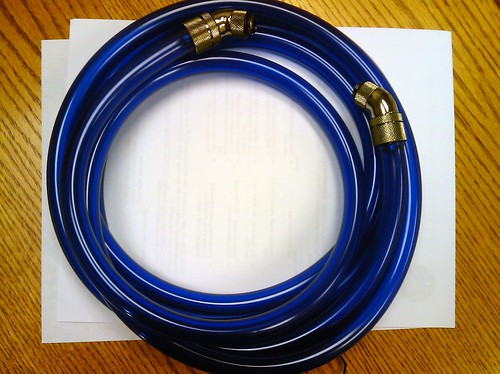
Loop 01 (Blue)
* Tubing: PrimoFlex Pro LRT UV Blue Tubing -3/8in. ID X 5/8in. OD (10ft)
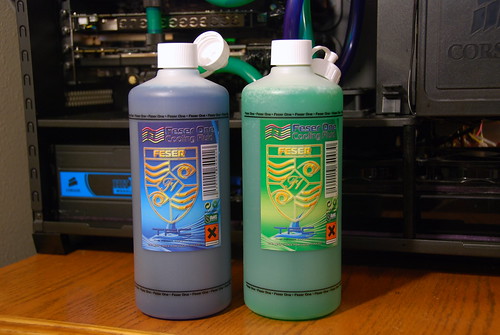
* Coolant: Feser One UV Blue
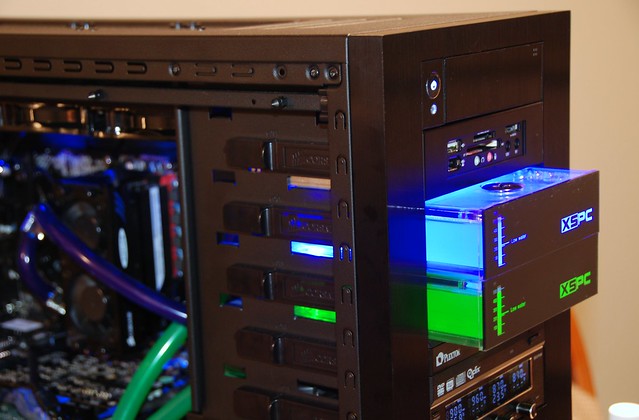
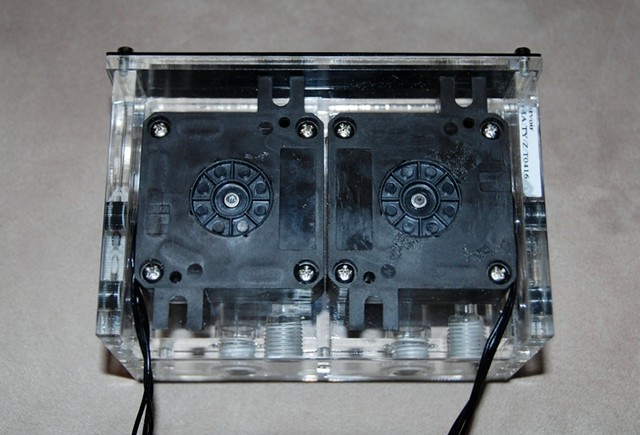
* Reservoir: XSPC Acrylic Dual 5.25in. Reservoir (originally was a XSPC 5.25" Black Single Bay Res)
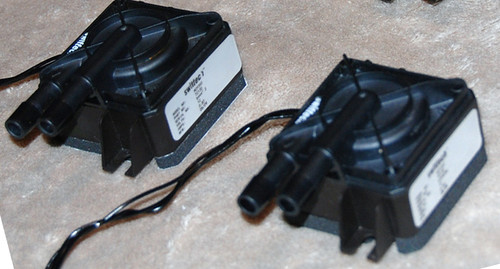
* Pump: Swiftech MCP350 12 VDC Pump
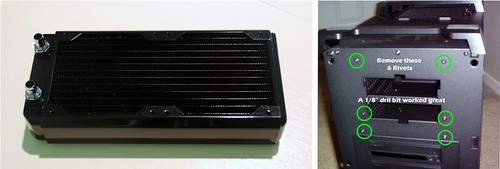
* Radiator: HardWare Labs X-Flow Extreme III
* CPU Block: Swiftech APOGEE-XT Extreme (originally was a Swiftech GTZ as seen in a few pictures)
* MoBo Block: EK-EVGA X58 Classified Full Board Waterblock
* Fittings: Bitspower Compression Fitting-ID 3/8" OD 5/8" (x2)
* Fittings: Bitspower Barb Fitting-ID 3/8" (x2)
* Fittings: Bitspower G1/4 Dual Rotary 45-Degree Compression Fitting-ID 3/8" OD 5/8" (x4)
* Misc Parts: Bitspower Metal T-Block, Bitspower Temp Sensor, Bitspower Male to Male G 1/4 Fitting
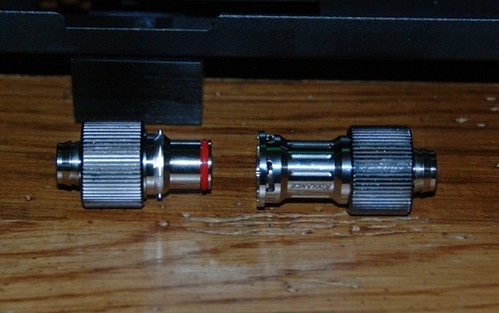
* Koolance QDCs (Quick Disconnects) (x2)
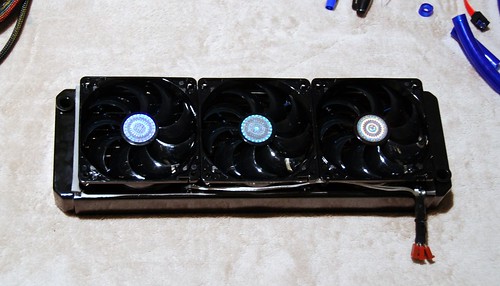
* Fans: Cooler Master R4 120mm Blue LED Fan R4-L2R-20AC-GP (x3)
Loop 02 (Green)
* Tubing: PrimoFlex Pro LRT UV Green Tubing -3/8in. ID X 5/8in. OD (10ft)
* Coolant: Feser One UV Green
* Reservoir: XSPC Acrylic Dual 5.25in. Reservoir (originally was a XSPC 5.25" Black Single Bay Res)
* Pump: Swiftech MCP350 12 VDC Pump
* Radiator: HardWare Labs GTX240
* GPU Block: The EVGA GTX 580 Hydro Coppers come with a custom Swiftech WB pre-installed
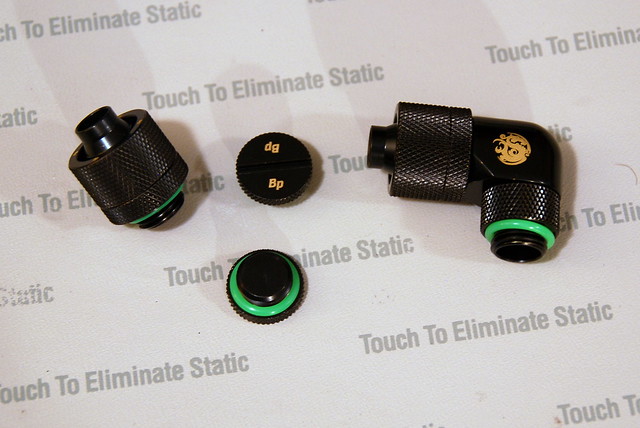
* Fittings: Bitspower Matte Black Rotary 90 Degree Compression Fitting-ID 3/8" OD 5/8" (x2)
* Fittings: Bitspower Compression Fitting-ID 3/8" OD 5/8" (x4)
* Fittings: Bitspower Barb Fitting-ID 3/8" (x2)
* Fittings: Bitspower G1/4 Dual Rotary 45-Degree Compression Fitting-ID 3/8" OD 5/8" (x2)
* Misc Parts: Bitspower Acrylic T-Block, Bitspower Temp Sensor, Bitspower Male to Male G 1/4 Fitting
* Koolance QDCs (Quick Disconnects) (x2)
* Fans: Cooler Master R4 120mm Blue LED Fan R4-L2R-20AC-GP (x2)
I will post the pictures within the build log, but will also add a link to a larger version of each picture if anyone would like to take a closer look at something.
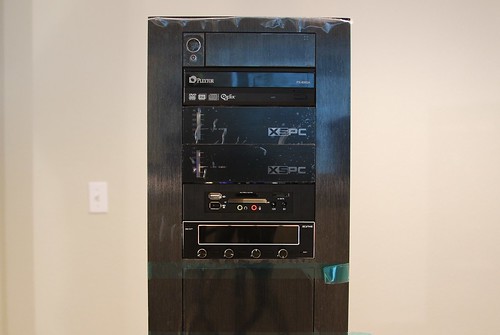
The case arrived in excellent condition. I knew the dimensions, but was still amazed as to how big it was.
Build_01
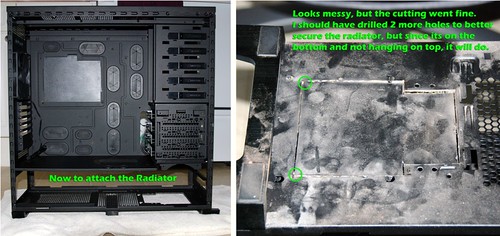
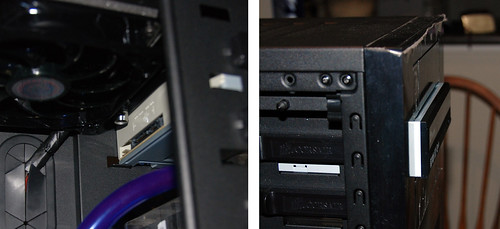
In order to make it work for my dual loop idea, I had to modify the bottom of the case to accept a radiator. For a more detailed work log on adding a bottom radiator, go here:
http://forum.corsair.com/forums/showthread.php?t=81698
In order to remove the bottom hard drive cage you must remove a total of 2 screws and 8 rivets. Two of the rivets must be replaced once the drive cage has been removed.
Build_02
Build_03
Build_04
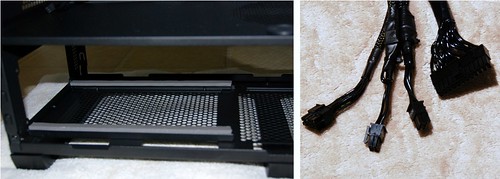
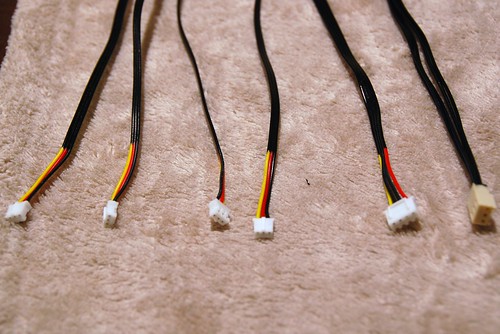
Before adding the power supply, I applied some weather stripping material to the rails that will hold up the PSU to give a bit of cushion. I also used Vinyl Dye to make all the PSU cables jet black. I was planning on individually rel-sleeving all of the cables but decided against it after I tried on a test cable and realized how much of a pain in the ***** it was. I also didn’t want the added bulk of the individual sleeves. Vinyl Dye is not paint. It gets absorbed into the cable sleeve and turns everything black. Looks great and is really easy to apply.
Build_05
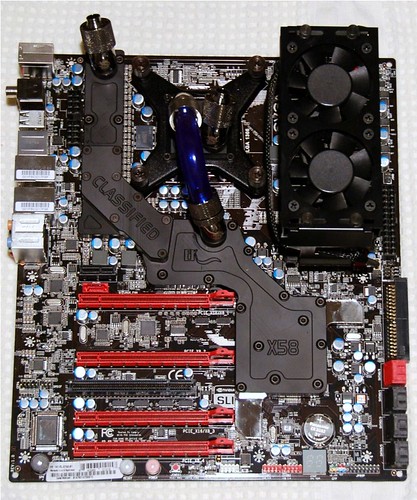
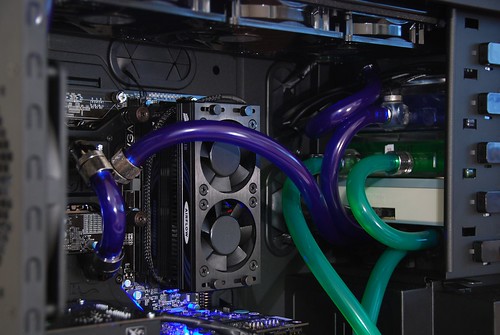
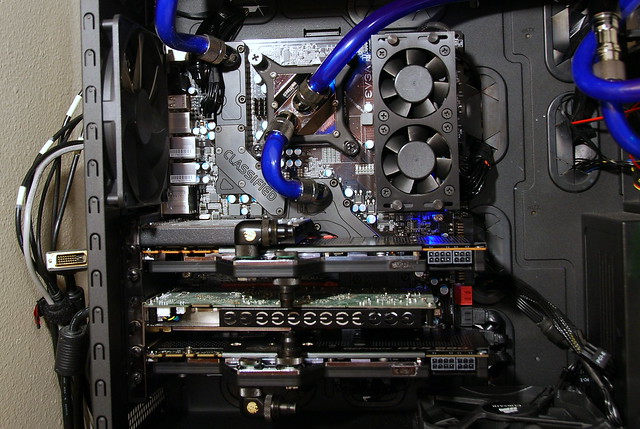
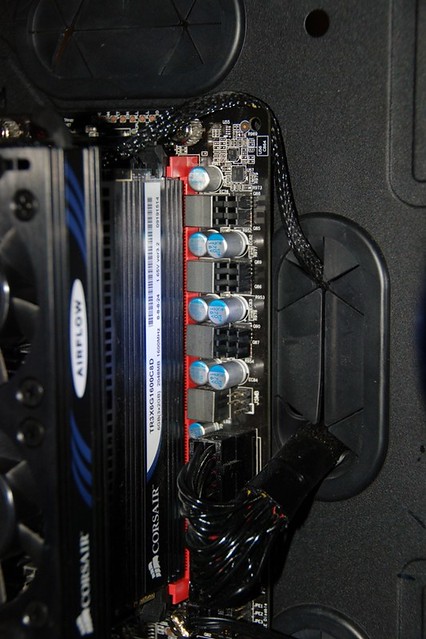
Next step was to remove the stock cooling from the EVGA X58 Classified and install a full board block from EK. It’s a great match for the board, and temps on the VREGs and Chipset are MUCH lower than with stock cooling.
Build_06
Build_07
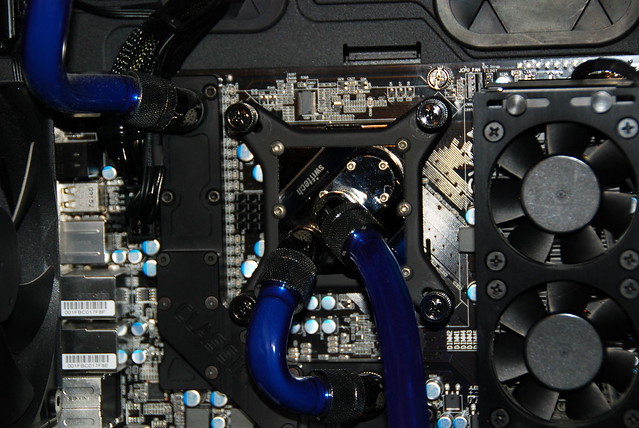
I decided to go with the Swiftech APOGEE XT for my CPU block. I didn’t like the shiny chrome look of the mounting brackets so I spray painted them black to better match the rest of the components.
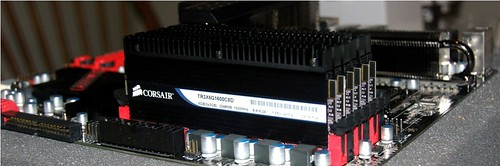
Just to get an idea of what it looks like, I threw in the 12GB of Dominator RAM along with the Corsair RAM Cooler.
Build_09
Build_10
Now on the the rest of the liquid cooling loops.


 Reply With Quote


Bookmarks