


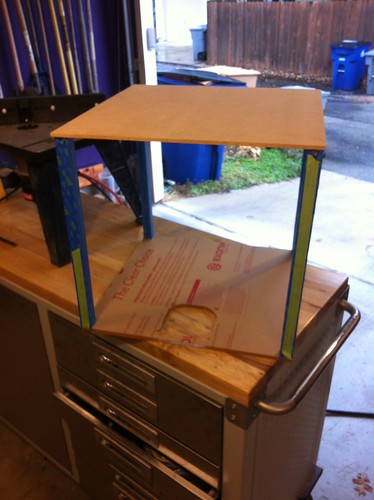
After finishing up my practice cube to learn a bit about working with acrylic, I jumped in to the real thing. It was definitely a good idea to start on a practice piece first before I started hacking up expensive sheets of 3/8" acrylic. I learned a lot and will hopefully avoid some of the same mistakes. Here is as far as I took the practice piece:
IMG_0394 by andym2712, on Flickr
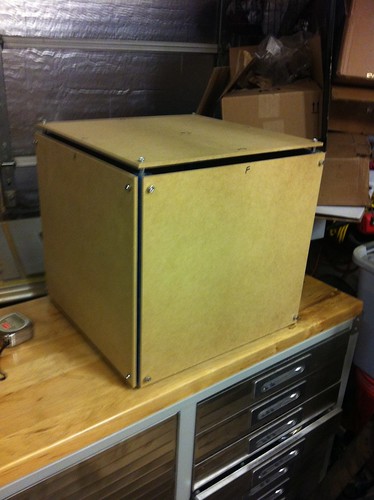
It gave me a very good idea of what the materials will look like on the real thing and I was very pleased with how it turned out (for being just a practice piece). The real case is proving to be much more challenging! My previous PC was a Banchetto 101 rack and I really liked the look of the glass-like plexi panels. But I wanted an enclosed case and more room for water-cooling. The plan is to build a cube out of 3/8" clear acrylic, with 1/8" black INSIDE the clear to hold things together and mount what needs mounting. Having the clear on the outside gives it a great, floating, bubble look. The difference is not that evident in the photos, but the difference between black on clear and clear on black is HUGE. Clear on black looks so much more polished but it is also much harder to build that way since every hole and cut is exposed - there are no trim pieces to cover anything up.
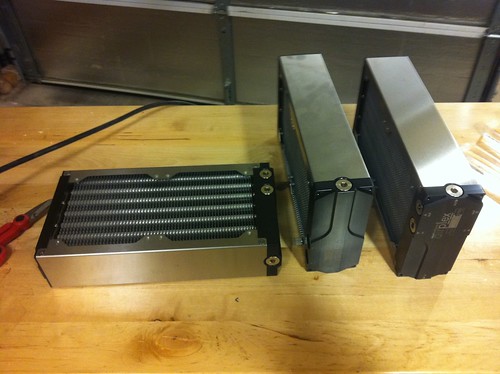
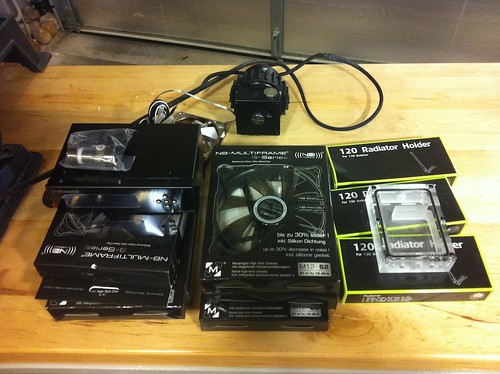
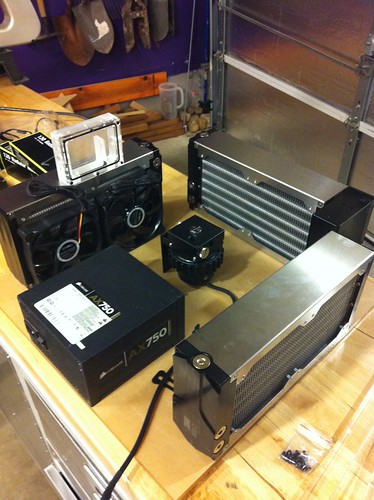
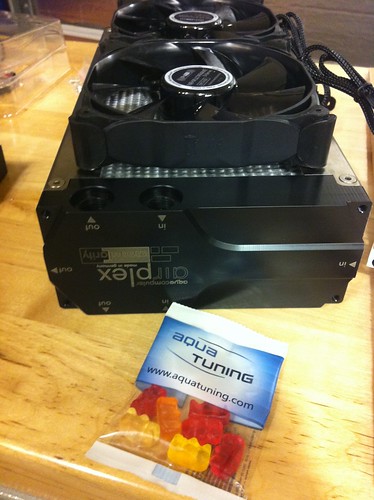
I also wanted to do away with drive cages all together. No optical drive and just 2 or 3 SSDs mounted in something other than a cage. I also really wanted to try out some of the new Aquacomputer Modularity radiators. I ordered 3 of the 240mm ones and waited patiently. The rest of the gear is mostly recycled from my previous system. Asus Rampage III Extreme, I7-950, GTX-570 in SLI. Everything is watercooled except the VRAM (I've just never liked a video card enough to invest in a full cover block.
So far I like the new radiators - if for no other reason than they look different - they have 6 (!) ports for all sorts of configurations. But I'm not sure that the "modular-less" of them is really all that useful for most people.
IMG_0516 by andym2712, on Flickr
IMG_0515 by andym2712, on Flickr
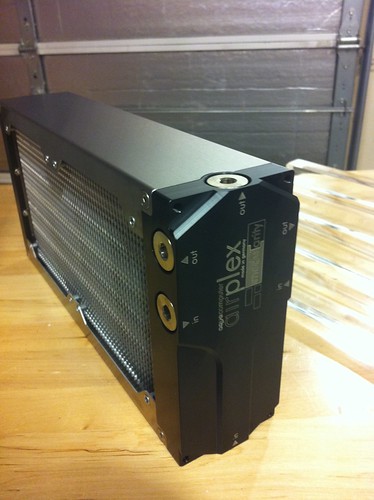
I also wanted to try some new fans and a controller. I wanted a controller that could control fan speed and pump speed and display flow and water temps on an LCD. The Koolance was the only one that I found that would do all of that. I really wanted to like the aquaero, but I couldn't get passed the need to use LCD Hype (Bleh!) and add on an expansion card to handle the pump. Maybe I'm wrong about it, but that's the best info I could find.
IMG_0519 by andym2712, on Flickr
My plan is to have only 2 fans running when at idle, then have the other 4 come on as water temperature increases and maybe increase the flow rate. It should be totally silent at idle and close to silent at full load, but we'll see how that goes.
But anyway - I messed around in sketch up enough to determine that an 18" cube was a good fit and once I got the radiators in I played around with various layouts and ultimately ended up back where I started - 3 radiators in a "U" with the PSU in the back and a horizontal mobo tray. Sorta like this:
IMG_0521 by andym2712, on Flickr
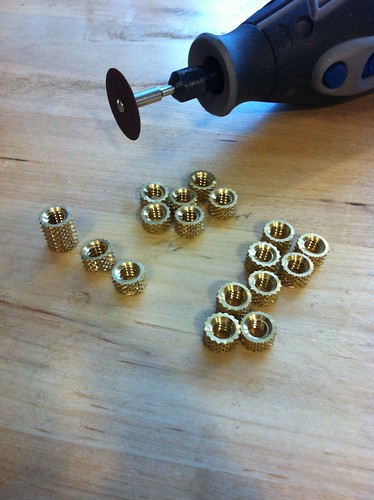
I started out much like I did on the practice piece. I cut out the 4 posts and put in the brass inserts. (Thanks Phinix for the idea). Just drill a hole (using a specialized acrylic bit!) then just heat them up with a soldering iron and they slide right in and are super solid! I had to cut a bunch of the inserts in half in order for them to fit in the same place on opposite sides.
IMG_0536 by andym2712, on Flickr
IMG_0578 by andym2712, on Flickr
IMG_0392 by andym2712, on Flickr
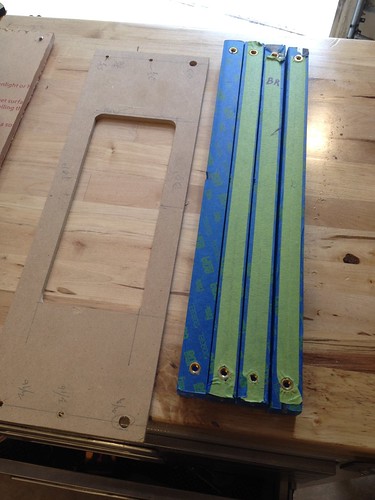
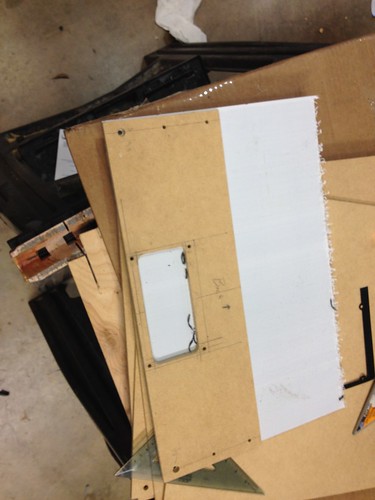
Then I stared following my golden rule when working with thick acrylic. Thick acrylic is not easy to cut. Go too slow and it melts, too fast and it chips, use the wrong blade or drill bit or even drop it and you might be hosed. BUT - it's super easy to cut with a flush-cut router bit on a router table. So I make every piece out of wood first, tape it to the wood and route away. I'm using mdf which is about perfect. It's cheap and easy to cut with a table saw or a scroll saw. And I get the added bonus of test fitting each piece before its committed to plastic. If its not right or I change my mind (often) I haven't wasted $30+ on a piece of plastic.
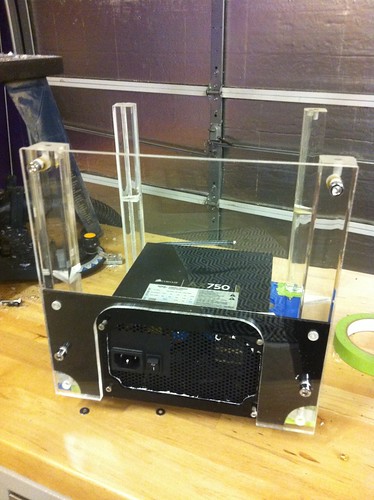
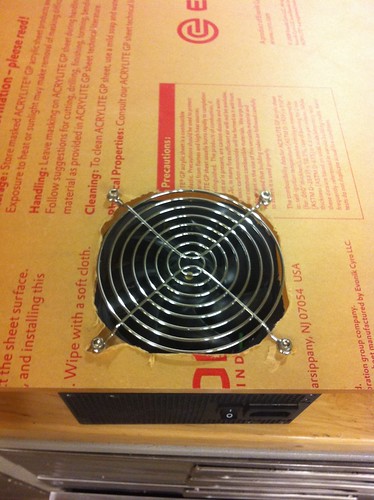
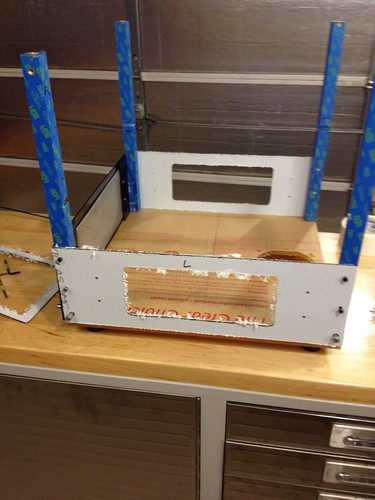
I started by mounting the PSU to the bottom sheet of acrylic. I had to do a little modding to the PSU because of the way I wanted to mount it which I described here. I wanted the fan mount to be the main structural attachment.
IMG_0518 by andym2712, on Flickr
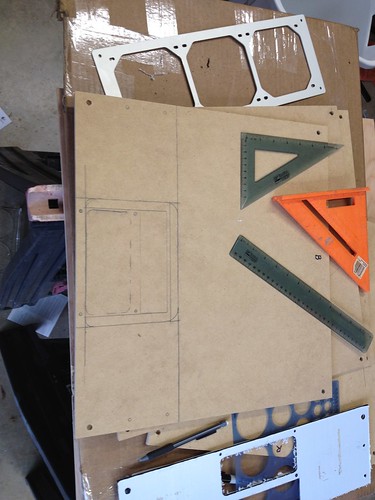
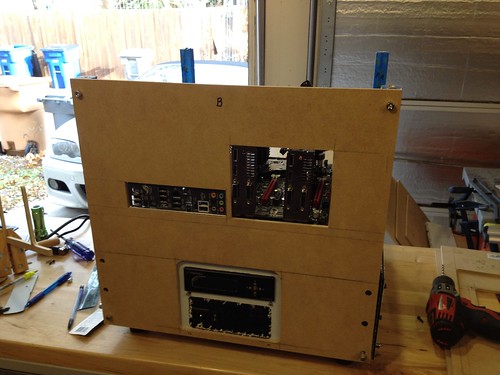
Once I had the base started and the 4 posts in place, I cut out the 5 main panels out of MDF and fitted them.
IMG_0531 by andym2712, on Flickr
IMG_0556 by andym2712, on Flickr
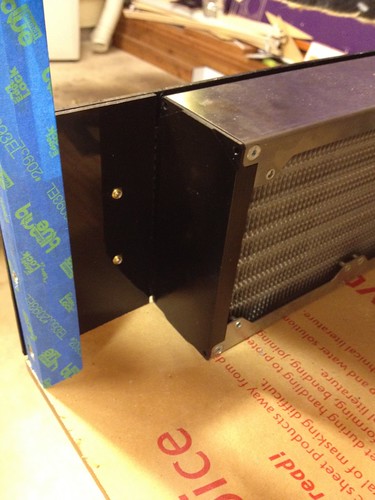
Now I can start working on each side one a time going from the bottom up and inside out. 3 of the bottom side panels all have radiators and are the same. So I made one template and just copied it onto the 1/8" black acrylic.
IMG_0612 by andym2712, on Flickr
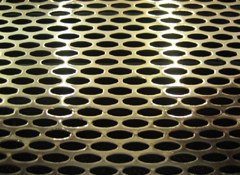
Then I started trying to figure out what I wanted to do for radiator grills. I got some awesome mesh from a Hot Rod shop called Kris Kustoms that looks great and makes killer grills:
small oval perf by andym2712, on Flickr
small oval perf by andym2712, on Flickr
IMG_0597 by andym2712, on Flickr
IMG_0586 by andym2712, on Flickr
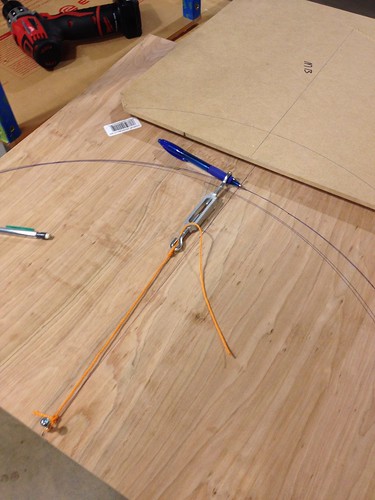
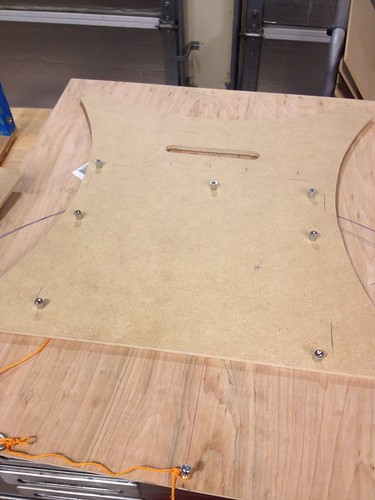
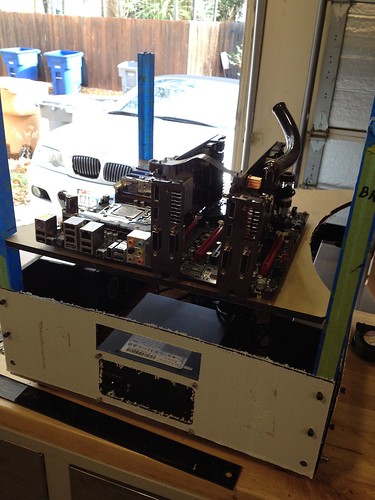
The Mobo tray was pretty simple. I just drew a 14" radius on 3 sides and marked the holes for the stand offs, then copy onto acrylic.
IMG_0568 by andym2712, on Flickr
IMG_0573 by andym2712, on Flickr
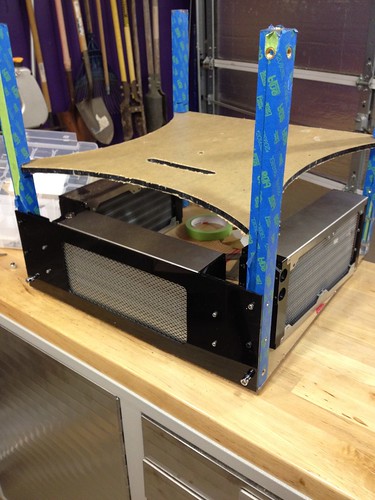
Mounting the tray was a little tricky. I wanted to notch the legs at a 45 so the tray would sit in there flush. I don't have any photos of how I did it, but it involved several passes on the table saw (with the legs propped up 45) and lots of filing. But it turned out nice.
IMG_0582 by andym2712, on Flickr


 Reply With Quote
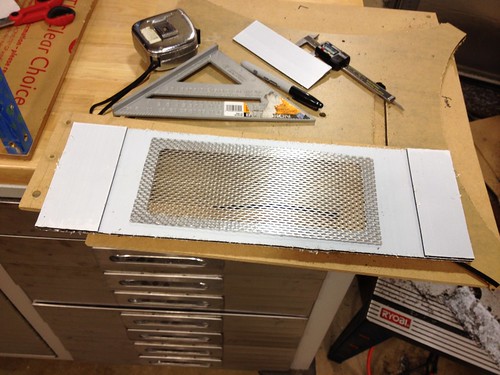


Bookmarks